Home » Craft » Kids Crafts » Homemade Microwave Puffy Paint

Homemade Microwave Puffy Paint

This post may contain affiliate links. If you make a purchase, I may receive a small commission.


homemade microwave puffy paint in fun designs and colors
DIY paint that puffs up in the microwave? Sounds like a surefire hit to me! I saw this idea on Mommy Labs awhile ago and filed away for a rainy day. Today just happened to be the perfect combination of rain and bored kiddos, so I whipped up a batch – quick, easy, and SUPER fun!
puffy paint puffed up
children playing with puffy paint in bag
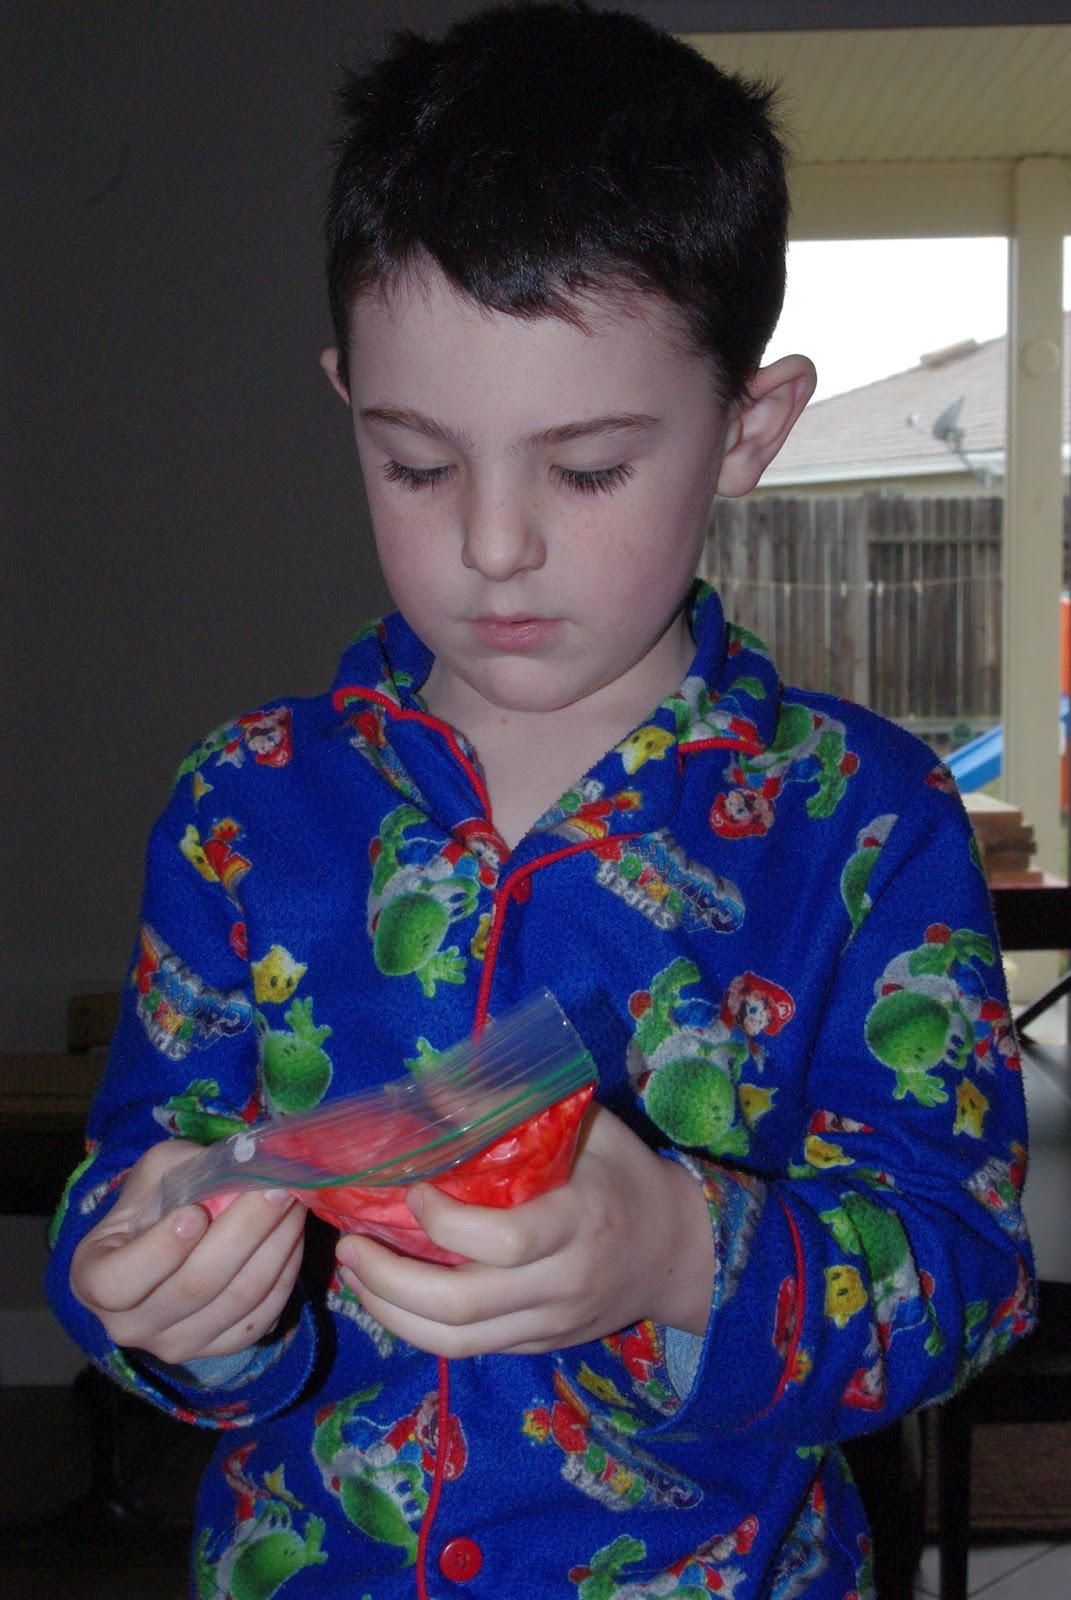
We started with one cup of flour and mixed in 3 teaspoons of baking powder, 1 teaspoon of salt and enough water to make it the consistency of pancake batter. We divided our mix into four parts and put them into snack size Ziploc baggies along with some food coloring. Part of the fun was squishing it all around to mix up the colors!
bags of colorful homemade puffy paint
Rubber band the baggies like you would if you were icing a cake and snip off the teeniest little bit of the tip.
child using bag to pipe paint onto paper
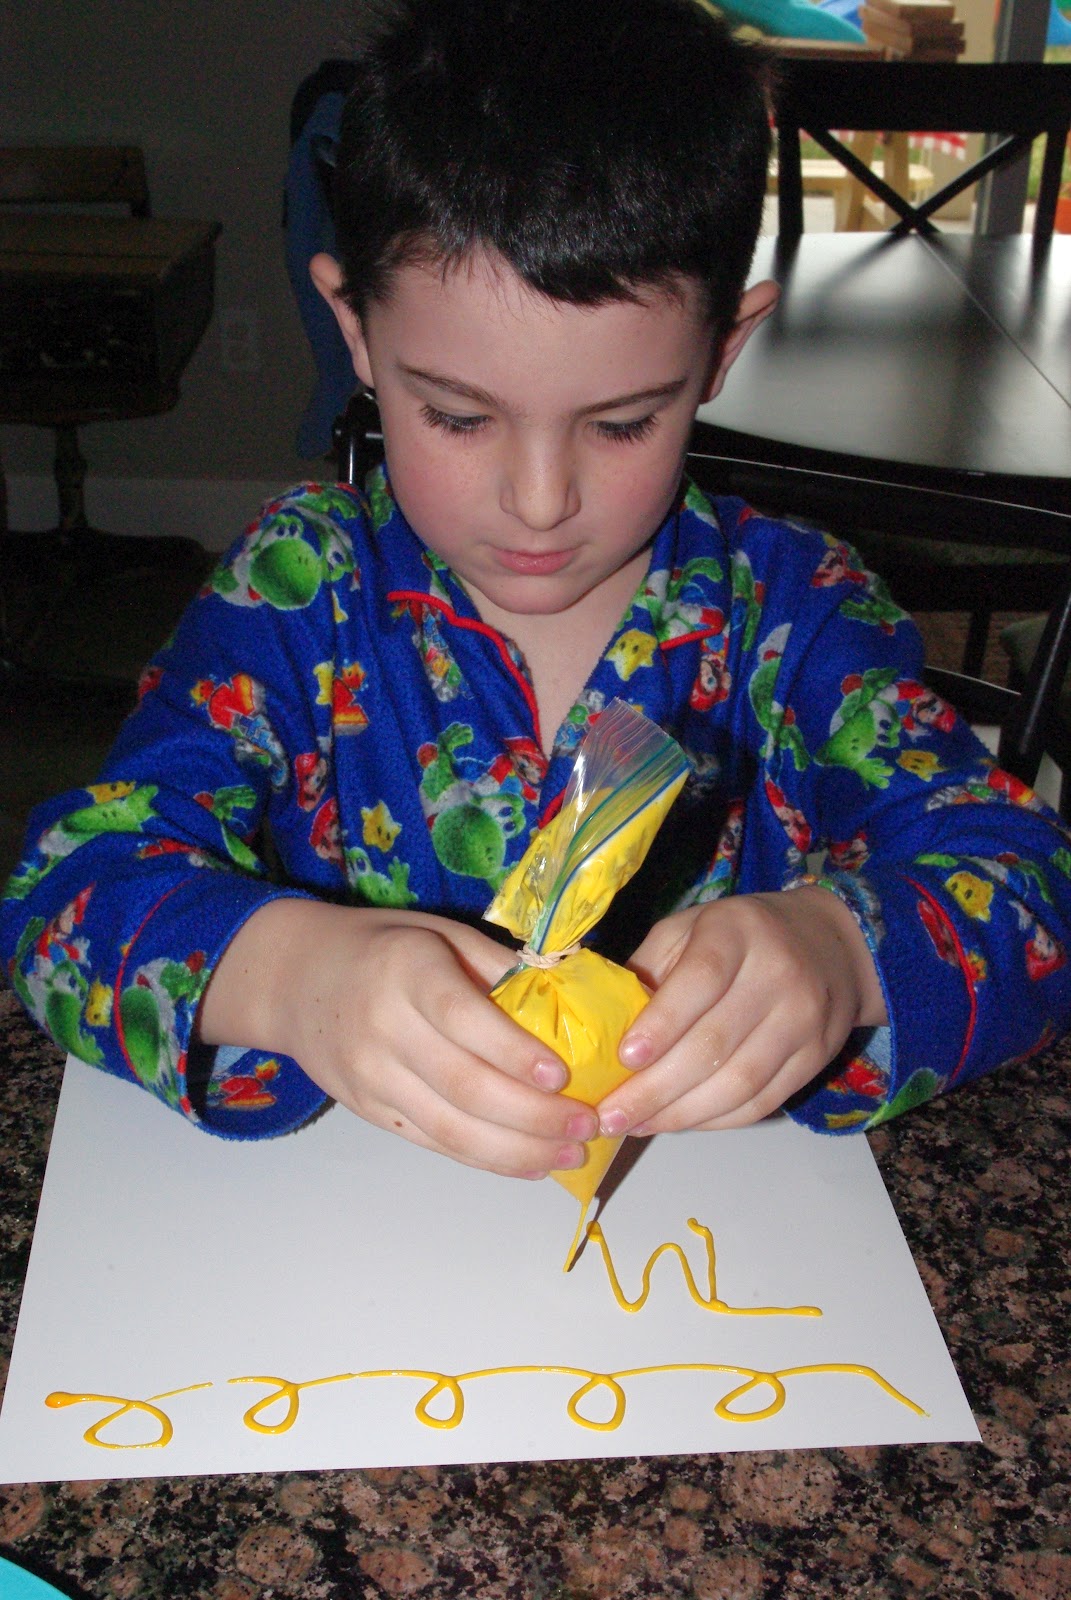
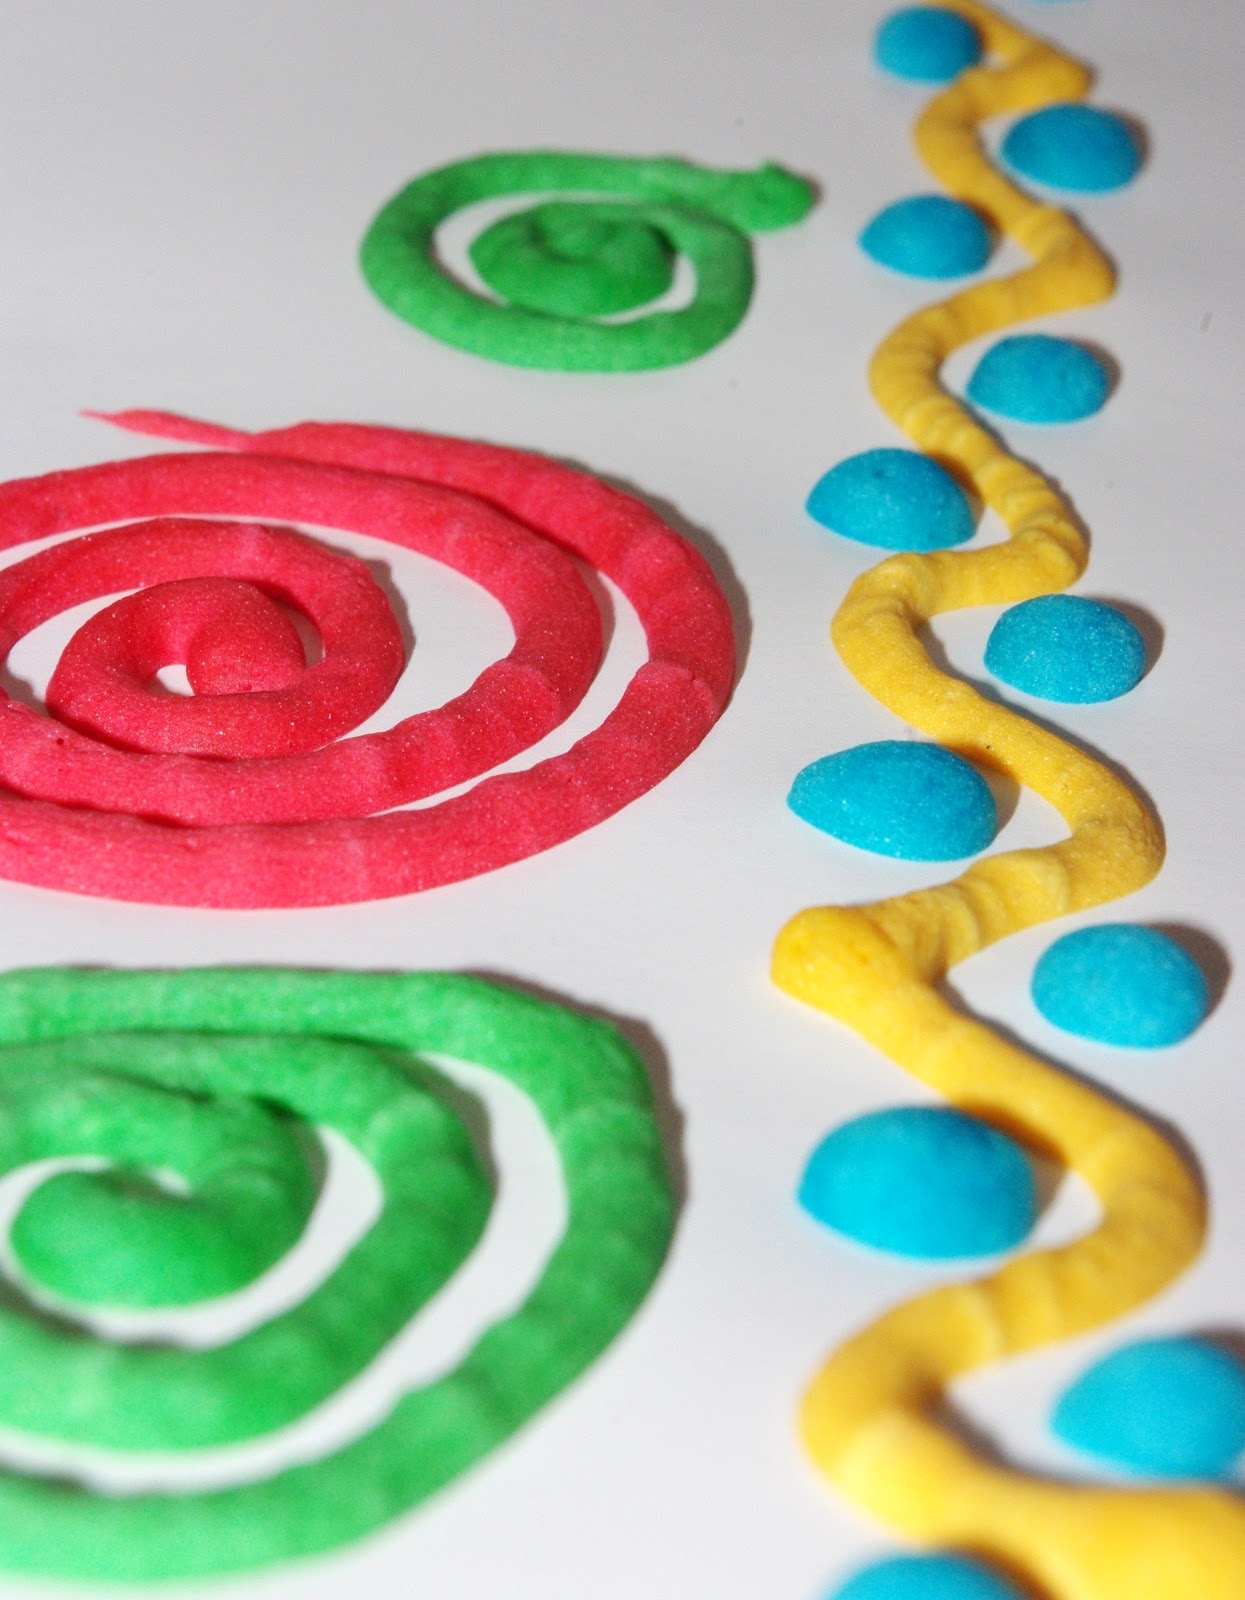
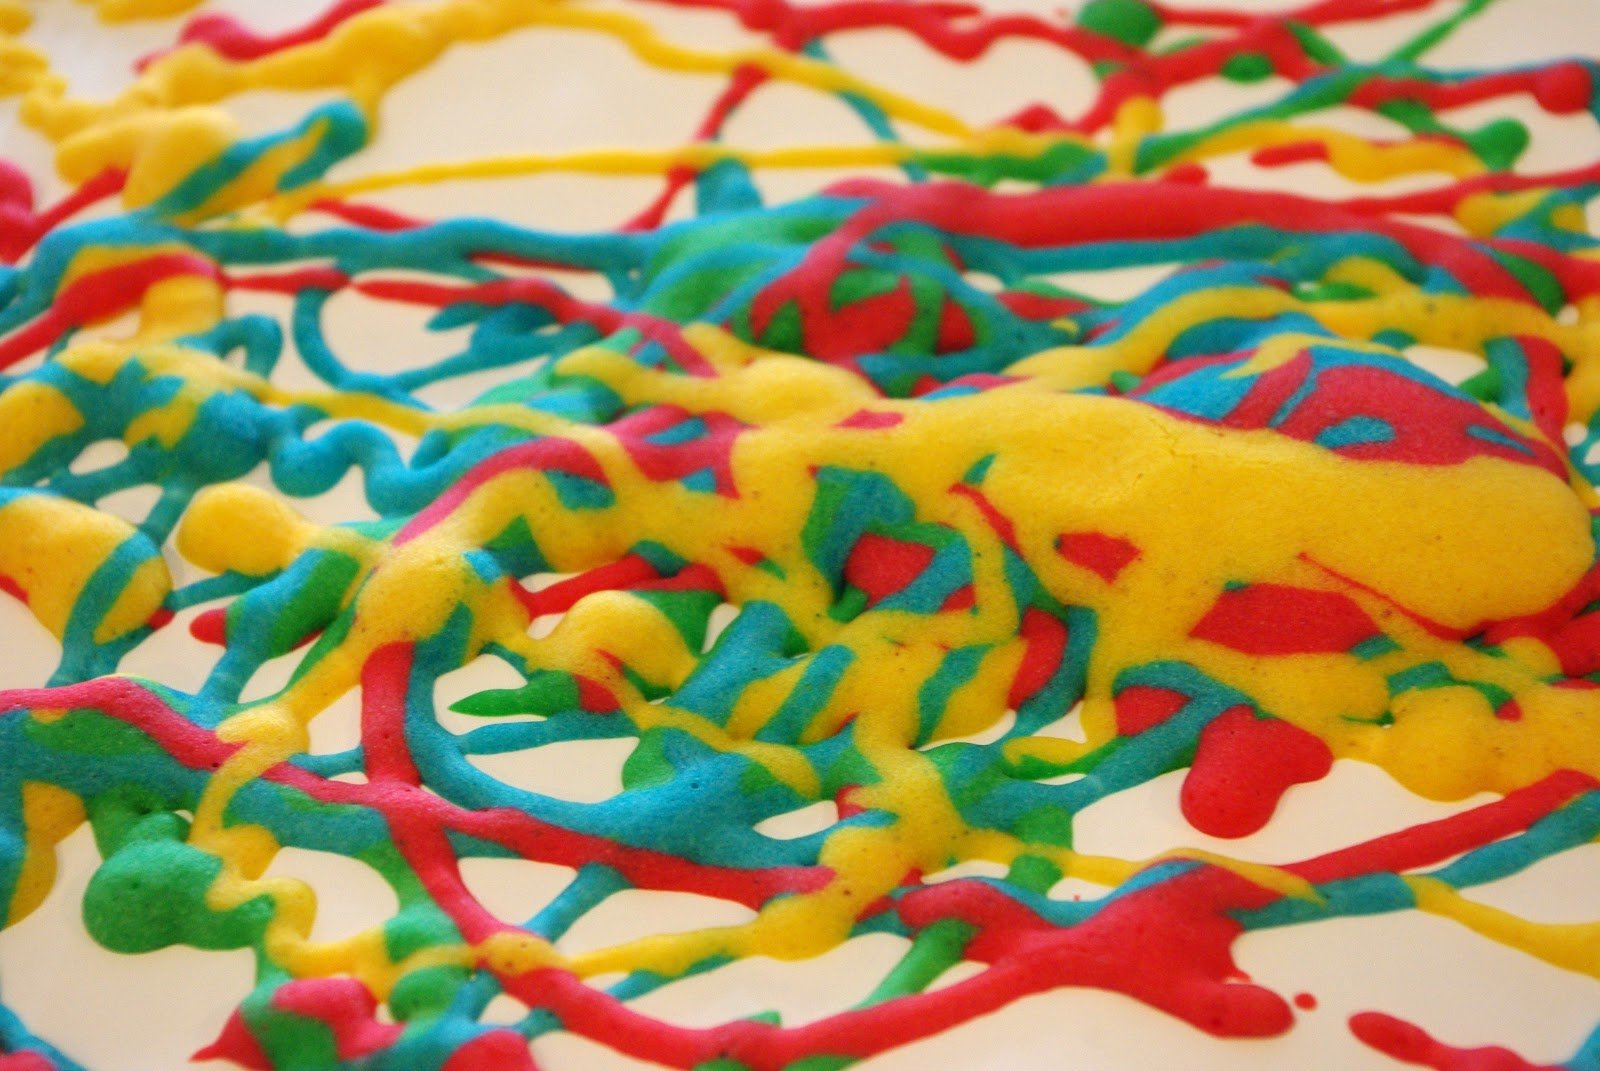
Paint away! When you’re finished, pop the painting into the microwave for 30-45 seconds and watch the paint puff up and grow – such fun! I loved that it was completely dry out of the microwave so we didn’t have to worry about any extra messes or accidents as our pile of paintings grew.
piped yellow paint puffed
piped red paint puffed
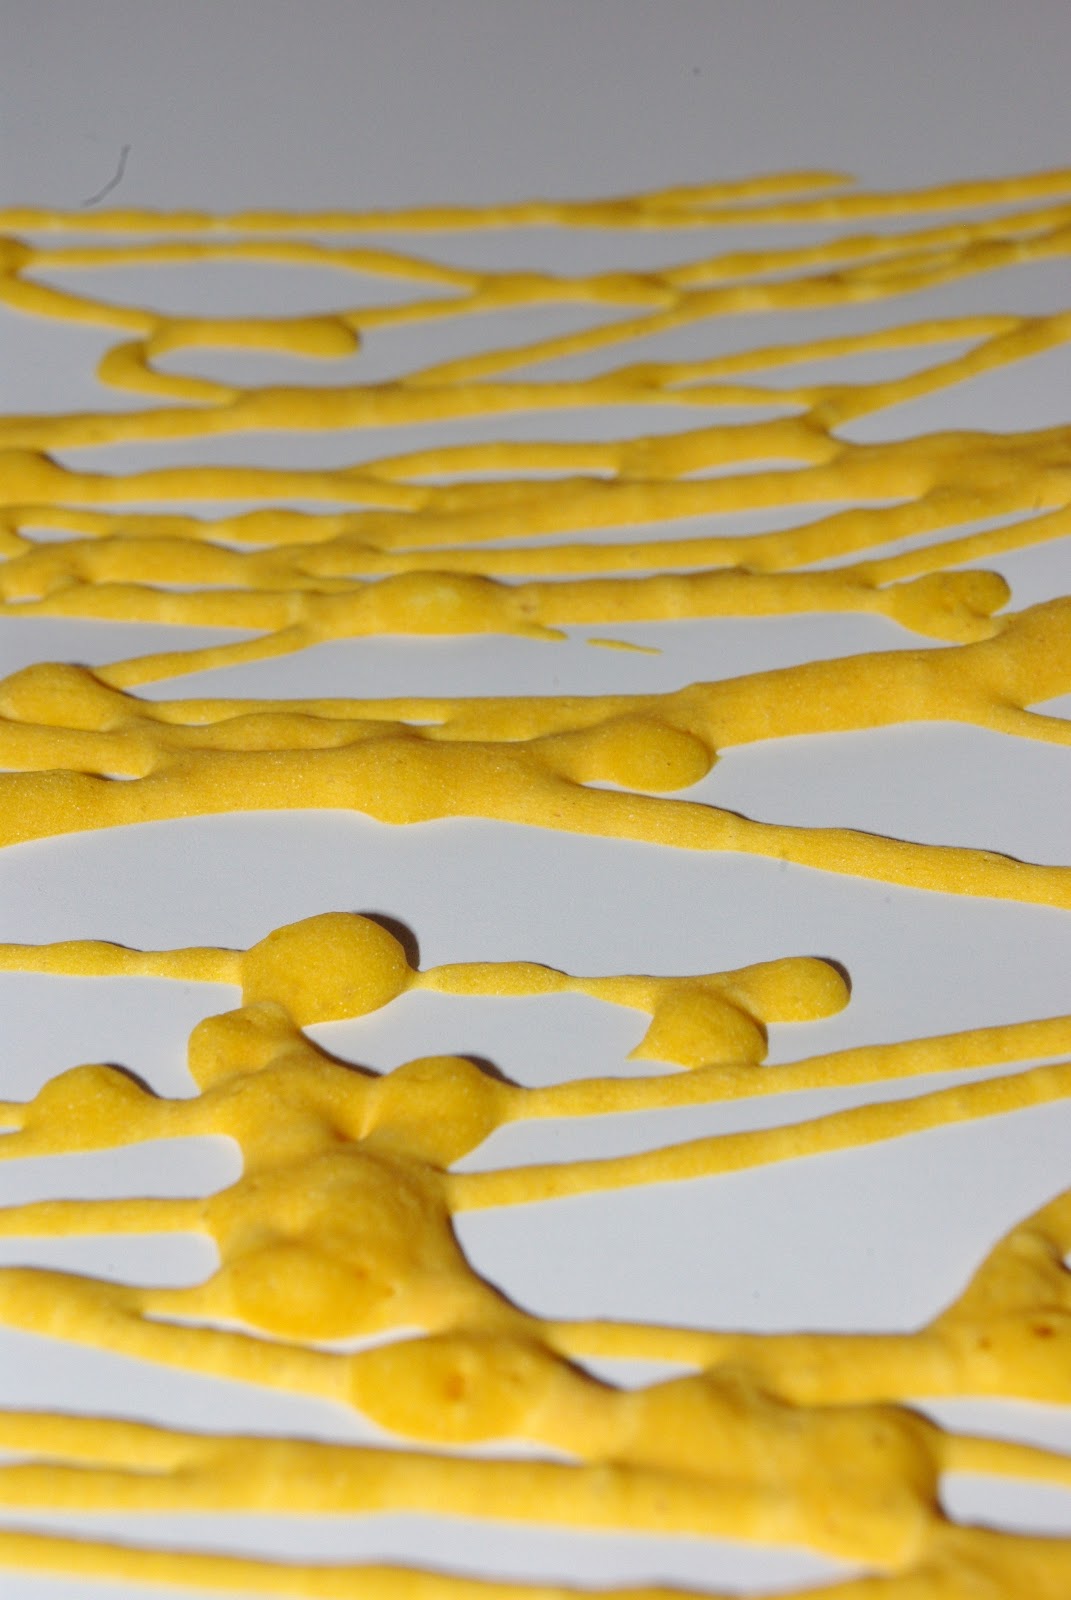
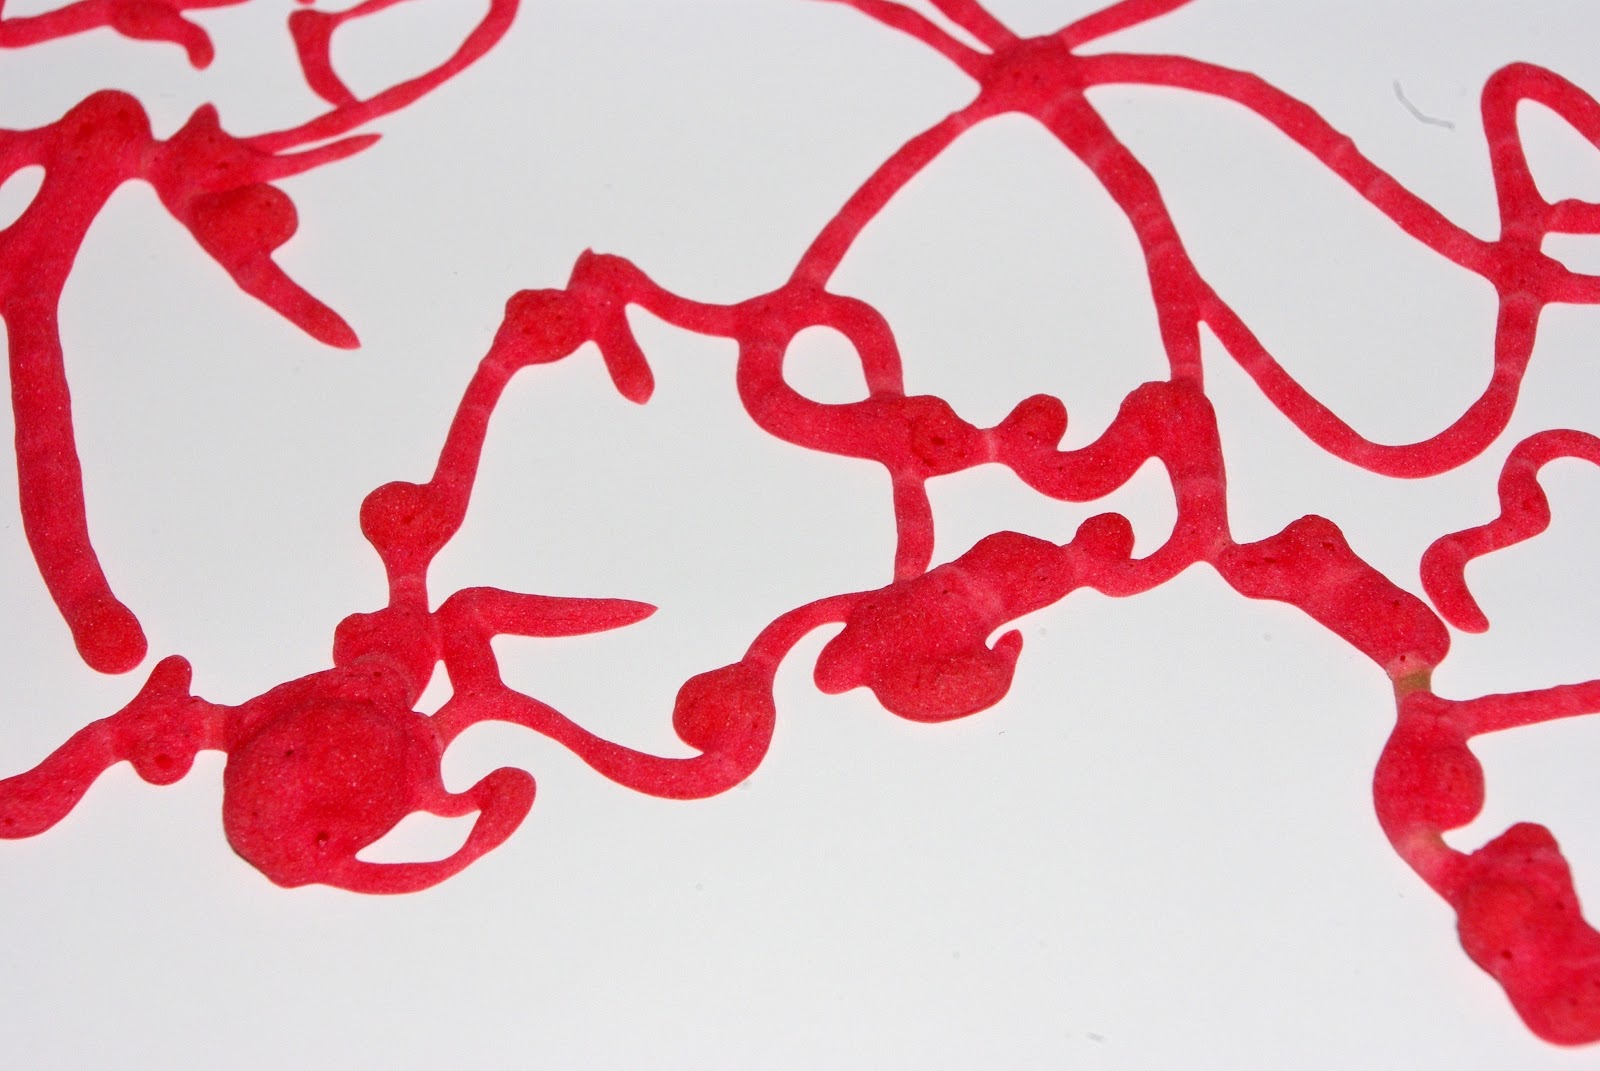
We made about ten paintings this morning, and we still have plenty of paint leftover so that Sawyer can have a chance to try it when he gets home from school too. Nothing beats cheap entertainment, especially with some fine motor skills practice and a built-in kitchen science lesson!

signature from Heidi, at Happiness is Homemade

Leave a Reply

Your email address will not be published. Required fields are marked *

50 Comments

  1. Do you use low, medium or high heat in the microwave? This looks like a great craft to do with my grandchildren!

    1. We just use regular printer paper or construction paper. We have never had any issues with fire, but we do only microwave in increments of 45 seconds or less. 🙂

  2. I just did this activity with the three year old I’m babysitting and it worked perfectly. I would definitely recommend trying this.

  3. This was great even with 4 year olds who mostly make a blob, they wanted to make earth. After the initial 45 seconds it took 15-30 second intervals more and it was done still and dry (mostly, i mean it was a blob they both did). I will definitely do this again and the 1 cup recipe was just enough for 3 bags of paint for them to use as much as they wanted. I made my batter a tiny bit too thin but was still manageable and i put them in the freezer for about 10 mins before use. Thank you!

    1. I’ve never tried it in the oven, Lucy, so I can’t say for sure. If you try it, I would suggest starting at a low temperature to make sure that the paper doesn’t burn.

  4. Is there an acceptable gluten-free flour alternative? My kid and I both have celiac and keep a dedicated gluten-free house. Would love to know if anybody has had any luck using a different sort of flour before I go spend $7/bag on one of the gluten-free blends. This sounds like something the little kids, teenagers and moms would enjoy!

  5. Wow this looks great, am having some children with Downs Syndrome over today, and going to do this as an activitiy

  6. This craft is a must! Its basically just putting bread dough on a paper and baking it. Making the paint and coloring it was difficult, but other than that, it was perfect! making pictures was fun, watching it grow was entertaining, it was super quick, and it was easy to clean up. As you can imagine, you cannot keep the papers that you decorated, but i didn’t mind that. This was an amazing time killer.

  7. This was an awesome activity it was really cool watching the paint grow. The only issue we ran into was that there would be a clump of flour every so often and it would make the hole bigger. Other than that it was great

  8. I watch my grandkids every Friday and wanted to find something different to do. This was perfect! Now everytime they come over this is the project of the day! My grandson who is 4 almost 5 loves that he gets to help measure, and make the colors! I did realize an easy way to mix, and have less mess putting the mixture in the baggies. We have small tumblers and we used a regular size sandwich bag. I mixed the mixture in a 4 cup measuring cup, and then we put the baggie in the cup so it held it open and then we poured the mixture into the baggie from there. So much easier!