Last week my camera finally kicked the bucket. It had been moments away from death for quite awhile, and it was actually a miracle that it survived as long as it did. After convincing my dear husband that I had been in need of an equipment upgrade anyway, I spent the better part of the week trying to figure out the basics of the new camera’s menu – it’s amazing how completely different two cameras can be!
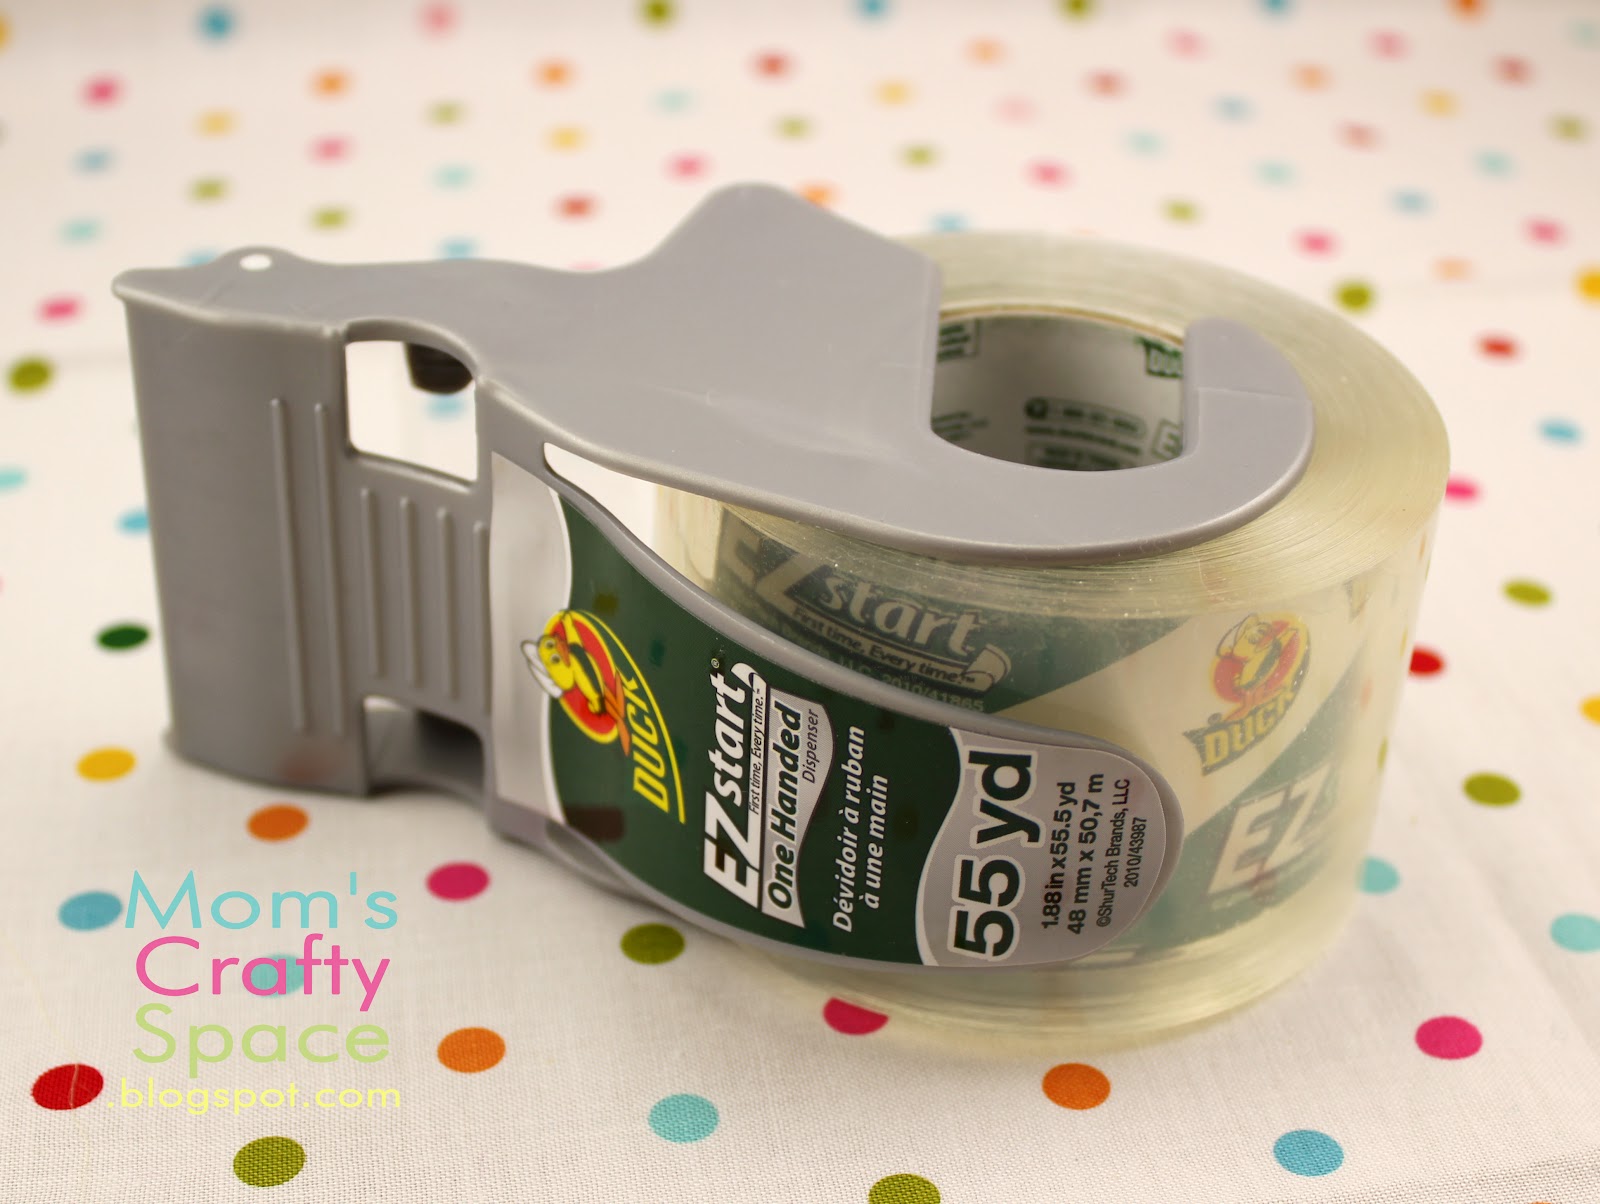
When I received a package of Duck EZ Start Premium Packaging Tape from Shoplet Office Supplies to review, I knew right away that I wanted to use it to create a light box where I could play around with the camera’s settings in a different environment.
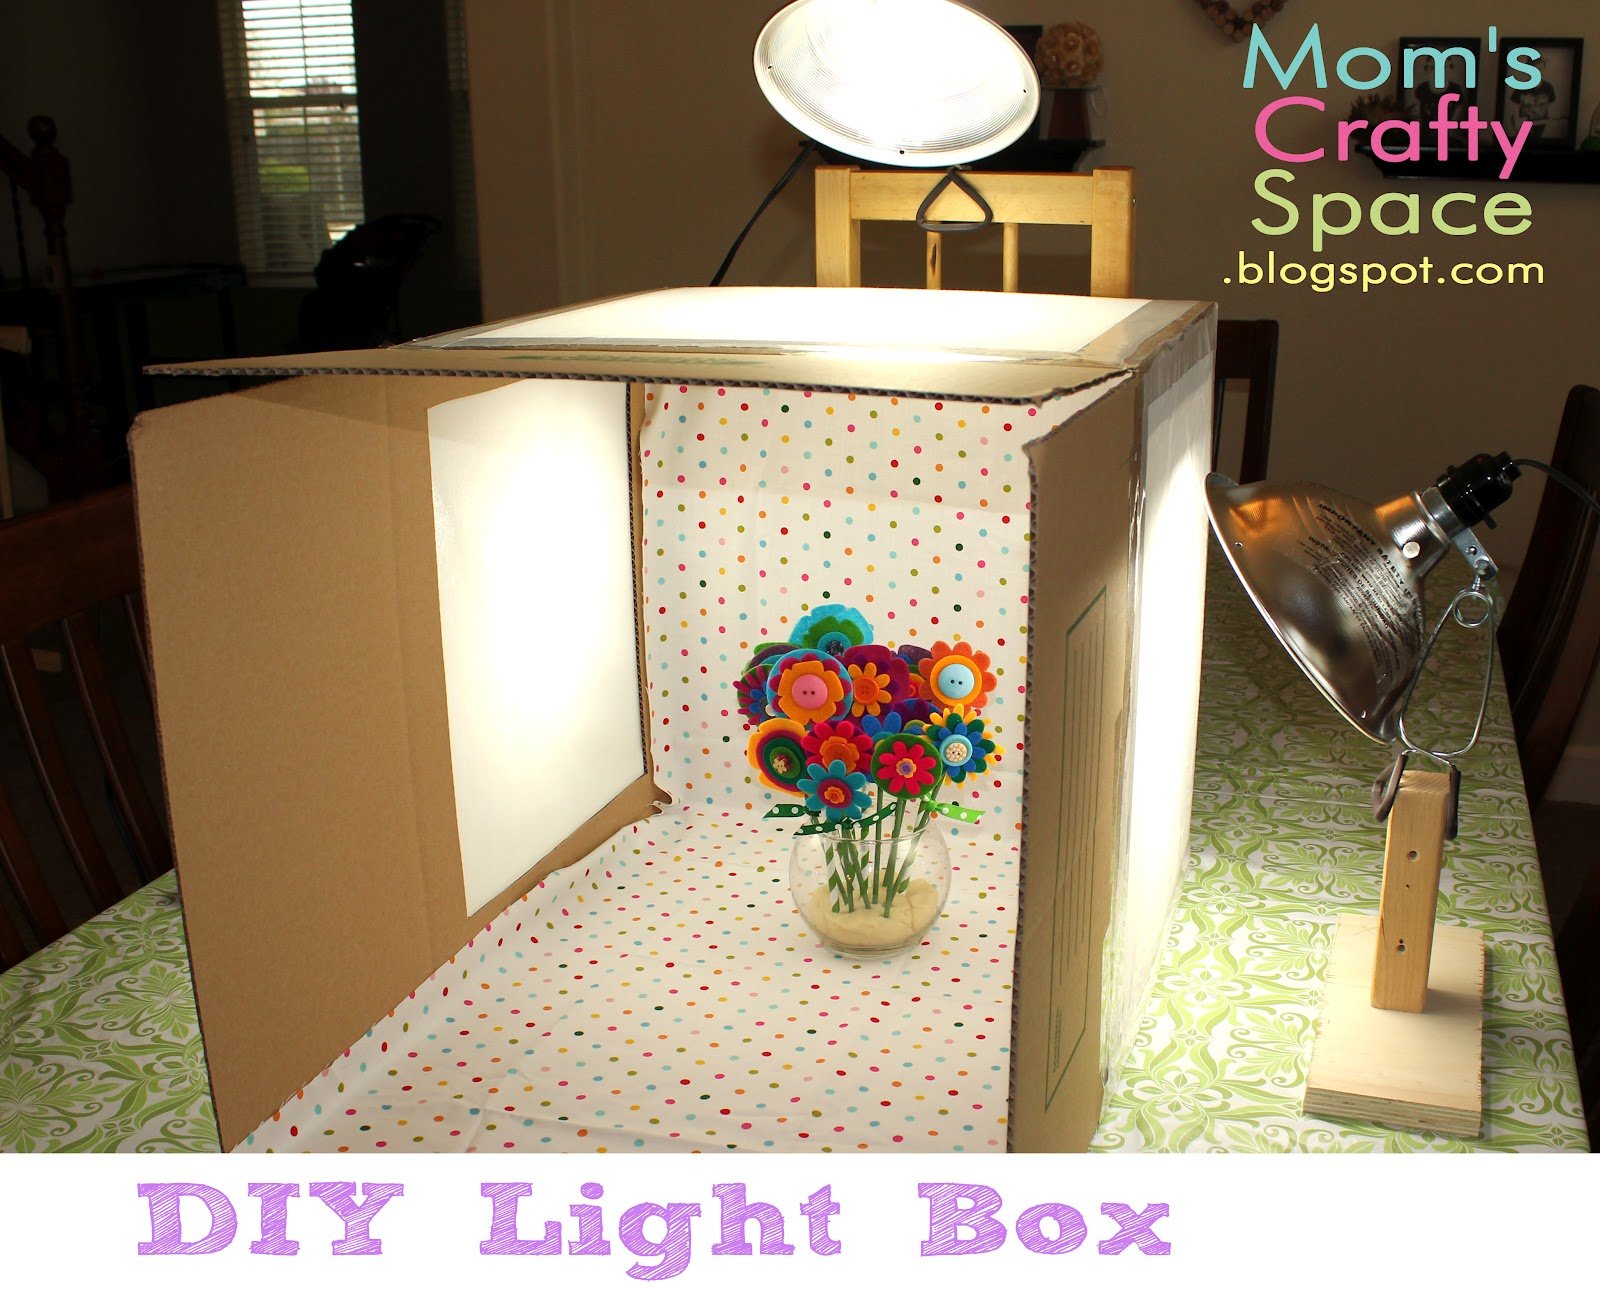
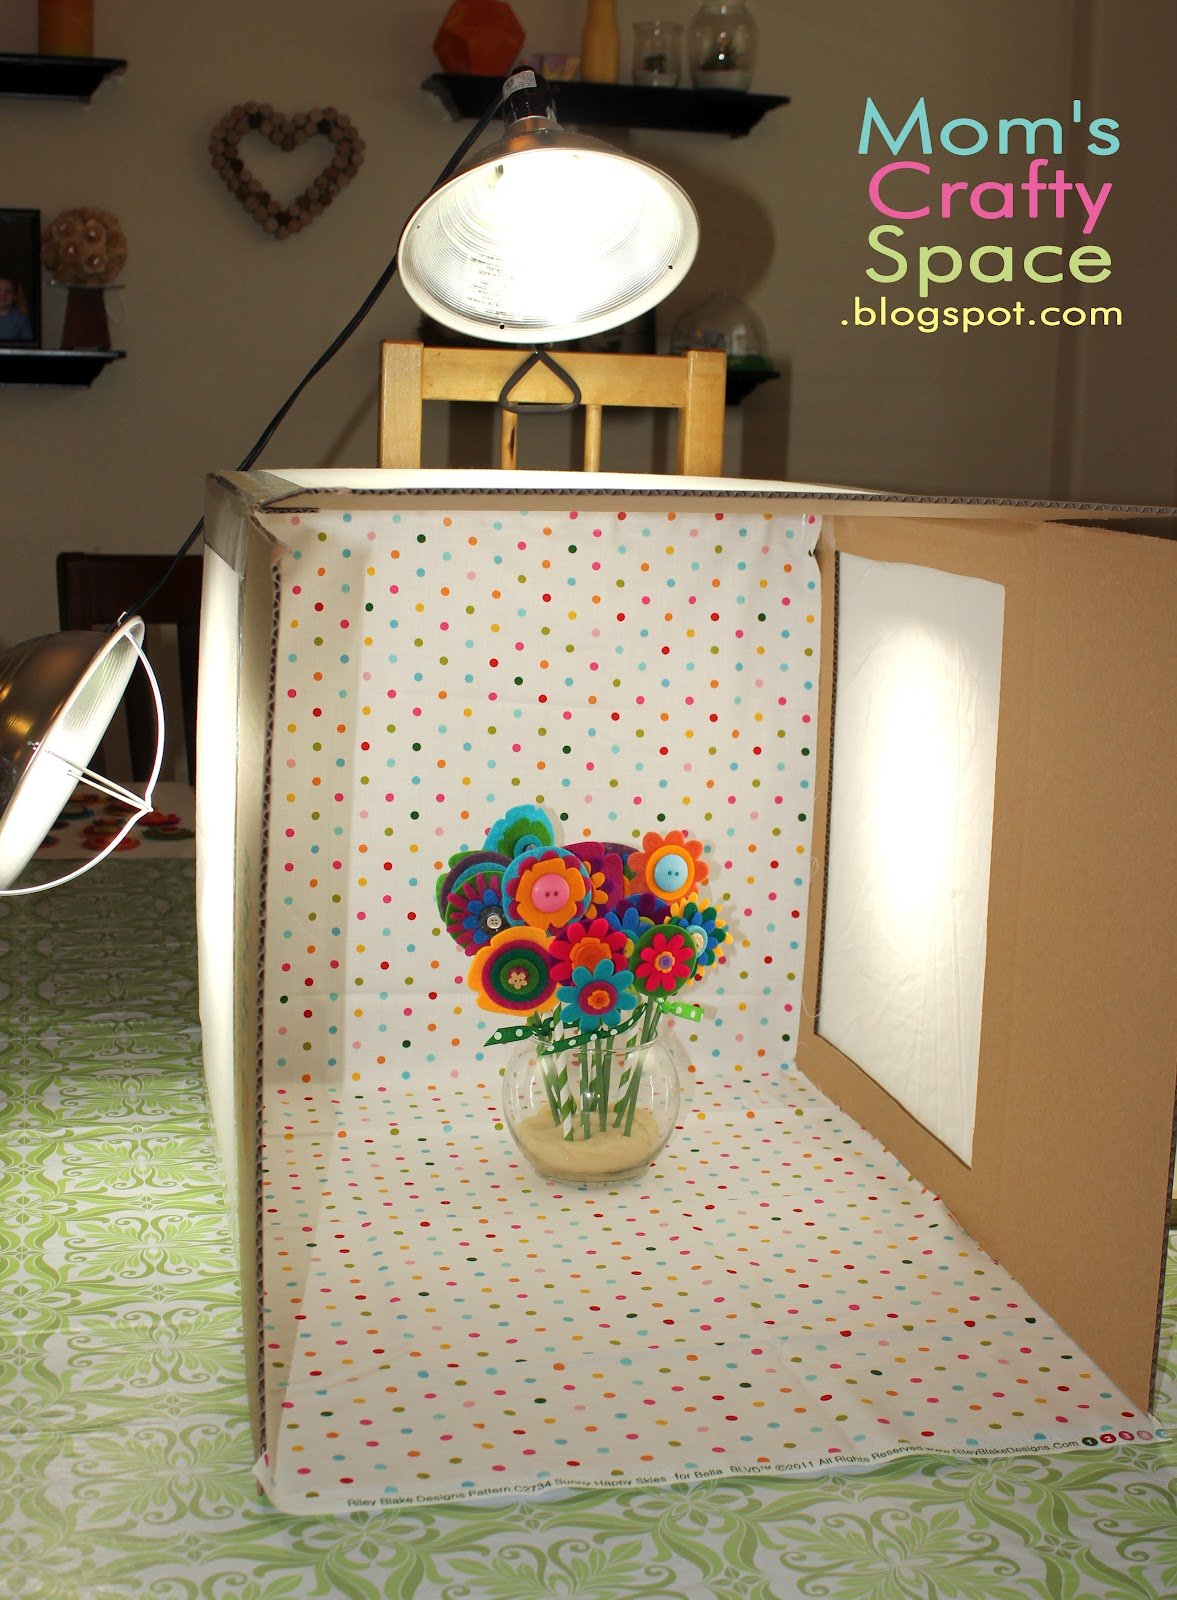
I wanted a nice clean and sturdy box, so I picked up a new one from the Depot that was 18″square. They come flattened, so I used my Duck Tape to close the bottom of the box and reinforce the edges. The “EZ Start” part really proved to be true, and I had no trouble at all with this tape sticking to itself (unlike practically every other brand I’ve ever used!).
After the bottom of the box was closed up I cut a 14″ square window in 3 of the sides, leaving a 2″ border around all of the edges. Leave the original top of the box open, as this will now become the opening in the front of your light box from which you’ll take your photos.
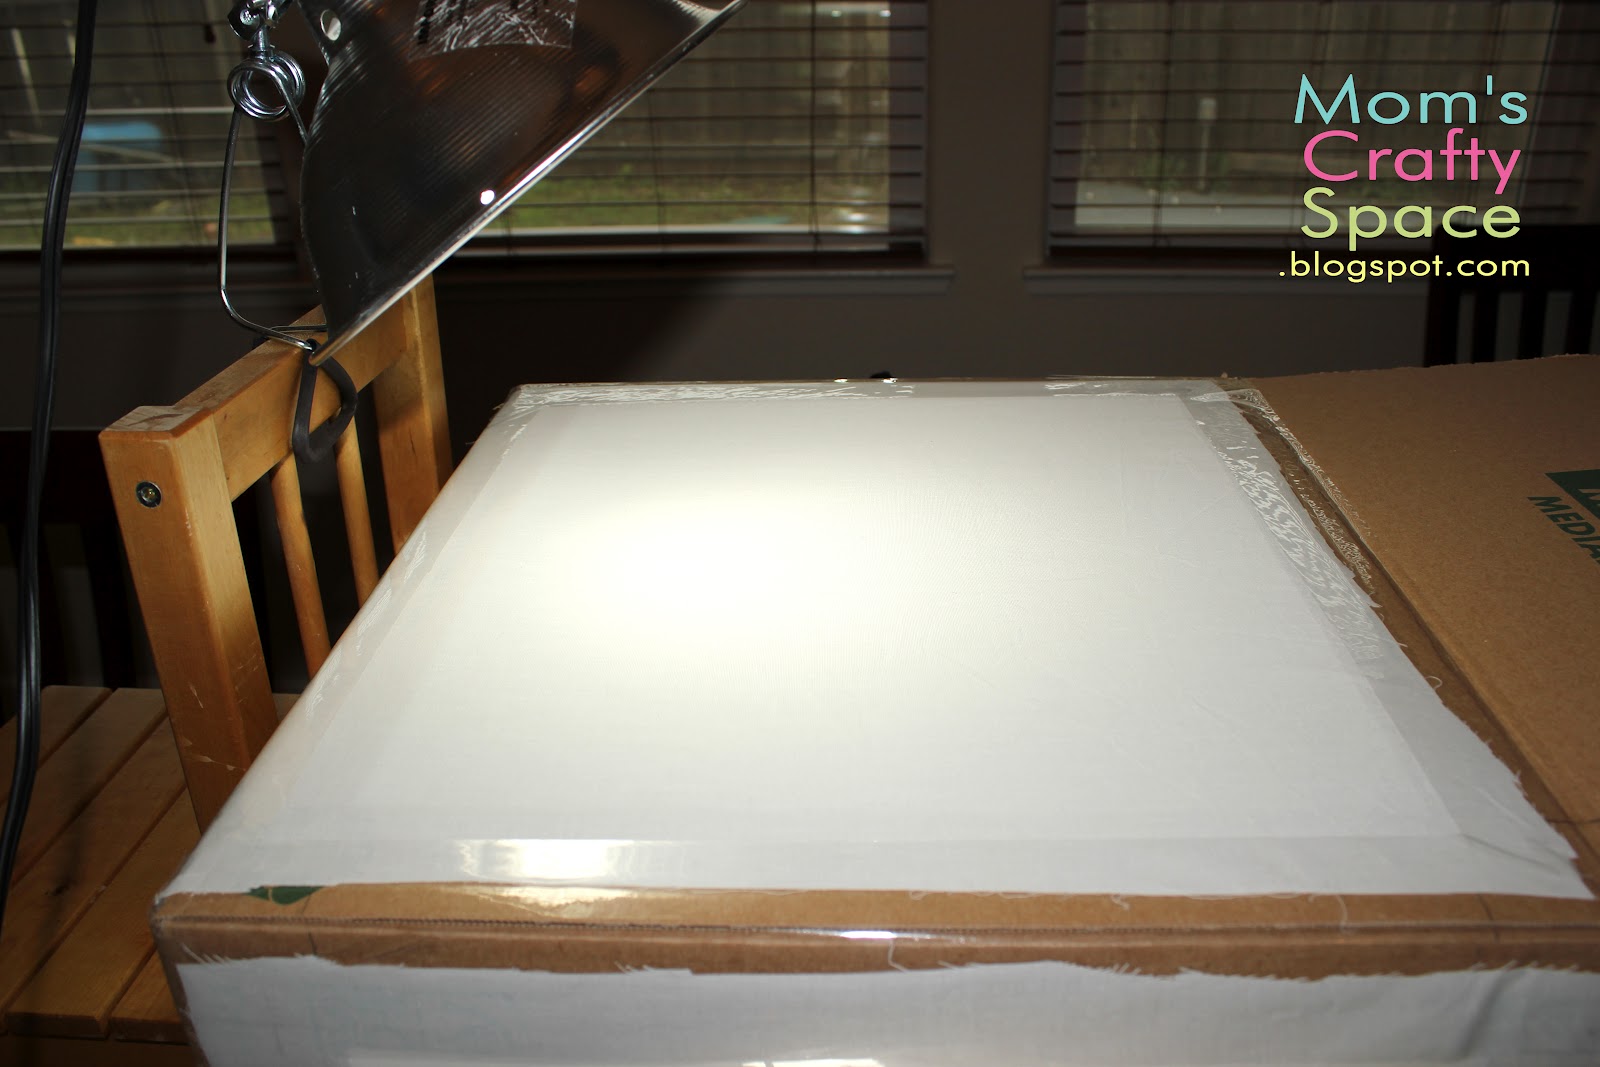
I cut three pieces of thin white fabric and attached them to the outside of the windows with the Duck Tape. The tape is really nice and thick, so it only took one piece of tape along each edge to hold it securely. I almost always double or triple tape things, so it was a pleasant surprise that this held up so well with just one strip. Another single piece of tape was used to hang a half yard of fabric inside of the box to serve as my backdrop.
My husband quickly built a couple of stands for my clip-on utility lamps, and I used the back of a kid-sized chair to hold up my top lamp. The lamps are equipped with daytime fluorescent bulbs directed to shine straight into each of the windows, and the fabric diffuses any shadows that the lamps might create.
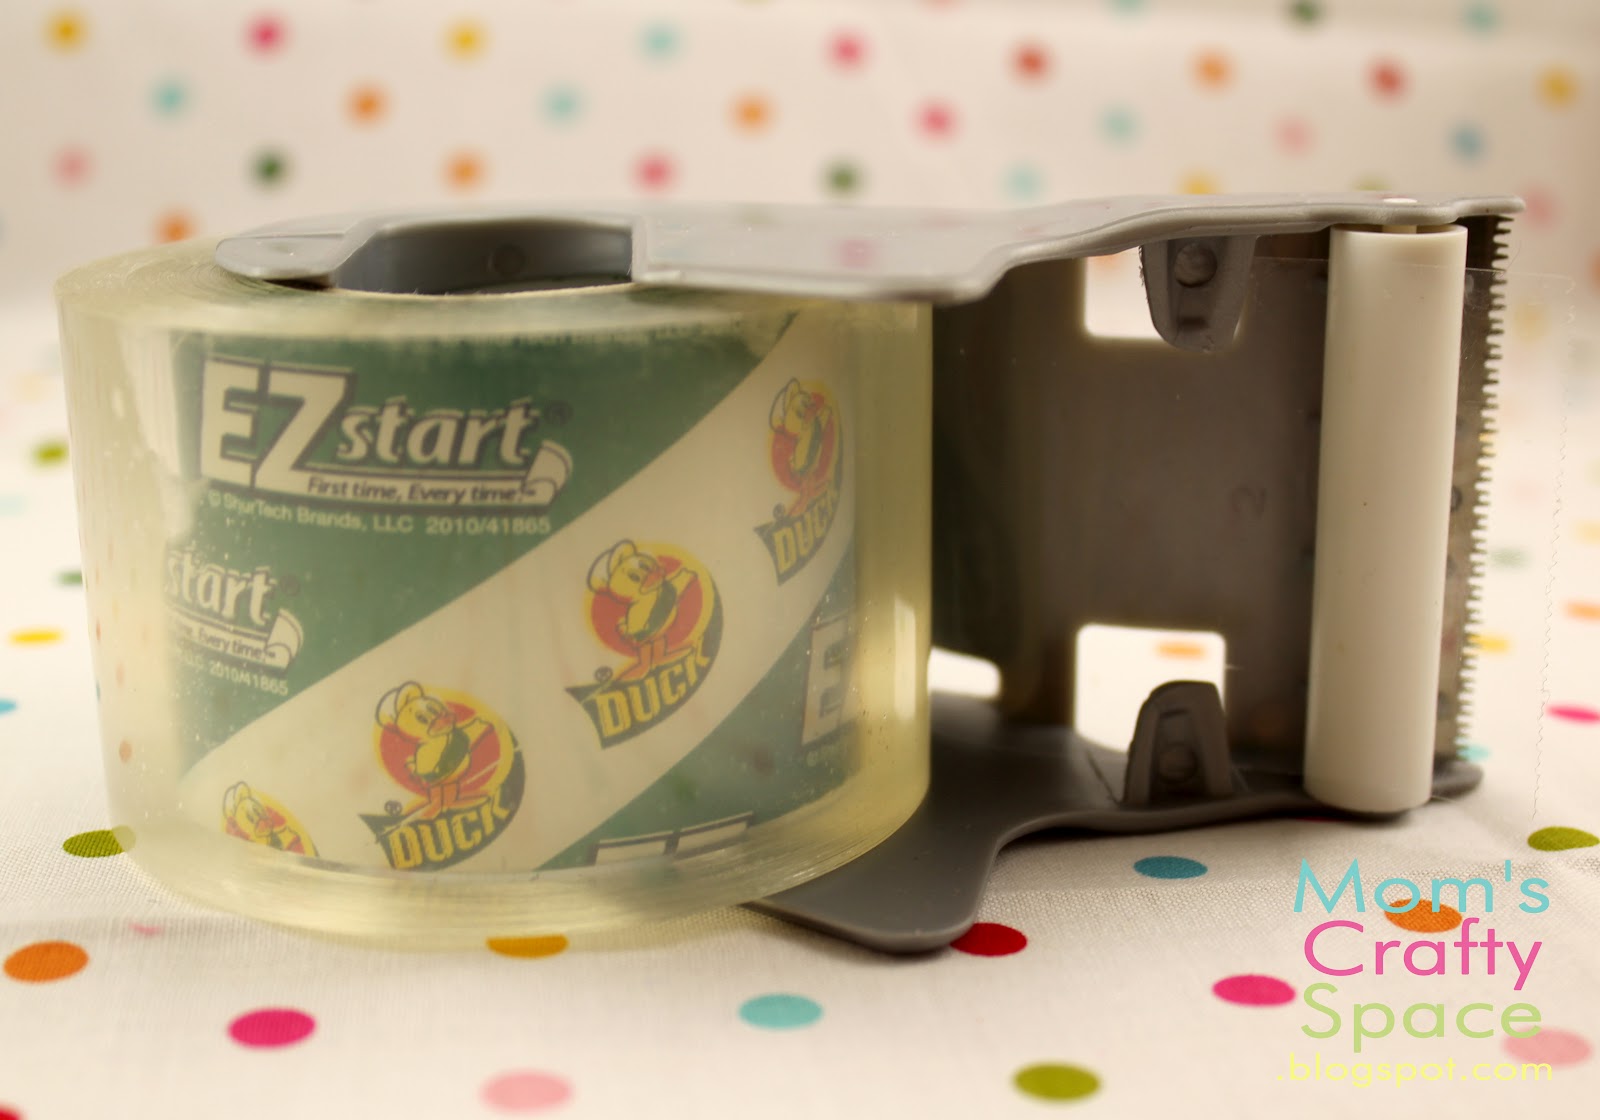
See that white roller near the cutting edge? It makes this dispenser sooo easy to use – I could even do it one-handed!
All done, quick and easy! Now go grab your camera and start snapping a gazillion shots. It’s addictive, and the endless background options make it even more fun!
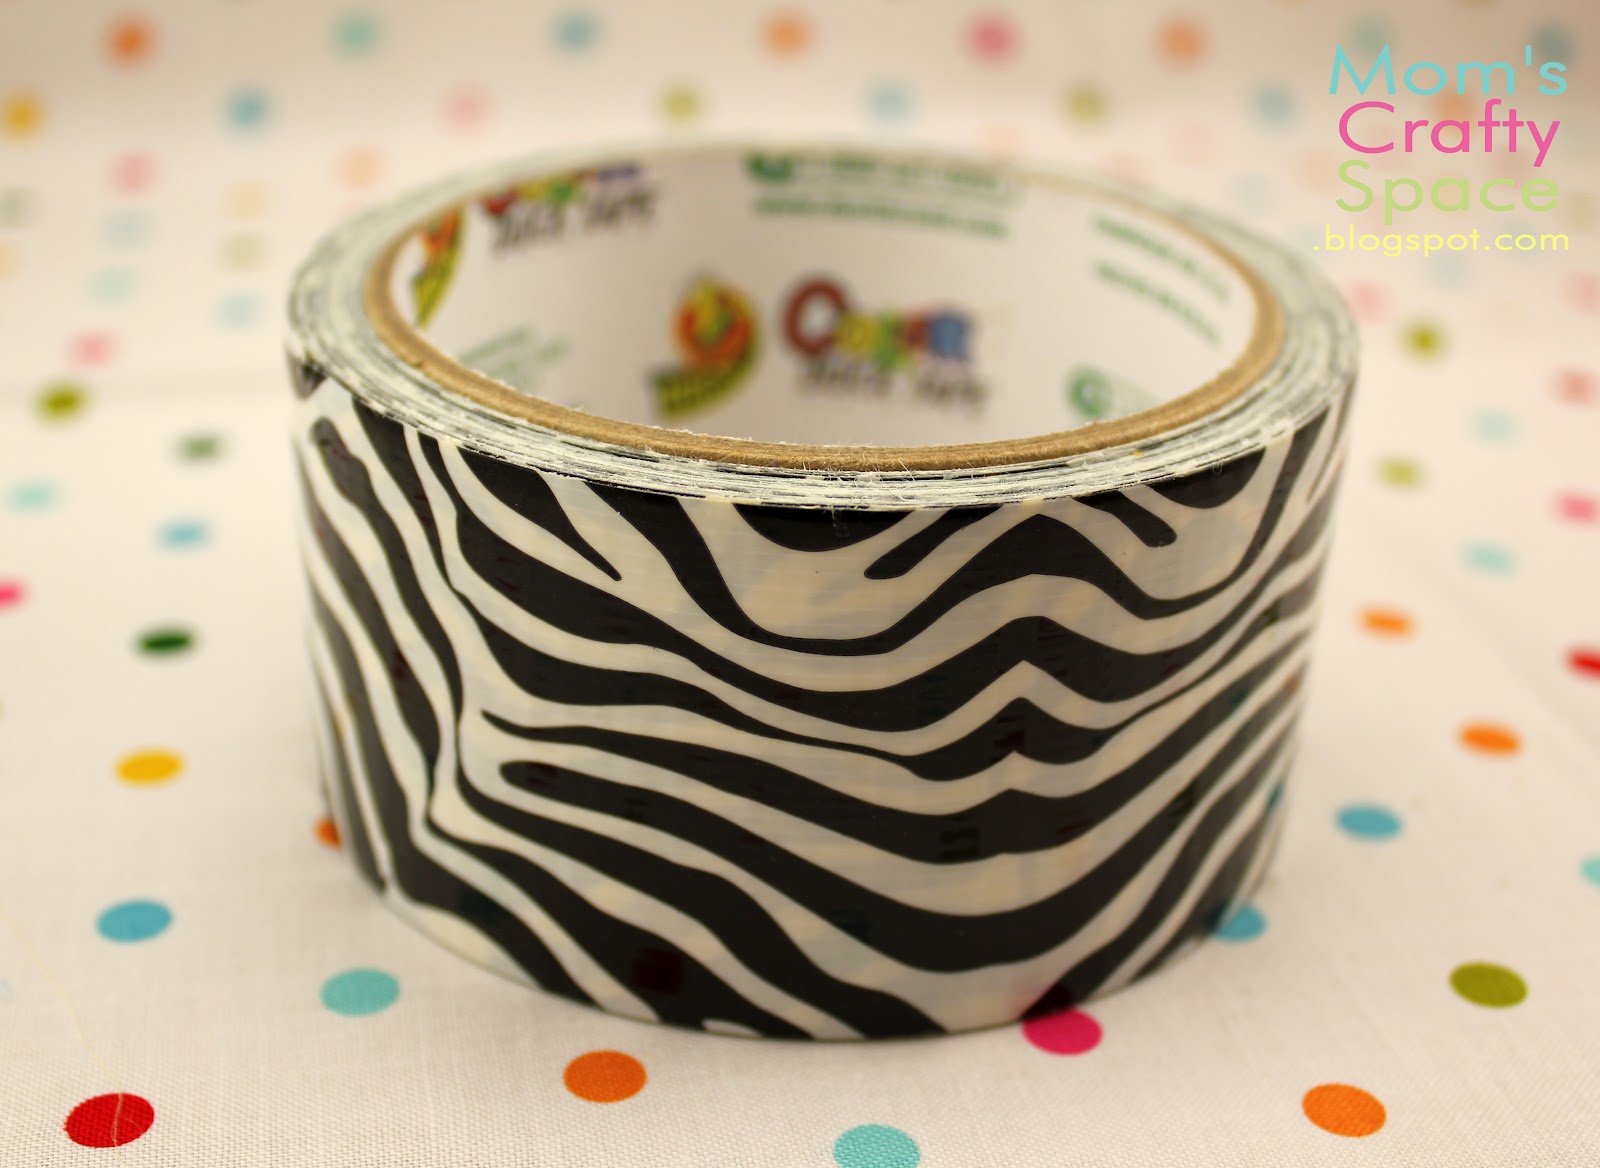
Shoplet also sent me a roll of Zebra Printed Duck Tape. This stuff is super cute, and I love that it unrolls and tears much easier than the silver duct tape. The boys and I are going to be making lanyards for our community clubhouse cards out of this, so be on the lookout for that tutorial soon!
(Disclaimer: I was provided with products from Shoplet for this review; however, all opinions expressed are 100% mine)
Heidi Kundin( Owner & Creative Director )
Heidi Kundin has captivated the hearts of millions with her colorful and inspiring approach to crafting, celebrations, and family fun. With over 15 years of experience, Happiness is Homemade has become a must-visit destination for those seeking quick and easy creative ideas and last-minute solutions. Heidi’s warm personality shines through her posts, inviting readers to join her on a creative journey that’s fun, rewarding, and achievable. Heidi is also the author of Homemade Bath Bombs & More and DIY Tie-Dye.