

Learn How to Make a Mug with Infusible Ink in the oven (no heat press needed!) + get ideas for MORE Cricut Christmas crafts!

This post may contain affiliate links. I will receive a small commission from these sales at no additional cost to you!
Since its introduction last year, Infusible Ink has become one of my favorite materials to work with. Unlike vinyl and iron-on, Infusible Ink actually bonds with the base material and fuses with it until it becomes one and the same – no cracking, fading, peeling! The results are a professionally finished product that outlasts hundreds of washings (whether that’s on clothing in the washing machine or dishes in the dishwasher!) and rivals any store-bought counterpart!
Customized Infusible Ink mugs have become one of my most favorite things to make – they’re quick, easy, and endlessly customizable for TONS of awesome personalized gift ideas! I have made about a dozen mugs with Infusible Ink this year, and I have managed to perfect my technique through a little bit of trial and error, and I’m passing all of that info along to you today!
If this is your first time using Infusible Ink, I highly recommend reading our our Beginner’s Guide to Infusible Ink first for all of the helpful tips and tricks plus some basic information about the sublimation process!
Be sure to scroll all the way to the bottom of this post to check out even MORE Christmas gift ideas that you can make with your favorite Cricut machine!
How to Make an Infusible Ink Mug
This Infusible Ink mug will stand up to countless trips through the dishwasher!
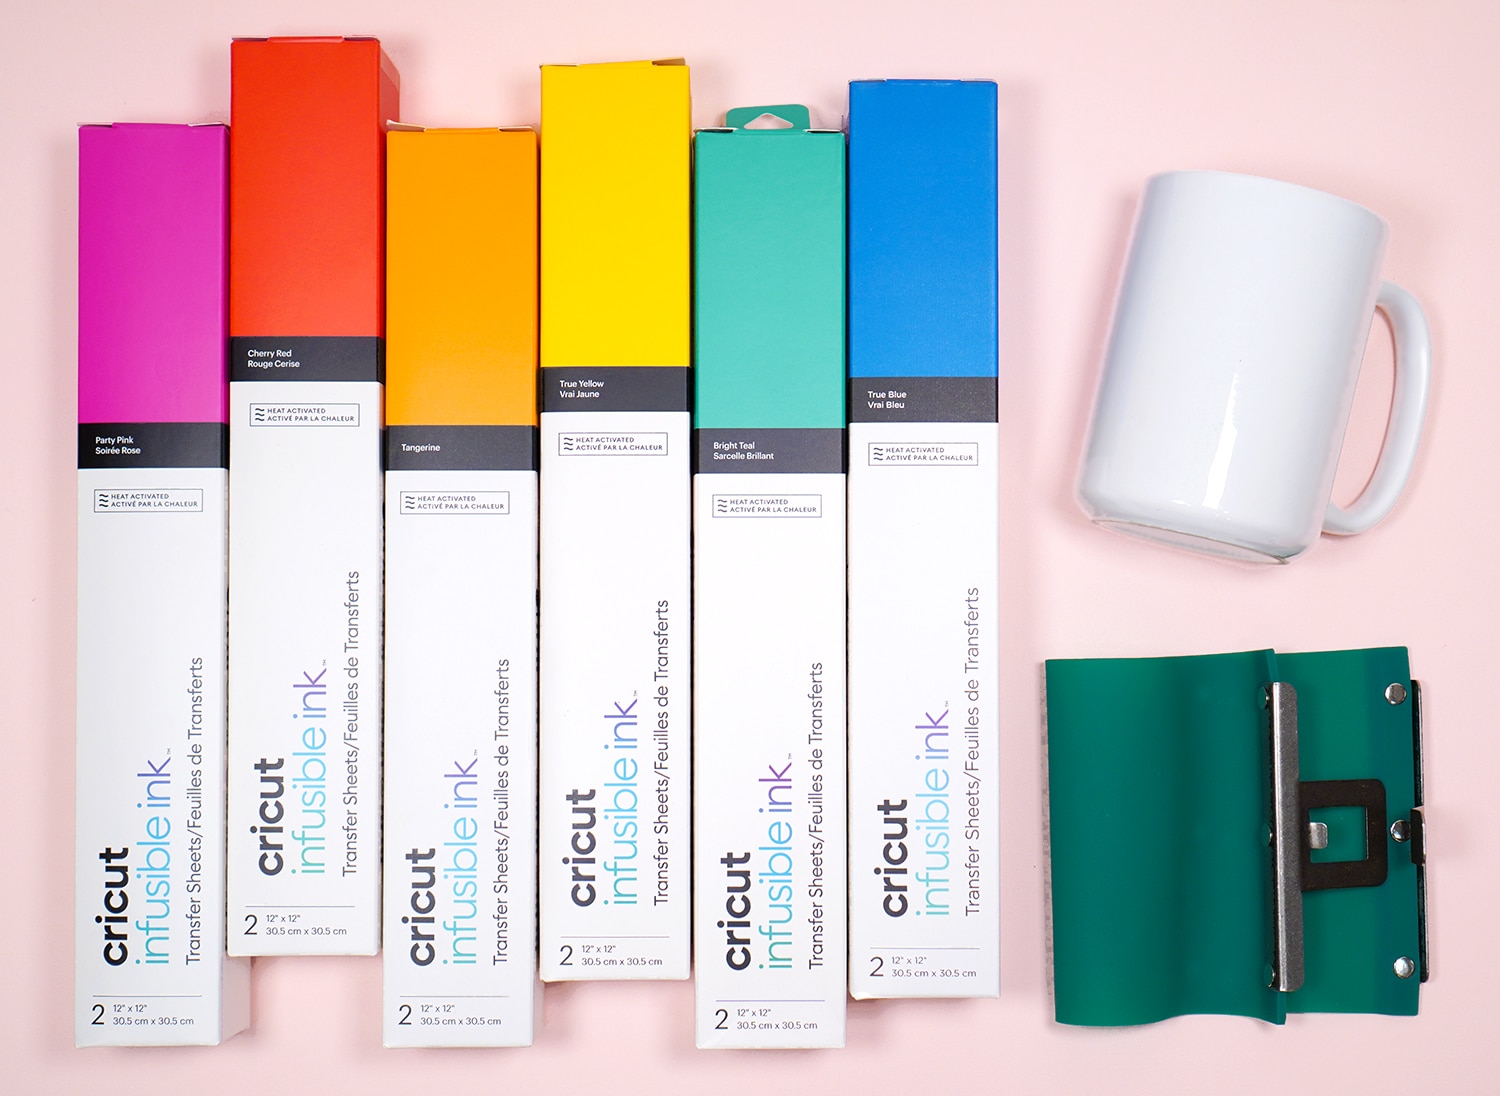
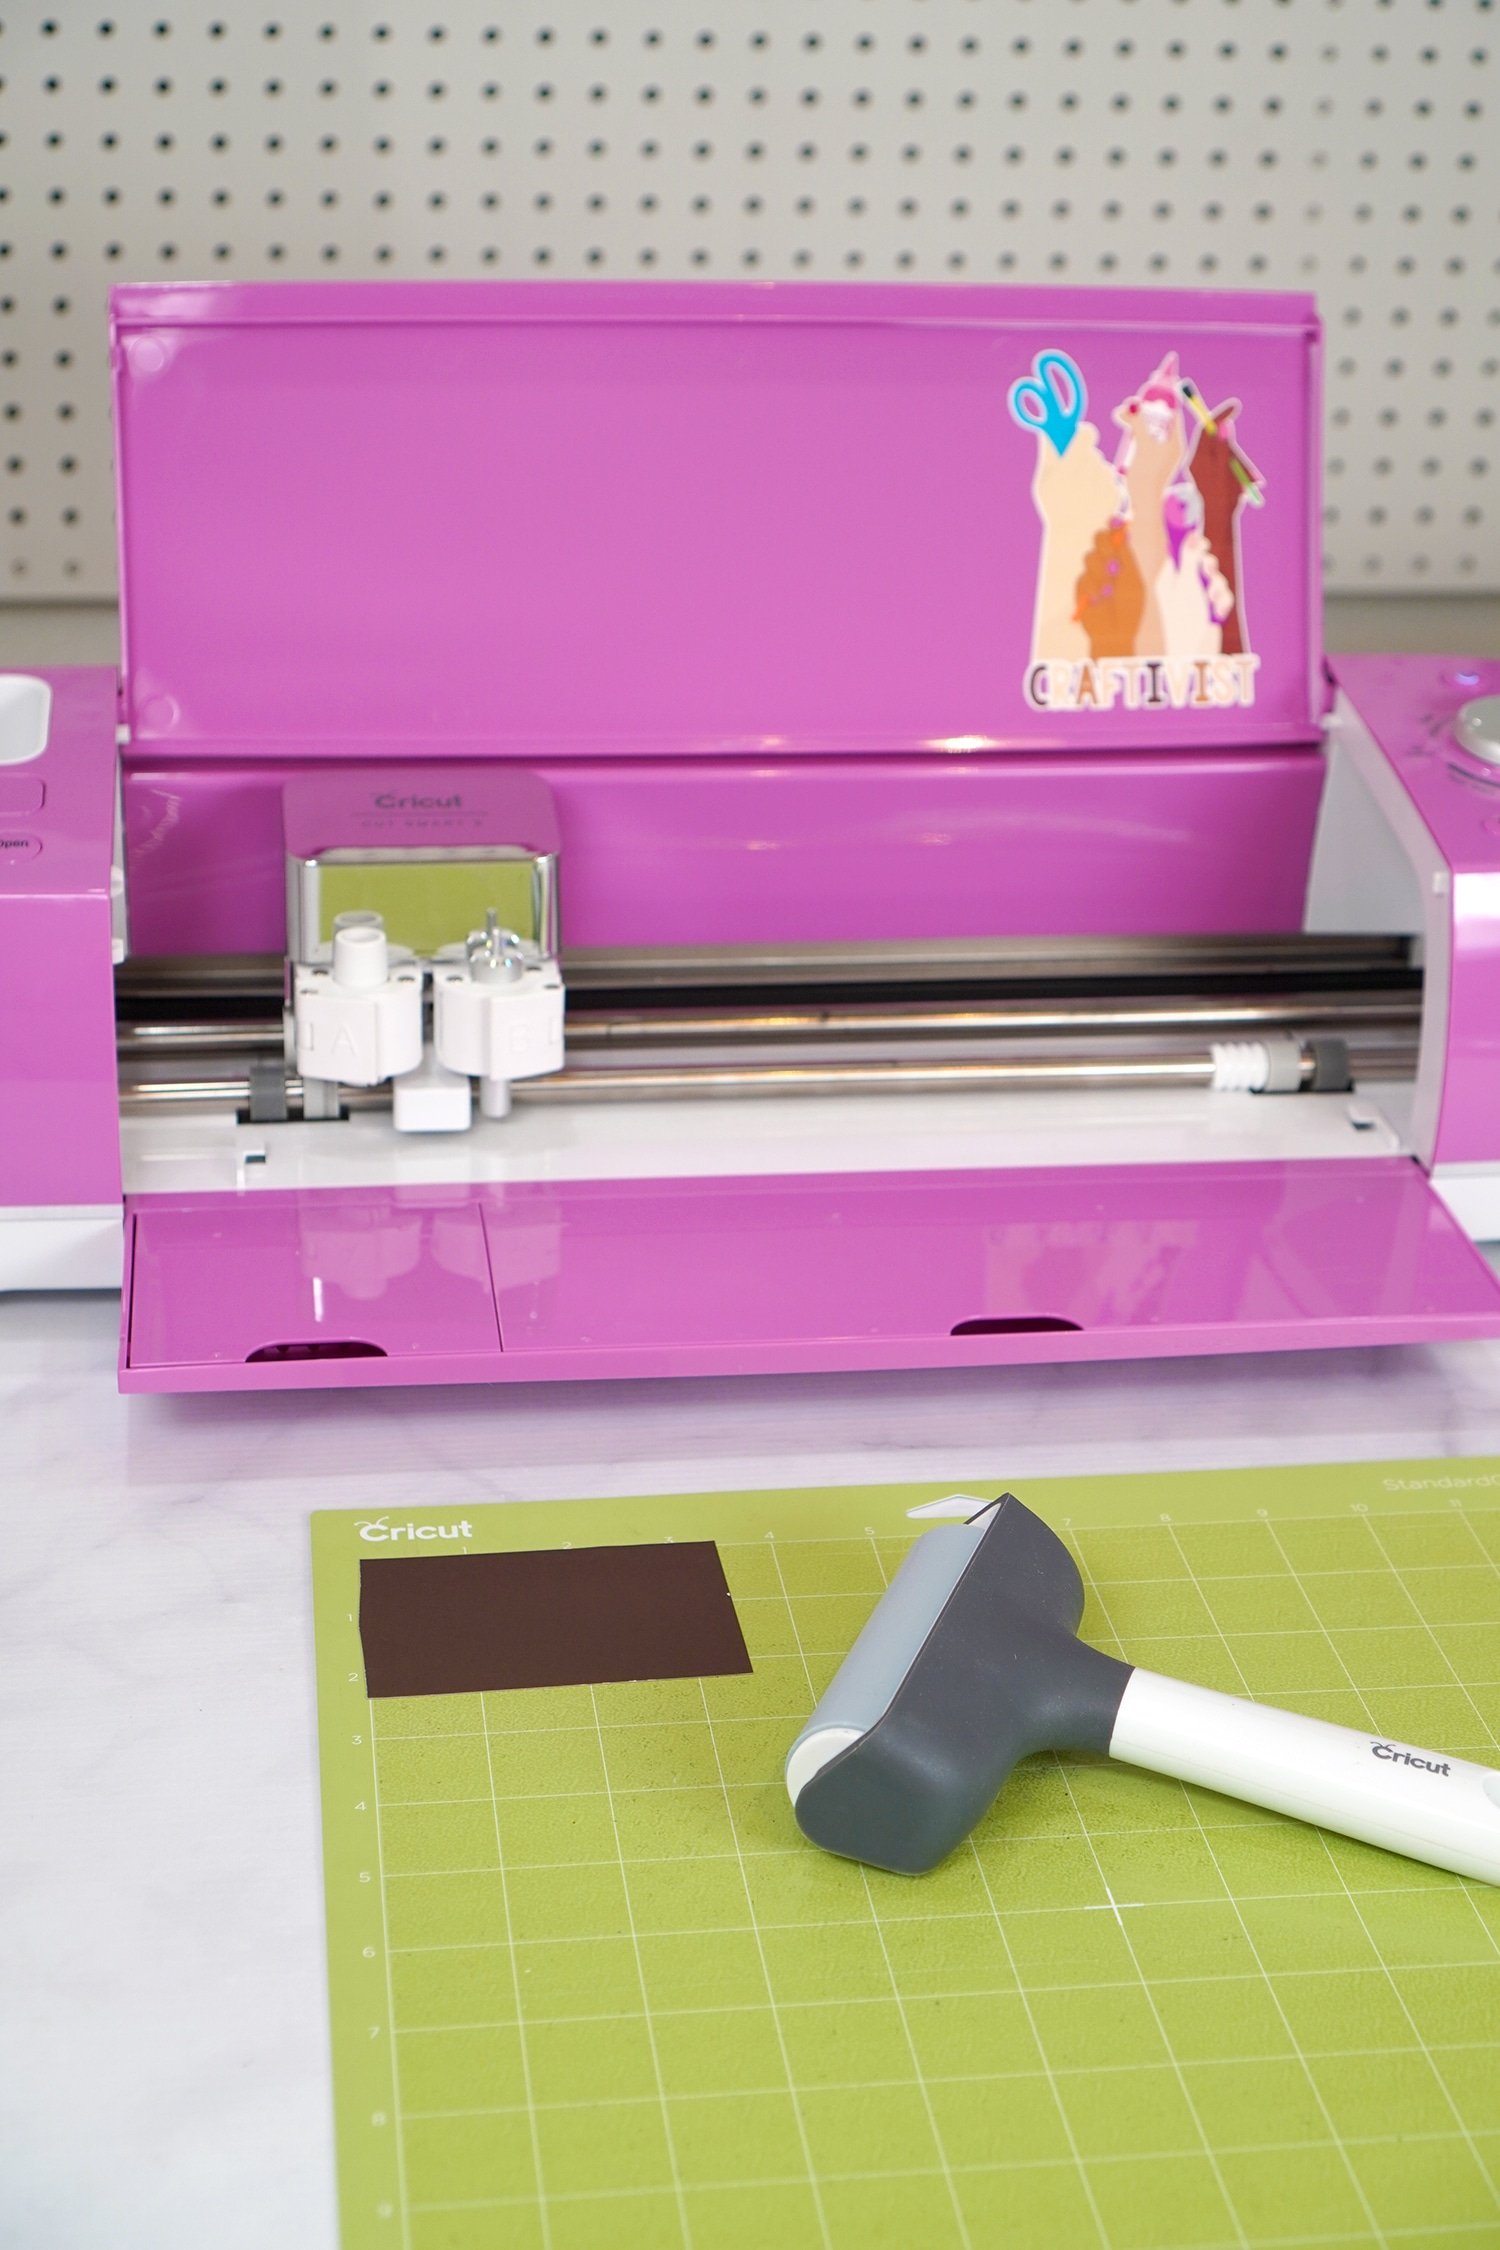
Supplies Needed to Make an Infusible Ink Mug:
- White Sublimation Mug (we used a 15 oz. mug)
- Infusible Ink Transfer Sheets (small leftover scraps are perfect for this project!)
- Your Favorite Cricut Machine – you can use the Cricut Maker, Explore Air 2, or Cricut Joy for this project!
- Heat-Resistant Tape
- Silicone Mug Wrap (optional, but helpful!)
- Oven or Toaster Oven
- Oven Bag (optional, see note below)
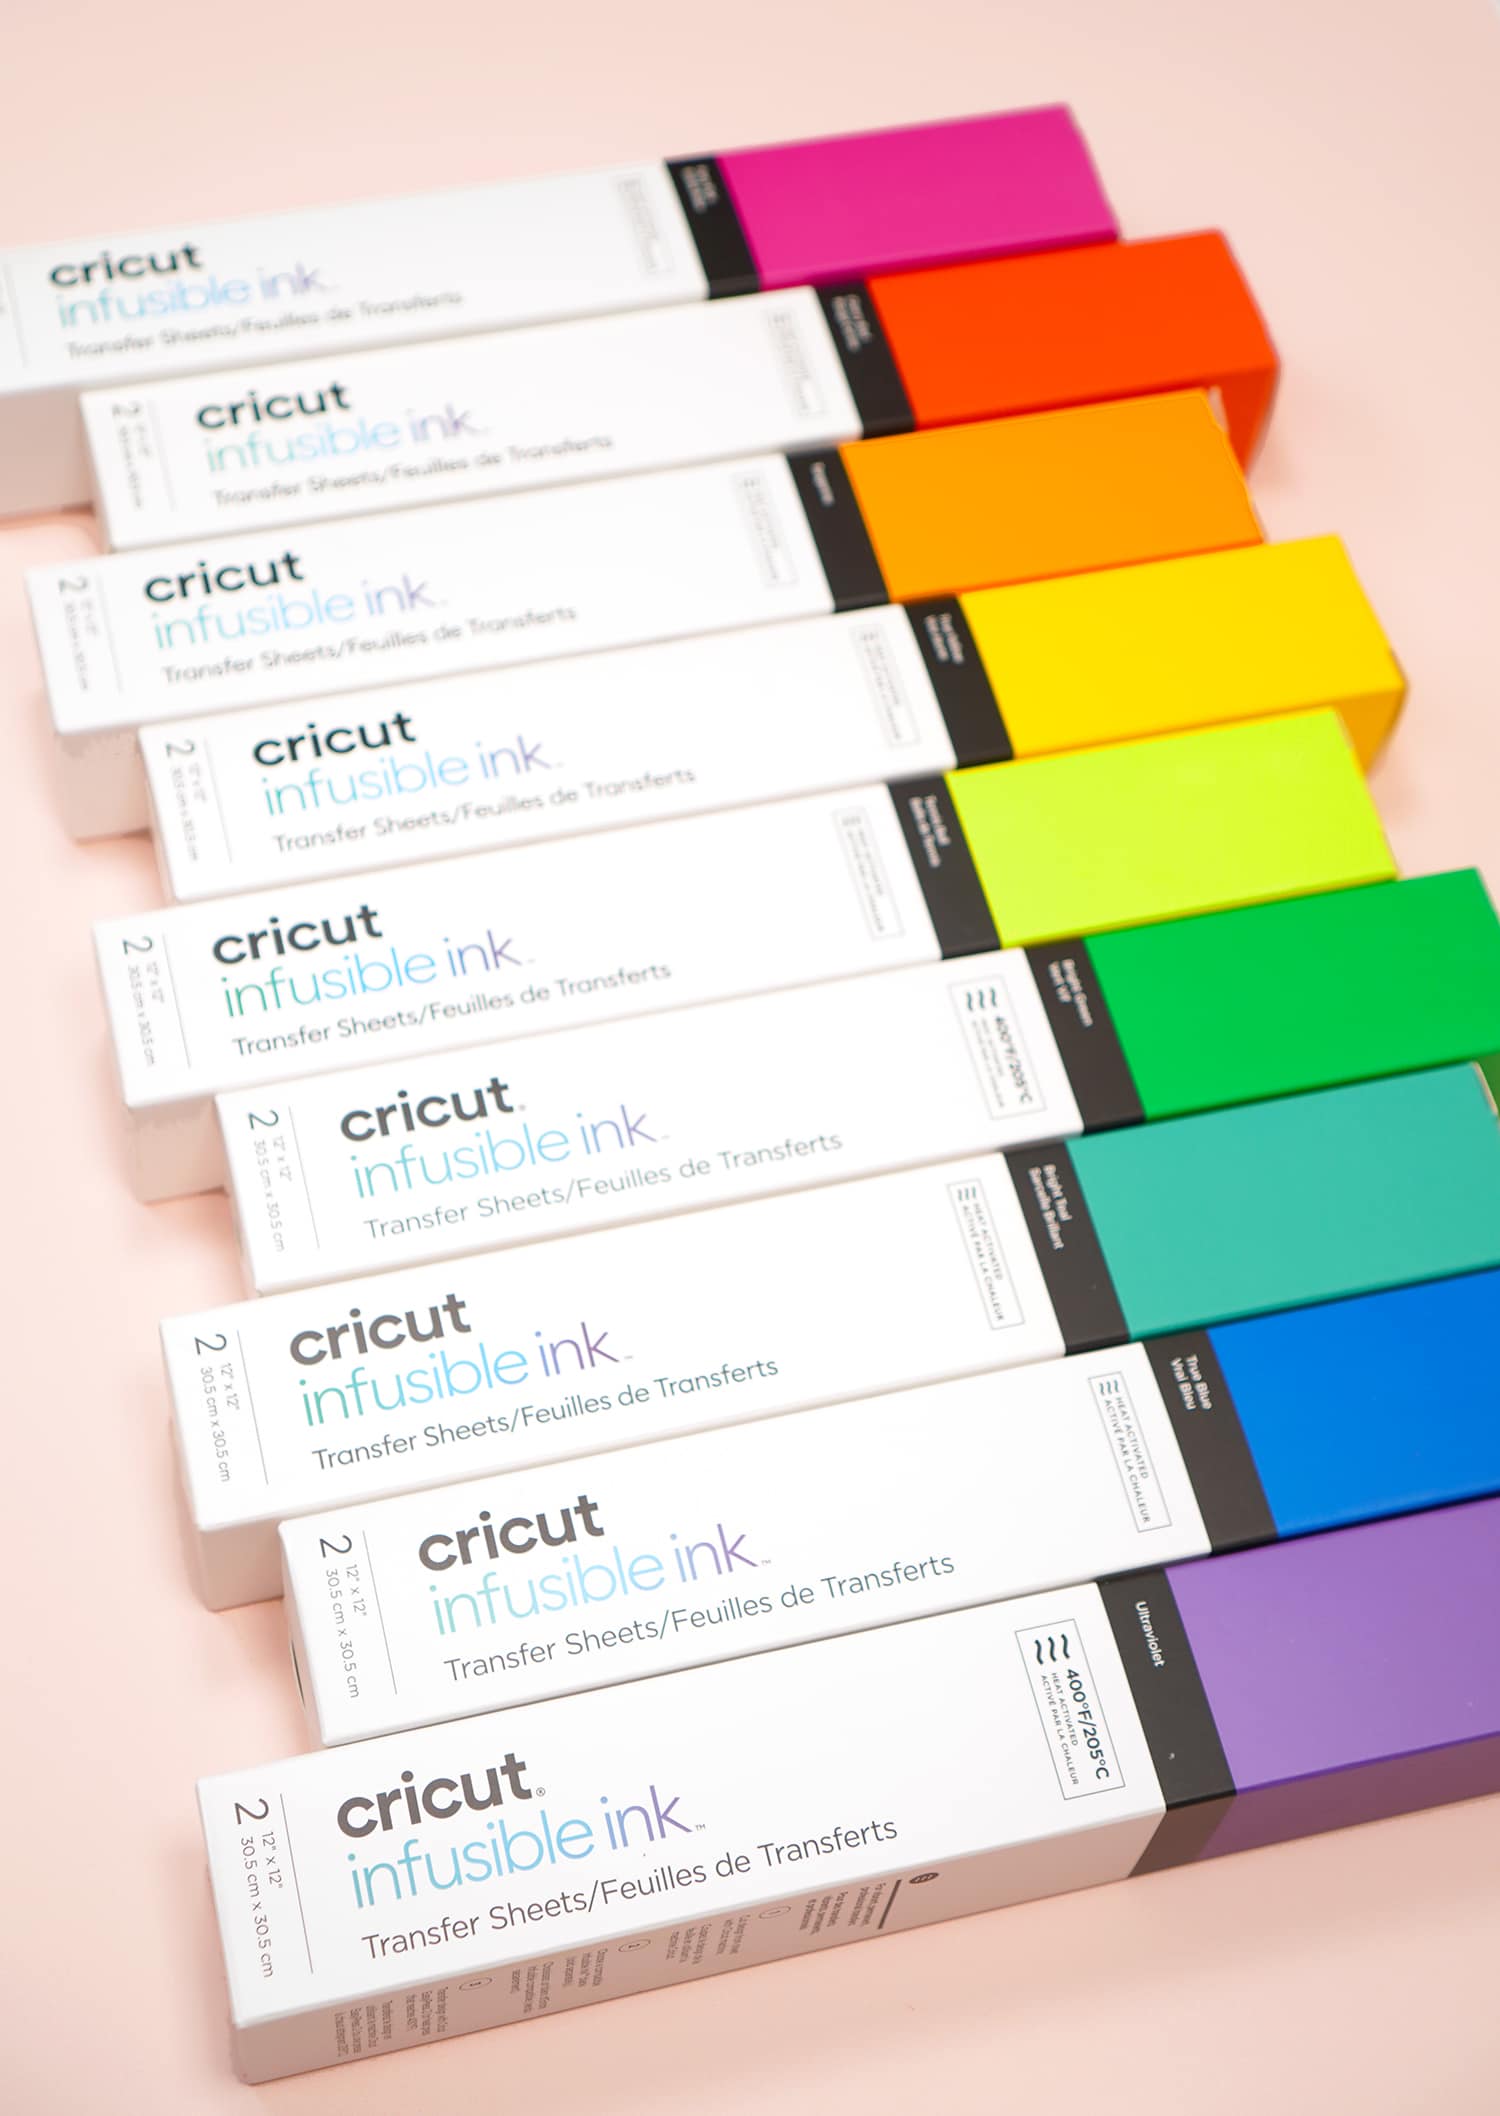
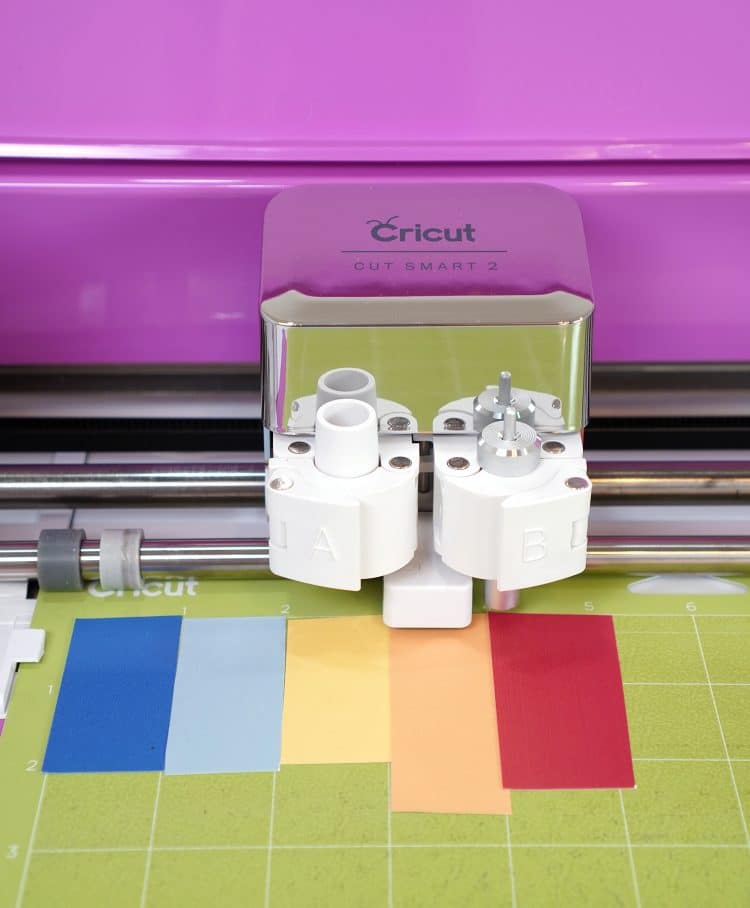
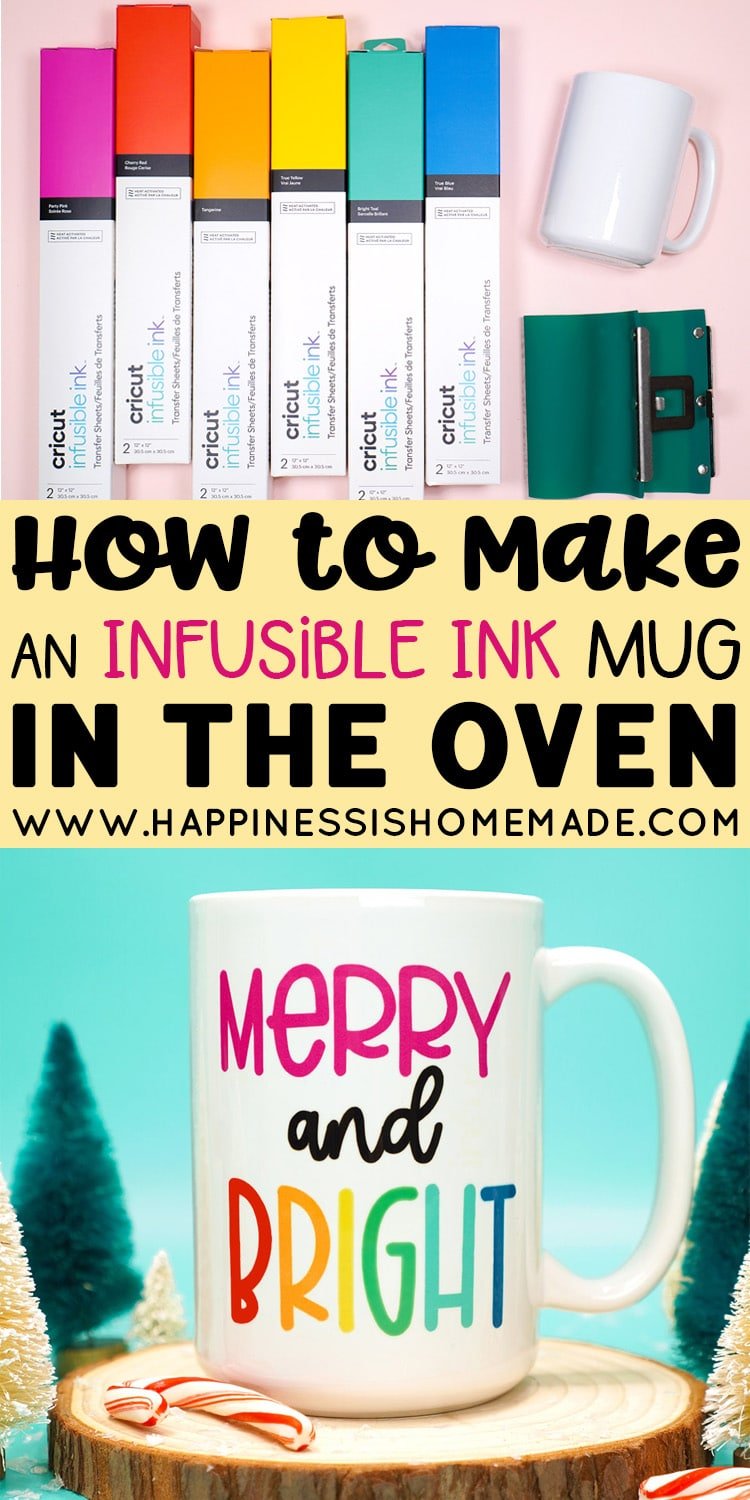
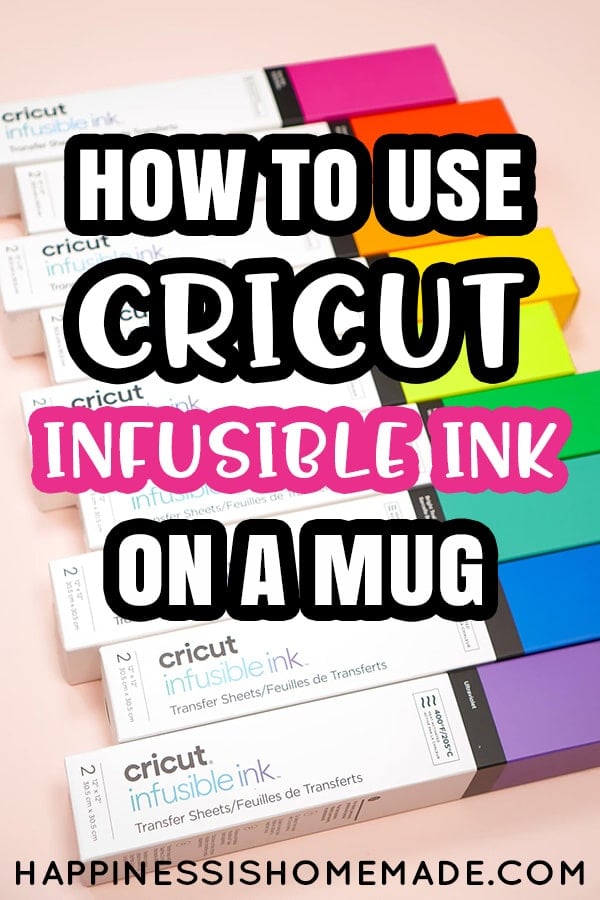
Cricut Infusible Ink Transfer Sheets are available in a wide variety of rainbow colors and patterns. For our mug, we used solid Infusible Ink sheets in Party Pink, Cherry Red, Tangerine, True Yellow, Bright Teal, and True Blue.
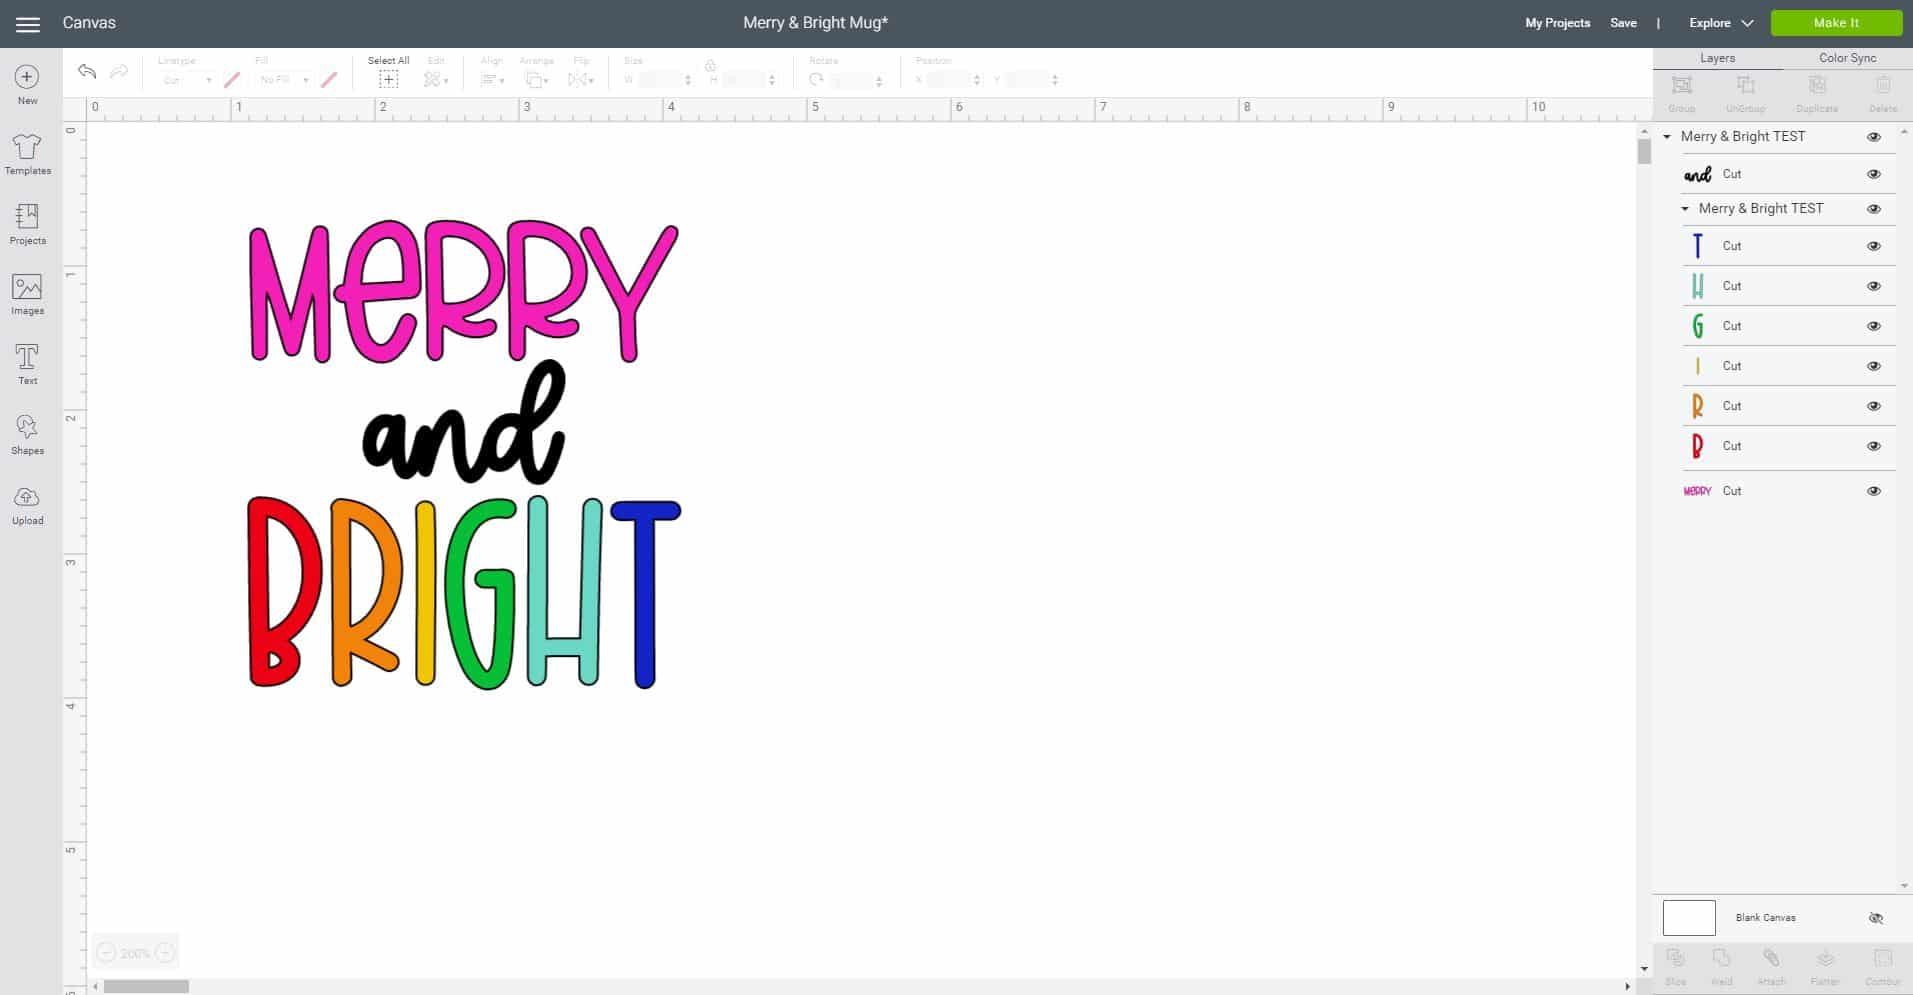
To make the Merry and Bright Infusible Ink mug, we are going to use a modified version of the Slice and Set method so that we can transfer and infuse multiple colors at the same time. If you’re not familiar with the method, no worries, we’ll walk you through the process (and it’s easier than it sounds!)!
To begin, open up the Cricut Design Space software and upload the Merry and Bright SVG file (available below) to a new canvas. If you need help, click here to learn How to Upload an SVG File in Cricut Design Space! Size the design to fit your mug – ours was approximately 3″ wide x 3.25″ tall.
If you wanted to, you could click “Make It” on this design as-is right now; however, cutting it like this will require you to cut EIGHT different colored mats and load/unload your Cricut machine a whole bunch of times. I’m going to show you a handy hack for cutting multiple colors on your mat all in one pass!
For the sake of the demonstration, I’m going to cut the multicolored word “BRIGHT” on one single mat, but you could take things a step further and apply the same technique to the entire design if desired.
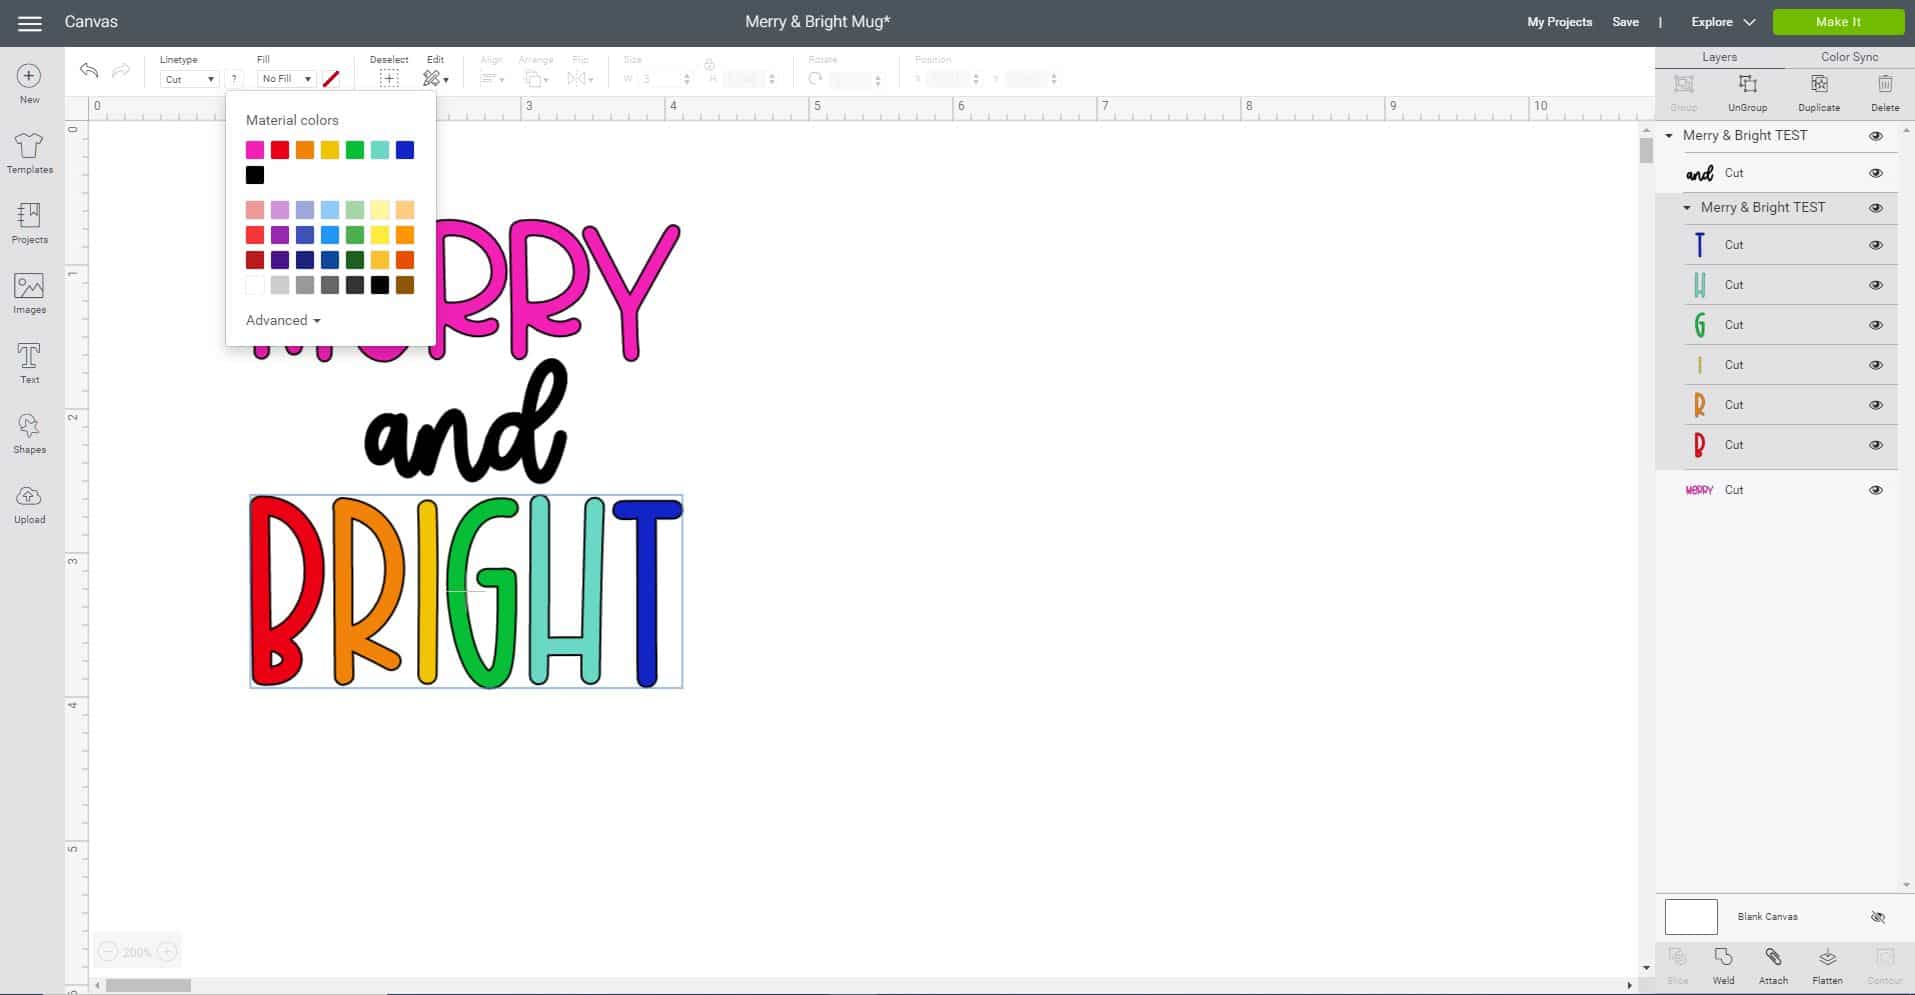
In Cricut Design Space, select all of the layers for B-R-I-G-H-T and change them to a single color from the drop-down menu in the top menu bar.
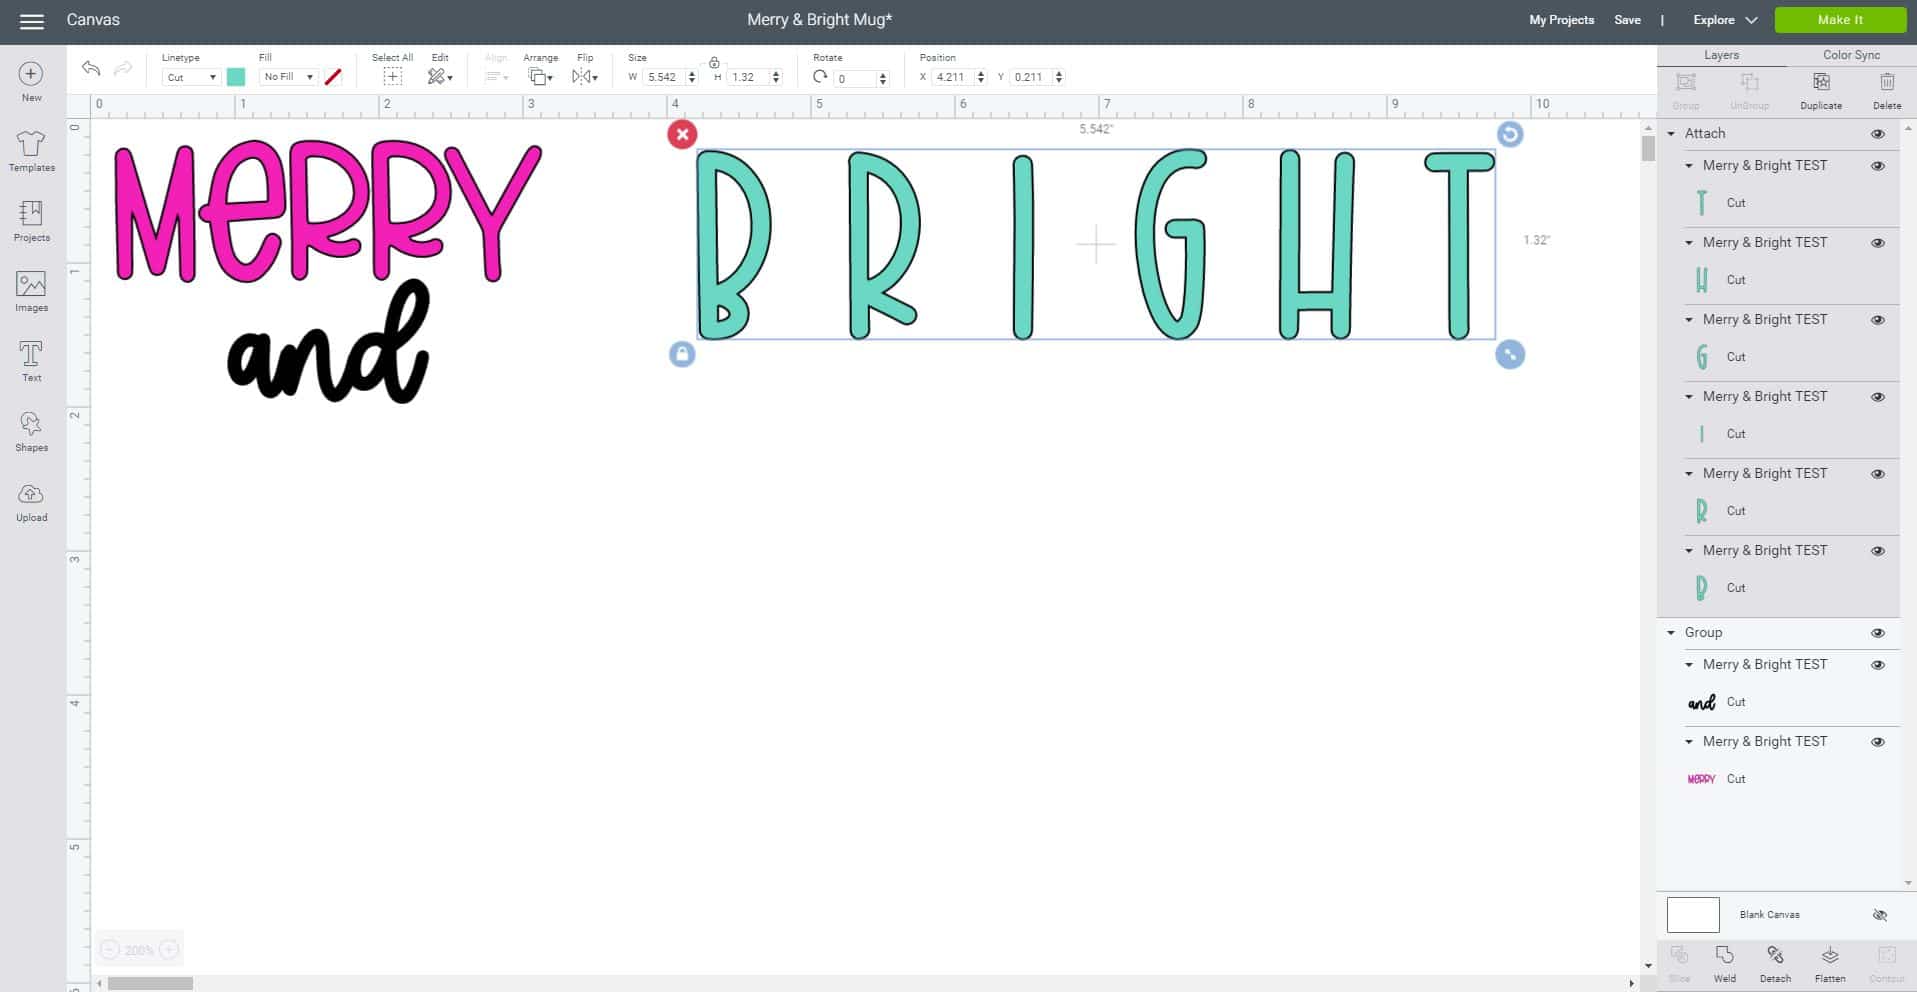
Next, use the ruler on the top of the screen to position the letters approximately 1″ apart. This will be helpful and make things easier when it comes to positioning all of your different colors of Infusible Ink on the mat.
Select all of the BRIGHT layers, and click “Attach” in the bottom right hand corner. Click the green “Make It” button in the upper right corner.

On the next screen, toggle the green “on” switch to mirror each of the different mats.
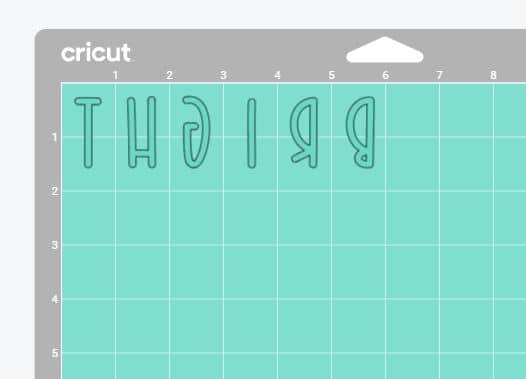
On the BRIGHT mat, check the positioning of the letters – here, each letter is centered within a 1″ w x 2″ h rectangle, so we will use 1″ x 2″ pieces of Infusible Ink in each color.
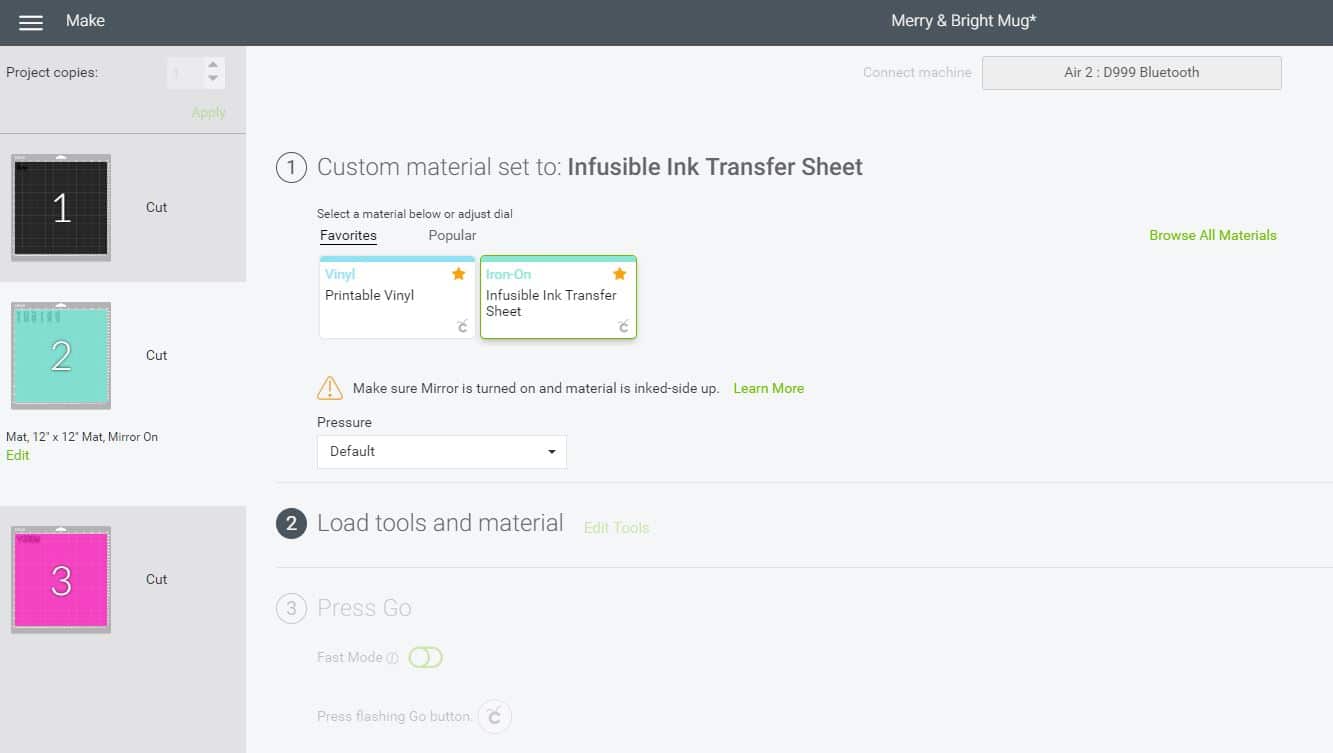
Select “Infusible Ink Transfer Sheet” from the materials list.
Place a small piece of black Infusible Ink on the cutting mat, and load the mat into the machine (I used my Cricut Explore Air 2).
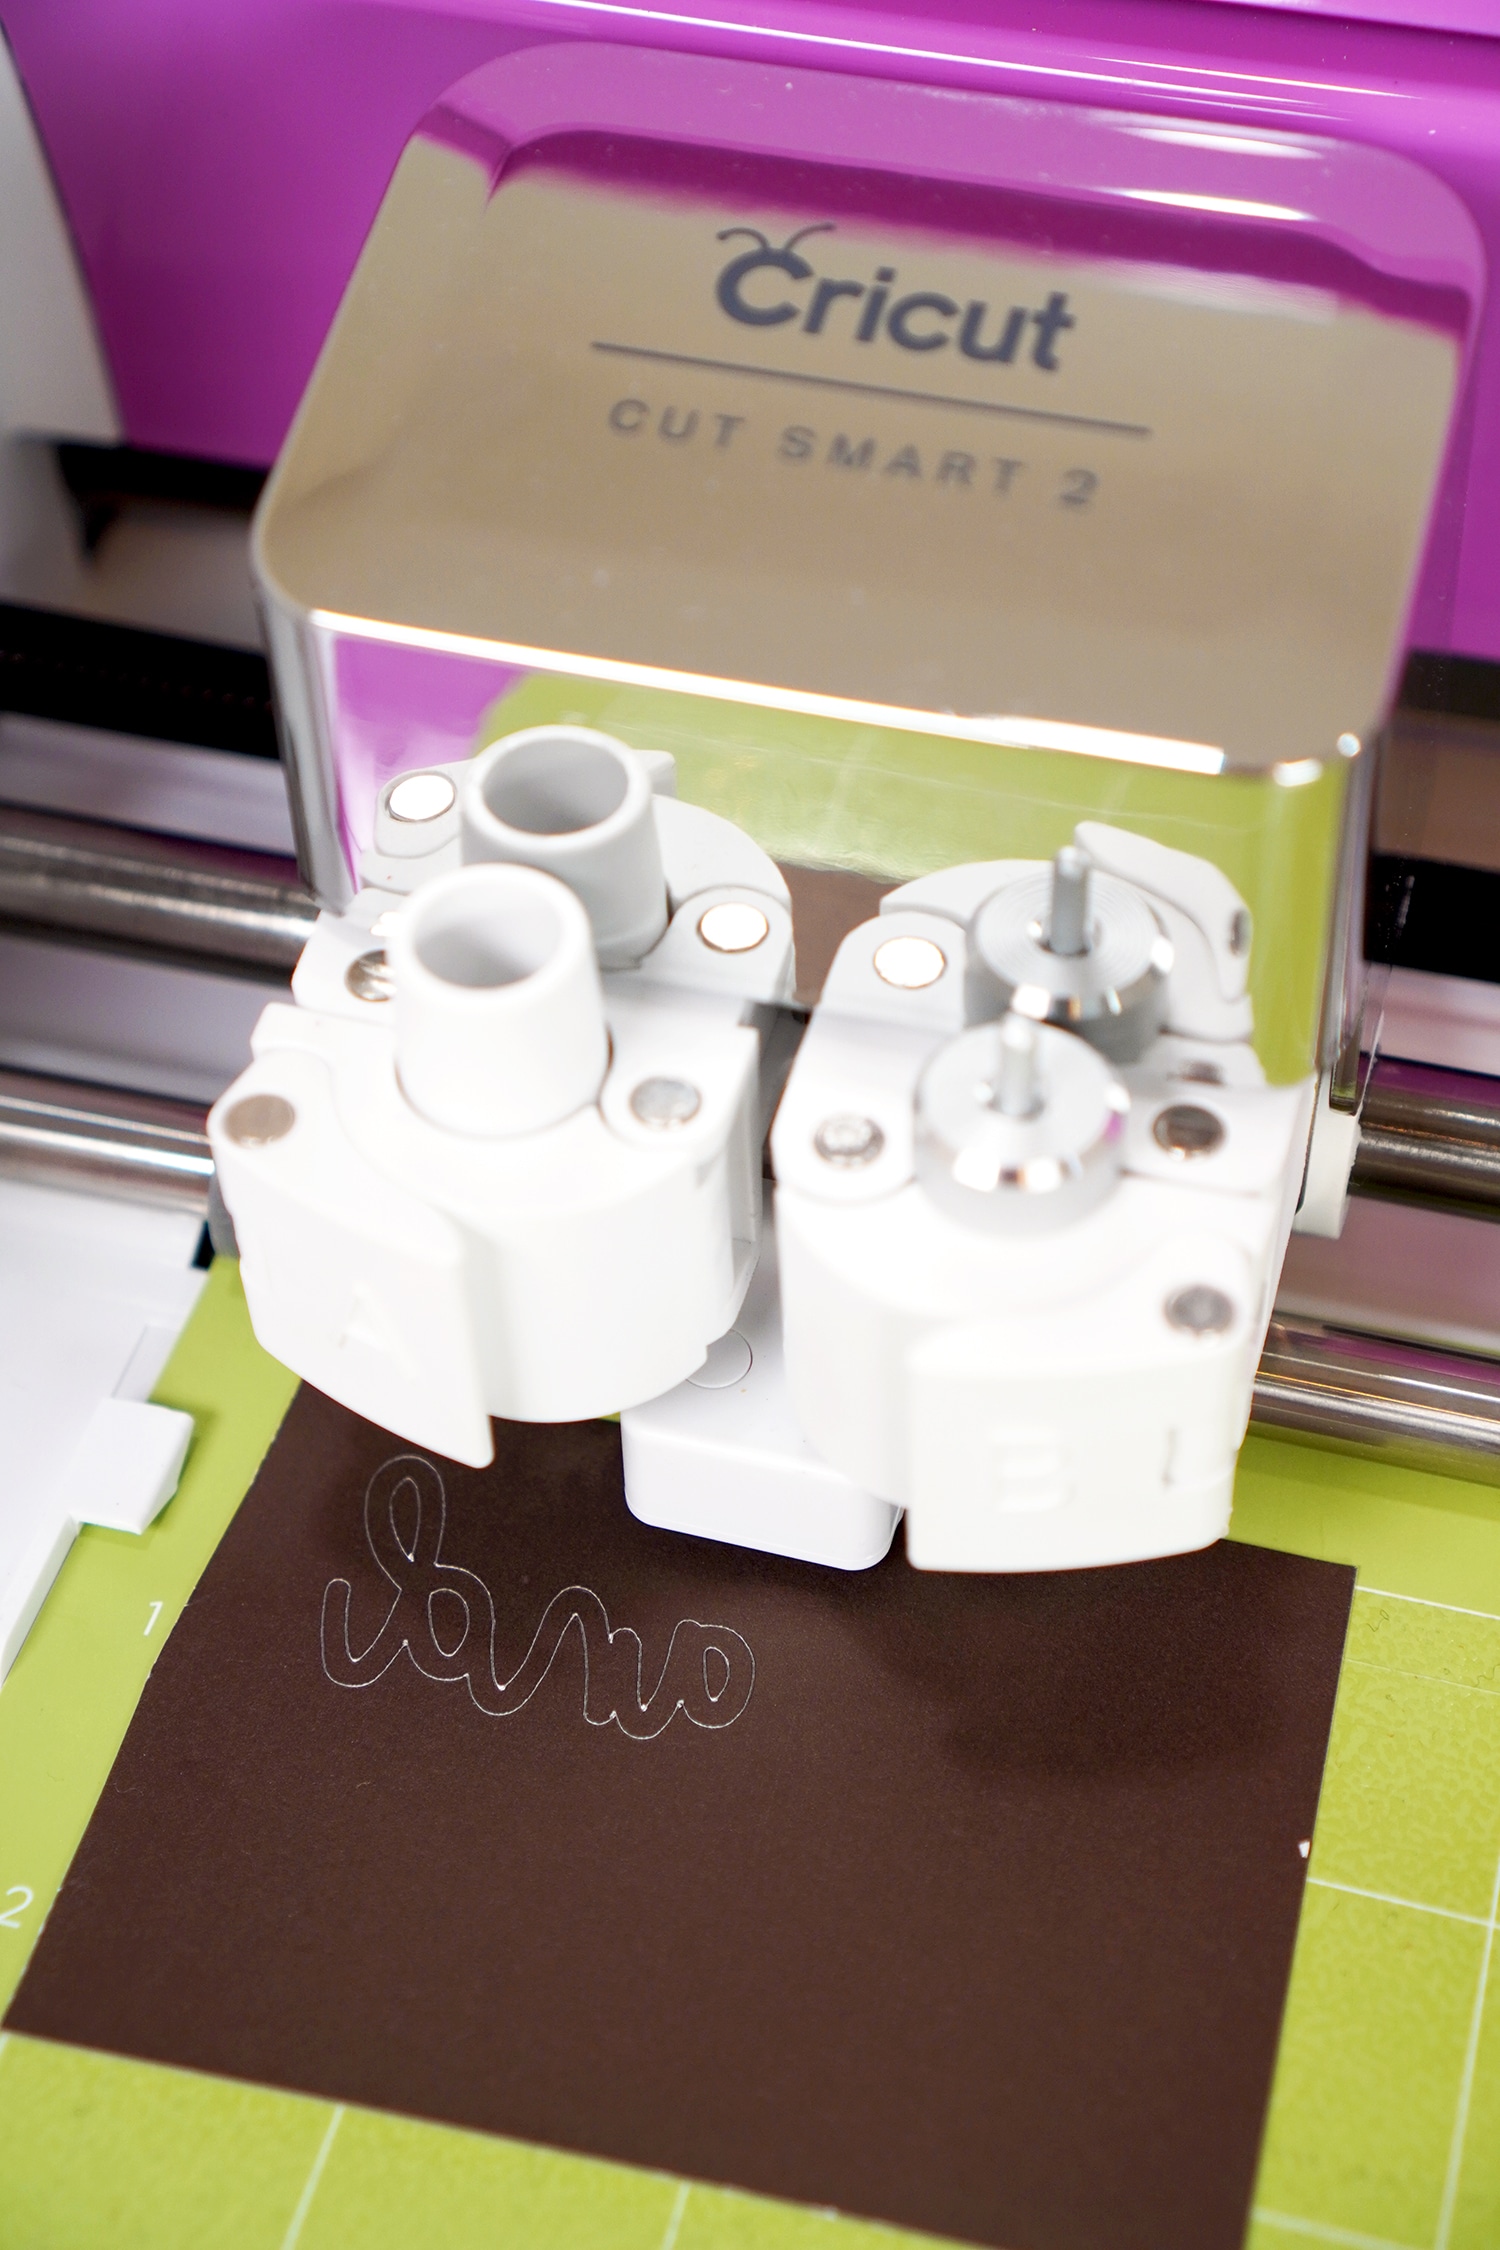
Cut the black layer and set aside.
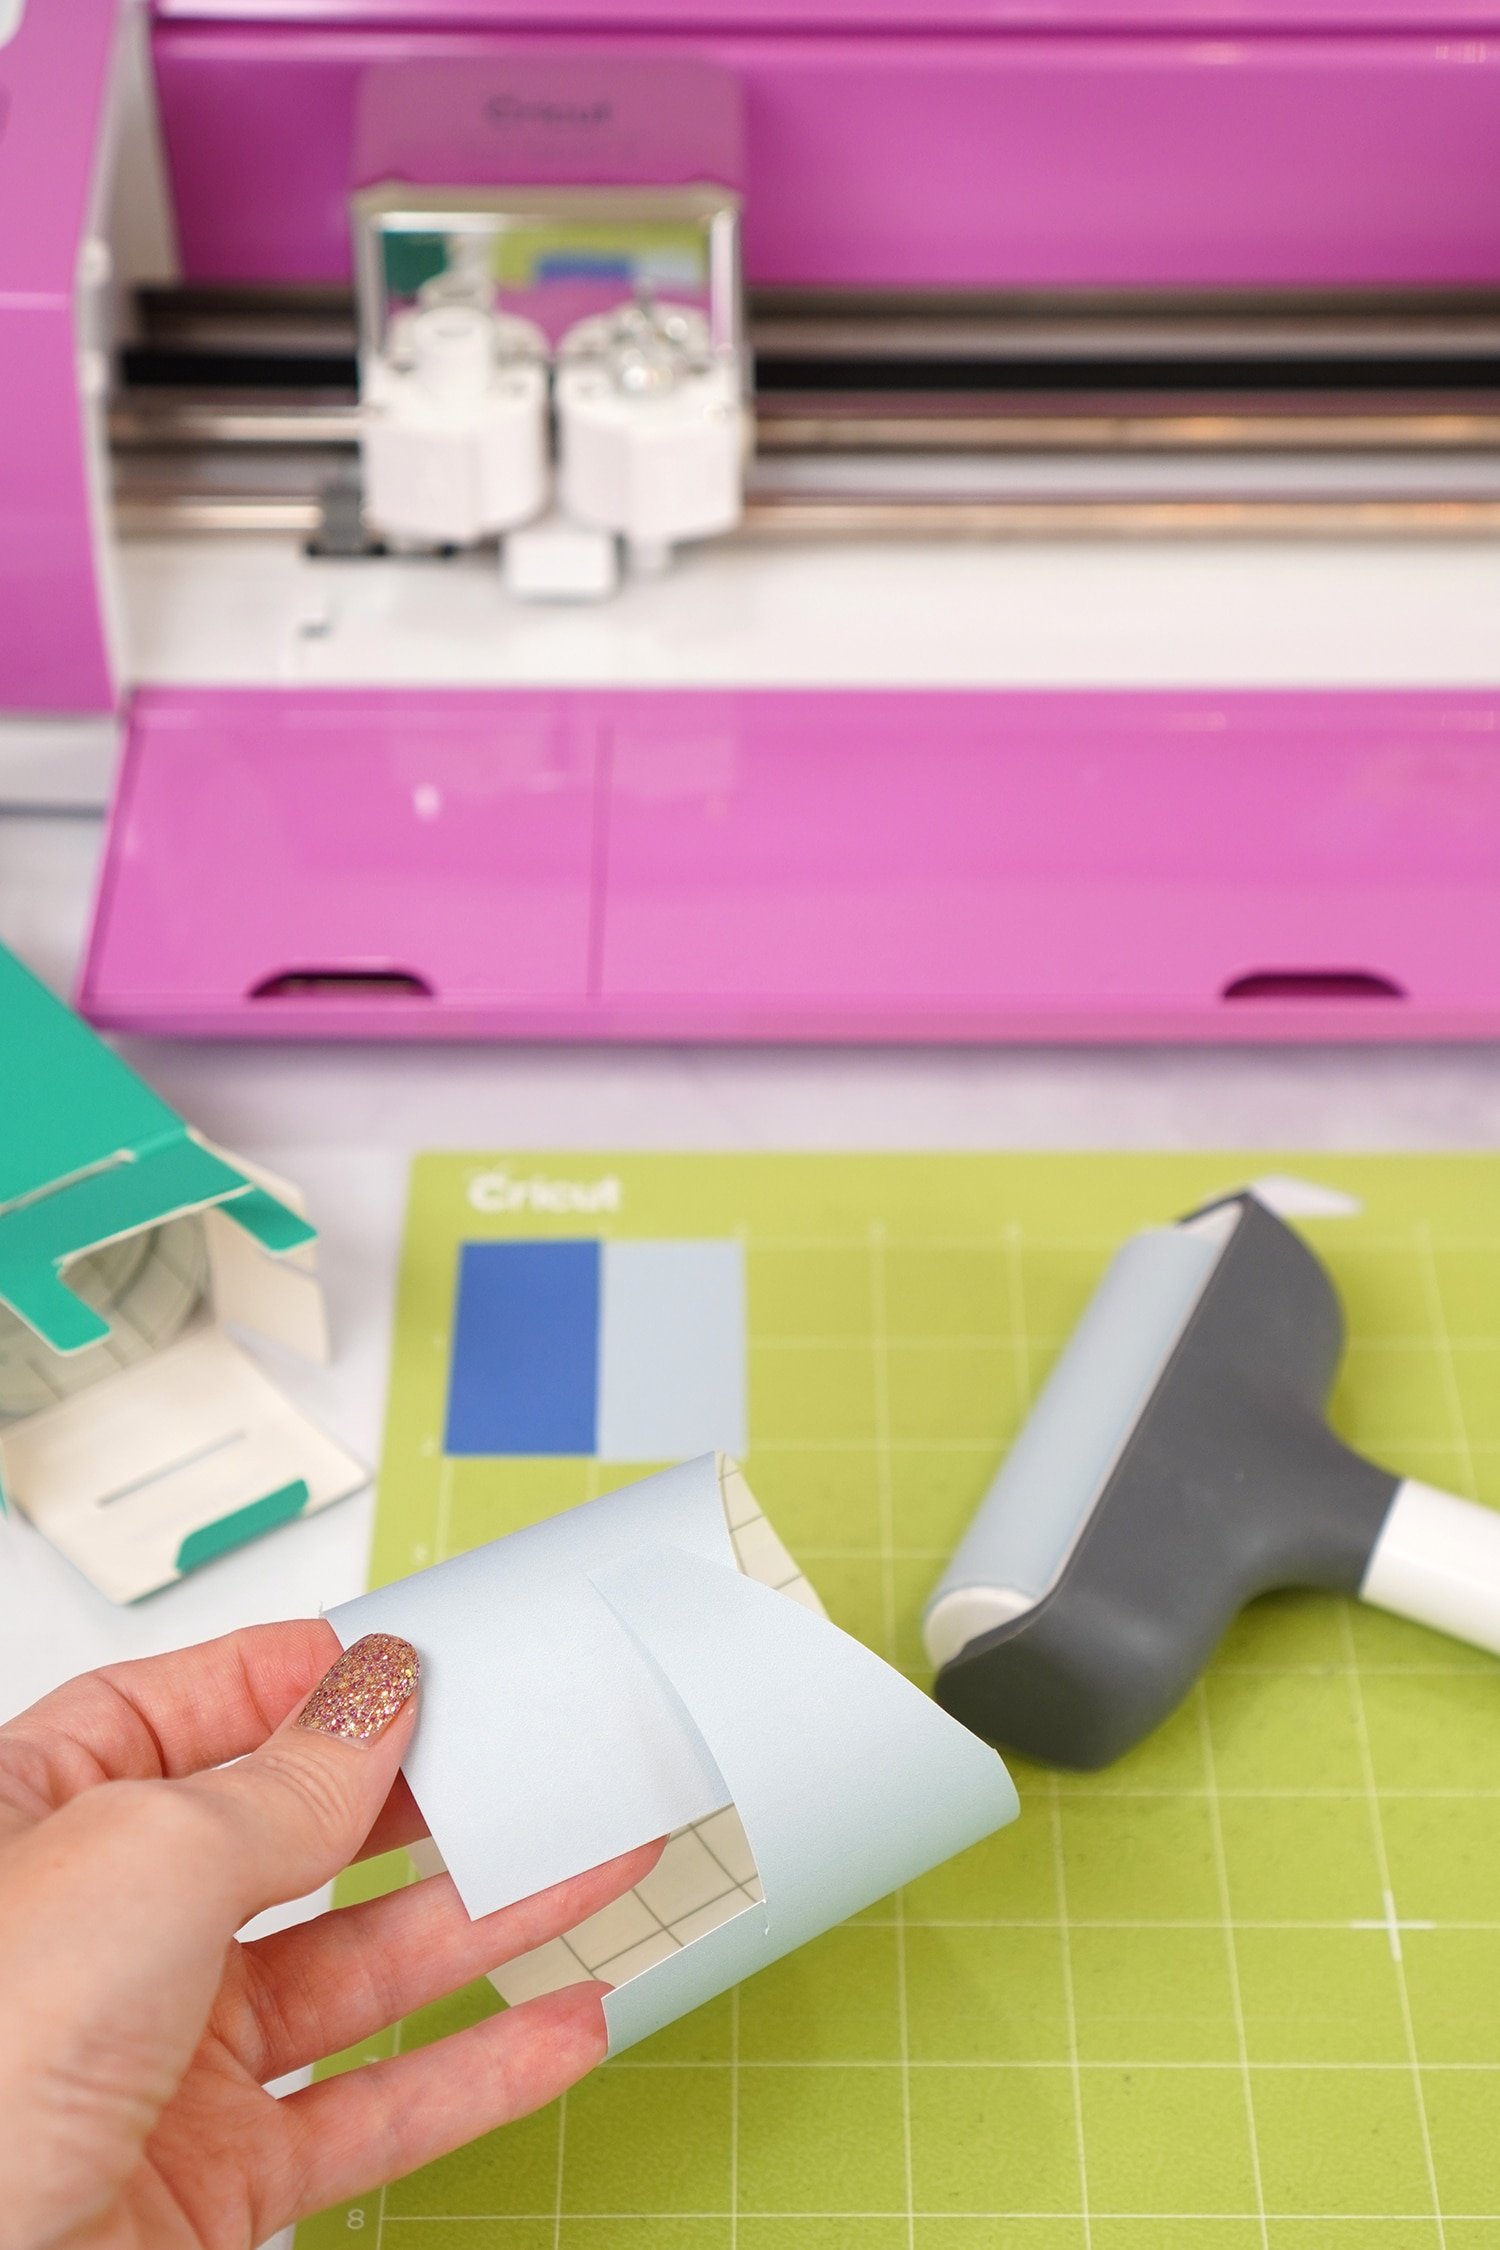
For the multicolored BRIGHT layer, I cut 1″ x 2″ pieces from Infusible Ink scraps that I had left over from previous projects. Sometimes it pays to hoard all of those little scrap pieces for projects like this one! 😉
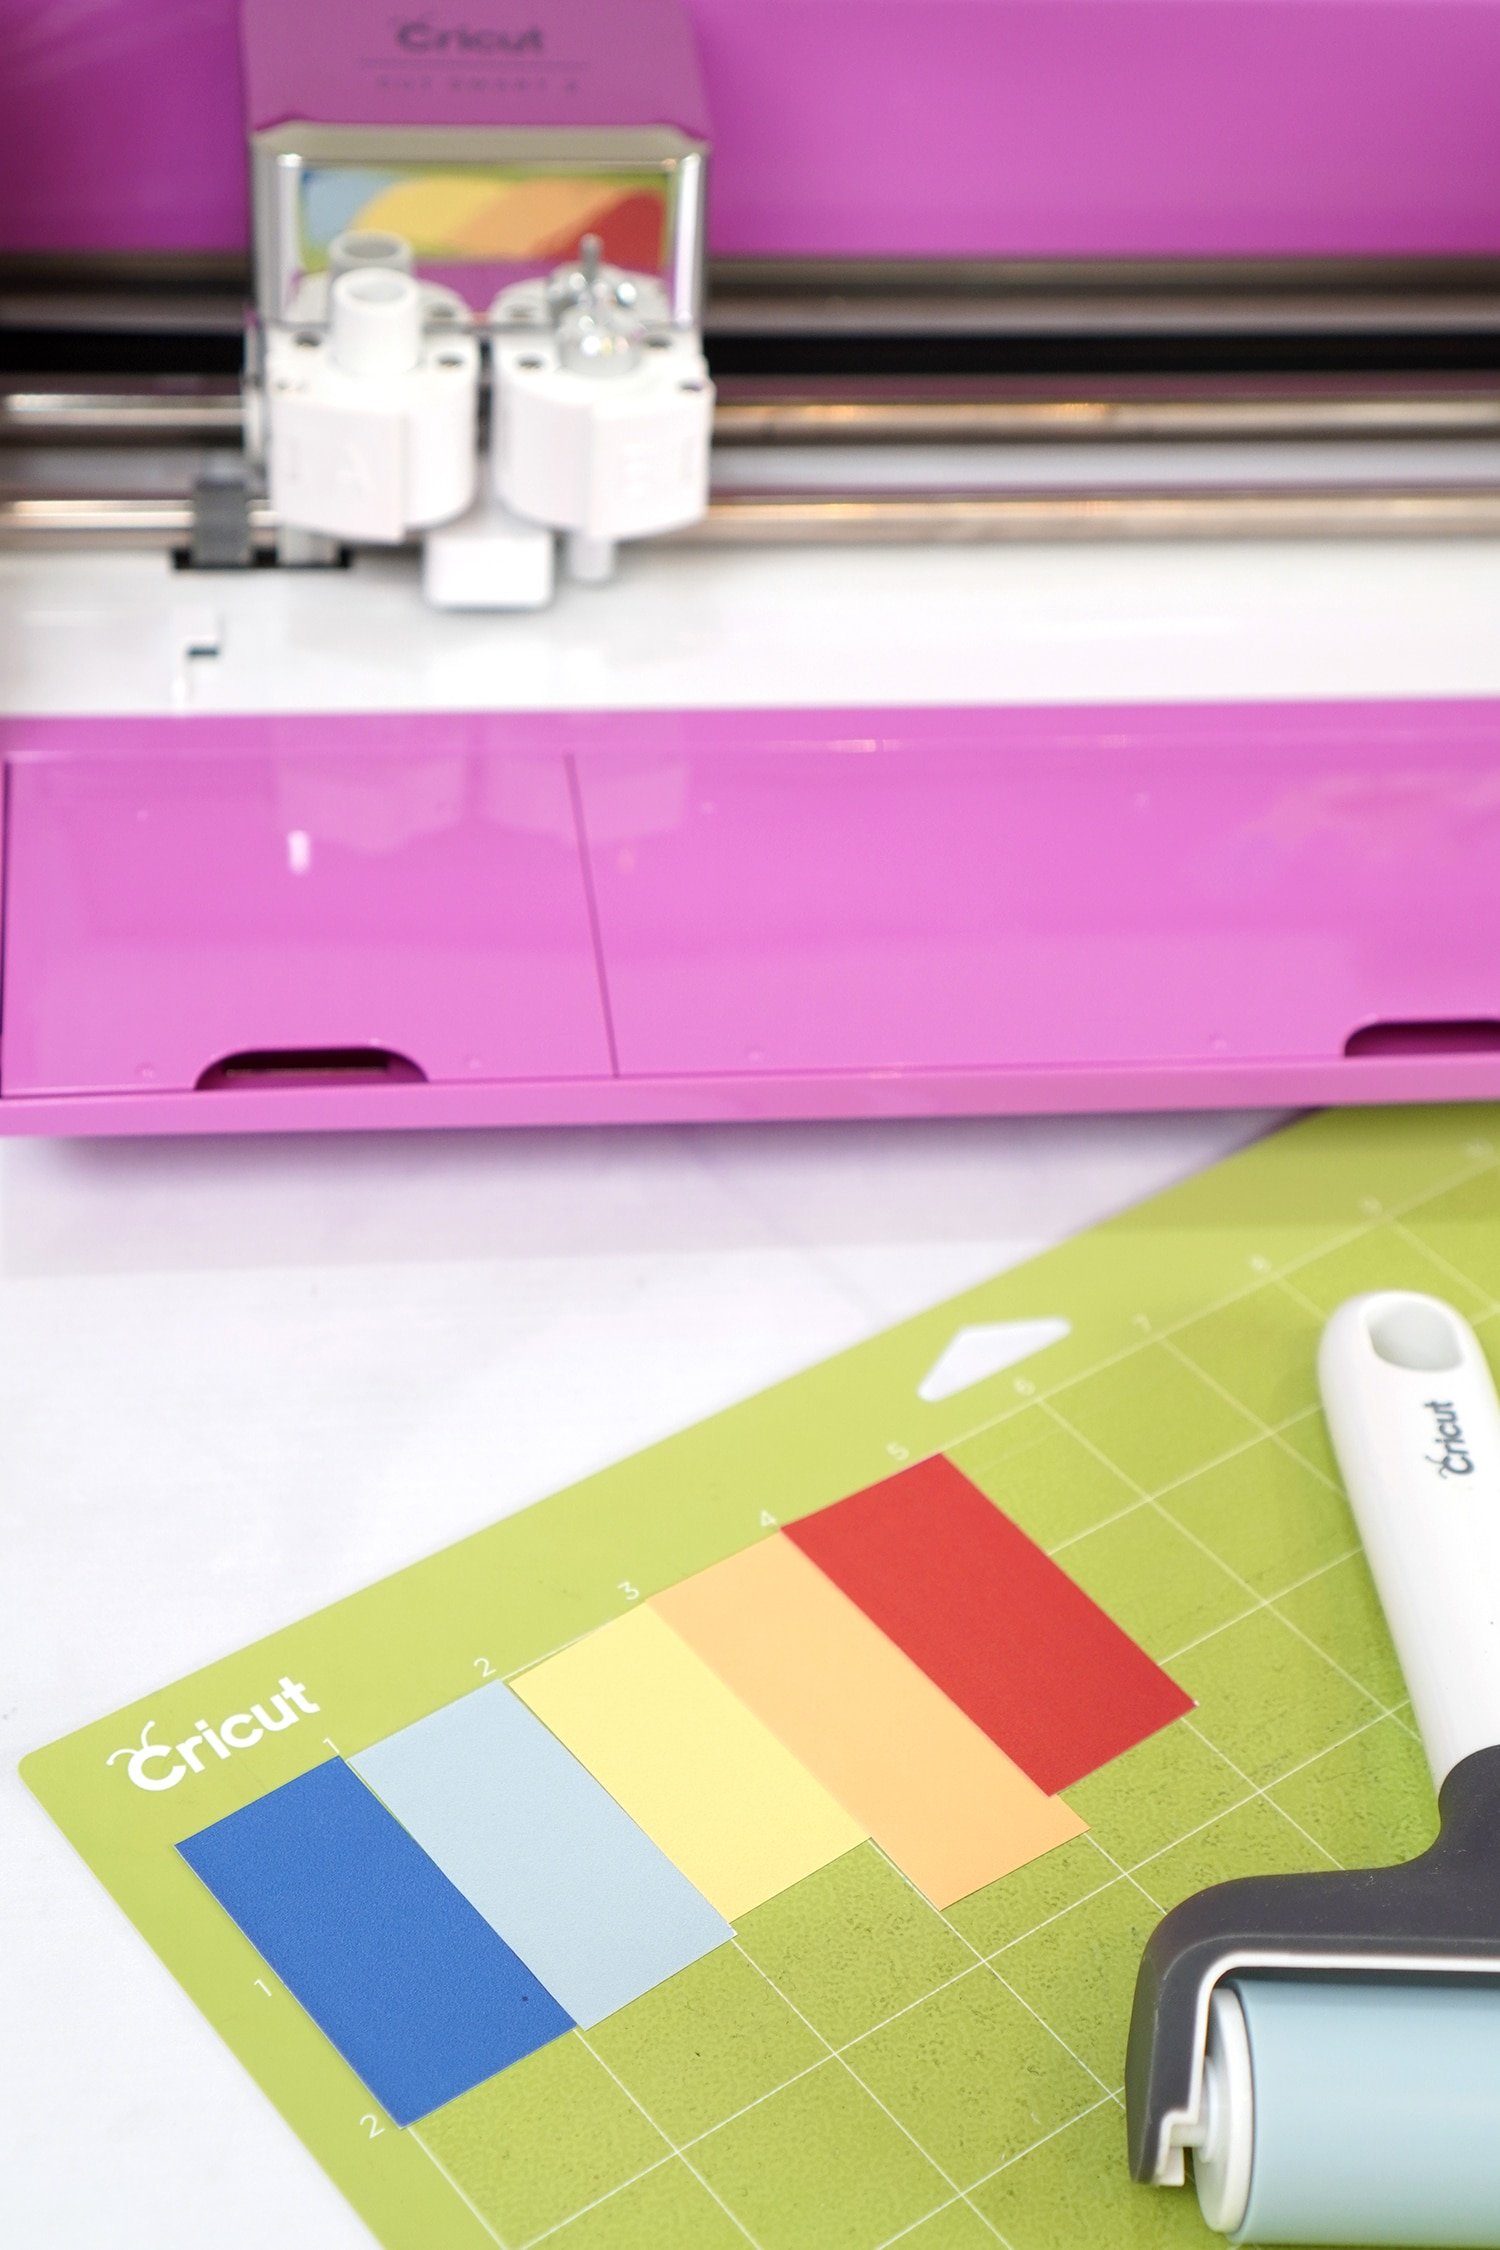
Position the scraps of Infusible Ink on to the mat in the appropriate places.
Cut all of the different colored letters in one quick and easy pass!
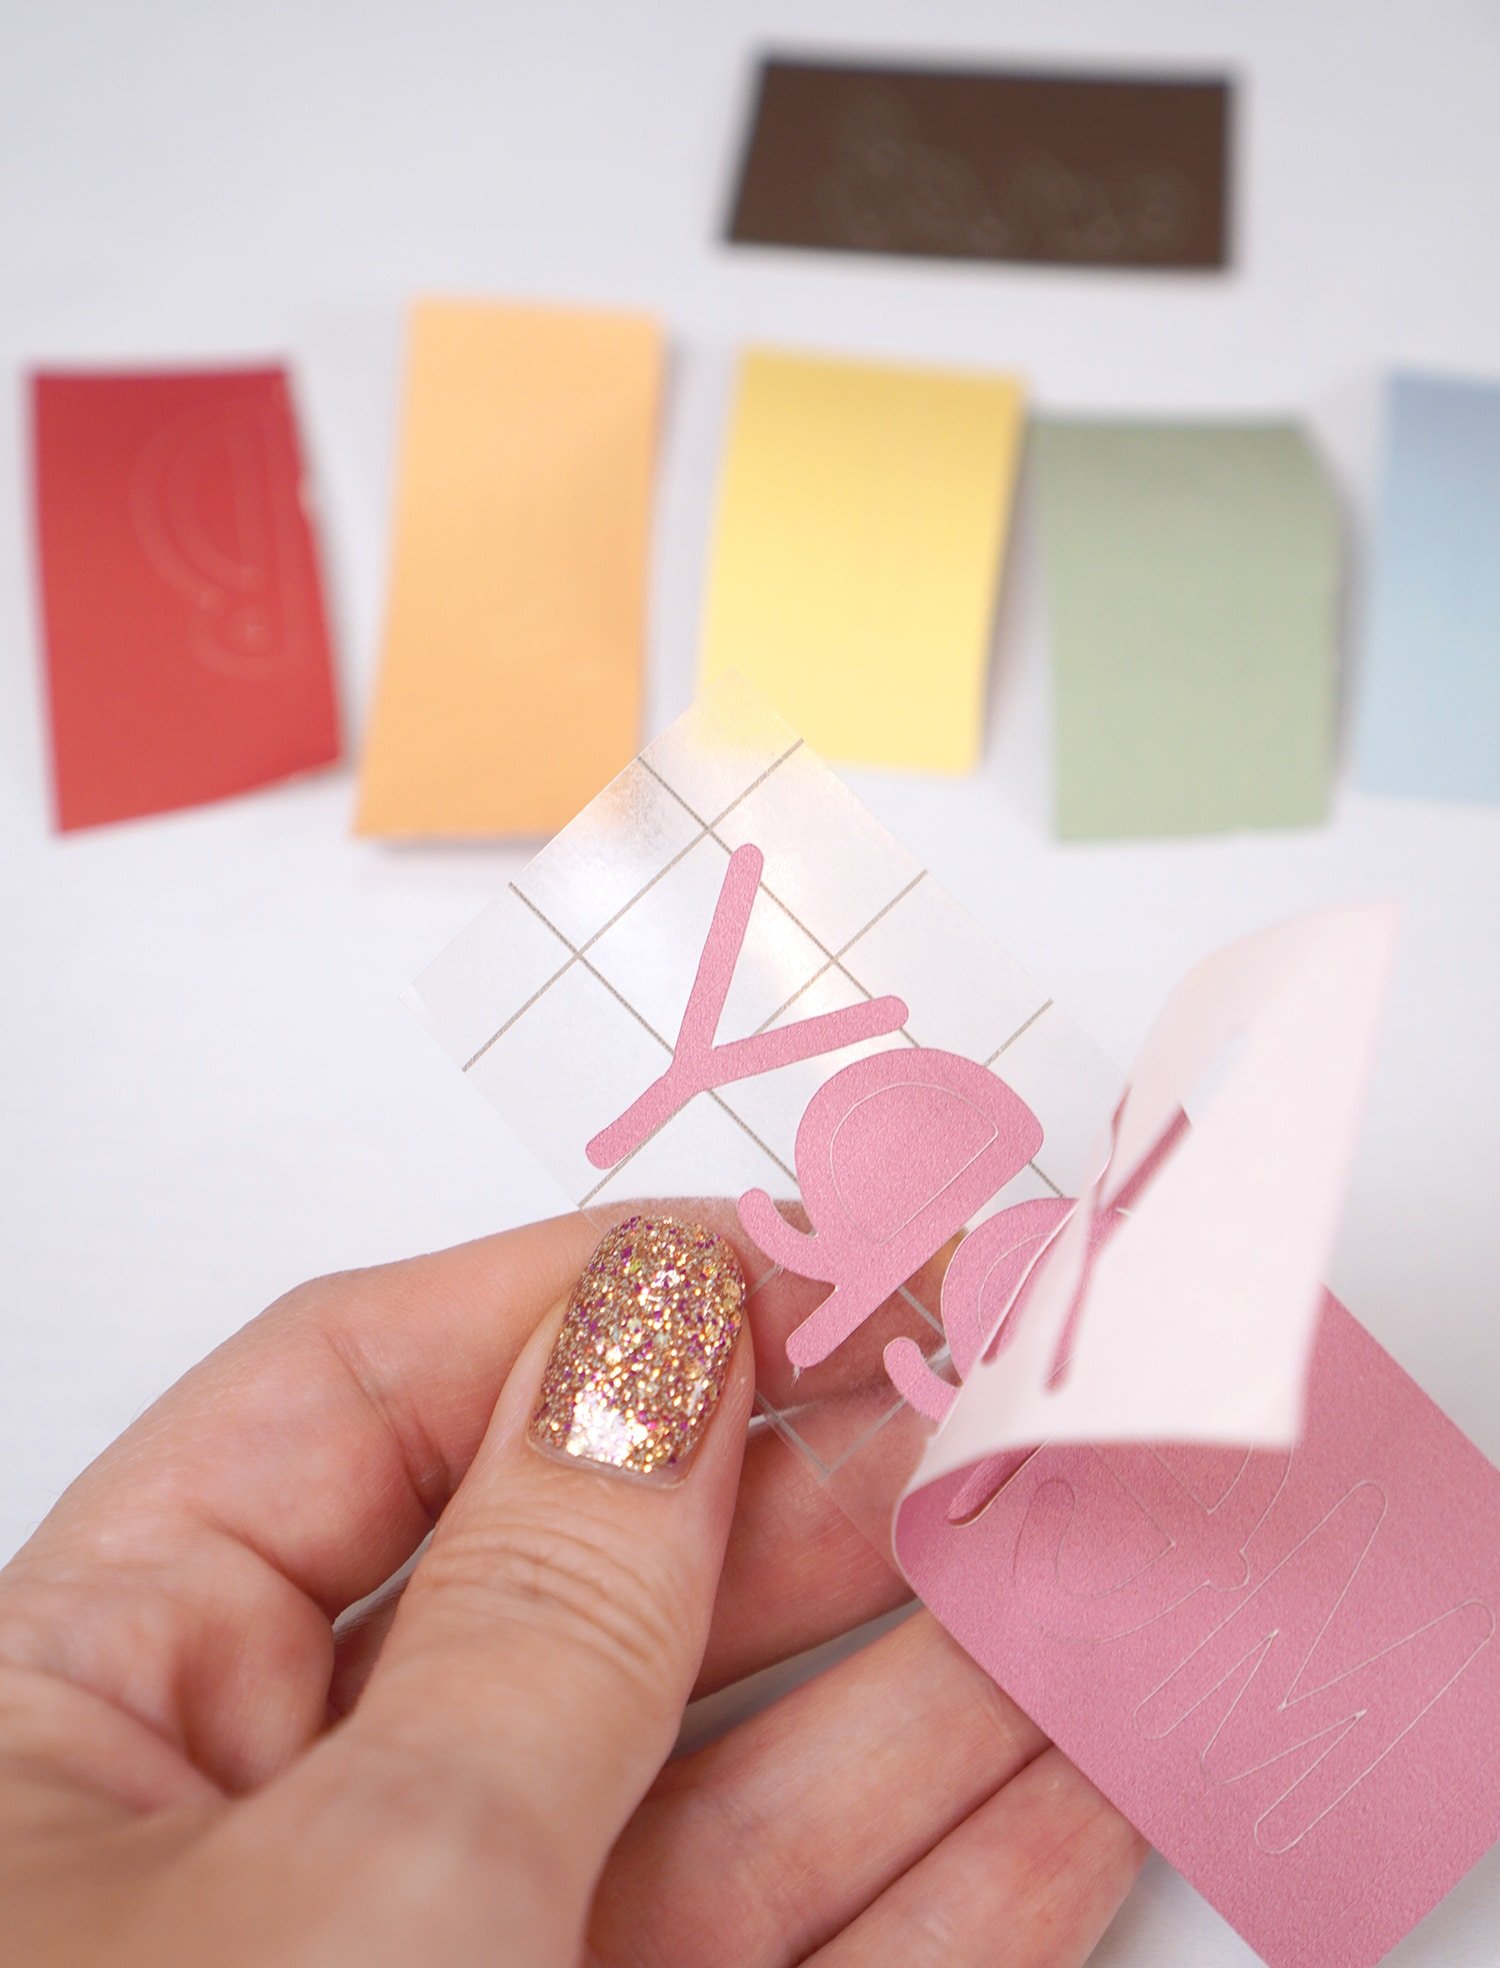
Use your hands to weed the excess Infusible Ink from the backing transfer tape.
Note: Do NOT use traditional weeding tools to weed Infusible Ink! Doing so may result in small amounts of ink being pressed into the plastic backing, and that ink WILL transfer to your blank! Always use your hands or tweezers to weed.
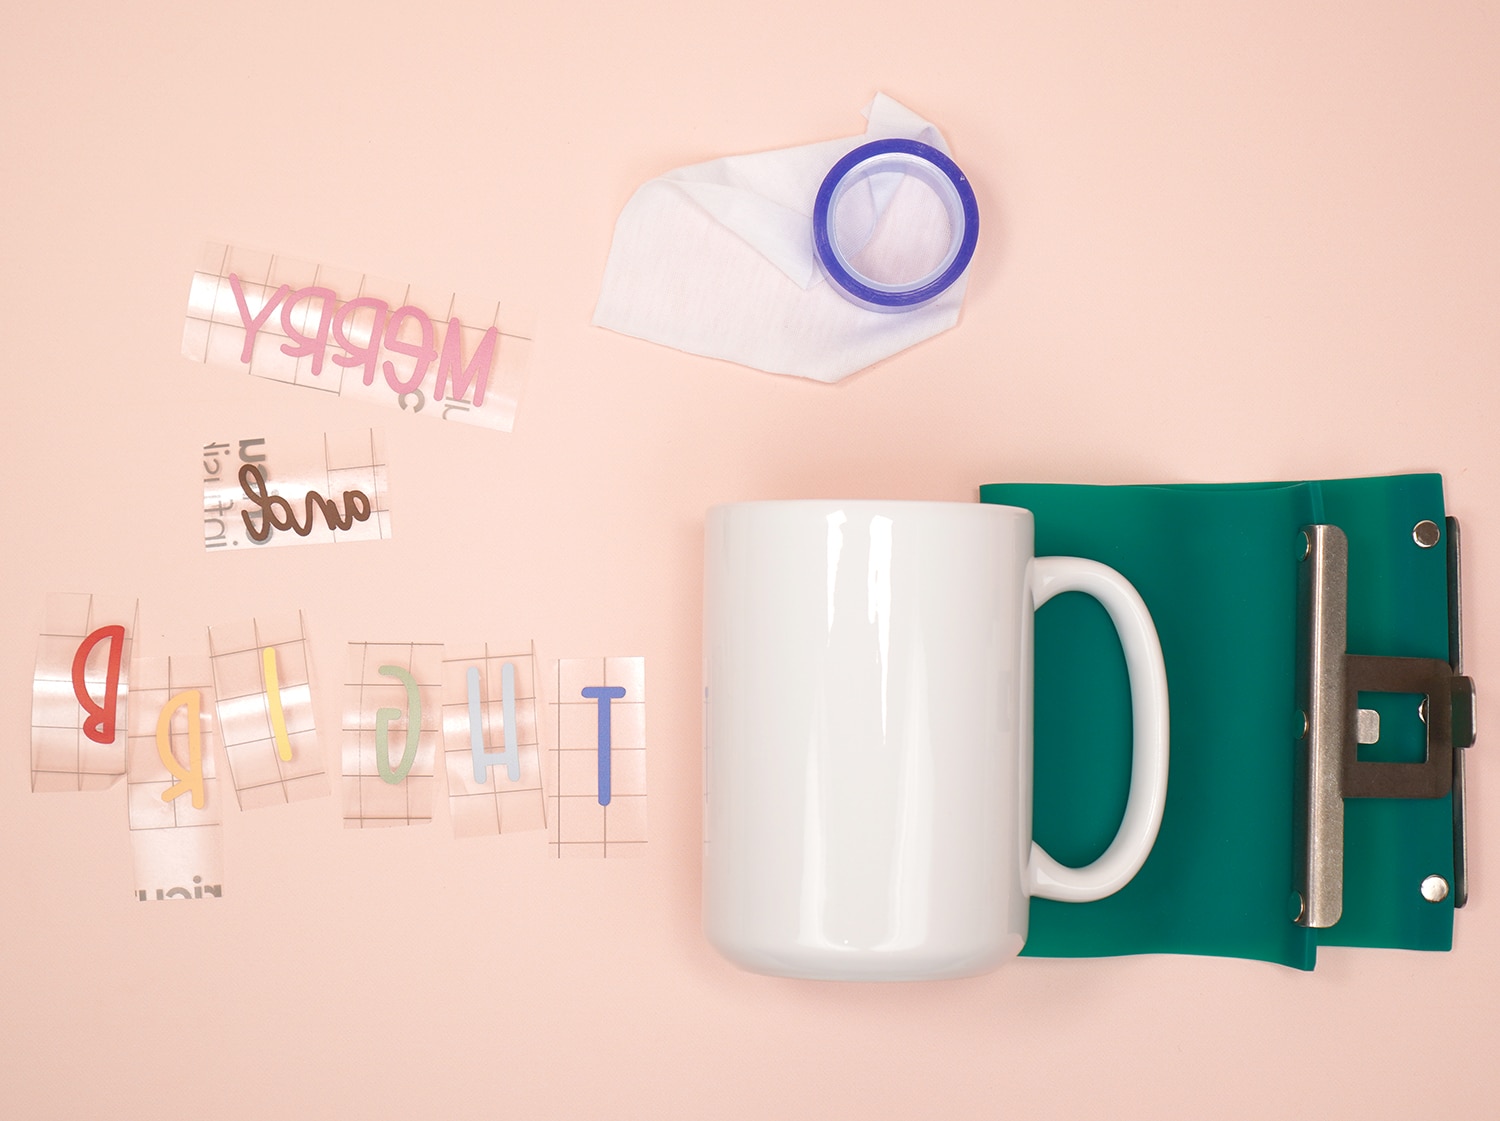
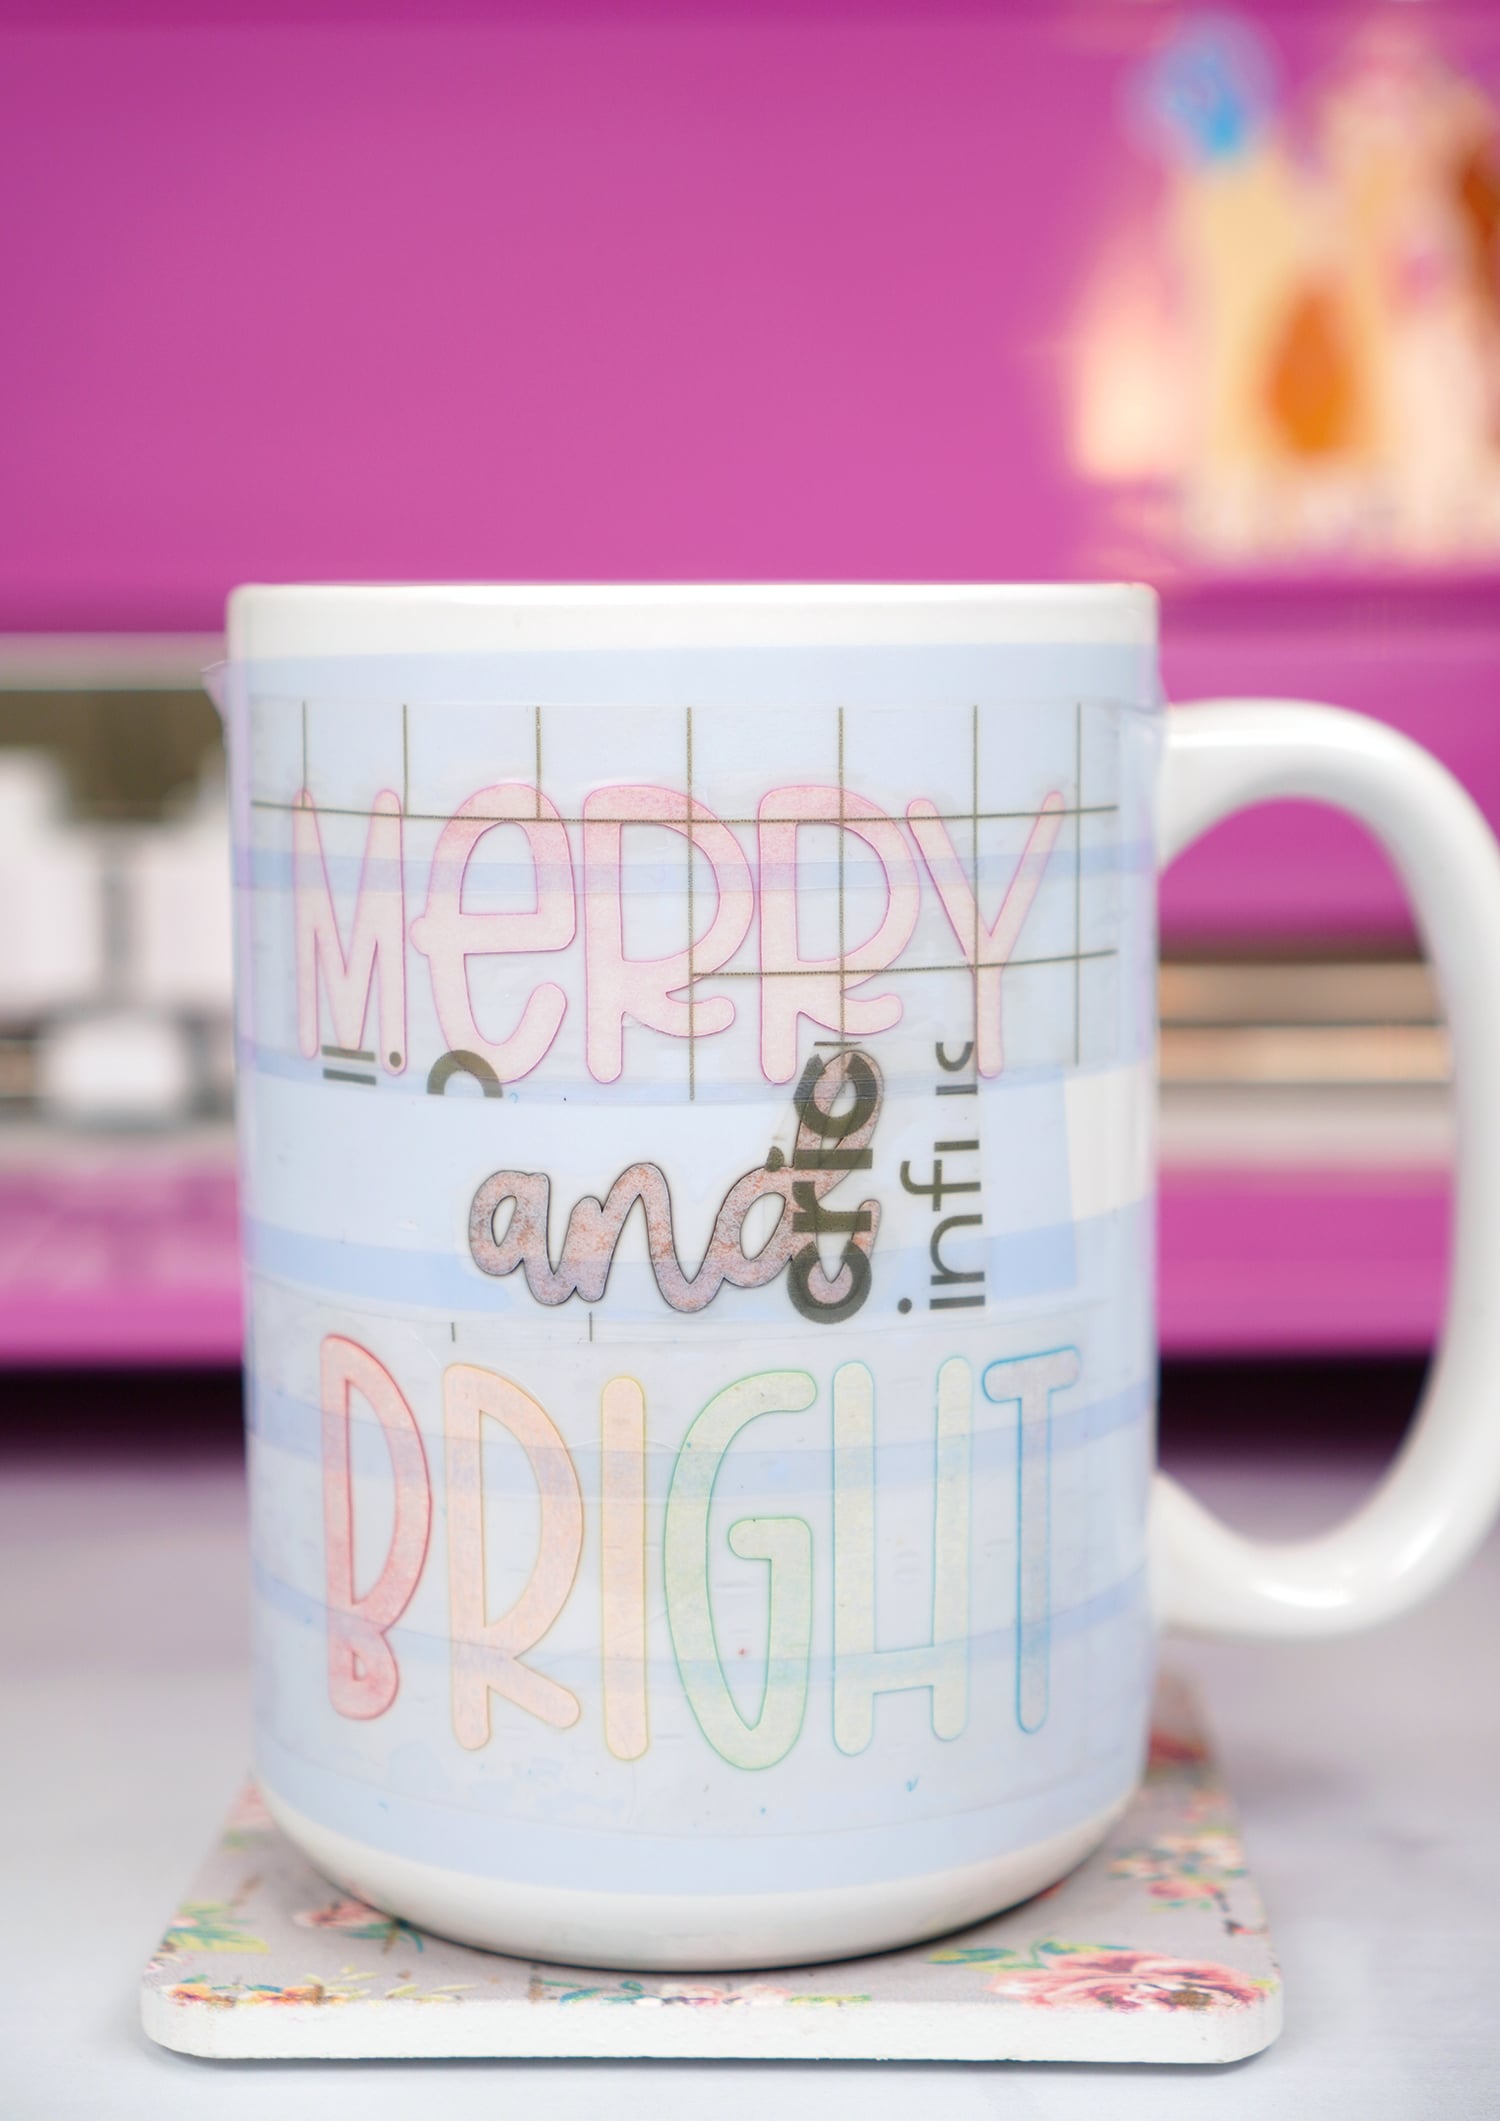
Wipe down the surface of the mug with a lint-free cloth. You may notice that the Infusible Ink doesn’t look very vibrant yet, but rest assured, after it transfers, it will be bold and bright!

Remove each of the individual B-R-I-G-H-T letters from their plastic backing and carefully transfer them to one single sheet.
I re-used a small scrap of plastic transfer backing from an old project (see, hoarding comes in handy lol!), but if you don’t have one available, a strip of heat-resistant tape works as well. Place the tape sticky-side up and position the letters in place. Don’t worry if the letters are taller than the strip of tape!
Position all of the pieces on the mug, and use heat-resistant tape to hold everything firmly in place.
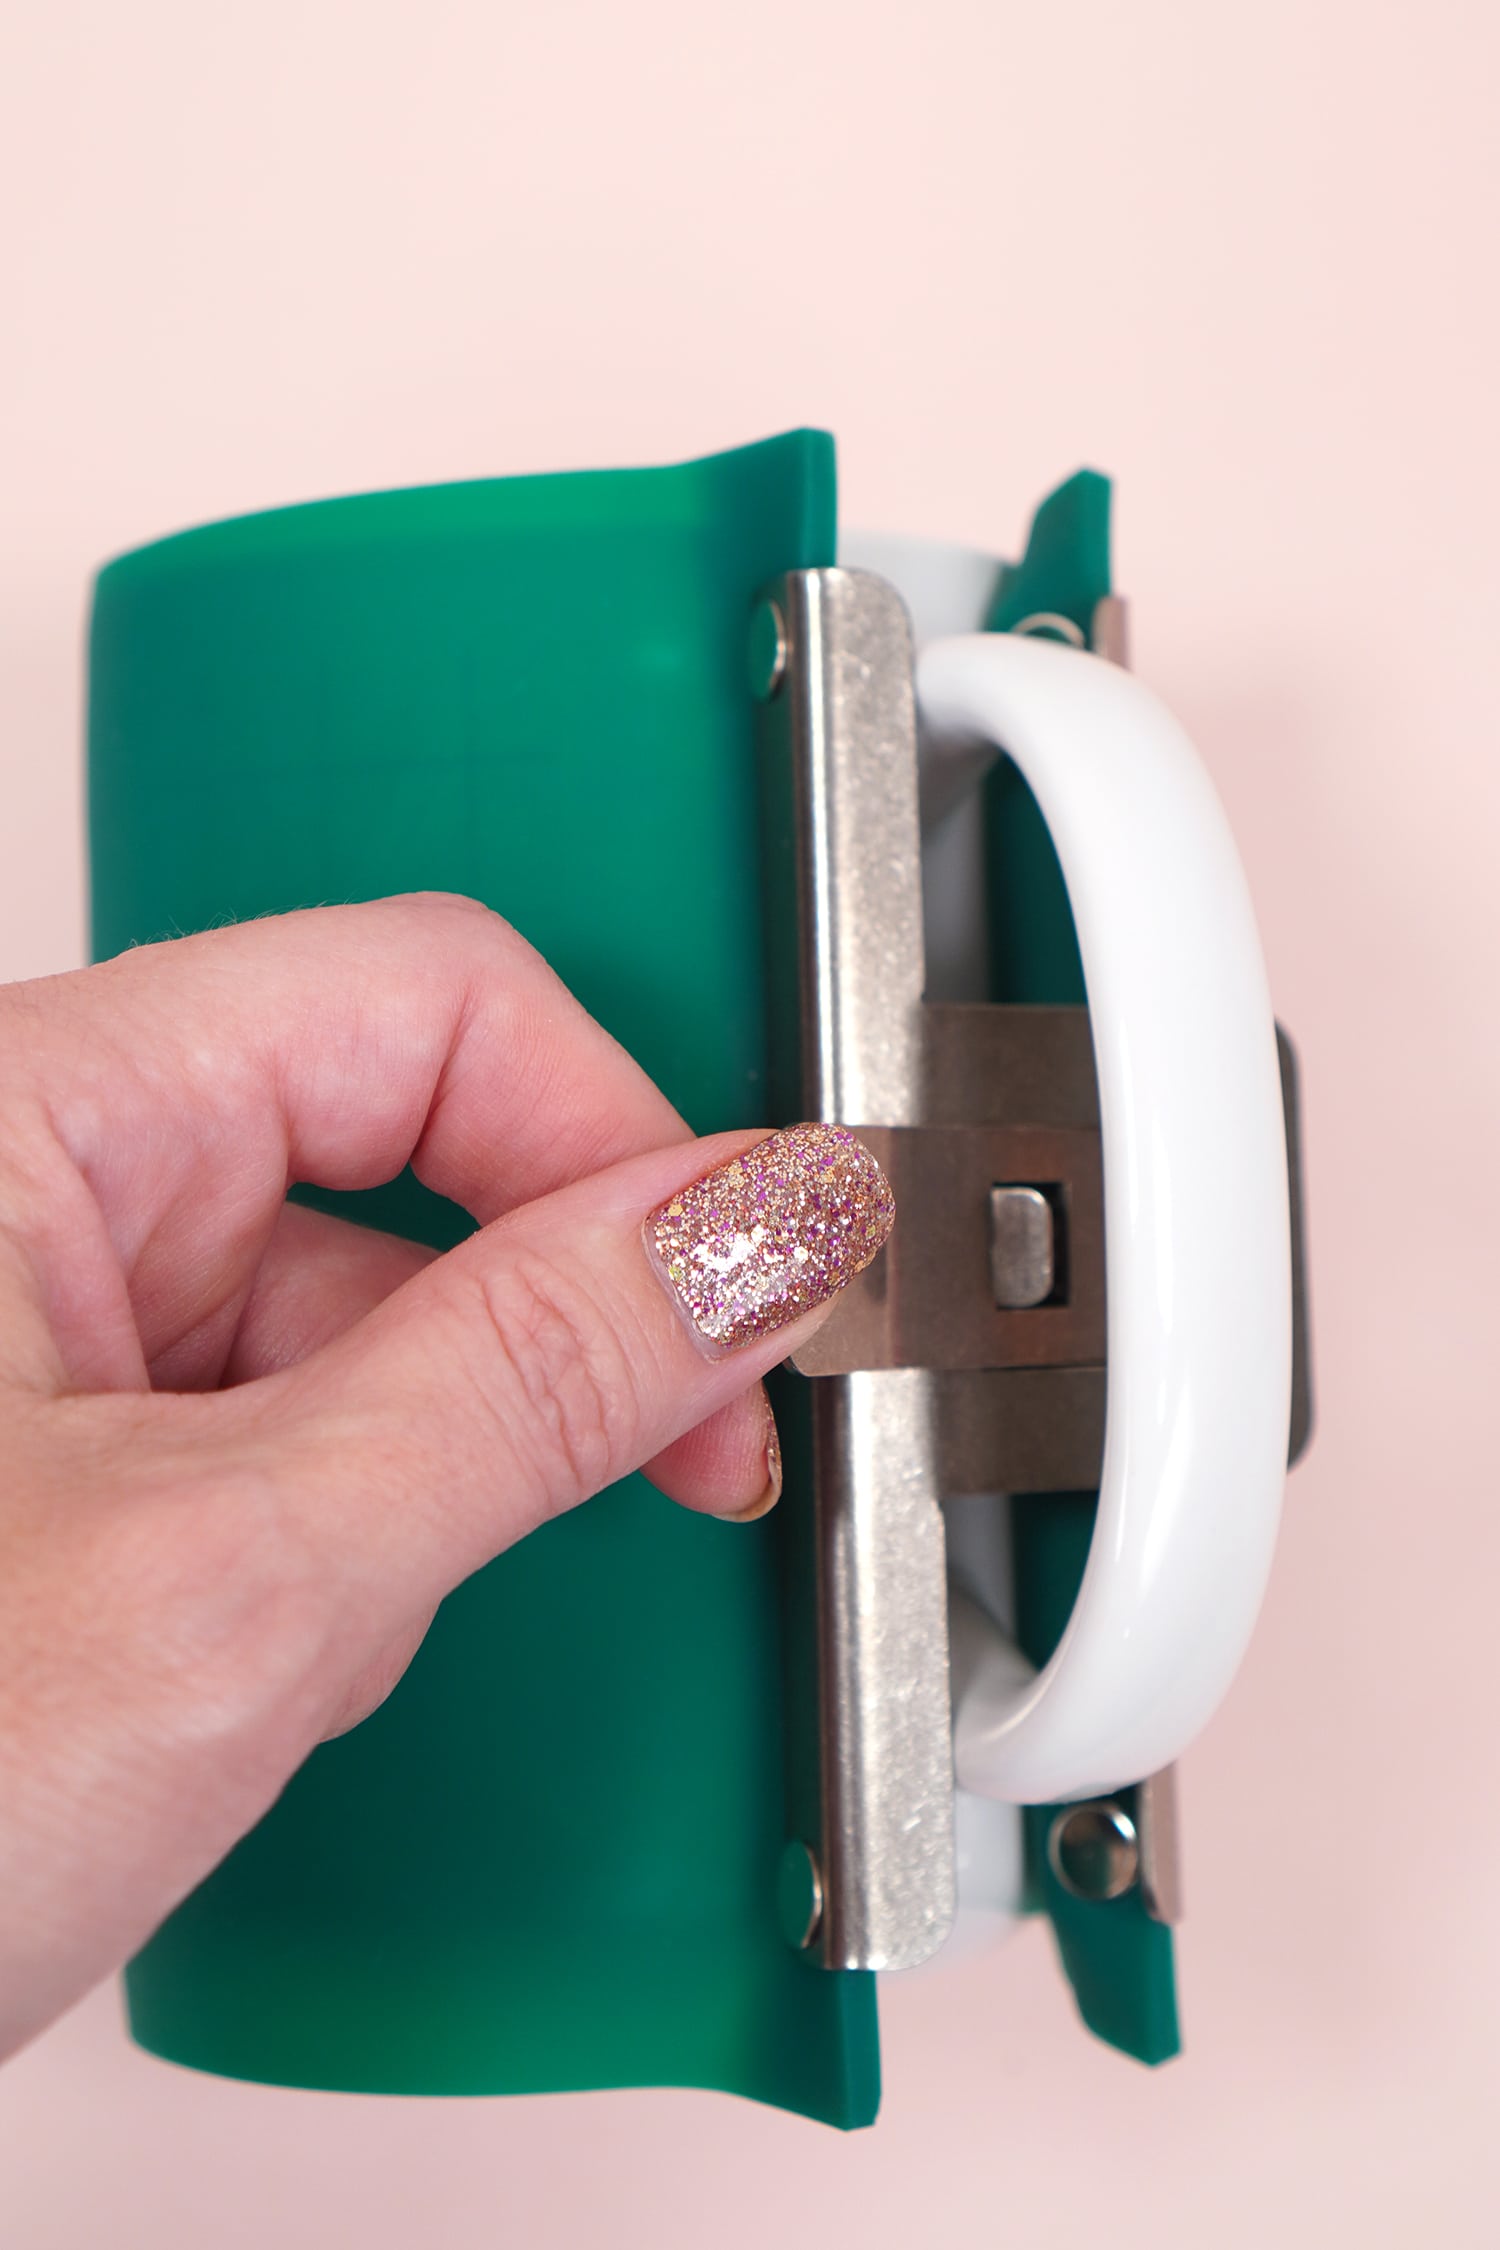
Wrap the mug with a silicone mug wrap if desired. The silicone wrap tightly hugs the mug and ensures that the Infusible Ink stays in direct contact with the surface of the mug for the best transfer results.
Preheat the oven to 400 degrees (if using a convection oven, set the temperature at 420 degrees). Set the mug on a baking sheet, and place in the oven for 15 minutes.
Note: I have double ovens in my home, so we use one for cooking, and one is dedicated to craft projects; however, if you only have one oven, you should consider placing the mug inside of a tightly sealed oven bag before baking to ensure that any potential sublimation off-gassing will not come into contact with your cooking surface. You may also use a convection toaster oven that you have designated specifically for crafting purposes.
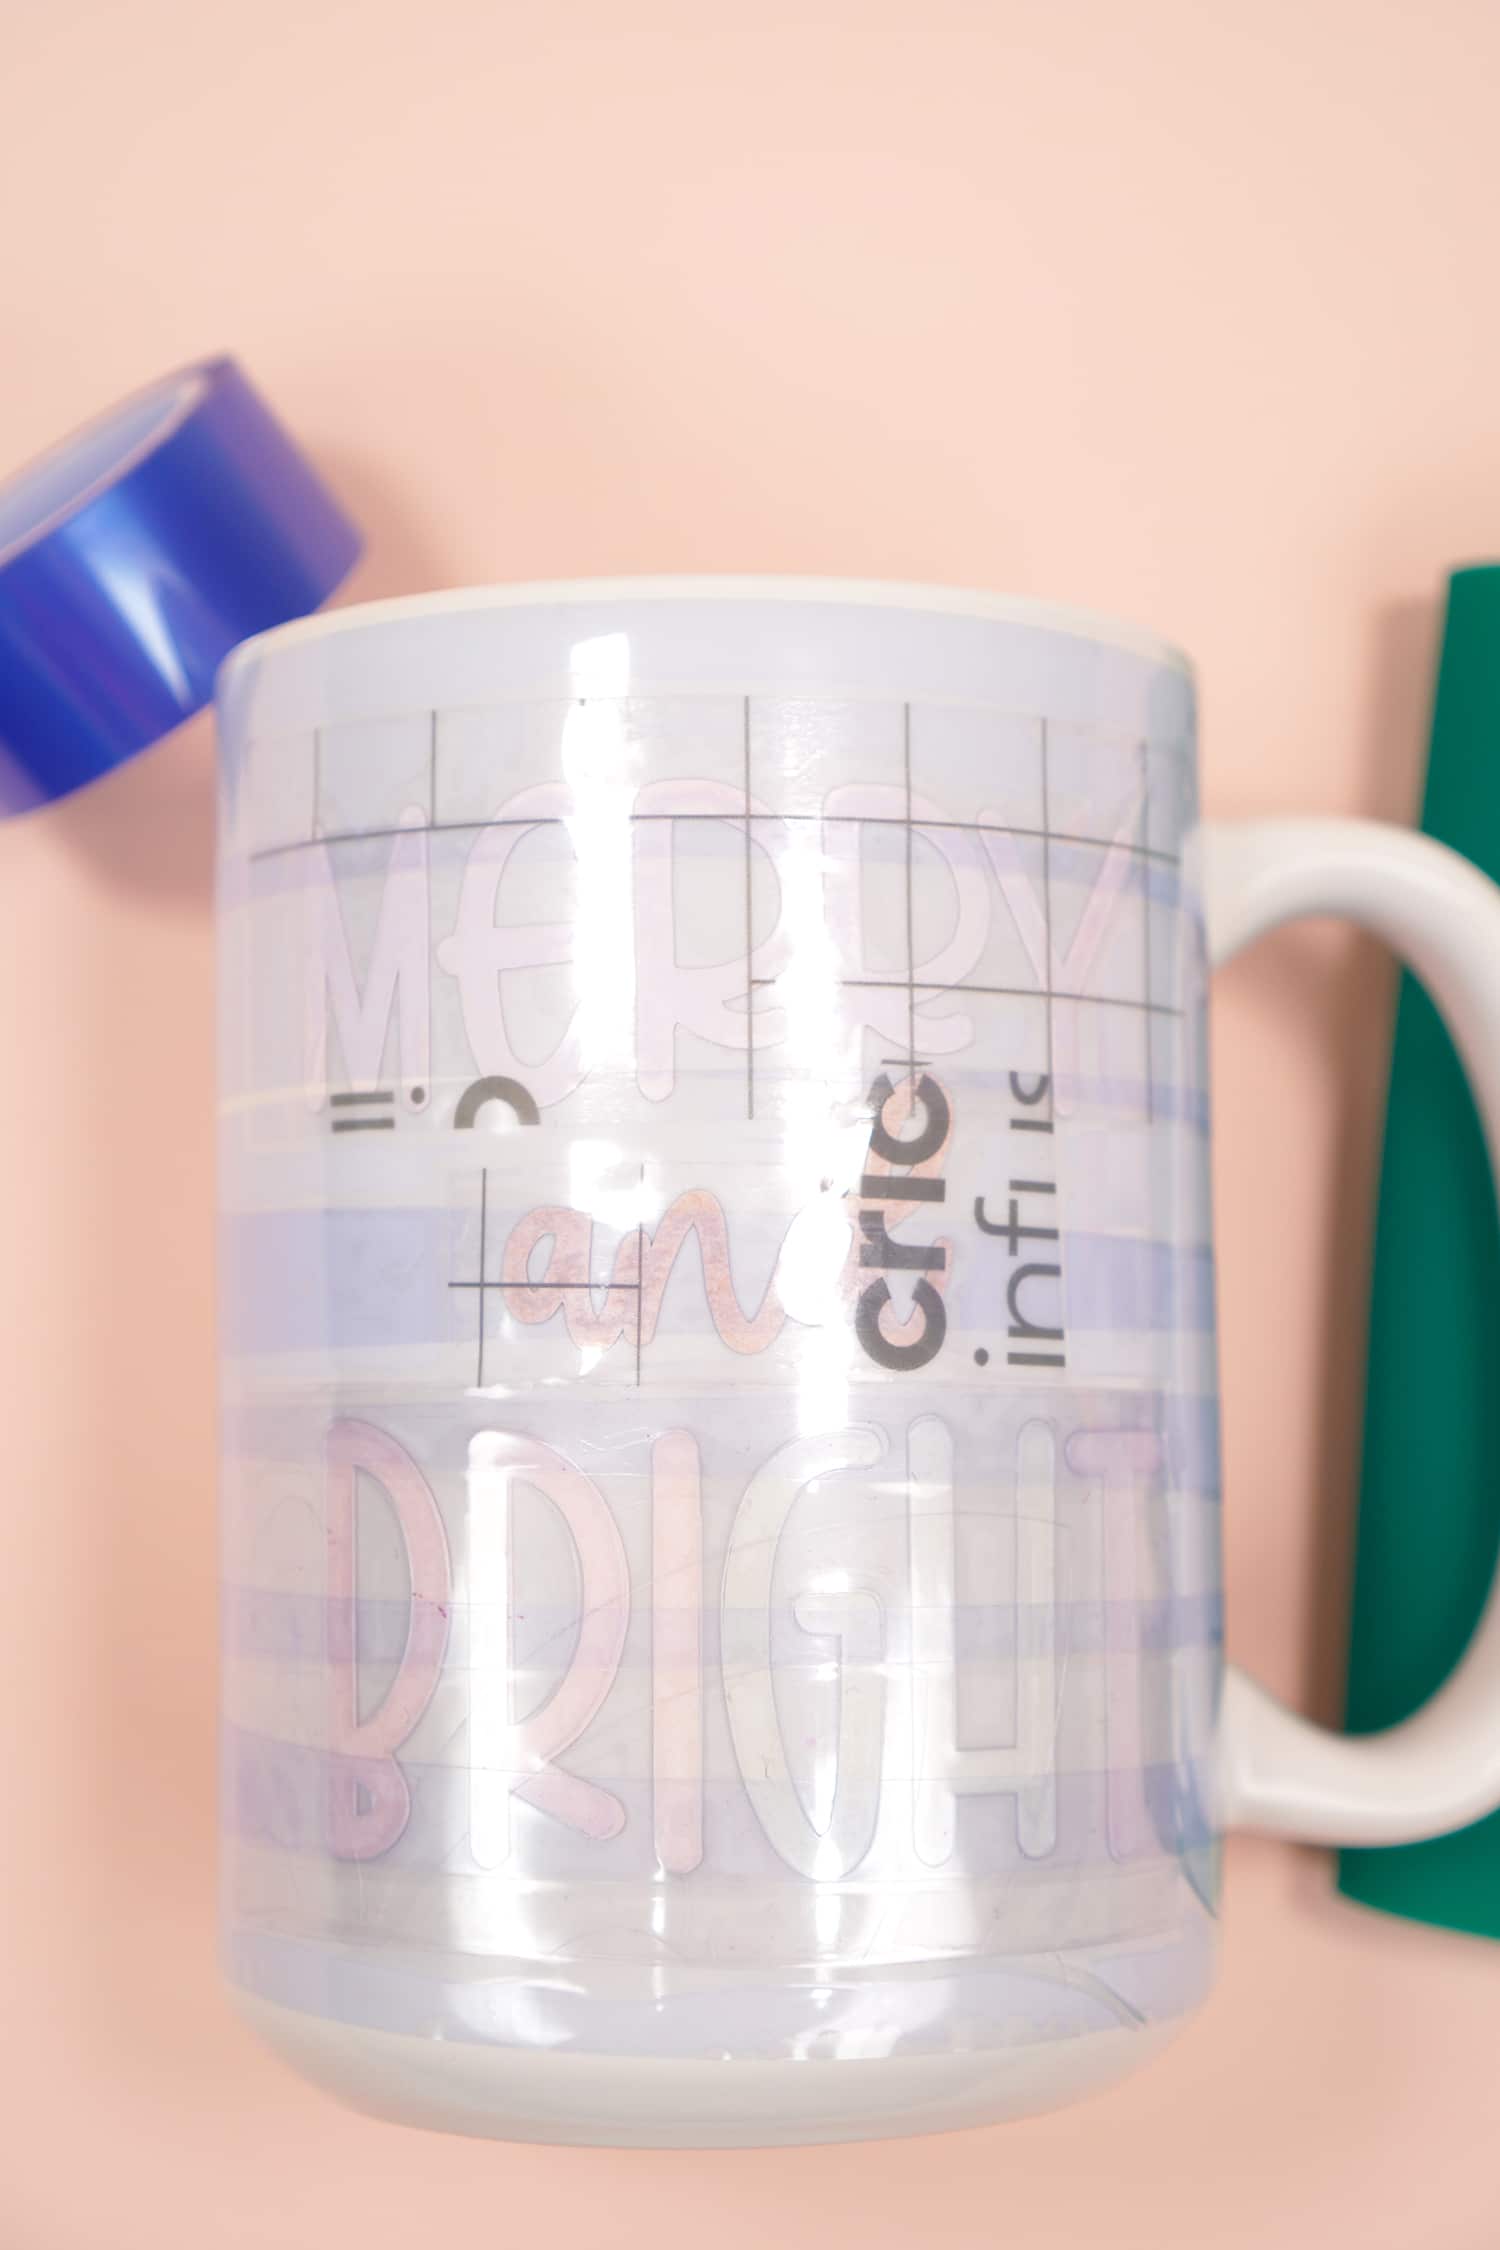
Remove the mug from the oven and allow to cool for 20-30 minutes before removing the mug wrap. You will notice that the color is already noticeably brighter around the edges of the Infusible Ink even through the layers of tape. That’s a good sign that your ink has transferred properly!
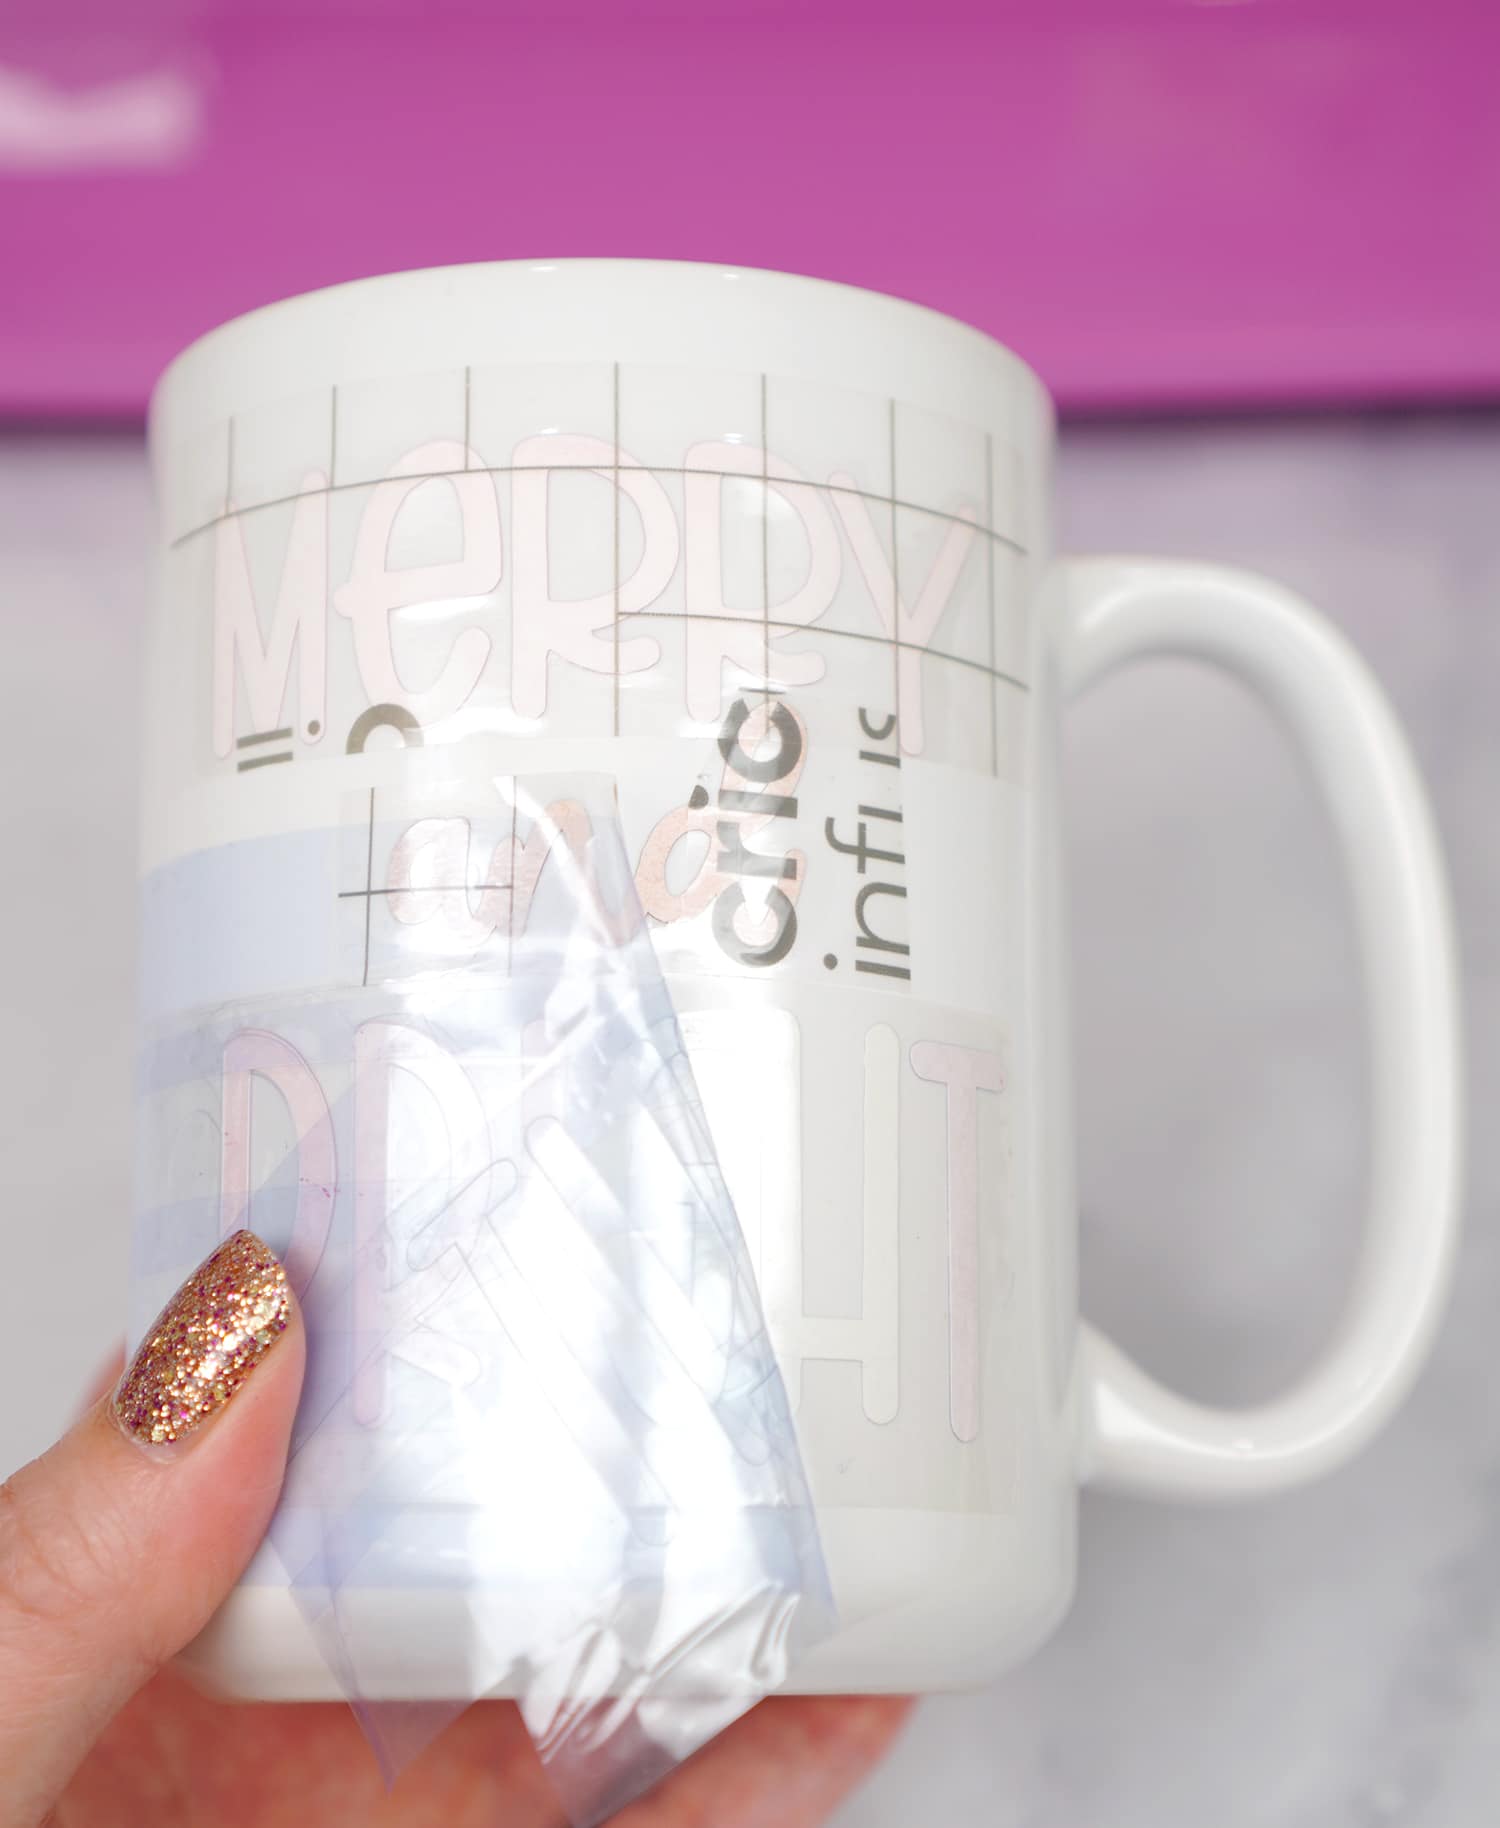
Peel back all of the tape and the plastic backing…

…and reveal your awesome bold and bright custom mug!

SO much fun, right?!

Now that you know how to make Infusible Ink mugs (and the trick to cutting your design with fewer mats!), the sky is the limit! You can make your own dishwasher and microwave-safe mugs for any holiday or occasion – the design possibilities are truly limitless (especially when you also include Patterned Infusible Ink Transfer Sheets!🤯)!
Get the Merry and Bright SVG File Here
This file is Crafting File #50 in our Freebie Library! Get the password to our Freebie Library by signing up for our Email Club in the form below! If you are already a club member with the password, hop on over to the Freebie Library to download the file now!
All free downloads from Happiness is Homemade are for PERSONAL and CLASSROOM USE ONLY. You MAY NOT share, distribute, sell, or use these files for commercial purposes, including print-on-demand. Commercial licenses for SVG and PNG Crafting Files may be purchased in the Happiness is Homemade Shop. Please read our full license terms here.
DOWNLOAD TROUBLE?
Can’t find the download form? Having trouble with the file? Check out our Digital Downloads FAQ page for answers to the most common troubleshooting questions!
More Cricut Christmas Gift Ideas!
If you liked my Merry & Bright mug, you’re going to love these other Cricut Christmas gift ideas from my friends! Click on the links below to get the tutorial for each of these awesome projects:
- Buffalo Plaid Earrings – Hey, Let’s Make Stuff
- Foiled Plant Art – The Country Chic Cottage
- How to Make a Customized Candle Gift – Lydi Out Loud
- Plant Lover Gift Idea – Lemon Thistle
- DIY Santa Snack Plate – Hello Creative Family
- Holiday Gift Tag Labels – Liz on Call
- Baby it’s Cold Outside Scarf Girl – Paging Supermom
- Personalized Coasters with Infusible Ink – That’s What Che Said

You May Also Like:
 35+ Mother’s Day Cricut Craft Ideas
- Infusible Ink Mugs with the Cricut Mug Press
 How to Use the Cricut Mug Press
- Free Mug Wrap SVG Files
- How to Make an Infusible Ink Mug in the Oven
- Free Harry Potter SVG + Marathon Blanket
- How to Layer Cricut Infusible Ink: Slice & Set Method
- Personalized Christmas Ornaments with Cricut Infusible Ink

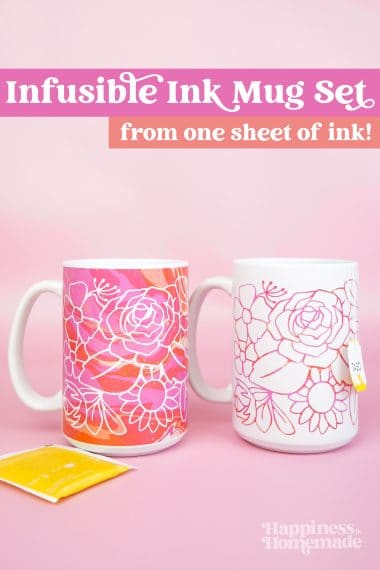


Pin This Infusible Ink Mug For Later:


Heidi Kundin has captivated the hearts of millions with her colorful and inspiring approach to crafting, celebrations, and family fun. With over 15 years of experience, Happiness is Homemade has become a must-visit destination for those seeking quick and easy creative ideas and last-minute solutions. Heidi’s warm personality shines through her posts, inviting readers to join her on a creative journey that’s fun, rewarding, and achievable. Heidi is also the author of Homemade Bath Bombs & More and DIY Tie-Dye.