

What You’ll Need:
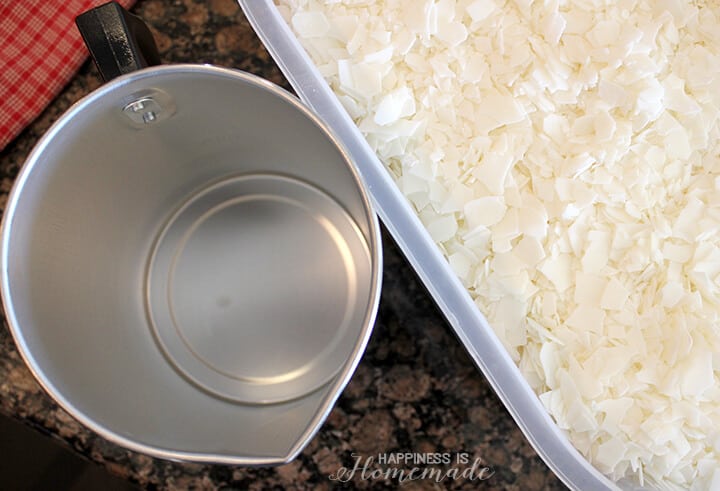
- Natural Soy Wax Flakes
- Candlemaking Pitcher
- 6 oz. Candle Tins
- Candle Wicks
- Wick Holders
- Citrus Blend Essential Oil (for fragrance)
- Hot Glue Gun (optional)
I begin by using a small dab of hot glue to secure the tab of the candle wick to the bottom of the container. This step is optional, but I find it to be helpful in making the other steps run smoothly. Fill the candlemaking pitcher with the desired amount of wax flakes. Note: I filled my pitcher about 2/3 full of wax flakes to make 7 six ounce candles. Place the pitcher inside a pot of boiling water or double boiler over low heat (approximately 150-180 degrees F), stirring frequently, until wax has fully melted. Mix in 20-30 drops of essential oil for fragrance.
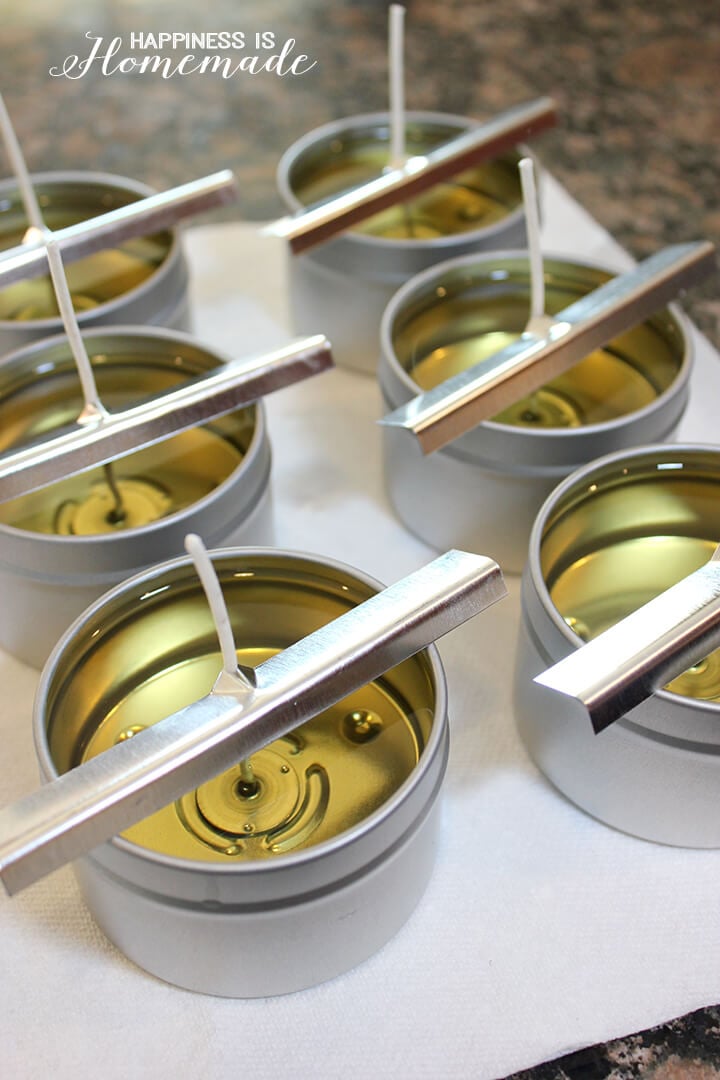
Secure the top of the wick with a wick holder before very carefully and slowly pouring the wax into the tins.
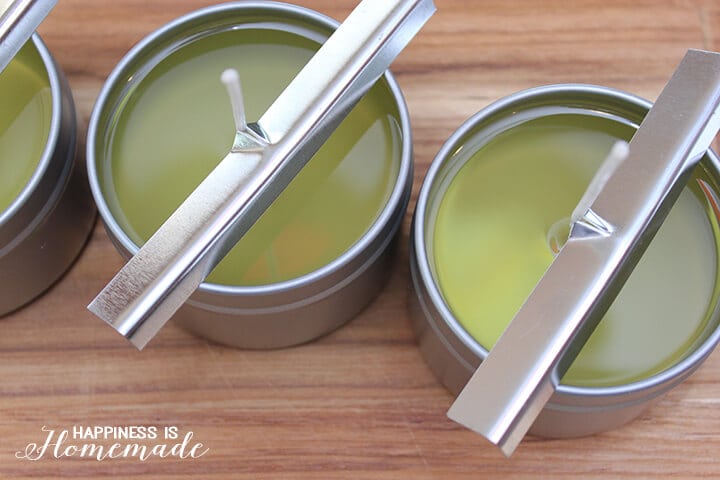
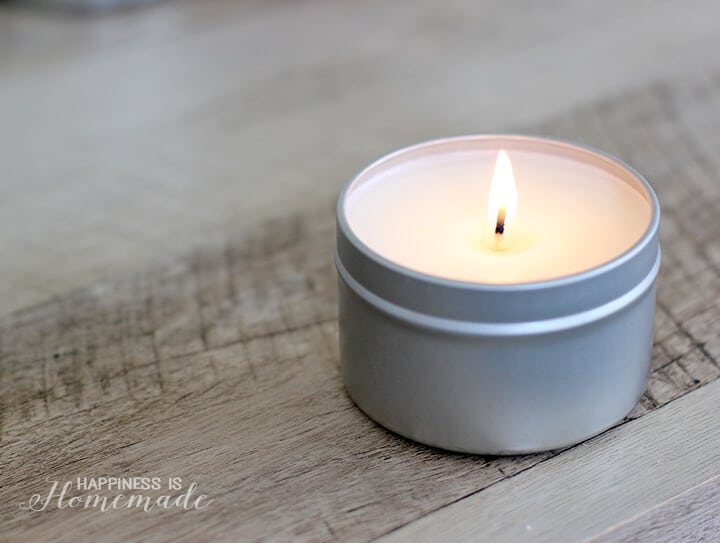
Allow the candles to cool for approximately 2 hours. During this time the wax will change from clear and yellowish back to an opaque white color.
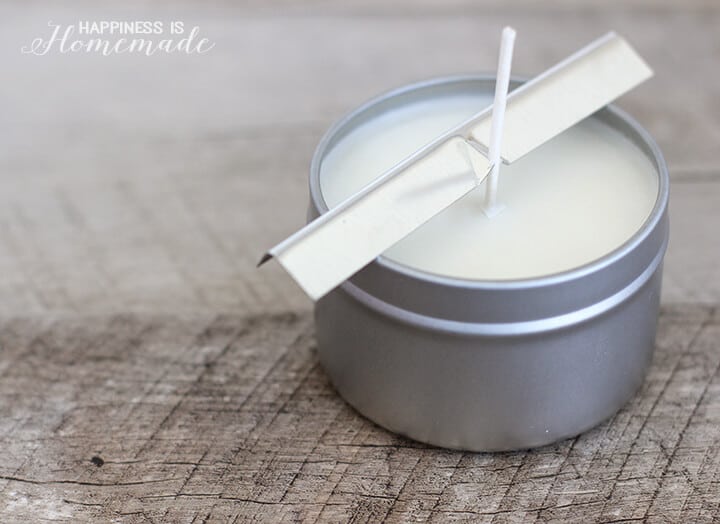
When the wax has completely cooled, snip off the excess wick (leave approximately 1/2″) and remove the wick holder.
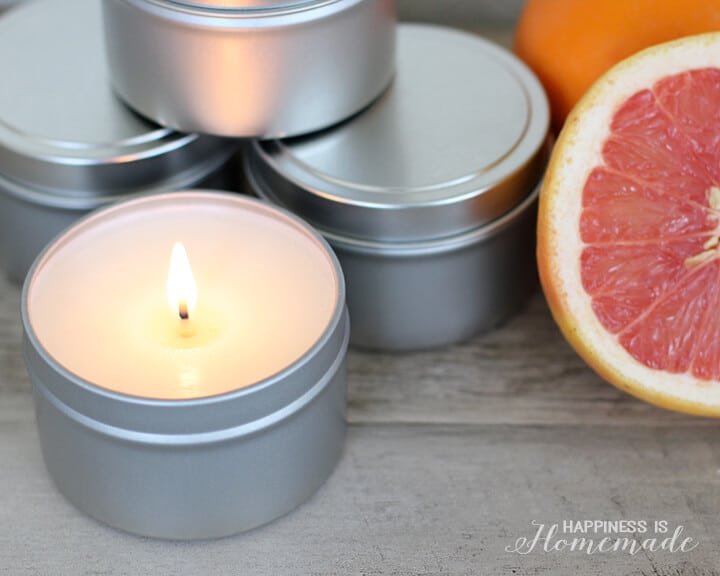
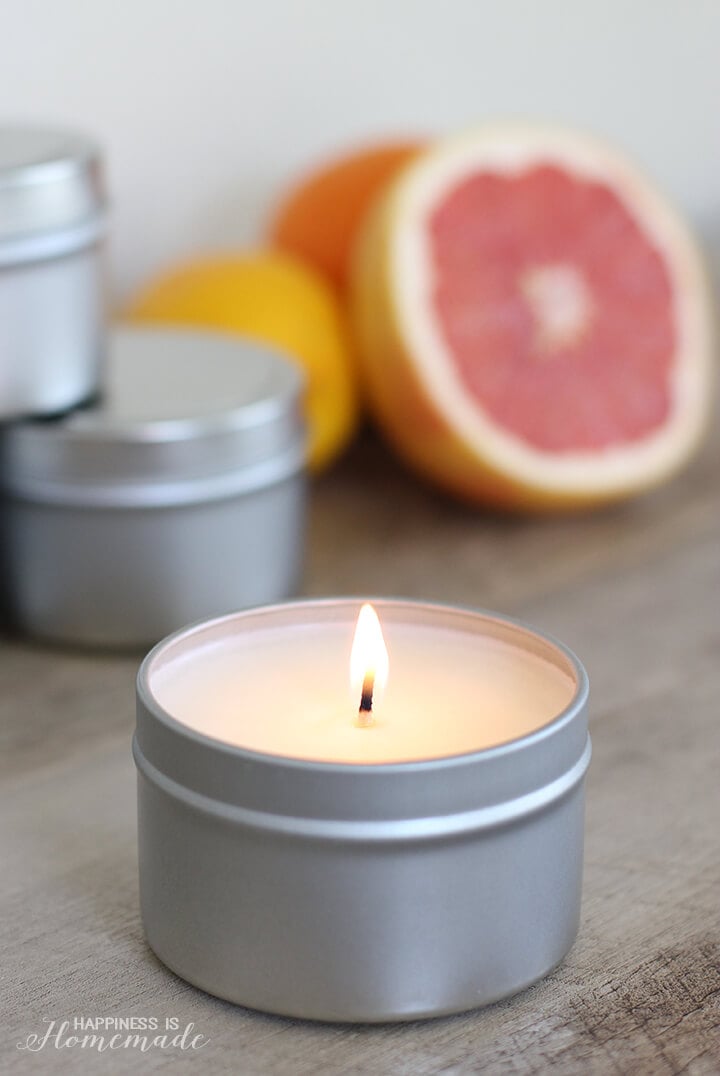
I love soy candles because they are all-natural, and they burn longer and at a cooler temperature than traditional paraffin wax. They also produce far less soot and burn cleaner (less excess melted wax), so they’ve quickly become a favorite around here.
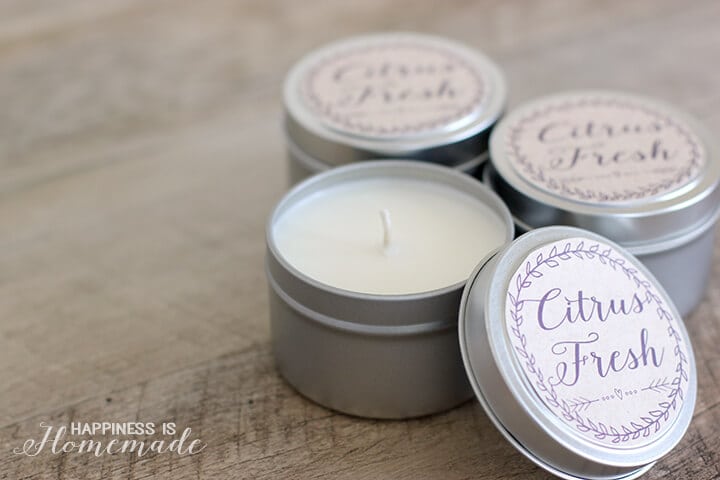
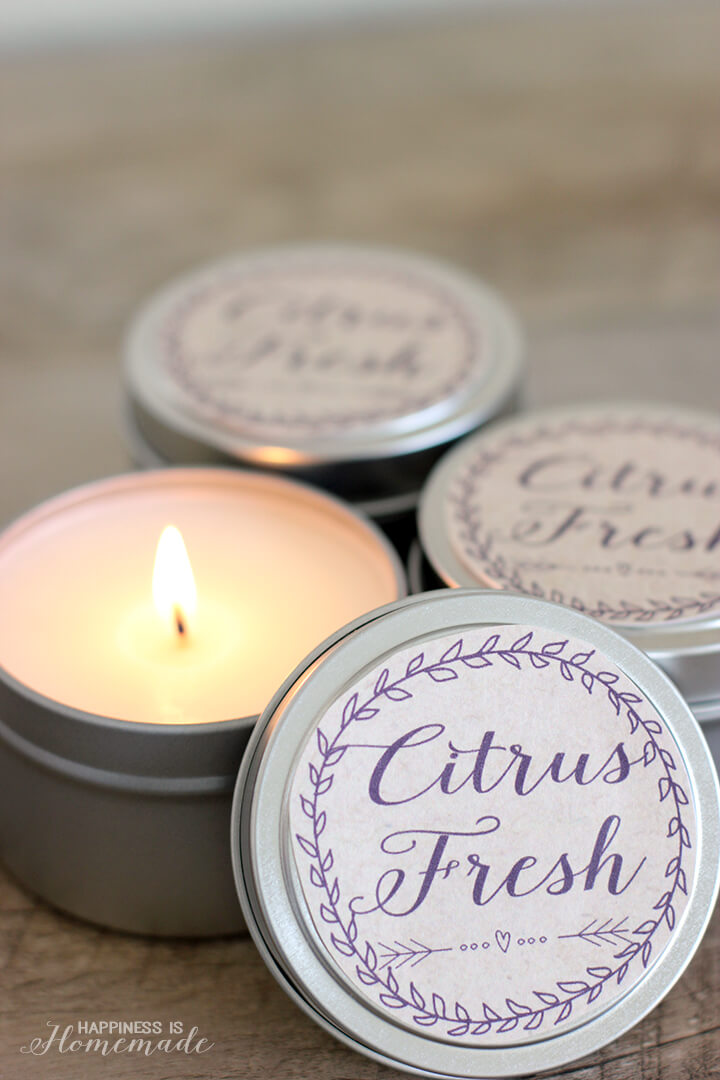
I wanted to dress up the candle tins a bit, so I created some cute “Citrus Fresh” labels for them. You can download and print a copy of the labels by clicking on the image below.
These candles make great birthday, holiday and teacher appreciation gifts! Whip up an entire batch in just a few minutes, and keep them on-hand for unexpected events and occasions!
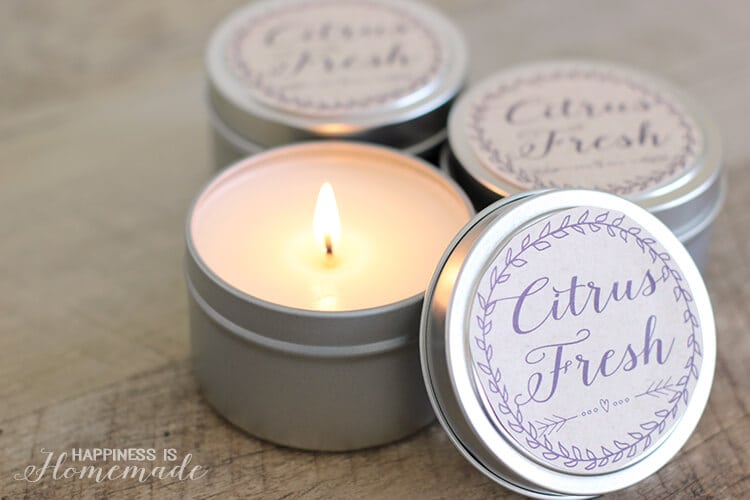
Get the Citrus Fresh Labels Here
This file is Printable File #13 in our Freebie Library! Get the password to our Freebie Library by signing up for our Email Club in the form below! If you are already a club member with the password, hop on over to the Freebie Library to download the file now!
All free downloads from Happiness is Homemade are for PERSONAL and CLASSROOM USE ONLY. You MAY NOT share, distribute, sell, or use these files for commercial purposes, including print-on-demand. Commercial licenses for SVG and PNG Crafting Files may be purchased in the Happiness is Homemade Shop. Please read our full license terms here.
Download Trouble?
Can’t find the download form? Having trouble with the file? Check out our Digital Downloads FAQ page for answers to the most common troubleshooting questions!

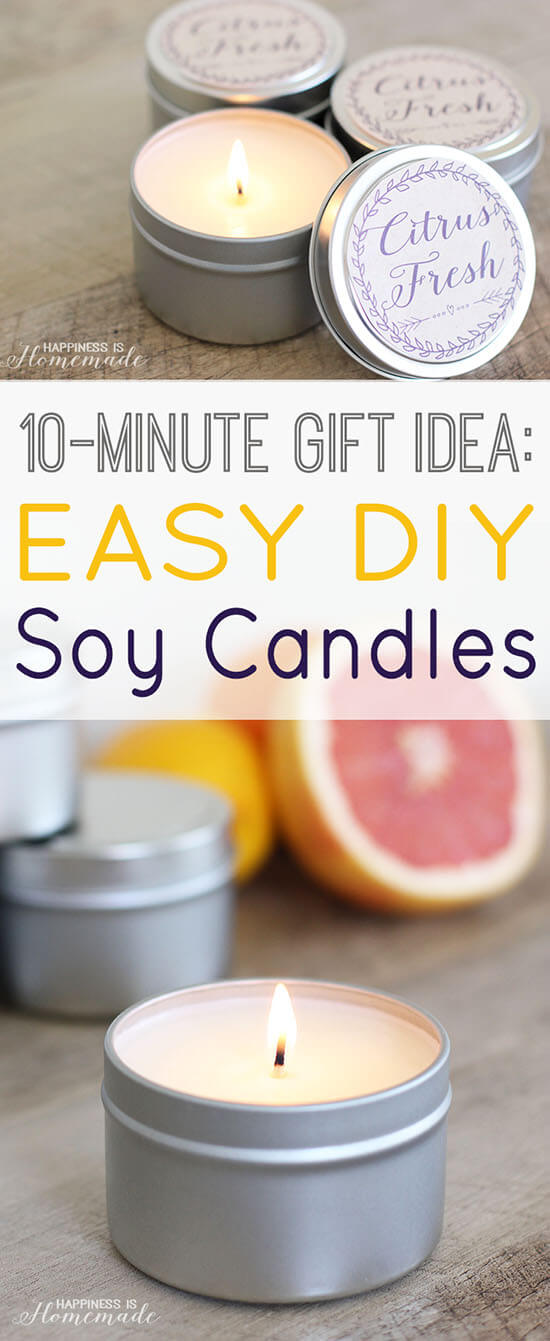
Pin These Citrus Fresh Candle Labels For Later

Heidi Kundin has captivated the hearts of millions with her colorful and inspiring approach to crafting, celebrations, and family fun. With over 15 years of experience, Happiness is Homemade has become a must-visit destination for those seeking quick and easy creative ideas and last-minute solutions. Heidi’s warm personality shines through her posts, inviting readers to join her on a creative journey that’s fun, rewarding, and achievable. Heidi is also the author of Homemade Bath Bombs & More and DIY Tie-Dye.
I love these! What a great gift idea and the printables are such a special touch! I’d love to add these to a little spa gift basket this Christmas!
I bought all the supplies from Amazon and they arrived yesterday afternoon! Can’t wait to get started on these this Saturday for Christmas gifts for friends. I know this is a big request, but is there anyway you would offer that same printable label kraft sheet but with instead of “Citrus Fresh” the words “Holiday Joy”? I am using the Holiday essential oil from doTERRA in these candles, but adore your label so much.
Thank you for sharing your tutorial. I really want to try to make some candles sometime soon. Pinned, sharing…
What a lovely tutorial. The labels for the candles are darling. Just wanted to let you know that I’m featuring this at our weekly link party. http://www.thelifeofjenniferdawn.com/2015/03/a-little-bird-told-me-link-party-132.html
This is a great tutorial on candle making. I’m inspired to give it a try! Thank you for linking up with us at the #PureBlogLove Link Party! Please join us again Thursday night at 8 p.m. EST. http://www.homemadefoodjunkie.com. I can’t wait to see what you bring!
These would be such wonderful little gifts! They’d go especially well in a spa gift basket!
I love these! You make it look so easy I just might try it. Thanks for the printable as well! Featuring on tomorrow’s Mom 2 Mom Monday Linkup. Thanks for joining!
Thank you very much for sharing this tutorial – and also these lovely printables <3 ! I will pin it to my DIY board on Pinterest. xx Moni
What an awesome tutorial – I love this! My daughter loves soy candles, so I am going to have to try it! Thanks so much for sharing it with us at #FoodieFriDIY…I’m pinning and sharing!
Hi you don’t say what type of wick to use, or the pouring temperatures of the wax???
In the post supply list, I have linked to the exact wicks that I used. Simply click that link and you will be taken to the product. I do not use a thermometer when making candles. I simply pour the wax when it has all melted; however, the melting point for soy wax flakes is around 120 degrees, and the pouring temperature will generally be around 130 degrees. 🙂
Thank you for sharing this great tutorial. I really want to try to make my own candles. These soya based candles are great for a greenie like me since they are more eco-friendly.
I am stopping by from the Thursday Favorite Things Blog Hop.
I’ve always wanted to try to make my own candles. And I love these printables! Thanks for linking up at Found & Foraged!
I had no idea that it was this easy to make something like this! What adorable gifts!
I would love for you to stop by my blog and join our Something to Talk About link party Monday’s-Thursday!
Have a great weekend!
Karen
Happy WW and thank you for linking up and sharing with the OMHG WW link up! I hope you have a wonderful rest of the week! xx Ashleigh @SimplyWright
I appreciate how easy you make this look, seems you have got a system, thats great. I tired to make just a few candles and decided to leave to those that have more patients. lol.
Thanks for sharing your post on the Oh My Heartsie Girl ww this week.
Hope you have a great day!
Karren
Thanks for the great tutorial. I have not yet made my own candles, but this looks achievable. Have a wonderful week!