

Crafter Confession: I never make (or even buy!) holiday wreaths. Like, ever. In fact, I don’t really use wreaths in our everyday decor either. In my entire crafting life, I have made exactly three wreaths that I can recall. It’s not that I have anything against them (it’s my hideous door color that I have issue with – RUST!), but I just don’t usually gravitate towards them either. Until now.
I don’t know what has gotten into me this holiday season, but I’m finding myself daydreaming about making half a dozen different kinds of wreaths. I knew that I wanted to start out simple by making this glittery Christmas ornament wreath that I first saw several years ago on Eddie Ross’s old blog (dontcha just adore him!?). It’s one of those projects that I always think I’ll try sometime, so I figured today was as good a day as any!
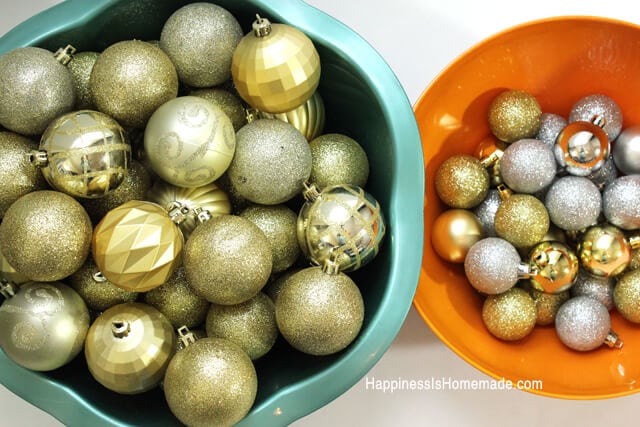
Start by gathering your supplies:
- 80-ish ornaments of various sizes (mine came from the dollar store and cost me $7)
- Hot glue gun & an extra glue stick or two
- Wire hanger or approximately 36″-42″ of 10 gauge wire
- Ribbon or other embellishments
 Start by removing the caps from the ornaments and hot gluing them back on. This is the most tedious part of the craft, but it didn’t take too long (about an hour). Trust me, you don’t want to skip this part even though it’s tempting. Once you get to step 3 you’ll be glad those little caps are secure!
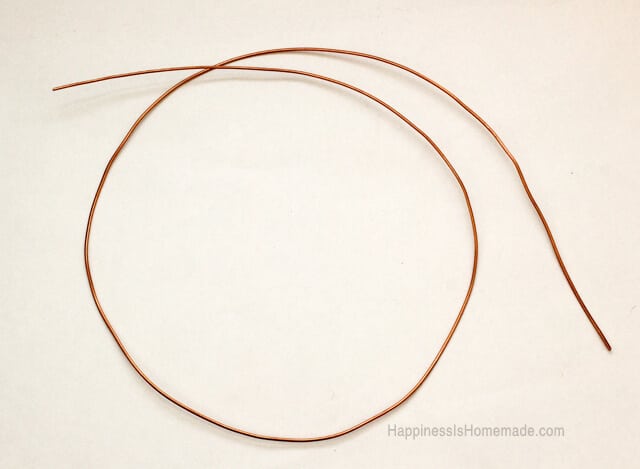 Take your wire hanger or length of wire (I’m using a piece of copper since my hubby is an electrical contractor, and that’s what we have in the garage!) and fashion it into a wreath shape. 80-ish ornaments will make a wreath about 14″ in diameter. I left both of my ends open and unsecured so that I could access both sides as I worked.
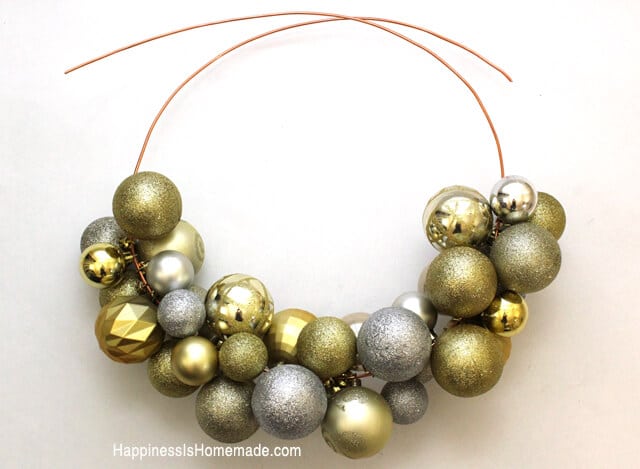 Start threading your ornaments on to the wire. As you accumulate more and more ornaments on the wire, shape them into an aesthetically pleasing arrangement. When you’re satisfied with the wreath layout, twist the ends of the wire together to close it up, and use any remaining wire to fashion a loop hanger. Use your hot glue gun to attach any bows, ribbons or additional embellishments.
Now, just a word of been-there-done-that caution: be careful, and don’t go and drop the darn wreath only moments after you’ve completed it! I ended up breaking the hooks off of six ornaments when my wreath hit the ground. I tried to re-shape it and hot glue the missing ornaments back on, but it was never quite as symmetrical as it was when I first finished, and you can see my copper wire peeking through in a few places *insert sad face here* Actually, I still think it’s pretty awesome…but just so you’re aware, if you handle your wreath with caution it will probably turn out even more awesome than mine!
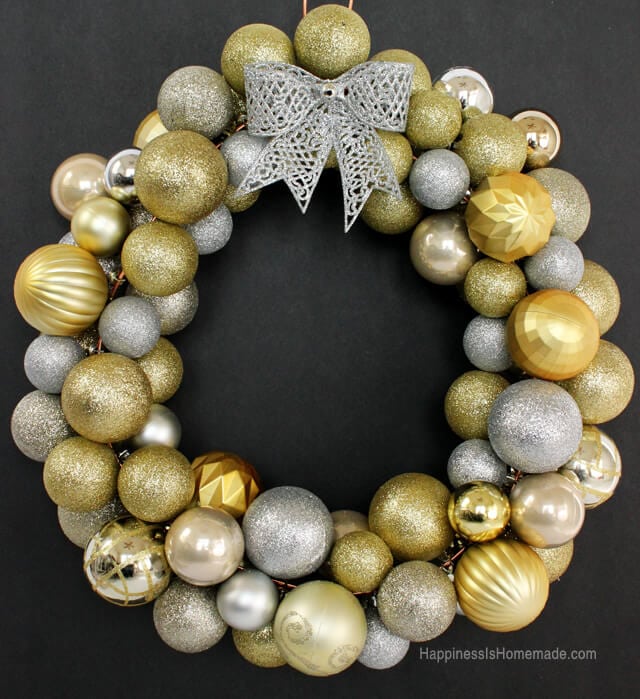 So pretty and festive and GLITTERY! I am so glad that I decided to use only gold, silver and champagne ornaments so that it will still look right at home hanging up through New Year’s!


Heidi Kundin has captivated the hearts of millions with her colorful and inspiring approach to crafting, celebrations, and family fun. With over 15 years of experience, Happiness is Homemade has become a must-visit destination for those seeking quick and easy creative ideas and last-minute solutions. Heidi’s warm personality shines through her posts, inviting readers to join her on a creative journey that’s fun, rewarding, and achievable. Heidi is also the author of Homemade Bath Bombs & More and DIY Tie-Dye.
So glad you recommended gluing the caps on. Had seen this on another site and they hadn’t mentioned it, seems like a very good idea.
This looks so simple. We got two huge bags of ornaments from a yard sale, literally hundreds of them, and the entire house has ornaments hanging. Hubby suggested making a big wreath with them. Yours was the first I found without a video….hate videos, I would so rather read and see a picture. Gotta dig out the glue gun and the wire and I’m on this. Thanks so much for the easy directions and tips! Merry Christmas!
Did you put them on in any order? Or just like.. off set it? Small..big..small..big.. im just confused on that part lol.
Love it! Seems easy, however, I haven’t tried it, lol. Looks beautiful! I love wreaths, just love them. (I only like the ones like this that are tasteful). I like that it can hang until New Year’s, that is the best, when things are versatile. thank you for all your ideas!!!
I have always shied away from this wreath, because it looks overwhelming to me. You made it look SO easy, Heidi!! Thanks for sharing. Pinning!!
This is SO pretty, Heidi! I love your simple tutorial. I’ve been wanting to try one!
What a GORGEOUS and simple DIY! Now, I really want to make one! Better put this on my list for December! Seriously fun. 🙂
LOVE! You make things look so easy! And this momma likes an easy, adorable project. 🙂
Current giveaway: A stencil! Our Journey Giveaway!
Thanks, Sarah! I promise it really wasn’t hard at all! 😀
That looks so easy! I had no idea and I love those wreaths. Totally going to try and make that this year.