
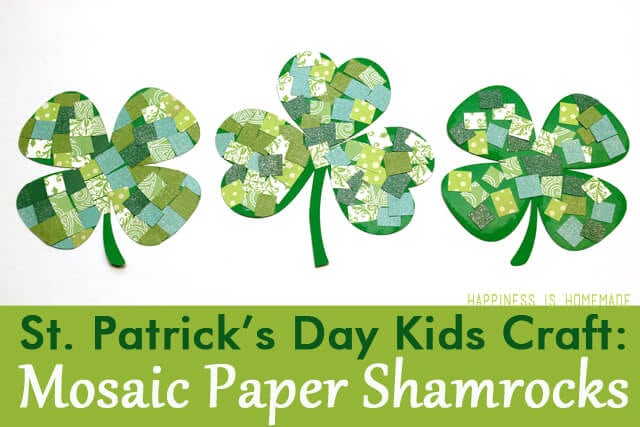

I’ve always used the term “four leaf clovers,” but a quick drive-thru trip after baseball practice recently introduced my boys to the word “shamrock” (via the Shamrock Shake), and now they think shamrock is much more fun to say. No matter what you call it, this little green plant with heart shaped leaves is the quintessential symbol of St. Patrick’s Day, and we’ve put together a fun kids craft to celebrate the holiday – mosaic paper shamrocks!
 What You’ll Need:
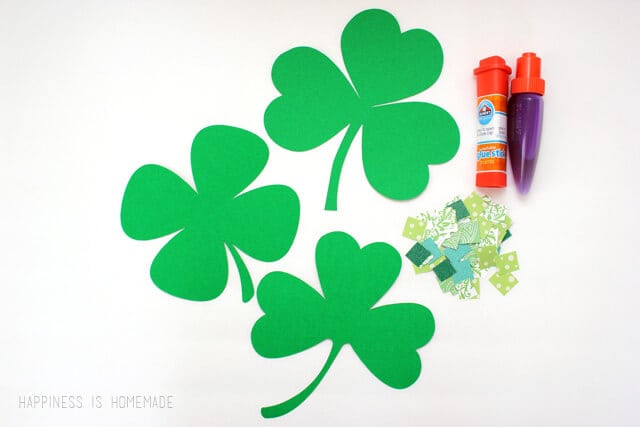
- Green poster board or heavy cardstock
- Paper – (plain and patterned) in assorted shades of green
- Elmer’s Early Learners Glue Stick or Glue Pen (available soon at Michael’s stores!)
- Scissors (not pictured)
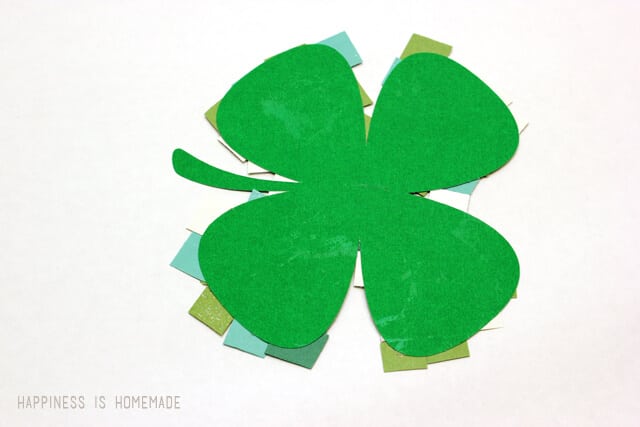
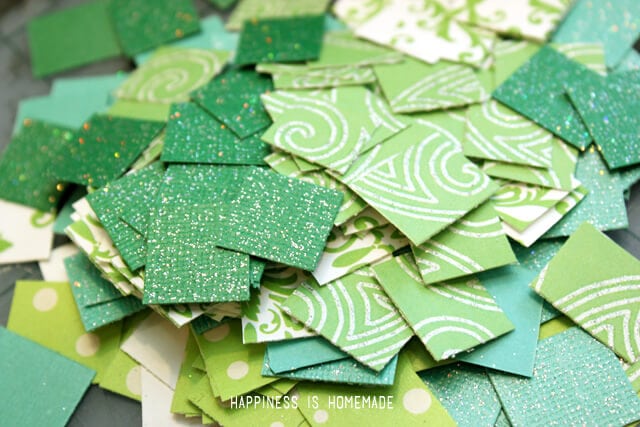 Begin by cutting the assorted green papers (we used glittered, solids and prints) into strips approximately 1/2″ wide and then cutting the strips into squares. There’s no need to be perfect! Cut shamrock shapes from the green poster board or heavy cardstock.
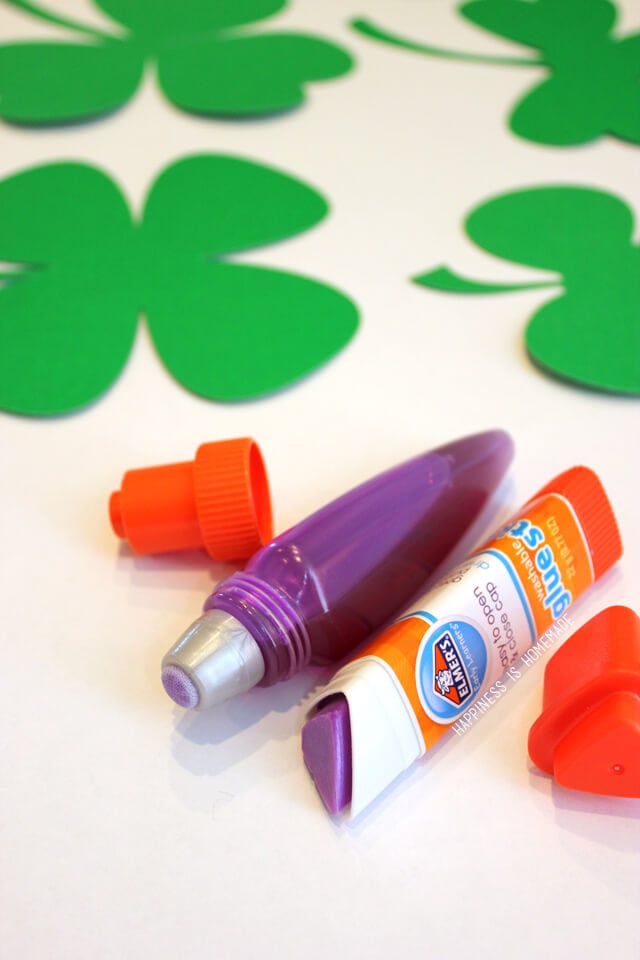 I’ve said it time and time again, but we genuinely love our Elmer’s Early Learners glues around here! The glue pen (which my boys call “dab dab glue”) has a soft dauber tip that allows them to apply the right amount of glue with no mess, and it has enough strength to hold heavy objects like rhinestones, buttons and pom poms to the paper (it’s seriously my favorite kids glue ever!). The Early Learners glue stick applies smoothly and is easy to grip with a large angled surface area that is perfect for little hands. Both go on purple and dry clear so that the kids can easily see where they’ve applied their glue.
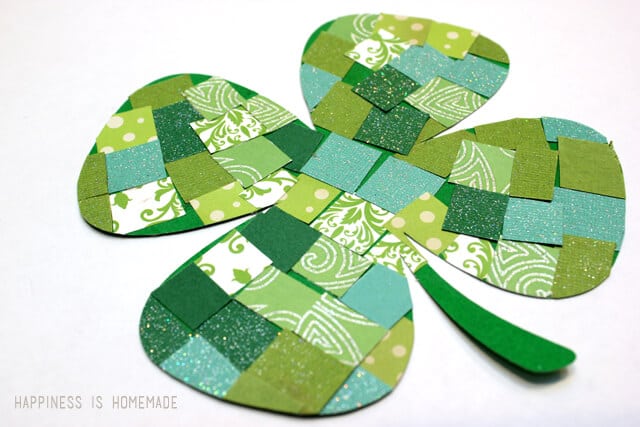
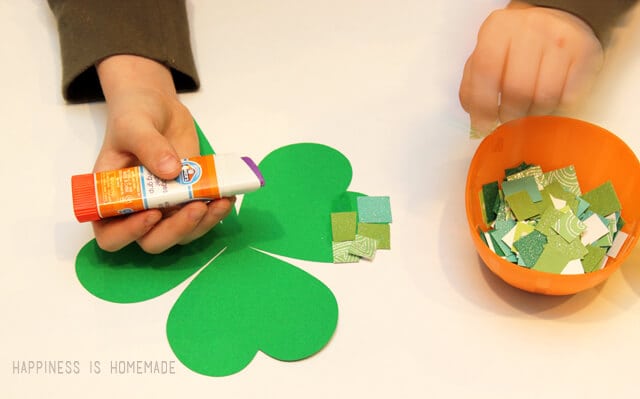 Apply the glue to the shamrock cut out, and start placing paper mosaic squares on to the shape. Don’t worry if the squares overlap the edges of your shamrock – they can be trimmed to size later.
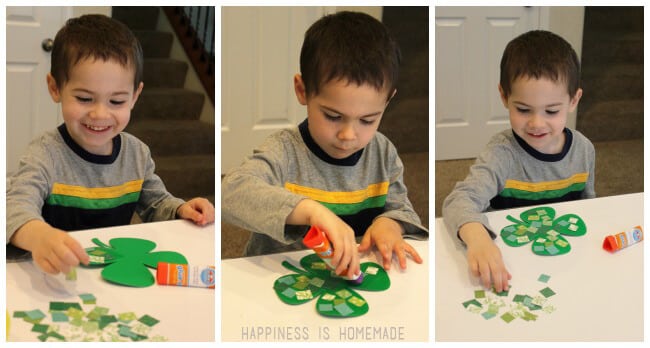 Simon (age 3) had so much fun with this activity that he actually made three shamrocks of his own! He was especially enamored with the “pretty sparkly paper” and worked happily at the table on his projects for quite a long time.
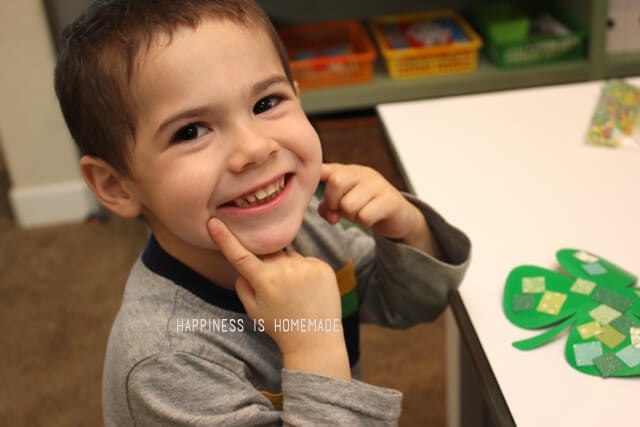 “See my smile? It says ‘I’m so happy!'” Who can argue with that logic? 🙂
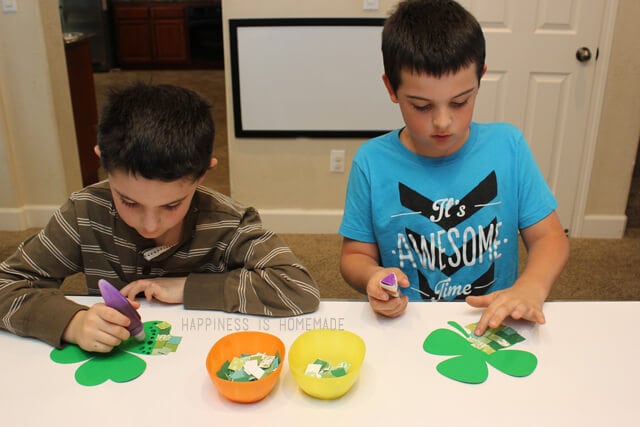 Sutton (age almost-7) and Sawyer (age 8) also had a lot of fun with this craft, and we’ve decided to recreate it with our homeschool group at our St. Patrick’s Day party. This activity is perfect for a large group because minimal supplies are needed, and it’s appropriate for a wide variety of age groups.
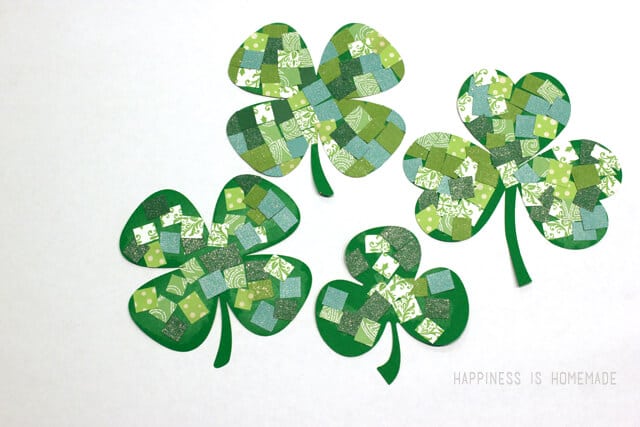
 Allow the paper squares to dry completely before trimming off any overhanging edges.
 Isn’t that cute? {and super easy and inexpensive, too!}
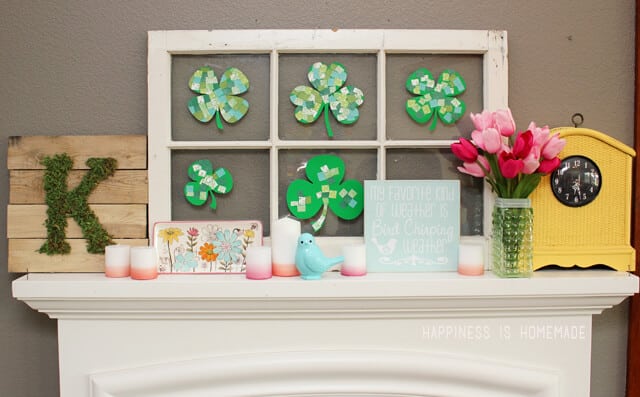 We added the shamrocks to the window on our mantel (we’re rockin’ a St. Patrick’s Day-Spring themed mantel mashup these days haha!), and my boys are so proud that their work is front and center in the display!
For more fun craft ideas, be sure to sign up for the Elmer’s Newsletter and check them out on Twitter, Facebook, Instagram & Pinterest! Happy crafting!

WANT MORE ST. PATRICK’S DAY FUN?
GET OUR MEGA ST. PATRICK’S DAY BUNDLE NOW!


Heidi Kundin has captivated the hearts of millions with her colorful and inspiring approach to crafting, celebrations, and family fun. With over 15 years of experience, Happiness is Homemade has become a must-visit destination for those seeking quick and easy creative ideas and last-minute solutions. Heidi’s warm personality shines through her posts, inviting readers to join her on a creative journey that’s fun, rewarding, and achievable. Heidi is also the author of Homemade Bath Bombs & More and DIY Tie-Dye.
Hi Heidi! I love this cute idea! Would you be so kind as to suggest where I can get the patterned paper?
Thanks!
I picked all of mine up at Michaels and JoAnn! 🙂
Hello! This craft looks really nice. Is there any way to print out your directions for this and other crafts on your site that is printer-friendly i.e. without the ads? Thanks so much for sharing your creativity, work and time!
Where did you get your template for the shamrocks? They are just the right size and I like that there are three different shapes. Thanks!
Hi Alyssas, the shamrock shapes are from the Silhouette library, and I cut them out with my Silhouette Cameo. 🙂
What a great craft! I noticed it on Pinterest the other day and pinned it right away! Thanks for sharing it at my weekly link party too! Your boys look like they had a lot of fun with this!
I am going to do this with my Nursing / Rehabilitation and memory care friends..it will be good for fine motor and thinking of placement of tiles…
Love, love this! So creative and fun! We are gearing up in green for St. Patrick’s day and celebrating it with a sweet shamrock shake! I would love for you to stop over and check out my shamrock shake recipe! 🙂
Cathy
Funny about the Shamrock shake reference (they’re a tradition my husband brought to our marriage). I miss doing these kinds of sweet crafts with my kiddos when they were young. Thanks for sharing at the This Is How We Roll Link Party on Organized 31.
These look very fun and easy! I might just have to try it with my 2 year old!
I saw your link at the I Gotta Create Wildly Original link party. I absolutely love this idea! I’m going to do this with my grandchildren at our St. Patrick’s Day family party.
I am a grandmother of 8 fabulously wonderful grandchildren. I’m starting my own link party as a resource for grandmothers of great activities to do with their grandchildren. (We grandmas need all the help we can get.) Would you be so kind as to pop over and add a link (or a couple)? You have such terrific ideas and I would deeply appreciate it!
All the best,
Nina
What a fun project! Thank you for sharing this post on Found & Foraged!
These look really fun. I think this is the perfect craft for kids. I live in a town that takes St. Patrick’s Day very seriously. I need to teach a little class or something using this craft. Thanks for sharing!
Such a fun and easy craft for my little guys…can’t wait to try it out. Adding to my Pinterest page.
I love your posts, especially the ones showing the crafts you do~ Awesome!
Thanks so much, Kim! 🙂