
Time for another fun and easy baby shower gift! When I was pregnant with Sawyer (almost 6 years ago!), ribbon blankets were all the rage, and though I wasn’t really sure they’d actually be a big hit with my unborn baby, I decided to whip up a couple of them on my new sewing machine. Honestly, that’s when my insane crafting craze began, so I have a sentimental soft spot in my heart for these cute little blankies. Naturally I had to make one for the baby shower I went to this past weekend!
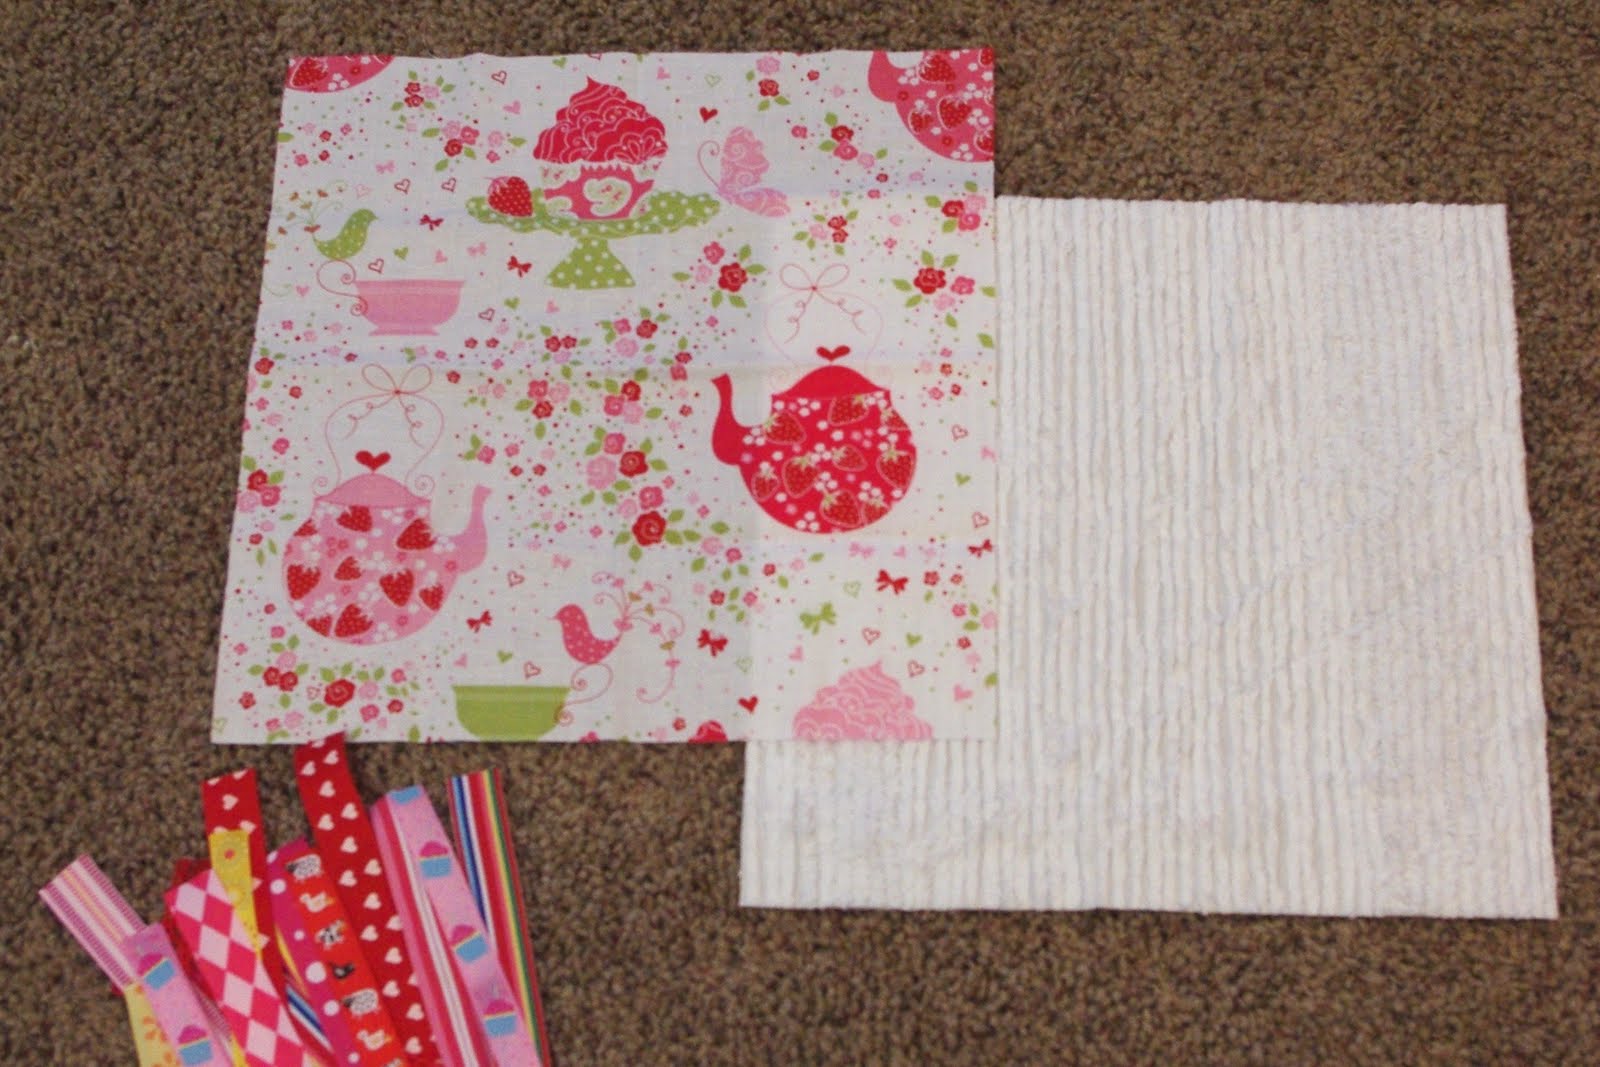
Start by selecting two fabrics (I chose 100% cotton for the front and a soft chenille for the back) and some coordinating ribbon. Cut the fabric into two 14″ squares. You should pre-wash your fabrics to avoid any uneven shrinkage once your blanket is assembled. You can also iron your fabrics at this point, but since we’ll be ironing them later on I usually skip it.
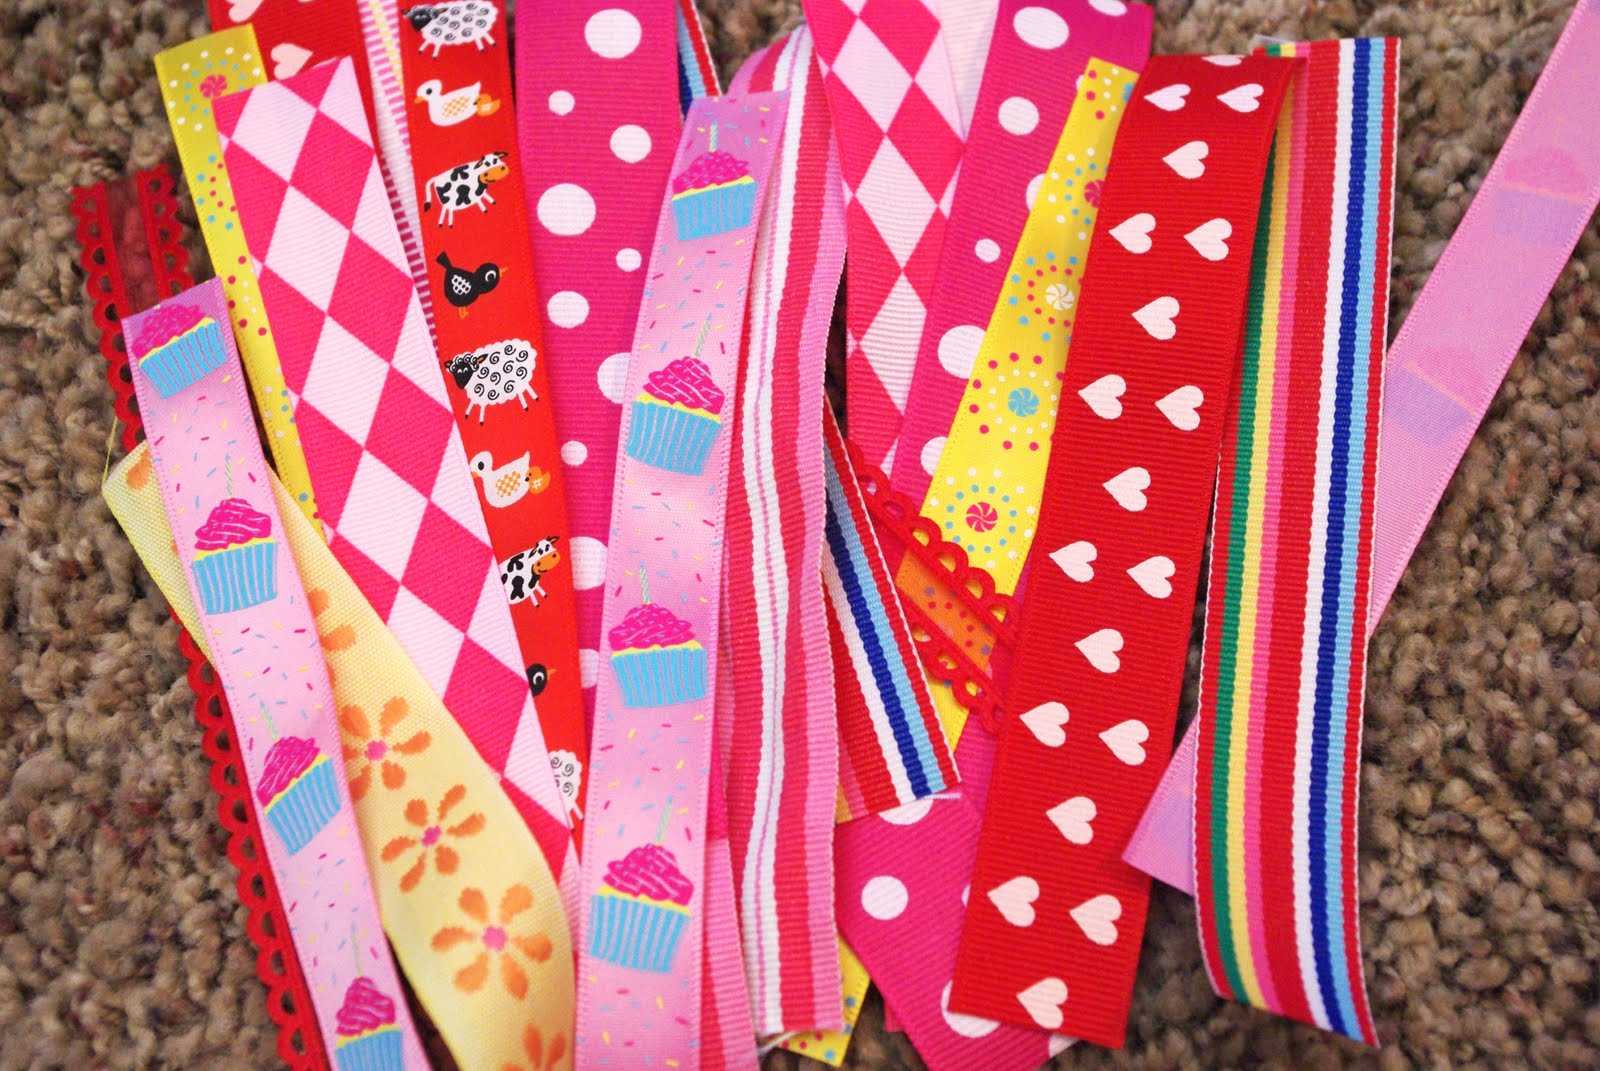
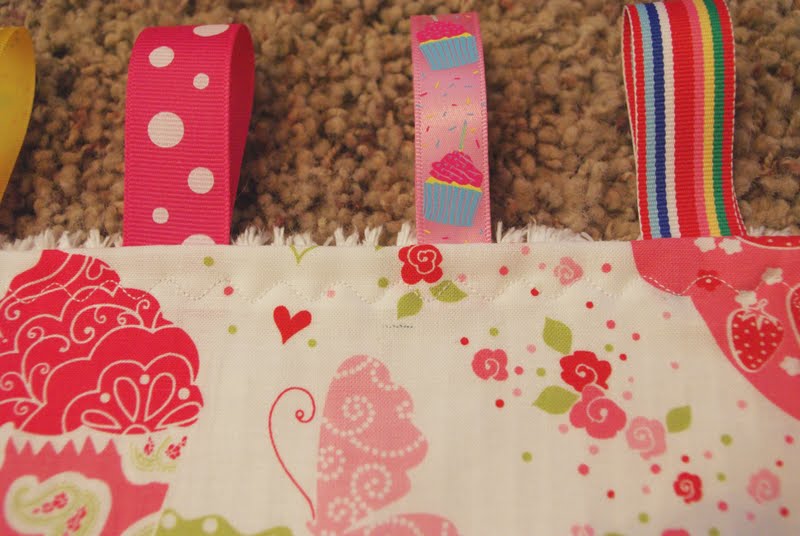
Cut your ribbon into 5″ pieces (you can cut them as short as 3″, but I like mine to be a little longer in the end – just personal preference!). I used 20 ribbons – 5 on each side of the blanket. Make sure you have a wide variety of ribbons! I like to use grosgrain, satin, embroidered, sheer, etc…it’s all about the tactile experience for the baby, so the more textures you have the better!
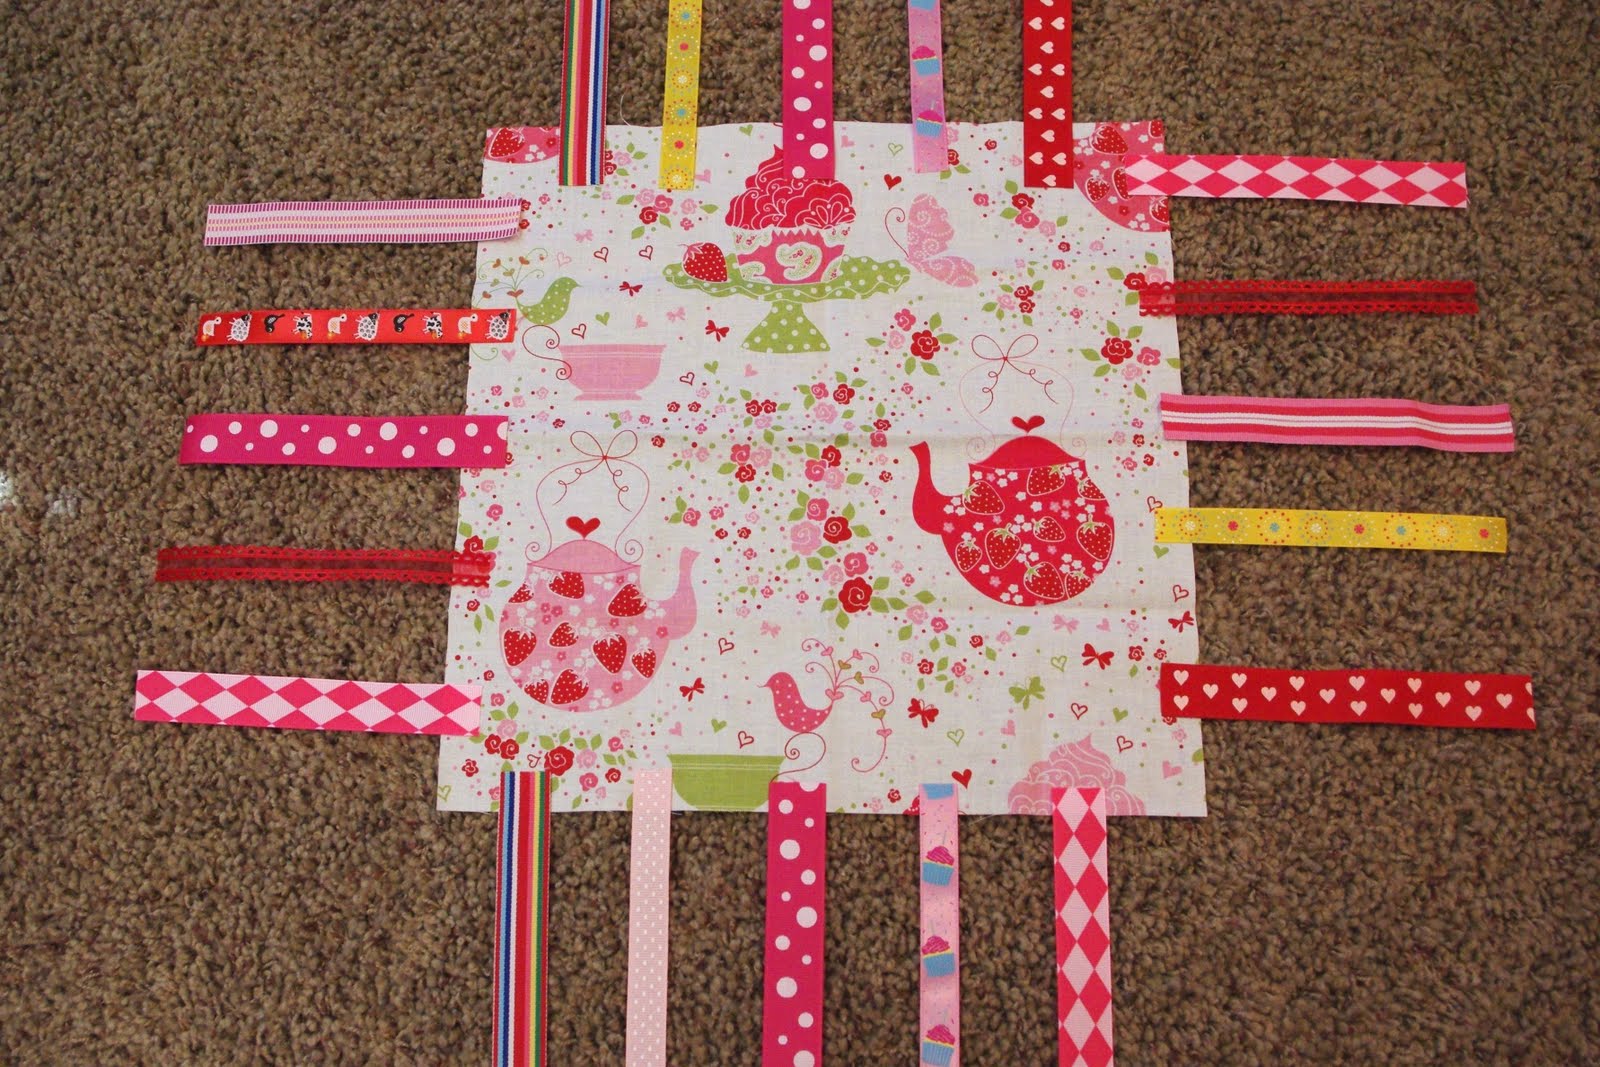
Play around with how you’d like your ribbons laid out. I actually ended up changing mine around a few more times before I finally settled on a design. There’s really no right or wrong answer, but I find that putting the sturdier ribbons (usually the thicker/wider grosgrain ones) at the corners seems to work best.
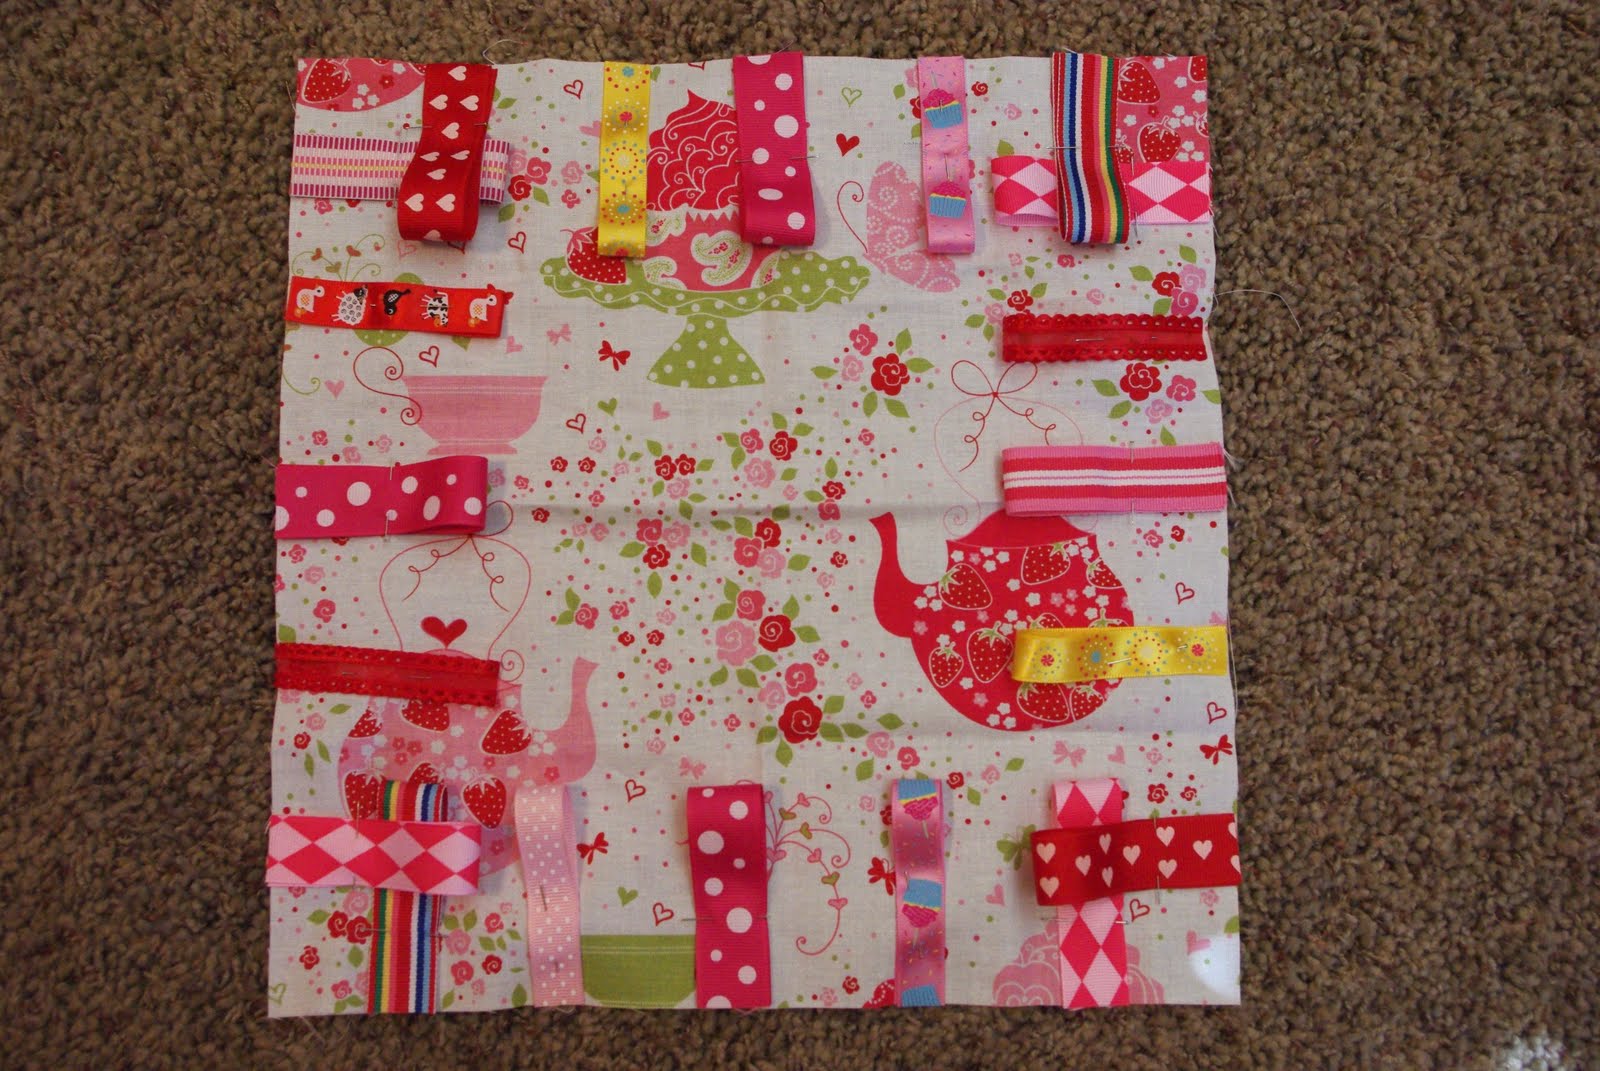
Fold your ribbons in half and pin them in place. They should be on the inside of your cut square with the edges lined up with the edges of the fabric. At this point it’s advisable to sew the ribbons in place by quickly stitching around the perimiter of the fabric, but since I’m always in a hurry I usually just keep the pins in for the next step (watch your fingers if you do it my way!).
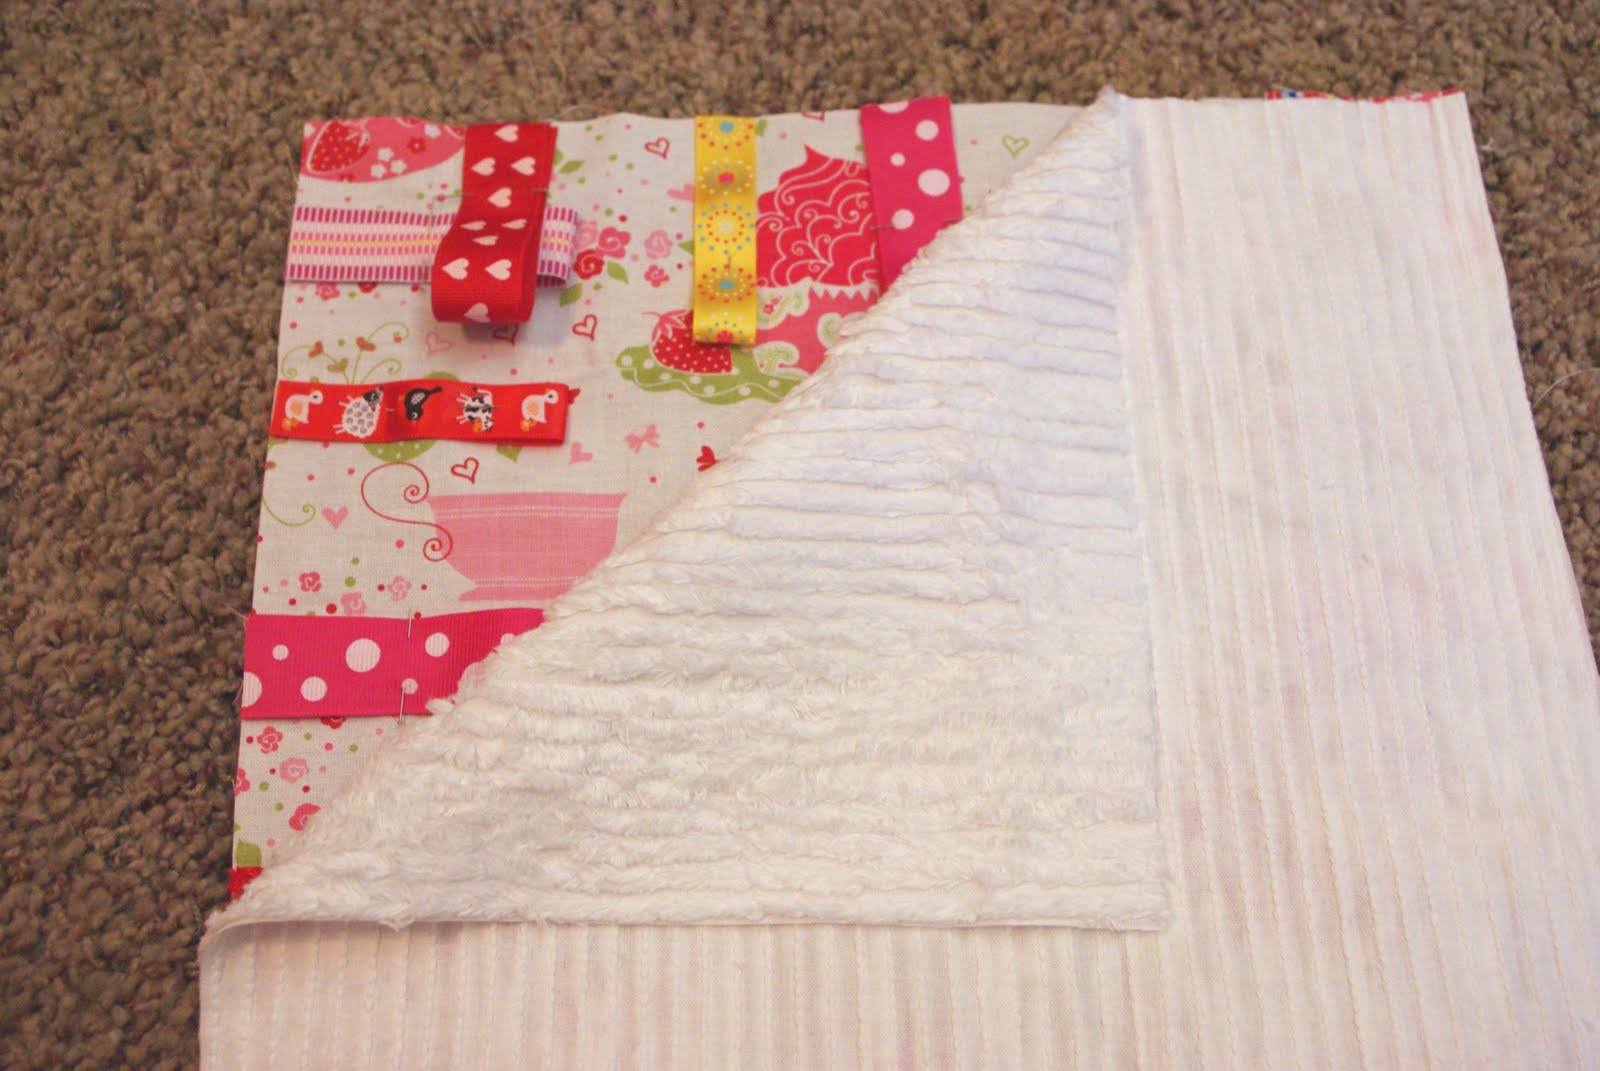
Sandwich your two blanket squares together, right sides facing in. If you’re in a hurry like me and didn’t sew your ribbons down in the last step, make sure that your pins are far enough away from the edges that they won’t get caught in the seam you’re about to sew! I use a 1/4″ seam allowance, so I like to keep my pins about 1″ in from the edges.
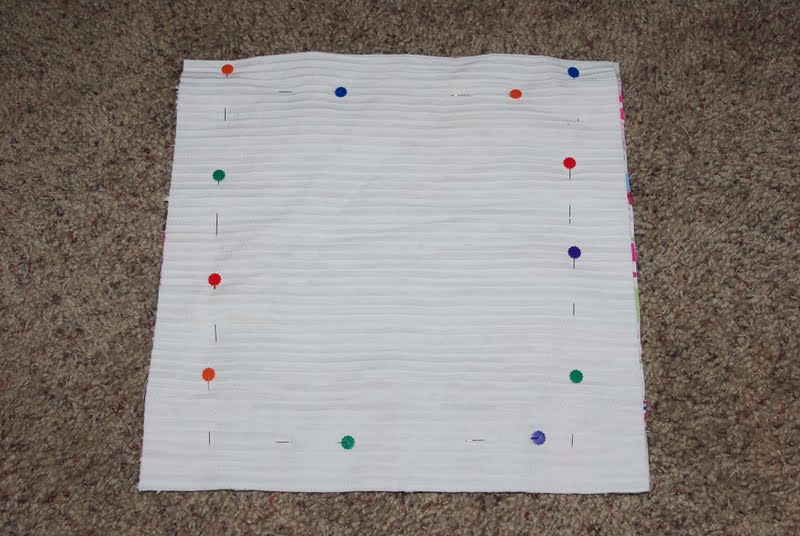
Pin the fabrics together (I realize that most people put their pins in the other direction…not sure why I do mine this way. Just habit I guess! Pin it however you like, so long as it’s pinned!) and sew around the edges, leaving a small opening at the bottom for turning the fabric right side out. Again, if you didn’t sew your ribbons down in the last step, be extra careful when you turn your fabric right side out since there are about 20 extra pins inside there to remove!
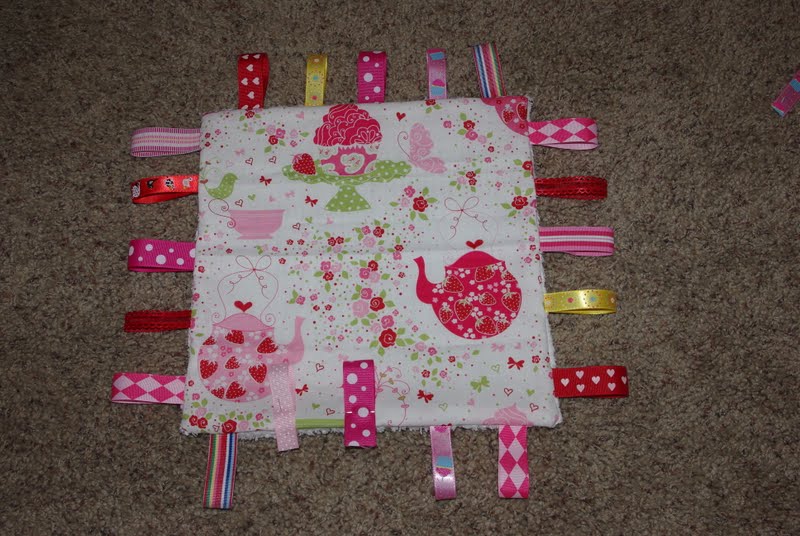
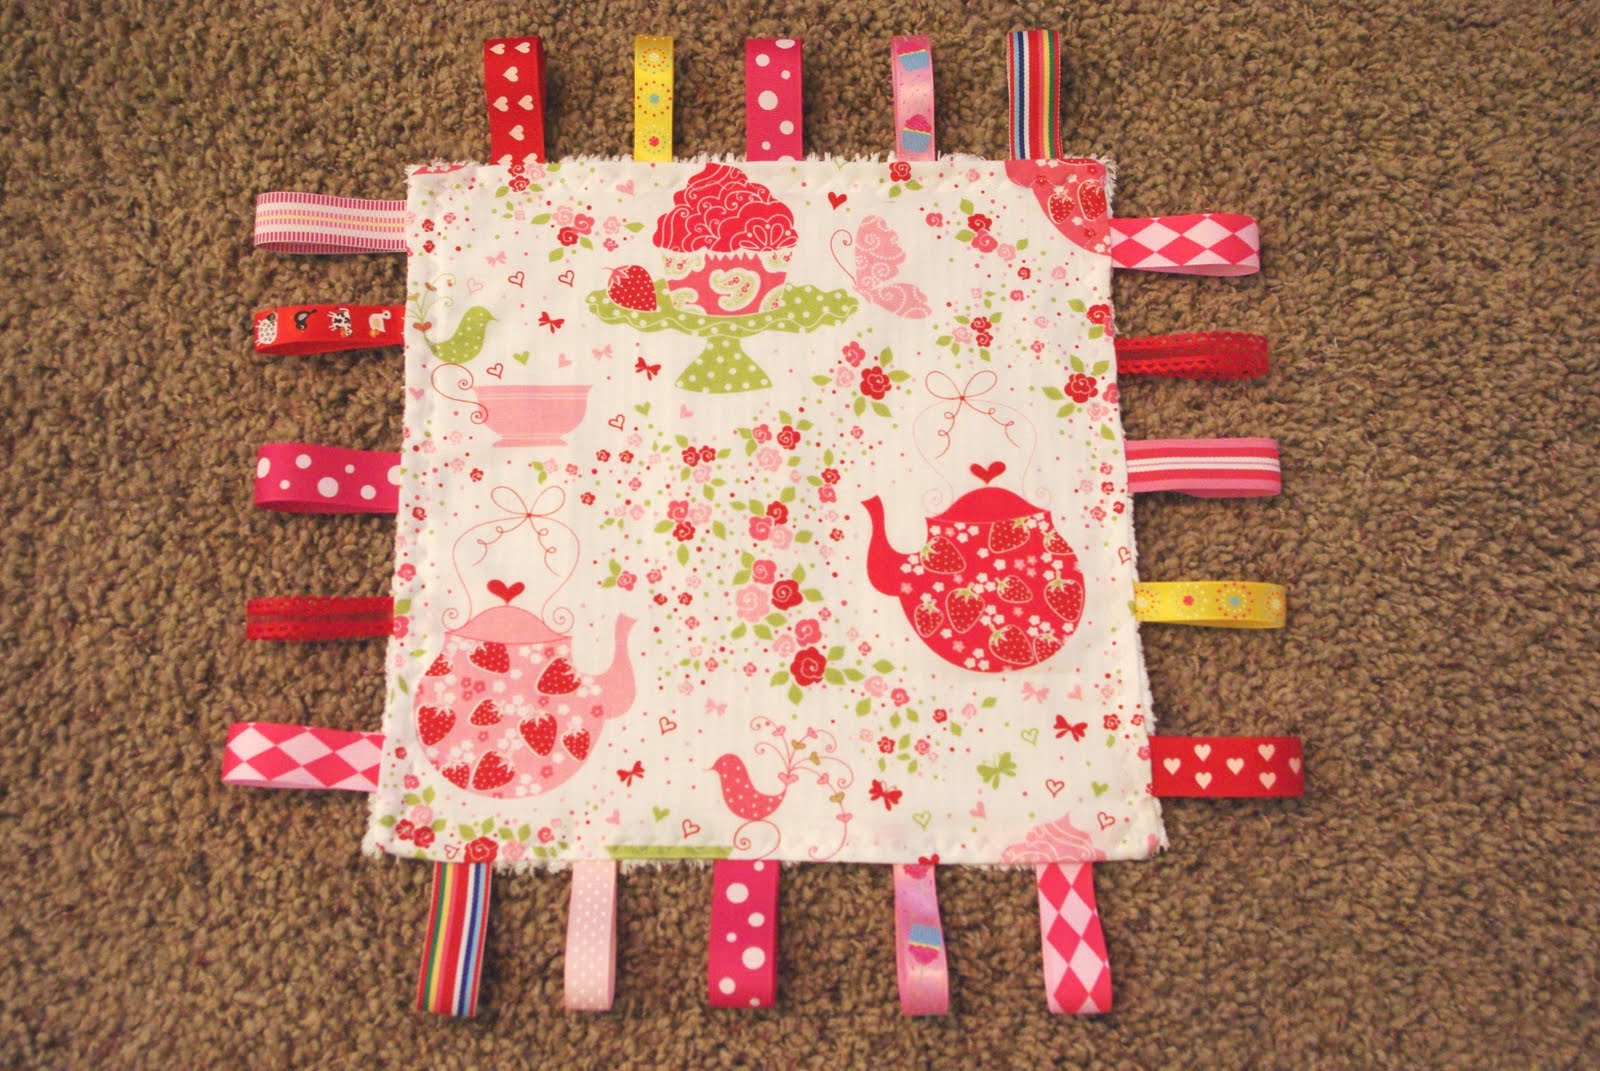
Voila! Now it’s time to iron your blankie! Place the last ribbons (there should be a couple of un-sewn ribbons where you left the opening) in place and top stitch around the entire blanket.
I like to use a decorative top stitch, though it’s kind of hard to see in this picture!
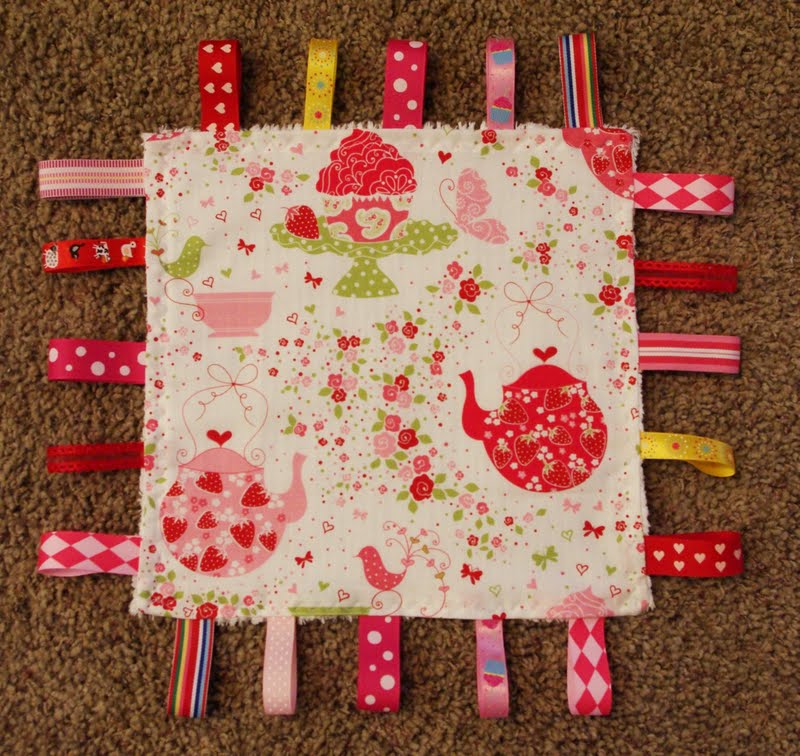
All done! Easy peasy (and cute to boot!)!
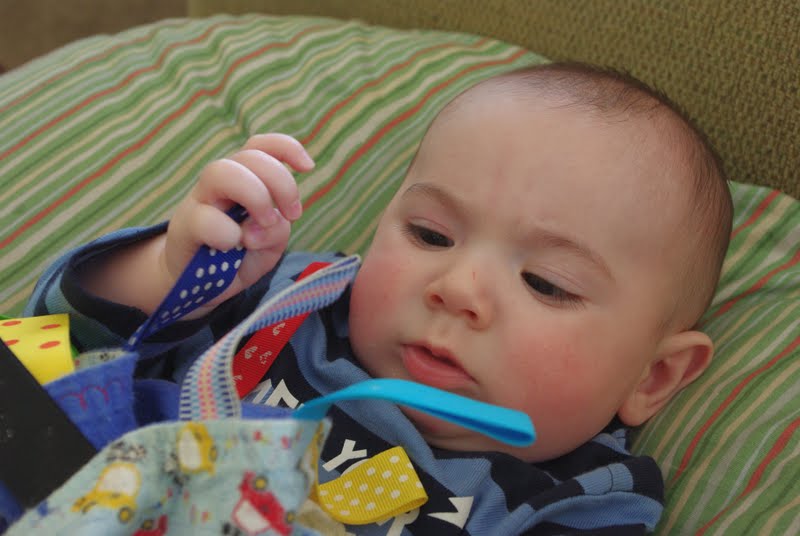
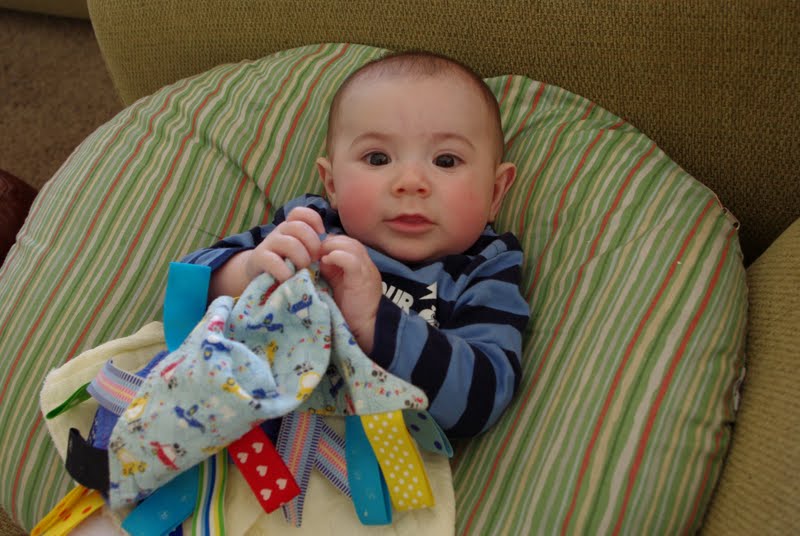
Turns out the ribbon blakets were a huge hit in my house! Here is Simon at 5 months with the blanket I made six years ago for Sawyer – it’s held up wonderfully! He loves to play with the ribbons, and they’re fantastic for teethers to gnaw on! Ours are never far from reach 🙂
Hope your littles ones love them too!


Heidi Kundin has captivated the hearts of millions with her colorful and inspiring approach to crafting, celebrations, and family fun. With over 15 years of experience, Happiness is Homemade has become a must-visit destination for those seeking quick and easy creative ideas and last-minute solutions. Heidi’s warm personality shines through her posts, inviting readers to join her on a creative journey that’s fun, rewarding, and achievable. Heidi is also the author of Homemade Bath Bombs & More and DIY Tie-Dye.
It turned out really cute. The soft fabric was weird when I sewed it, and I also didn’t space the ribbons evenly, so it would’ve looked store bought if I did do that. I would make sure to do that so it looks better!
Great tutorial. Love your colors. Did you have any problem with colors bleeding from the bright fabric ribbons? And are there any type of ribbons you would not use?
Love, love this project!
I’ll need to make 2 as my BFF is about to have twin girls!
I forget how to use my sewing machine now though…as I have become obsessed with knitting lately!
So pretty! We made an owl one last month 🙂
http://craftsandartforchildren.blogspot.com/2011/04/crinkly-owl-taggie-toy.html
Oh and the pizza dough is next to the deli where you can pick up fresh pizzas and salads. FYI you have the noreply-comment@blogger.com as your e-mail address when you leave comments.
Adorable! I made one a few weeks ago for baby Zoey. If you want an invite to Pinterest just send me an e-mail!
amanda.bryant84@gmail.com
So cute! I don’t have babies anymore but would love for you to share your tute at Fun For Kids Friday.
http://smilemonsters.blogspot.com/2011/05/fun-for-kids-friday_19.html
Jo @ SmileMonsters