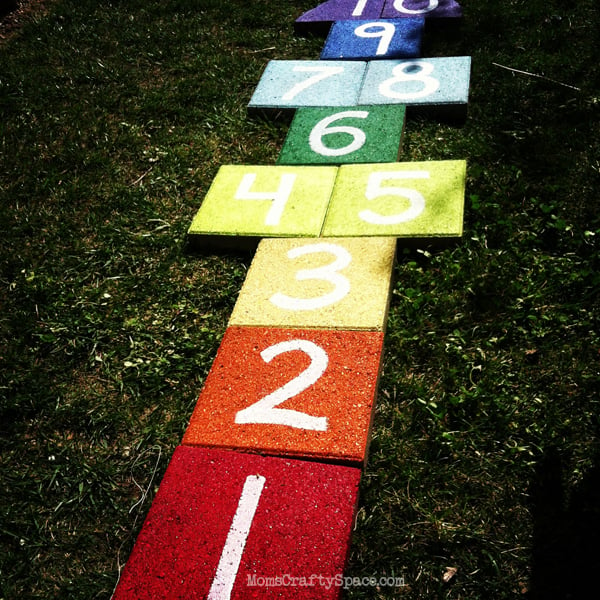
I posted a quick peek at the boys’ latest garden project on Instagram a couple of weeks ago, and it seems that we’re not the only ones who think it’s super cool! Someone asked me how we made our fun colorful hopscotch, so I thought I’d share a few pics…since I take pictures of everything these days, I had a few to choose from.
One of my favorite blogs, Wee Folk Art, recently shared the link to a brightly colored paver hopscotch created by Read Between the Limes, and we were inspired to make one of our own. We already had a pile of pavers on the side of the house just waiting to be used, so it was a great project to use up some stuff we already had. The side yard next to our garden beds tends to get sort of mushy and soft, so it was the perfect place to put a hopscotch walkway.
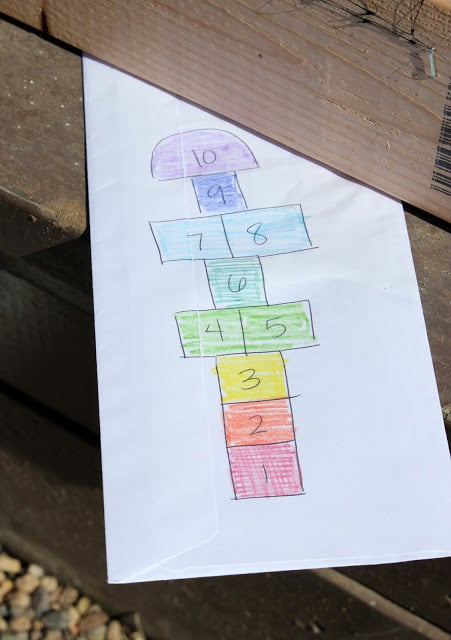
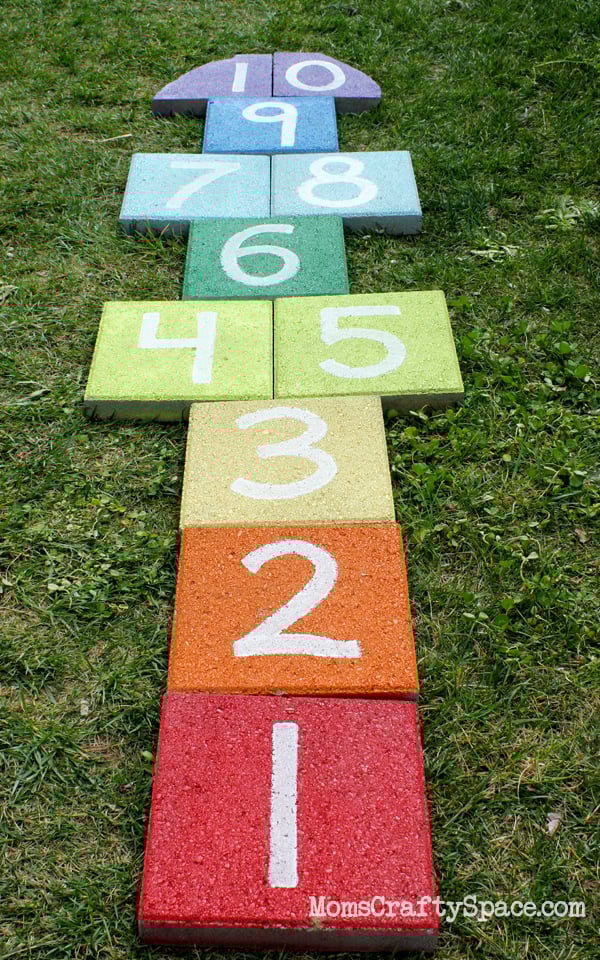
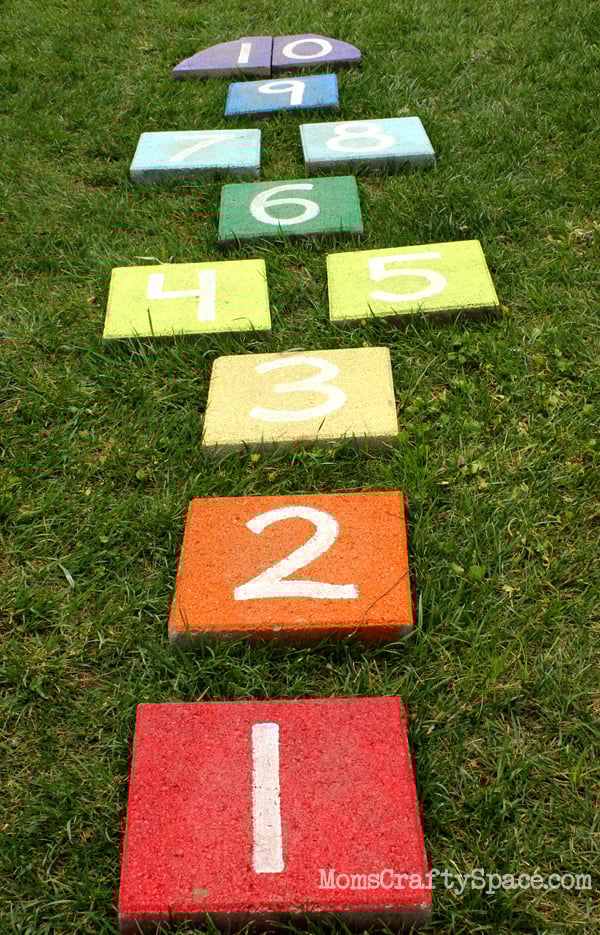
Sutton decided that he wanted a classic shape and layout, and I let him choose the colors. Naturally he picked a rainbow pattern since that’s his favorite.
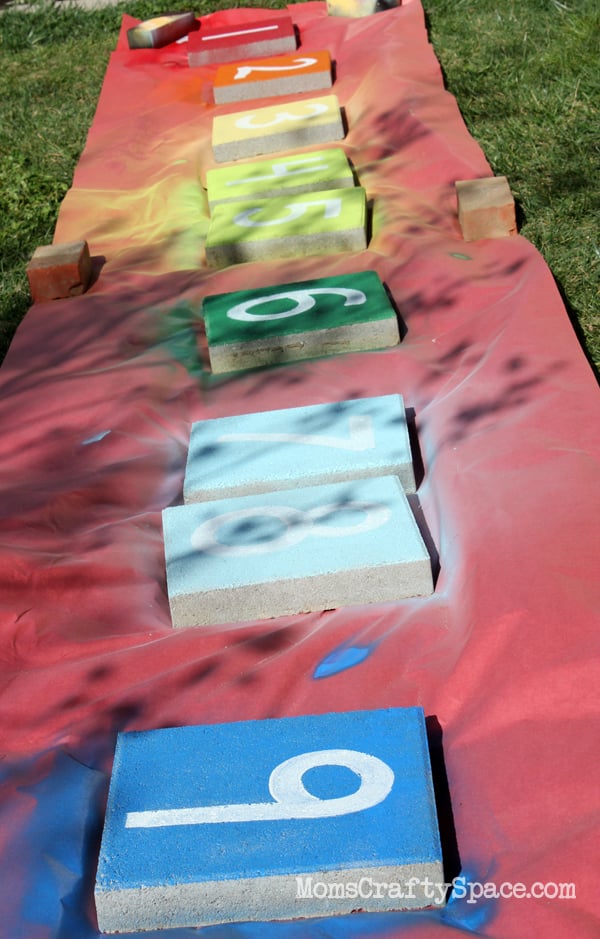
I laid out a big sheet of red kraft paper to protect the lawn, and then Sutton and I spray painted the tops of 12″ garden pavers in our rainbow palette of colors. We didn’t paint the sides of the pavers since we figured that they will eventually sink into the lawn a bit, and we didn’t want to waste paint. When the spray paint was dry, I used some leftover exterior latex paint and a 1″ foam brush to paint the numbers.
So simple and fun! I set up the rainbow hopscotch with the pavers pushed together…
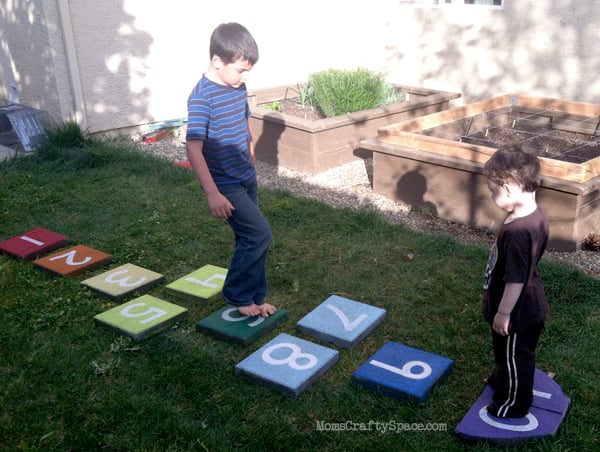
…but eventually the big boys moved them further apart to fit their long jumping strides.
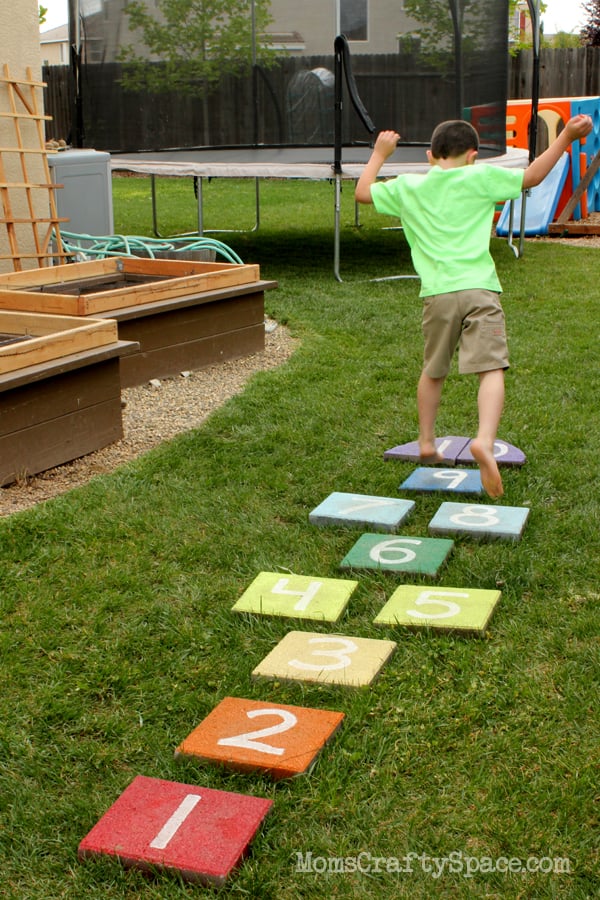
I love the bright pop of color that it adds to the side yard, and I really love that I have someplace dry and solid to walk on when the yard is wet and soggy. My kids love it, and so do all of the other kids in our neighborhood!
Whenever it gets too quiet in the backyard I know to look for my numbers-obsessed toddler over here in the side yard. He likes to spend a good chunk of his day outside jumping around and reciting his numbers over and over (and over and over!) again! With a few simple items that we had around the house and about 30 minutes of my time, we created a fun and functional play feature in our yard – not too shabby!


Heidi Kundin has captivated the hearts of millions with her colorful and inspiring approach to crafting, celebrations, and family fun. With over 15 years of experience, Happiness is Homemade has become a must-visit destination for those seeking quick and easy creative ideas and last-minute solutions. Heidi’s warm personality shines through her posts, inviting readers to join her on a creative journey that’s fun, rewarding, and achievable. Heidi is also the author of Homemade Bath Bombs & More and DIY Tie-Dye.

