
This post may contain affiliate links. I will receive a small commission from these sales at no additional cost to you!
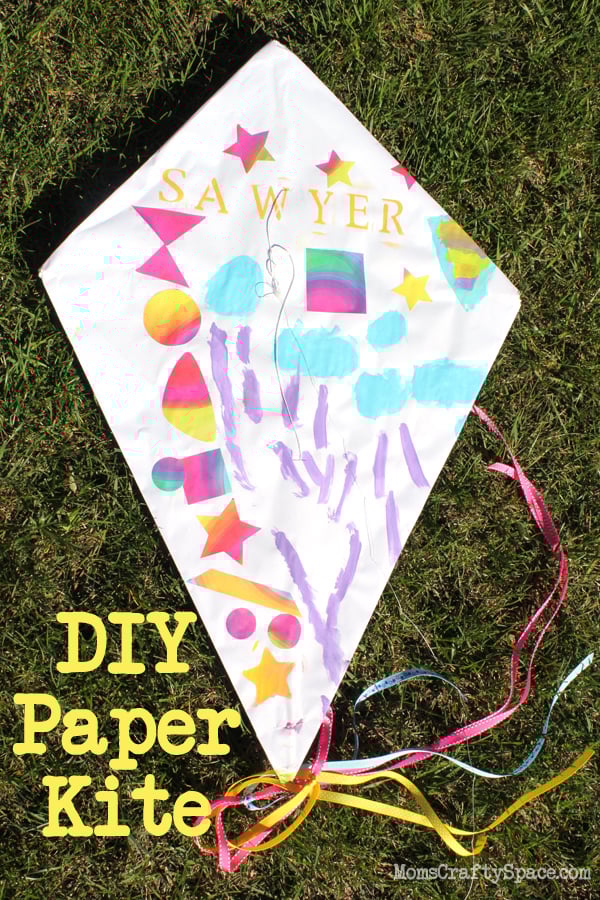
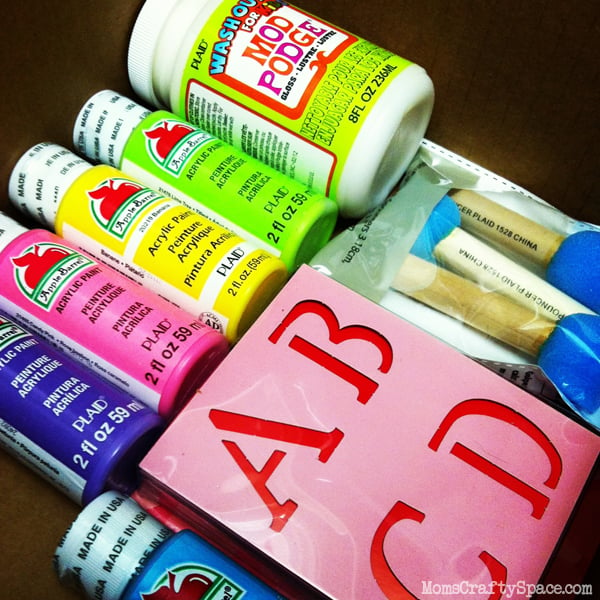
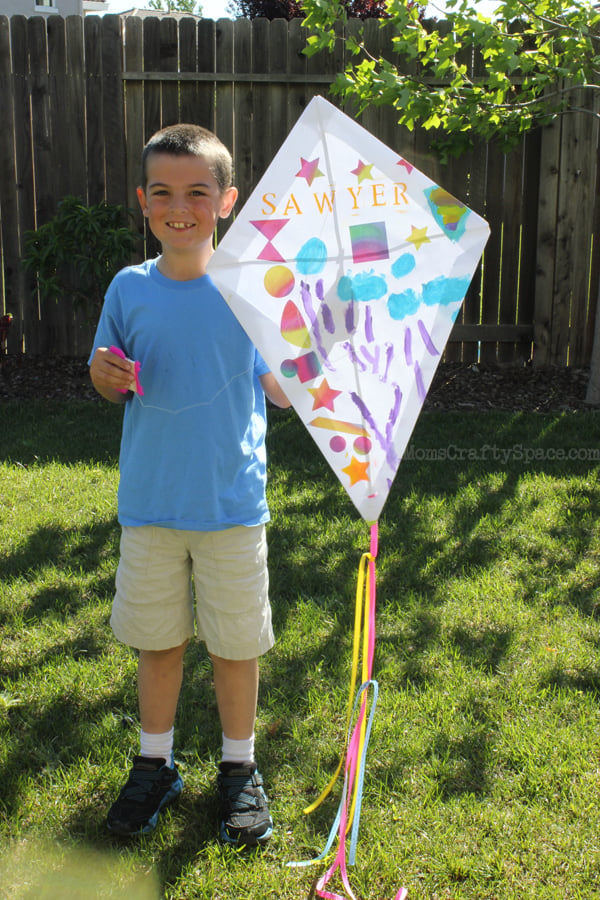
Springtime in our neck of the woods is always accompanied by a lot of wind, so to celebrate the start of our windy season my boys crafted some super cool paper kites. Kite making has been on our crafting bucket list for a while now, so when I received this box of Apple Barrel paint, stencils, and Mod Podge Washout I knew exactly what I wanted to do with it.
You May Also Like These Related Ideas:
To make your own paper kites you need:
- Two wooden dowels (ours were 1/4″ and 1/8″ in diameter because we used what we had on hand), cut to 33″ and 24″ lengths.
- 36″ wide sheet of paper (or several smaller sheets taped together to make a large one)
- Apple Barrel acrylic paints
- Twine
- Tape
- Ribbon or fabric scraps
- Optional: Mod Podge Washout, stencils, and patterned paper for embellishment
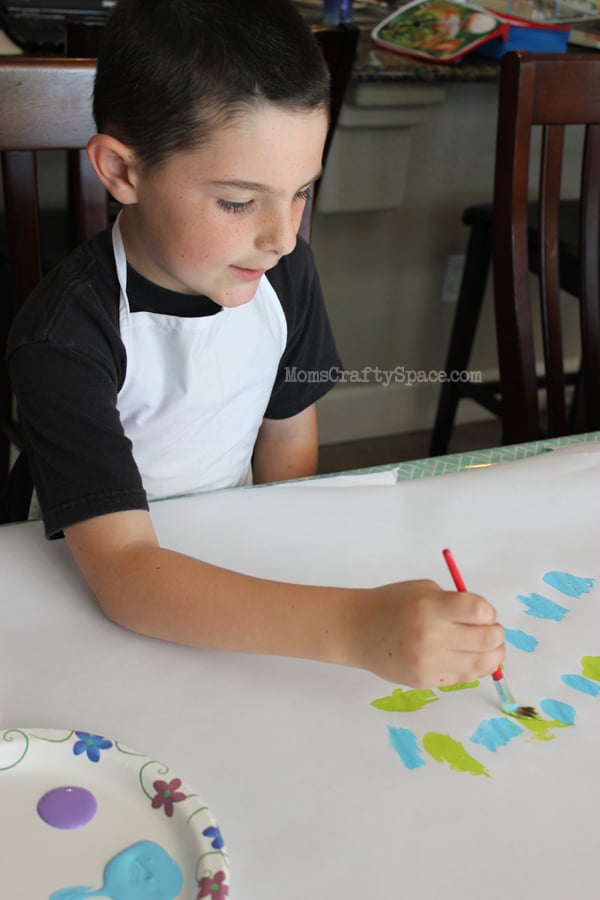
We started by painting the large sheets of paper with abstract spring motifs (those are rain puddles and grass in the photo above, just in case you were wondering!).
Be sure to wear an apron or art smock to protect your clothing when using acrylic paint, but don’t worry too much about messy hands or brushes – it’s all part of the fun process! Apple Barrel paint washes off easily with soap and water while it’s still wet, so it’s perfect for kids’ projects. I like to keep a stack of baby wipes handy for messy fingers.
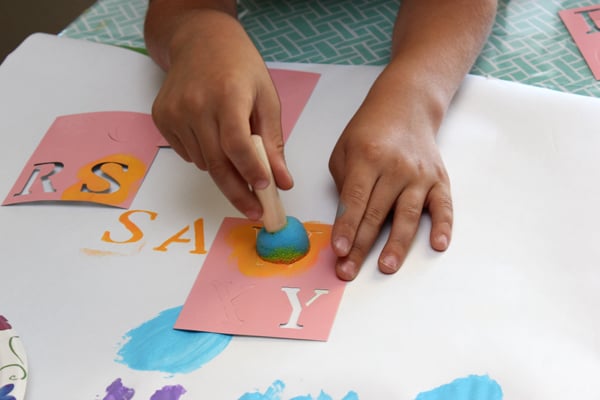
The stencils were a huge hit, and I was totally impressed with how quickly the boys caught on to the fact that they only needed a tiny bit of paint on their spouncer to get the best results.
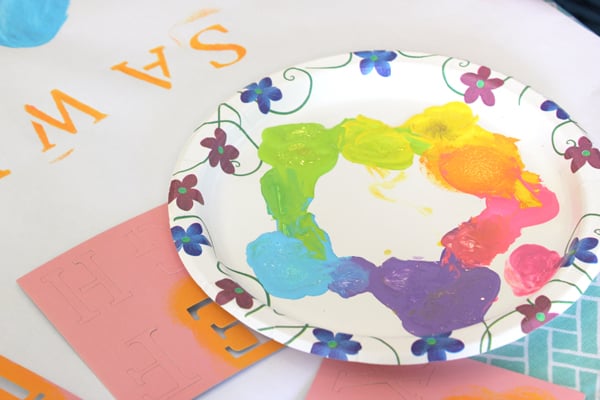
We had a quick impromptu lesson in color mixing that resulted in lovely full-spectrum paint palettes even though we only started with five initial paint colors. The Apple Barrel paint line comes in a huge range of colors, but sometimes it’s fun to mix up your own combos!

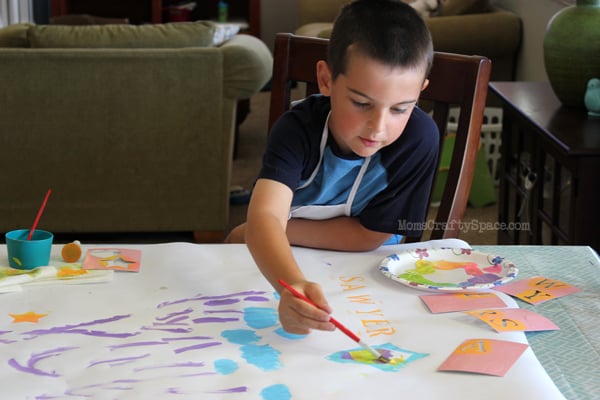
The boys were pretty pleased with their paintings, but they wanted to add a final dash of pizazz, so we cut some shapes from patterned paper and used the Mod Podge Washout to decoupage them onto the kite paper. Mod Podge Washout is fantastic for kids because it washes out of clothing and furniture with soap and water, even when dry – no pre-soaking necessary! Not that I’d know anything about that 😉
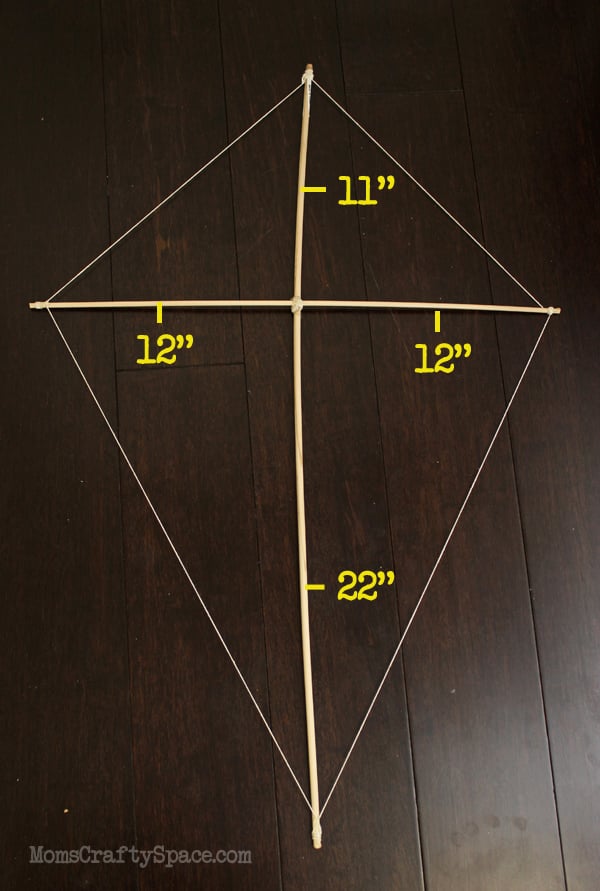
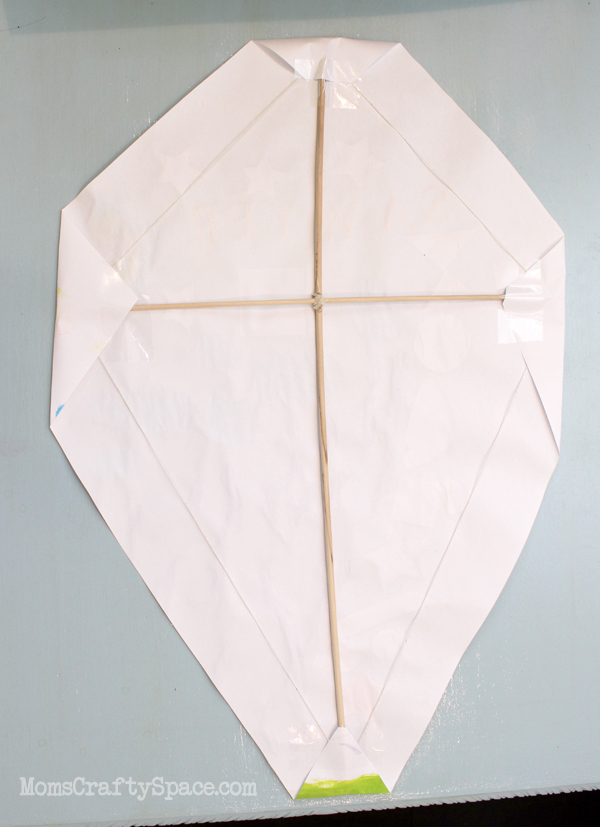
To build the kite frame tie together the two dowels as shown above and then reinforced the joint with hot glue if desired. The perimeter is created by tying a single length of twine from one end of the dowel to the next. I wrapped the twine a few times at each end piece and secured with hot glue.
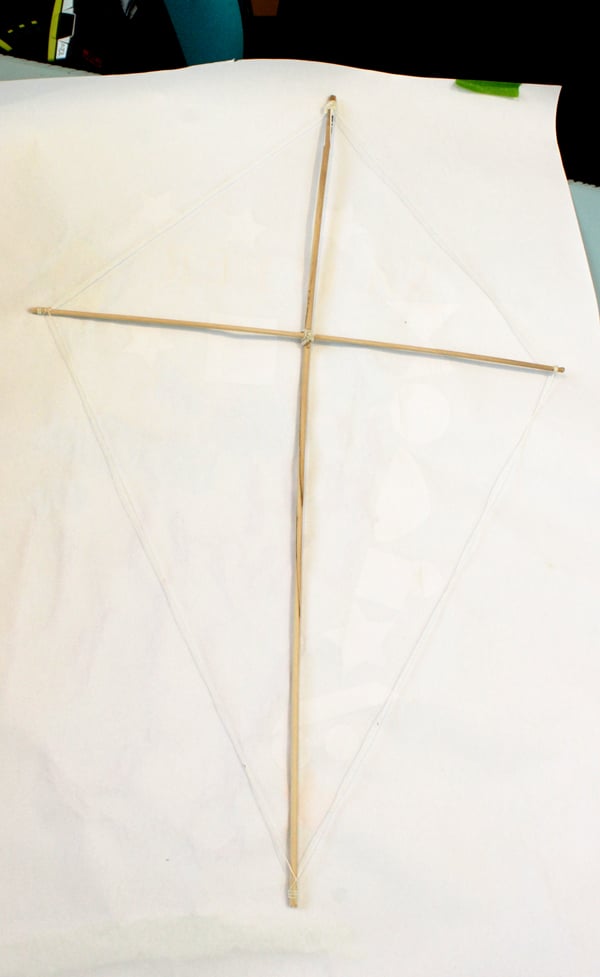
Lay the kite frame out onto the painted artwork and trim the paper to size. Leave a 2″ border around the kite frame for folding and finishing the kite.
Start by folding the corners in and securing with tape. Next, fold the side seams over the twine and secure with tape along the entire length of the fold.
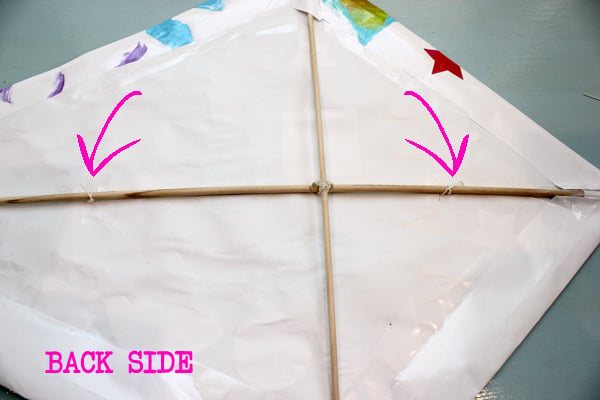
This next step is easier to show through pictures than words, so please take a look at the photos to illustrate what I mean. Find the mid-point of the two sections of the longer dowel and use scissors or a craft knife to cut a small slit in the kite at those locations. You may want to reinforce the holes with a small piece of tape on each side of the kite.
Tie a length of twine to the dowel at the first slit location and feed the string through the slit to the front side of the kite. Feed the string back through the other slit and finish by tying it to the dowel on the back side of the kite. Make sure that the string is NOT pulled tightly on the front side of the kite, but that it has a good amount of slack in it to create the kite’s bridle.
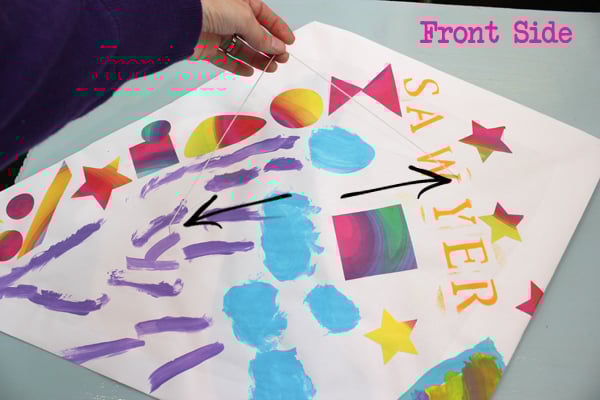
Tie the string that you will use to fly the kite to the center of the bridle, and tie on some ribbons or fabric scraps to create the kite’s tail.
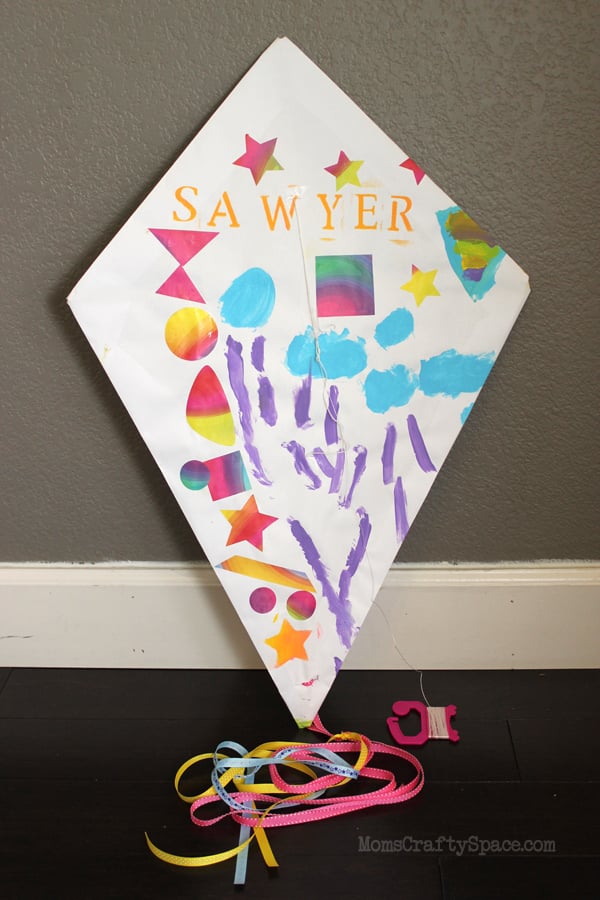
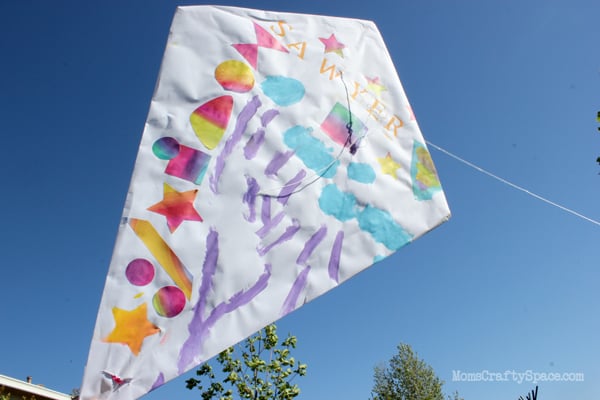
All done and ready to fly!

We had SO much fun flying our new kites!

Check Out These Other Kids Ideas!


Heidi Kundin has captivated the hearts of millions with her colorful and inspiring approach to crafting, celebrations, and family fun. With over 15 years of experience, Happiness is Homemade has become a must-visit destination for those seeking quick and easy creative ideas and last-minute solutions. Heidi’s warm personality shines through her posts, inviting readers to join her on a creative journey that’s fun, rewarding, and achievable. Heidi is also the author of Homemade Bath Bombs & More and DIY Tie-Dye.
Thanks! The pictures look easy to follow and I think that I could actually do this!
This is genius! I used to fly kites as a child and LOVED it!
My Family-Focused Monday hop is live now and I would love to see one of your awesome posts linked up @ http://www.mondaykidcorner.blogspot.com.
Have a wonderful week.
This looks like so much fun!! My son would LOVE to make and fly his own kite!
How fun is this & to think I just bought our little girl a kite this week!
xo
What a great idea!! Love it!
What an amazing idea! My kids would love to give this a whirl.
I love these cute kid project! I’m totally going to have to do this with my kids–thanks for the great idea!
What a fun project! Love the kite idea!
What an AWESOME idea!! We are totally going to have to make those this summer! My kiddos are going to are going to loose their heads at the thought of making their own kites! Thanks for sharing.:)
This is such a great idea ~ my little guy was sitting with me…saw this and you inspired us to make one together.
What an awesome project!! On a different note…love your floors. Do you find it hard to keep them clean? Mine shows every single footprint. Even streaks from mopping.
What a great idea, this is something the kids and I haven’t made yet! They’d love this!