

I posted a quick peek at the boys’ latest garden project on Instagram a couple of weeks ago, and it seems that we’re not the only ones who think it’s super cool! Someone asked me how we made our fun colorful hopscotch, so I thought I’d share a few pics…since I take pictures of everything these days, I had a few to choose from.
One of my favorite blogs, Wee Folk Art, recently shared the link to a brightly colored paver hopscotch created by Read Between the Limes, and we were inspired to make one of our own. We already had a pile of pavers on the side of the house just waiting to be used, so it was a great project to use up some stuff we already had. The side yard next to our garden beds tends to get sort of mushy and soft, so it was the perfect place to put a hopscotch walkway.
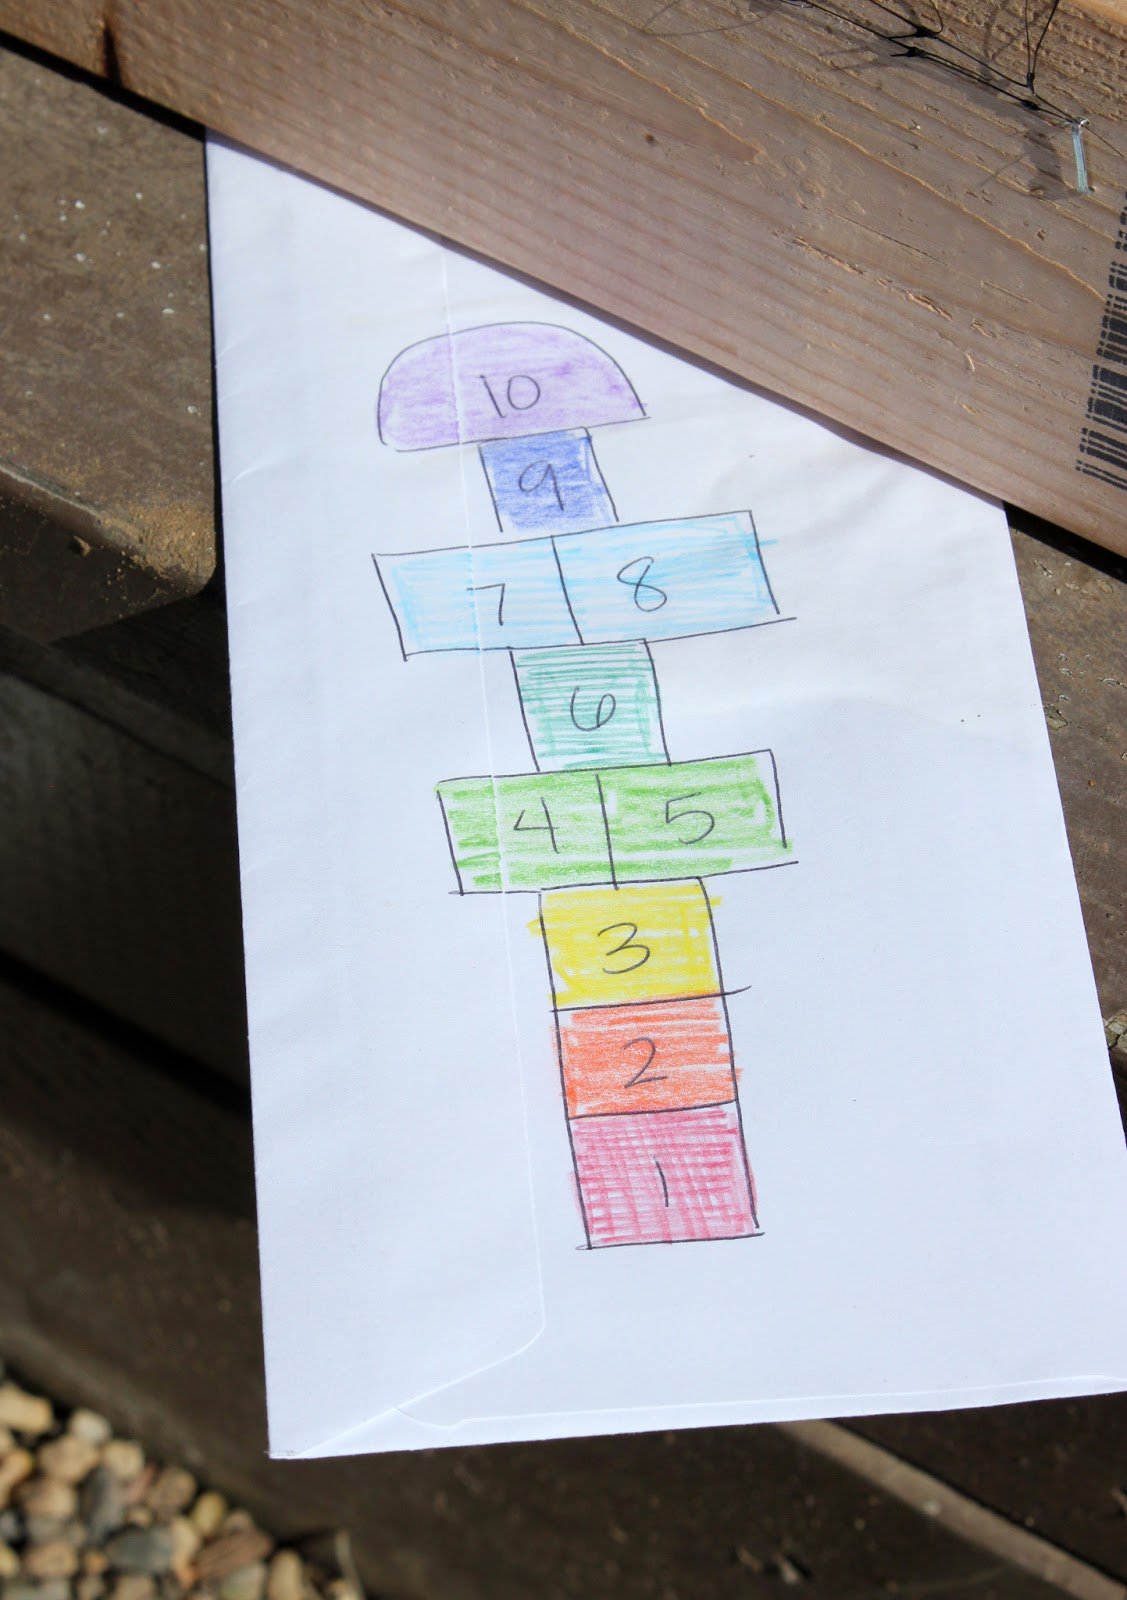
Sutton decided that he wanted a classic shape and layout, and I let him choose the colors. Naturally he picked a rainbow pattern since that’s his favorite.
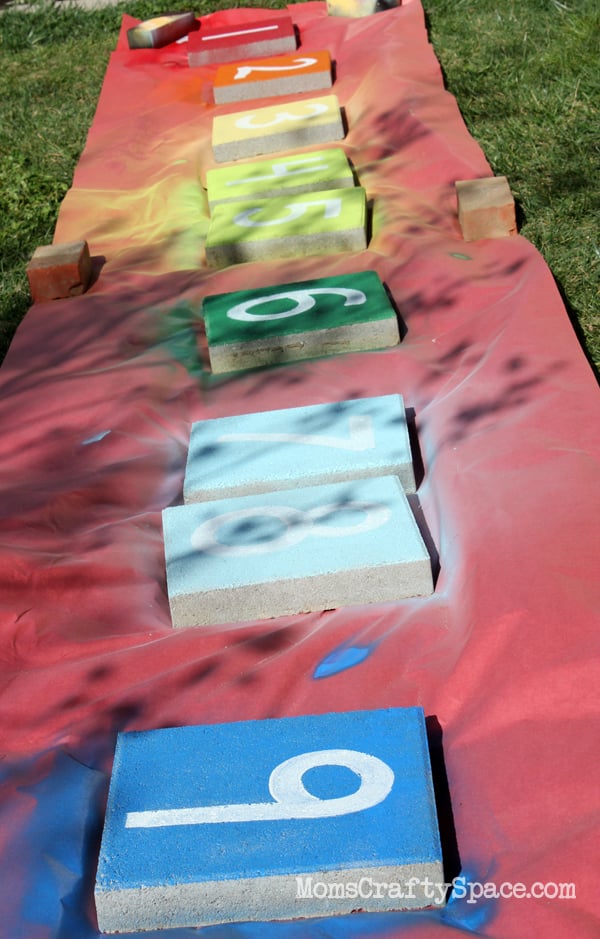
I laid out a big sheet of red kraft paper to protect the lawn, and then Sutton and I spray painted the tops of 12″ garden pavers in our rainbow palette of colors. We didn’t paint the sides of the pavers since we figured that they will eventually sink into the lawn a bit, and we didn’t want to waste paint. When the spray paint was dry, I used some leftover exterior latex paint and a 1″ foam brush to paint the numbers.
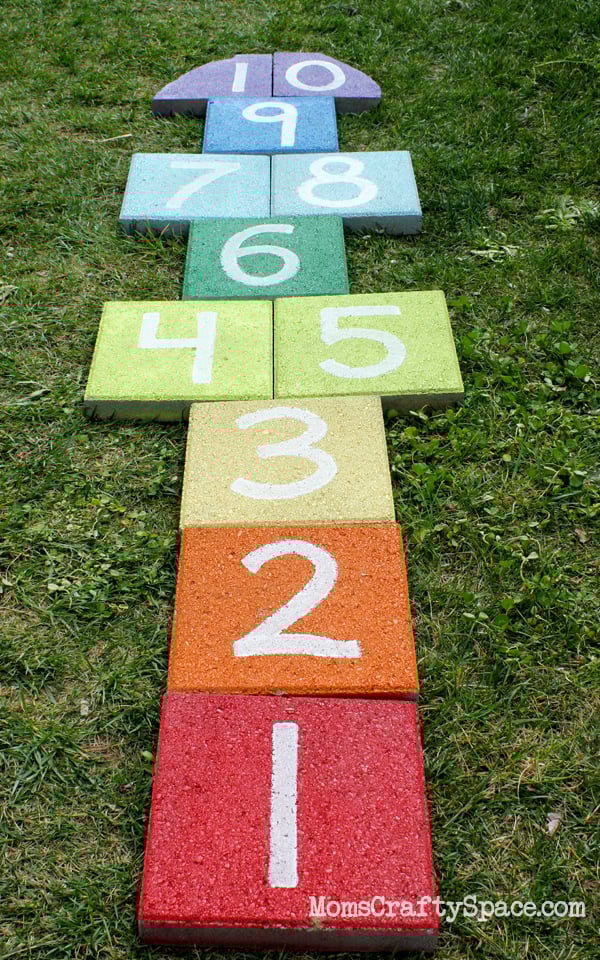
So simple and fun! I set up the rainbow hopscotch with the pavers pushed together…
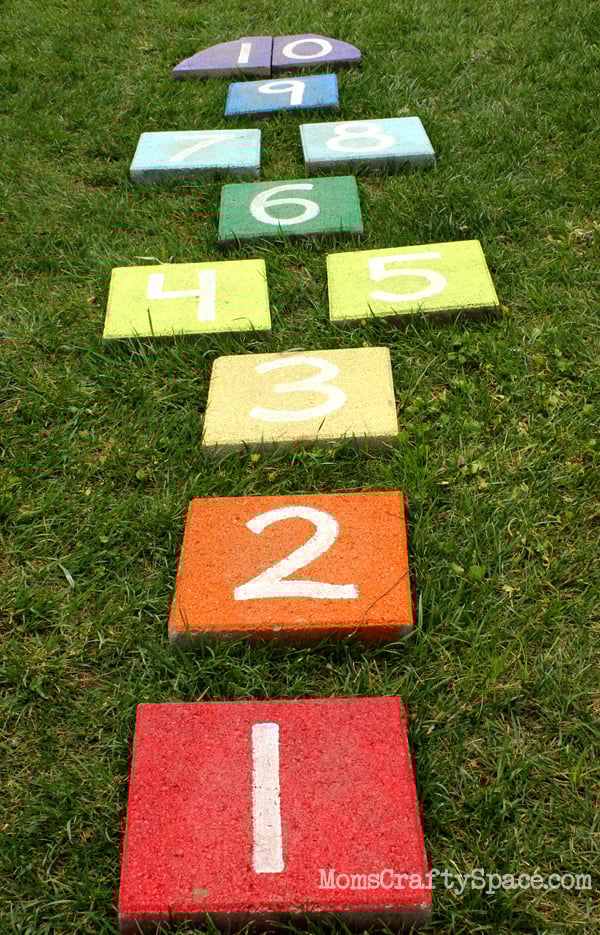
…but eventually the big boys moved them further apart to fit their long jumping strides.
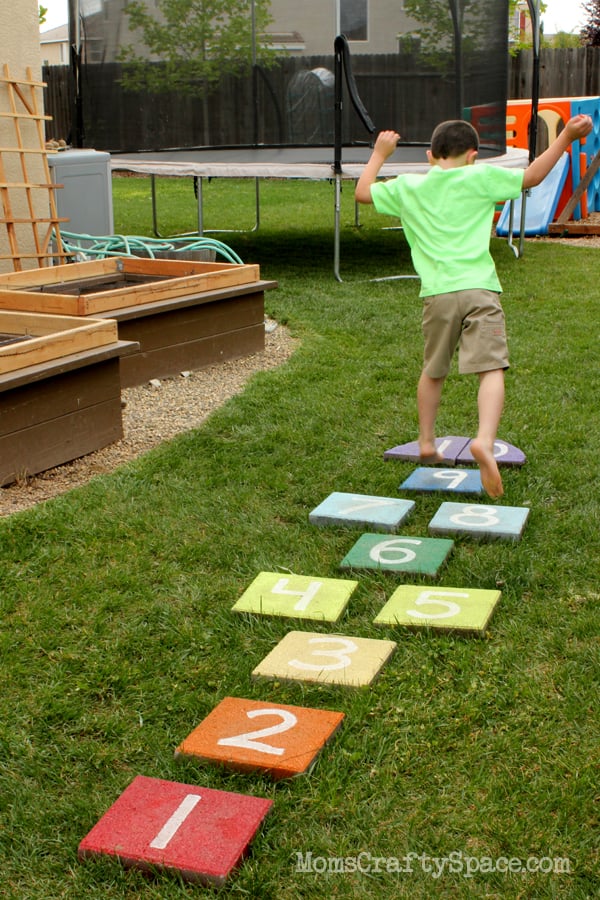
I love the bright pop of color that it adds to the side yard, and I really love that I have someplace dry and solid to walk on when the yard is wet and soggy. My kids love it, and so do all of the other kids in our neighborhood!
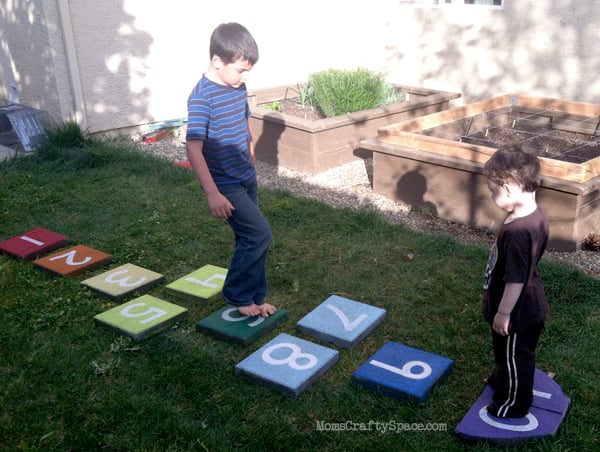
Whenever it gets too quiet in the backyard I know to look for my numbers-obsessed toddler over here in the side yard. He likes to spend a good chunk of his day outside jumping around and reciting his numbers over and over (and over and over!) again! With a few simple items that we had around the house and about 30 minutes of my time, we created a fun and functional play feature in our yard – not too shabby!


Heidi Kundin has captivated the hearts of millions with her colorful and inspiring approach to crafting, celebrations, and family fun. With over 15 years of experience, Happiness is Homemade has become a must-visit destination for those seeking quick and easy creative ideas and last-minute solutions. Heidi’s warm personality shines through her posts, inviting readers to join her on a creative journey that’s fun, rewarding, and achievable. Heidi is also the author of Homemade Bath Bombs & More and DIY Tie-Dye.
I cannot find these garden pavers. Where did you get them?
These 12 x 12 pavers are super common at most Hardware stores! We got ours from Home Depot.
https://www.homedepot.com/p/12-in-x-12-in-x-1-5-in-Pewter-Square-Concrete-Step-Stone-71200/100333077
How well did it hold up over time? Did it need to be sealed so the paint wouldn’t chip or peel? I’m thinking donating something like this to a campground we go to but I need to make sure it will look nice & not require a lot of maintenance. Thanks.
There has been some fading over time, which is to be expected if the hopscotch is in nearly constant sun like ours is, but I’m actually surprised at how well it’s held up! It’s not as vibrant anymore, but the numbers are still easy to see, and it’s still a ton of fun! 🙂
I might suggest that you dig out some grass and soil for the pavers so they are flush with the topsoil. This way they can be mowed over rather than around. Much easier maintenance.
Unless you have exceptionally hard soil, the pavers will naturally sink into the grass after just a couple of weeks, especially with use, and then they are easy to mow over (and you don’t have to waste the extra time and energy digging anything out!). 🙂
What a fun idea!! My 2 yr old is also number obsessed and he also loves to recite his numbers on the hopscotch I draw with sidewalk chalk on out front walk and our front porch as well. This will keep him busy and free up the time I now spend redrawing his hopscotchs whenever they fade or it rains. Awesome!! I’m a officially new follower!
Yay, I’m so glad that this will save you some time! 🙂
Hi. What kind of spray paint did you use?
Love the idea! Want to do this in my yard.
Thank you, Adria
I prefer Rustoleum 2x spray paint, but any brand will work! 🙂
I’m curious how the spray paint has held up outdoors for 2 years. Can you give us an update?
Hi Nicole, the paint has faded a little bit after being in direct sunlight for a couple of years, but the numbers are still easy to read, and there has been no cracking or peeling of the paint at all. 🙂
I donot have a website. Could you use old carpet scraps for this?
Did you use a special kind of paint for the concrete?
I used spray paint for the colored portion and exterior latex paint for the numbers 🙂
Super cute! I am making a paver mosaic hopscotch with my son’s 2nd grade class right now, but this looks a lot easier! 😉 Love the rainbow colors you chose!
Thanks, Heather! This was one of those spur of the moment projects that we made with leftover supplies, and it turned out to be one of our most favorites! 🙂
How did you cut the curve on the 10?
The 10 was made with leftover paver pieces after we completed a patio project; however, it was originally cut to shape with an angle grinder and a diamond blade for concrete. If I hadn’t already had the cut pieces laying around I would have just used two more whole pavers, and I think it would look just as nice!
I had a blast making this! Thanks for the awesome idea! So glad I found you on Pinterest. Now a new follower.
Thanks so much, Caroline! 🙂
This is a brilliant idea! I love it! This is a great way to make use of extra materials from other projects, and an educational tool as well!
Fabulous idea!
Elizabeth
Craft E Magee
http://www.craftemagee.com
So clever and fun. Love it.
Love the colors..great idea!!!