
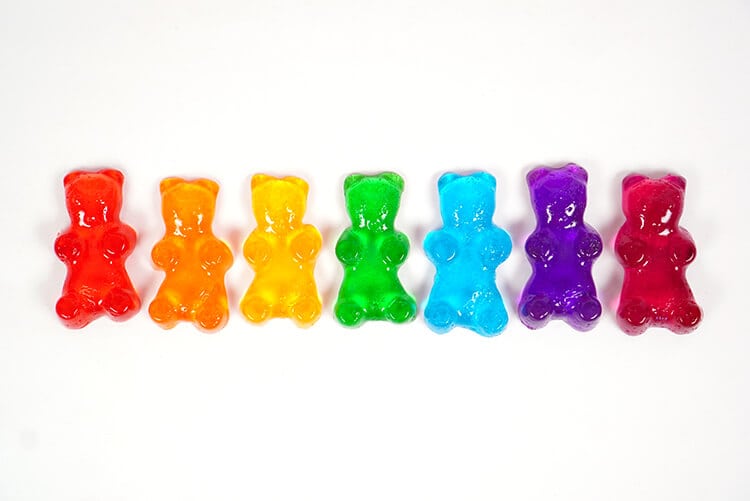
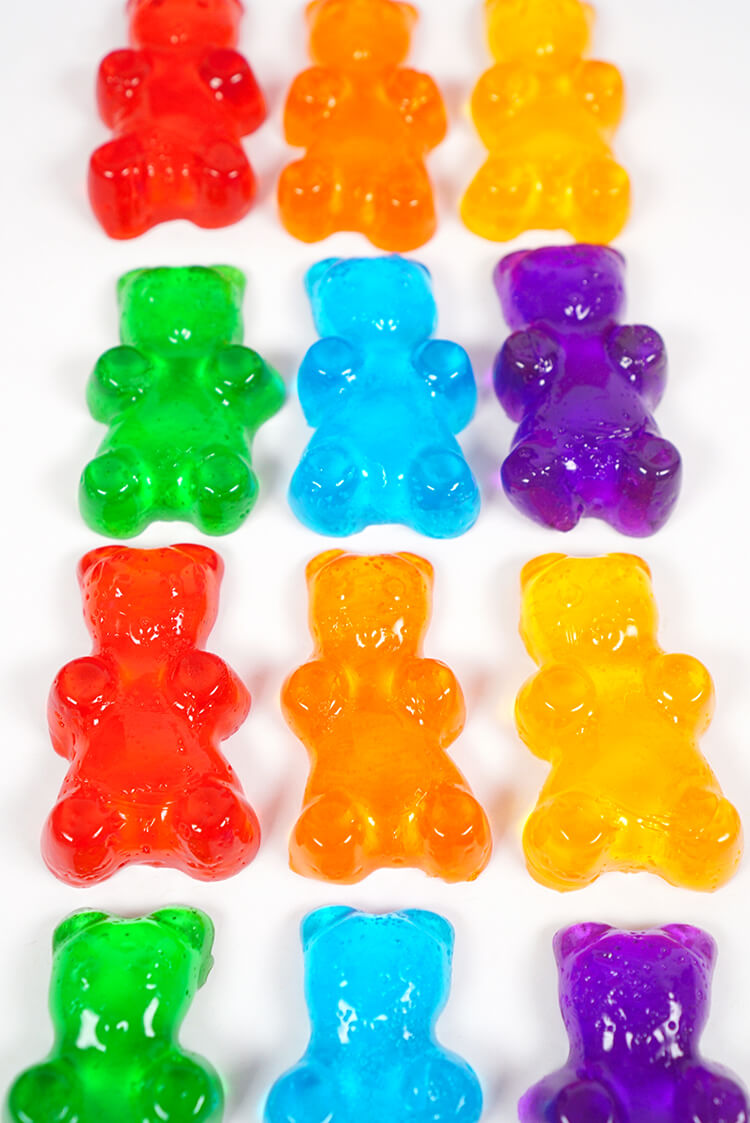
These quick and easy gummy bear shower jelly soaps make a great homemade gift idea! Make your own customized DIY Lush shower jellies in fun shapes, colors, and fragrances – just like these adorable rainbow gummy bear soaps!
![]()
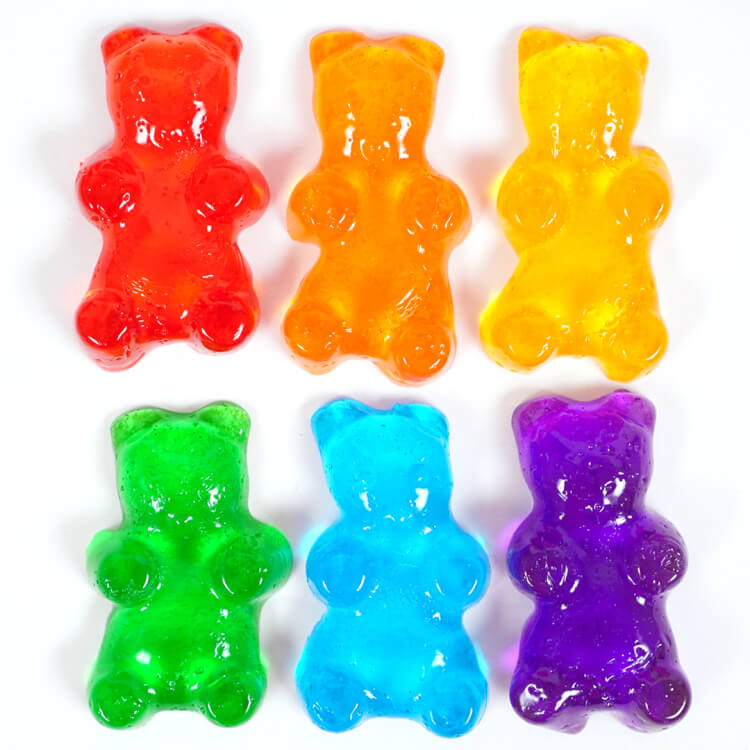
Thanks to stores like Lush, shower jellies are gaining popularity in a BIG way! Wiggly shower jelly soaps are all the rage with tweens and teens, and they’re a surefire hit for this year’s DIY homemade gift list! Deliciously-scented shower jelly soaps are awesome in even their most basic cube-shaped form, but I decided to kick things up a notch by making my own DIY Lush shower jelly soaps into brightly colored gummy bear soaps (with fruity fragrances, of course!)! Naturally, they’re the perfect shape for jiggly shower jellies!
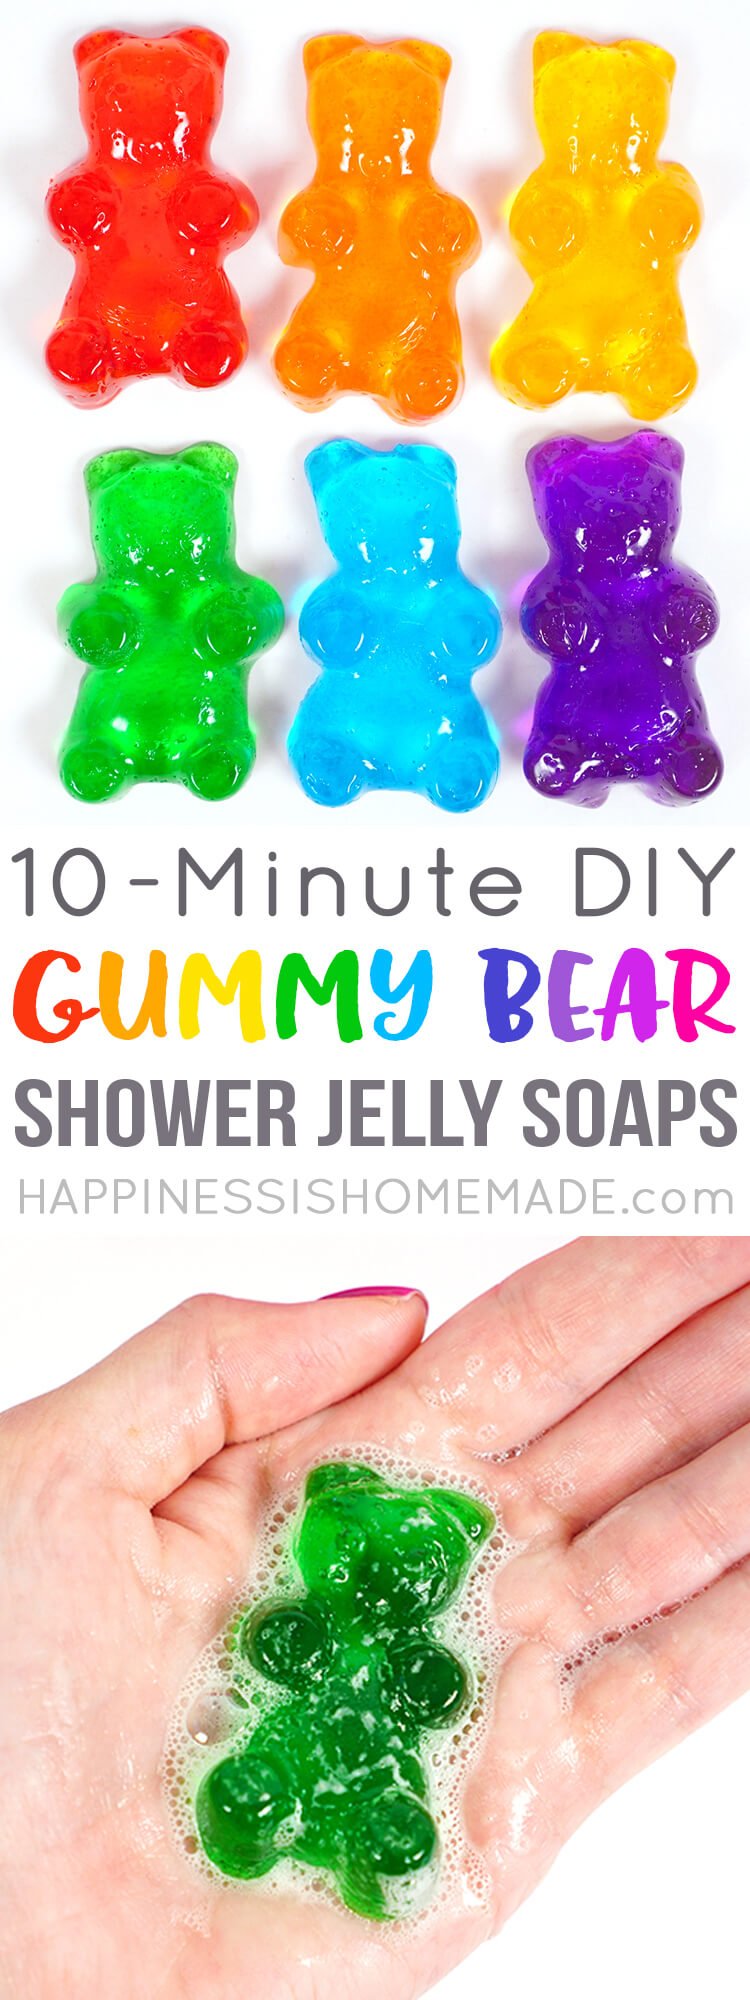
The best thing about these cute gummy bear soaps is that it takes less than 10 minutes to whip up a batch (not including the cooling time) – you can’t get much quicker or easier than that, especially when it comes to homemade gift ideas!
(Side note, do you usually spell gummi bear with an I or with a Y – turns out they’re both correct!)
HOW TO MAKE DIY LUSH SHOWER JELLIES – GUMMY BEAR STYLE!
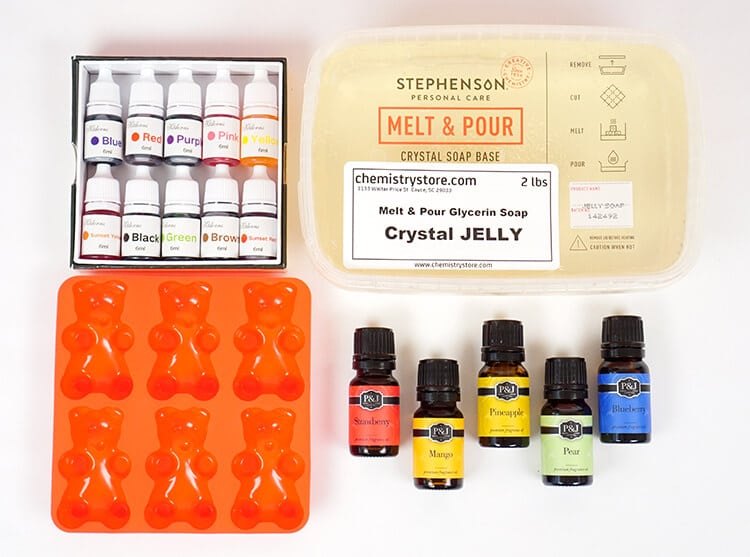
Supplies Needed to Make Gummy Bear Shower Jelly Soaps:
- Melt & Pour Jelly Soap Base
- Gummy Bear Mold (or any silicone mold!)
- Rubbing Alcohol in Misting Spray Bottle
- Soap Colorant
- Fragrance Oil of choice (optional)
- Pyrex Measuring Cup
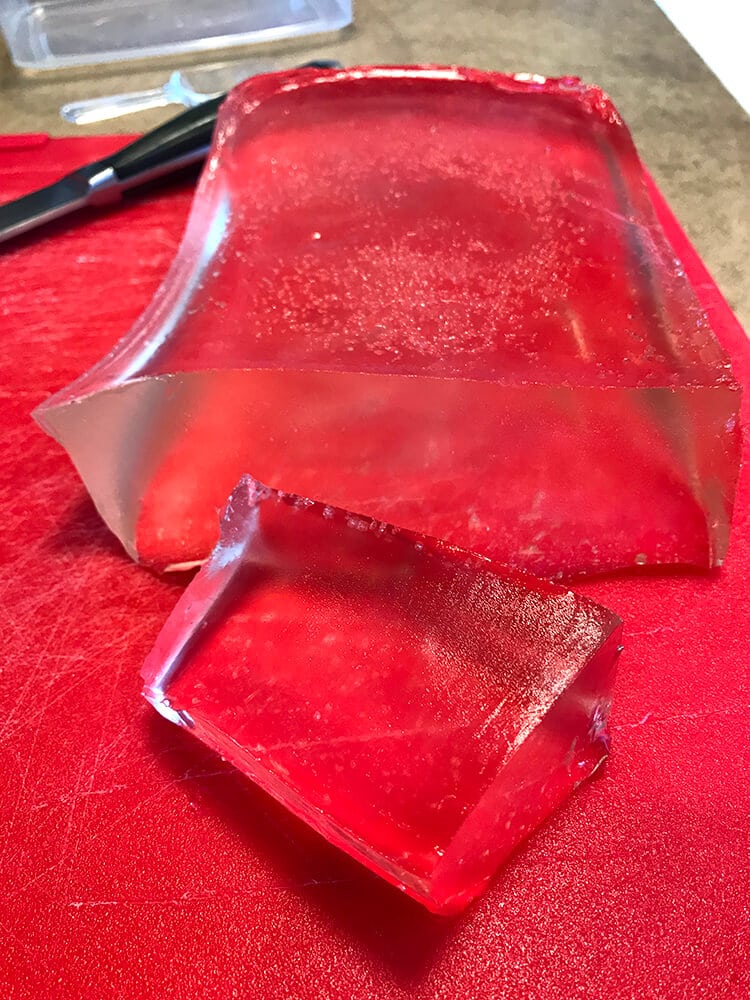
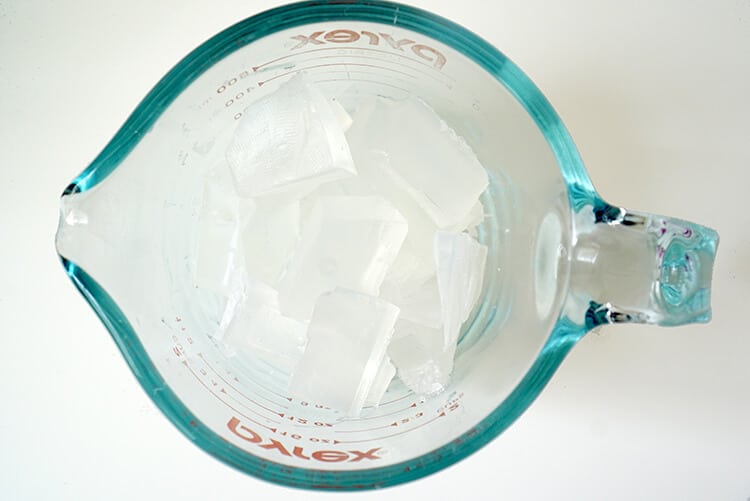
Begin by slicing the jelly soap base into small pieces and then into cubes. Place around 3/4 cup of soap cubes into a Pyrex measuring cup and melt in the microwave in 20-second increments, stirring well after each.
(Note: the photo below shows a clear glycerin soap base, but the instructions are the same for the jelly base!)

Once the soap is completely melted, stir in your soap colorant (3-10 drops depending on your preferences) and fragrance oil (5-10 drops). If you want to add any additional cosmetic-grade glitter or shimmer powder, now would be the time to add those as well!
Spritz the gummy bear mold lightly with alcohol (to remove any bubbles from the bottom layer of the soap base), fill the mold with melted soap base, and finish by spritzing the top of the melted soap lightly with alcohol as well. Allow the soaps to sit undisturbed until cooled and set (approximately 30-60 minutes depending on temperature and humidity).

Release the cooled soaps from the molds, and repeat the process for any additional colors and fragrances desired!
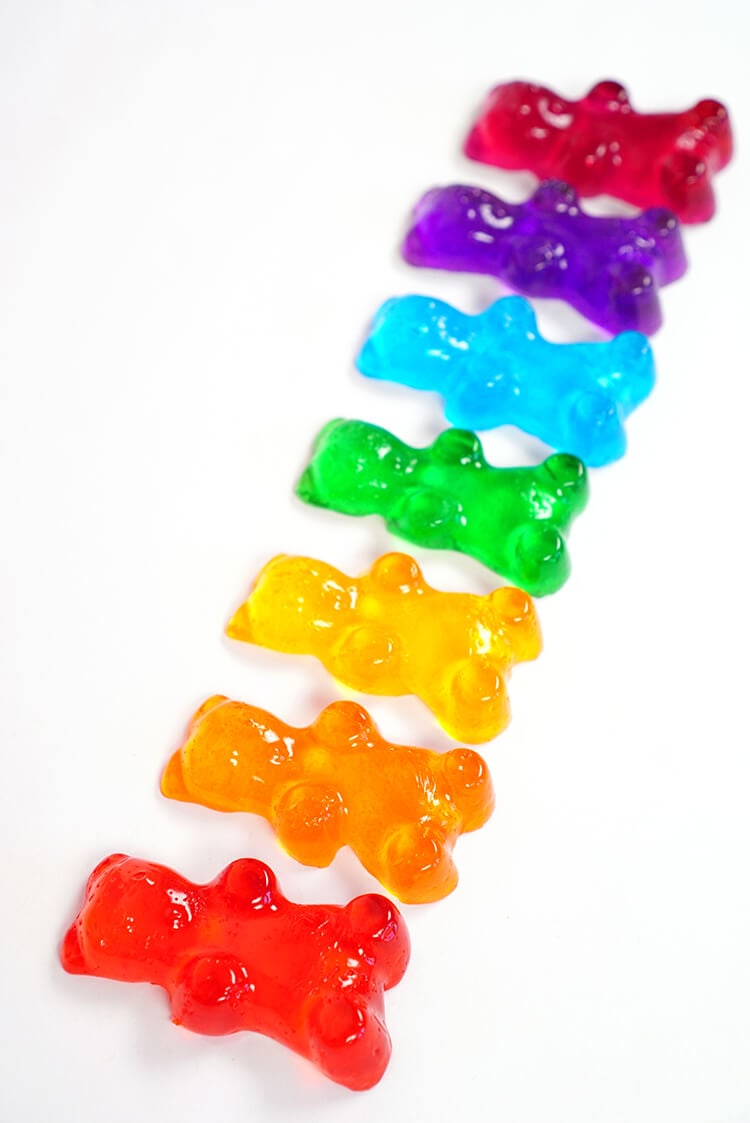
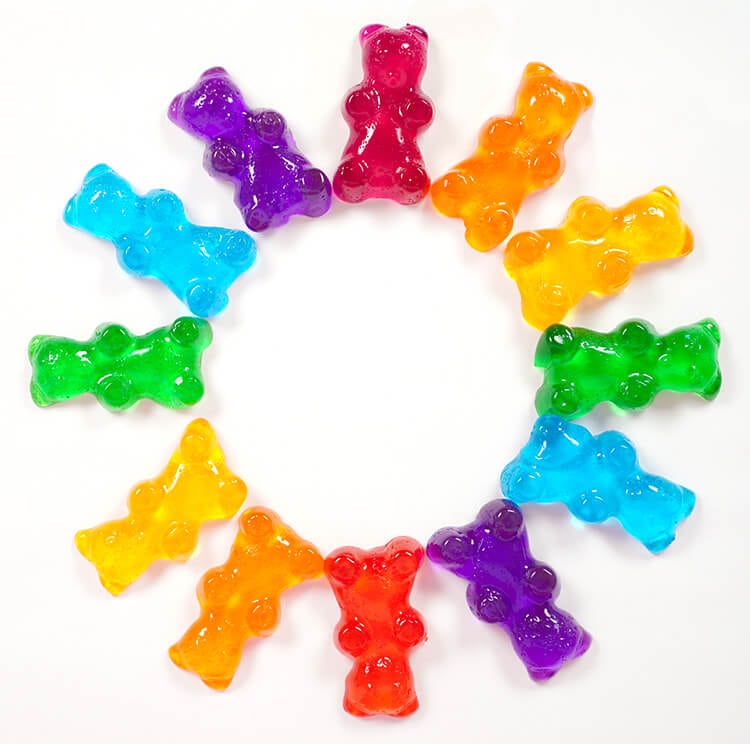
Fair warning, it’s totally addictive, and you’re probably going to want to make ALL the colors!
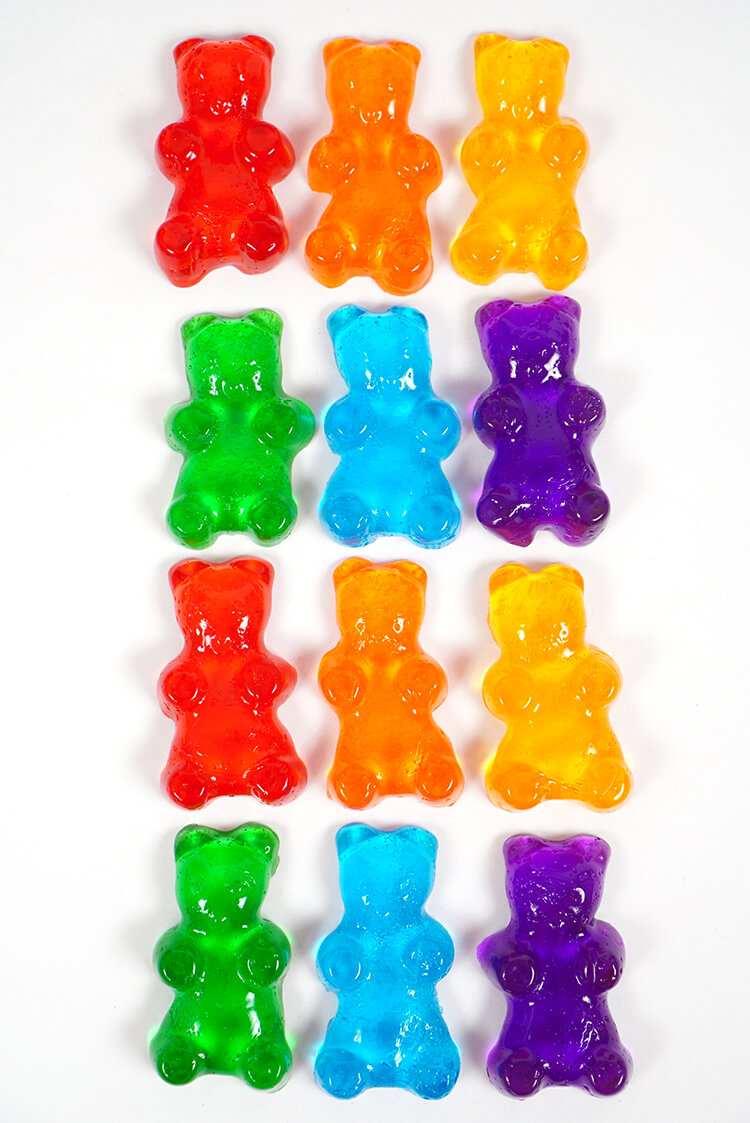
I seriously can’t get over how flippin’ adorable these little gummy bear shower jelly soaps are! They really do look and feel just like jumbo gummy bears, so make sure that your little ones don’t try to eat them!
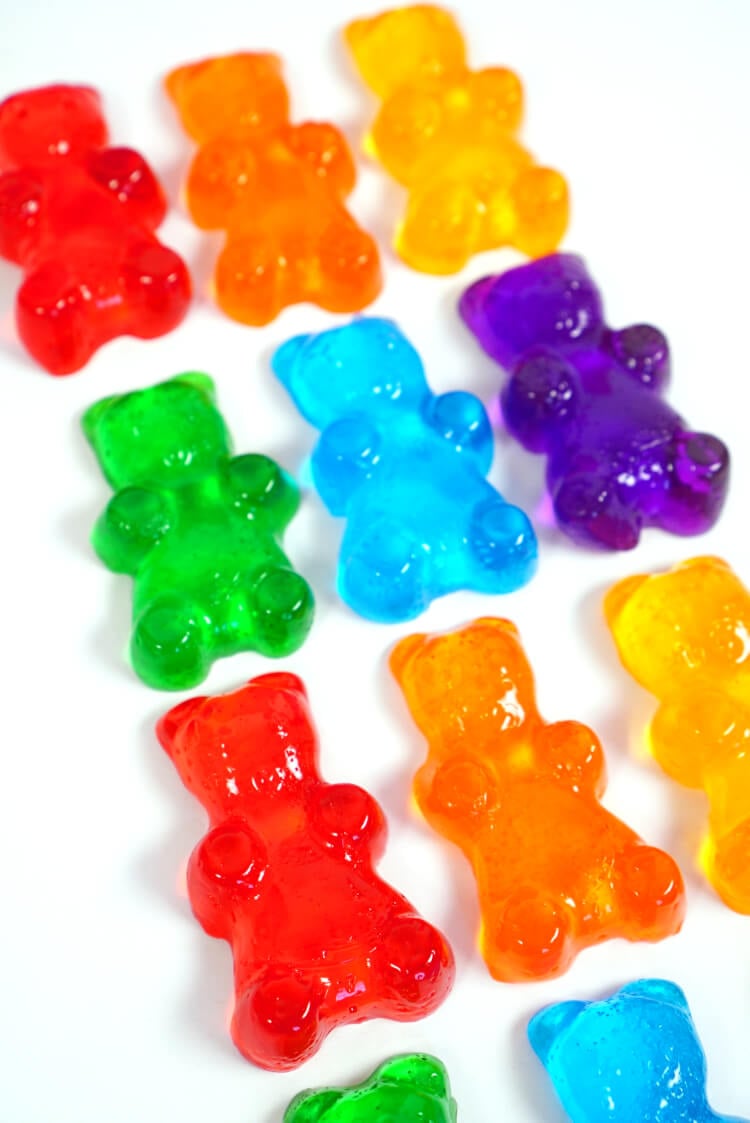
If you want to have even more fun, get really creative with your color and fragrance combinations – lemon-scented red bears or blueberry-scented yellow bears? You can even skip the fruity scents altogether and make a batch of root beer, bubble gum, or lavender-scented soaps! Have fun with it and mix and match unexpected combinations!
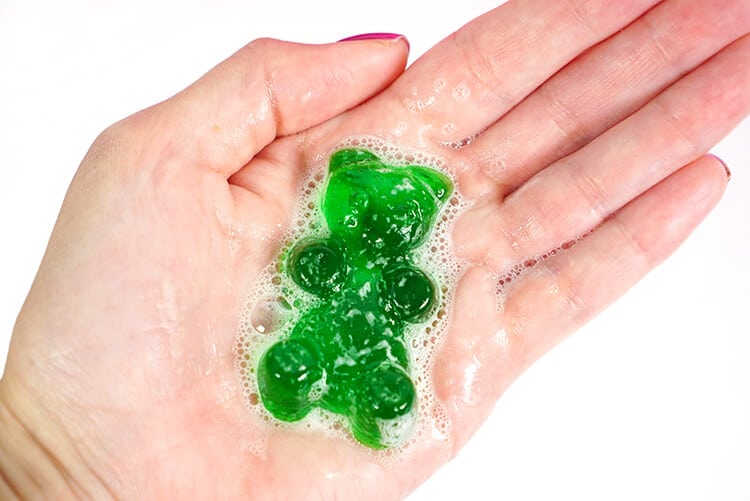
Your shower or bath time has never been more fun! These squiggly and squirmy gummi bears are just as great at getting you clean as they are adorable!
These Lush-like gummy bear shower jellies would make a fantastic homemade gift idea for your friends, family, teachers, neighbors, co-workers, or anyone else on your gift list! Quick, easy, inexpensive, and SUPER fun!

If you like these DIY Shower Jelly Soaps, don’t forget to pin ’em!
You May Also Like:
[riview id=297 num=2000 orderby=title order=asc size=200×200 showtitle=always lightbox=0]

Heidi Kundin has captivated the hearts of millions with her colorful and inspiring approach to crafting, celebrations, and family fun. With over 15 years of experience, Happiness is Homemade has become a must-visit destination for those seeking quick and easy creative ideas and last-minute solutions. Heidi’s warm personality shines through her posts, inviting readers to join her on a creative journey that’s fun, rewarding, and achievable. Heidi is also the author of Homemade Bath Bombs & More and DIY Tie-Dye.
How long will these last in the shower/bath? Are they good for just one time, or multiple?
Hi Donna,
These soaps are soft, so they do dissolve more quickly than a hard soap, but they should last through several showers/baths. 🙂
Hi, do you have a link for the jelly soap base on Amazon by chance? They are sold out of the smaller quantities on the website you linked above. Thanks!
Here you go Angie! 🙂 https://amzn.to/40kceFN
How long do these soaps last? I was thinking of making for valentines gifts but need to make a couple weeks in advance. Would that work?
Absolutely! These soaps will last at least 6 months if stored in a cool, dry place!
Hello, I love this idea! The link to your gummy bear silicone mold is no longer active. Do you remember where you got it?
I purchased my mold on Etsy, however, it appears that the shop that sold it has closed. I’m trying to locate a suitable replacement, and I’ll let you know if I find something similar! 🙂
I found a similar one, Lauren! You can find it here, and I updated the link in the post as well. 🙂
Thank you so much for taking the time to find a replacement!
Fabulous idea!
Thanks for sharing! We’ve been learning about soap in our after school “Clean Chemistry Club”. I’ll let you know how we make out with these gummies 🙂
These are so cute. How do you wrap them if you want to give them as a gift?
I usually wrap all of my soaps in plastic wrap, but a plastic bag would also work well!
This looks like so much fun to make! I was browsing Pinterest and saw this and just had to check it out. I think my son would have a blast making these with me. Thank you for sharing this! I featured your pin on my blog for my readers to enjoy too. Here is a link to the article: https://www.uneedacraftycreation.com/top-10-pinterest-picks-february-2018/
This base is crazy fun. I experimented with it as well adding some clear mp soap base and it makes them a little more sturdy.
I was just playing around with this the other night, too! It’s so much fun! 🙂
These are insanely cute! Can’t wait to try them! I am having such a good time looking at all your handmade soaps…so many great ones!!