
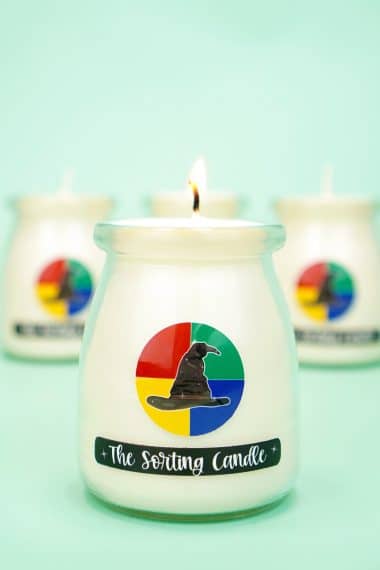
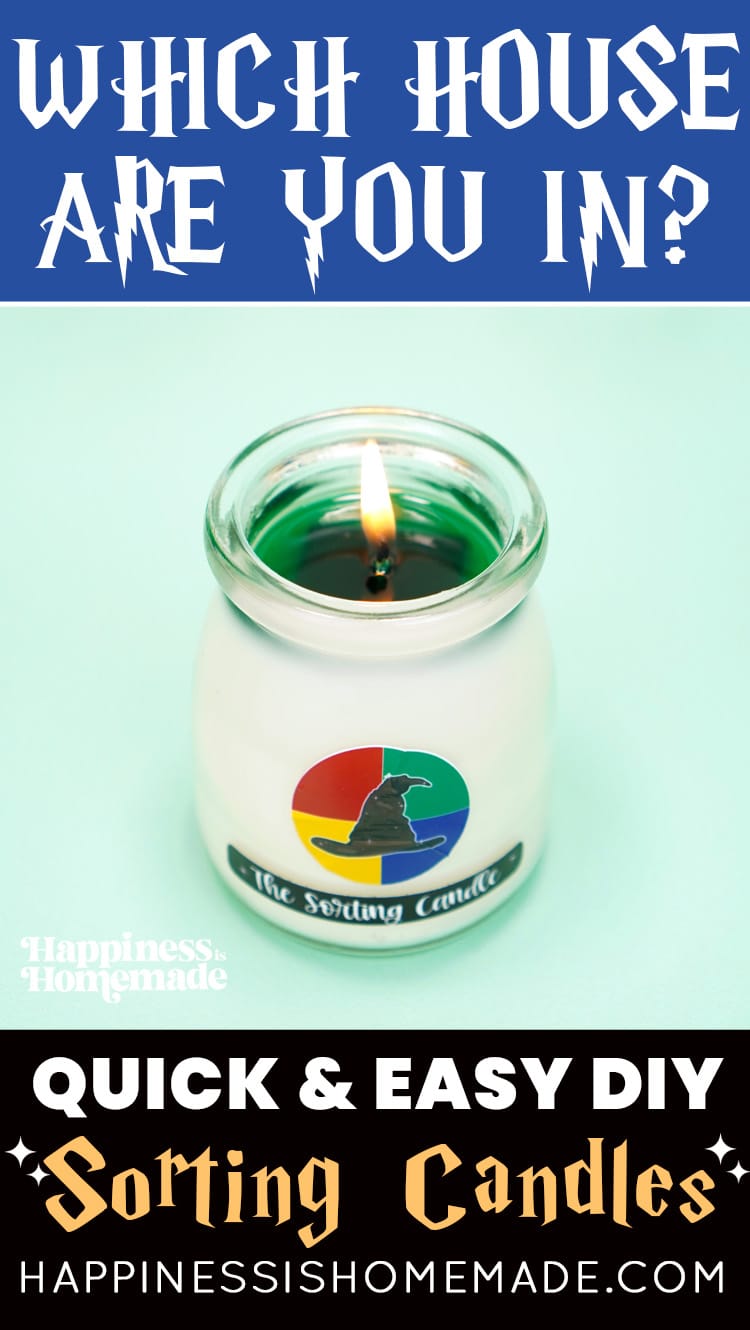
Discover which Hogwarts house you belong to with these easy DIY Sorting Hat Candles! The perfect gift idea for your favorite Harry Potter fan!
This post may contain affiliate links. I will receive a small commission from these sales at no additional cost to you!
Learn how to make these easy DIY Sorting Hat Candles! They make the perfect gift for Harry Potter fans!
Are you a Harry Potter fan? Have you ever wondered which Hogwarts house you belong in? There are lots and LOTS of fun internet quizzes to help you determine which house you should be sorted into (our favorite is the classic Pottermore quiz), but there are also lots of other ways to be sorted as well!
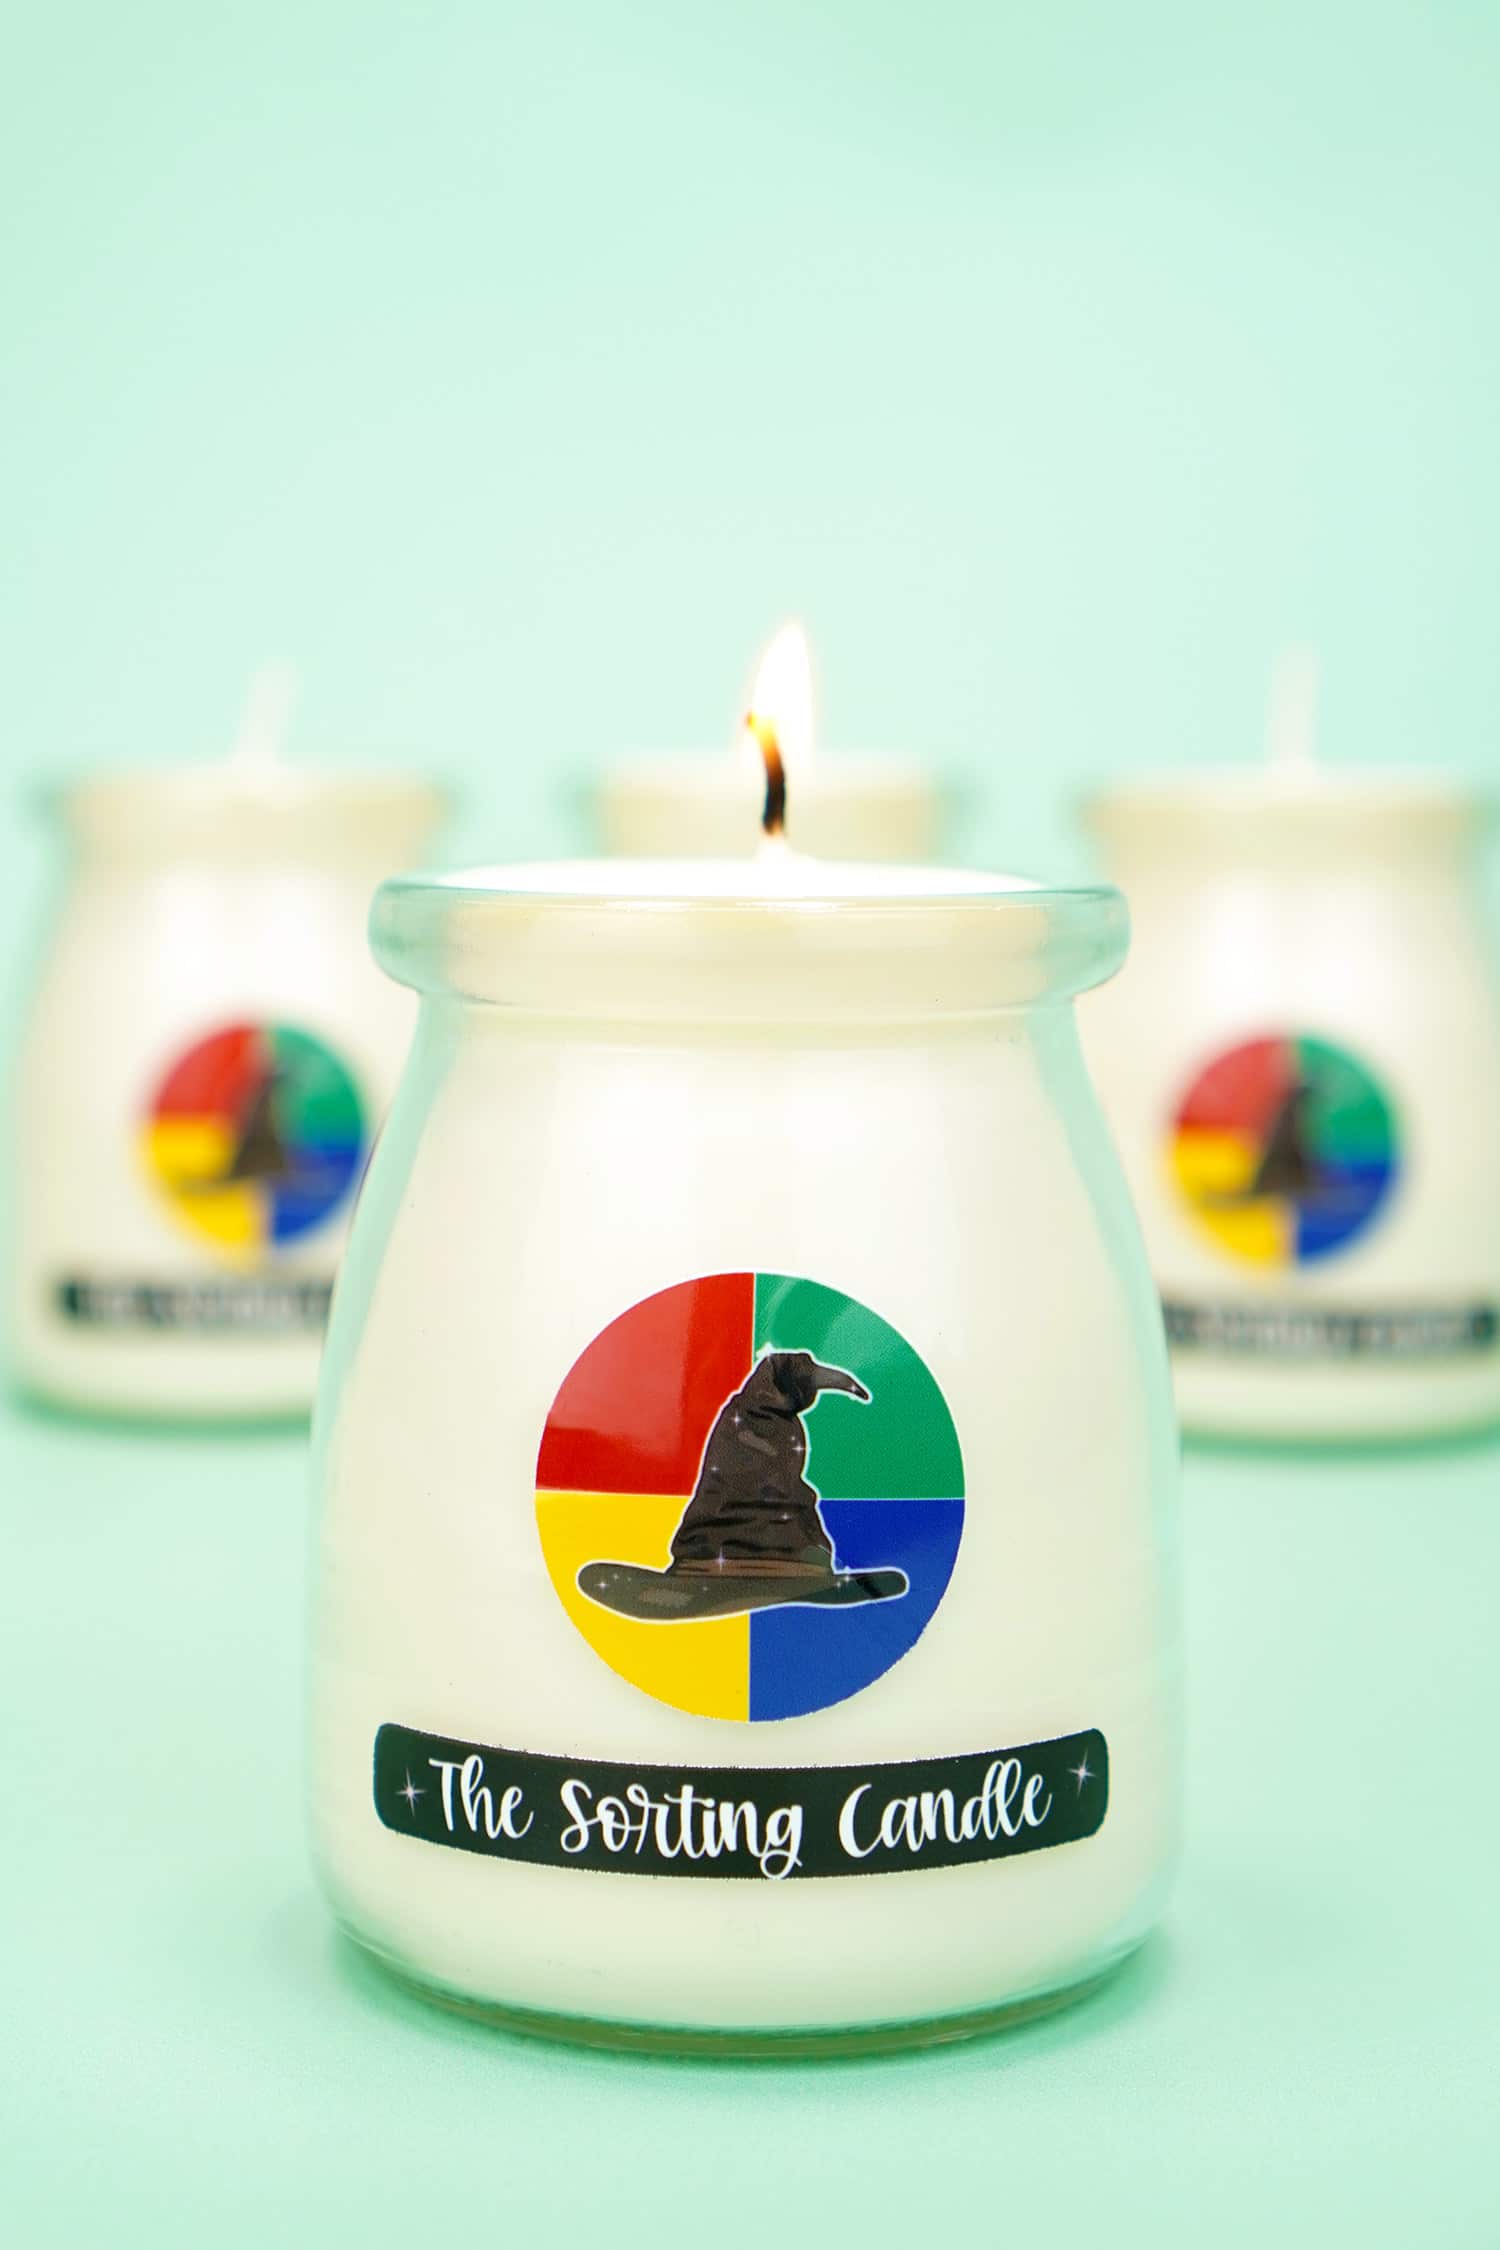
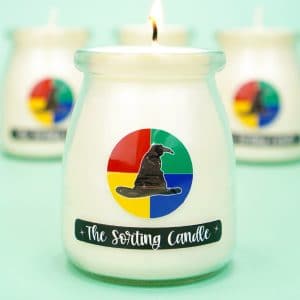
Sorting bath bombs have been really popular, and now, Sorting Hat Candles are gaining popularity, too. Simply burn the candle to reveal colored wax that corresponds to the Hogwarts house that you’ve been sorted into! They’re SO much fun!
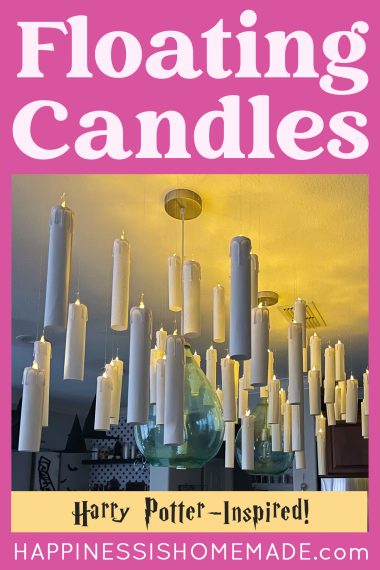
Check out our DIY Harry Potter-Inspired Floating Candles, too!
How to Make Sorting Hat Candles
Supplies Needed to Make a Sorting Candle:
- Heat-Safe Glass Jars
- Candle Wicks & Wick Holders
- Candle Making Pouring Pot/Pitcher
- Soy Wax Flakes
- Candle Wax Colorant in Red, Dark Blue, Green, and Yellow
- Fragrance Oil of Choice, optional
- Silicone Mold
- Piercing Tool or Awl
- Thermometer (Digital Infrared or Kitchen)
- Sorting Candle Labels (available below)
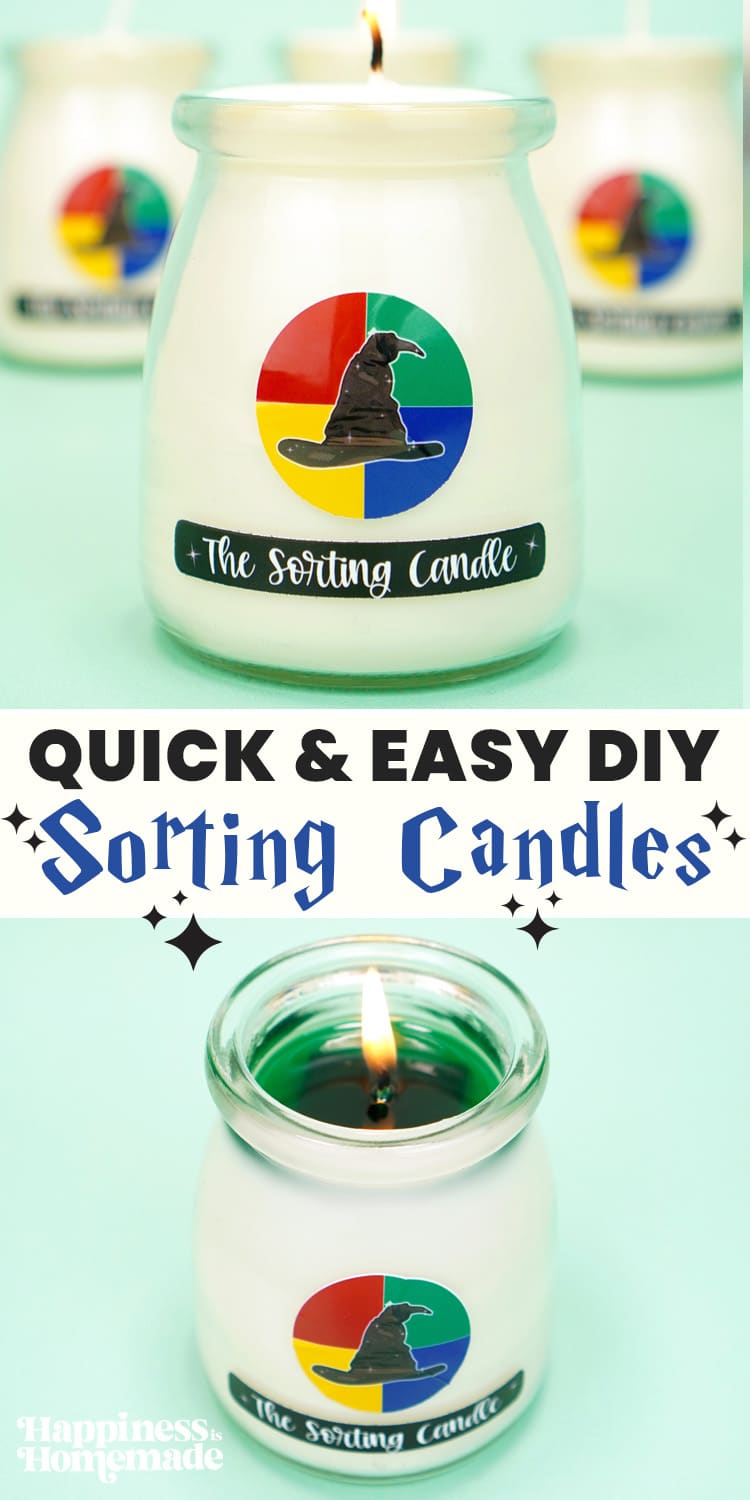
This recipe makes 8 candles; two of each house color.
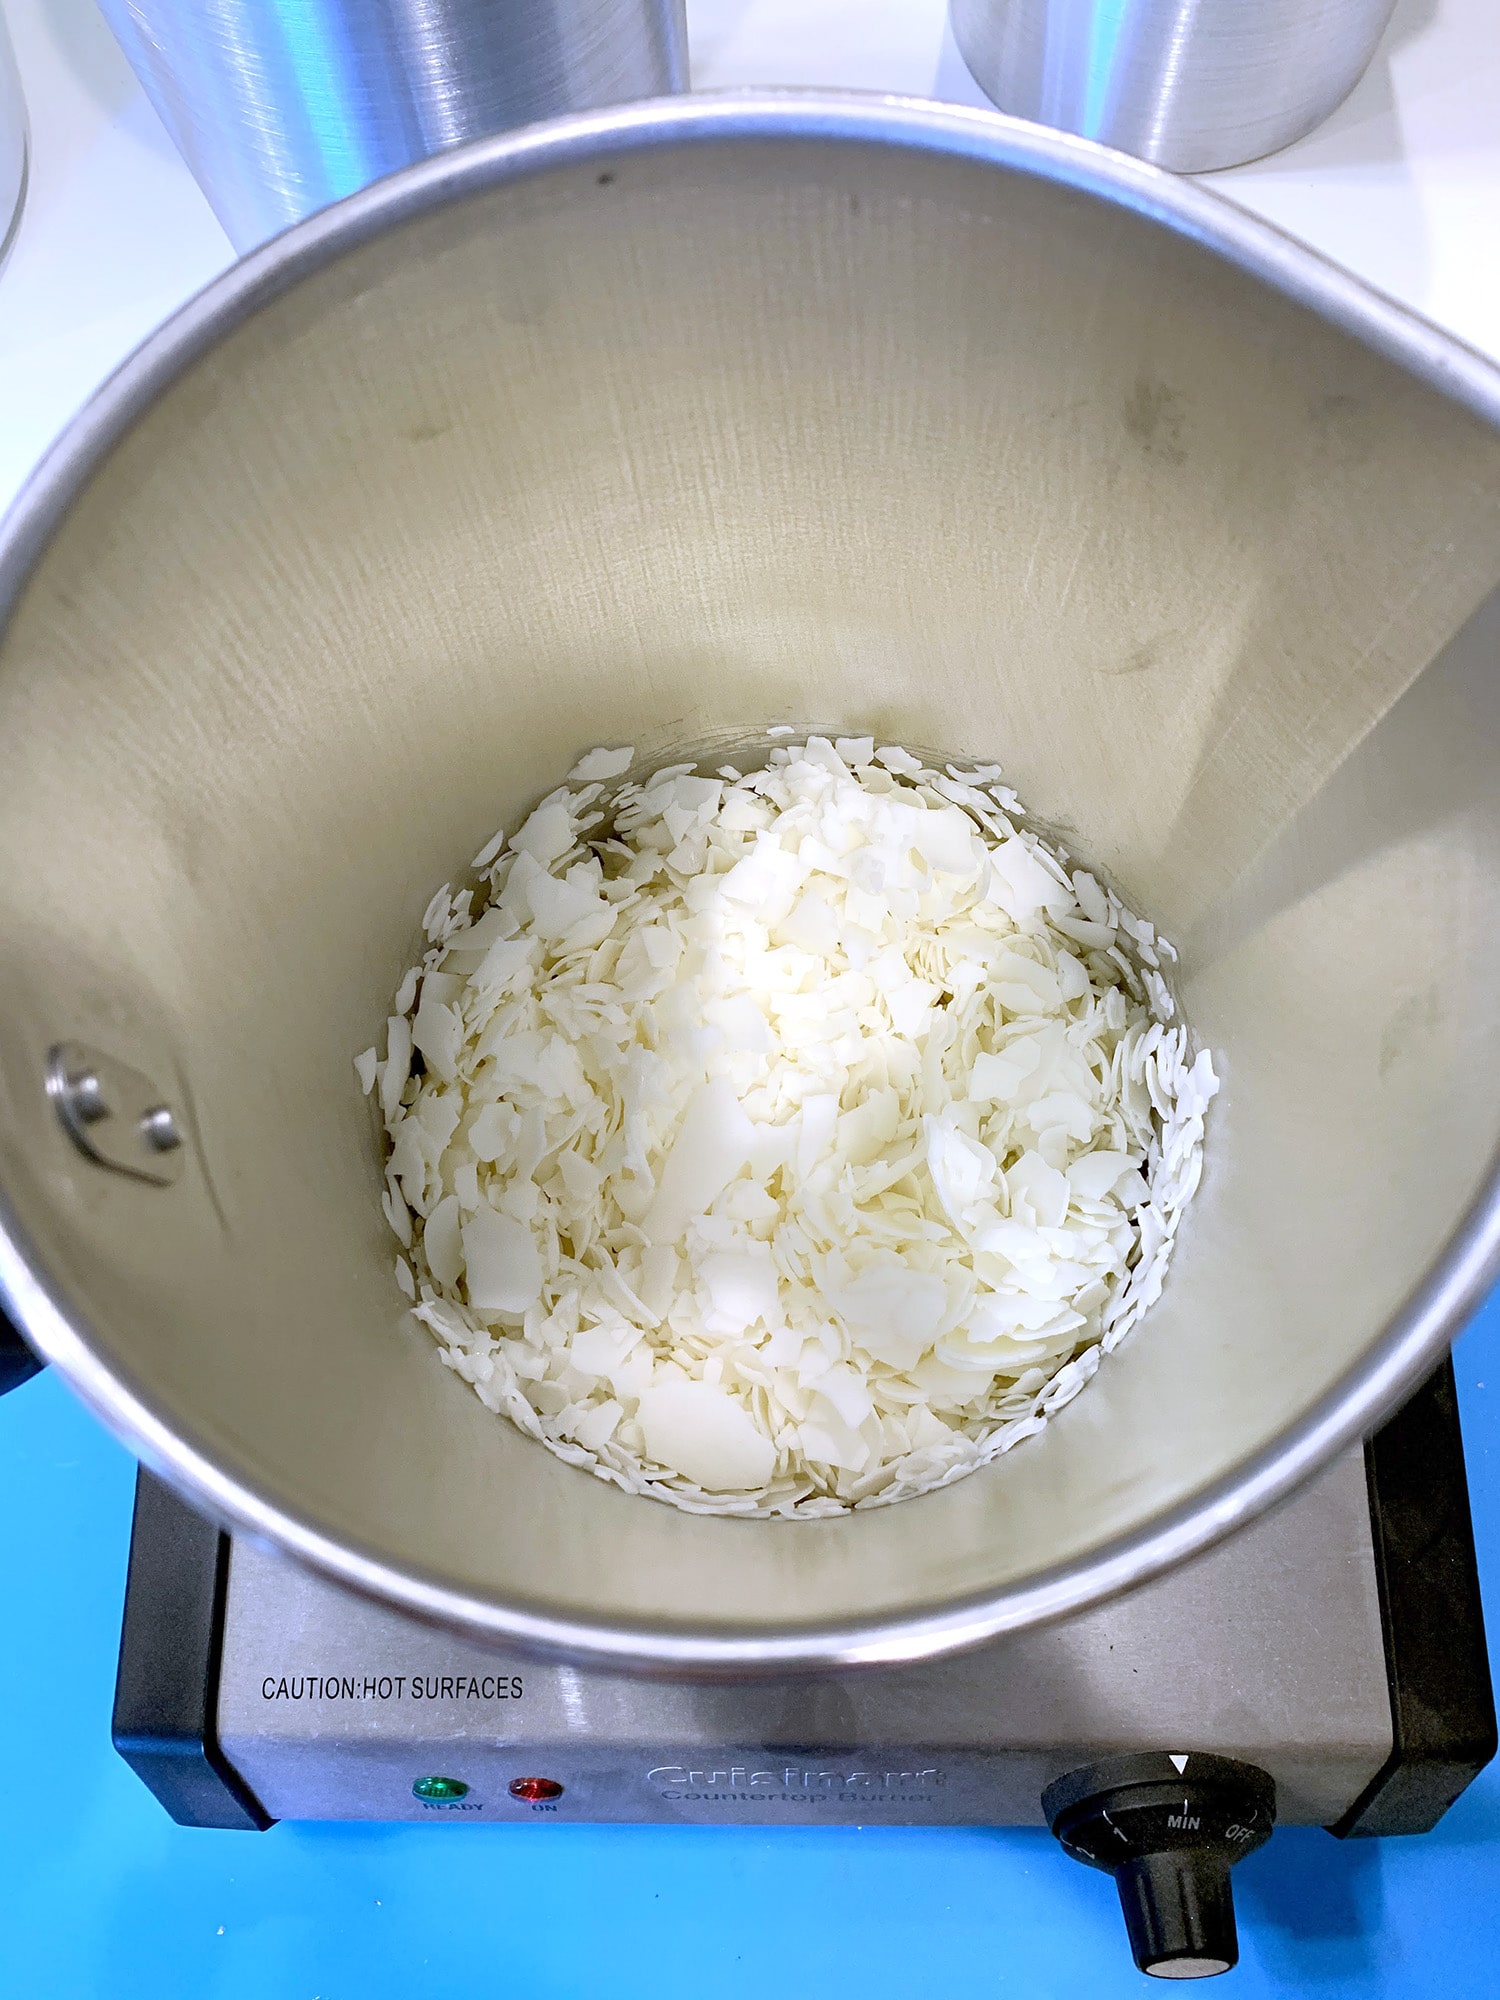
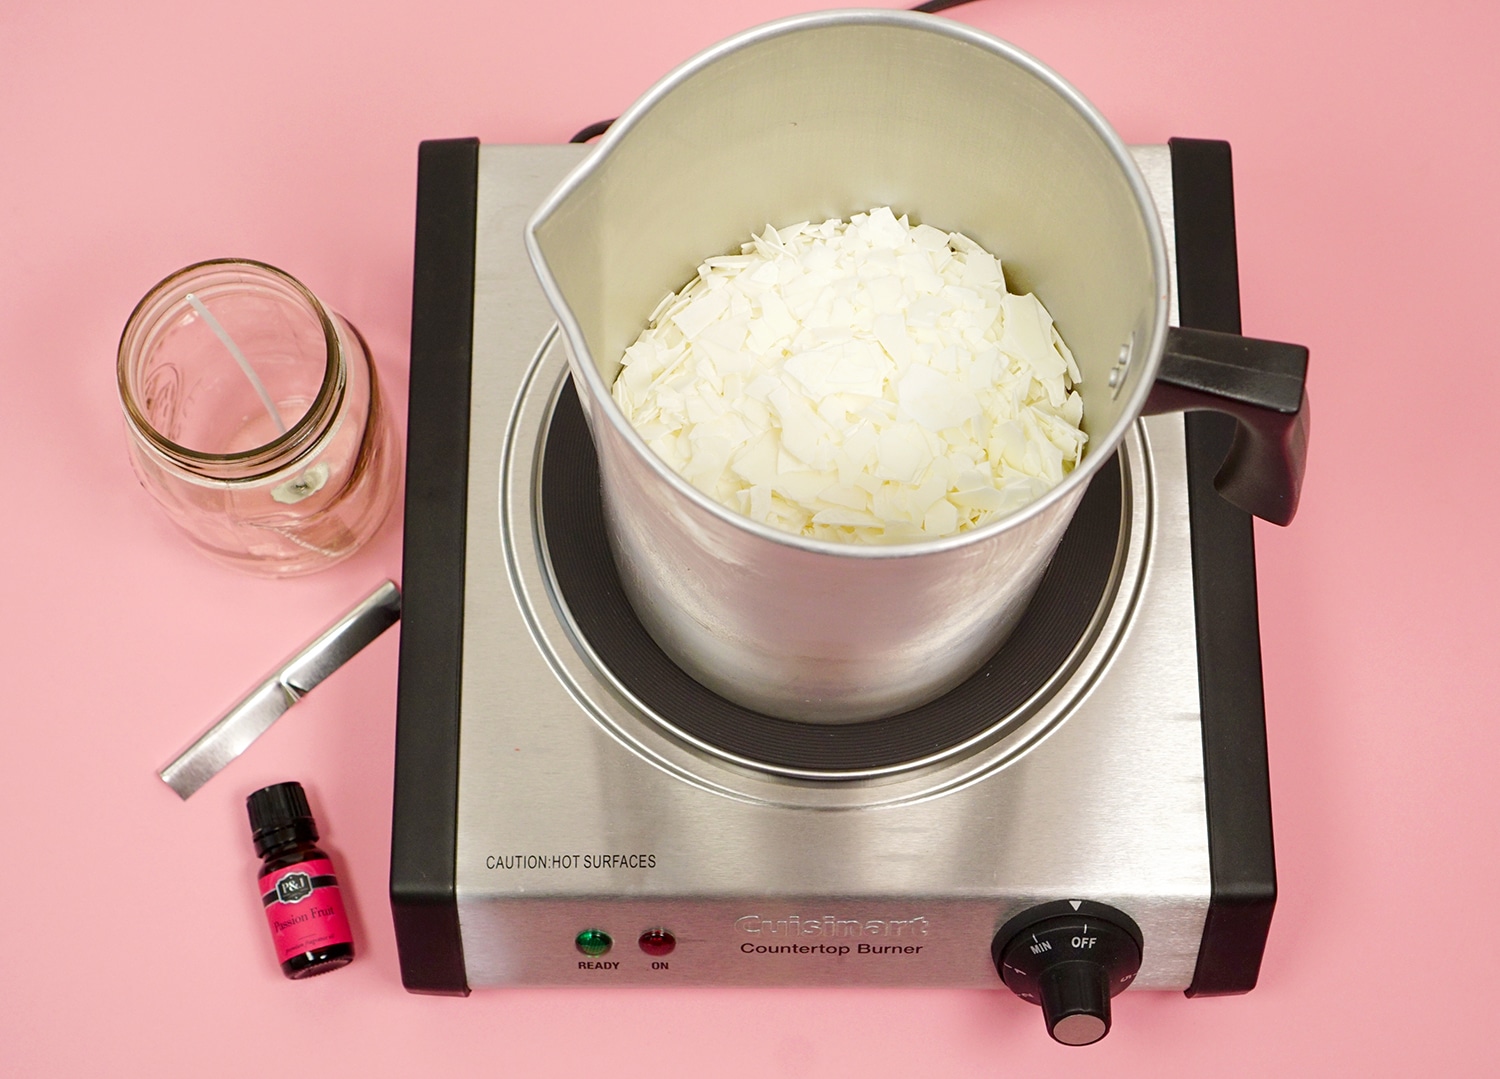
Melt a small amount of soy wax in a candle making pitcher over low heat.
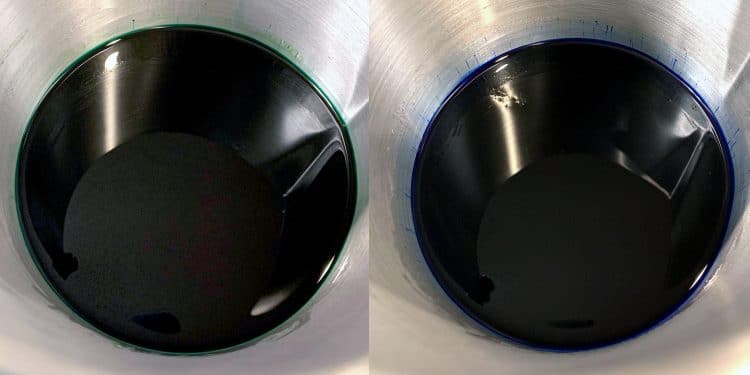
When the wax has melted, add in wax colorant for your first House color, and stir gently until melted and combined. The color should be quite dark as it will lighten when it cools.
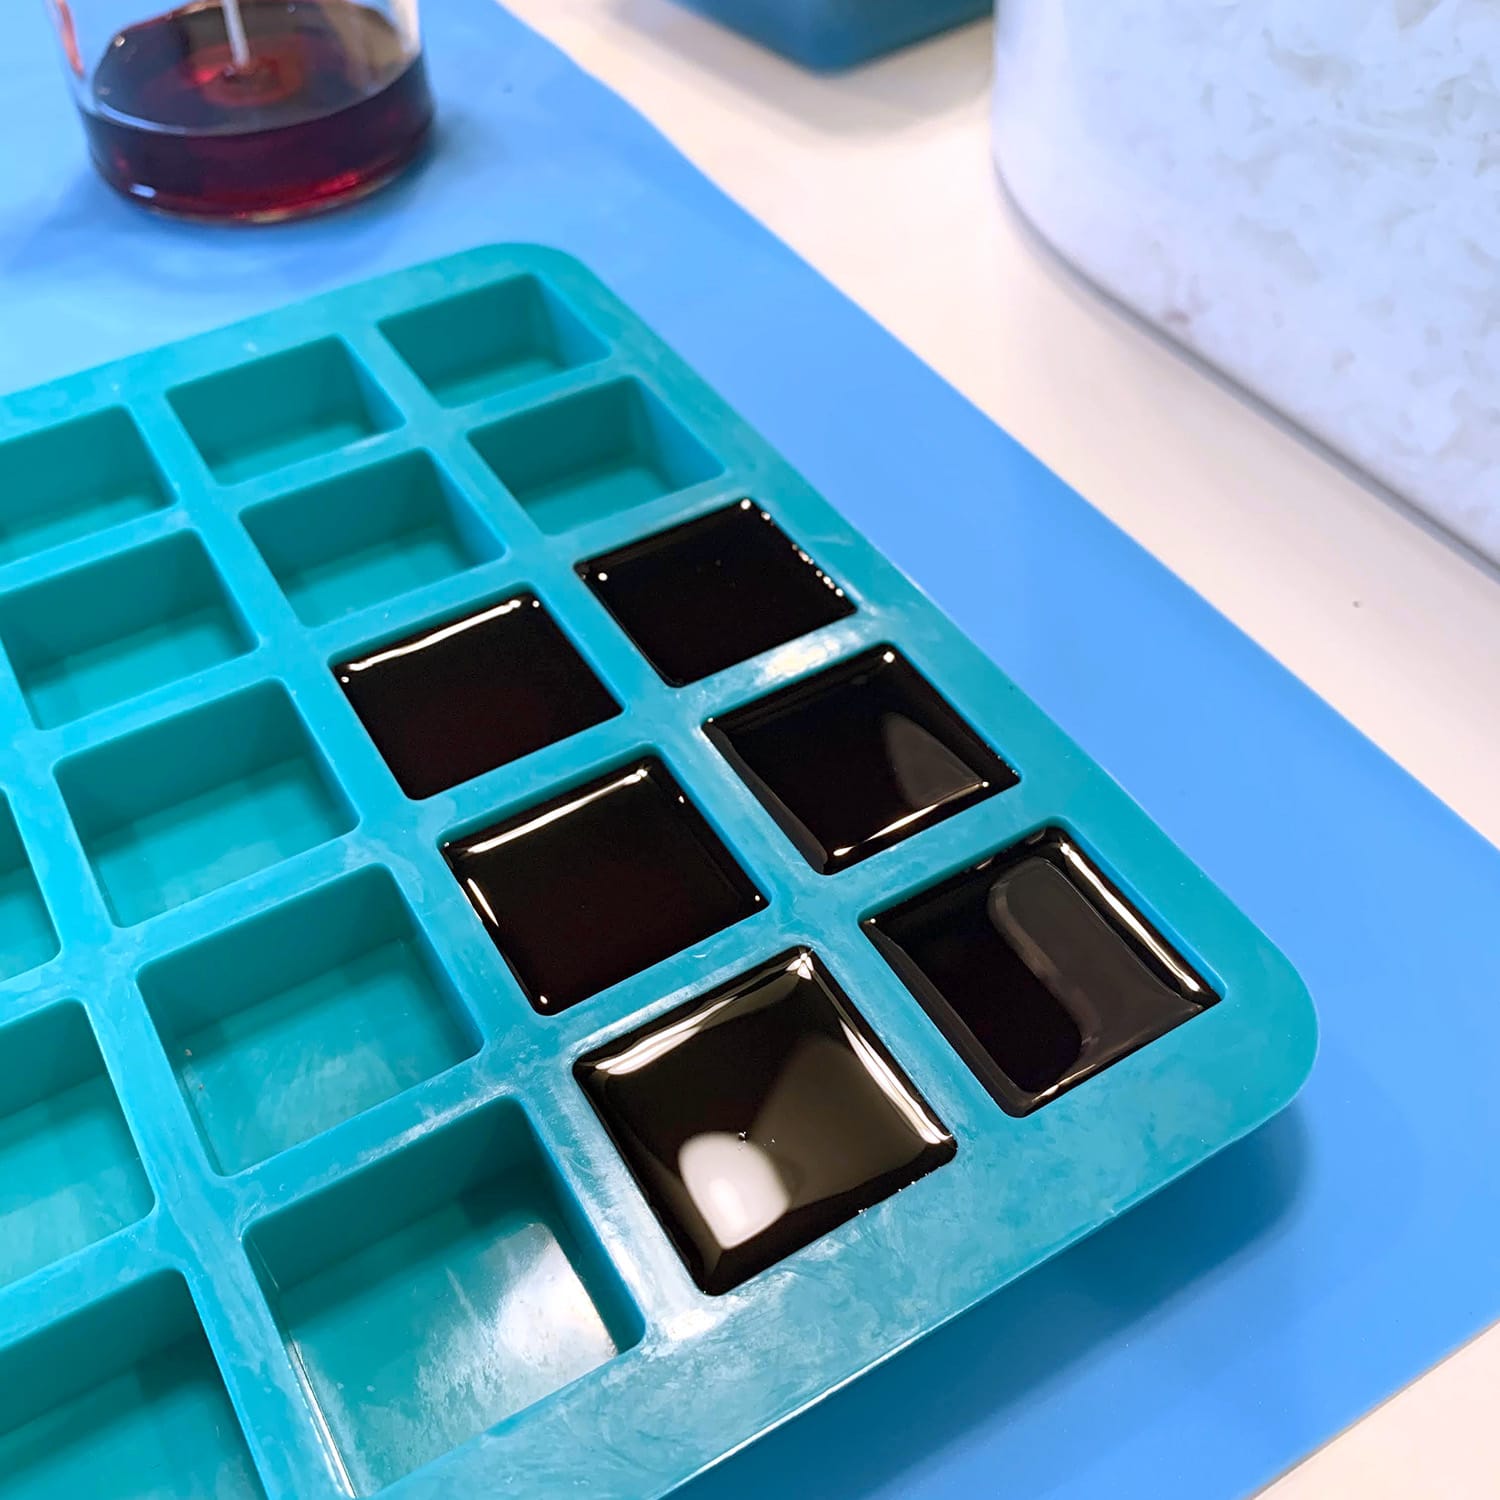
Carefully pour the wax into six wells of the silicone mold.
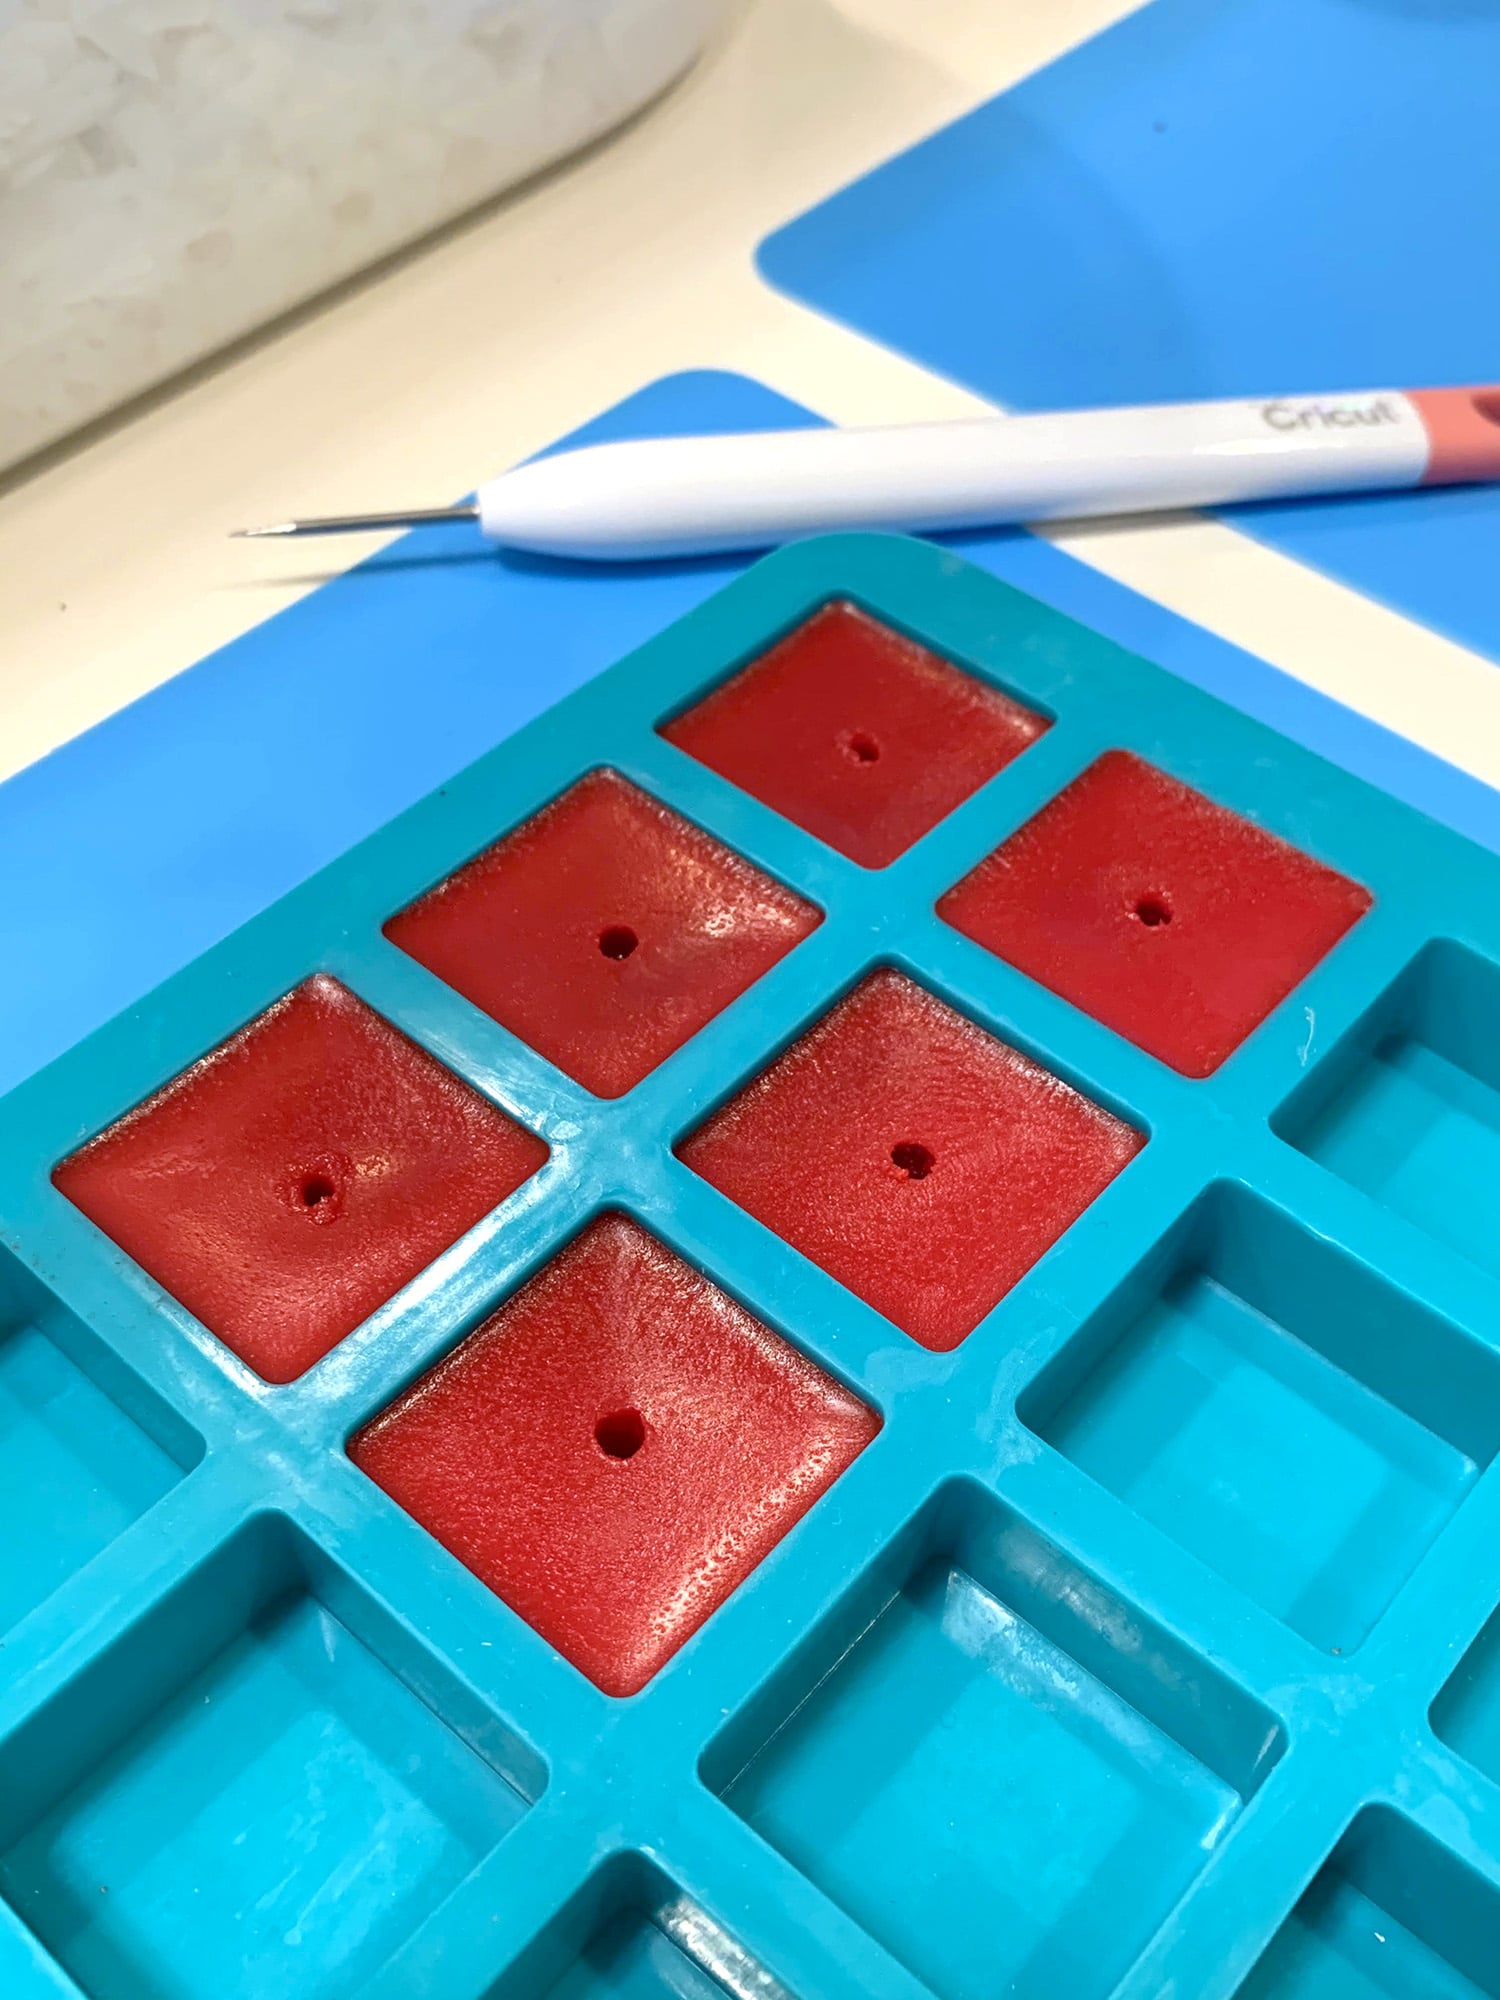
Allow the wax to cool until it is partially solidified but not yet hardened. Use a piercing tool or awl to create a small hole in the center of the wax block that is large enough to thread over the candle wick.
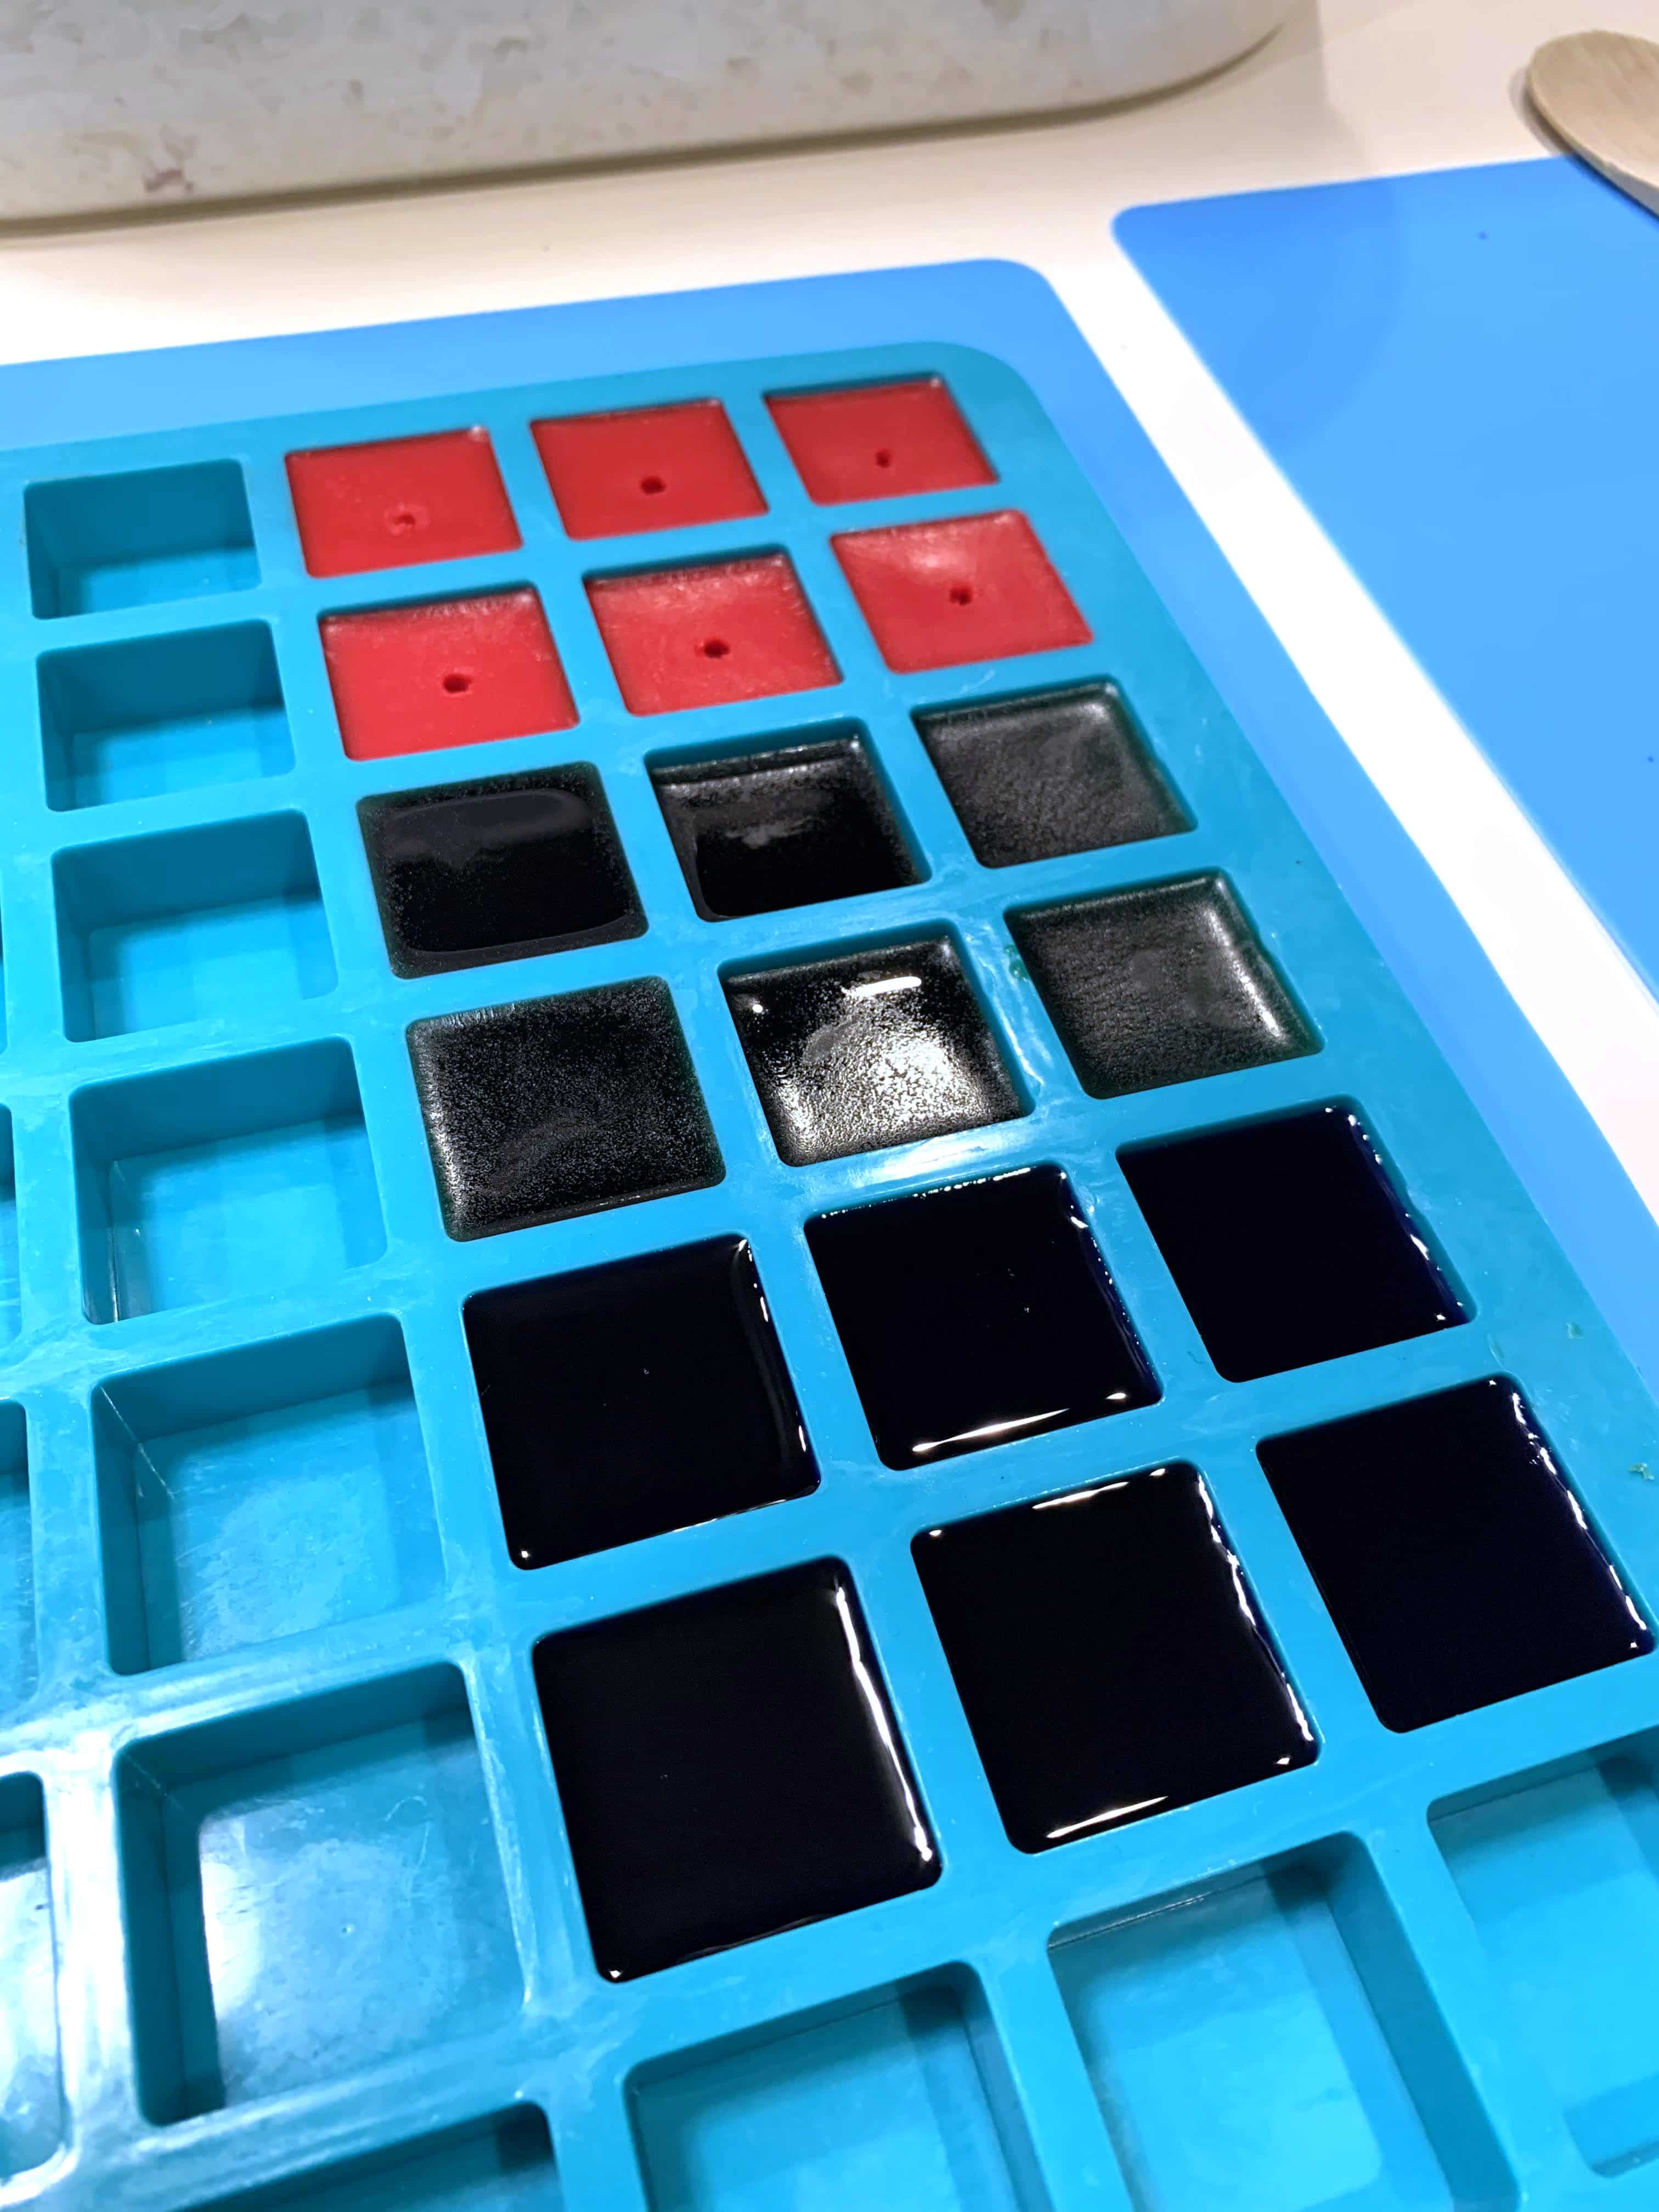
Repeat the process for the remaining additional House colors.

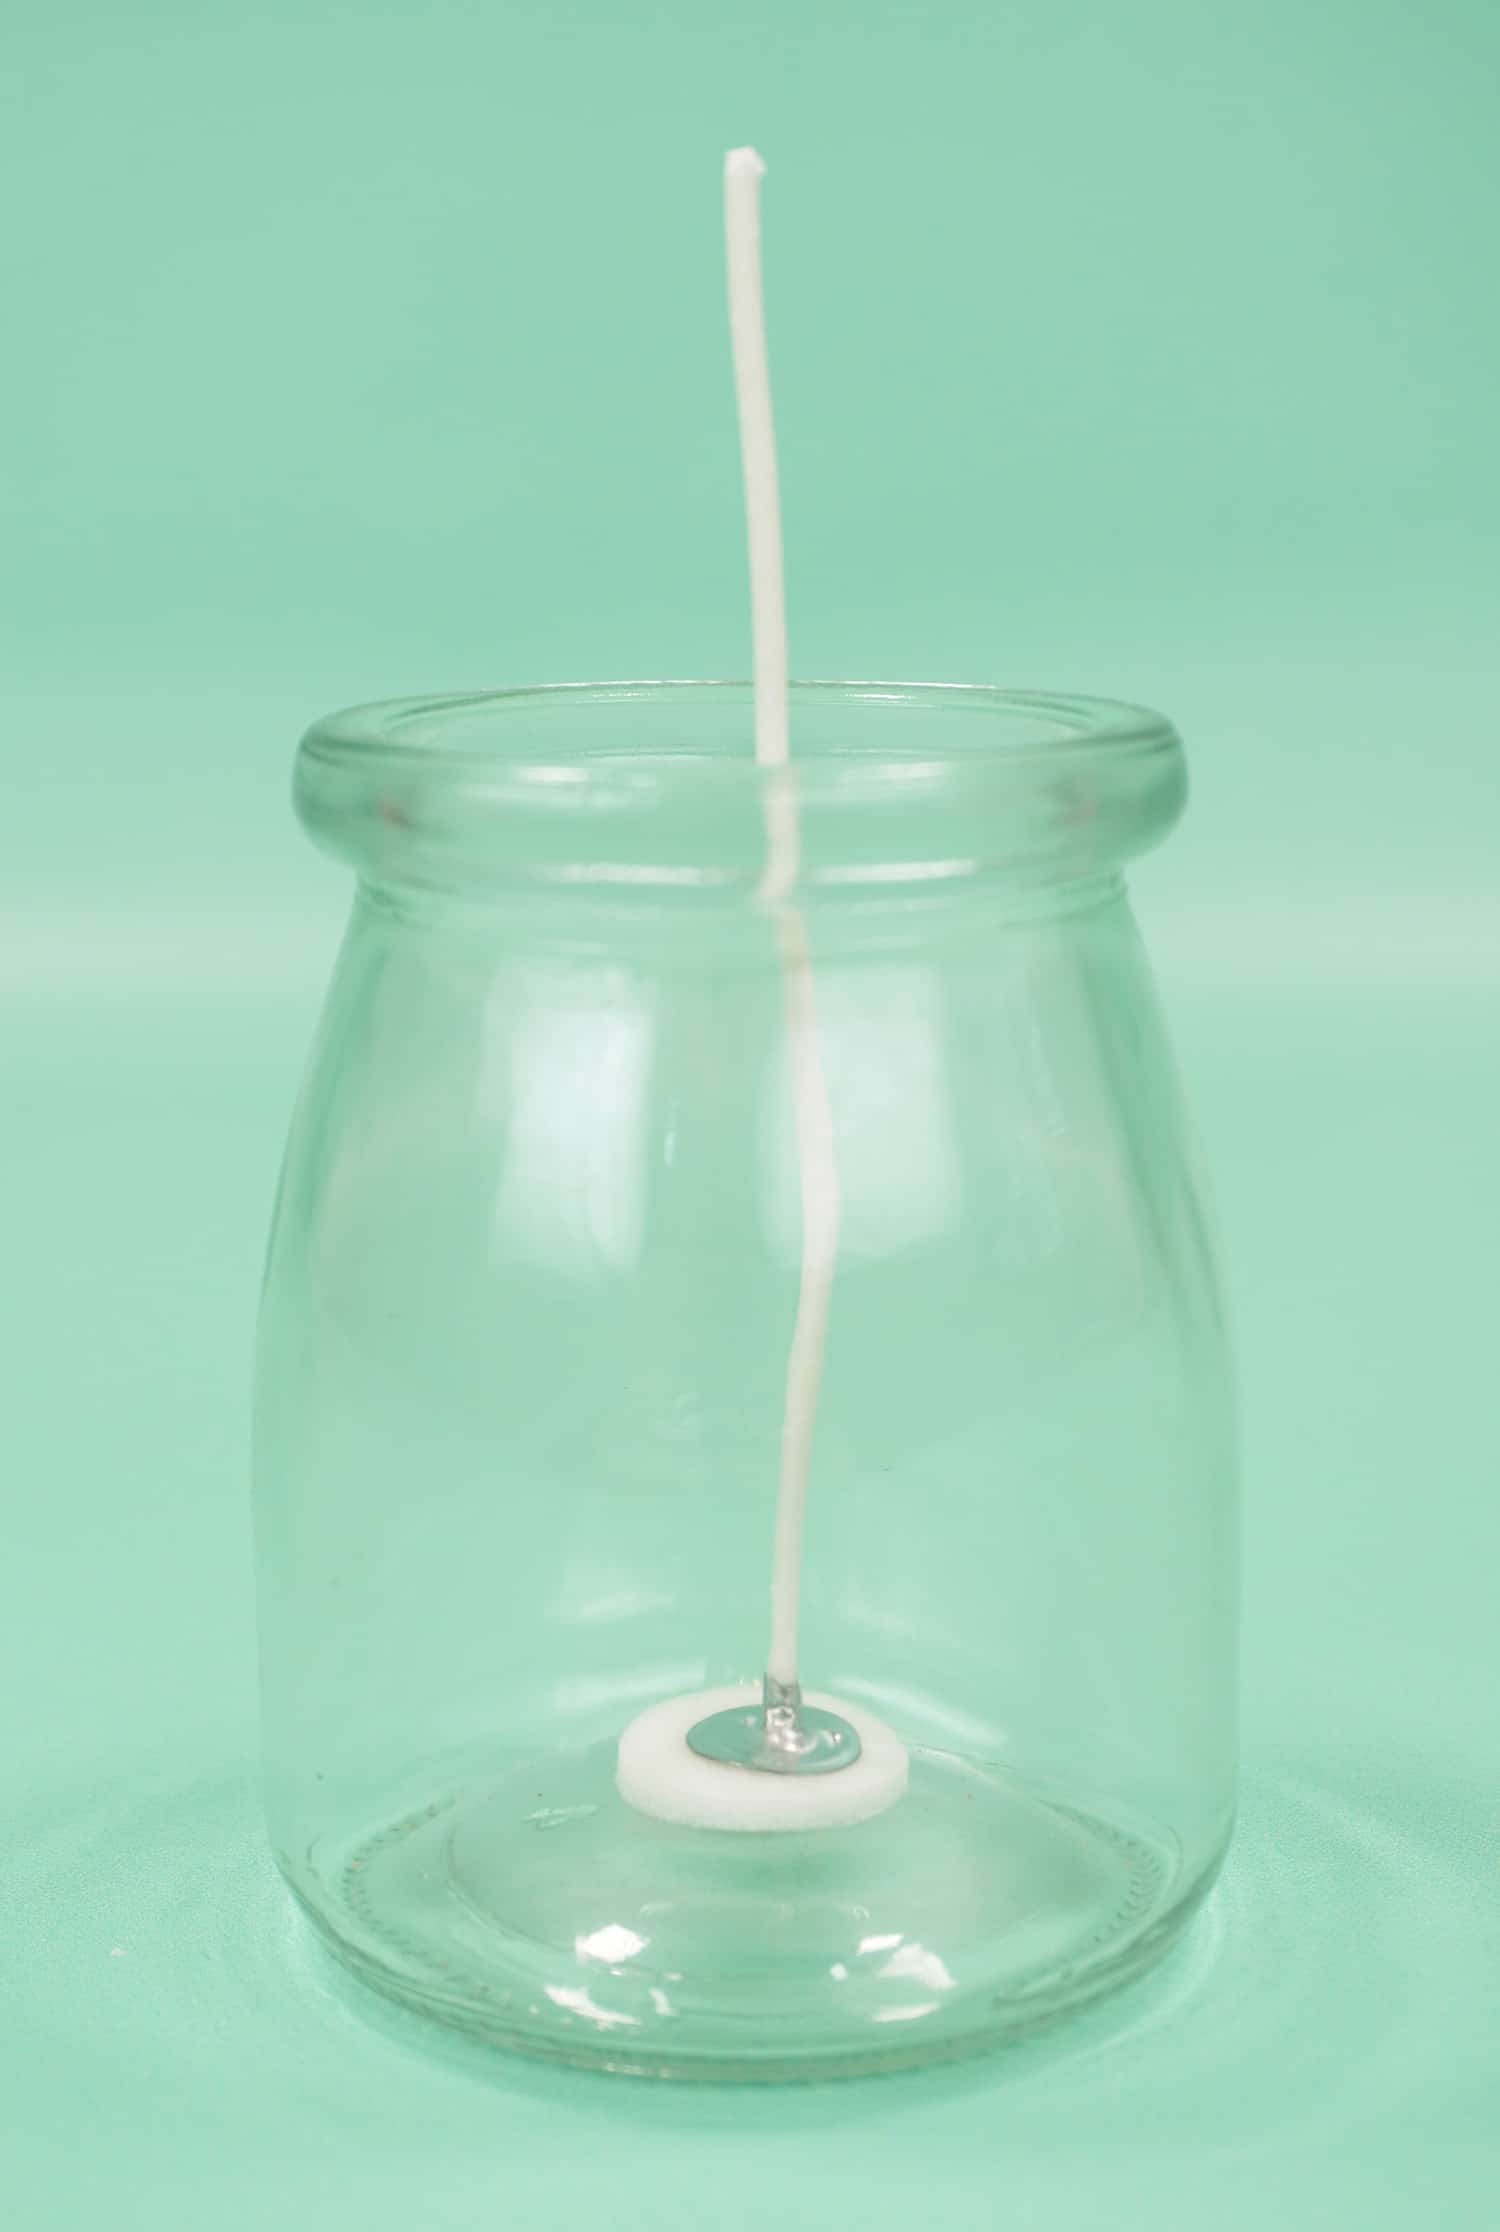
Center the wick in the base of the glass jar – use a double-sided sticky pad or a dab of hot glue to help hold the base of the wick in place.
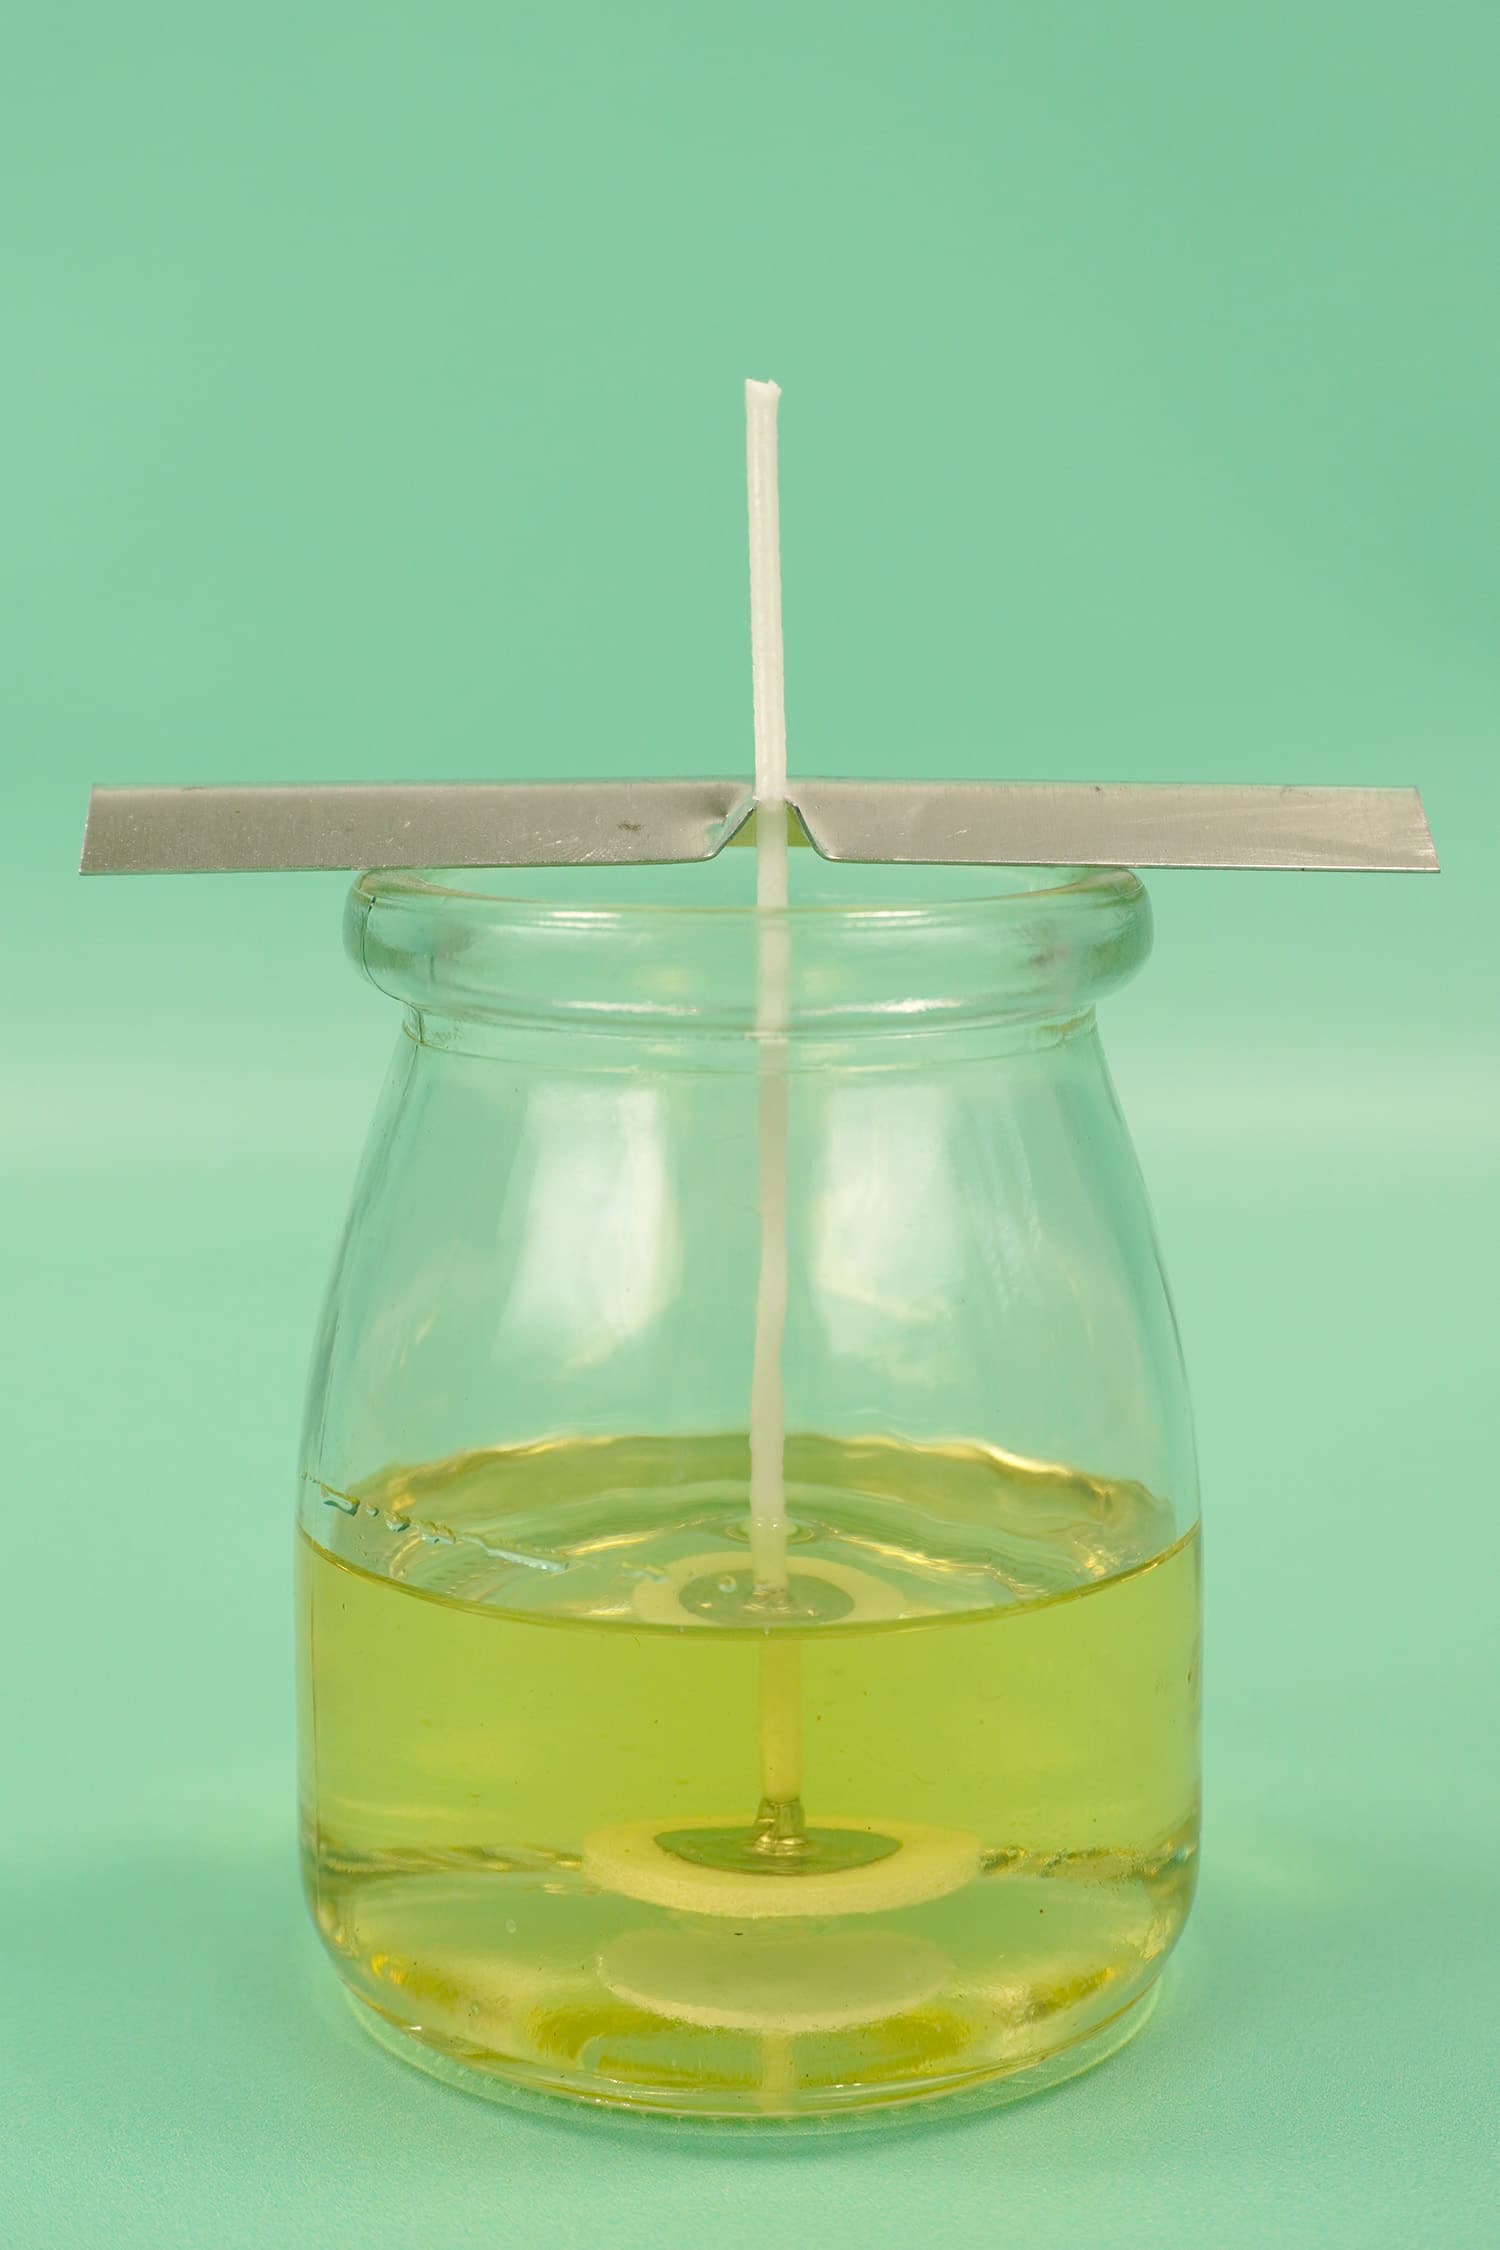
Melt white wax (do not add colorant) and stir in fragrance oil of choice. Carefully pour the melted wax into the jar, filling the jar a little less than halfway. Allow to cool completely.
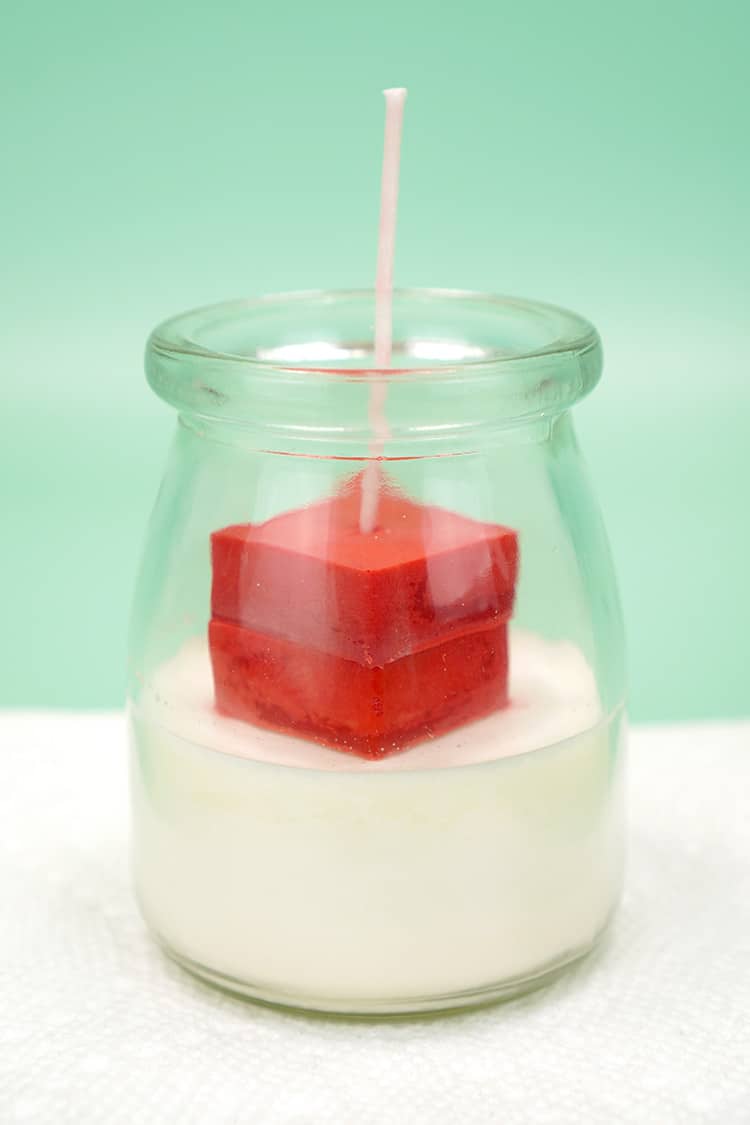
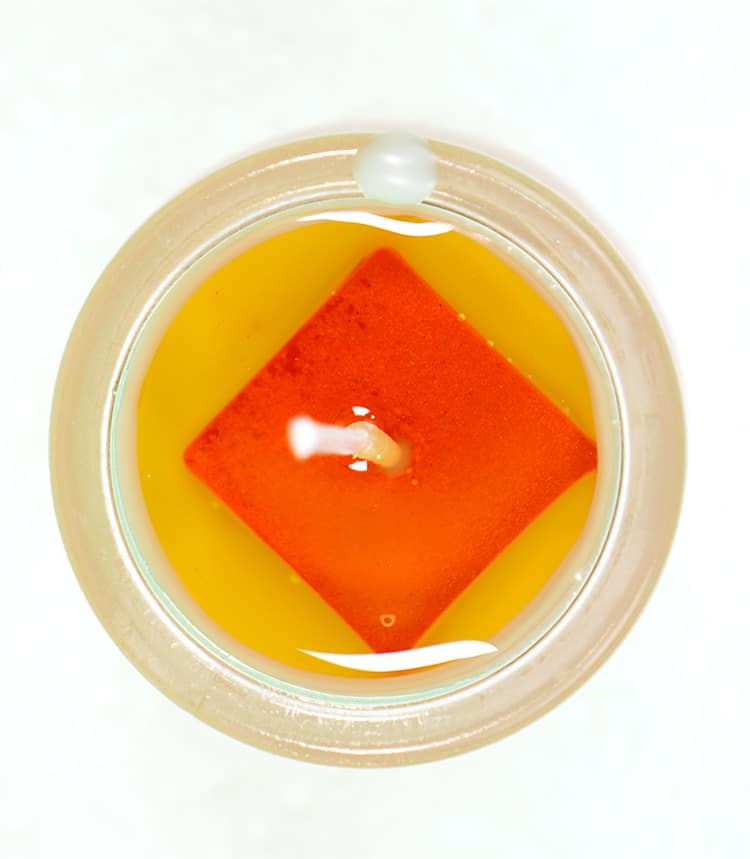
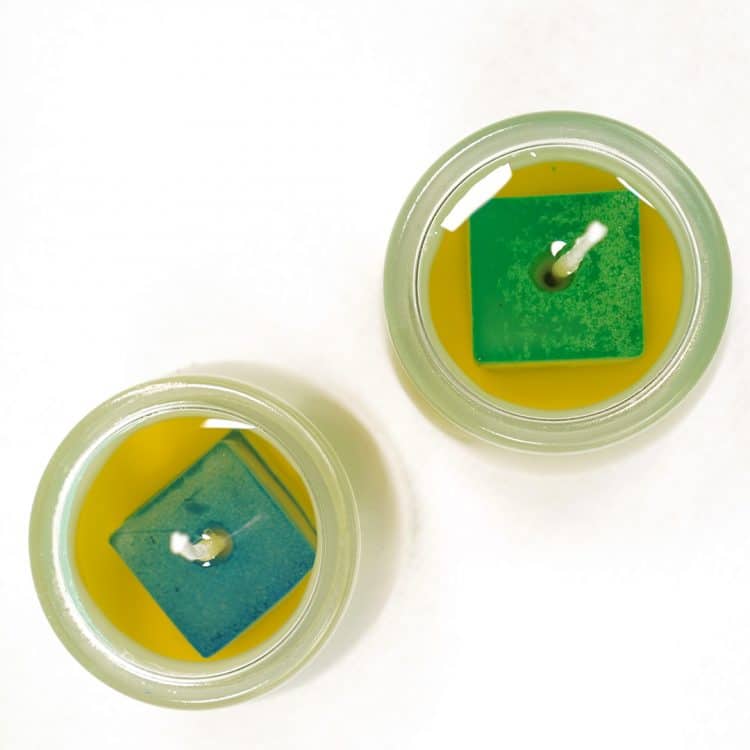
Thread 2-3 of the cubes of colored wax on to the candle wick, making sure that the cubes do NOT touch the sides of the glass jar.
It may look like the colored cubes aren’t that far below the surface of the candle jar, but soy wax burns rather slowly. If you use two colored wax cubes, it should take around 8 hours of burning time before the colors is revealed; three cubes will shorten that time to around 4 hours.
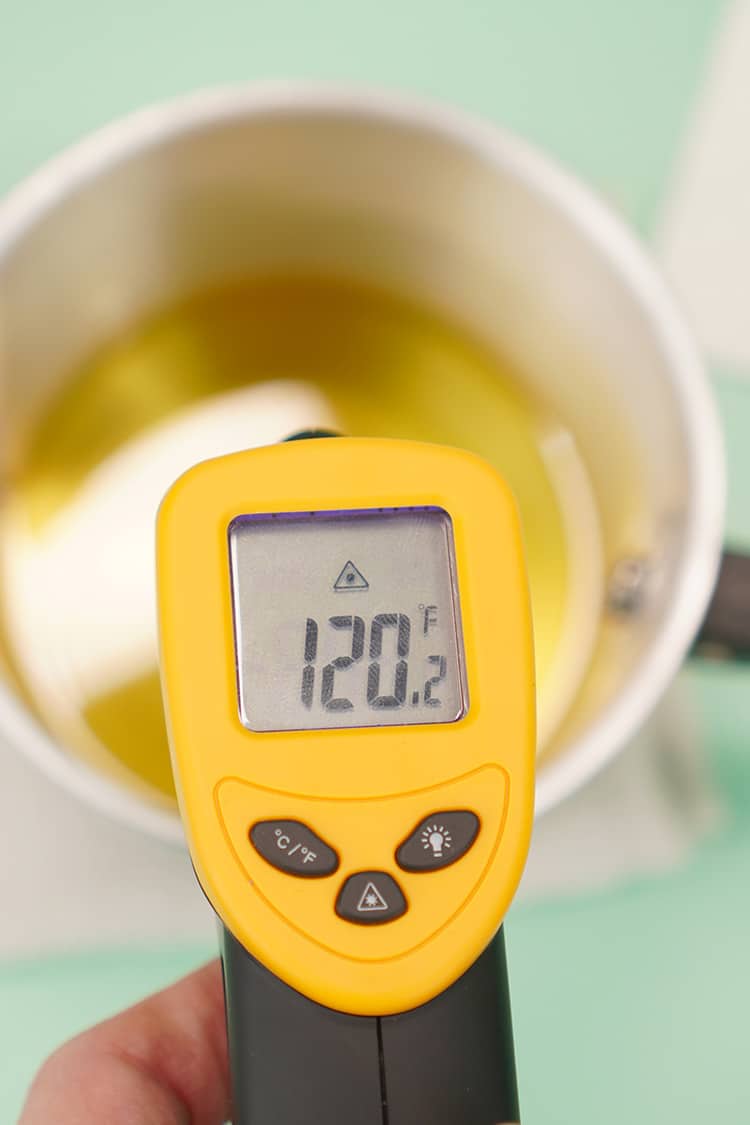
Melt the white wax and allow the liquid wax to cool until it reaches 120 degrees – this temperature ensures that the wax won’t melt the colored cubes and create a mess!
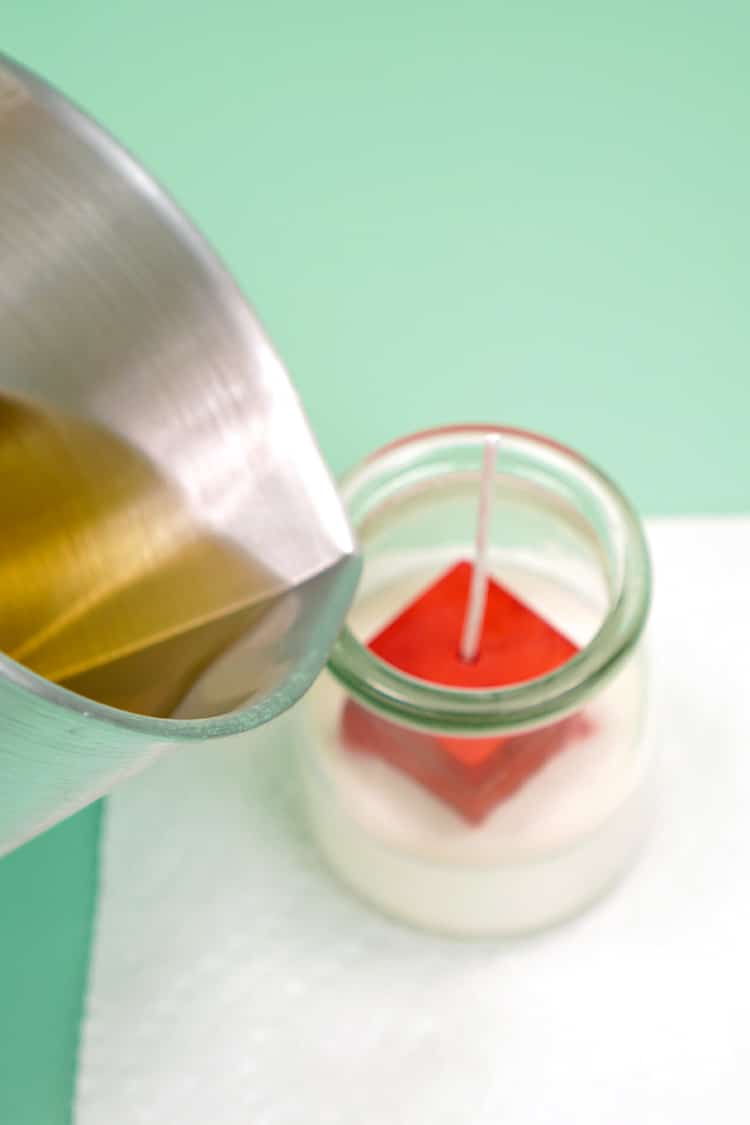
Carefully pour the wax into the candle jar, covering the colored cubes.
Allow the candle to cool completely.
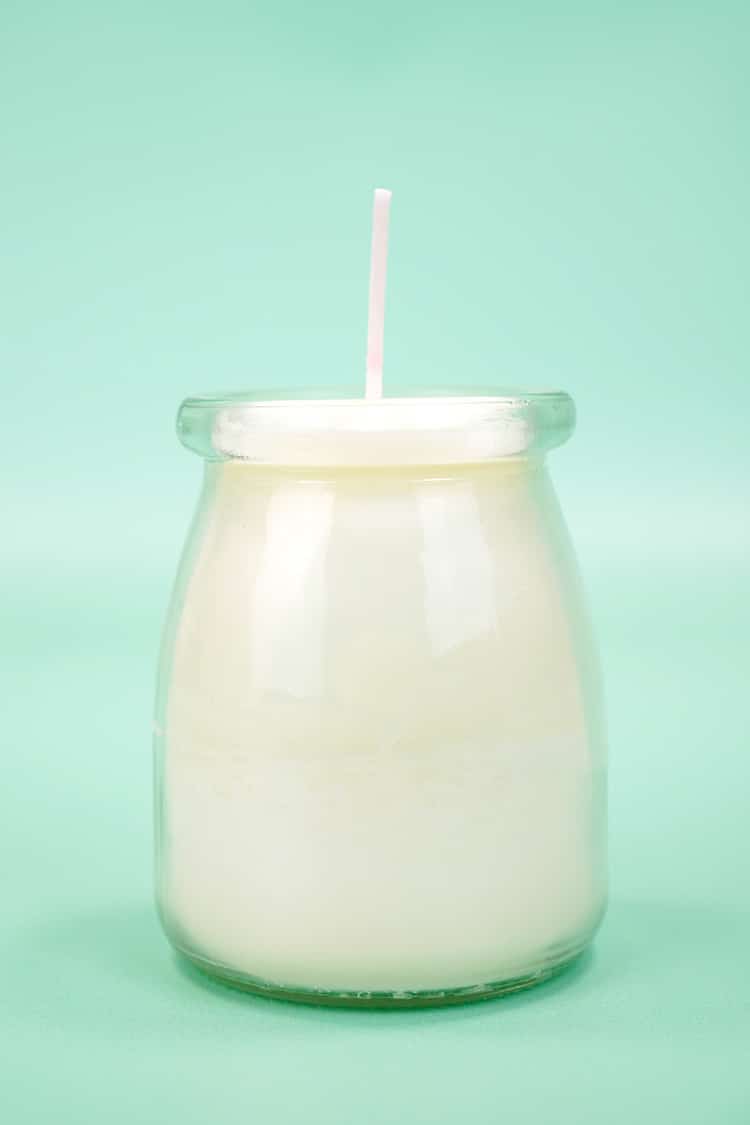
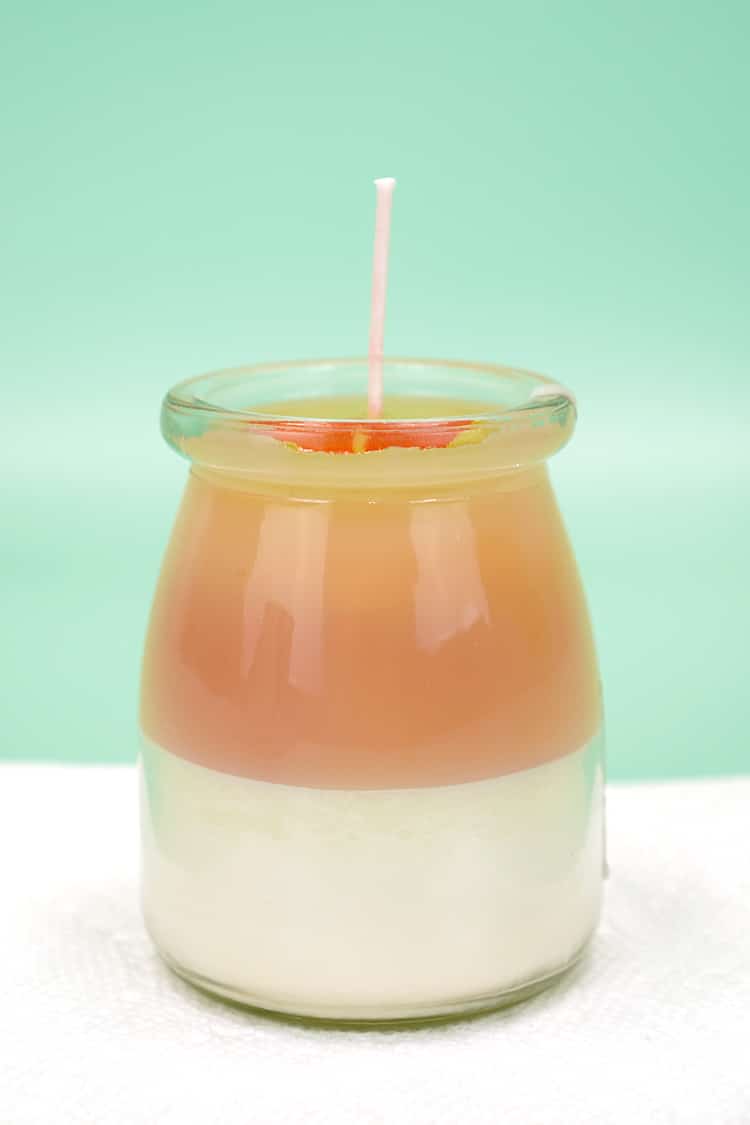
When cooled, you won’t be able to see a trace of the color hidden inside the candle!
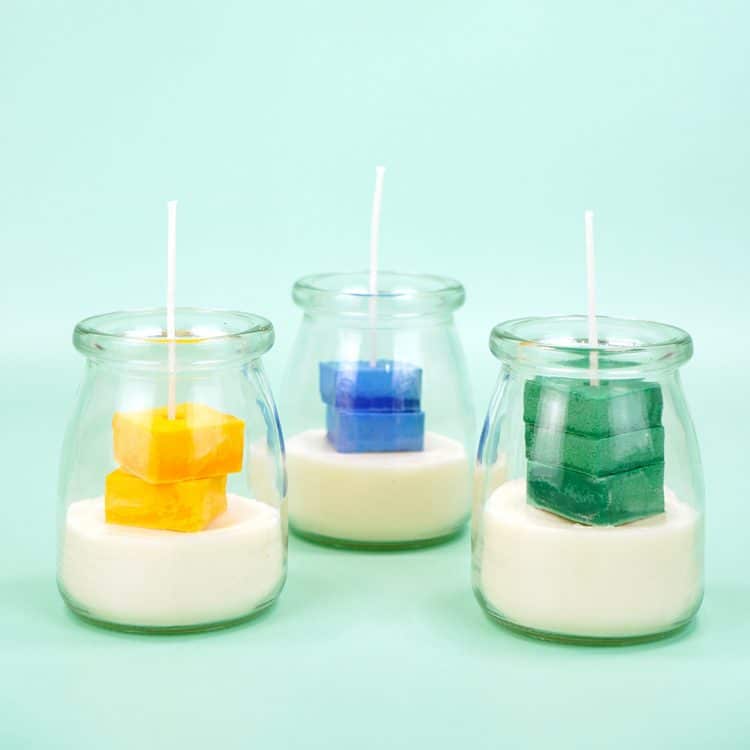
Then, repeat the process using the other colors.
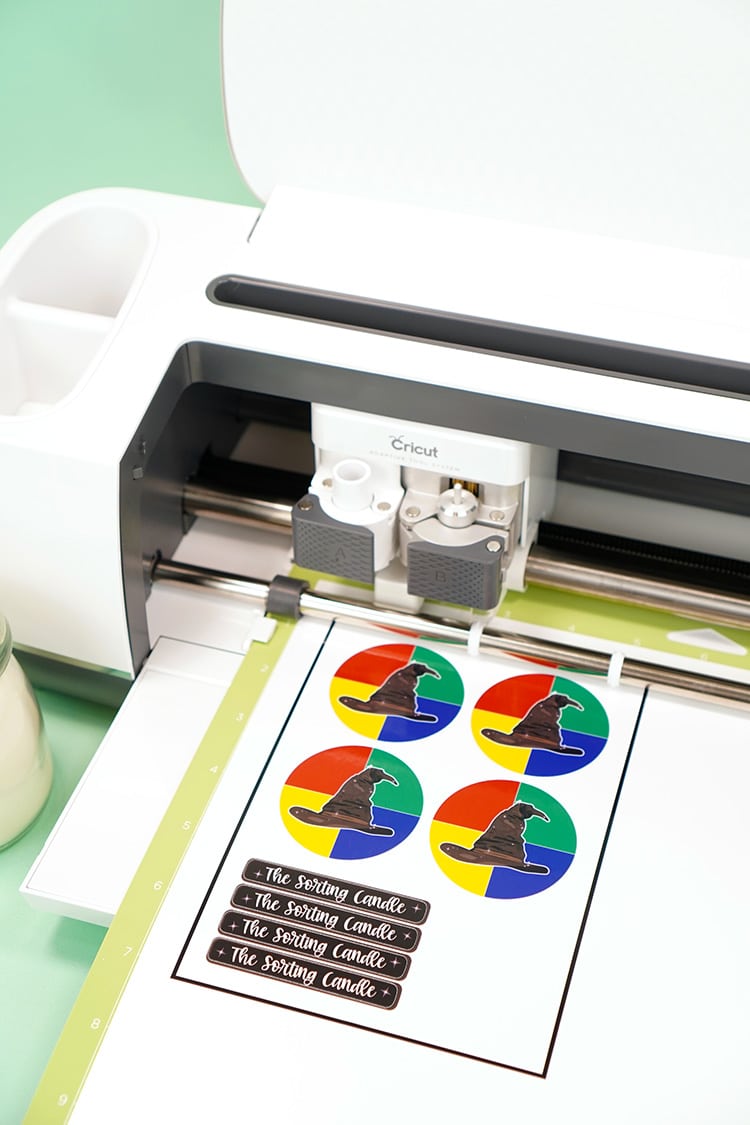
Download the Sorting Candle labels and cut out. I used my Cricut Maker machine with the Print Then Cut feature.
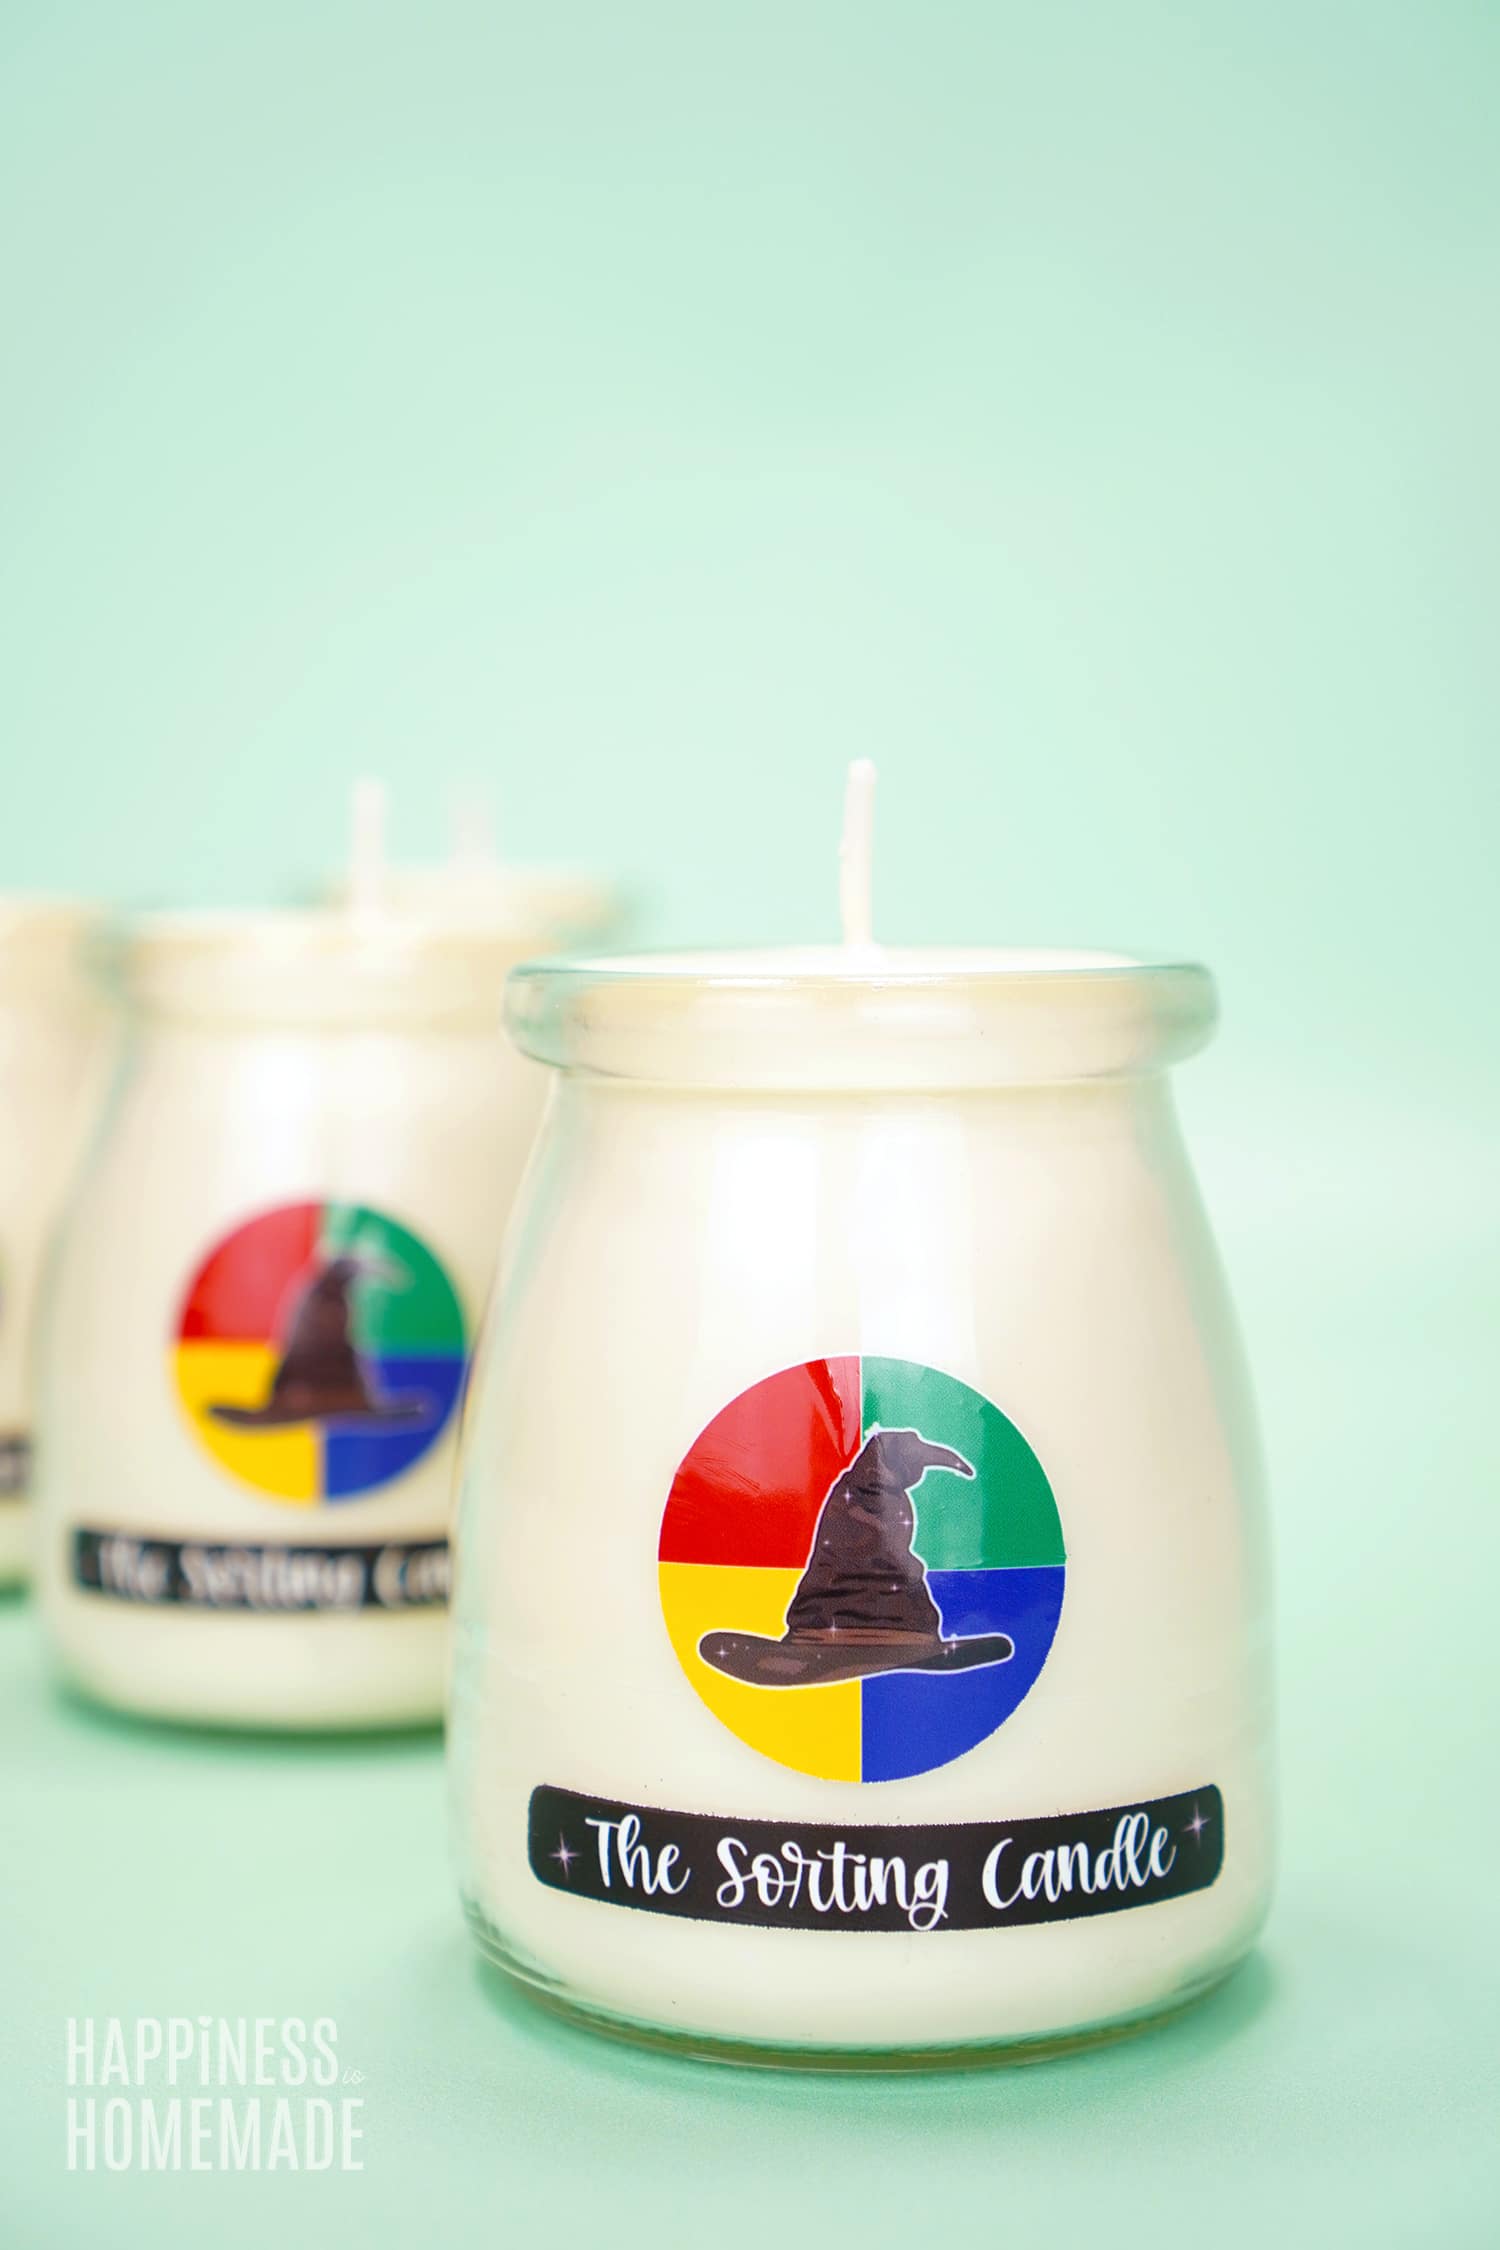
Add the labels, and the candles are ready to get sorting!
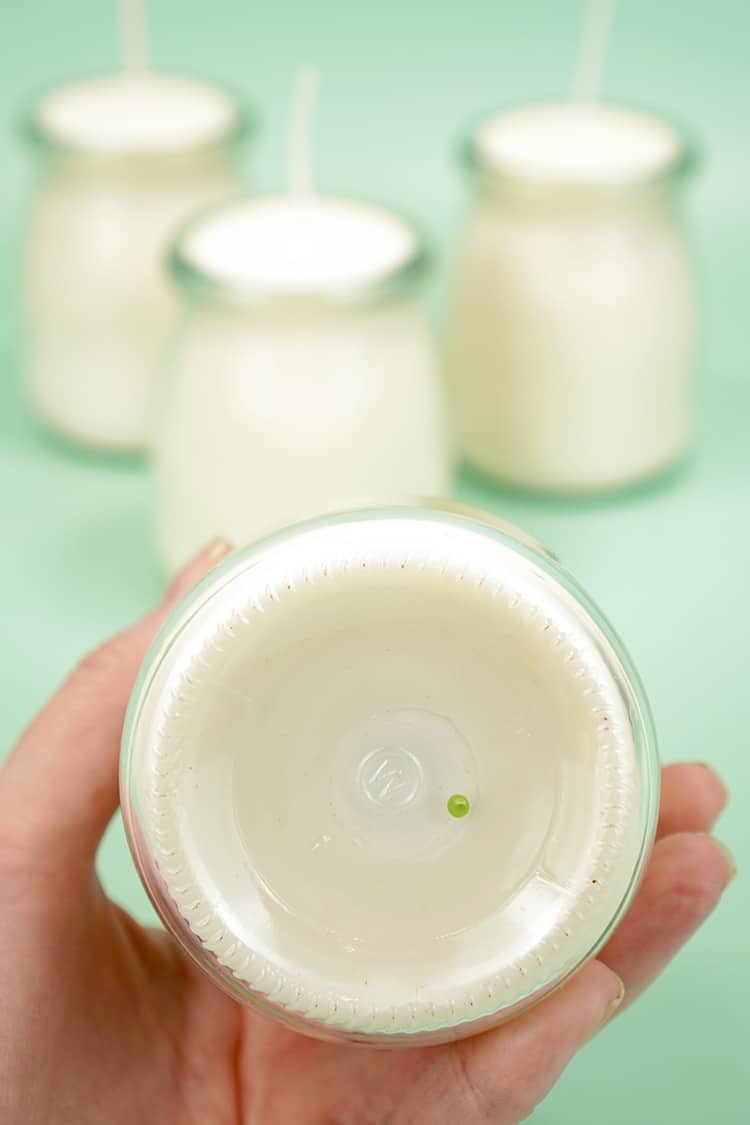
Note: I like to mark the base of my candles with a small dot of acrylic paint in a coordinating color. Because the base of the jar is slightly concave, the paint is protected from normal wear, however, the paint is easily removed if the recipient wants to be surprised.
Light the Sorting Hat candle, sit back, and wait for your house to be revealed!
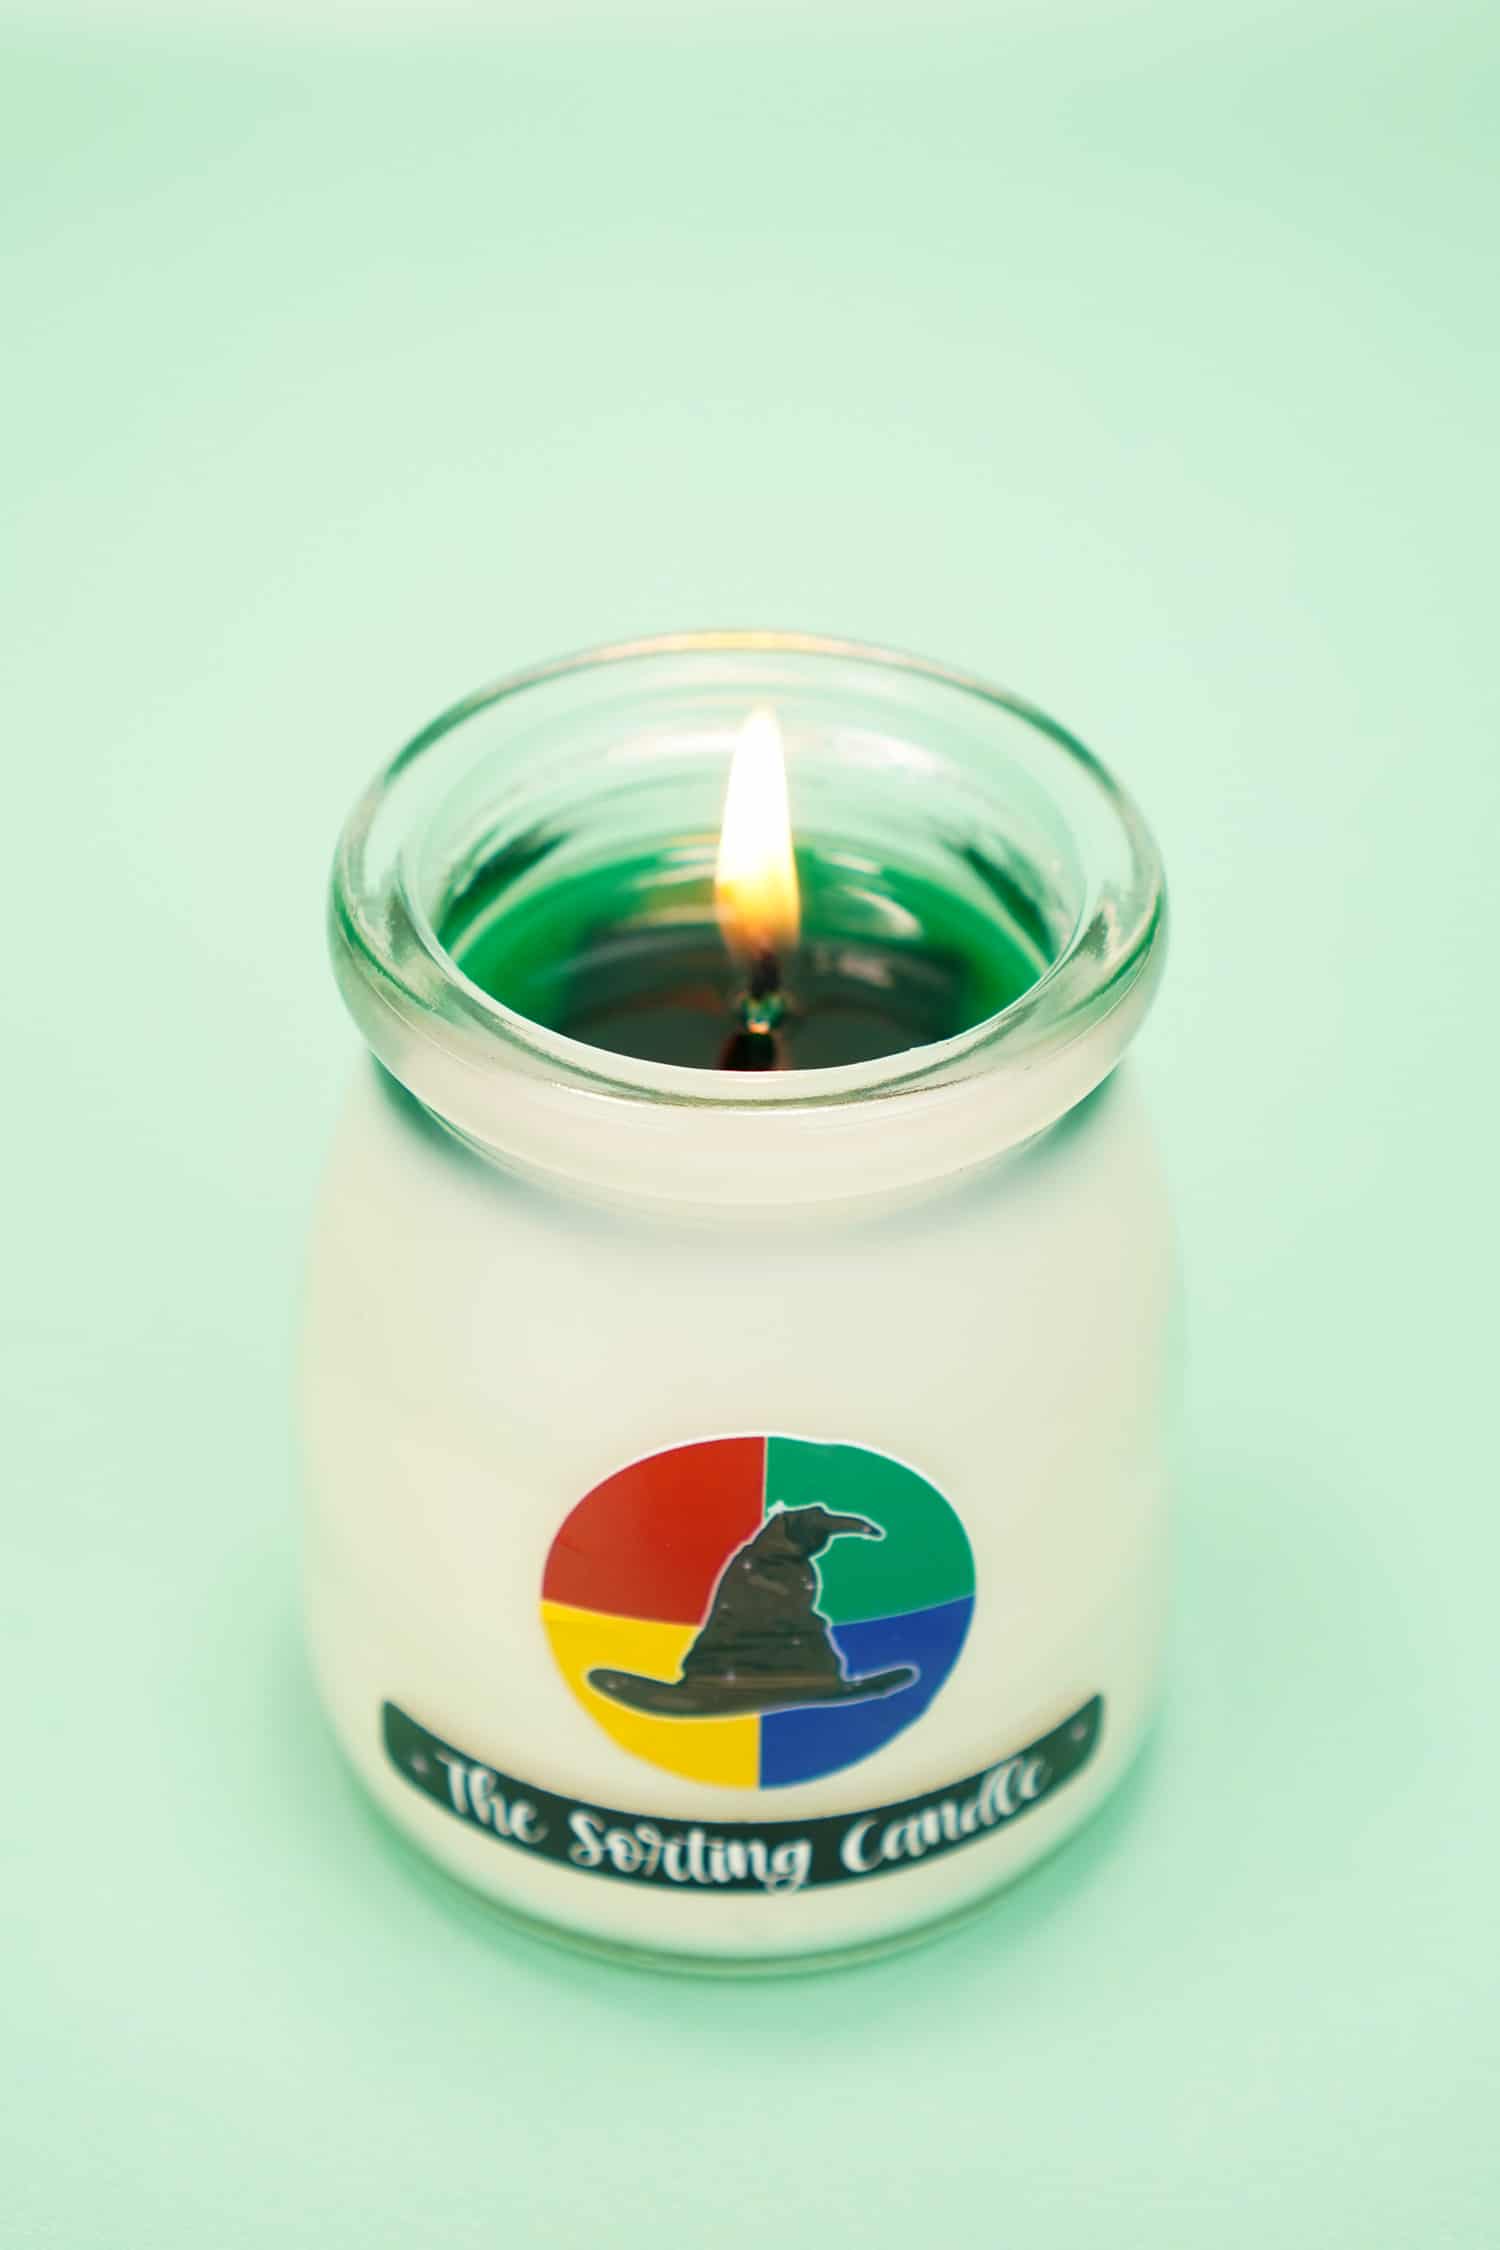
After burning the candle for awhile, the colored block will begin to melt and the house color will be unveiled!
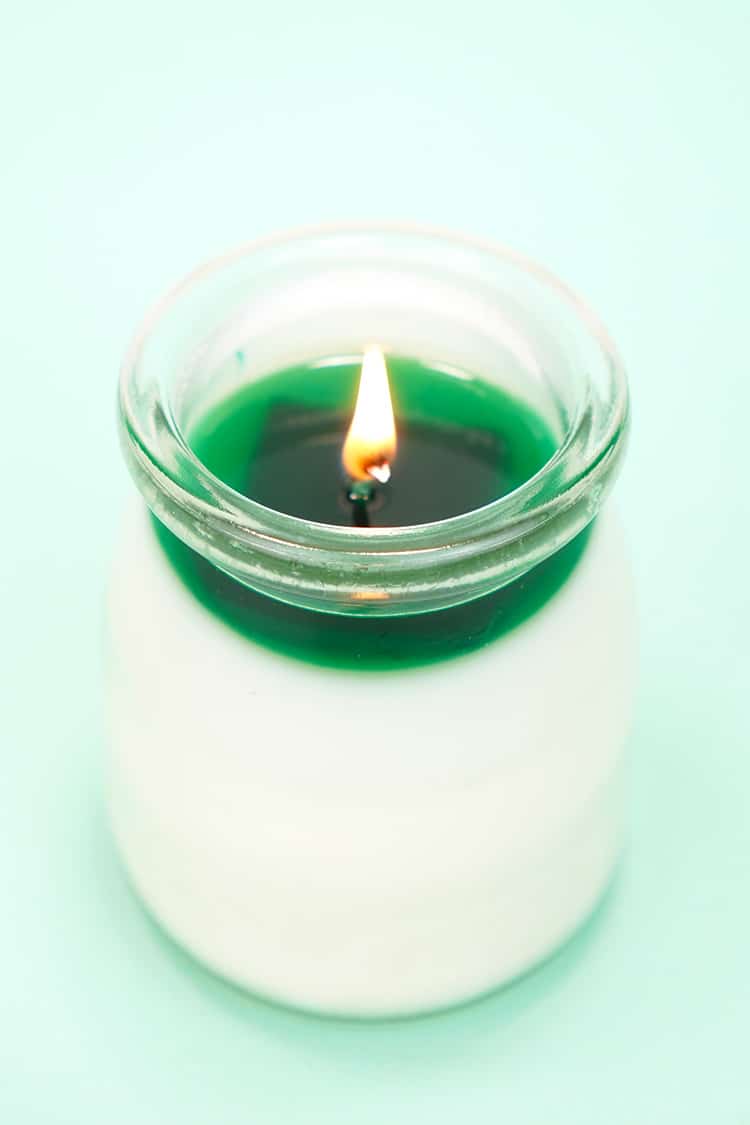
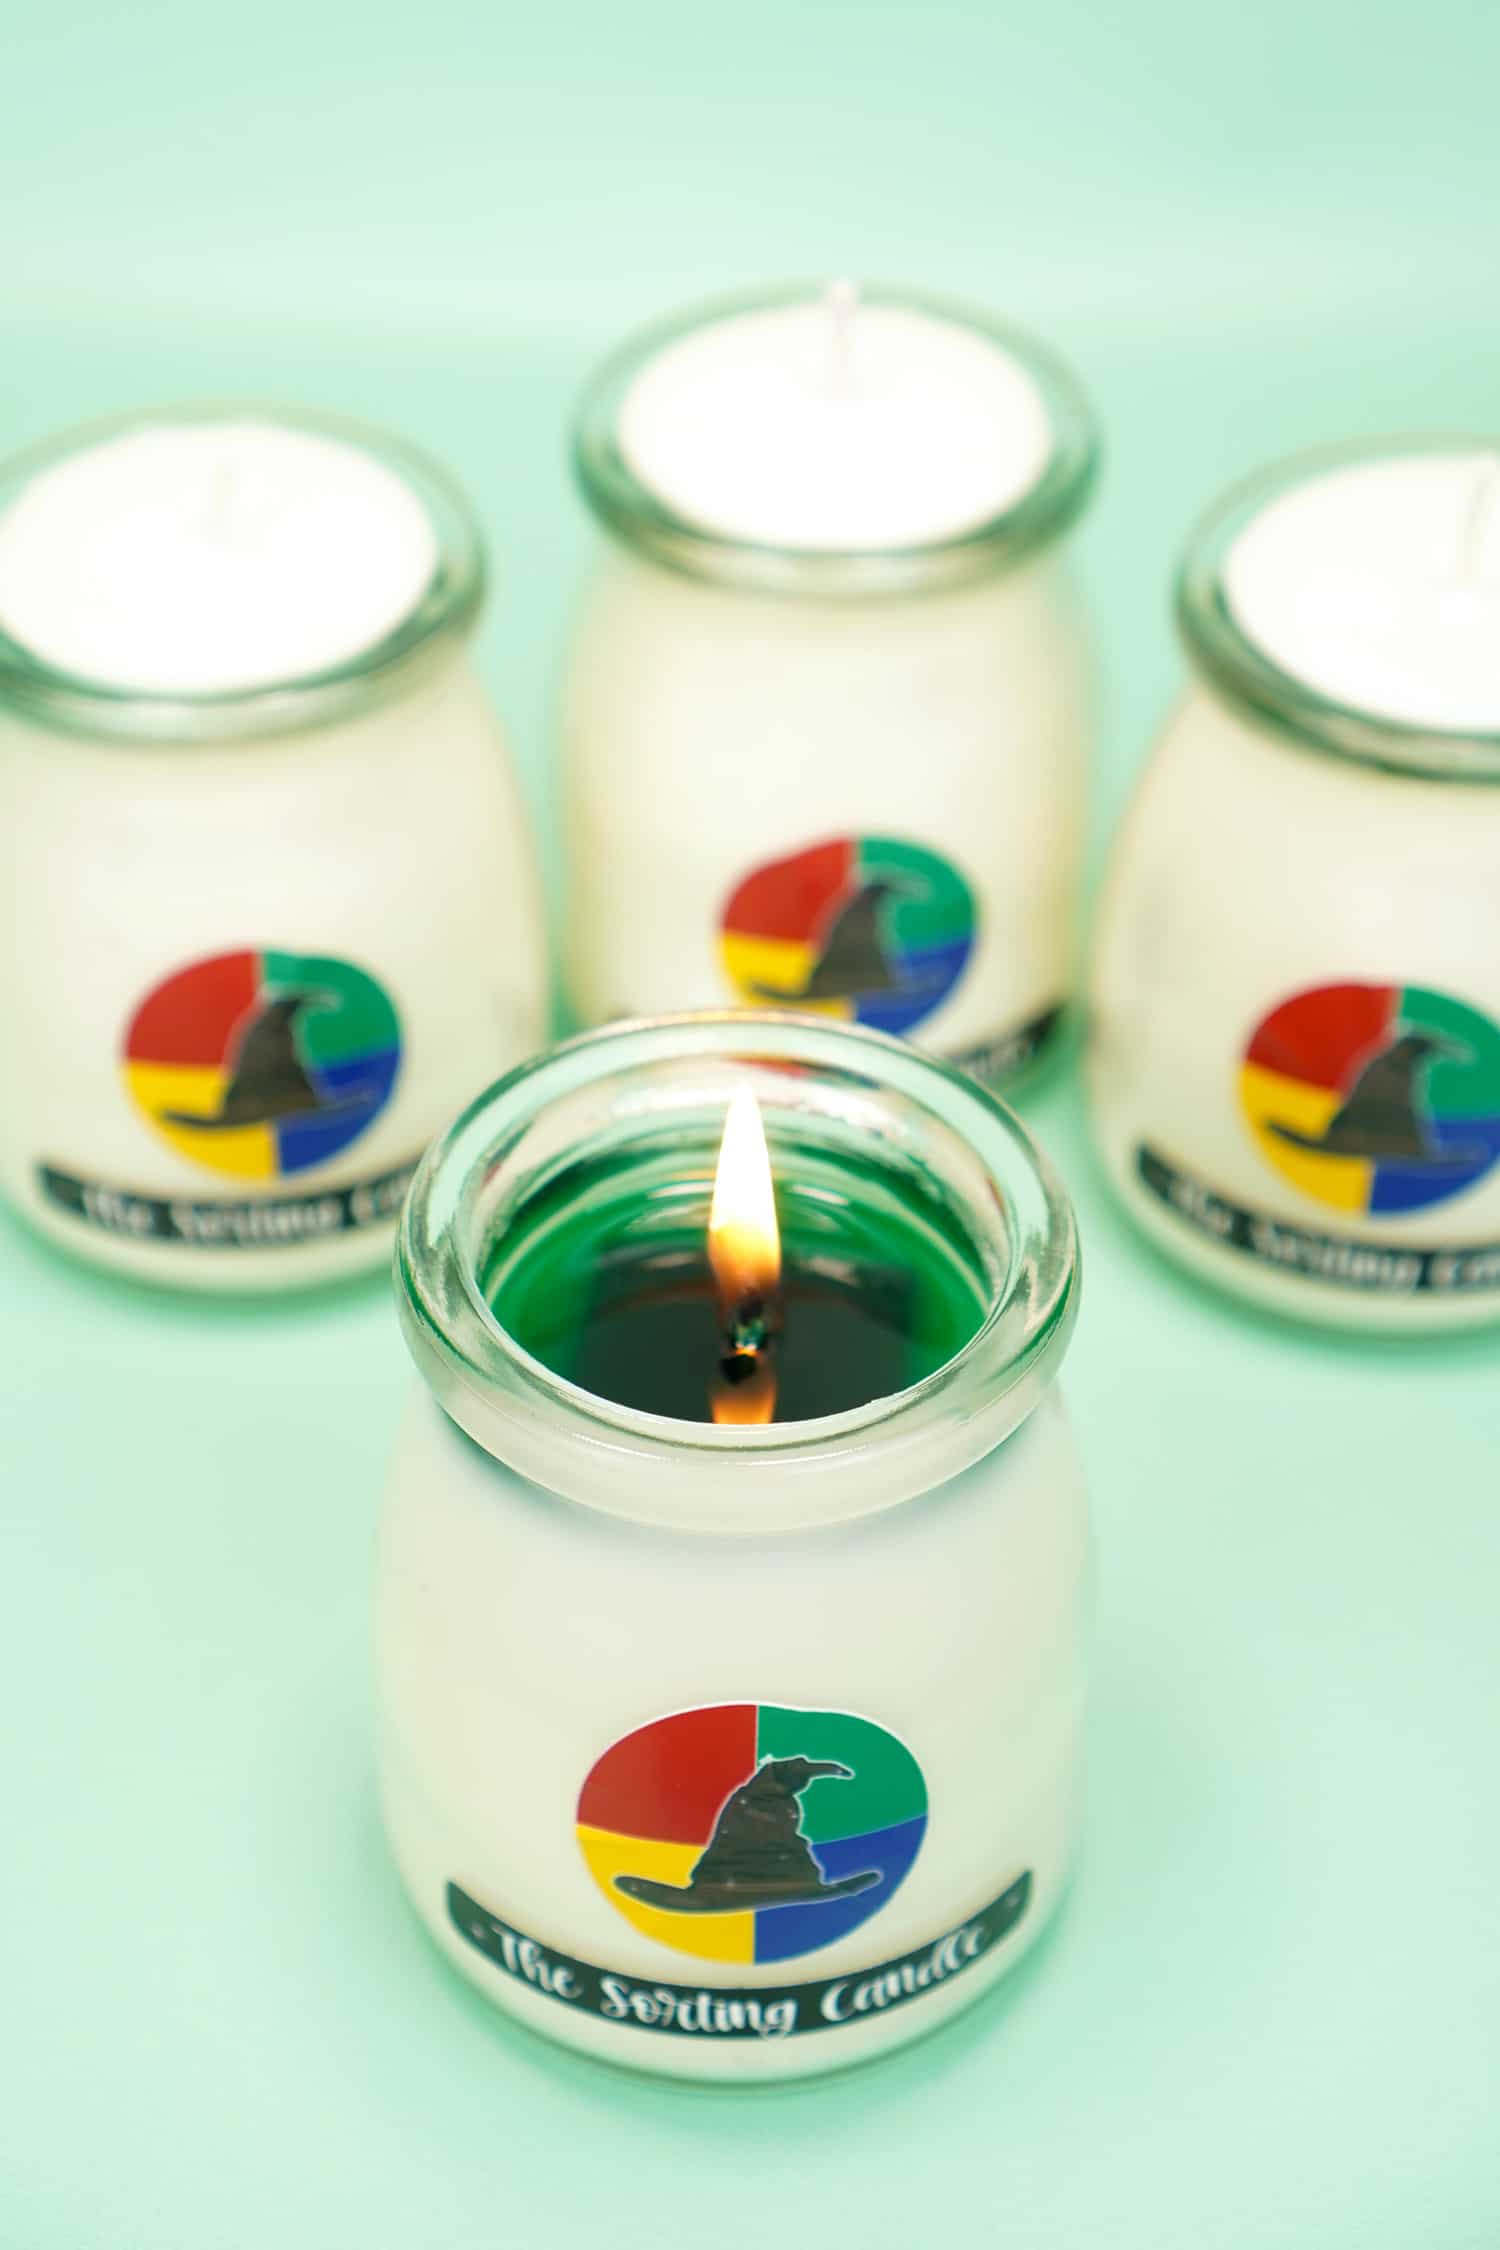
Green = Slytherin
Blue = Ravenclaw (that’s me!)
Red = Gryffindor
Yellow = Hufflepuff
You can read more about each of the different Hogwarts houses here.
These Harry Potter-inspired Sorting Hat Candles are super easy to make, and they make a fabulous DIY gift idea for all occasions!
Sorting Hat Candles
What You’ll Need:
Instructions:
For the Color Blocks
- Melt 3/4 cup of soy wax flakes in a candle making pitcher over low heat.
- When the wax has melted, add in wax colorant for your first house color, and stir gently until melted and combined. Note: the color should be quite dark as it will lighten when it cools.
- Carefully pour the wax into six wells of the silicone mold and allow to cool until partially solidified but not yet firmly hardened. Use a piercing tool or awl to create a small hole in the center of the wax block that is large enough to thread over the candle wick. Allow to cool completely.
- Clean candle pitcher and repeat the process for the three remaining house colors.
For the Candles
- Center the wicks in the base of the glass jars – you can use a double-sided sticky pad or a dab of hot glue to help hold the base of the wick in place.
- Melt 6 cups of soy wax flakes in a candle making pitcher over low heat. When melted, slowly stir in fragrance oil if using. We recommend using approximately 1/2 ounce of fragrance oil, but your amount may vary depending on scent preferences.
- Carefully pour the melted wax into the jar, filling the jar a little less than halfway. Allow to cool completely.
- Thread 2-3 of the cubes of colored wax on to the candle wick, making sure that the cubes do NOT touch the sides of the glass jar.
- Melt 4 more cups of soy wax flakes, stir in fragrance oil as desired, and then allow the liquid wax to cool until it reaches 120 degrees.
- Carefully pour the wax into the candle jar, covering the colored cubes. Allow the candles to cool completely.
- Add labels as desired.
To get the Sorting Candle Labels, enter your name and email address into the form below and click the “Get It Now!” button!

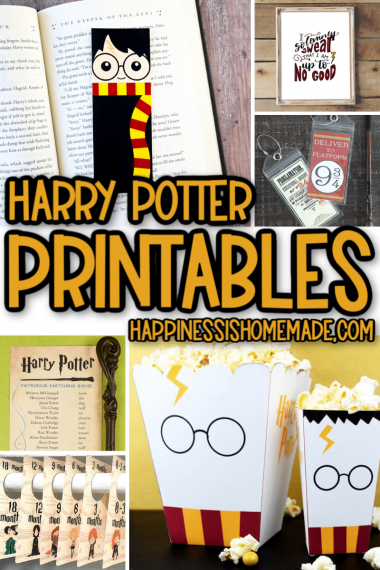
Check Out These Other Fun Harry Potter Posts!
 DIY Gryffindor Bracelet Set
 35+ Magical Harry Potter Crafts
 How to Make Harry Potter Floating Candles
- Harry Potter Sorting Hat Candles
 DIY Foil Art Prints with the Cricut Foil Transfer System
- 25+ Free Harry Potter Printables
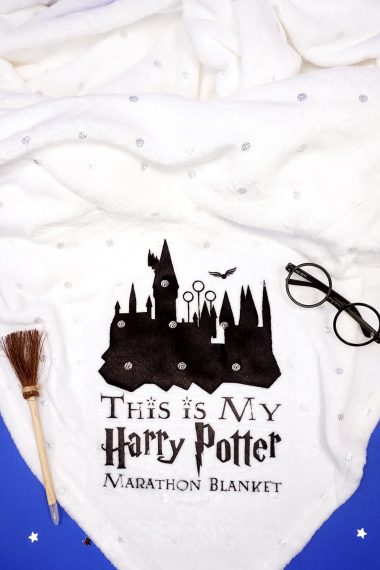
- Free Harry Potter SVG + Marathon Blanket
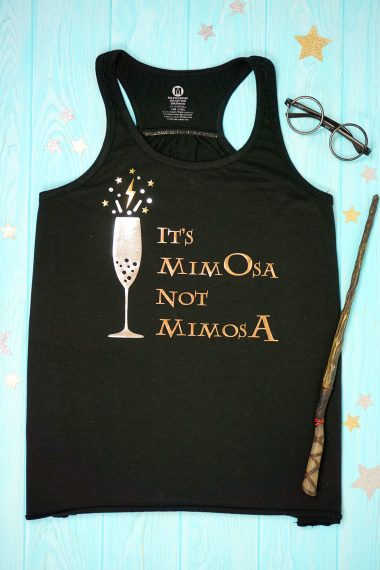
- Harry Potter Brunch Shirt: “It’s MimOsa Not MimosA” + SVG
Don’t Forget to Pin This Post for Later!

Heidi Kundin has captivated the hearts of millions with her colorful and inspiring approach to crafting, celebrations, and family fun. With over 15 years of experience, Happiness is Homemade has become a must-visit destination for those seeking quick and easy creative ideas and last-minute solutions. Heidi’s warm personality shines through her posts, inviting readers to join her on a creative journey that’s fun, rewarding, and achievable. Heidi is also the author of Homemade Bath Bombs & More and DIY Tie-Dye.