


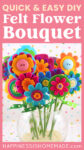

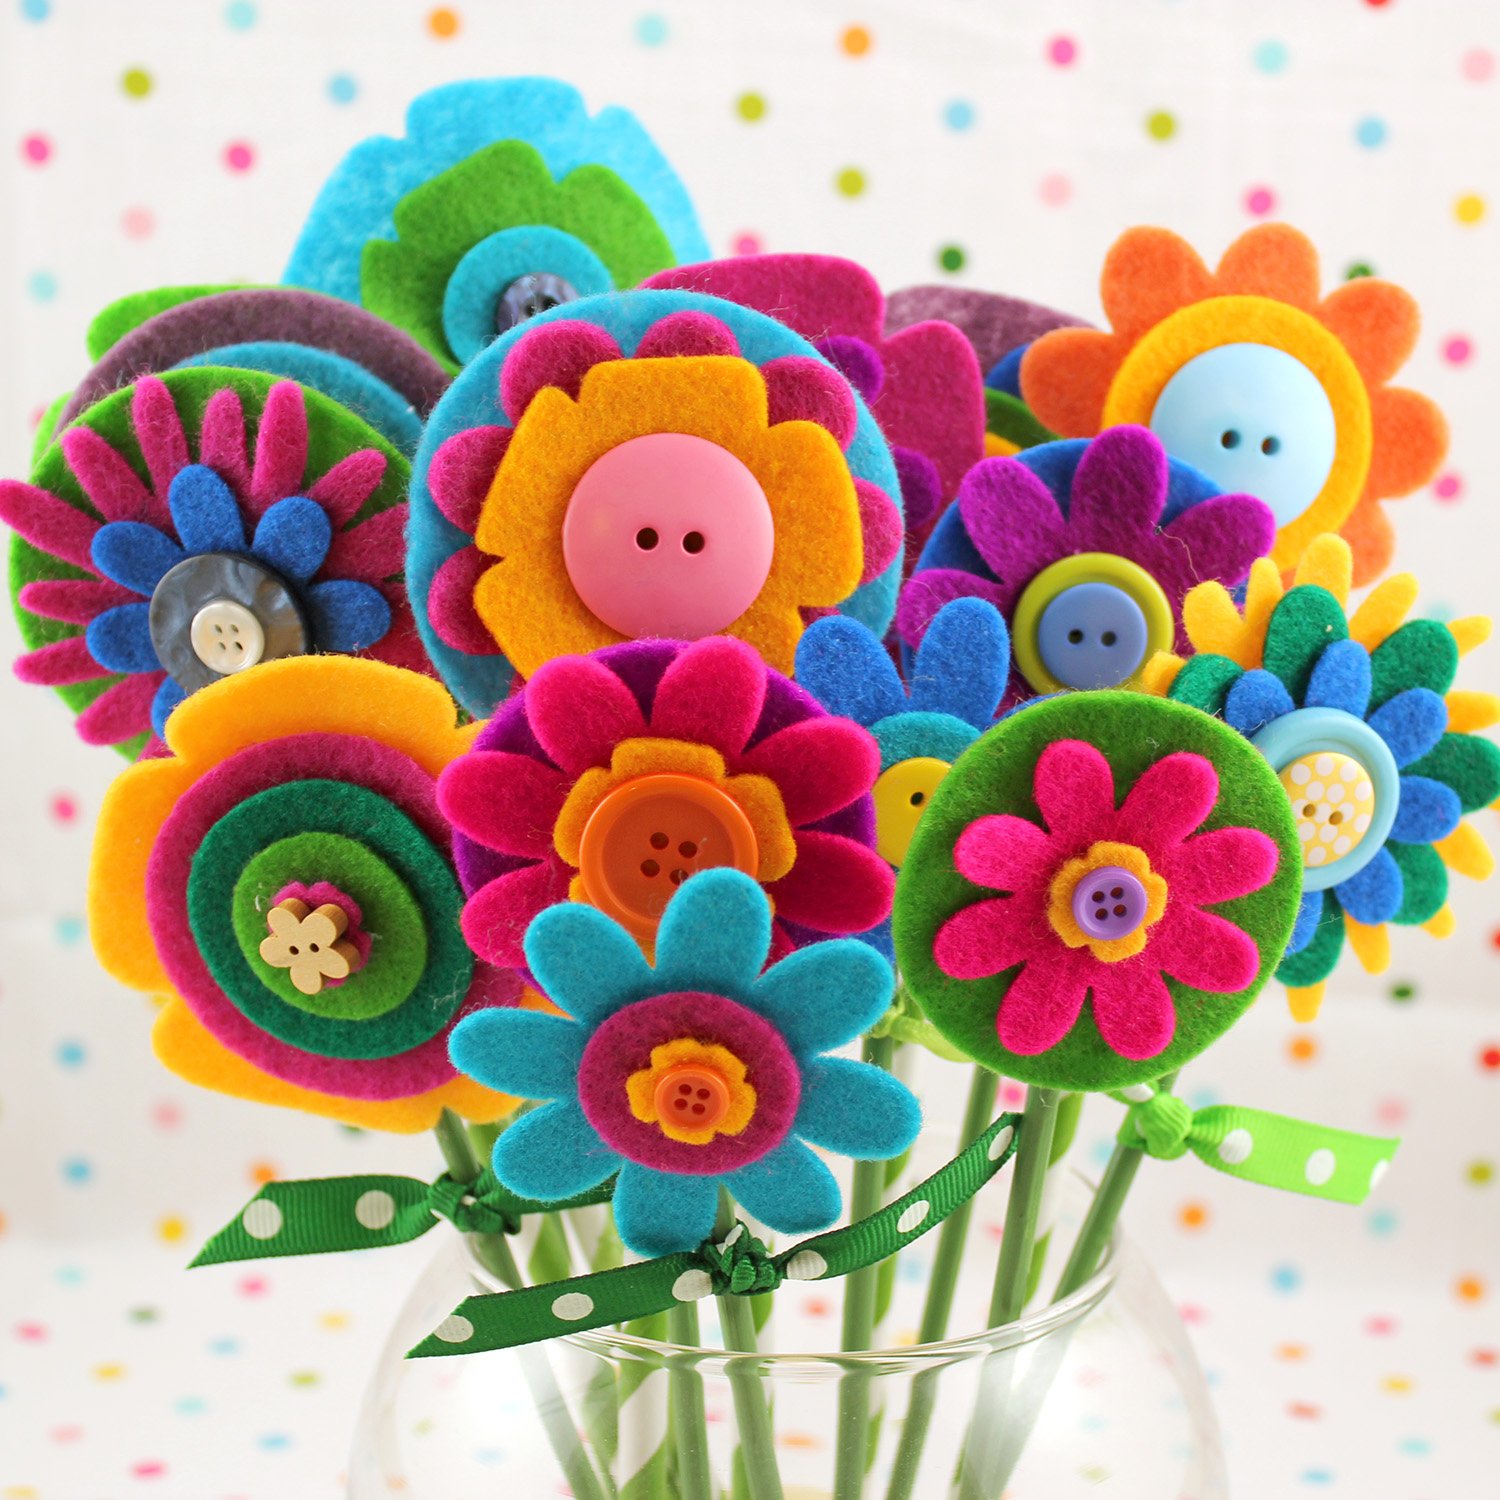
A bouquet of these easy DIY felt flowers makes a fantastic homemade gift idea! Easy enough for kids to make, but fun for adults, too! You’ll love making your own felt flowers!
Skill Level: Beginner – This simple felt flower craft is fun for all ages! Recommended for ages 4 to adult. Young children may require adult assistance.
We love Spring Crafts around here, and with Mother’s Day just around the corner, there’s nothing more timely than a lovely DIY spring bouquet!
These cute felt flowers are super quick and easy to make. But, I have to warn you…once you make one of them, you will want to make at least 20! 😂 They’re SO much fun!
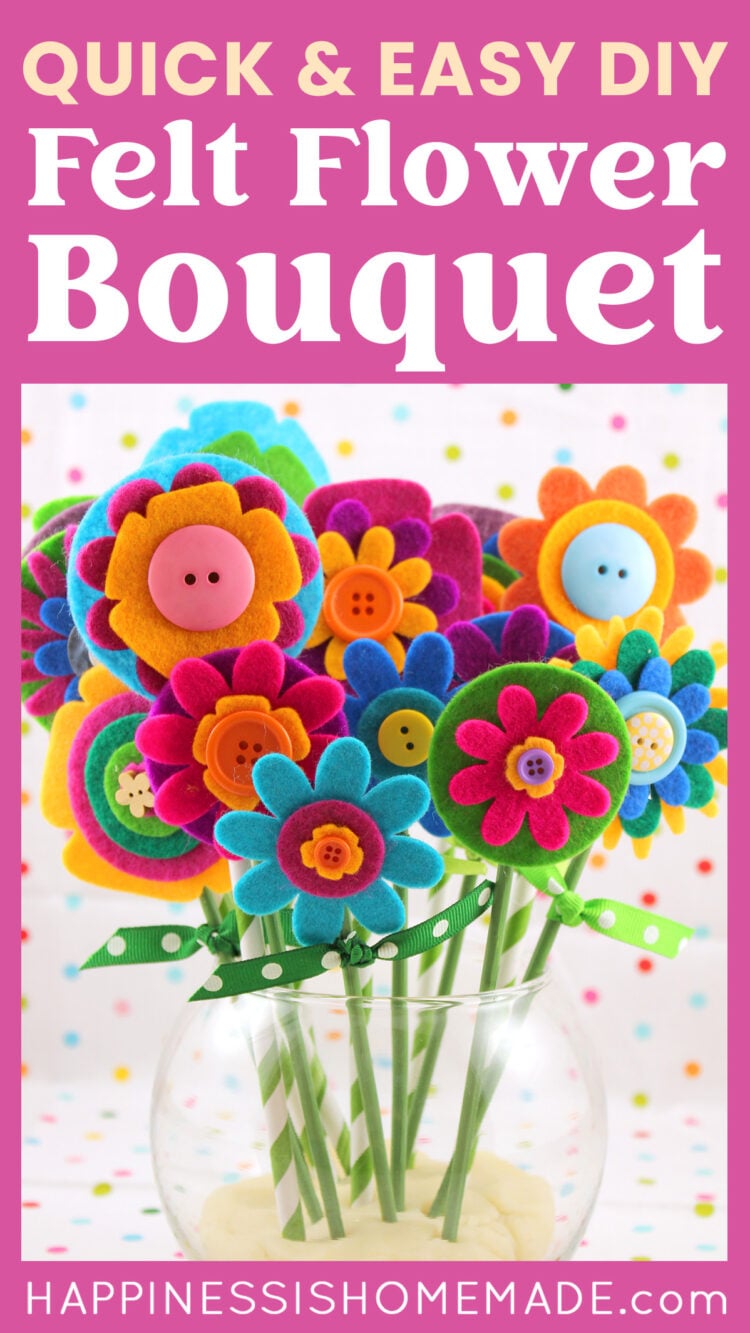
DIY No-Sew Felt Flowers
This post may contain affiliate links. I will receive a small commission from these sales at no additional cost to you!
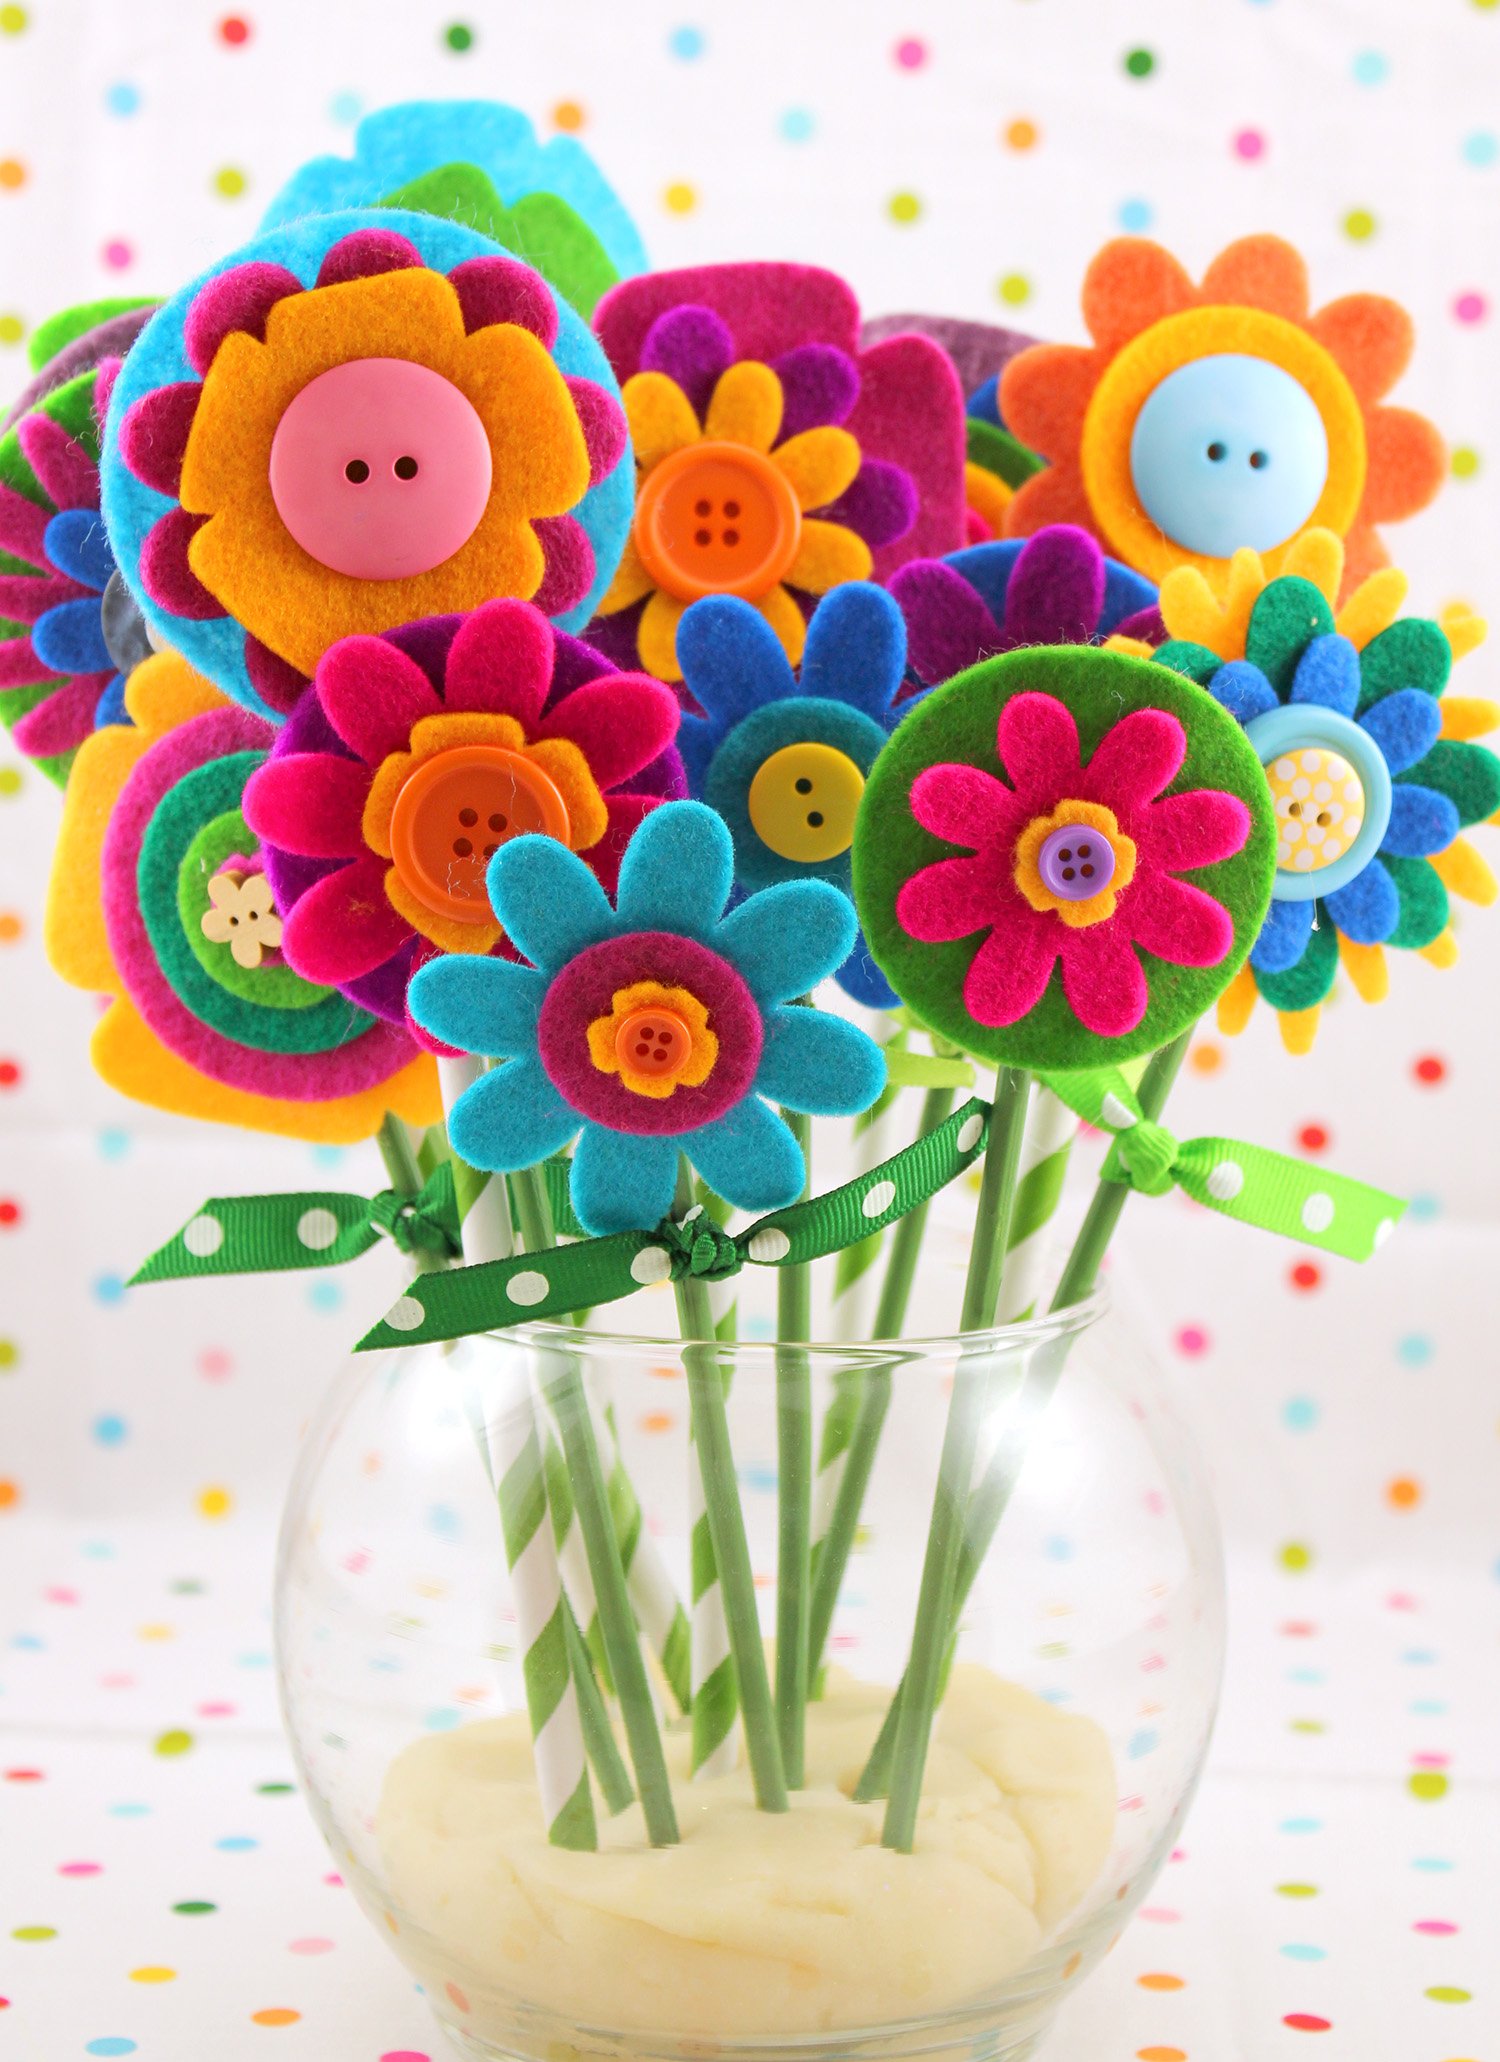
Felt Flower Supplies
PRO TIP:
Save time and effort by purchasing pre-cut felt flower pieces! Some of my favorite places to purchase die cut felt flowers are Over the River Felt, Planeta Costura, Benzie Design, and Amazon.
How to Make Felt Flowers
Use your scissors or die cutter to cut felt flower shapes in different sizes and colors. If you’re working with scissors, I’ve included a flower template below that is filled with all kinds of different flower shapes and sizes that you can use to assist you.
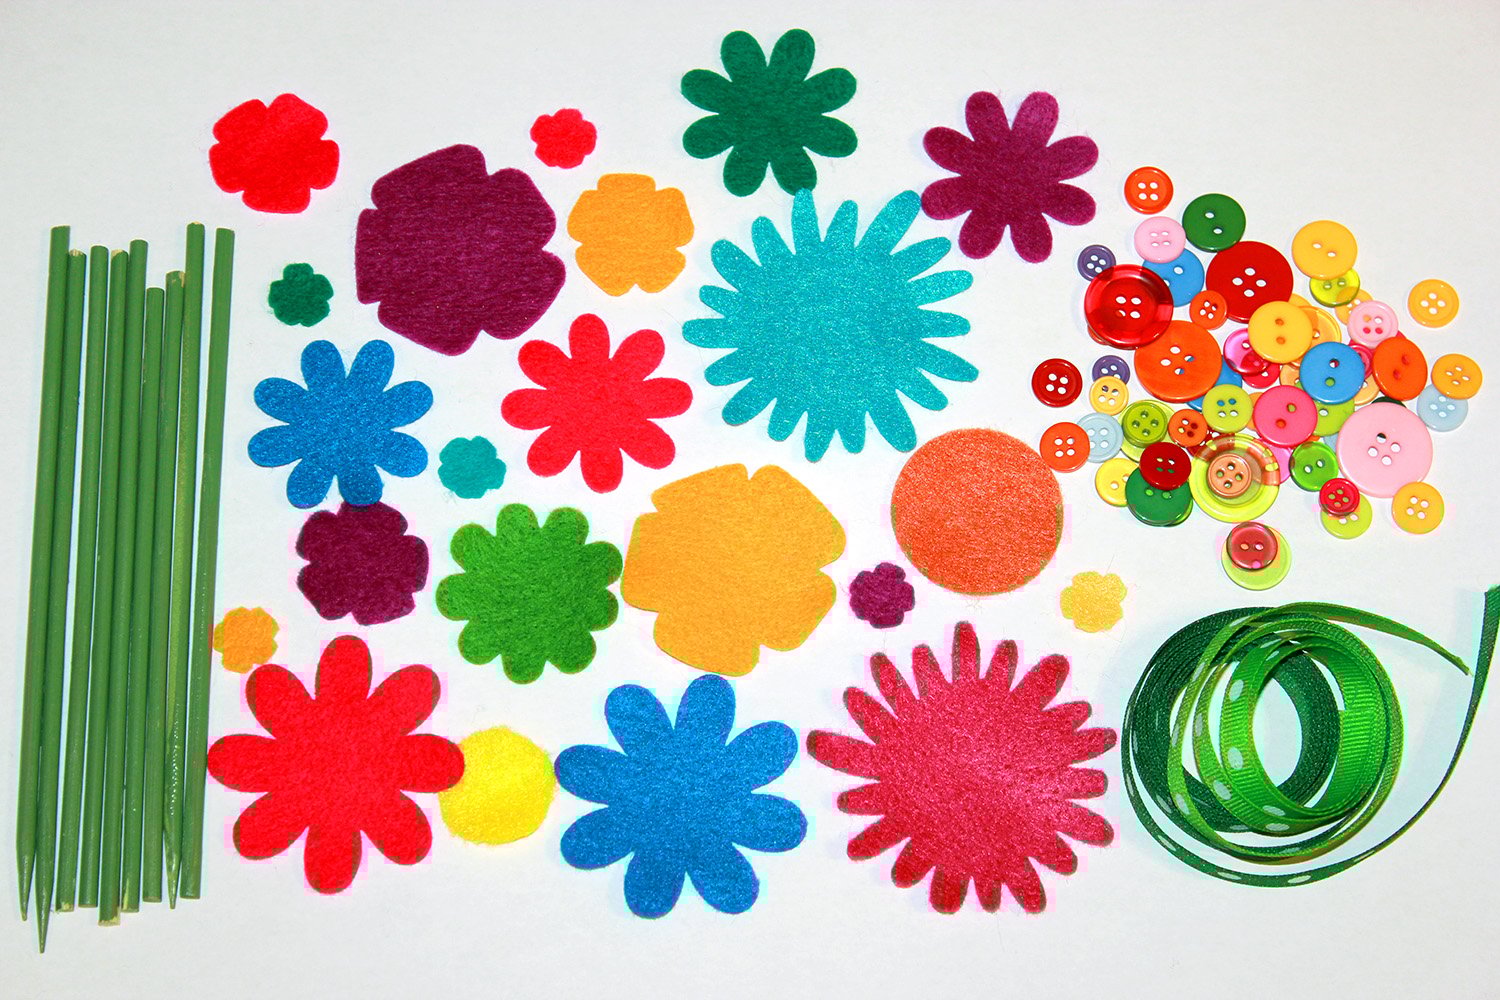
Once your pieces are cut, select the colors and sizes that you want to use for your flower (3 to 5 work best) and start layering. Add a dot of glue to the center of each layer to hold the flower together, but do NOT glue all the way to the outer edges. Gluing only the centers will create a flower with more depth and dimension.
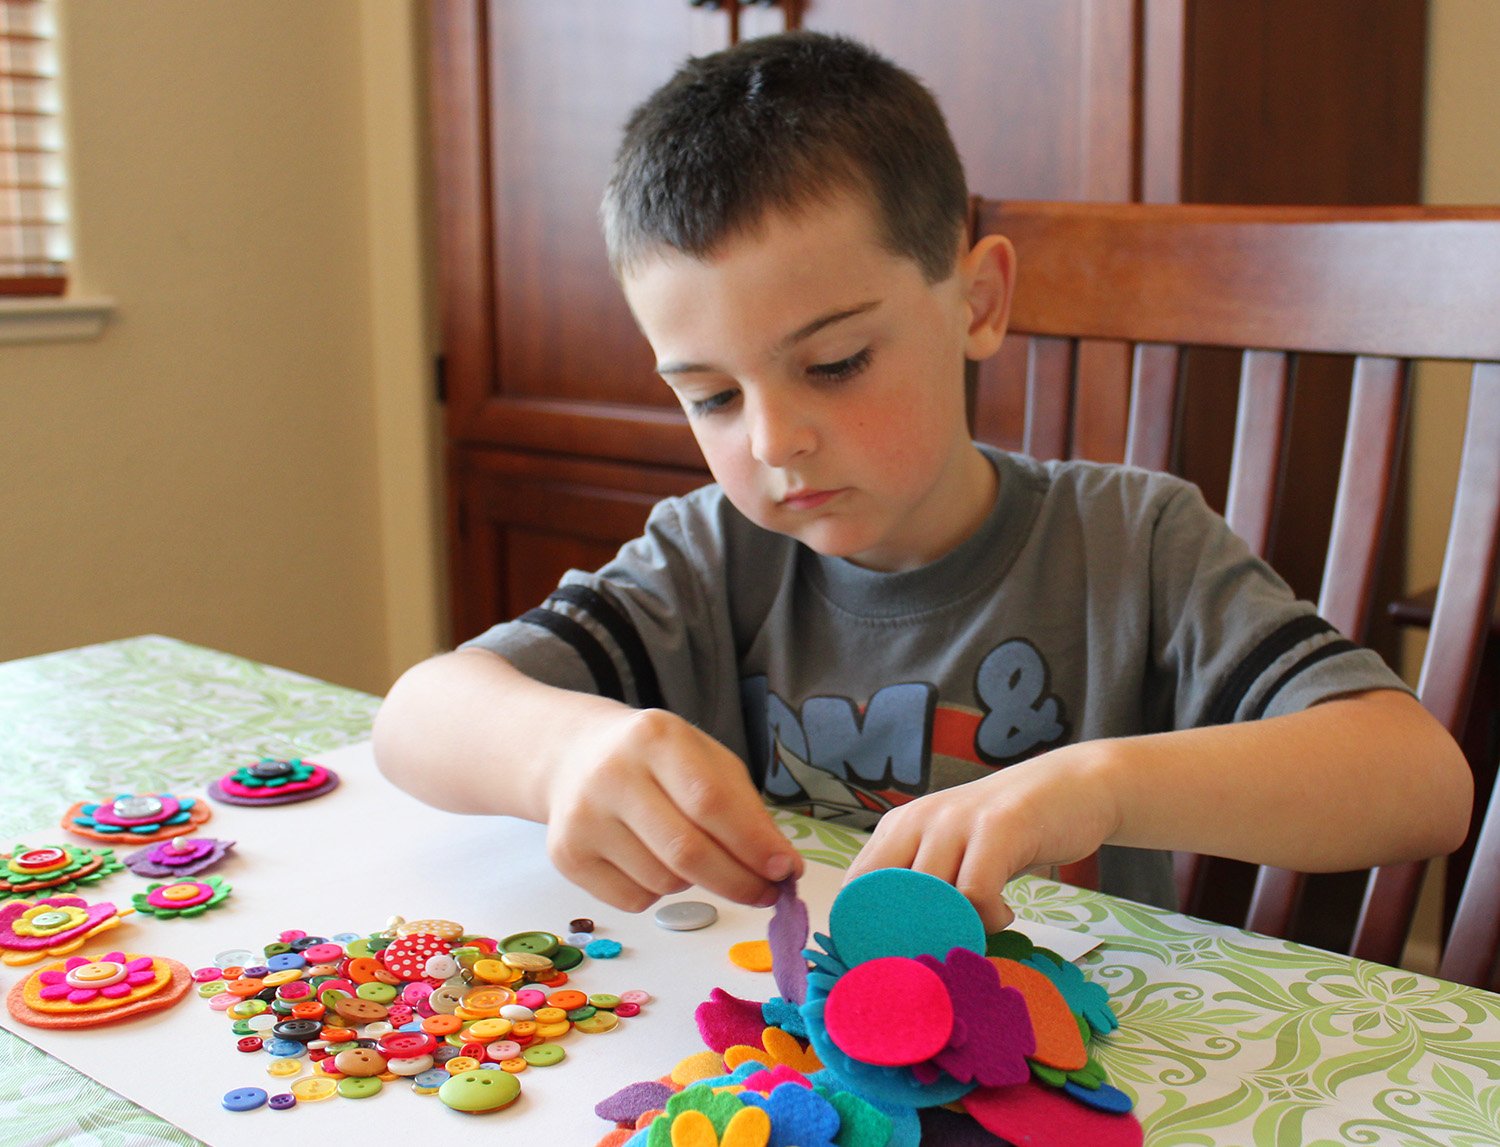
My kids had a TON of fun with this part, and they really took their time selecting their favorite color and pattern combinations to make their flowers!
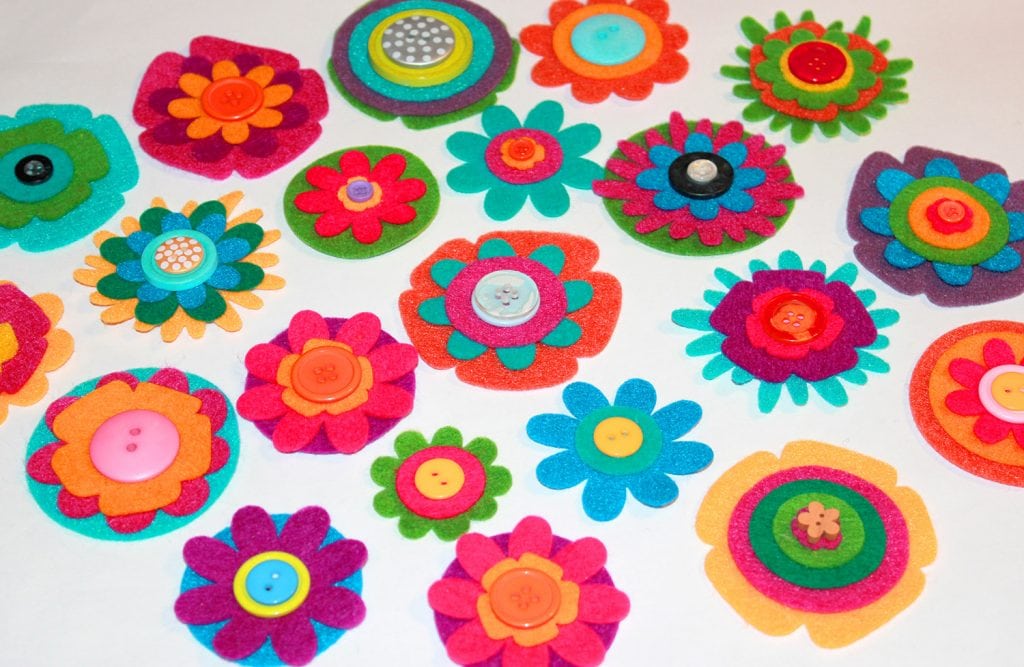
Finish the center of each flower by gluing on a colorful button, or layering two different sized buttons to create even more dimension.
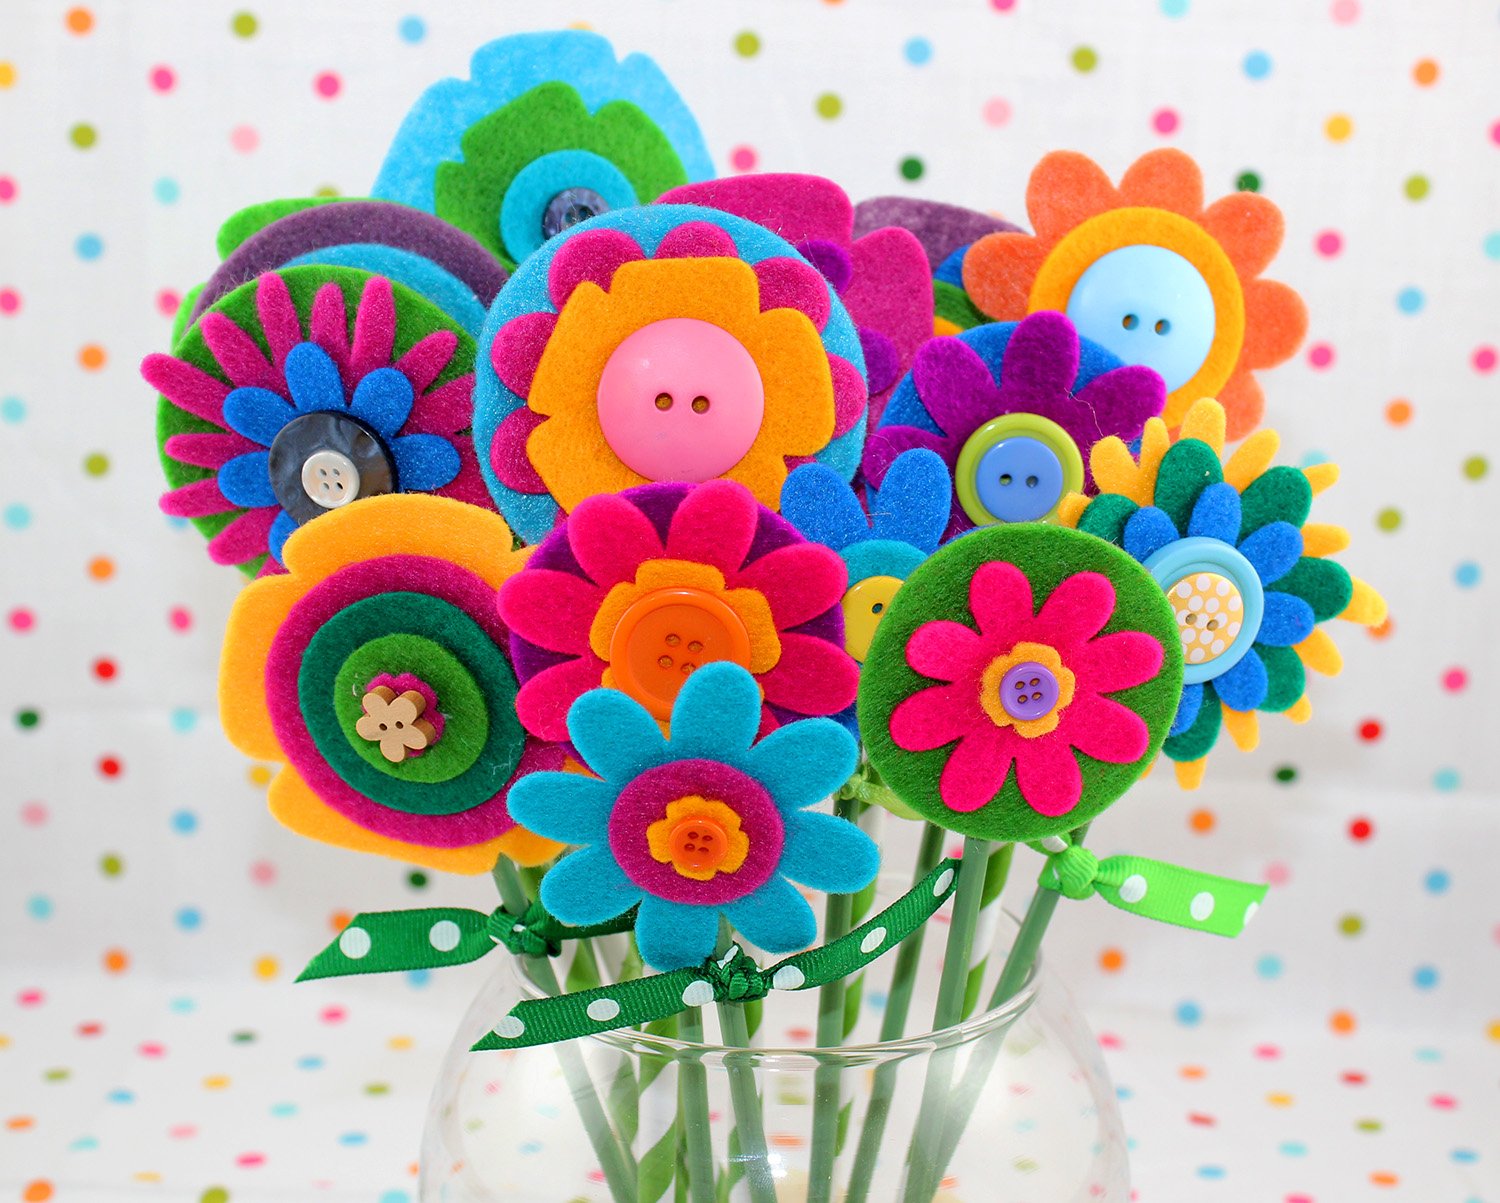
Glue a wooden skewer or paper straw to the back of the flower to serve as the stem. The felt glue will also work for this step, but hot glue works even better as it holds strongly and dries quickly. (Always use caution and have adult supervision when working with hot glue!).
Tie a short length of green ribbon to the skewer to create “leaves.” If you want to get extra creative, you can use thicker ribbon and cut the ends into a leaf shape!
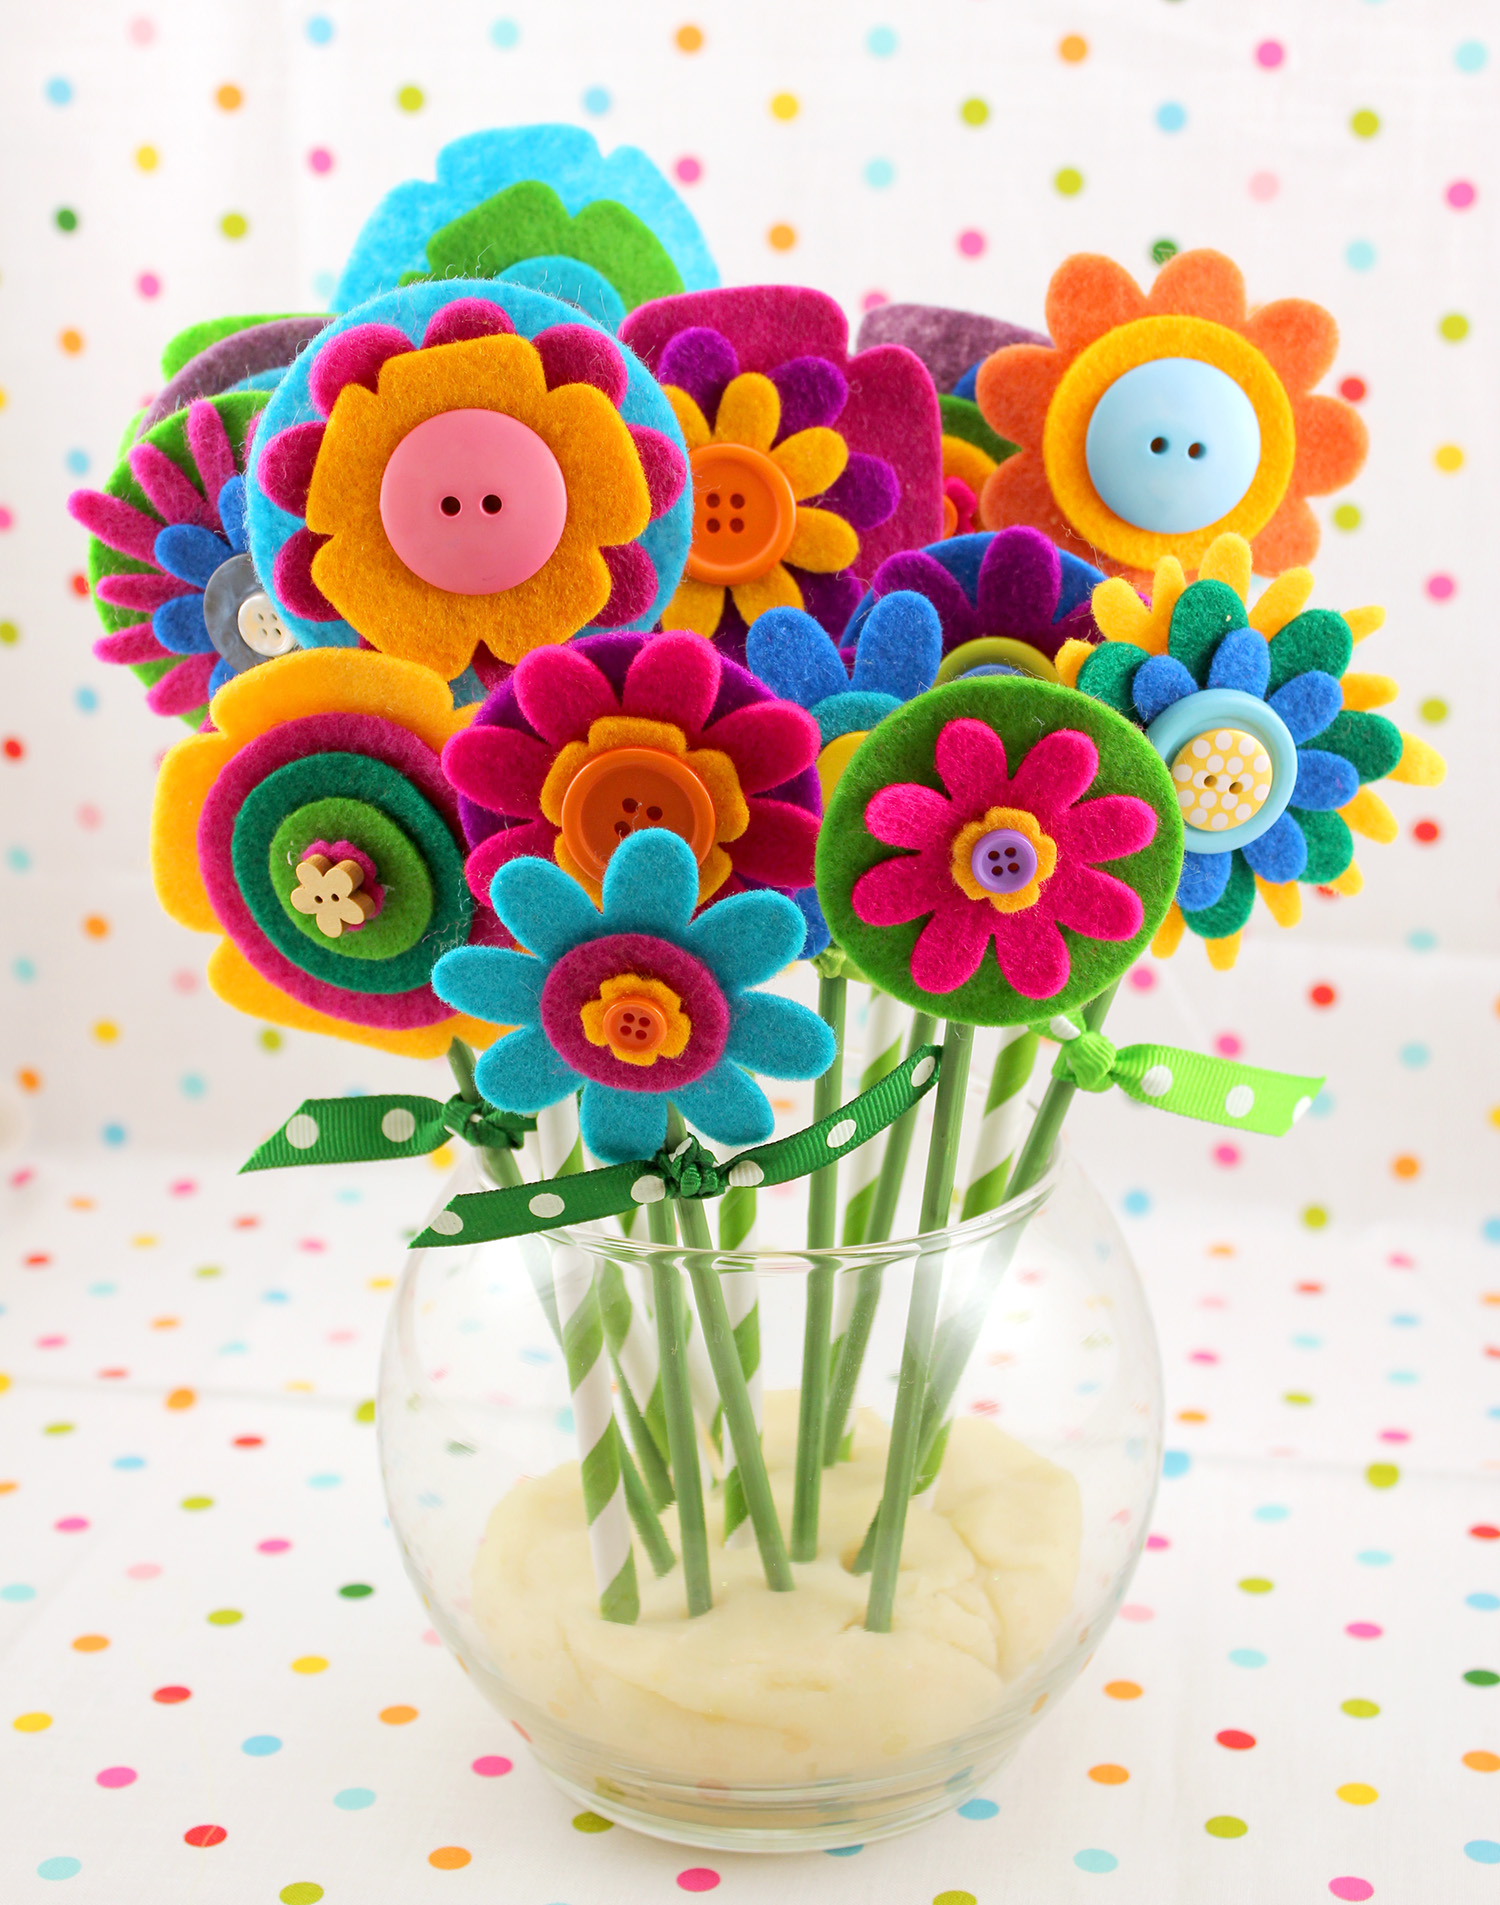
Bundle your felt flower bouquet together, and place them in your favorite vase. Now, they’re ready for gift-giving!
TIP:
If the mouth of your vase is too wide to nicely hold the flowers upright, try placing a small piece of floral foam or a bit of playdough in the bottom of the vase to hold the stems in place!
Crafty Felt Flower Variations
After you’re done creating your own felt bouquet, try some of these other fun projects using your felt flowers!
- Glue flowers on to a headband or a hair clip for an easy and colorful fashion accessory.
- Glue the flowers onto popsicle sticks to create cute flower bookmarks.
- Attach the flowers to lengths of ribbon to create pretty floral wall hangings.
- Use floral wire and floral tape to connect several flowers and create a felt flower crown.
- Use a needle and thread to string the felt flowers into an adorable garland.
These felt flowers are such a quick and easy craft, and they are SUPER cute! They definitely make a sweet Mother’s Day gift, but I think they’d be a lovely and welcome gift any time of the year!
DIY Felt Flowers
What You’ll Need:
- Felt Sheets, assorted colors
- Scissors
- Felt Glue or Low-Temp Glue Gun
- Assorted Buttons
- Wooden Skewers or Paper Straws, green
- Green Ribbon
- Felt Flower Template, optional
Instructions:
- Cut your felt sheet in an assortment of different colored and different sized flower pieces.
- Select 3-5 flowers and layer them by placing a dot of glue at the center of each layer.
- Add a button to the center of the flower and attach with glue.
- Glue a wooden skewer or paper straw to the back of the flower to serve as the stem.
- Bundle your felt flower bouquet together, and place them in your favorite vase.
- Gift your lovely bouquet to someone special!
Notes:
Get the Flower Templates Here
This file is Printable #180 in our Freebie Library! Get the password to our Freebie Library by signing up for our Email Club in the form below! If you are already a club member with the password, hop on over to the Freebie Library to download the file now!
All free downloads from Happiness is Homemade are for PERSONAL and CLASSROOM USE ONLY. You MAY NOT share, distribute, sell, or use these files for commercial purposes, including print-on-demand. Commercial licenses for SVG and PNG Crafting Files may be purchased in the Happiness is Homemade Shop. Please read our full license terms here.
Download Trouble?
Can’t find the download form? Having trouble with the file? Check out our Digital Downloads FAQ page for answers to the most common troubleshooting questions!
Other DIY Gift Ideas You May Like
- 30+ DIY Mother’s Day Gifts for Kids – These easy craft ideas make great gifts for Mother’s Day or other holidays, too!
- DIY Floral Monogram Letters – These cute monogram letters with felt flowers are a great idea for your next DIY gift – they’re especially great for bridal or baby shower gifts!
- Easy DIY Pineapple Candles – These easy pineapple candles are SO simple to make, and they smell amazing! Plus, they’re a great way to use up your leftover green felt!

Heidi Kundin has captivated the hearts of millions with her colorful and inspiring approach to crafting, celebrations, and family fun. With over 15 years of experience, Happiness is Homemade has become a must-visit destination for those seeking quick and easy creative ideas and last-minute solutions. Heidi’s warm personality shines through her posts, inviting readers to join her on a creative journey that’s fun, rewarding, and achievable. Heidi is also the author of Homemade Bath Bombs & More and DIY Tie-Dye.
Awesome ideas for little ones!
Great craft idea
SO CUTE AND COLORFUL….I am actually going to make them for toddler math counting work as well as a mother’s day craft for my grandson.
Great ideas
Instead of gluing, could you sew it all together?
Absolutely!
What tool did you use to cut the felt shapes so exactly?
I used a Sizzix Big Shot/Ellison All-Star Machine (read more about it here), but you can also purchase pre-cut felt flowers to make things even easier! 🙂
I have many somewhere places lol ????The Flower are Gorgeous ???? You could use them for any Occasion ???? I would prefer to receive them than Fresh flowers Cheers Kylie in Australia ????
HI Heidi (and everyone)! these flowers are a perfect Mother’s day craft! I think I will try it with my Cub Scouts Pack. Can you tell me what kind of glue you got your boys to use to glue the felt and buttons together? thanks, Susan
Hi Susan, that sounds like a fun idea! We used felt glue for the flowers (you can find it on Amazon here), and it works much better than other glues. 🙂
Thanks Heidie, that explains whythey are so perfectly uniform 🙂 I was concerned my girls would fall short. I went ahead and tried it using some templates and sme freehand. Thank You for the inspiration!
Hi,this is BEAUTIFUL! I’d like to adapt it to a felt flower necklace project I’ll be teaching 2nd-4th grade girls. Did you use a template for the flowers, and did your boys trace and cut?Thanks foryour lovely work!
Hi Jennifer!
It would be rather simple to cut a template out of cardstock and then cut the flowers out of your felt. I have to admit though, that since I knew my finished flowers were going to be published in a magazine I went ahead and purchased pre-cut flowers from http://www.etsy.com/shop/bbdsupplies to save time and make them look extra uniform and pretty 🙂
Can we see the rainbow pots, pretty please?
I’ll post a picture tomorrow, Laura! 🙂
Seriously.. this is Hilarious! And only because this is totally something that I would do! I have an awesome idea.. make it happen and then um.. yeah.. lose it! So you didn’t FAIL persay.. you just put it hold until a later date.. but as far as the project.. I think you guys totally nailed it!
xoxo
Amie @ Pinkapotamus
Thanks Amie! Glad I’m not the only one who would do something like this LOL! 🙂