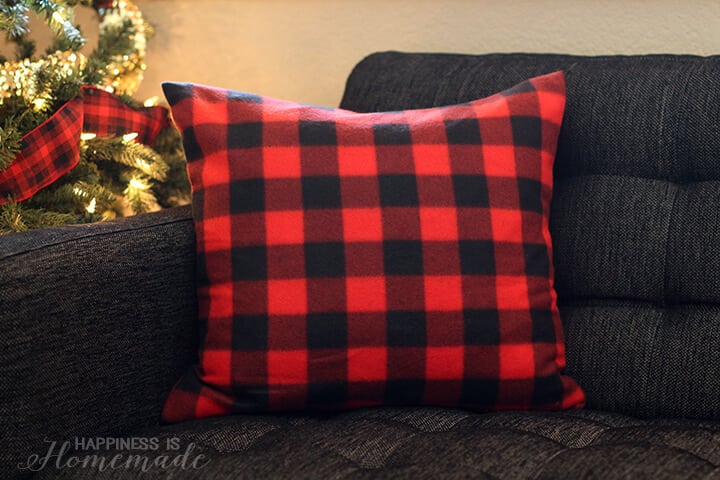
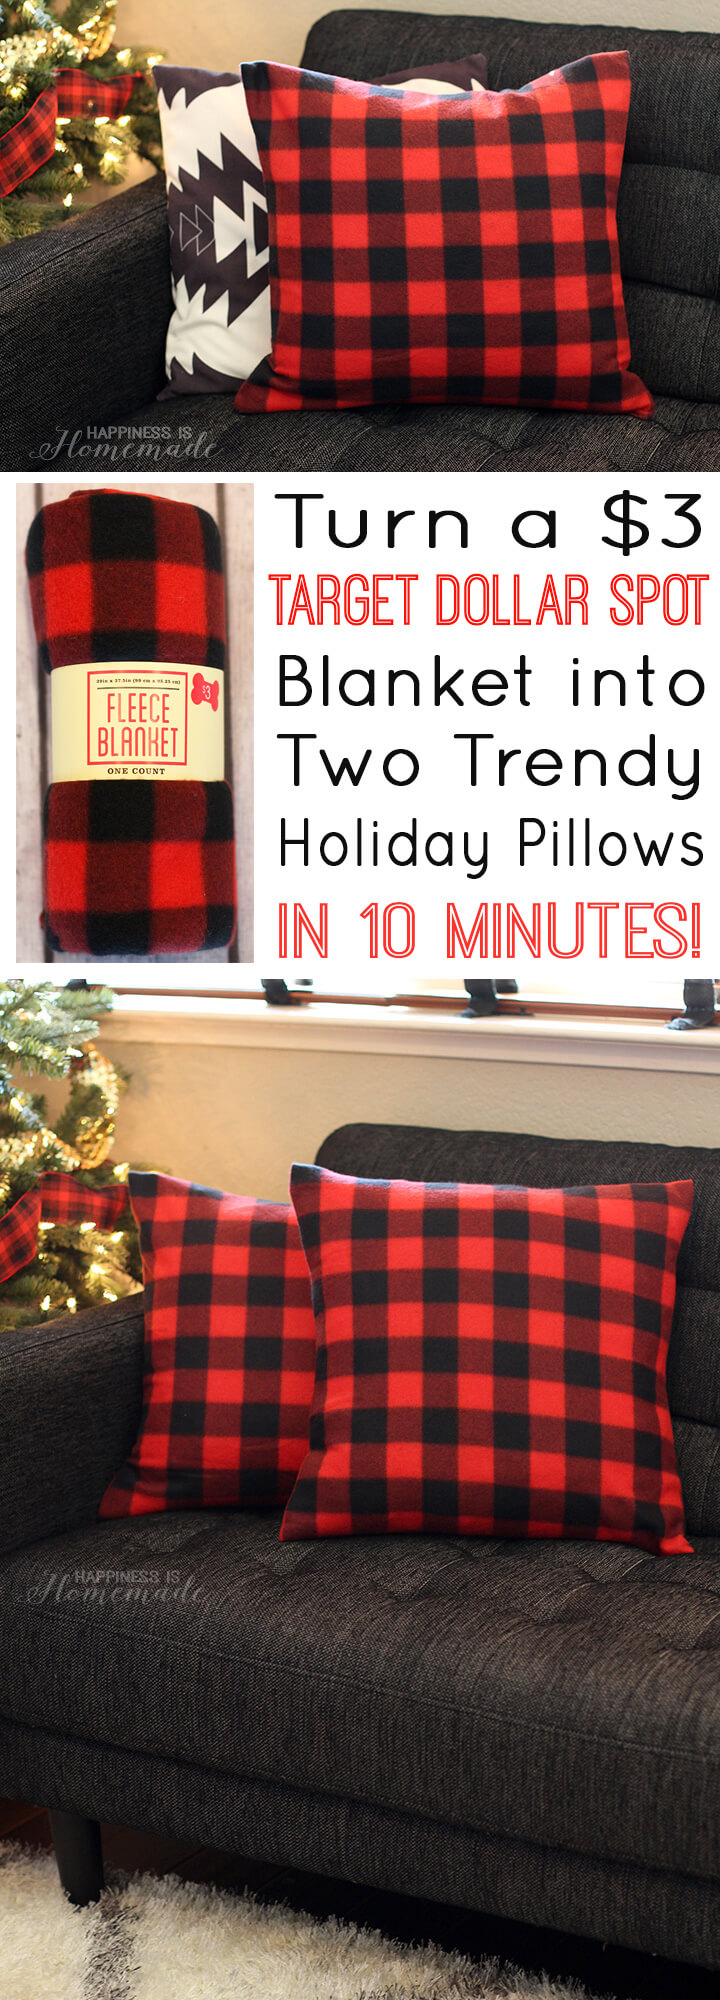
These awesome DIY buffalo check plaid holiday pillow covers are made from a $3 Target Dollar Spot blanket, and they only take 10 minutes to make!
This post may contain affiliate links. I will receive a small commission from these sales at no additional cost to you!
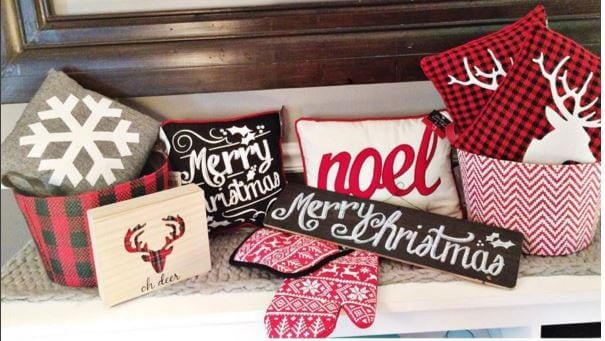
A couple of weeks ago I started seeing lots of photos like this popping up across social media. Target had finally stocked their holiday Dollar Spot items, and since they managed to perfectly nail all of the hot holiday trends, everything was selling out like hotcakes! I was daydreaming about ALL of these awesome holiday pillows, but despite visiting every Target within a 25-mile radius (and then some!), I was never able to get my hands on a single pillow. So, I grabbed the next best thing and decided to get creative!
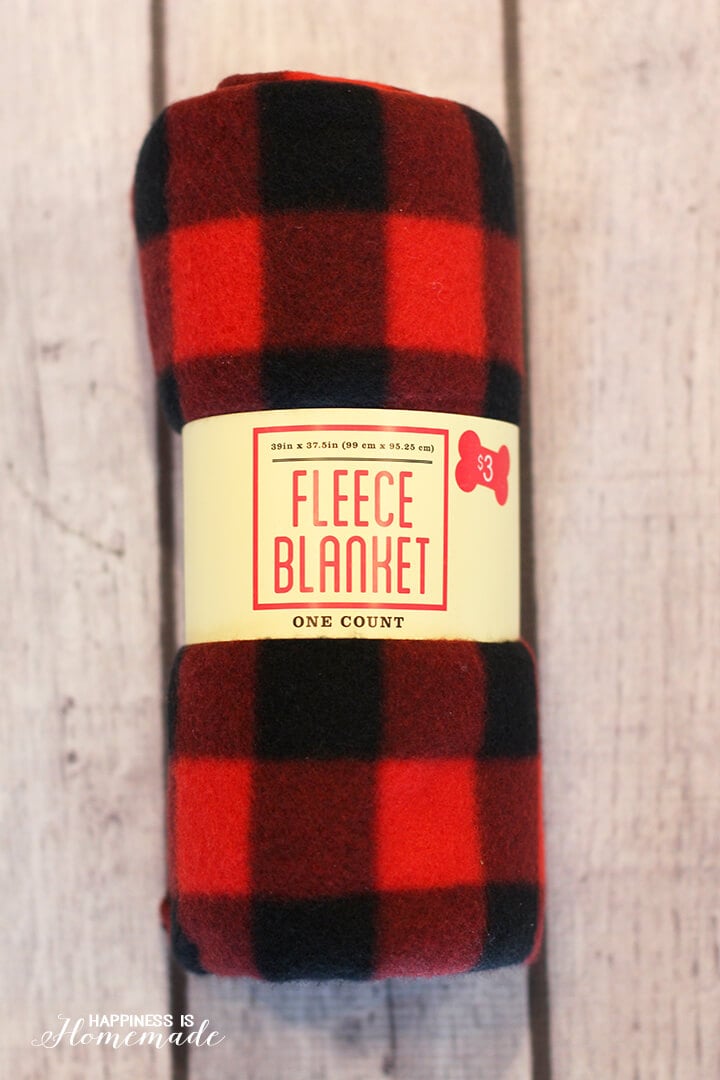 I picked up a few of these buffalo check plaid fleece blankets from the Dollar Spot for $3 each, and decided to turn them into festive pillow covers. Each blanket is the perfect size to make two 18″ square pillow covers, so they only cost $1.50 each!
Note: if Target does not currently have these blankets in their Dollar Spot section, you can pick up 1.25 yards of Buffalo Check Fleece from JoAnn or snag this fleece blanket from Amazon. They cost a bit more, but they’re still VERY inexpensive, especially because you can get at least 3 pillow covers out of each of these!
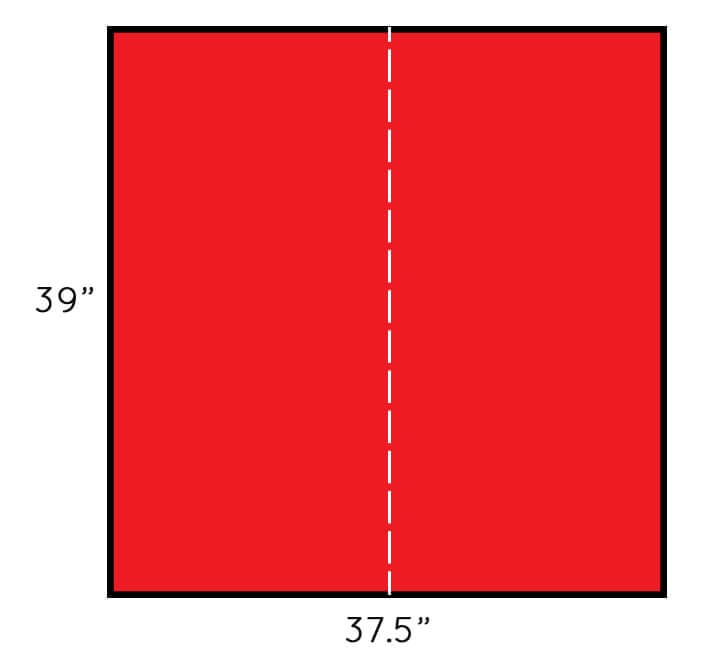
The blanket measures 37.5″ x 39″, so it’s just slightly off-square. Find the longer edge, and cut the blanket in half as shown above (cut on the white dashed line).
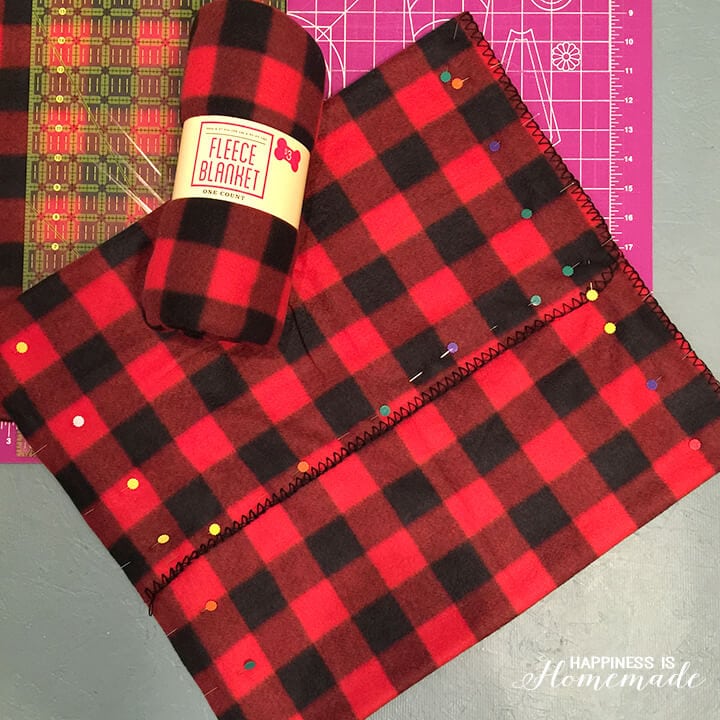 I used this tutorial from A Curiously Chic Life to create my envelope-style pillow covers. The short ends of the blanket are already finished with a black blanket stitch, so I only needed to sew two quick seams for each pillow cover – easy peasy! (Note: the length of the blanket only allows for a 2″-3″ overhang at the envelope closure instead of the 4″ recommended in the tutorial.)
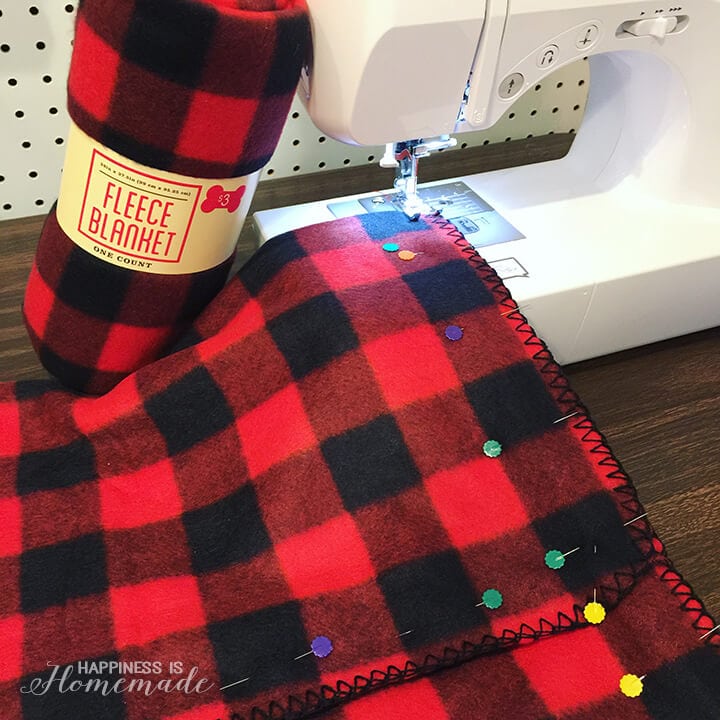 When I say that these pillows were super duper easy, I’m not exaggerating! It took me exactly ten minutes from start-to-finish to make TWO pillow covers! Cut once, pin, and sew four quick straight lines – done!
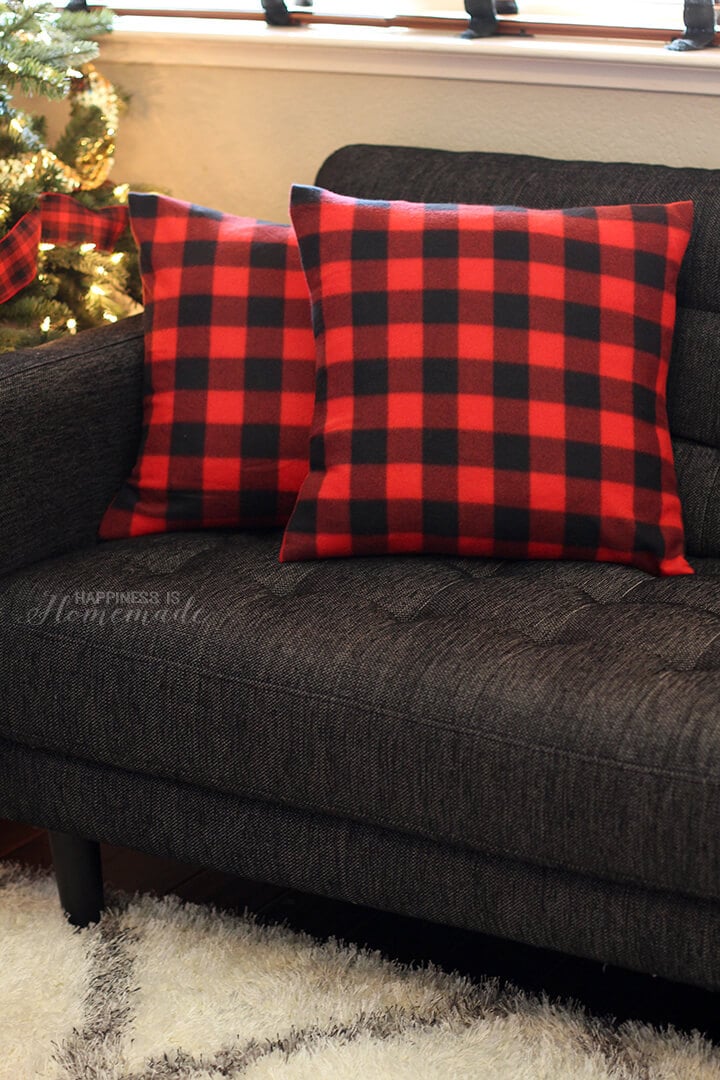 I filled the pillow covers with 18″ down inserts from Ikea, and they fit perfectly!
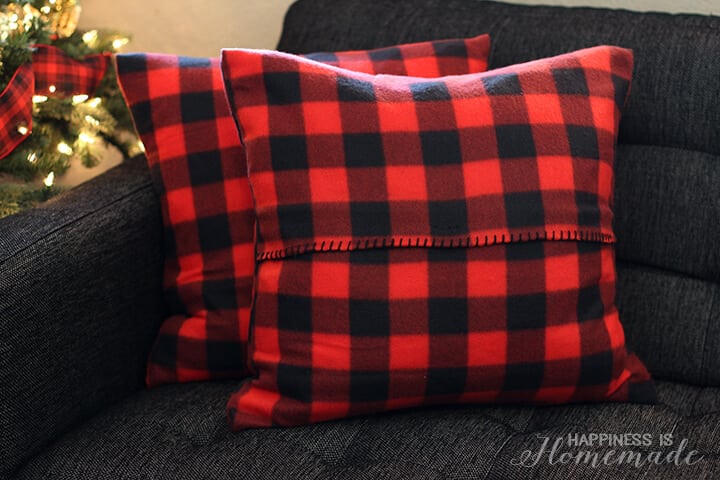 This is what the envelope-style closure looks like on the back side of the pillow. I’m totally loving that I still get to see some of the cute black blanket stitch detail from the original blanket! My boys tend to be rough on our pillows, so I hand stitched an invisible running stitch in the center 3″ of the envelope flap (just to make sure that it doesn’t come open during their next pillow fight!).
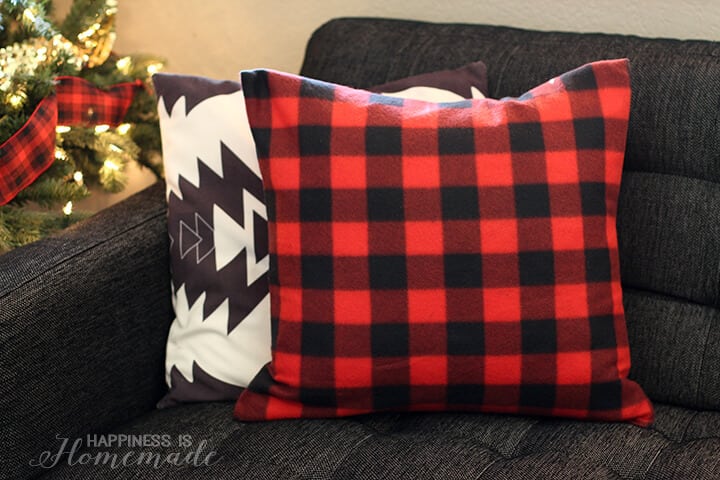 I’m debating adding white deer head silhouettes like the original Target inspiration pillow, but I’m also kind of loving them simple and plain just like this. What do you think? You can’t beat two new buffalo check plaid holiday pillows for only $3 and ten minutes of time!

Heidi Kundin has captivated the hearts of millions with her colorful and inspiring approach to crafting, celebrations, and family fun. With over 15 years of experience, Happiness is Homemade has become a must-visit destination for those seeking quick and easy creative ideas and last-minute solutions. Heidi’s warm personality shines through her posts, inviting readers to join her on a creative journey that’s fun, rewarding, and achievable. Heidi is also the author of Homemade Bath Bombs & More and DIY Tie-Dye.

