
Once a month I get together with a group of lovely and inspiring women, sometimes for brunch, sometimes to craft, but always to gossip and enjoy some “grown-up time” for awhile. This month we decided that we all wanted to create our own jewelry, and it was so much fun! We made unique jewelry with everything from basic clasps and beads to recycled buttons and even paint chips! I’ll be showing off a few of my creations on the blog this week, and I’m going to see if I can snatch some pictures from the other girls to show off their creations too.
The first thing I wanted to make was a piece of jewelry that I could wear to Simon’s Little Cowboy Birthday Party. I love the look of red paisley, but I knew I didn’t want to wear an entire bandana at the party so I came up with this fun, fast and simple solution!
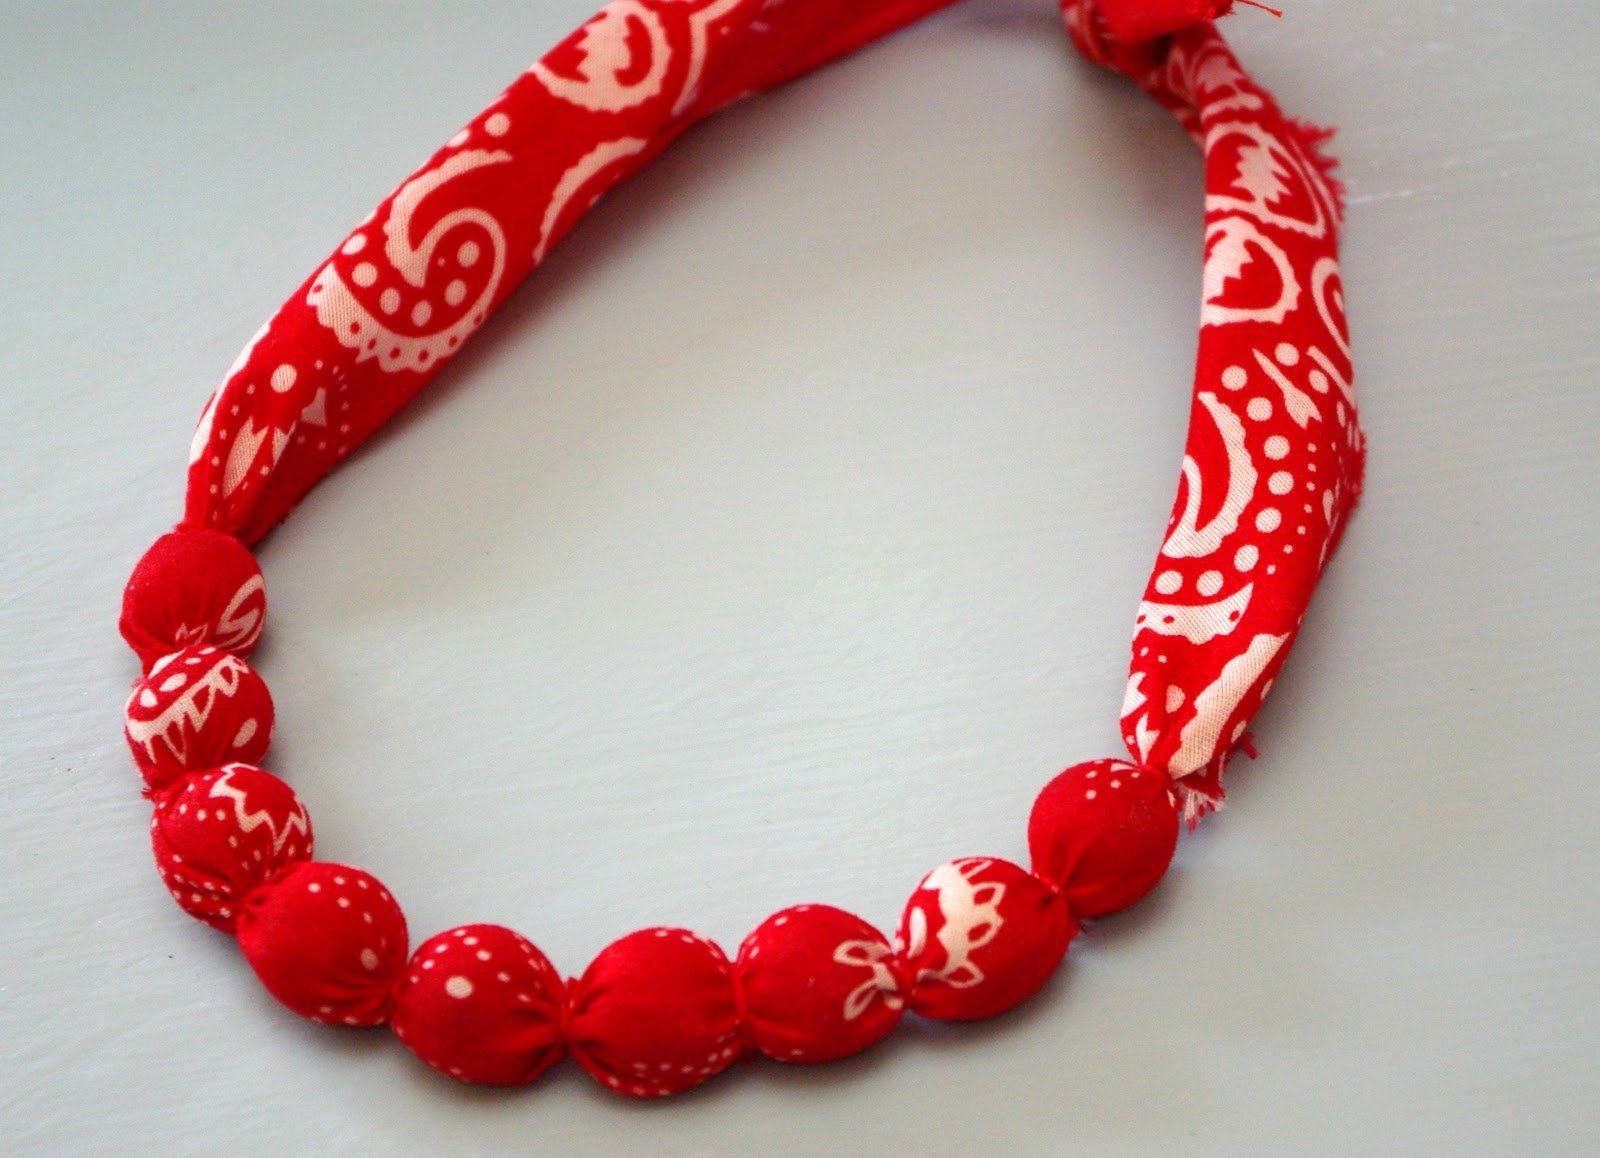
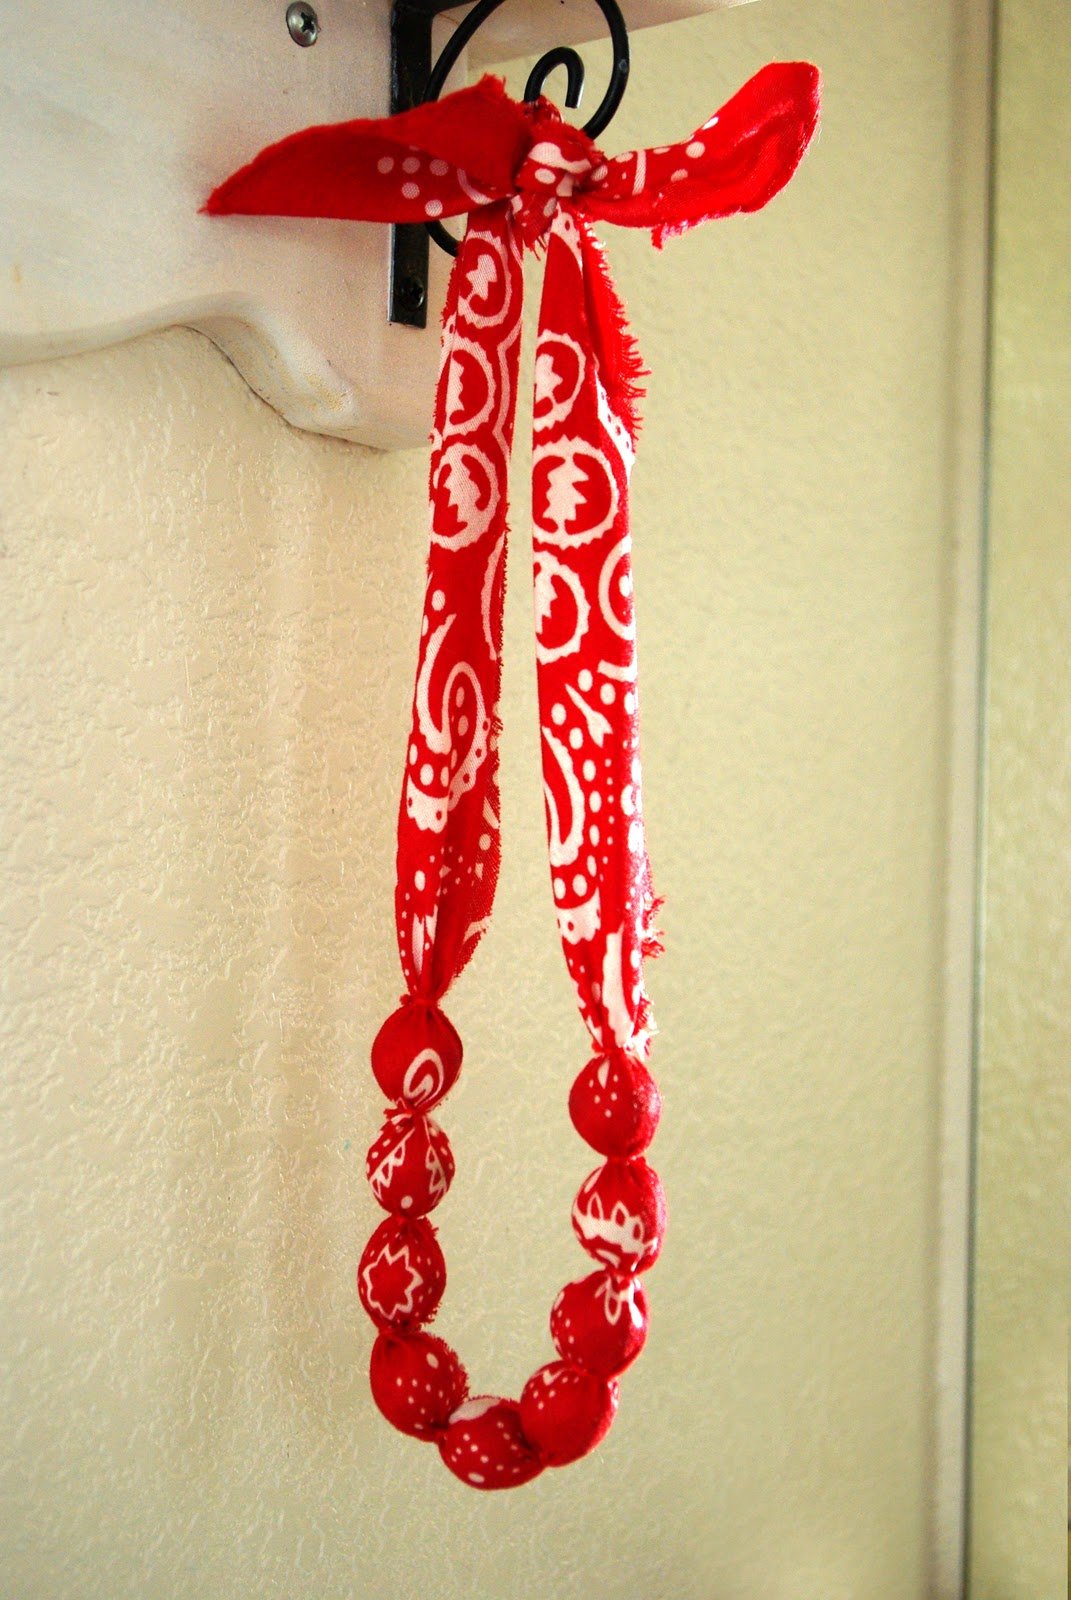
I laid out my bandana and cut a 3″ wide strip running diagonally from the furthest two corners. I rounded up nine of my boys’ marbles and laid them in the center of the bandana strip (upcycling beads from an old necklace would work great too!). Working from the center out, carefully wrap the marble up until it in completely enclosed in the fabric and tightly tie the ends off with a piece of matching embroidery floss. Continue until all the marbles have been twisted and tied. I left the raw edges on mine because I thought that it added to the rustic charm.
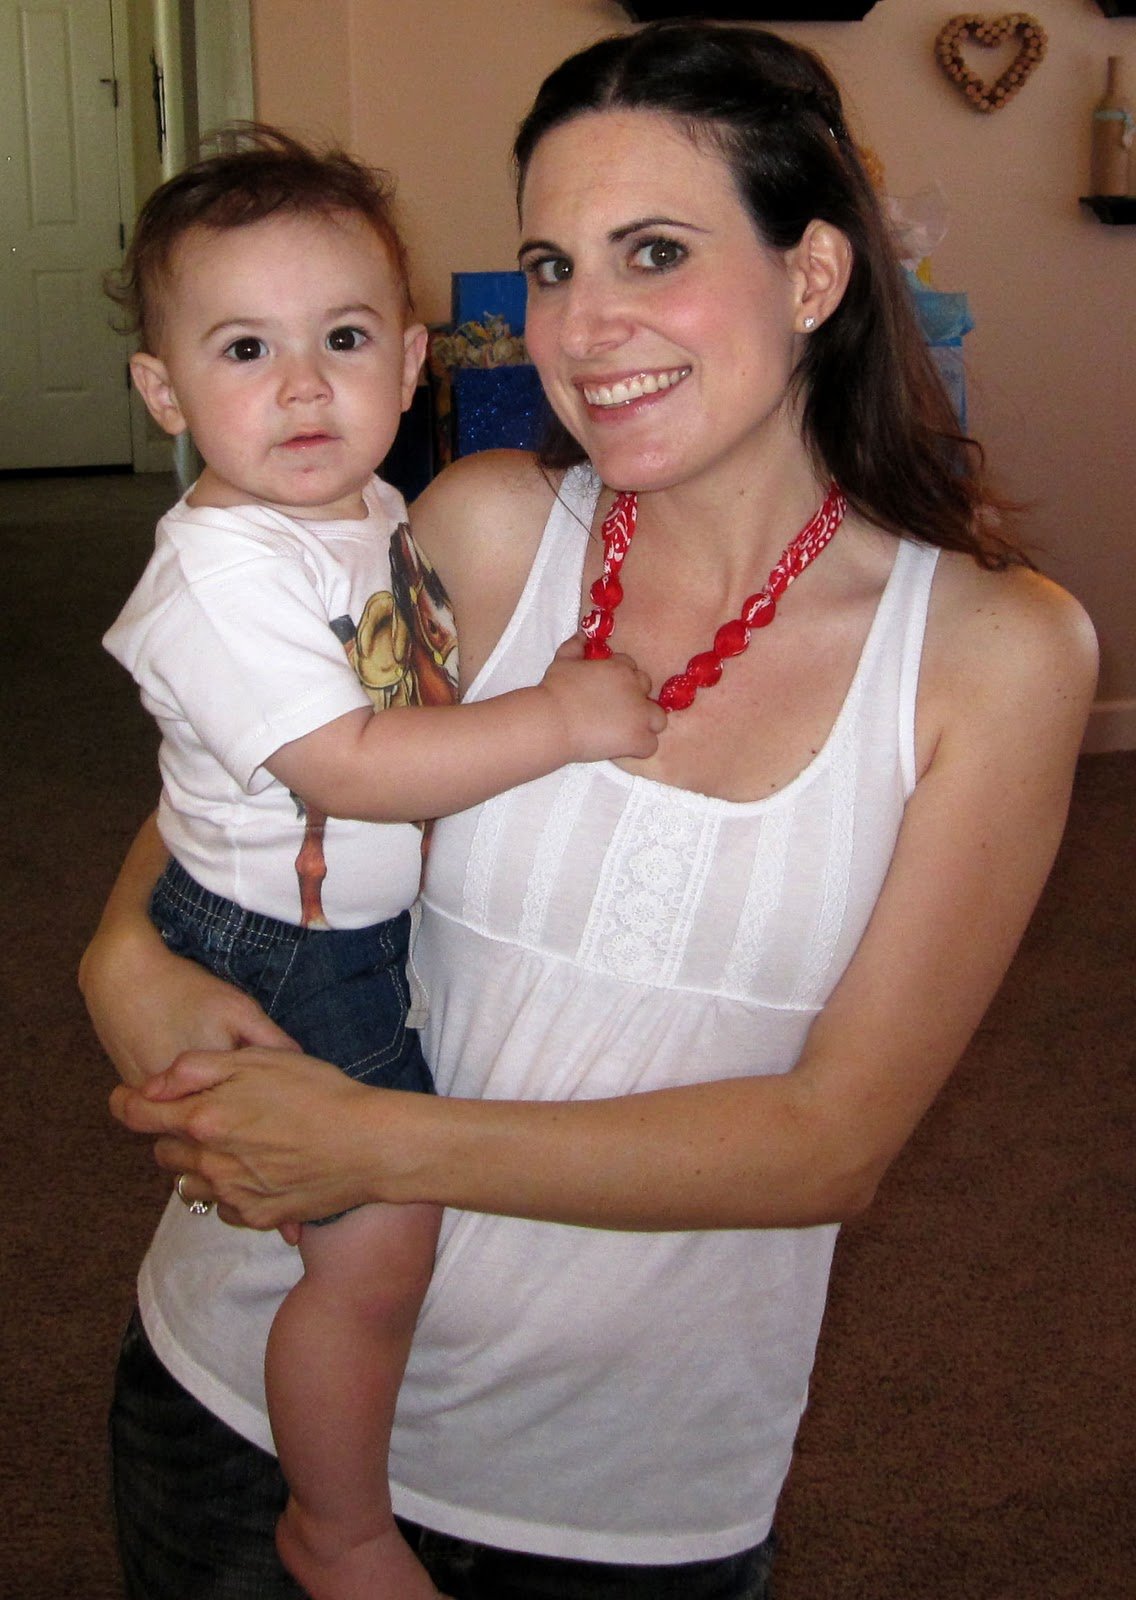
It’s that easy peasy! The whole project took less than five minutes, and I had the perfect cowgirl accessory for my party!


Heidi Kundin has captivated the hearts of millions with her colorful and inspiring approach to crafting, celebrations, and family fun. With over 15 years of experience, Happiness is Homemade has become a must-visit destination for those seeking quick and easy creative ideas and last-minute solutions. Heidi’s warm personality shines through her posts, inviting readers to join her on a creative journey that’s fun, rewarding, and achievable. Heidi is also the author of Homemade Bath Bombs & More and DIY Tie-Dye.
Thanks for sharing this great idea. I just finished making two necklaces. I used 1-inch wood craft balls, so I had to increase the width of cut bandanna to 3-1/2 inches. Since I was making them for little girls, I used only seven wood balls which made the length just right.
I found that a clothespin is helpful to keep the first center ball in place when tying the embroidery floss. Also, I used a small amount of Fabri-Tac on the last two balls (furthest from the center) to help ensure everything was secure.
I can hardly wait to see how cute it will look with a denim dress.
Thanks again.
Pretty simple instructions to follow. Thanks for posting something quick and easy to create. It tops off my July 4th outfit perfectly.
I really want to make this bandana necklace and have read the instructions several times and I still dont understand? Do you have pictures showing the process step by step that you can email me please and thank you.
Kim
How do u attach the beaded section to the necklace. The necklace is a great idea.
Thank you
The beaded section and the necklace are all one piece.
oh wow this is cute thanks for sharing!