
Sawyer and I have been seeing a ton of cool melted crayon art on Pinterest lately, and we knew that we were going to have to try to recreate it ourselves. With crayons costing around 20 cents a box at the back-to-school sales, now is the perfect time to make some new creative artwork!
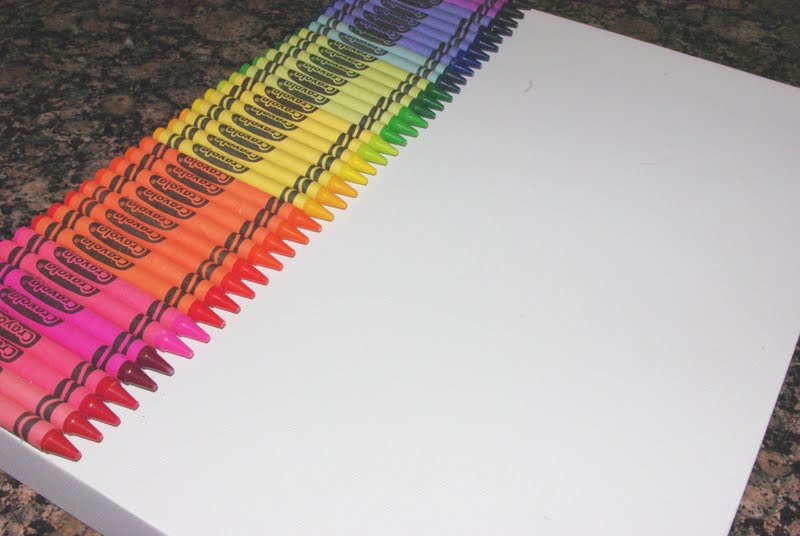
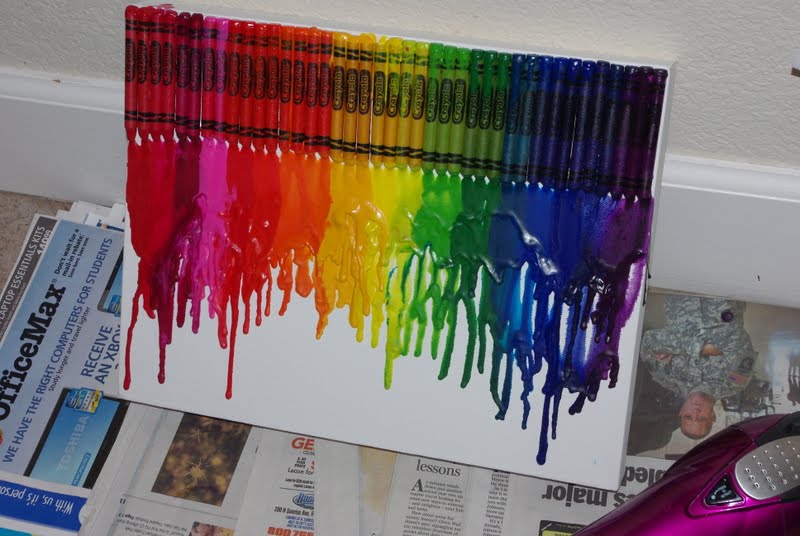
We found an old canvas in the art closet and hot glued on our crayons down in rainbow order. Sawyer originally wanted to use only blues, green and yellow, but finally decided on the entire rainbow since we were going to be hanging it up against his teal bedroom wall (and like most of the Pinterest inspirations). We used a 12″x18″ canvas and two 24-count boxes of crayons (with one extra green and yellow thrown in from our old crayons to fill the gaps).
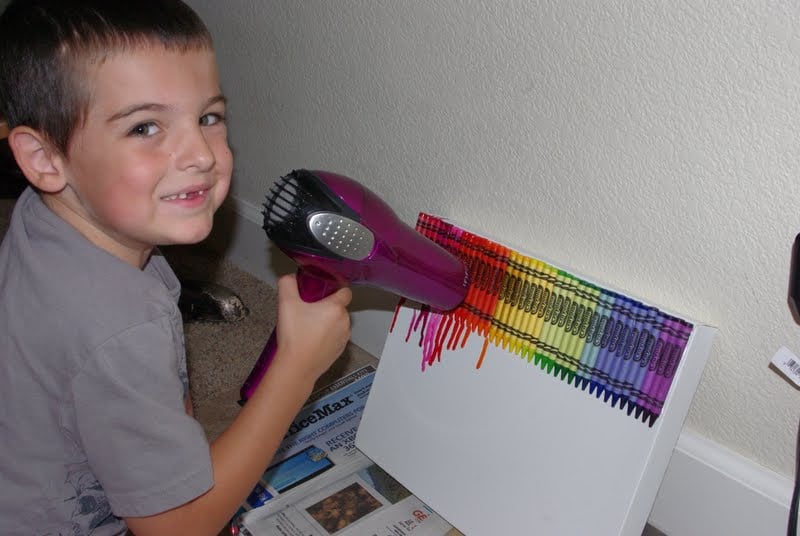
Hand your blowdryer to your helper and let them have fun melting the crayons. You need to keep the air blowing straight directly on to the crayons or pointing downward – any sideways shift of the hot air will cause the wax to splatter sideways halfway across the canvas instead of dripping straight down. We used the hottest setting, and it still took awhile to get the dripping process started. You can also melt your crayons quickly with a heat gun, but since heat guns can get upwards of 1200 degrees you probably don’t want to hand that over to your five-year-old 😉
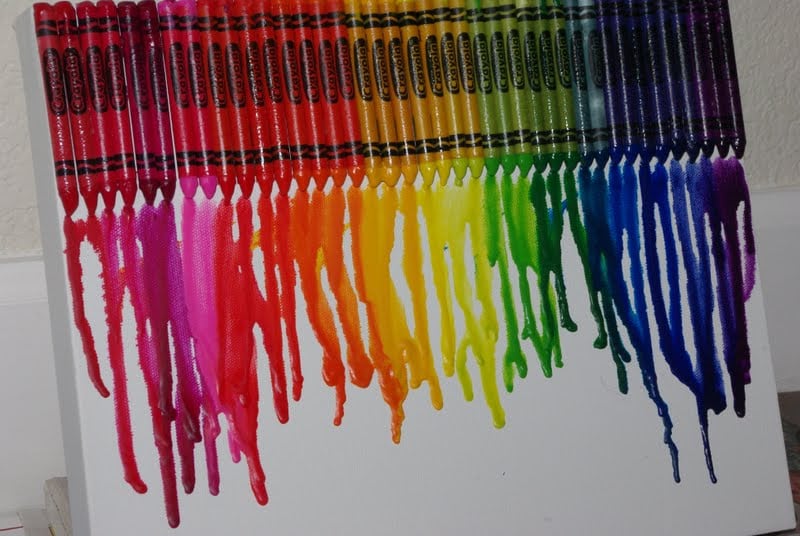
We chose to let our drips cool a little bit and to work in layers to build up some texture.

After about 3 different layers of melted crayon.
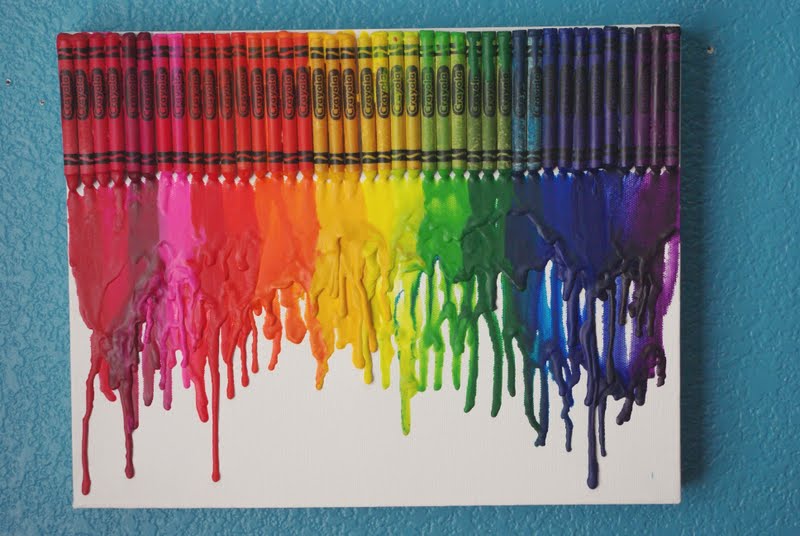
Sawyer called it good at this point, telling me that we couldn’t do any more because “it’s just perfect right now!”
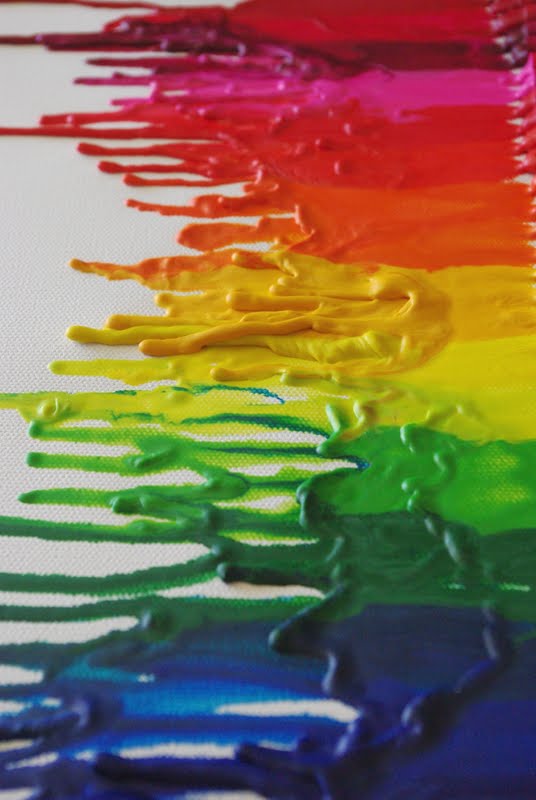
The texture is super cool!

Go choose a spot to hang up your gorgeous (and totally quick and easy to create!) materpiece!


Heidi Kundin has captivated the hearts of millions with her colorful and inspiring approach to crafting, celebrations, and family fun. With over 15 years of experience, Happiness is Homemade has become a must-visit destination for those seeking quick and easy creative ideas and last-minute solutions. Heidi’s warm personality shines through her posts, inviting readers to join her on a creative journey that’s fun, rewarding, and achievable. Heidi is also the author of Homemade Bath Bombs & More and DIY Tie-Dye.
this is awesome thanks for sharing
Looks like a fun project. Great time to do it with all the crayons on sale for school!
I just shared this tutorial on my blog! So many creative ideas 🙂
http://createdbylaurie.blogspot.com/2012/04/crafts-at-home-melted-crayon-art.html
Looks Great! I’ve been seeing these all over pinterest and wanted to know how to make one. This will definitely be my next weekend project!
That looks awesome! And it looks like it’d be pretty fun to make too 🙂
I need to make this immediately to go in my craft room! I’m going to get my 5 year old nephew to help. How fun 🙂
Such a fun project! Love the result.
How fun! I especially love that this is something kids can truly feel like they made all by themselves. 🙂
LOVE this! And of course am adding it to my Pinterest board. 🙂
Great project! I’d like to do this with my 4 year old nephew. Thanks for sharing.
Great hands-on lesson on the colors of the rainbow (ROYGBIV) for school age children.
That’s amazing. Looks awesome and so easy to do. I might have to make one for my sons room. Love it. Thanks. 🙂
we are in the process of making one of these today! If it comes out fantastic I think we will make one for Maddie’s teacher too!
I love the layered textured look! Nice!
Thanks for reminding me! My daughter’s room is purples, white and black. Perhaps I will collect a variety of purples and lilacs to make one for her room! 🙂
Tracie