
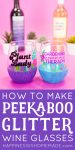
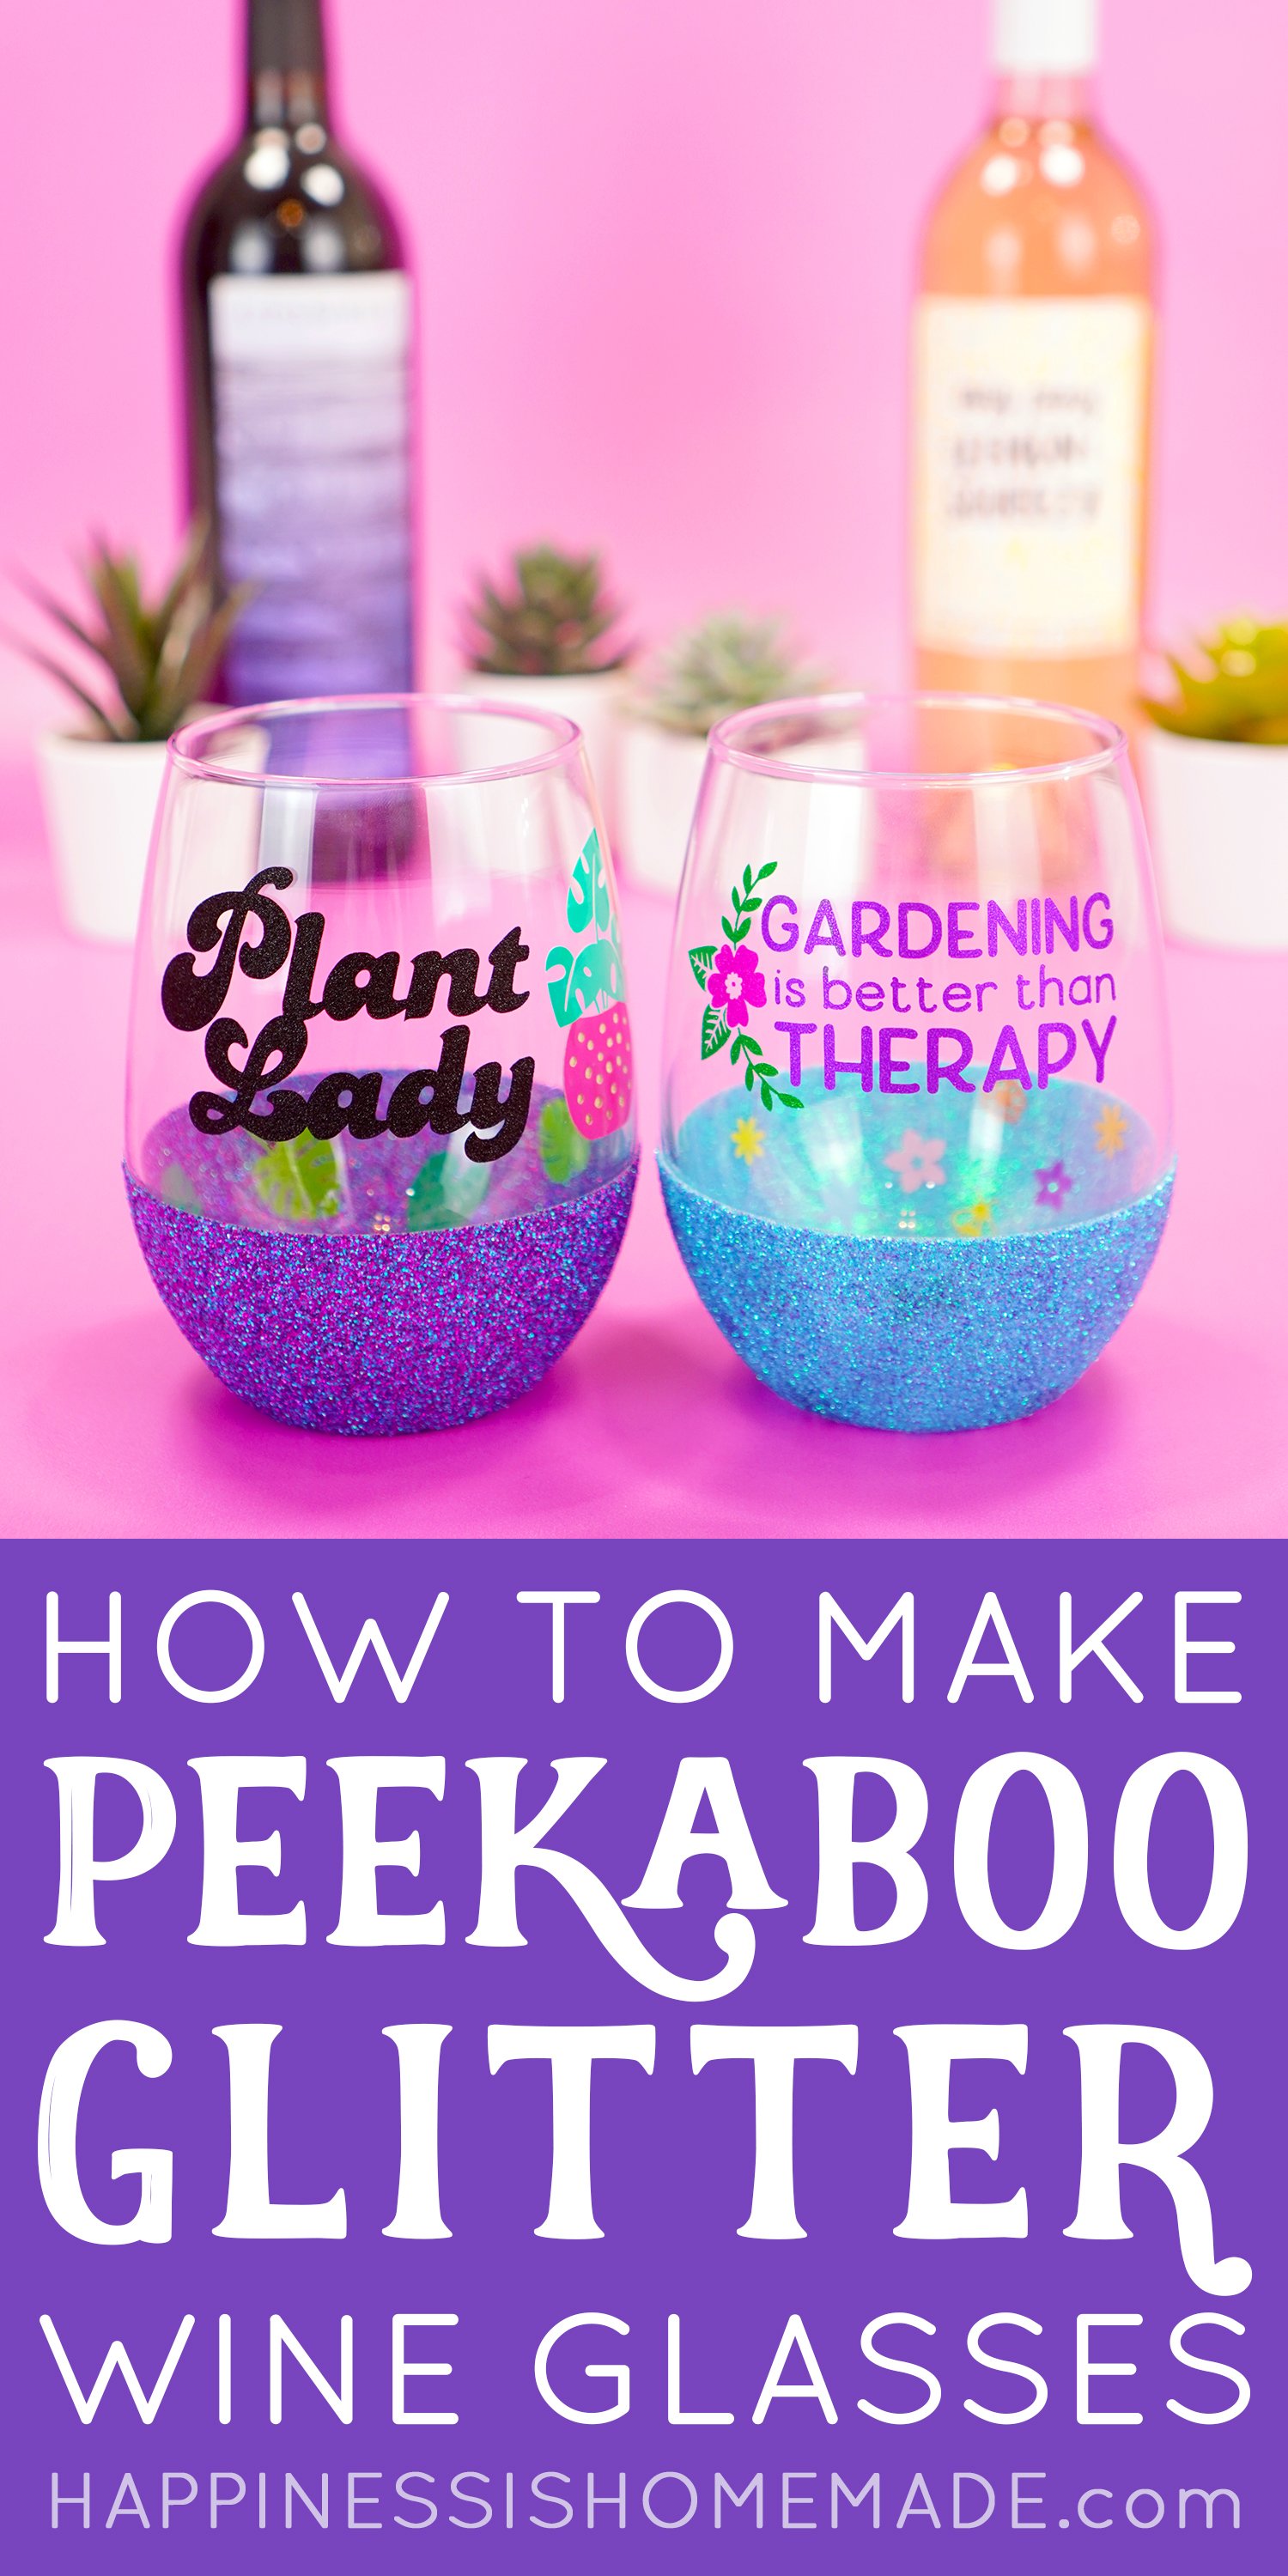
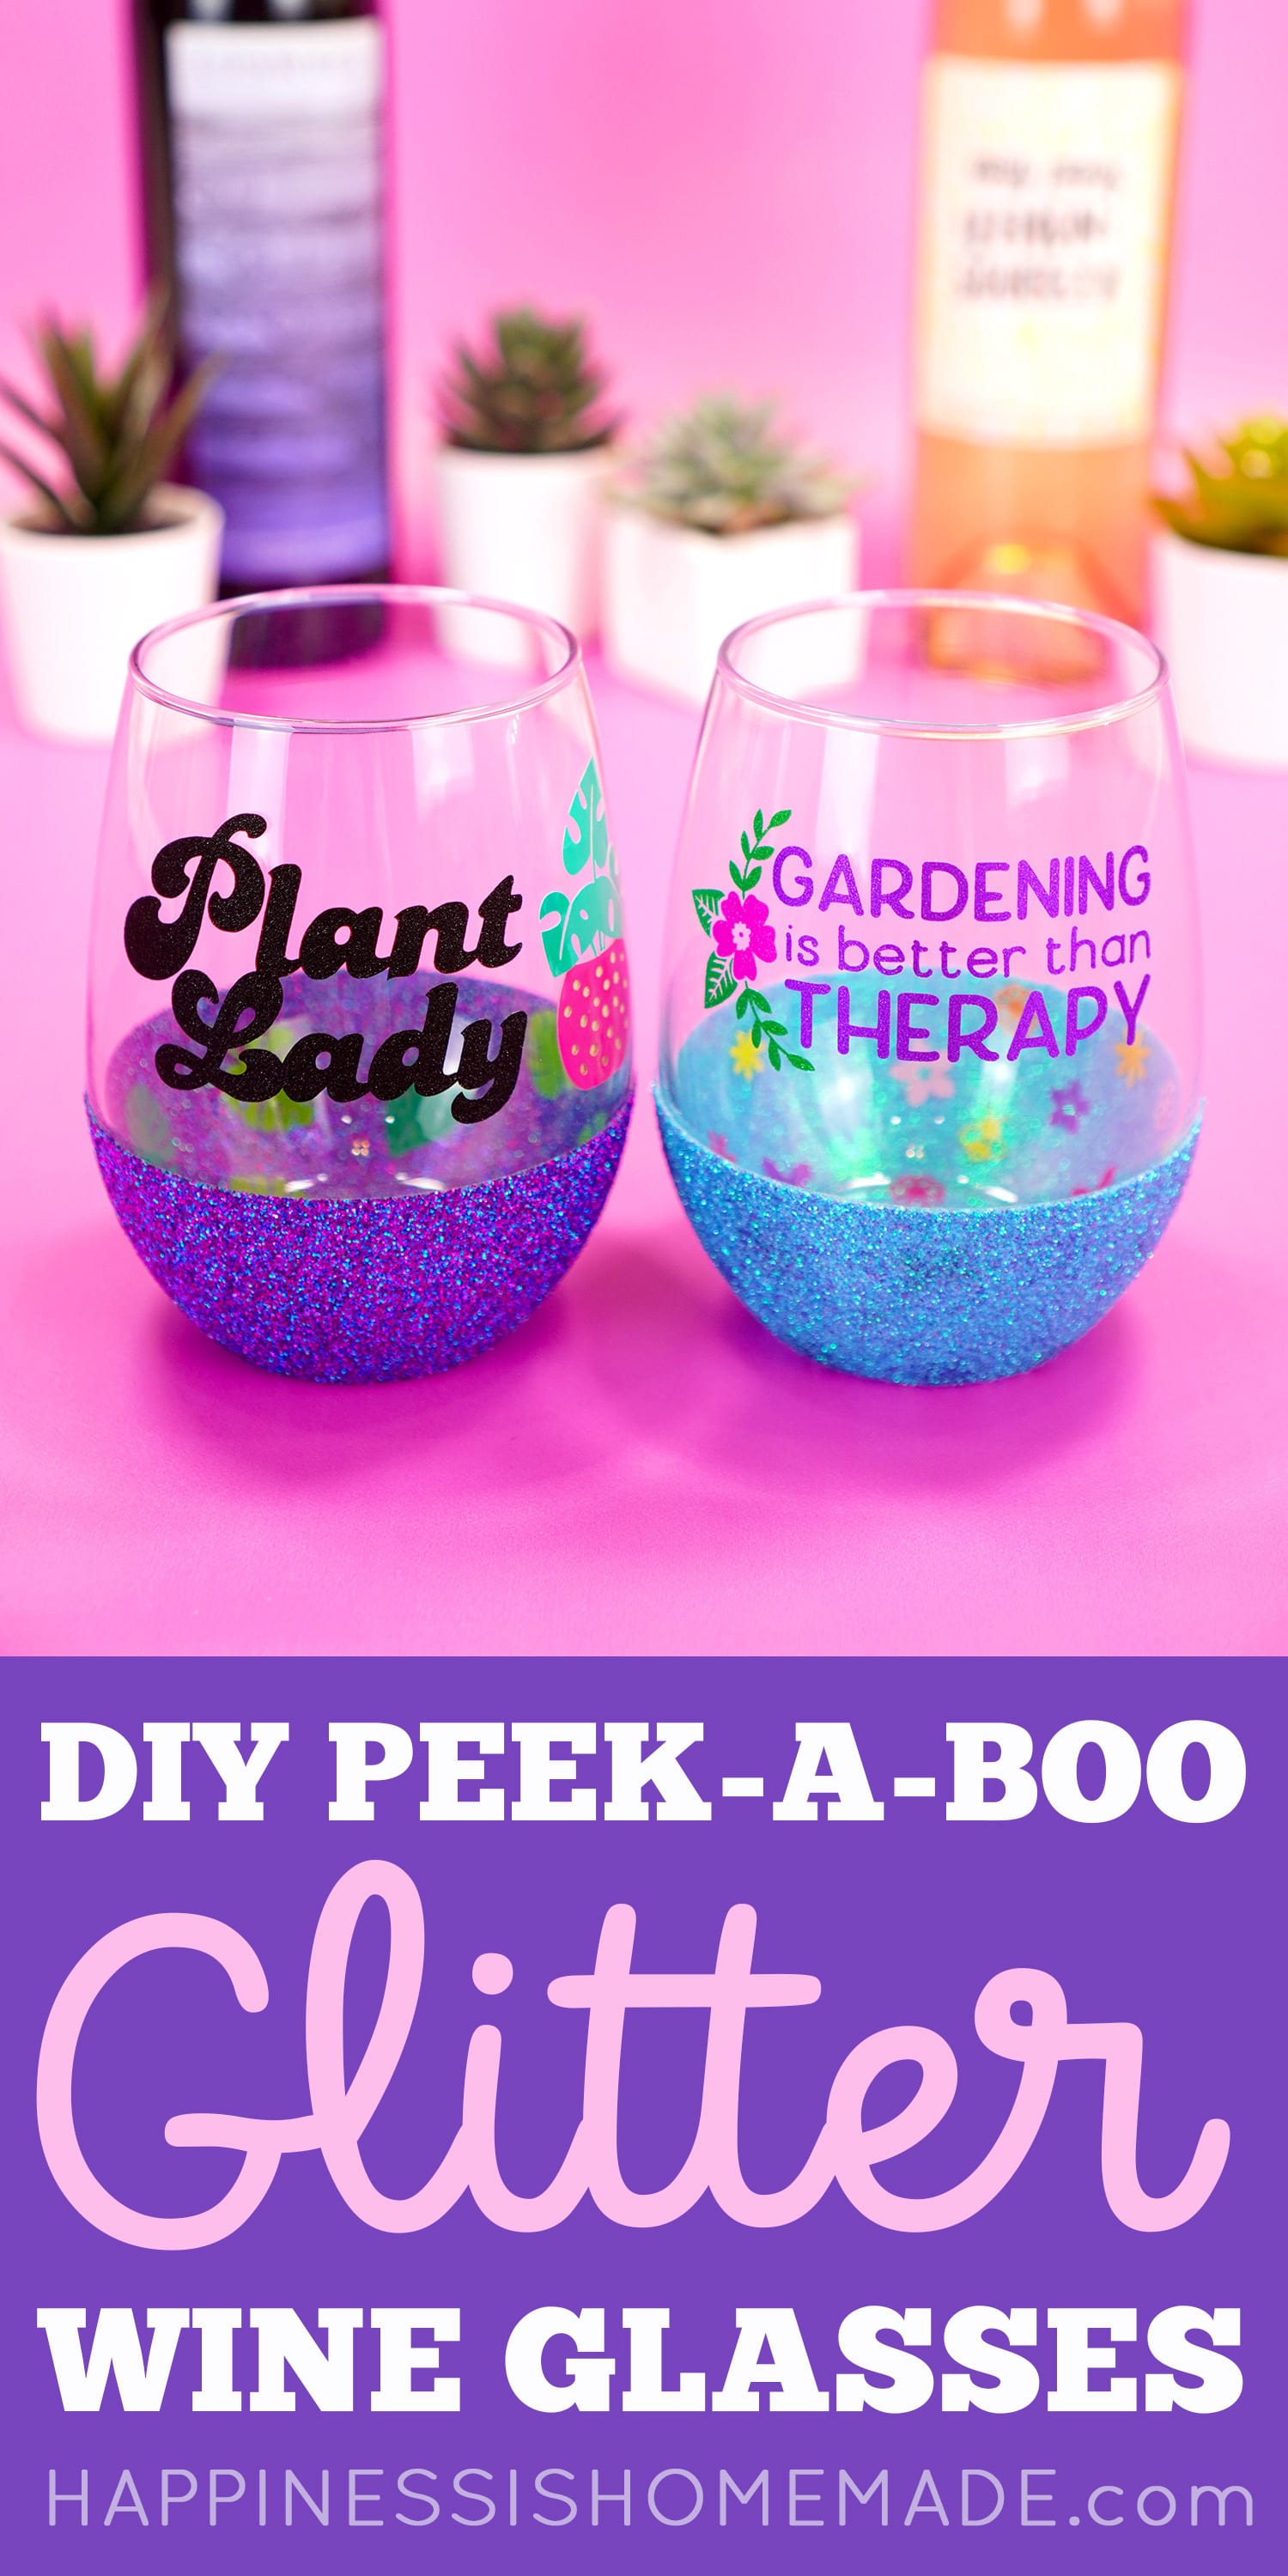
Custom DIY Glitter Wine Glasses make a great gift idea, and they are super easy to make and personalize! Learn how to make glitter wine glasses with a peekaboo surprise inside!
This post is sponsored by Cricut and may contain affiliate links. I will receive a small commission from these sales at no additional cost to you!
My favorite kind of gifts to give are ones that can easily be customized to match the recipient’s tastes and style. Last year, I created a set of Rainbow Glitter Wine Tumblers for a rainbow-loving friend of mine, and they were so well-received that I decided to make “Glitter-Dipped” peekaboo wine glasses for another friend this year!
DIY glitter wine glasses are a fantastic gift idea because the design and color combination options are endless, so each one can be as unique as the recipient. It’s a great way to make a personalized and professional-quality DIY gift for just a few dollars!
(Psssst…if you happen to be a hoarder have a large stash of vinyl scraps, this is also an excellent scrap-buster project!)
How to Make Glitter Wine Glasses
Supplies Used to Make DIY Glitter Wine Glasses:
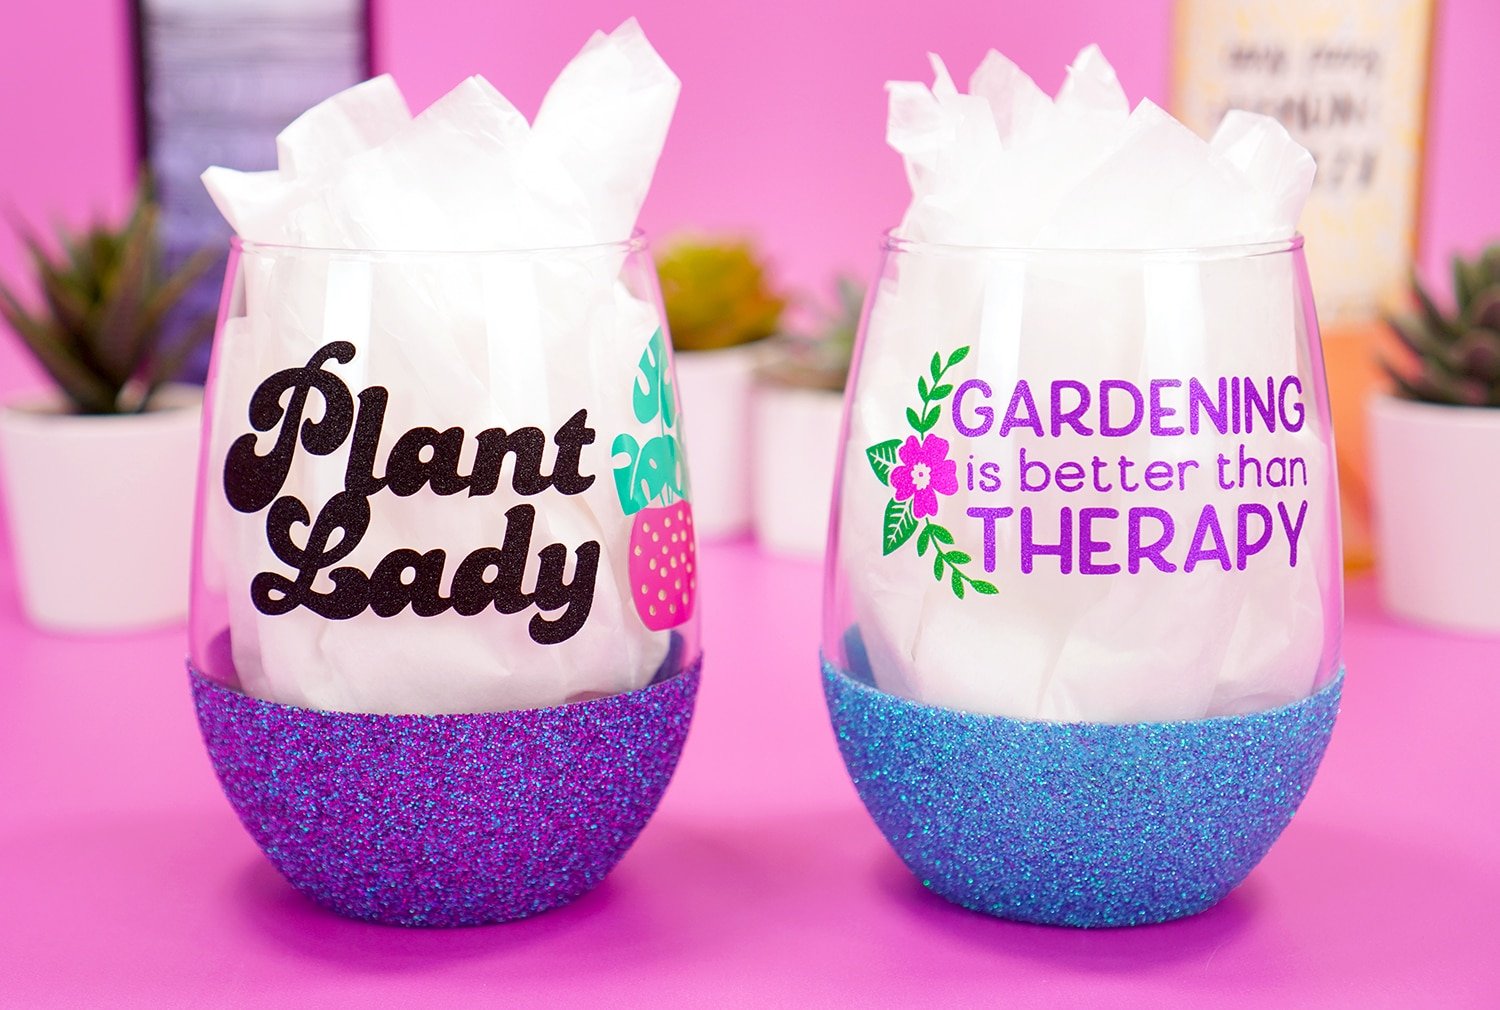
- Cricut Maker
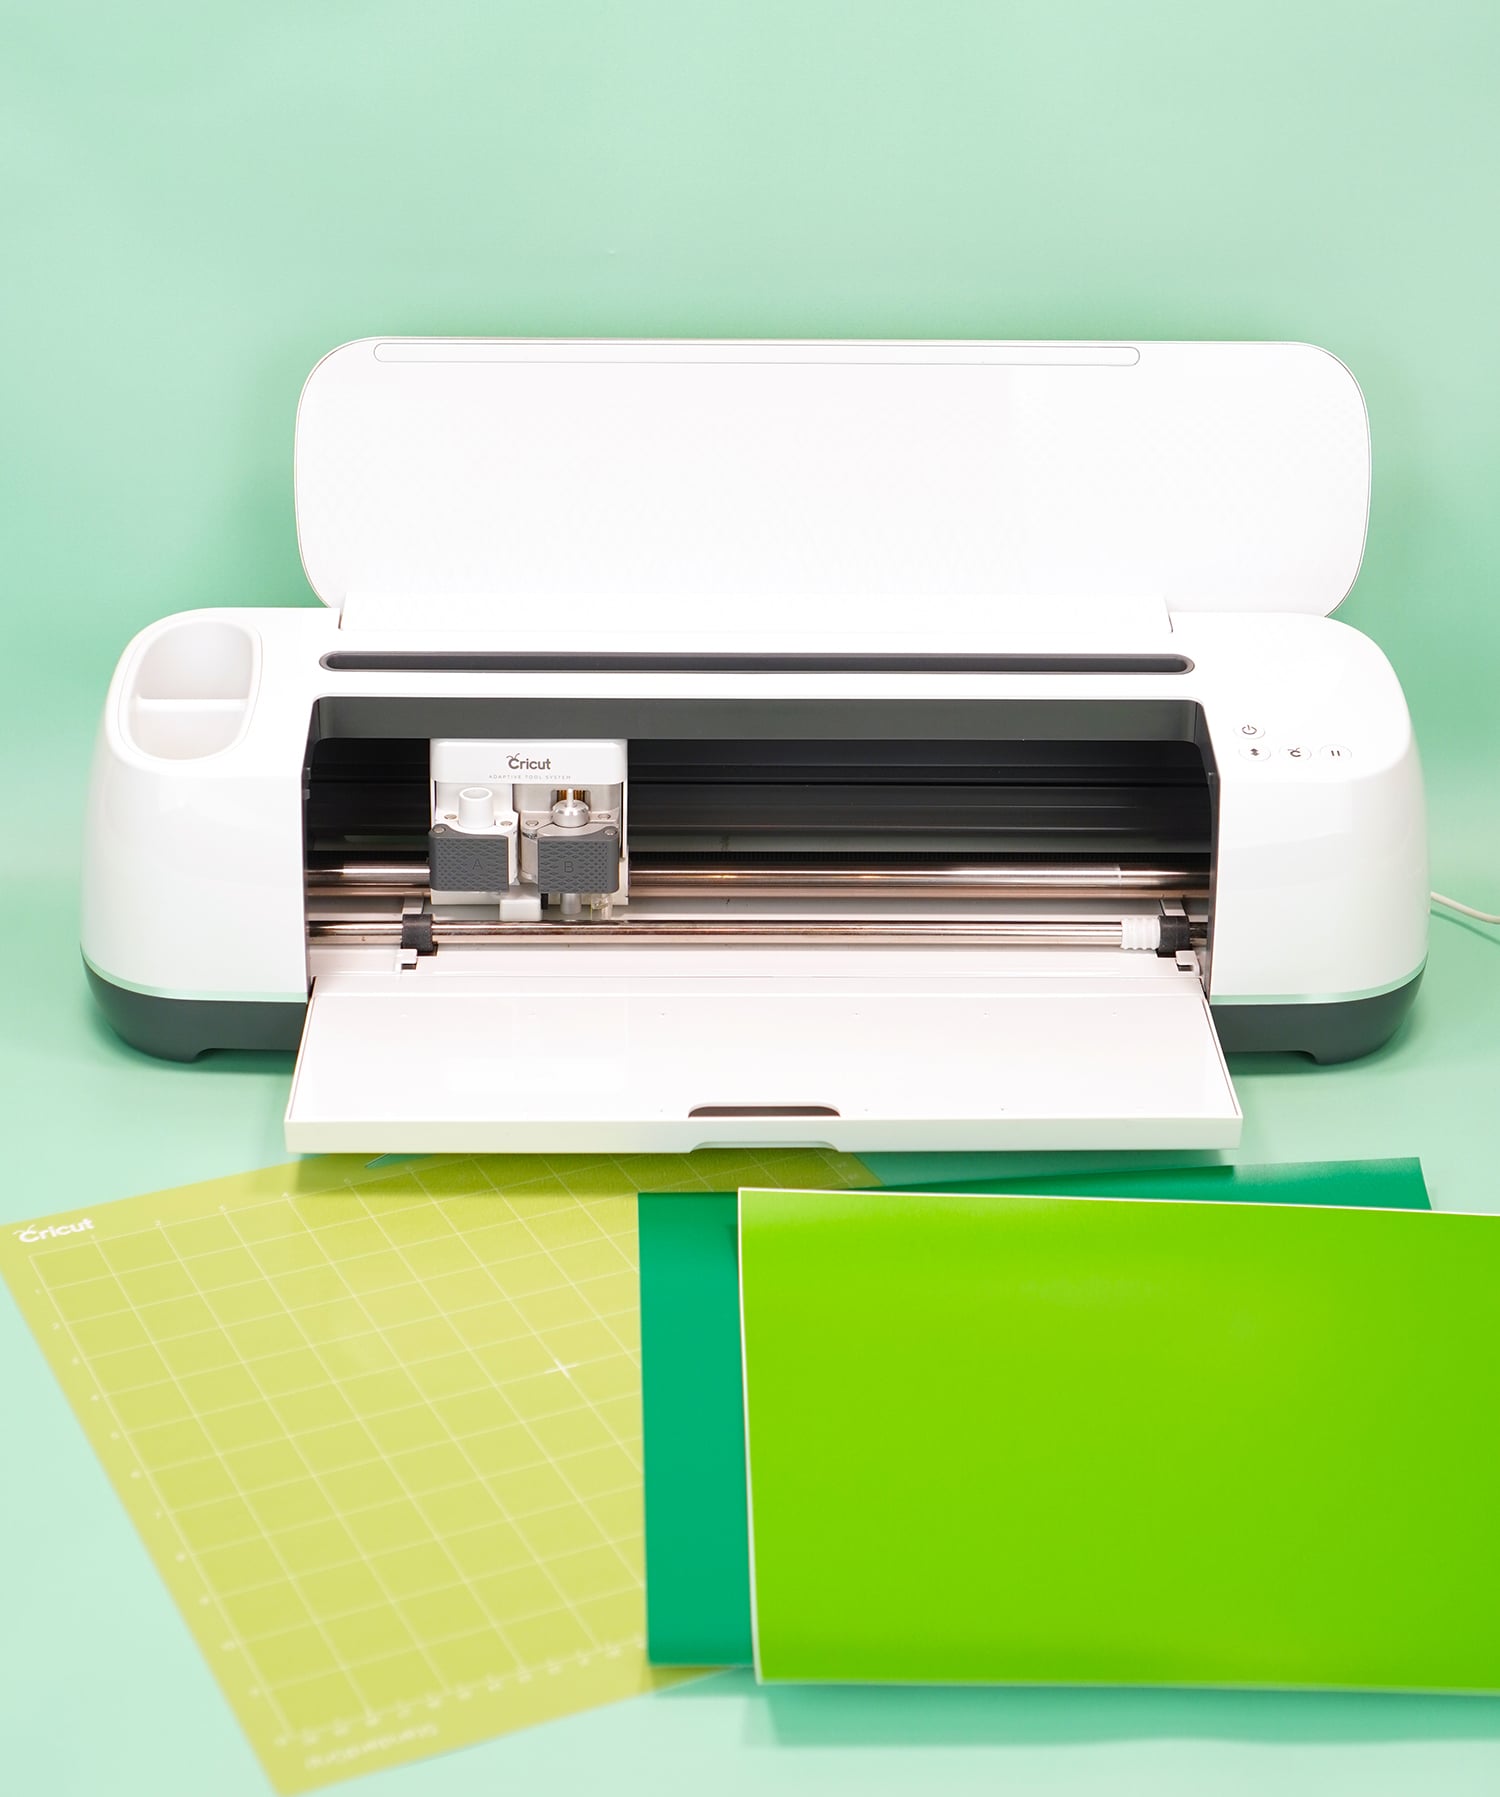
- Stemless Wine Glasses (also available on Amazon!)
- Cricut Premium Permanent Shimmer Vinyl
- Cricut Premium Permanent Pearl Metallic Vinyl
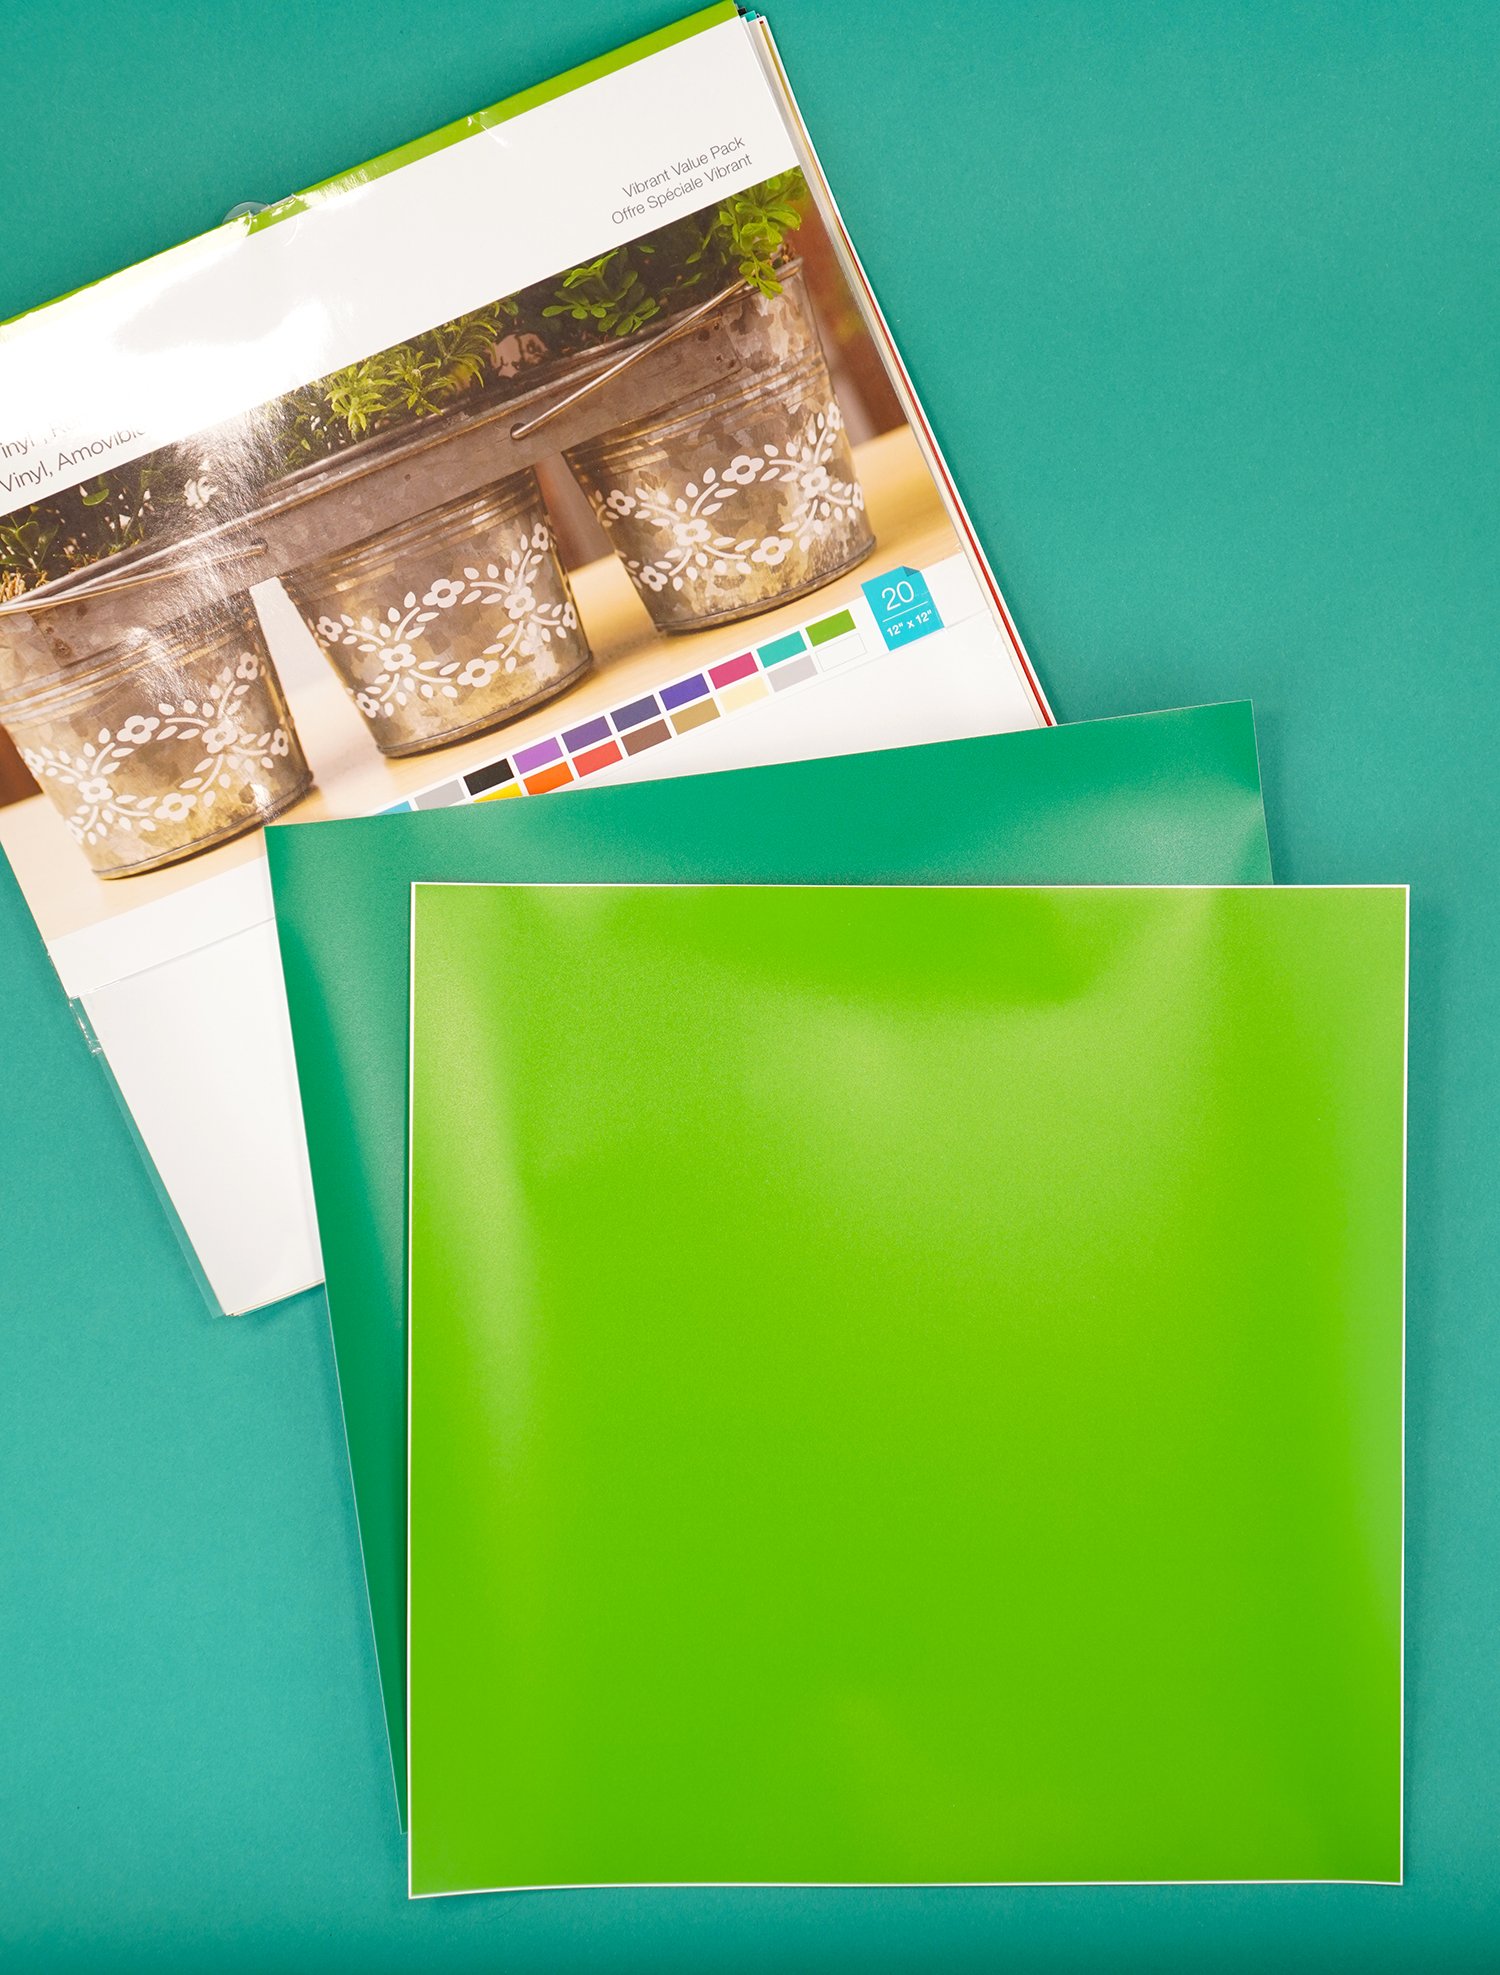
- Cricut Premium Removable Vinyl
- Transfer Tape
- Washi Tape
- Dishwasher-Safe Mod Podge
- Foam Paintbrush
- Fine/Ultra-Fine Glitter (I used my favorite glitters from A Little Muggle Magic!)
- Soft Tape Measure or Ruler, optional
NOTE:
I used my Cricut Maker for this project, but you could also use your Cricut Explore Air 2 or Cricut Joy!
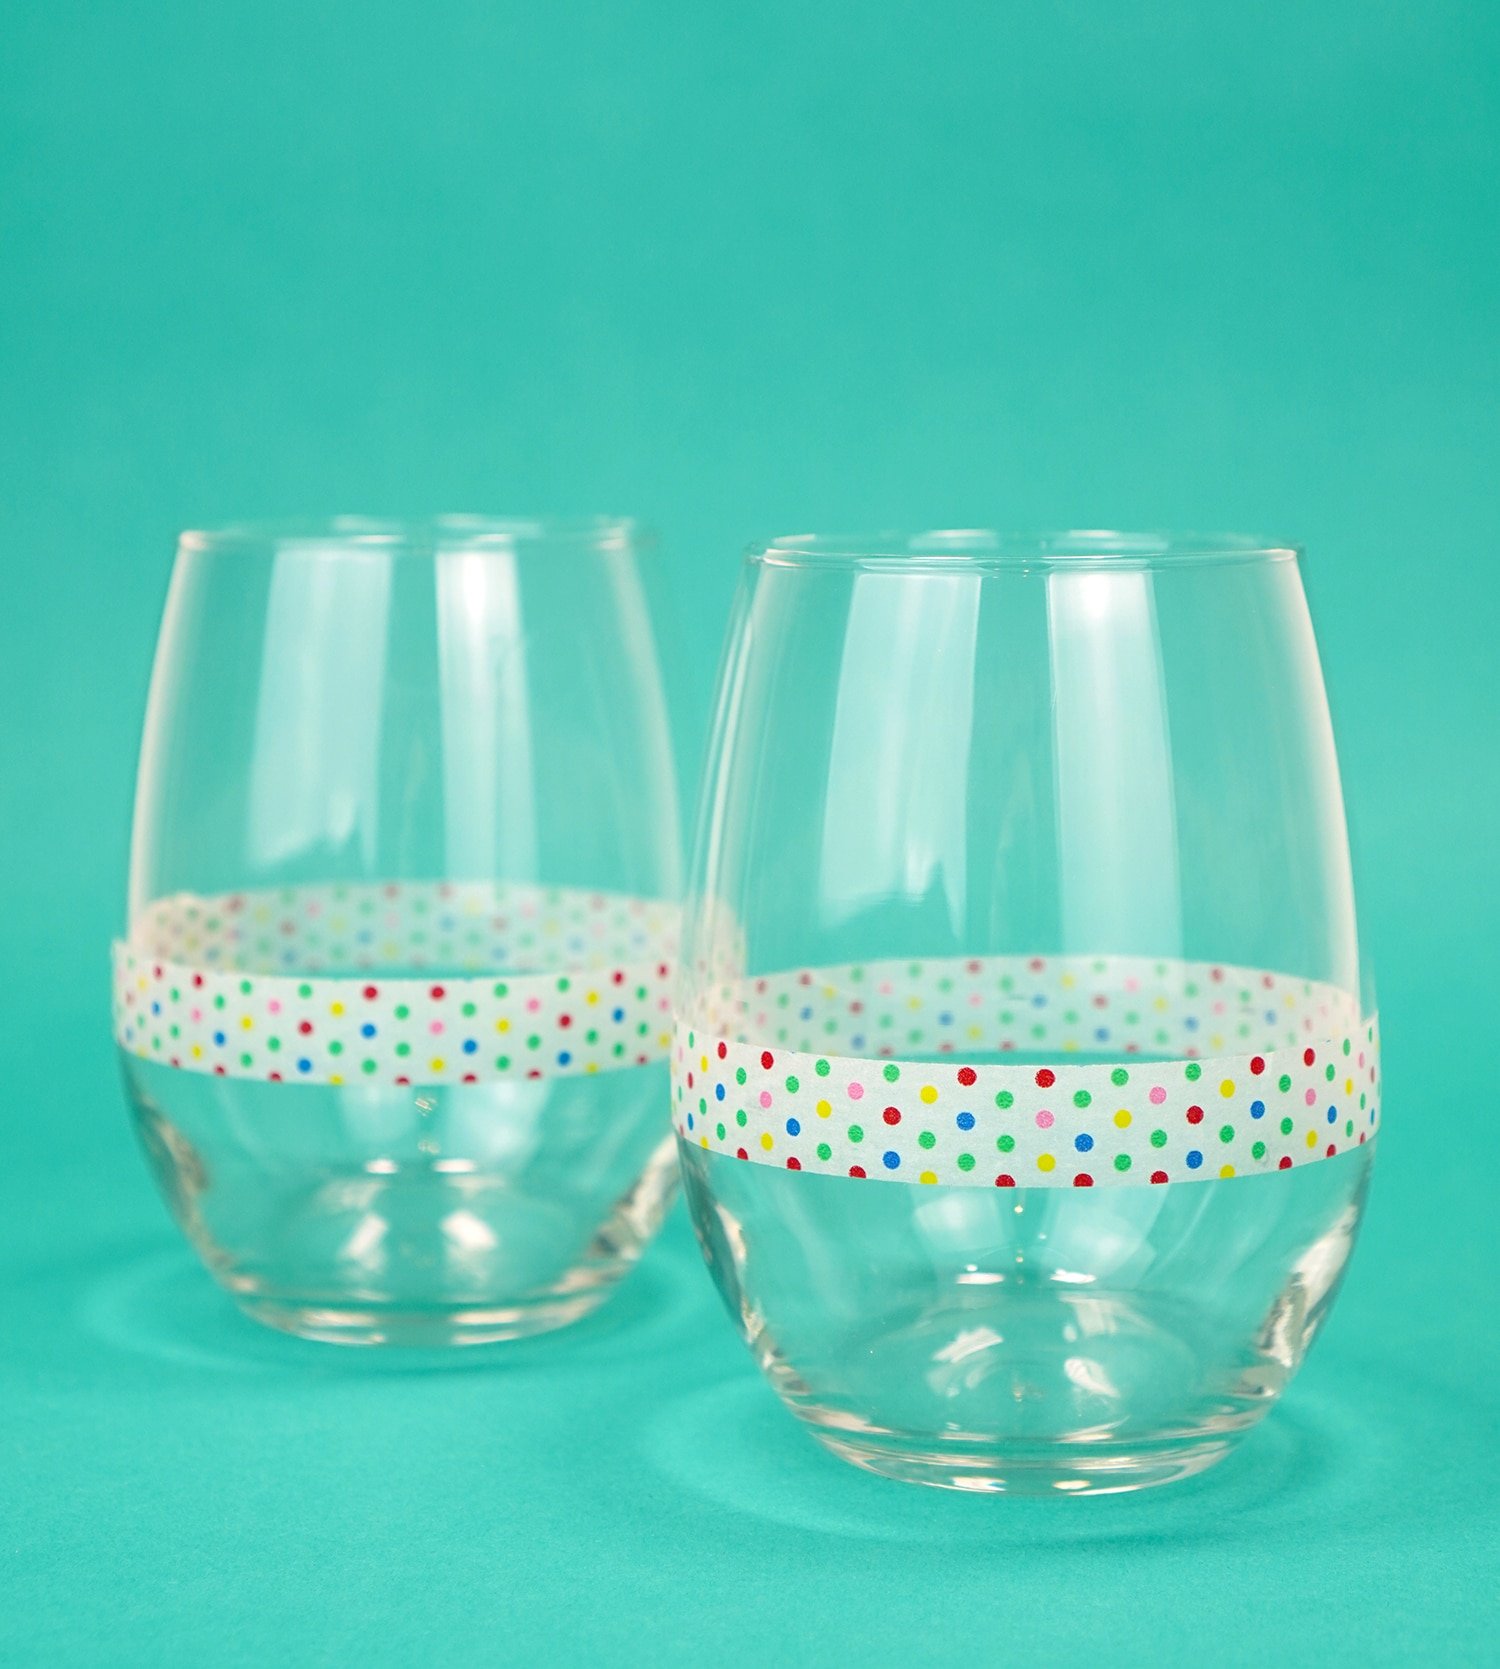
The first step is to mark off and mask the area of the wine glass that you want to cover in glitter. I used a soft tape measure to measure 3″ down from the lip of the glass and marked the glass with a Flair pen (washable felt pen) all around. (Your measurement may vary depending on the size of your wine glasses)
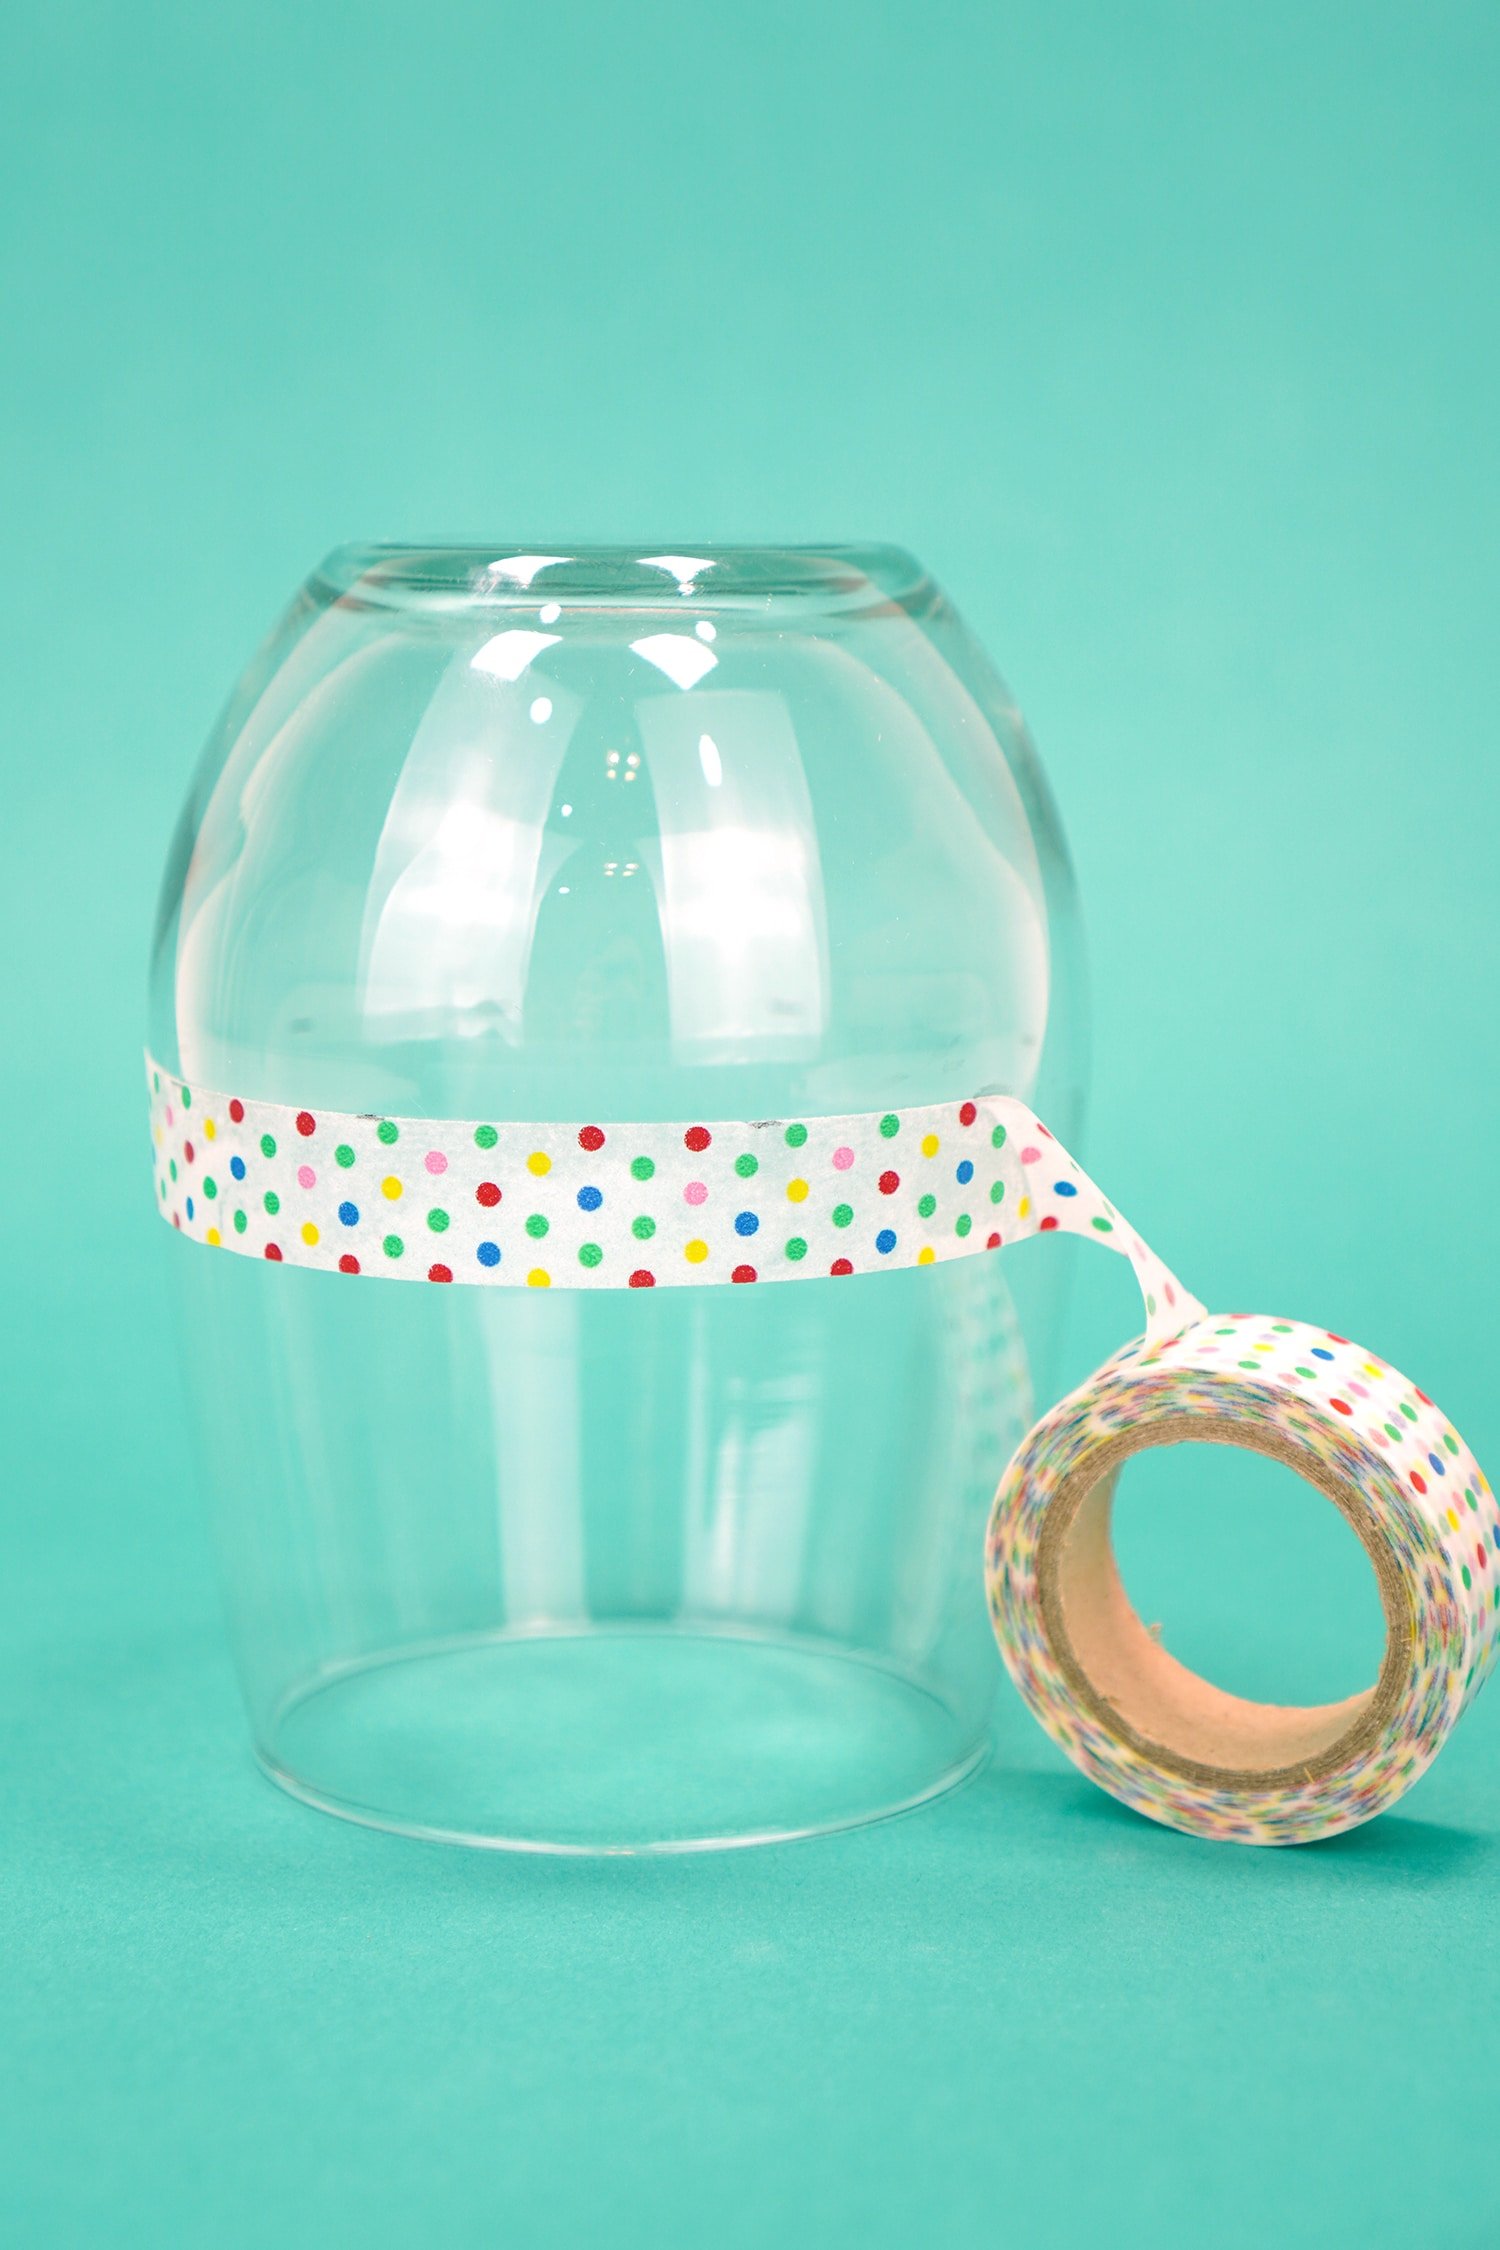
Use the markings as a guide to place the washi tape. Press down and smooth the tape with your fingers to ensure that the tape is firmly adhered to the glass.
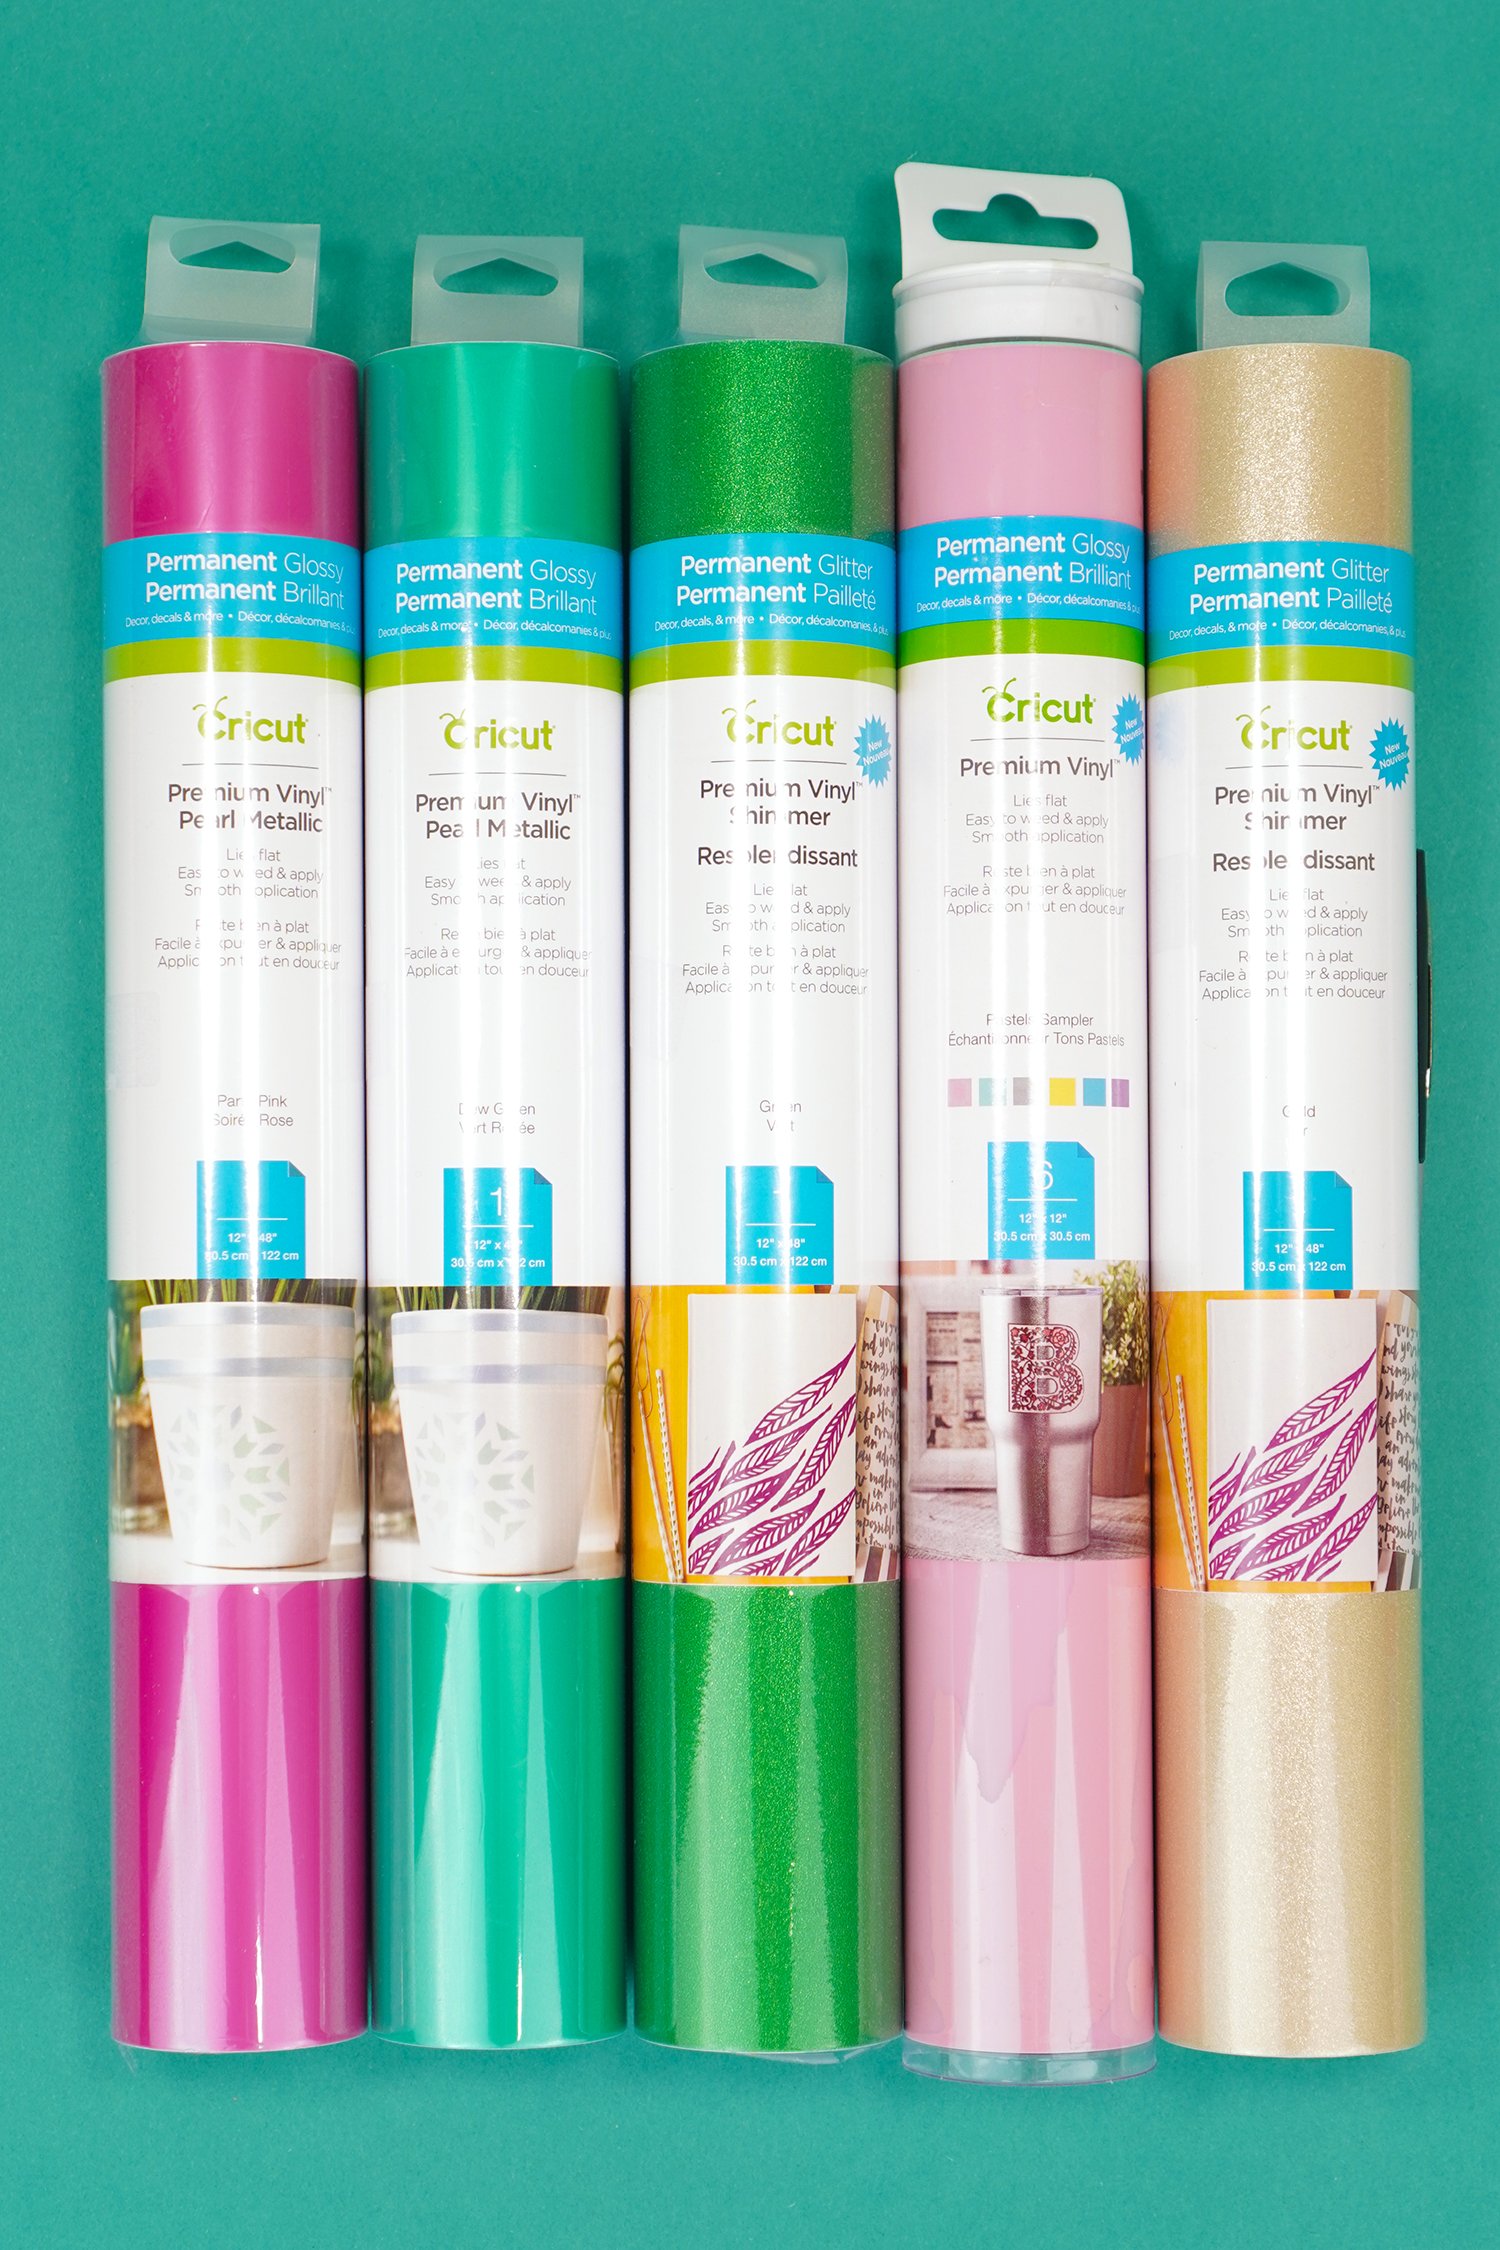
Cricut has SO many fun varieties of permanent vinyl to give your projects an extra-special touch, so I decided to test out a couple that I haven’t used as often for these wine glasses – specifically, Shimmer Vinyl and Pearl Metallic Vinyl. They are both seriously gorgeous! The Pearl Metallic Vinyl has a pearlescent shine that almost looks iridescent when the light hits it, and the Shimmer Vinyl is an absolutely stunning texture that I can only describe as a combination of metallic shine and ultra-fine, ultra-sparkly glitter shimmer (but with NO glitter shedding!).
The still photos just do NOT do this Shimmer Vinyl justice at all, so I had to show you how awesome this truly is!
Shimmer Vinyl and Pearl Metallic Vinyl are both totally amazing, however, their color is single-sided (Shimmer Vinyl has a silver backing and Pearl Metallic has a white backing). That means that they won’t work for the “peekaboo” decals that you can see inside the wine glass since you are actually viewing the underside of the vinyl as it is applied to the outside of the glass.
Since these decals will eventually be covered and protected under a layer of glitter, you can use any permanent or removable vinyl that has double-sided color (all of the basic Premium Permanent Vinyl and Premium Removable Vinyl colors re double-sided!). I opted to use Removable Vinyl since the colors included in the Vibrant Value Pack were exactly what I was looking for.
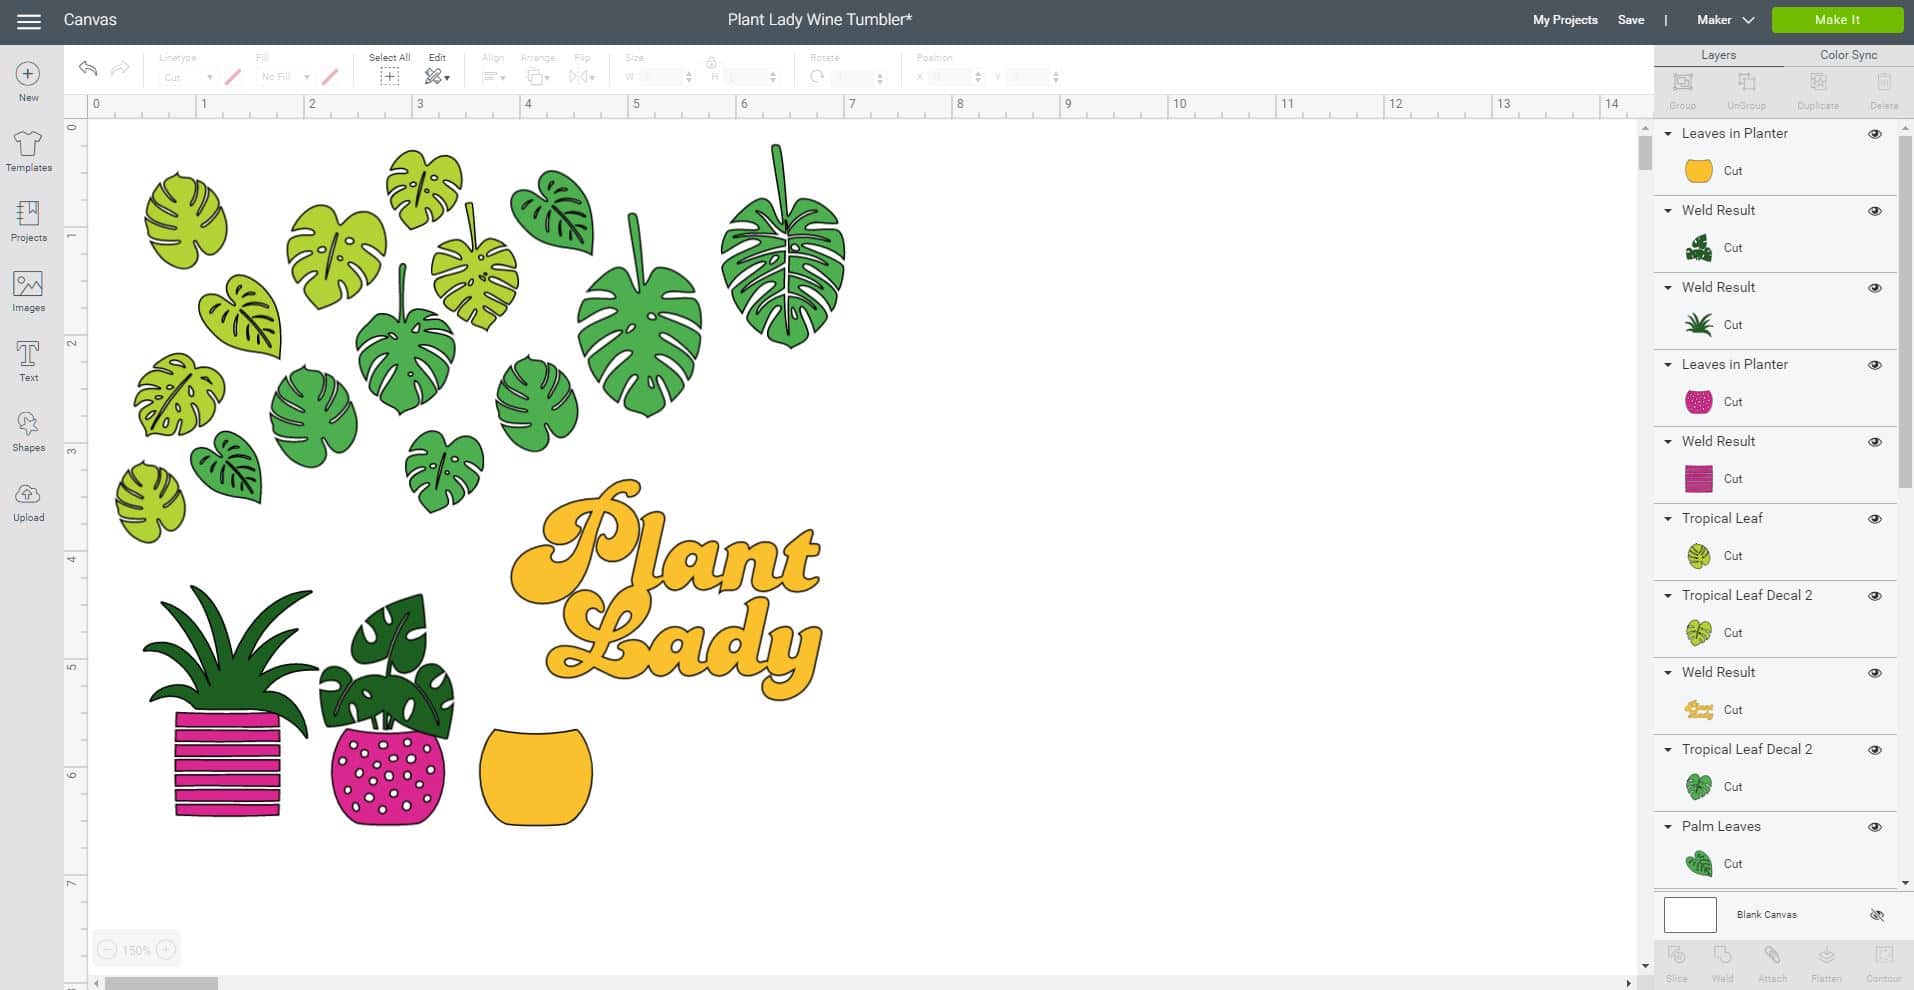
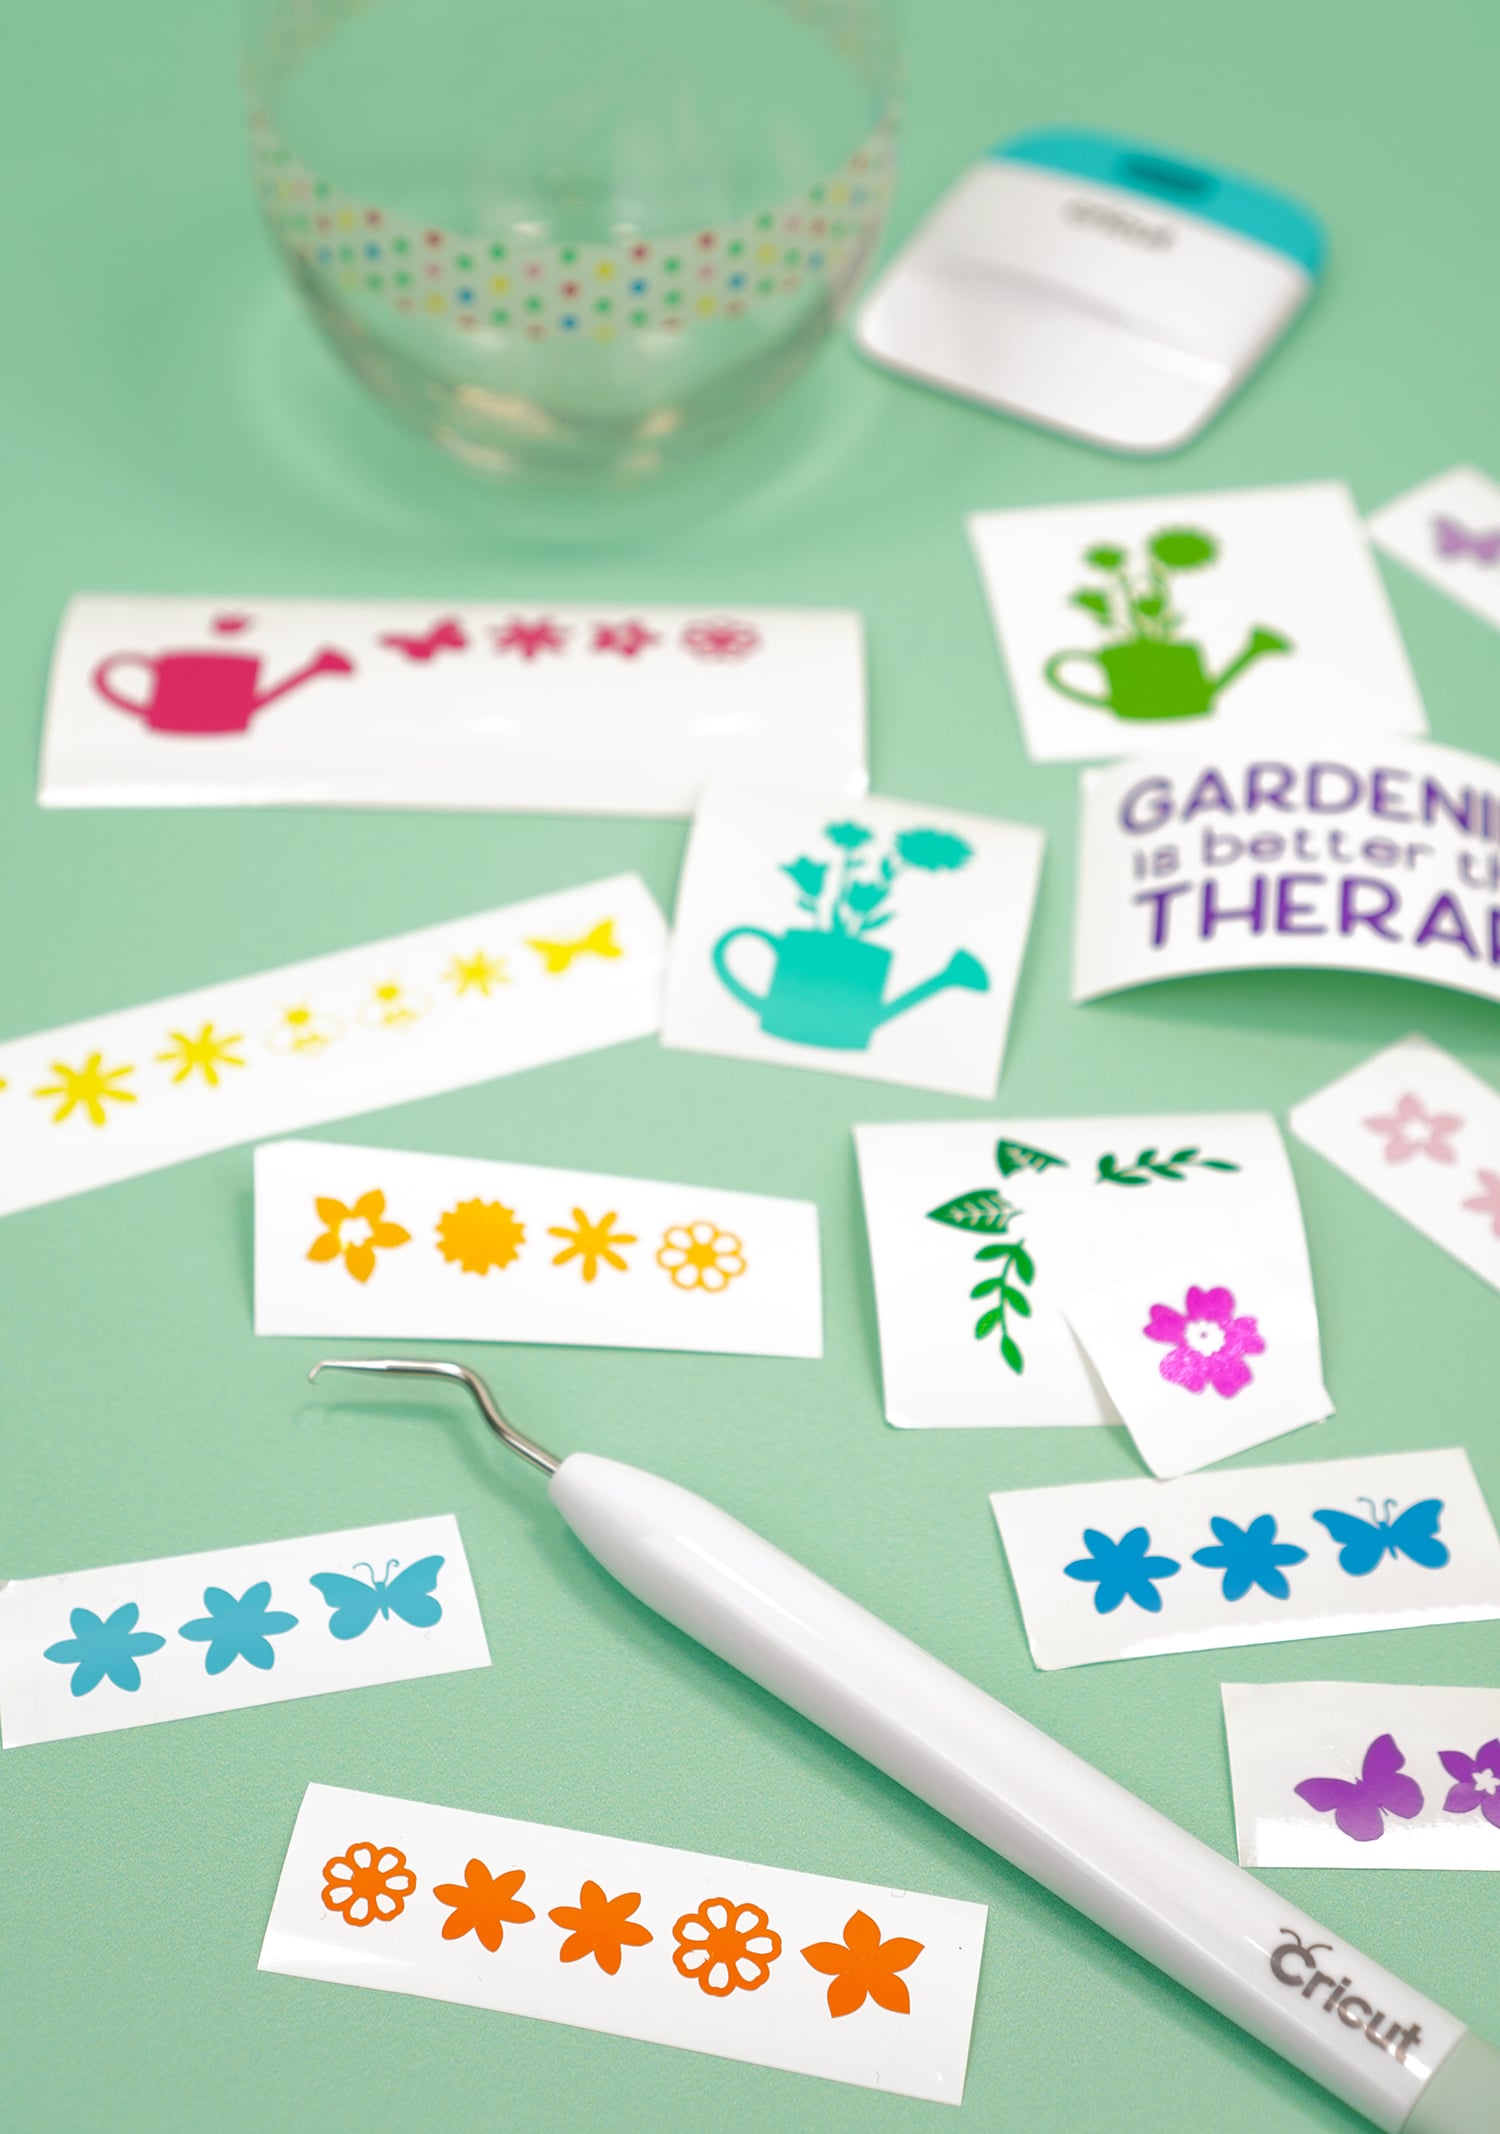
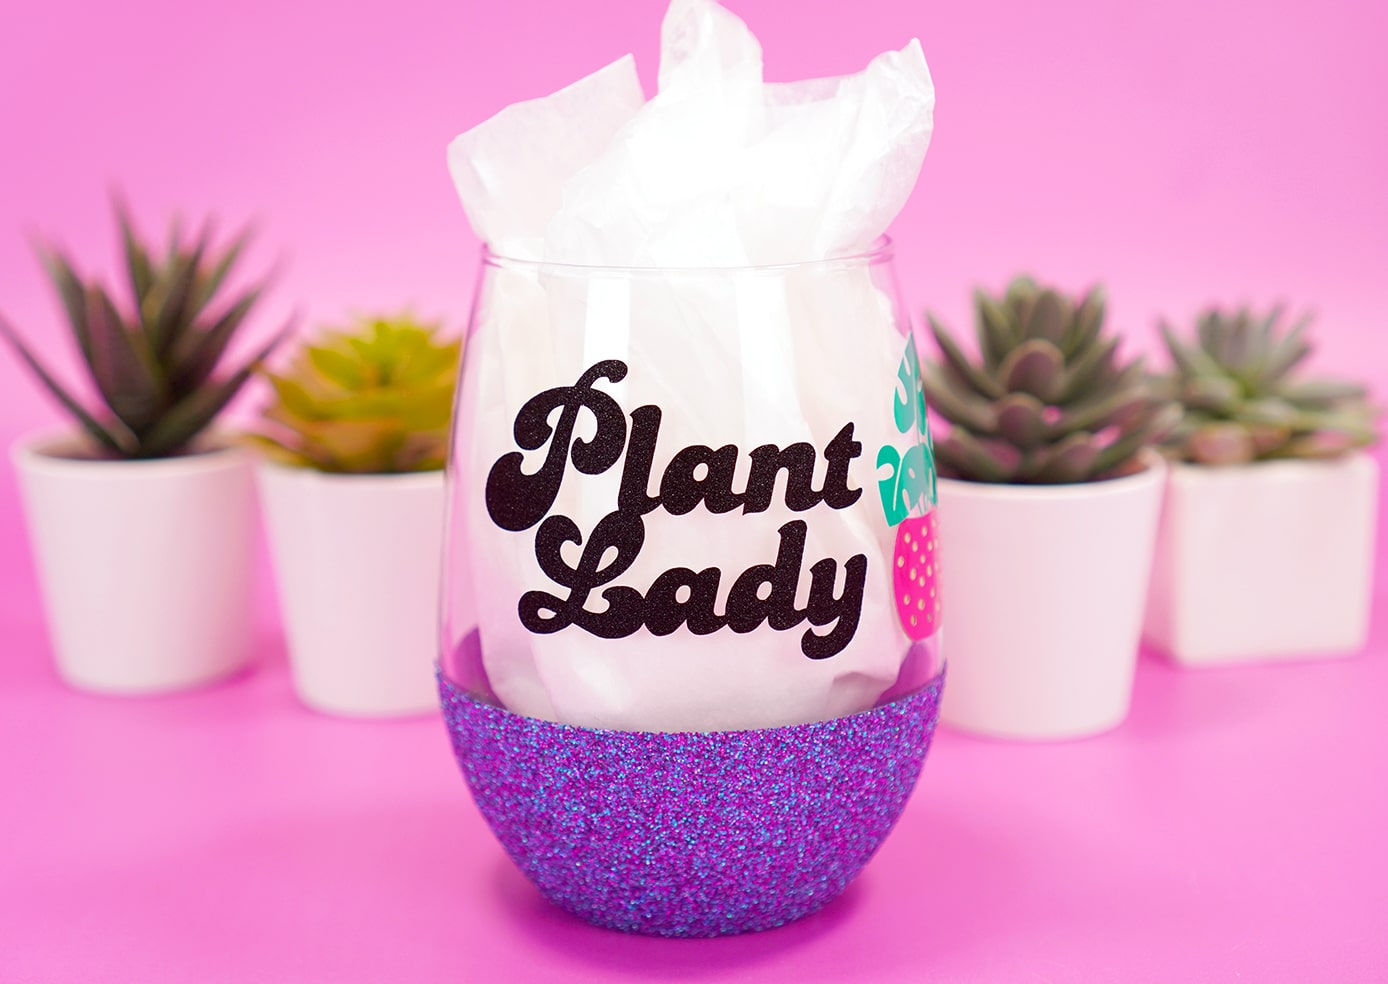
Open the “Plant Lady” Wine Glass file in Cricut Design Space. Resize the elements to fit your wine glass if necessary. Click the green “Make It” button in the upper corner of the screen.
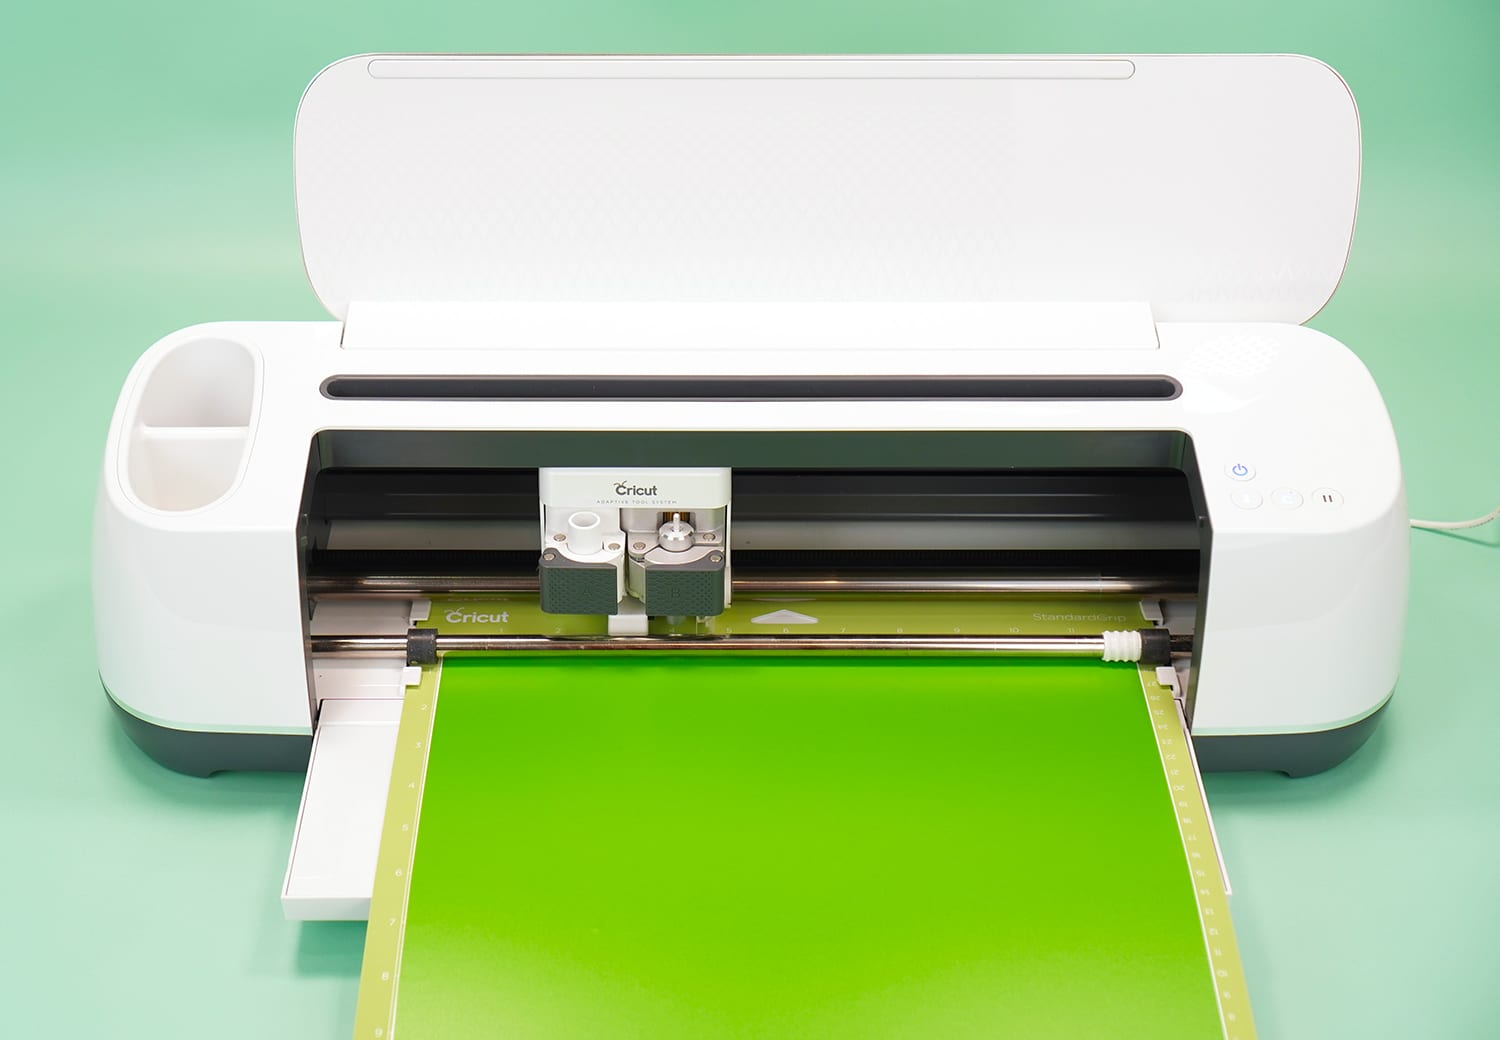
Cut each individual mat as prompted in Design Space using your choice of vinyls and your Maker.
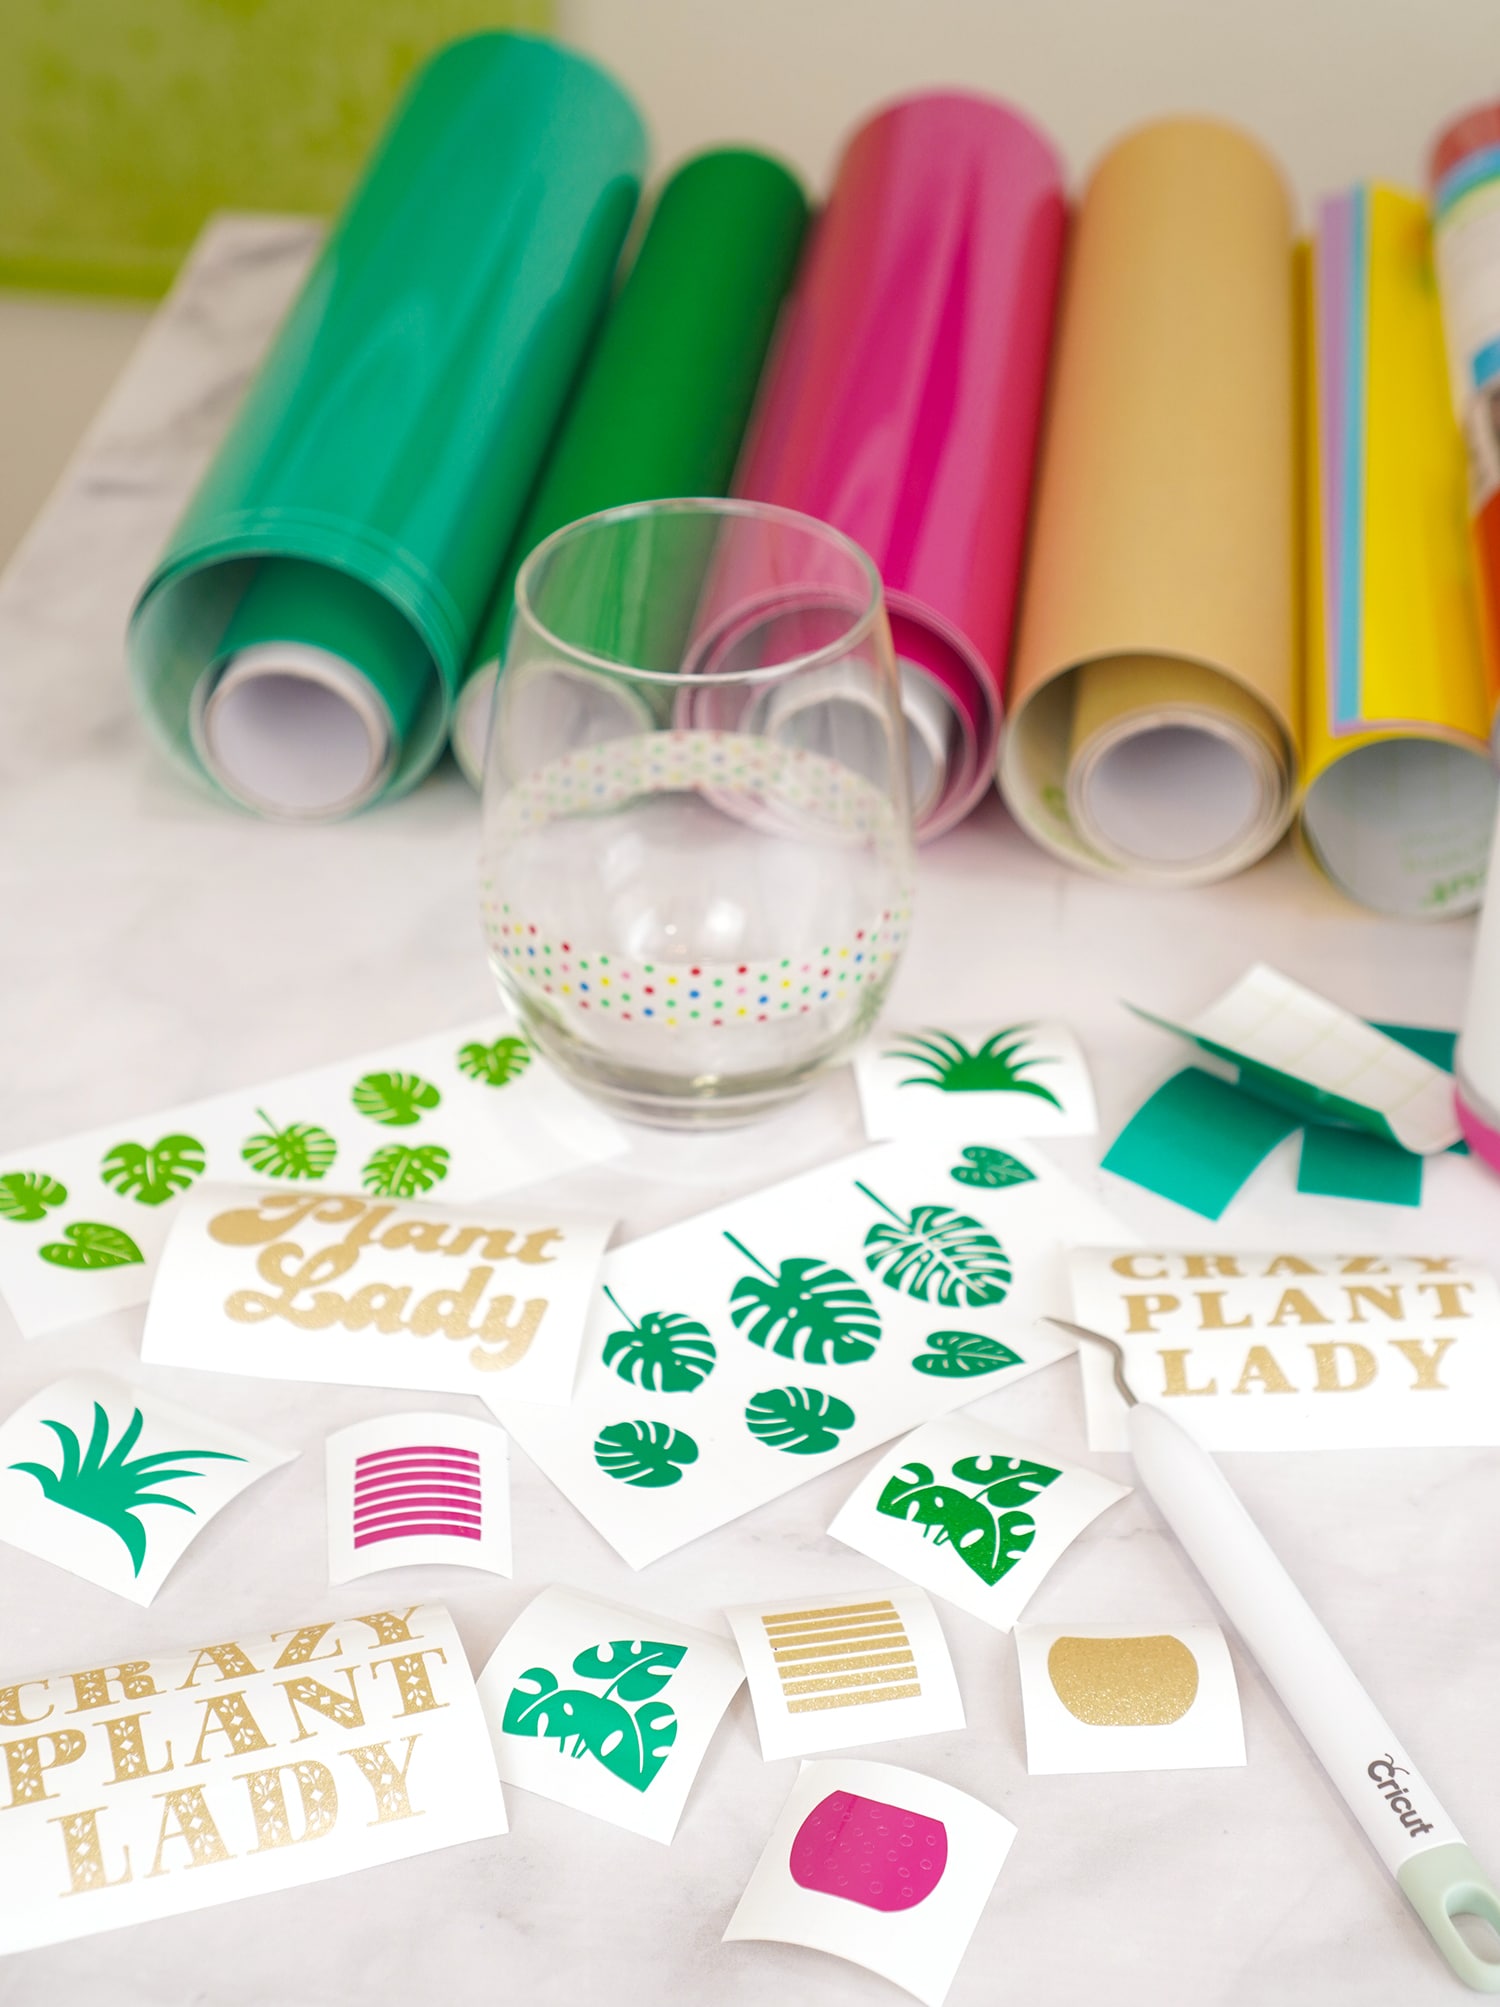
Trim your vinyl sheets as needed, and use your weeding tools to weed the excess vinyl. If you haven’t used a Hooked Weeding Tool yet, you’re missing out! It’s my favorite!
(If you want those alternately designed phrases – they’re just standard text made with the Martha Stewart Home Team and Saphir Com fonts in Design Space!)
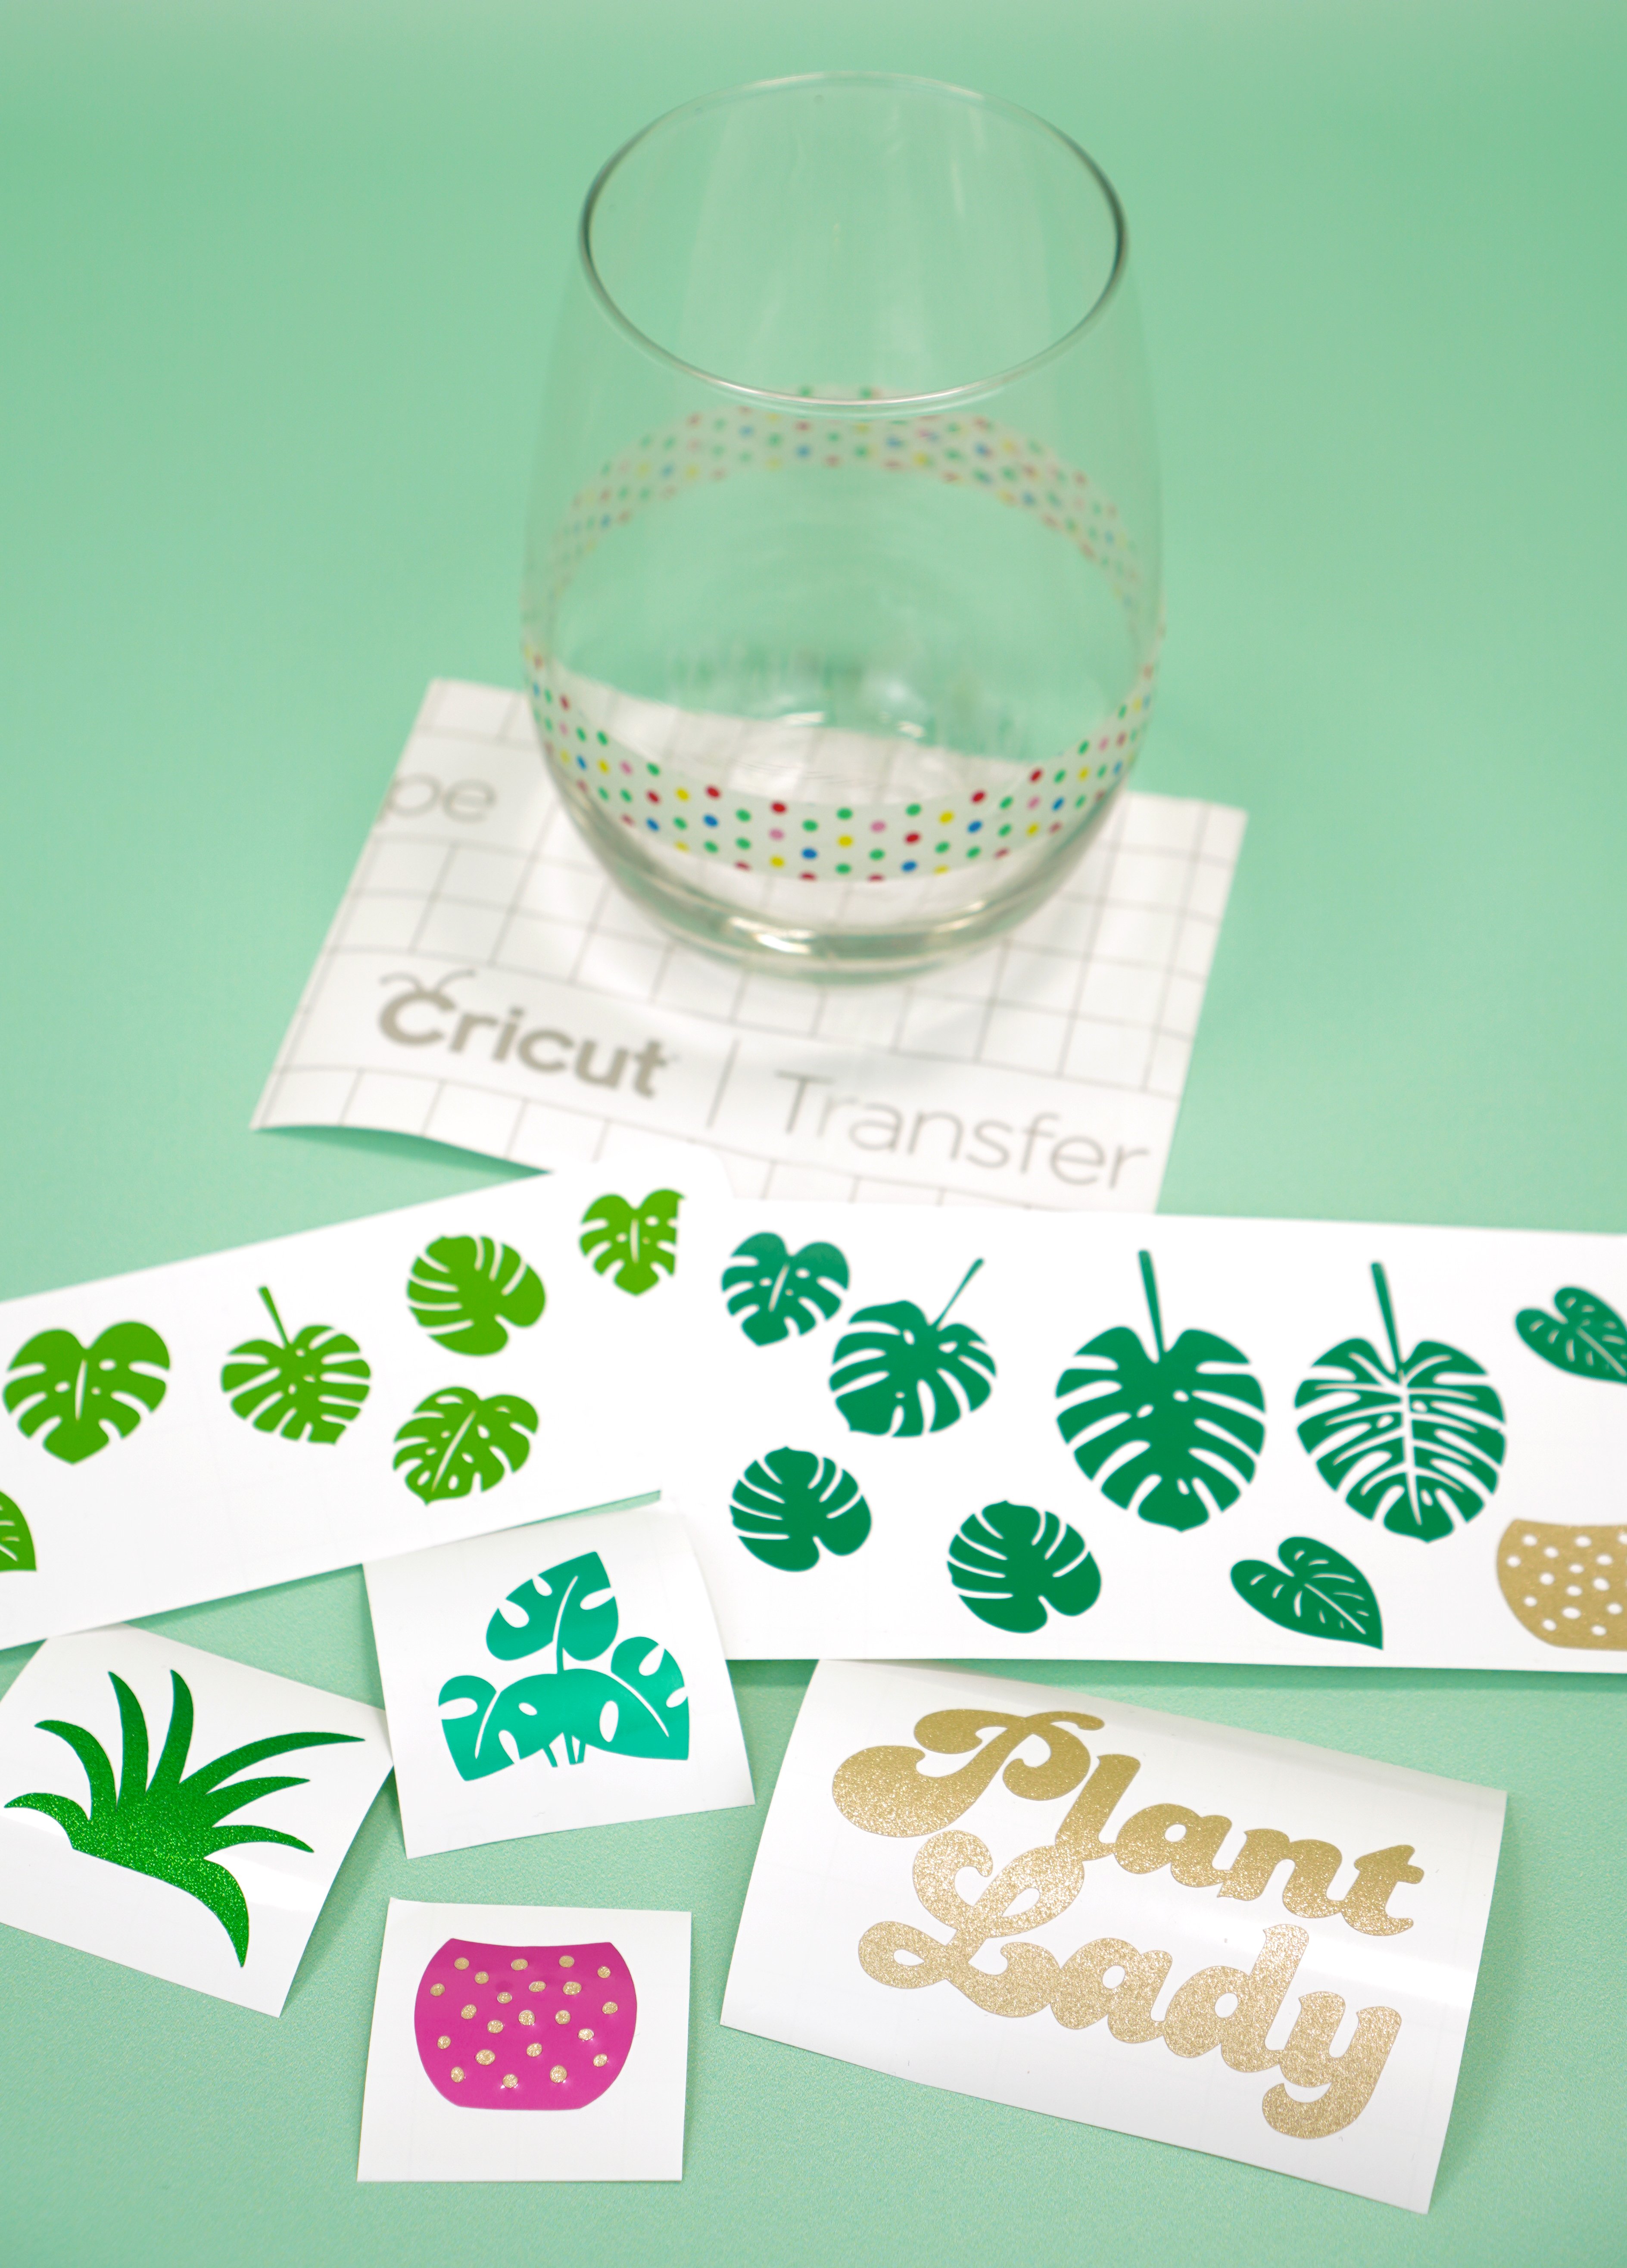
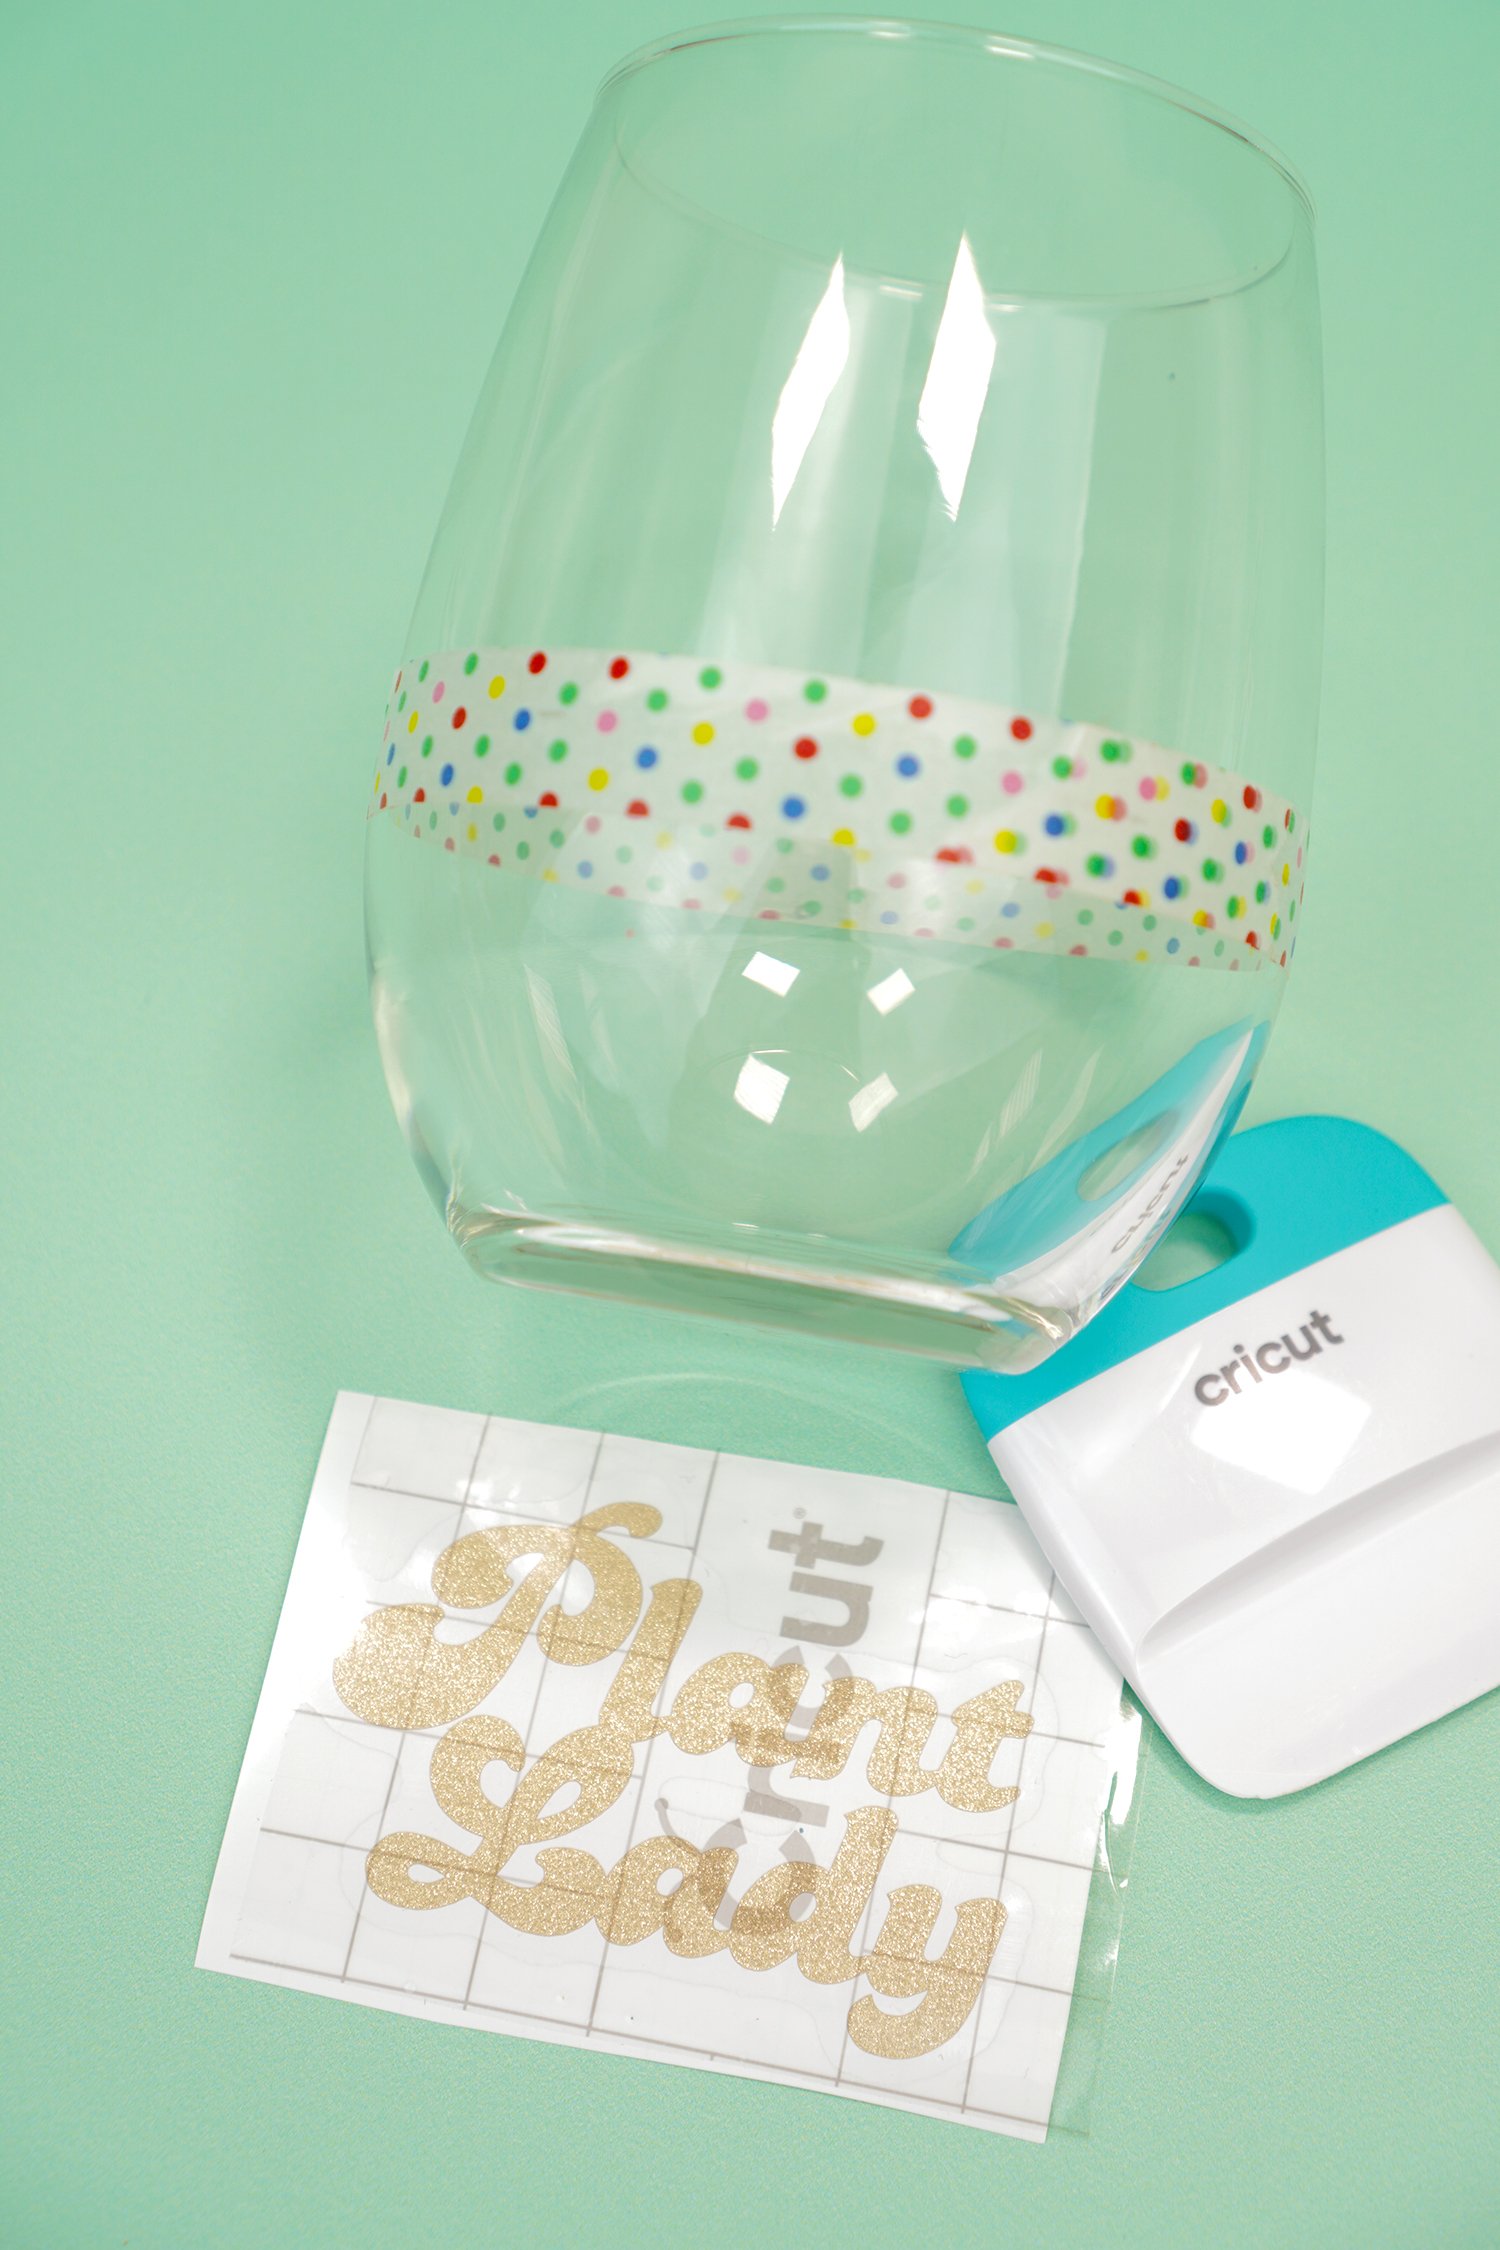
Cut a small piece of Transfer Tape that is slightly larger than your design. Peel away the backing and place the transfer tape on top of your Plant Lady vinyl. Gently burnish with a Scraper Tool, and peel off the backing paper.
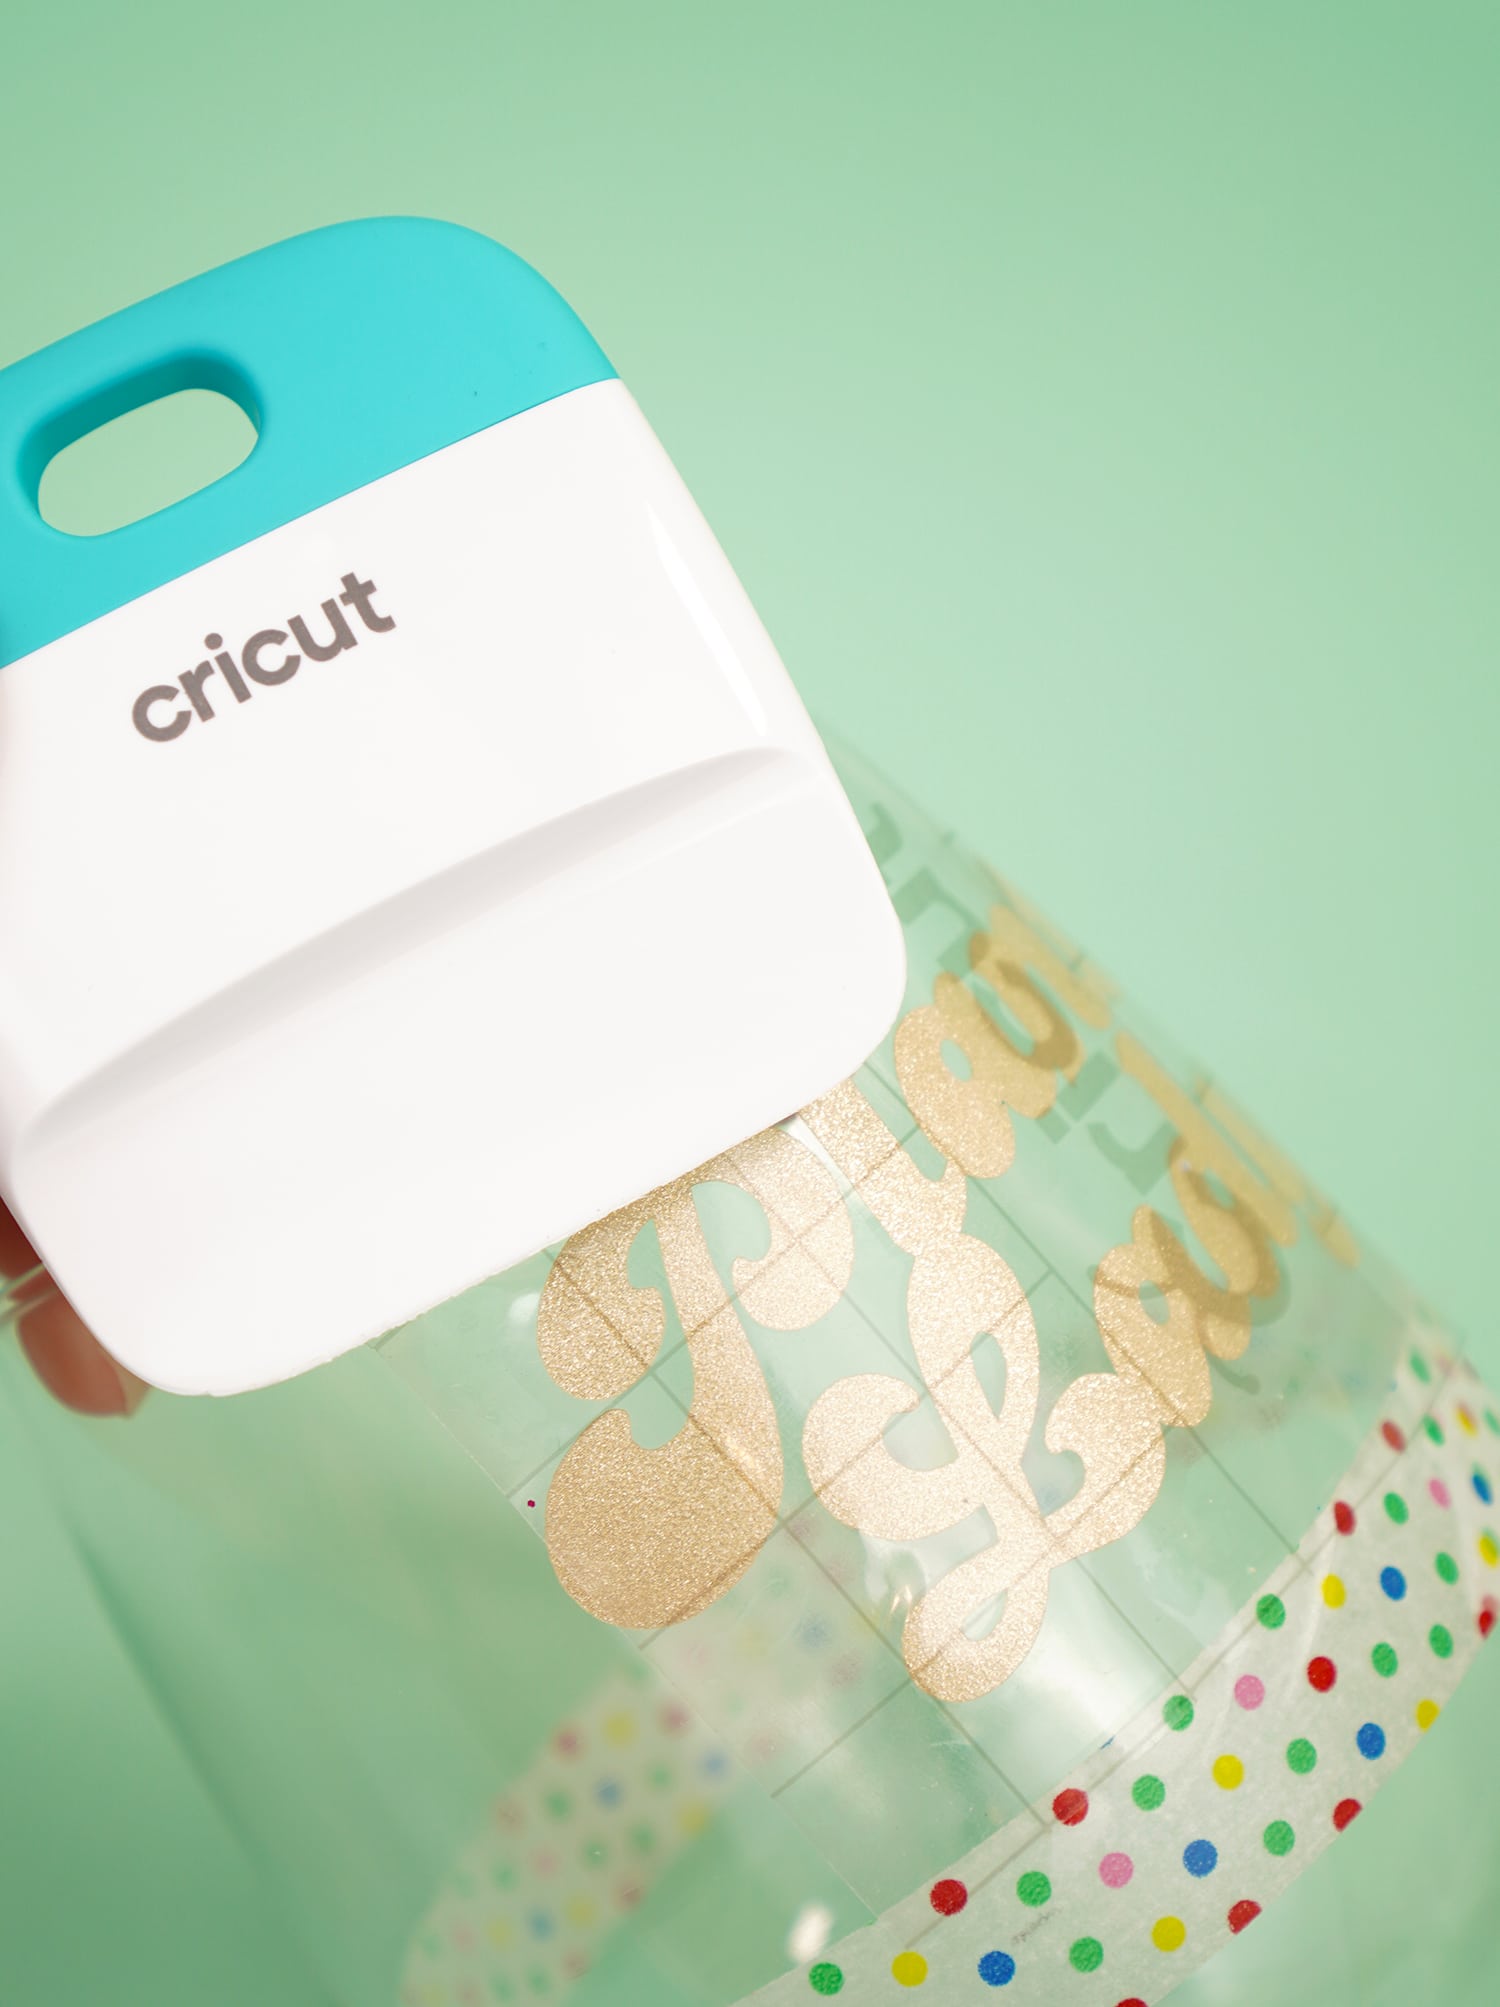
Use the Scraper Tool to apply the vinyl to the wine glass, and then peel off the transfer tape. Repeat the process with the potted plant decals.
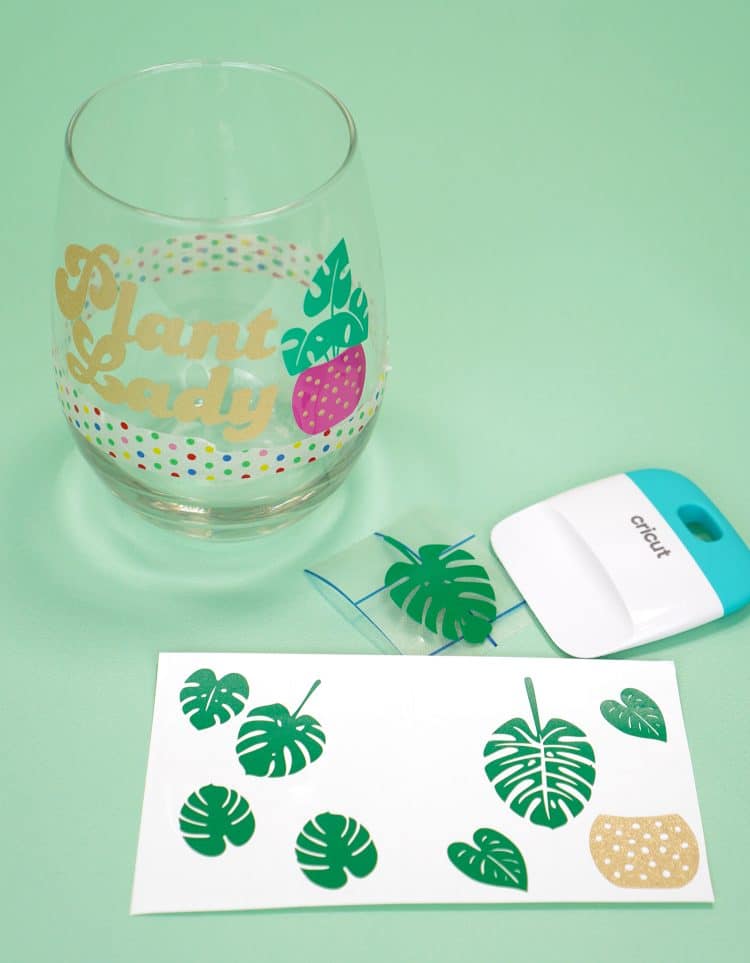
Choose one of the largest leaves to be the center of the peekaboo design, and transfer it to a piece of transfer tape.
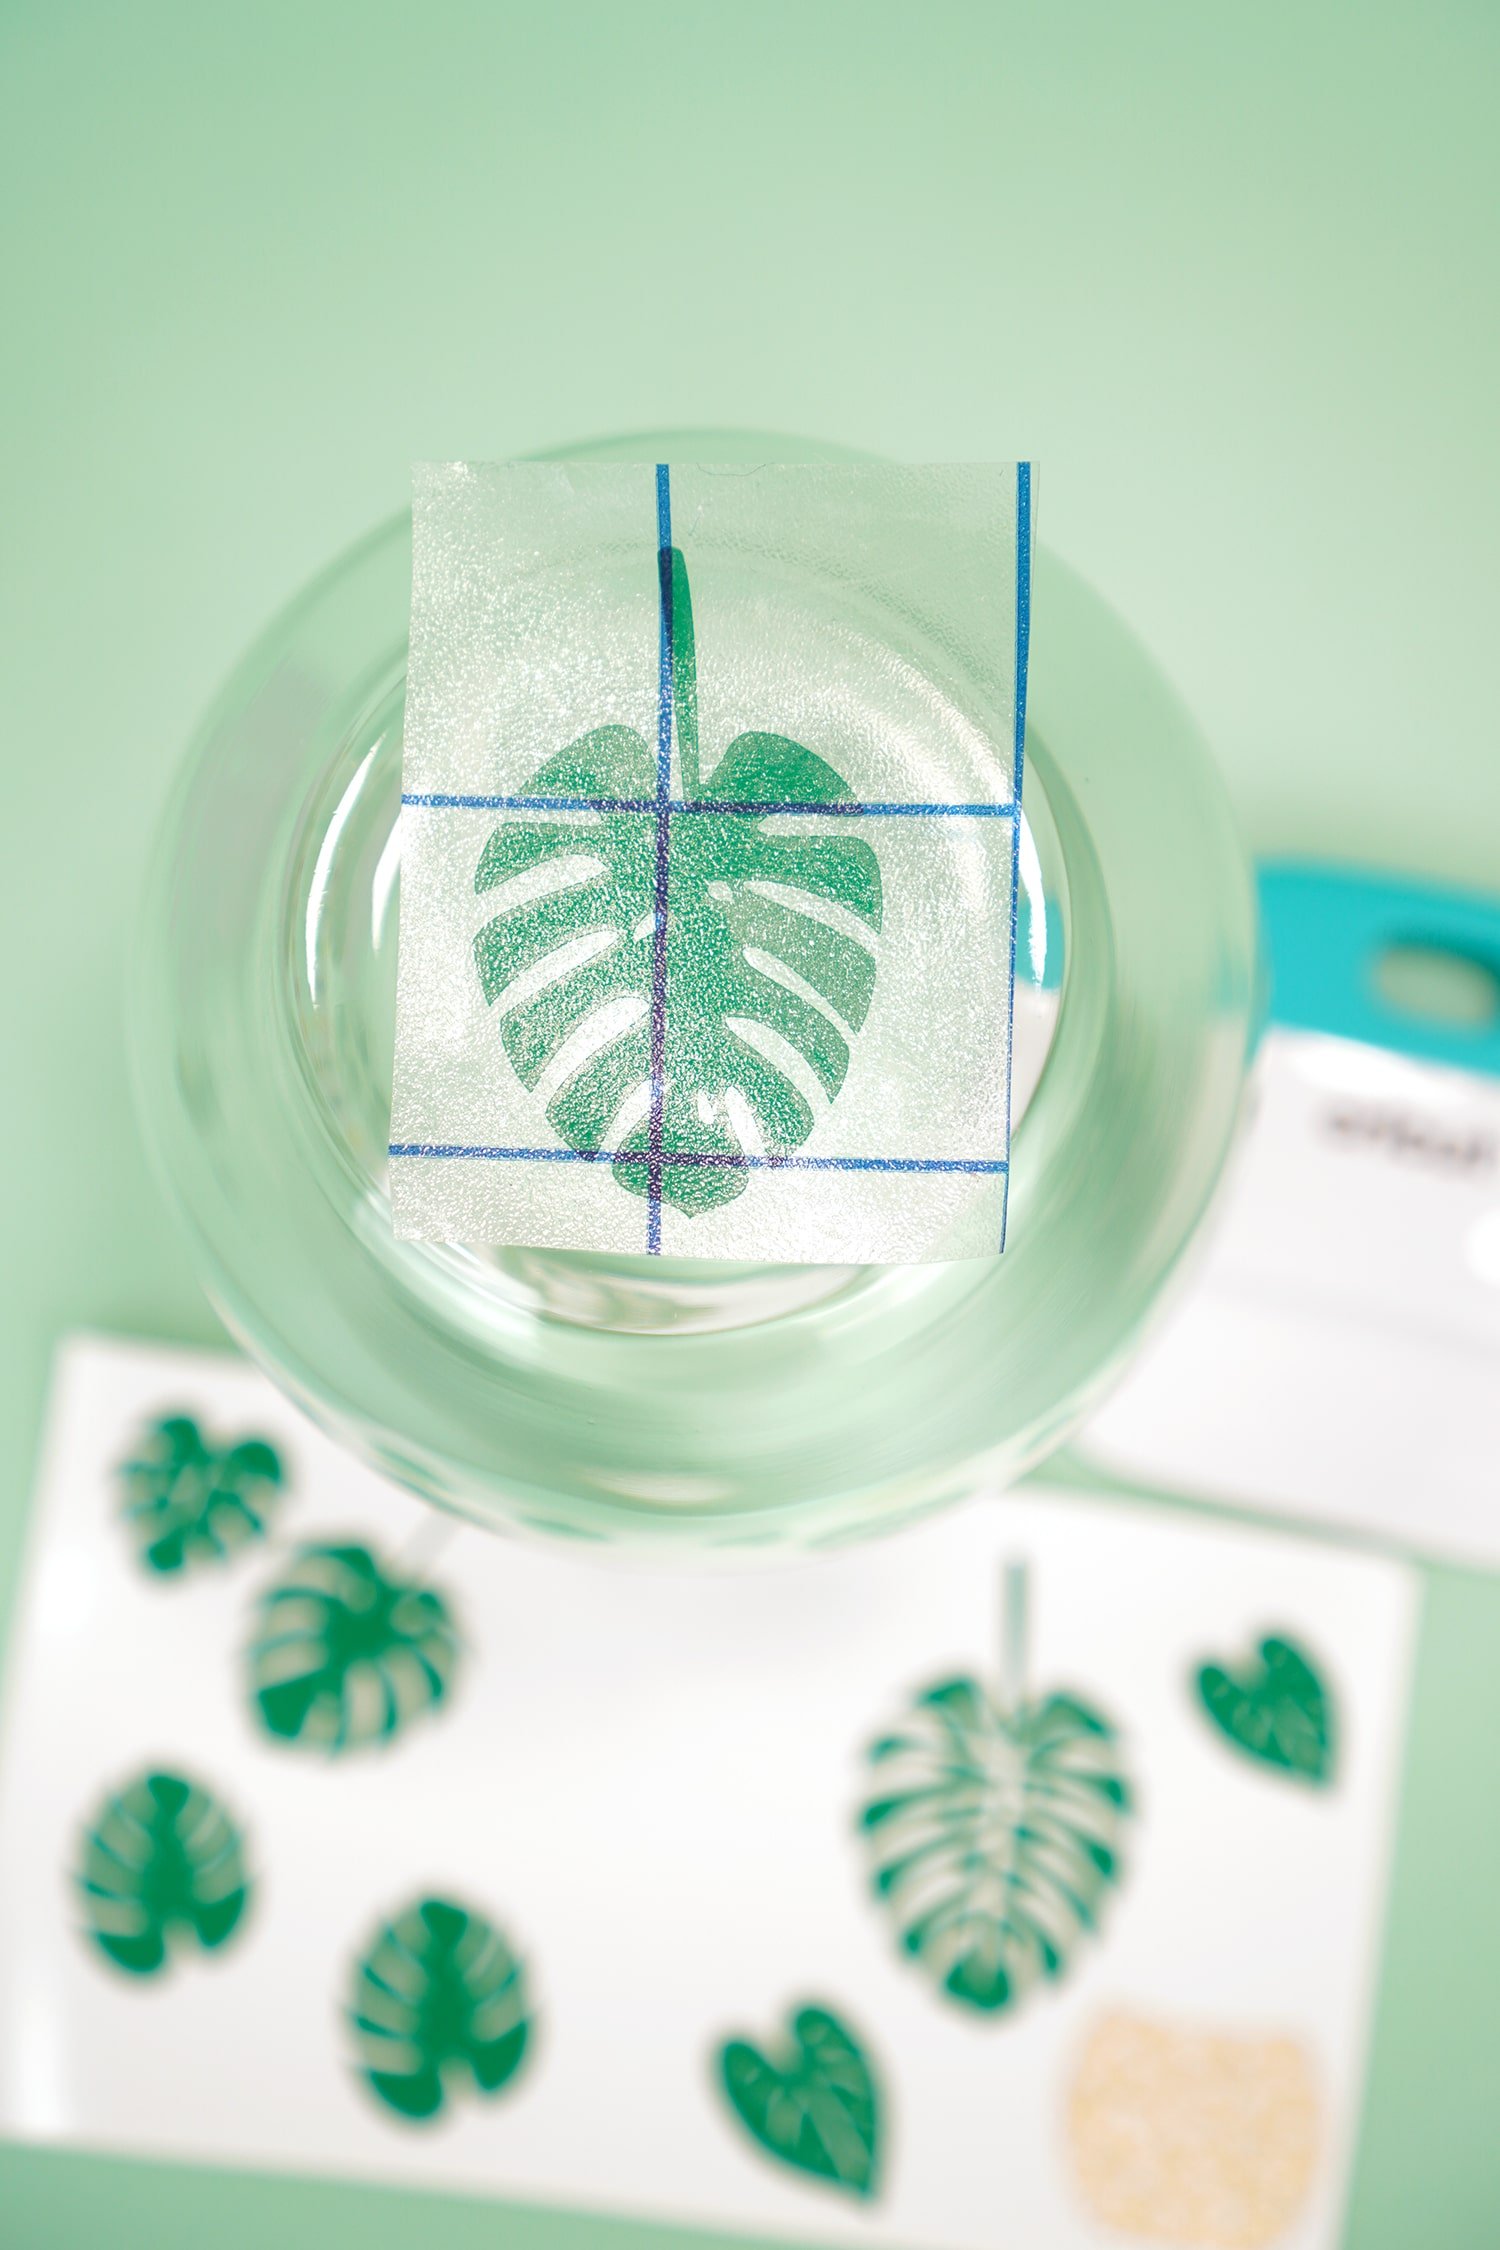
Flip the wine glass over and place the leaf on the bottom of the glass.
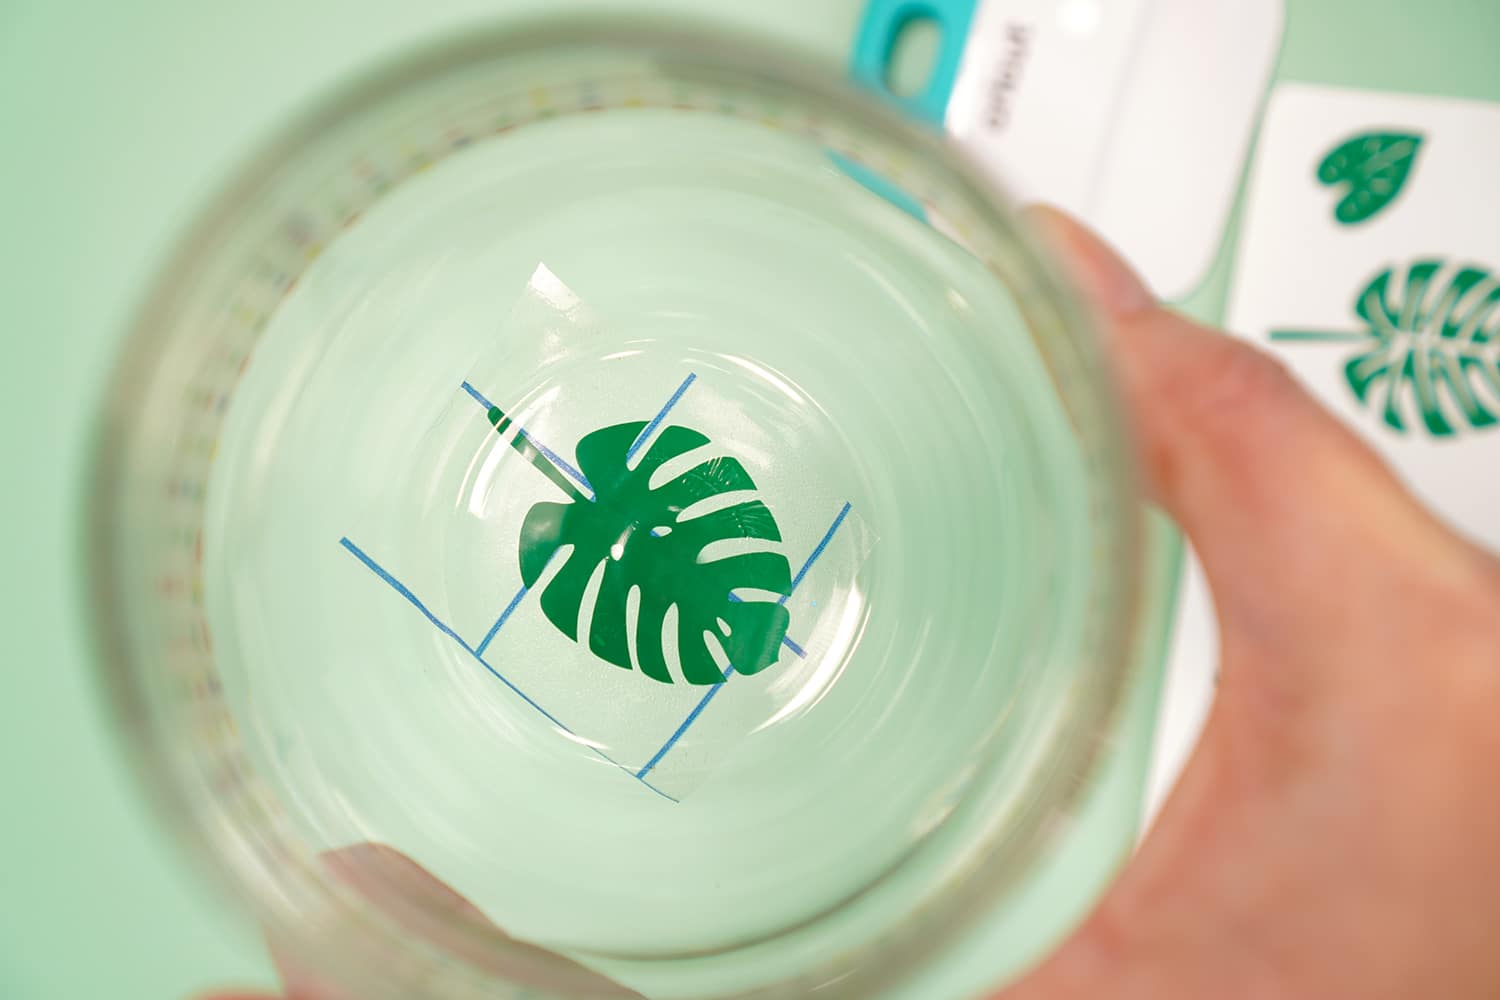
Flip the glass over and check the placement before burnishing the design and removing the transfer tape.
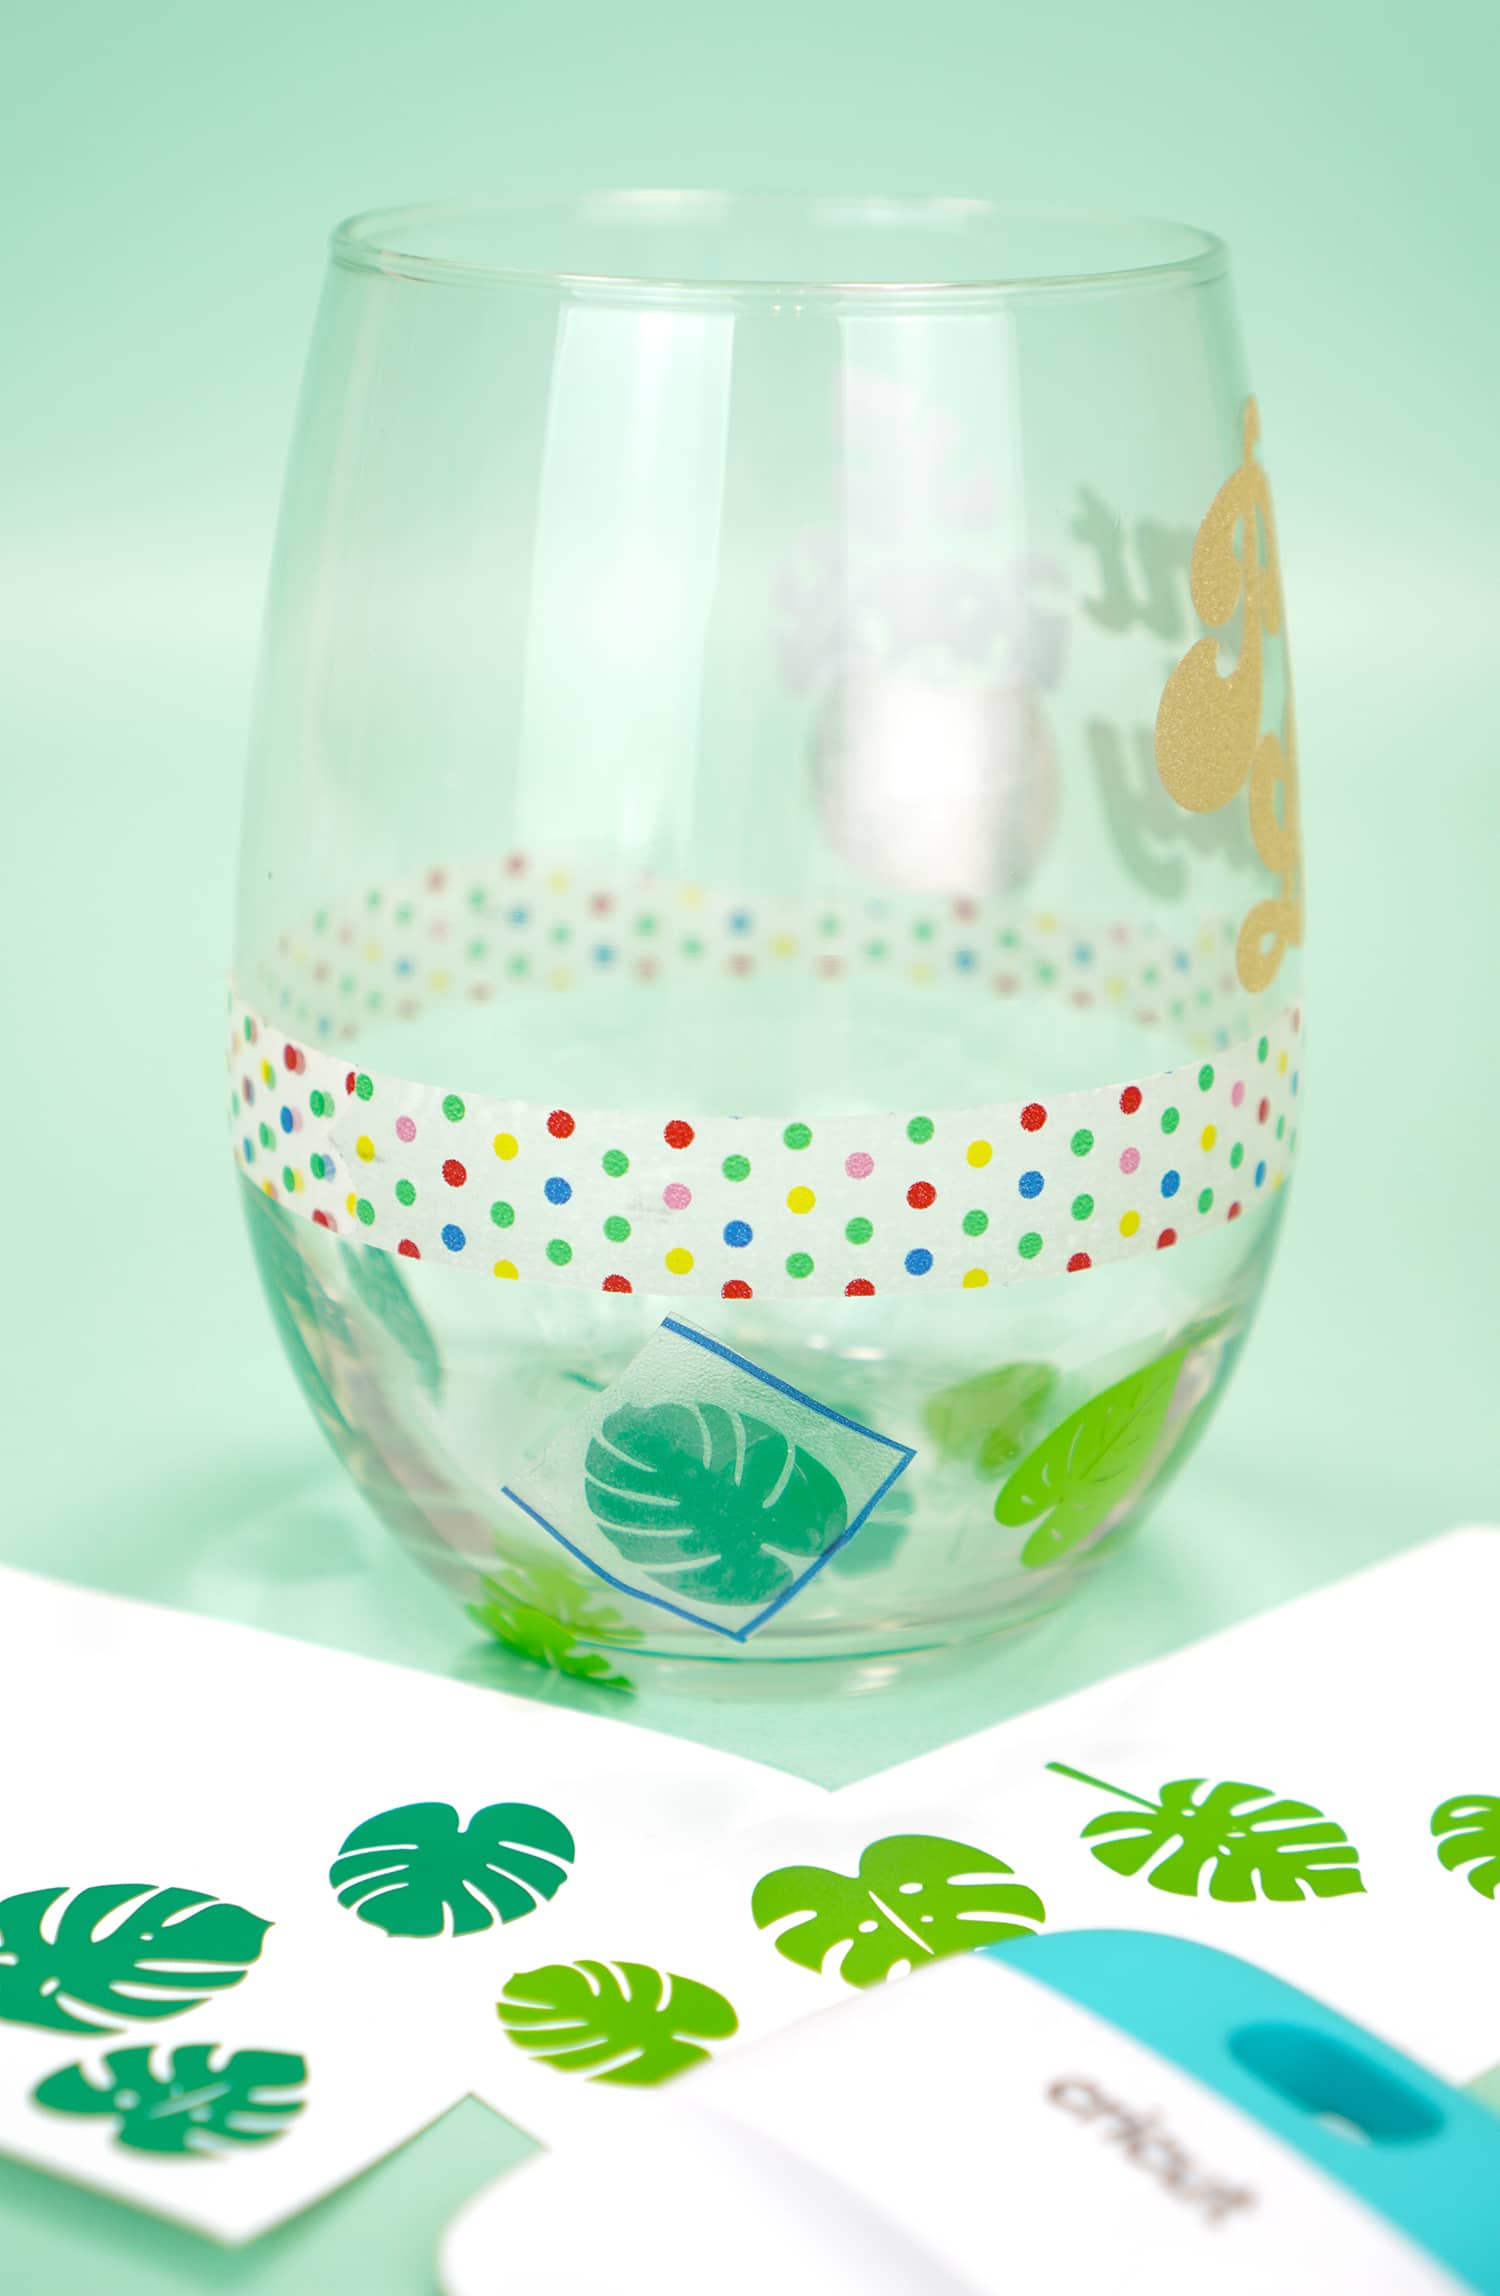
Repeat with all of the additional leaves, placing them beneath the line of the washi tape.
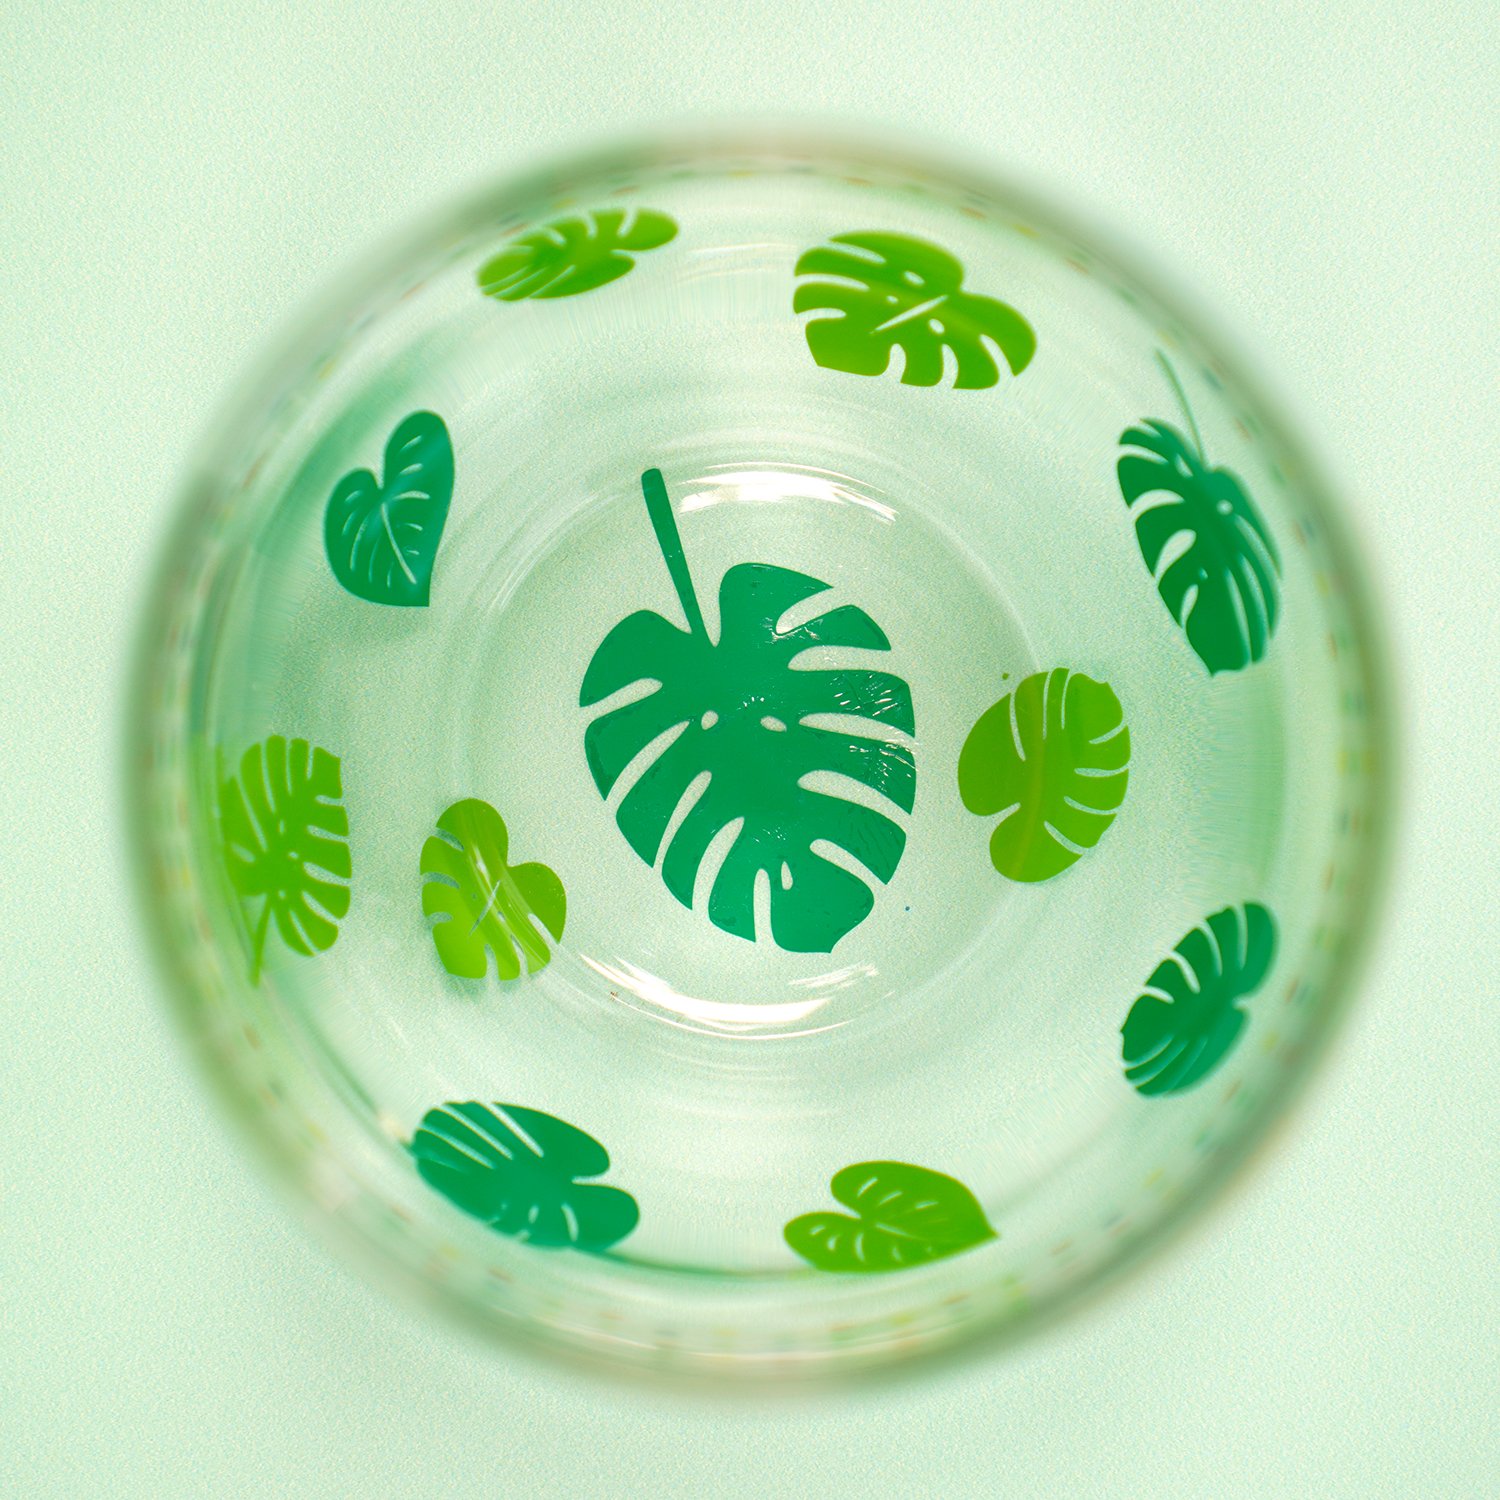
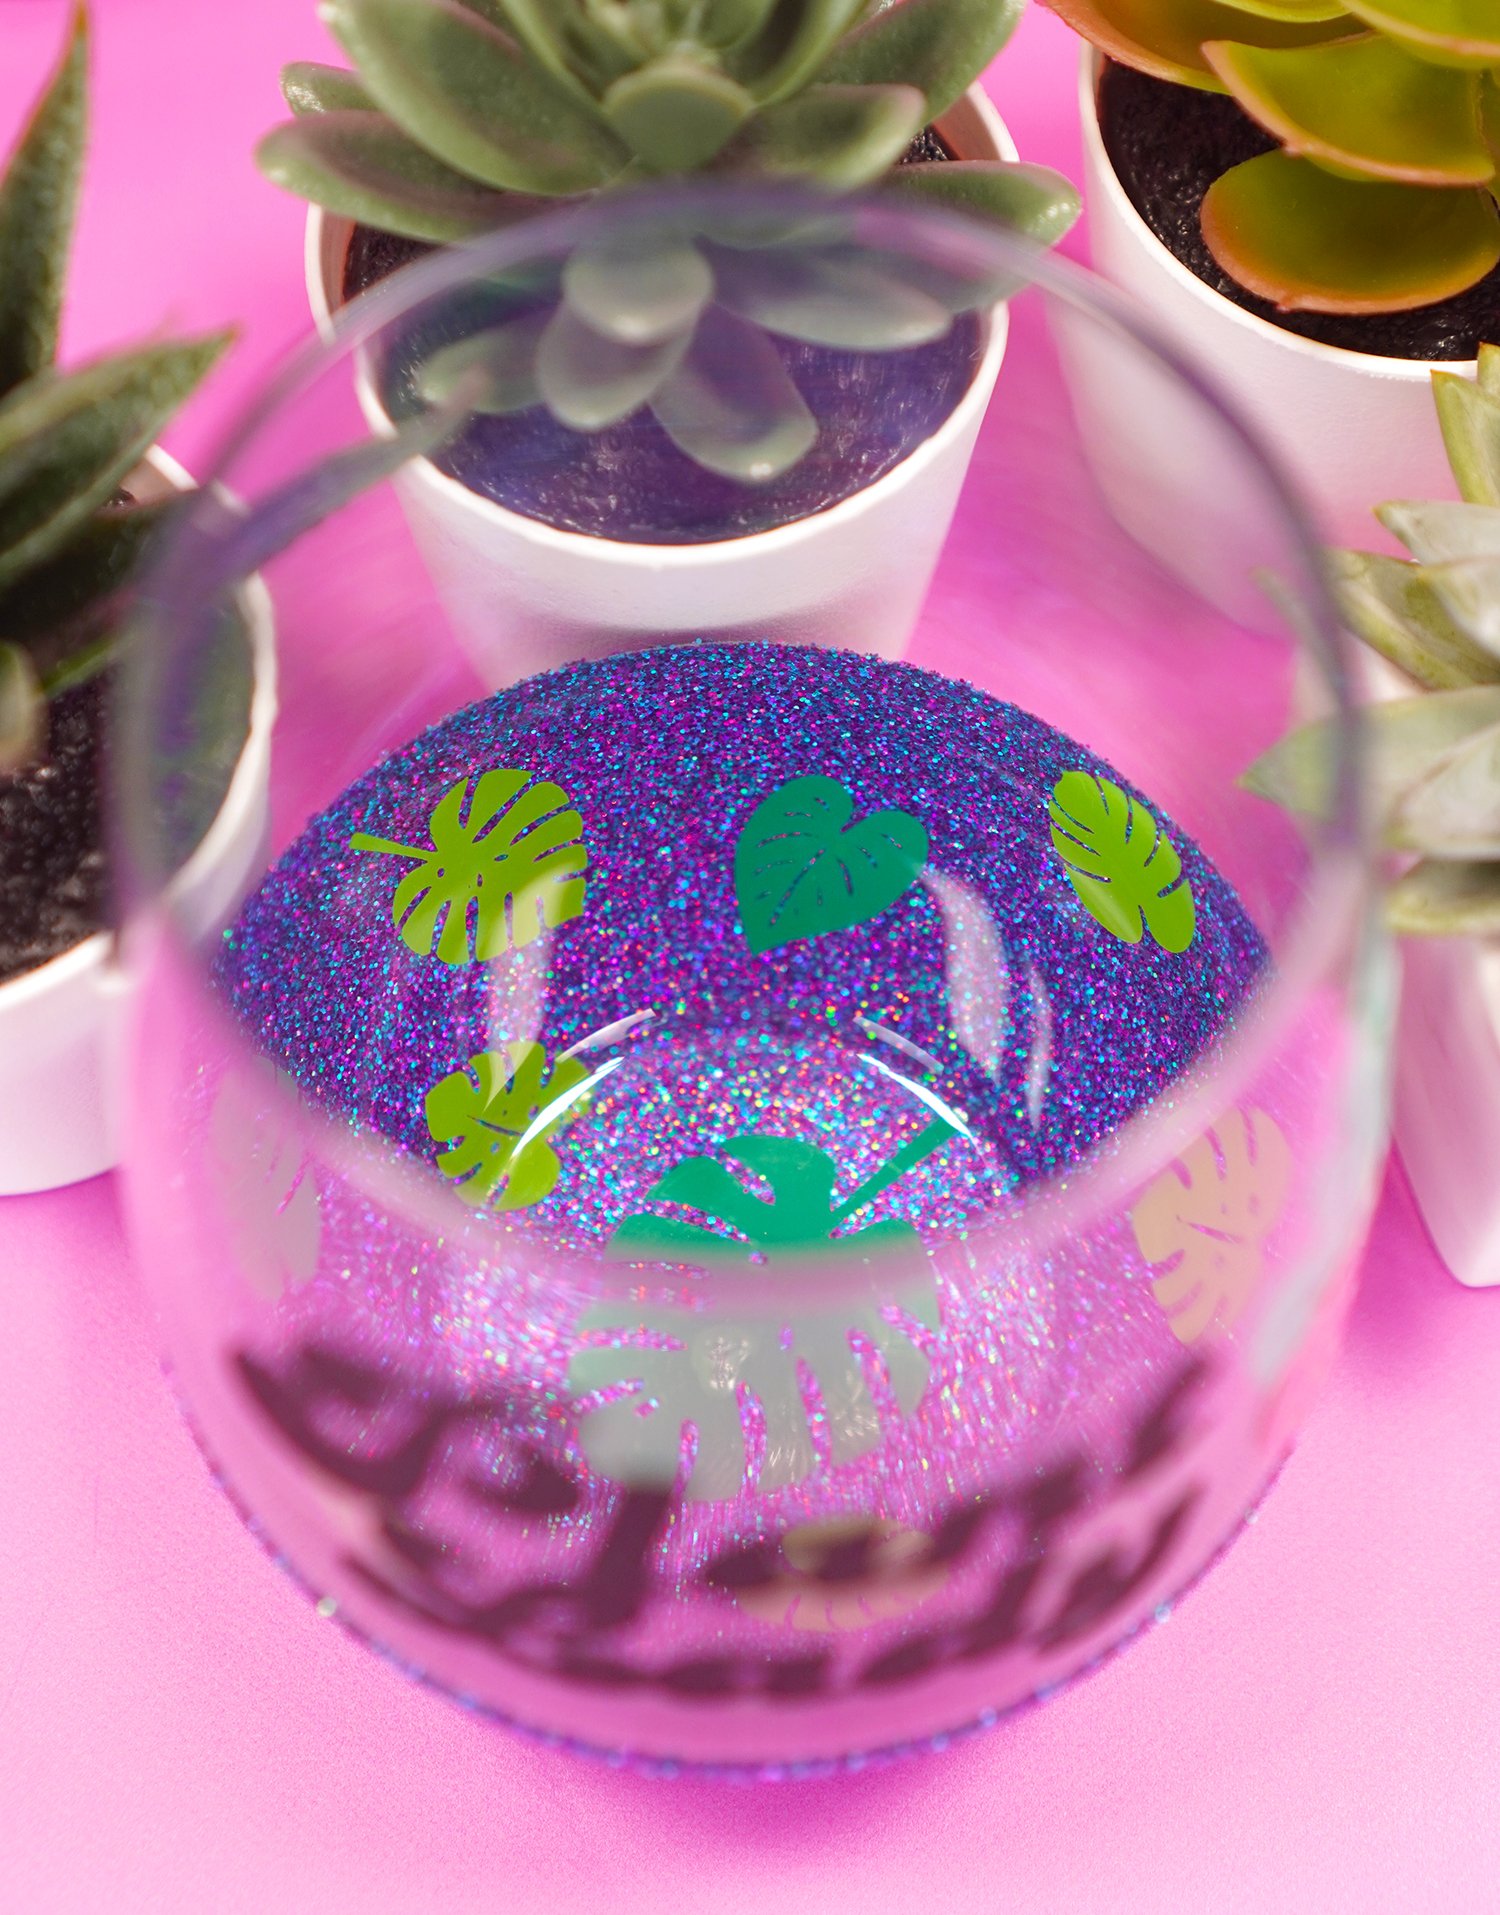
Isn’t that fun? This is the peekaboo surprise that will be waiting at the bottom of the wine glass!
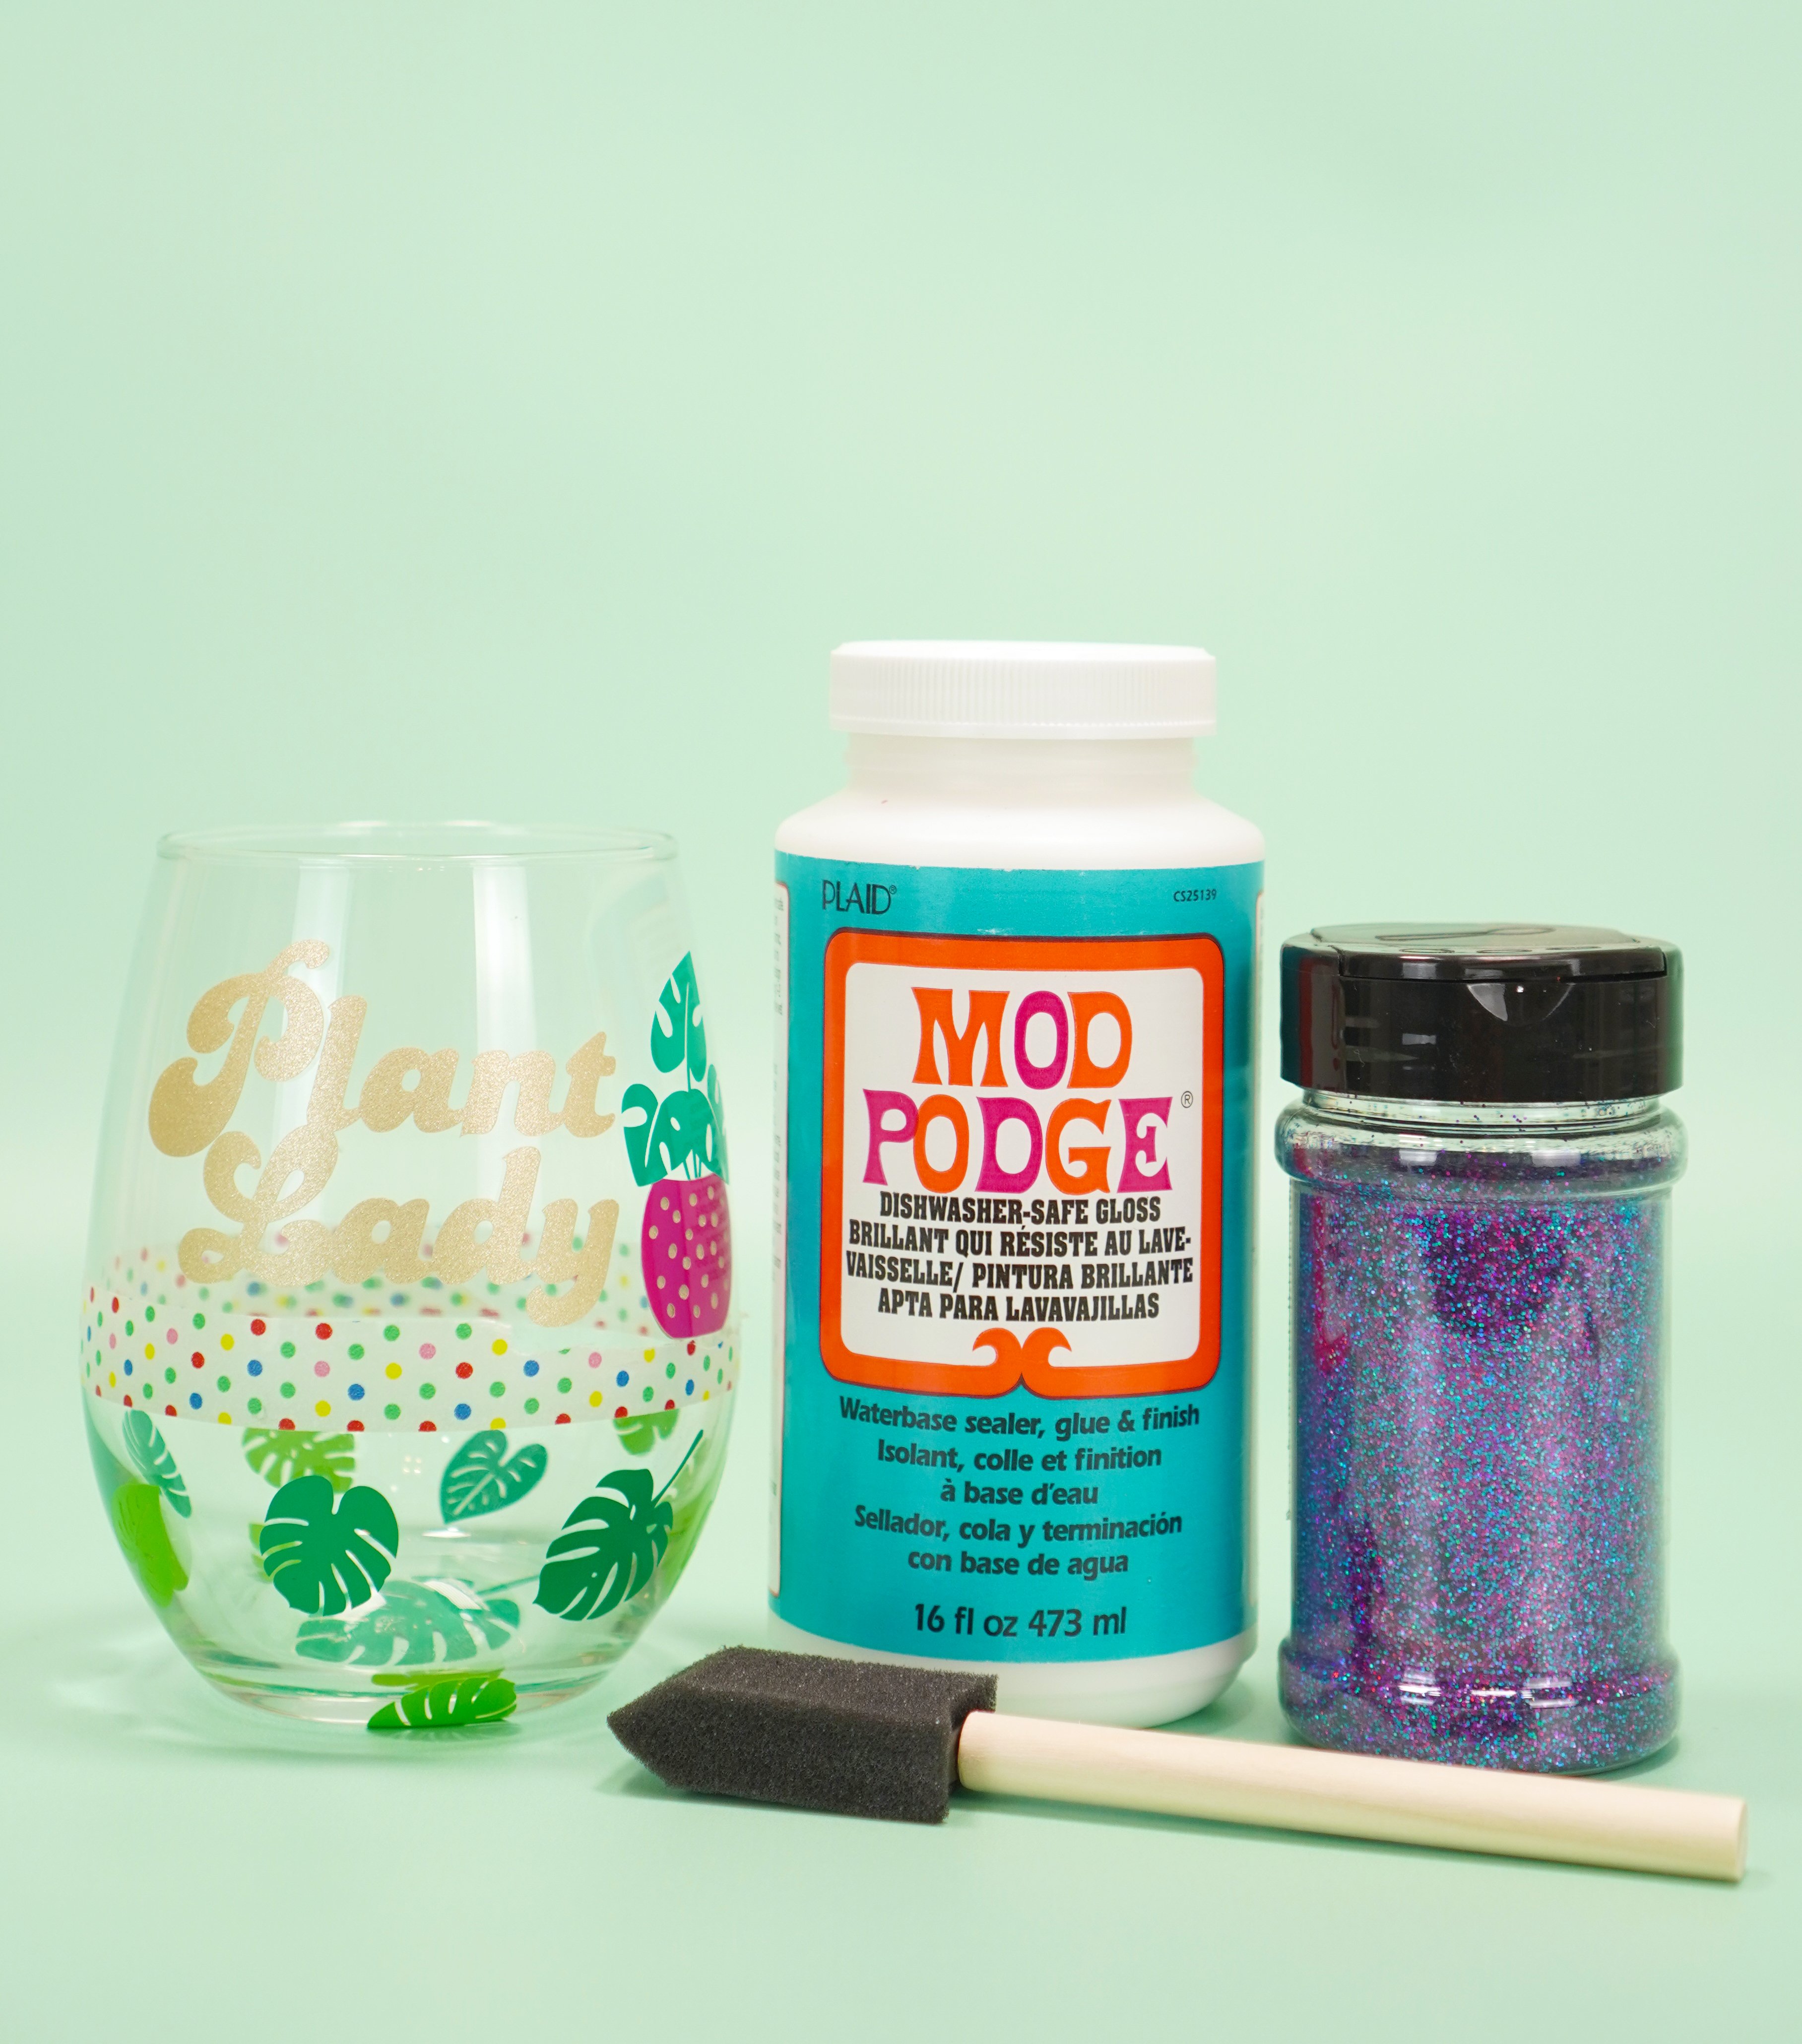
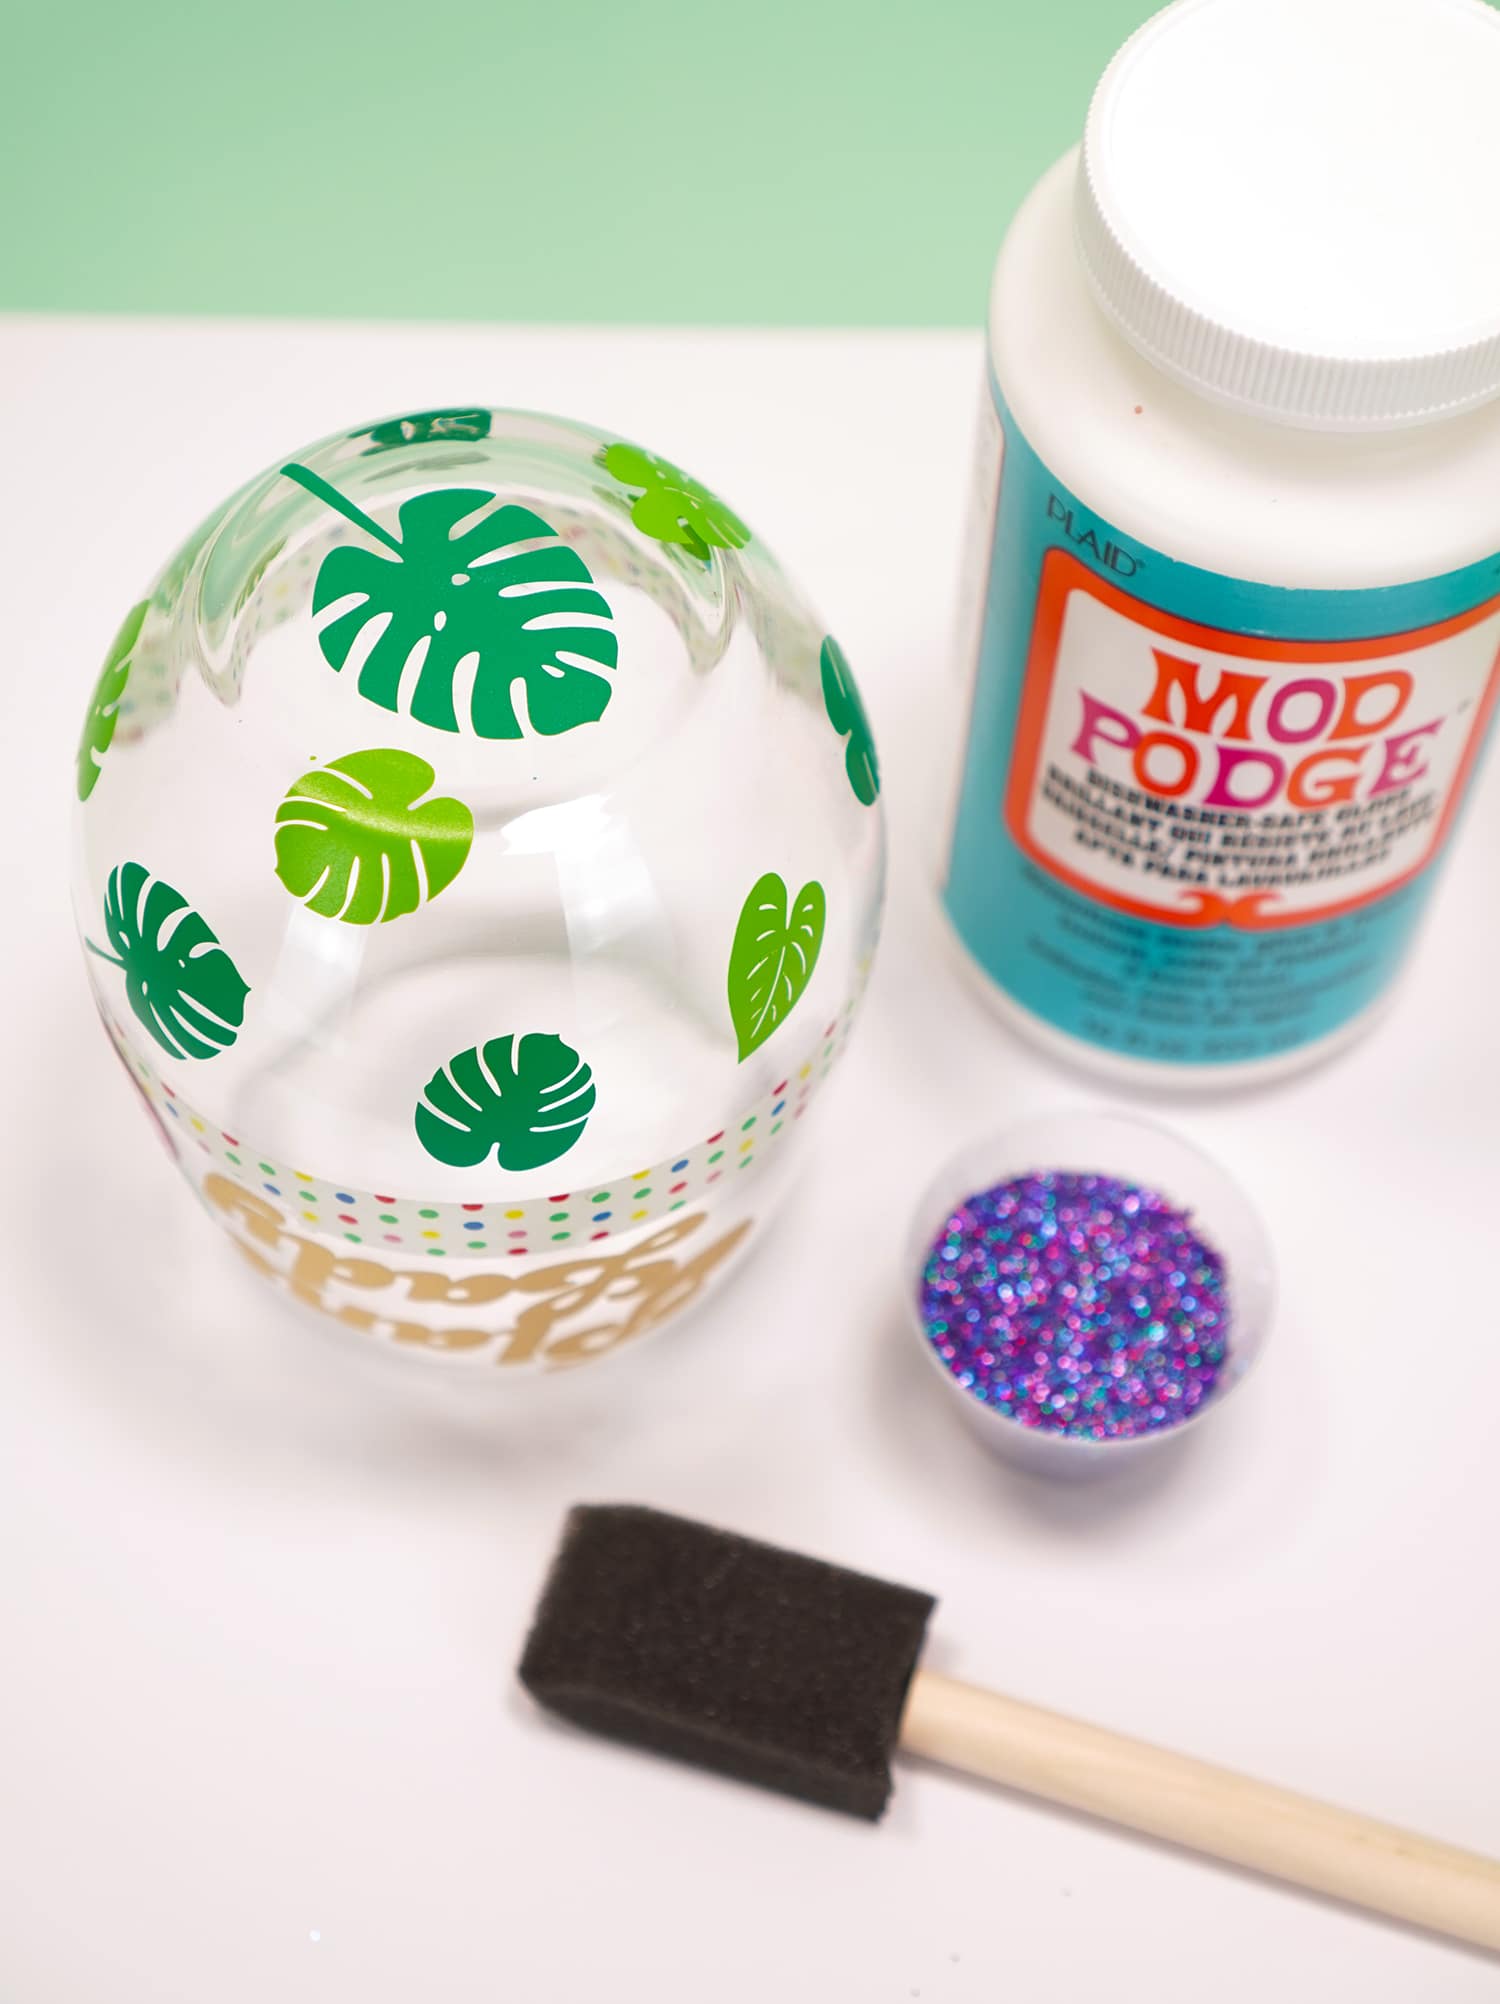
Next, gather your glittering supplies: Dishwasher-Safe Mod Podge, a foam brush, and your favorite glitter. We recommend using a fine or ultra-fine glitter for this project.
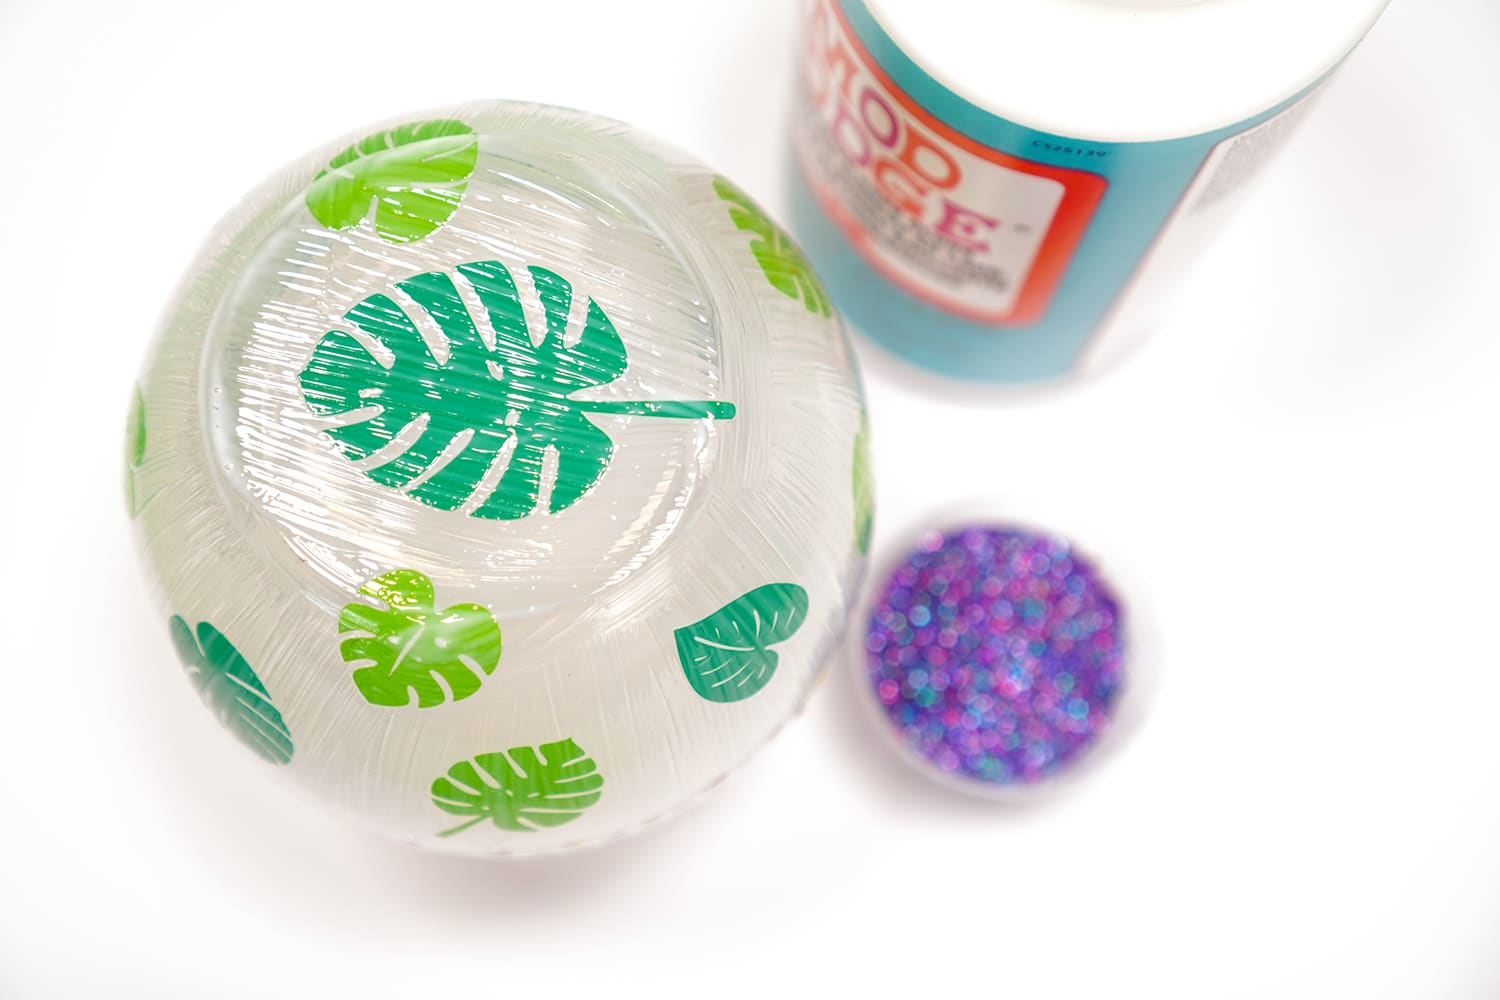
Turn the glass over and paint a layer of Mod Podge on the bottom up to the tape line.
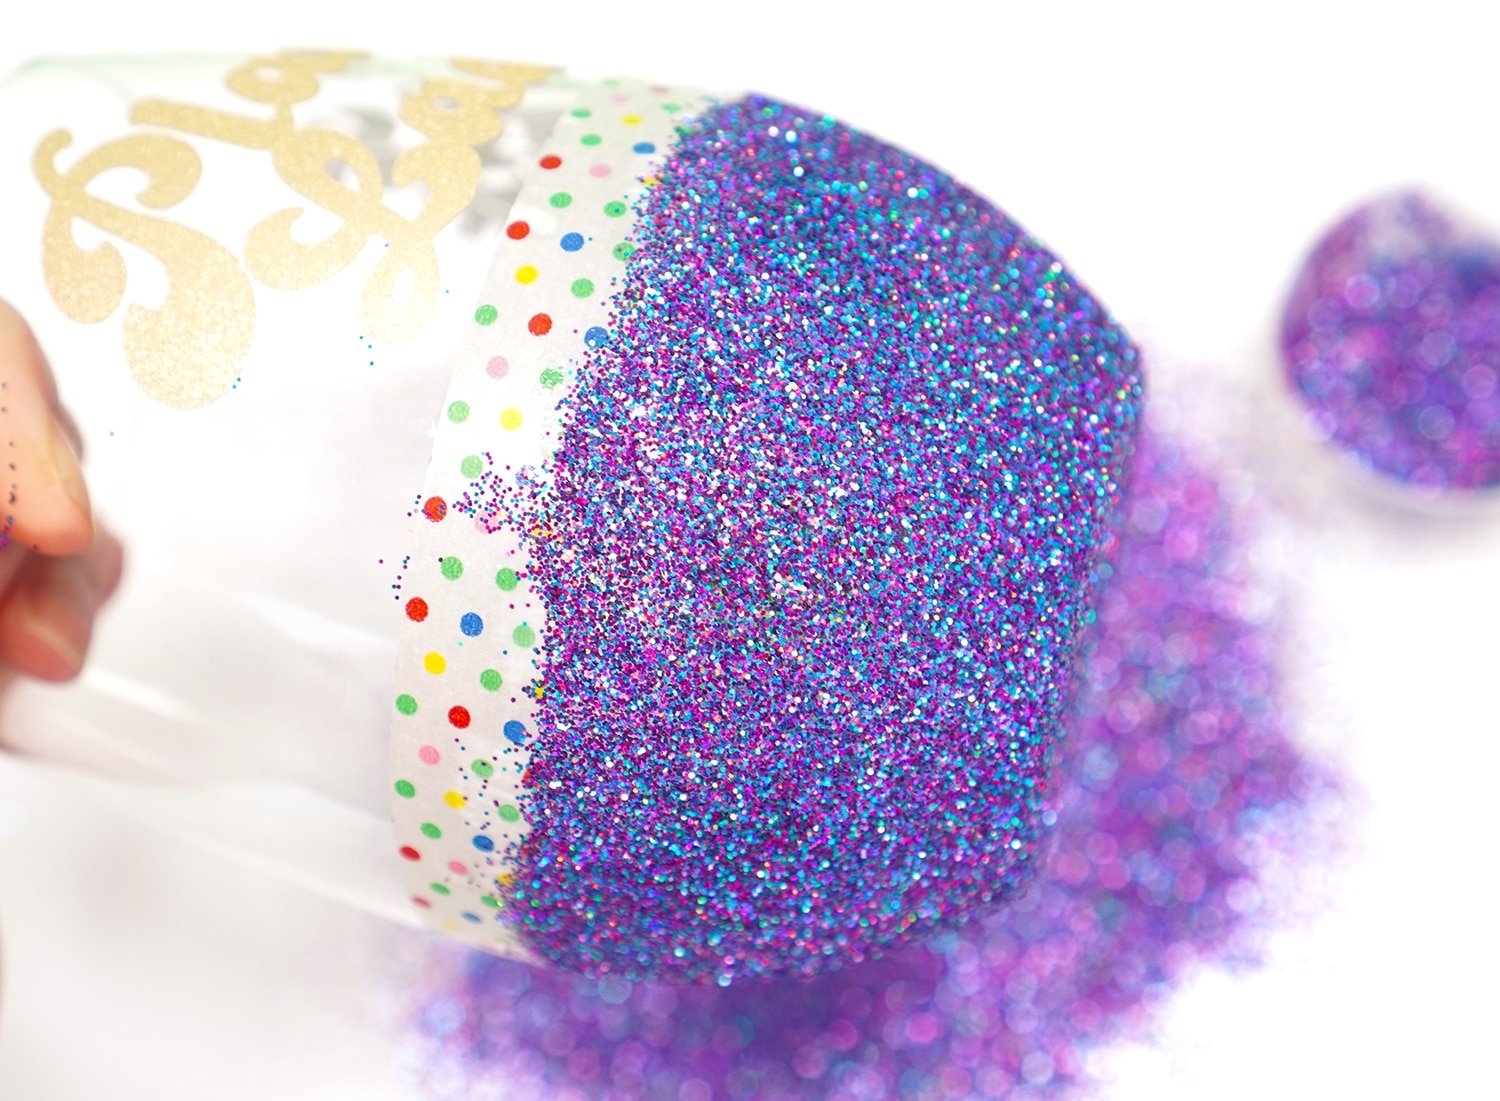
Generously sprinkle the glitter on to the bottom of the glass, and gently tap off the excess. Allow to dry and repeat the glittering process if necessary (some decals will need 2 coats of glitter to completely cover).
When the last coat of glitter is dry, paint a final coat of Mod Podge over the glitter to seal everything. Carefully peel off the washi tape while the finish coat is still wet for crisp clean lines!
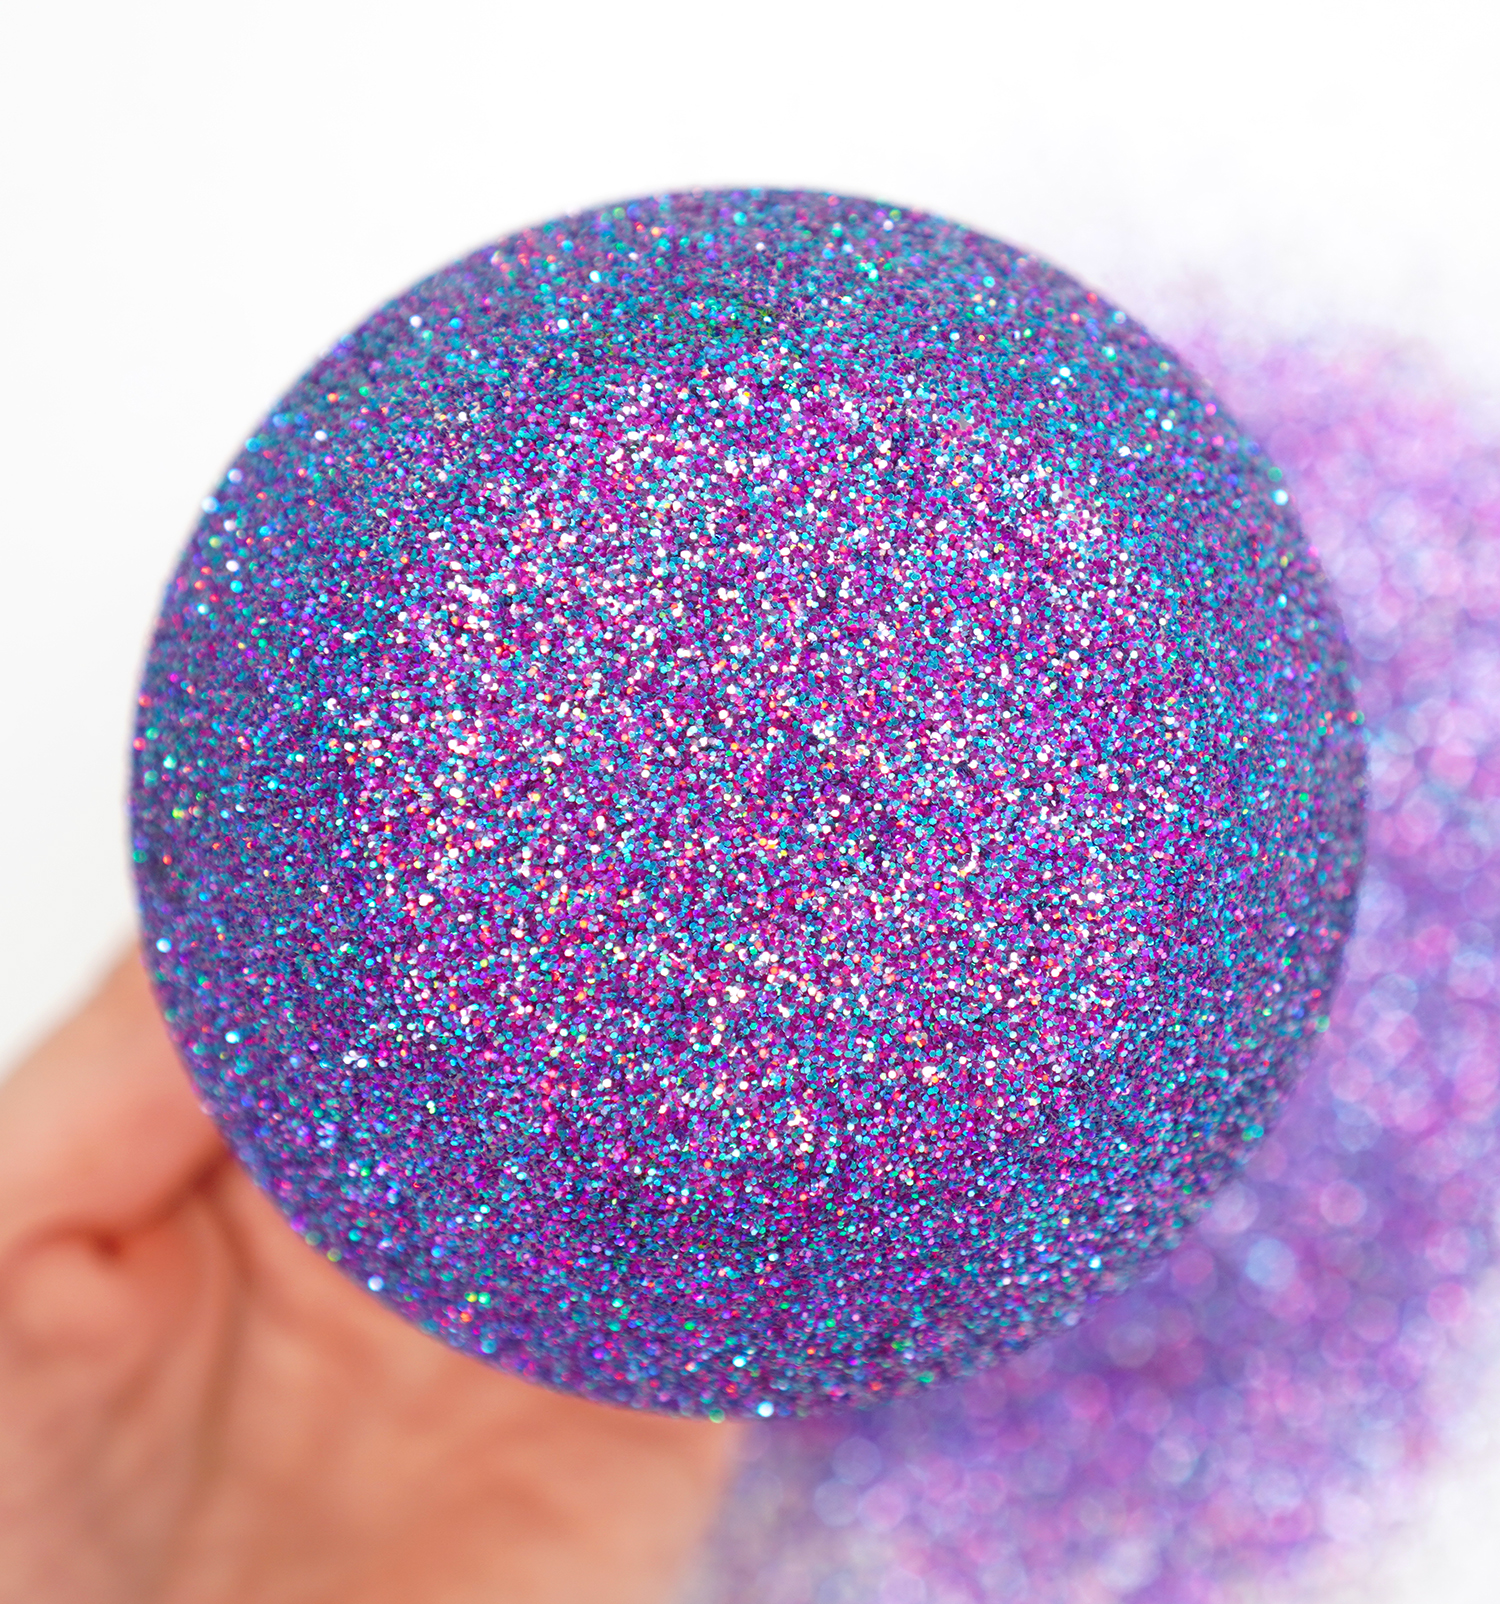
This incredible glitter is Luna’s Trapper Keeper from A Little Muggle Magic, and it is even more AH-mazing in person! It reads as purple, but it’s actually made up of various shades of fuchsia, teal, turquoise, and violet super sparkly holographic glitter. It’s SOOOO awesome! 😍😍😍
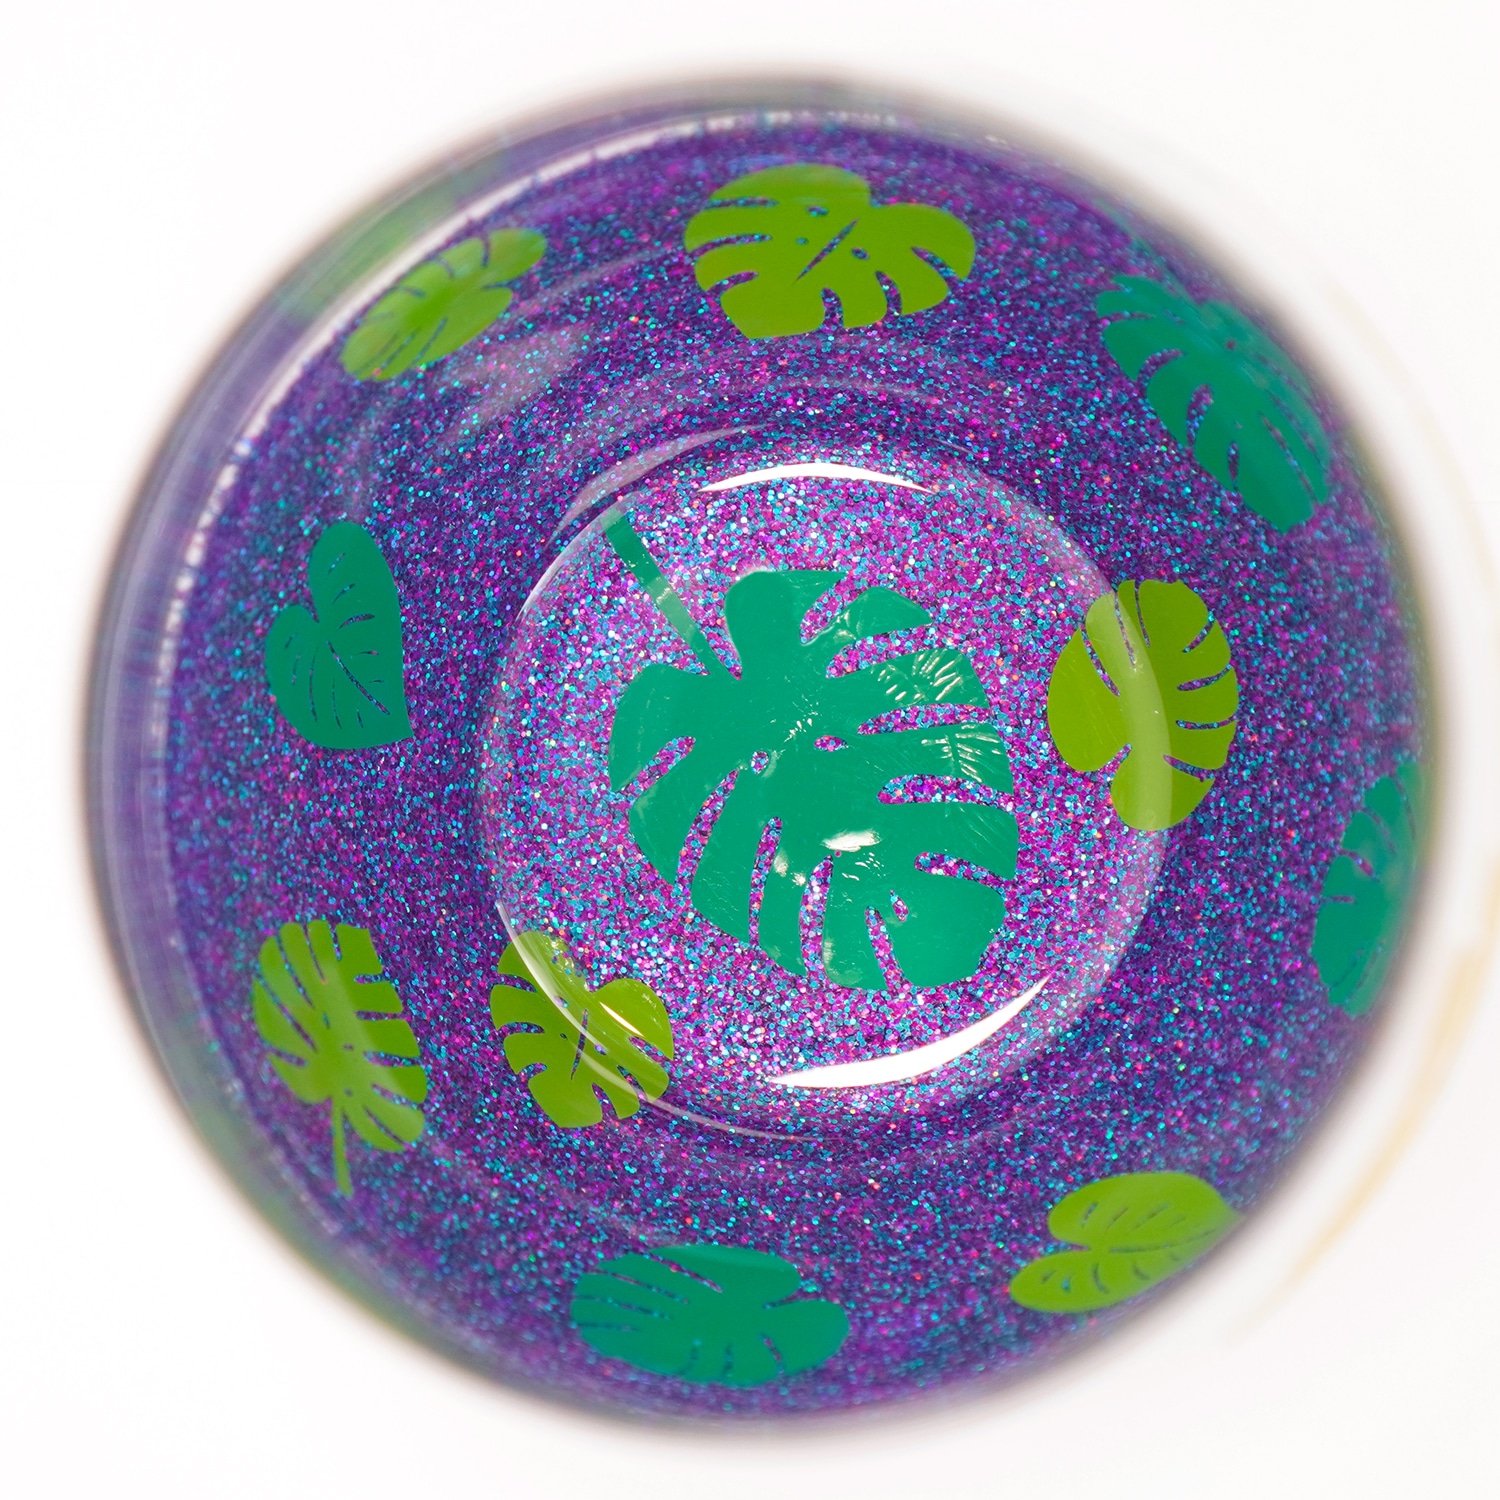
And it looks super cool when you pair it with the peekaboo leaves inside the wine glass!
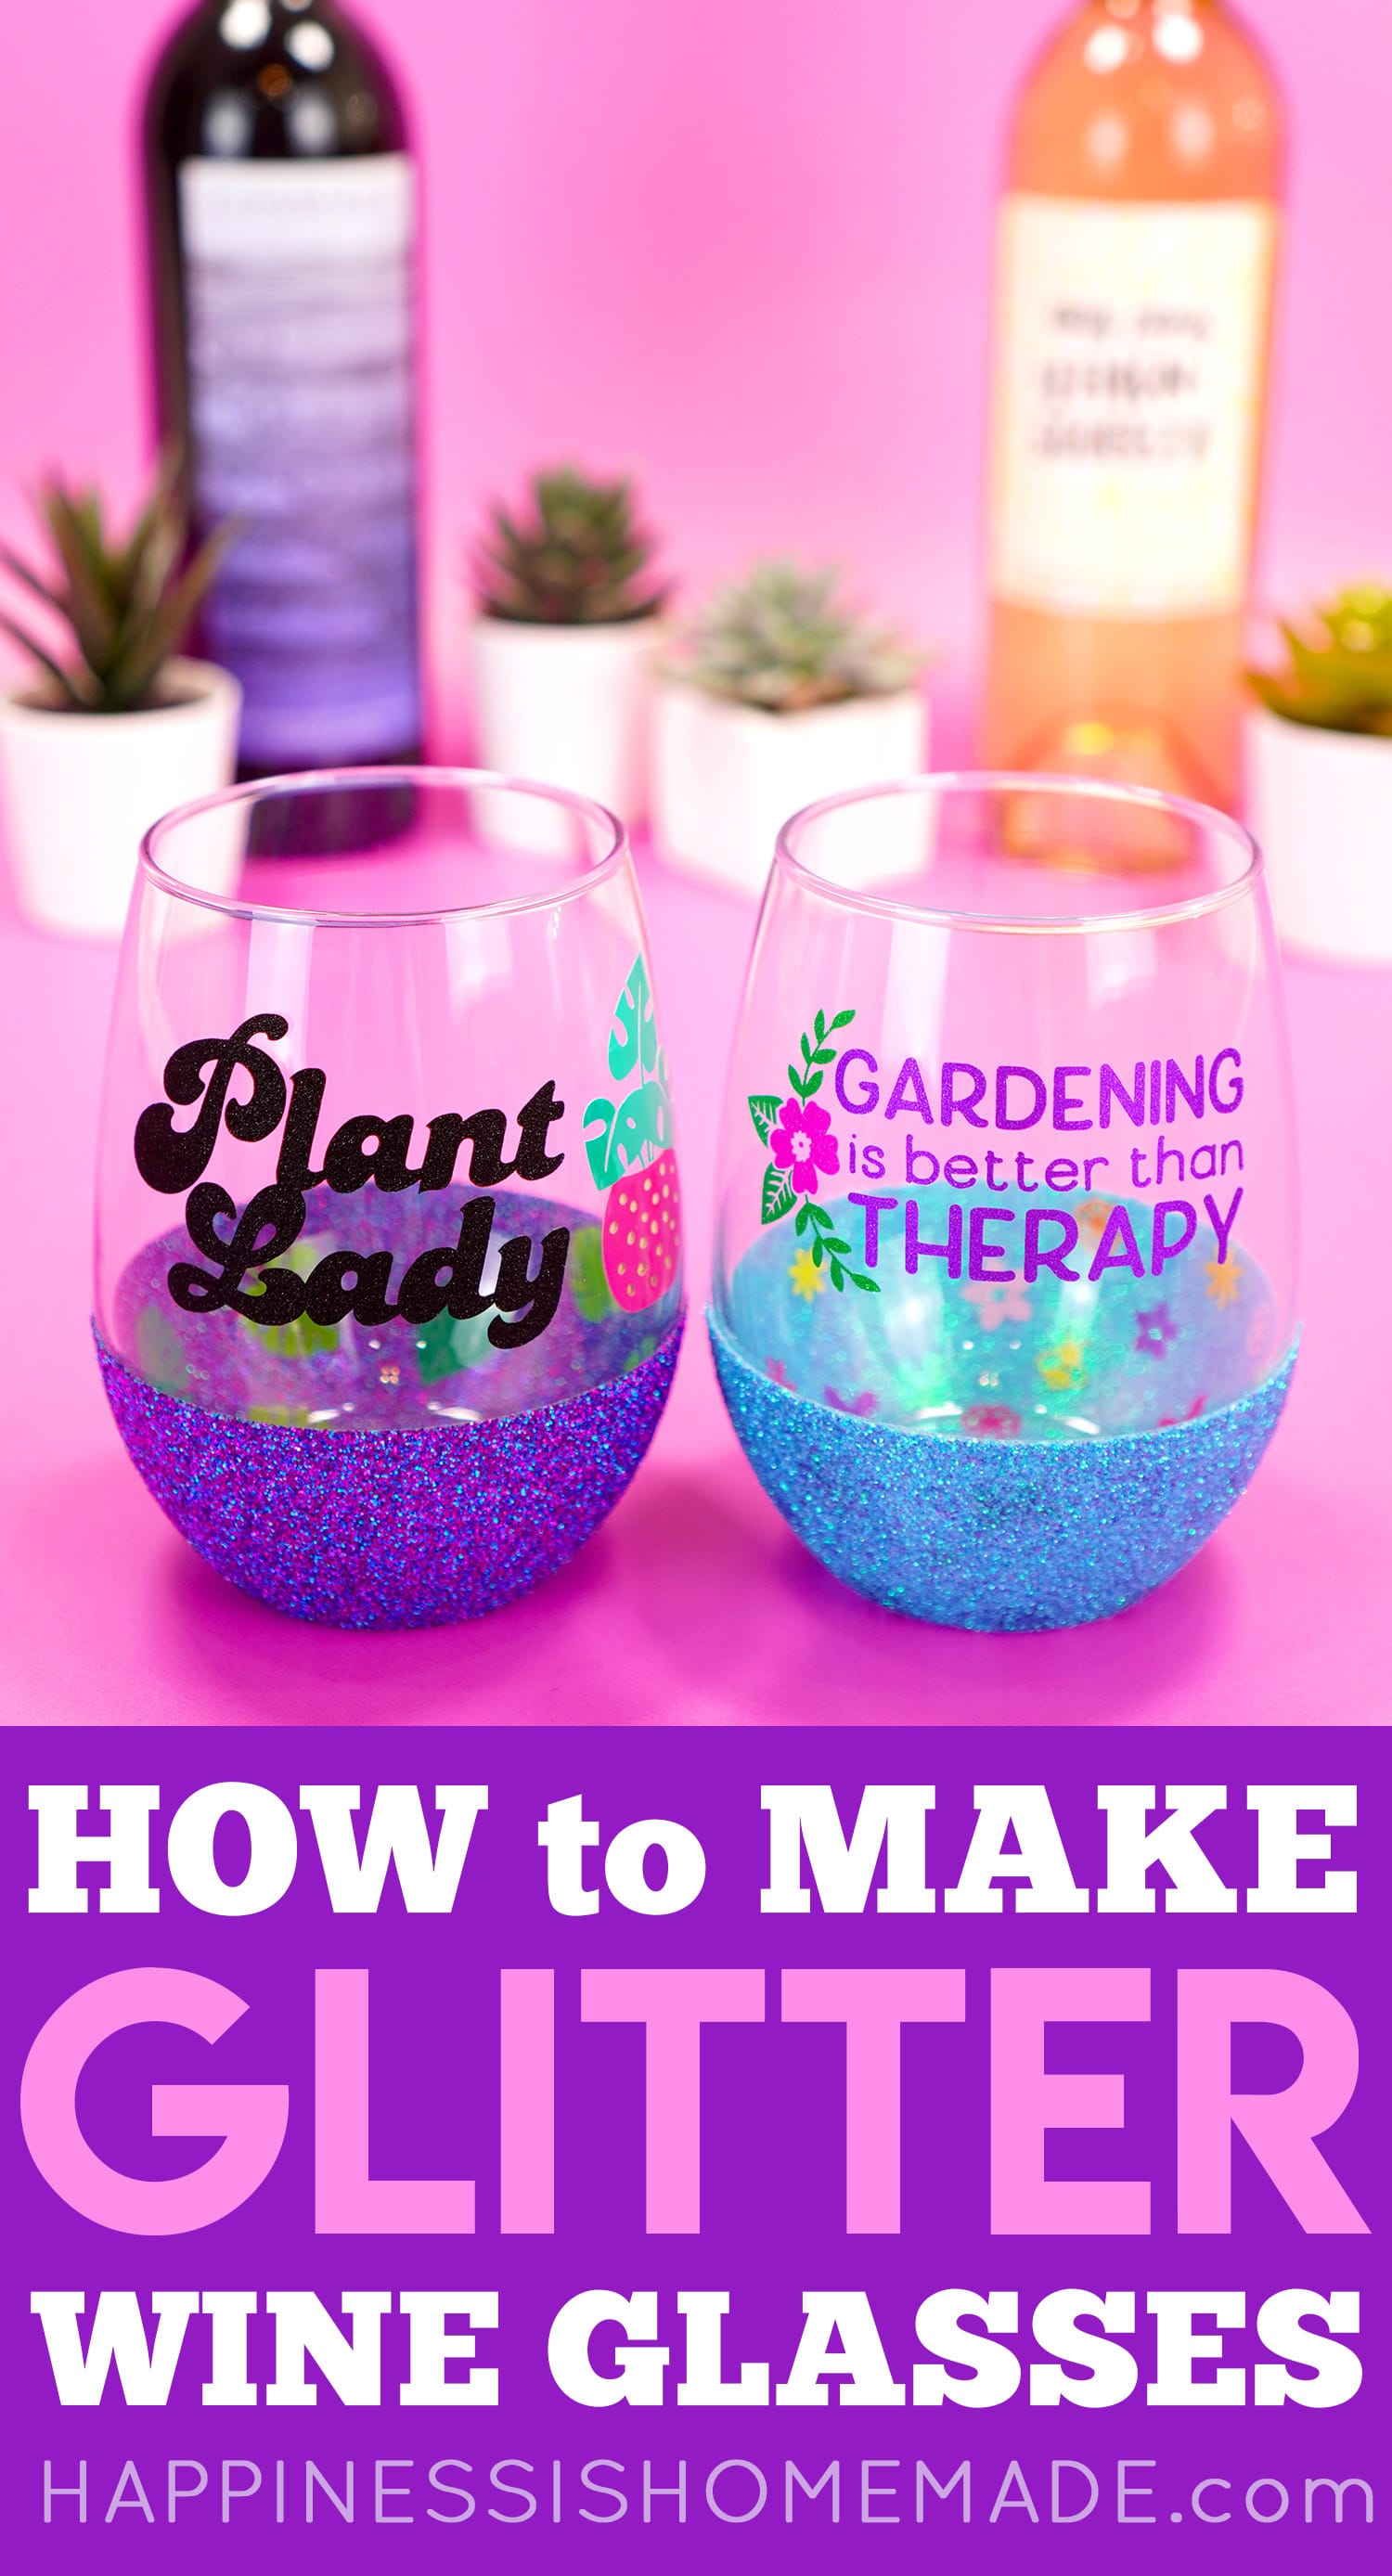
SO fun, right?! I love this glitter wine glass, and I know that it is going to make a fantastic gift!
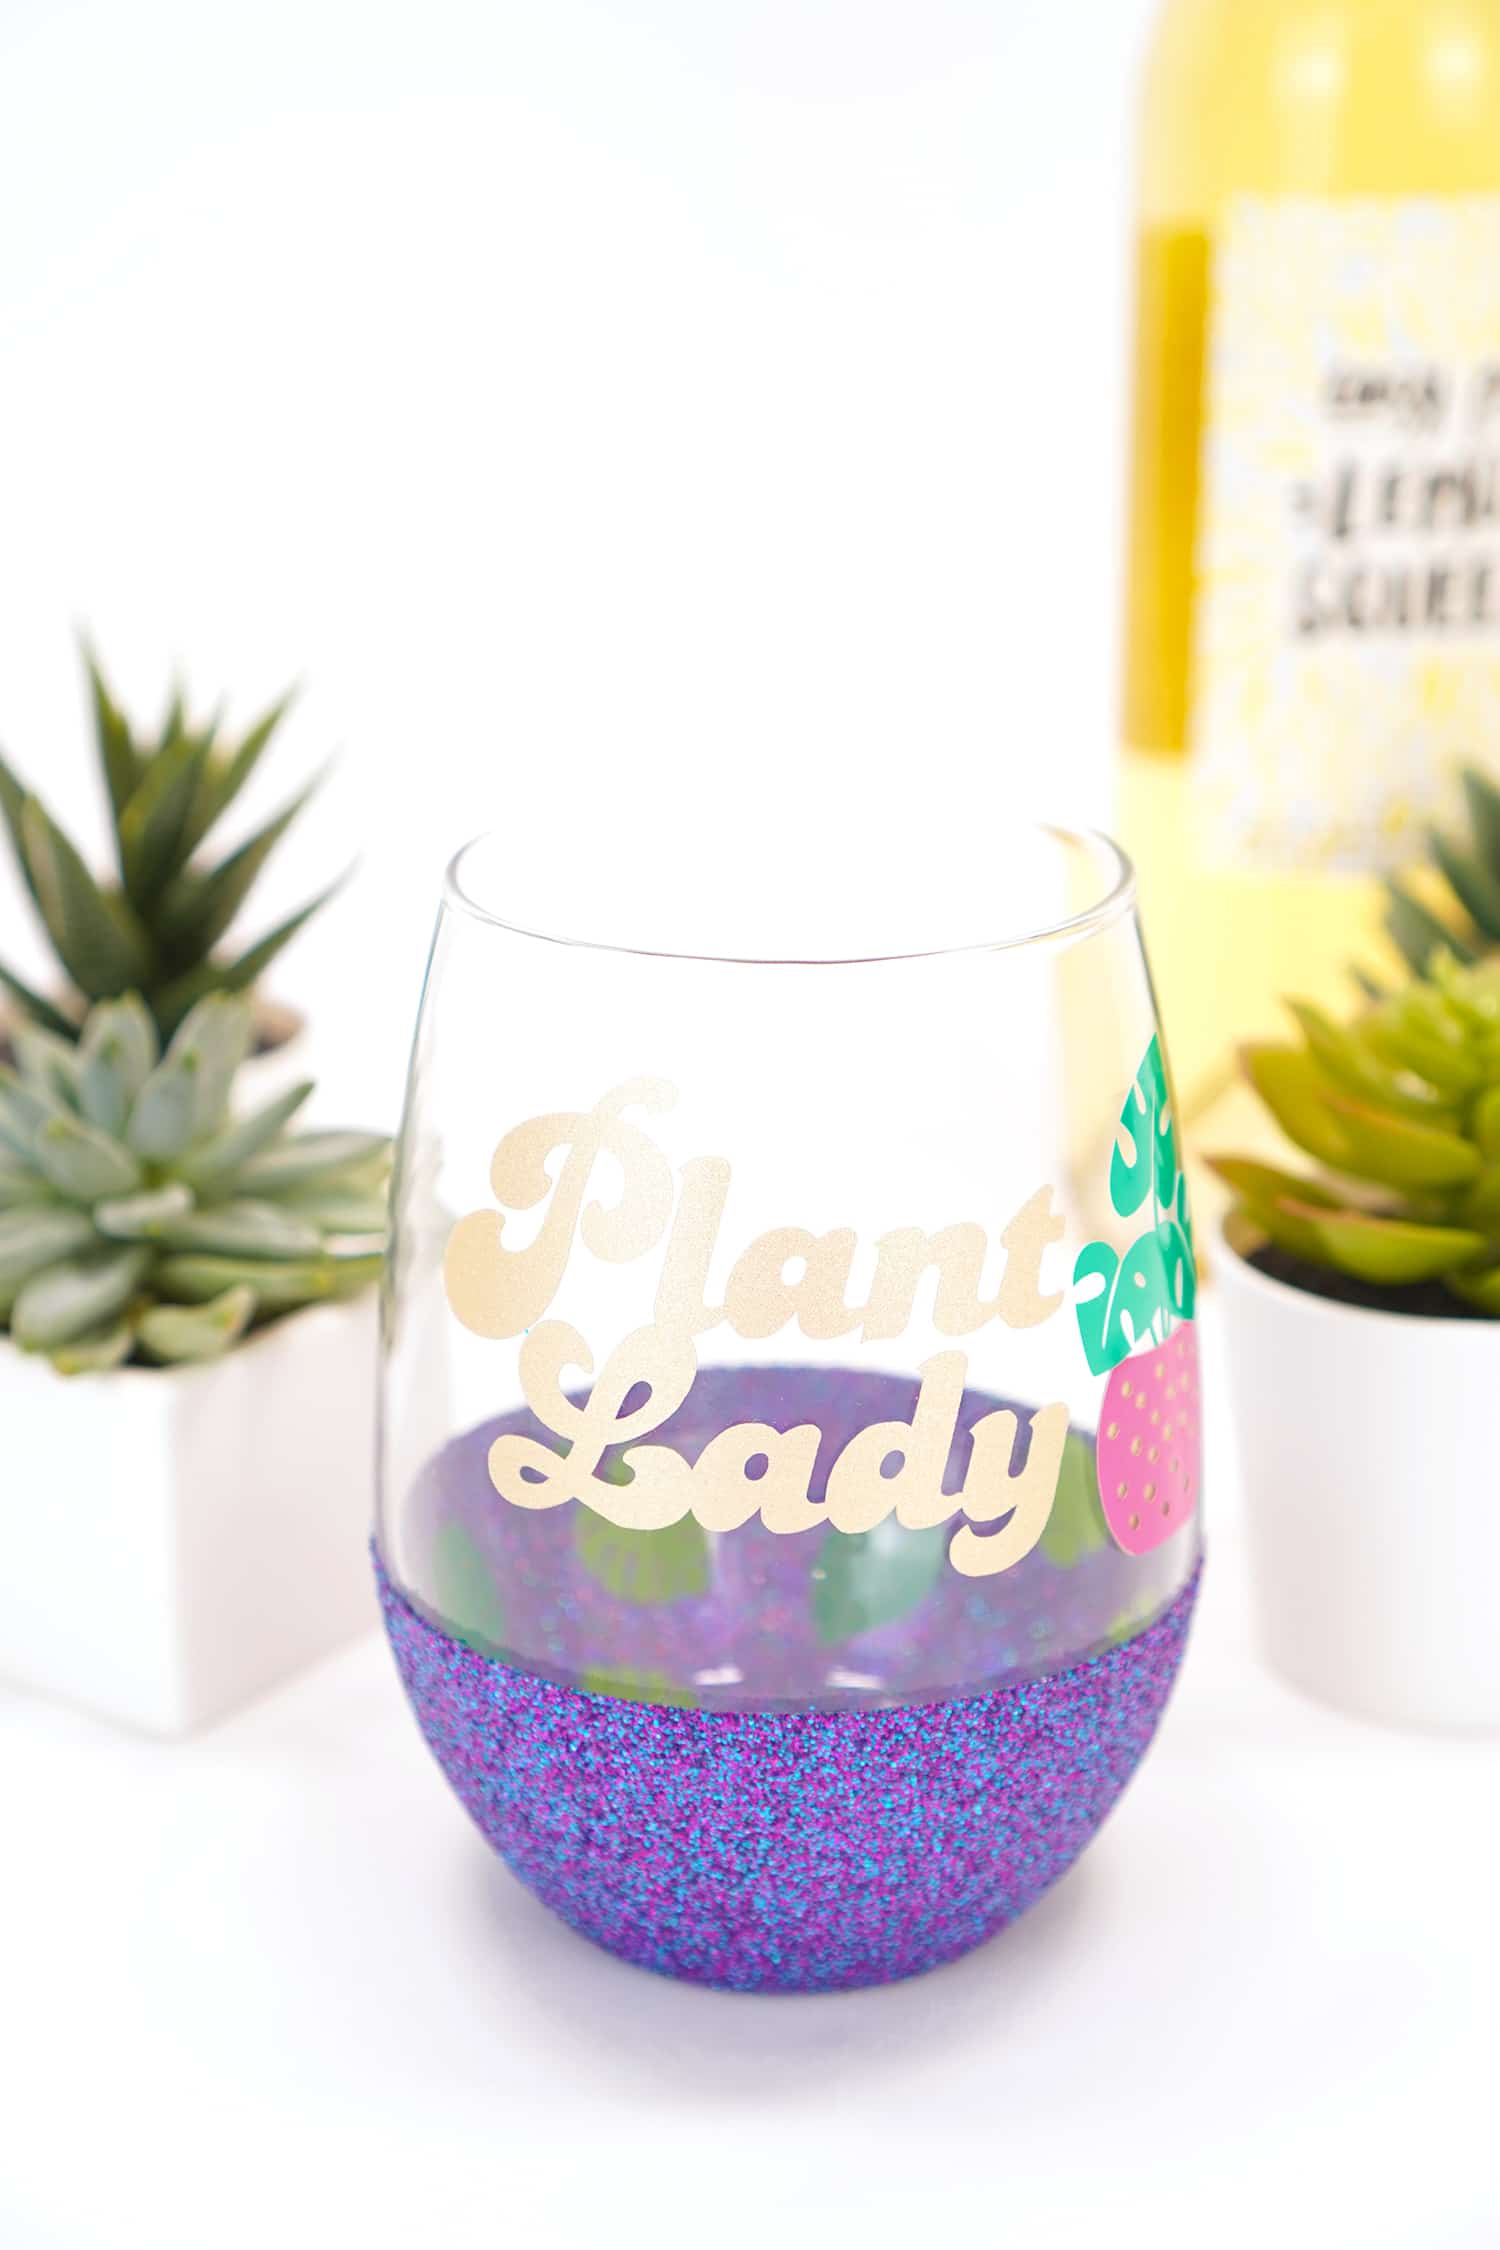
Side Note: So, at this point in my crafting, I realized that even though the Gold Shimmer Vinyl looked totally awesome in person (which you can see in the animated GIF above!), its awesomeness was getting lost in photos (Boooo!).
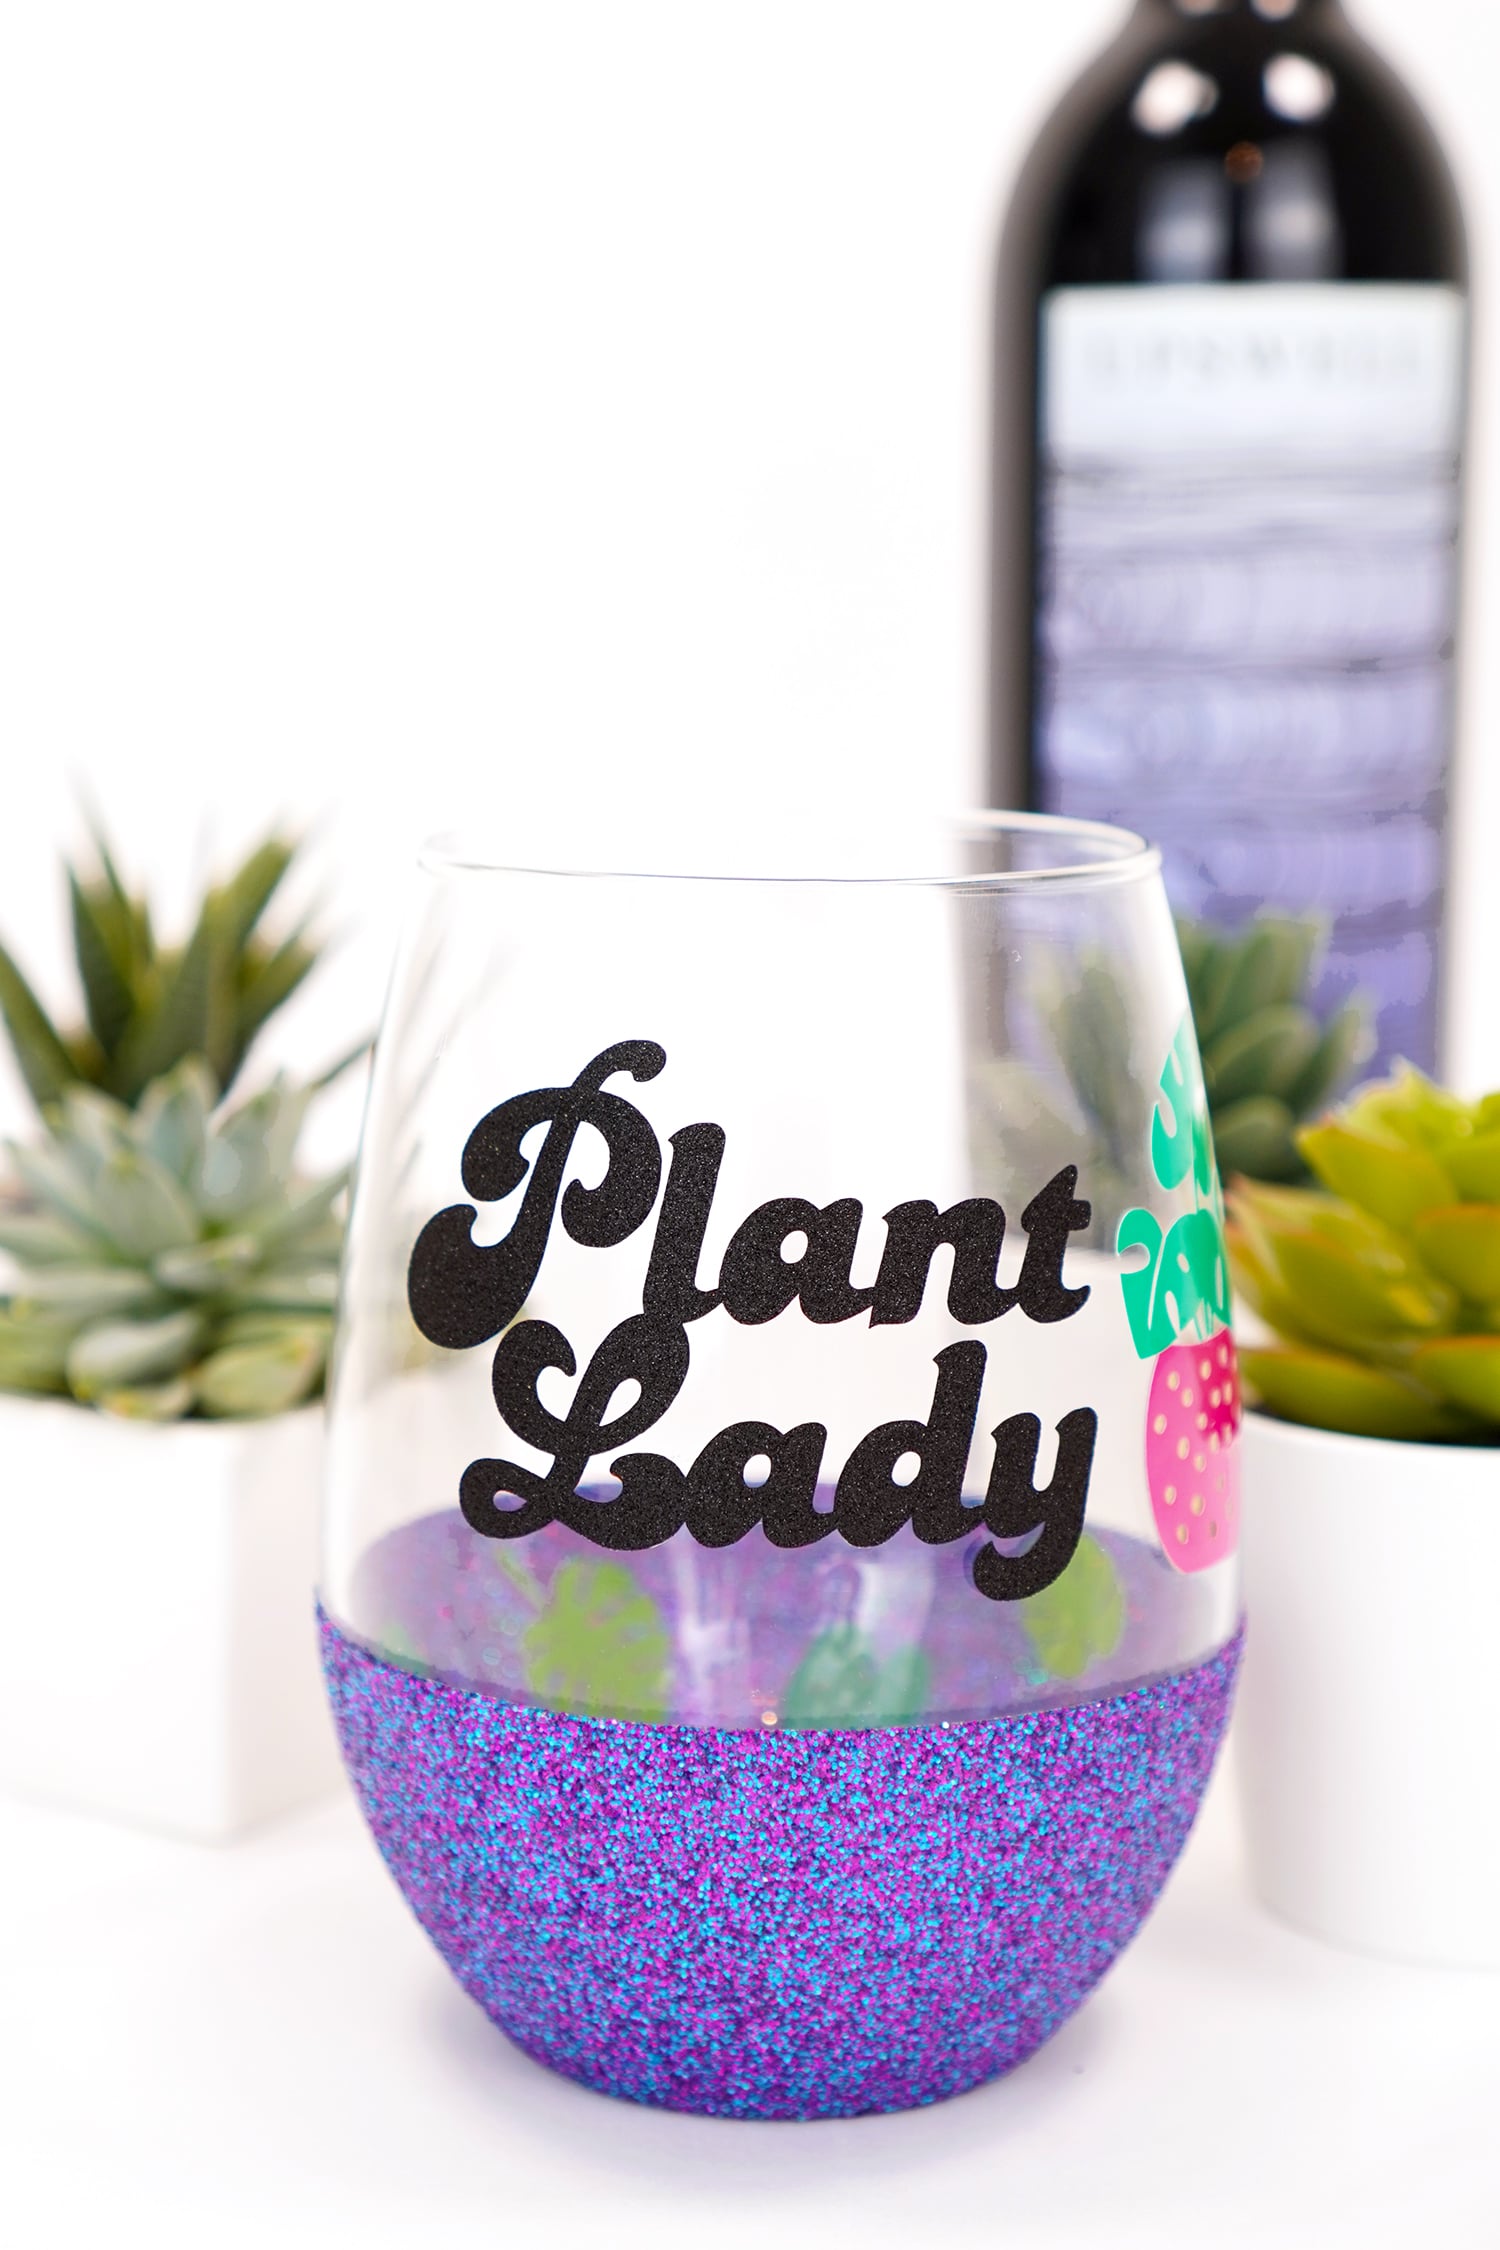
So, I quickly swapped it out for Black Shimmer Vinyl instead! Permanent vinyl really IS pretty dang permanent, but if you attempt to remove it quickly enough, it can be done. I used my True Control Knife and some lemon oil to remove any sticky residue leftover from the adhesive, and it worked like a charm!
I actually like the black even better than the gold, so I’m glad I decided to make the switch!
Making DIY Glitter Wine Glasses
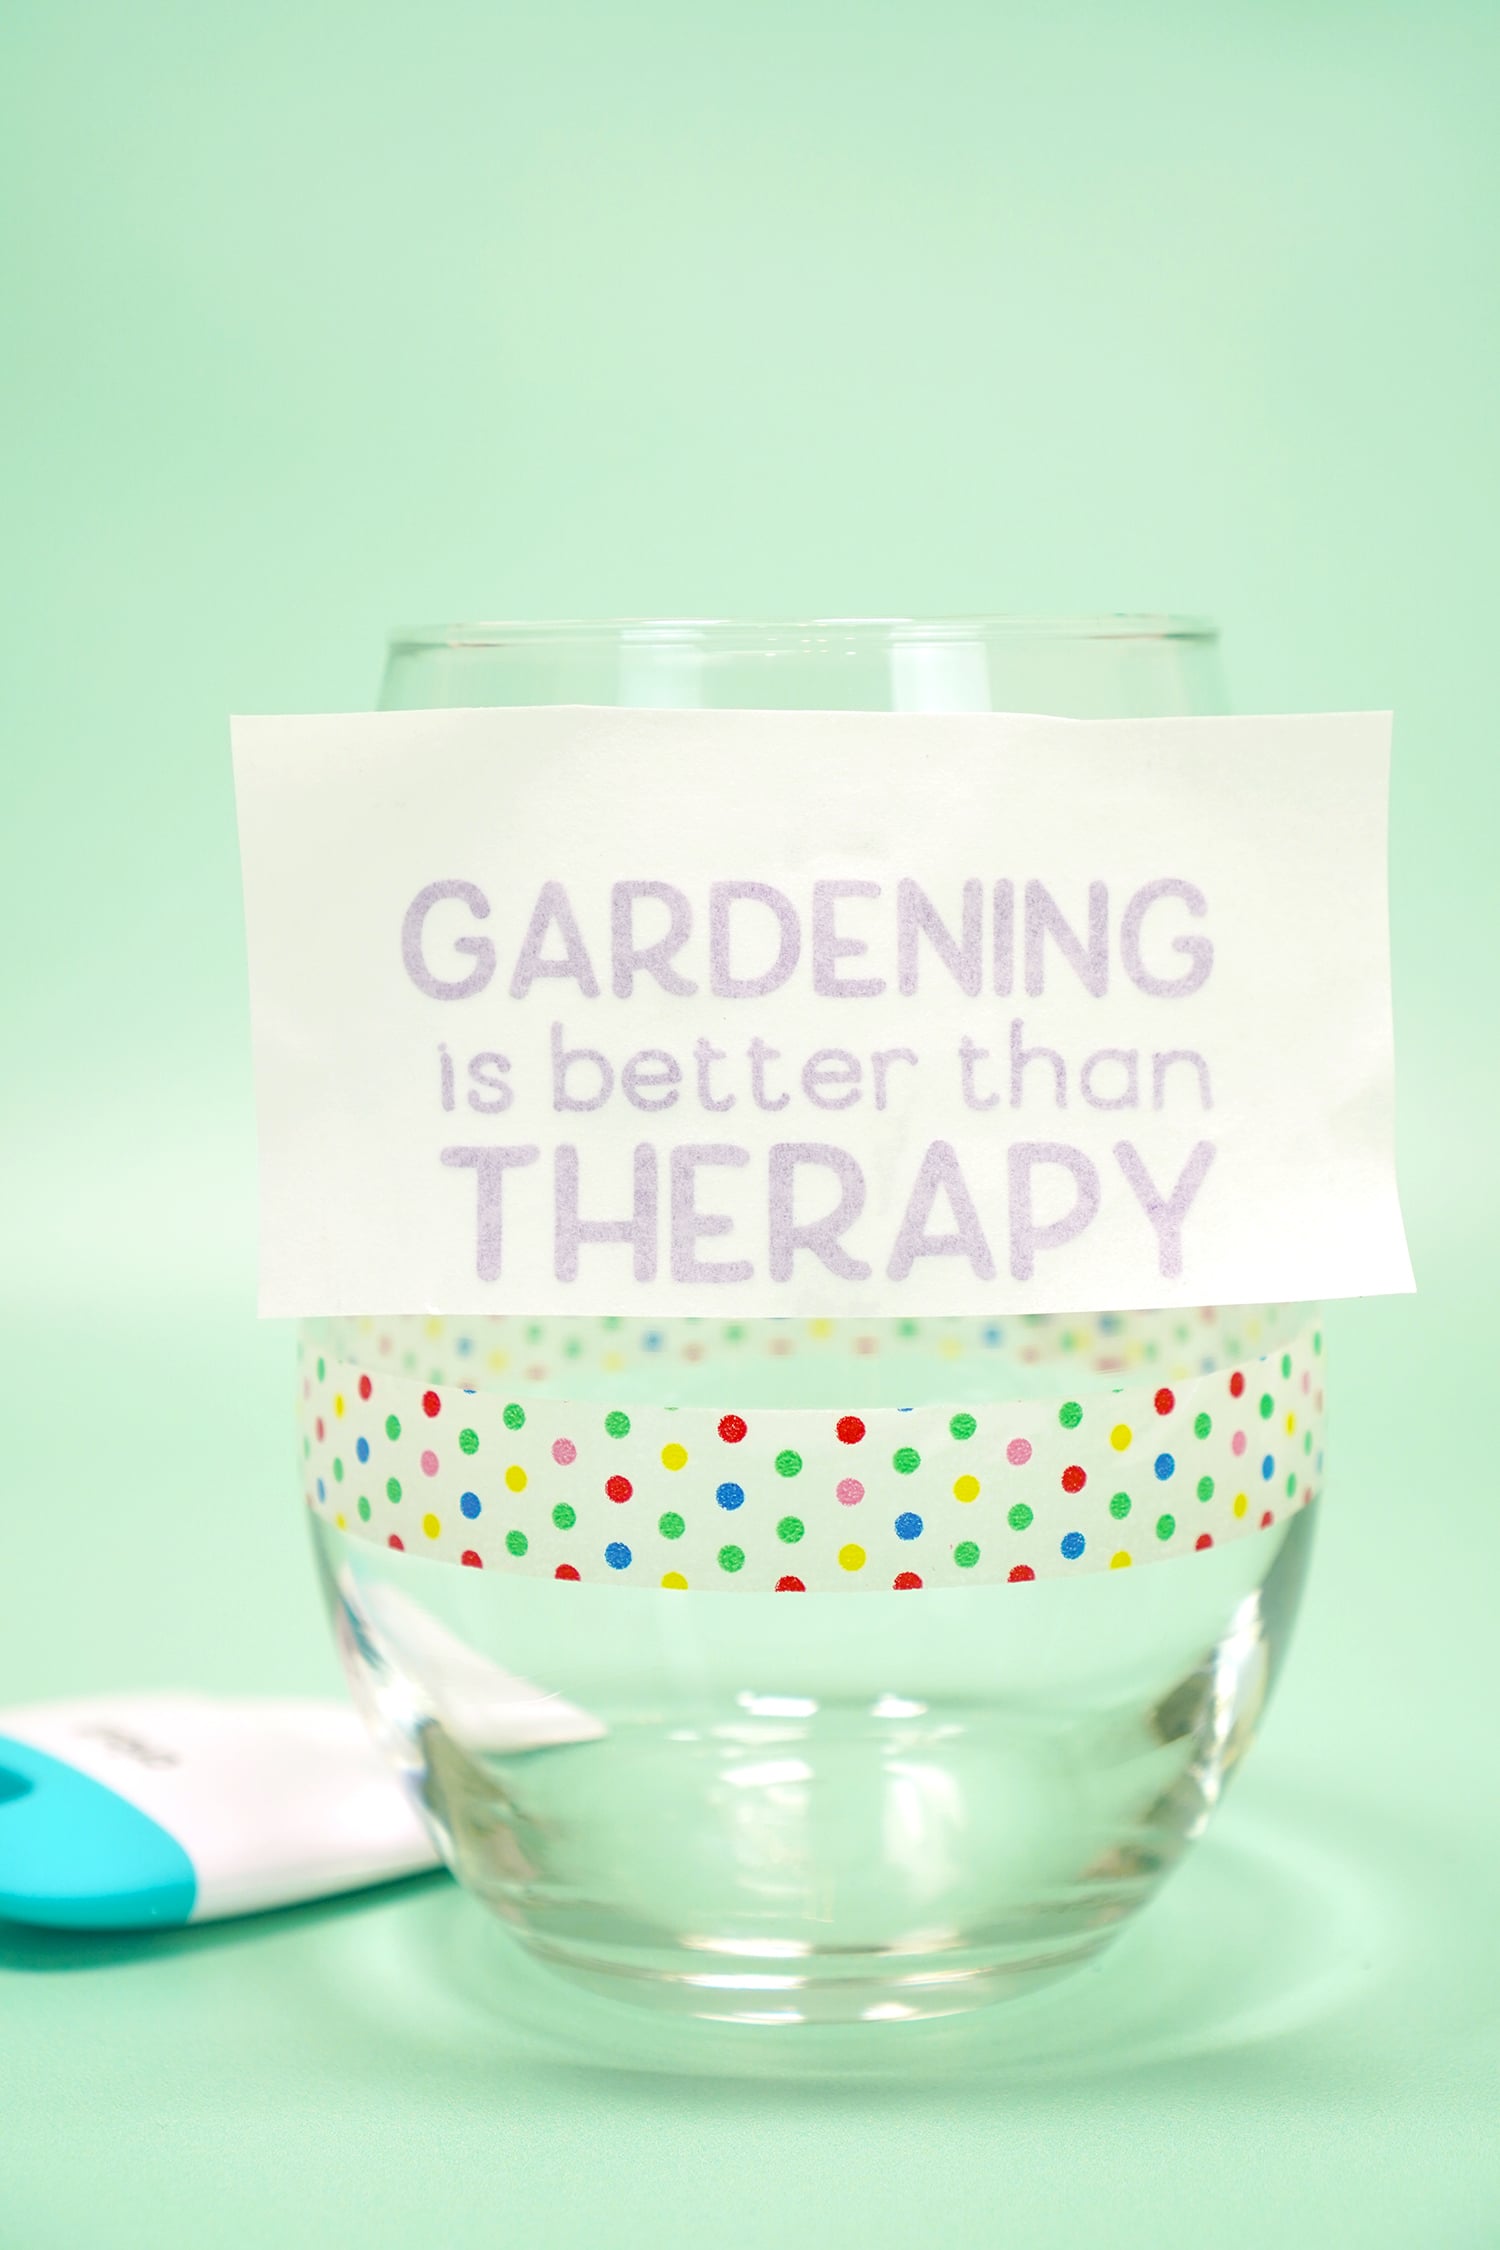
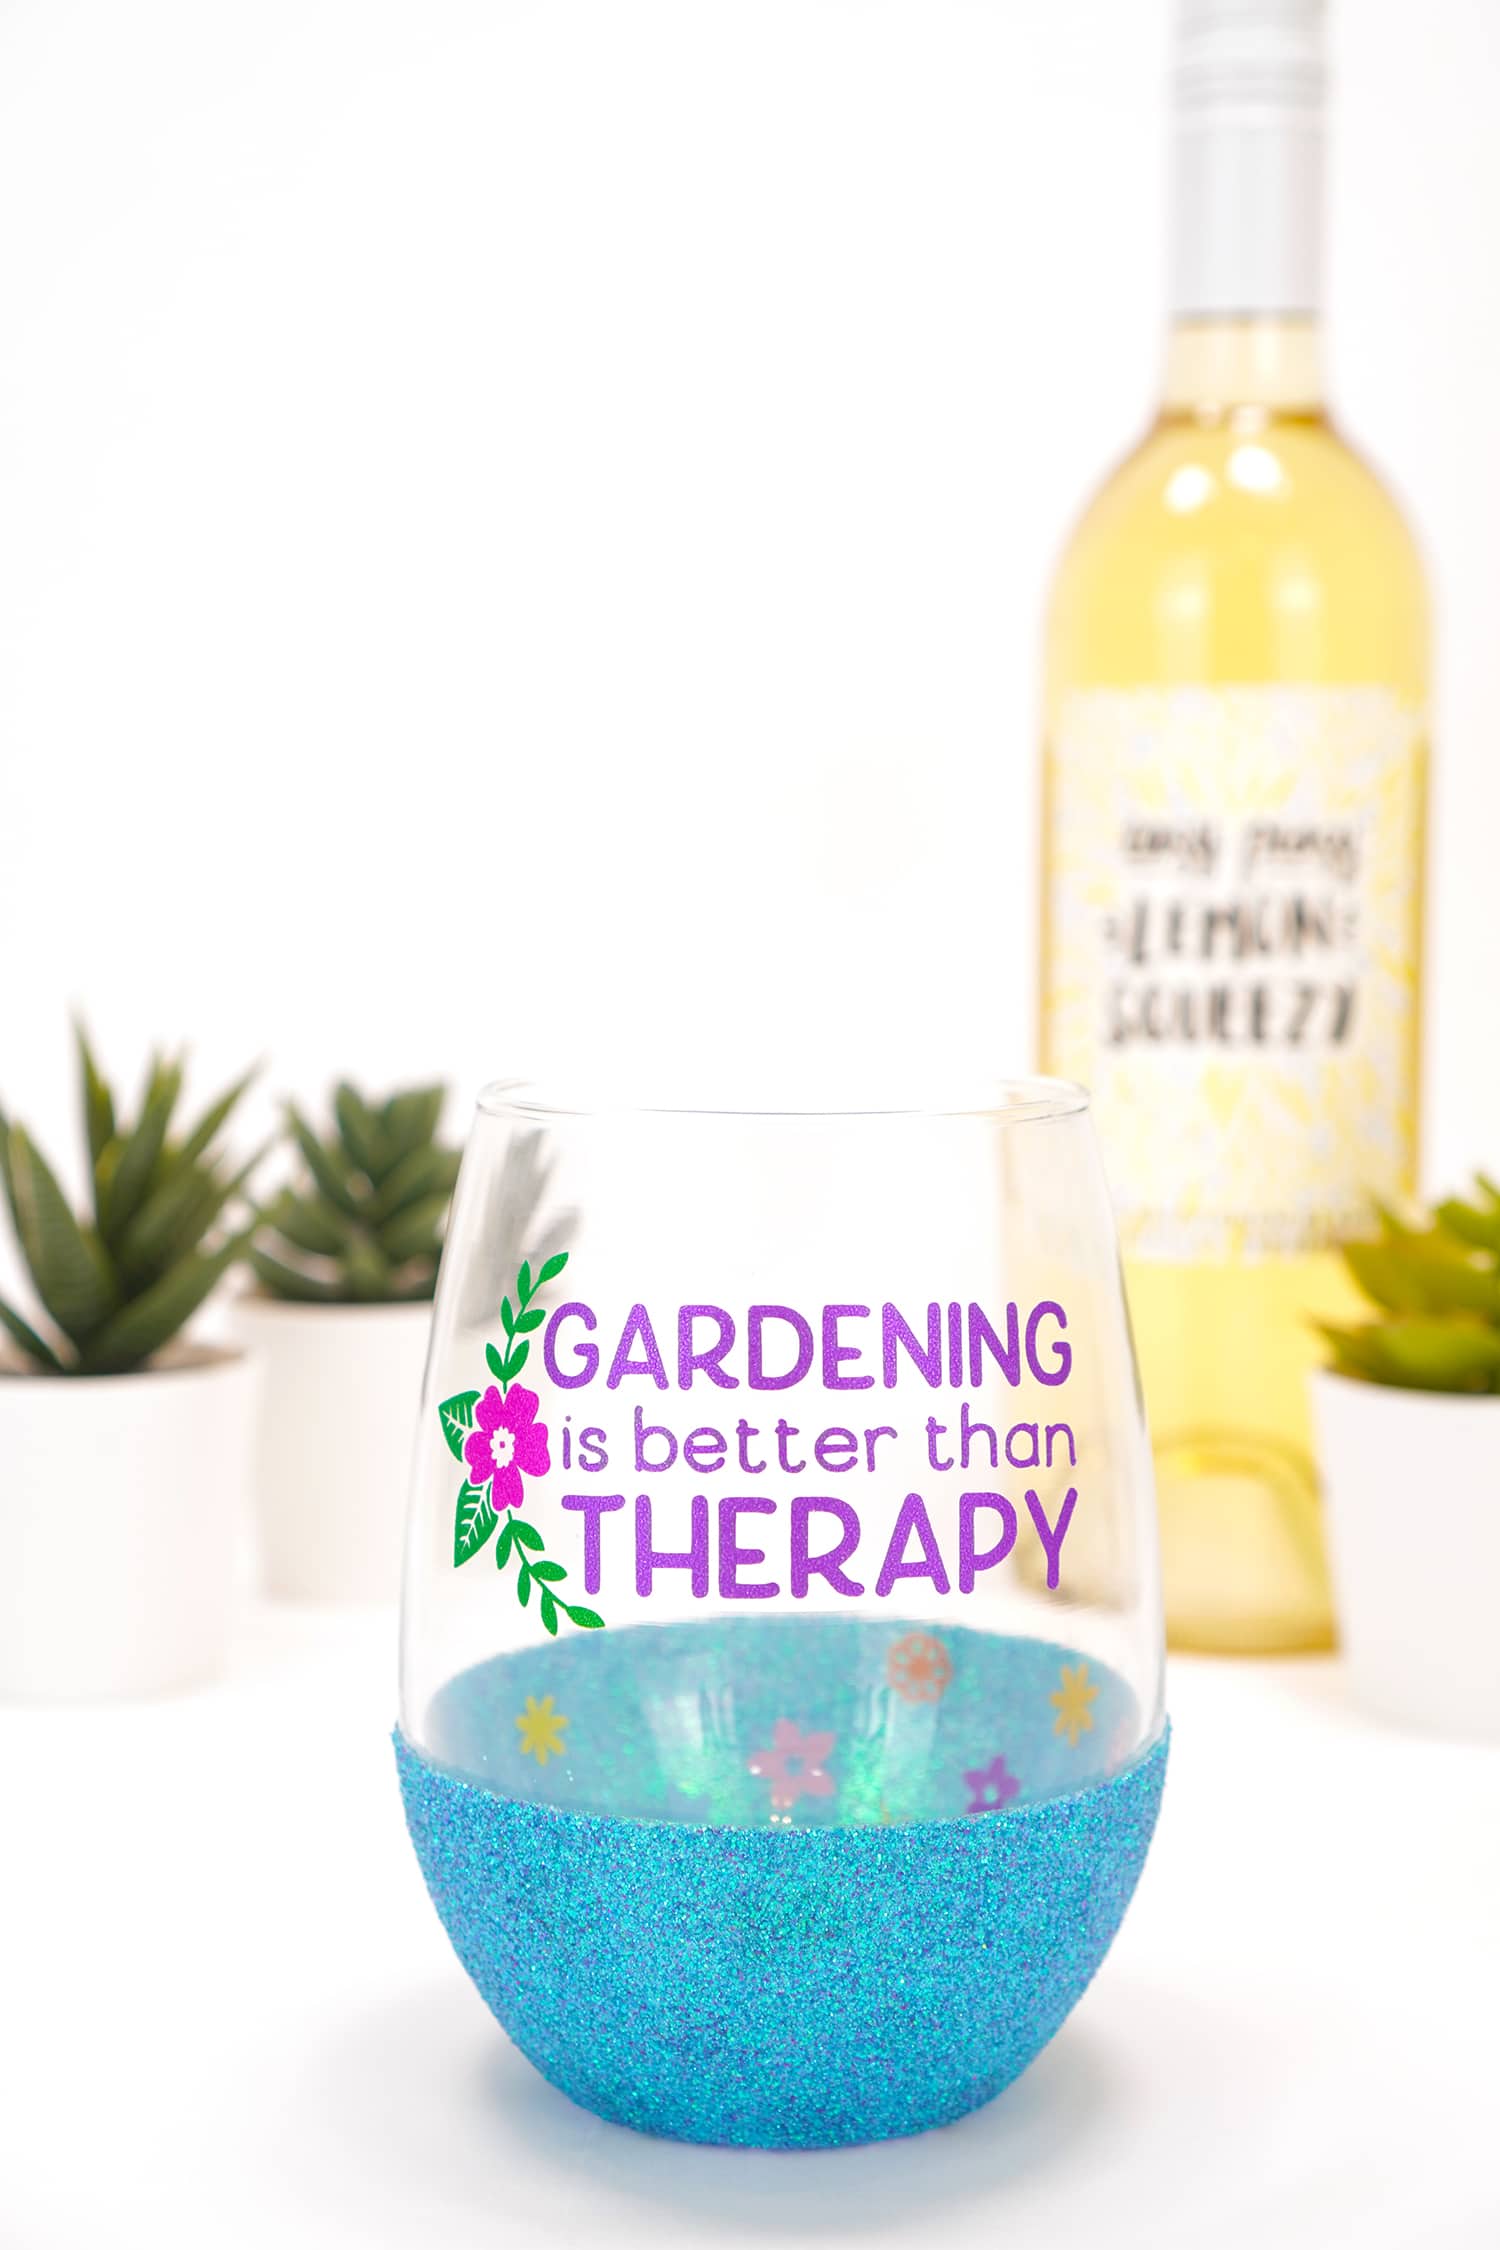
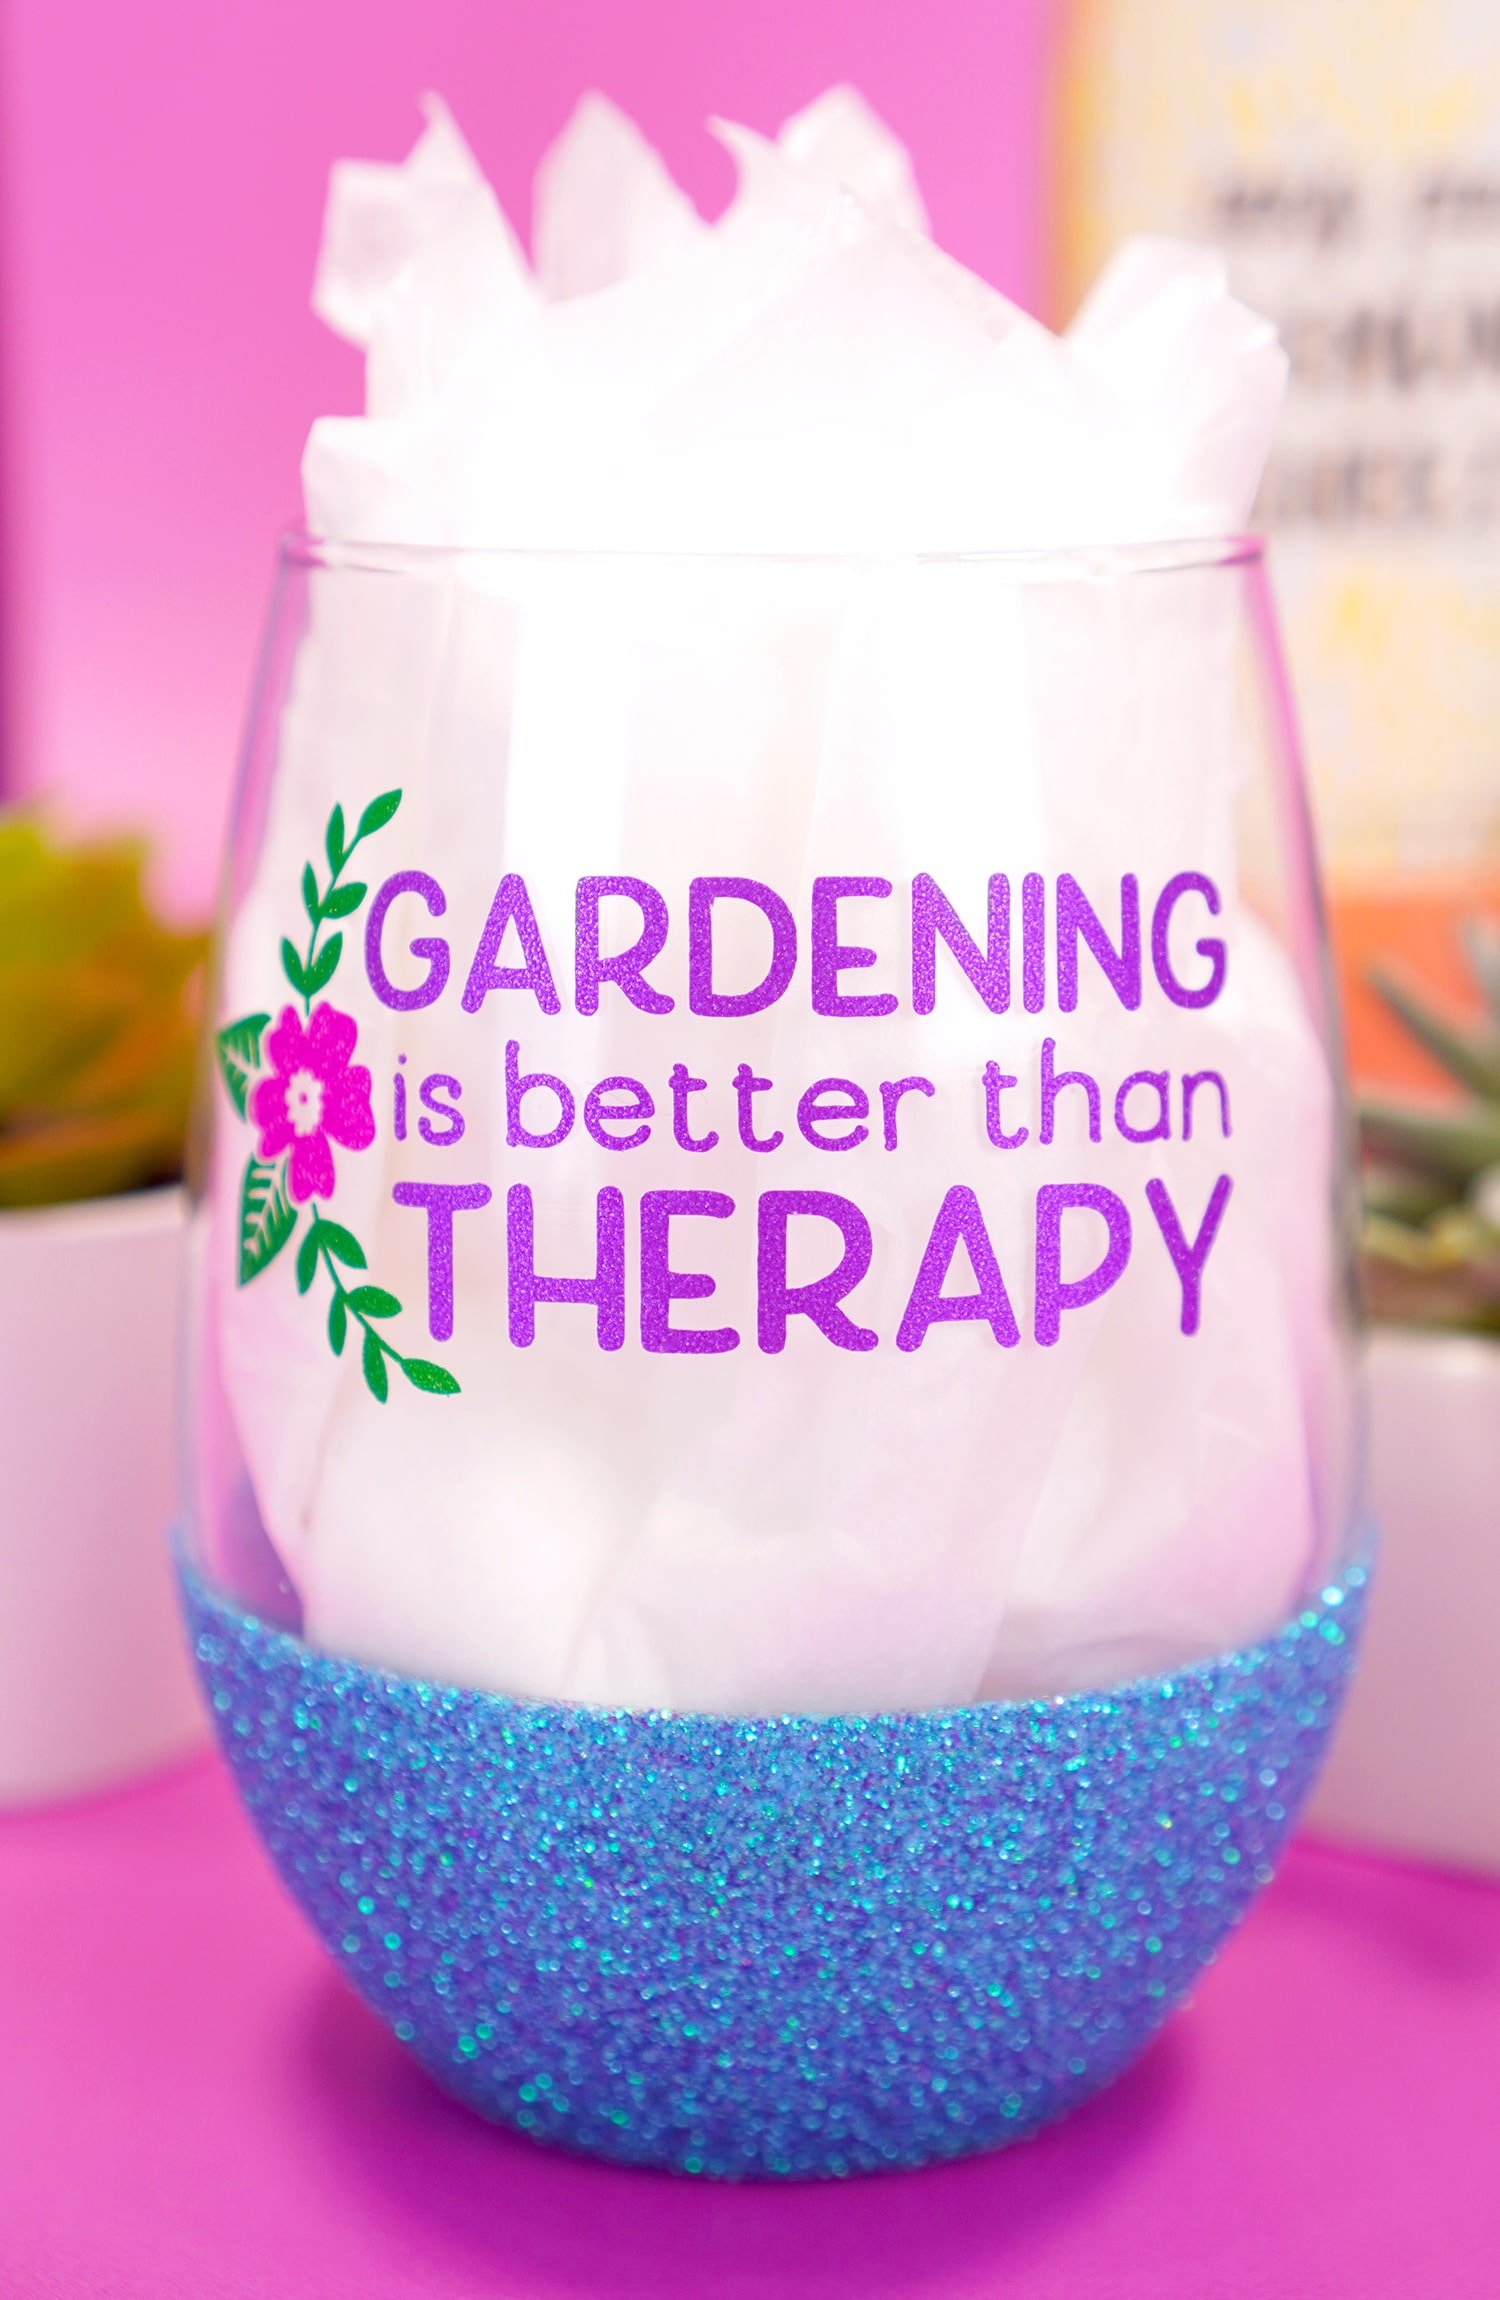
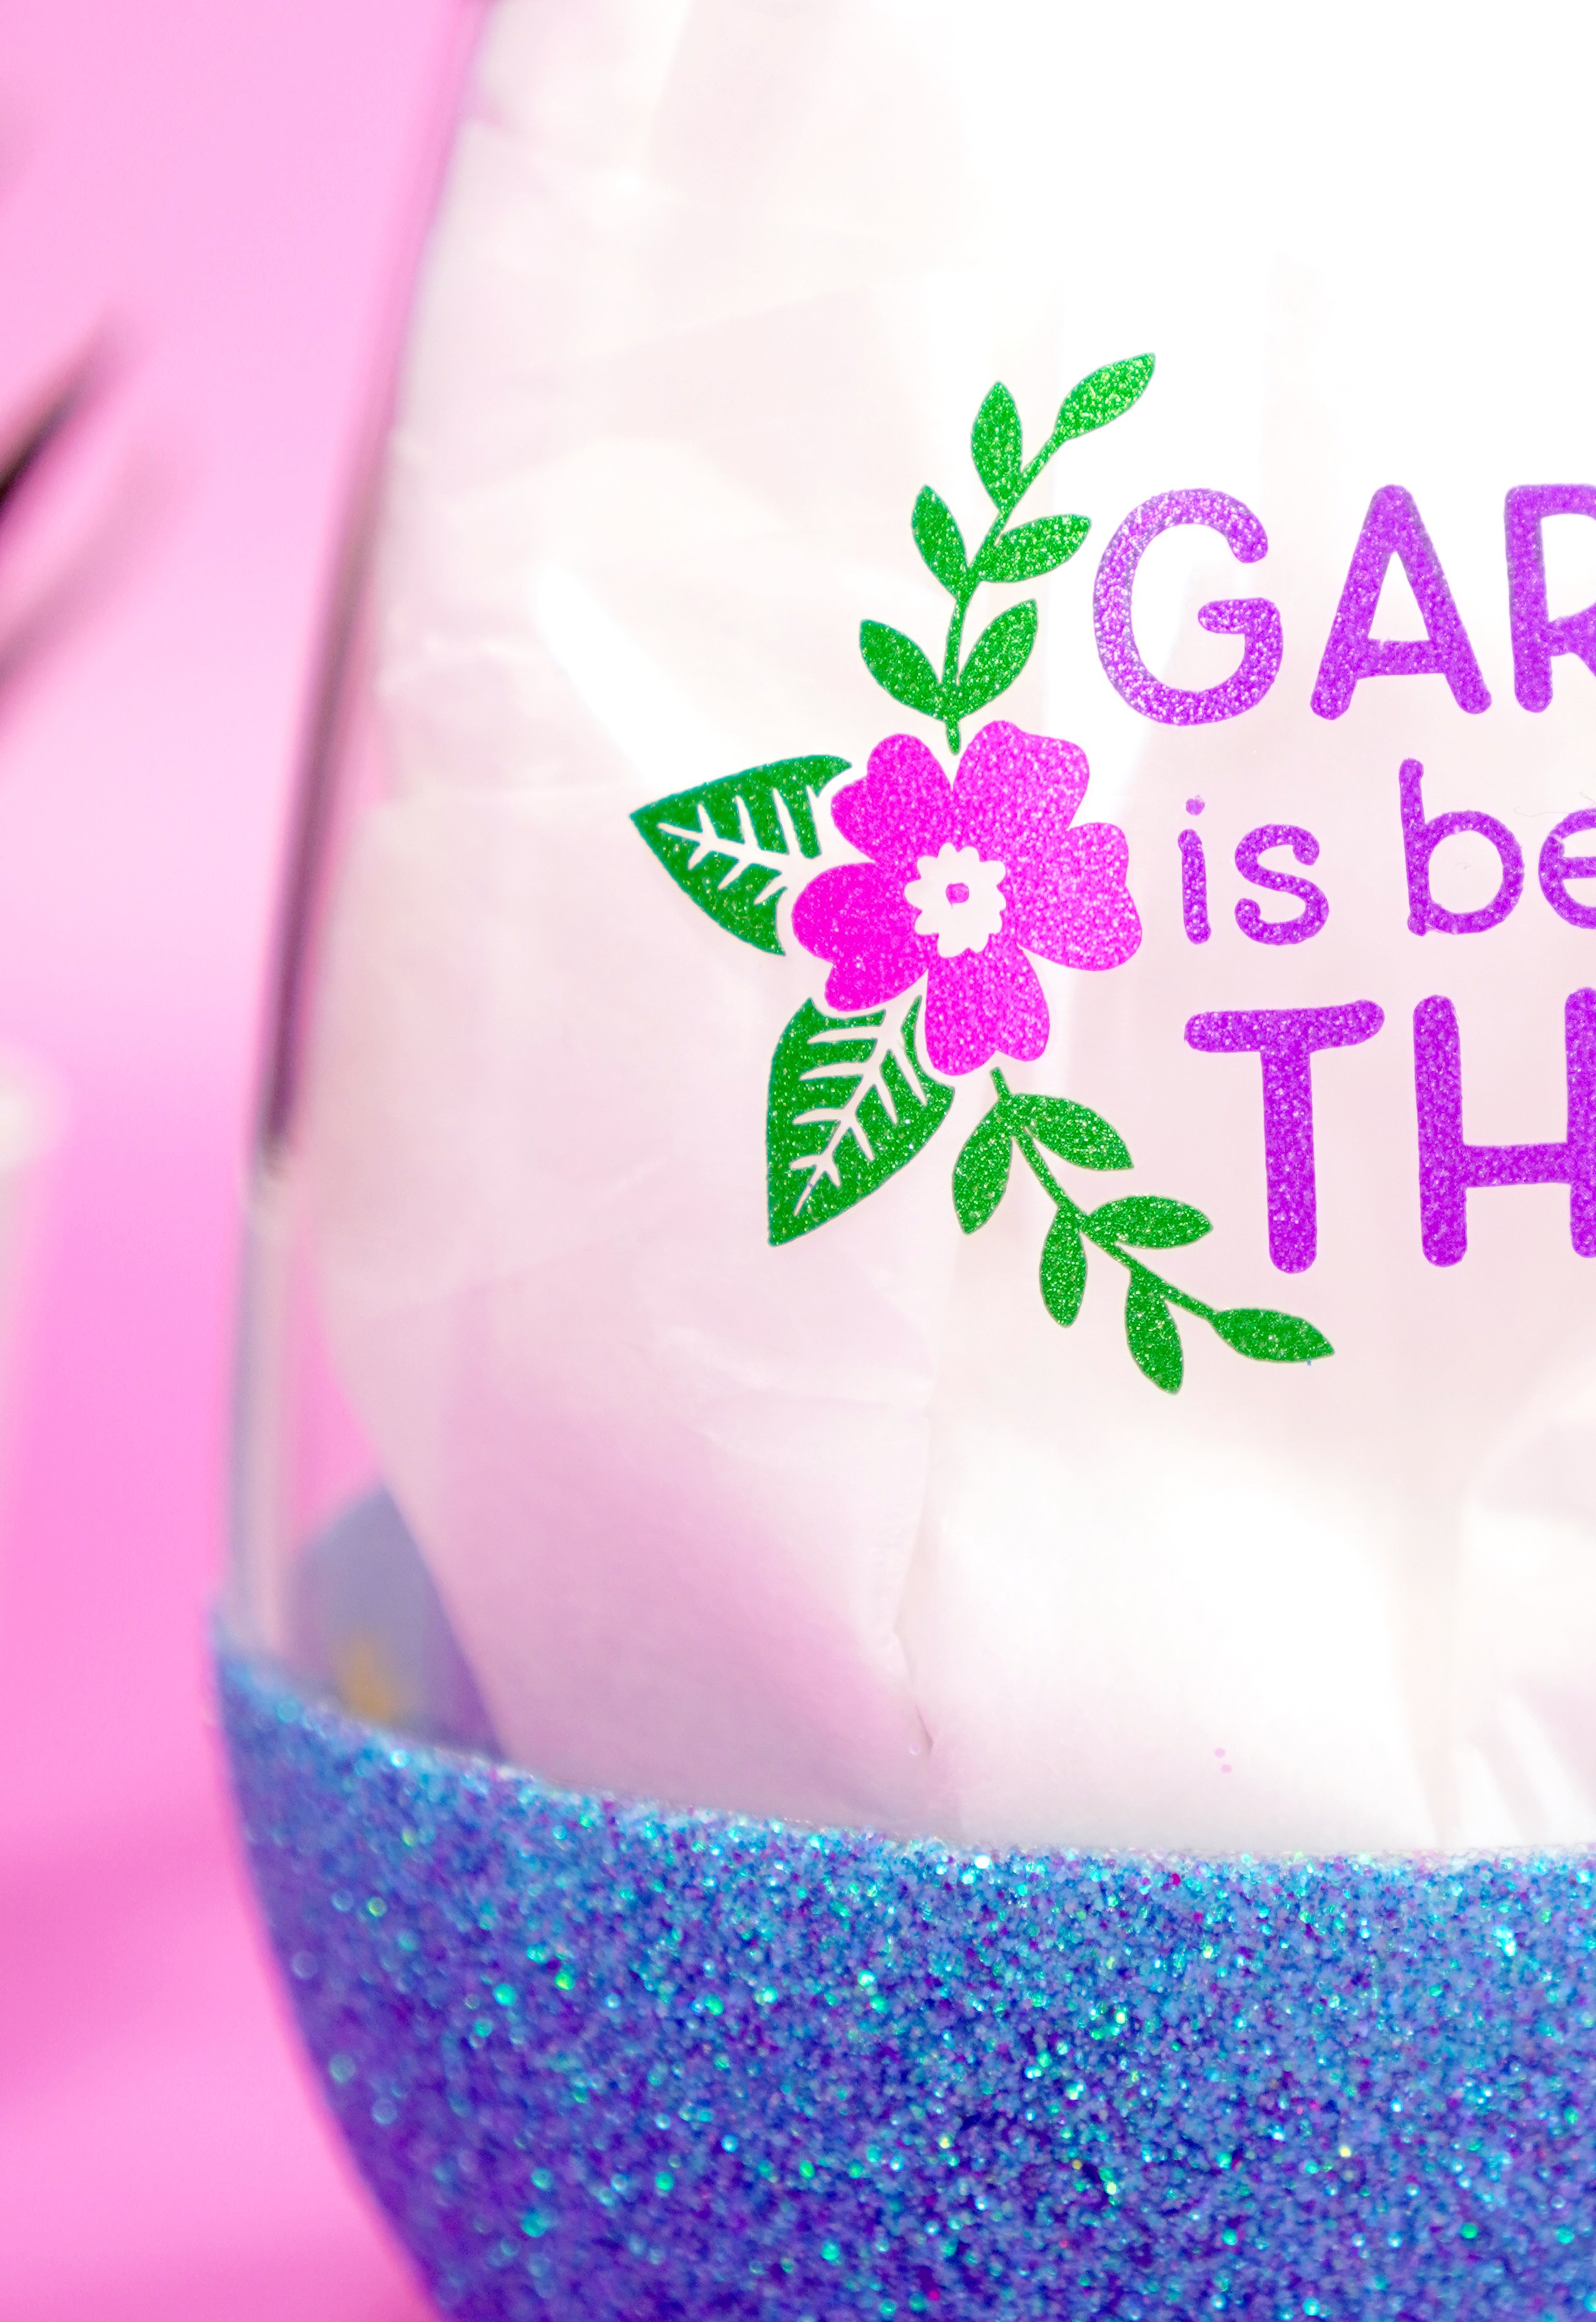
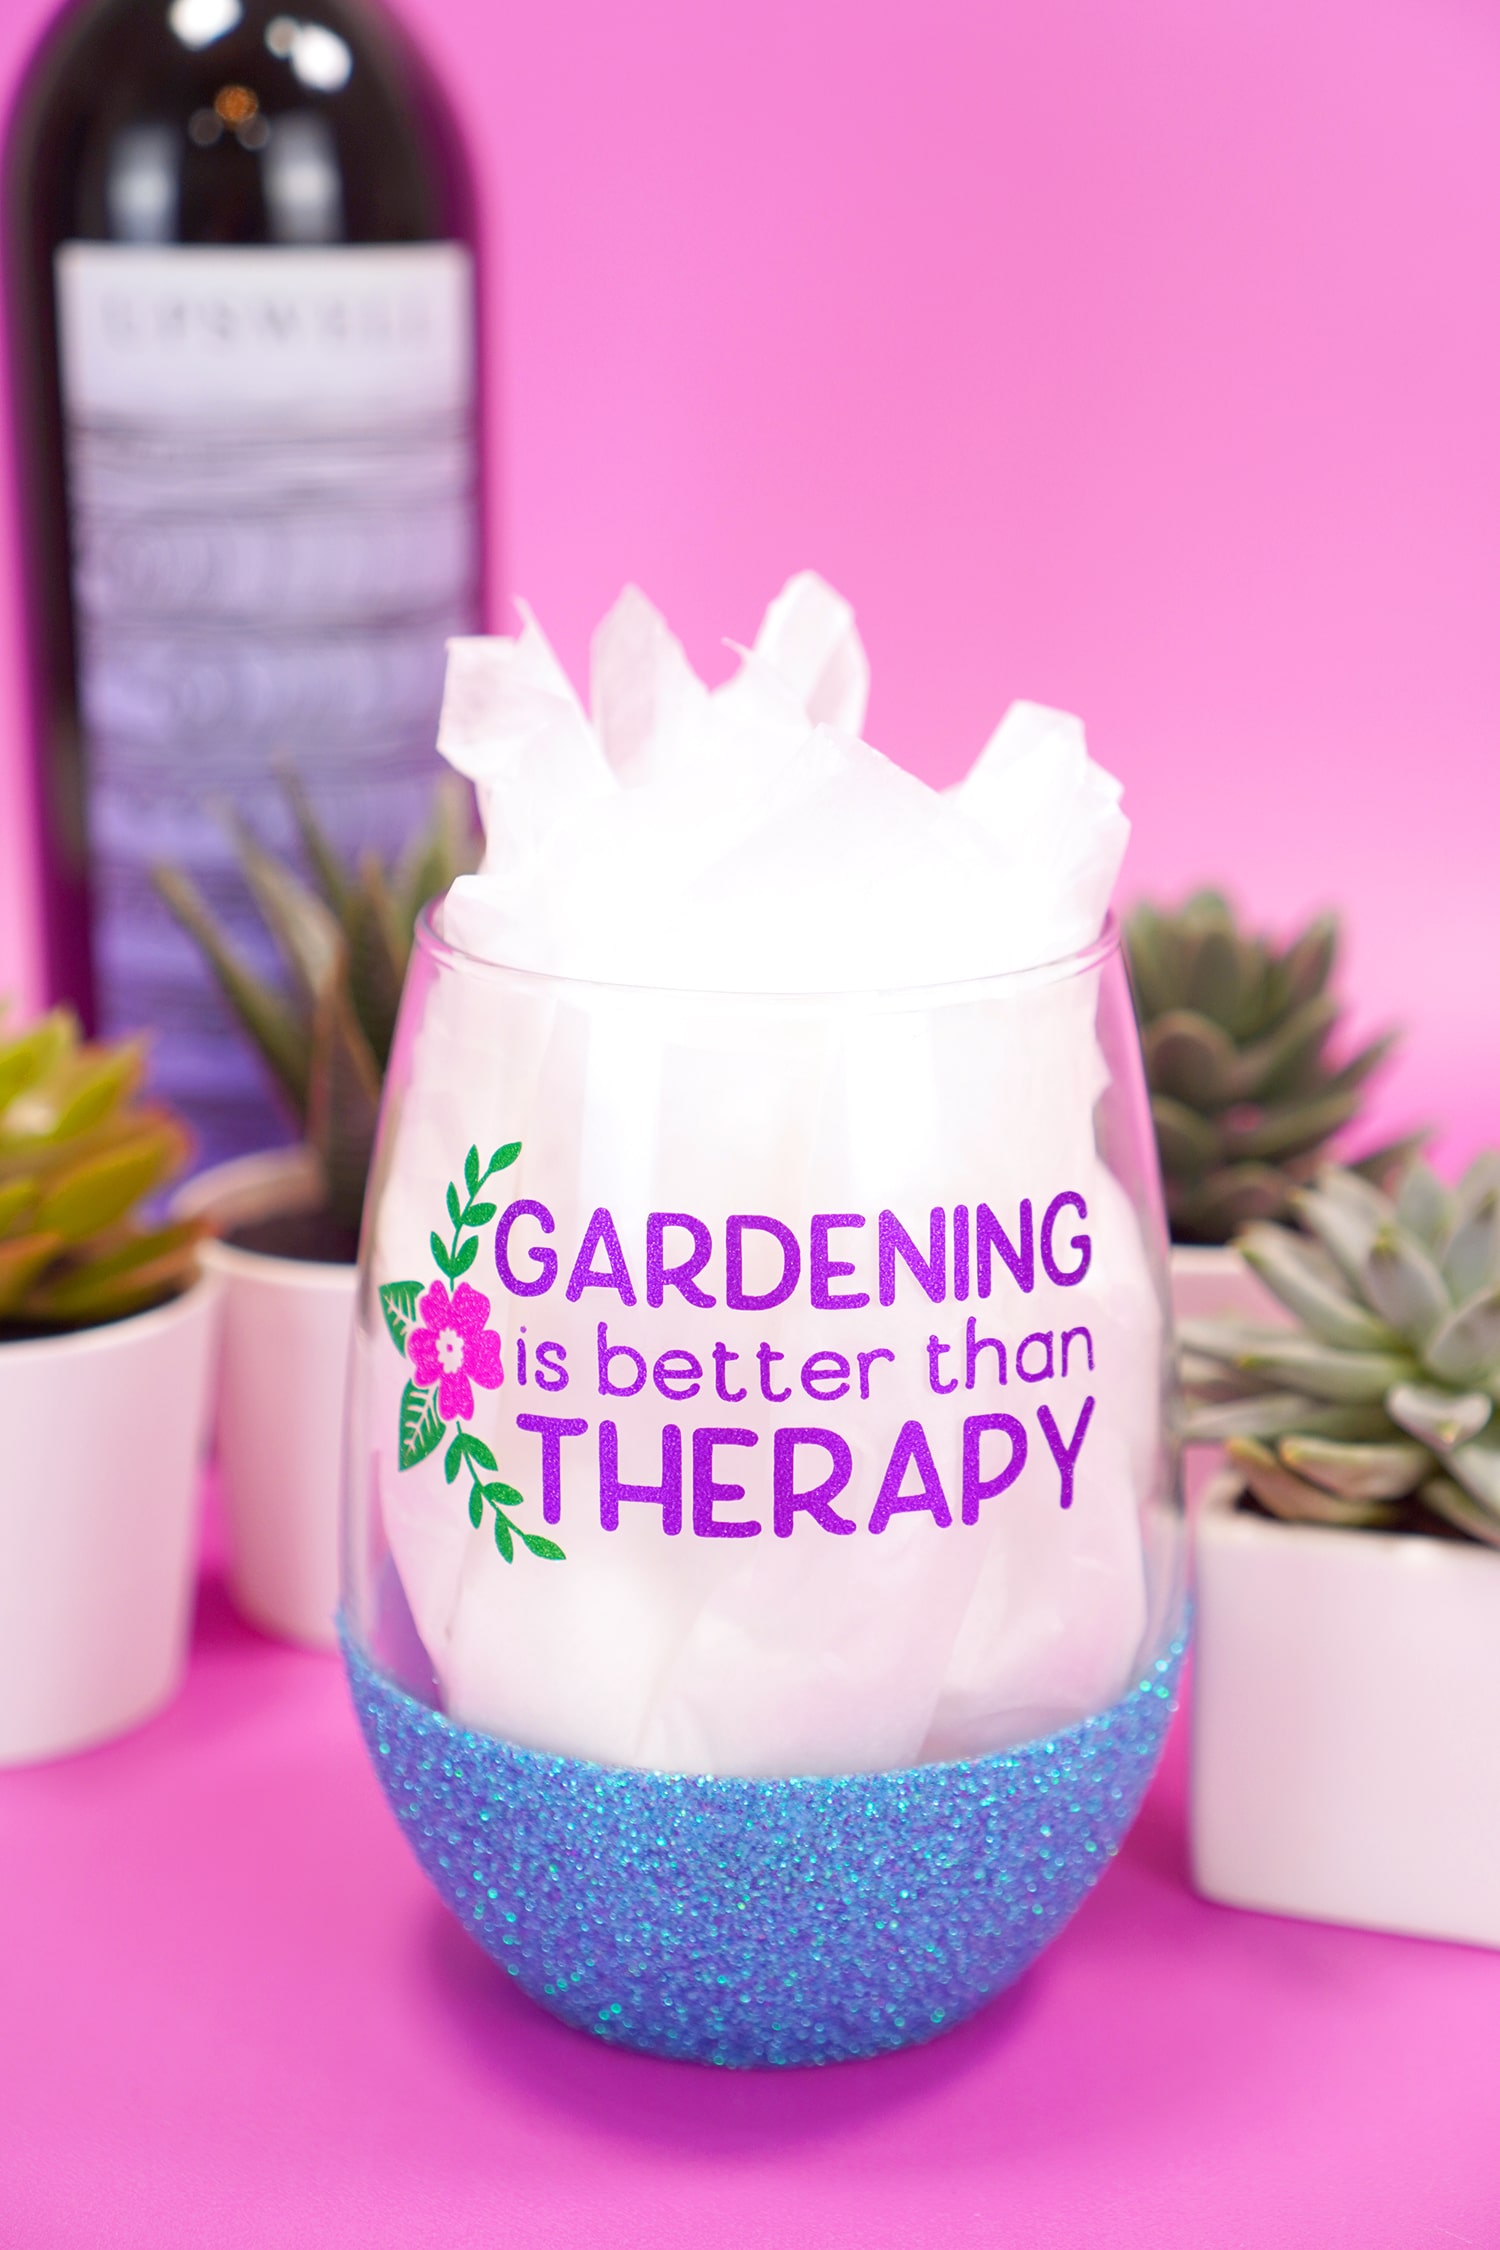
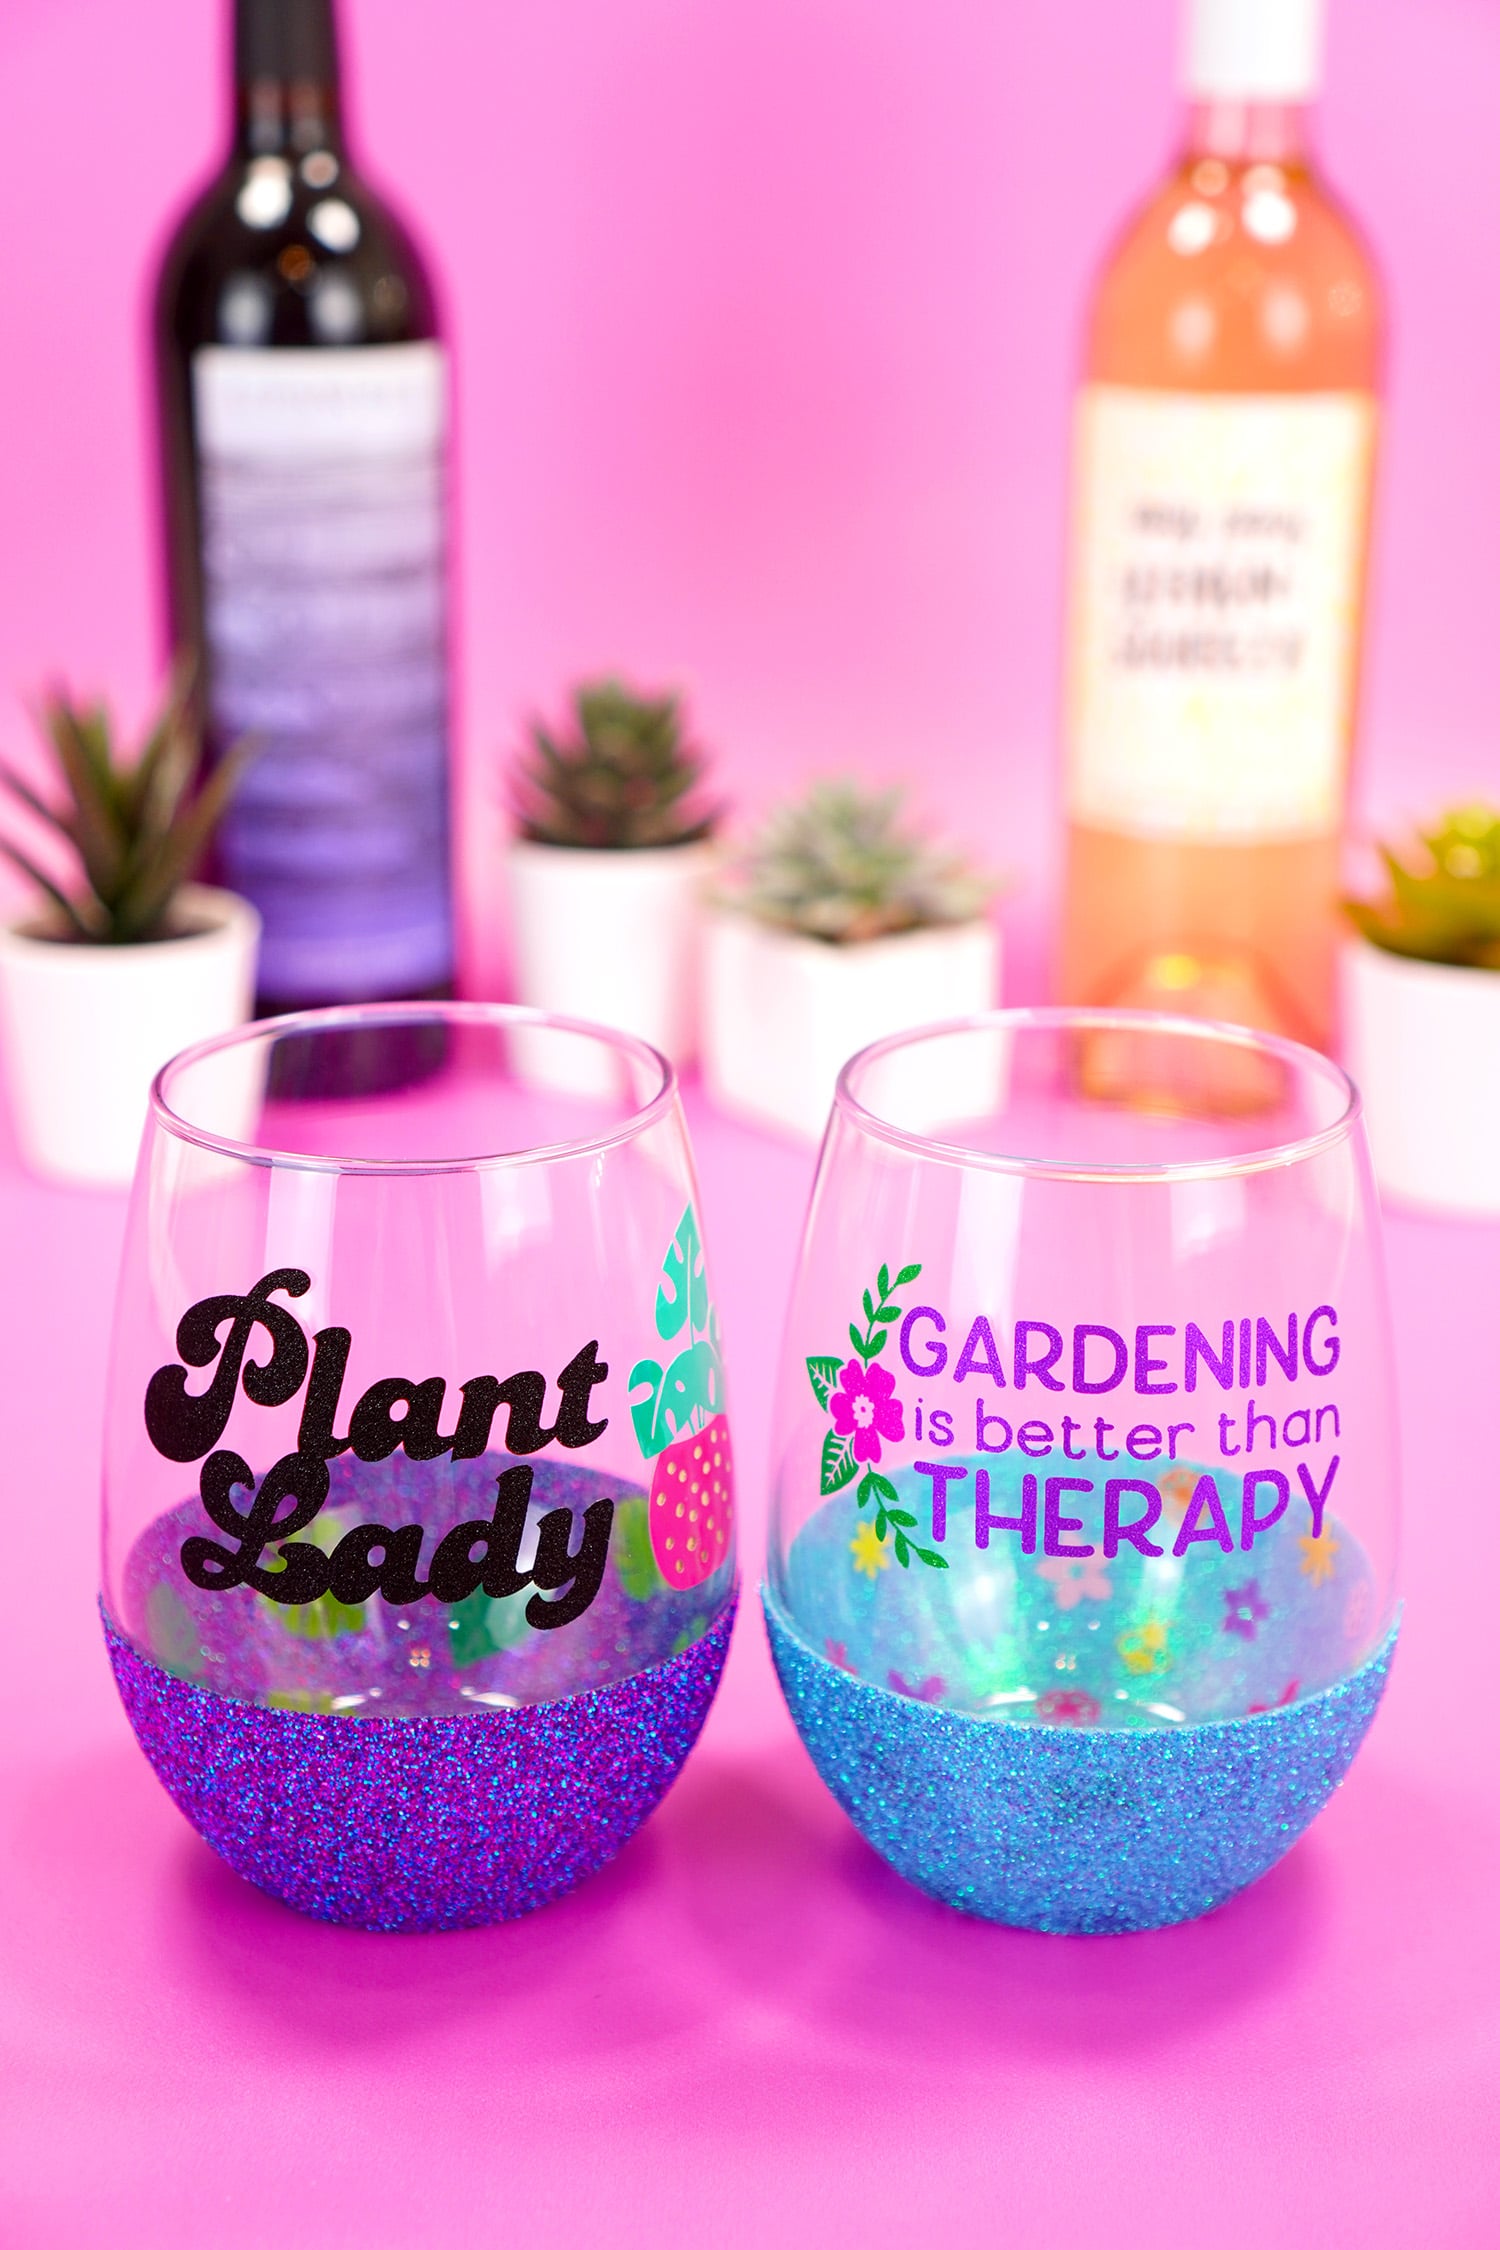
One solitary “Plant Lady” wine glass seemed a little lonely, so I decided to make a second wine glass and gift my friend with a set of glasses. Sticking with the plant theme, I chose a “Gardening is Better Than Therapy” design – you can find the project in Cricut Design Space here.
Remember that Hooked Weeding Tool I mentioned earlier? It’s fantastic for weeding super small pieces like the inside of these flower petals!
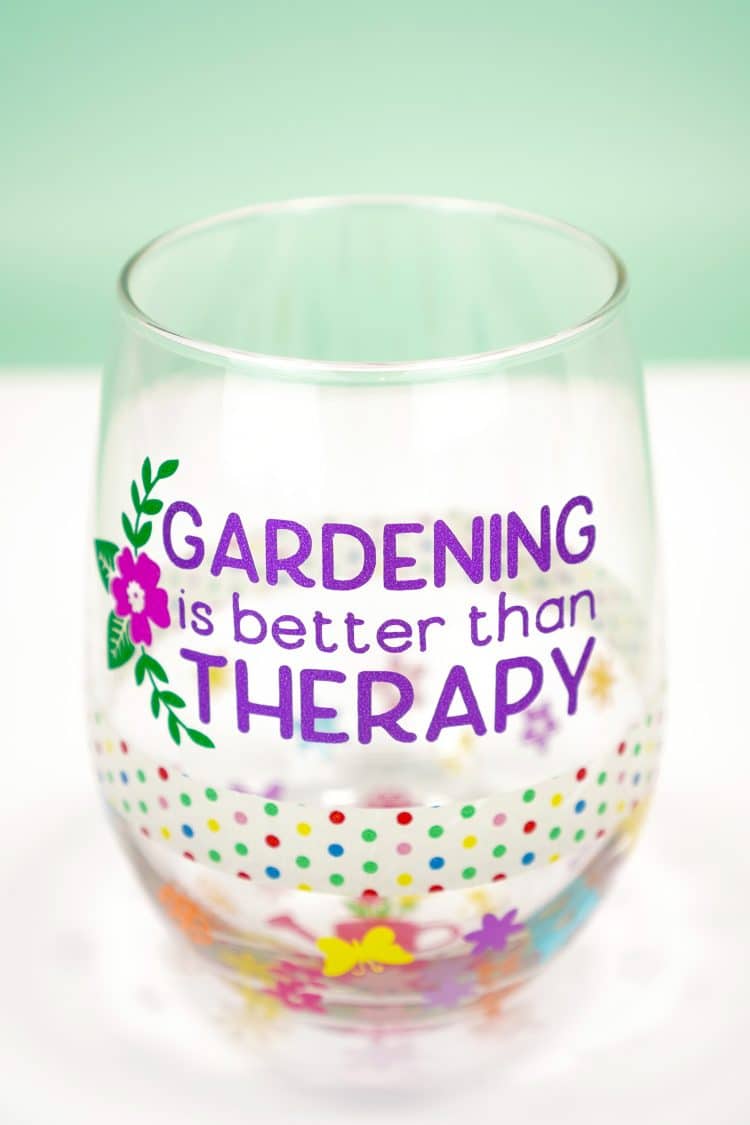
I opted to use Shimmer Vinyl for the main design again (in Fuchsia, Green, and Purple) and assorted colors of Removable Vinyl from the Vibrant Value Pack for the peekaboo decals.
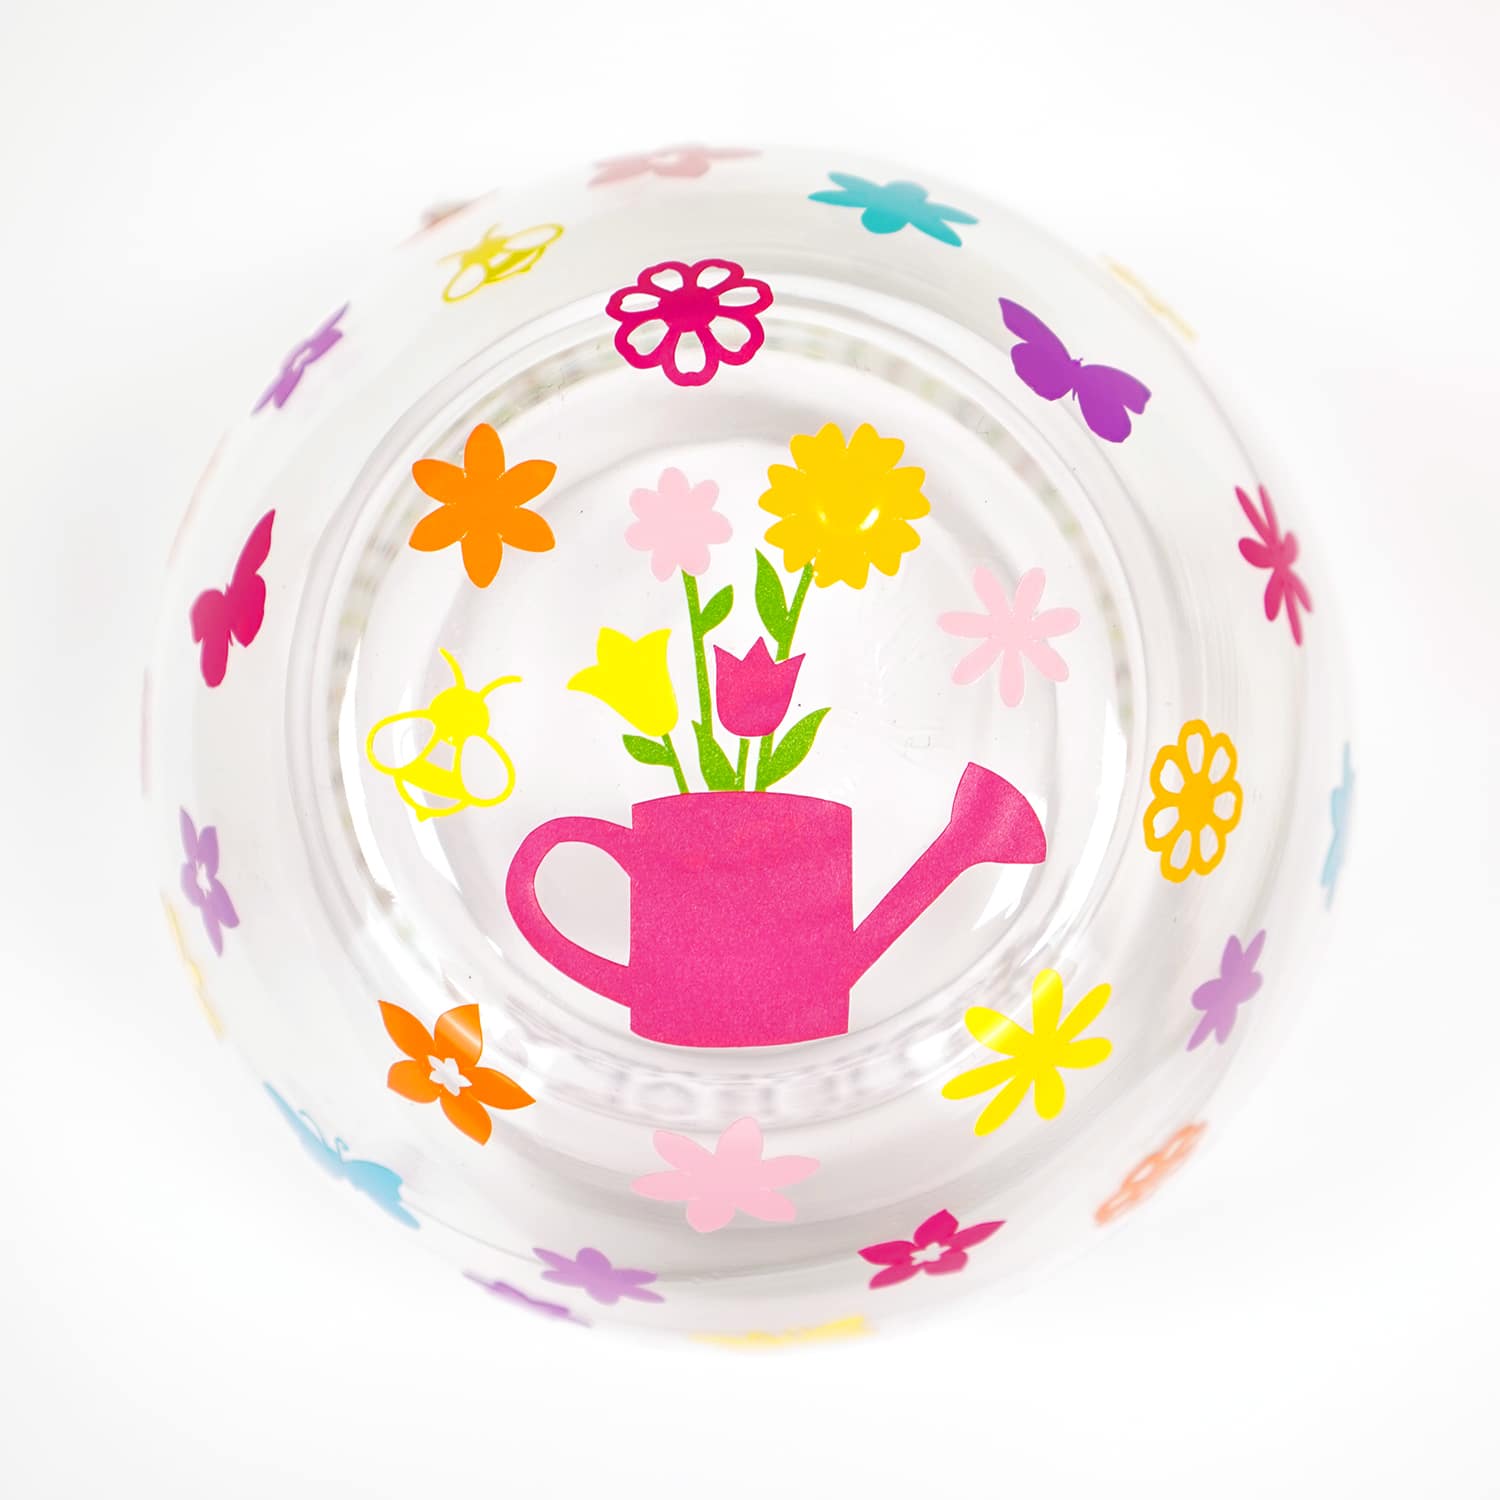
The peekaboo interior of the gardening wine glass is filled with a cheery watering can bouquet surrounded by colorful flowers, bees, and butterflies. SUPER cute!
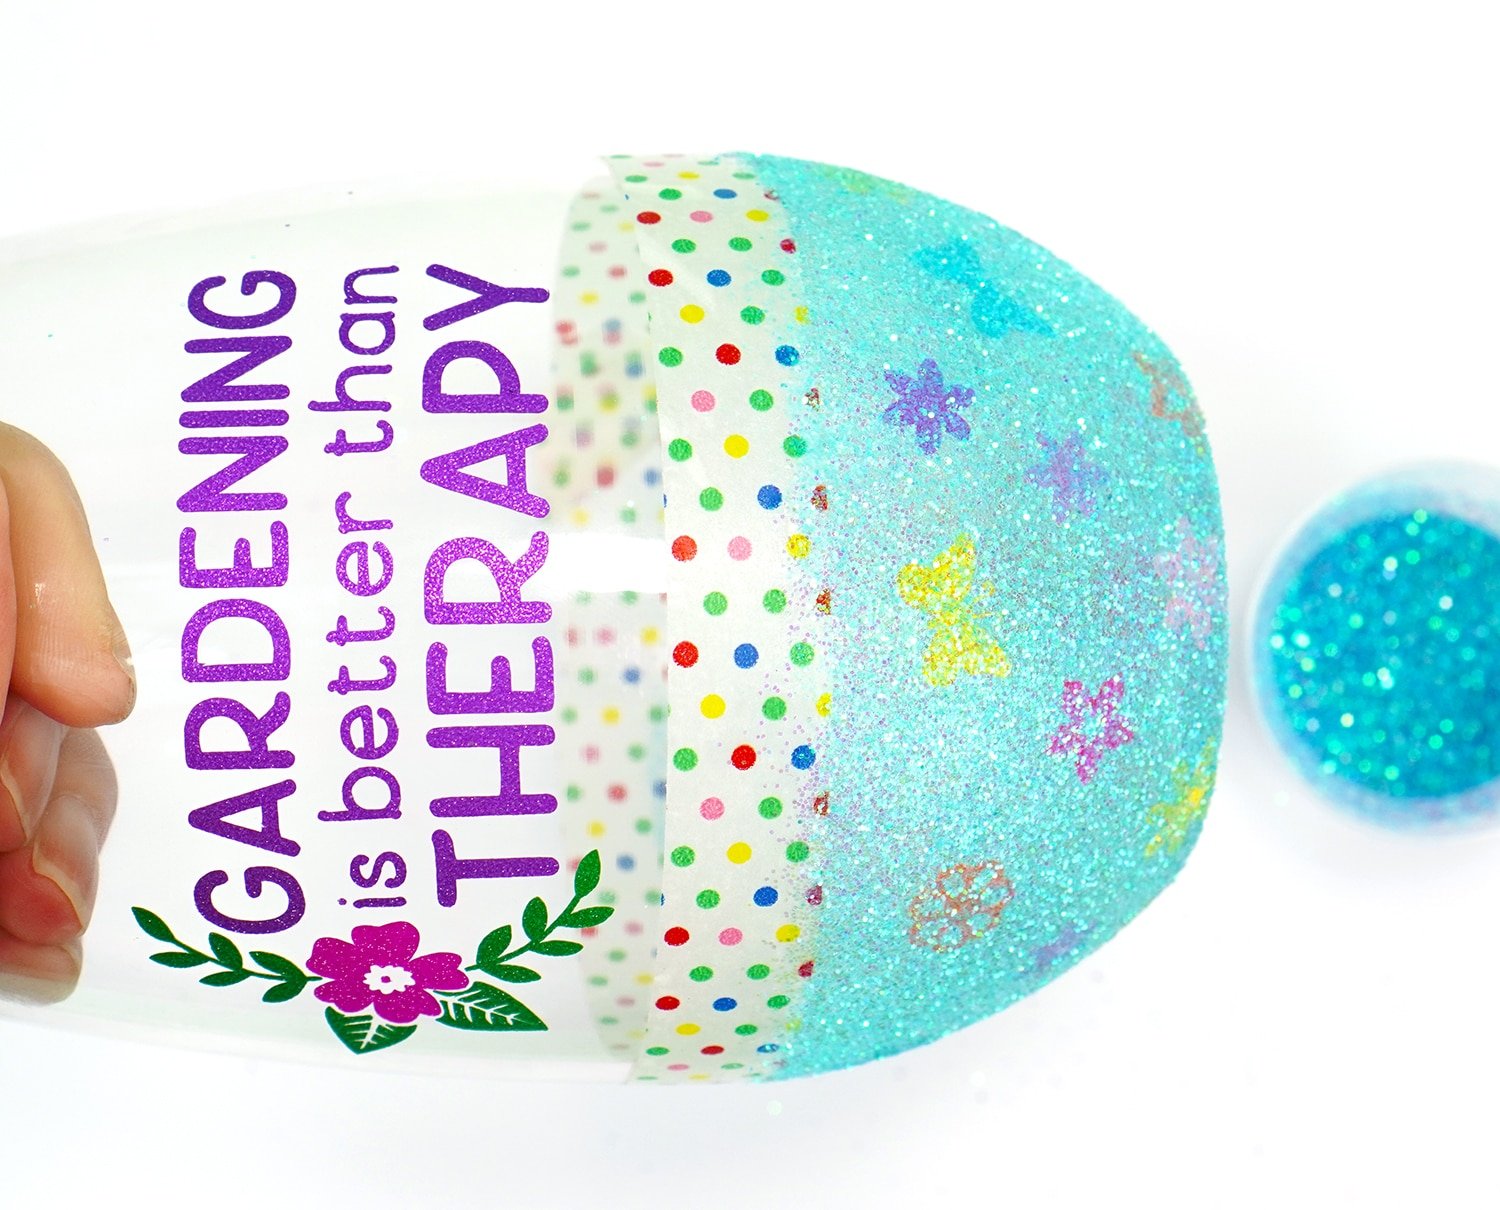
You can see here how a lighter colored glitter may require two coats of glitter to cover the decals. For this wine glass, I started with a coat of Beauxbaton Blue glitter and then finished with a coat of Cornish Pixies glitter.
It turned out super cute, don’t you think? So charming!
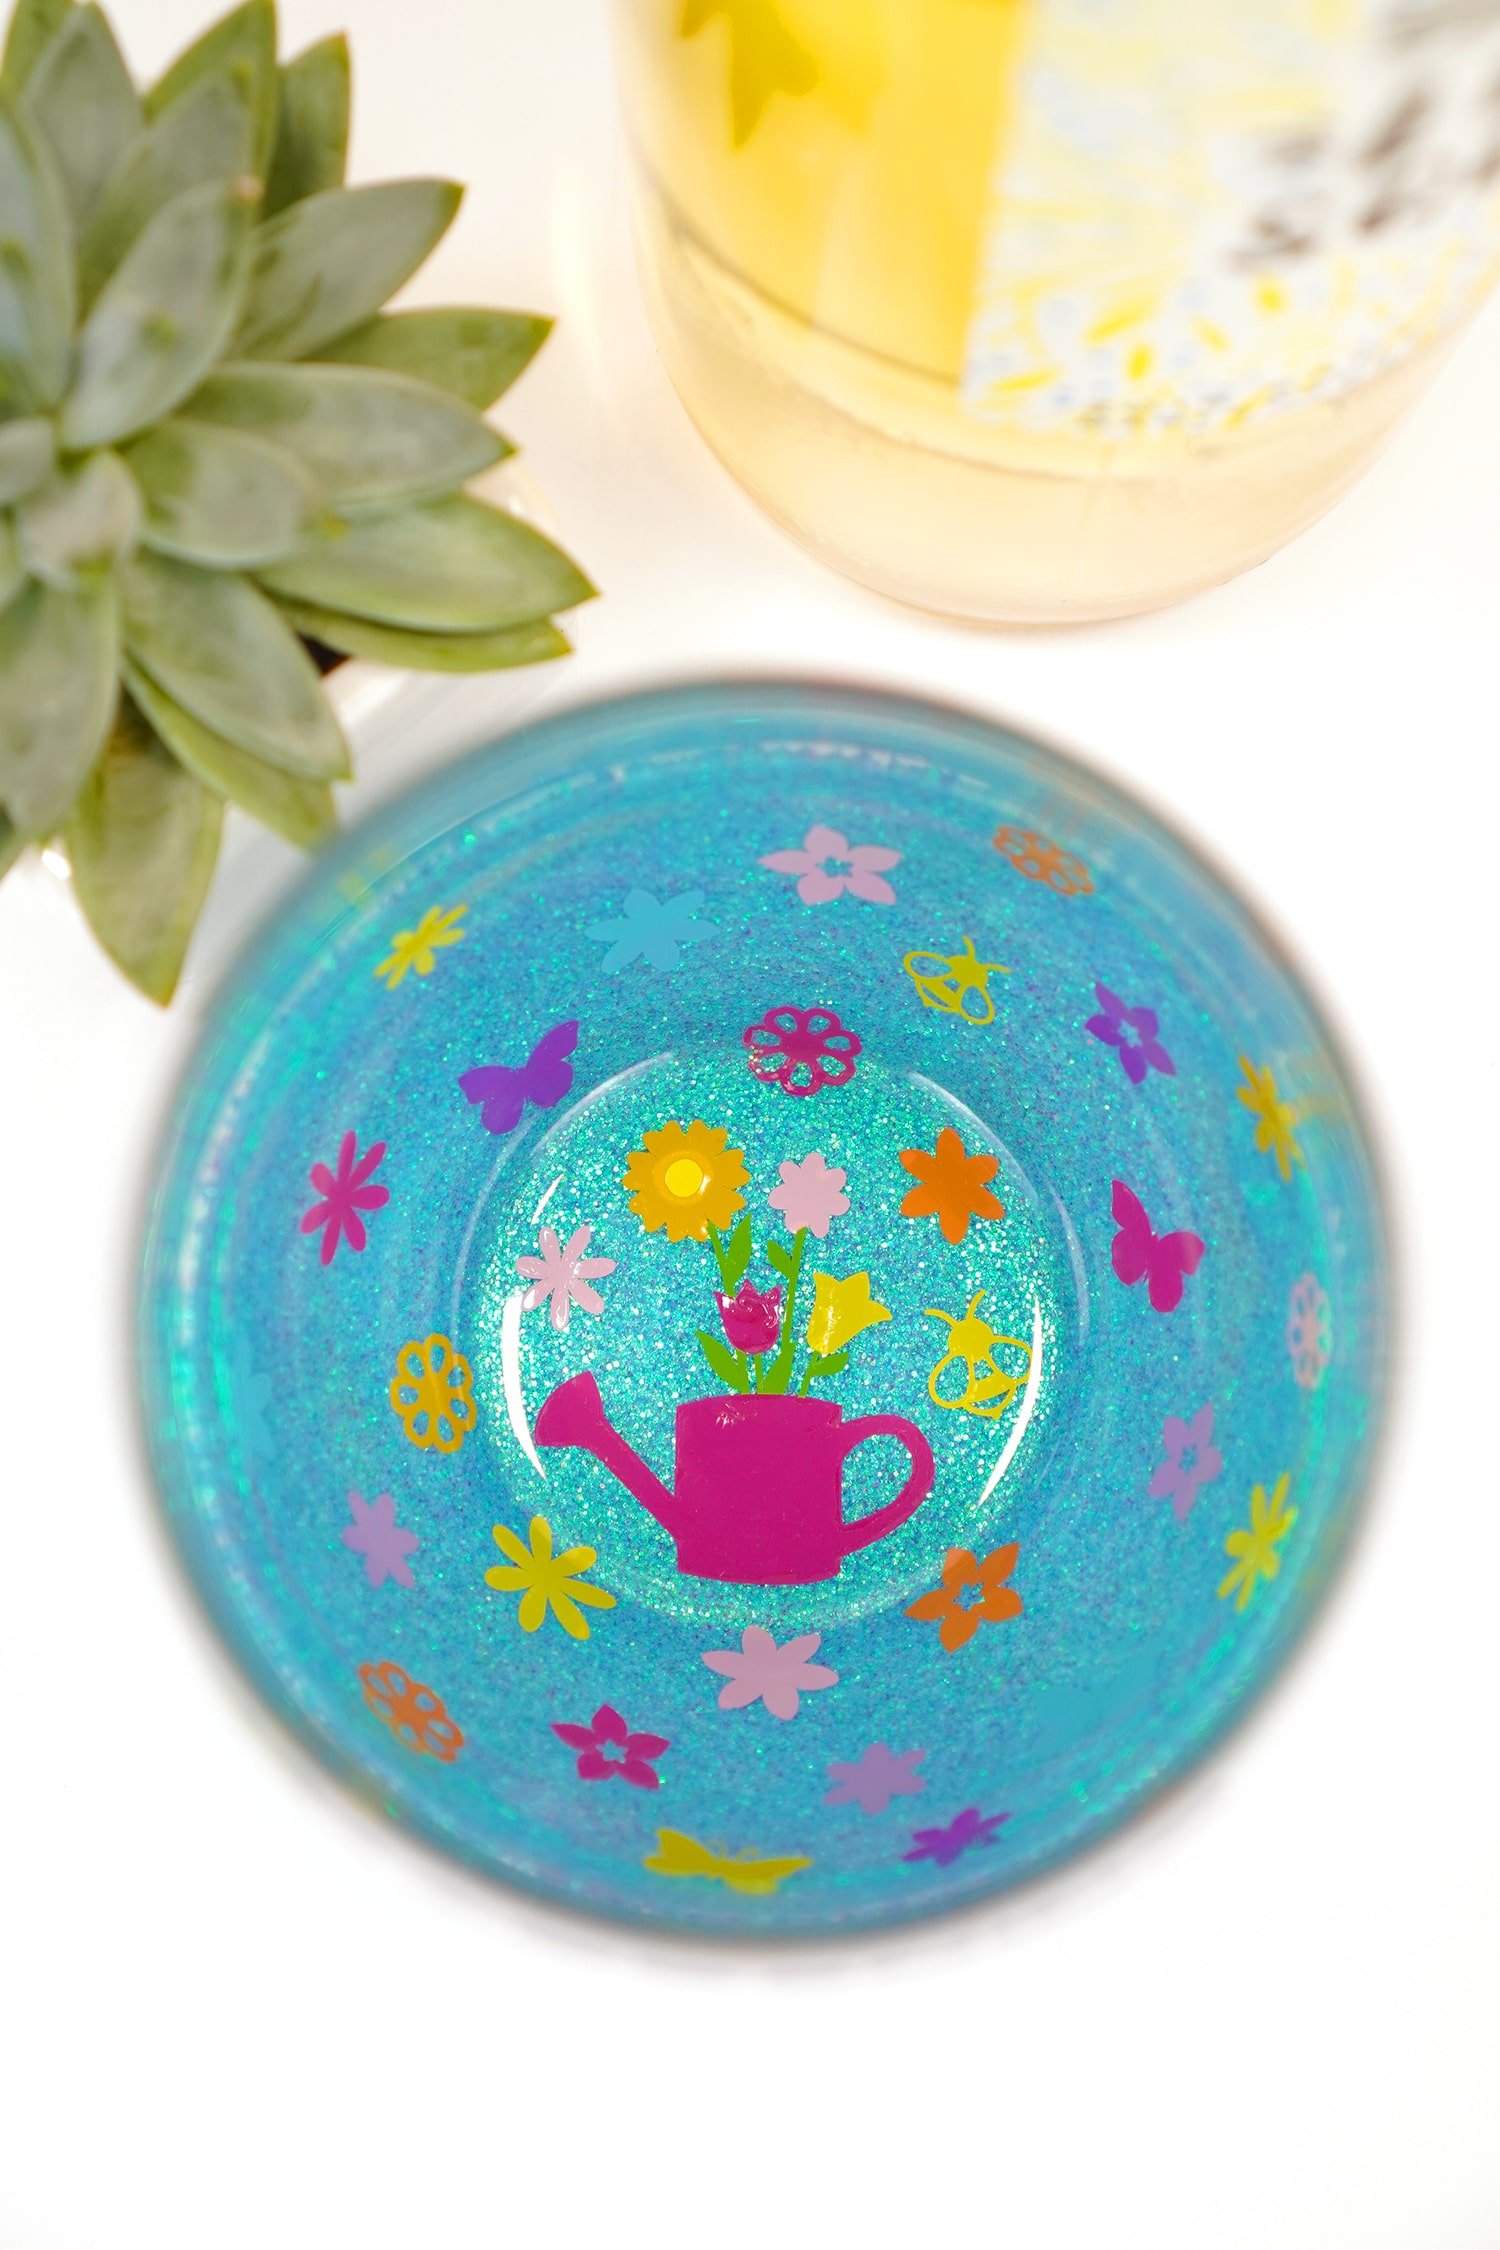
I love the way that the peekaboo design pops and stands out against the blue glitter! 😍
These wine glasses are going to make the PERFECT gift for my plant-loving friend!
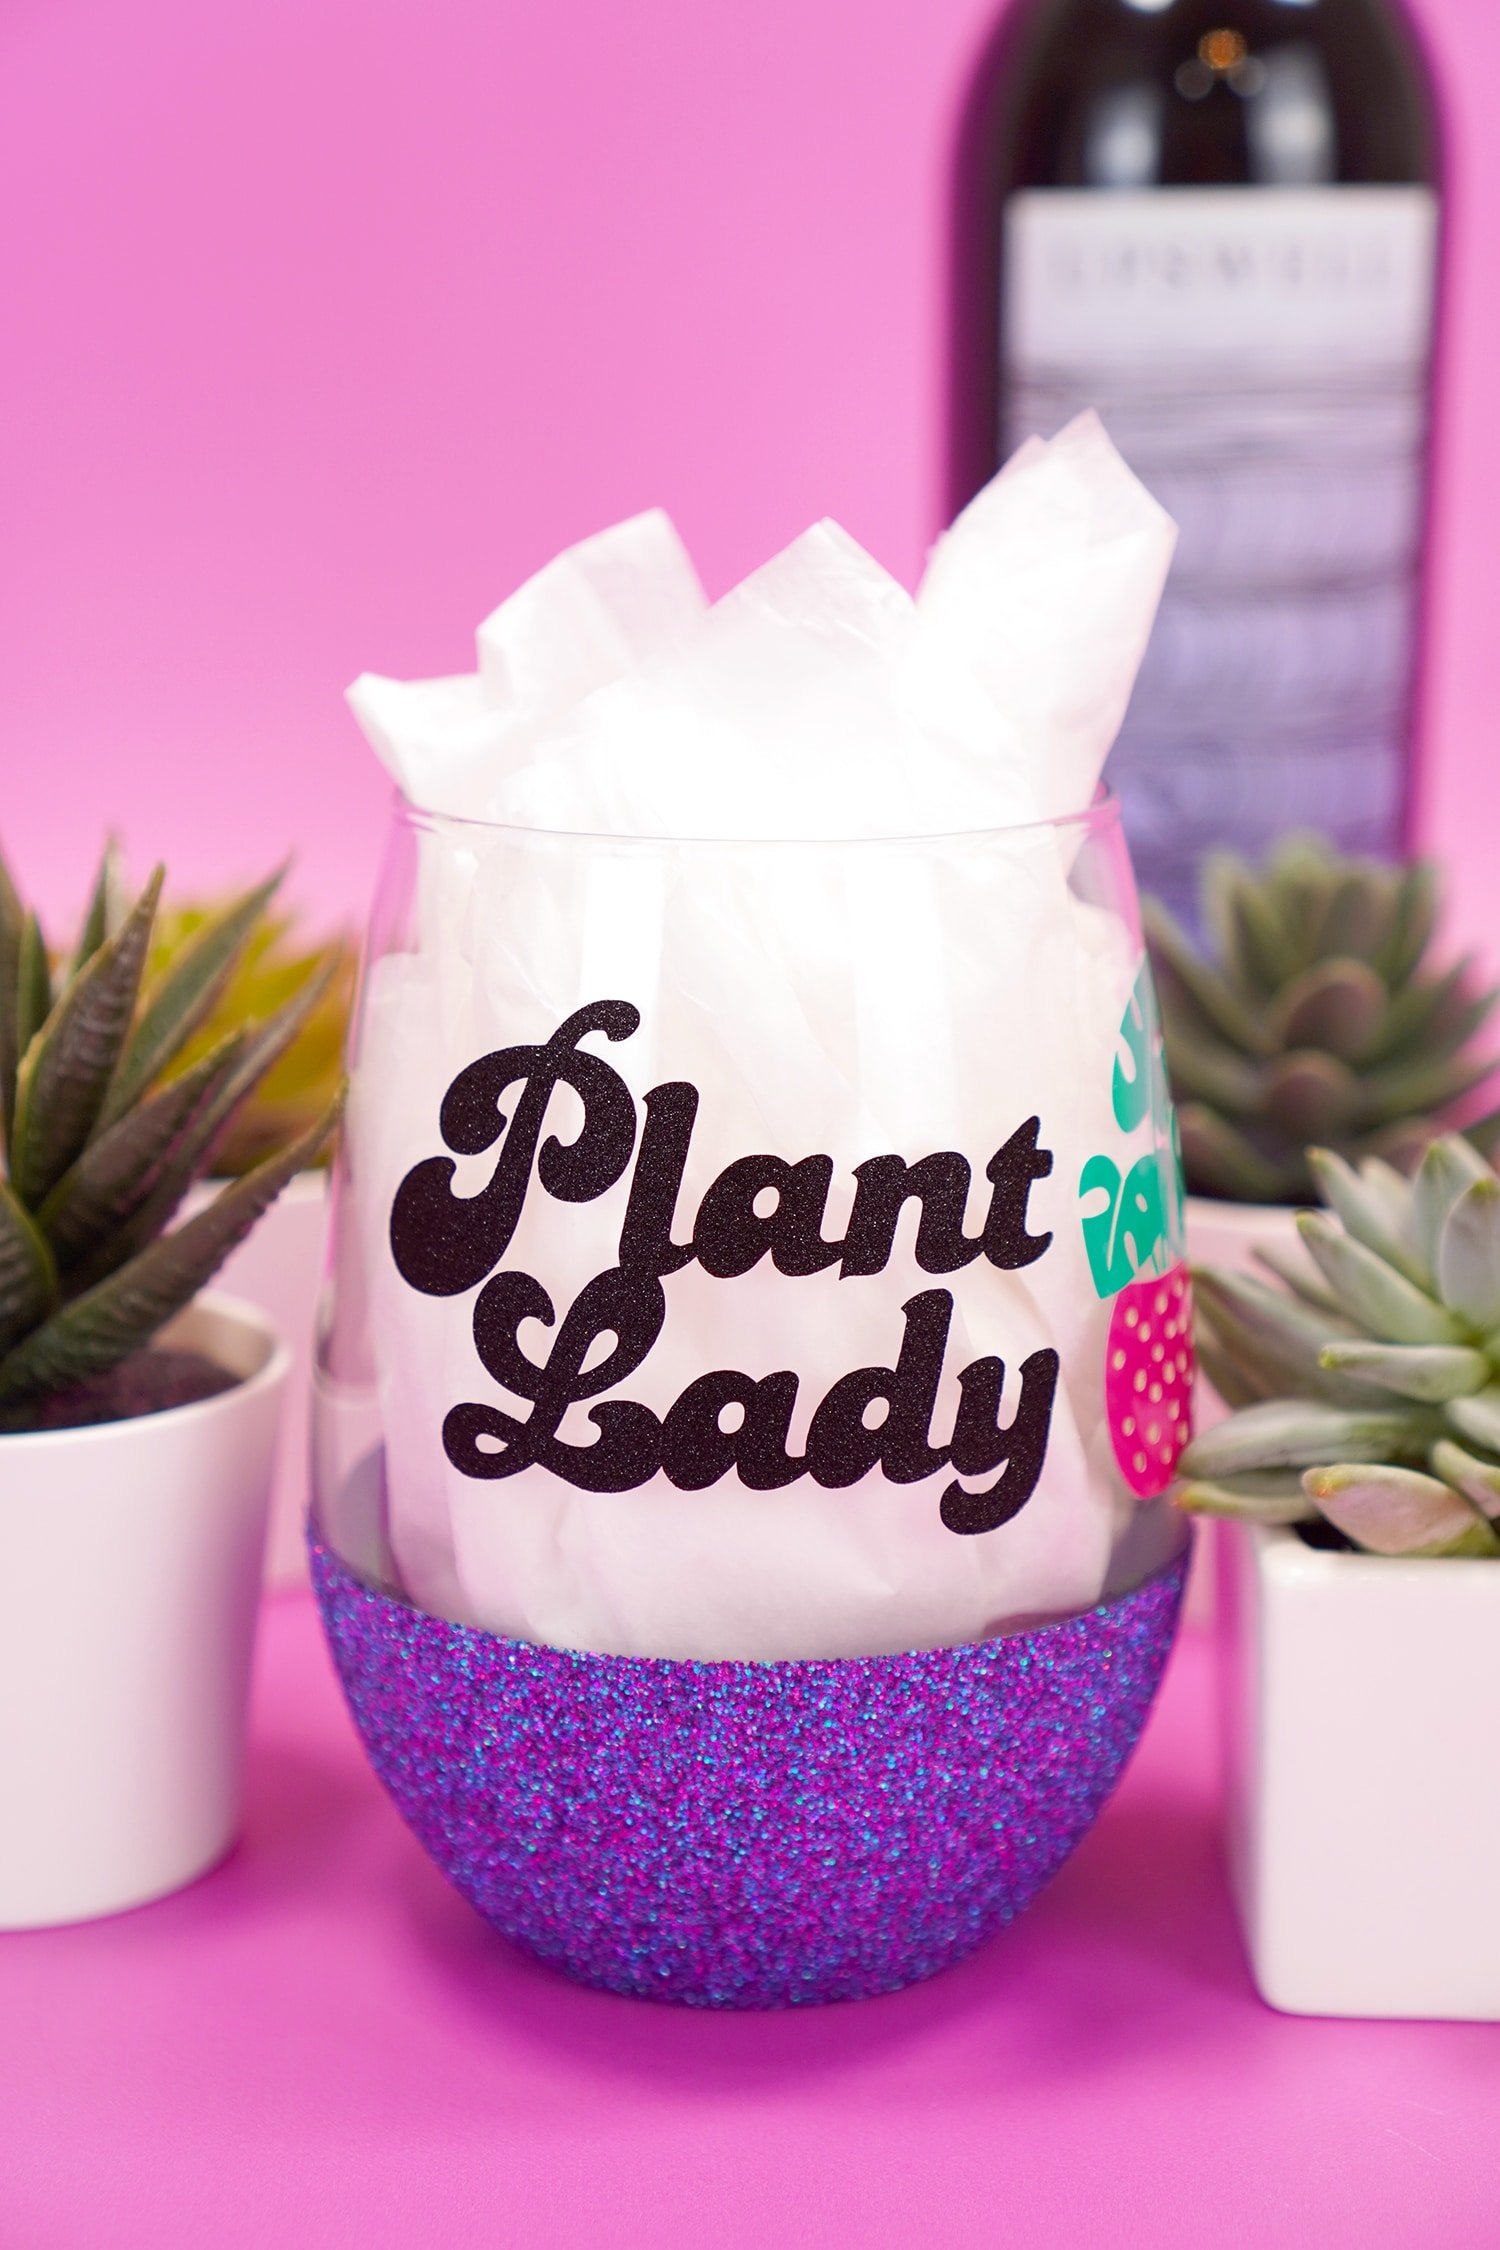
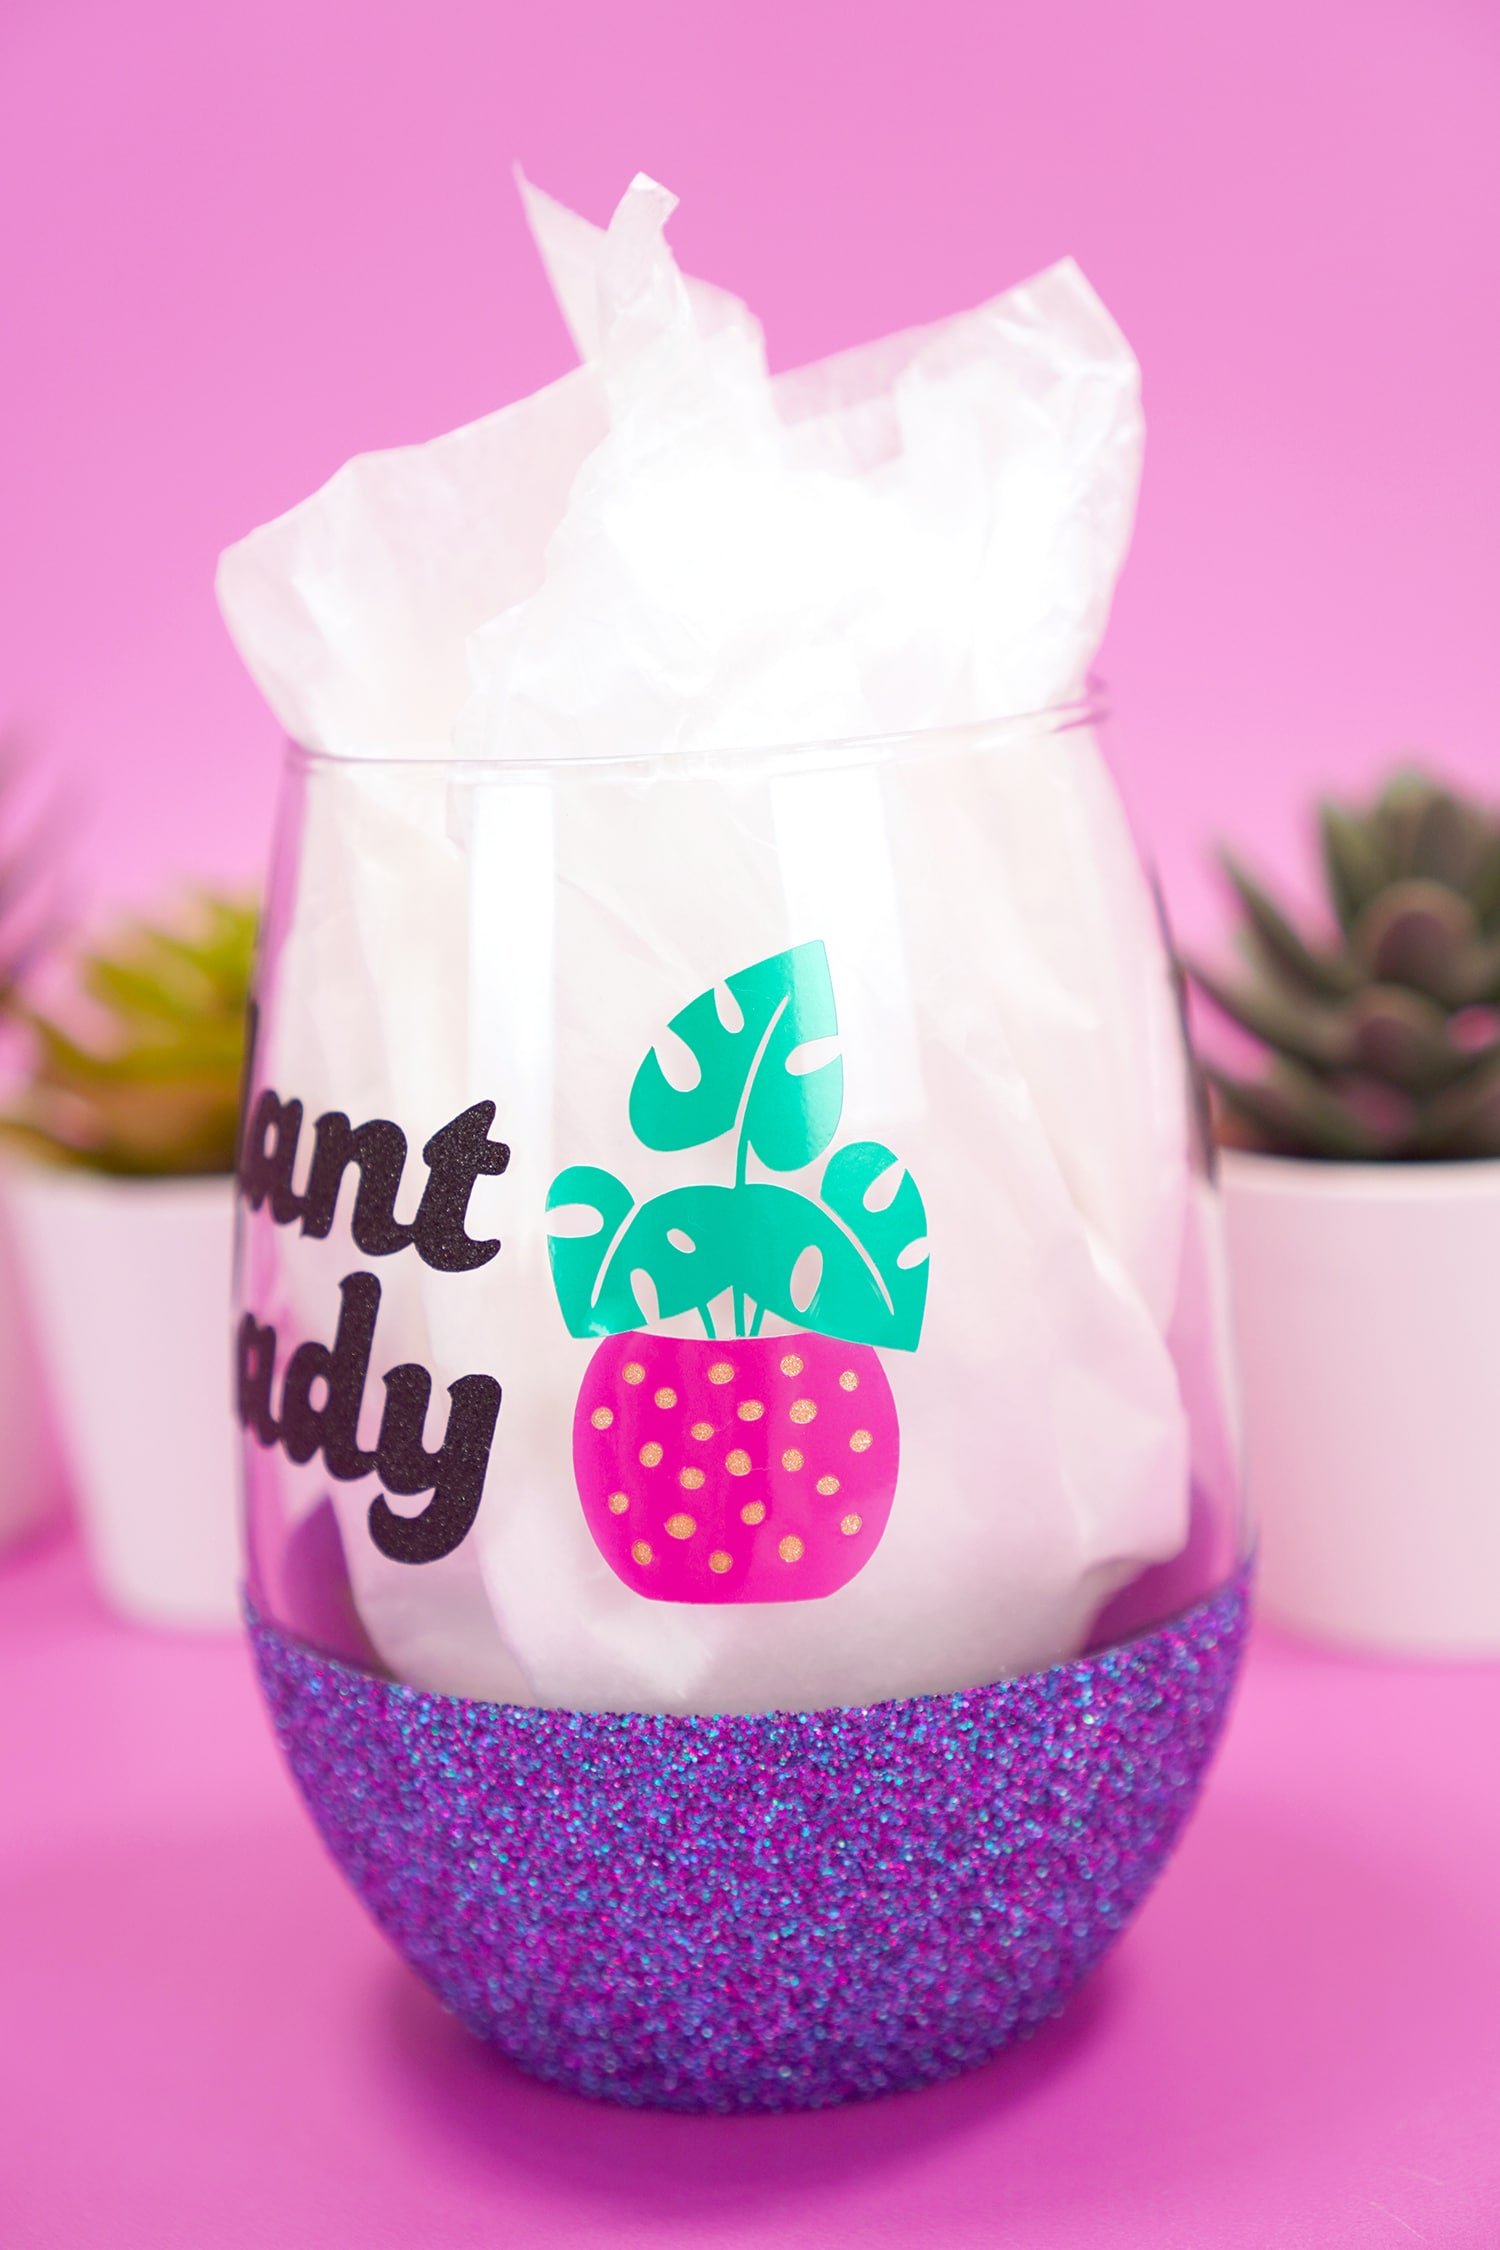
The potted plant design made from Pearl Metallic Vinyl (in Dew Green and Party Pink) perfectly coordinates with the assorted colors in the glitter! It’s all about the details, right?
Those peekaboo leaves just might be one of my favorite things EVER! 😍
Of course, wine is always better with a friend, and this second glass is just as dazzling as the first!
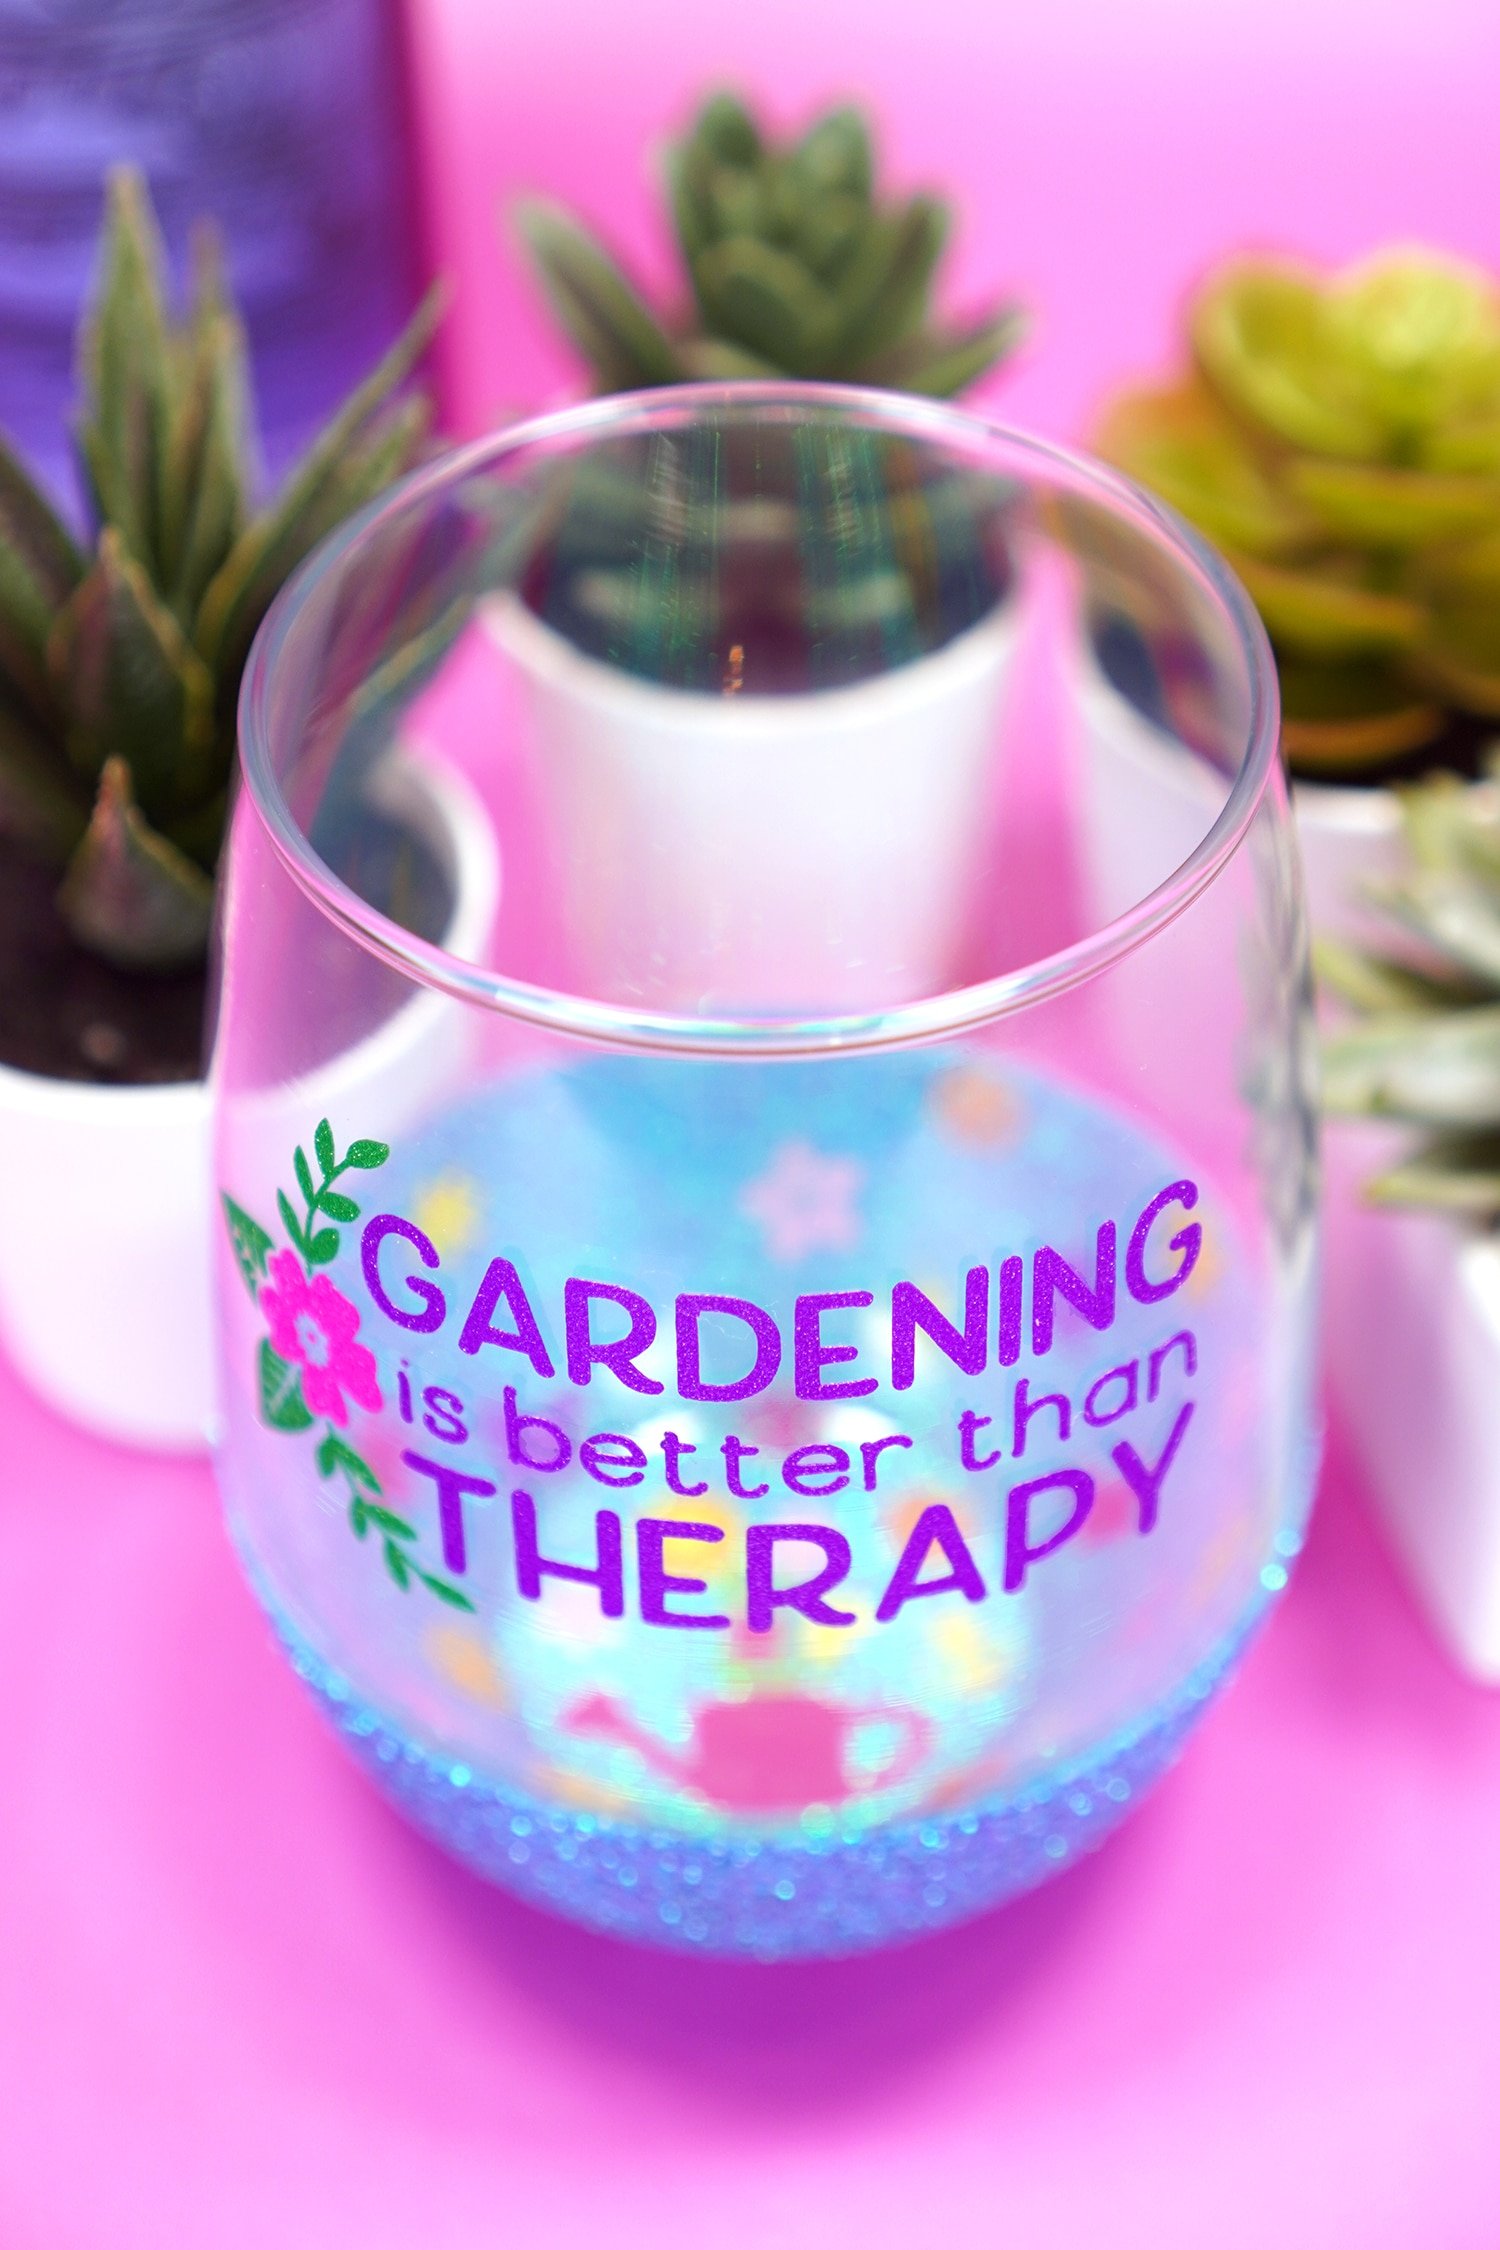

Discovering this cheery garden that’s hiding in the bottom of the glass is such a delight!
I would certainly LOVE to receive this gift from one of my friends!
DIY glitter wine glasses make a great homemade gift idea for Christmas, birthdays, Mother’s Day, and any time, really!
CARE NOTE:
Though I used Dishwasher-Safe Mod Podge and Permanent Vinyl, both of which are dishwasher rated, I would still recommend hand-washing these glitter wine glasses for best results.
Who would you make these for? Leave a comment and let me know what designs and color combinations you’re going to make first!

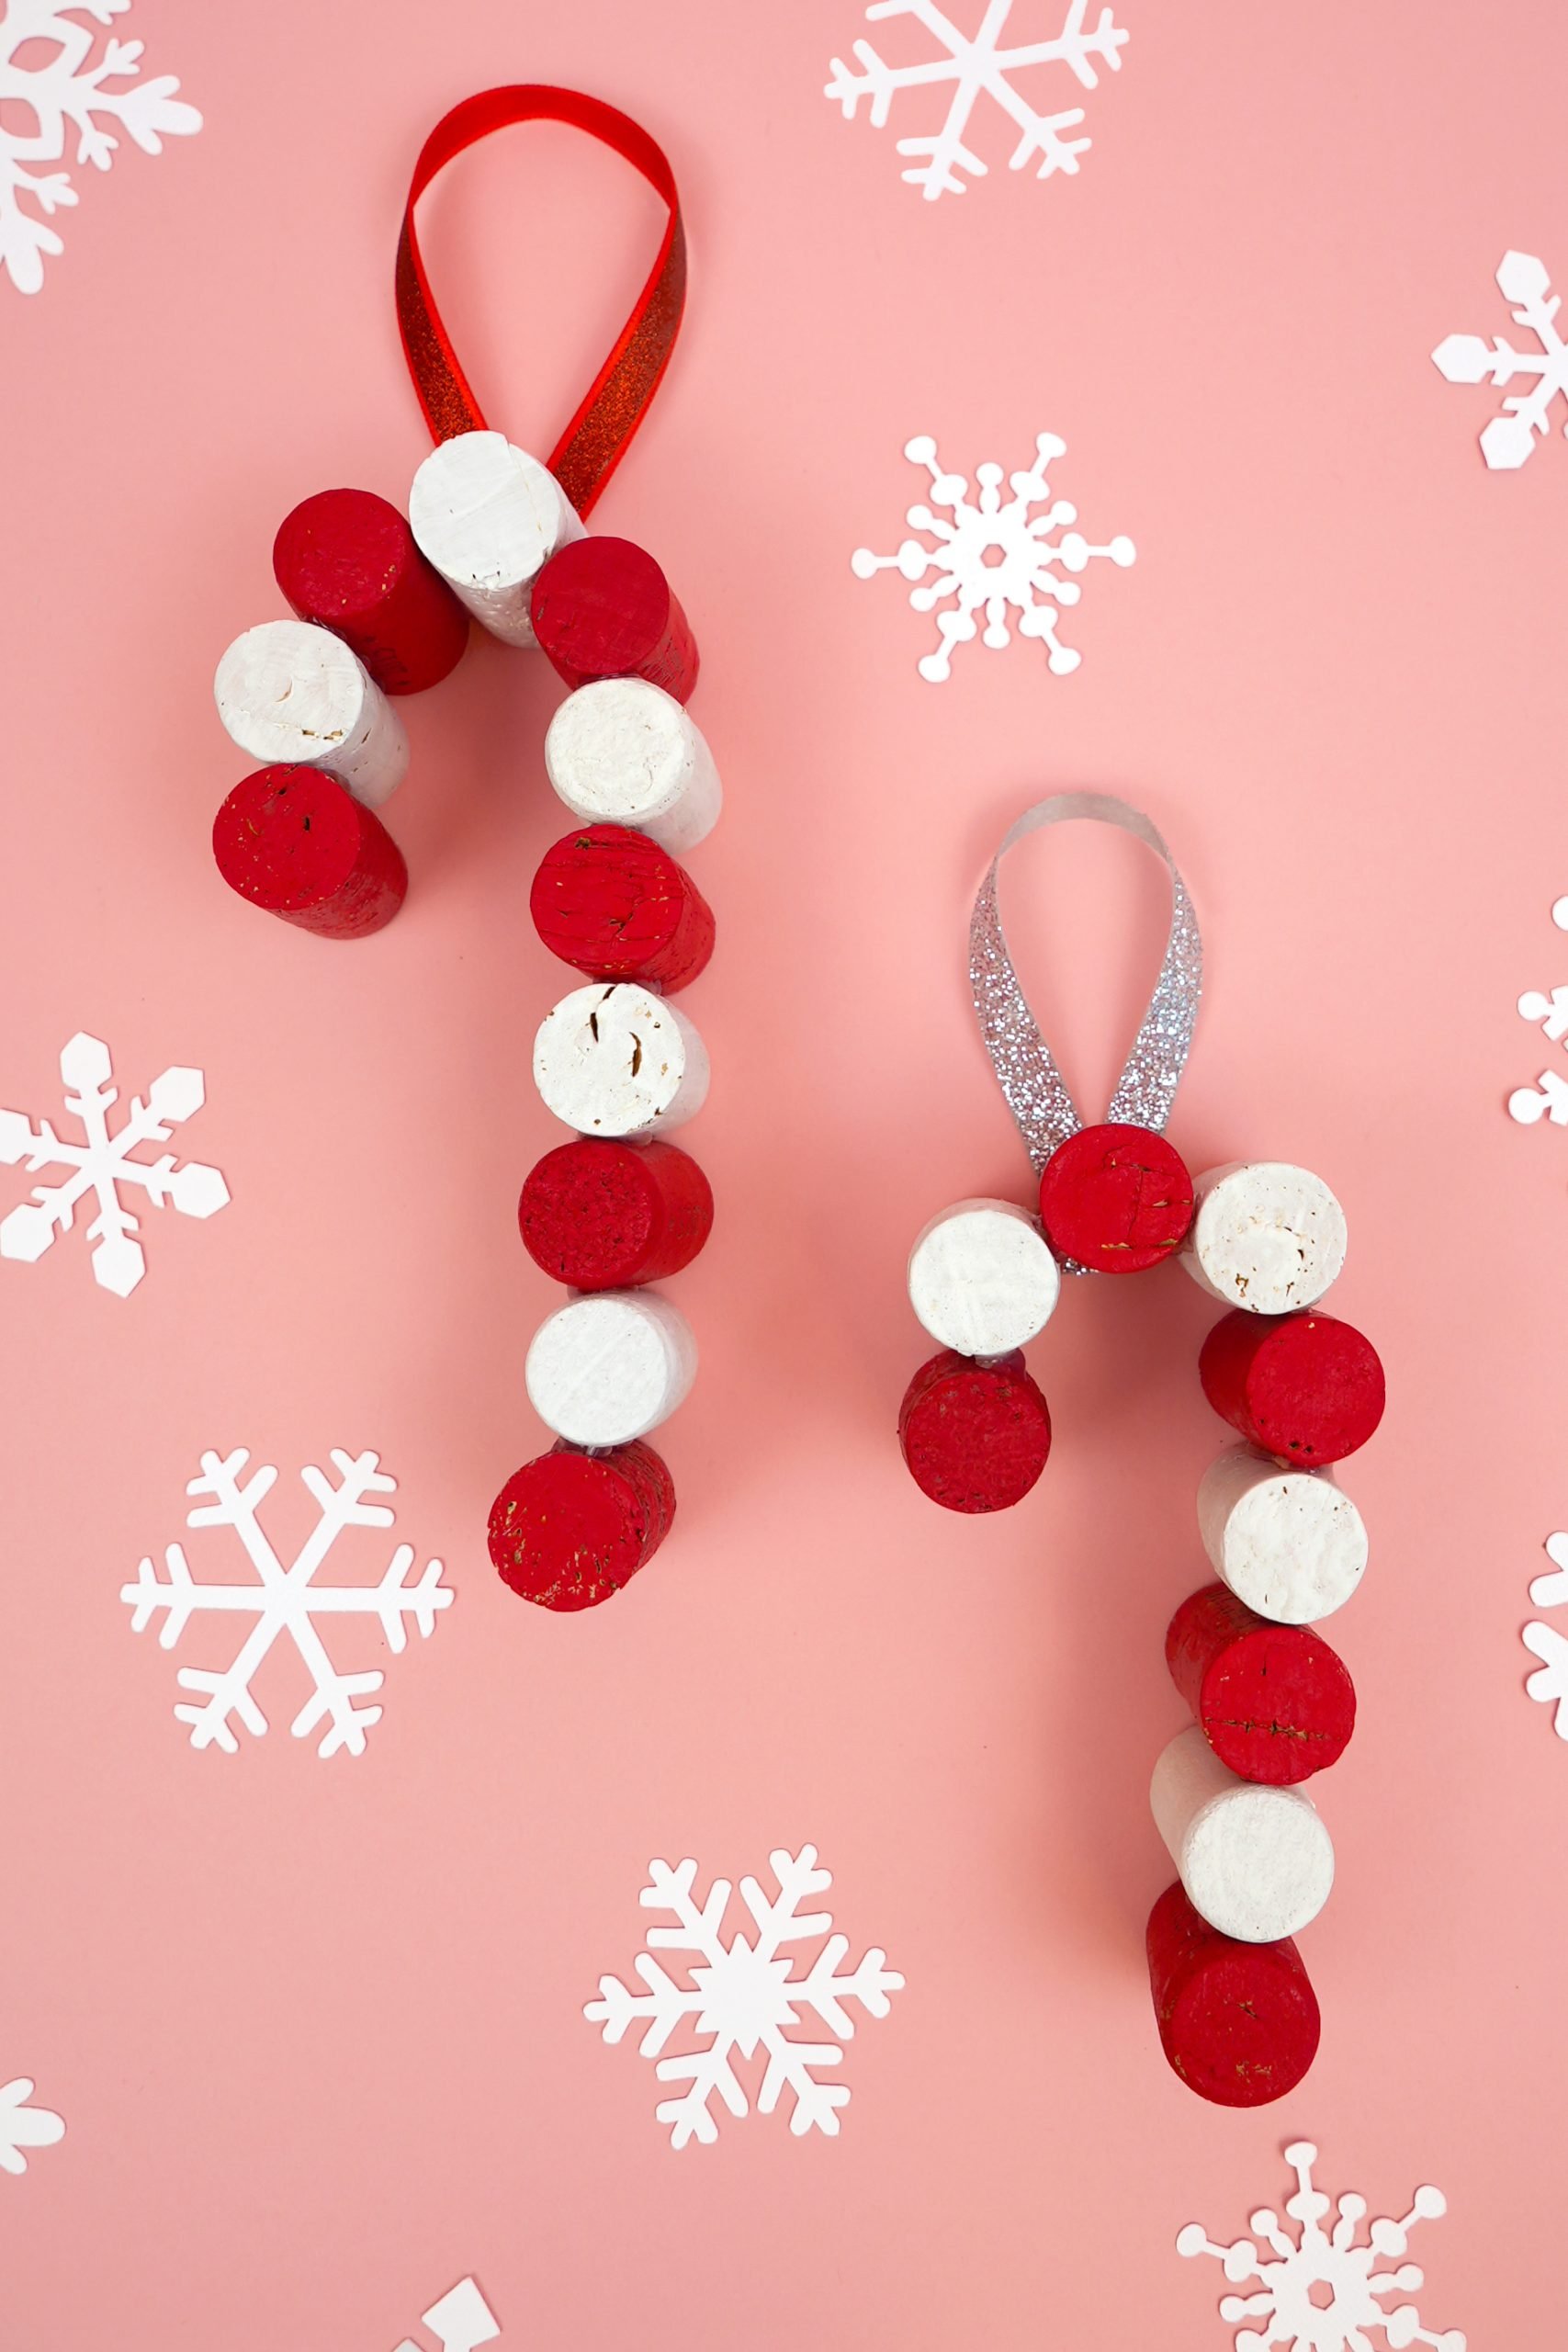
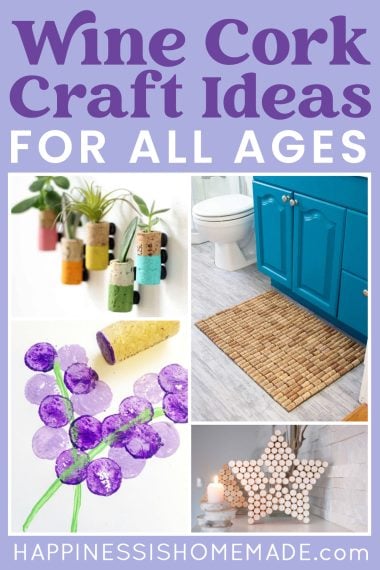
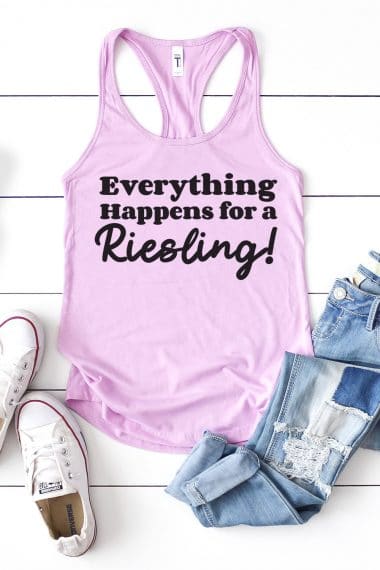
Check Out These Other Wine Crafts & Printables!

Don’t Forget to Pin This Tutorial for Later!

Heidi Kundin has captivated the hearts of millions with her colorful and inspiring approach to crafting, celebrations, and family fun. With over 15 years of experience, Happiness is Homemade has become a must-visit destination for those seeking quick and easy creative ideas and last-minute solutions. Heidi’s warm personality shines through her posts, inviting readers to join her on a creative journey that’s fun, rewarding, and achievable. Heidi is also the author of Homemade Bath Bombs & More and DIY Tie-Dye.
I wish I could leave a photo with my comment…. but I used your tutorial here… and made 31 wine glasses for my placecards for friendsgving, and they turned out… AWESOME!!! Thank you!
I love that, Valerie! So glad they turned out well for you! 🙂
Can you use permanent vinyl ( cricut )
On top of the glitter once it’s set ??
Hi Charlie, the glitter will still have some texture to it, so I wouldn’t recommend trying to layer vinyl on top since it won’t be totally smooth.
These are awesome !!! I plan to do Valentine’s Day and Mardi Gras themed ones !!! Quick question how long do you let them dry?
I love how you did your wine glasses, I’m looking for ideas for my daughter in law that is so hard to buy for. I believe you helped me thank you so very much. Merry Christmas.