
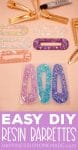
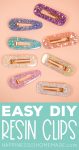


Make your own DIY resin hair clips with our easy tutorial! Customize them to match any outfit or style! A fun craft project for teens and adults!
This post may contain affiliate links. I will receive a small commission from these sales at no additional cost to you!
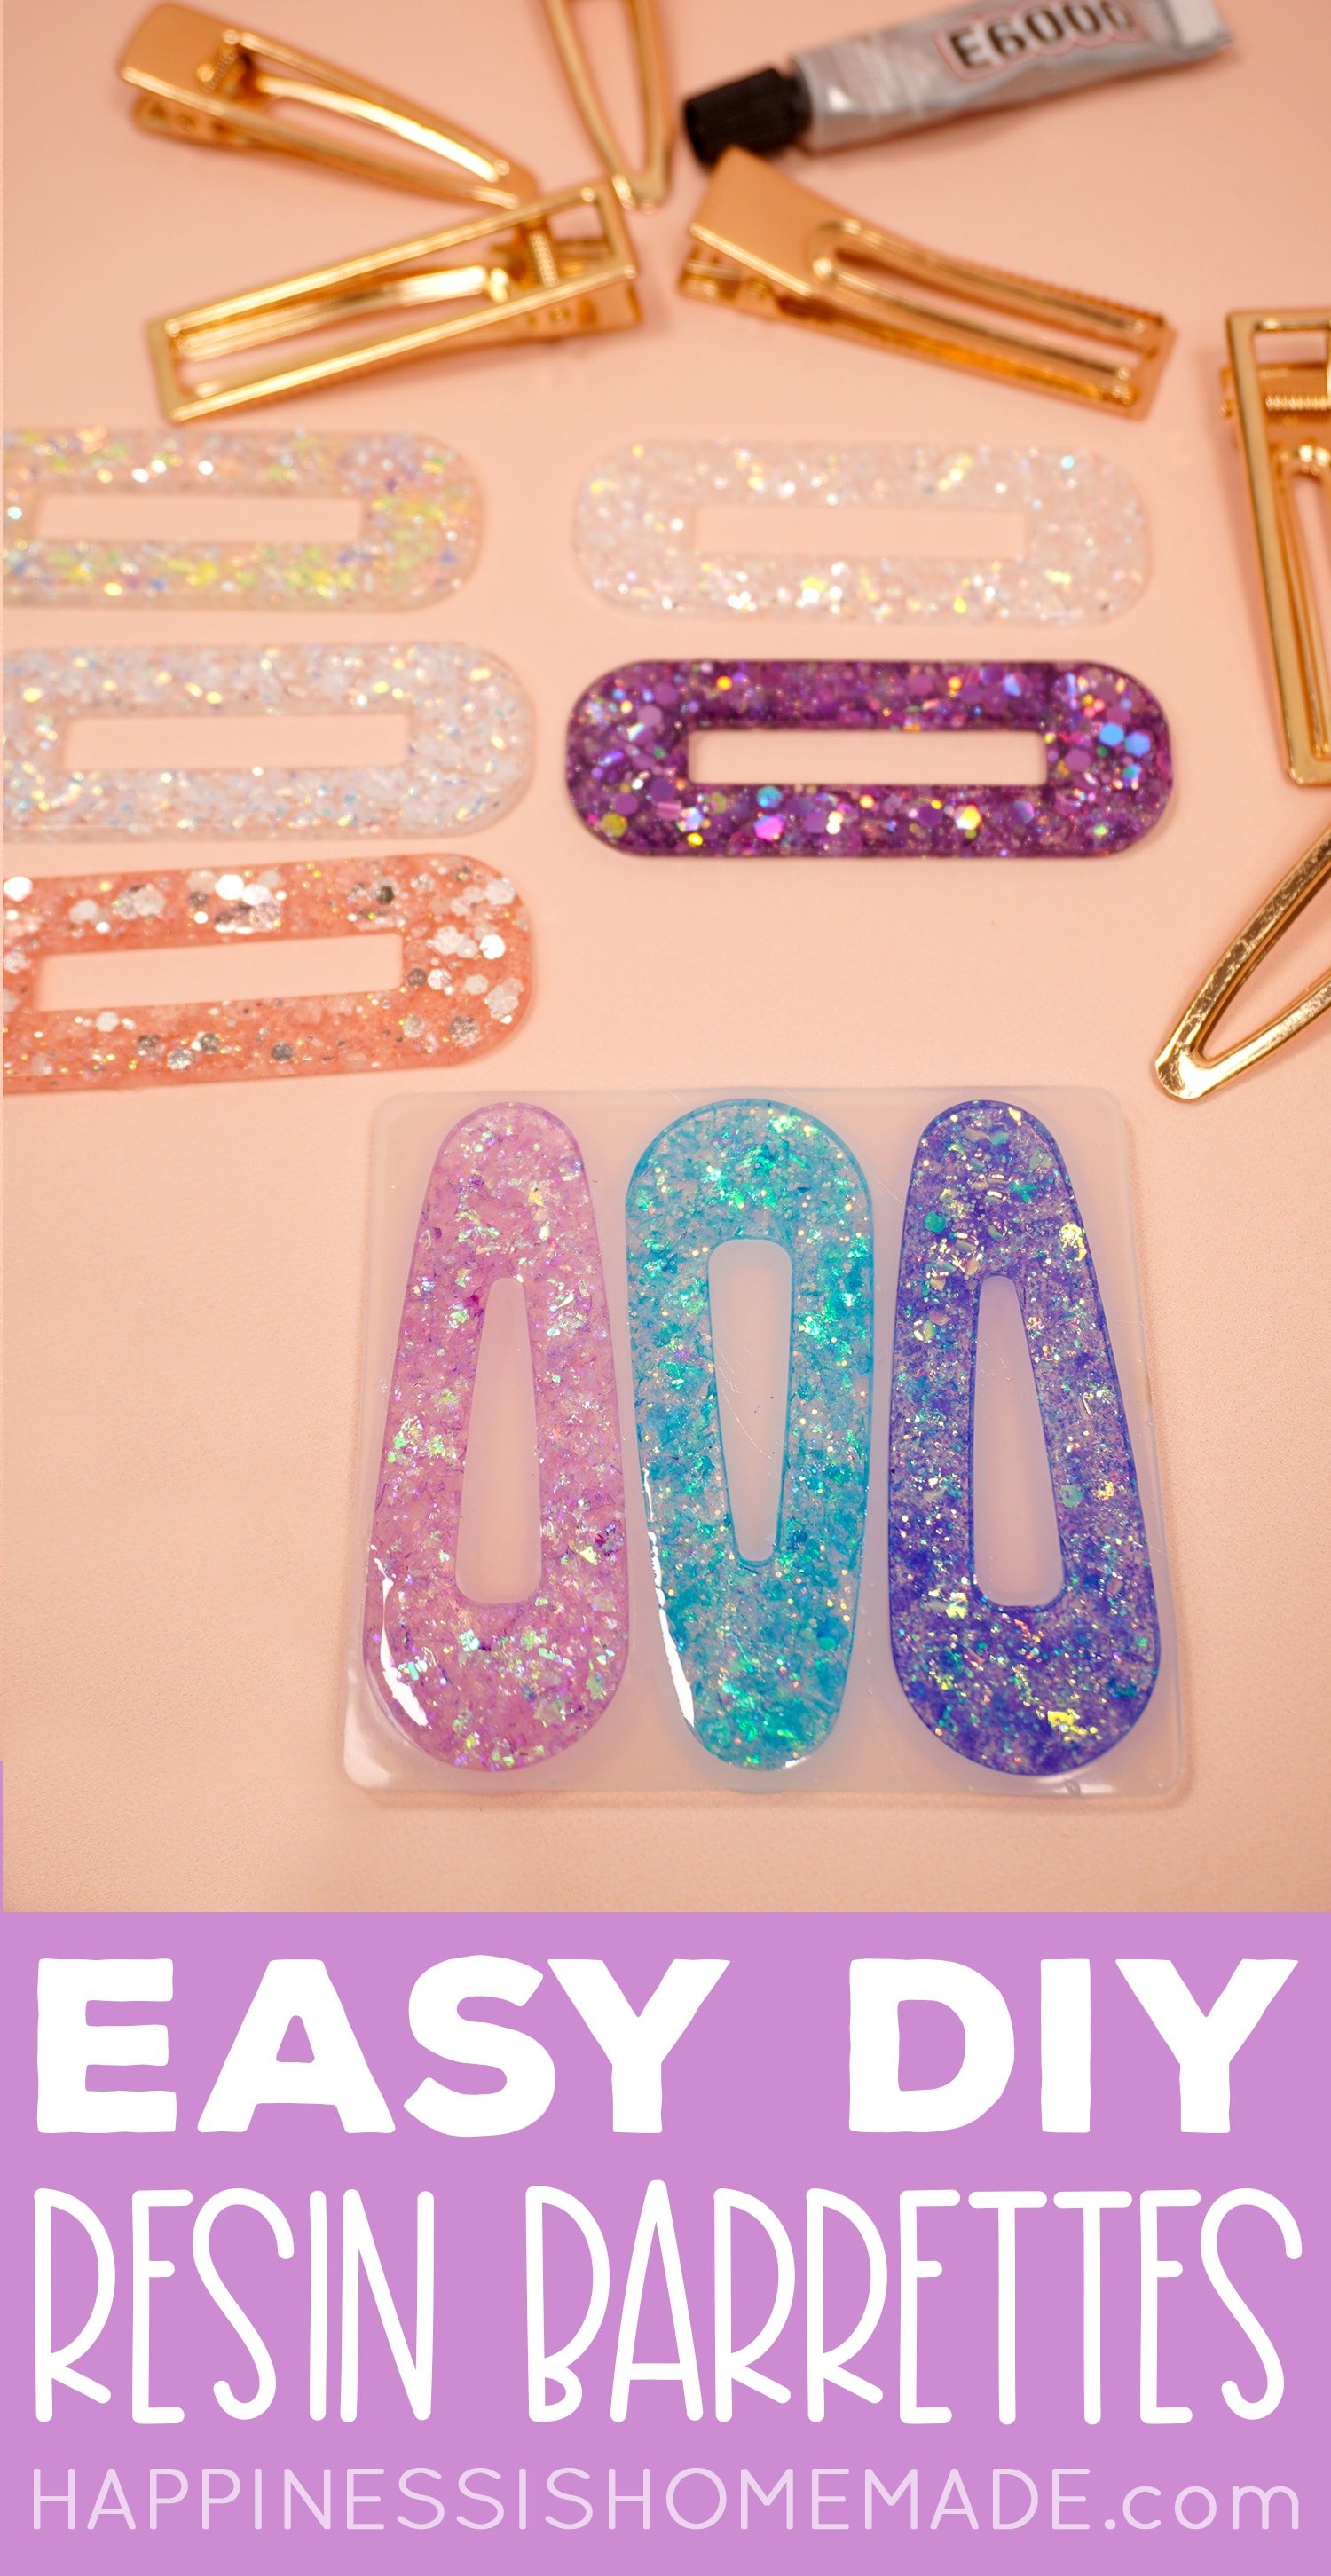
DIY Hair Clips with Resin
Resin project have been HOT lately, and ever since I made my Rainbow Glitter Wine Tumblers last winter, I have been a total resin-aholic! There is SO much that you can do with resin and about a zillion ways that you can customize each project!
I’ve experimented with quite a few different cast resin projects, and I can confidently say that this is one of the EASIEST resin projects that you can create! Quick, easy, and the results are SUPER impressive!
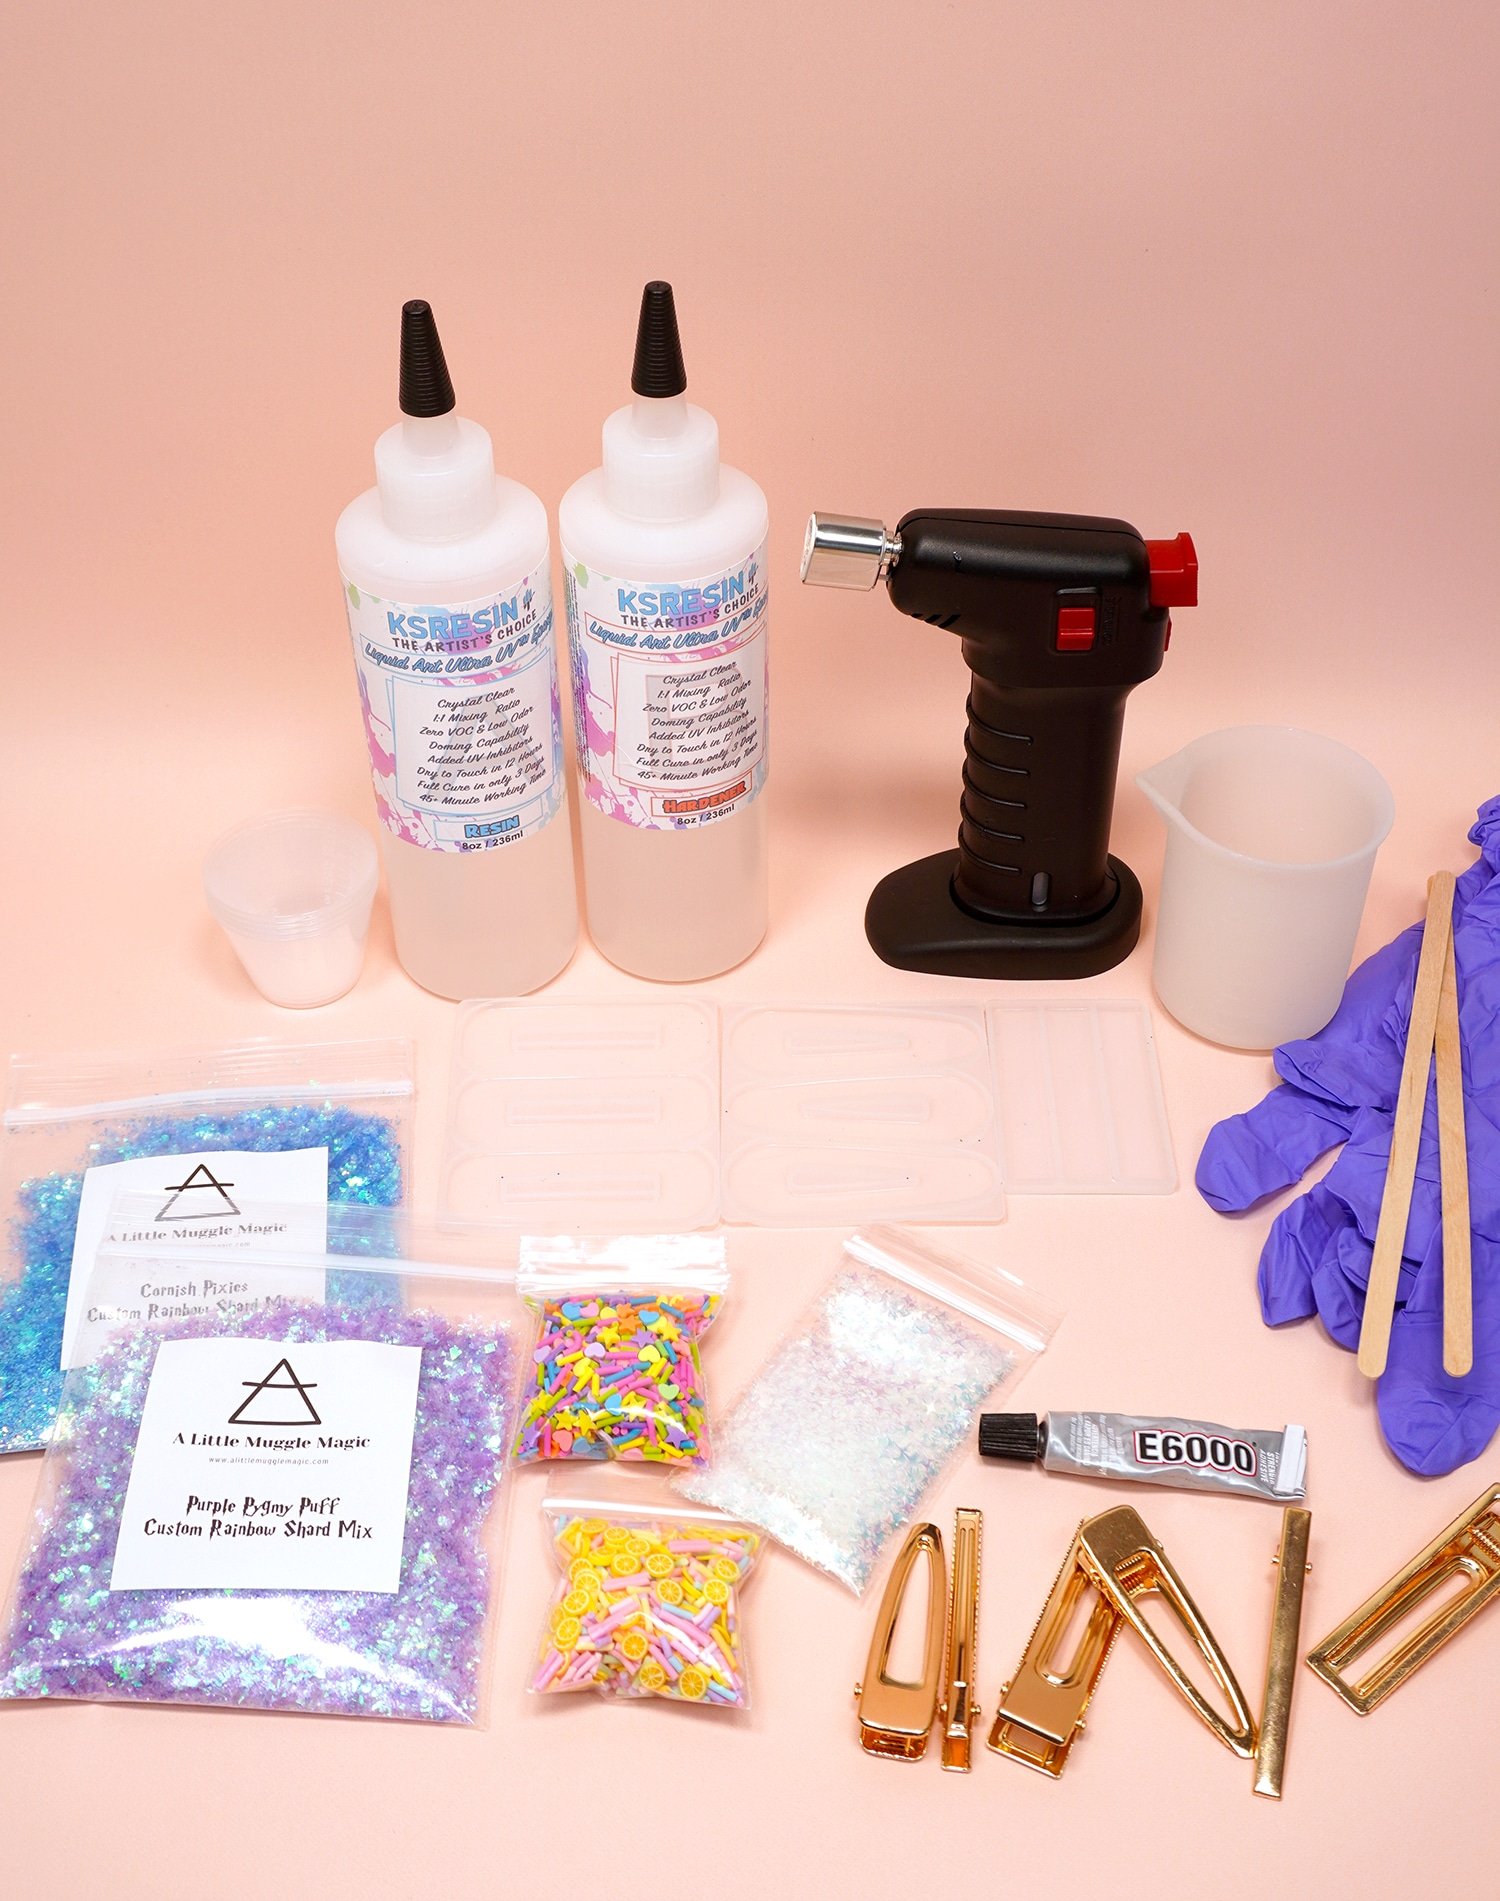
Supplies Needed to Make Resin Hair Clips:
- 2-Part Resin – I used KSRESIN Liquid Art Ultra UV Epoxy Resin because it pours and cures crystal clear and smooth as glass. (Save 5% using our link or coupon code HAPPINESS at checkout)
- Silicone Mixing Cups
- Mini Cups
- Silicone Hair Clip Molds
- Metal Hair Clips
- E6000 or similar strong adhesive
- Mixing Sticks
- Personal Protection Equipment including Gloves and a Mask*
- Lighter or Butane Torch
- Glitter, Polymer Clay “Sprinkles,” or other Mix-Ins
- 10 ml Plastic Syringes, optional
* Note: the KSRESIN has no VOCs and low odor, so I generally am able to forego a mask, however, I always work next to an open window. Make sure to work in a well-ventilated area!
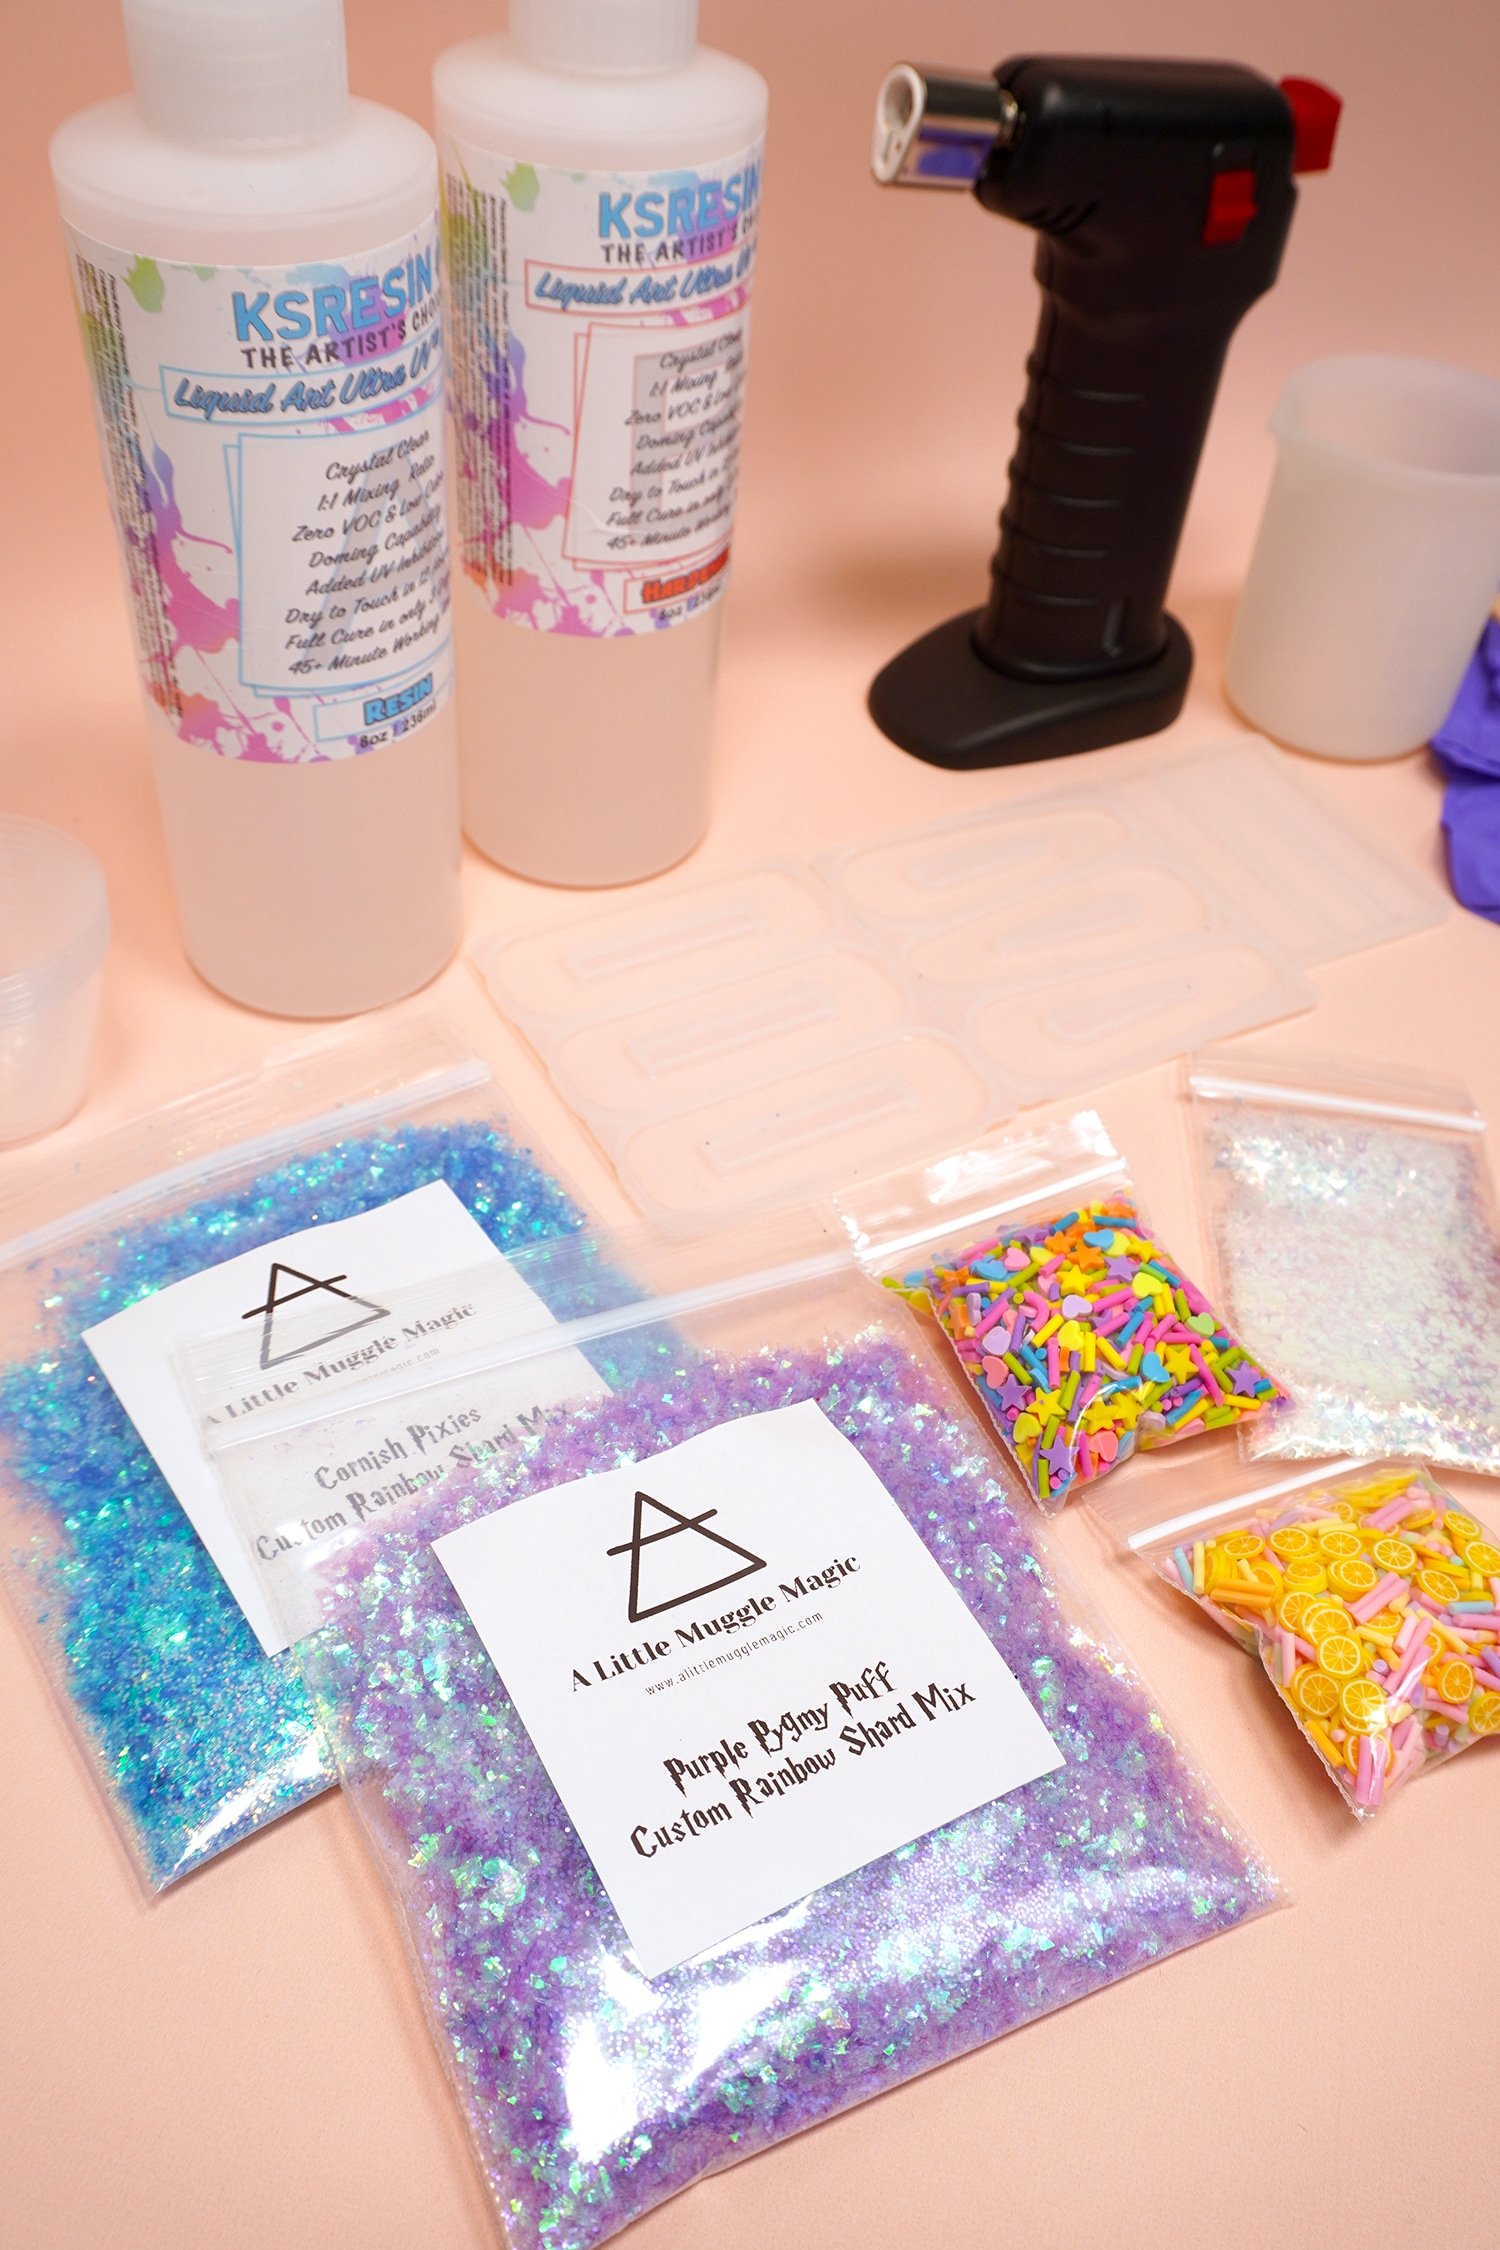
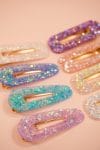
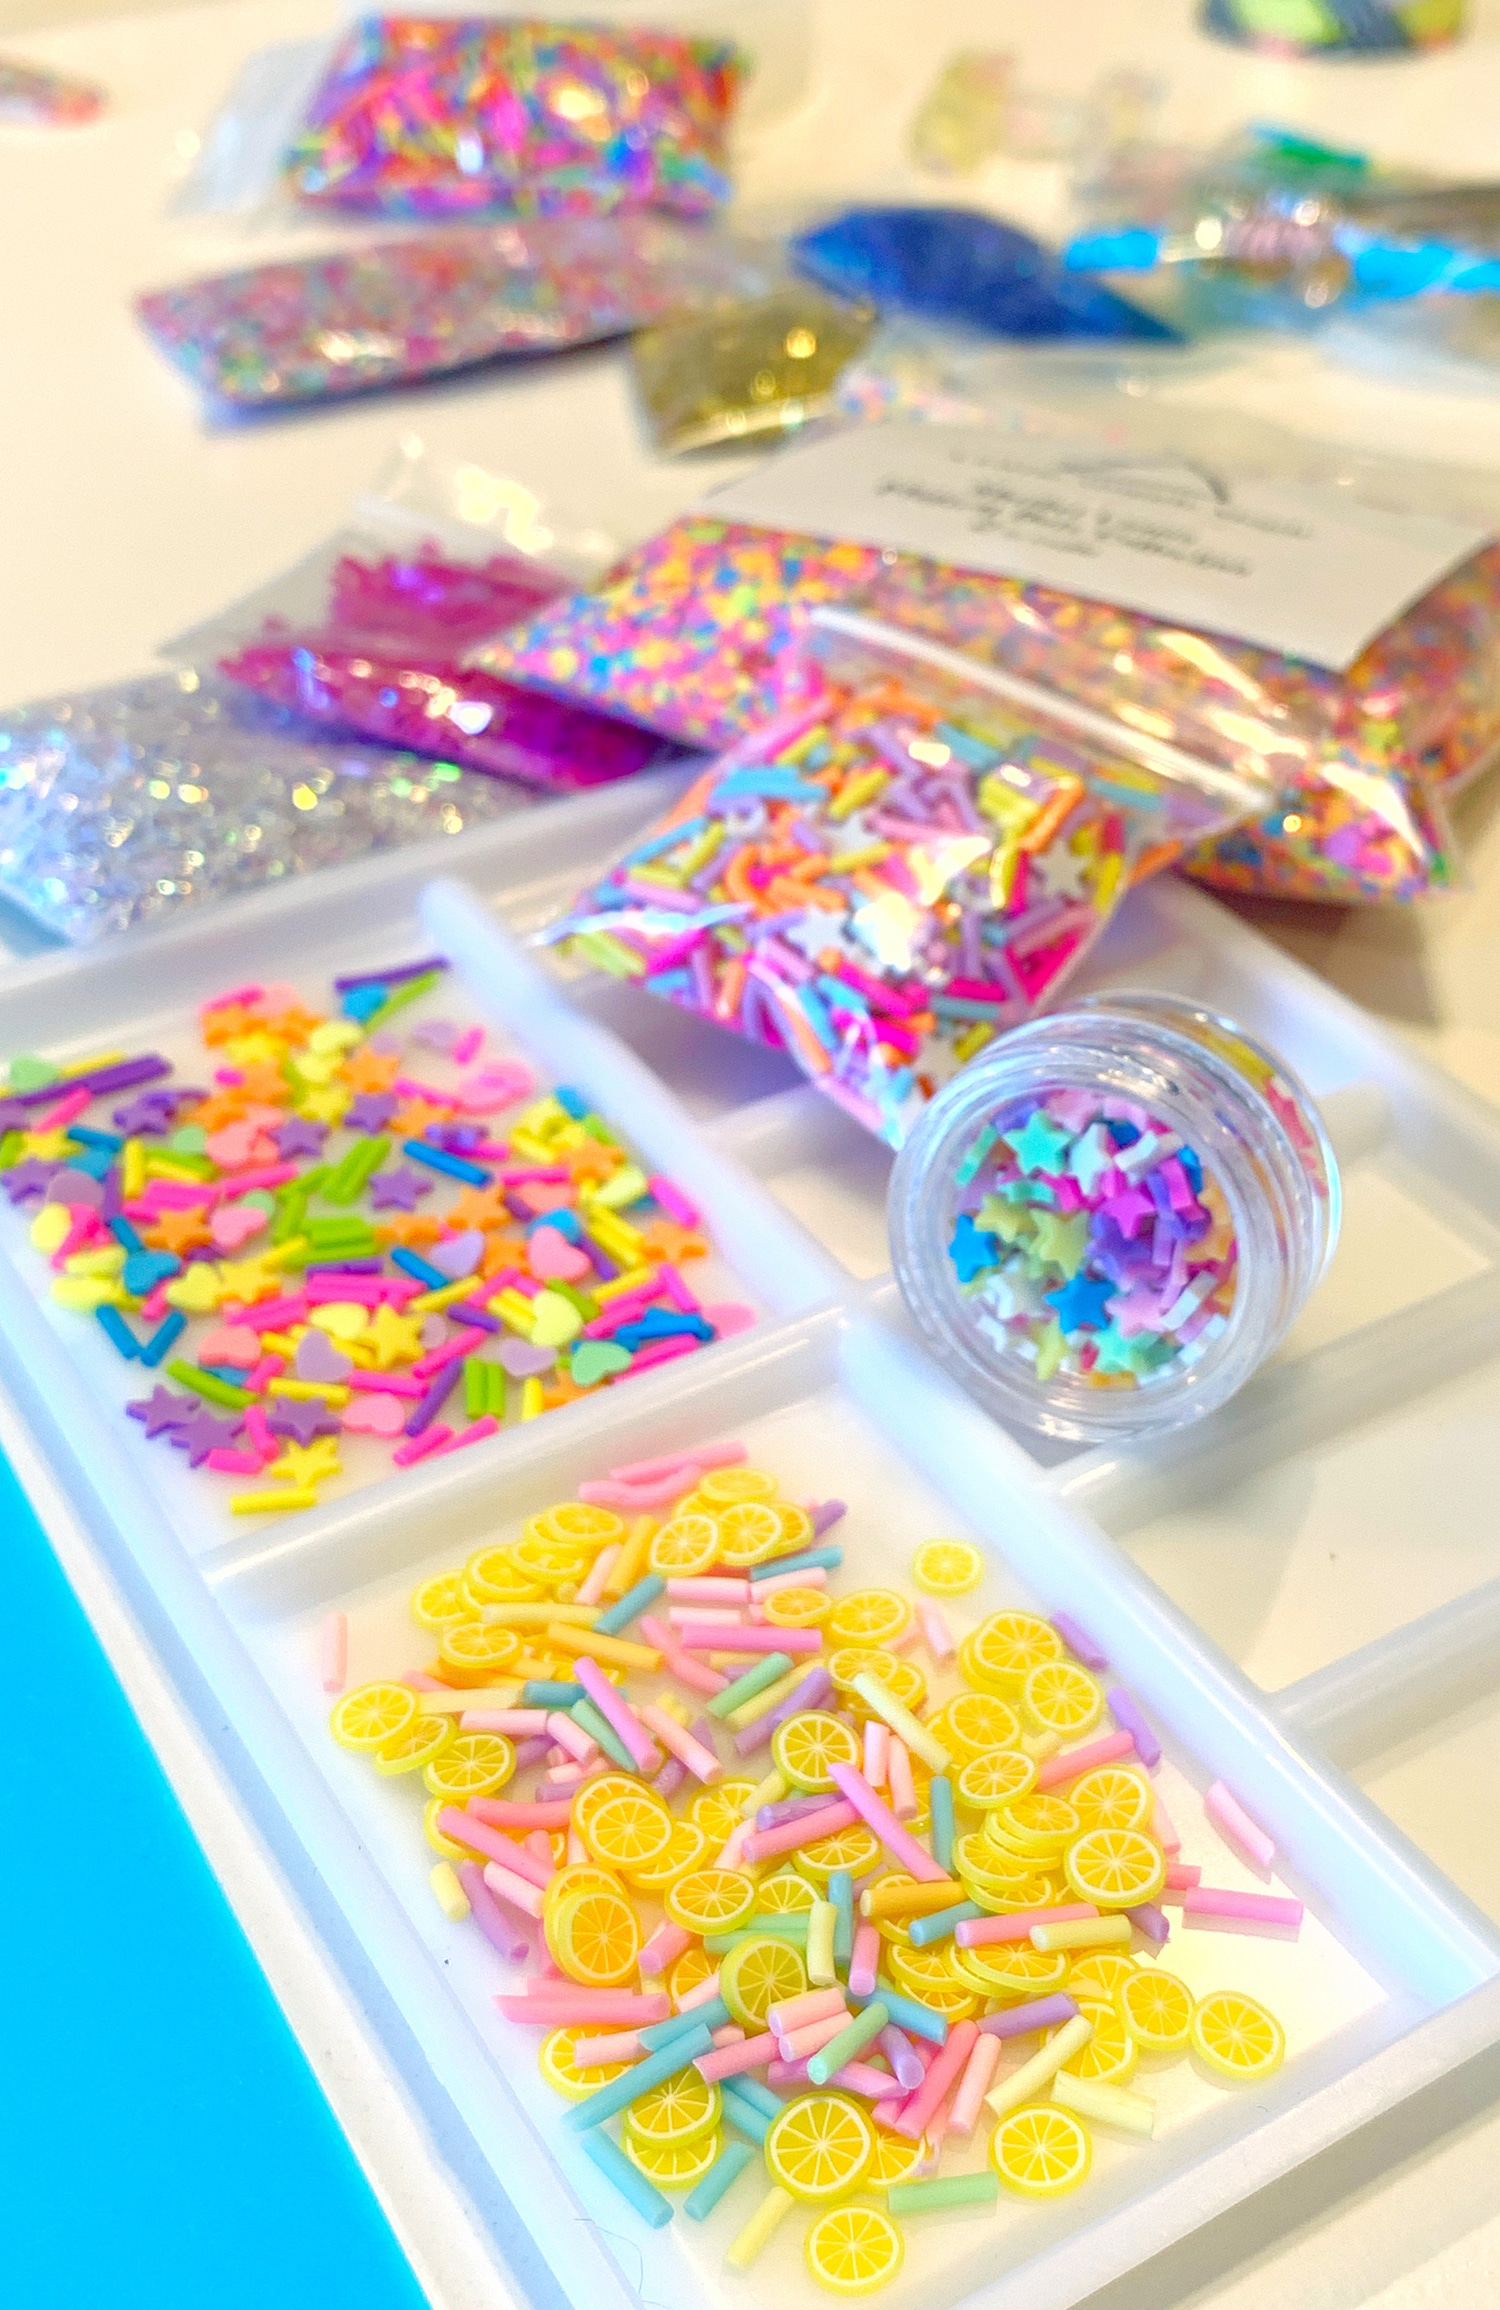
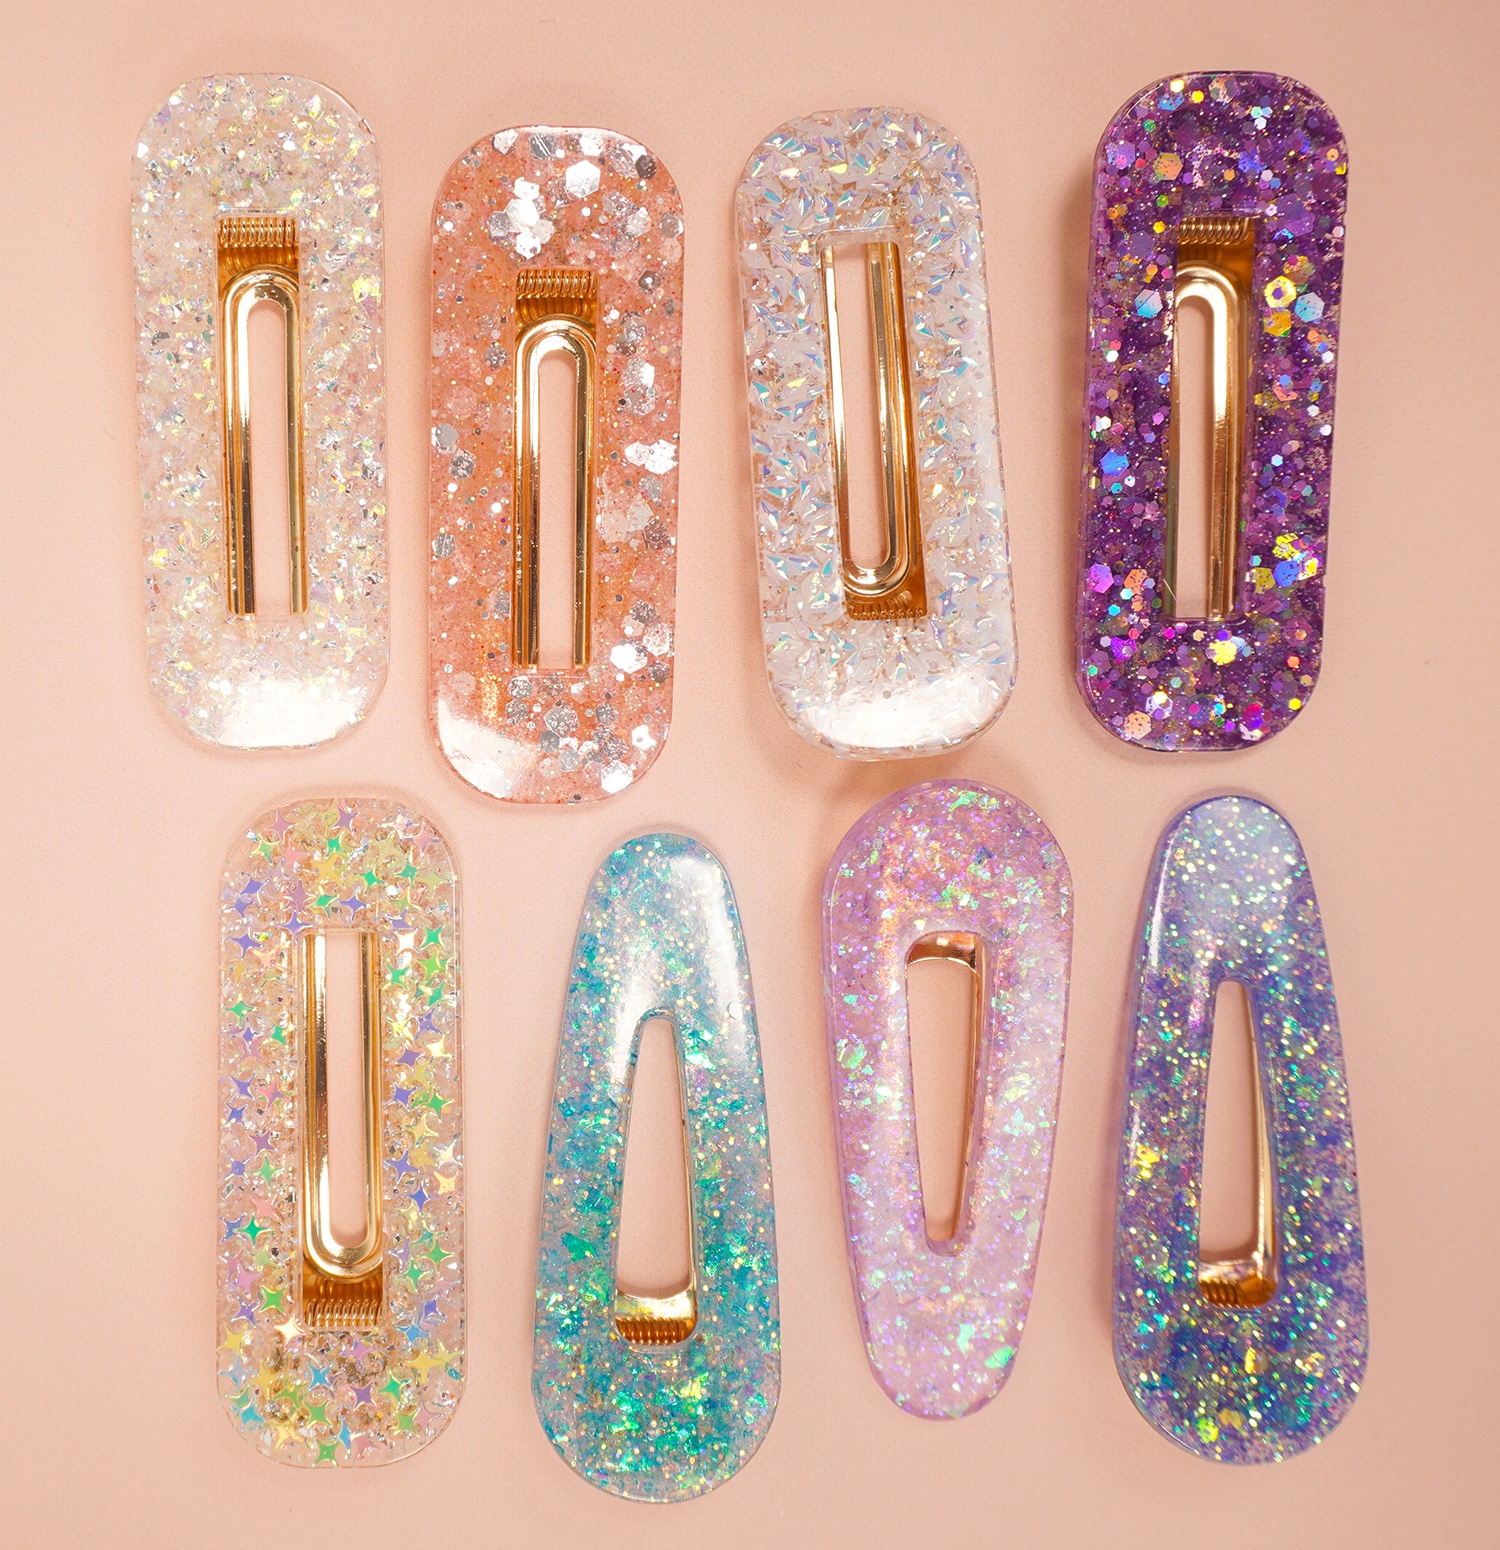
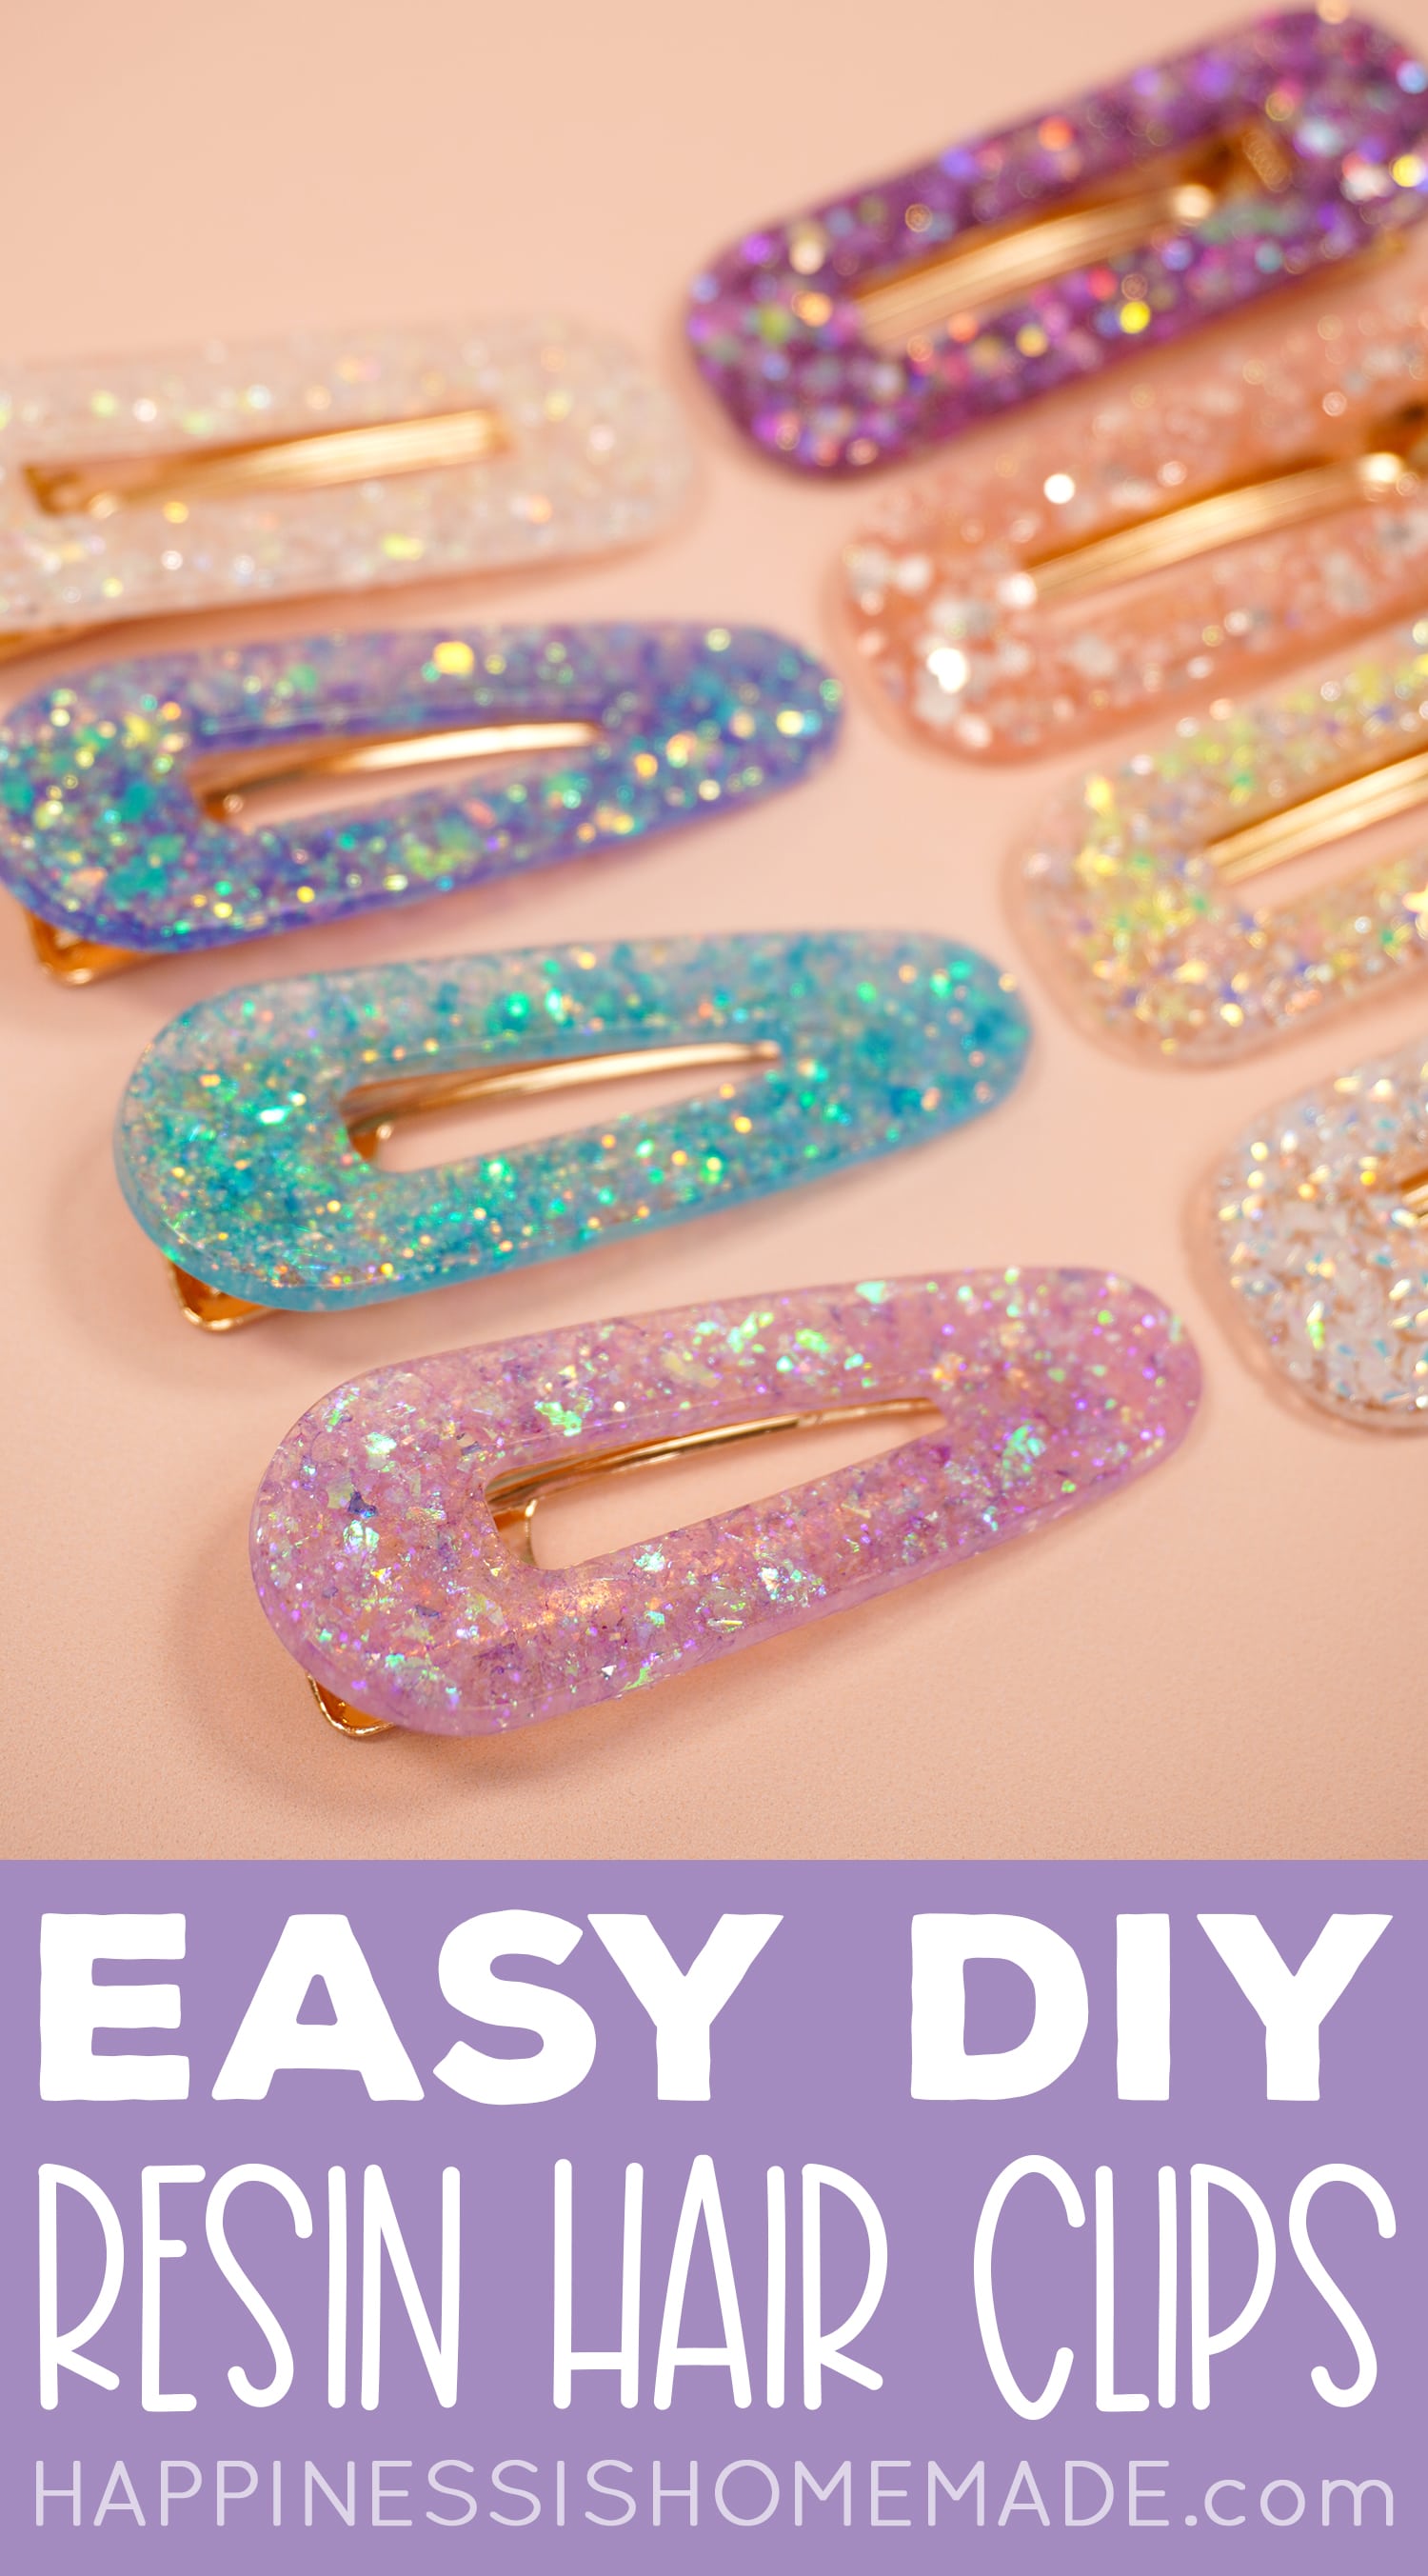
You can choose to mix in pretty much ANYTHING that you want for your barrettes, but I chose to use a variety of glitters and polymer clay “sprinkles” and decorations. These polymer sprinkles and decorations are from Happy Kawaii Supplies, and they have a TON of seriously awesome things to choose from!
My favorite glitters come from A Little Muggle Magic (yes, they almost all have Harry Potter themed names! 😂), but you can also find awesome glitters from Backfist Customs, Pamper Your Princess, Mr. Nola’s Glitter, Peachy Olive Glitters, or one of the MANY glitter seller on Etsy!
Items from Happy Kawaii Supplies in this post include Lemon Crush Pastel Sprinkles, Lisa Frank is a Rainbow Sprinkles, Bright Horizon Sprinkle Mix, Multicolor Iridescent Star Glitter, and Arctic White Iridescent Rhombus Diamond Glitter.
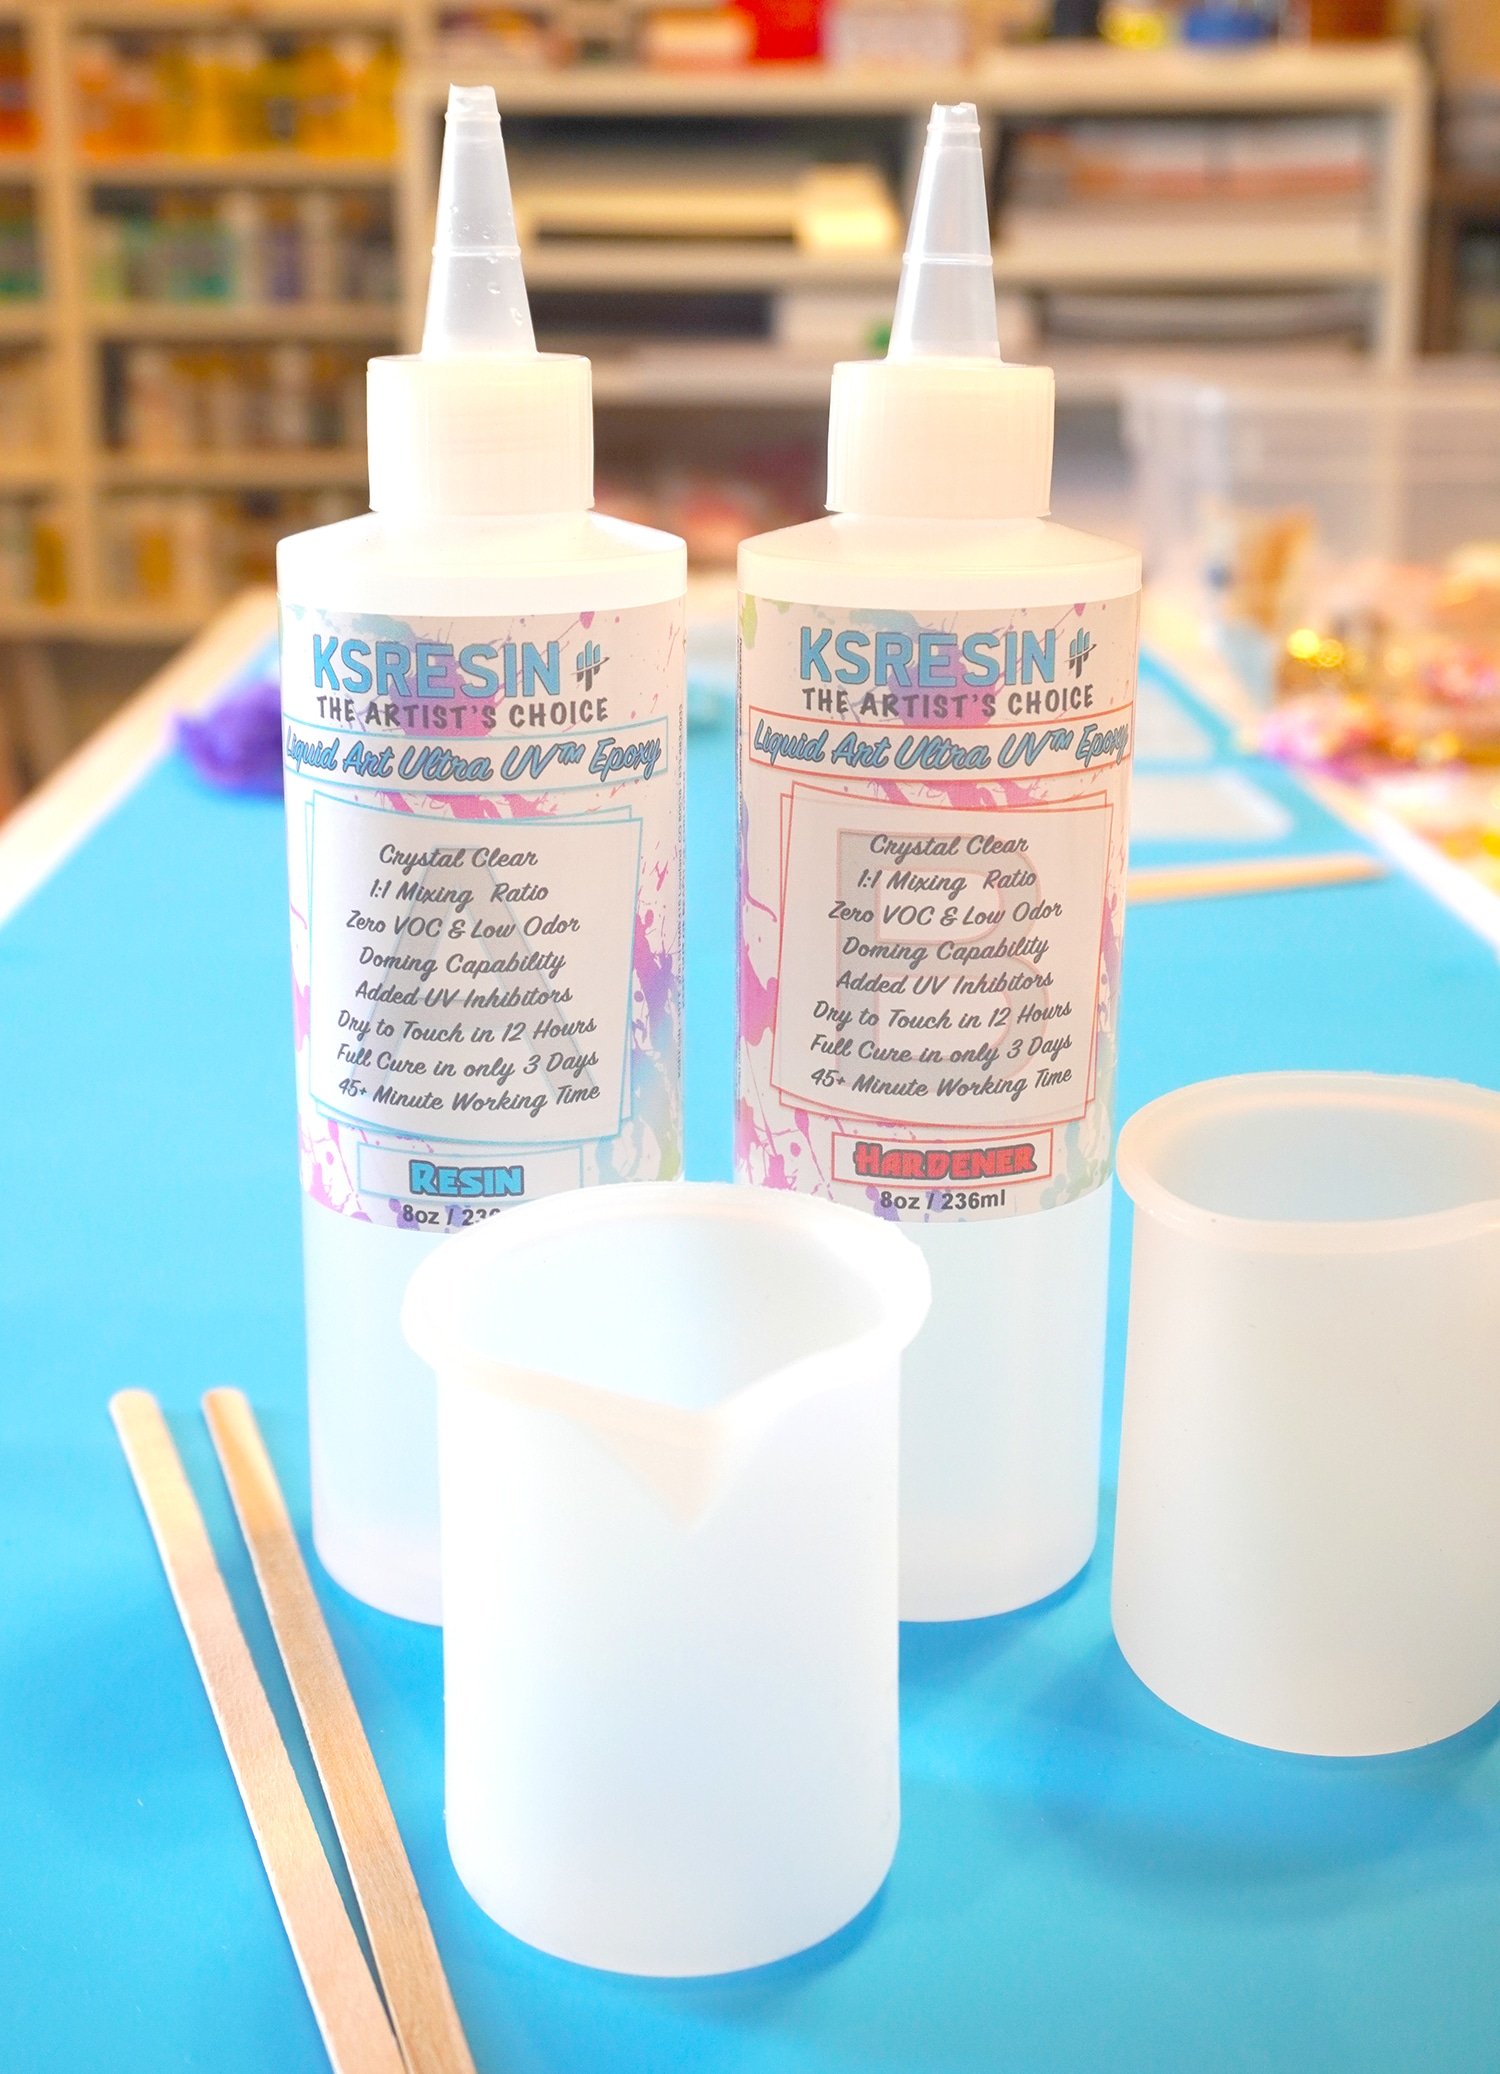
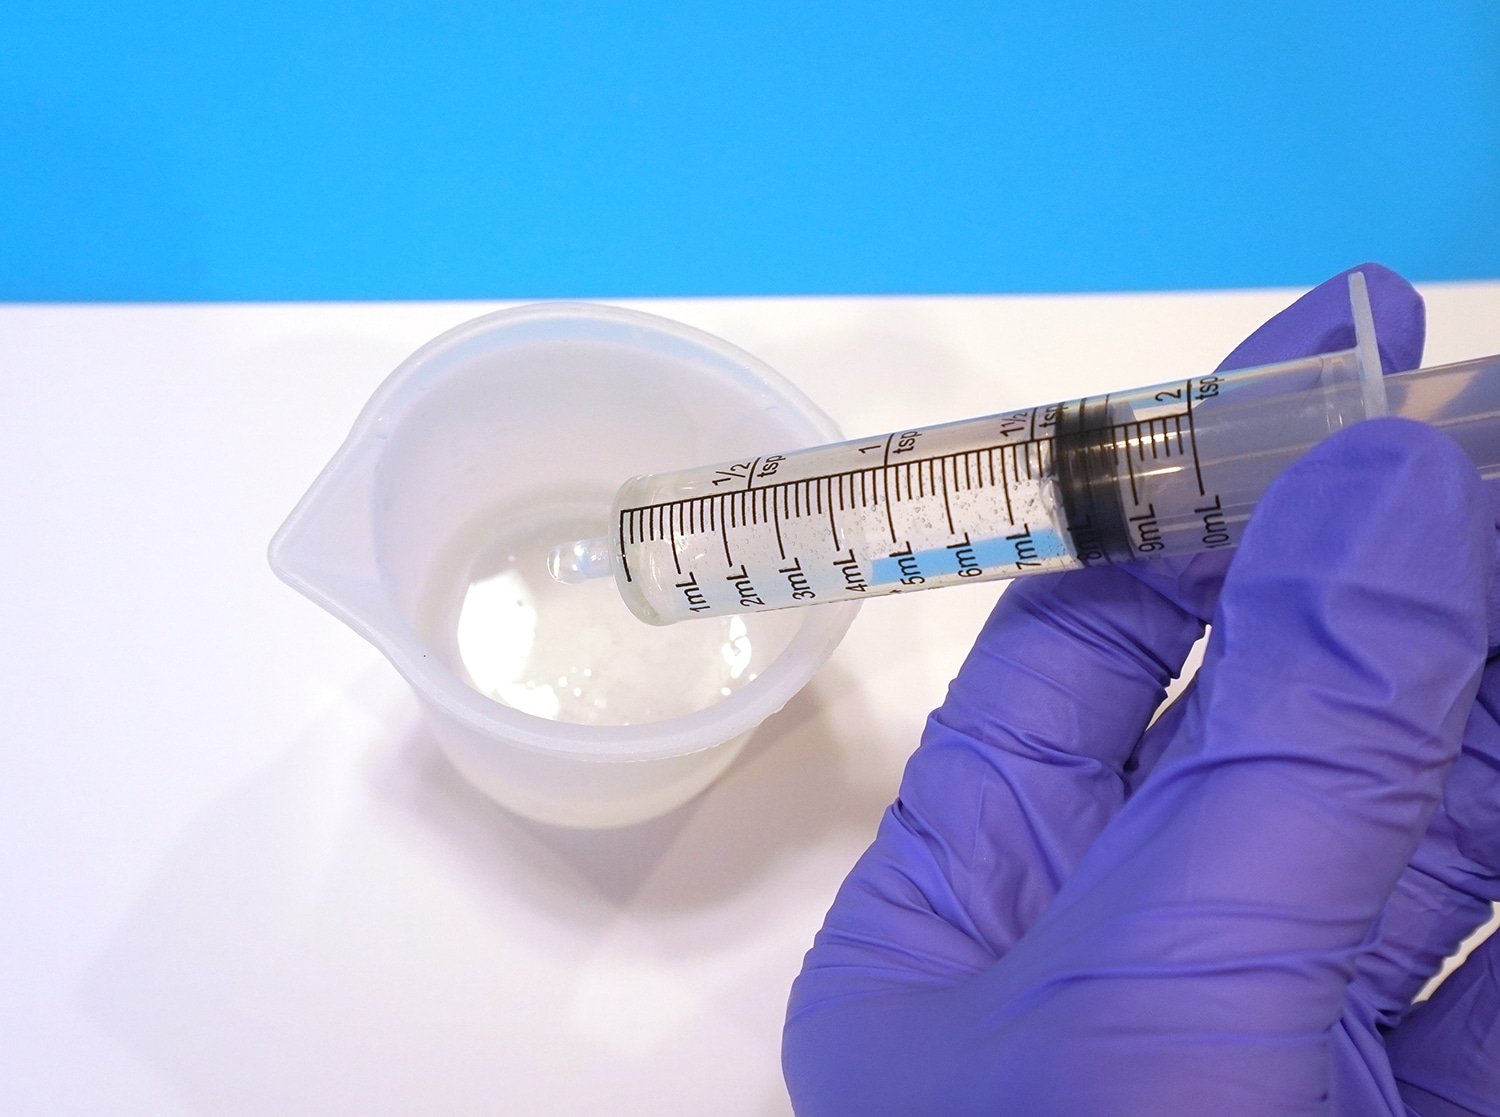
To begin, pour equal parts of the KSRESIN resin and hardener in a silicone cup. Use the measurements on the cup and be as precise as possible! The resin has a working time of 45 minutes, so you can work with a decent amount of it at a time, however, each individual well of the different molds only uses between 3.5-5 ml, so I generally mix up around 40-50 ml per batch.
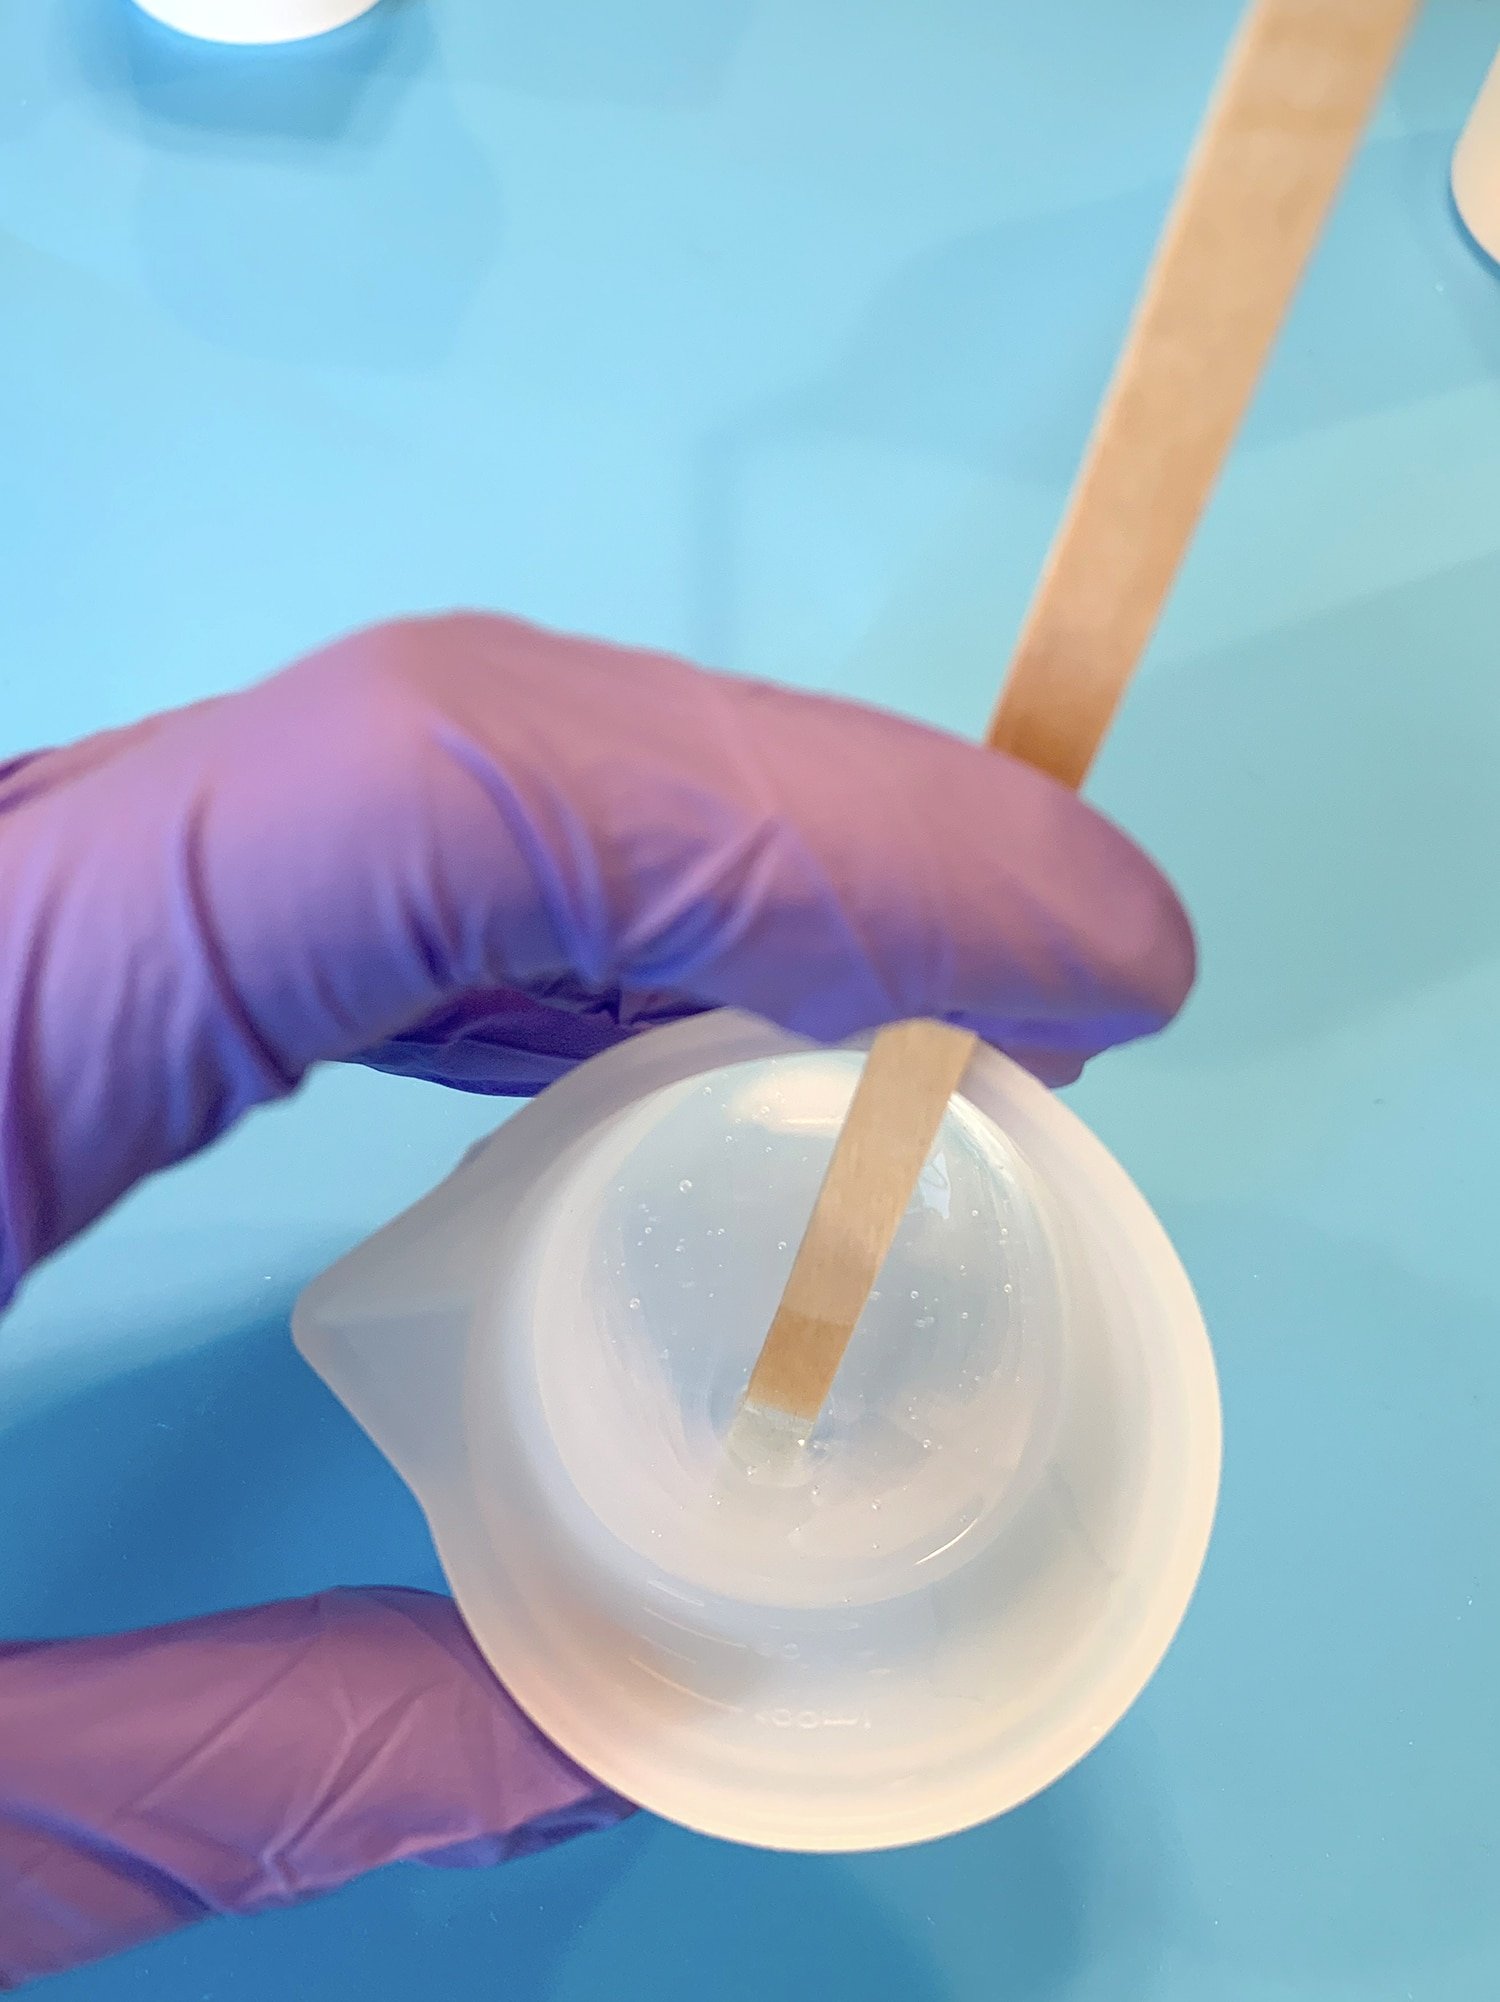
Stir slowly for at least 3-4 minutes until all of the resin is thoroughly mixed together.
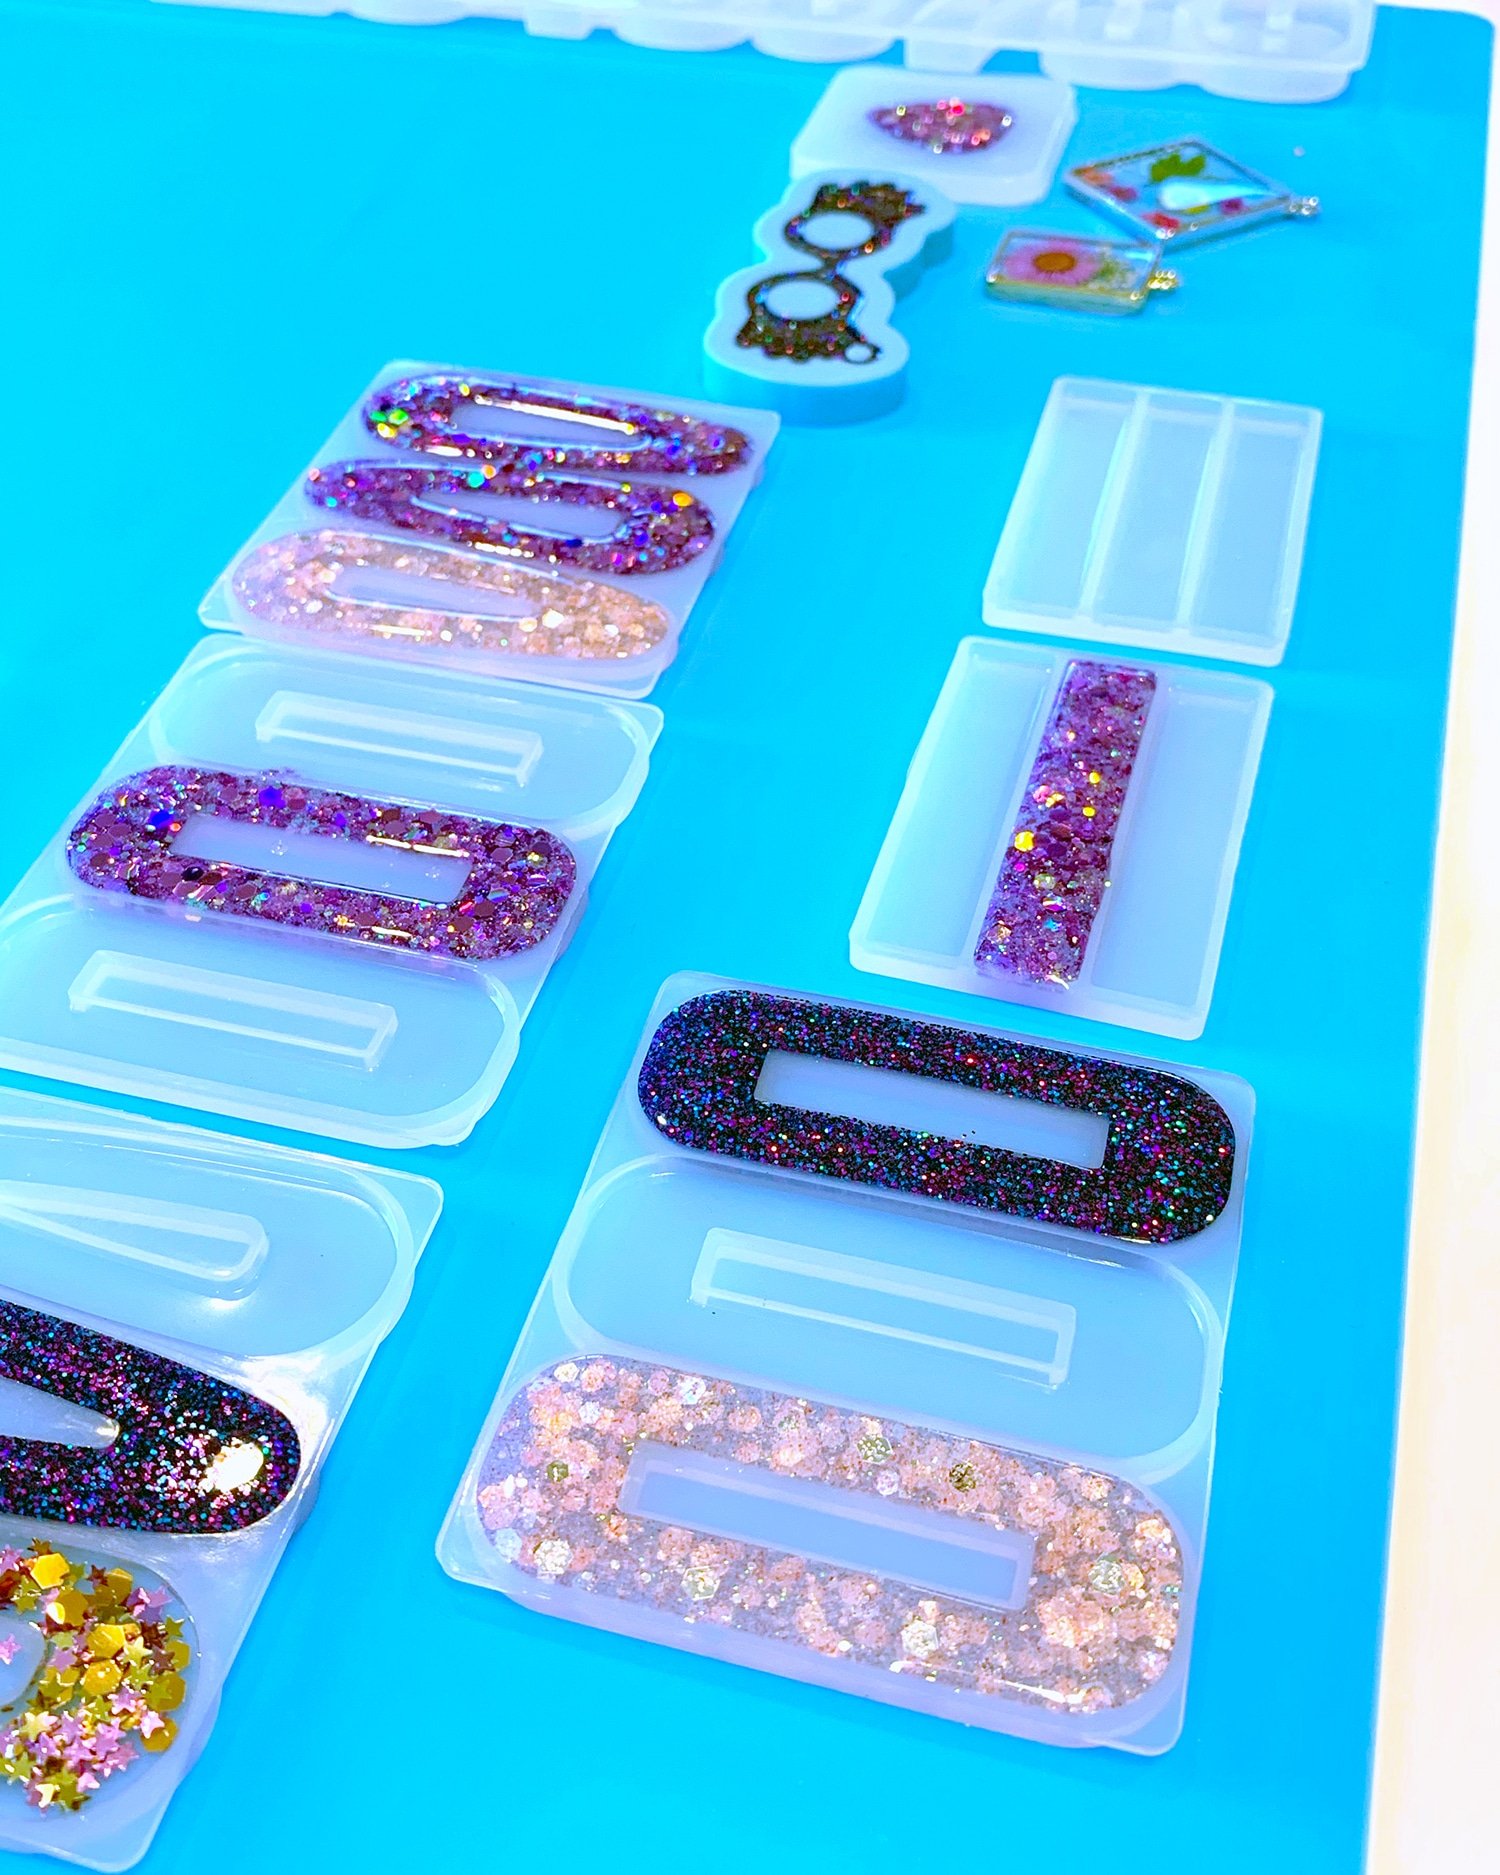
Next, decide which mix-ins you’d like to use for your hair clips. For glitter, it’s best to mix the glitter with the resin before pouring. For polymer clay pieces, it’s best to add them individually to the poured resin for better placement.
If desired, use a 10 ml plastic syringe to transfer the resin to the silicone hair clip mold (you can also simply pour the resin directly into the mold, but the syringe gives you a little more control over where it goes and how much you use).
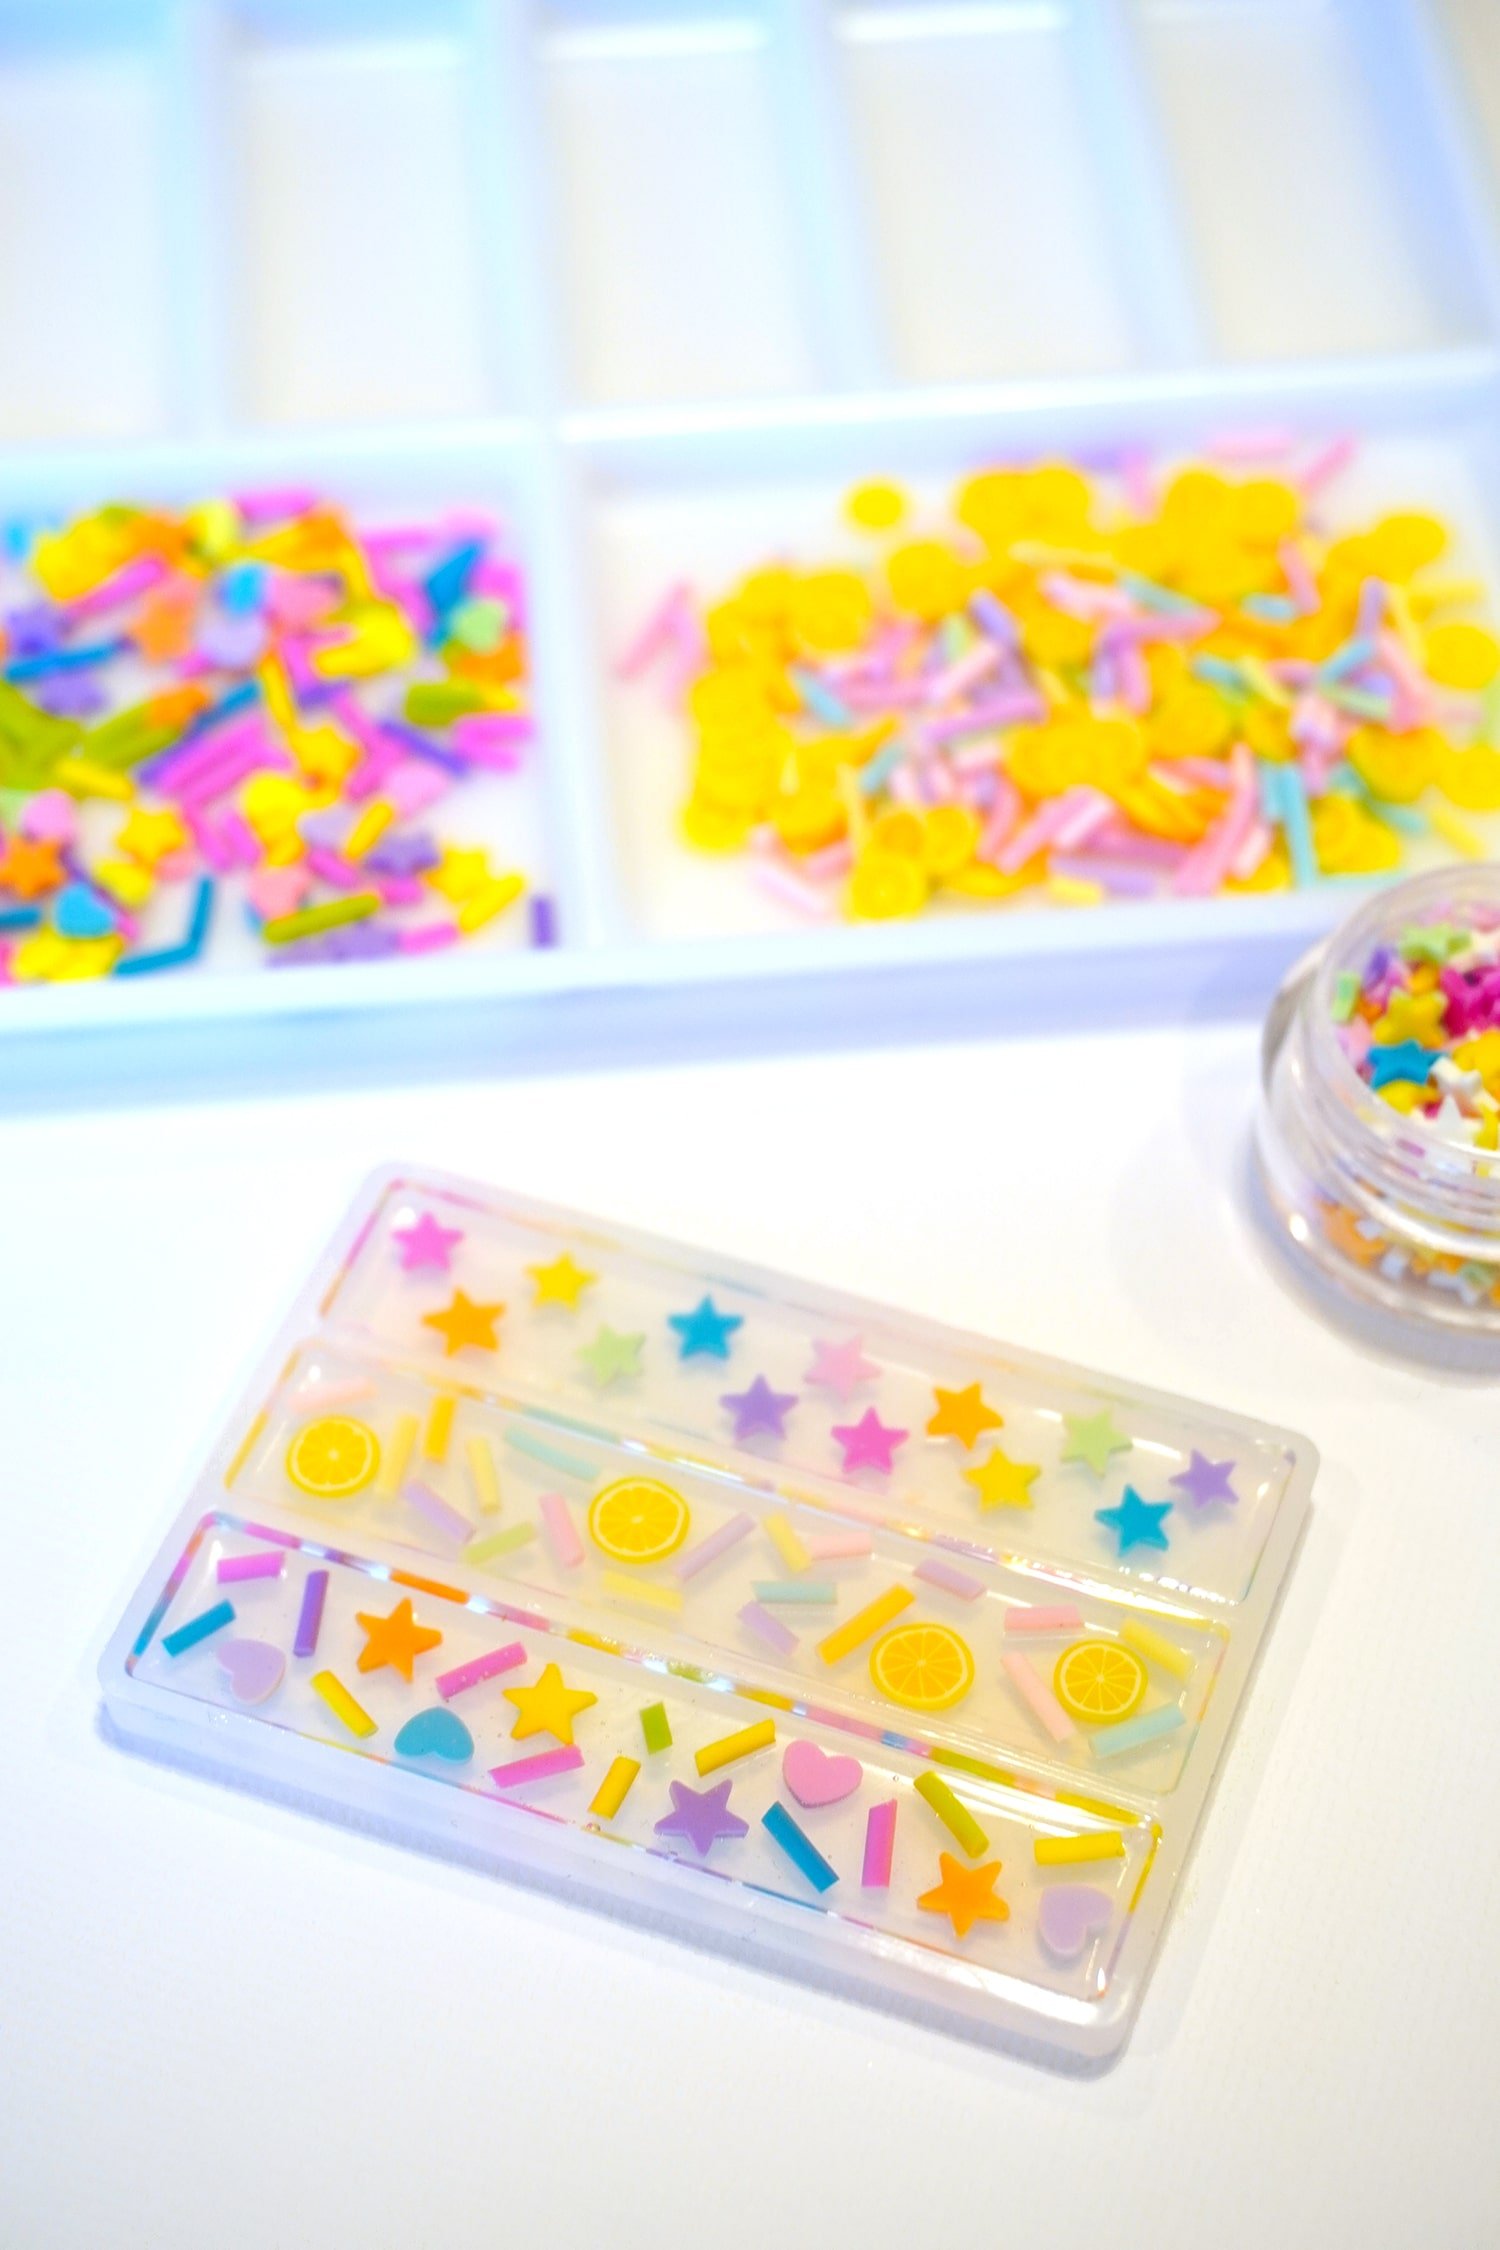
Use tweezers to place the polymer clay pieces into the resin as desired.
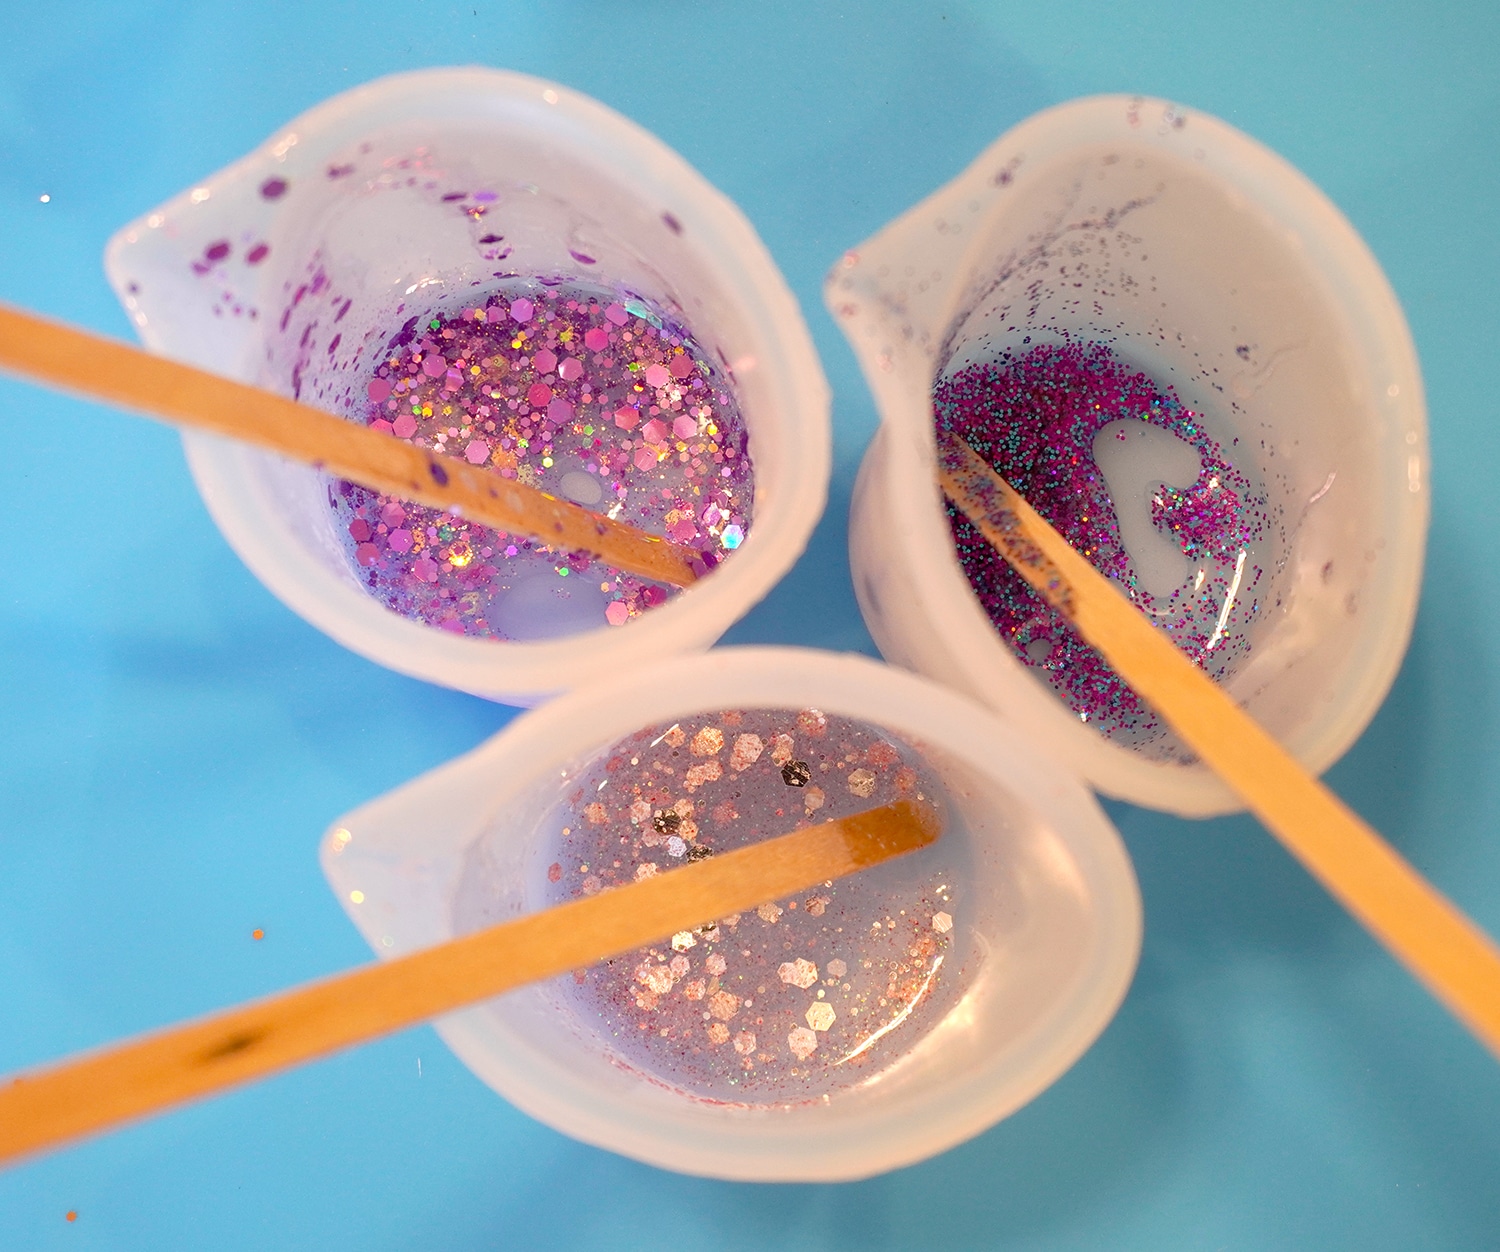
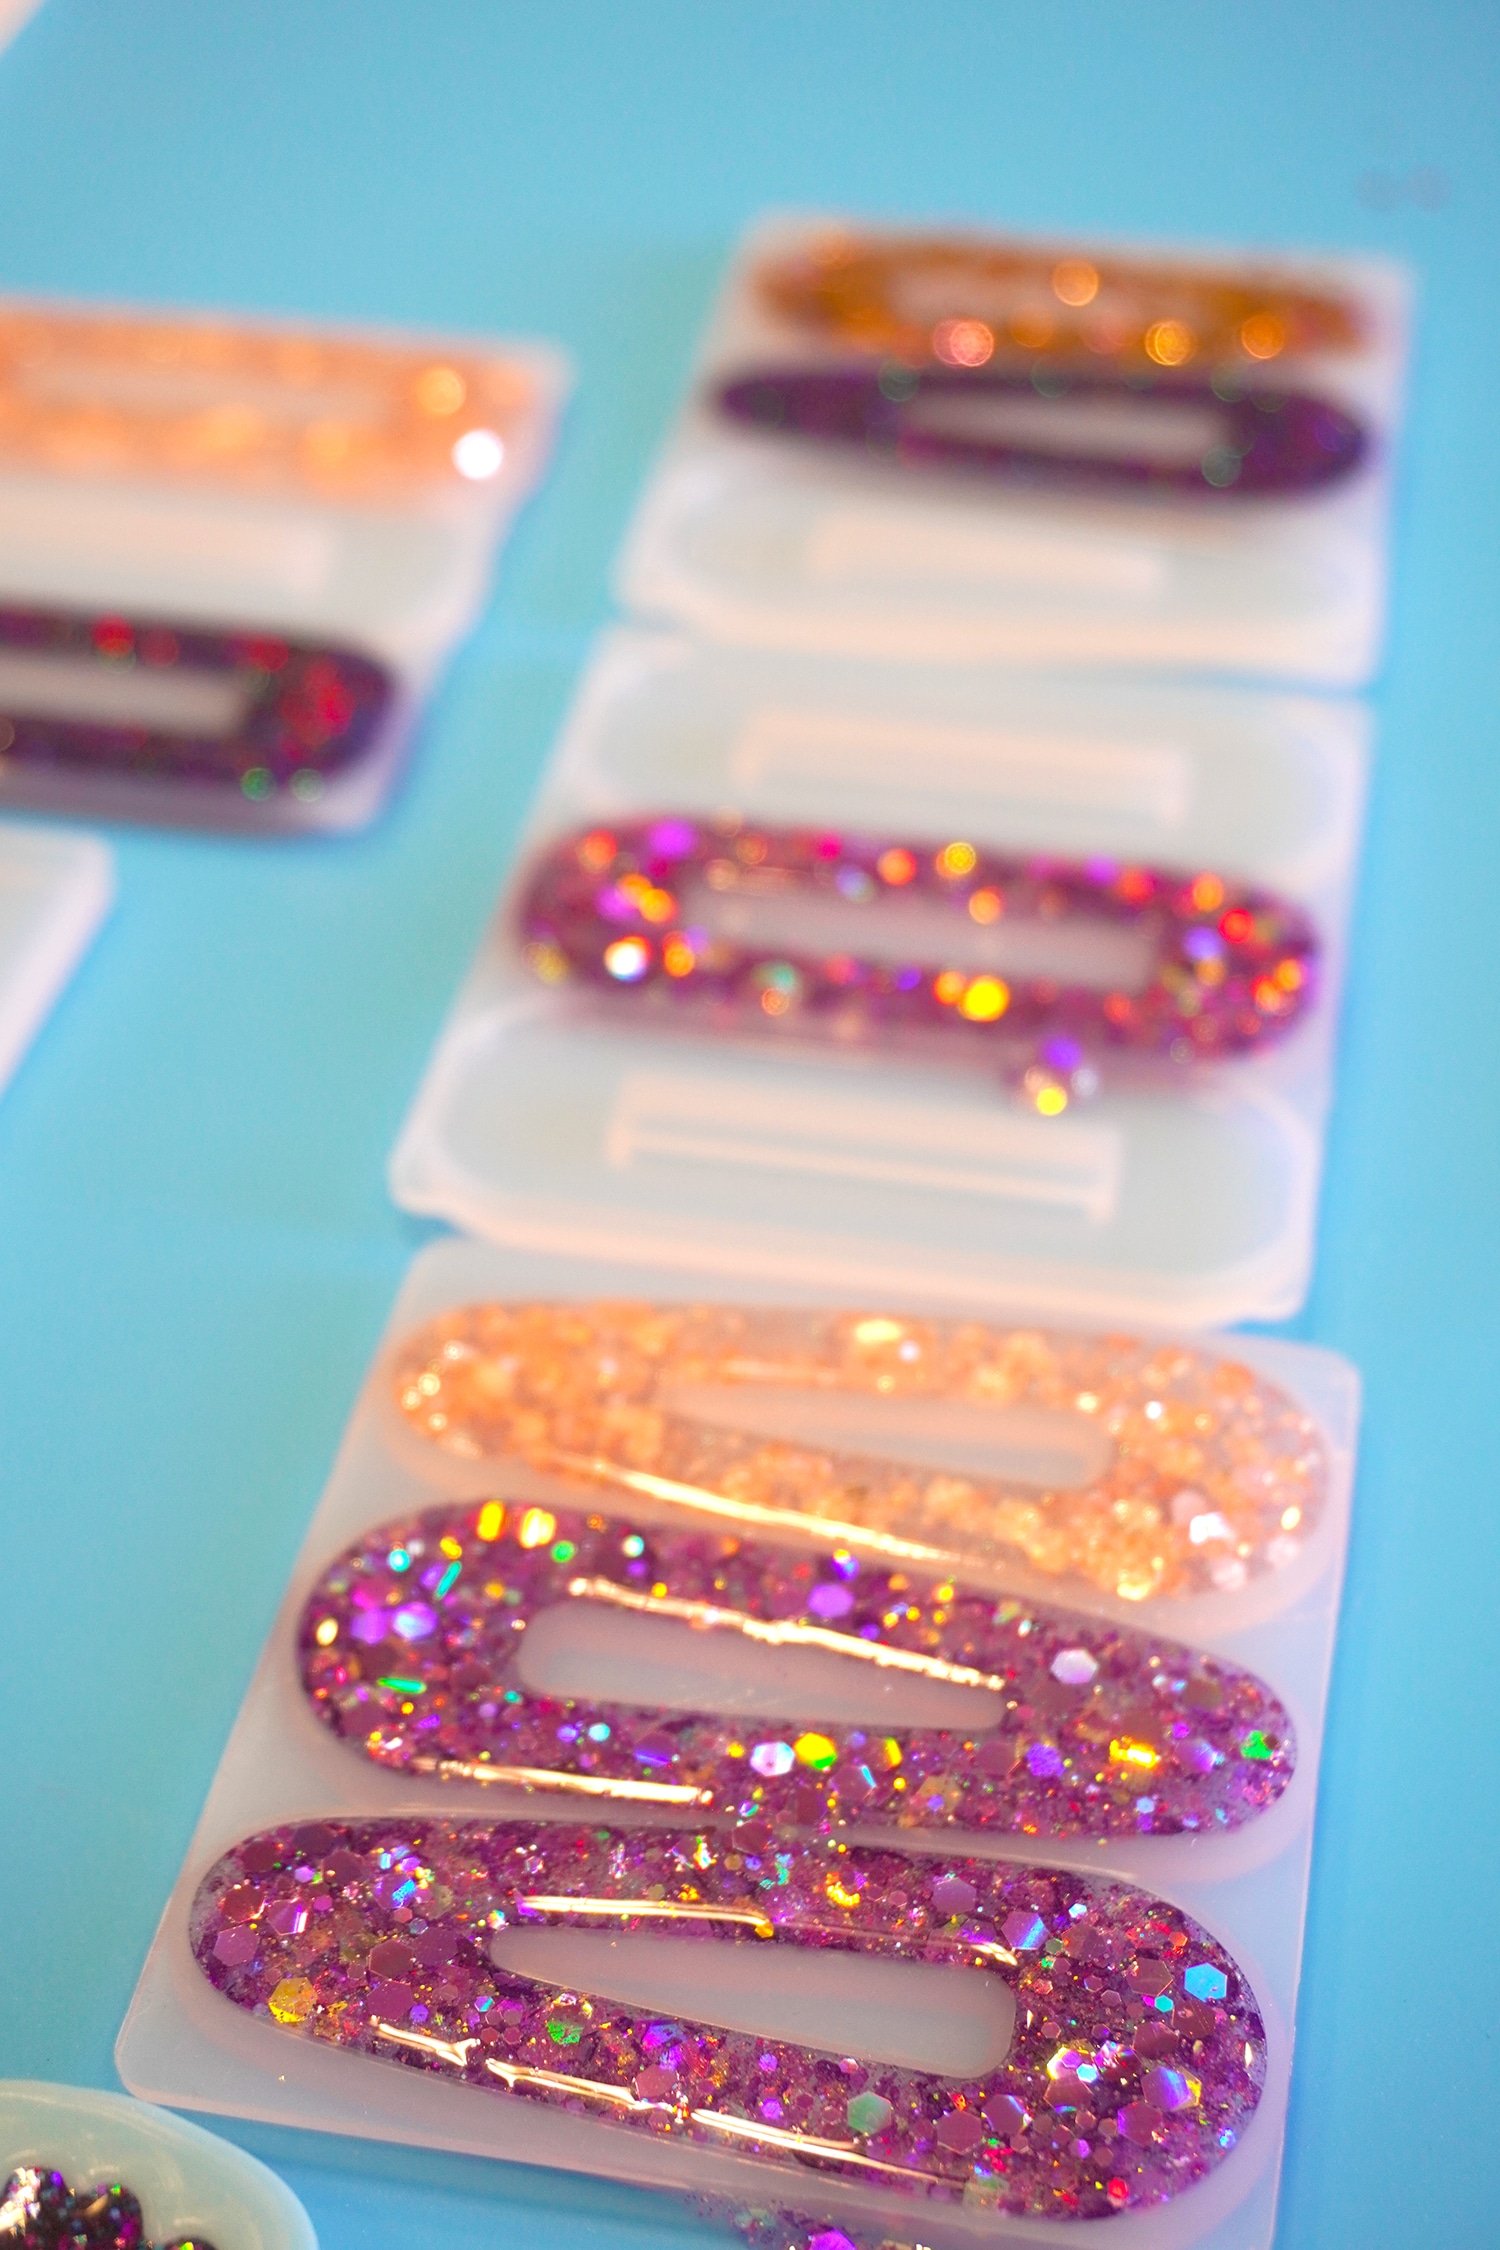
For glitter hair clips, divide the clear resin mixture into several smaller cups, and mix a small amount of glitter into the resin.
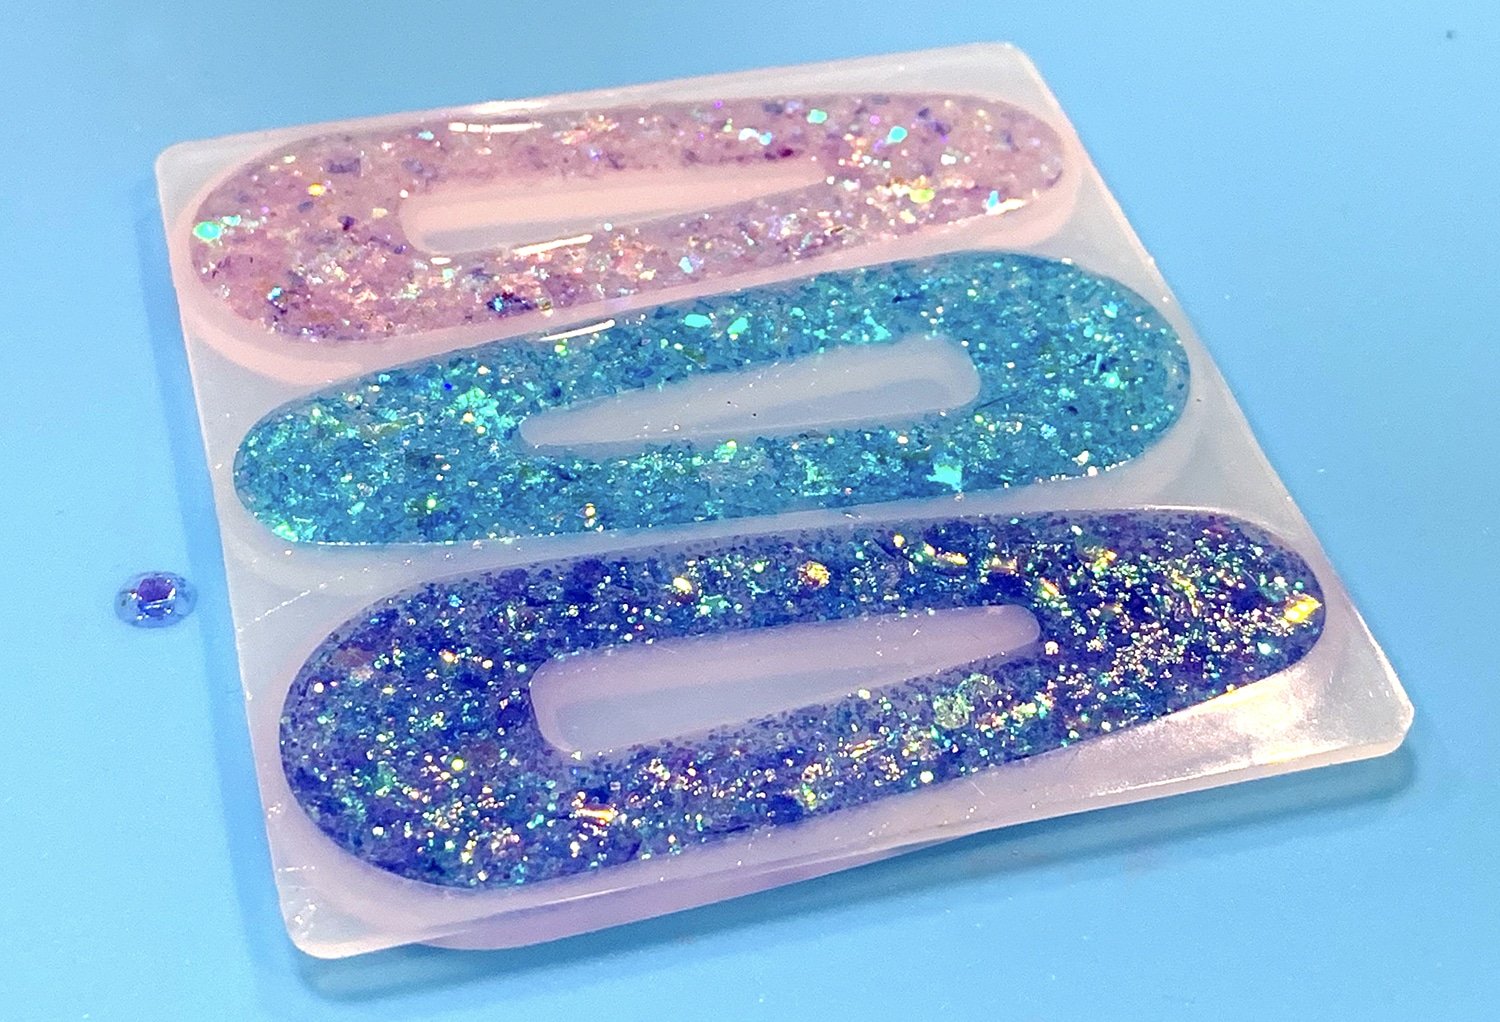
Carefully pour the resin into the barrette molds. (Note: you can also use the syringe method for glitter clips, however, it will ONLY work with fine glitter and not any of the chunkier glitters!)
After the resin has been poured, allow to sit for 10-15 minutes before lightly running over the surface with a lighter or butane torch to pop and remove any air bubbles.
Allow the pieces to sit and cure overnight. KSRESIN pieces will become dry to the touch and able to un-mold after 12 hours, however, it takes 3 days for the pieces to fully cure and achieve maximum hardness.
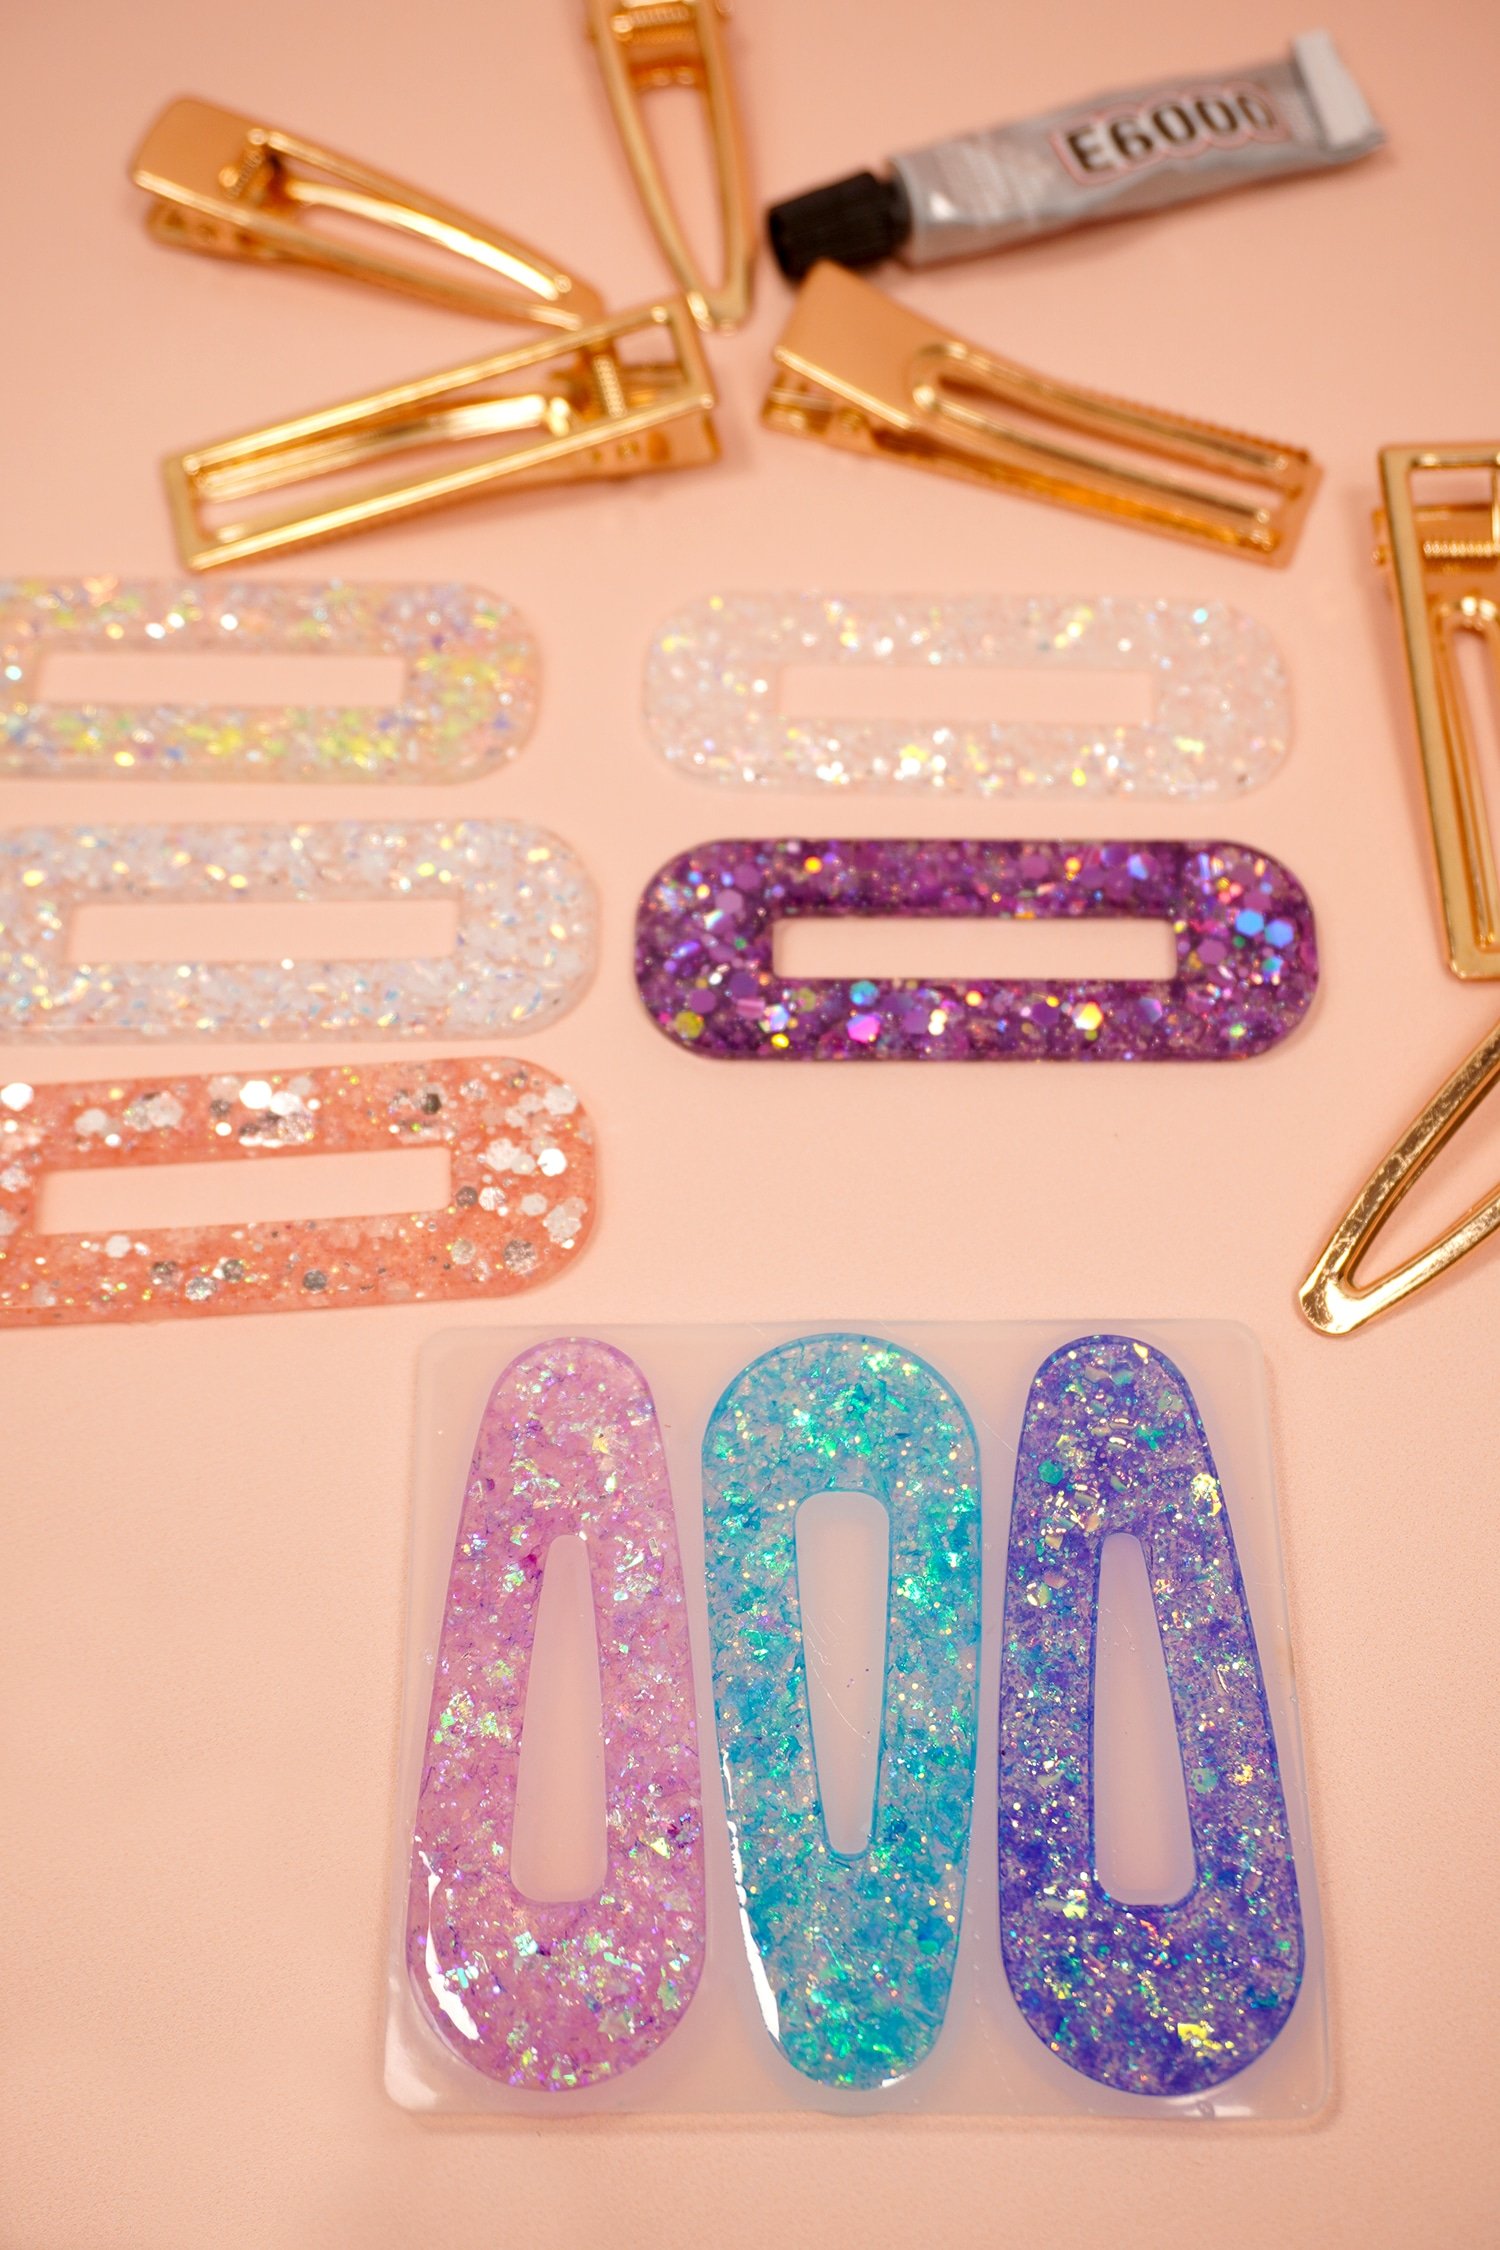
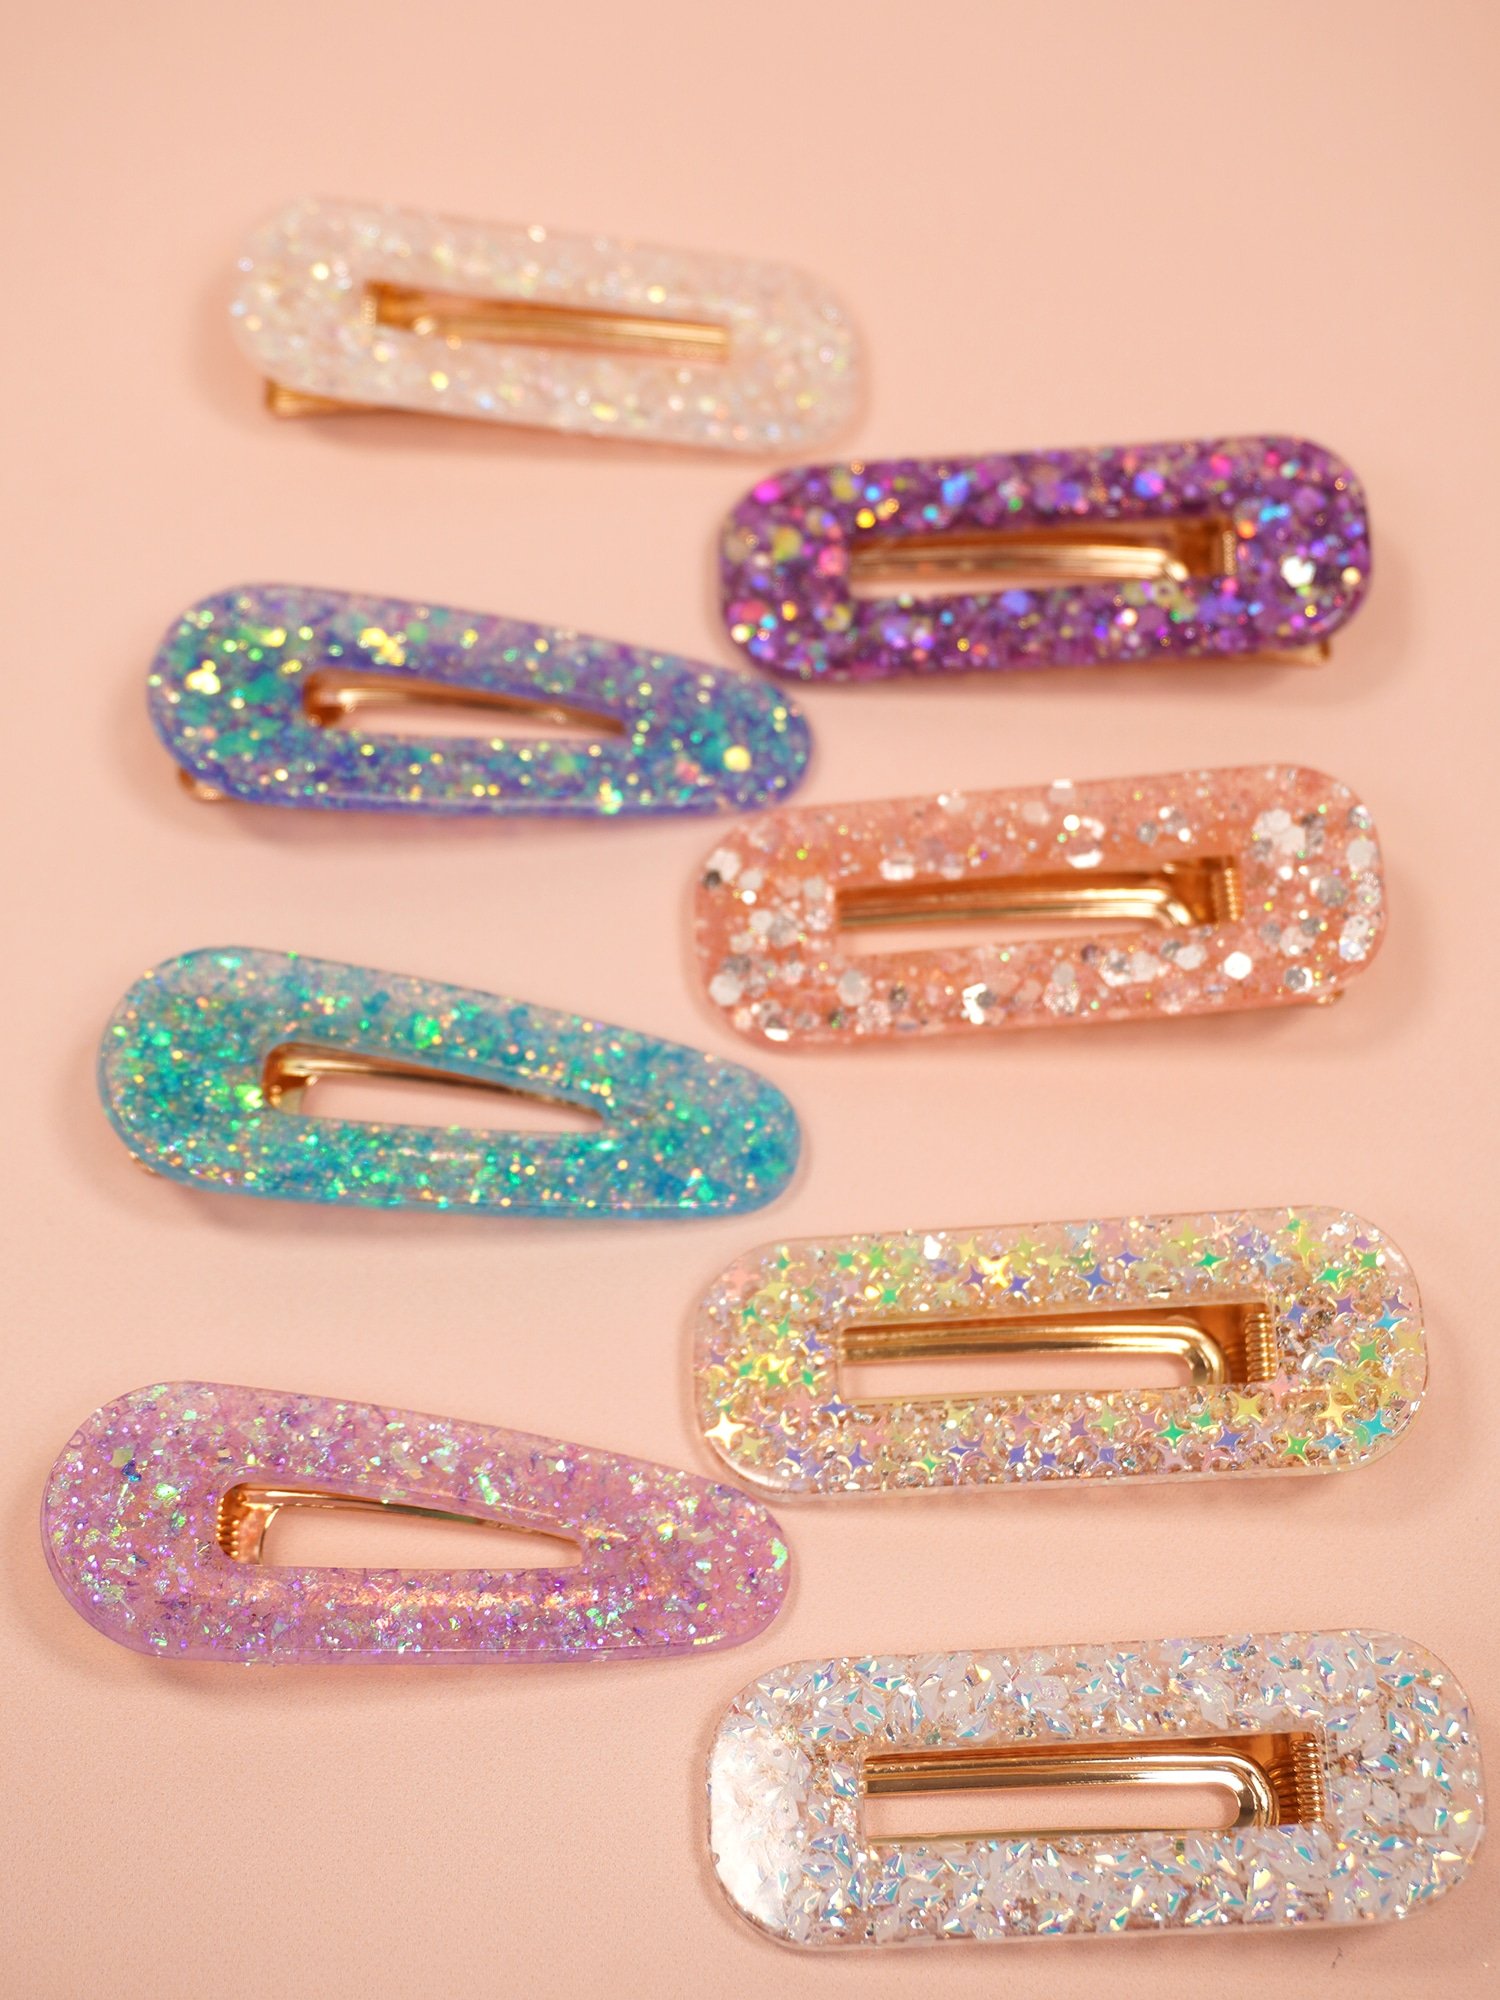
After a minimum of 12 hours, gather your molded clips, E6000 glue, and metal hair clip pieces.
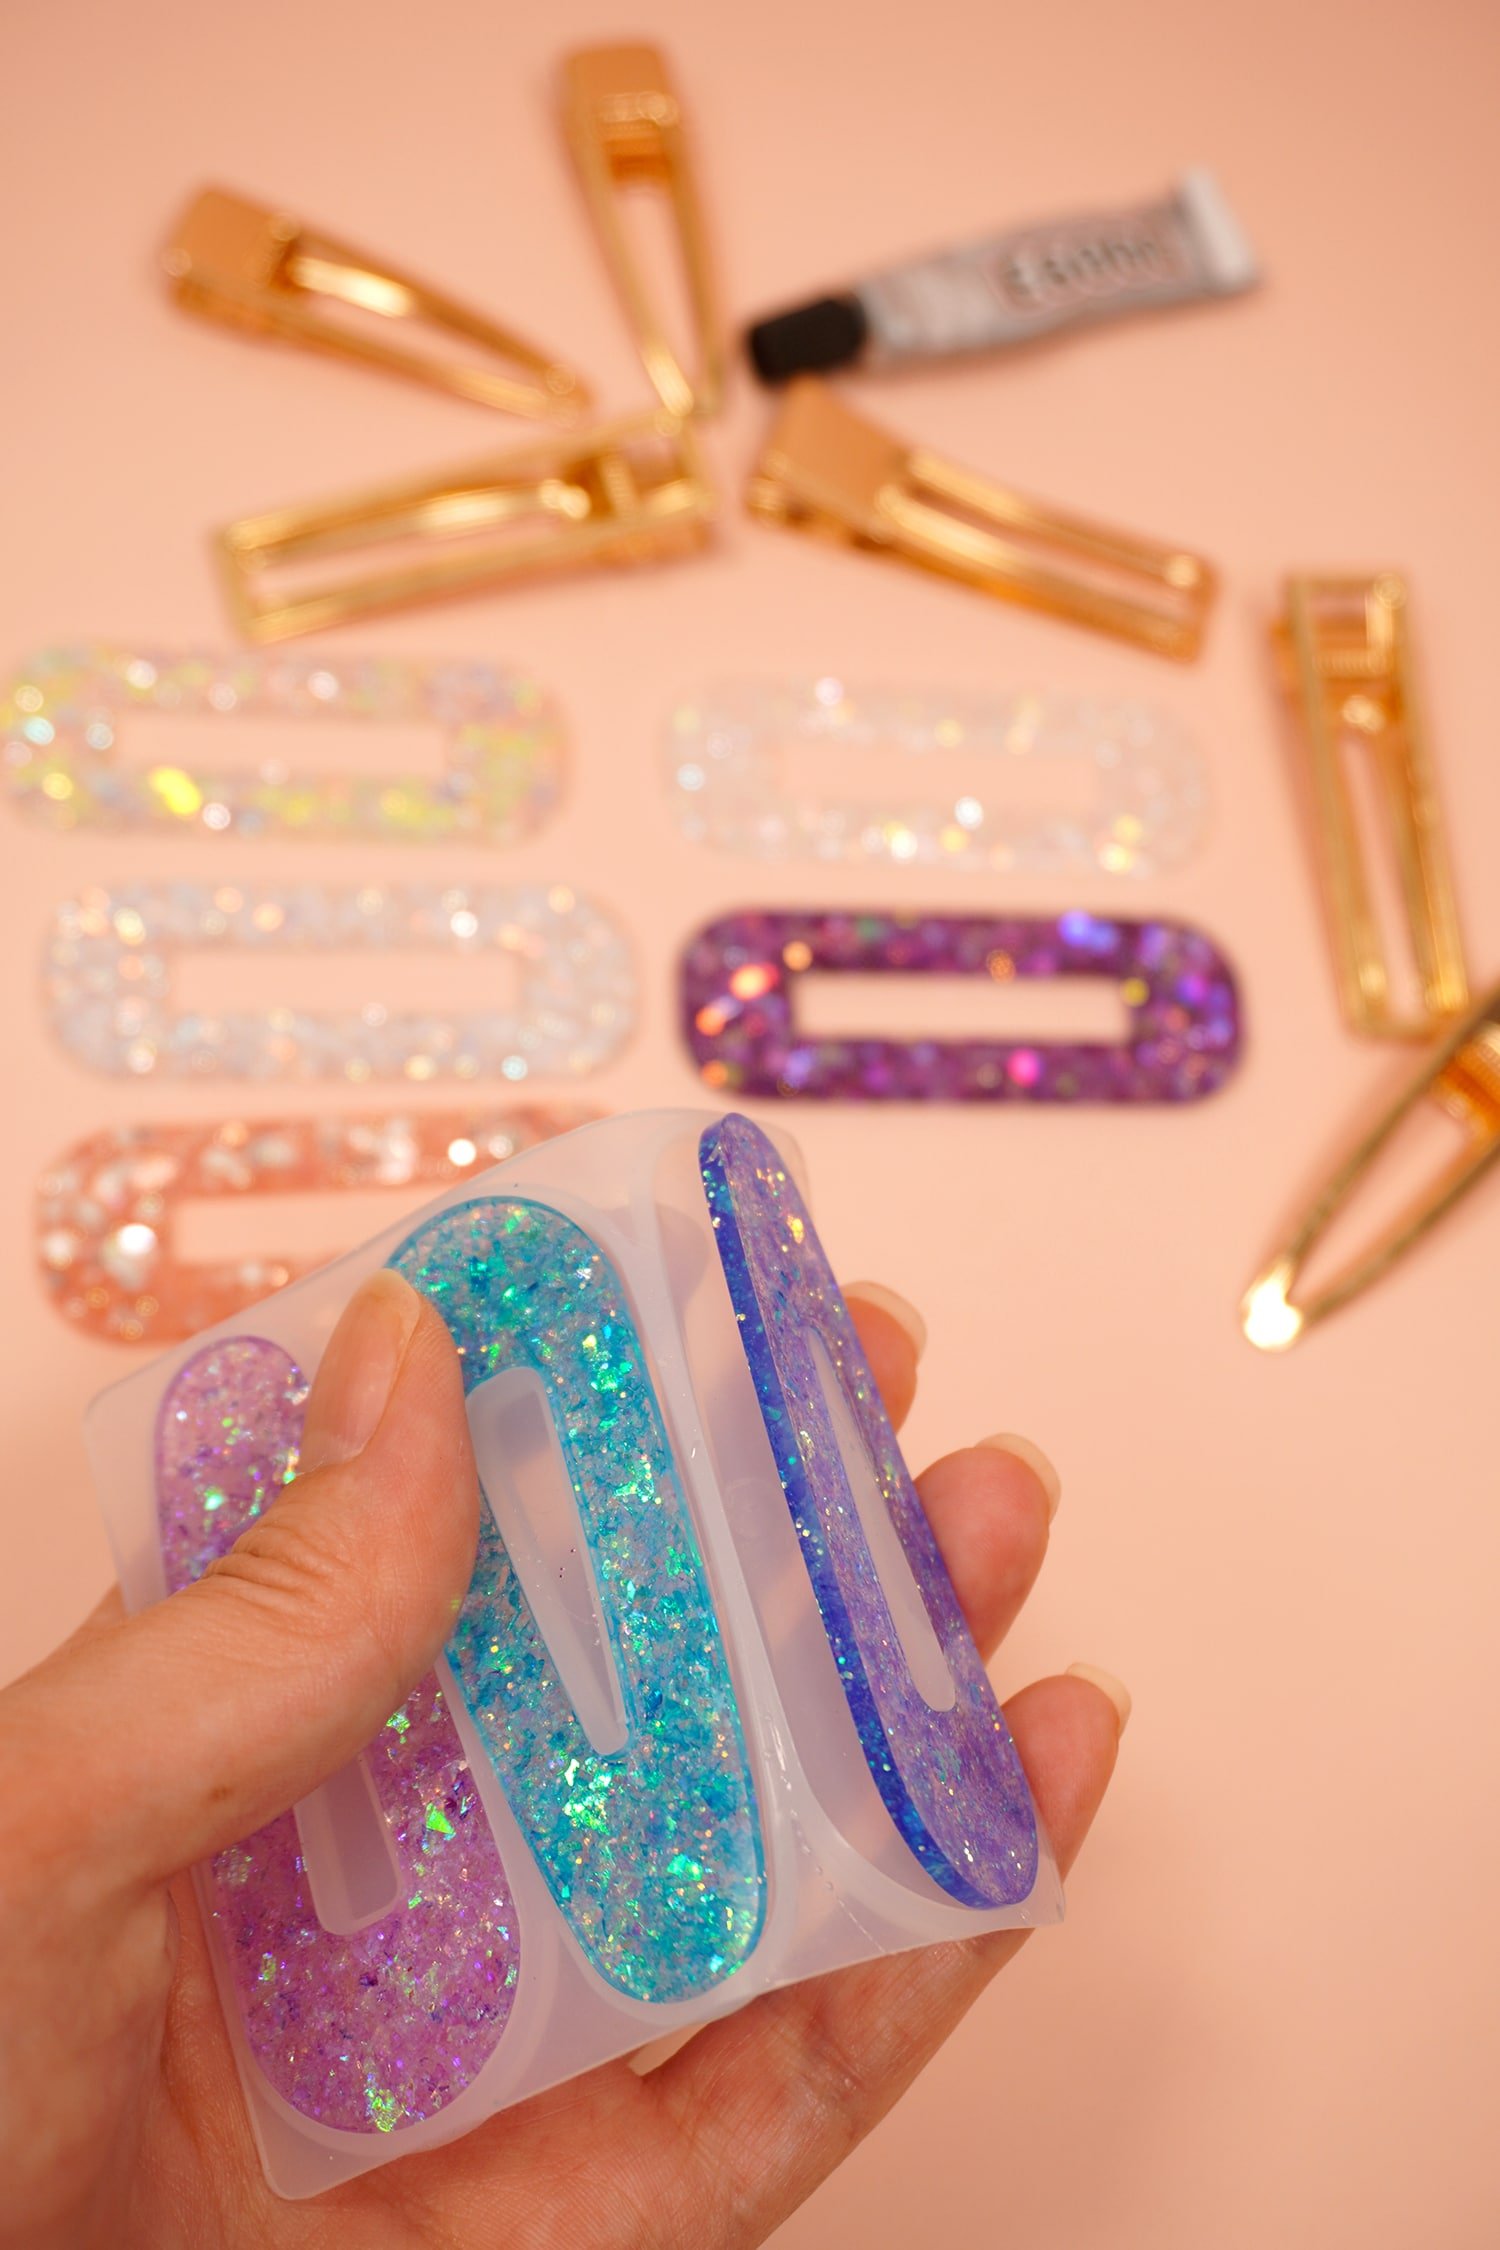
Carefully un-mold the hair clips by gently folding the silicone mold until the barrettes pop out of the mold.
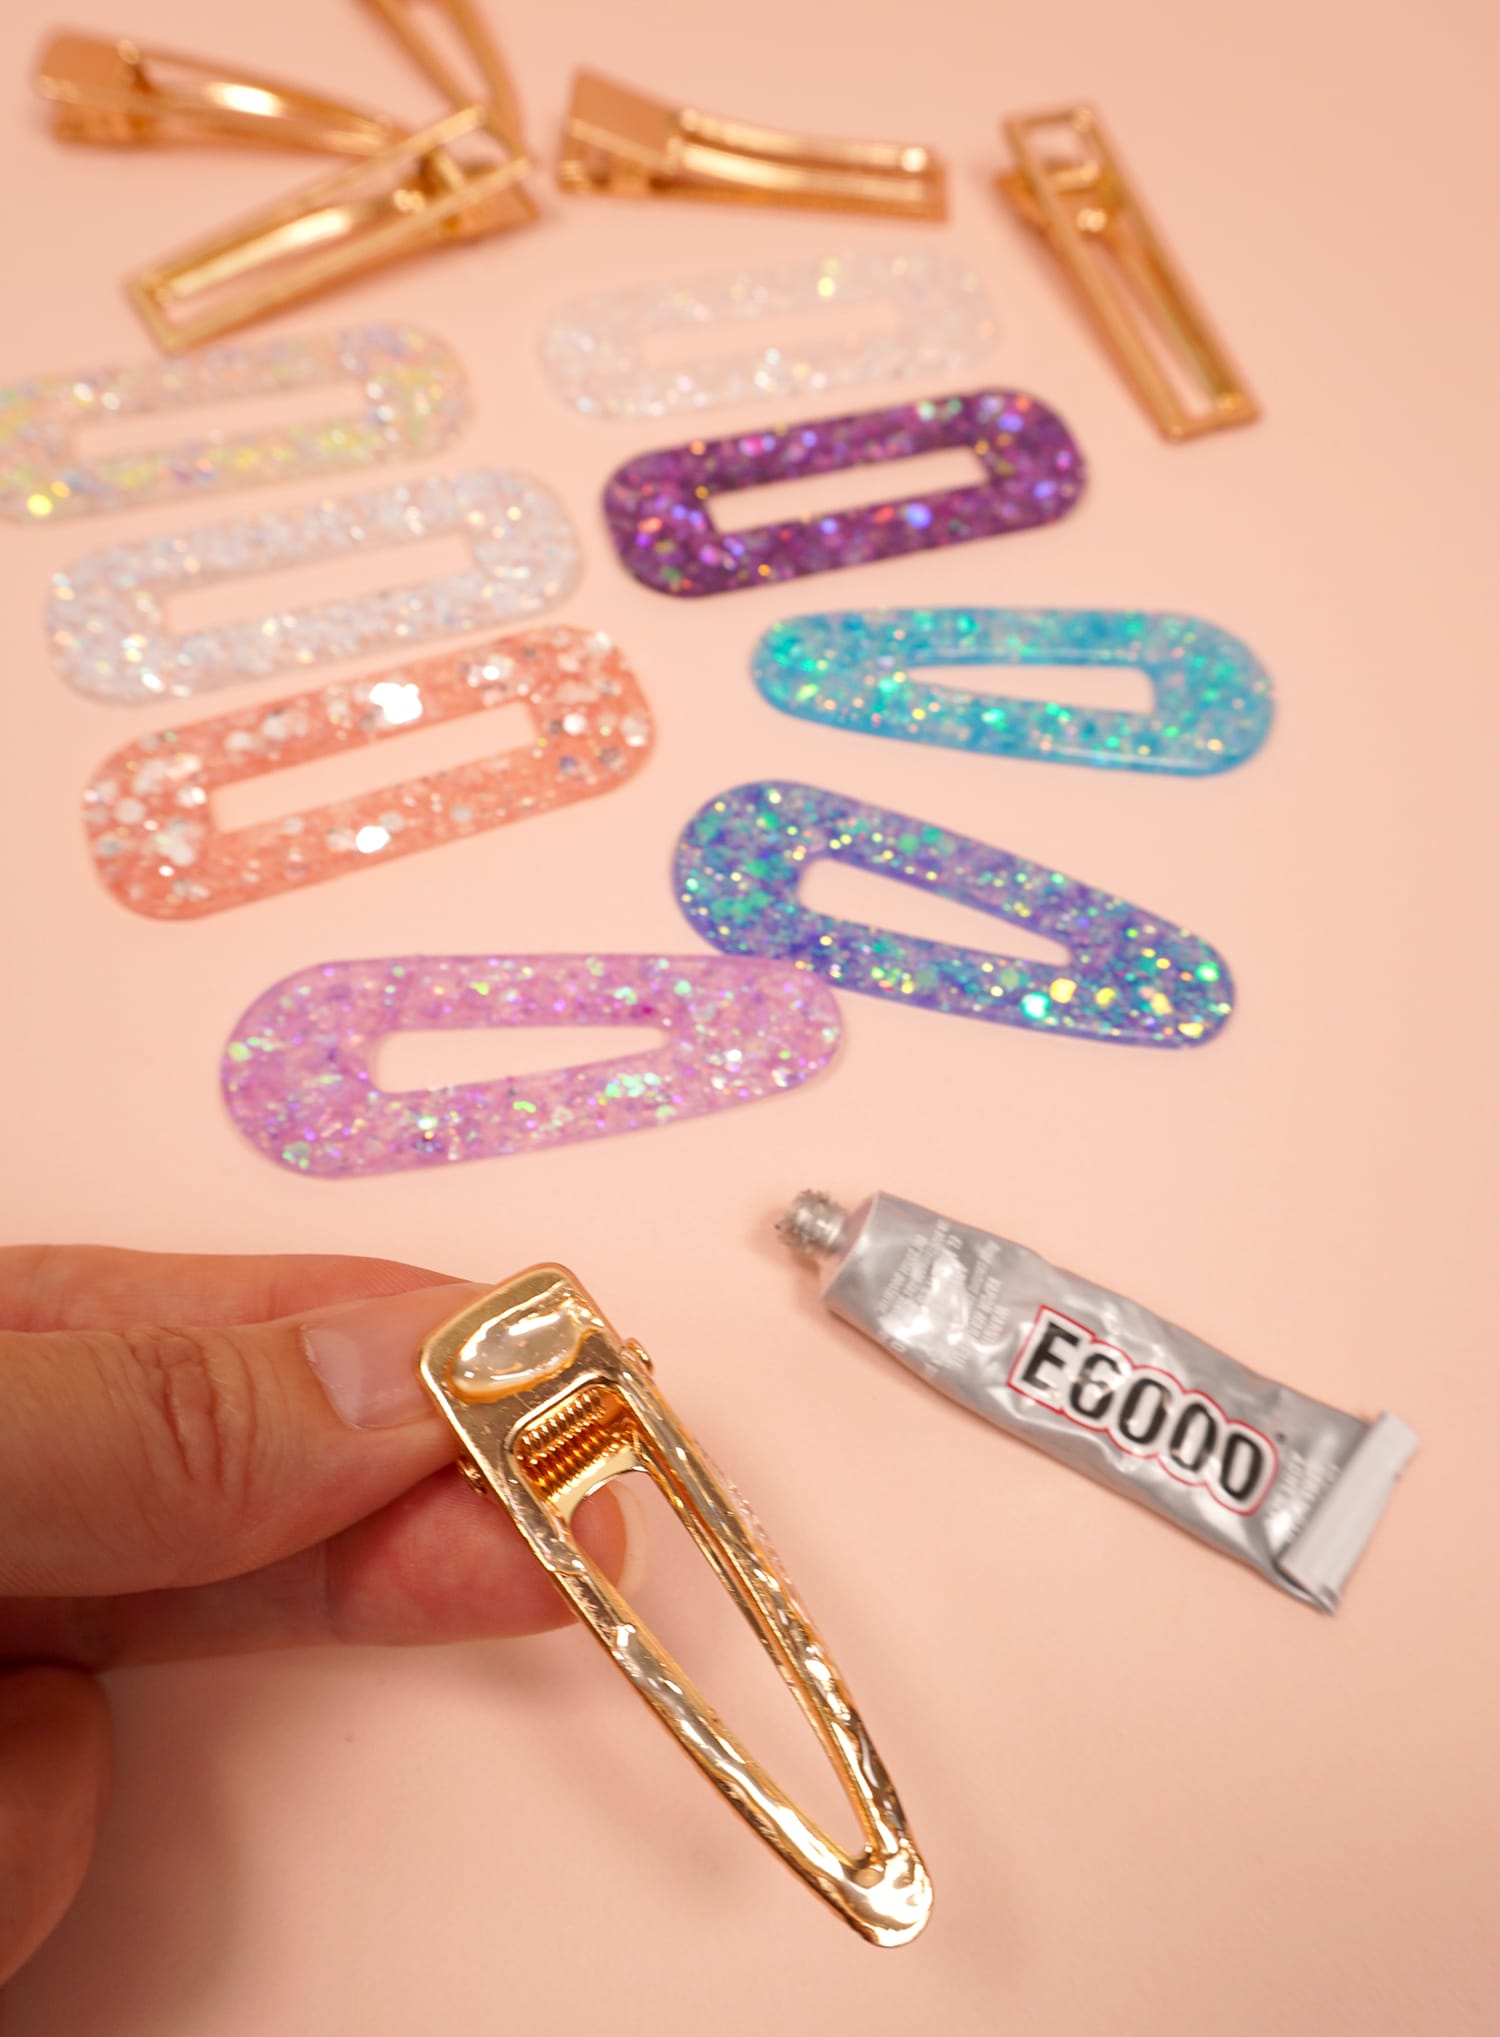
Apply a line of glue all around the metal hair clip.
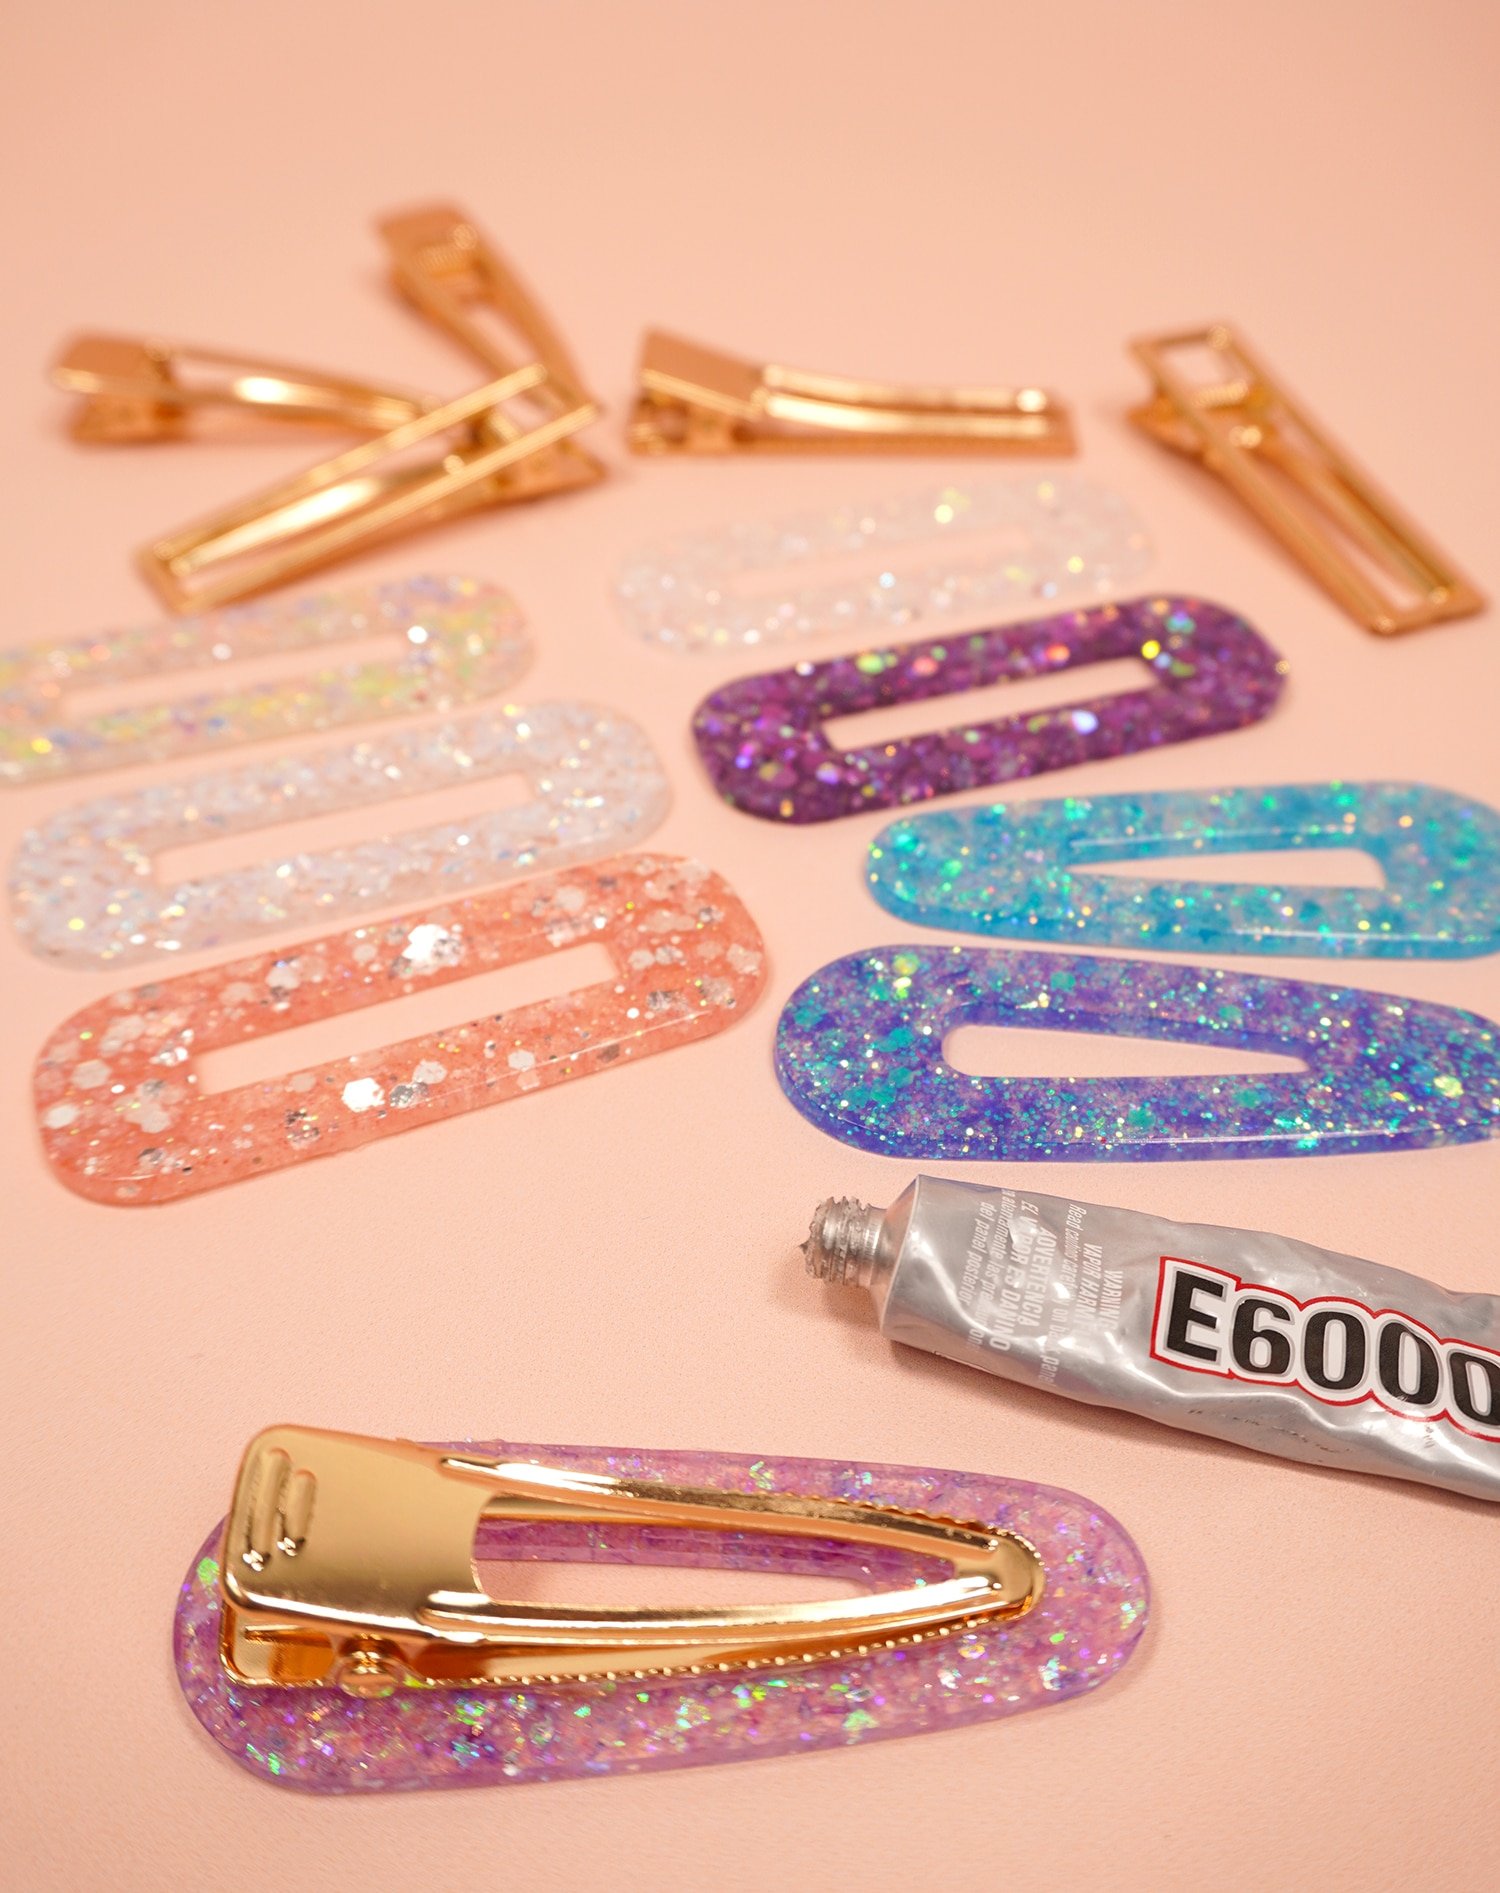
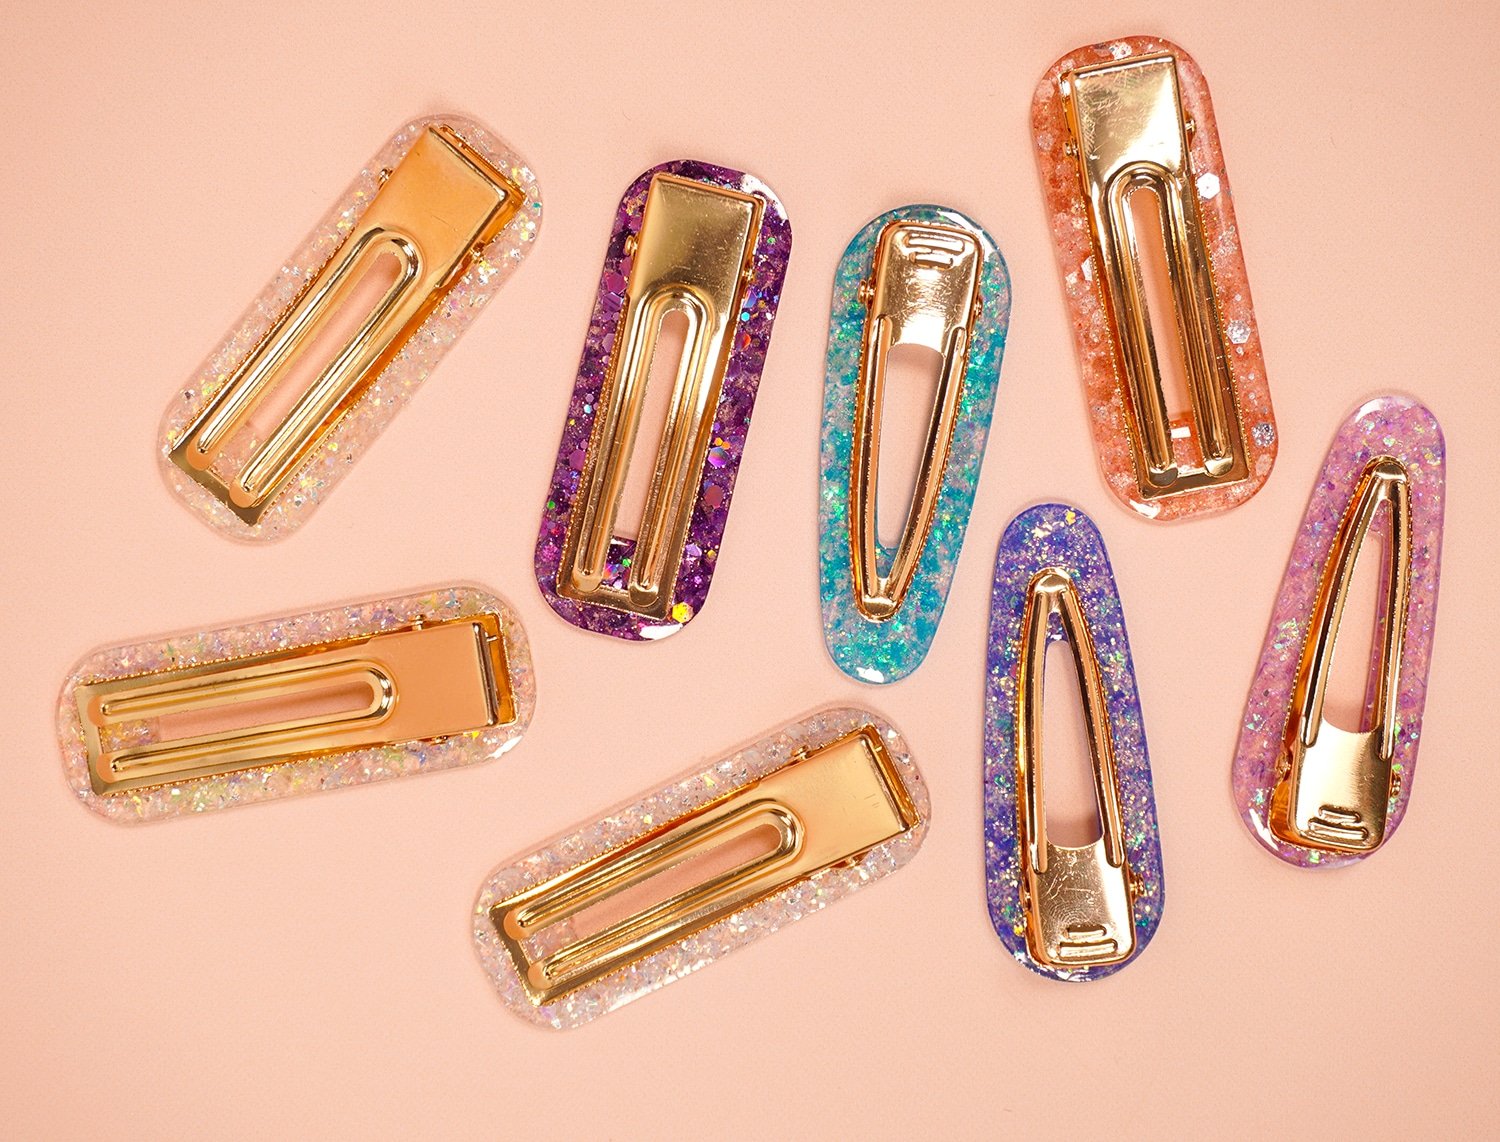
Place the metal hair clip on to the resin barrette and gently press into place.
Allow to dry completely. E6000 will be dry to the touch after a couple of hours, but will take 24-72 hours to fully cure (depending on temperature and humidity).
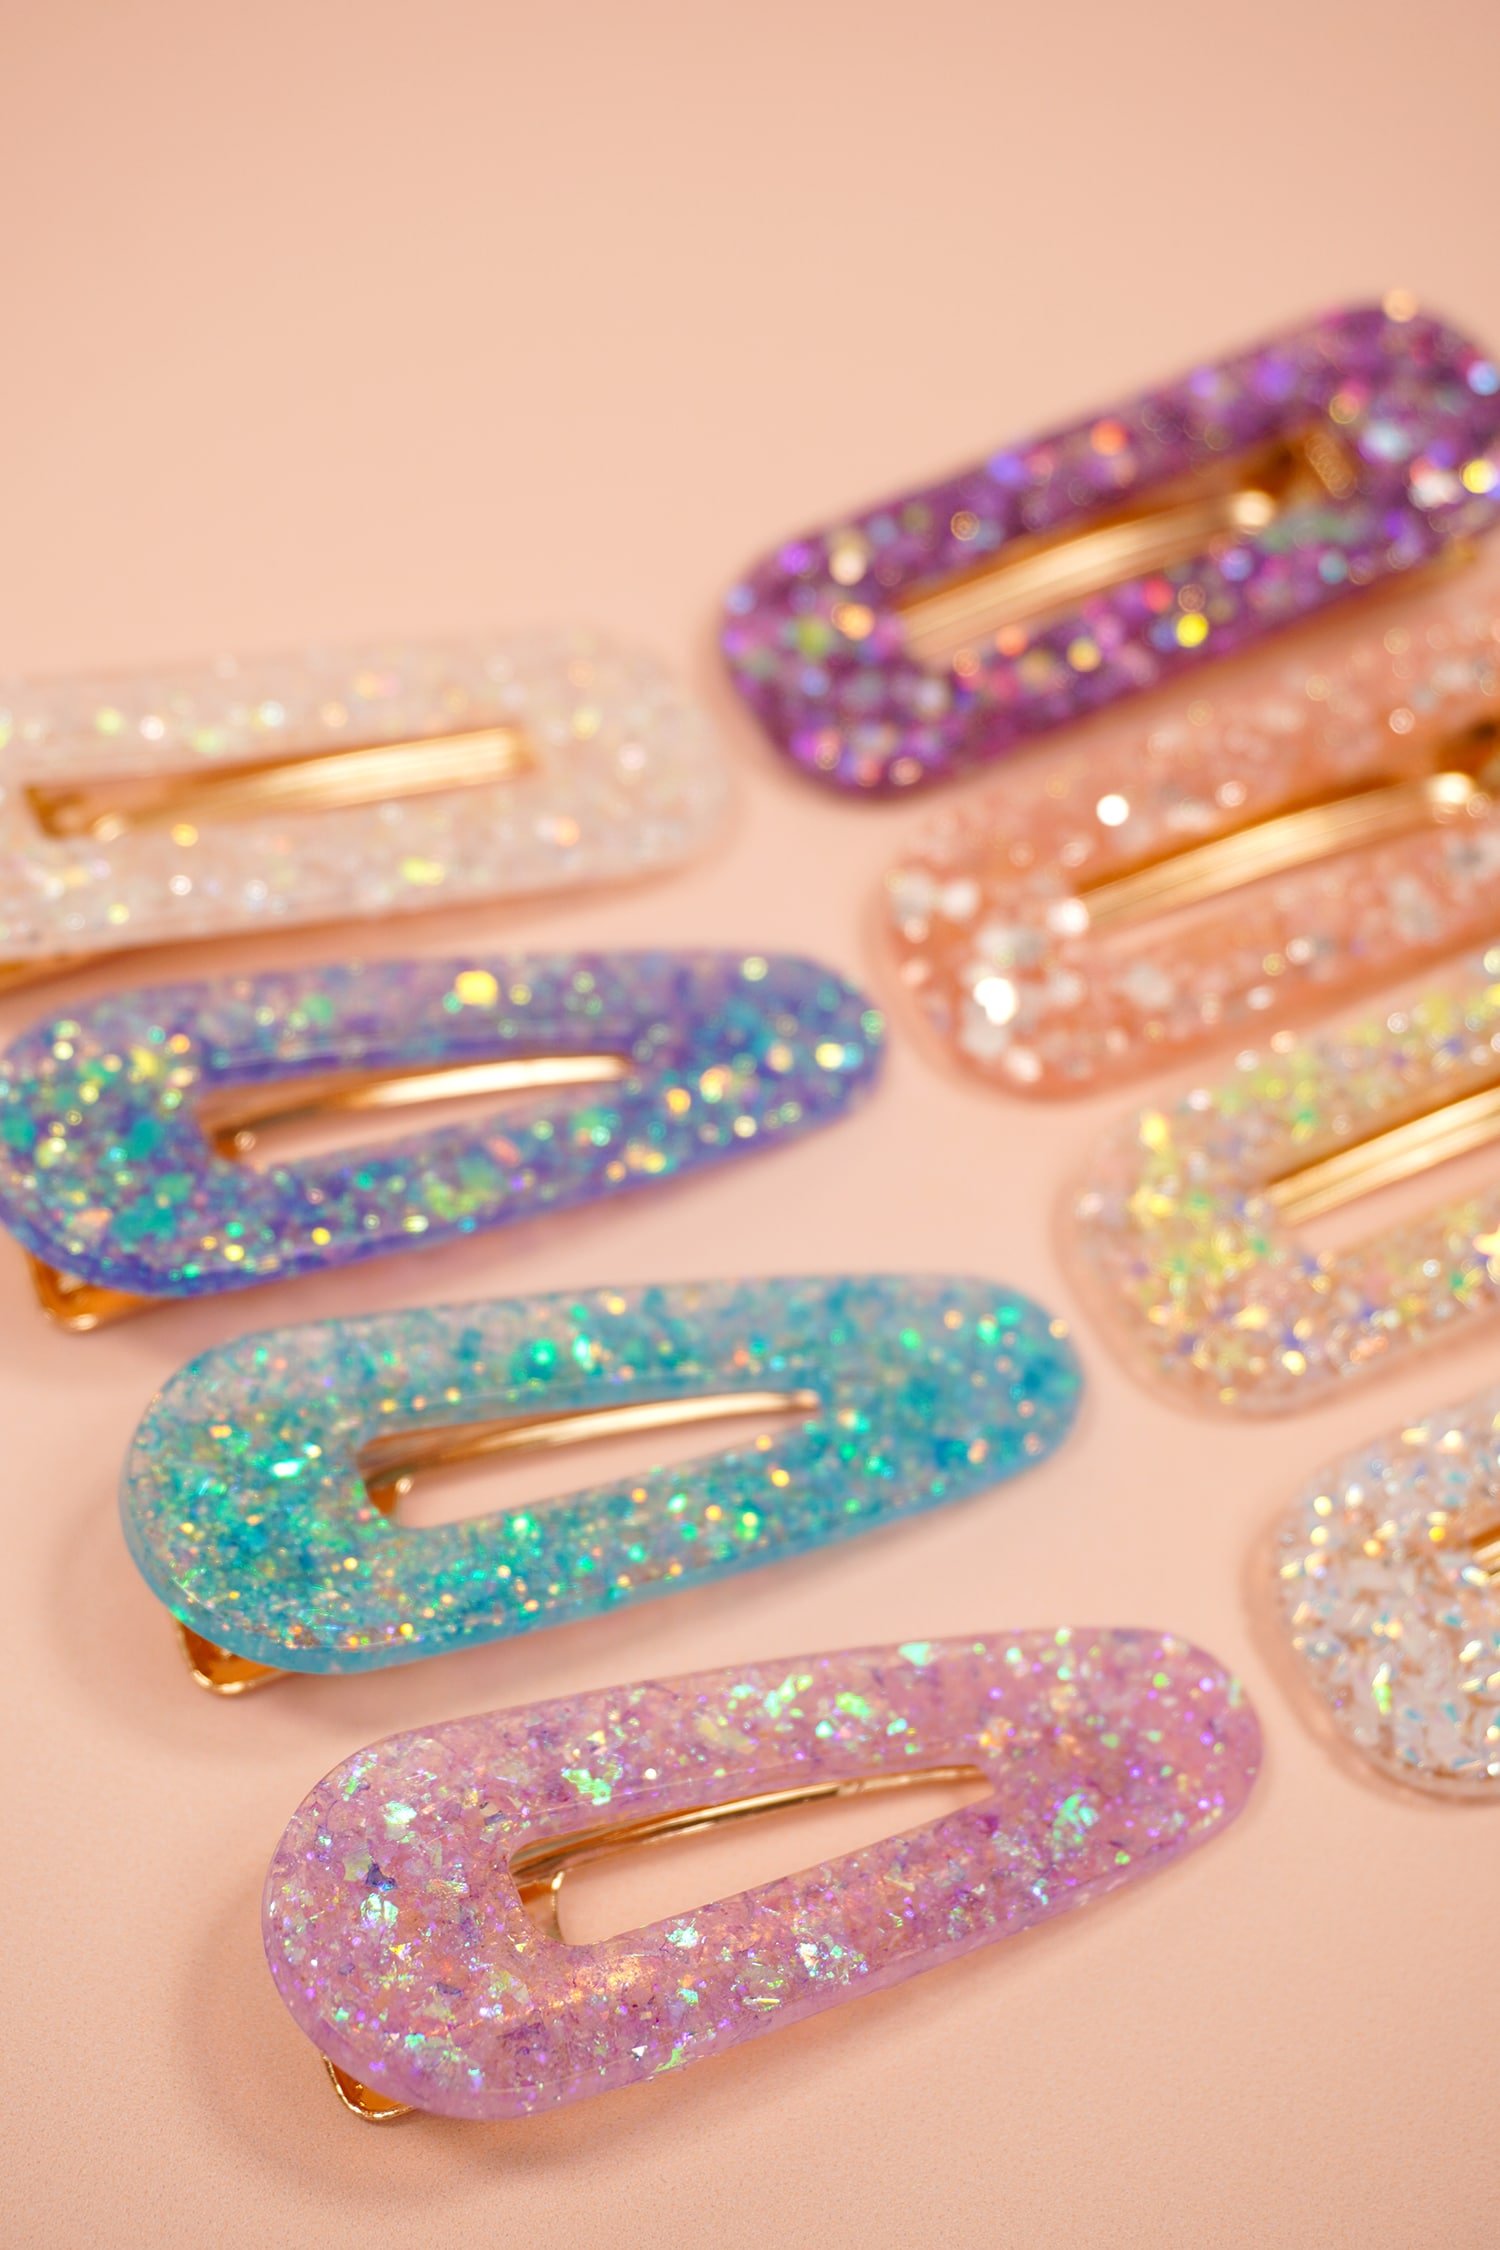
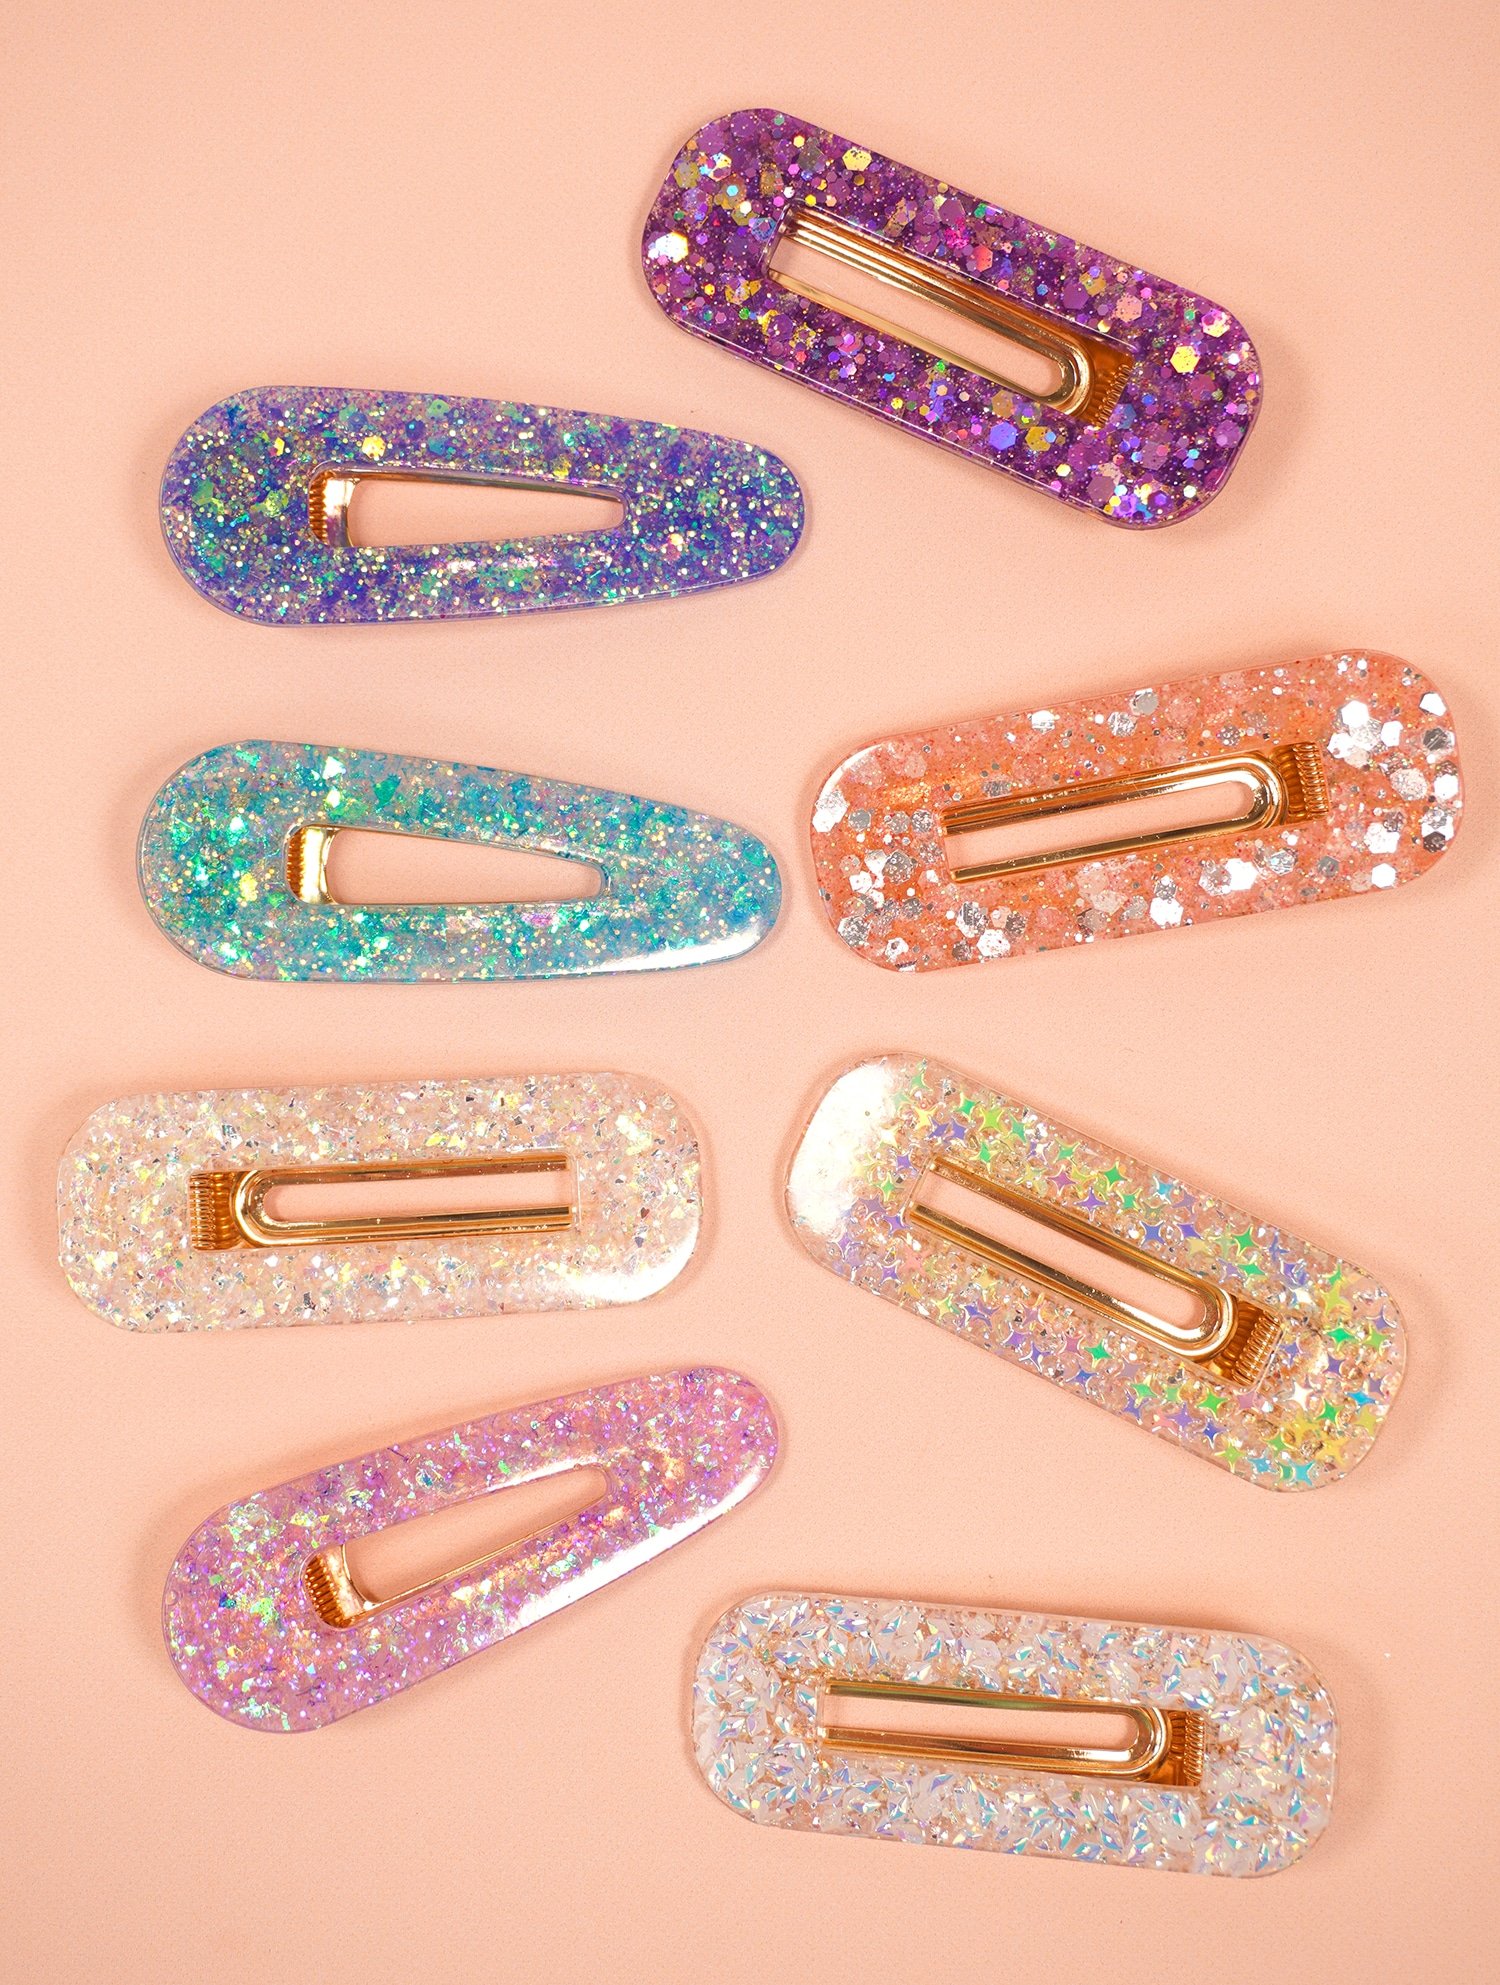
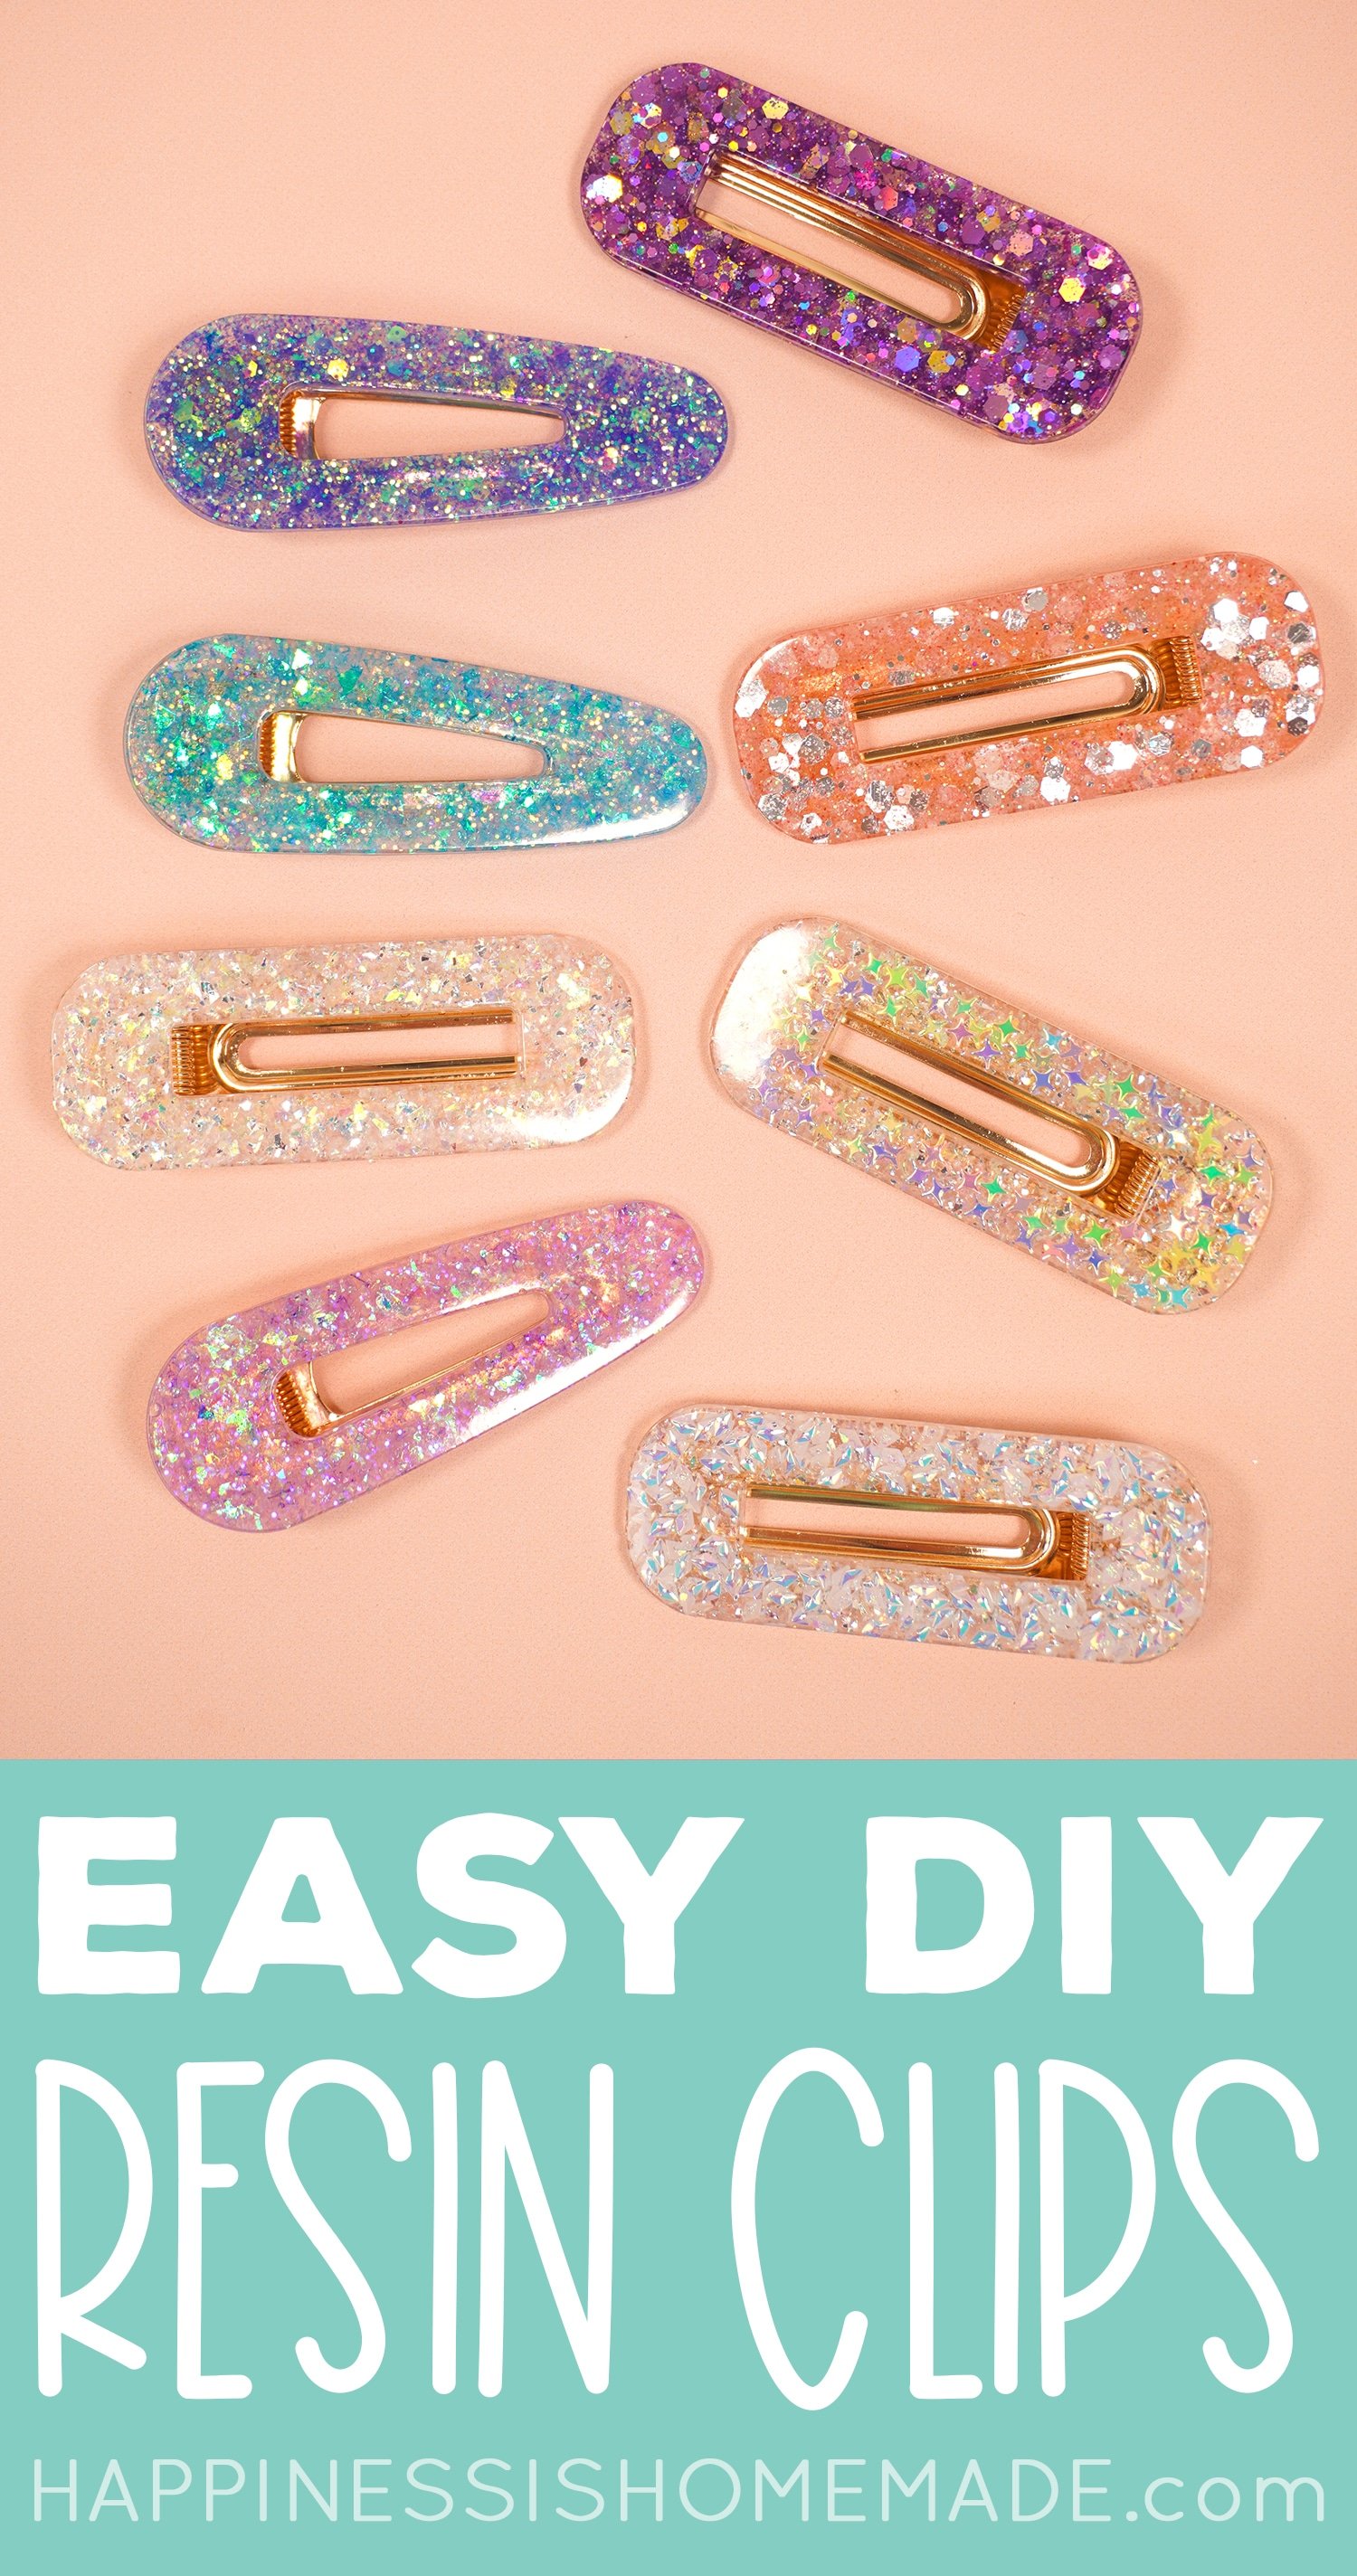
These gorgeous DIY hair clips are SO much fun, and they’re infinitely customizable!
Make one (or two!) to match every outfit or mood!
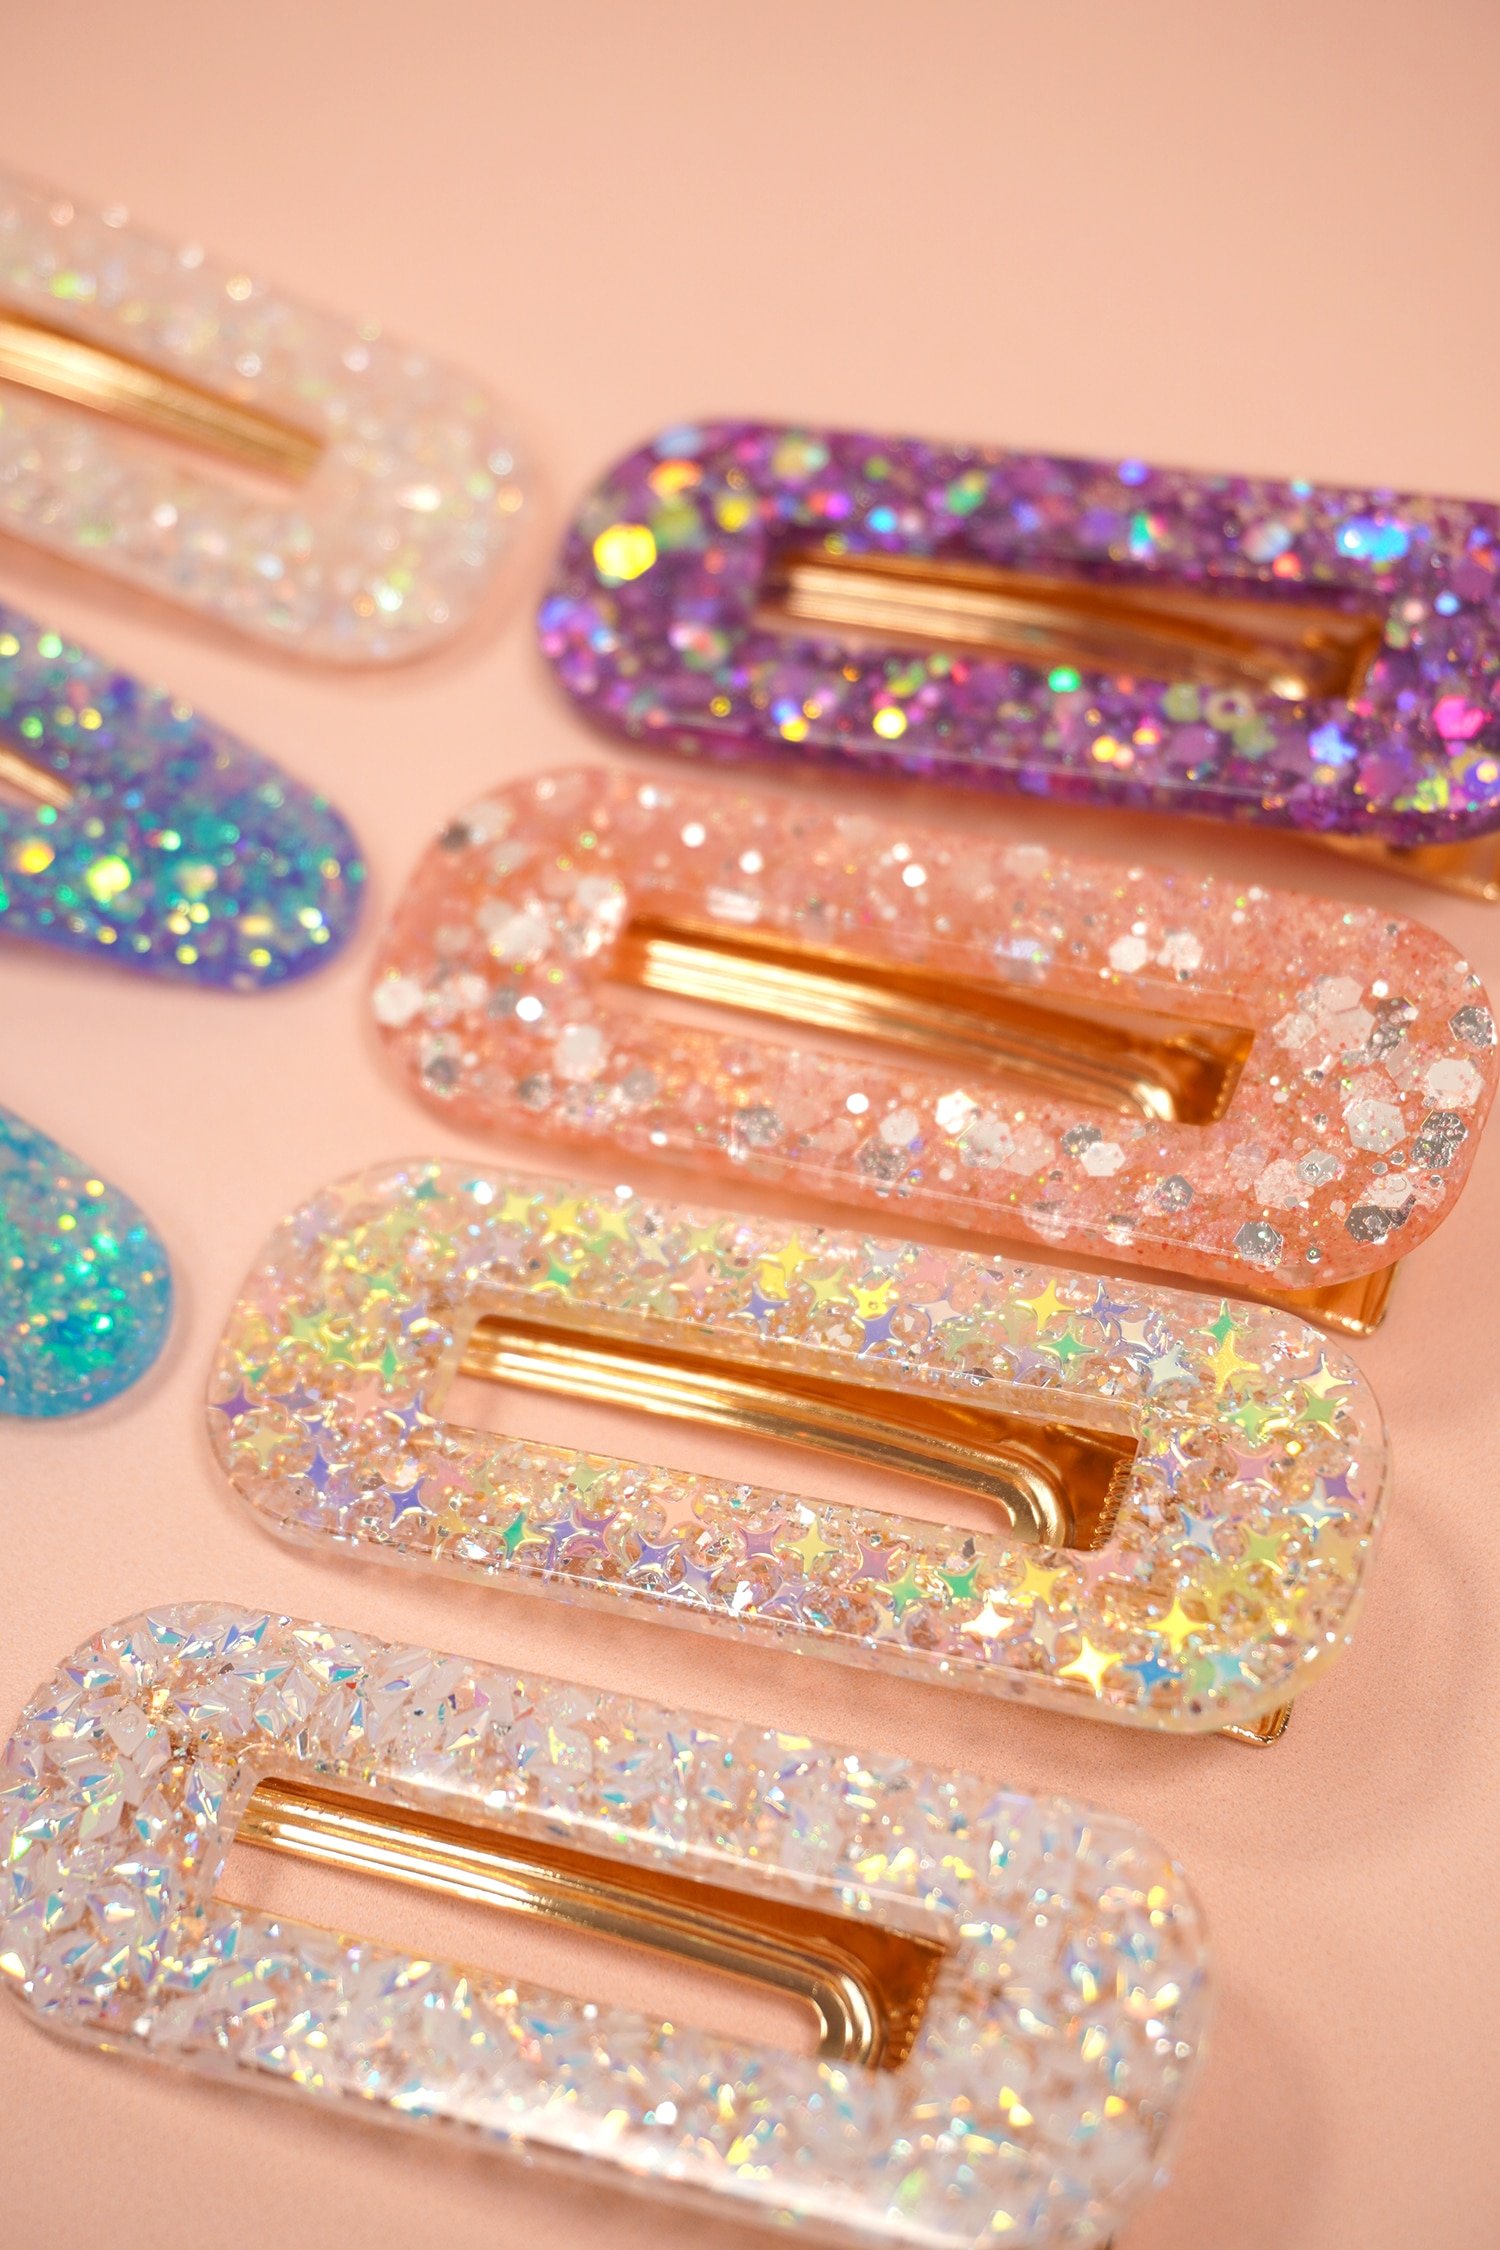
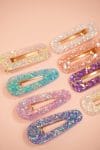
These DIY barrettes also make a fantastic homemade gift idea for friends and family!
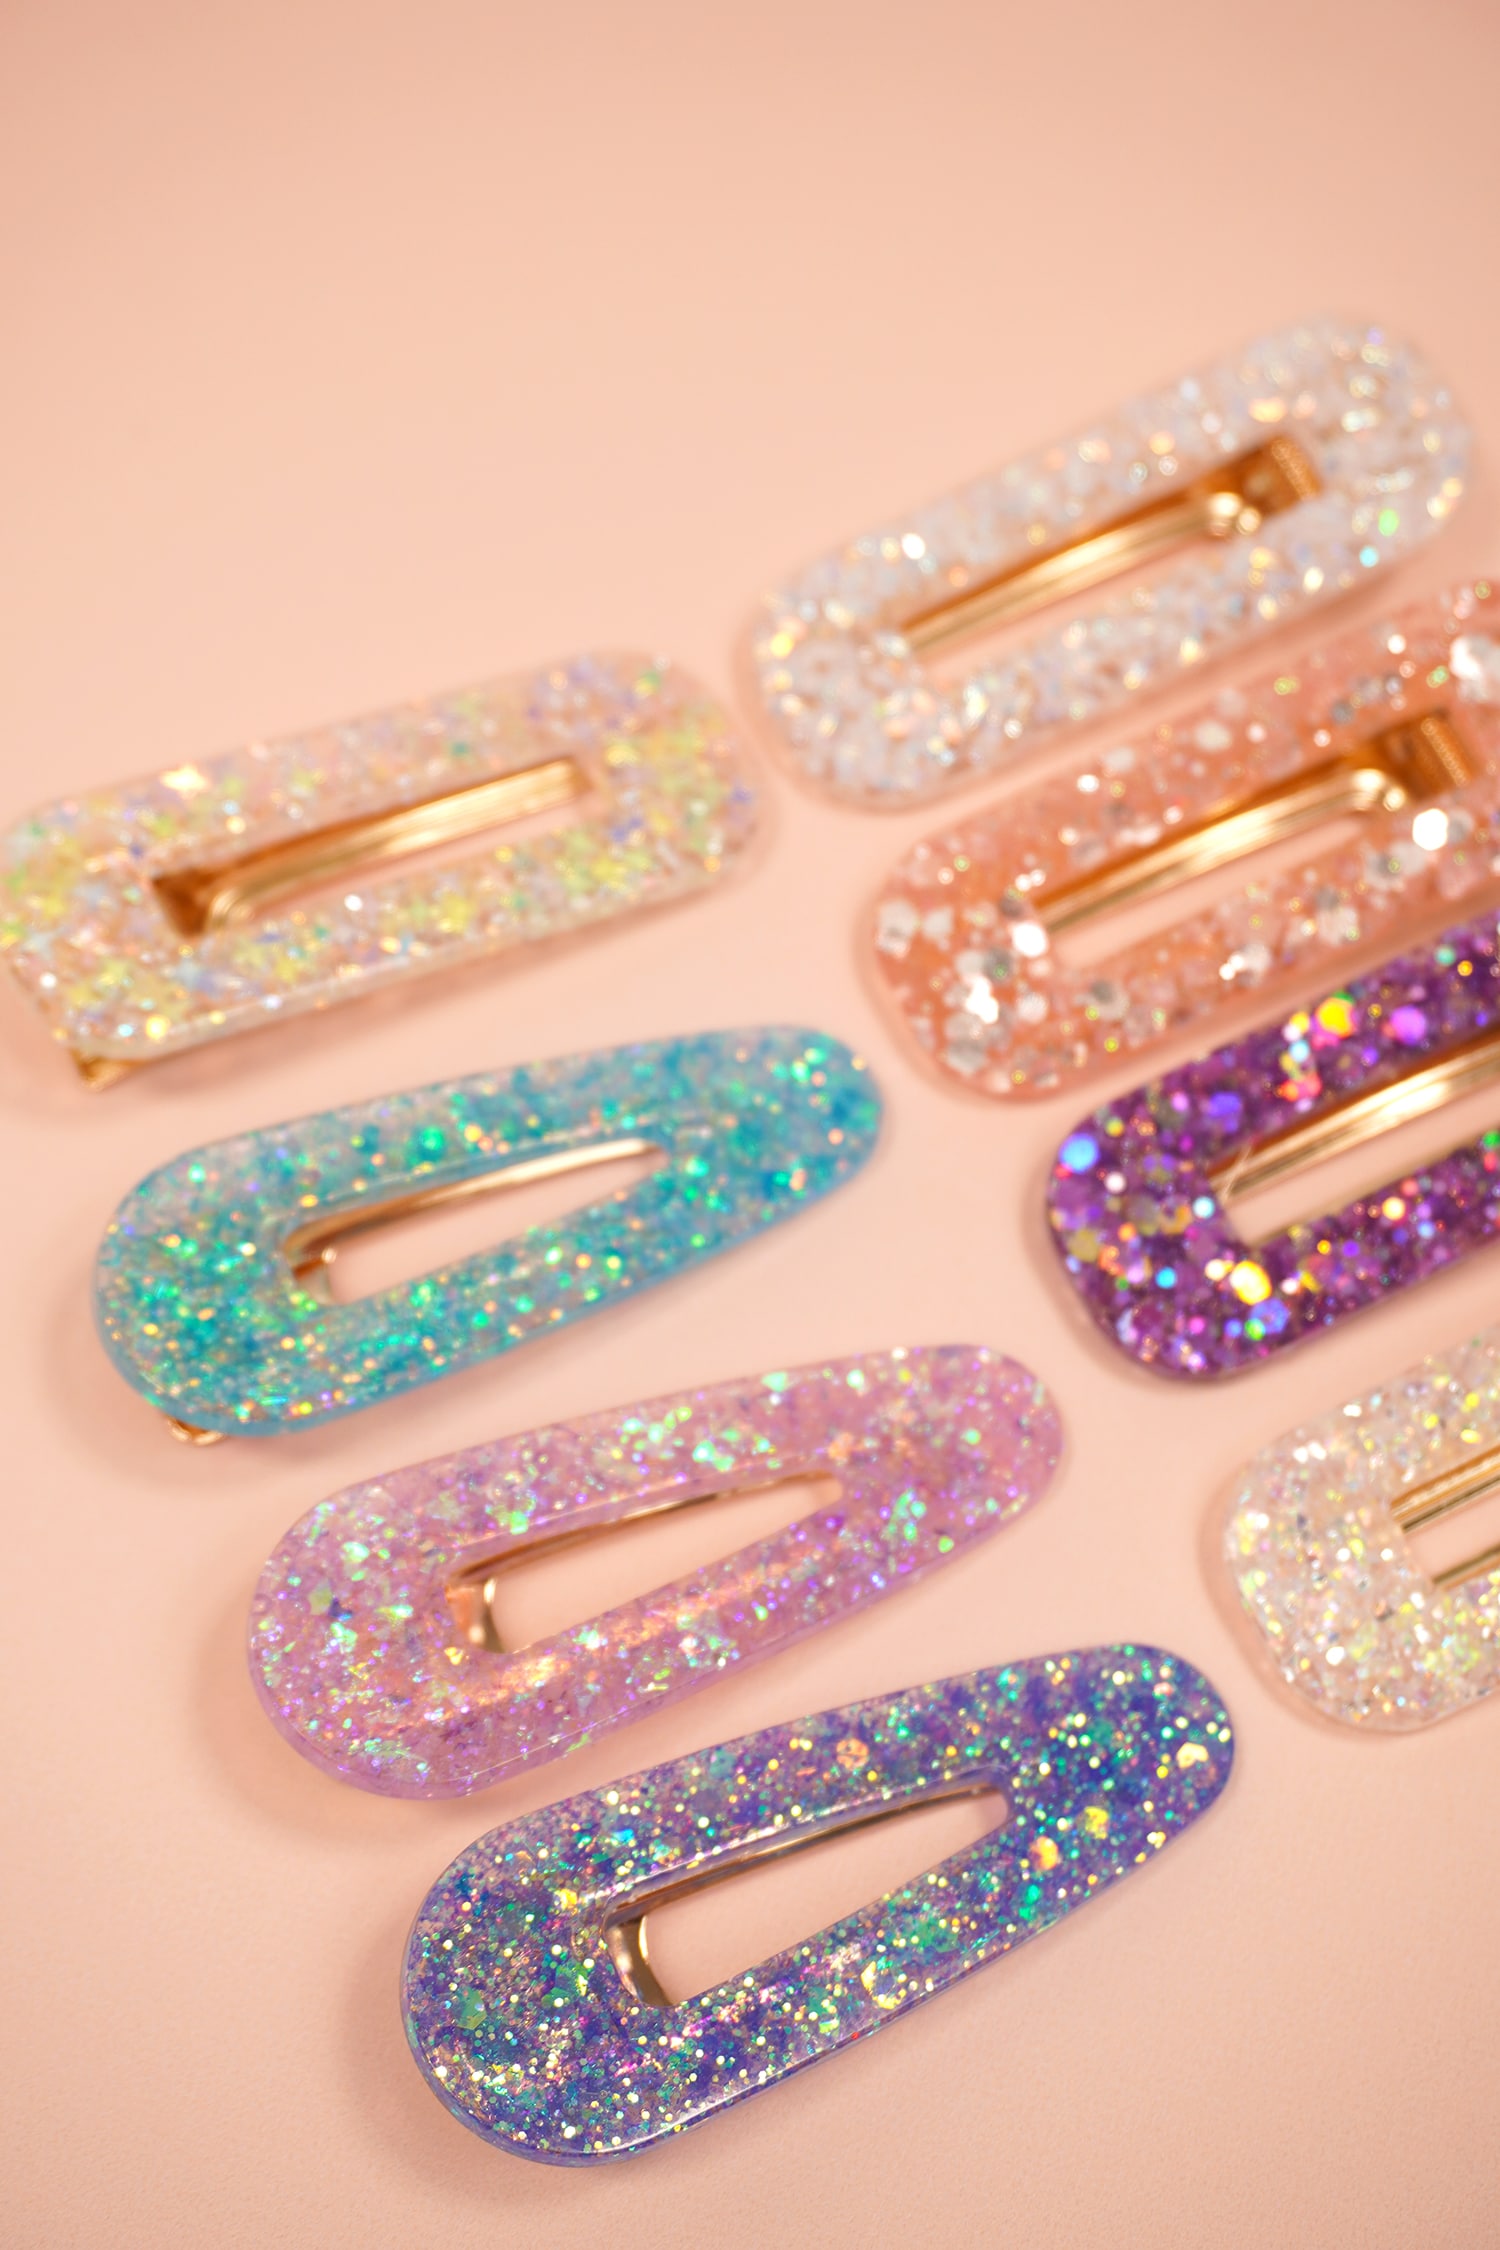
How awesome is it to say that you made these 100% from scratch! The possibilities are endless!
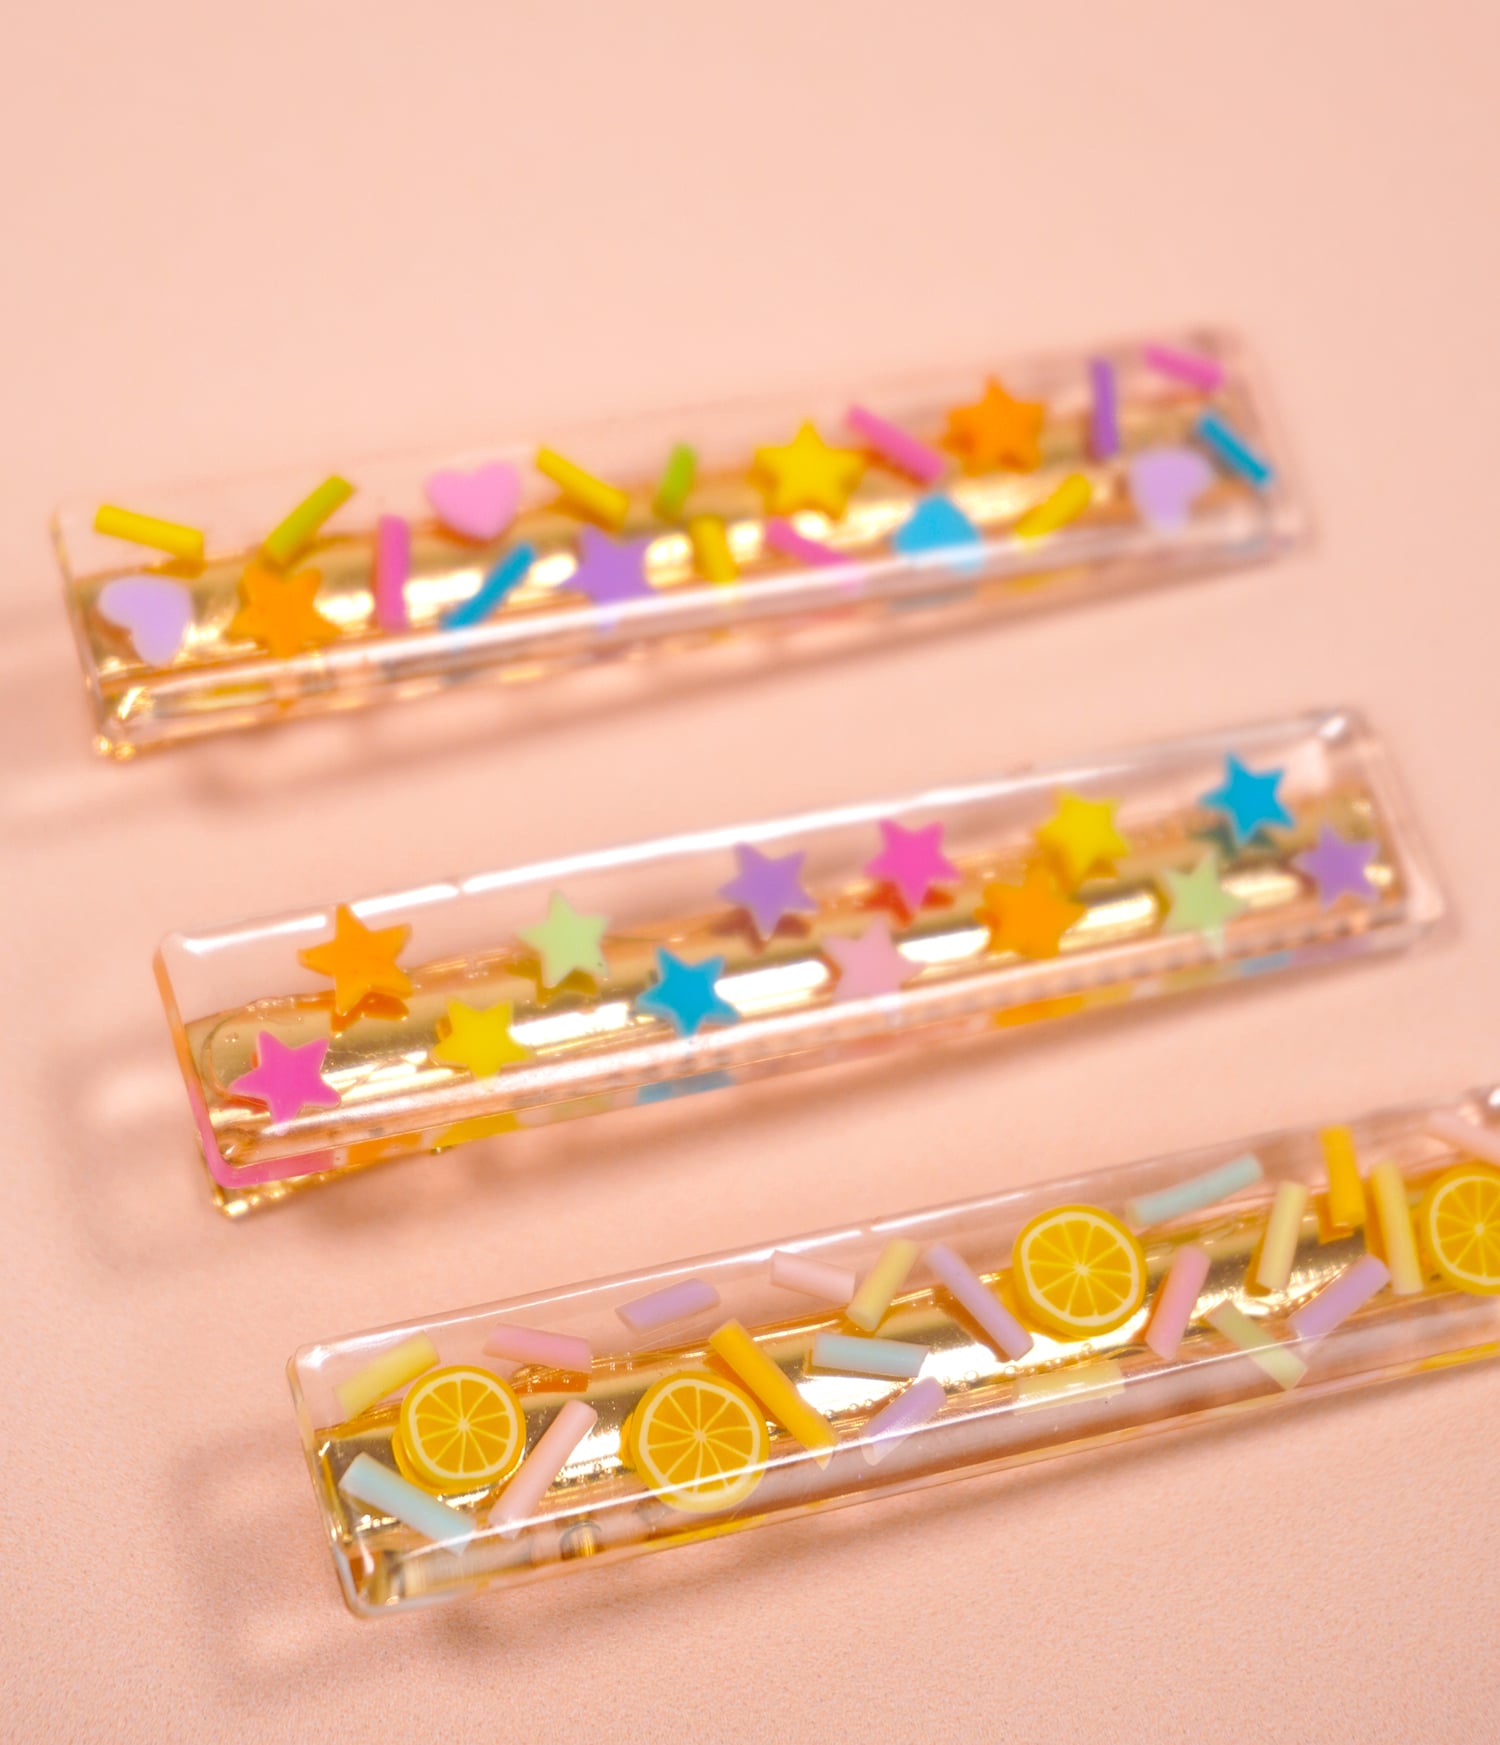
As much as I love, love, LOVE glitter, I have to say that I’m pretty partial to these fun sprinkled hair clips also! I think next time I may try a mixture of fine iridescent glitter AND sprinkles!
What would you use in your DIY resin hair clips? I can’t wait to see what you make! If you try this tutorial, don’t forget to show off your results on social media using the hashtag #hiHomemadeBlog!

You May Also Like:

Don’t Forget to Pin these Resin Barrettes for Later!


Heidi Kundin has captivated the hearts of millions with her colorful and inspiring approach to crafting, celebrations, and family fun. With over 15 years of experience, Happiness is Homemade has become a must-visit destination for those seeking quick and easy creative ideas and last-minute solutions. Heidi’s warm personality shines through her posts, inviting readers to join her on a creative journey that’s fun, rewarding, and achievable. Heidi is also the author of Homemade Bath Bombs & More and DIY Tie-Dye.
Where do you find the backings from?
Generally you will receive a few of the metal clips with the silicone mold, but you can also buy additional clips on Amazon here! 🙂