
This post may contain affiliate links. I will receive a small commission from these sales at no additional cost to you!
I love everything about Halloween, especially the costumes. I’ve always loved the idea of getting to play dress up and be someone completely different for a night. I also love making our own costumes, and I try to create one for at least one of my boys every year. Since the older boys have their hearts set on being Mario and Luigi this year (and Dad already bought them their costumes at Target), that left my toddler as the recipient of the Mom-made costume this year.
Check Out More Halloween Ideas:
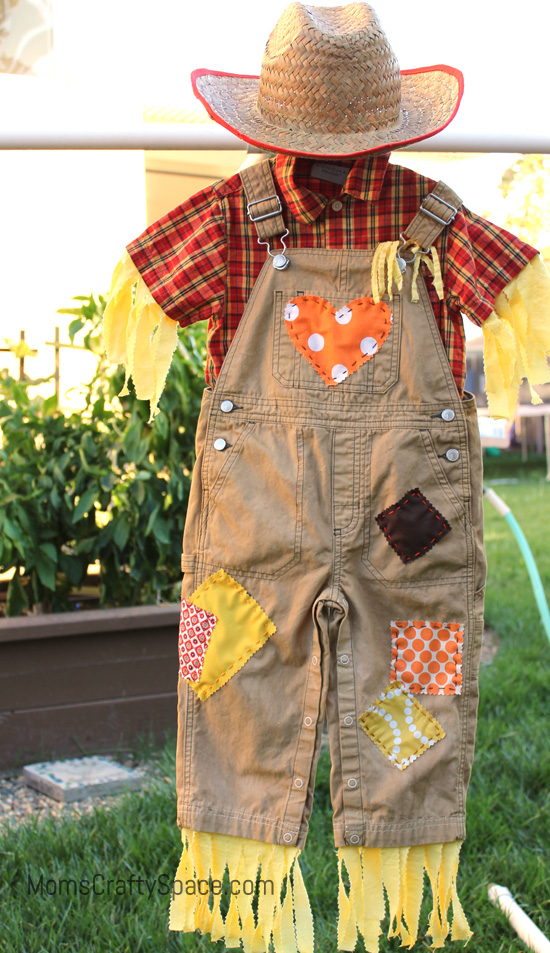
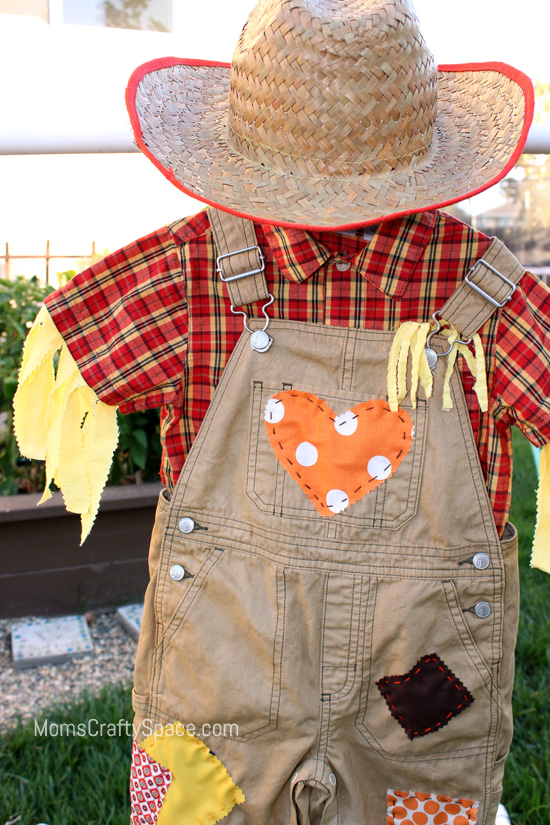
DIY Toddler Scarecrow Costume
I’m also pretty cheap thrifty when it comes to costume making, and I always try to use and upcycle things that we already have around the house. I had been toying around with the idea of making a scarecrow costume, but the colors of my cast-off clothing were all wrong. When I received a package full of RIT Dye a few weeks ago, I knew that it would be perfect for making Simon’s costume.

Aren’t these colors awesome? I already have so many more dye projects churning around in my brain!
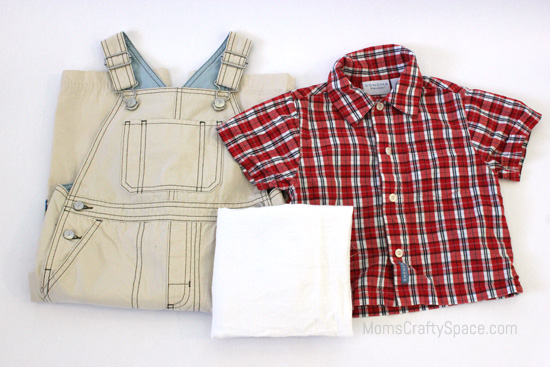
Here’s what I started with, a pair of off-white overalls, a white tea towel, and a red and white plaid shirt.
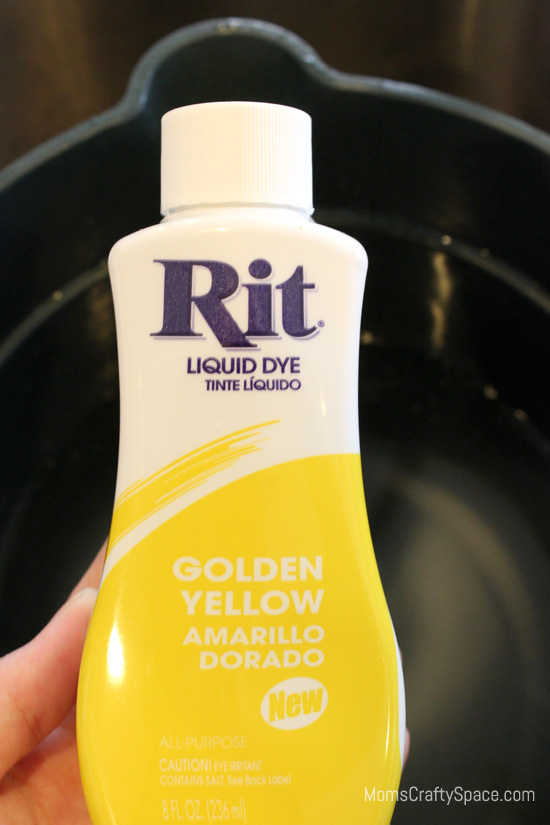
I started by dyeing the tea towel and the plaid shirt Golden Yellow. The dye process is incredibly simple – just mix up a bucket full of HOT tap water (the hot water aids in dye absorption), half a bottle of liquid dye, and a cup of salt (use salt when dyeing cotton or linen; vinegar for dyeing silk, wool, and nylon). The liquid dye is more concentrated than powdered dye, so you don’t need as much to get intense color.
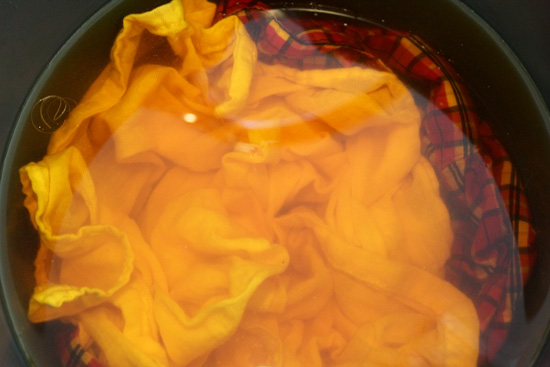
Let it sit for about 10-20 minutes (up to an hour for deeper colors). I used a wooden spoon to stir my clothing around to ensure that it would dye evenly.
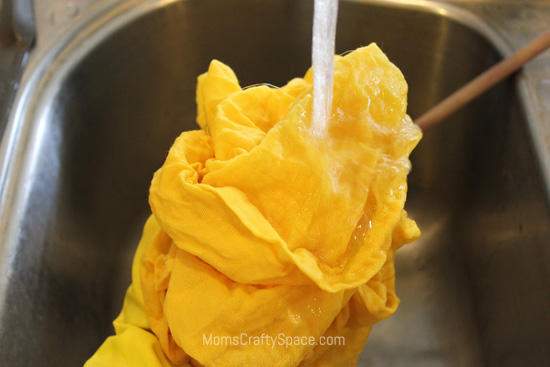
Take your fabric out and rinse it, first in warm and then in cold water until the water runs clear.
I decided that my shirt and the tea towel were a little too matchy-matchy after their Golden Yellow bath, so I added a bit of Sunshine Orange dye into the bucket and put my shirt back in for another ten minutes. Perfect! To darken up the overalls a bit, I added a tiny bit of black to the orange-yellow dye mixture to create brown (as found in the RIT Color Formula Guide). I didn’t want them to get too dark, so I only let them soak for about five minutes before rinsing them.
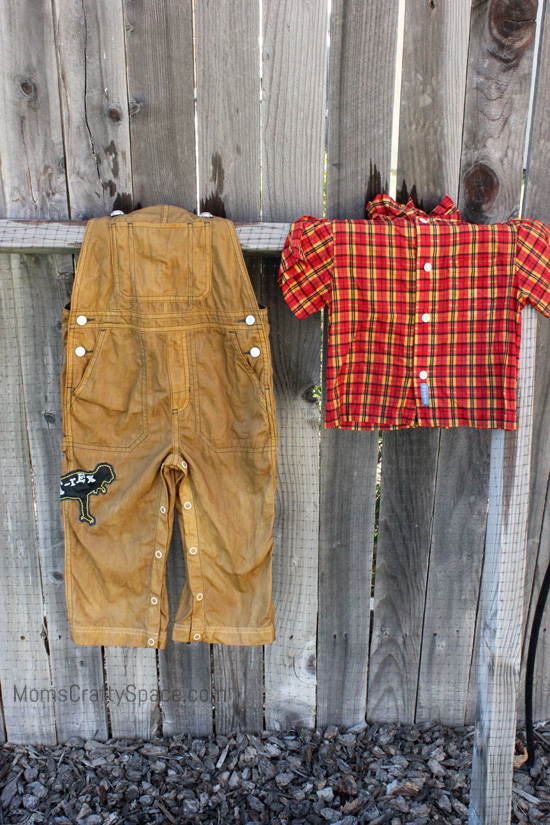
Hang your clothes out to dry. Make sure that you’re in an area where any remaining dye won’t drip off and ruin the flooring/ground.
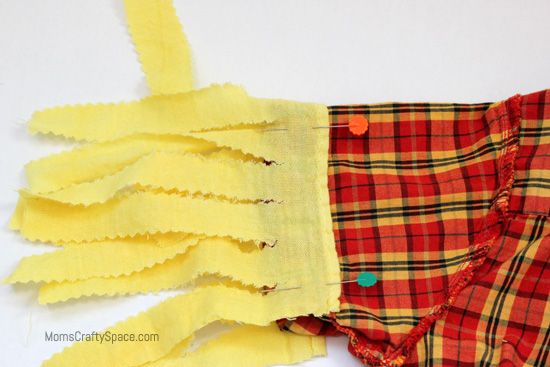
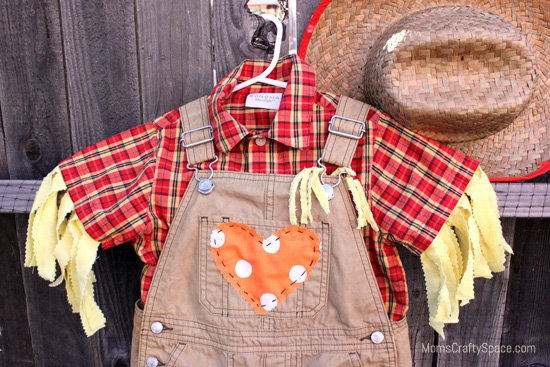
I cut the tea towel into 5″ wide strips (each strip was the length of my tea towel, approx 20″ long), and then used my pinking shears to cut 3/4″ perpendicular strips to create “hay” for my scarecrow. I left about 1″ at the edge so that I could sew it on to my costume. I flipped the sleeves inside out and attached the hay with a quick hand stitch. You could totally do this part on a sewing machine even faster, but my desk was messy enough that it would have taken me even longer to clean it off before I could pull out my machine. I sewed the strips of hay to each shirt sleeve and to the bottom of the overalls pants cuff.

I grabbed some of my scrap fabrics in coordinating colors and cut out patches for the costume. Maybe I’m just way too obsessive-compulsive, but I played around with the layout of the patches for quite a while before I finally settled on patch locations and fabric choices. I hand-stitched each patch to the overalls with contrasting embroidery thread so that it would look more whimsical and sweet.
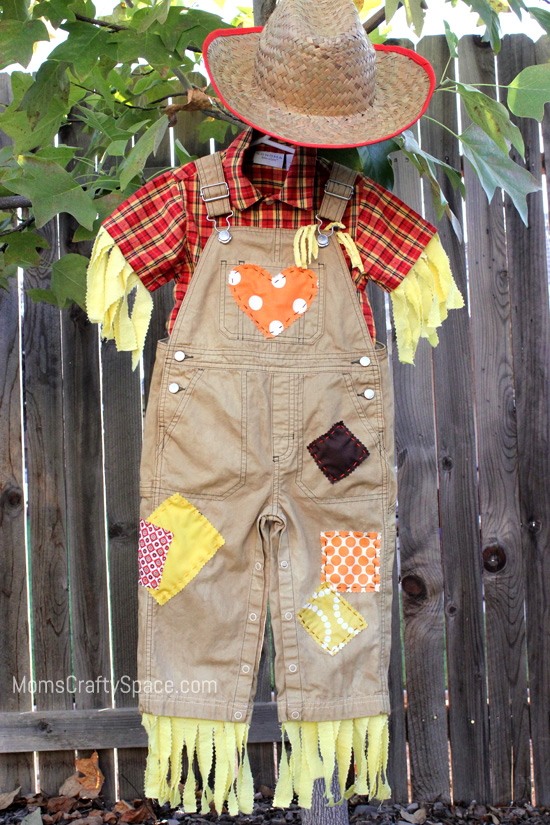
I totally {LOVE} the way it came out! These autumn colors are much better than the original clothing that I had to work with, don’t you think?
Now I just need to see if I can wrangle my two-year-old into his costume so I can get a picture of him actually wearing it to show you! I can’t wait to see him in it!

Check Out These Other Halloween Ideas!


Heidi Kundin has captivated the hearts of millions with her colorful and inspiring approach to crafting, celebrations, and family fun. With over 15 years of experience, Happiness is Homemade has become a must-visit destination for those seeking quick and easy creative ideas and last-minute solutions. Heidi’s warm personality shines through her posts, inviting readers to join her on a creative journey that’s fun, rewarding, and achievable. Heidi is also the author of Homemade Bath Bombs & More and DIY Tie-Dye.
I’m a mother of a toddler who is 28 months. And it’s crazy how much he’s learned and changed this Summer, last year was my last pick of his costume lol- He asked me one day what a scarecrow was when he saw it in a picture. Once I did he puts on his lil hat and arms up doesn’t move to act like a scarecrow haha!! And he is positive on being one this year. I said no problem cause it’s pretty easy to make and as you said inexpensive.
I came across this tutorial to compare and what they sell them in stores for and the look isn’t as realistic. You gave me some great ideas!!! I’ll be sure to show ppl your blog as it’s what I dream of making cause I have so many ideas. I finally started a jewelry business on the side but starting out is so tough. My gf backed out, but I’m to dedicated and in love with making stuff for my son. His first bday brought out the side of me I was to scared to show as peoples opinions mattered to me before. Since growing up I can say I’m much happier doing what I love. And if you have any tips on success with blogging or owning a business please let me know.
I’m still working on my presentation of my site and building a website to. If you don’t mind once it’s up I’d love to post a link to your site as you’re so similar to me I’m your talents. But I can’t sew ;( just by hand. My husband was on Jacka** and Viva la Bam(Rake) so I may have him twitter and help me. Thank you so much!! Xoxo
Melissa from West Chester, PA
Oh my gosh, soooo cute!!
ah..this turned out so sweet!!! love all the details and the dye worked so well!!
AWESOME costume! Fun, comfy and easy – great combo.
Very detailed tute! Love this costume – I am amazed at what a difference the RIT dye made! THe patches you add are the cutest touch to the whole costume!
Cute 🙂 I couldn’t find your share buttons. I may have missed them, I’m very sleepy! Sorry if they are staring at me! 🙂
I love this!! I’ve always loved scarecrows, and also anything with patches. Your kid is going to be SO CUTE!
This is a cute costume. I enjoyed my visit to your blog. visiting from DearCreatives.com drop by sometime when you get a chance a new follower.
Your scarecrow is so adorable. Great job on him!!!
Happy Autumn!
xo,
Cheri
Super cute and a great tutorial!!
What a great costume, love it!
So, so cute! What a great job you did.
What an adorable costume! The photos and instructions were so well done too. Stopping by from Serenity Now. Thank you so much for the kind words on her introduction of my blog Pinner Takes All.
This is so cute!! What a great tutorial too!
Oh my goodness! I adore it! That is one of the cutest costumes I have ever seen!
so cute! i love how you did the wrists with the yellow fabric. my kiddos are going as the onceler, the lorax and a barba-loot. well if i ever get my fur fabric in the mail. i said i would never sew with fur again after last years costumes but here i am again:) anything for those kiddos!