
Looking for a fun Dr. Seuss craft? These Cat in the Hat bath bombs are sure to be a HUGE hit! Quick, easy, and TONS of fun for all ages!
This post may contain affiliate links. I will receive a small commission from these sales at no additional cost to you!
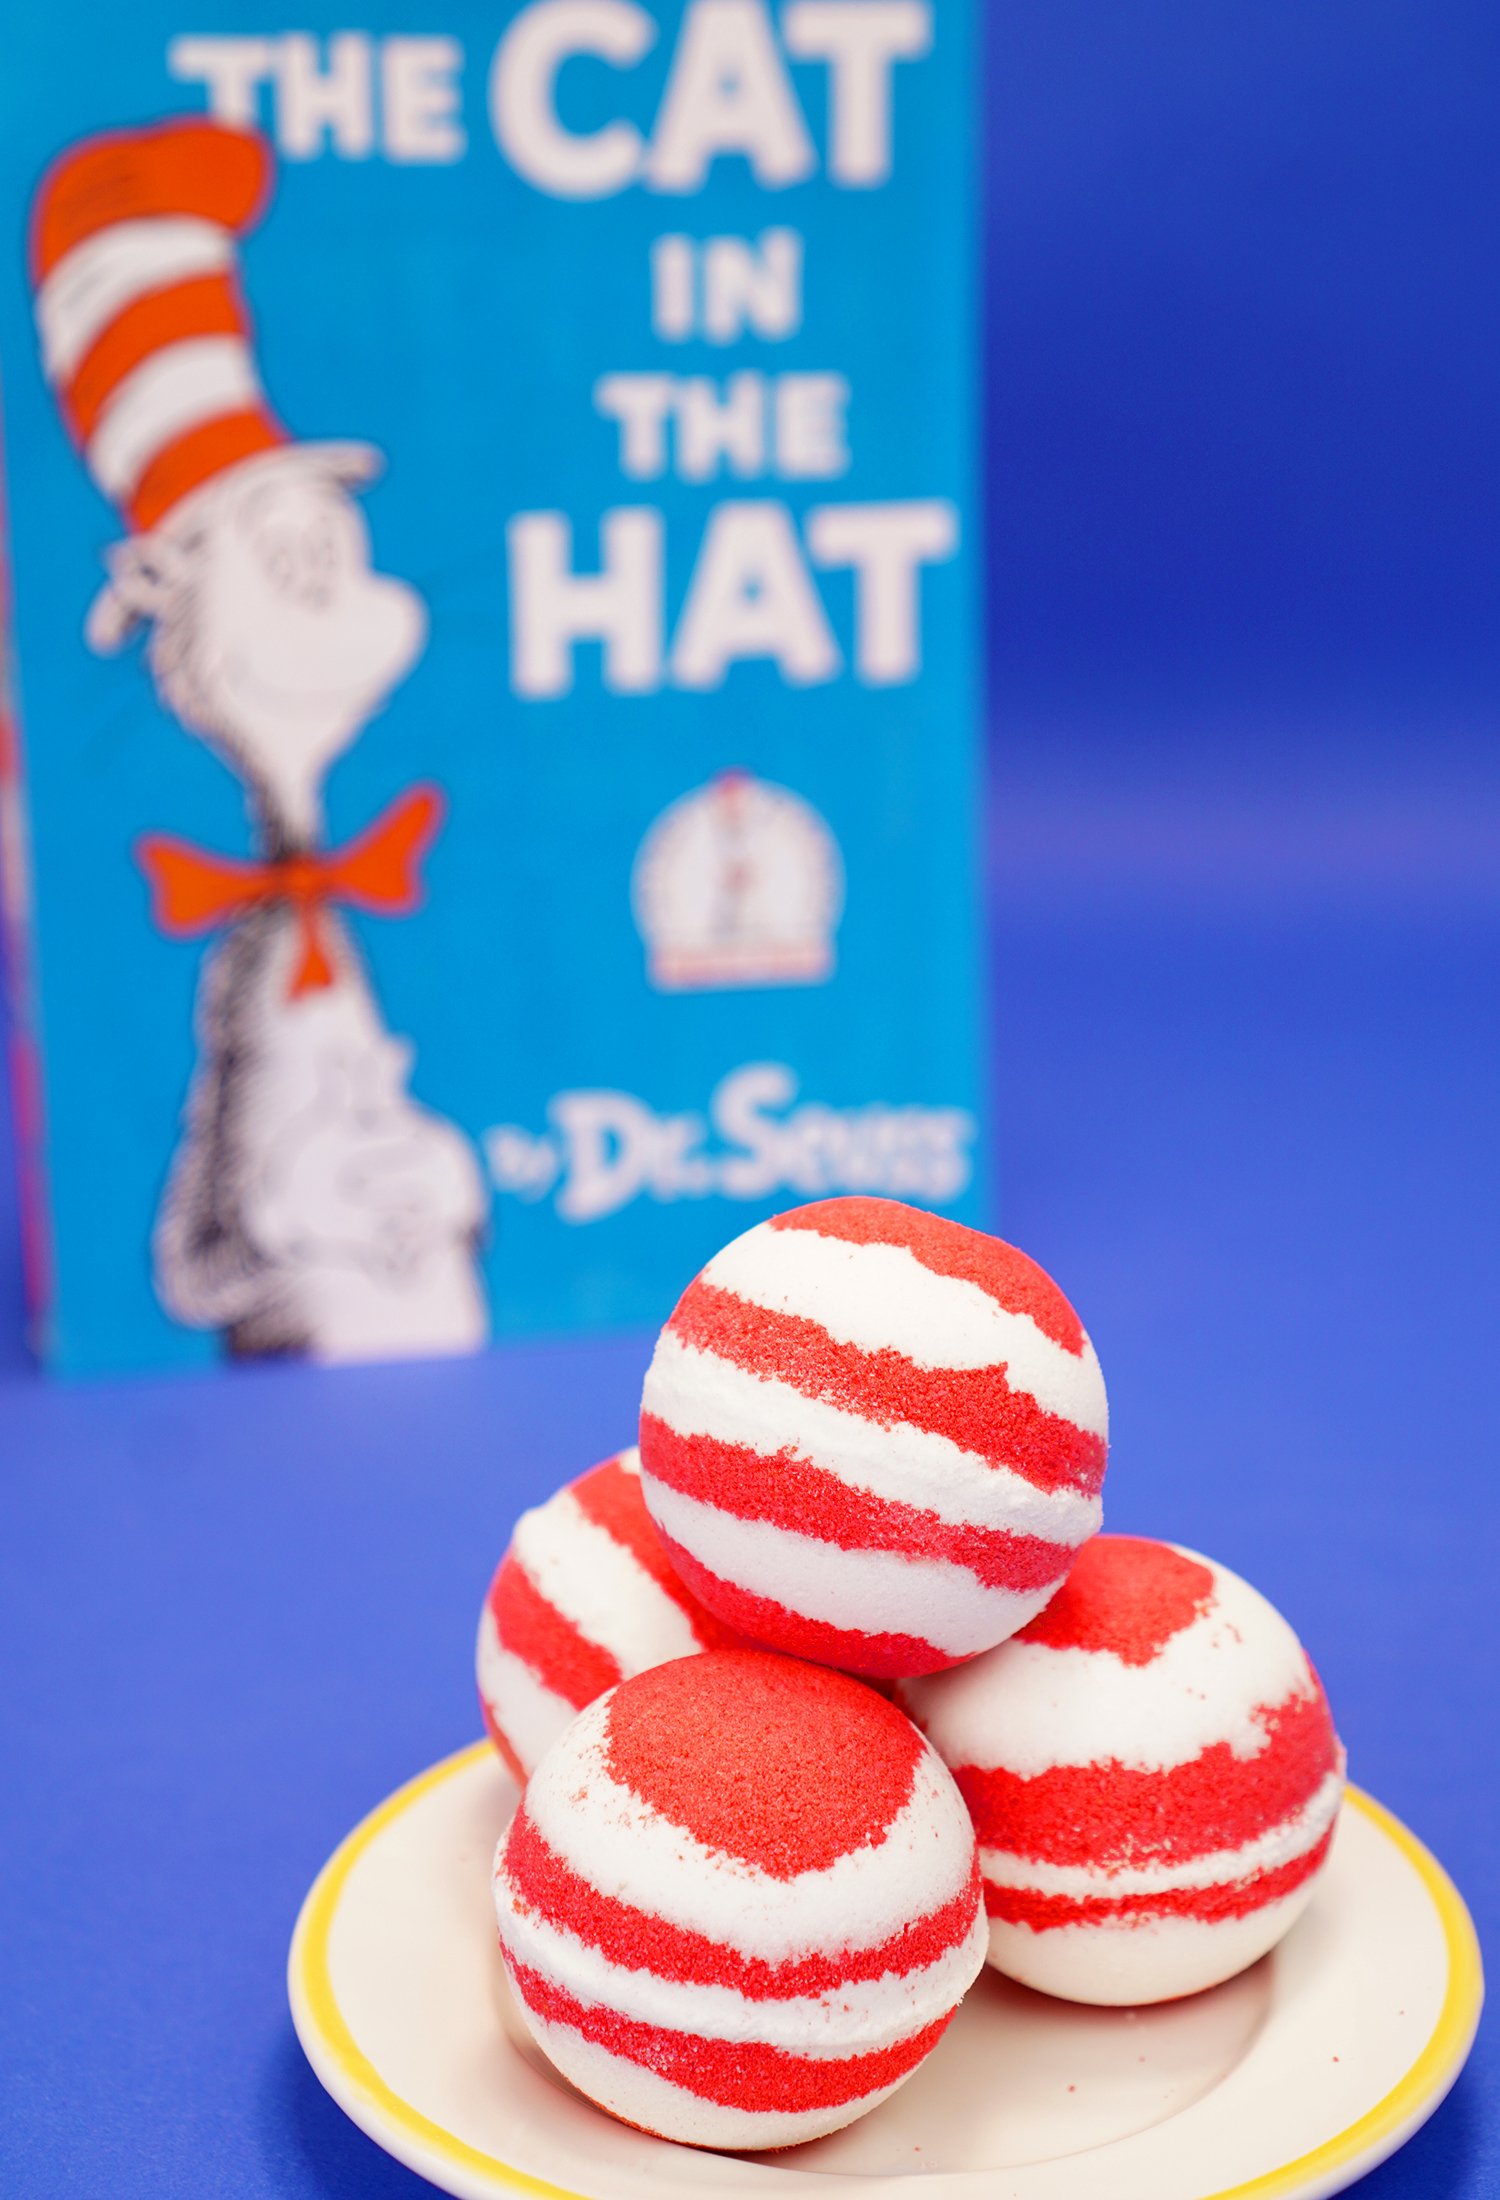
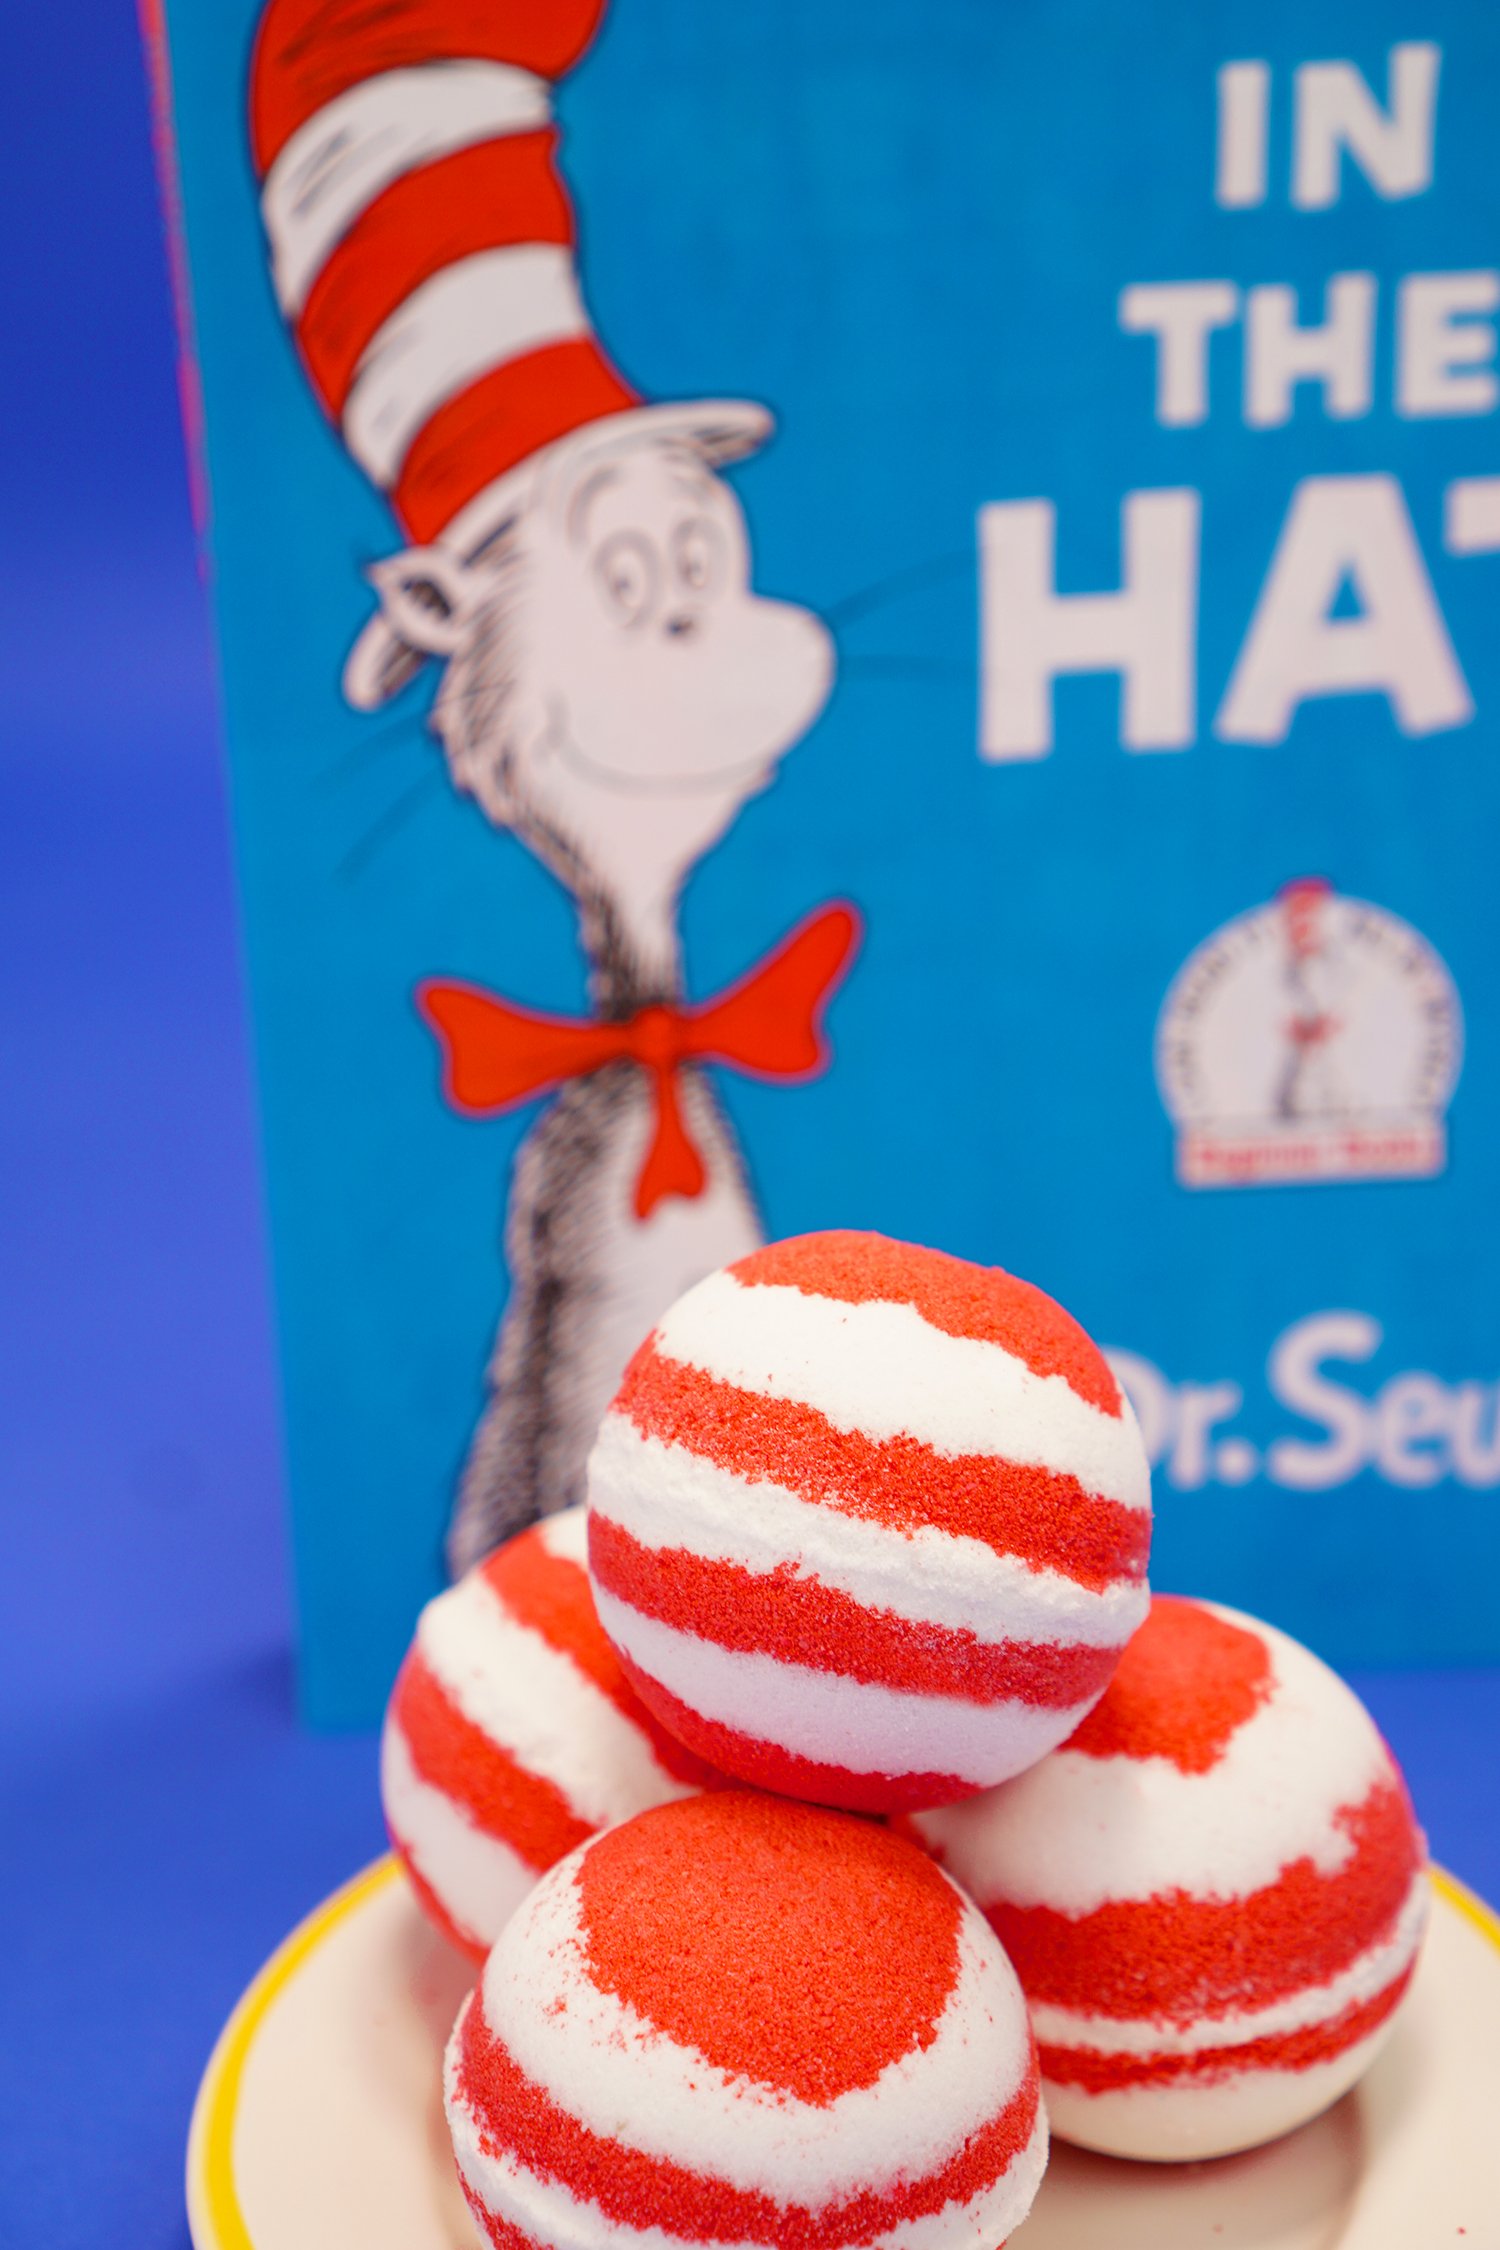
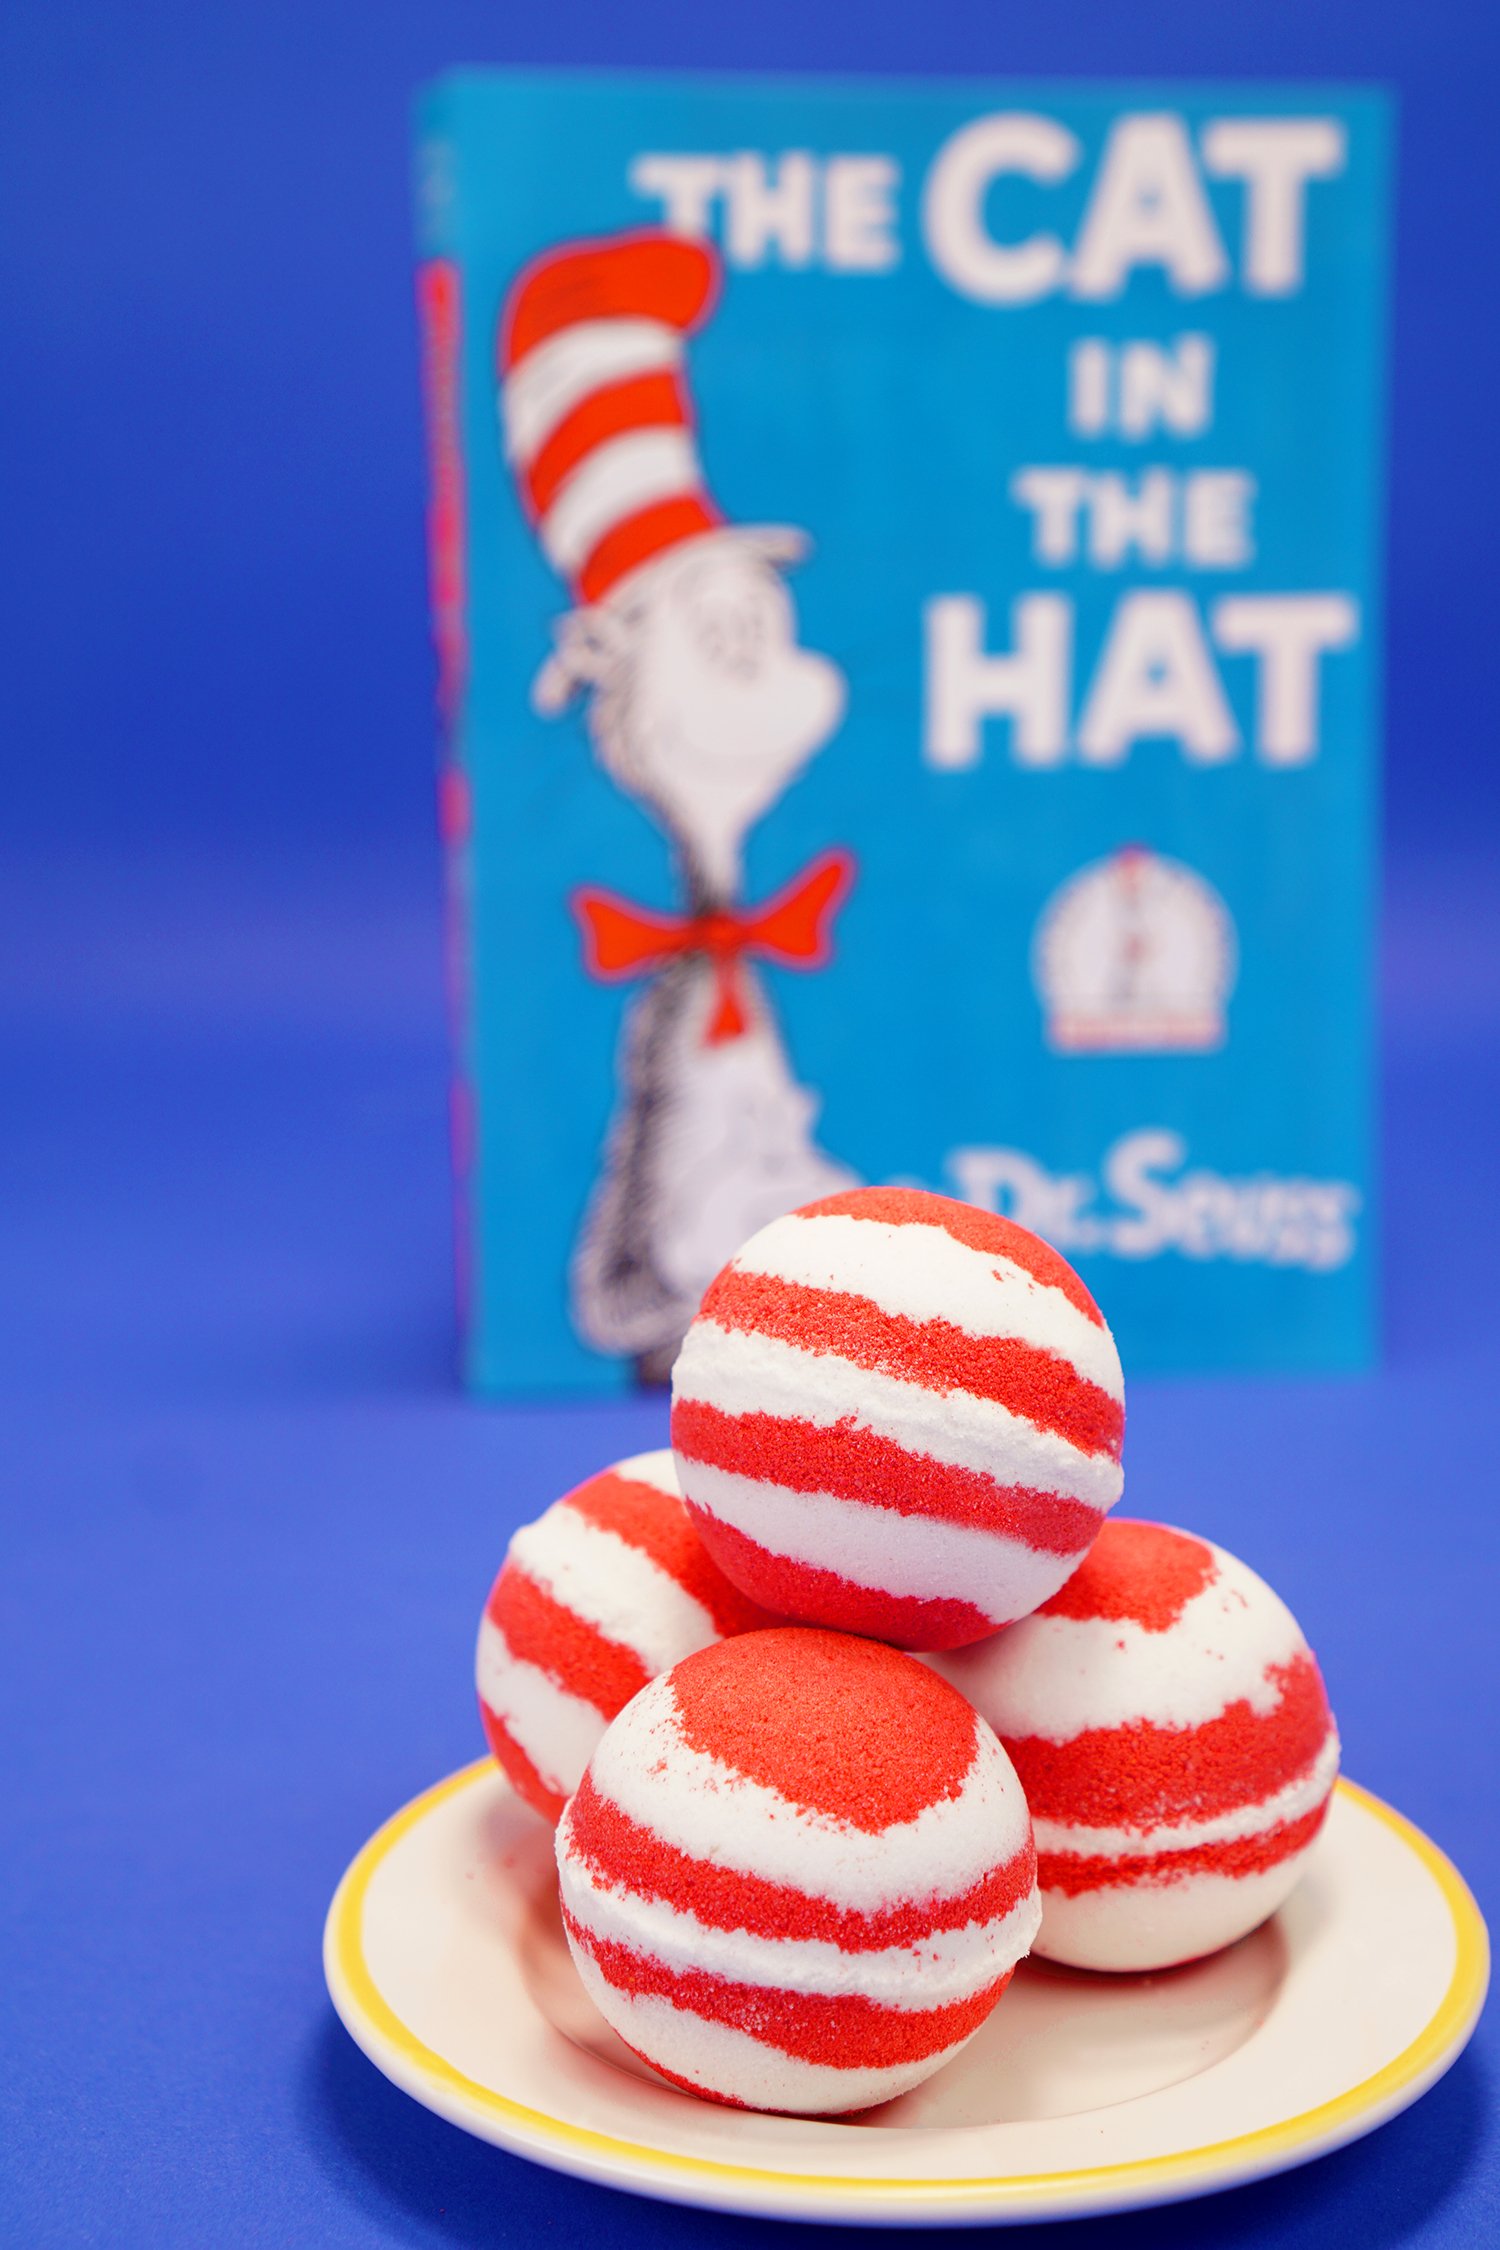
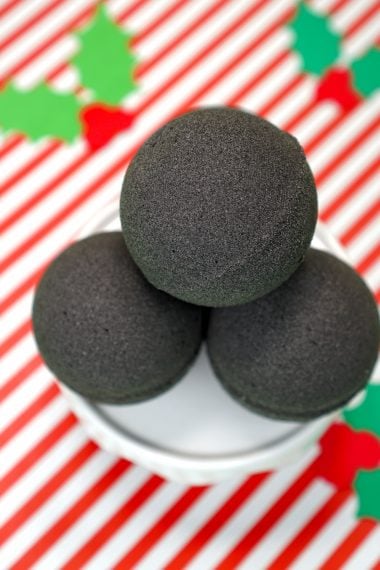
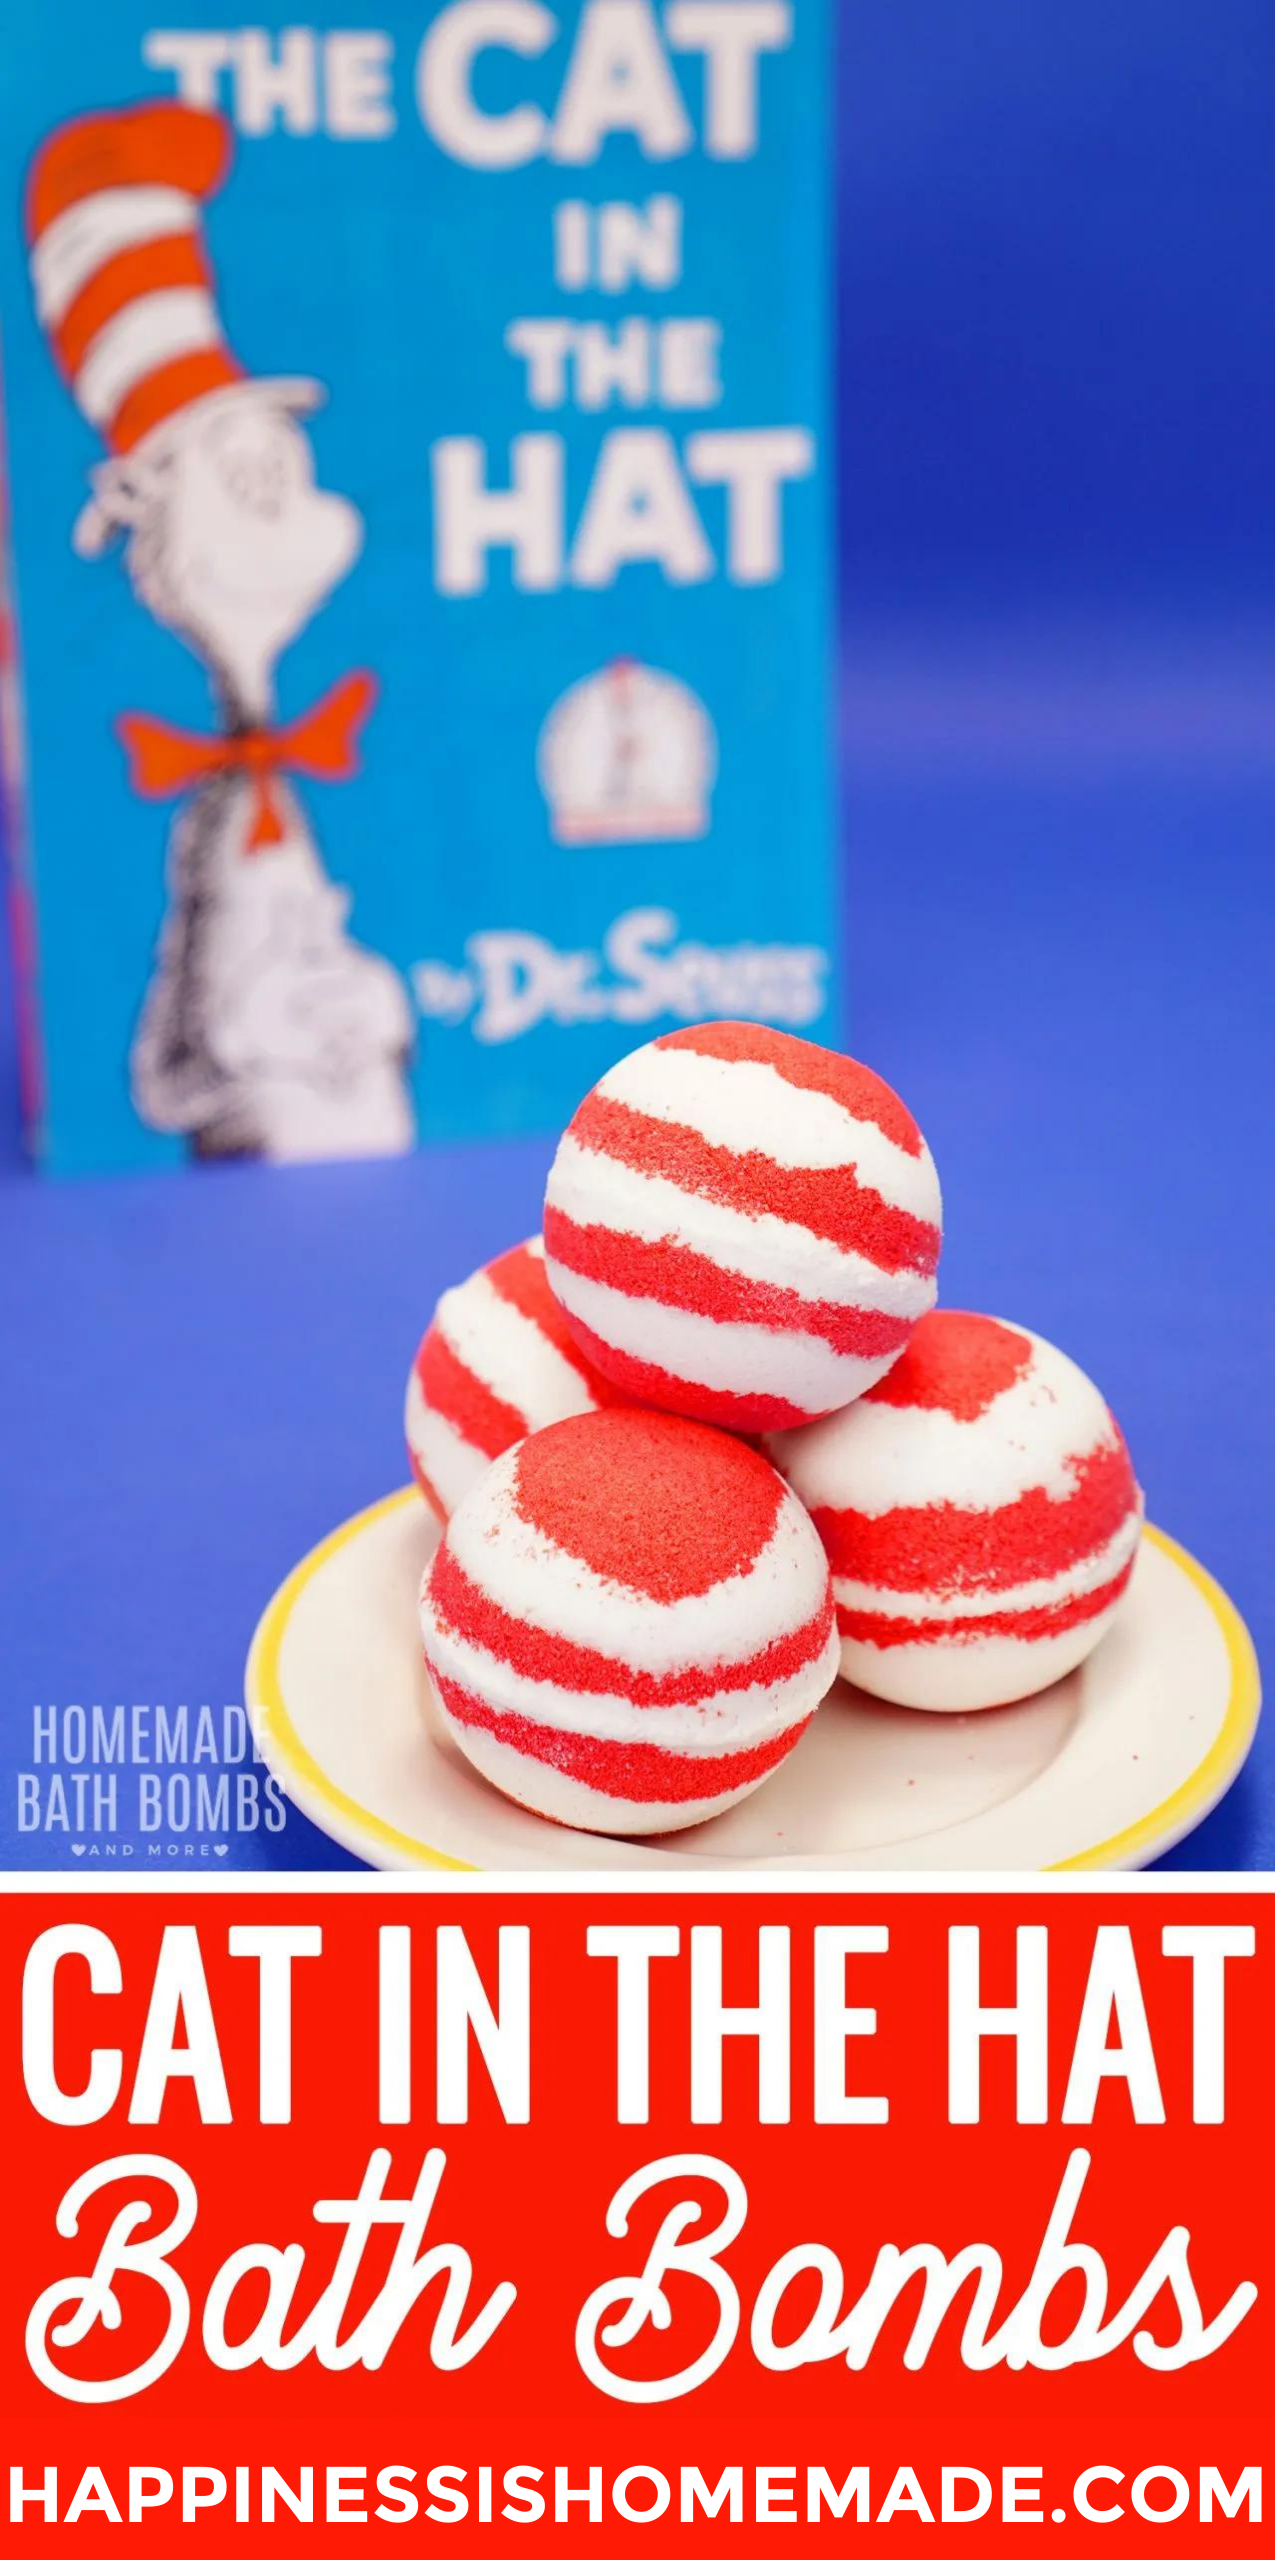
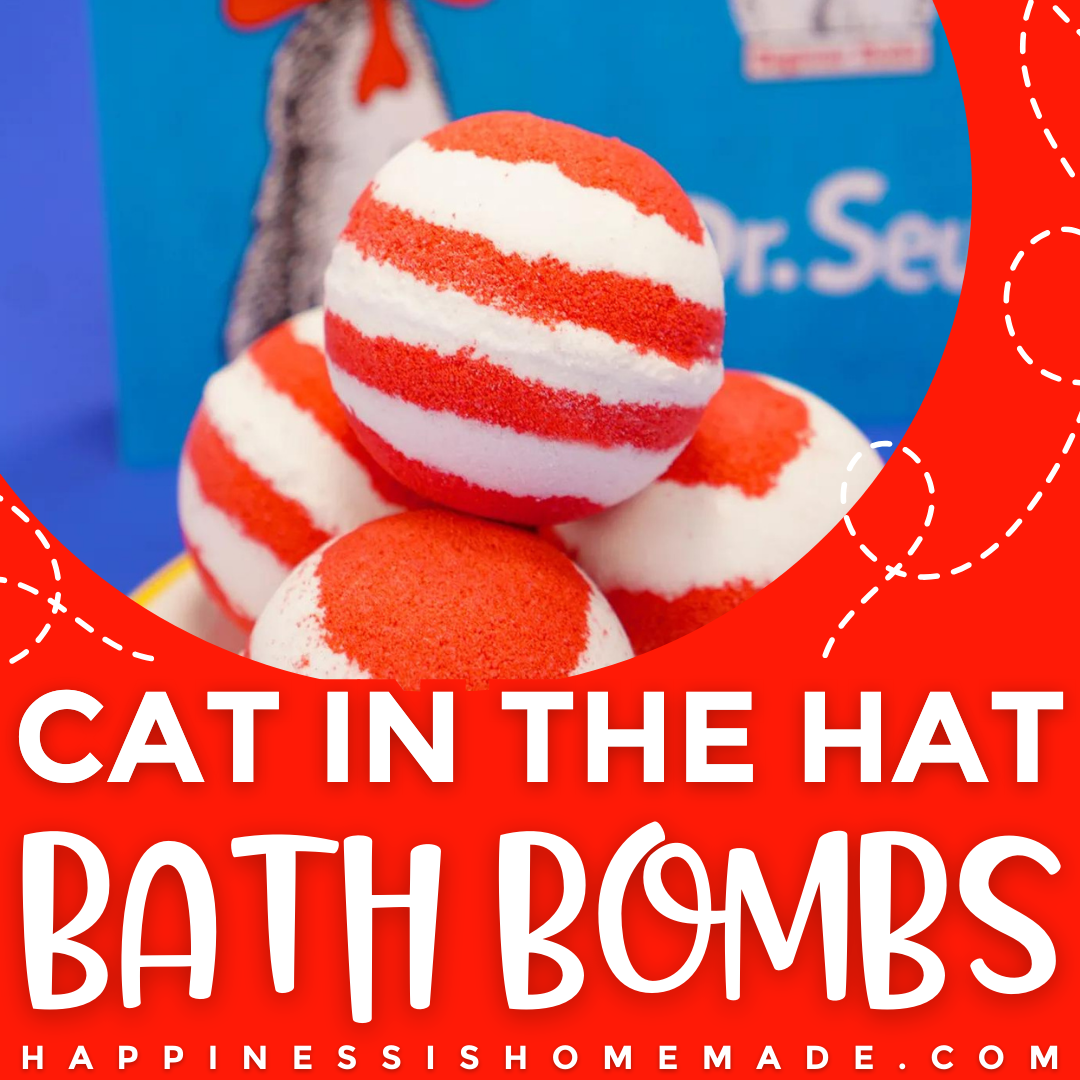
Dr. Seuss’s birthday celebration is right around the corner, on March 2nd, so we whipped up these super cute The Cat in the Hat bath bombs for the occasion! Learn how to make these fun red and white striped bath bombs with our quick and easy bath bomb recipe!
Whether you’re looking for a fun classroom or family craft activity or just looking to indulge in a little bit of pampering and self-care, these cute DIY bath bombs are the perfect solution!
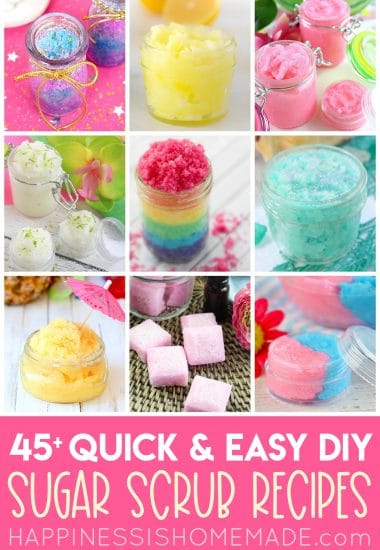
You May Also Like These Other Bath & Beauty DIYs:
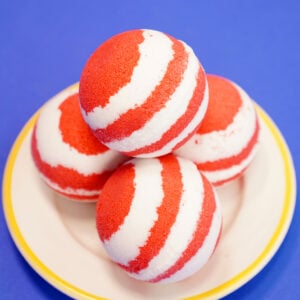
Dr. Seuss DIY Bath Bombs
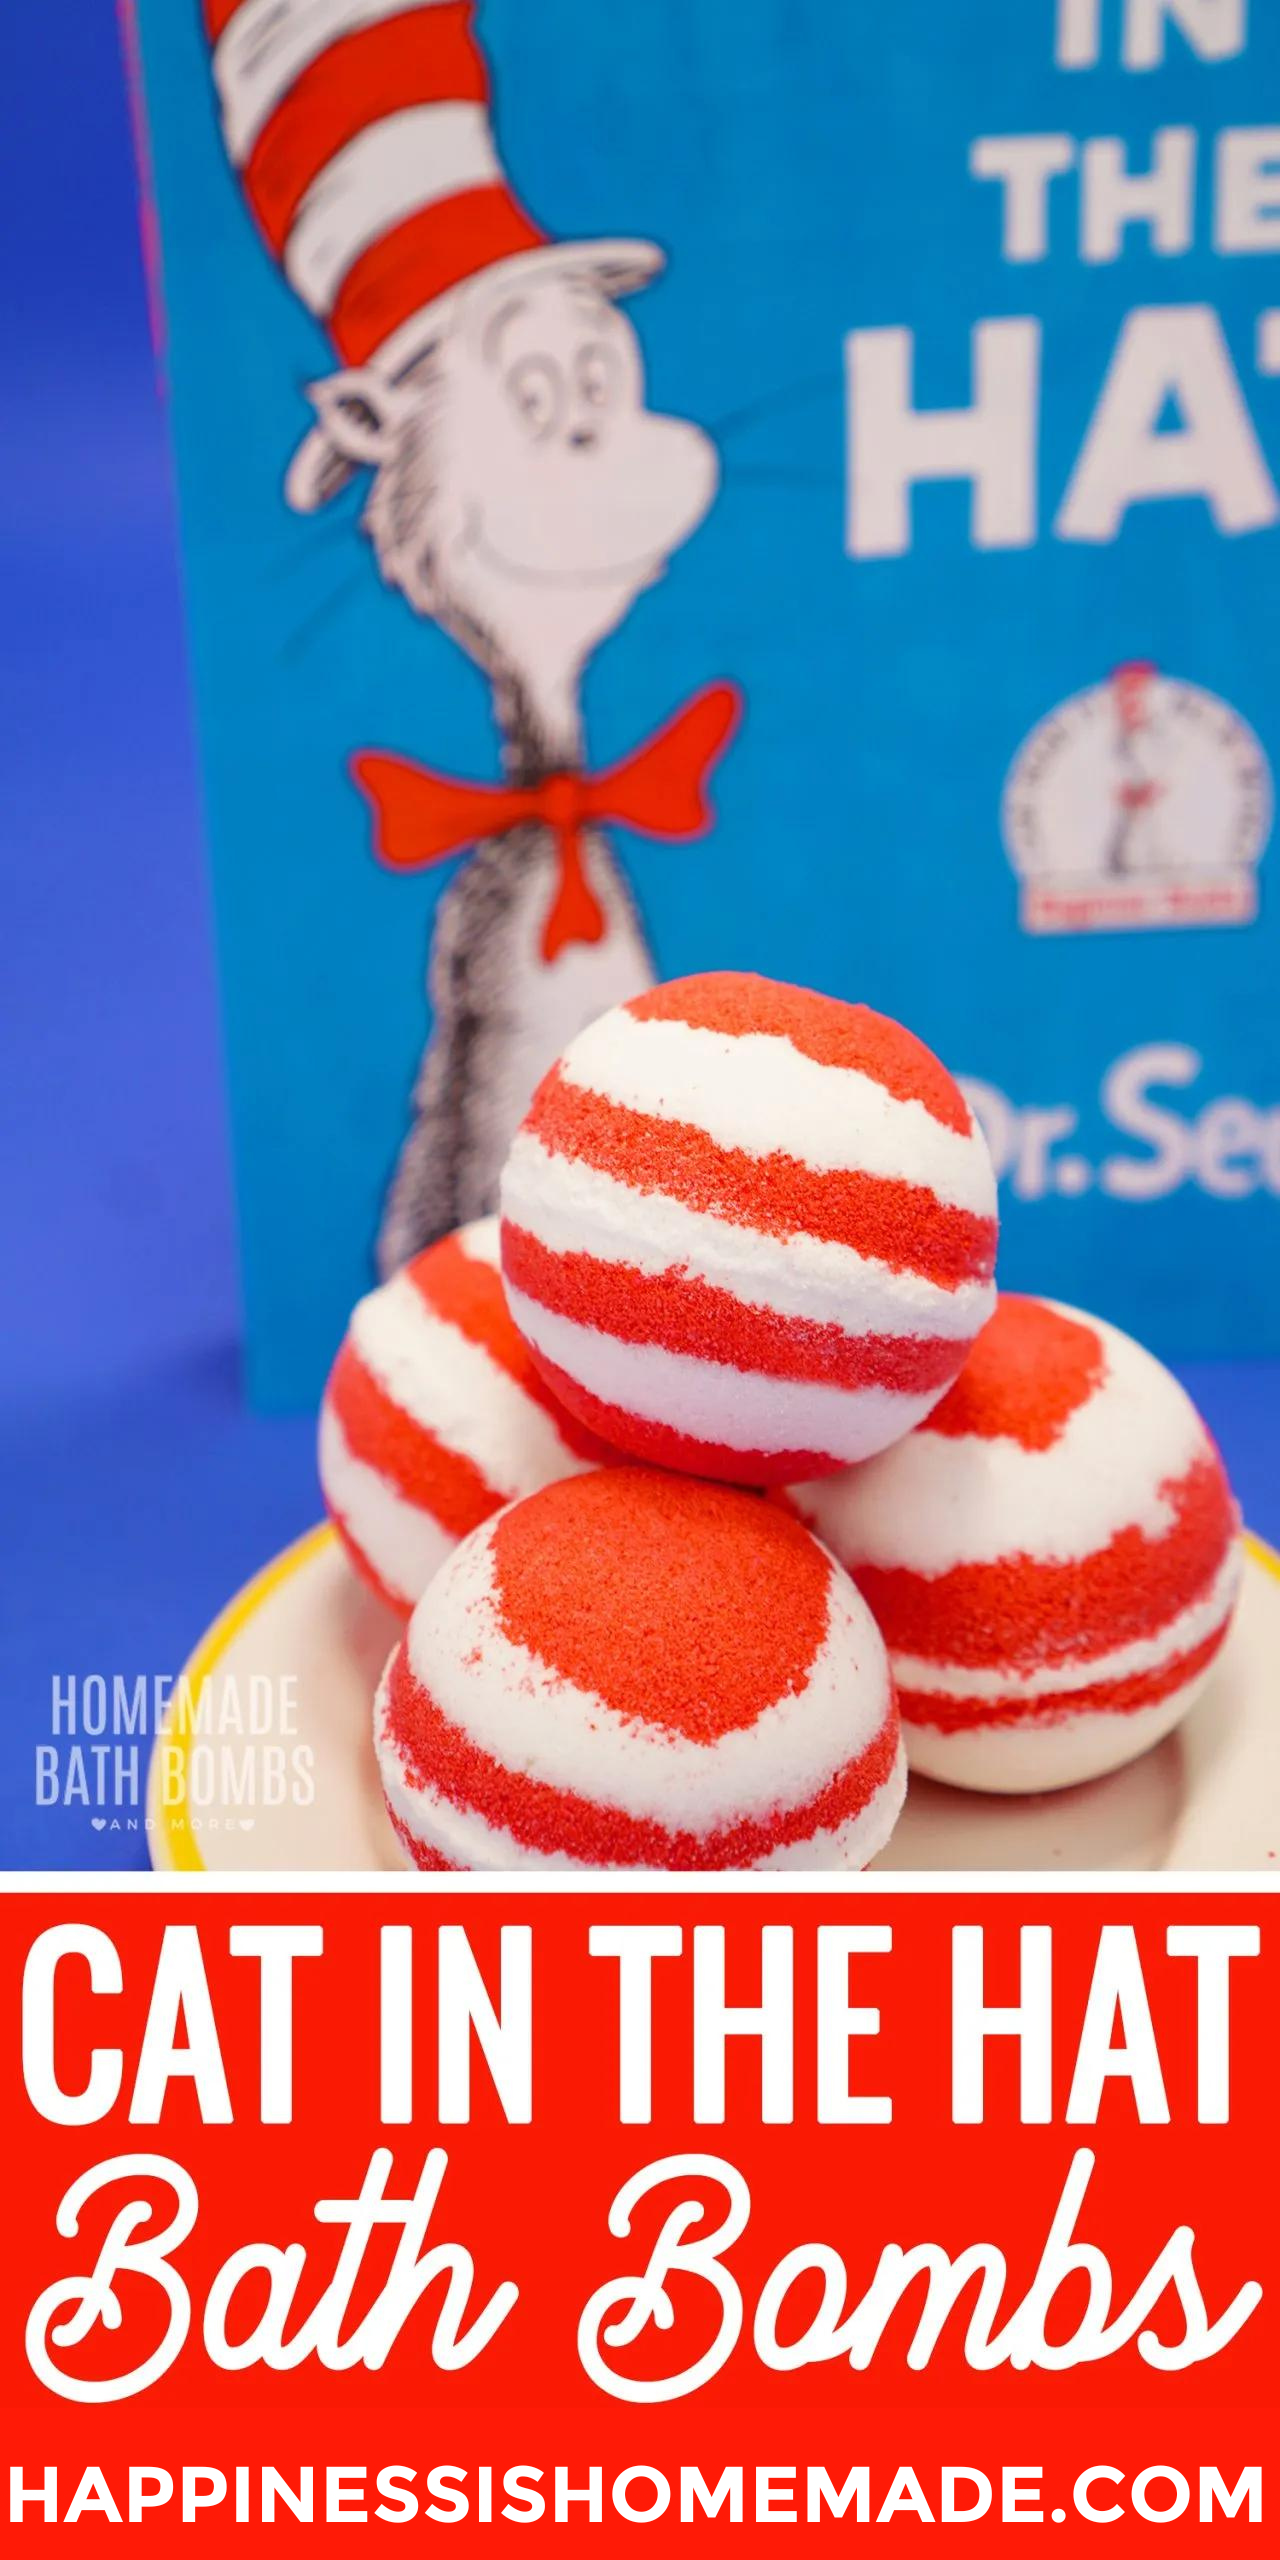
If you’ve never made striped bath bombs before, now is the perfect time to give it a try! These perfectly imperfect Seussian stripes are a great way to practice your striping skills!
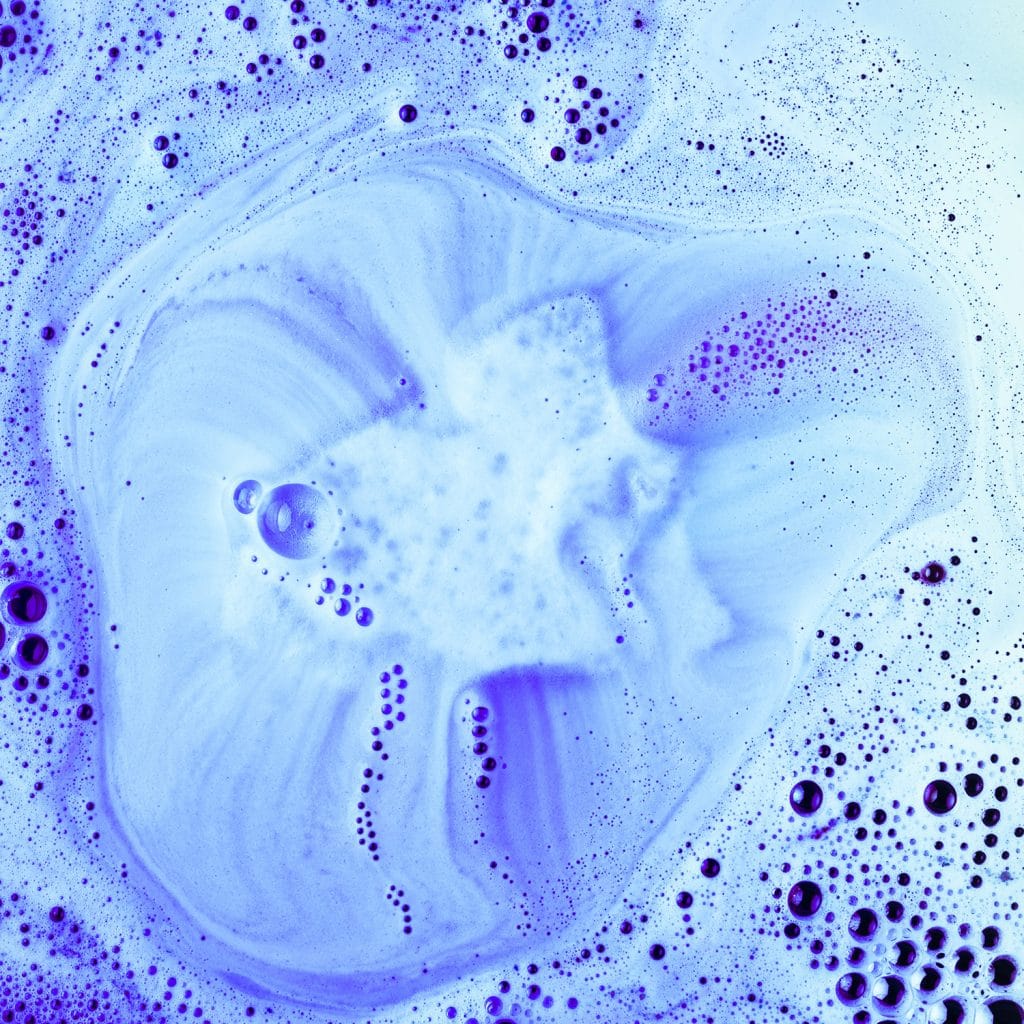
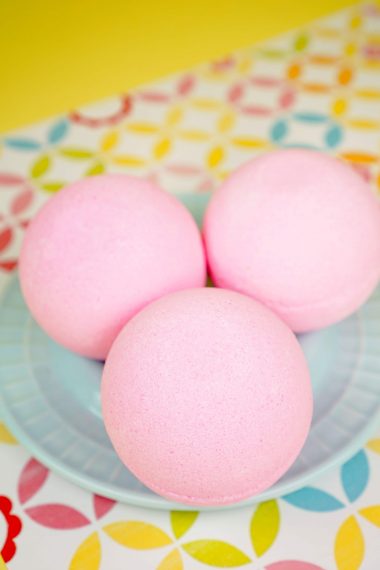
You can choose to add any essential oil or fragrance oil of your choice to these bath bombs or you can opt to leave them unscented – either way, you’ll end up with a bathtub full of rich foamy bubbles and softly tinted pink-red water that will nourish your skin and leave you feeling refreshed and moisturized.
Be sure to check out our How to Make Bath Bombs guide for more detailed step-by-step photos and instructions on the bath bomb-making process!
The best part about making bath bombs is that they’re so fun and easy to customize! Once you have all of these ingredients on hand, you can start making all kinds of cool & creative bath bombs for yourself, to give as gifts, or to sell at craft fairs.
Supplies Needed for DIY Bath Bombs:
- Baking Soda
- Citric Acid
- Cream of Tartar
- Sodium Lauryl Sulfoacetate (SLSA), optional (to add bubbles)
- Red Cosmetic Mica Colorant
- Fractionated Coconut Oil (or other oil of choice)
- Polysorbate 80
- Fragrance Oil or Essential Oil, optional (see notes)
- Witch Hazel, in a fine-mist spray bottle
- 2 1/2″ Round Metal Bath Bomb Molds
IMPORTANT NOTE:
The amount of fragrance oil and/or essential oil that will need to be added to your bath bomb mixture can vary widely depending on what you are using. Generally, fragrance oil can be added to the bath bomb mixture in 1/2 teaspoon increments until the desired amount of fragrance is reached. Essential oils are often far more potent than fragrance oil, so we recommend adding 15-20 drops of essential oil to each recipe to start and then adding more in 5-drop increments until the desired level of fragrance is achieved.
How to Make Red and White Striped Bath Bombs:
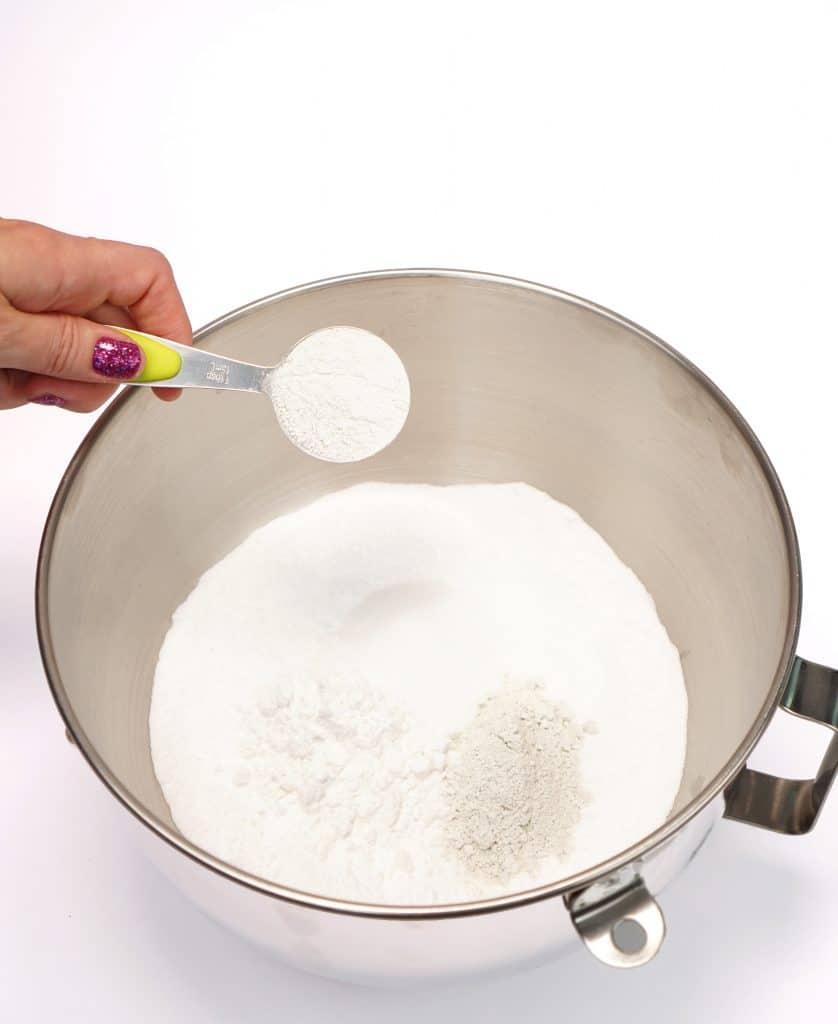
In a large mixing bowl, thoroughly combine the baking soda, cream of tartar, and SLSA powder.
Divide the dry mixture evenly into two medium bowls, and stir the red mica colorant into one of the bowls. Leave the second bowl uncolored.
In a small container (a 2-oz shot glass works great!), combine 1 tablespoon of fractionated coconut oil, 1/2 tablespoon of Polysorbate 80, and half of your fragrance or essential oil. Stirring constantly, slowly mix the liquids into the red dry ingredients until they are completely combined.
In a second small container, combine the remaining fractionated coconut oil, Polysorbate 80, and the remaining fragrance/essential oil. Stirring constantly, combine the liquid ingredients with the dry white ingredients.
Add 3/4 cup of citric acid to each of the bowls, and stir until it is fully incorporated into the mixture.
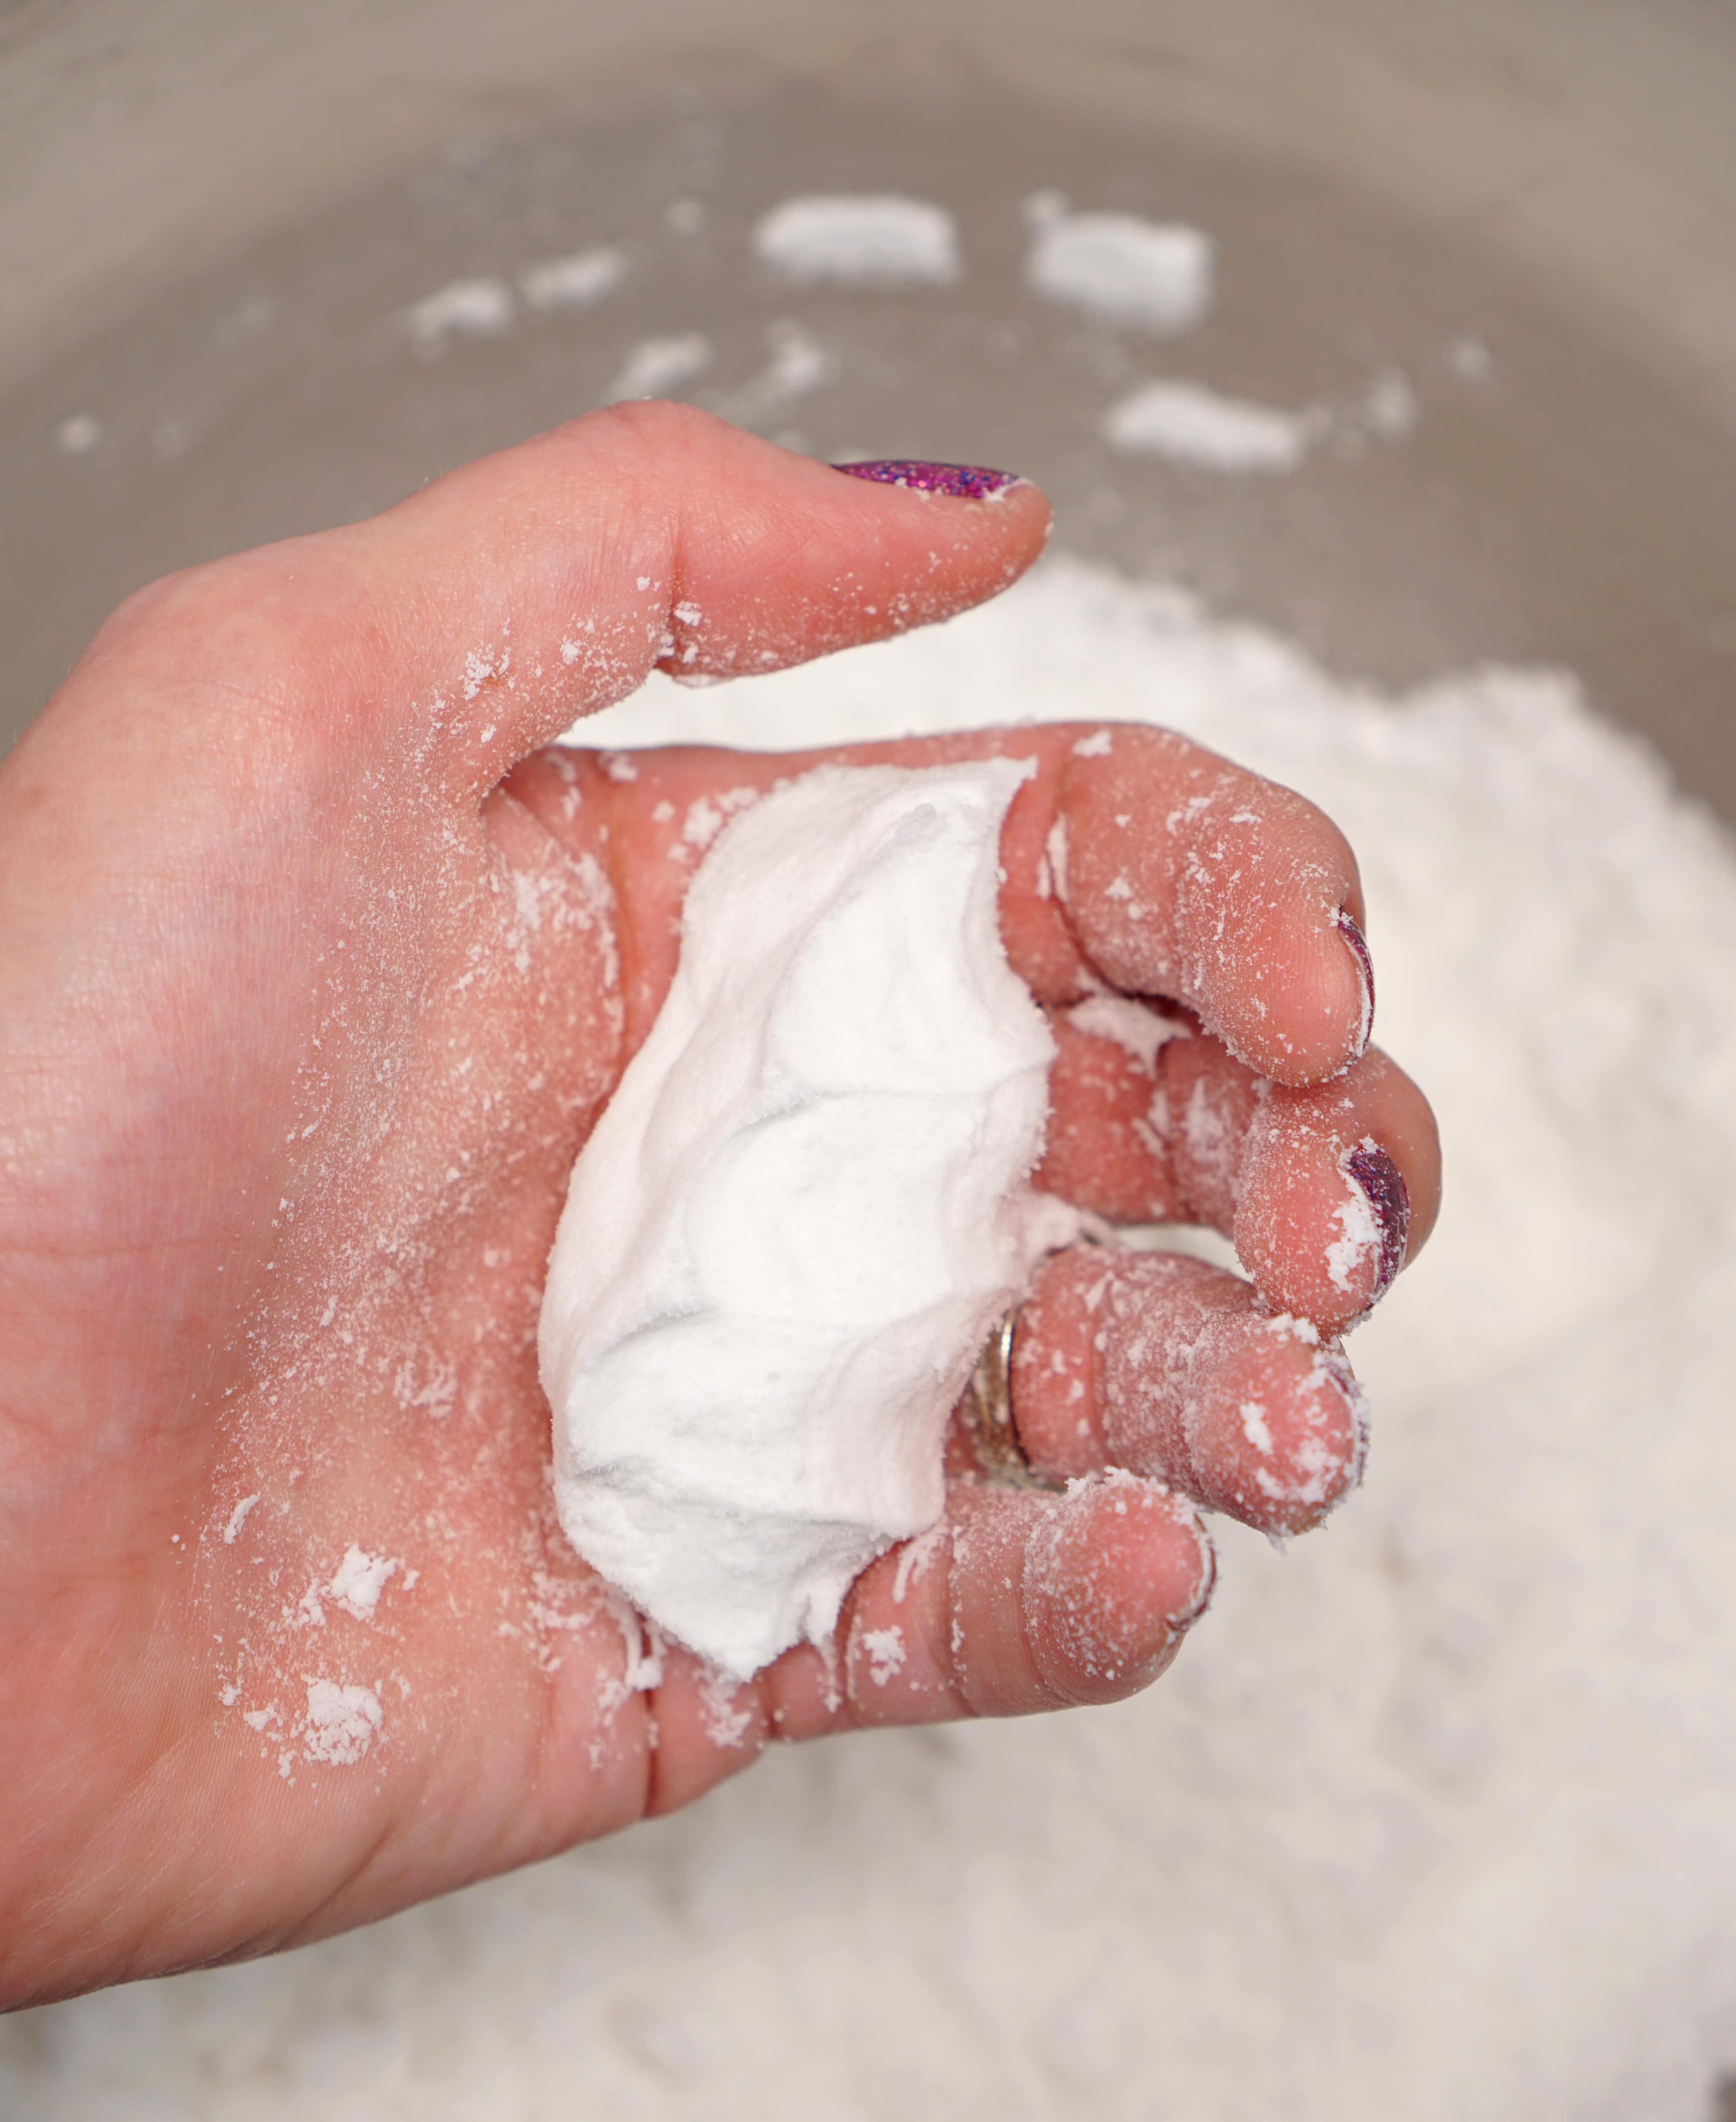
Test to see if the mixture is a moldable consistency – it should feel like slightly damp sand and hold together when squeezed in your hand.
If the mixture is not quite wet enough to mold, spritz it two to three times with a misting spray bottle of witch hazel and mix well. Repeat as necessary until the proper consistency is reached – it doesn’t need to be very wet, so don’t overdo it!
When both colors are ready to mold, fill both halves of the bath bomb mold with alternating stripes of the red and white mixtures. Make sure to overfill both sides of the mold a bit so that there is a slight mound to the top. Press both halves of the mold firmly together.
Carefully release the bath bomb from the mold (you can use a wooden spoon to lightly tap the exterior of the mold to help release the bath bomb, if necessary), place the bath bomb onto a cookie sheet or an egg-crate foam sheet and allow it to dry completely – this may take anywhere from 12-48 hours depending on the temperature and humidity of your location.
EXPERT TIP:
Do NOT allow the bath bomb to dry inside of the mold for longer than an hour! Exceeding this time may cause the bath bombs to expand and become stuck inside the mold!

Once the bath bombs are dried, they’re ready to package up and give to your favorite Dr. Seuss fan! They make a great gift idea for teachers, principals, or anyone on your list!
FAQs
Printable Cat In The Hat Bath Bomb Recipe
Cat in the Hat Bath Bombs
What You’ll Need:
- 3 cups Baking Soda
- 1 1/2 cups Citric Acid, divided
- 2 Tbsp Cream of Tartar
- 2 Tbsp Sodium Lauryl Sulfoacetate (SLSA), optional (to add bubbles)
- 1 tsp Red Cosmetic Mica Colorant
- 2 Tbsp Fractionated Coconut Oil, divided
- 1 Tbsp Polysorbate 80, divided
- Fragrance Oil or Essential Oil, optional (see notes)
- Witch Hazel, in a fine-mist spray bottle
- 2 1/2″ Round Metal Bath Bomb Molds
Instructions:
- In a large mixing bowl, thoroughly combine the baking soda, cream of tartar, and SLSA powder.
- Divide the dry mixture evenly into two medium bowls, and stir the red mica colorant into one of the bowls. Leave the second bowl uncolored.
- In a small container, combine 1 tablespoon of fractionated coconut oil, 1/2 tablespoon of Polysorbate 80, and half of your fragrance or essential oil (see notes below). Stirring constantly, slowly mix the liquids into the red dry ingredients until they are completely combined.
- In another small container, combine the remaining fractionated coconut oil, Polysorbate 80, and fragrance/essential oil. Stirring constantly, combine the liquid ingredients with the dry white ingredients.
- Add 3/4 cup of citric acid to each of the bowls, and stir until it is fully incorporated into the mixture.
- Test to see if the mixture is a moldable consistency – it should feel like slightly damp sand and hold together when squeezed in your hand.If the mixture is not quite wet enough to mold, spritz two to three times with a spray bottle of witch hazel and mix well. Repeat as necessary until the proper consistency is reached.
- Fill both halves of the bath bomb mold with alternating stripes of red and white mixtures. Make sure to overfill both sides of the mold a bit. Press both halves of the mold firmly together.
- Carefully release the bath bomb from the mold (tap the mold lightly with a wooden spoon if needed) and allow it to dry completely for 24-48 hours depending on the temperature and humidity of your location.
Notes:
These Cat in the Hat bath bombs are SUPER cute, and they’re sure to add a splash of fun and delight to bath time!

Want More Bath Bomb Ideas? Pick Up My Book On Amazon Now!

If you enjoyed this article and want to explore many more fun bath bomb creations & spa treatments, check out our book, Homemade Bath Bombs & More, available now on Kindle or in hardcover. Discover more than 75 easy recipes for delightful bath bombs, along with other fun and luxurious bath products such as sugar scrubs, body butter, and bath jellies. The perfect guide to get you started experimenting with your new craft!
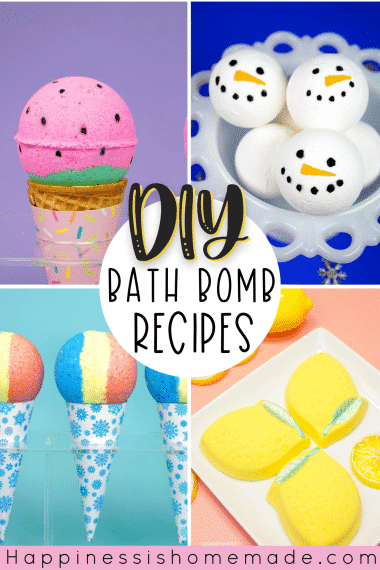
Don’t Forget to Pin These Homemade Bath Bombs for Later!

Heidi Kundin has captivated the hearts of millions with her colorful and inspiring approach to crafting, celebrations, and family fun. With over 15 years of experience, Happiness is Homemade has become a must-visit destination for those seeking quick and easy creative ideas and last-minute solutions. Heidi’s warm personality shines through her posts, inviting readers to join her on a creative journey that’s fun, rewarding, and achievable. Heidi is also the author of Homemade Bath Bombs & More and DIY Tie-Dye.
These are SO cute! The pattern perfectly resembles his hat so well, it’s unmistakable 🙌 Such a great craft!