
We’ve been using freezer paper to create t-shirts, pillows and other fun stenciled items for a couple of years now. It’s SO simple and really inexpensive, which pretty much makes for my most favorite combination when it comes to crafting. I have one roll of freezer paper that I purchased at Walmart for about $4, and it has lasted us through many projects. When you combine cheap freezer paper with on-sale $2 t-shirts from the craft store, you’ve got a perfect way to let your little ones (or yourself!) create a personalized masterpiece!
This is the paper that we use:
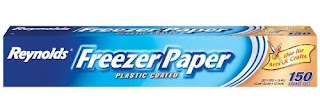 |
| It has a shiny side and a matte side. You will be ironing the paper on to your shirt with the shiny side DOWN. |
I used my new Silhouette machine to cut my stencil, but before I got my Silhouette I used an Xacto knife, and it works just as well. If you do choose to use a Silhouette, you will need to mirror your image and cut with the shiny side face up (or else it won’t stick to your mat).
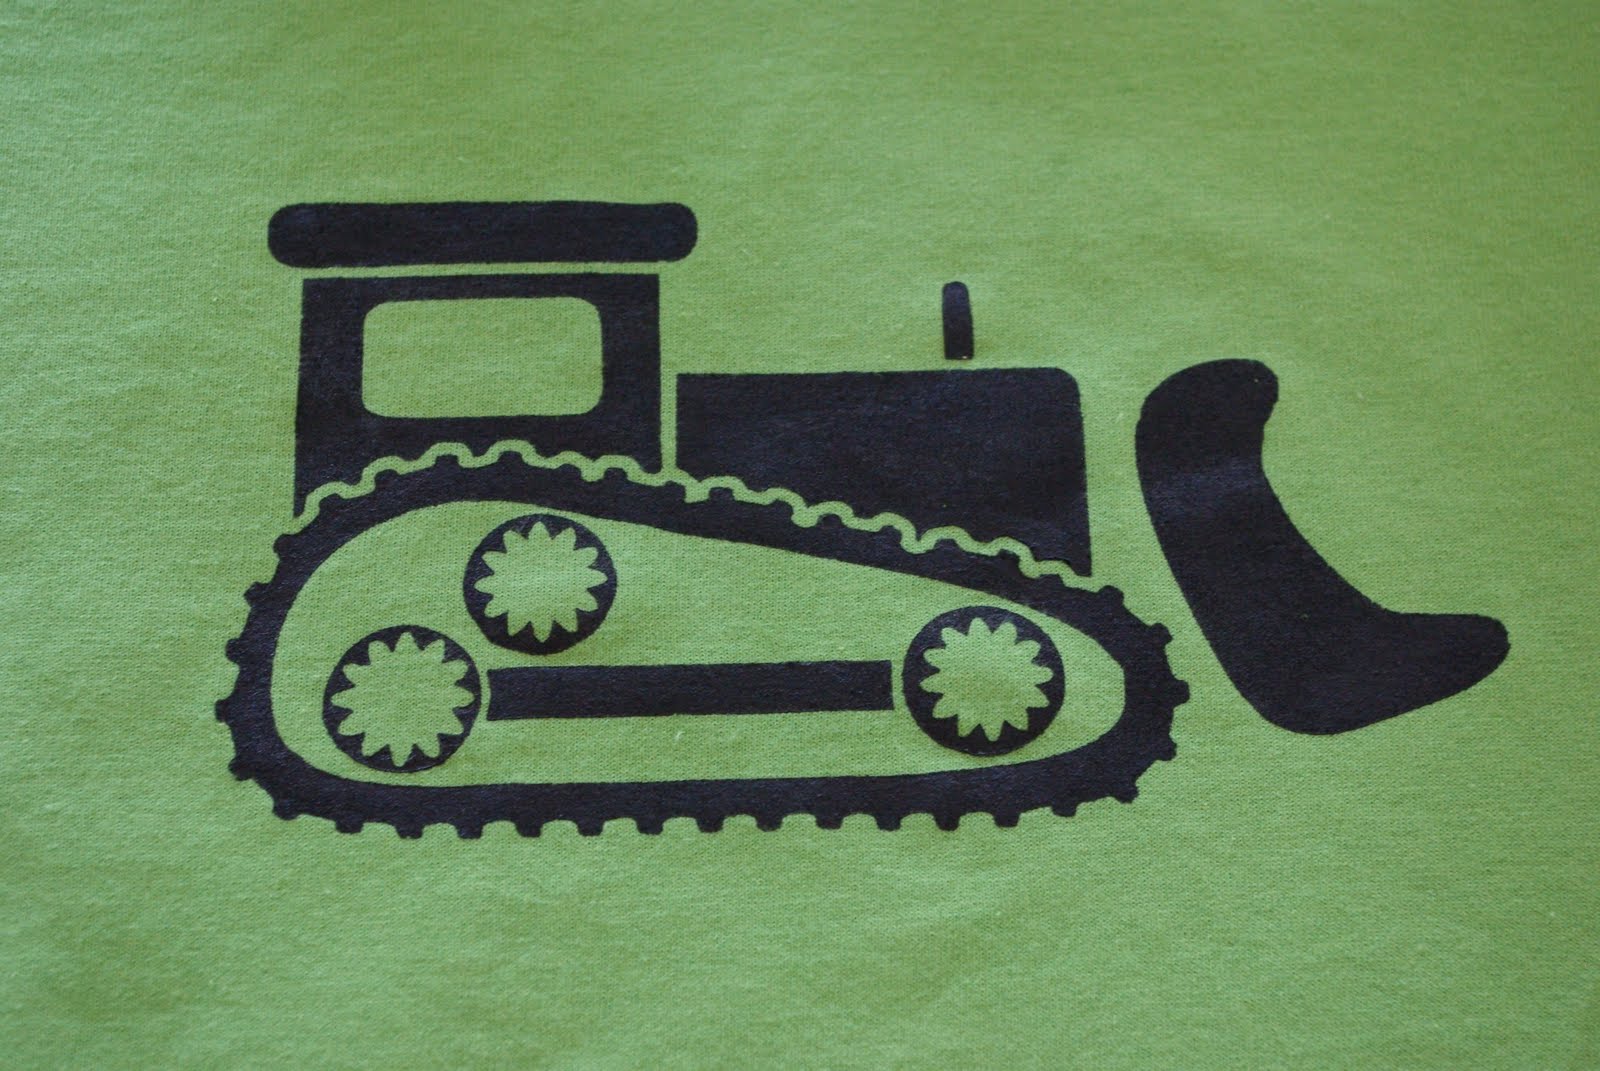
Stencilry is a great resource for finding design inspiration! Just find an image that you like and cut it out – be sure to save any small pieces cut out from the interior of your design – you’ll need these later! Note: If you have an inkjet printer, you can print your design directly on to the matte side of your freezer paper and then cut it out. If you have a laser printer don’t even think about printing on freezer paper! It will melt and adhere to the drum of your printer (don’t ask me how I know that!).
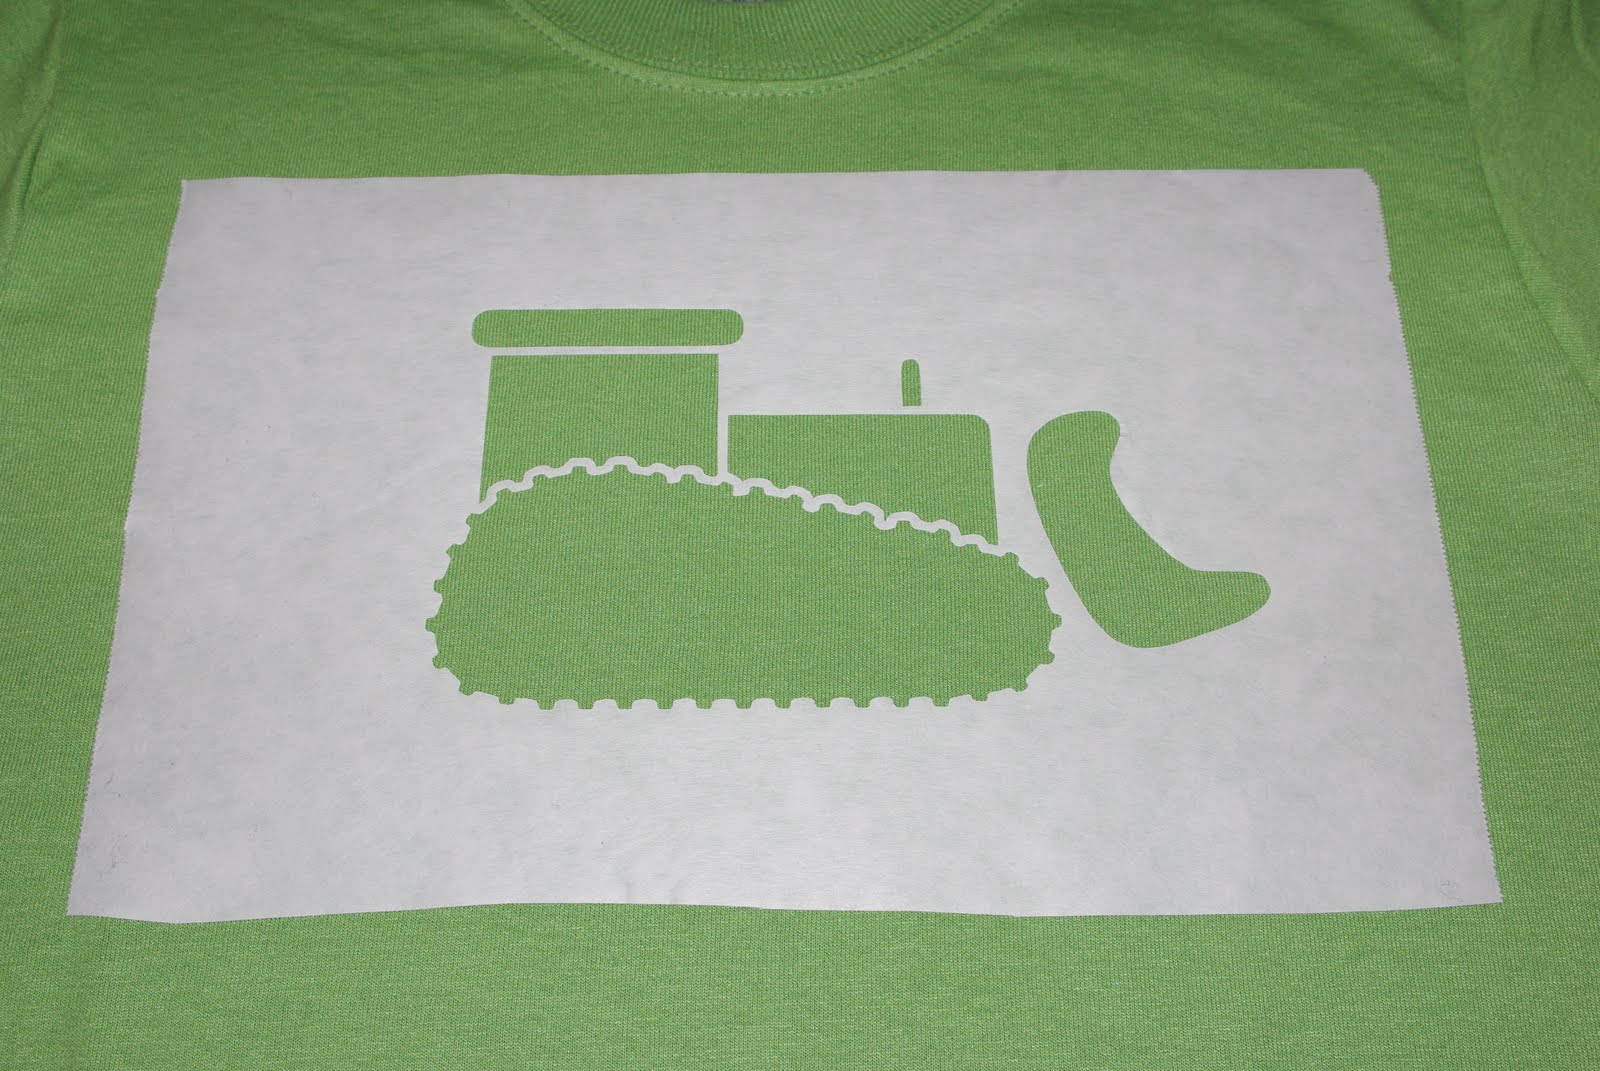
Once your stencil is cut out, place it on your shirt (shiny side down) and iron it on. I use my iron on the cotton setting, and it only takes a brief time. Run your finger around the edges to make sure that all the little bits are securely in place. I also cut a small piece of freezer paper the same size as my stencil and place it inside the shirt (with the shiny side face up and touching the inside of the front of the shirt. It will iron on to the inside of the shirt as you’re ironing the stencil, and it will keep your paint from seeping through to the back side of the shirt.

Go back and add in any additional details (all those small pieces that I told you to save!) and iron those down too.
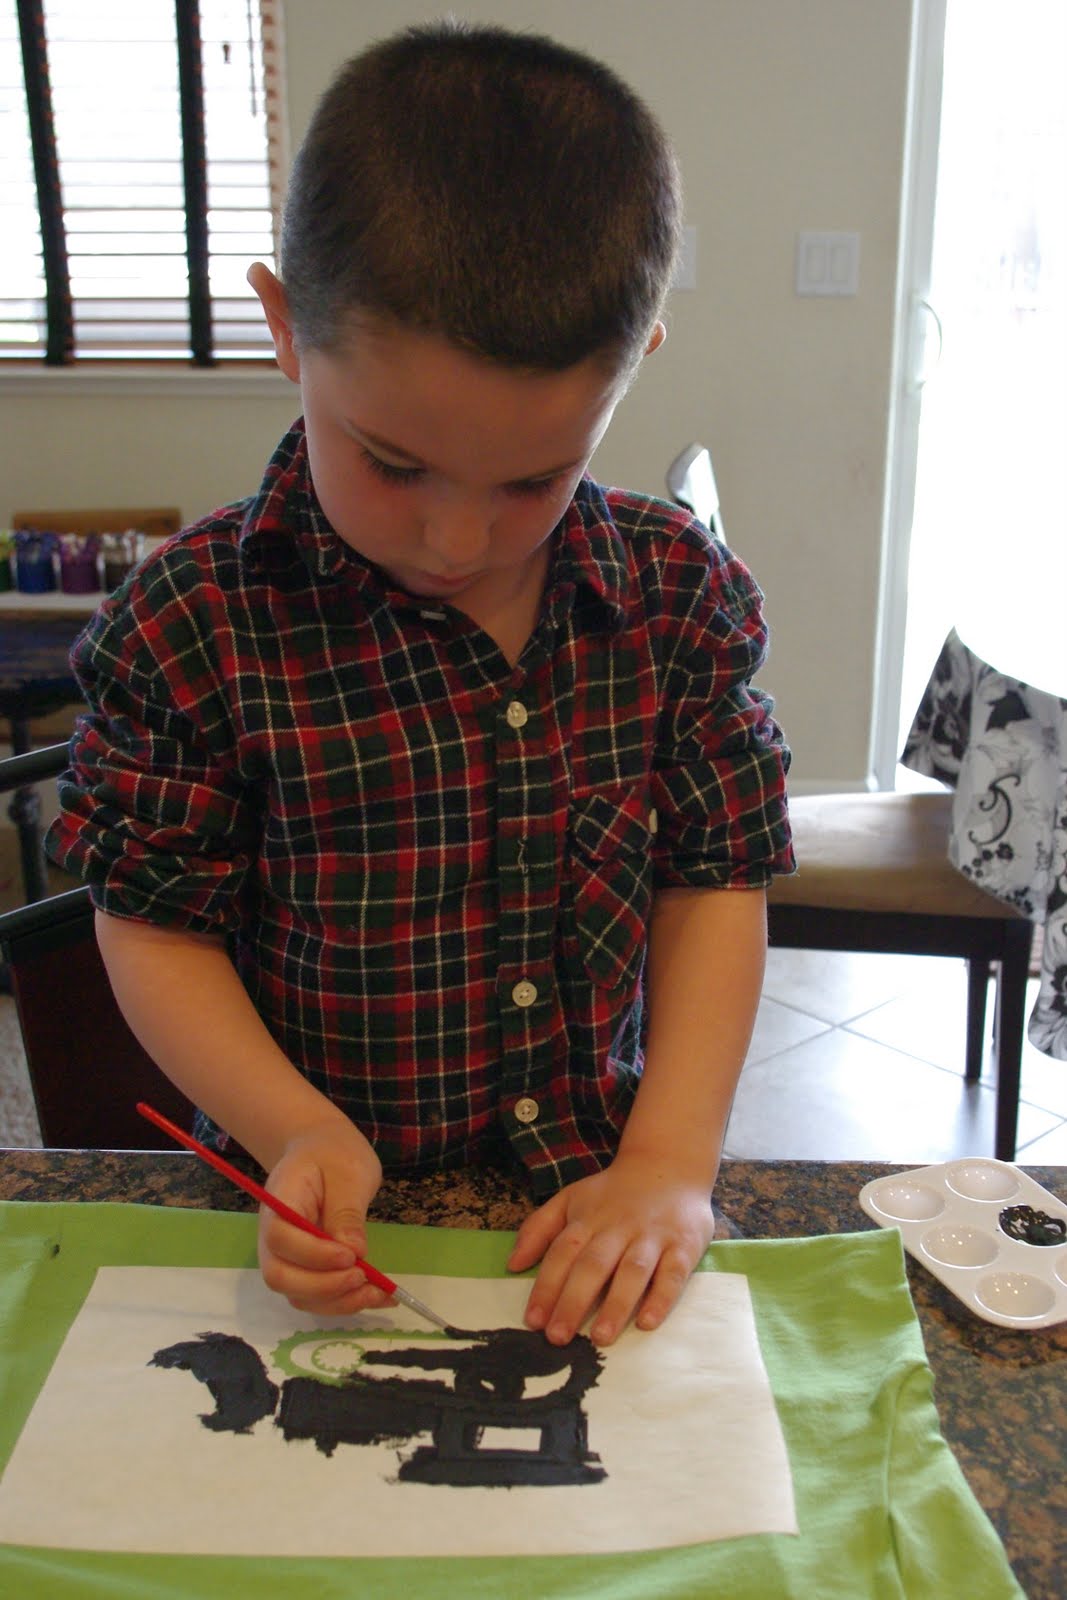
We have found through trial-and-error that a small paintbrush works best for freezer paper stenciling (despite my initial inclination to dab at the stencil with a sponge brush). Start by brushing a thin layer of paint at the edges of the design and continue to brush towards the interior to create crisp and clean edges. I like to use Tulip Soft Fabric Paint, but you can use any kind of permanent paint as long as you heat set it properly. Depending on the color of your shirt and the color of your paint, you may need to do several coats. I highly recommend several light coats vs one heavy coat in order to avoid any warping of the stencil or loosening of the edges if it gets too wet.
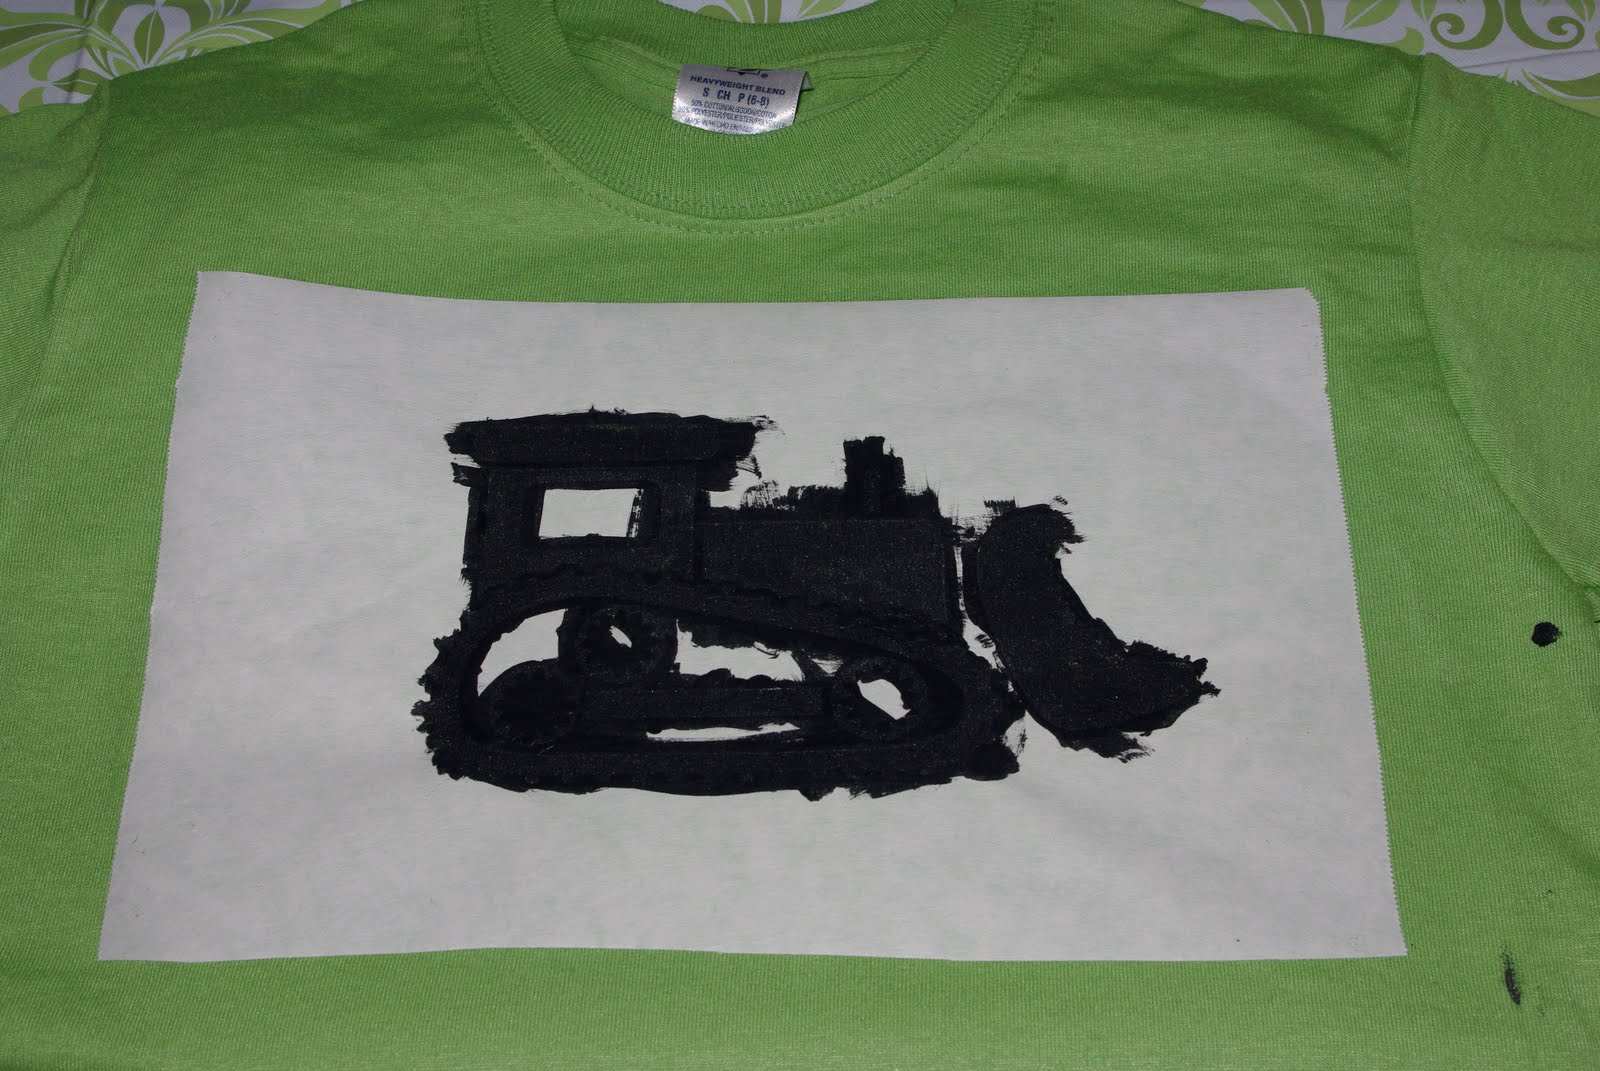 |
| If you’re overly concerned with the outcome of your project, it might be a better idea NOT to let your 4-year-old do the painting. You can see here that mine somehow managed to get paint off to the far right side of the stencil. Oh well…that’s what kids do, right?! |
Let the paint set up for a bit, and when it is almost dry, you can remove your stencil. The edge of an Xacto knife will come in handy to help peel up those small interior bits of stencil (just be sure you don’t actually cut anything with it!).
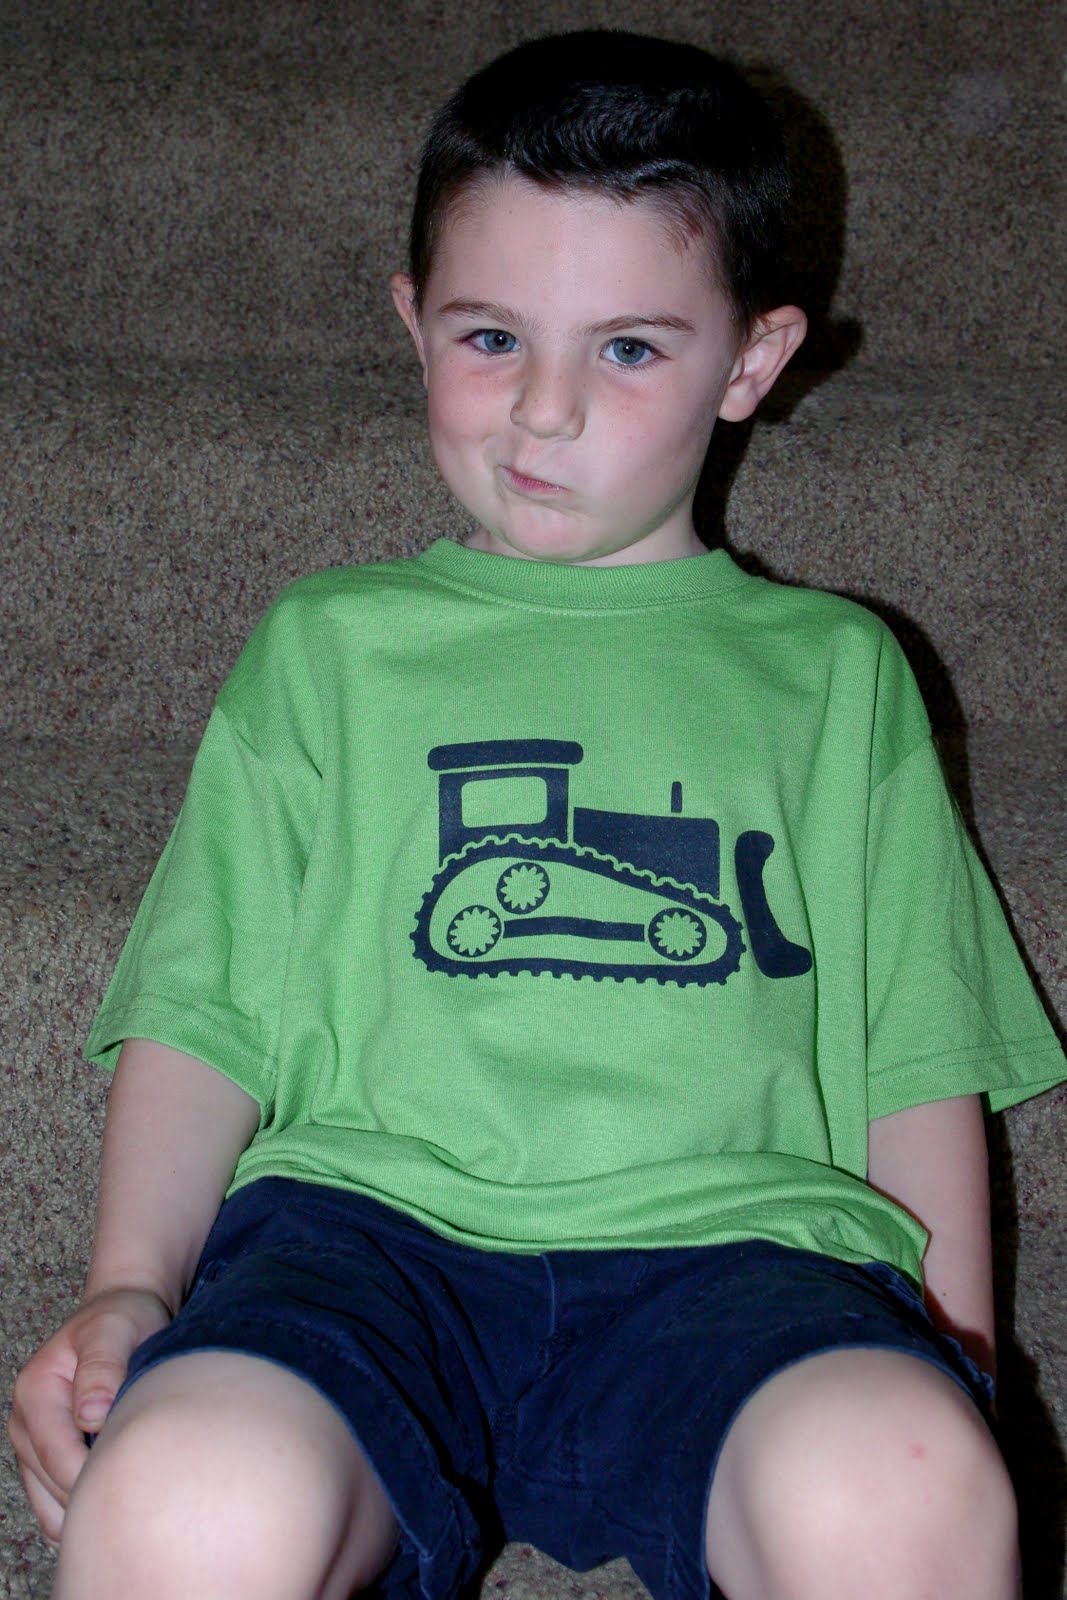
Go grab an uncooperative model and show off your new shirt!
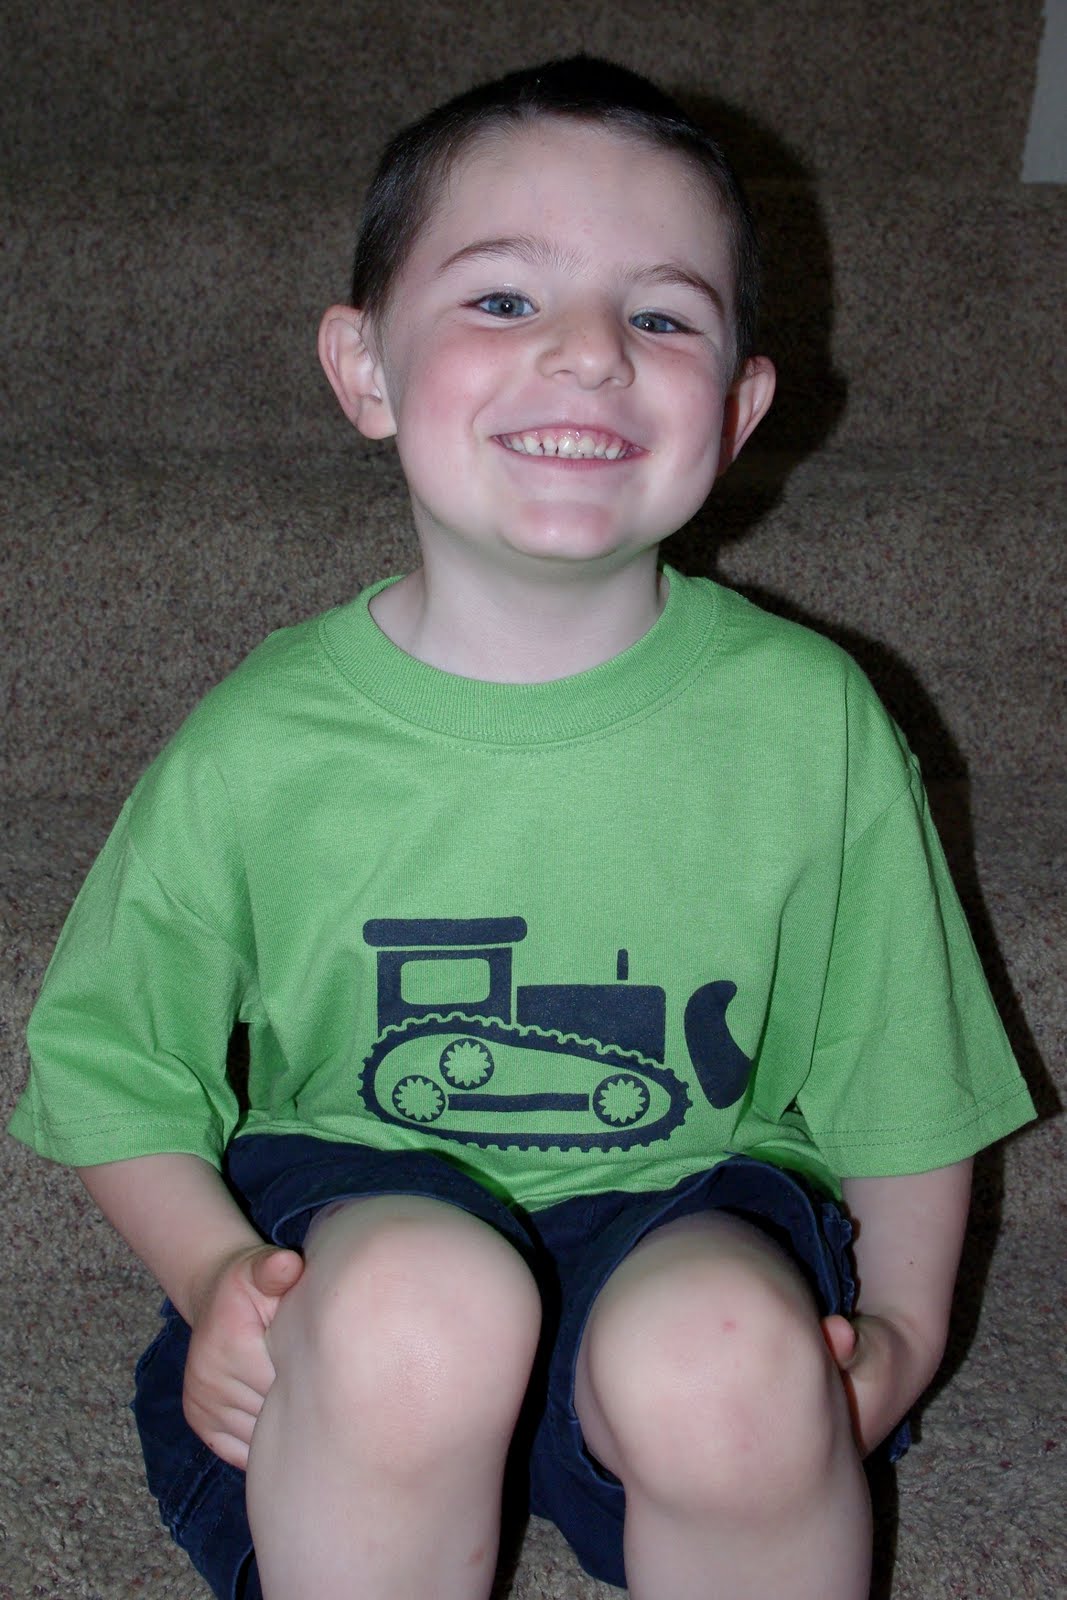
That’s a little bit better!


Heidi Kundin has captivated the hearts of millions with her colorful and inspiring approach to crafting, celebrations, and family fun. With over 15 years of experience, Happiness is Homemade has become a must-visit destination for those seeking quick and easy creative ideas and last-minute solutions. Heidi’s warm personality shines through her posts, inviting readers to join her on a creative journey that’s fun, rewarding, and achievable. Heidi is also the author of Homemade Bath Bombs & More and DIY Tie-Dye.
I’m new to cricut and you make it sound so easy. I can’t wait to craft!!
This is great!! I makes my mind think of so many things I would like to do! Thank you!! 🙂 Can I Pin it?
I love how you blog this. You are such a great writer & funny also! Thanks for the ideas & I hope you are having a Fabulous Mother’s Day!!