
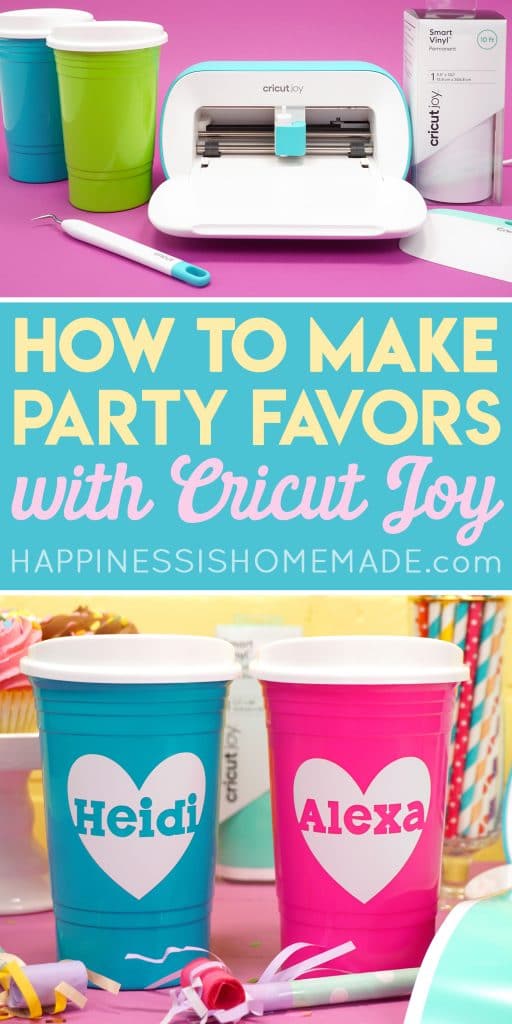
Learn how to use Cricut Smart Vinyl with the new Cricut Joy to make adorable personalized party favors! Cricut Smart Vinyl makes crafting quick and easy!
This post may contain affiliate links. I will receive a small commission from these sales at no additional cost to you!
Last week we introduced you to the all-new Cricut Joy cutting machine, and we chatted a bit about all of the new Cricut Joy Smart Materials – they’re SO cool! The new Smart Materials include Cricut Smart Vinyl, Smart Iron-On, and Smart Labels, and they are all designed to be cut without a mat! Not only does Cricut Joy allow for mat-free cutting, Joy can cut Cricut Smart Vinyl and other Smart Materials in continuous LONG cuts up to 20 feet long – it’s a total game changer!
If you’re new to Cricut Joy, check out these tutorials to learn more!
LEARN ALL ABOUT CRICUT JOY:
- Video: All About Cricut Joy and Mat-Free Long Cuts
- All About Cricut Joy: What’s New & What Can It Do?
- How to Use the Cricut Joy Card Mat & Insert Cards
- How to Use Cricut Smart Vinyl with Cricut Joy
- How to Cut Large Projects on Cricut Joy: DIY Ruler Growth Chart
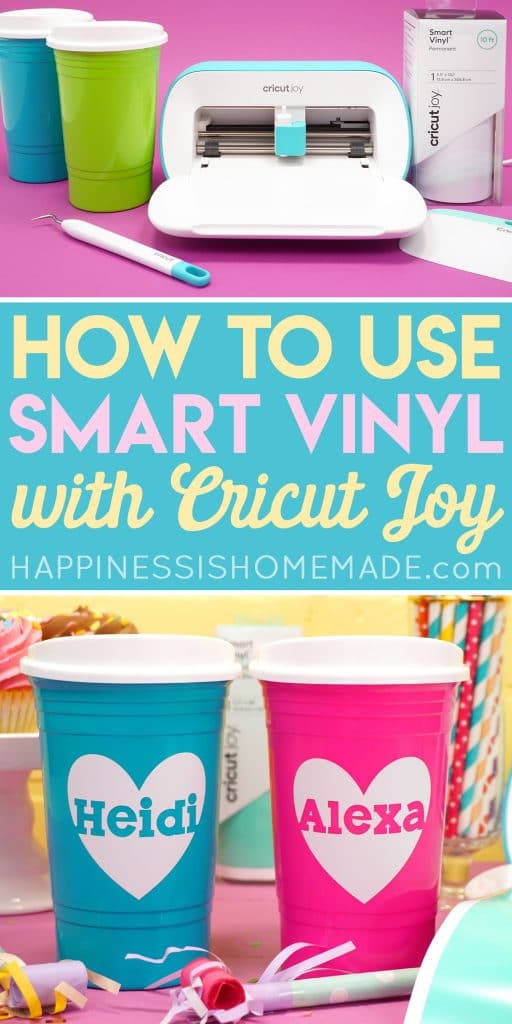
HOW TO USE CRICUT SMART VINYL TO MAKE PERSONALIZED CUPS
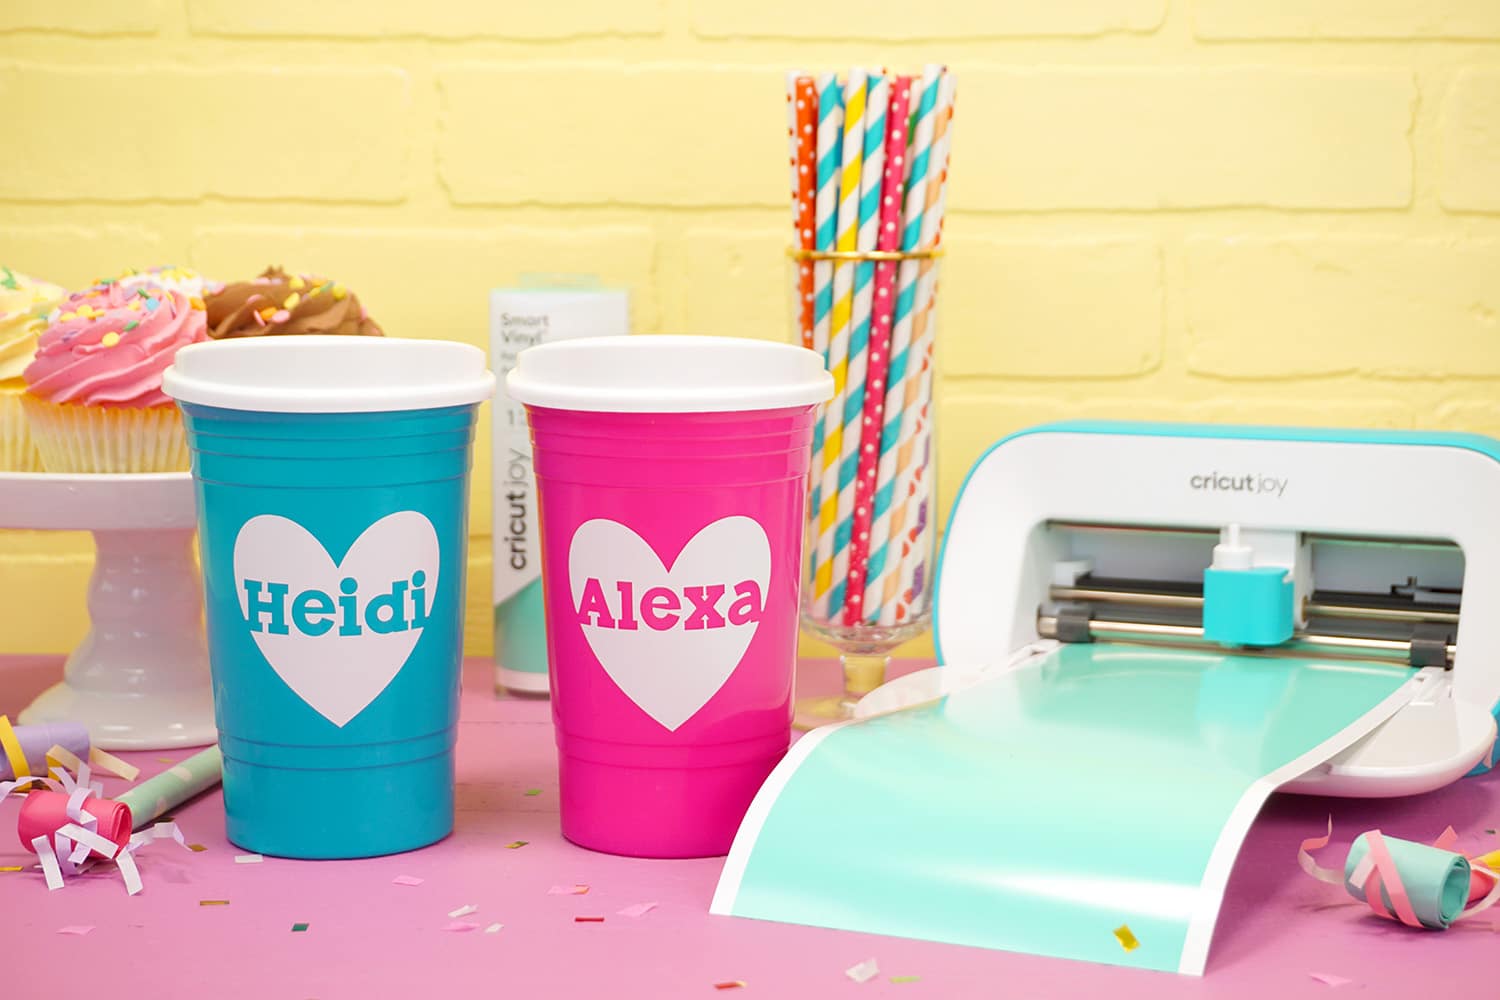
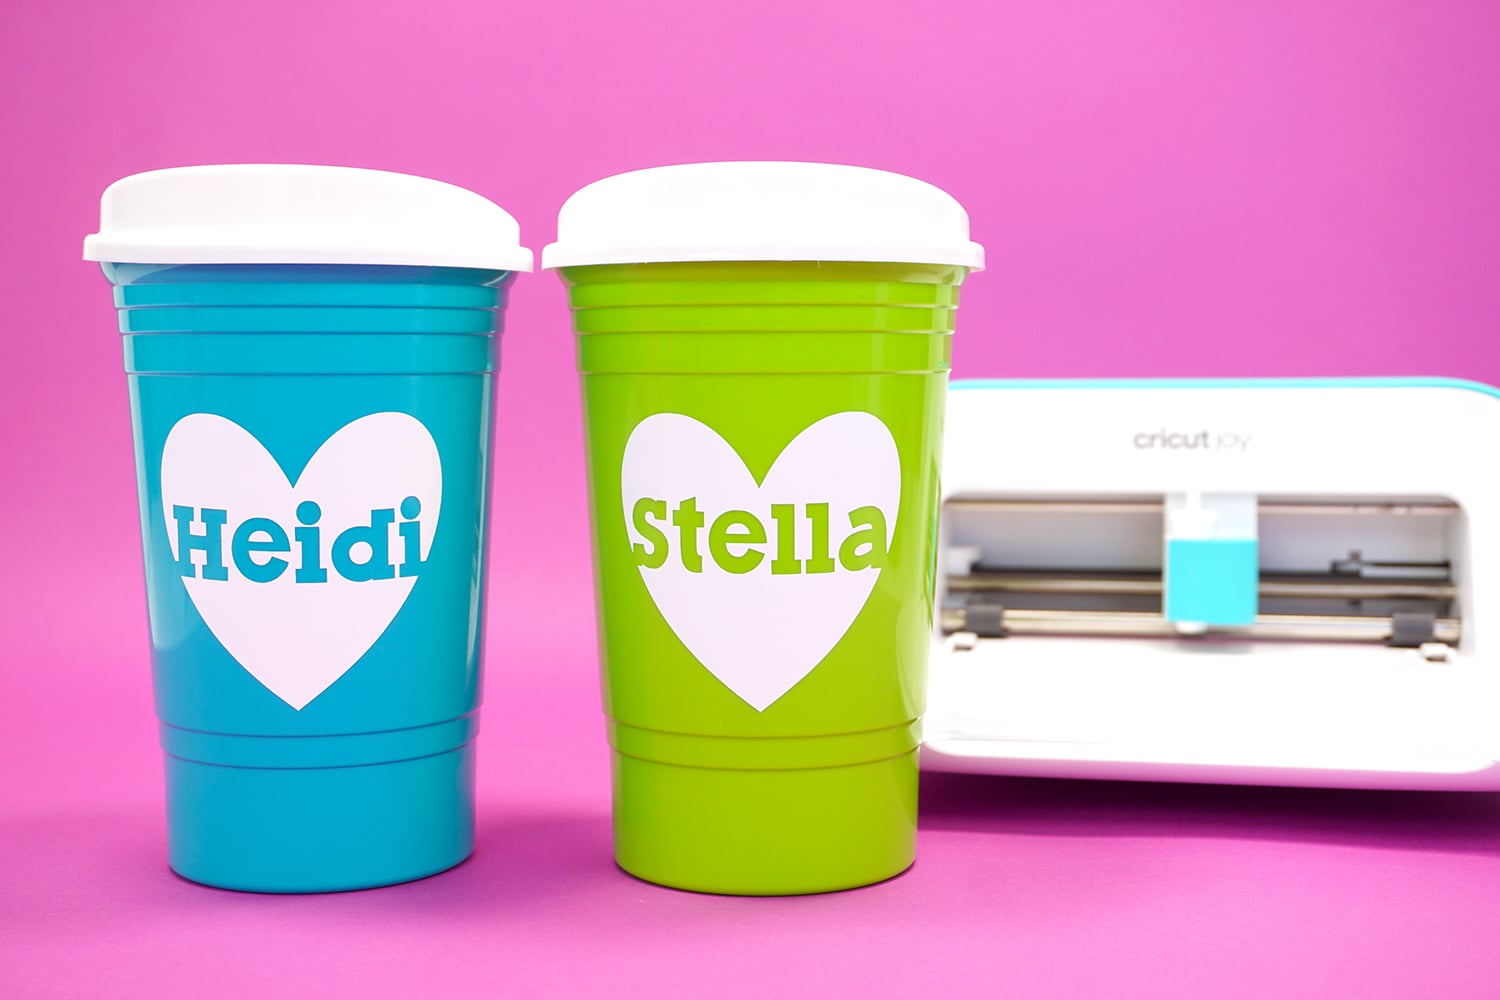
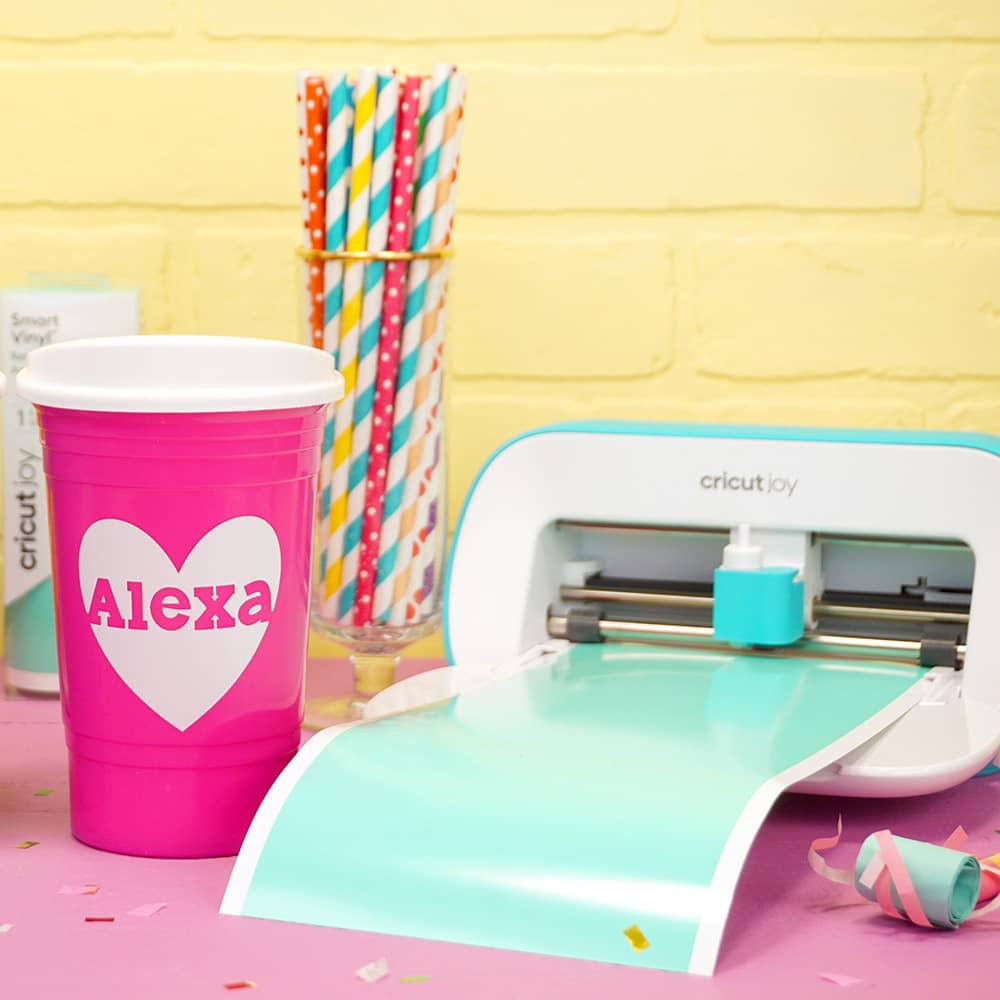
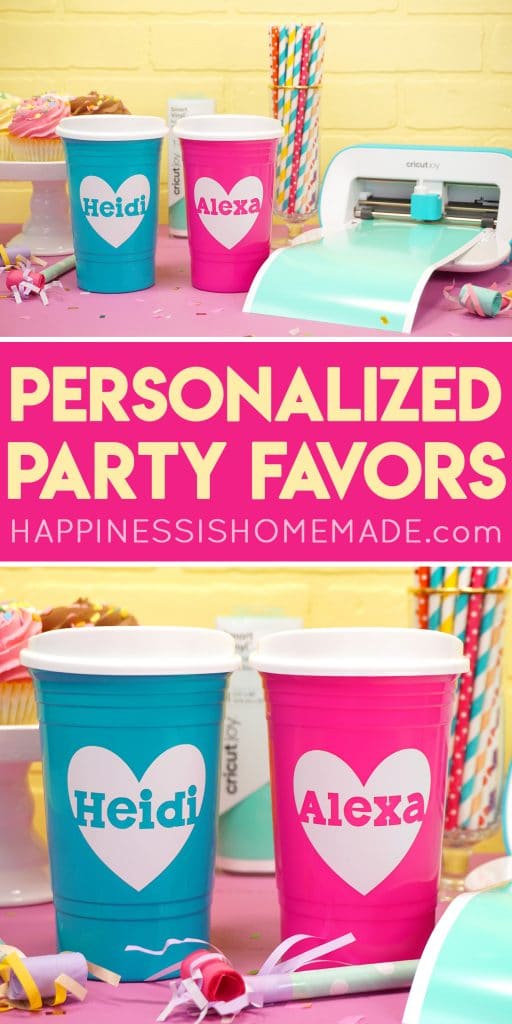
Today, we’re going to show you how to use Cricut Smart Vinylwith Cricut Joy to create these adorable personalized cups. They’re a super quick and easy craft idea that makes a great party favor!
The next time you host a party, invite your guests to customize their own reusable party cups using Cricut Joy and Permanent Smart Vinyl. It’s an easy way to cut down on wasted party goods, and your guests get to go home with a cute personalized party favor! Win-win!
Make sure to scroll all the way to the end of this post for even more awesome party ideas that you can create with your Cricut machine in under 15 minutes!
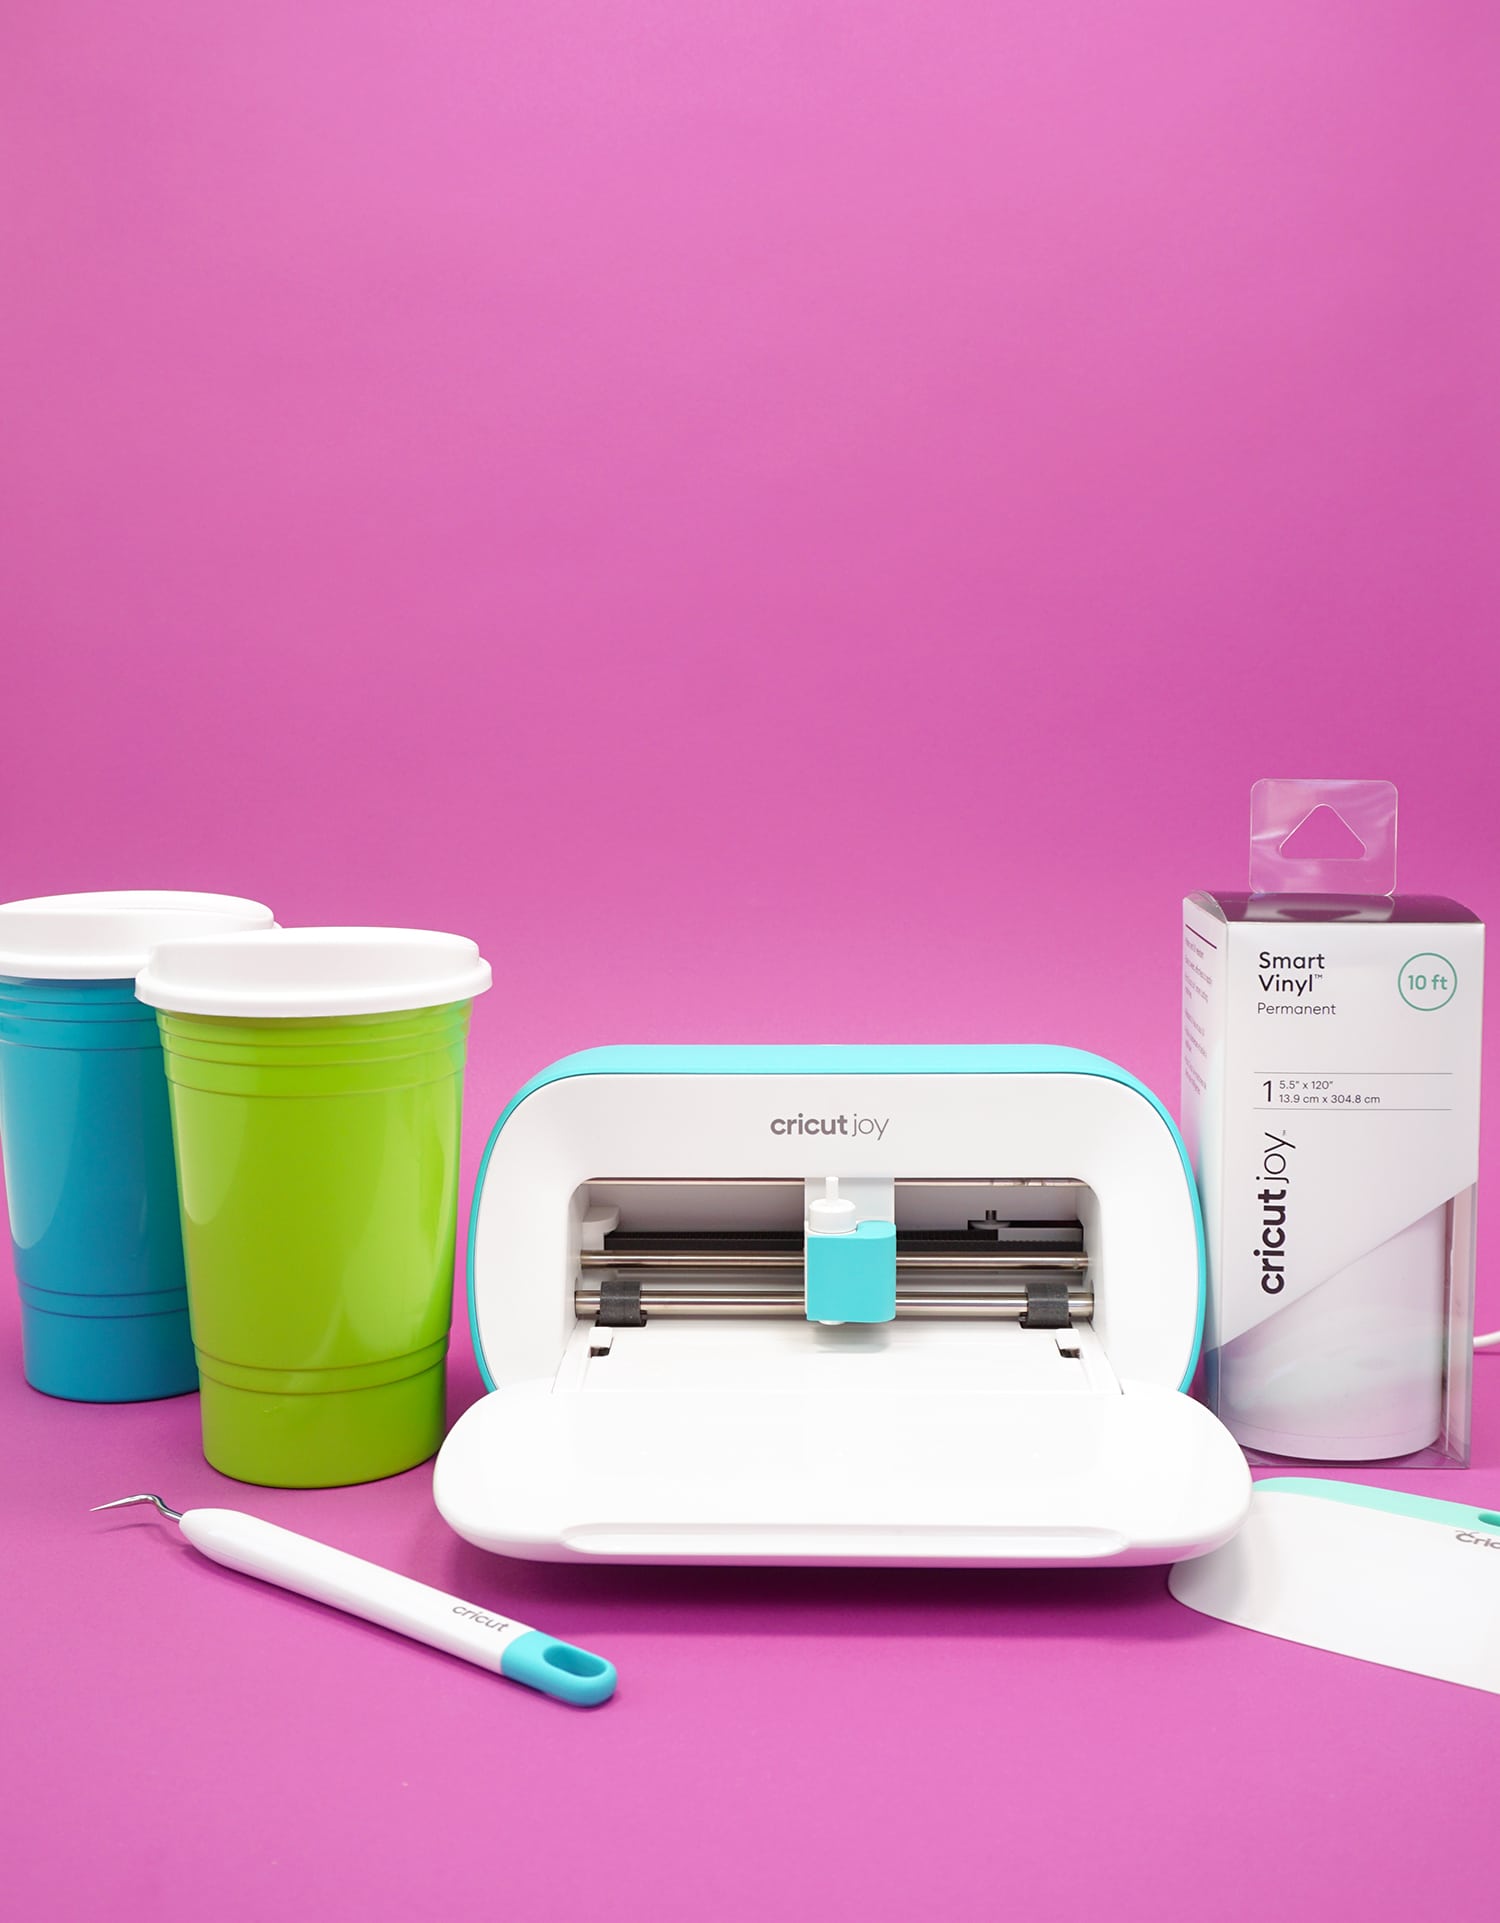
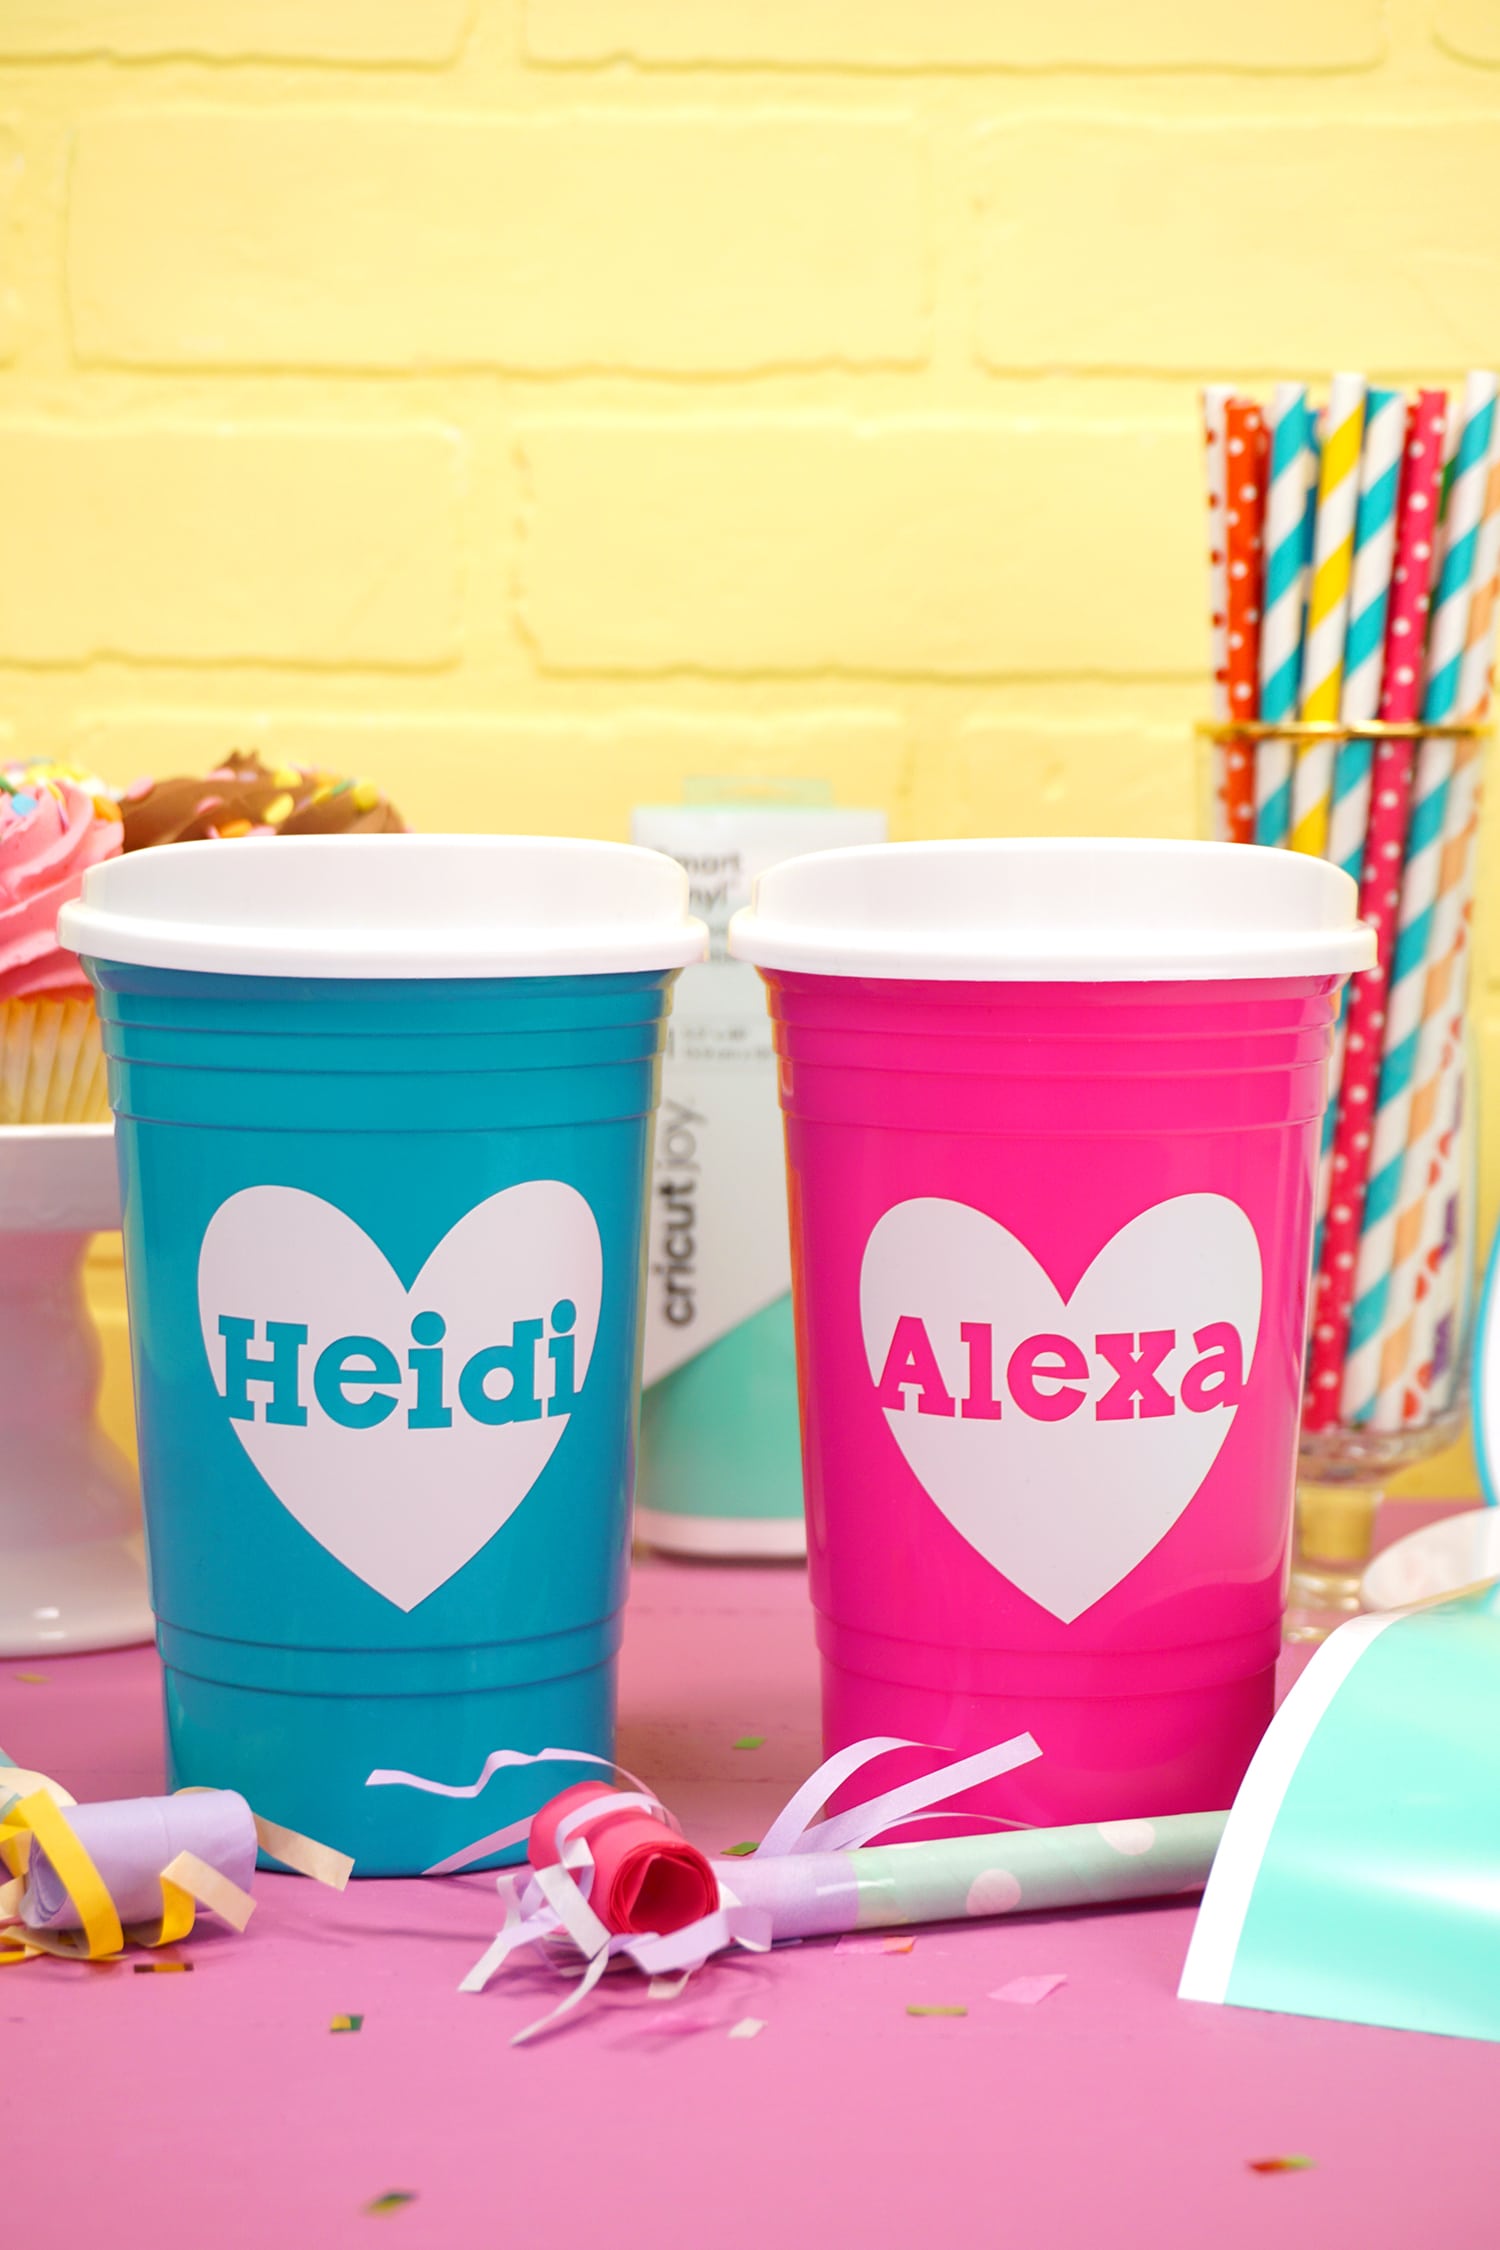
Supplies Used to Make Personalized Party Cups:
- Cricut Joy
- Cricut Smart Vinyl – Permanent
- Reusable Plastic Cups (we got ours at Dollar Tree!)
- Weeding Tools
- Transfer Tape
- Scraper Tool
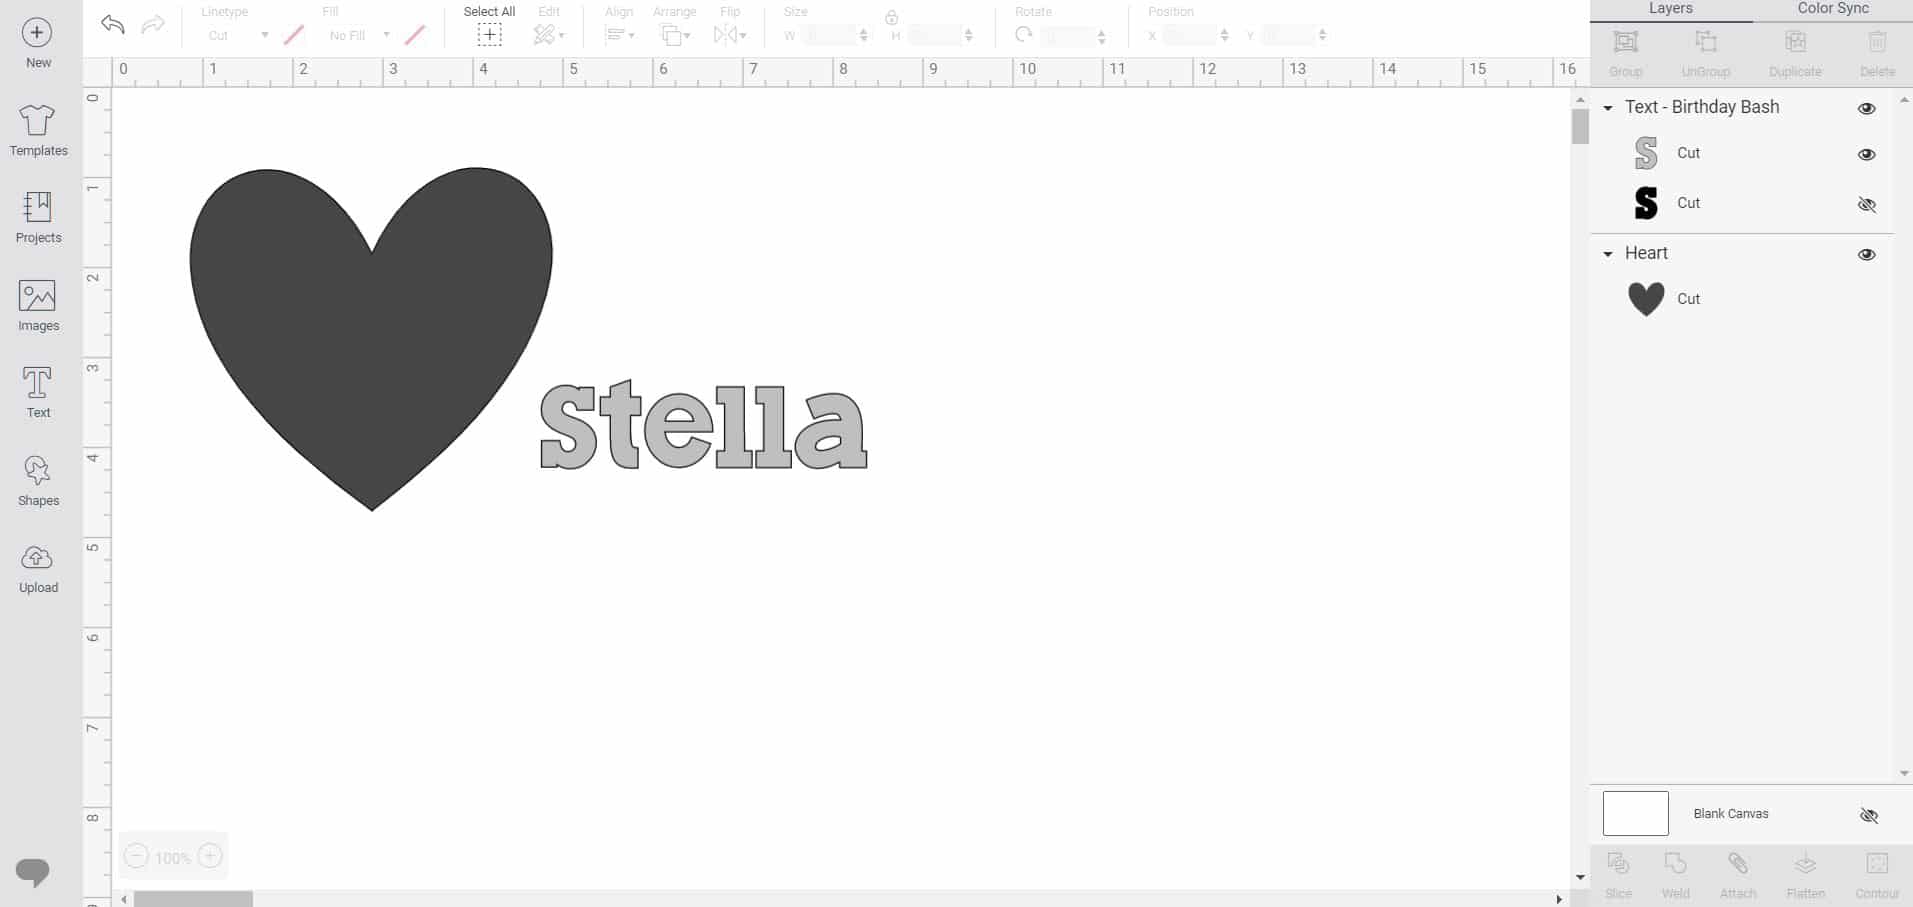
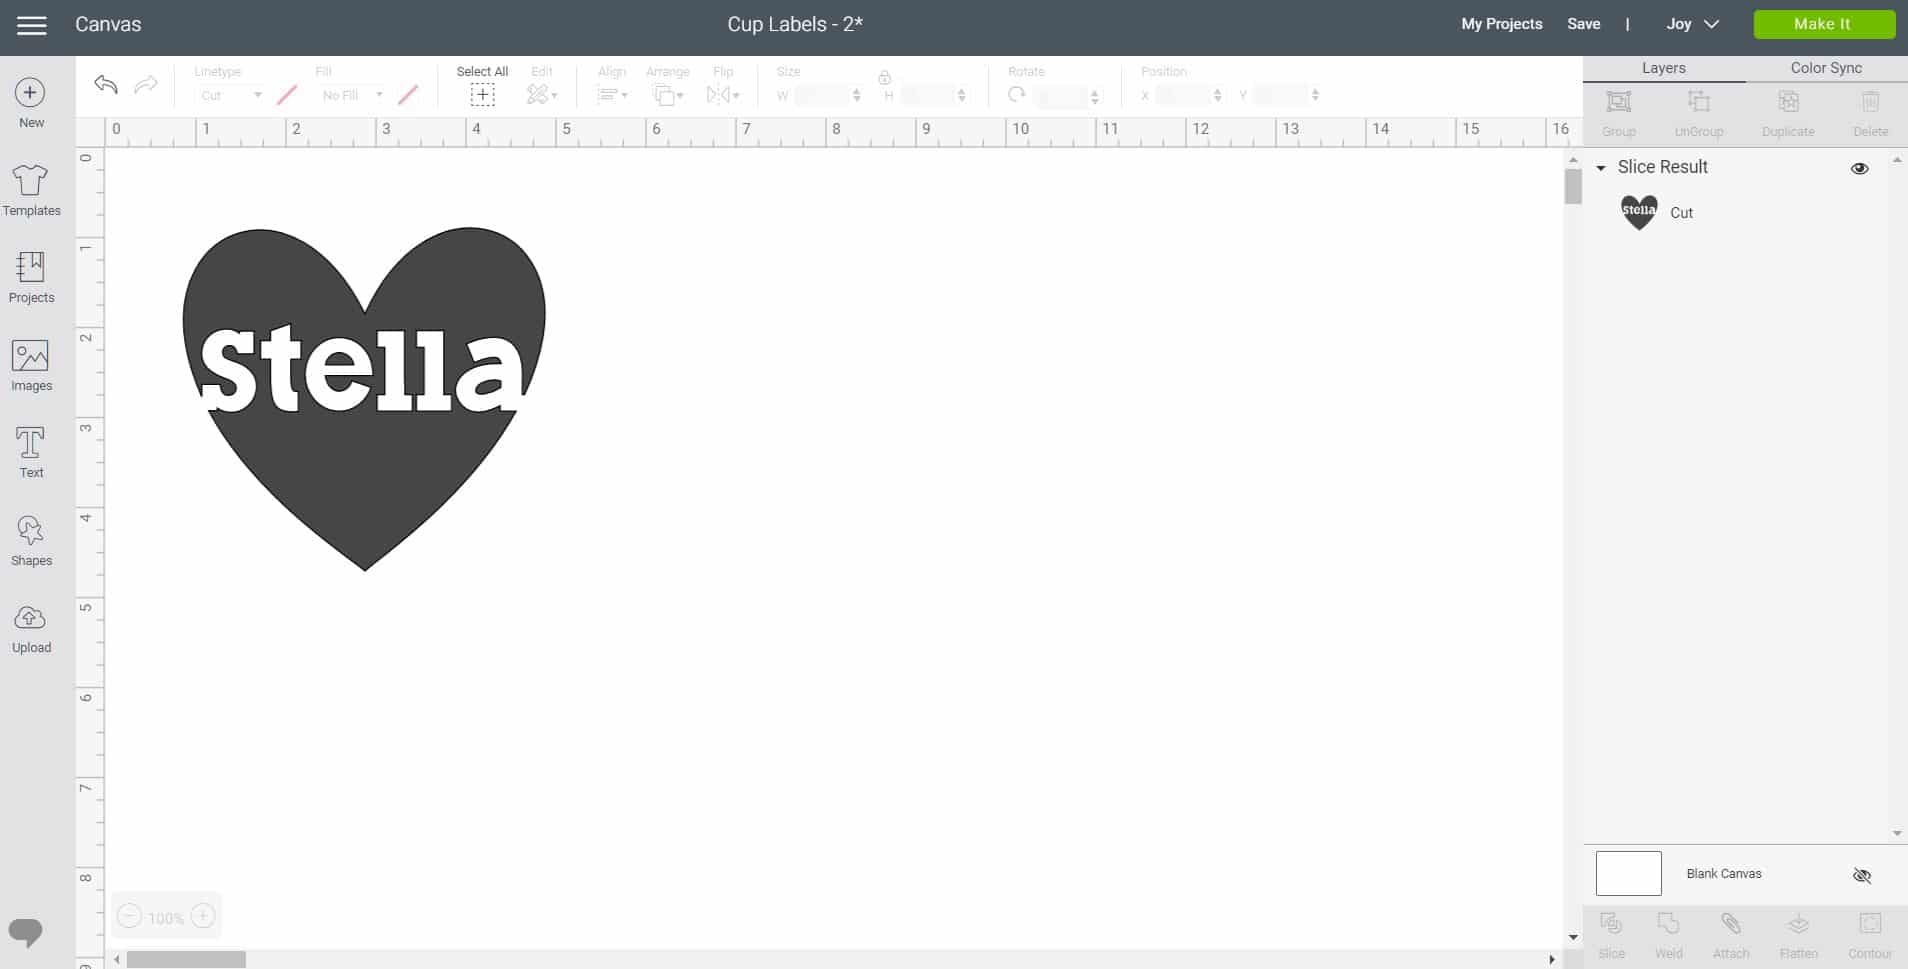
To begin making your personalized party cups, open up a new canvas in Cricut Design Space. Use the “Shapes” tool from the left toolbar to insert a heart and then use the “Text” tool to add your name using the Birthday Bash font. Birthday Bash is a dual-layer font, and since we will only be using one layer, select and delete the additional layer from the right-hand layers panel.
Size and arrange the text layer on top of the heart in the desired position. Make sure that the name overlaps the edges of the heart just a bit! Select both layers, and use the Align tool from the top toolbar to “Center Horizontally.”
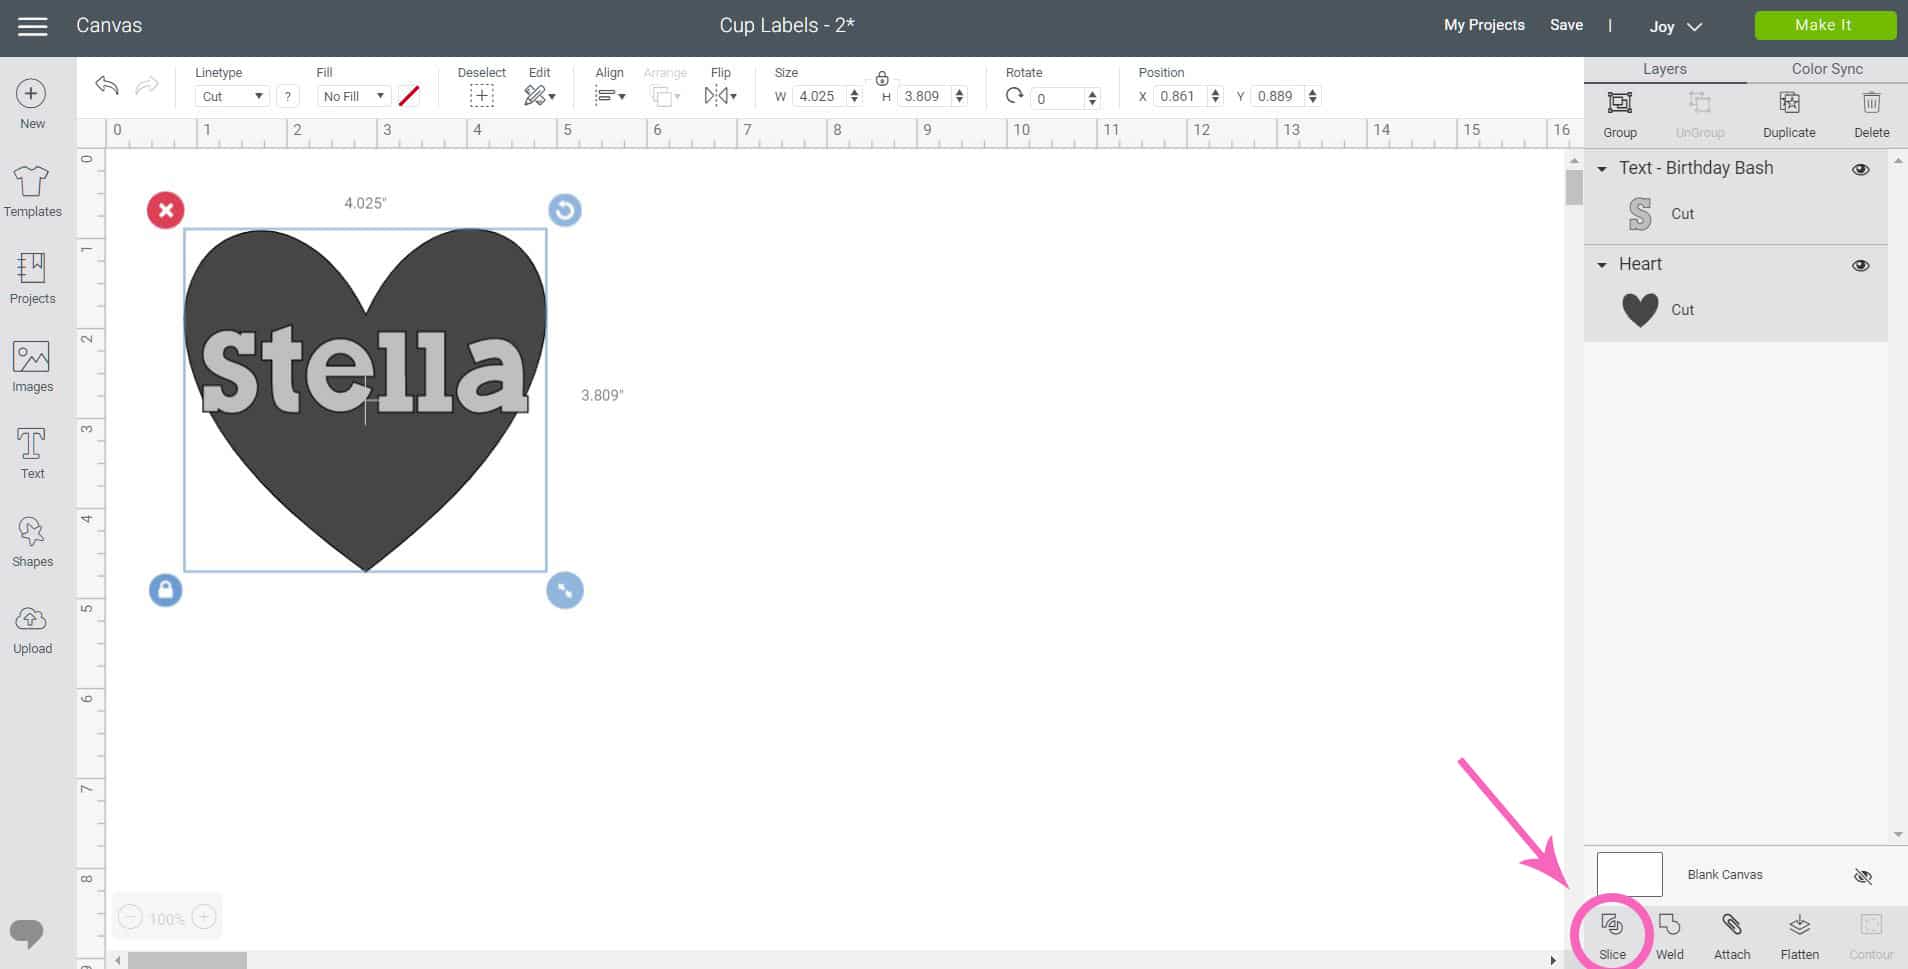
Next, with both objects selected, click on the “Slice” tool in the lower right-hand corner.
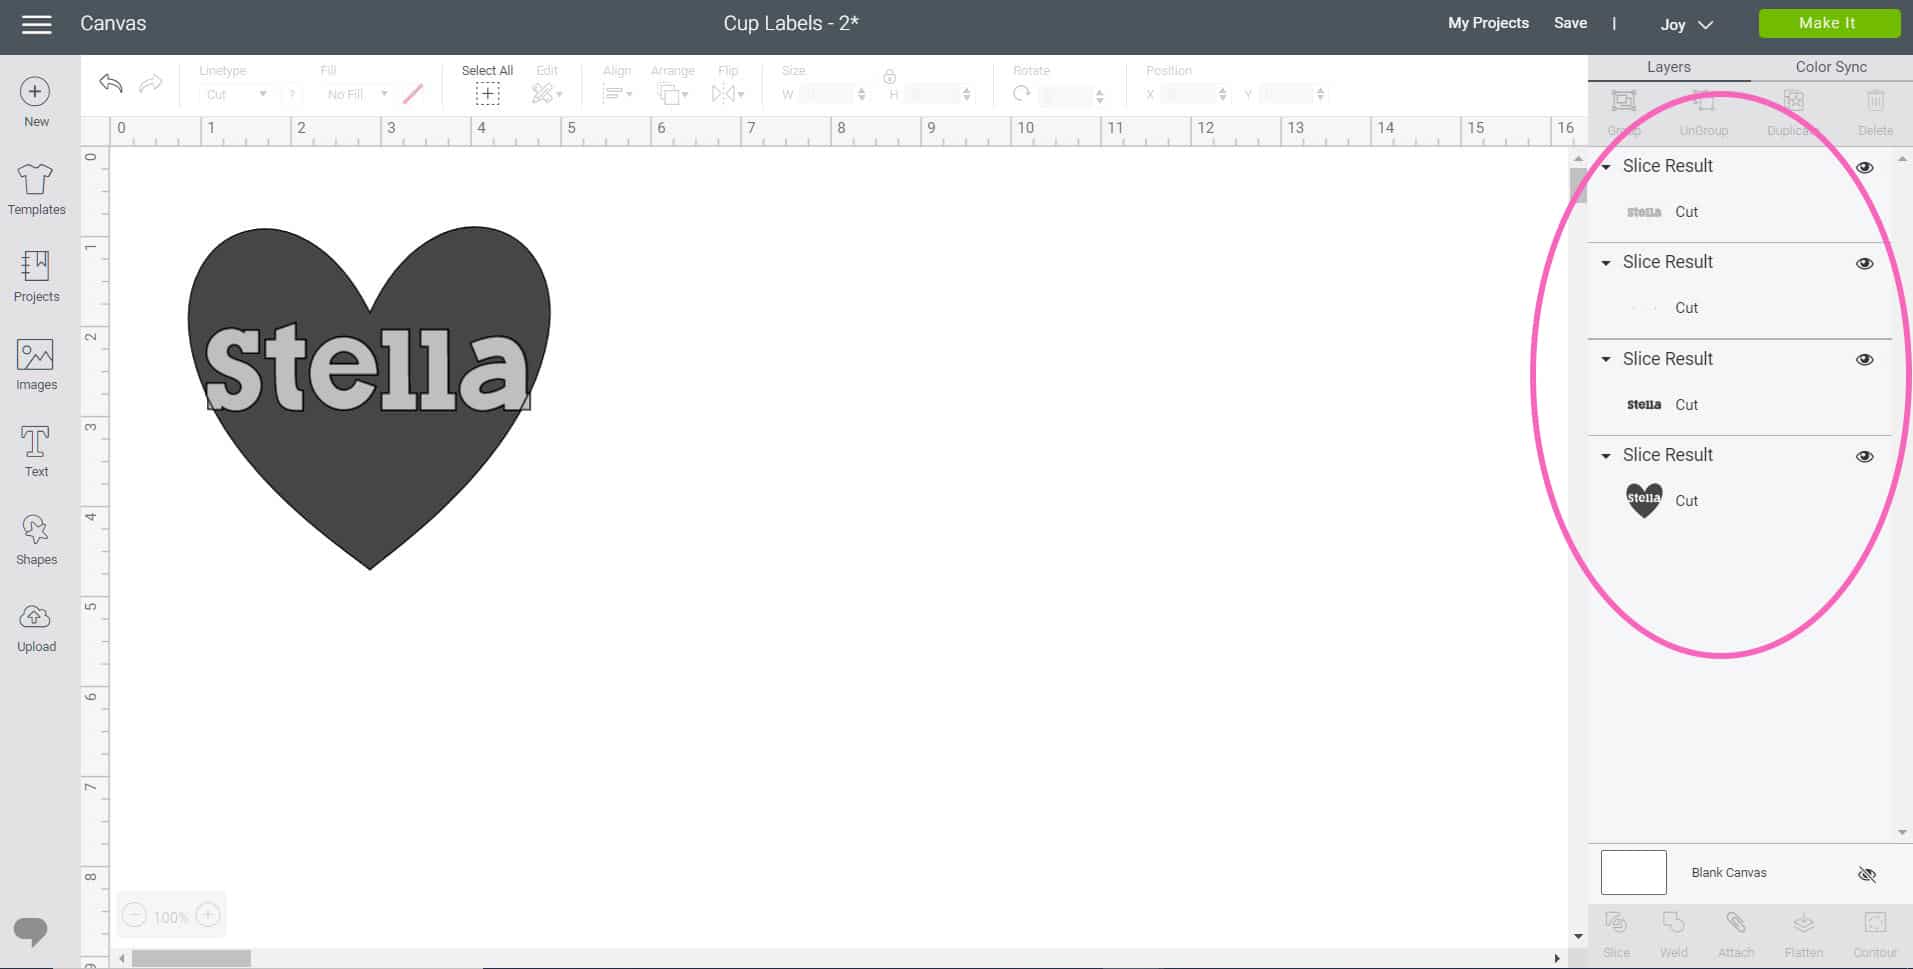
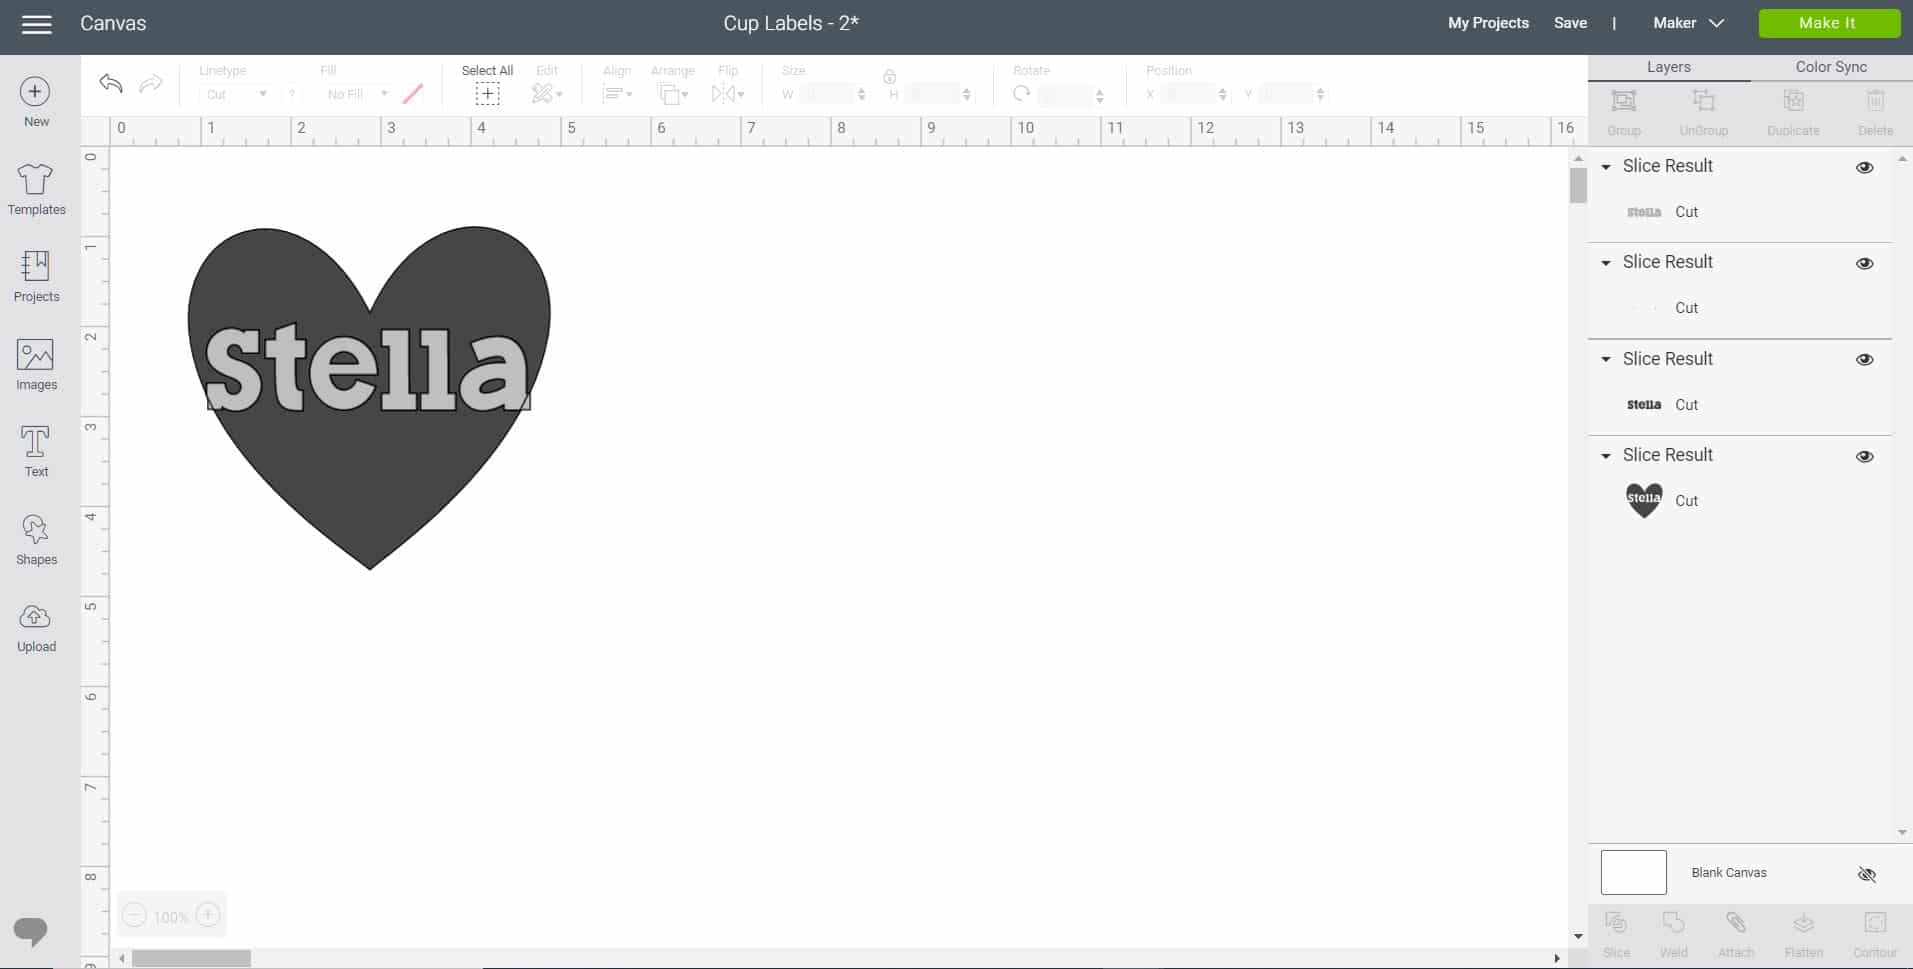
The Slice tool will split the two overlapping layers into different parts, resulting in four new layers. The only layer that we will need for this project is the heart layer (with the name now sliced out of the middle), so select and delete all of the other layers from the right-side panel.
Click on the large green “Make It” button in the upper right corner of the screen.
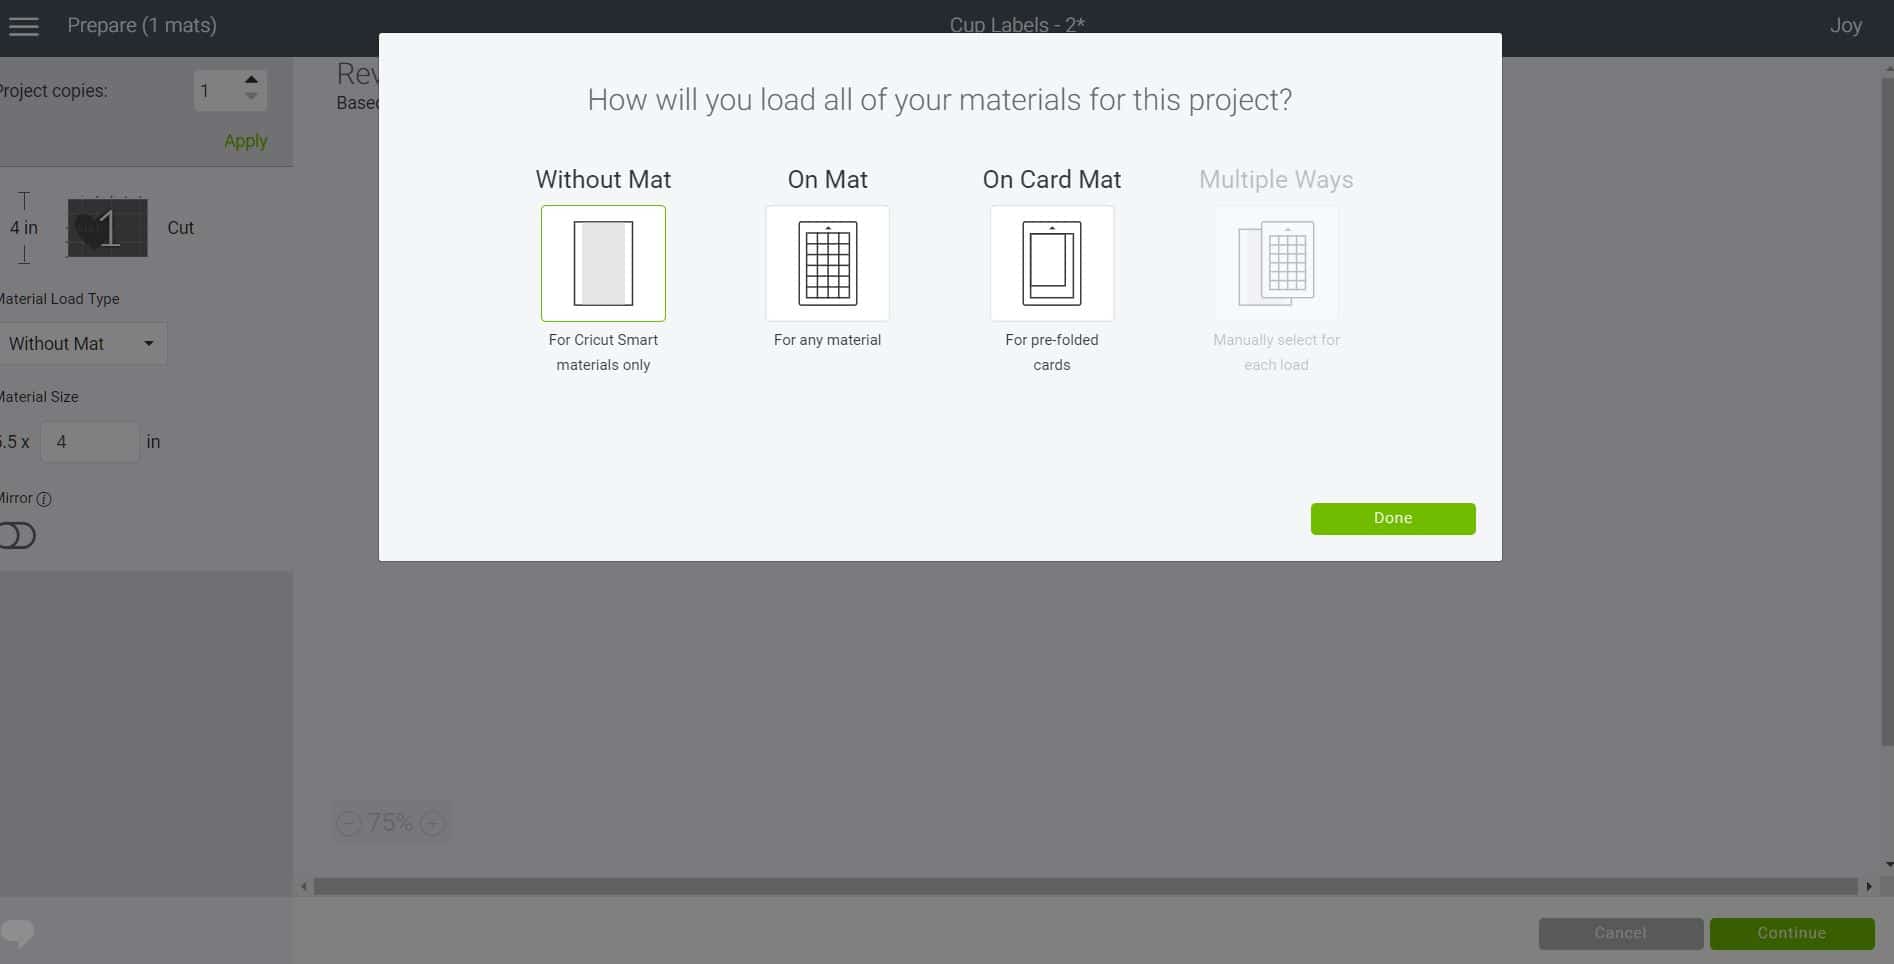
A pop-up window will appear asking you which mat (or no mat!) you will be using with Cricut Joy. Since we are using Smart Vinyl, no mat is necessary, so we will select “Without Mat.”
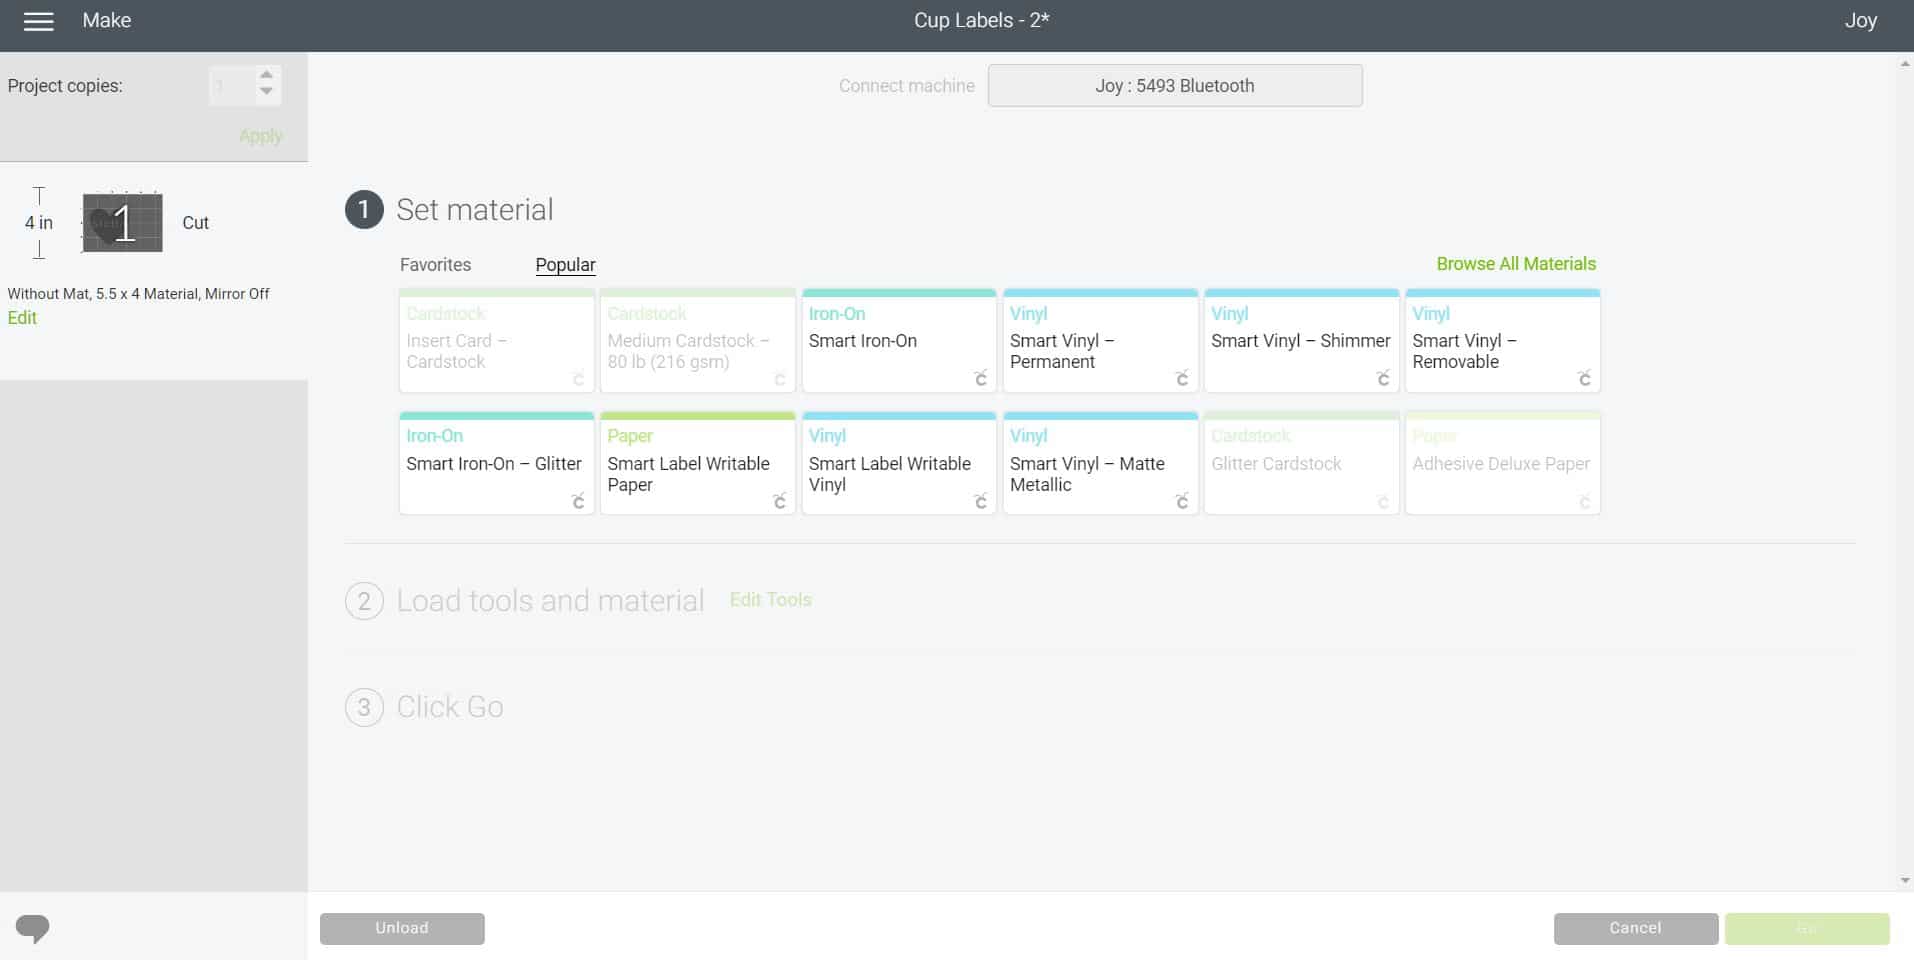
Select the appropriate material from the list – we used Permanent Smart Vinyl for our party cups, but you could use any of the different Smart Vinyl varieties. I bet the Shimmer Smart Vinyl and Holographic Patterns Smart Vinyl would both look amazing, too! Once you have selected the material, Design Space will prompt you to load the material into the machine.
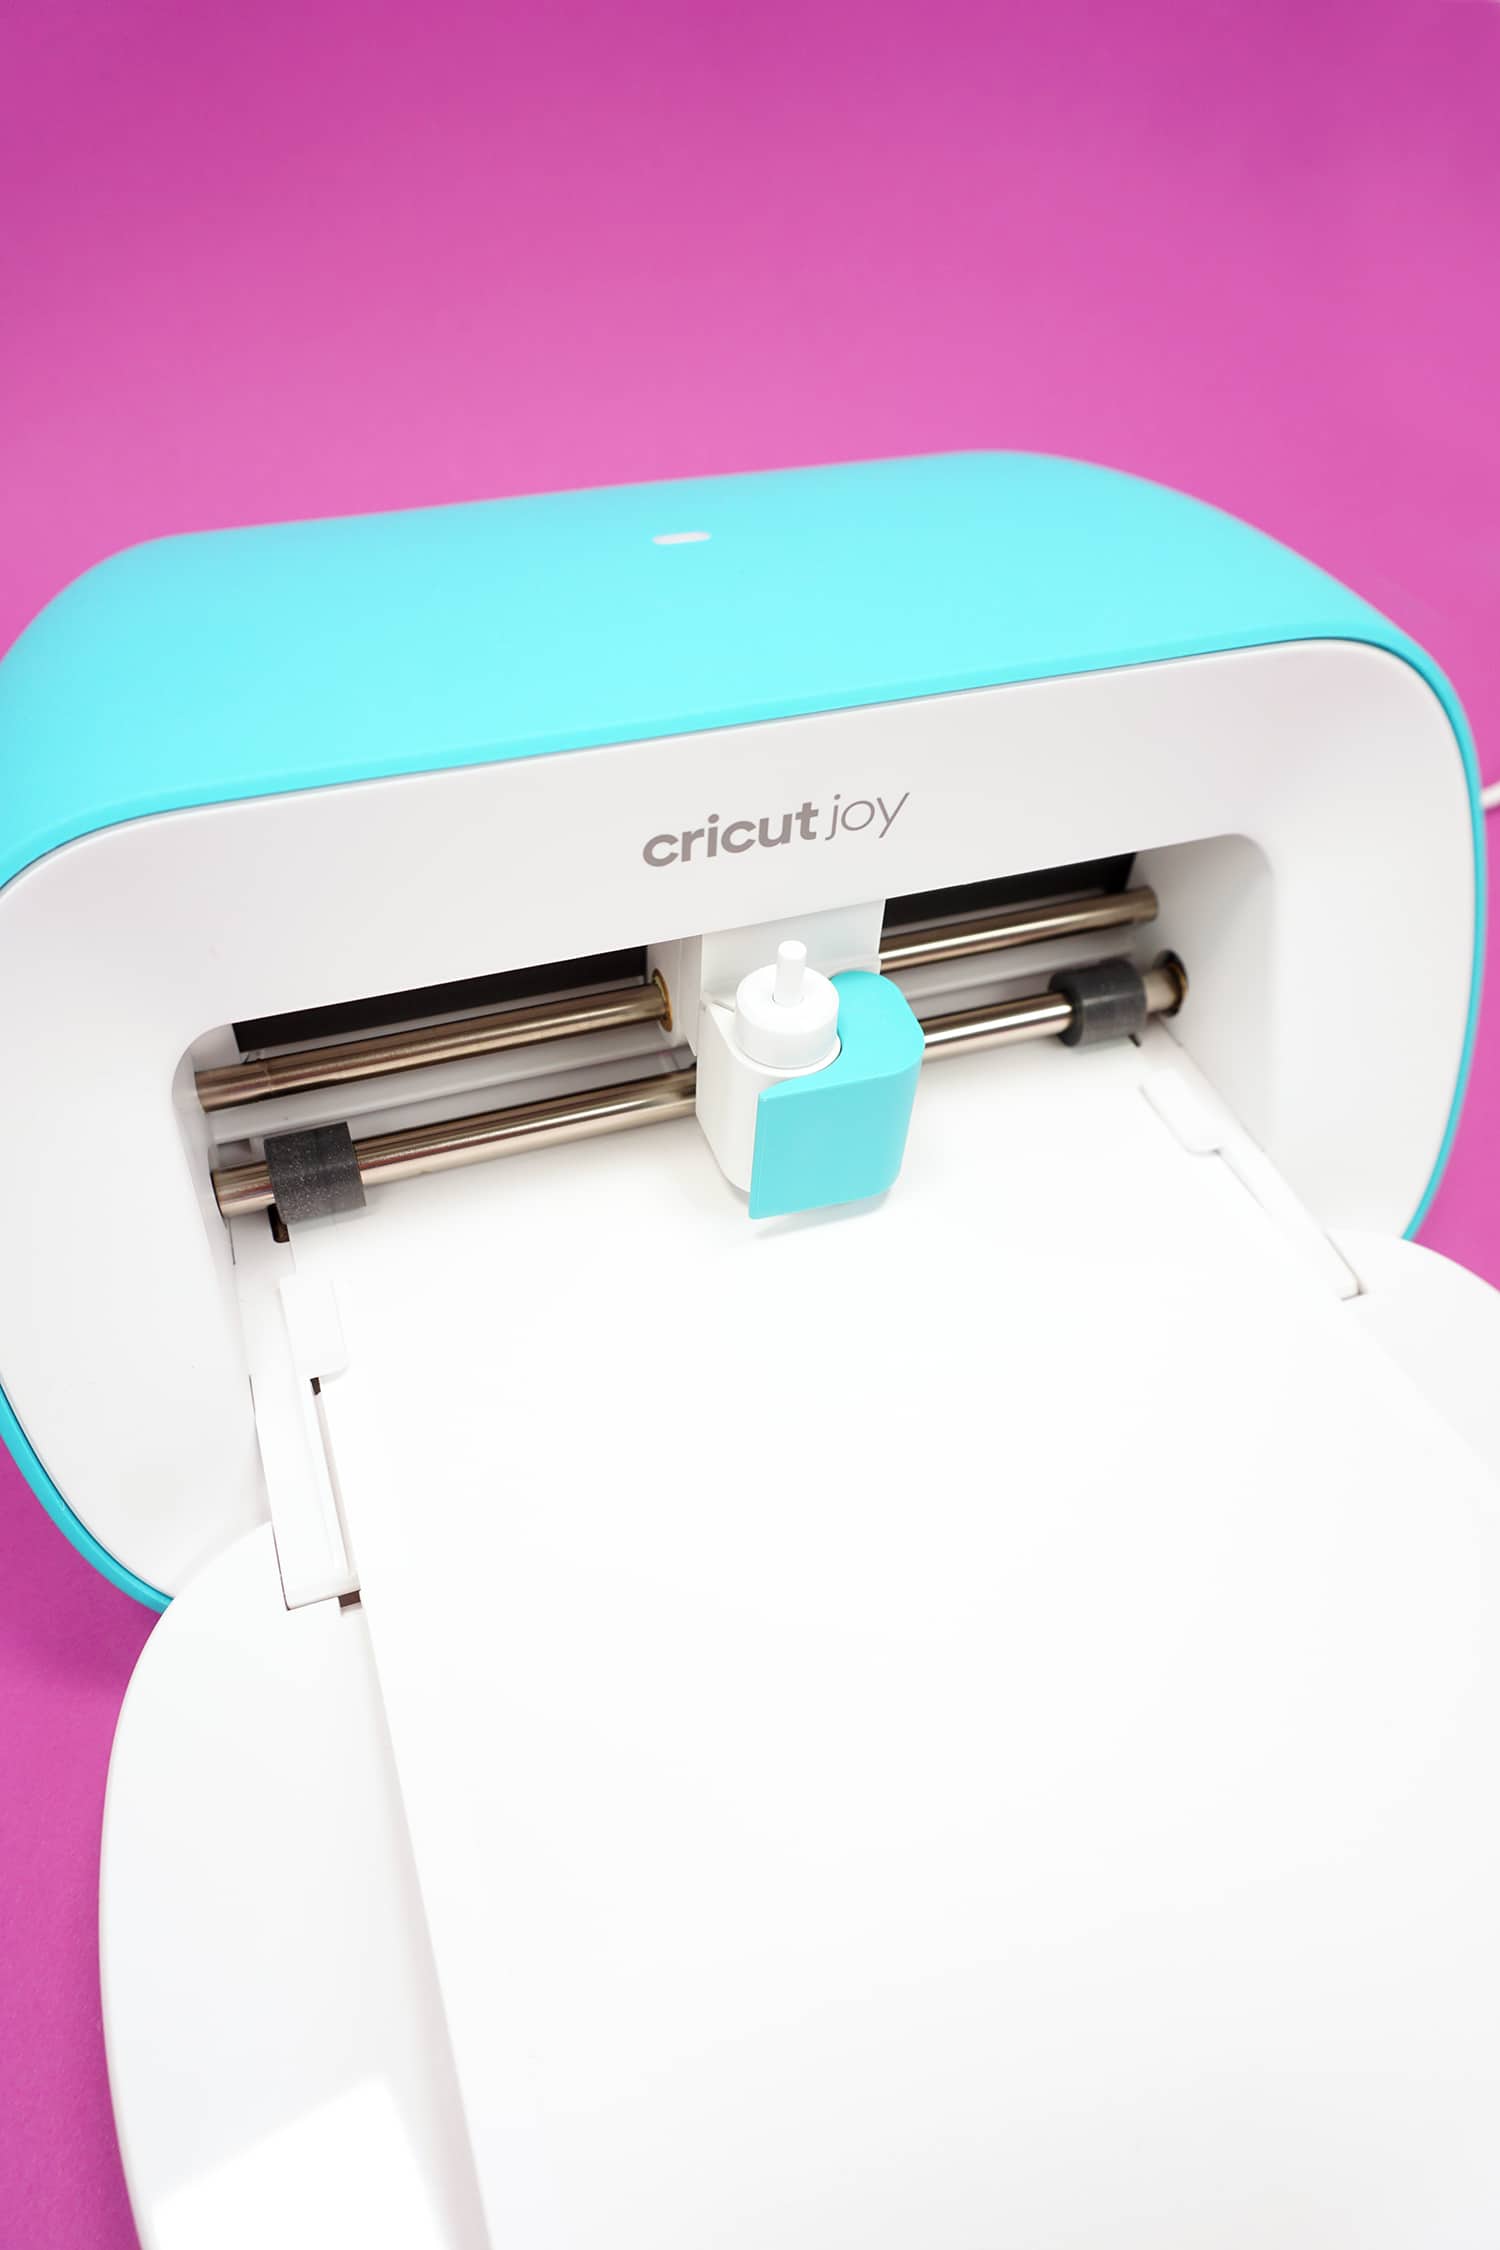
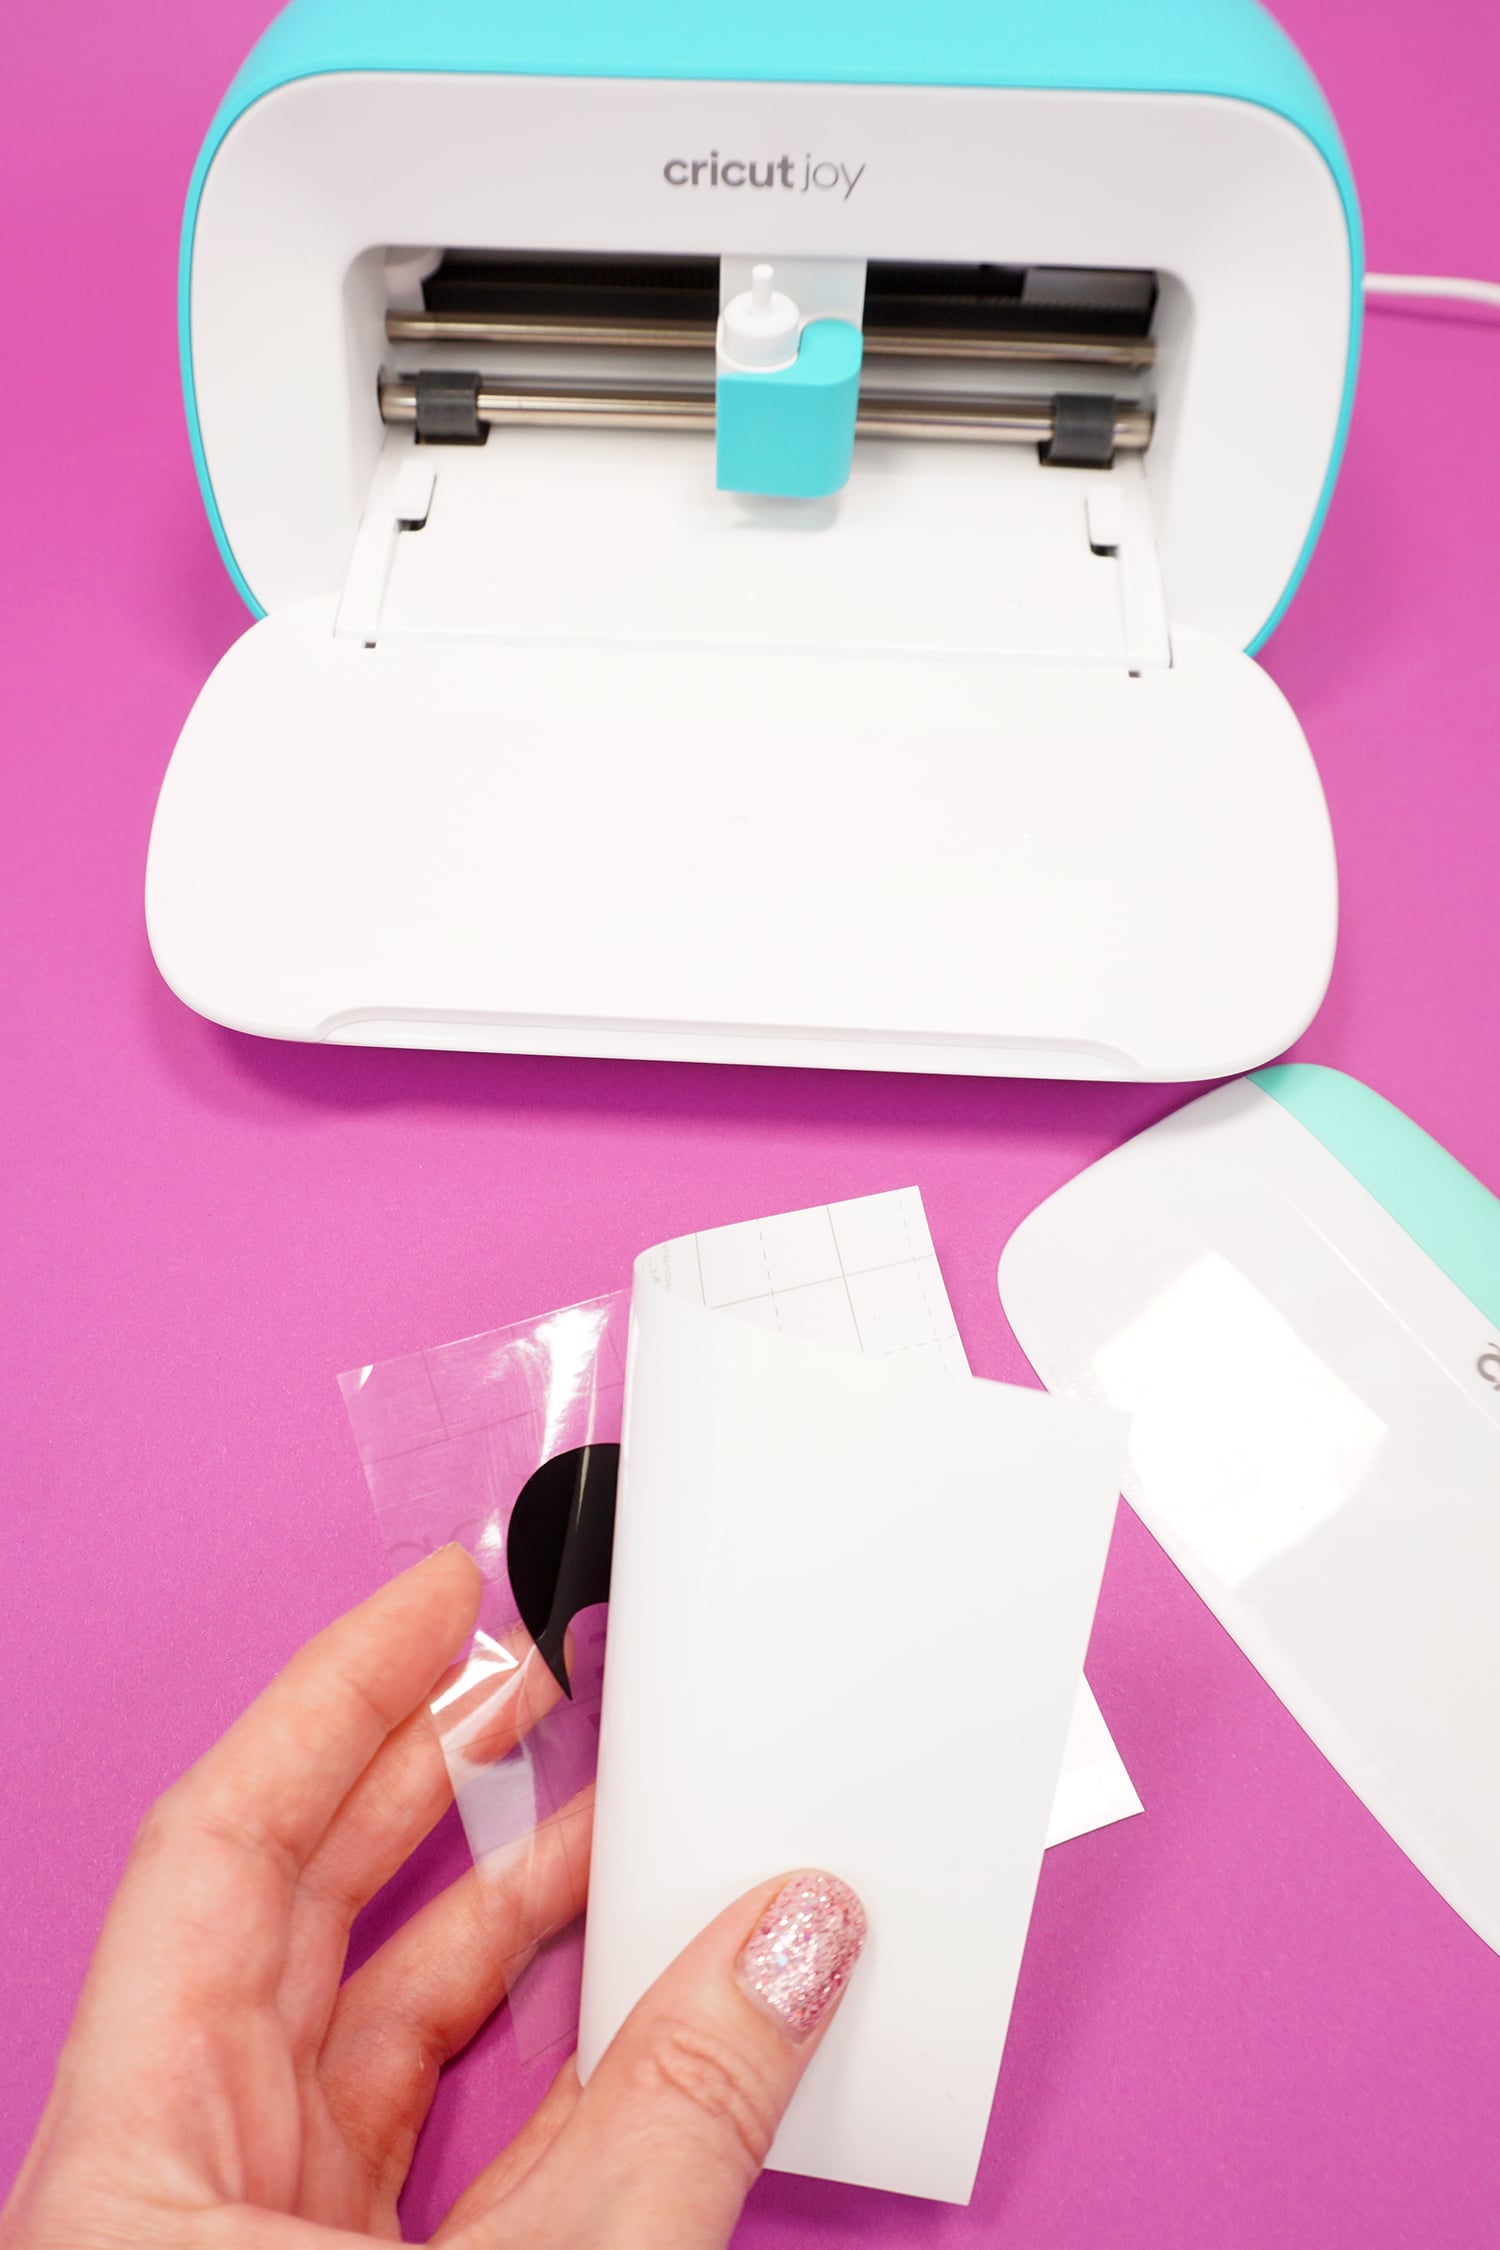
Loading the Smart Vinyl into Cricut Joy couldn’t be easier!
There are no buttons or dials on Cricut Joy, so all of the functions are controlled via Cricut Design Space. When it’s time to load and unload materials, simply insert the mat between the machine’s guides, and the sensors will automatically engage the rollers to pull in the materials.
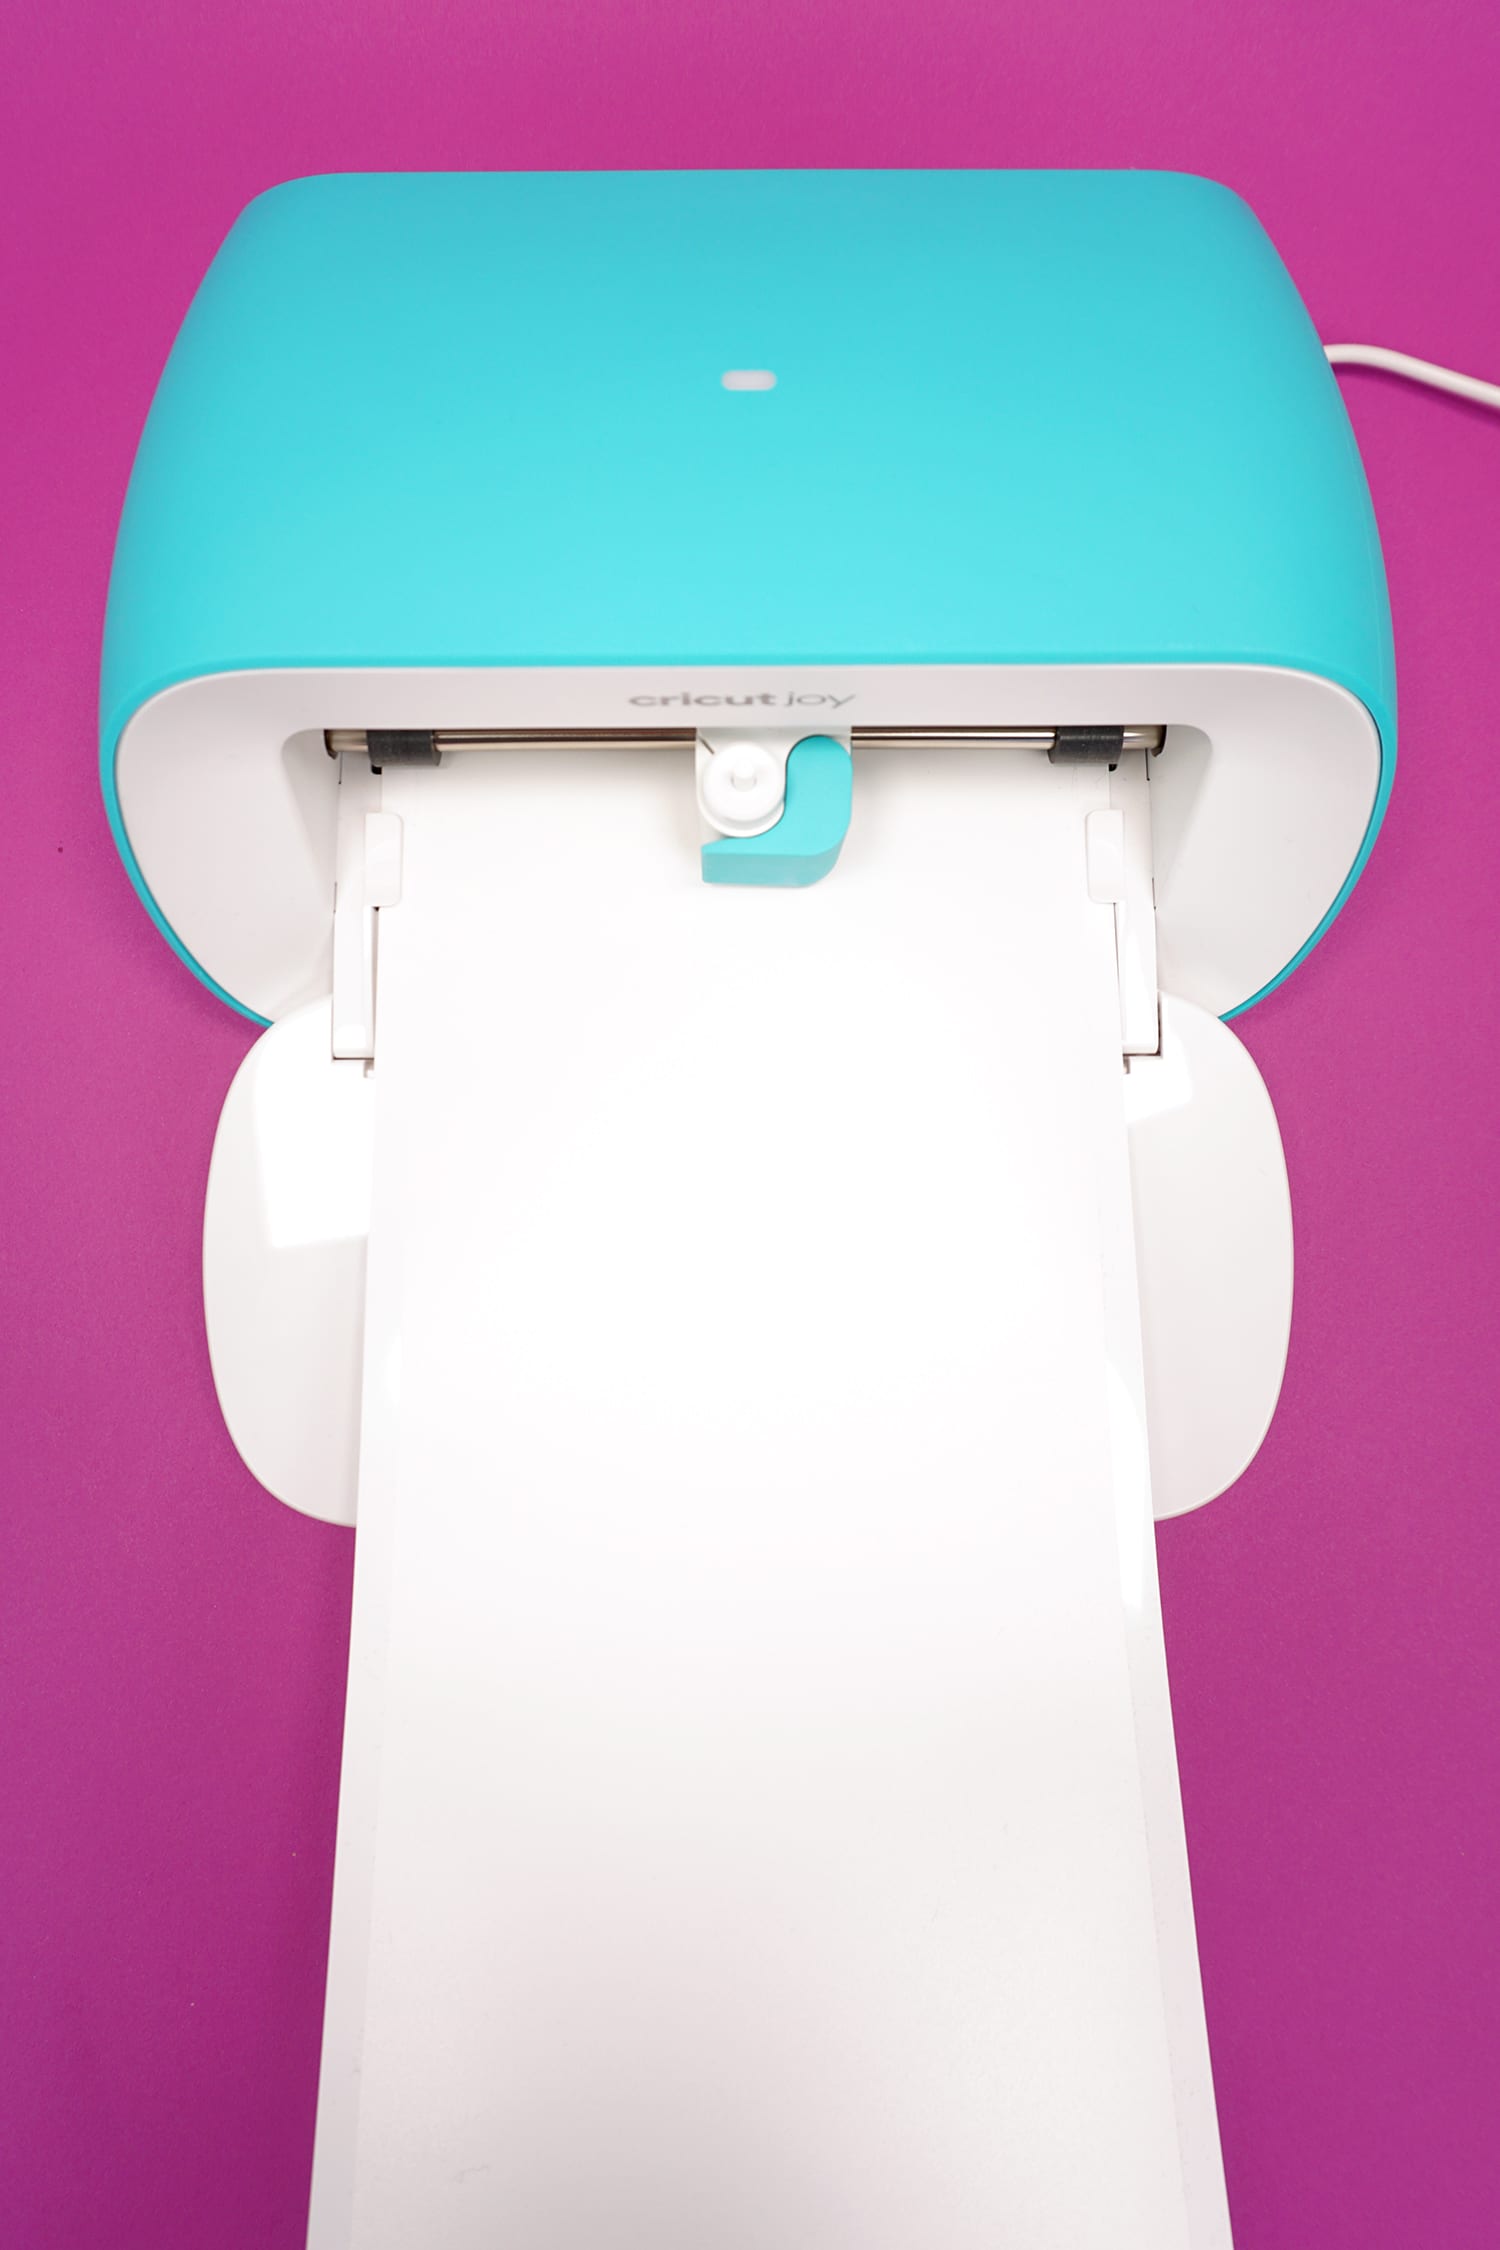
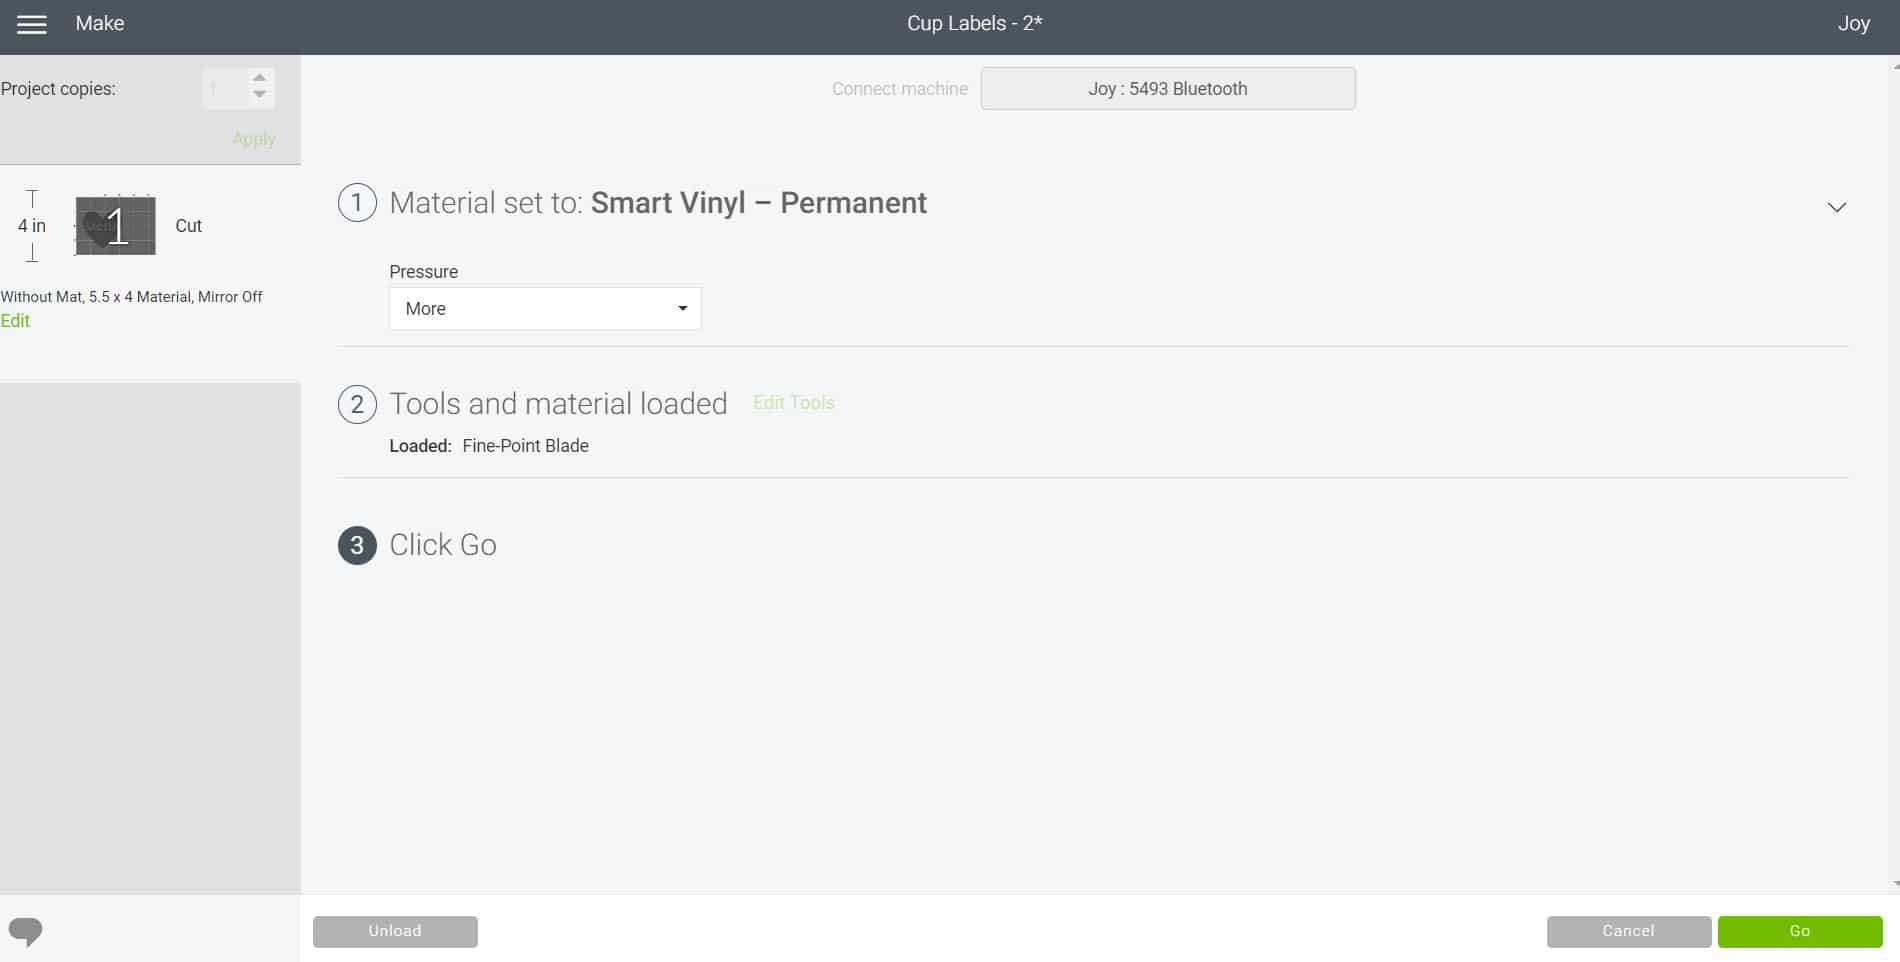
Once your Smart Vinyl is loaded, click the “Go” button in the lower right corner of Design Space to begin the cutting process.
Cricut Joy may be a tiny machine, but it packs a lot of power, so its cuts are speedy and ultra precise!
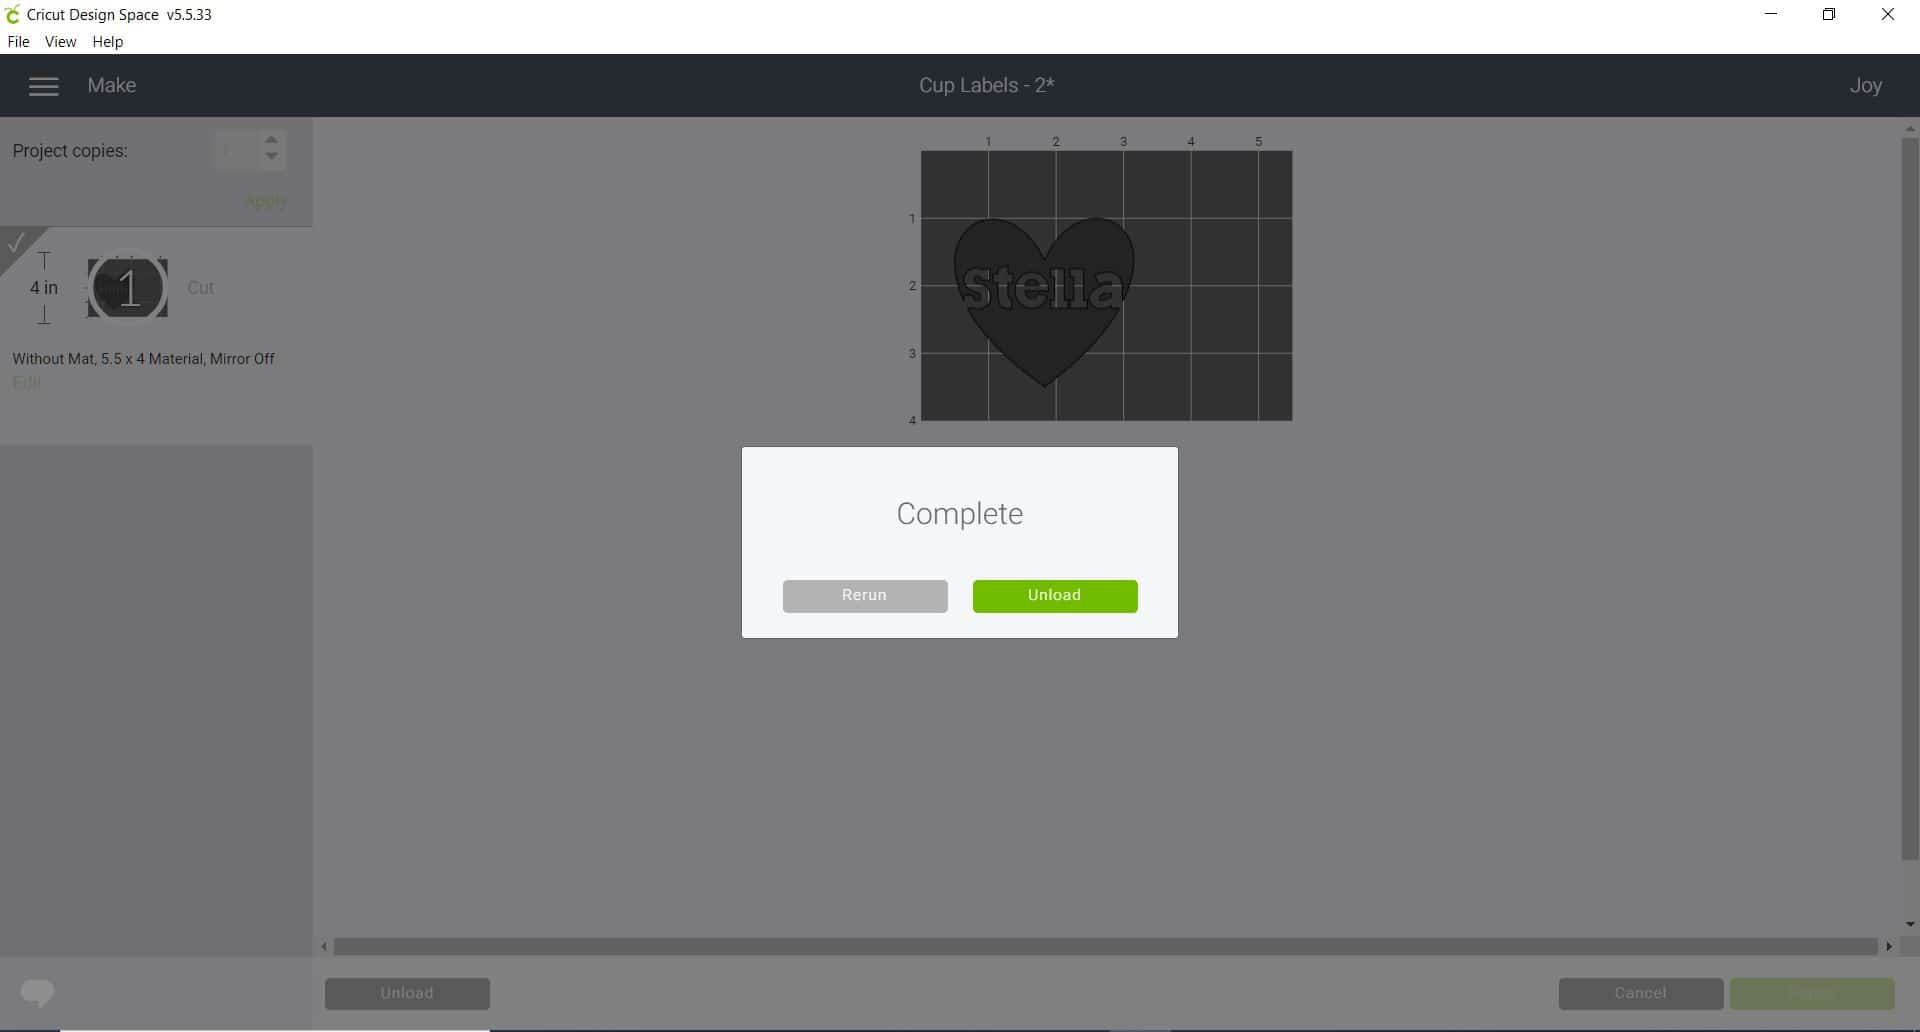
When the cut is complete, Design Space will prompt you to unload the material from the machine. Simply click the “Unload” button and remove your material.
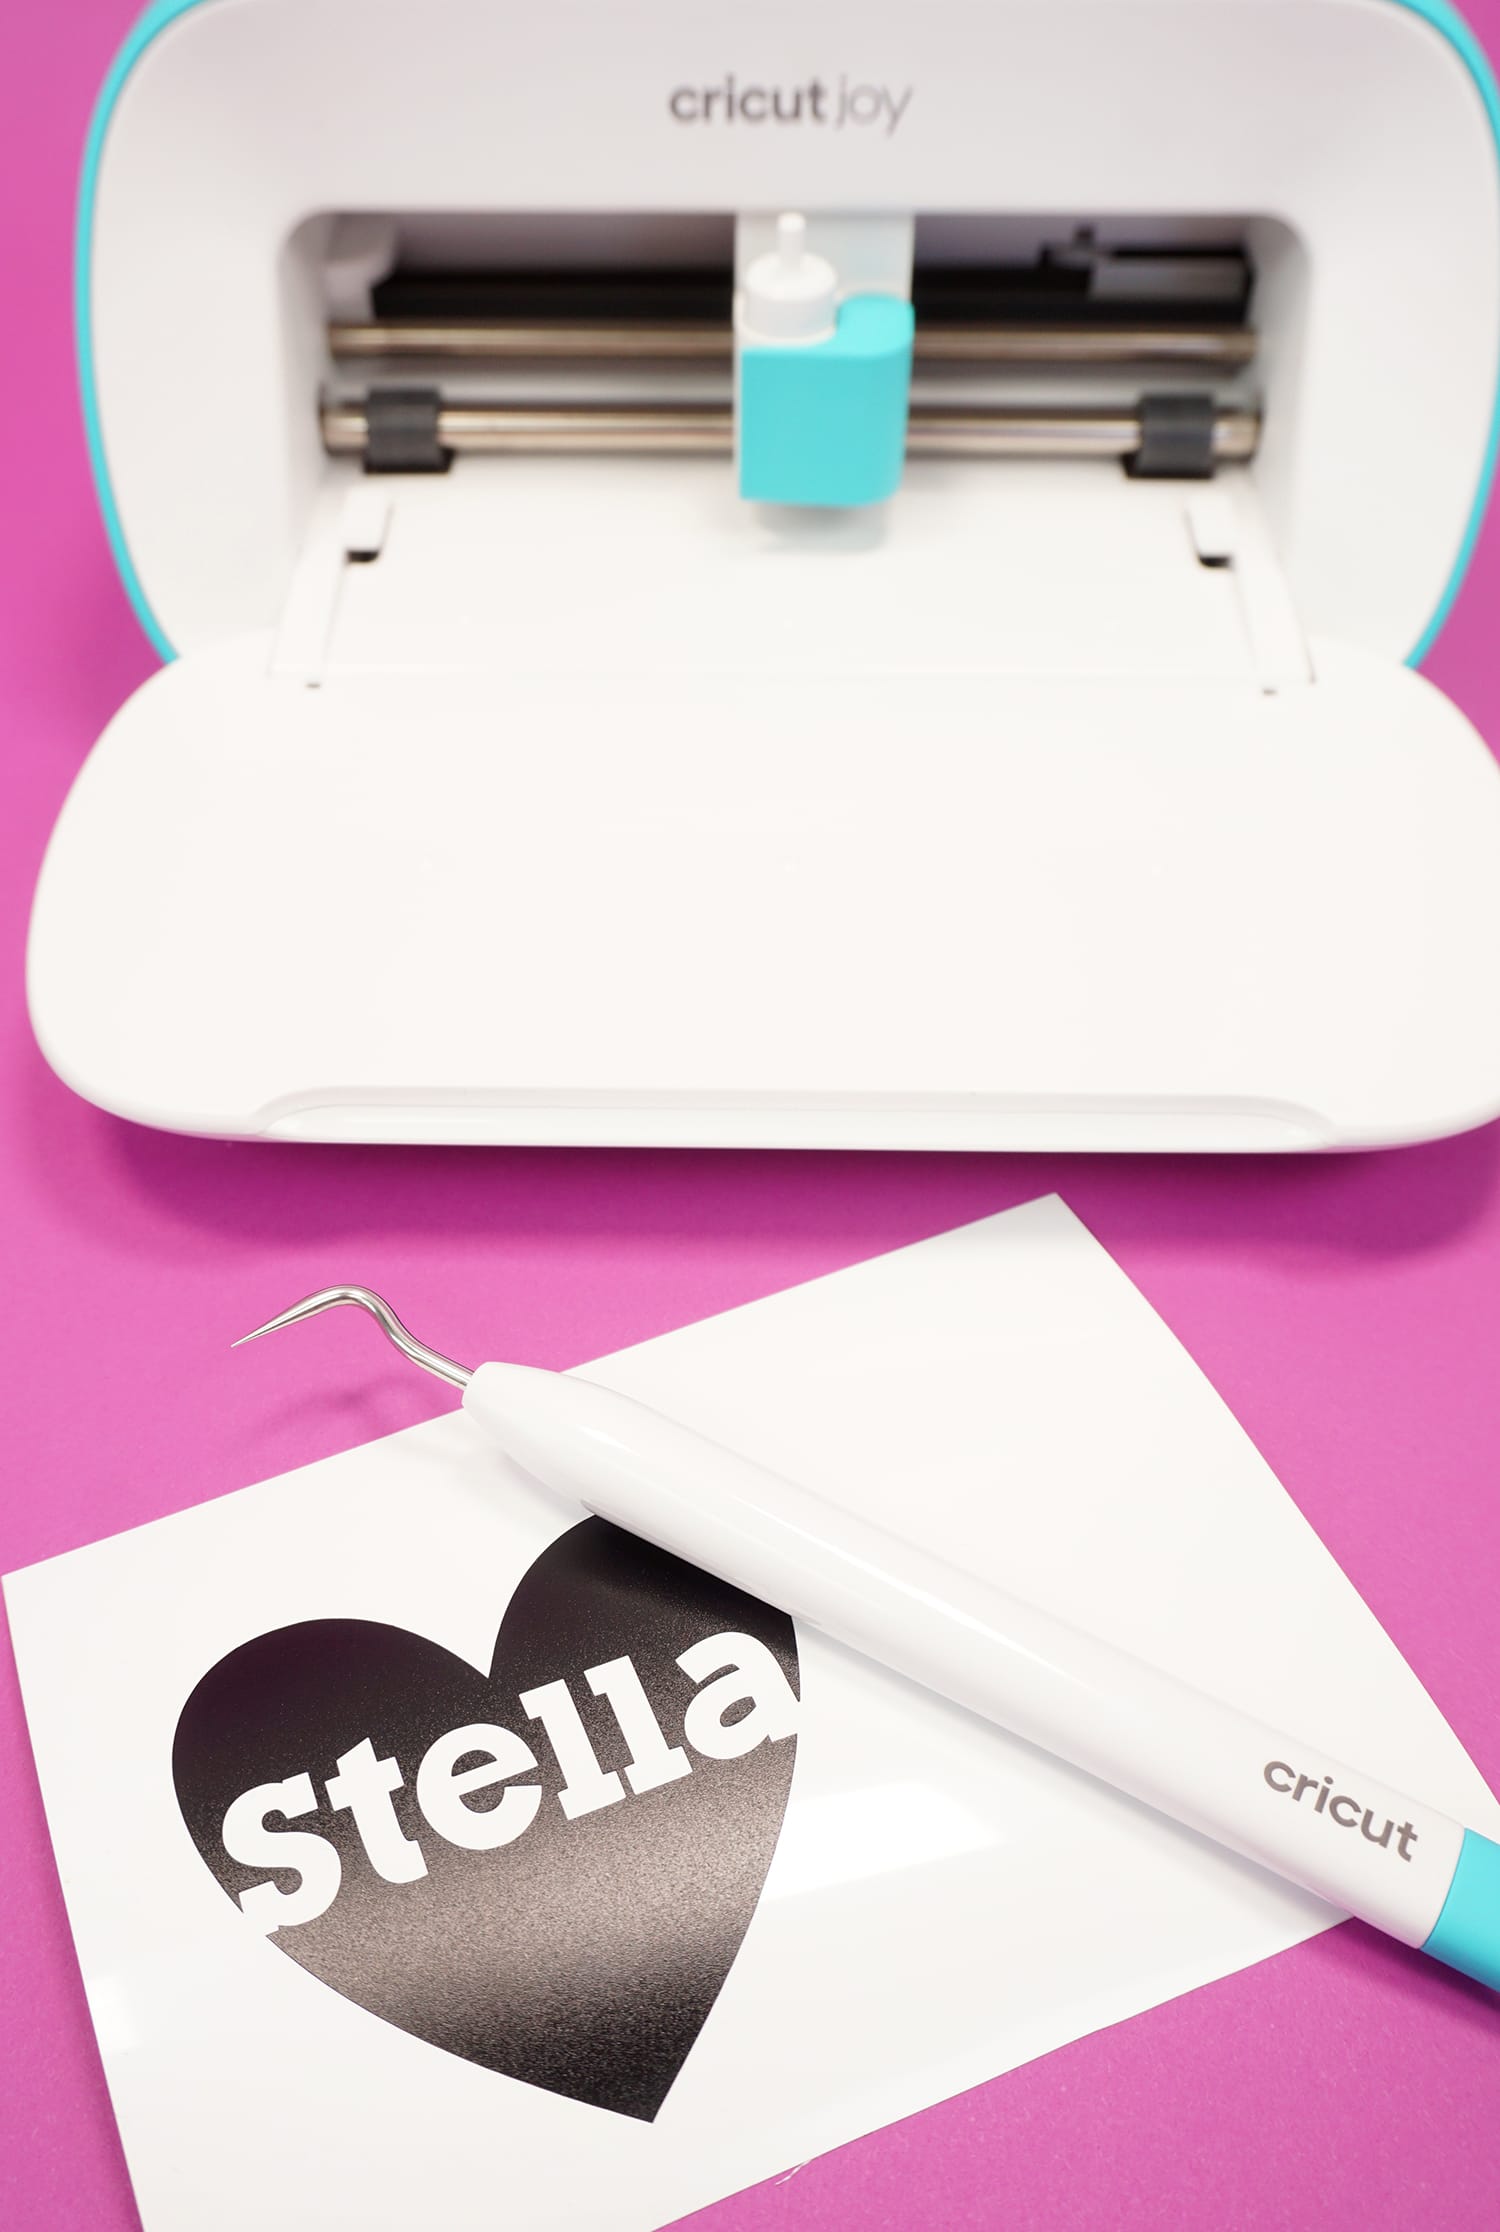
(Note: I switched from white to black Permanent Smart Vinyl for the next few steps of the tutorial so that you can better see what I’m doing here! 😊)
Use the Weeding Tools to weed away the excess vinyl.

Cut a piece of Transfer Tape just slightly larger than your design and place it on top of the vinyl. Use the Scraper Tool to burnish the top of the transfer tape.
Gently peel the transfer tape and vinyl design off of the backing paper.
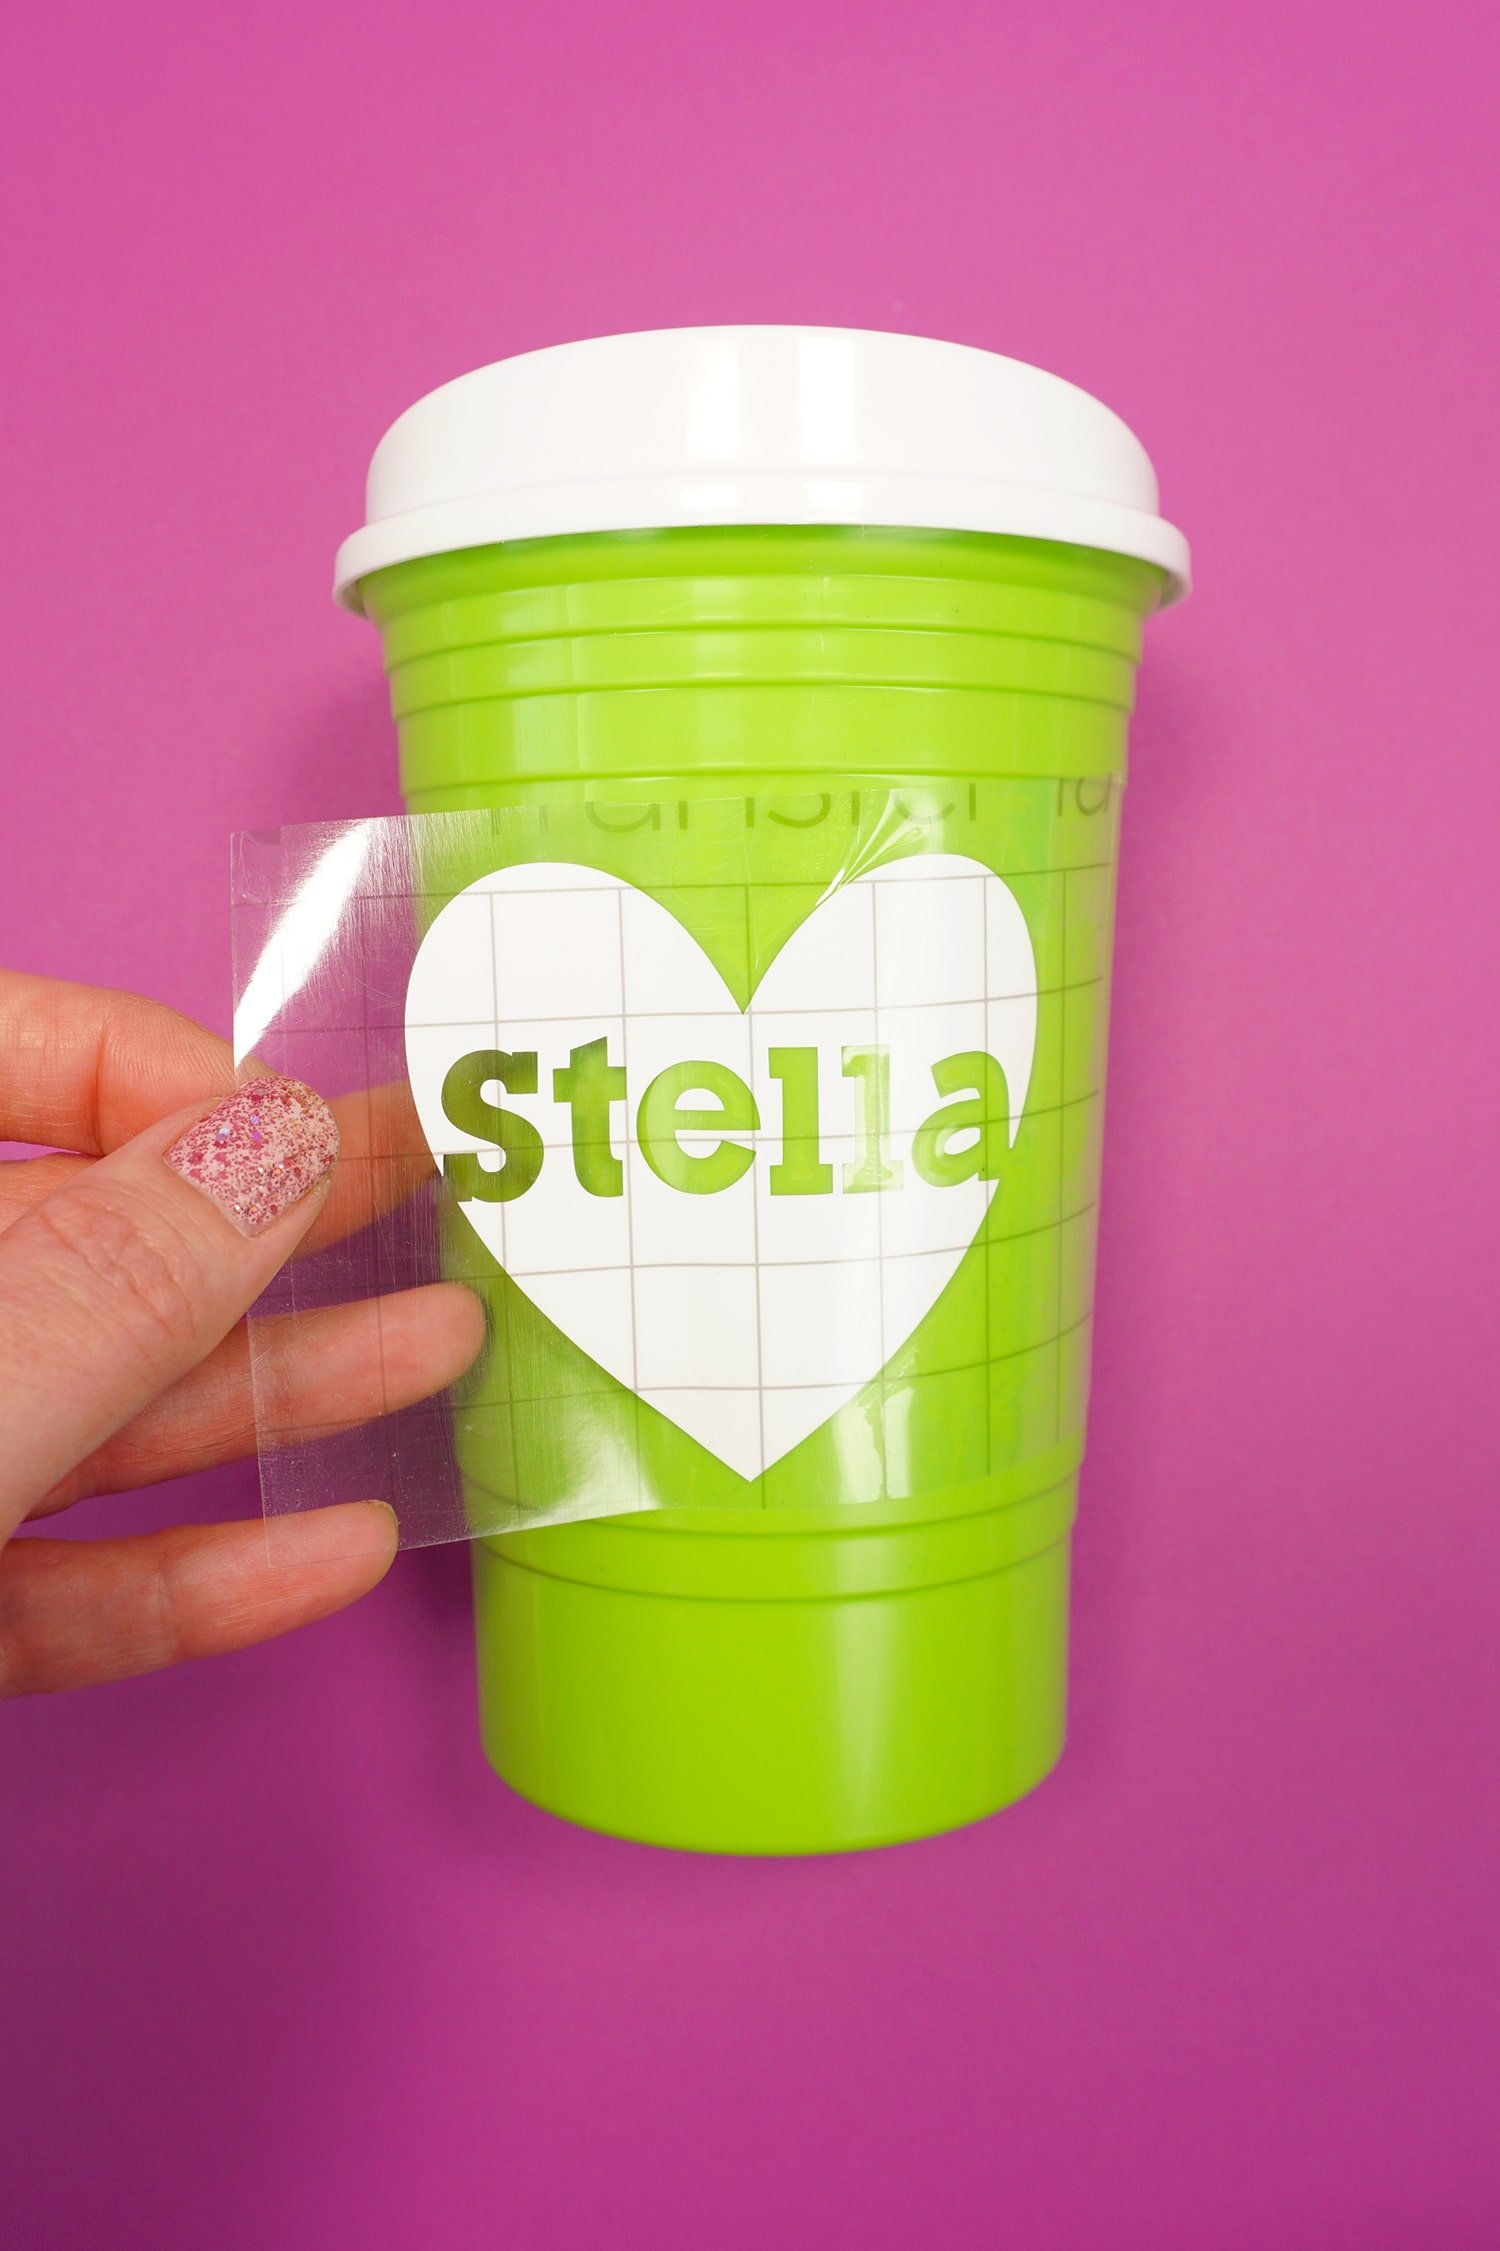
Place the Smart Vinyl design on top of the cup – I like to stick the center of my design down first and then gently smooth it down, one half at a time.
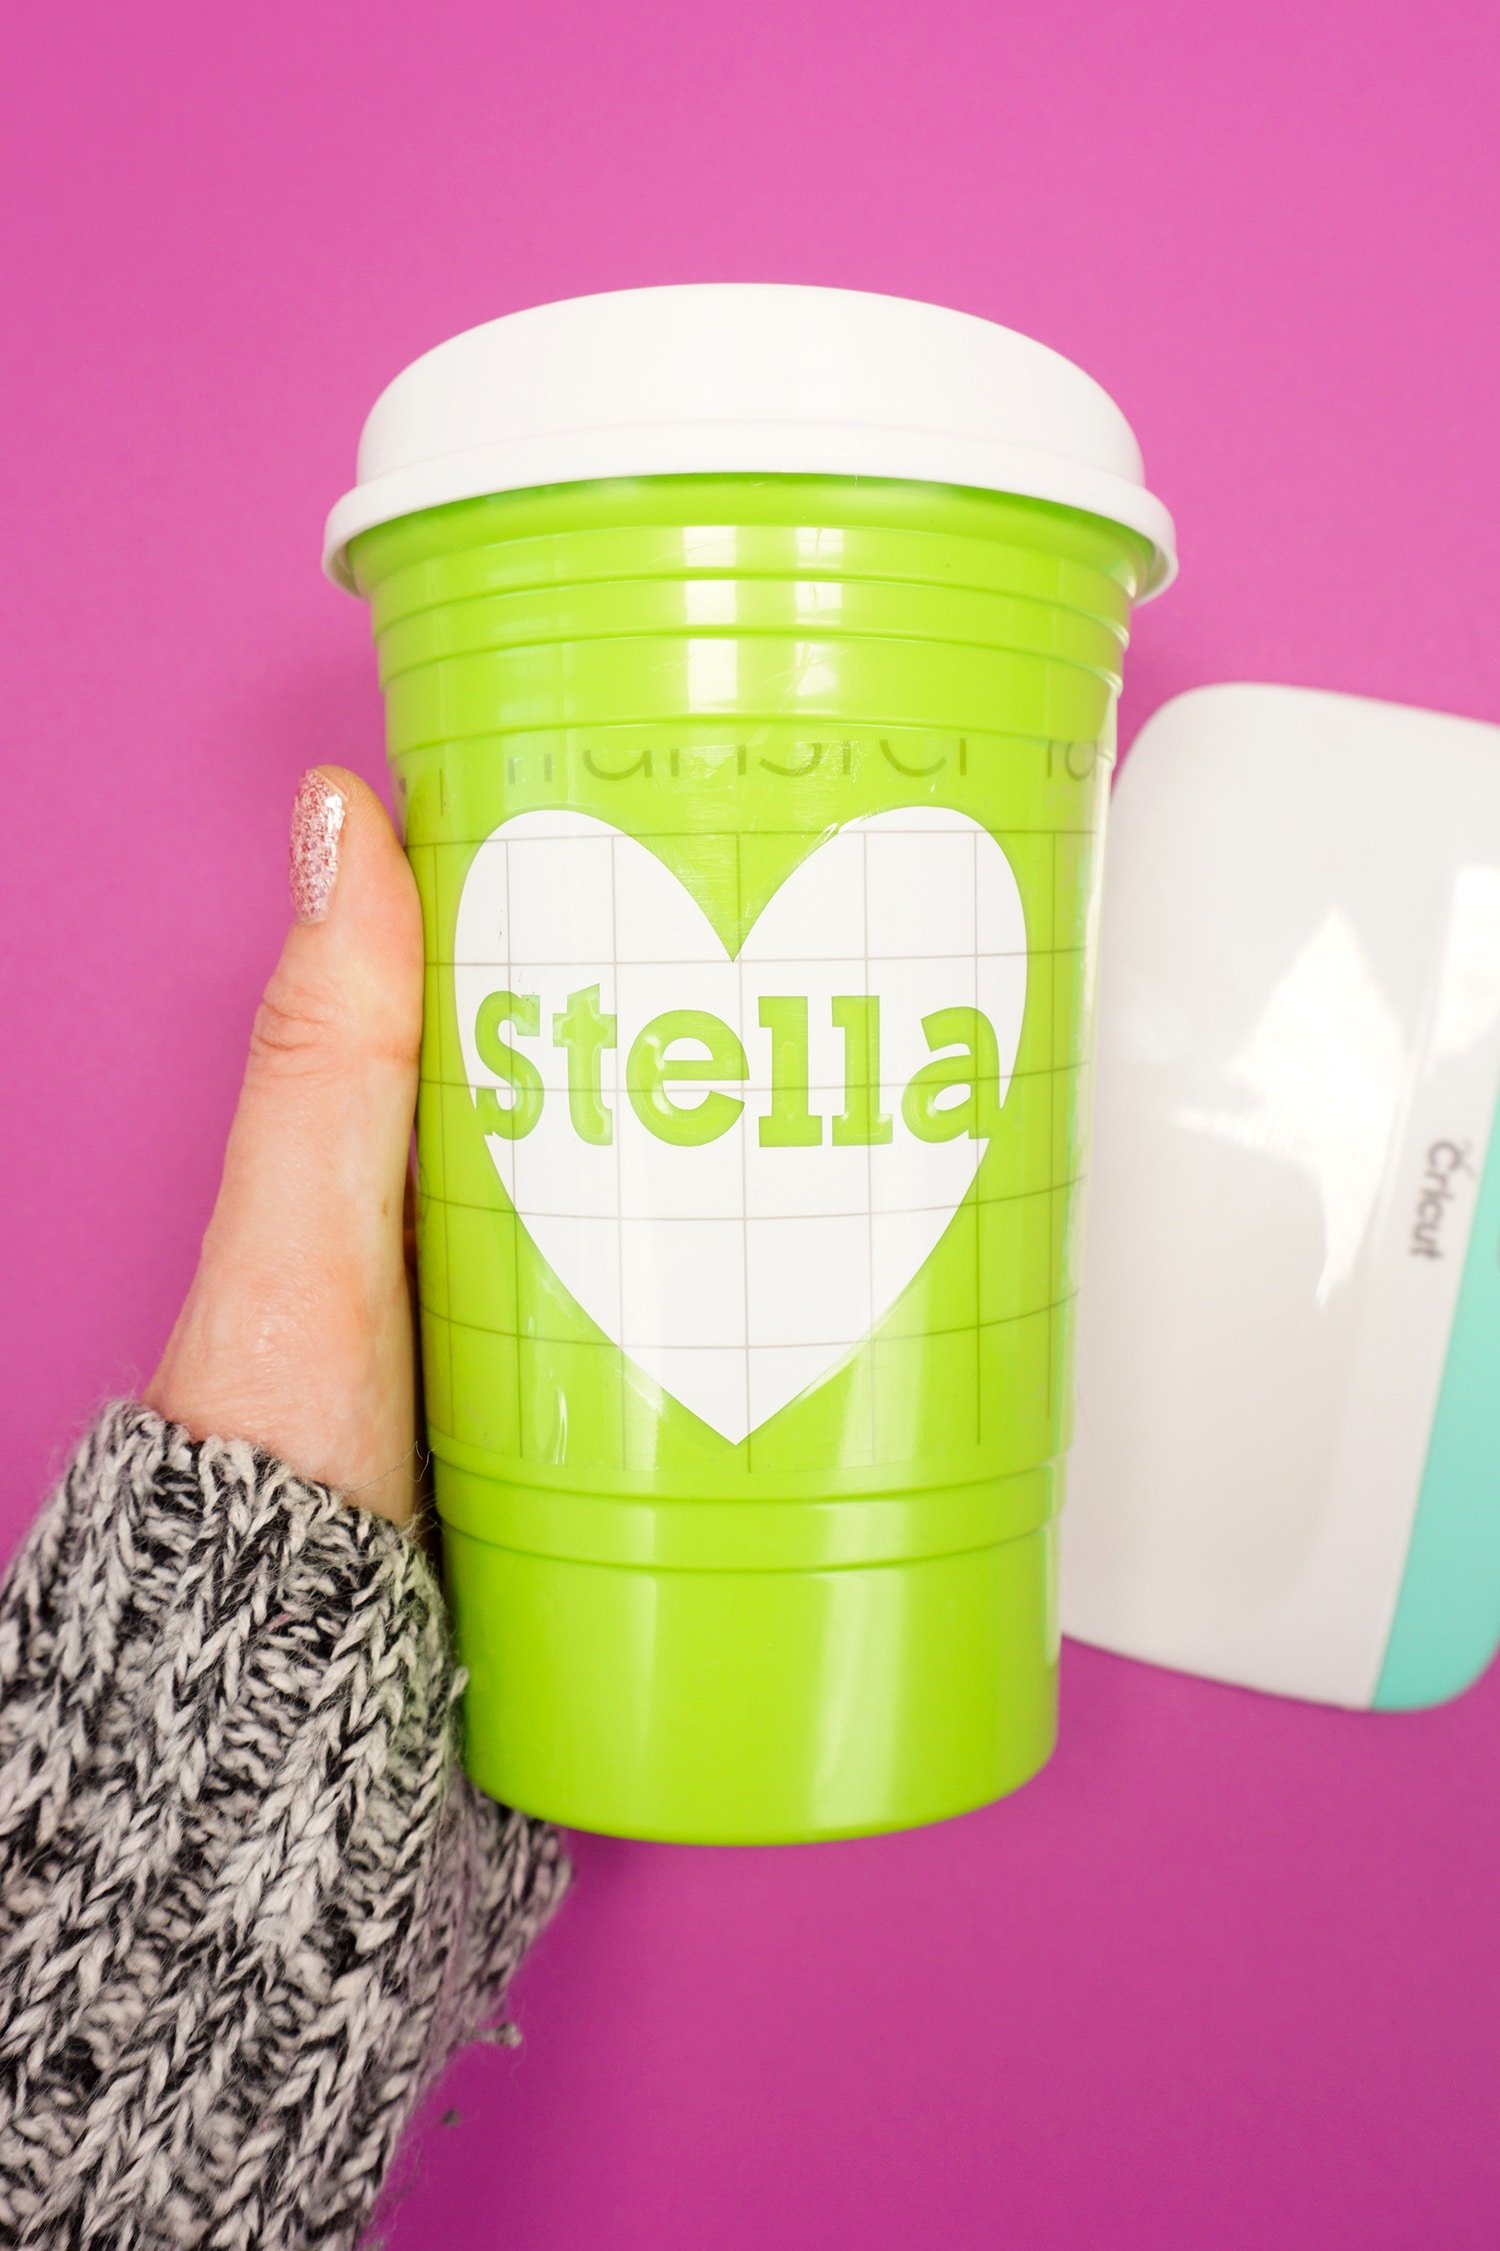
Use the scraper tool to burnish the design and make sure that the vinyl is securely adhered on to the cup.
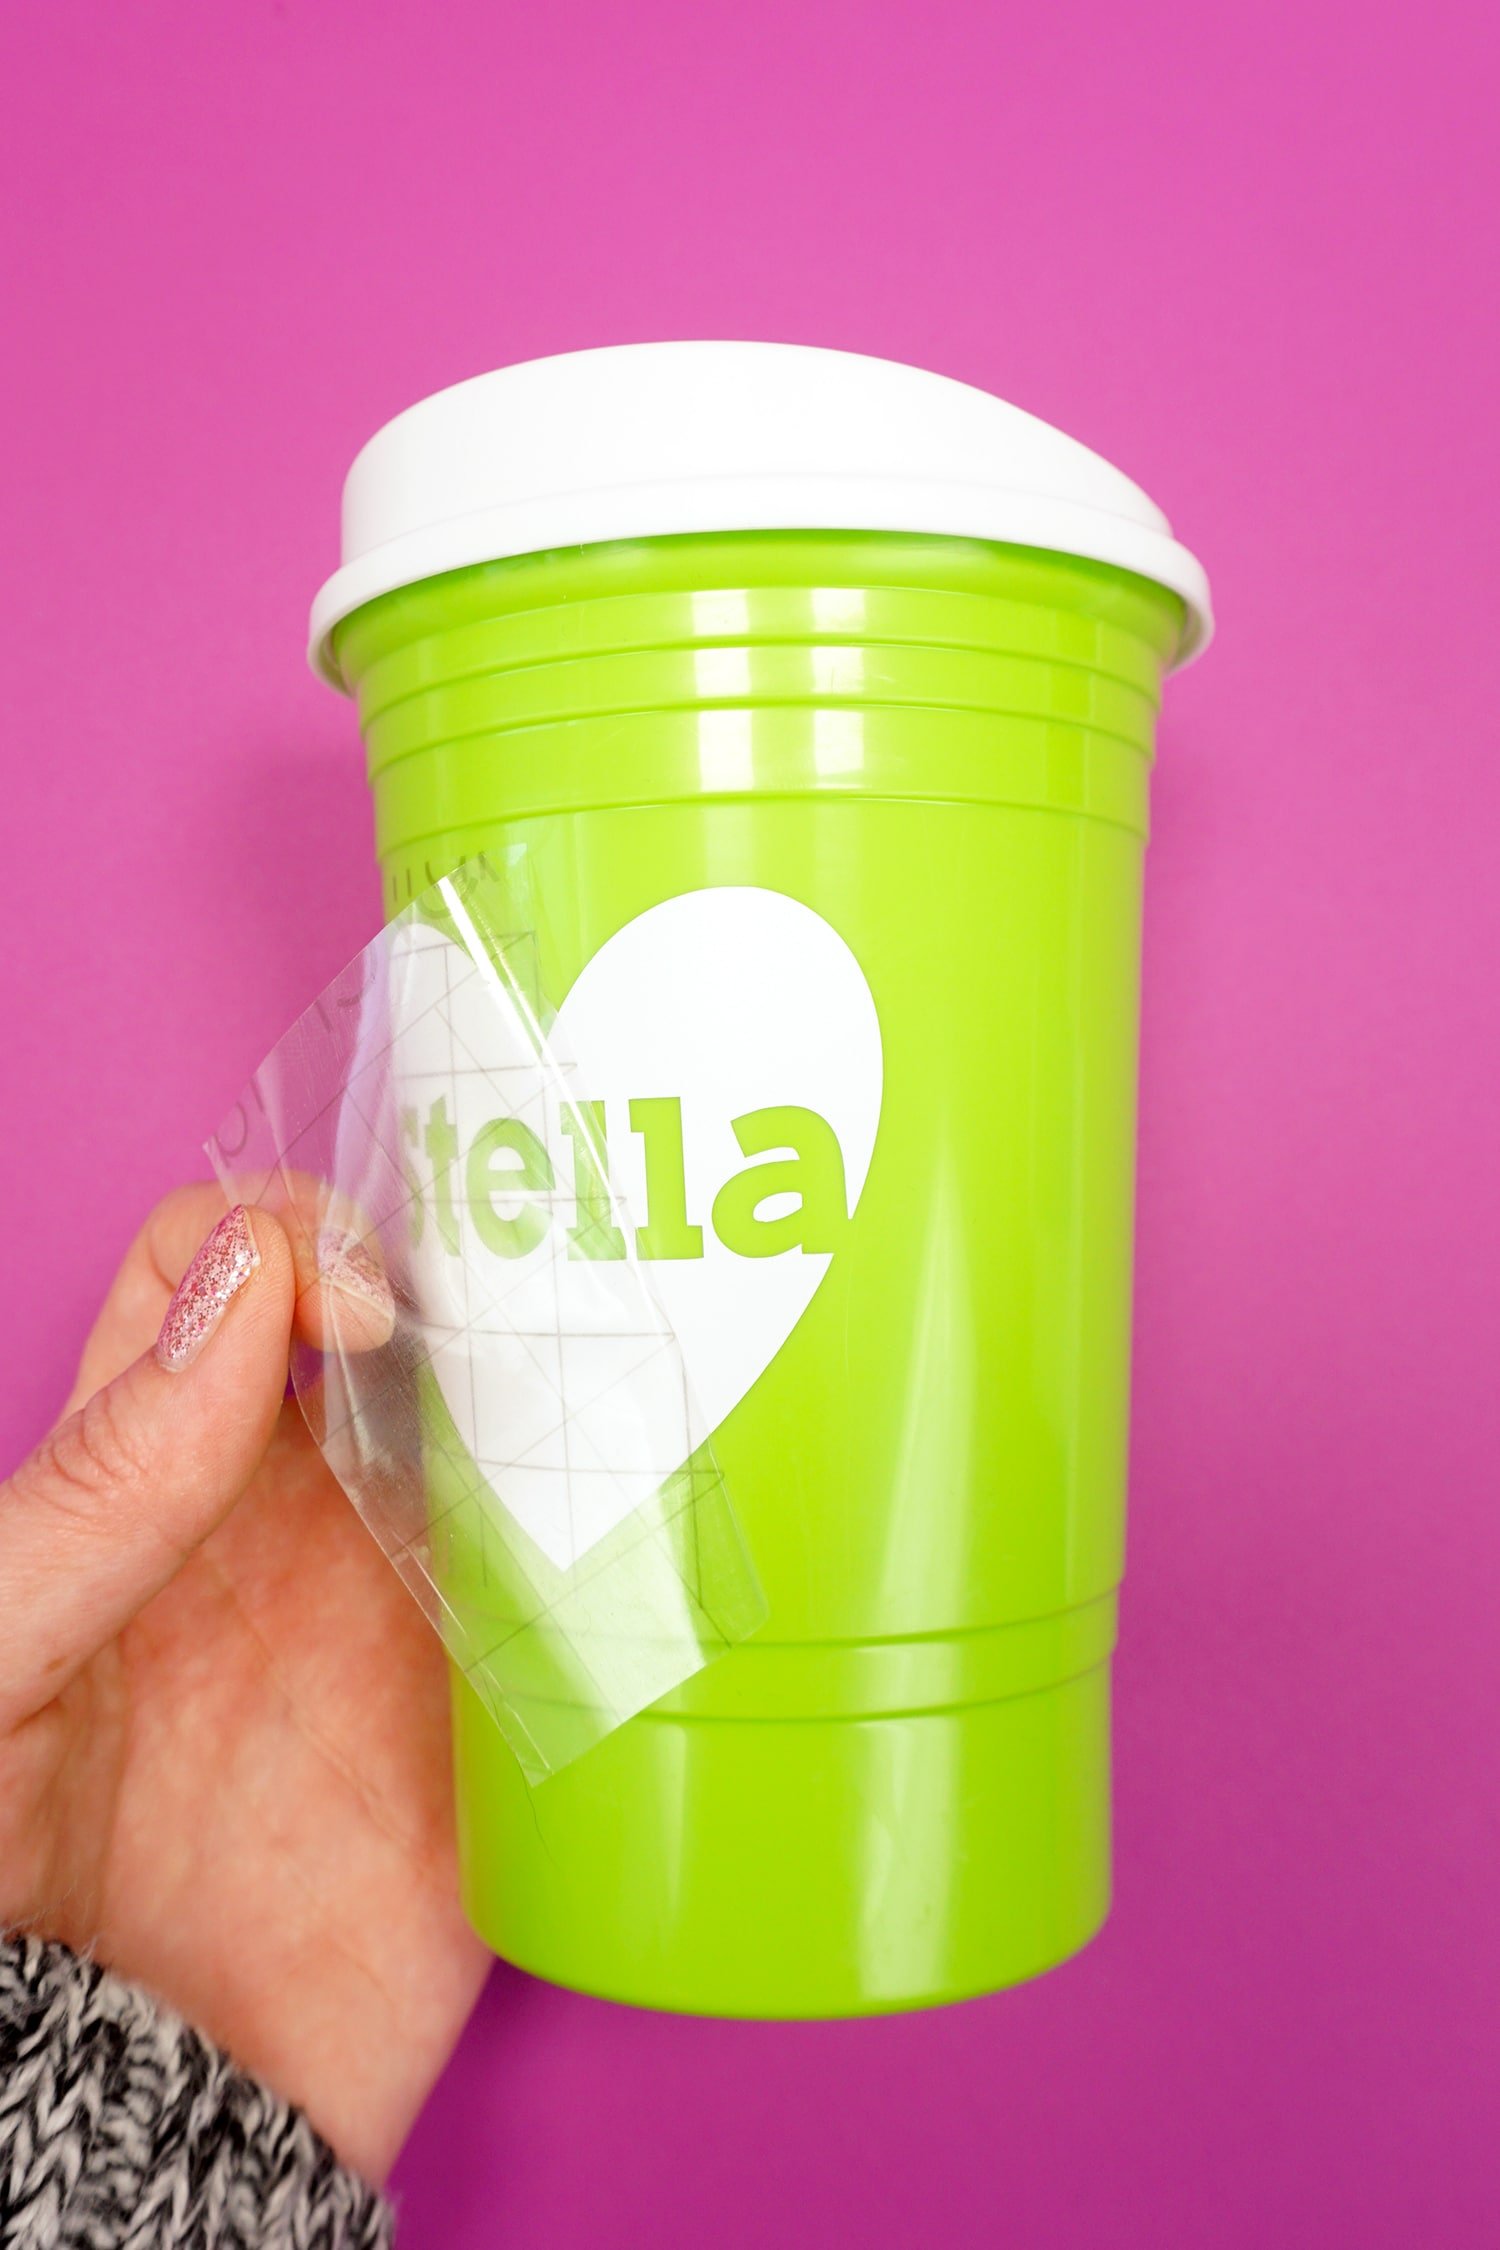
Gently peel off the transfer tape.
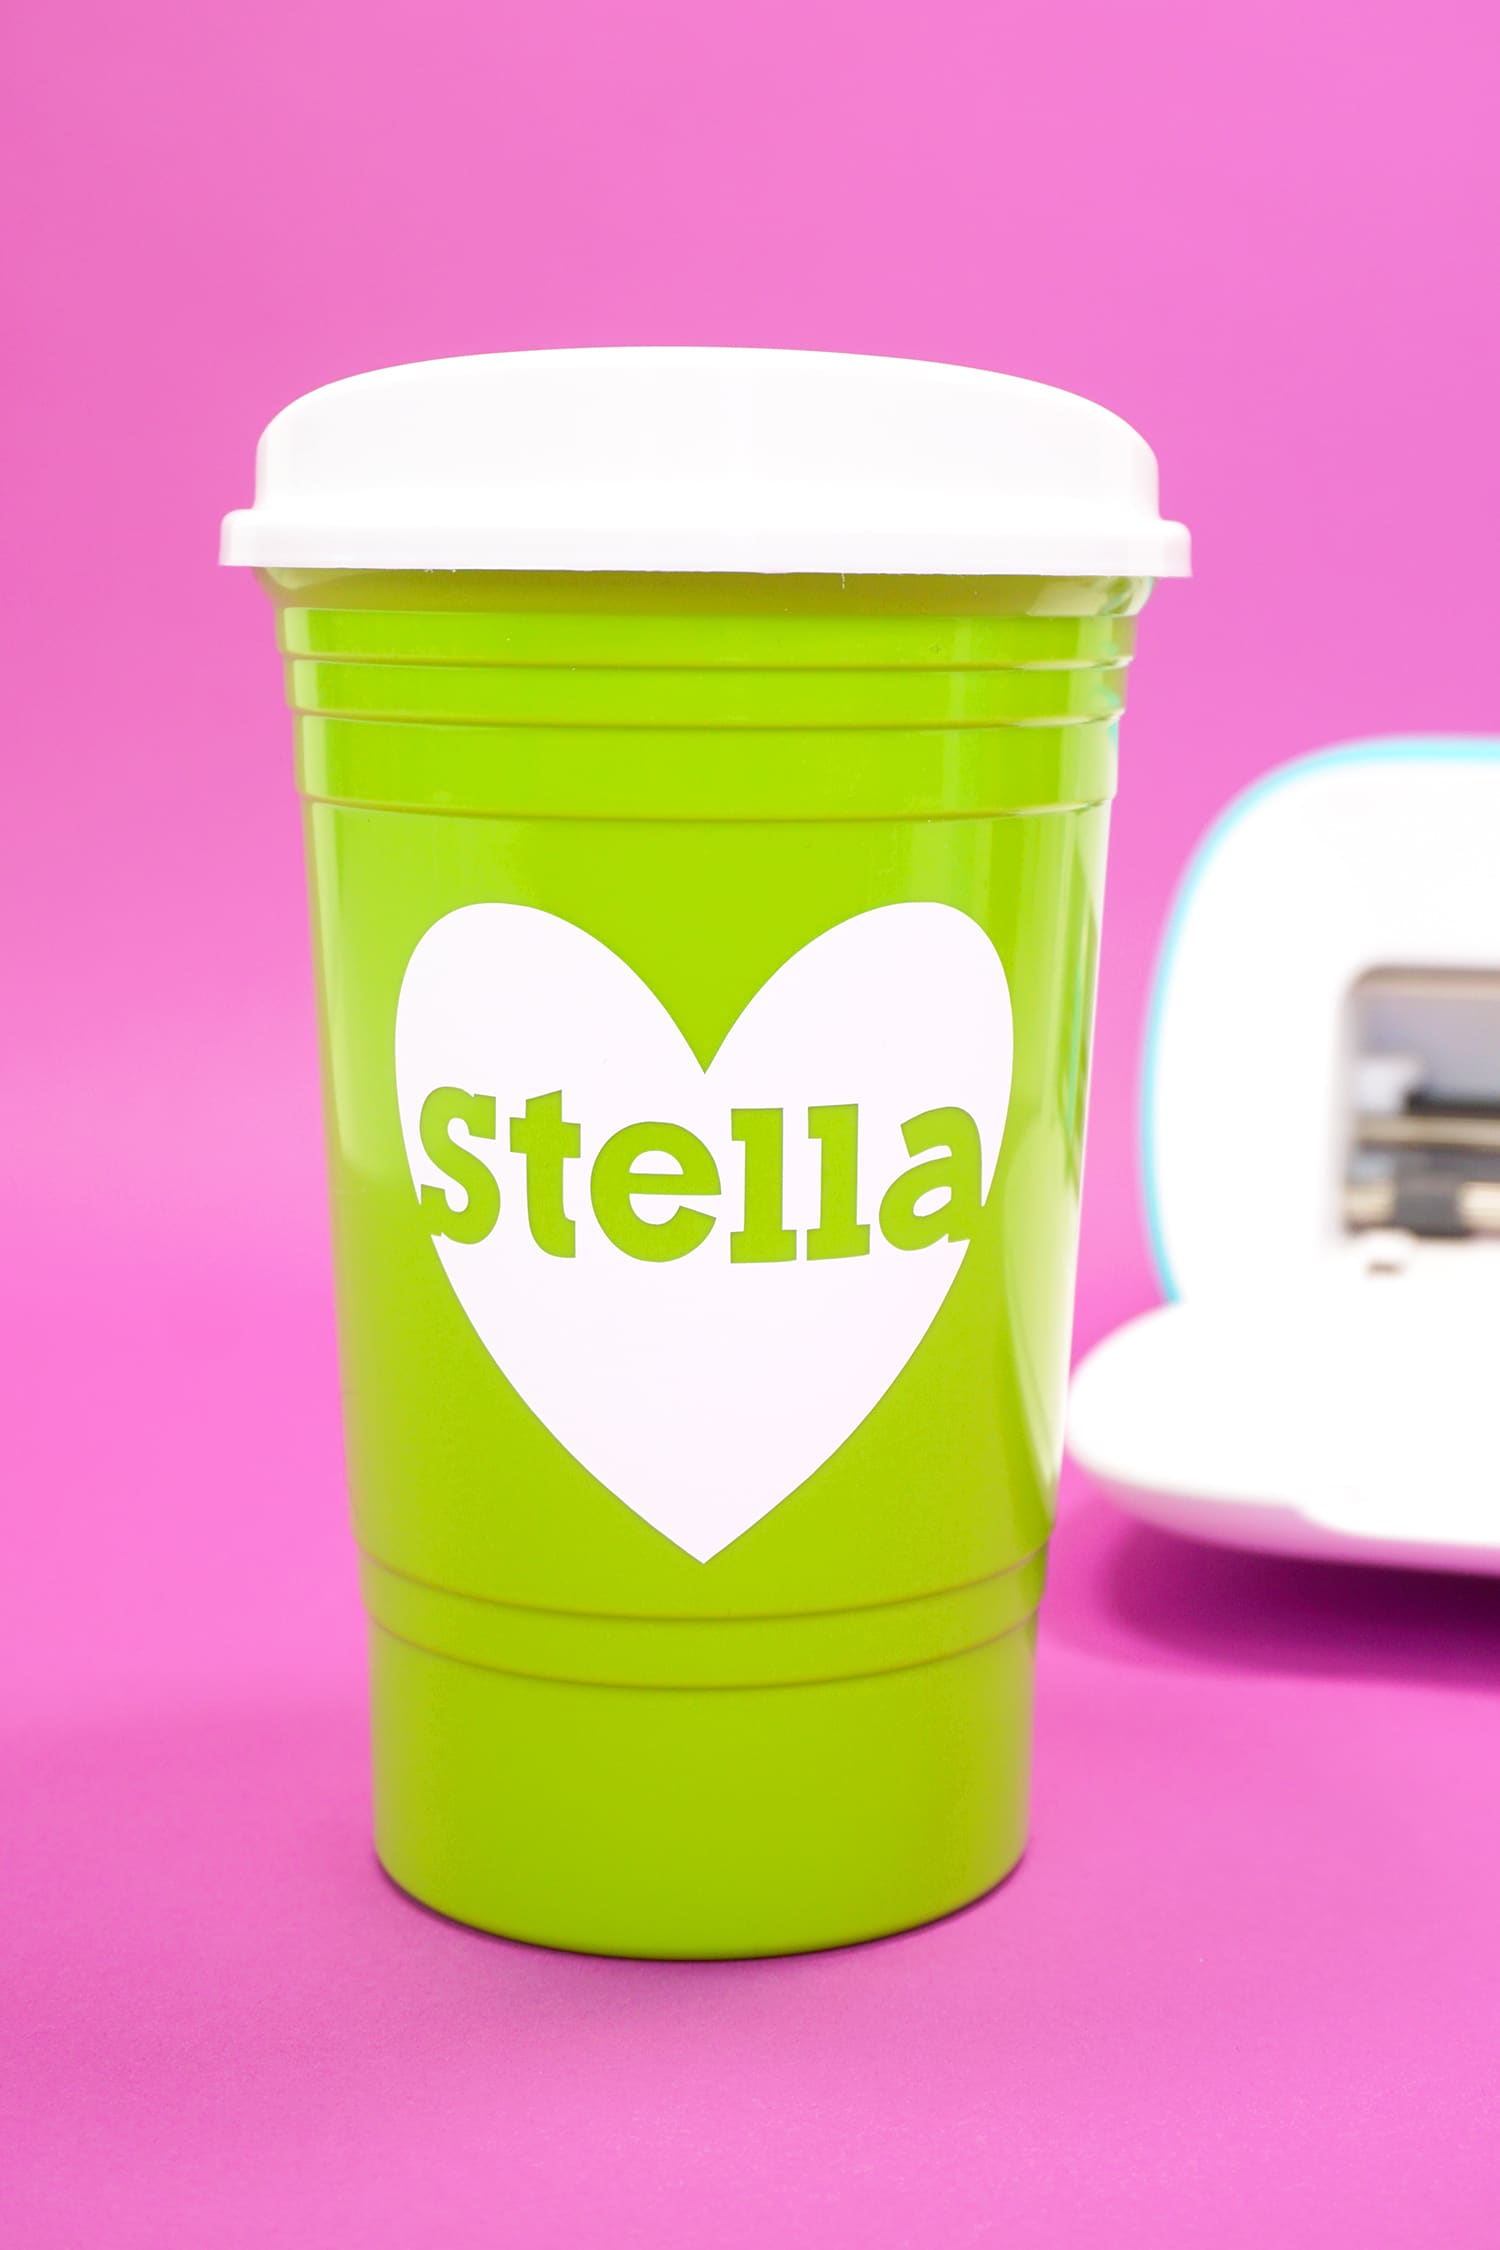
Ta da – easy peasy and super cute!
Now, go make more cute cups for all of your party guests! This entire project takes only a few minutes to create from start-to-finish!
Cricut Joy is SO easy to use that you could even set it up right in the middle of your party and let guests create their own personalized designs, too! It’s a super fun and easy party activity, and your guests will LOVE going home with their customized party favor!

Don’t Forget to Pin this Cricut Tutorial for Later!


Heidi Kundin has captivated the hearts of millions with her colorful and inspiring approach to crafting, celebrations, and family fun. With over 15 years of experience, Happiness is Homemade has become a must-visit destination for those seeking quick and easy creative ideas and last-minute solutions. Heidi’s warm personality shines through her posts, inviting readers to join her on a creative journey that’s fun, rewarding, and achievable. Heidi is also the author of Homemade Bath Bombs & More and DIY Tie-Dye.
Thanks for sharing such a cute project.
Is there a way to just edit the name in the middle after it has been created for the first time?
Thanks so much!
Yes! Once you set up the file, you can easily just swap out the name in the middle each time!