

Learn how to make rock candy at home with this easy rock candy recipe and tutorial! A delicious and fun science experiment for kids that combines science and sweets! Kids love this yummy activity!

This post may contain affiliate links. I will receive a small commission from these sales at no additional cost to you!
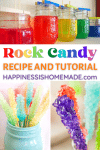
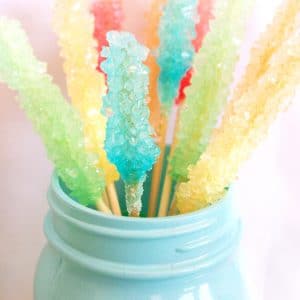
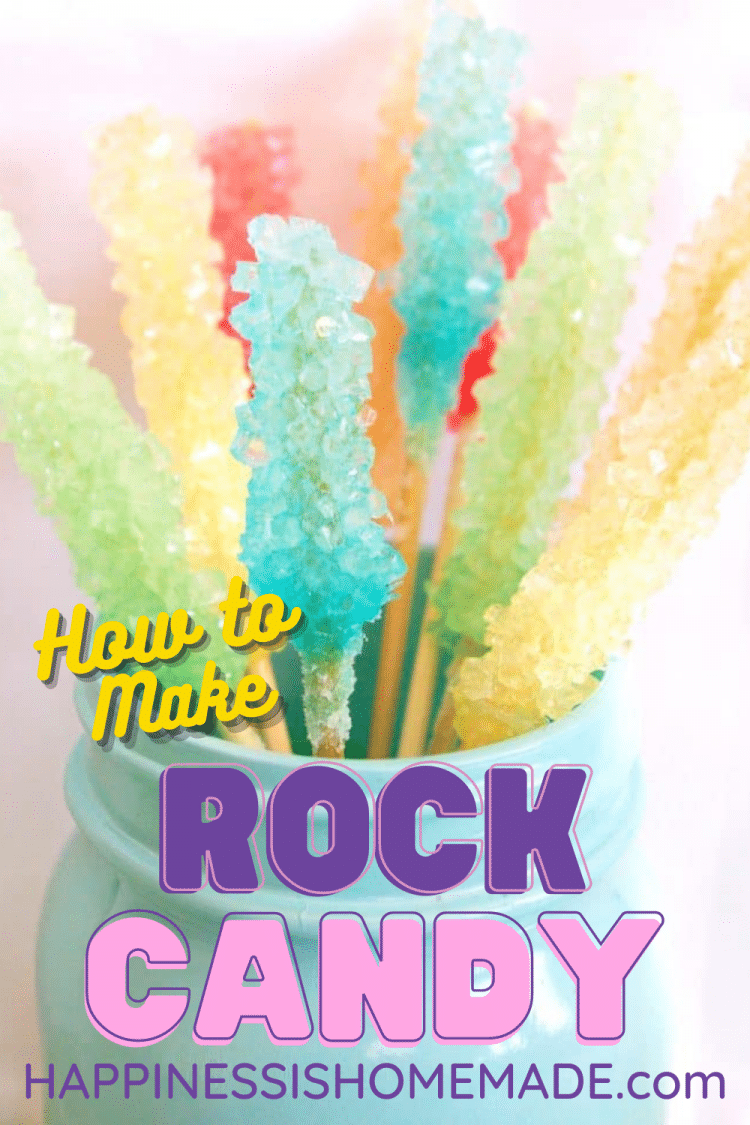
Rock Candy Recipe and Tutorial
Learn how to make your own rock candy! Making rock candy is a clever way to combine an educational STEAM science lesson with a delicious sugary treat at the end. All it takes to make rock candy are a few simple ingredients, some basic kitchen tools, a whole lot of sugar, and a little bit of patience!
This rock candy recipe is one that your whole family will enjoy making together! It’s so much fun and SO cool to watch the sugar crystals grow!
How to Make Rock Candy

Rock candy is one of the easiest homemade candies to make, but it does take a bit of time. Depending upon the temperature and humidity of your climate, it can take anywhere from 5-10 days for the crystals to fully form.
Create a science notebook and have the kids record the changes in their rock candy crystals throughout the course of the week – it’s great fun to watch the crystals form and grow! Let the rock candy experiment begin!
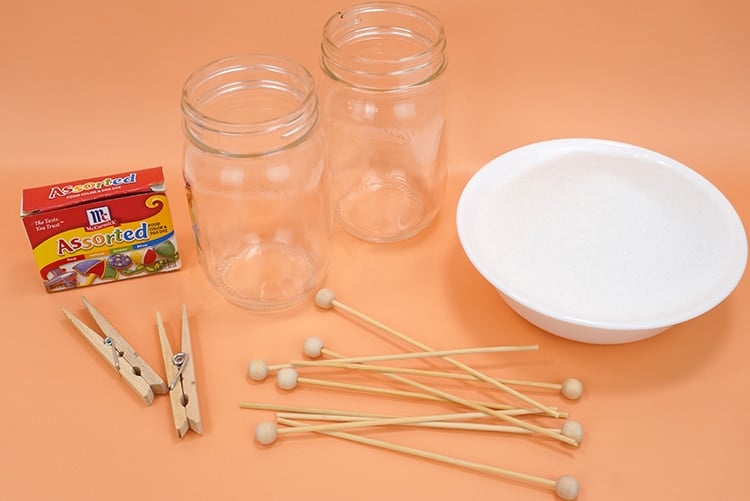
Supplies Needed to Make Rock Candy:
- 6” Wooden Skewers or Candy Sticks
- Wide-Mouth Mason Jars (pints and quarts work best)
- Food Coloring
- Clothespins
- Granulated Sugar
- Candy Flavoring, optional
- Large Pot
- Warm Water
Note: I recommend using at least a 3-Quart Saucepan for this recipe since the mixture will expand while boiling!
Rock Candy Making Tutorial:
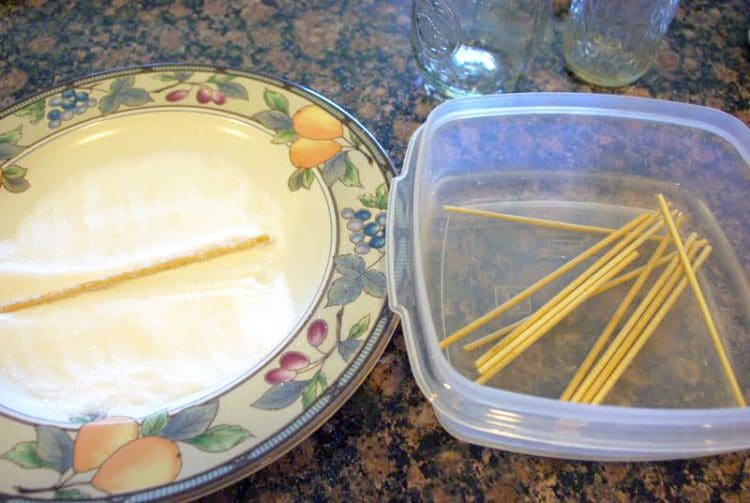
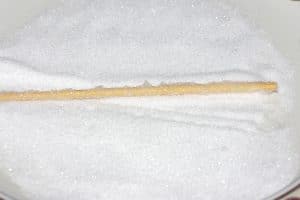
To begin, prep the candy sticks. Soak the sticks in water and roll them in a coating of granulated white sugar to “seed” the rock candy crystals (give them a starting point to grow from). Allow the sugared sticks to dry completely (for at least 30 minutes).
If desired, use a fine-mist spray bottle to lightly mist the sticks with a second light coat of water, then roll them in a second coat of sugar, and allow to dry completely again. The better job you do of seeding the sticks, the larger and more quickly your sugar crystals will grow!
When making a batch of rock candy, the typical sugar-to-water ratio is 2 cups of granulated white sugar for every 1 cup of water, but since the overall goal is to reach a point in which the sugar solution is completely saturated, you may need more sugar than 2:1 ratio. I found that 3 cups of sugar per cup of water worked the best for creating our saturated solution.
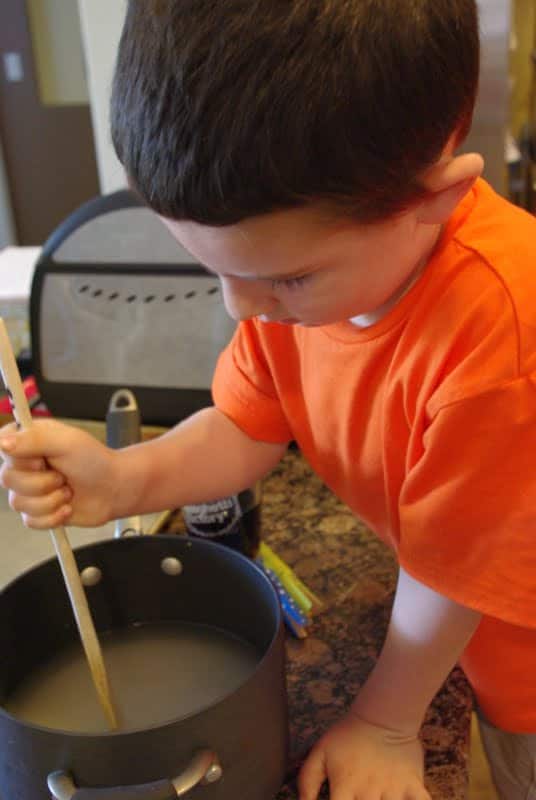
Combine the sugar with warm water. I let my kids stir the sugar into the water until they reach a point where they can no longer dissolve any more of it. They should be able to dissolve about 1/2 to 2/3 of the sugar in the recipe, and the rest will be dissolved in the next step.

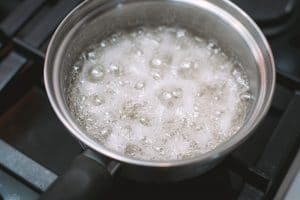
Have an adult place the saucepan on the stove and bring the sugar and water to a boil over medium-high heat. Keep the mixture at a low rolling boil and continue to add sugar one cup at a time until you can no longer dissolve any more of it. (If you’re using a candy thermometer, you’ll want the temperature to reach around 250 degrees F.) Congratulations, you now have a fully saturated solution!
Turn off the heat and allow the mixture to cool for 20-30 minutes.
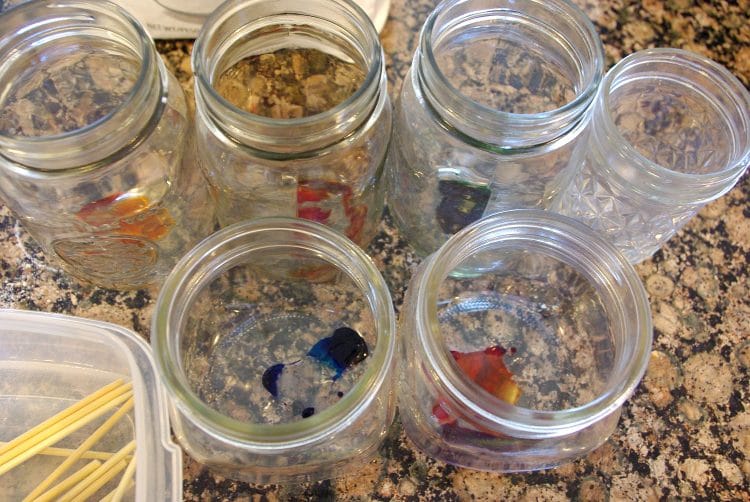
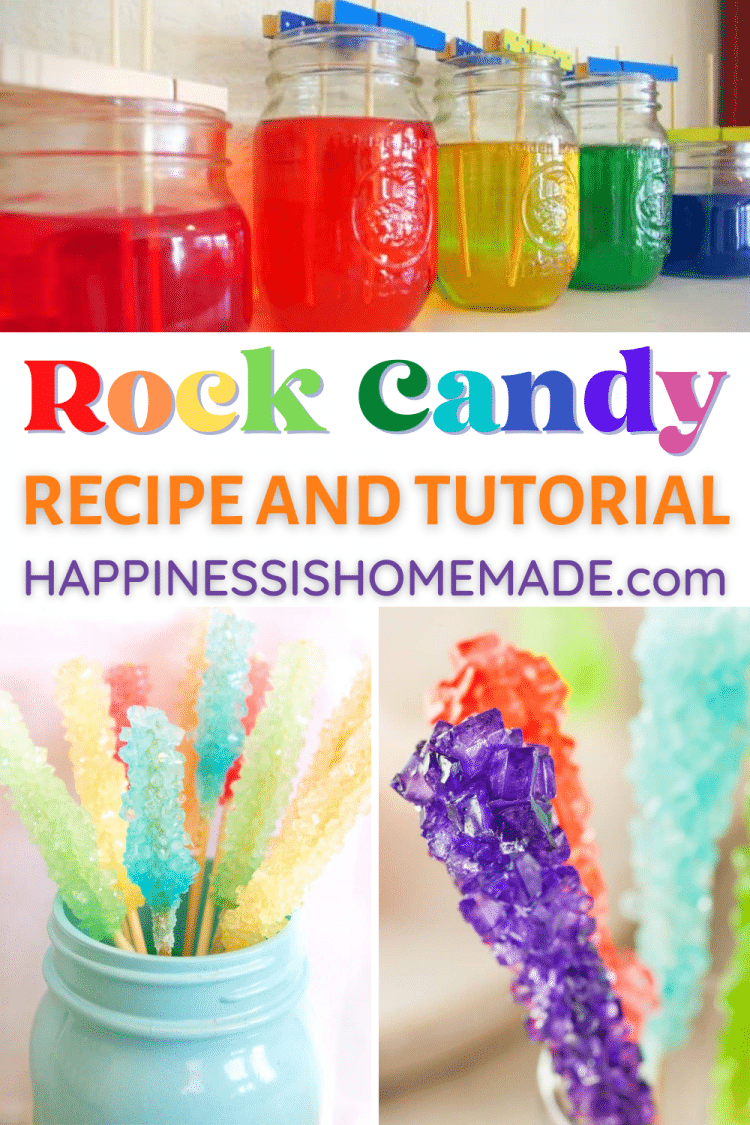
Carefully pour the sugar solution into the glass jars until it is about 1″ below the top of the jar (always use EXTREME caution when pouring hot liquids!). If you’d like to add a few drops of food coloring or candy flavoring, now is the time to do so. You can use different flavors for each of the different colors or make them all single-color/single-flavor if desired.
We added our favorite colors of food coloring to the jars before adding the sugar syrup, but we opted to forego the different candy flavorings since my kids like the great taste of the natural sugar.
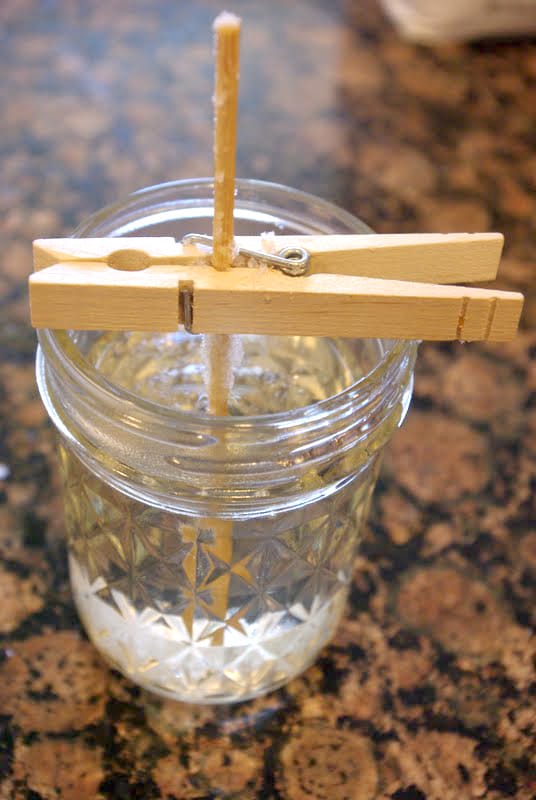
Slowly insert the sugared wooden sticks into the solution. You can use a clothespin as shown to keep your sticks in place. Most wide mouth jars will allow for 2 sticks to be placed in each, but be sure that the sticks are not touching the sides and/or bottom of the glass or each other! You need to leave room for the new rock crystals to grow!
Note: Make sure that your sugared sticks are completely dry! If they are too wet when you put them into the hot sugar solution, all of the seed crystals will fall off, and the rock candy crystals will not grow as easily.
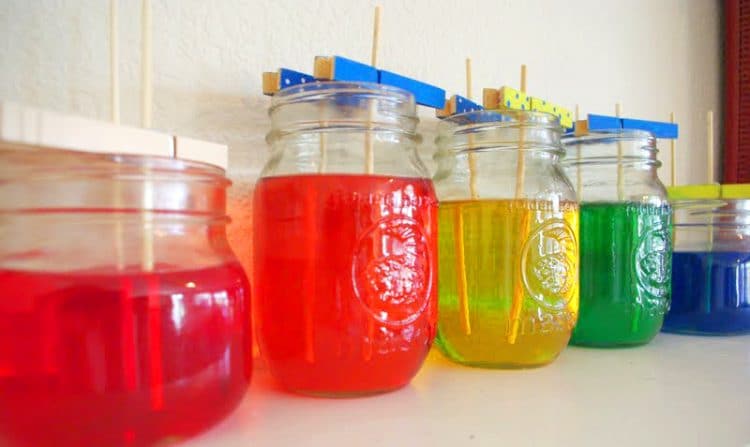
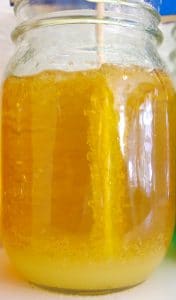
Allow the sugar solution to cool to room temperature, and then place the jars in a warm, sunny location where they won’t be disturbed. If desired, you may cover the tops of the jars with a coffee filter to keep any dust out.
Now, wait…
…and wait…and wait…and wait (still with me?)…and wait some more…
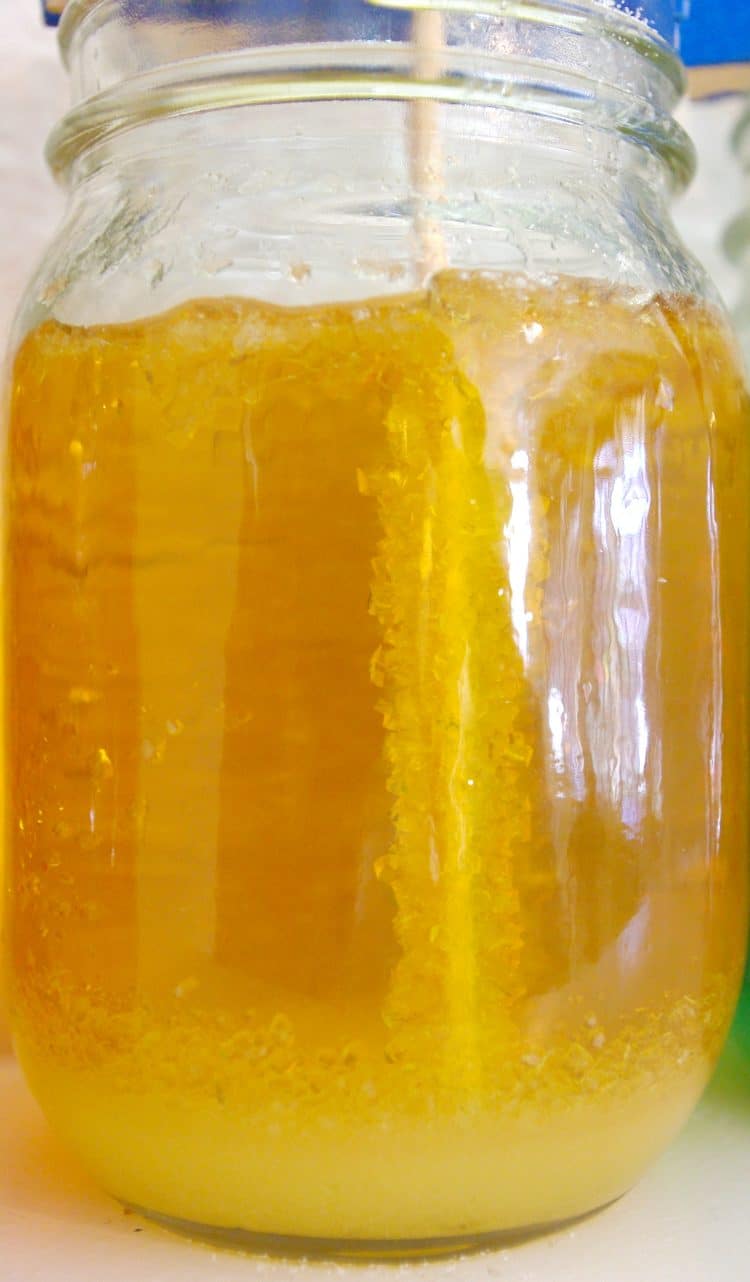
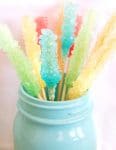
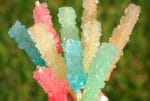
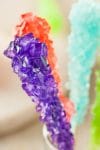
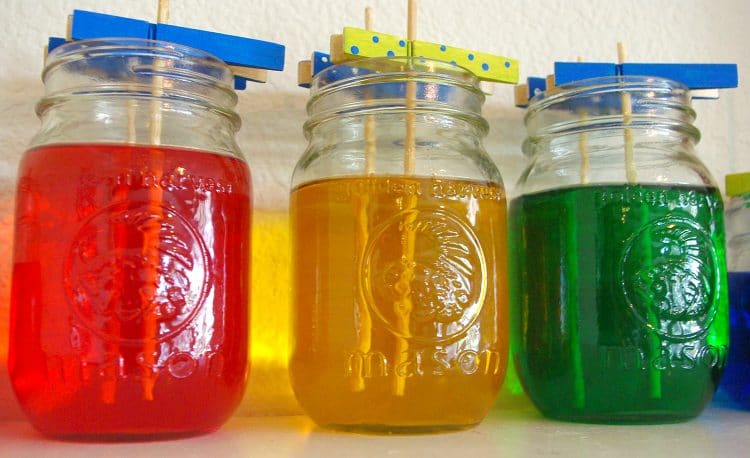
After about a week of watching the crystal growth, you will have yourself a batch of sparkling sugar rock candy! It’s completely normal for there to be a thick layer of sugar crystals at the bottom of the jar as well as a thinner layer on top of the liquid.
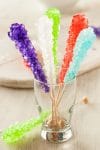
When the crystals have stopped growing, simply remove the sticks from the jar (you may need to wiggle them around a bit to break free of any other crystals that have grown within the jar) and enjoy!
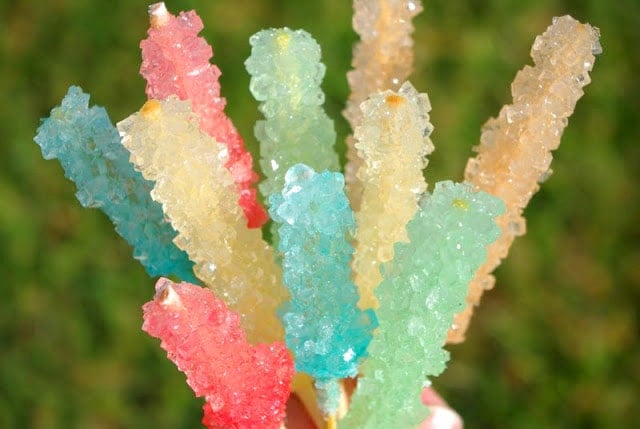
YUM! So pretty, SO tasty, and totally worth the wait! These rock candies would make a great gift idea – especially when added to a coffee or tea gift basket!
Rock Candy FAQs
Why Did My Rock Candy Fail?
The top reasons that rock candy fails are because there wasn’t enough sugar in the solution OR there wasn’t enough sugar seeding on the sticks so the crystals didn’t have anything to grow on. Temperature can also effect the size and formation of the candy crystals, so make sure that you are bringing the solution to a full rolling boil during the cooking process. Dont’ forget that this IS science, and even if you follow all of the directions, sometimes experiments fail based upon environment factors like humidity, sunlight, and ambient temperature. It’s always worth it to attempt the experiment again, and hopefully you’ll have better luck next time!
Can I Use a Popsicle Stick or String for Rock Candy?
Wooden skewers, wood sticks, and popsicle sticks are the best options for making rock candy because they are sturdy and take the seeding process well. Cotton string may also be used, however, you will need to weigh down the end of the string which may result in the weight becoming embedded inside the rock candy crystals. Lollipop sticks may also be used, but are not recommended since they are prone to becoming soggy after soaking in the solution for too long.
What’s the Best Way to Clean Jars After Making Rock Candy?
The sugar crystals attach themselves rather solidly to the glass jars, so cleaning them can be kind of a pain if you’re not familiar with the best methods. I’ve found that the easiest way to clean them is to first soak the jars in hot water to dissolve the bulk of the excess sugar crystals. Next, use a butter knife to chip away at any remaining crystals, OR, add a bit more water to the jar (to cover the sugar crystals) and microwave it in 30 second increments until all the remaining sugar has melted and can be poured down the drain.

Can You Add TOO Much Sugar to Rock Candy?
Nope! Don’t worry about adding too much sugar to your sugar solution! If there is extra sugar in the liquid once the solution becomes fully saturated, it will simply settle at the bottom of the pot. Try to avoid pouring too much of the excess sugar into the jars, though, or you may end up with a very thick layer of rock candy crystals at the bottom of the jar!
What’s the Best Way to Store Rock Candy?
Store the rock candy in an air tight container for up to one year.
Can I use Powdered Sugar to make rock candy?
No, powdered sugar will not work well to create rock candy. Regular granulated white sugar works best for making homemade rock candy.
Homemade Rock Candy
What You’ll Need:
- 12 6-inch Wooden Skewers
- 12+ cups Granulated Sugar
- 4 cups Warm Water
- Food Coloring, if desired
- 1 dram Candy Flavoring, if desired
- 6 Quart-Sized Mason Jars
- 12 Clothespins
Instructions:
- Soak sticks briefly in water and roll in sugar to coat. Allow to dry completely.

- Add warm water to a large saucepan. Stir in 8 cups of sugar until no more will dissolve.
- Place the saucepan on the stove, and bring to a low boil over medium heat. Add remaining sugar and any additional sugar as needed until you reach a fully saturated solution and no more sugar will dissolve. If you’re using a candy thermometer, you’ll want the temperature to reach around 250 degrees F. Allow to cool for 20-30 minutes.
- Carefully pour the mixture into the mason jars and add food coloring and/or candy flavoring as desired.

- Add two sugared sticks to each jar, making sure that the sticks don't touch the jar or each other. Use clothespins to hold the sticks in place as needed.

- Place the jars in a warm and undisturbed location. Wait for 5-10 days until crystals are fully formed. Remove the sticks from the jar and enjoy.


Nutrition
Any additional questions? Leave them in the comments for us!
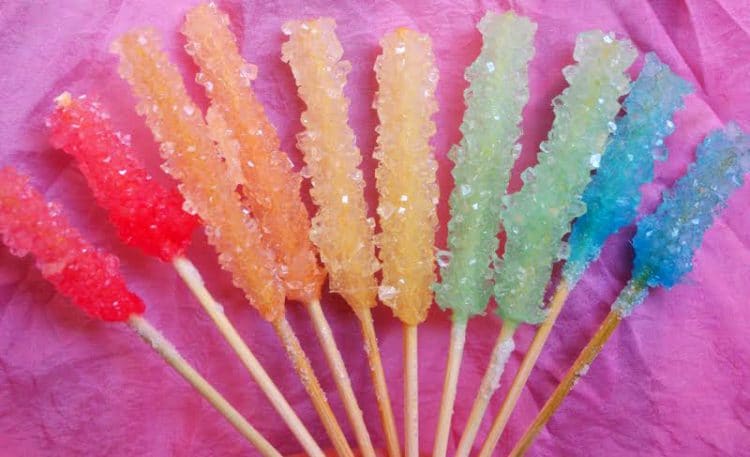
These rock candy sticks are a super fun STEM activity for kids of all ages, and everyone will enjoy the tasty treat that this fun science experiment creates!

Check Out These Other Fun Ideas!
 35+ Magical Harry Potter Crafts
 40+ 4th of July Crafts for Kids
- 30+ Homemade Father’s Day Gifts for Kids to Make
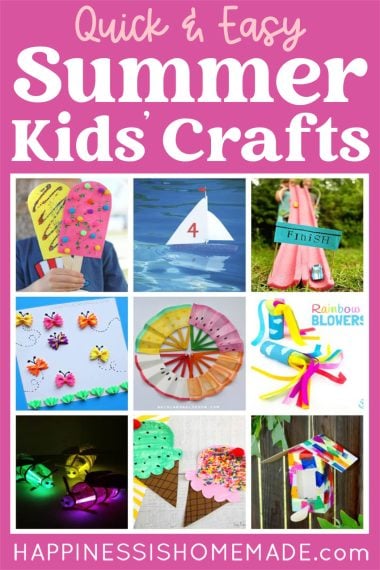
- 35+ Easy Summer Kids Crafts
- 550+ Taylor Swift Friendship Bracelet Ideas
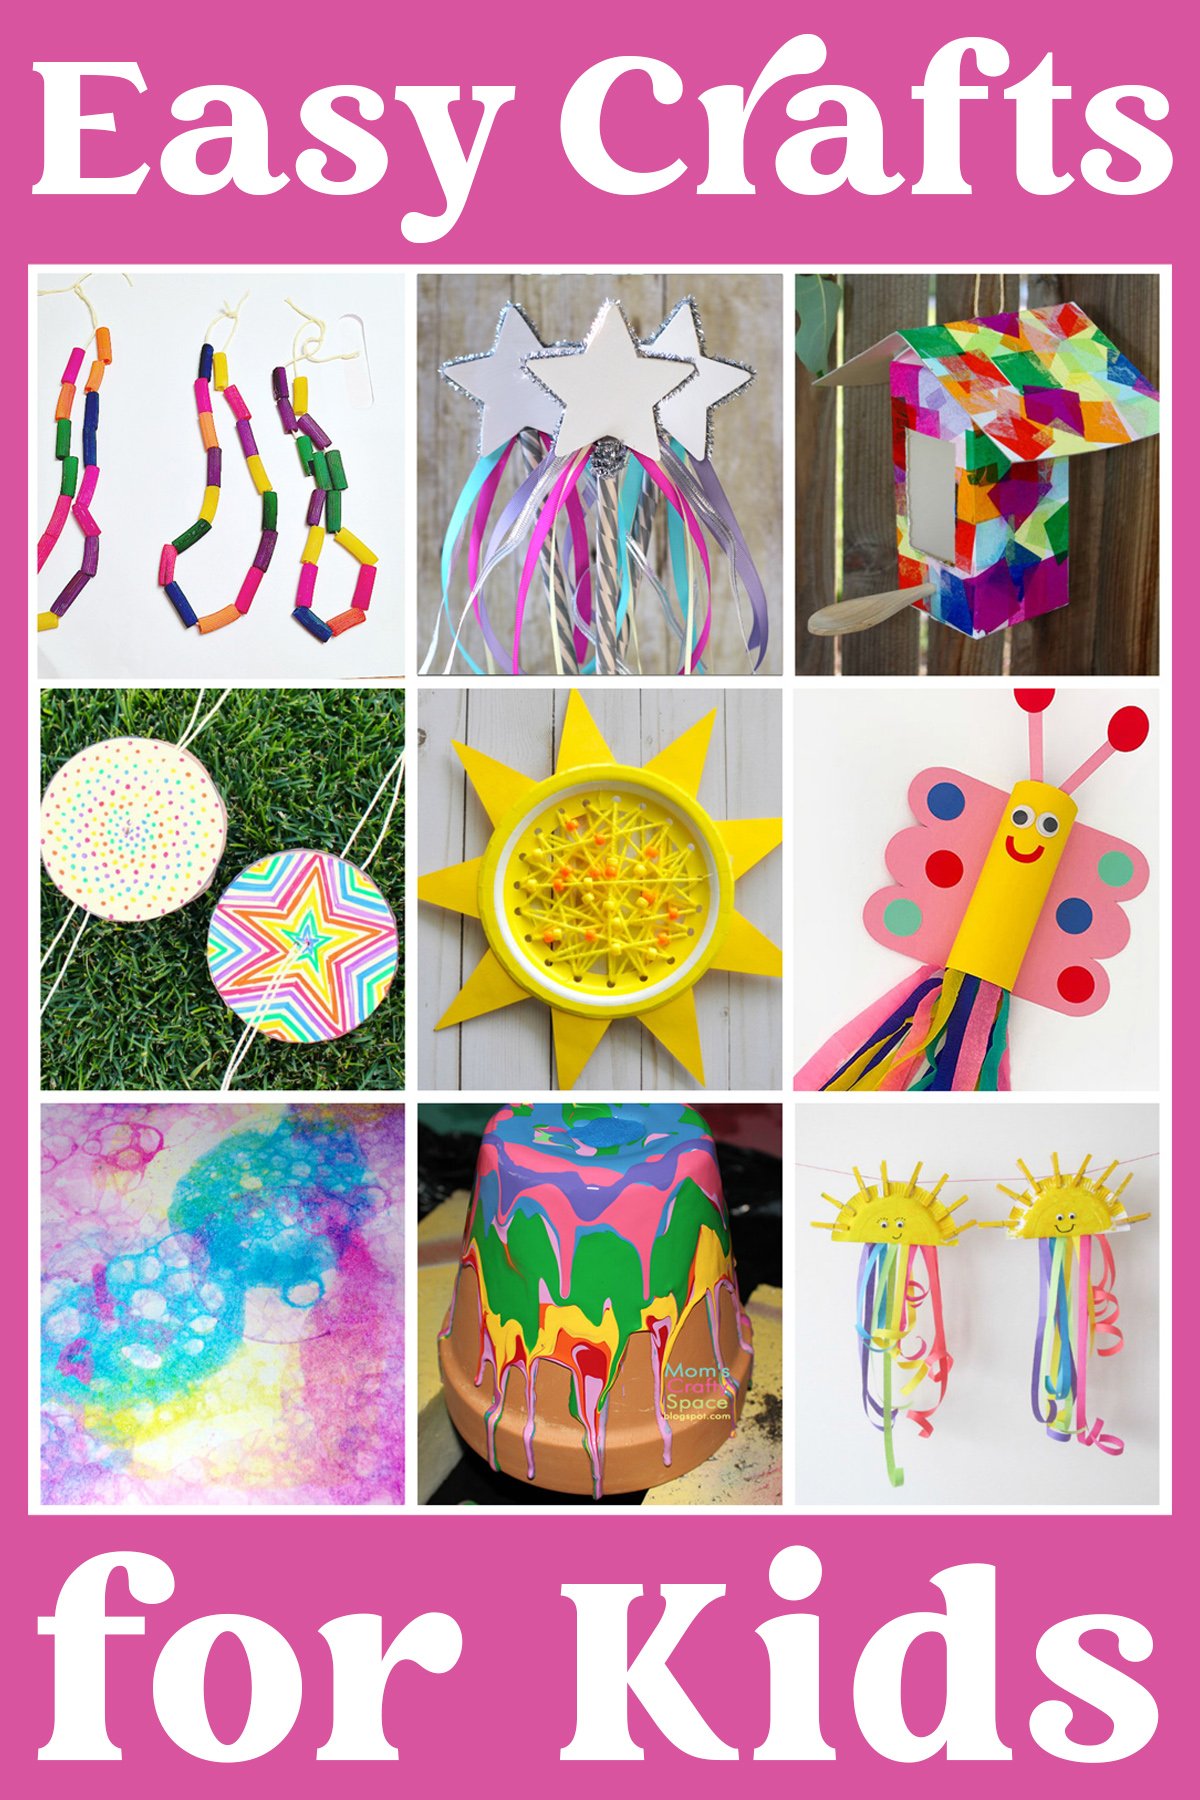
- 50+ Quick & Easy Kids Crafts
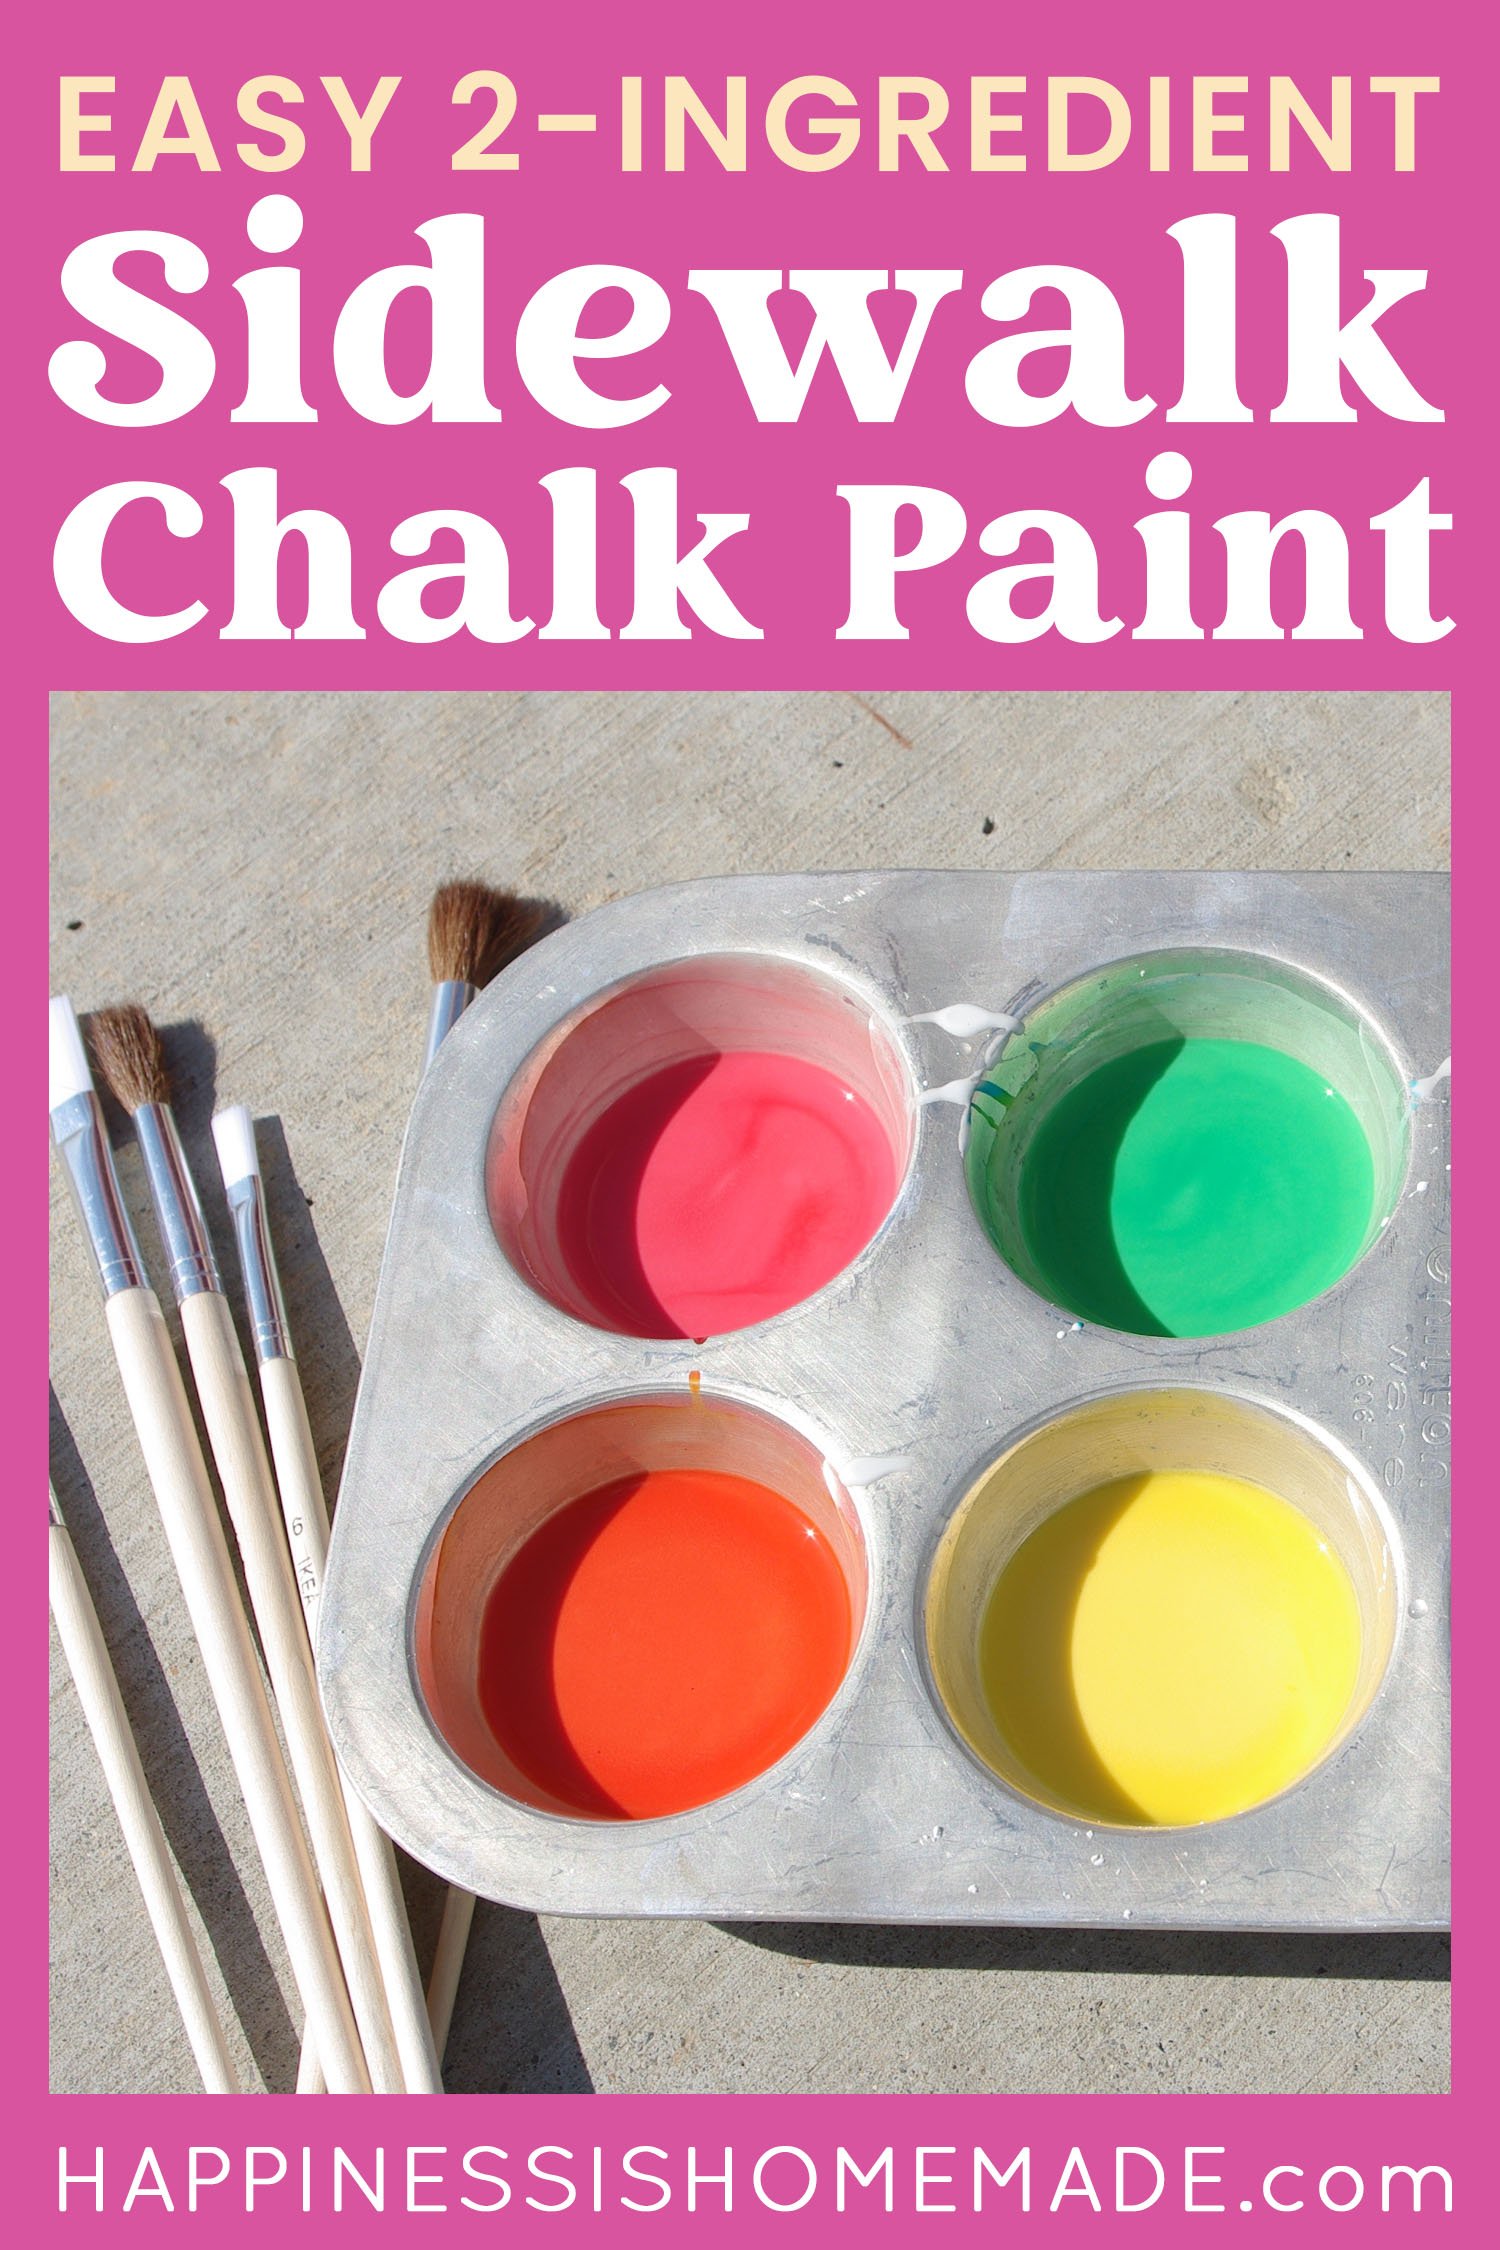
 Easy DIY Sidewalk Chalk Paint
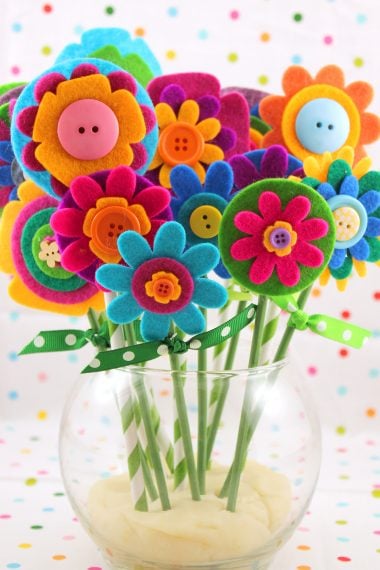
- Easy DIY Felt Flowers


Don’t Forget to Pin This Rock Candy Recipe for Later!

Heidi Kundin has captivated the hearts of millions with her colorful and inspiring approach to crafting, celebrations, and family fun. With over 15 years of experience, Happiness is Homemade has become a must-visit destination for those seeking quick and easy creative ideas and last-minute solutions. Heidi’s warm personality shines through her posts, inviting readers to join her on a creative journey that’s fun, rewarding, and achievable. Heidi is also the author of Homemade Bath Bombs & More and DIY Tie-Dye.
Hi there – love your Tutorial 🙂 With pics – thank you so much for your thoroughness. I have a question, can you reuse the solution or is it finished once you get the two candy pops out of it?
Thanks so much!
Kisha
Thanks, Kisha! Honestly, I have never tried to reuse the solution again, so I’m not sure how well it would work. It may take a little longer the second time around since some of the sugar has already been removed from the liquid, or you may end up with smaller pops. If you give it a try, I’d love to hear how it works! 🙂
It seems a bit unhygienic to me, since the jars are sitting for a week uncovered, all manner of dusts and small insects could end up in the solution :/
Can you use oil flavorings or do they have to be an extract?
Since the rock candy is water based and requires that the mixture sit undisturbed for several days, I’d be worried that an oil based flavoring would separate during the process. I’d personally stick to extracts just to be safe. If you do try the oil, please come back and let me know how it worked out for you! 🙂
What a FUN and SWEET treat to make. I know some people who are learning Patience, and this project has such a nice ending! Candy that is homemade is always the best too! Thank You for the great instructions!!
Admiring the commitment you put into your site and in depth information you present.
It’s nice to come across a blog every once in a while that isn’t the same old rehashed material.
Fantastic read! I’ve saved your site and I’m including your
RSS feeds to my Google account.
Ivory, I do believe that covering the tops will effect the evaporation process. I’m not sure if it would stop the crystals from forming completely, but it might result in smaller candies. Let me know if you do try it!
We used to have an ant problem. If you put the glass jars in a shallow dish or pan with a shallow layer of water, creating a “moat”, the ants won’t go near it-they can’t swim. I don’t think it would hinder the crystallizing process. Great post!
Great idea, Rachel! Thanks!
We have a problem with ants. Will covering the tops affect the process?
Any ideas what to use for flavorings?
This not only looks beautiful, but tasty too!
how long should it take for the sugar coated sticks to dry completely before putting them into the jars?
Im a 17 year old guy and i would even love to make these, great tutorial!
Couldn’t you make it with another liquid instead of water…..maybe that’s how you could get a different flavor. Not sure,but an idea.
Couldn’t you make it with another liquid instead of water…..maybe that’s how you could get a different flavor. Not sure,but an idea.
Couldn’t you make it with another liquid instead of water…..maybe that’s how you could get a different flavor. Not sure,but an idea.
Couldn’t you make it with another liquid instead of water…..maybe that’s how you could get a different flavor. Not sure,but an idea.
Where can I find flavoring instead of just using food coloring
Where can I find flavoring instead of just using food coloring
I would like to take the opportunity to thank you for this post. It made my heart skip a beat. Not until I saw this did I remember that my mom used to do this with us 45 years ago. She has been gone for 35 years now, and my kids are all grown…..BUT I have grandkids, and my youngest daughter works in a day care center so she would love this. Anyway- Thanks for the memories…………oh ……and the wonderful tutorial!!
Mar, I had to wiggle the sticks gently in the container to loosen them as there will be a thin layer of crystallized sugar on top of the remaining liquid. I held the sticks above the containers and let the excess sugar liquid drip off for a moment and then set them on a sheet of waxed paper to dry. They dry quickly, and are ready to eat right away. To store them, I put them in a Ziploc bag, but they didn’t last very long around here! 🙂
Please explain what to do when you remove them from the jar. Will they still be wet? Do you lay them out to dry? Wrap them? HELP! It seems the rest of the instructions are missing……..