


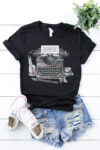

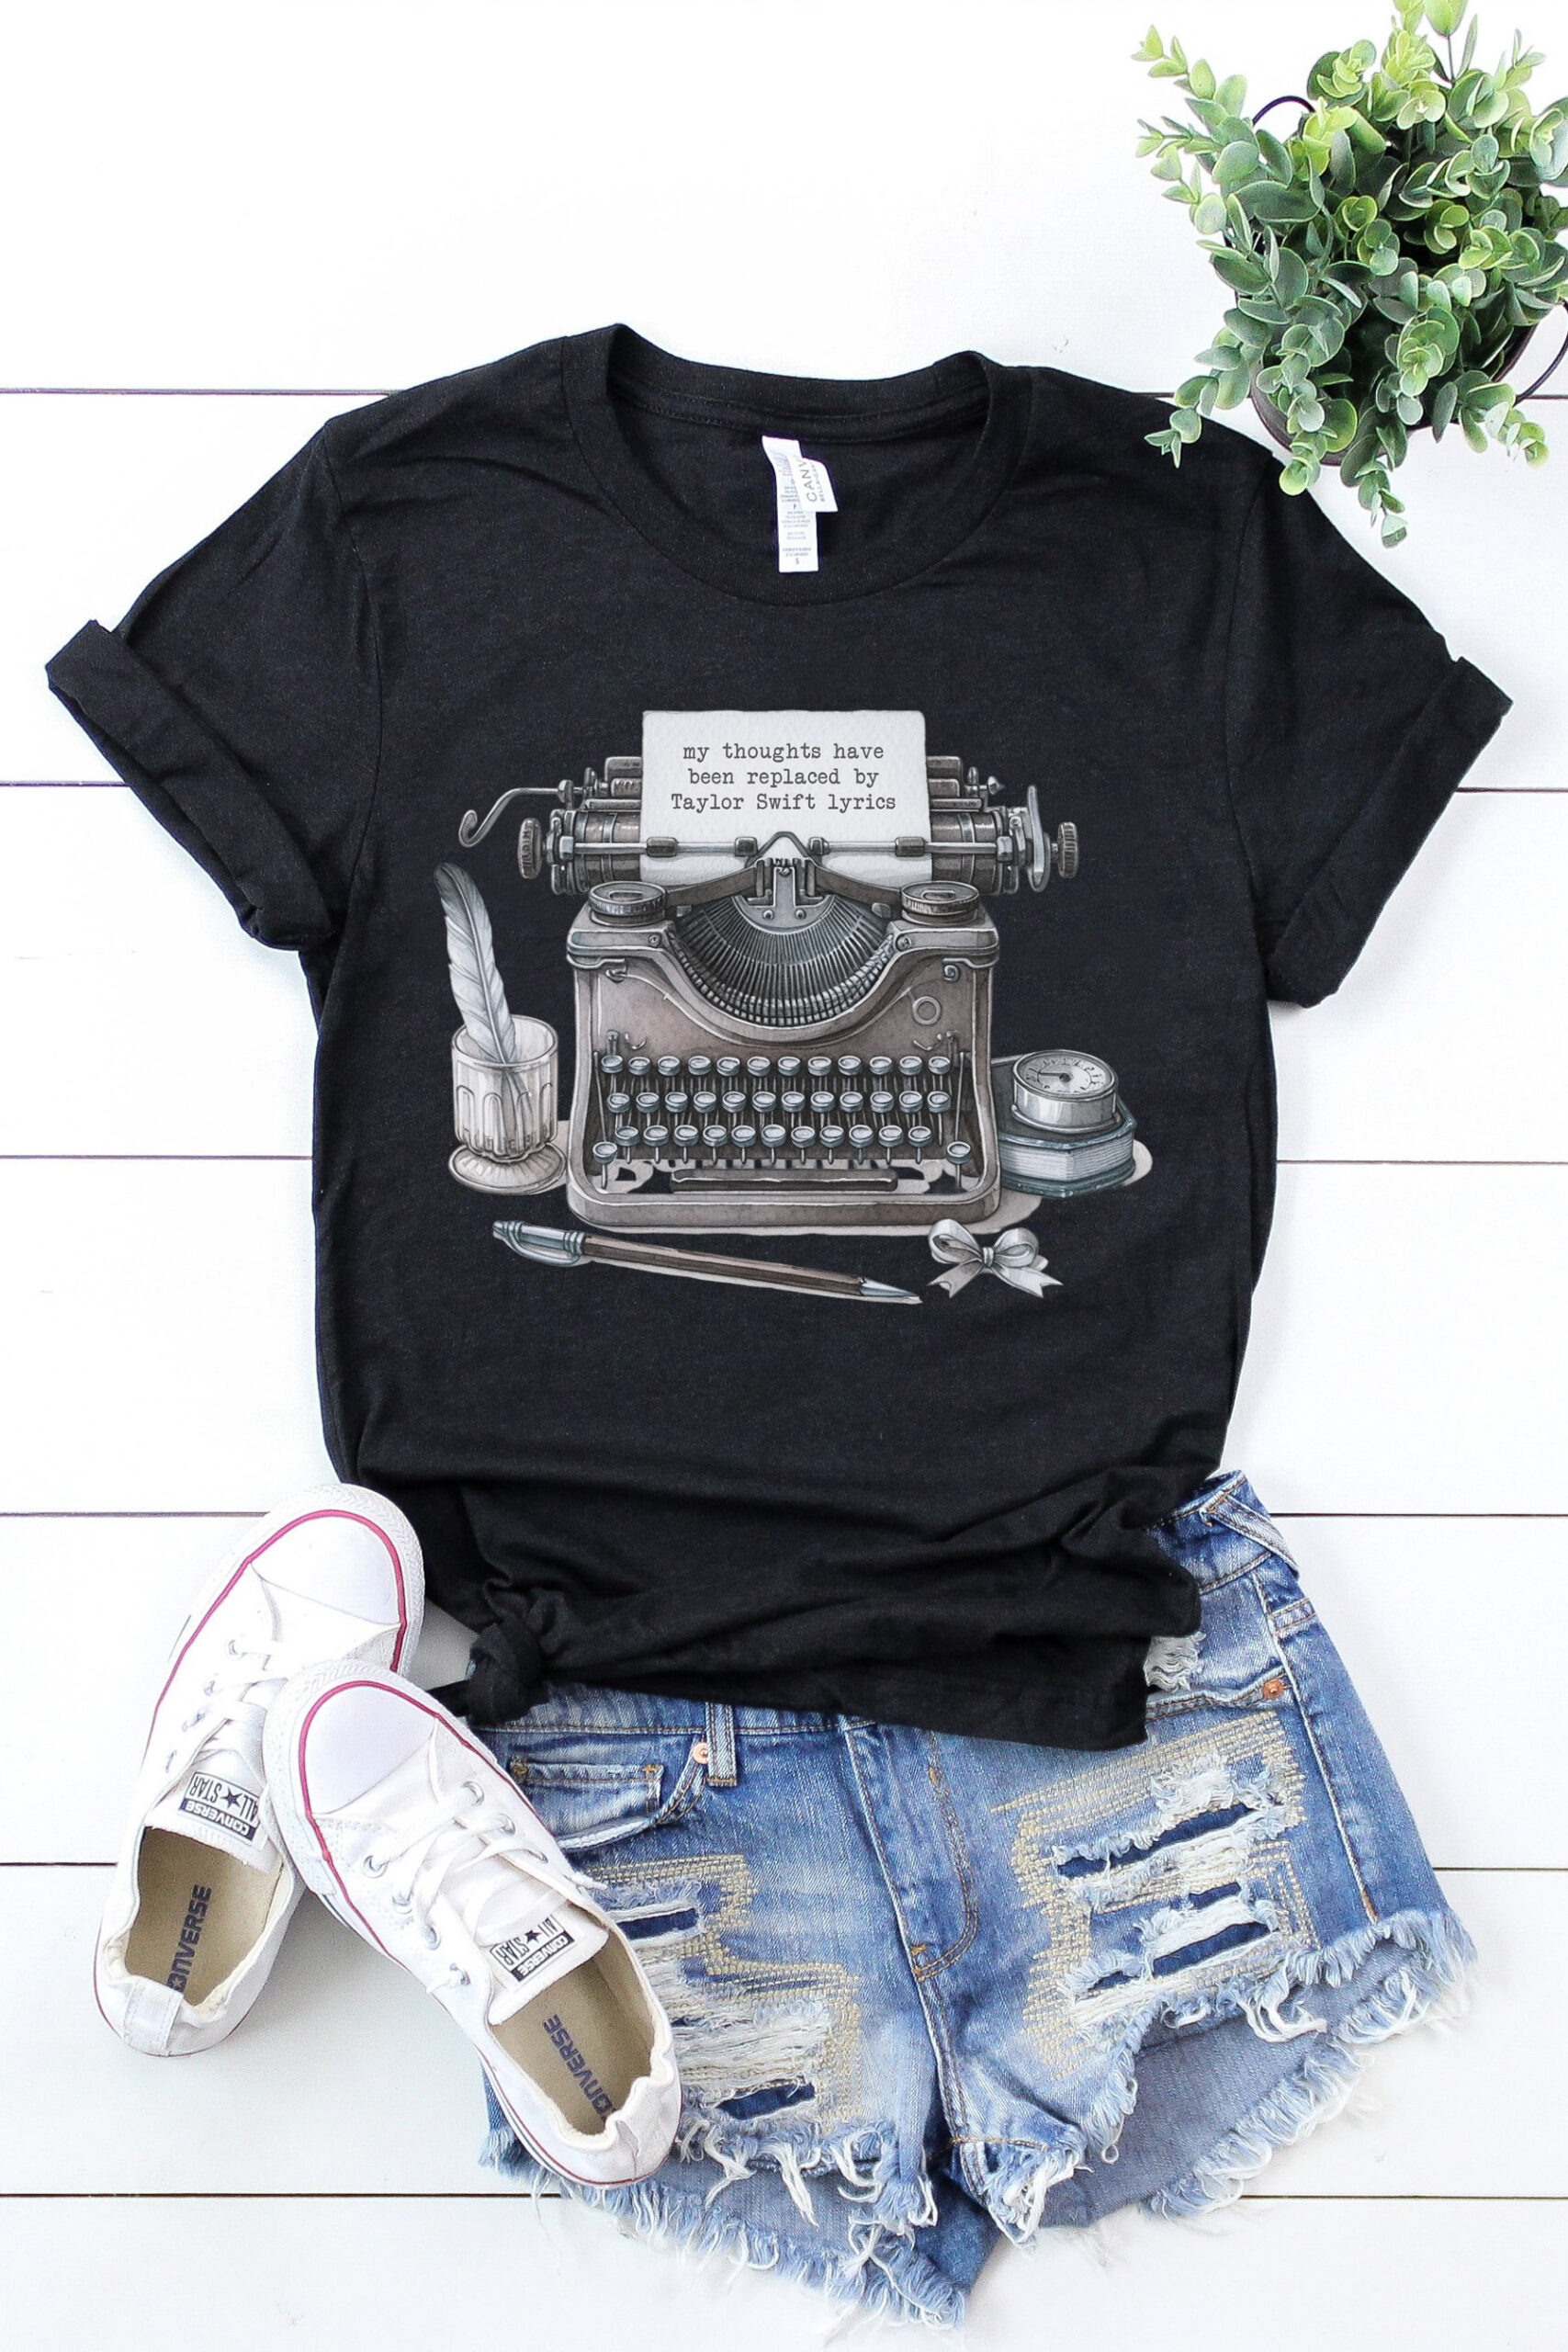
Use this “My Thoughts Have Been Replaced by Taylor Swift Lyrics” DTF transfer design to create your own t-shirts, hoodies, pillows, and more!
Skill Level: Beginner – Making a t-shirt using our Taylor Swift DTF transfer design is as easy as can be! Perfect for beginners (teens or adults) with no previous crafting experience.
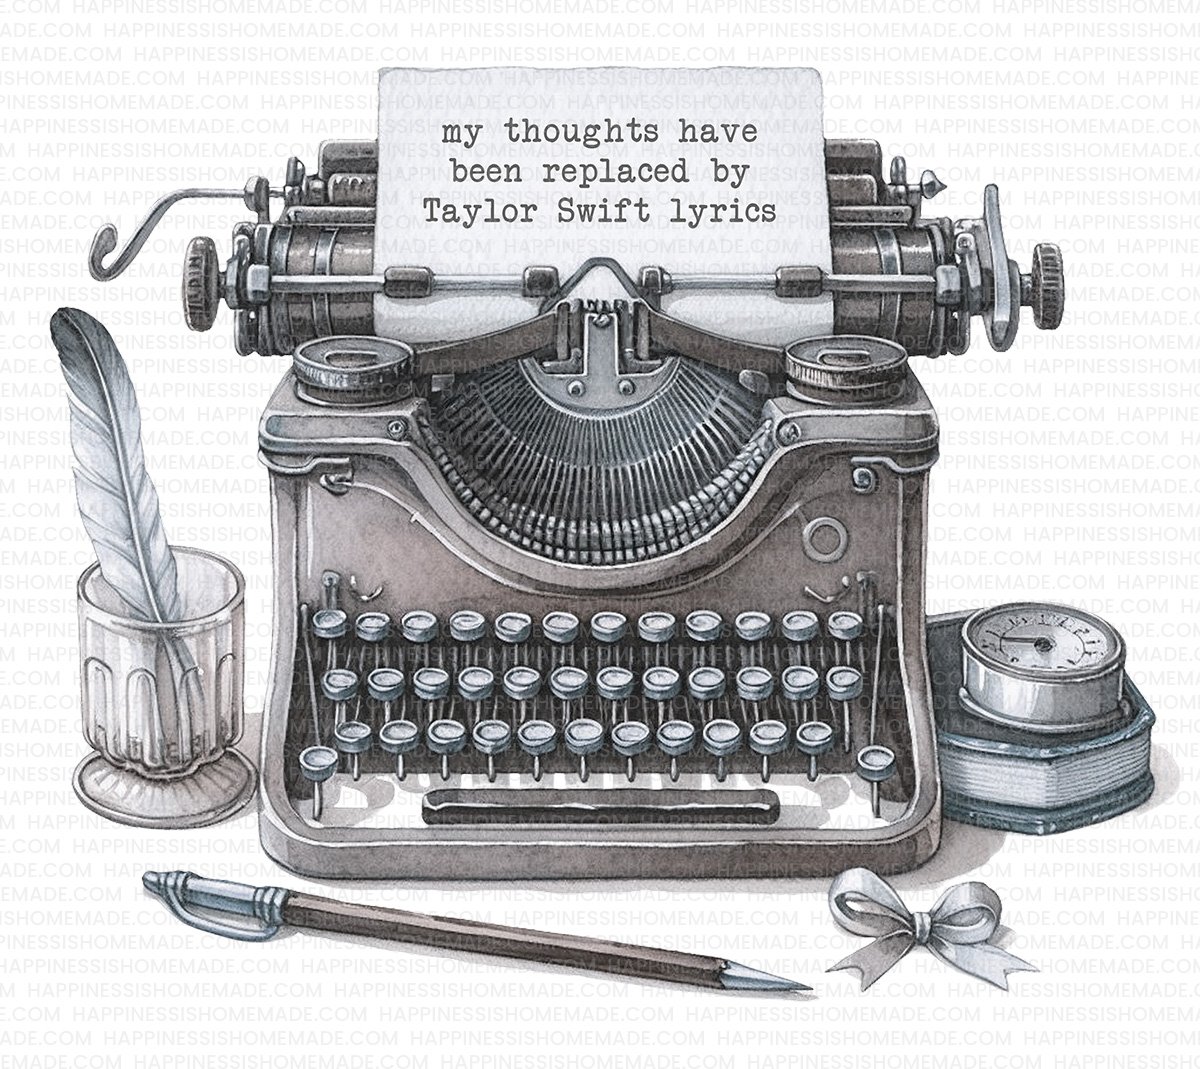
If you’re a Swiftie, your mind has likely been a whirlwind of lyrics ever since Taylor Swift released her latest album, The Tortured Poets Department. With thirty-one brand new songs, it’s hard not to have a favorite line or bridge stuck in your head at all times! If you, like me, find that your inner monologue has been replaced by these catchy lyrics, I’ve got something fun for you today!
I designed a super cute TTPD-inspired “My thoughts have been replaced by Taylor Swift lyrics” typewriter graphic that you can use to create your very own custom t-shirt using a DTF transfer.
If you’re not familiar with it yet, DTF stands for direct-to-film, which is an easy new way of transferring your designs and images to t-shirts and other soft surface materials. Essentially, a DTF transfer is similar to a traditional iron-on transfer which uses heat and pressure to transfer the design to your garment.
You can use DTF transfers on any color or type of fabric (though cotton and cotton/poly blends tend to work best), and there’s no weeding or cutting involved. With DTF, you are able to order custom transfers in any design, any sizes, and any colors that you can imagine – so making your Swiftie lyrics shirt will be easy peasy!
This post may contain affiliate links. I will receive a small commission from these sales at no additional cost to you!
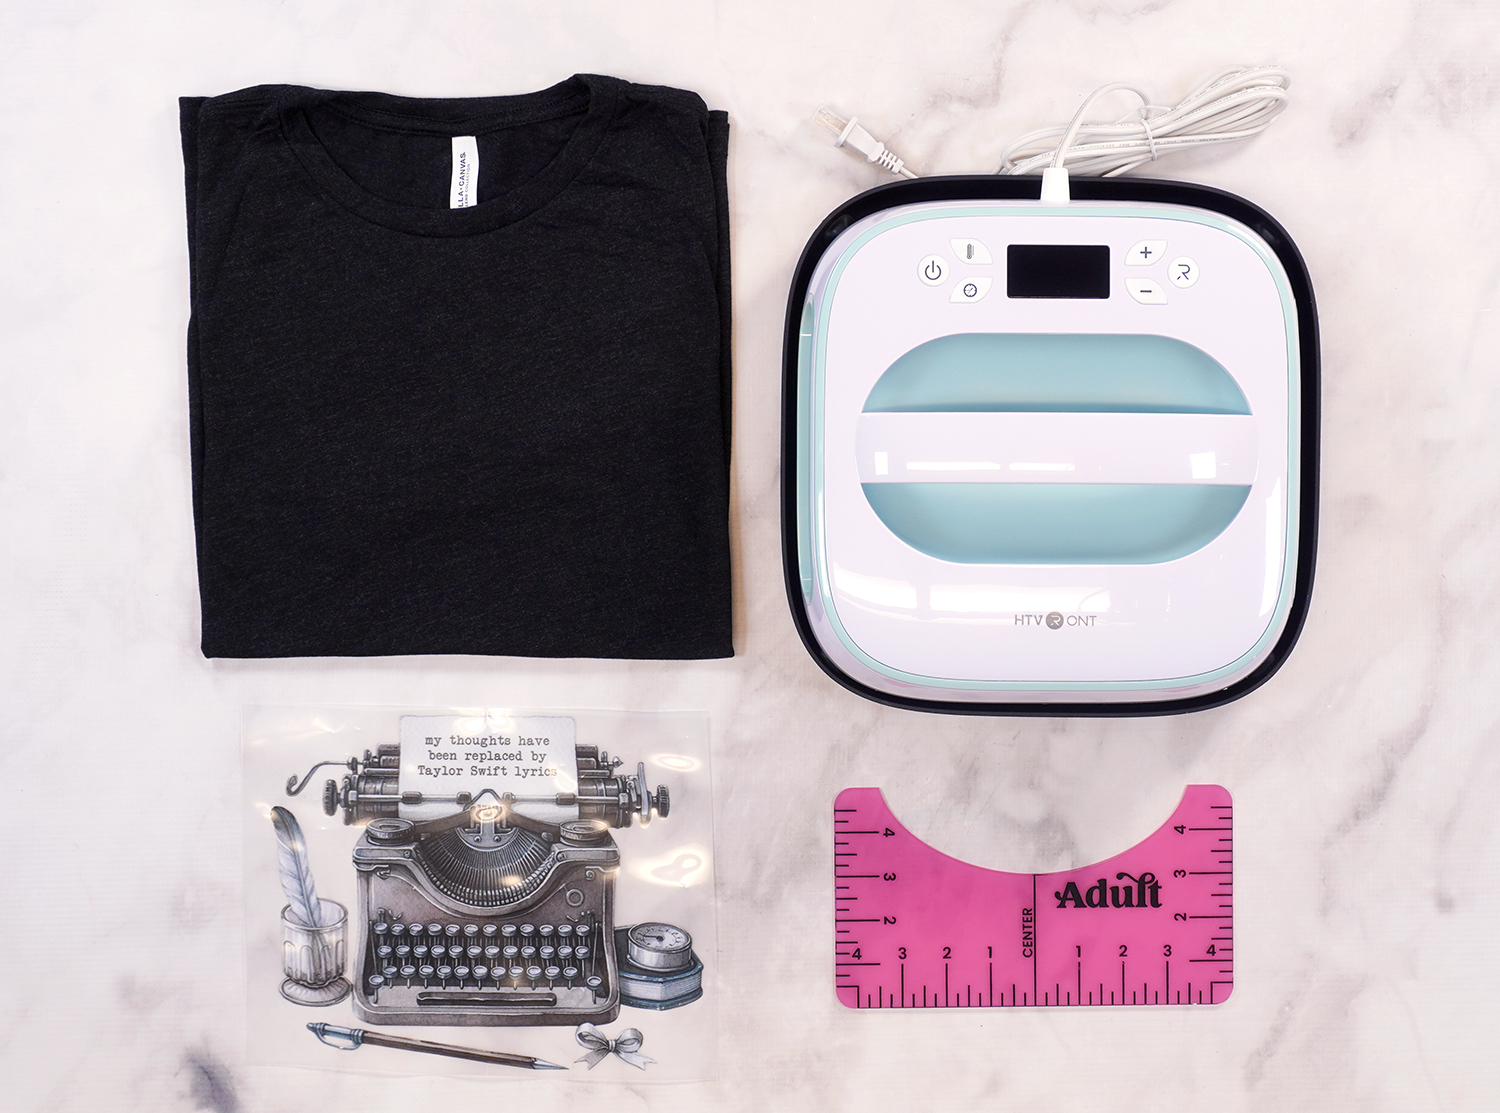
Taylor Swift DTF Shirt Supplies
New to DTF? Here’s How to Order Your Transfer:
Step 1: Purchase and download the DTF transfer design file at the bottom of this post.
Step 2: Upload the file to your favorite DTF printing service – we used Ninja Transfers for this project. Simply resize the file as necessary to fit your garment, add to cart and place your order, and wait for the transfer to be delivered to your doorstep – easy peasy!
How to Apply the Taylor Swift DTF Design
Using this Tortured Poet’s Department-inspired DTF design is SUPER simple!
- Step 1 – Position the DTF transfer on the shirt. Using a t-shirt ruler can help to make this step easier.
- Step 2 – Set the heat press settings according to the DTF printer’s recommendations. I like to press Ninja Transfers DTF transfers for 25 seconds at 315 degrees when working with Bella+Canvas shirts.
For this shirt, I am using my HTVRONT Heat Press Machine which is perfect for beginner projects like this one!
- Step 3 – Press the shirt and transfer. Use your hands to apply a medium level of pressure to the heat press using the top handle or the convenient built-in side handles.
- Step 4 – Allow the transfer to cool to the touch, then carefully peel off the backing sheet.
- Step 5 (optional, but recommended) – Cover the top of the DTF transfer with a sheet of parchment paper or a Teflon sheet, and heat press one more time.
Pro Tip:
If you notice any part of the design lifting off with the backing sheet, don’t panic! Gently lay the backing sheet back down in place and apply additional heat and pressure with the heat press for another 10-15 seconds. Ensure the heat is evenly distributed over the problematic area. This helps to re-melt the adhesive and firmly attach the design to the fabric. After applying the extra heat, let it cool down a bit before trying to peel the backing off again, peeling slowly and smoothly to avoid stretching the design.
Headed to The Eras Tour?
Get the Taylor Swift Shirt Design Here
Equipment:
- Heat Press or EasyPress
What You’ll Need:
- DTF Transfer Sheet
- Shirt of Choice
- T-Shirt Ruler, optional
- Parchment Paper or Teflon Sheet, optional
Instructions:
- Order the DTF transfer from your favorite printing service (we used Ninja Transfers).
- Position the DTF transfer on the shirt. Use a t-shirt ruler if desired to help make this step easier.
- Set the heat press settings according to the DTF manufacturer’s recommendations.
- Press the shirt and transfer.
- Allow the transfer to cool to the touch, then carefully peel off the backing sheet.
- Cover the top of the DTF transfer with a sheet of parchment paper or a Teflon sheet, and heat press one more time. (This step is optional but recommended)
More Related Fun
- 550+ Taylor Swift Friendship Bracelet Ideas – TONS of ideas for making friendship bracelets for The Eras Tour and beyond!
- How to Use Heat Transfer Vinyl on Shirts – Beginner tips and tricks for using heat transfer vinyl (iron-on) on shirts!
- How to Use Infusible Ink on T-Shirts – learn how to use Infusible Ink to create fun t-shirts and more!

Heidi Kundin has captivated the hearts of millions with her colorful and inspiring approach to crafting, celebrations, and family fun. With over 15 years of experience, Happiness is Homemade has become a must-visit destination for those seeking quick and easy creative ideas and last-minute solutions. Heidi’s warm personality shines through her posts, inviting readers to join her on a creative journey that’s fun, rewarding, and achievable. Heidi is also the author of Homemade Bath Bombs & More and DIY Tie-Dye.