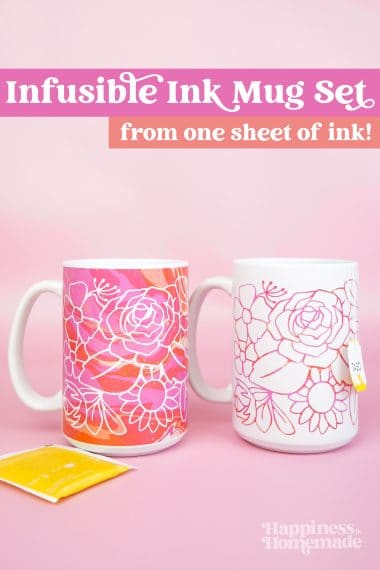
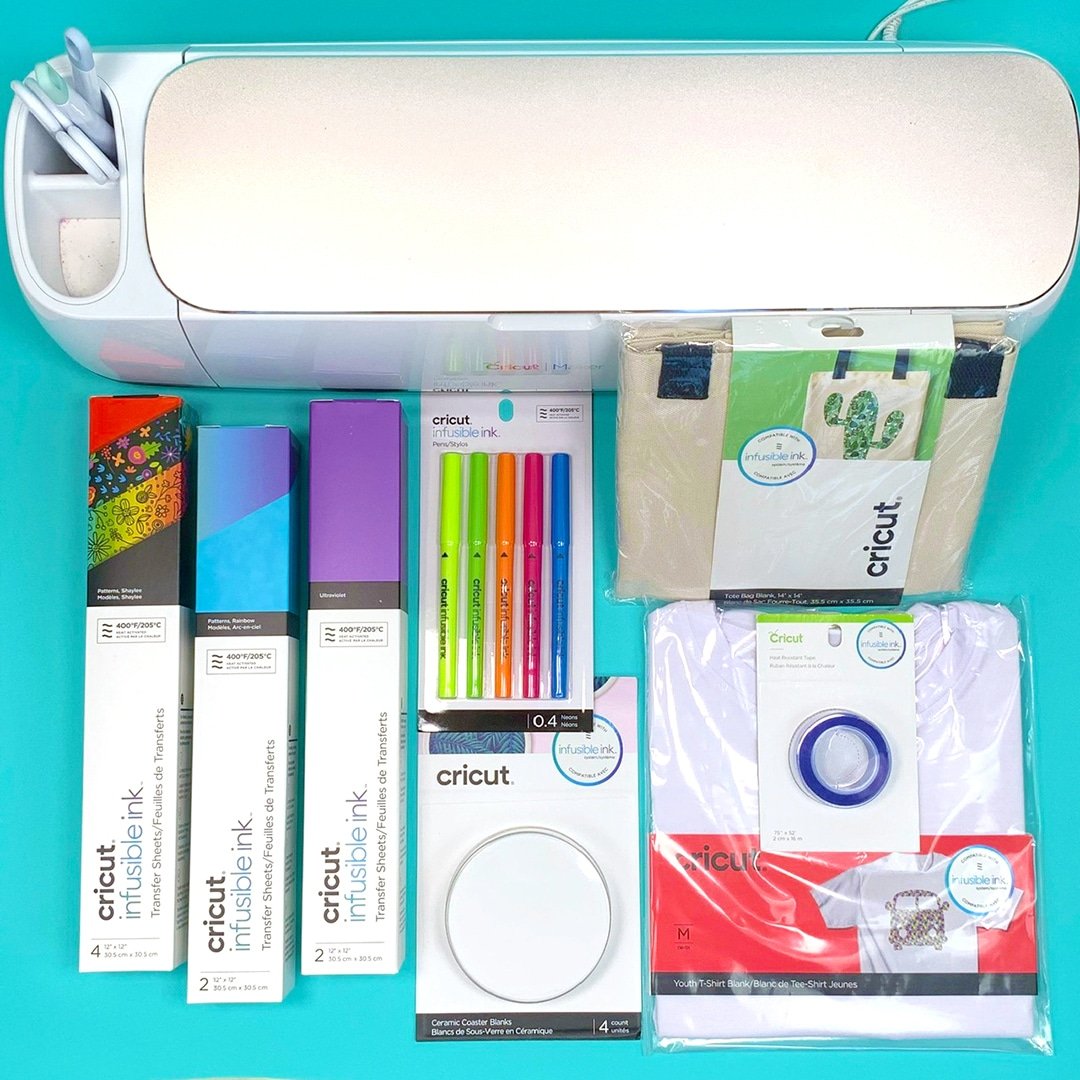
Everything you need to know about Cricut Infusible Ink! After reading this helpful Infusible Ink information, you’ll have all the confidence and know-how to tackle your first Infusible Ink project!
This post may contain affiliate links. I will receive a small commission from these sales at no additional cost to you! This is a sponsored conversation written by me on behalf of Cricut. The opinions and text are all mine.
A Beginner’s Guide to Infusible Ink
Cricut Infusible Ink is a new product that has only been on the market for a short while…and since Infusible Ink is like no other Cricut material, we’ve been getting a LOT of questions about it! Today we’re going to teach you the Infusible Ink basics, answer your frequently asked questions, and walk you through two Infusible Ink projects – a t-shirt and a set of coasters.
What IS Infusible Ink?
Infusible Ink is a brand new ink transfer product from Cricut that infuses colored ink into your base material and becomes one with the item (rather than sitting on top of your base material like iron-on heat transfer vinyl does). This means that Infusible Ink won’t ever peel, fade, crack, or warp – it actually becomes part of the shirt (or other blank) that you’re using!
How Does Cricut Infusible Ink Work?
If you’re familiar with the process of sublimation, Infusible Ink works very similarly. Basically, when high heat is applied to the dry Infusible Ink transfer sheet, the ink turns directly from a solid surface into a gas (skipping the liquid phase) and then back into a solid again (only it’s infused into your fabric or surface this time!). It’s like science + magic, and it’s pretty incredible!
What Cricut Machines Can Cut Infusible Ink?
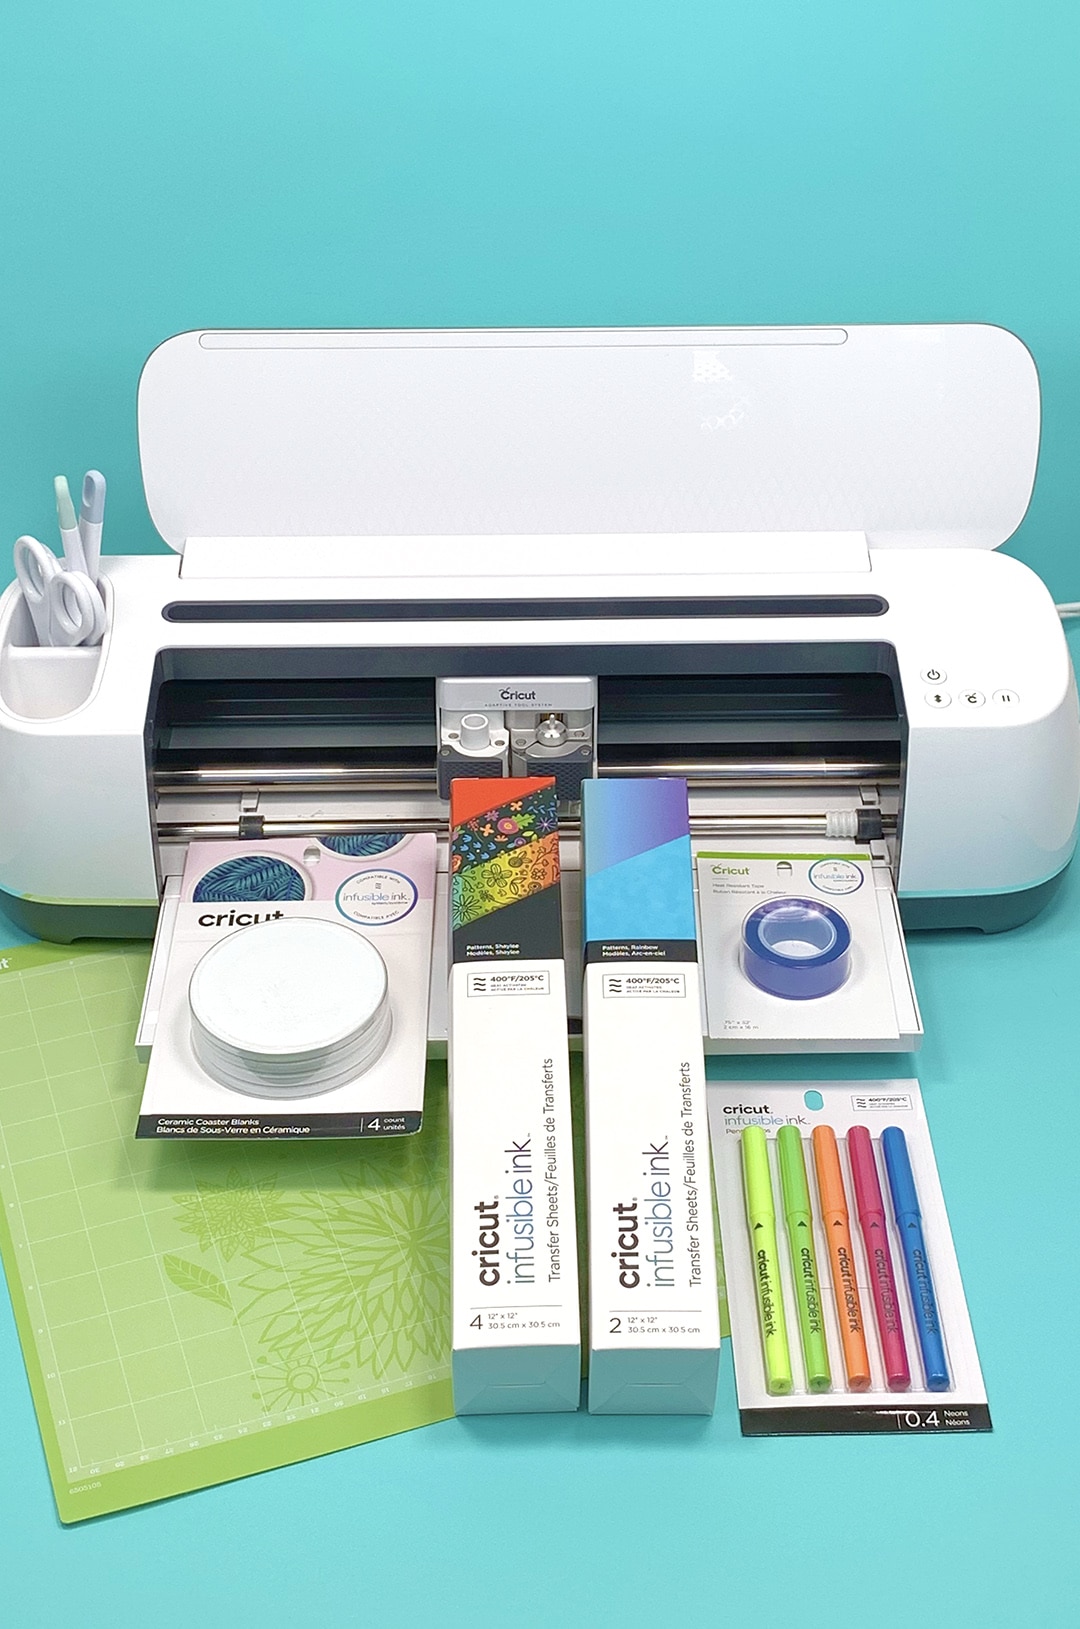
Infusible Ink is cut with the traditional fine-point blade, so it can be cut with the Cricut Maker or any of the Explore family of machines (Explore, Explore Air, Explore Air 2).
Will Infusible Ink Work on Any Shirt? With Cotton?
No. Infusible Ink bonds with Polyester, so we recommend using items that are specifically made to work with Infusible Ink. Cricut has a high-quality line of Infusible Ink blanks (including t-shirts, baby bodysuits, tote bags, and coasters) that have been specially designed and tested to work seamlessly with Infusible Ink.
Where Can I Buy Infusible Ink?
Infusible Ink is currently available exclusively at Michaels (in-store and online); however, it will be available at Cricut.com and other retailers beginning on October 2, 2019.
Okay, now that you have the basics and FAQs covered, let’s jump into our first project!
How to Make a Shirt with Infusible Ink
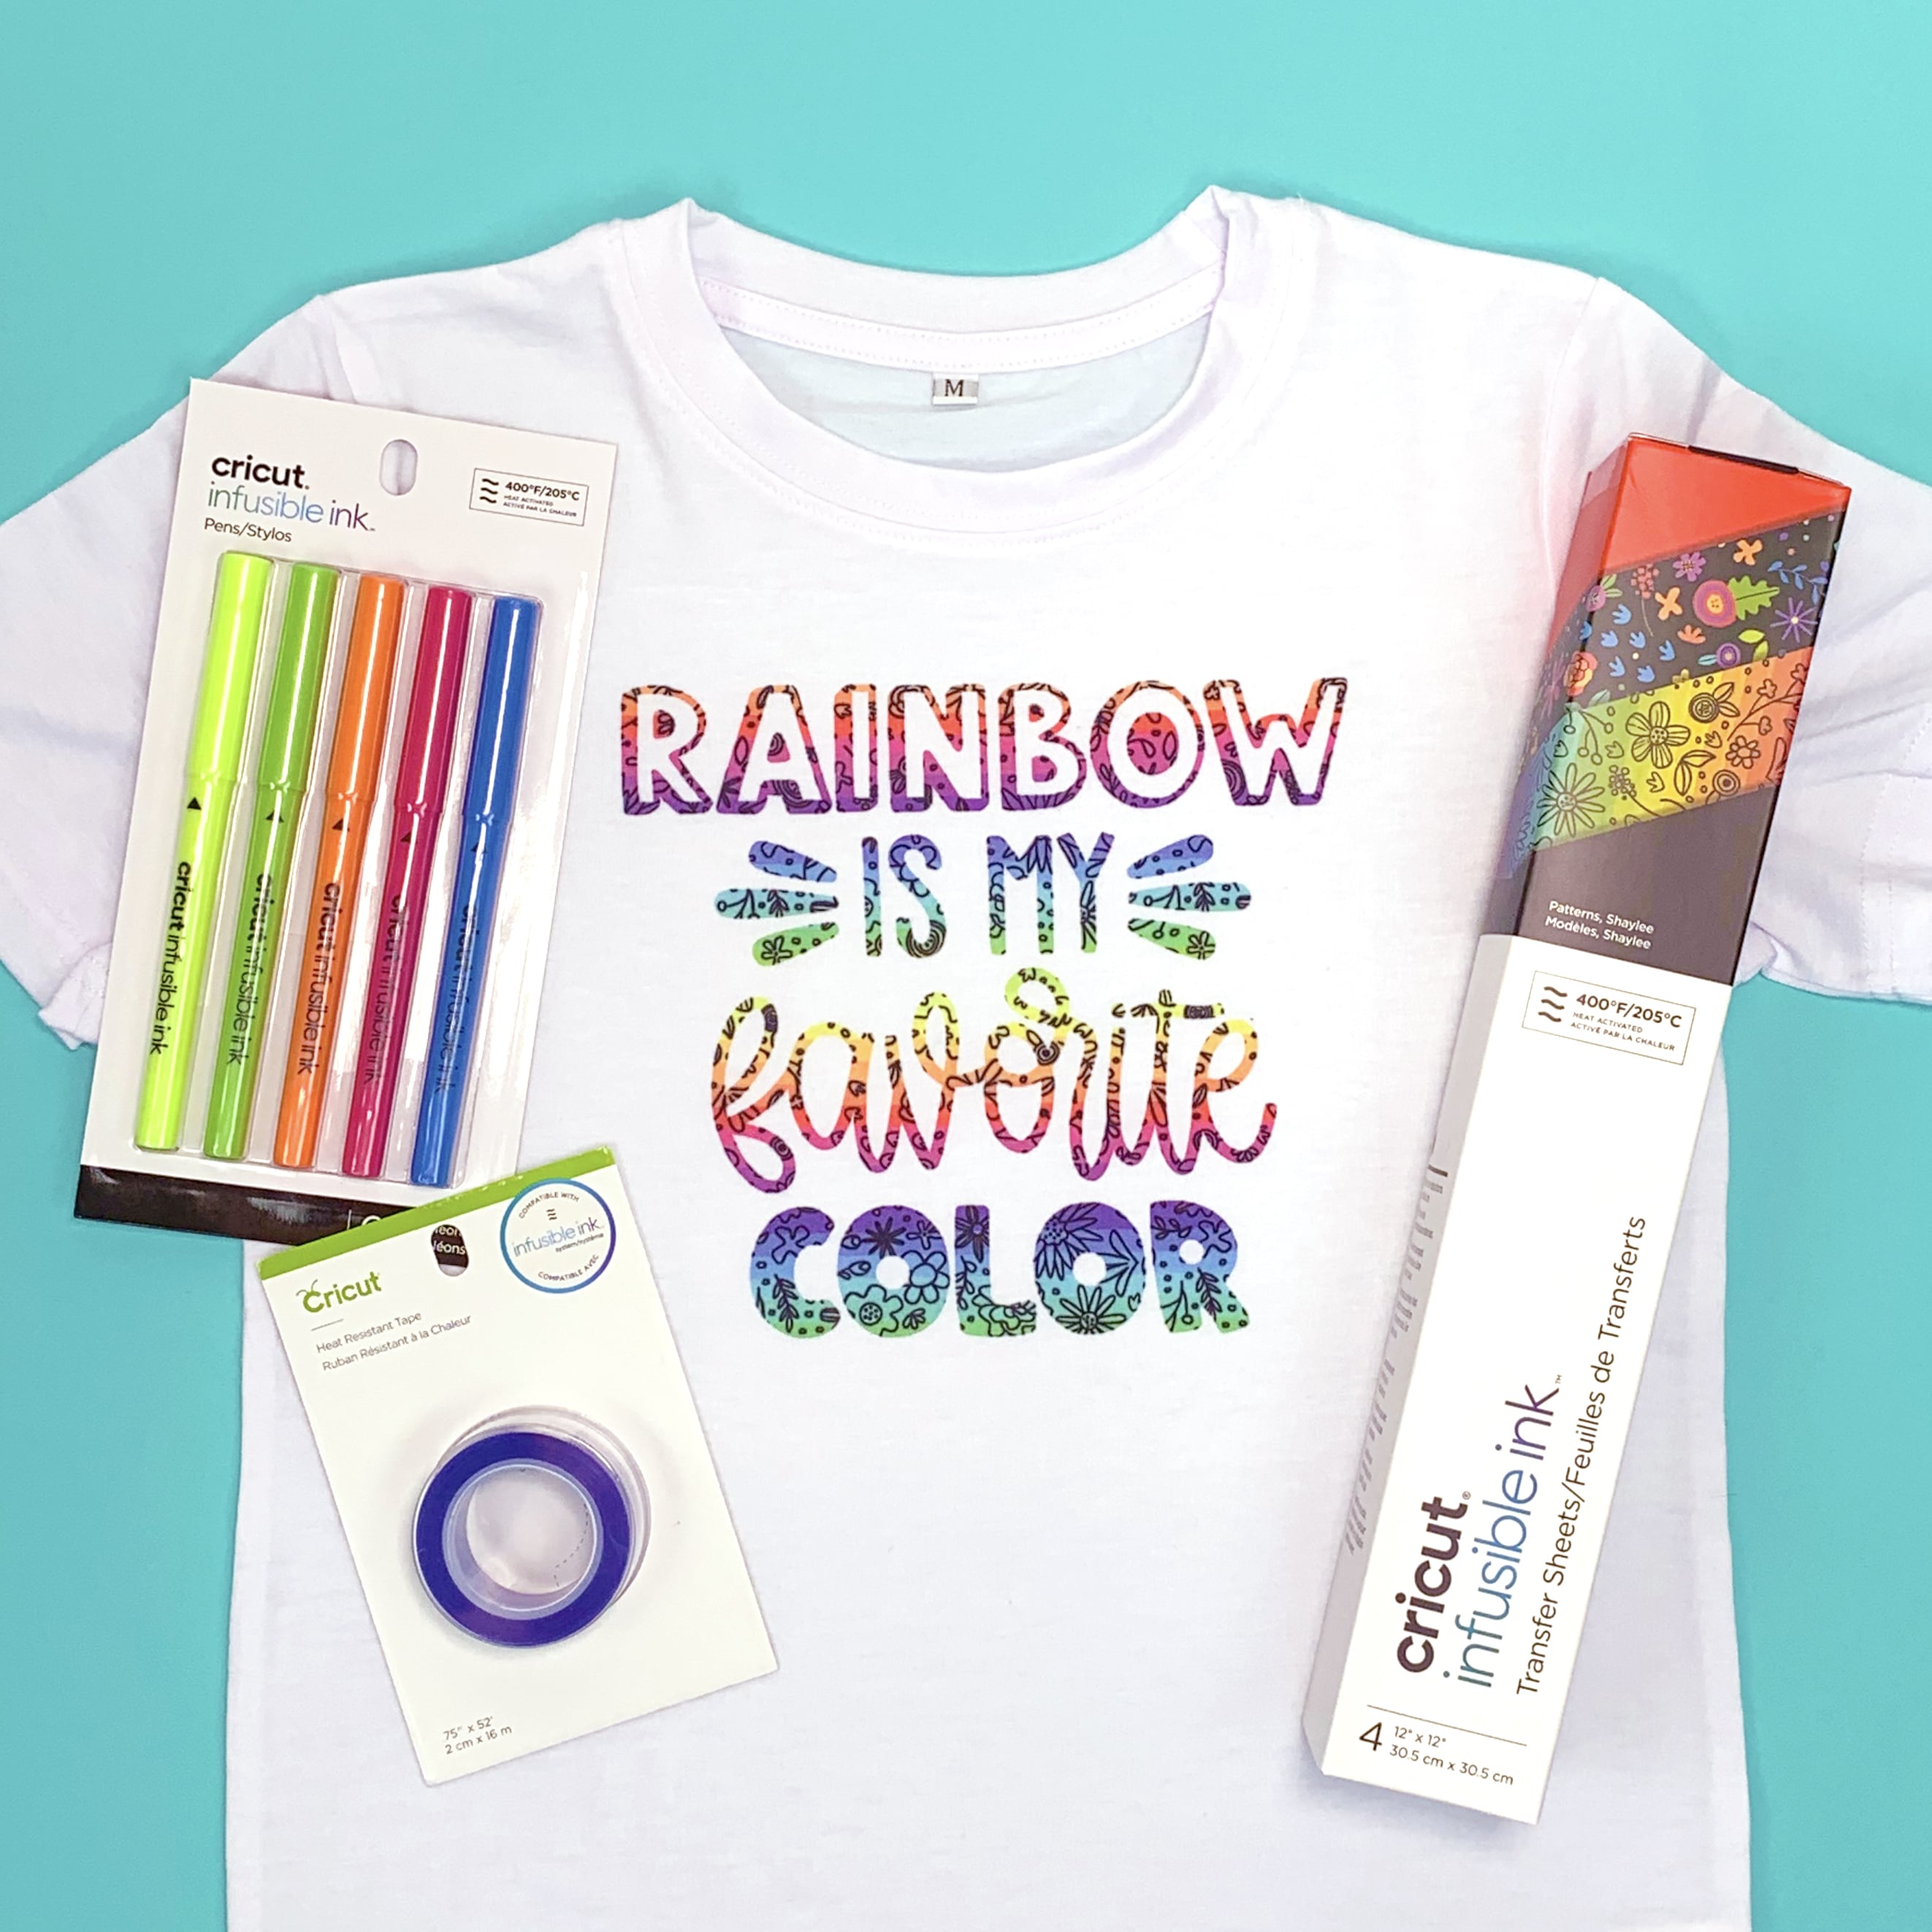
What We Used:
- Cricut Infusible Ink T-Shirt Blank
- Cricut Infusible Ink Transfer Sheet (in Shaylee pattern)
- Cricut Maker Machine (can also use Explore machines)
- Cricut EasyPress 2, and Mat
- White Cardstock
- Butcher Paper (included with Infusible Ink Transfer Sheets)
- Lint Roller
- Heat Resistant Tape (optional)
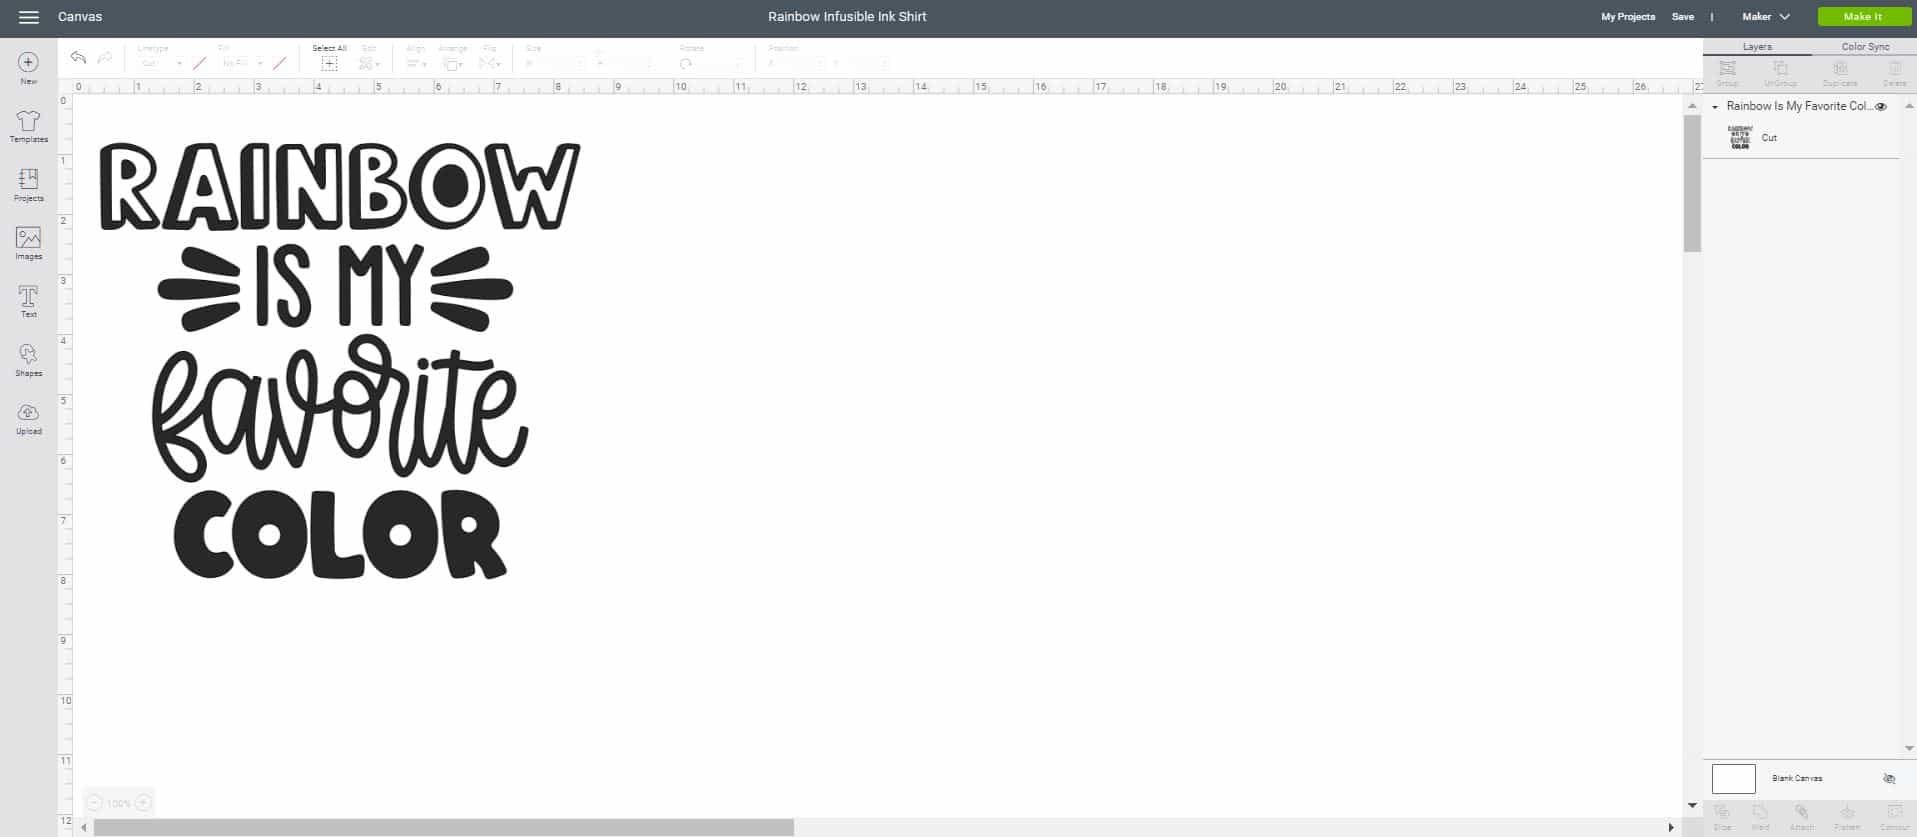
To begin, open up your design in Cricut Design Space. If you want to follow along and make this same design, you can access the “Rainbow is My Favorite Color” file here!
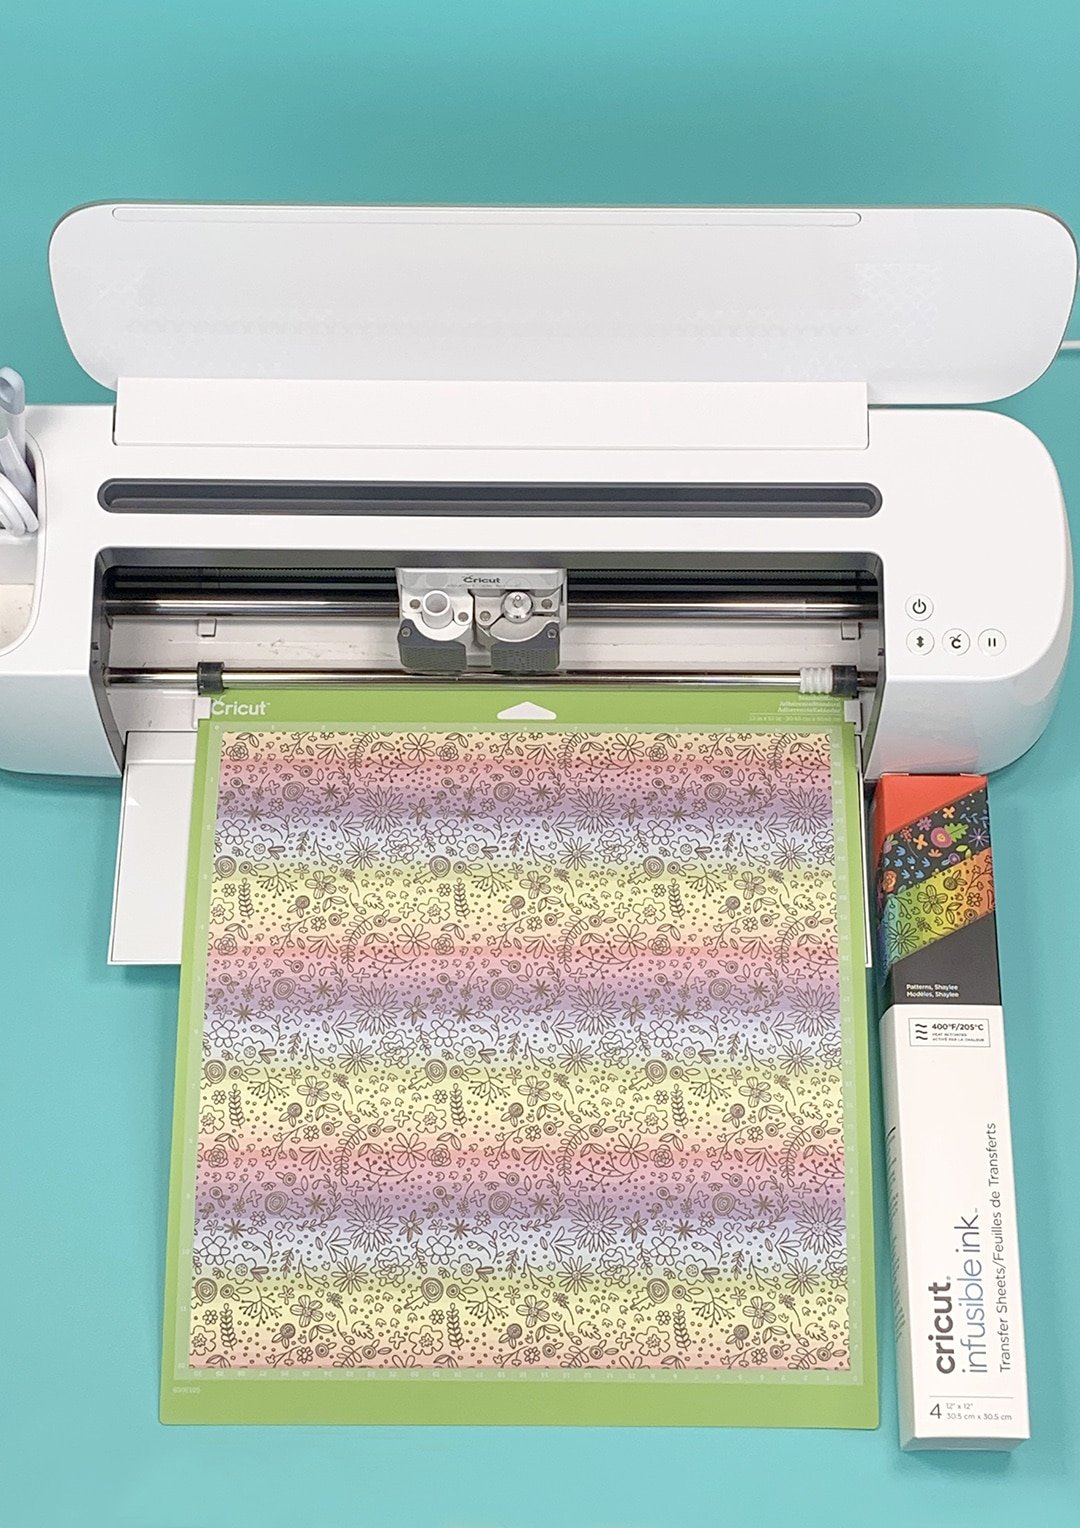
Cut your Infusible Ink on your Cricut machine. Note: make sure to mirror your design before cutting! You’ll notice that the color of the Infusible Ink is not very bright at this point, but rest assured, it will get VERY bold and bright after you apply heat to it!
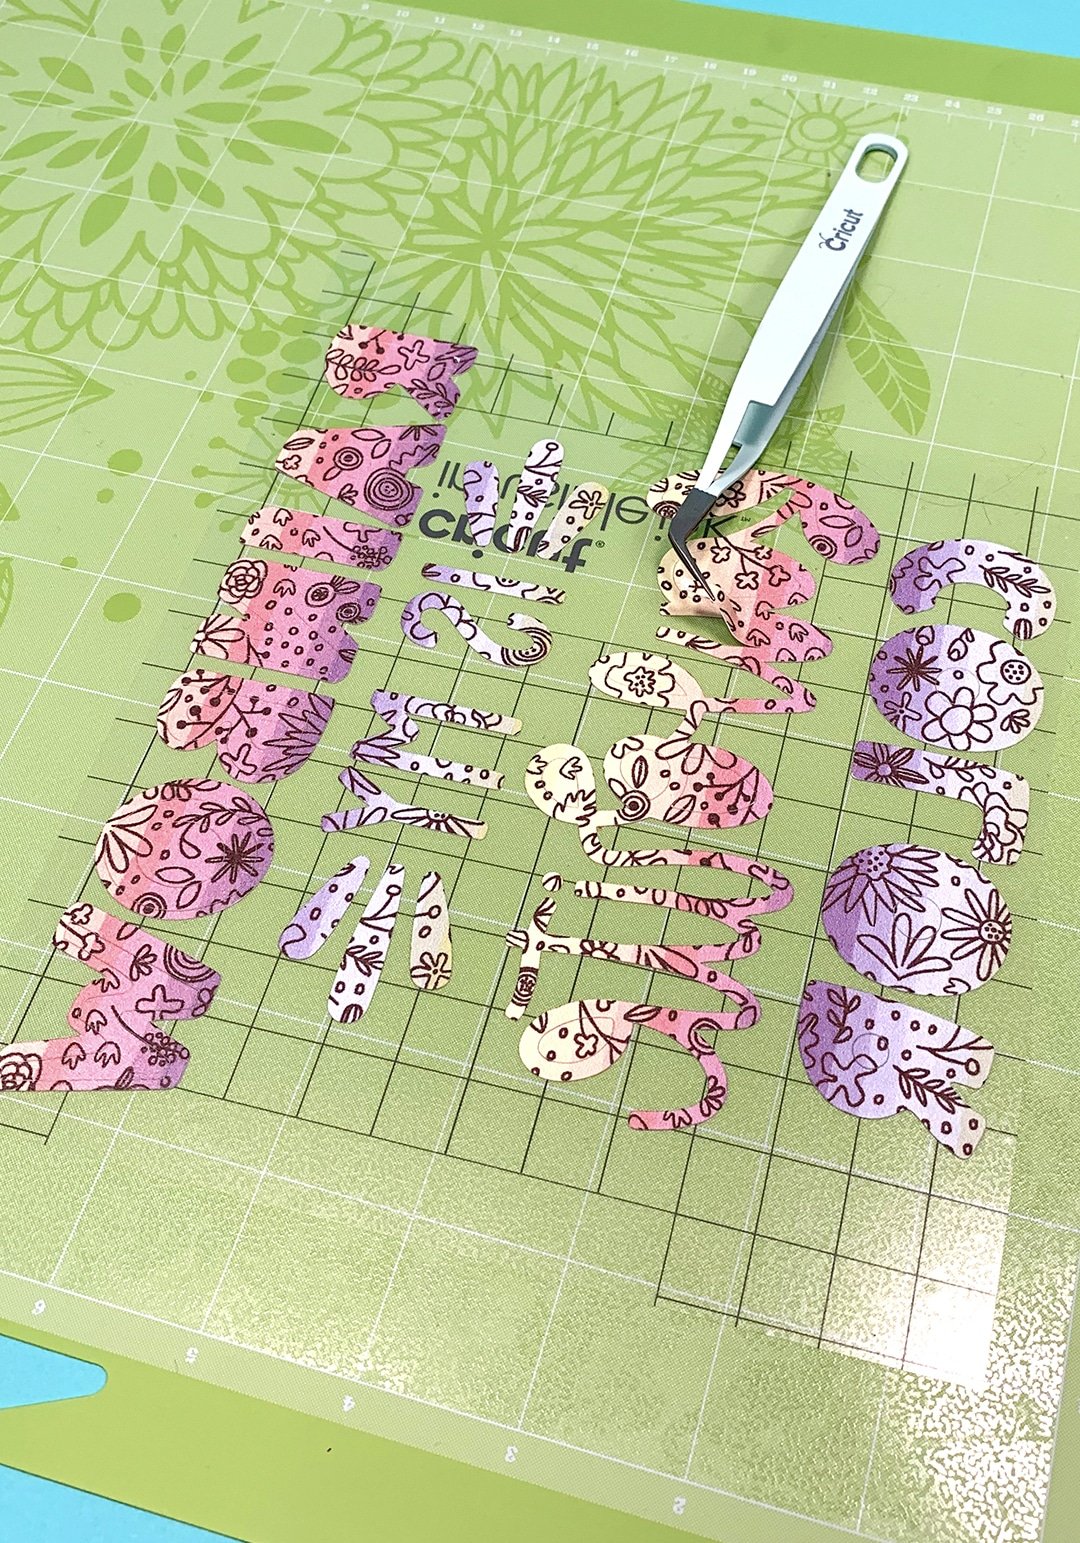
Use your fingers or tweezers to weed the excess Infusible Ink from the backing. Infusible Ink is unlike any other materials and does not feel like nor weed like vinyl and other materials. Infusible Ink feels like a thick paper, and you can make it easier to weed by slightly bending and rolling the backing paper until the smaller pieces “crack” away from the other pieces.
Note: Do NOT use traditional weeding tools to weed Infusible Ink! Doing so may result in small amounts of ink being pressed into the plastic carrier backing, and that ink WILL transfer to your blank! Always use your hands or tweezers to weed.
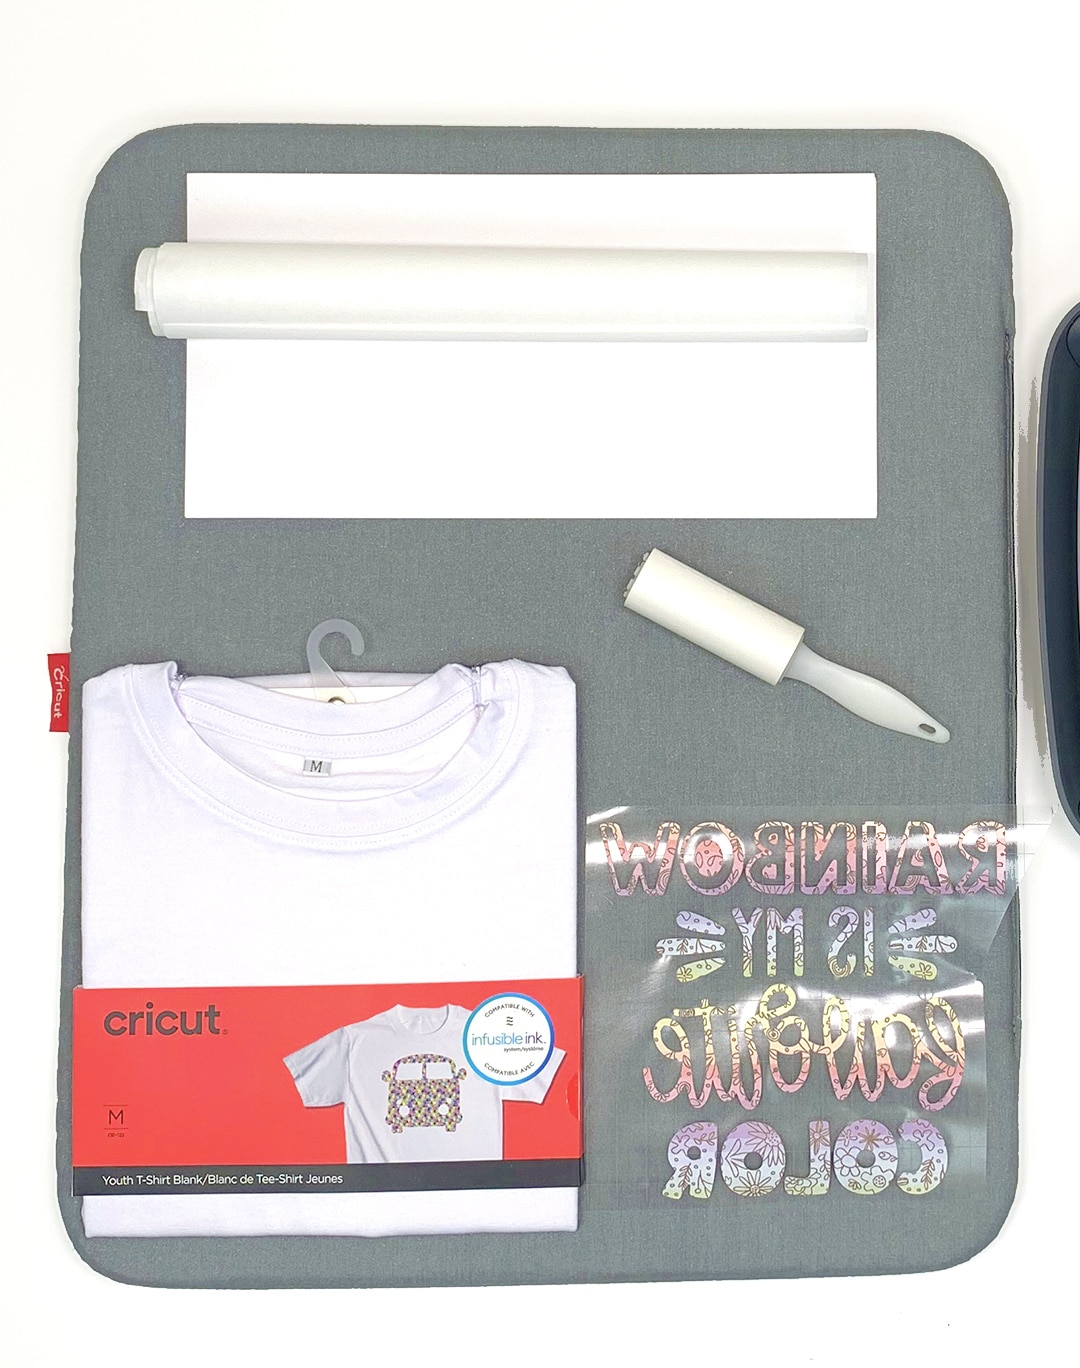
Next, prepare your shirt by removing it from the packaging, inserting a piece of plain white cardstock inside the shirt, and lint rolling the front of the shirt. It is VERY important to lint roll the shirt because any lint or loose fibers can result in an uneven ink transfer or blank spaces in your design! Set your EasyPress 2 to 385 degrees and pre-heat the shirt for 15 seconds to remove any moisture. Allow to cool completely before moving on to the next step!
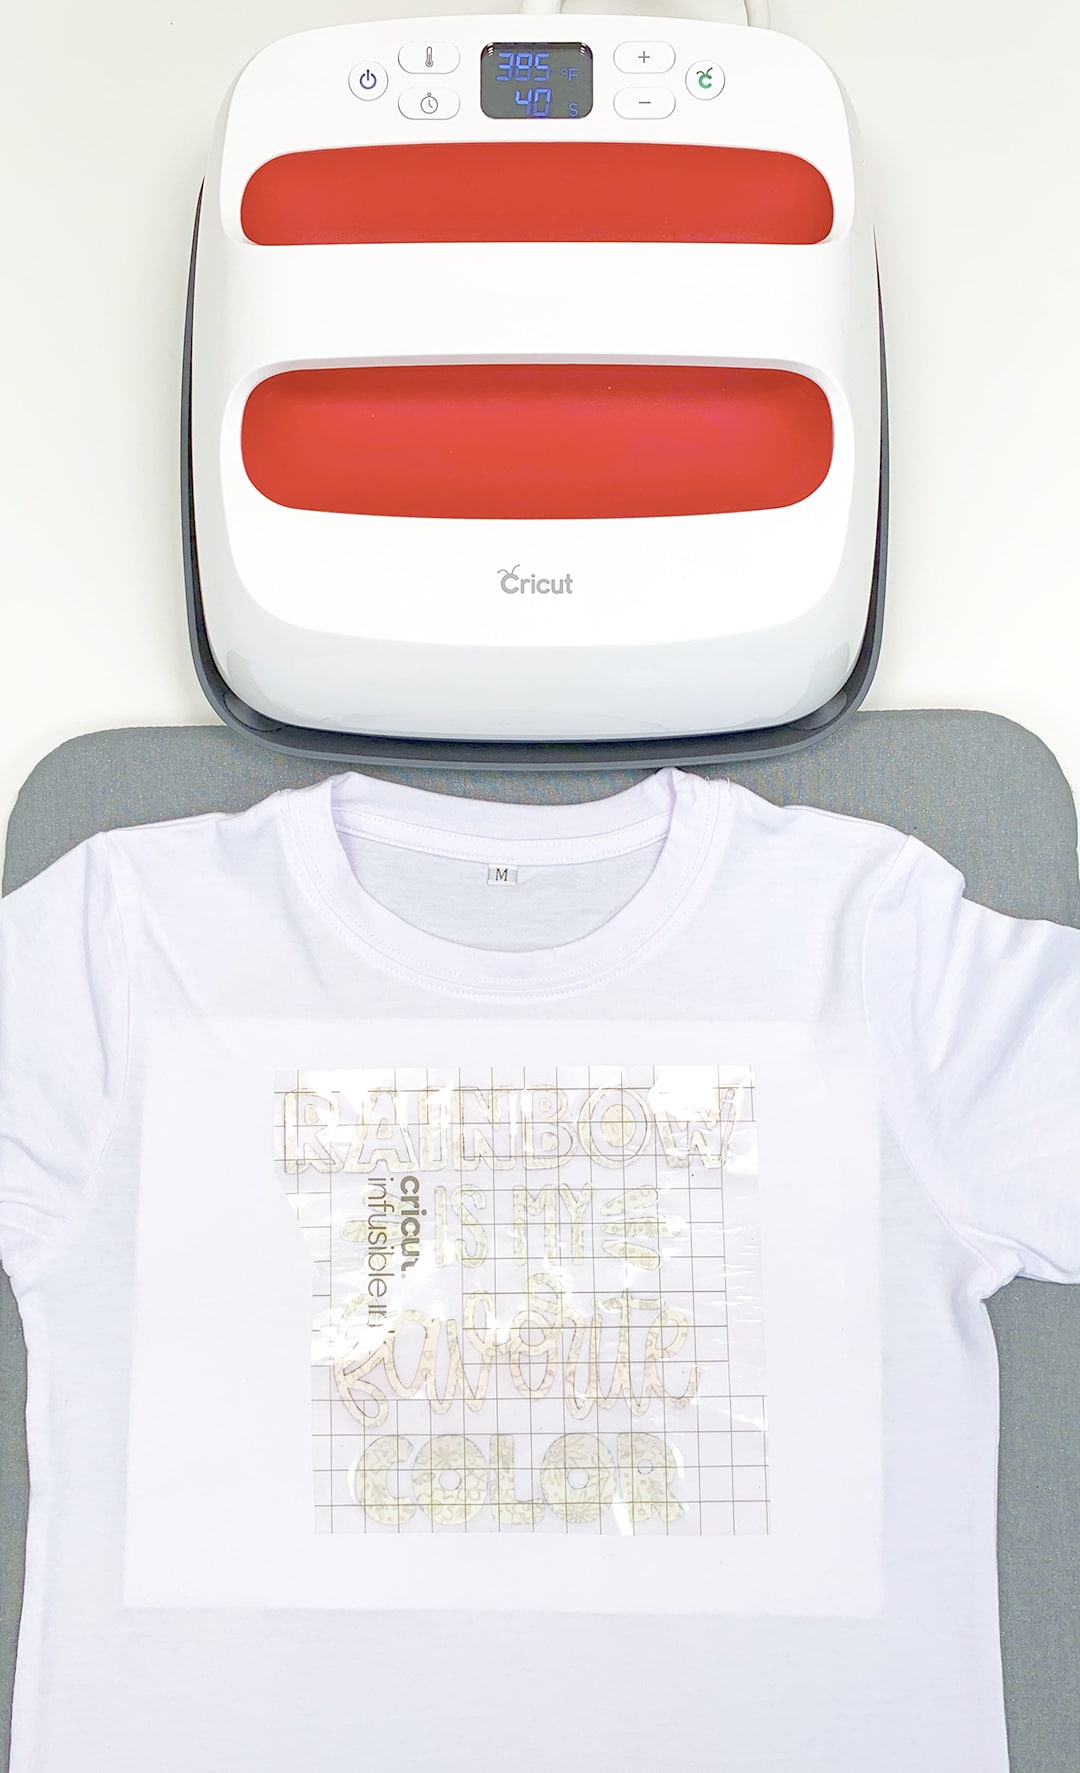
Place the design onto the shirt and tape in place with heat-resistant tape if desired. Cover the design with a sheet of butcher paper (included inside each roll of Infusible Ink) that is larger than the surface of the EasyPress 2.
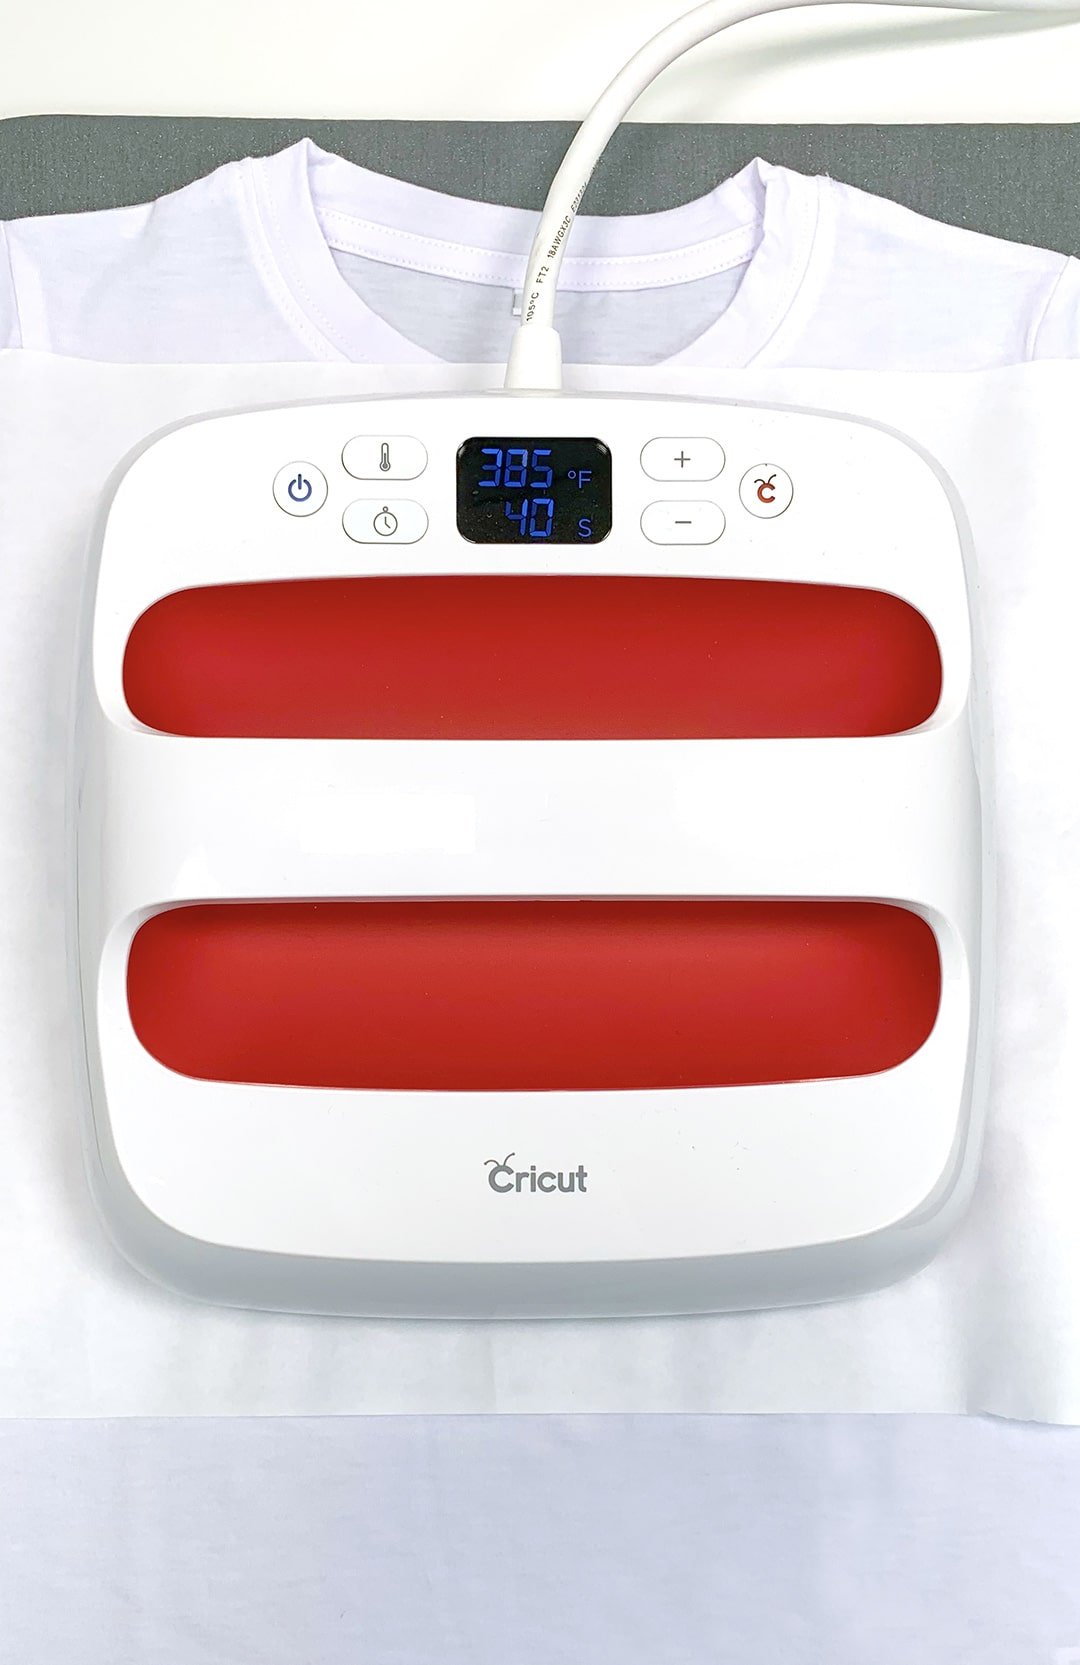
Press with light pressure at 385 degrees for 40 seconds. Carefully remove the EasyPress 2 and the butcher paper and allow the shirt to cool completely.
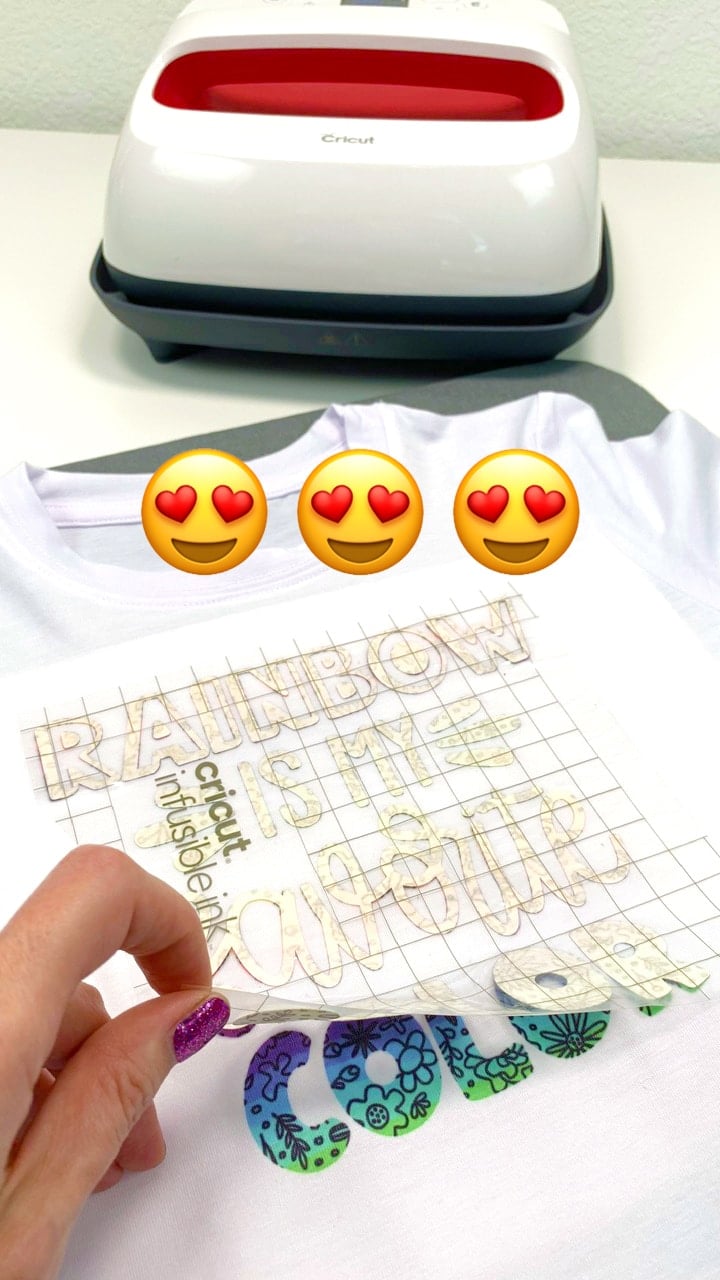
Slowly and carefully remove the liner to reveal the design. Note: if the paper transfer sheet remains on the shirt, remove it carefully with tweezers.
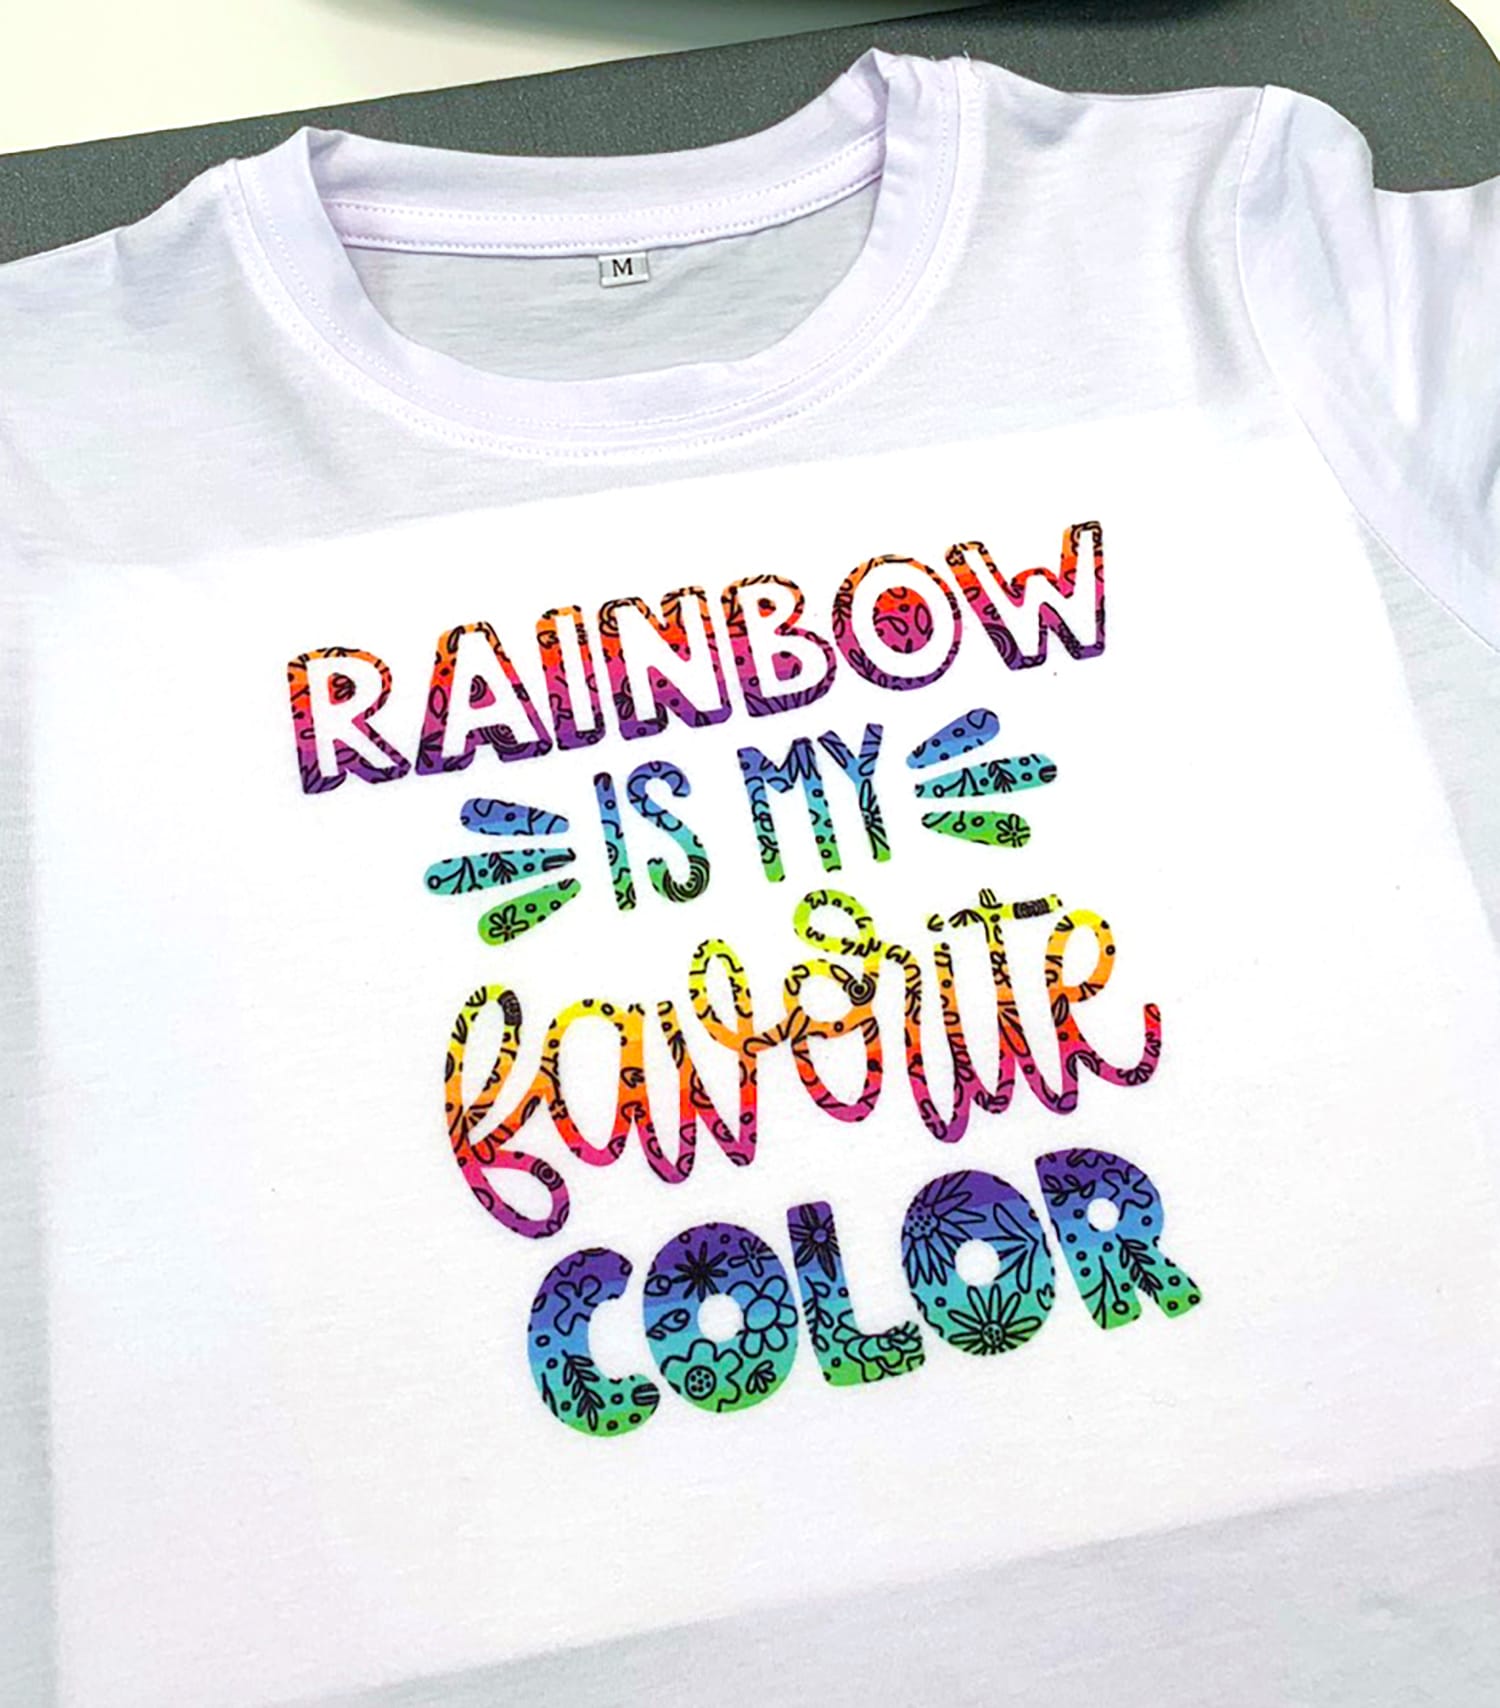
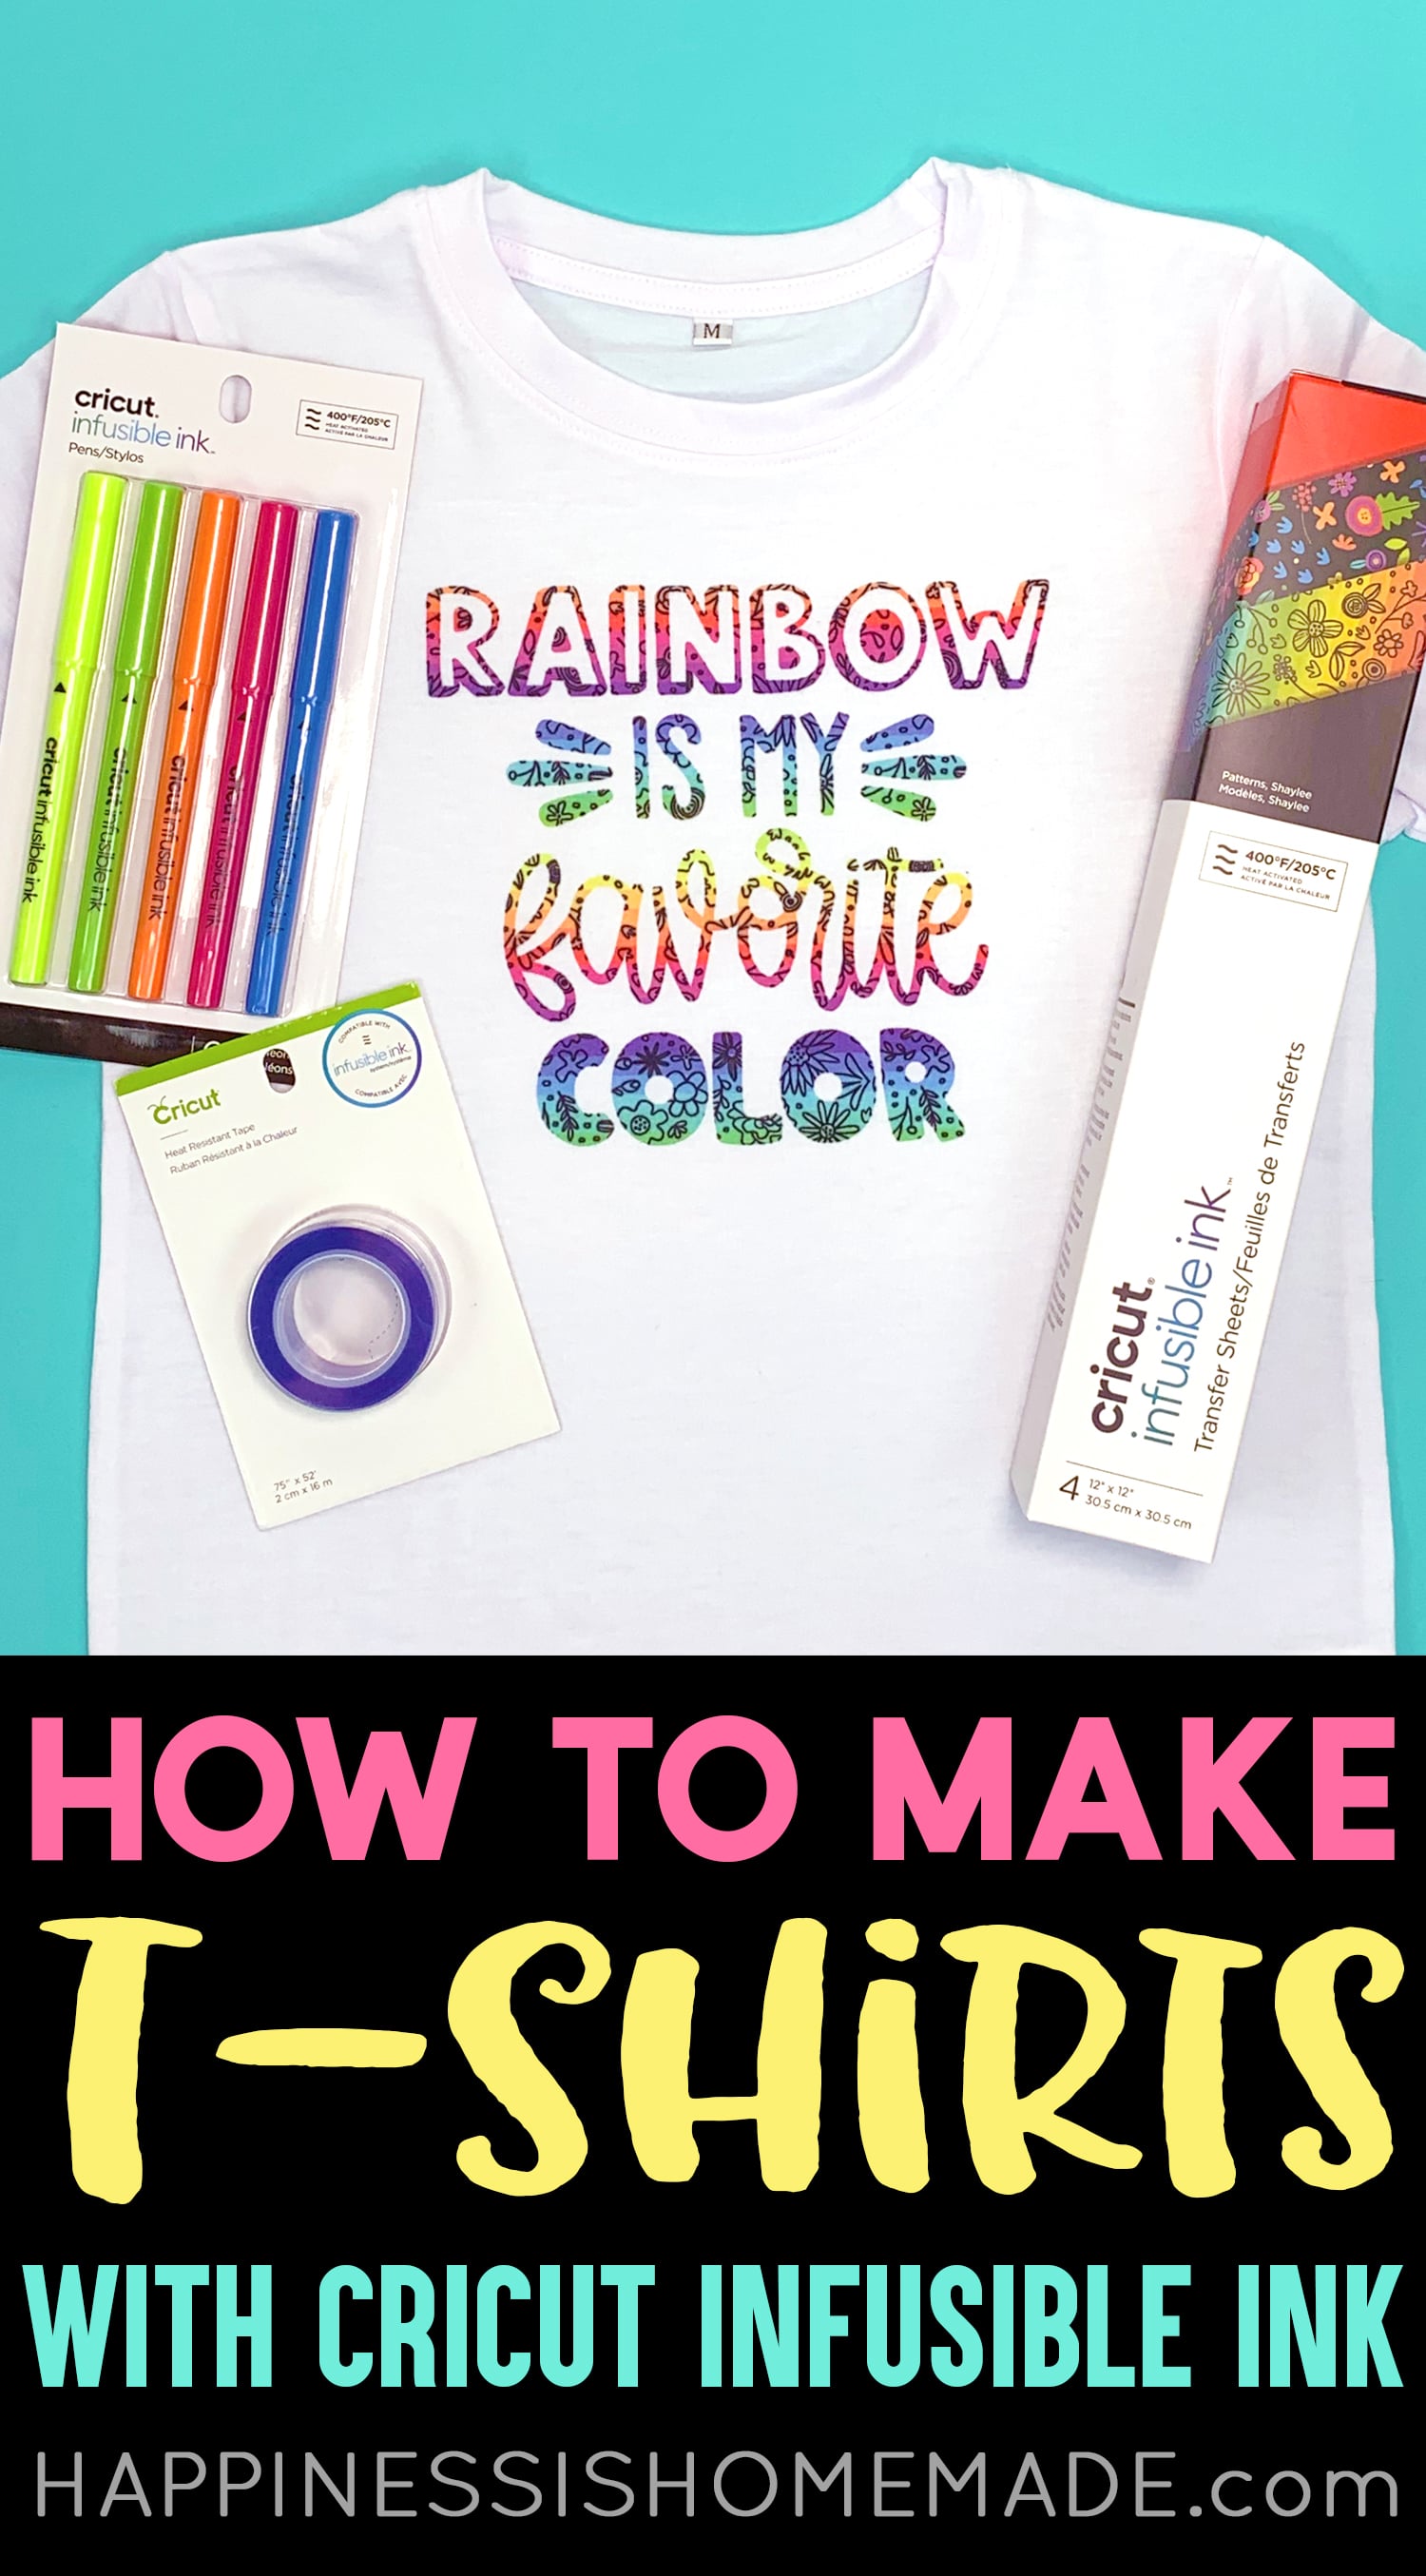
As promised, the design gets MUCH brighter and more colorful once it has been infused!
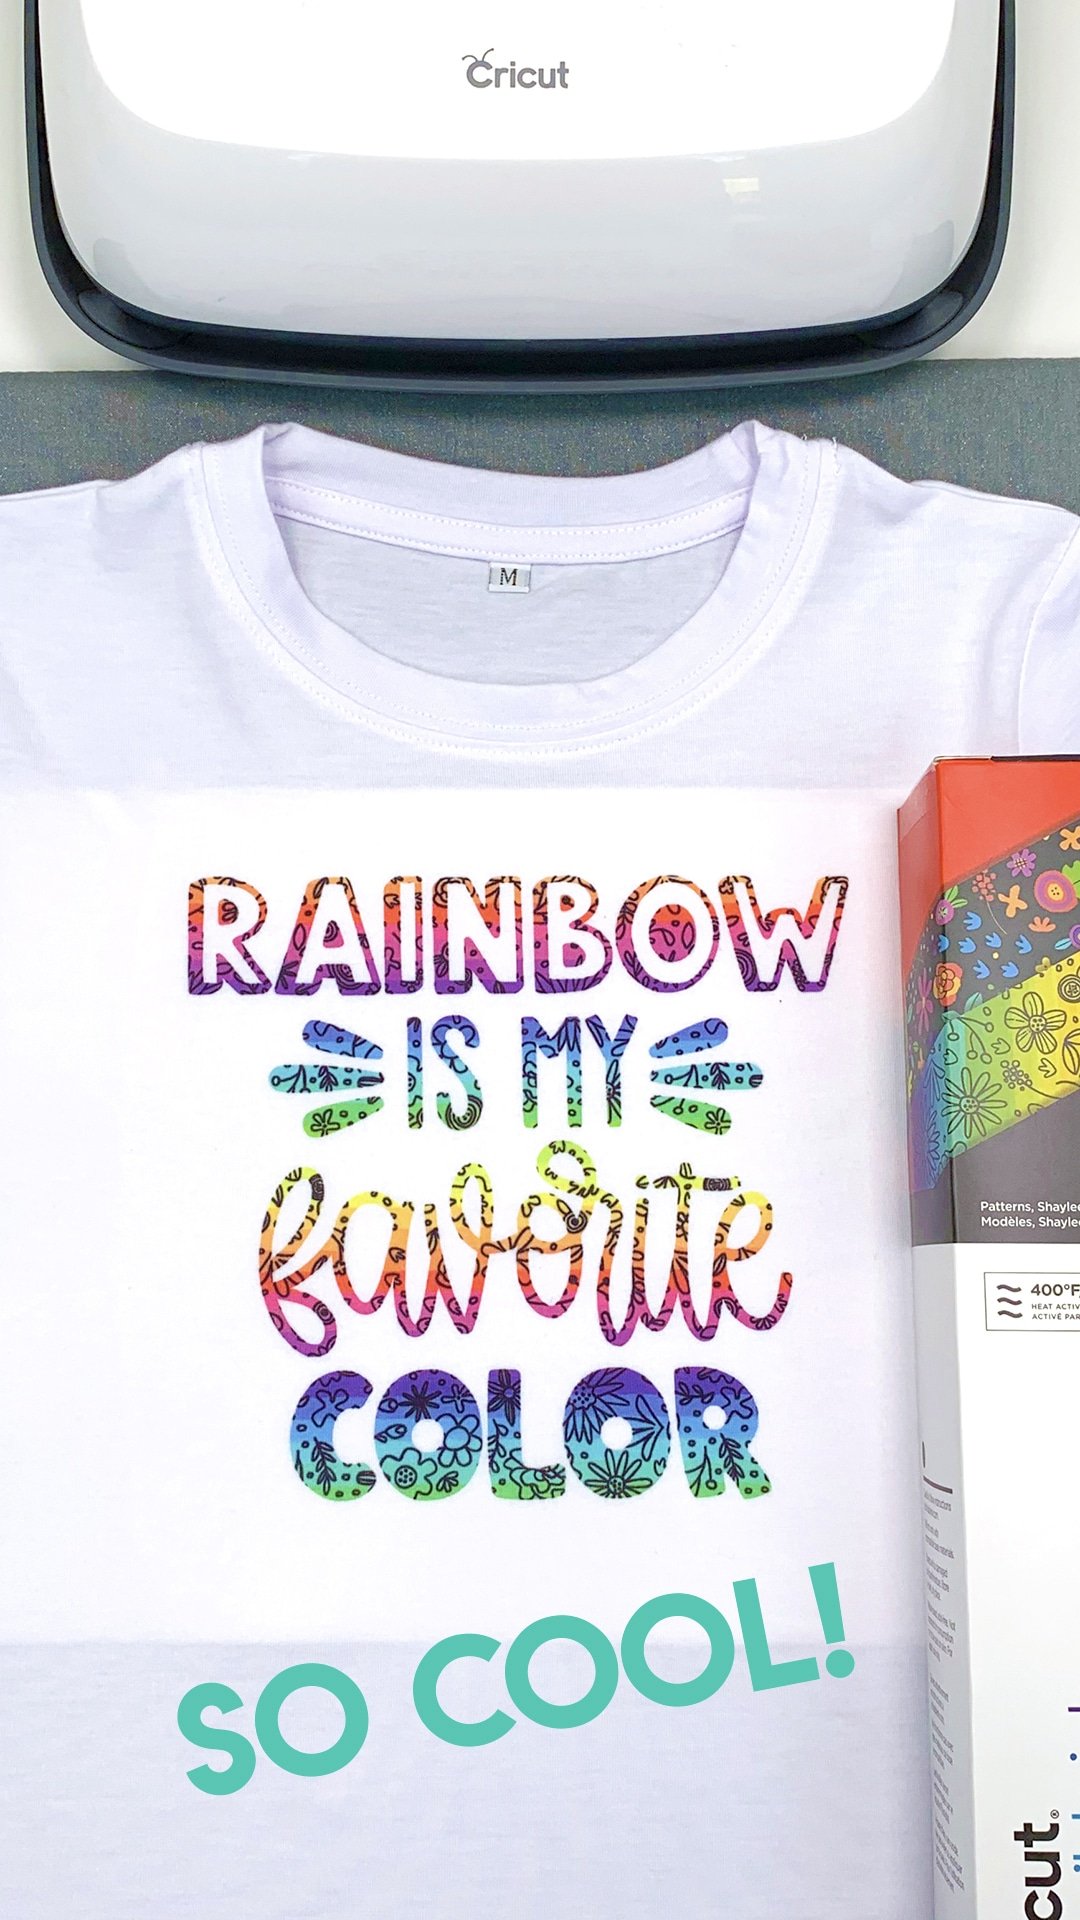
Isn’t this the coolest!? The Infusible Ink is so bright and crisp, and it’s actually become a part of the fabric itself!
Check it out! The Infusible Ink design has become bonded into the fabric, so it can be stretched and washed and handled without any worries that it will crack, peel, or warp whatsoever! And you don’t have to worry about fading either – Infusible Ink will always stay bright and vibrant wash after wash!
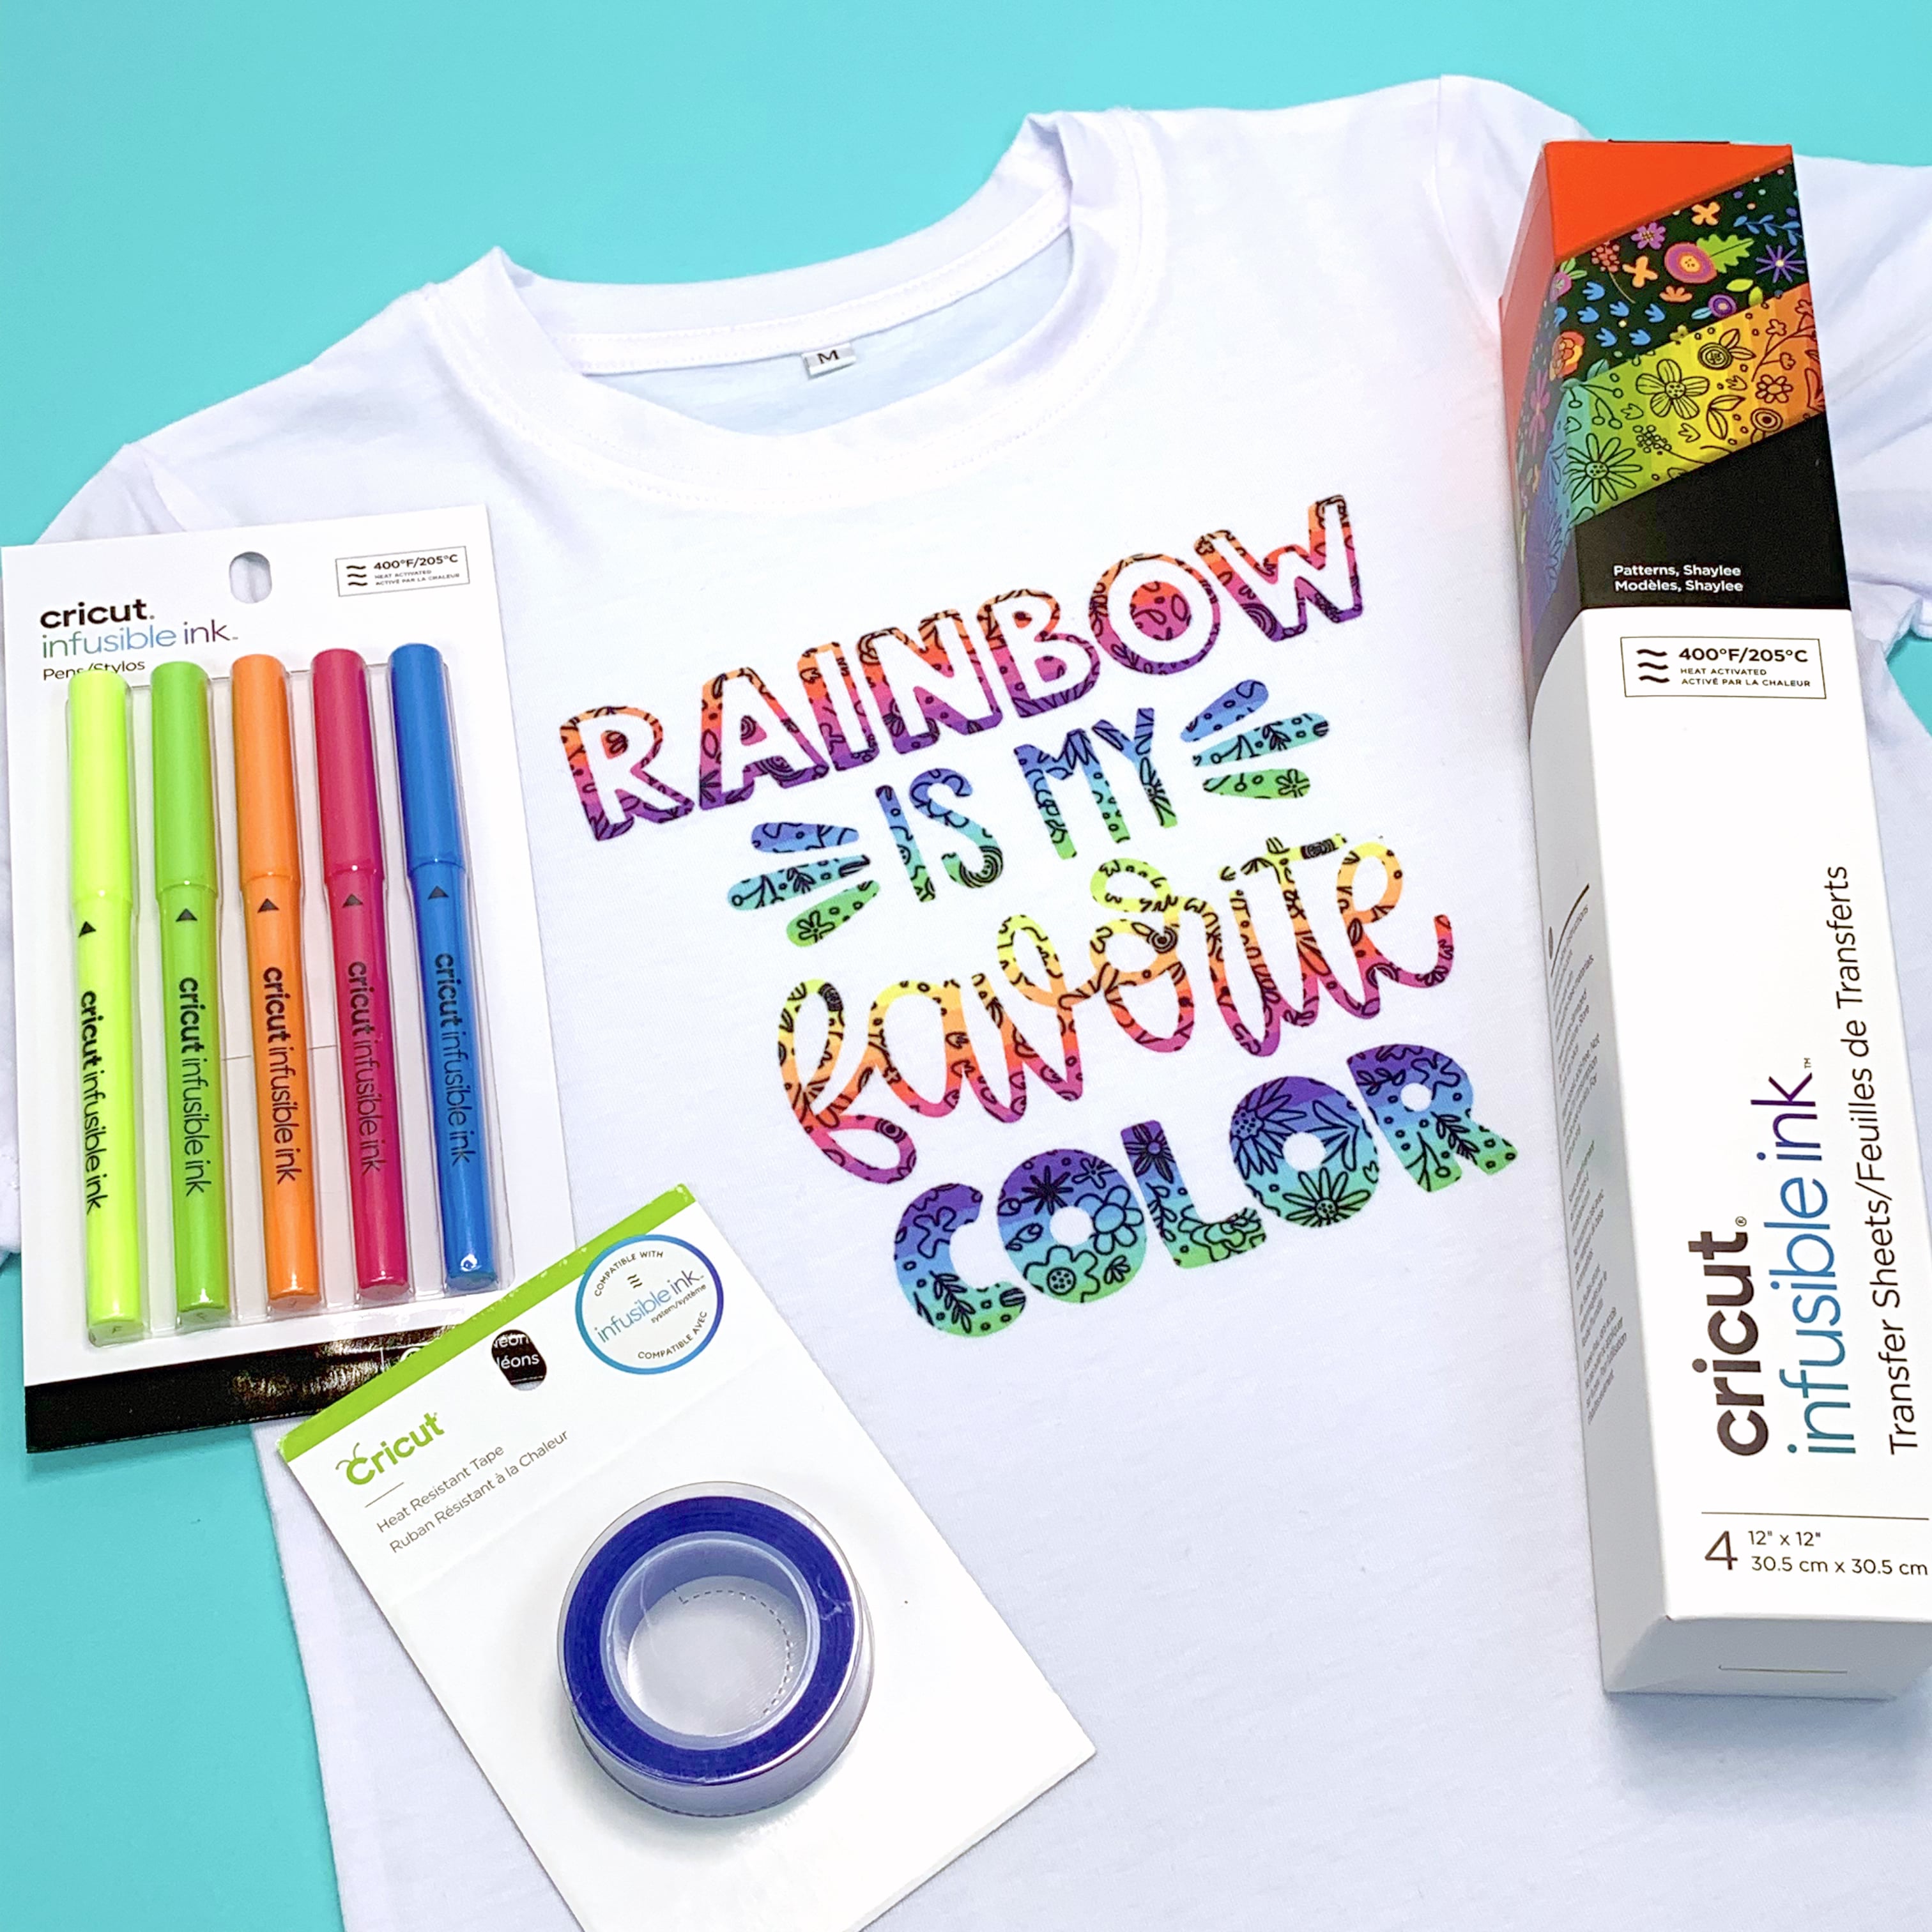
With a wide variety of solid colored and patterned Infusible Ink transfer sheets, the t-shirt design options are truly endless!
BUT, shirts aren’t the only thing you can make with Infusible Ink!
How to Make Coasters with Infusible Ink
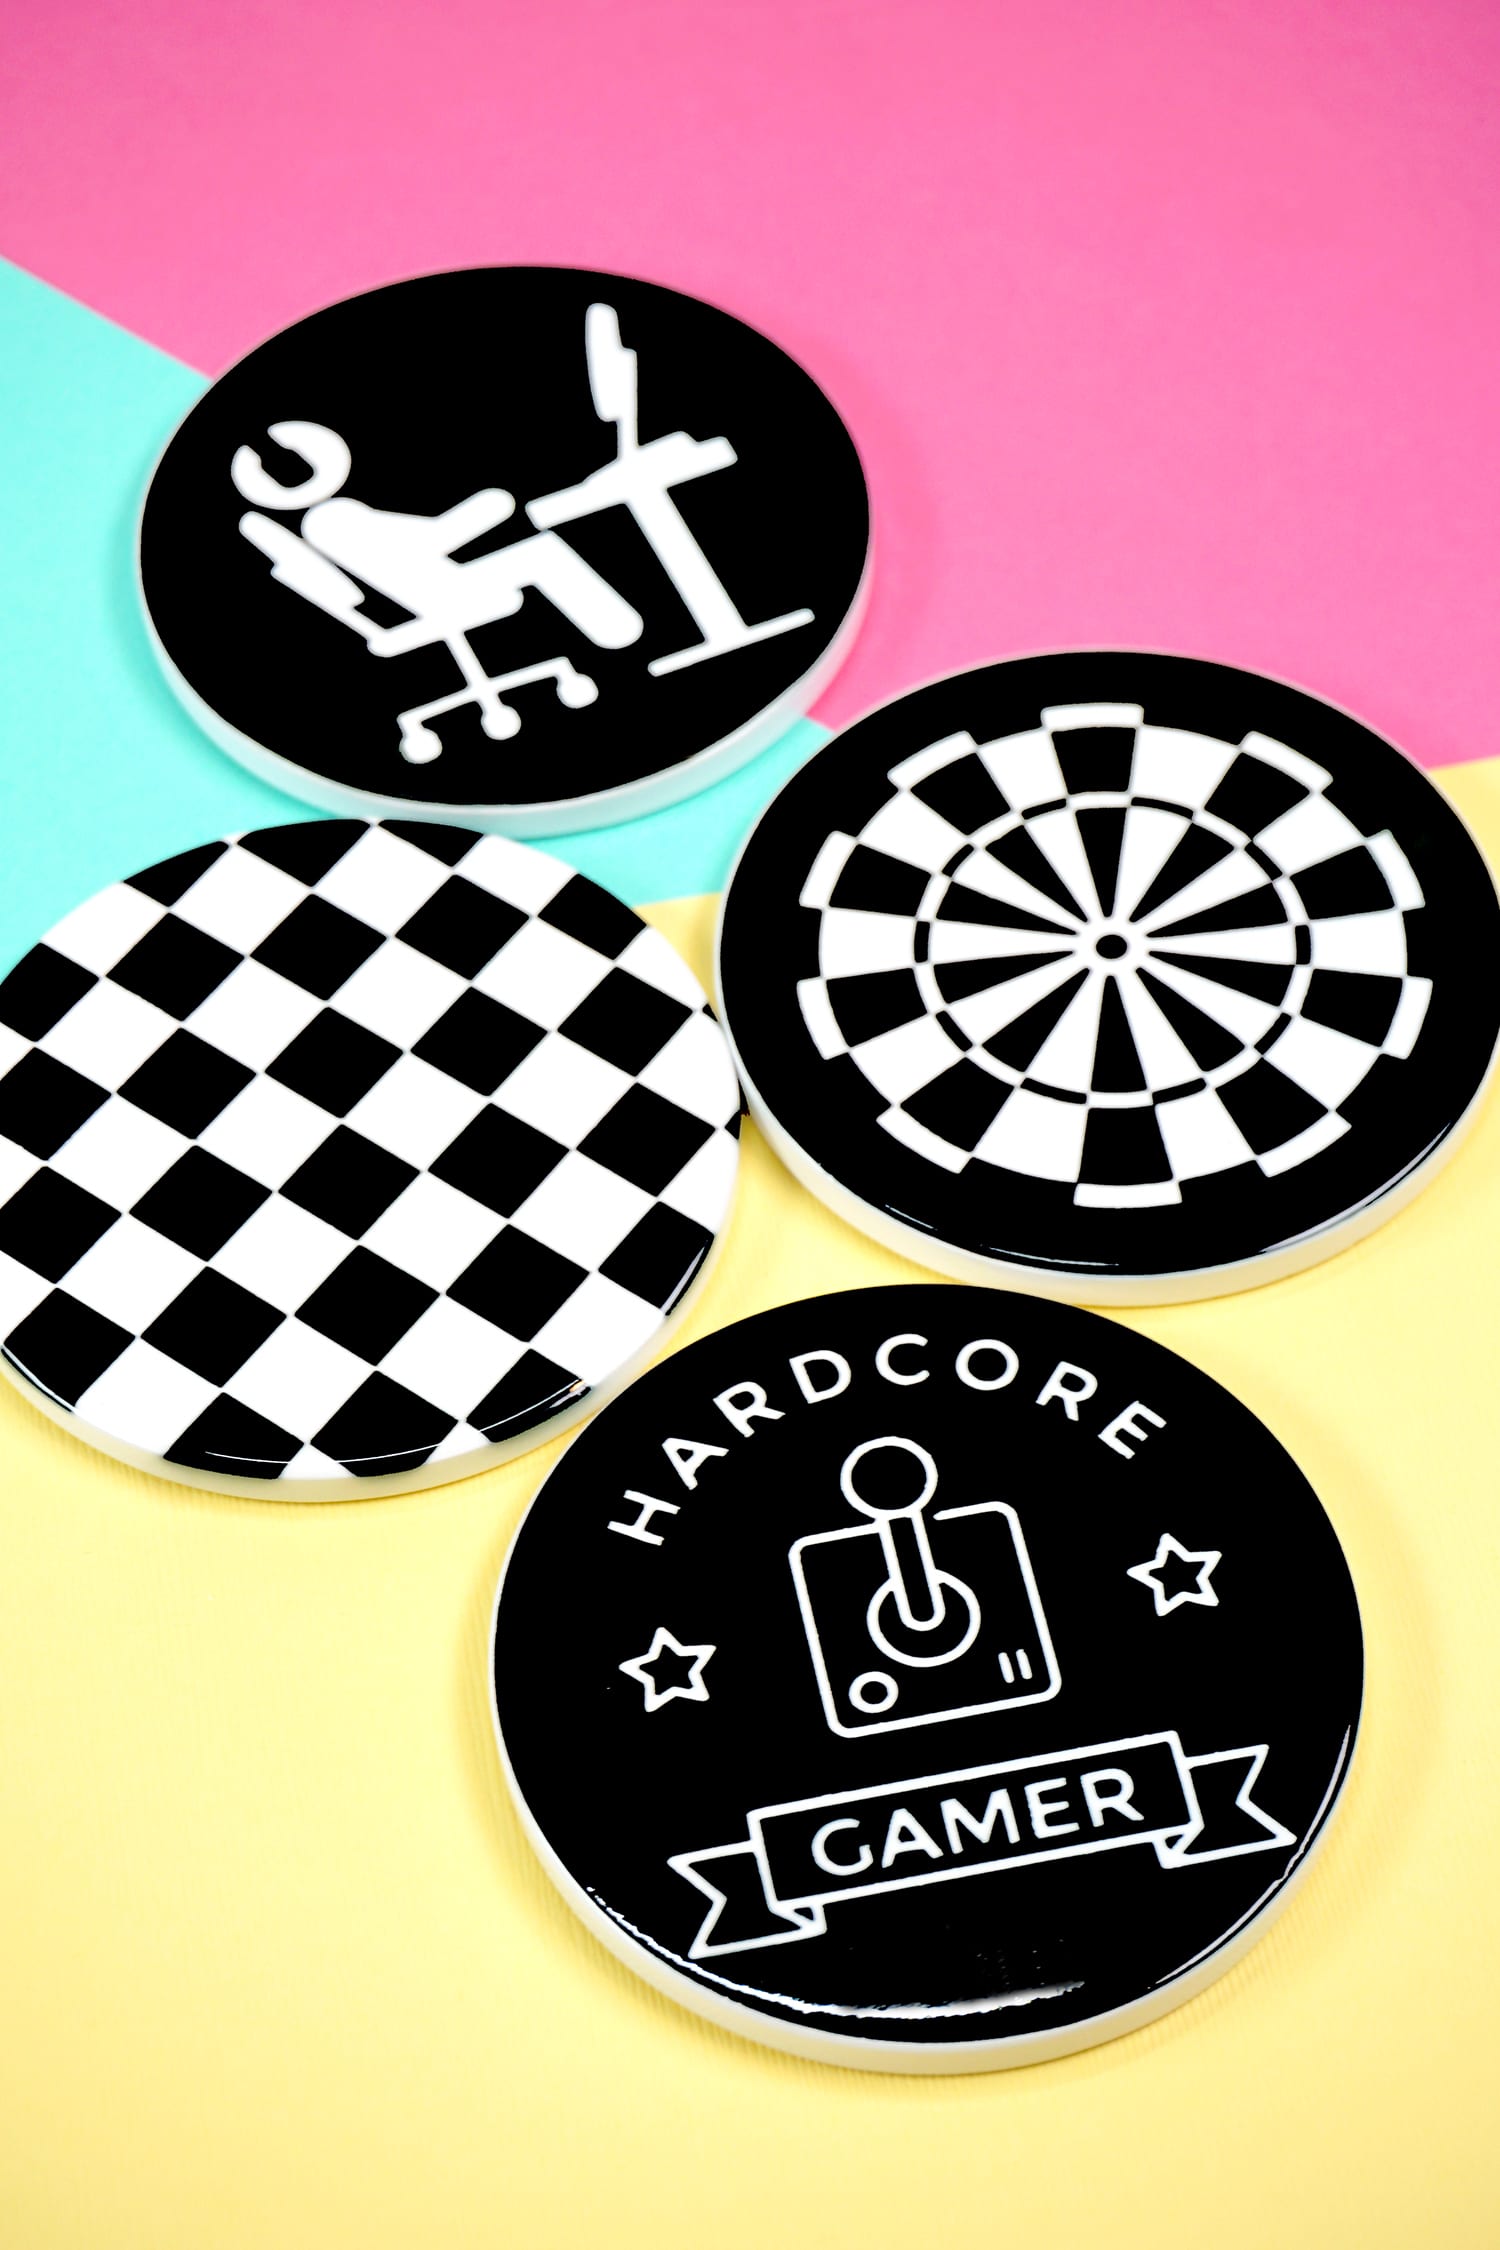
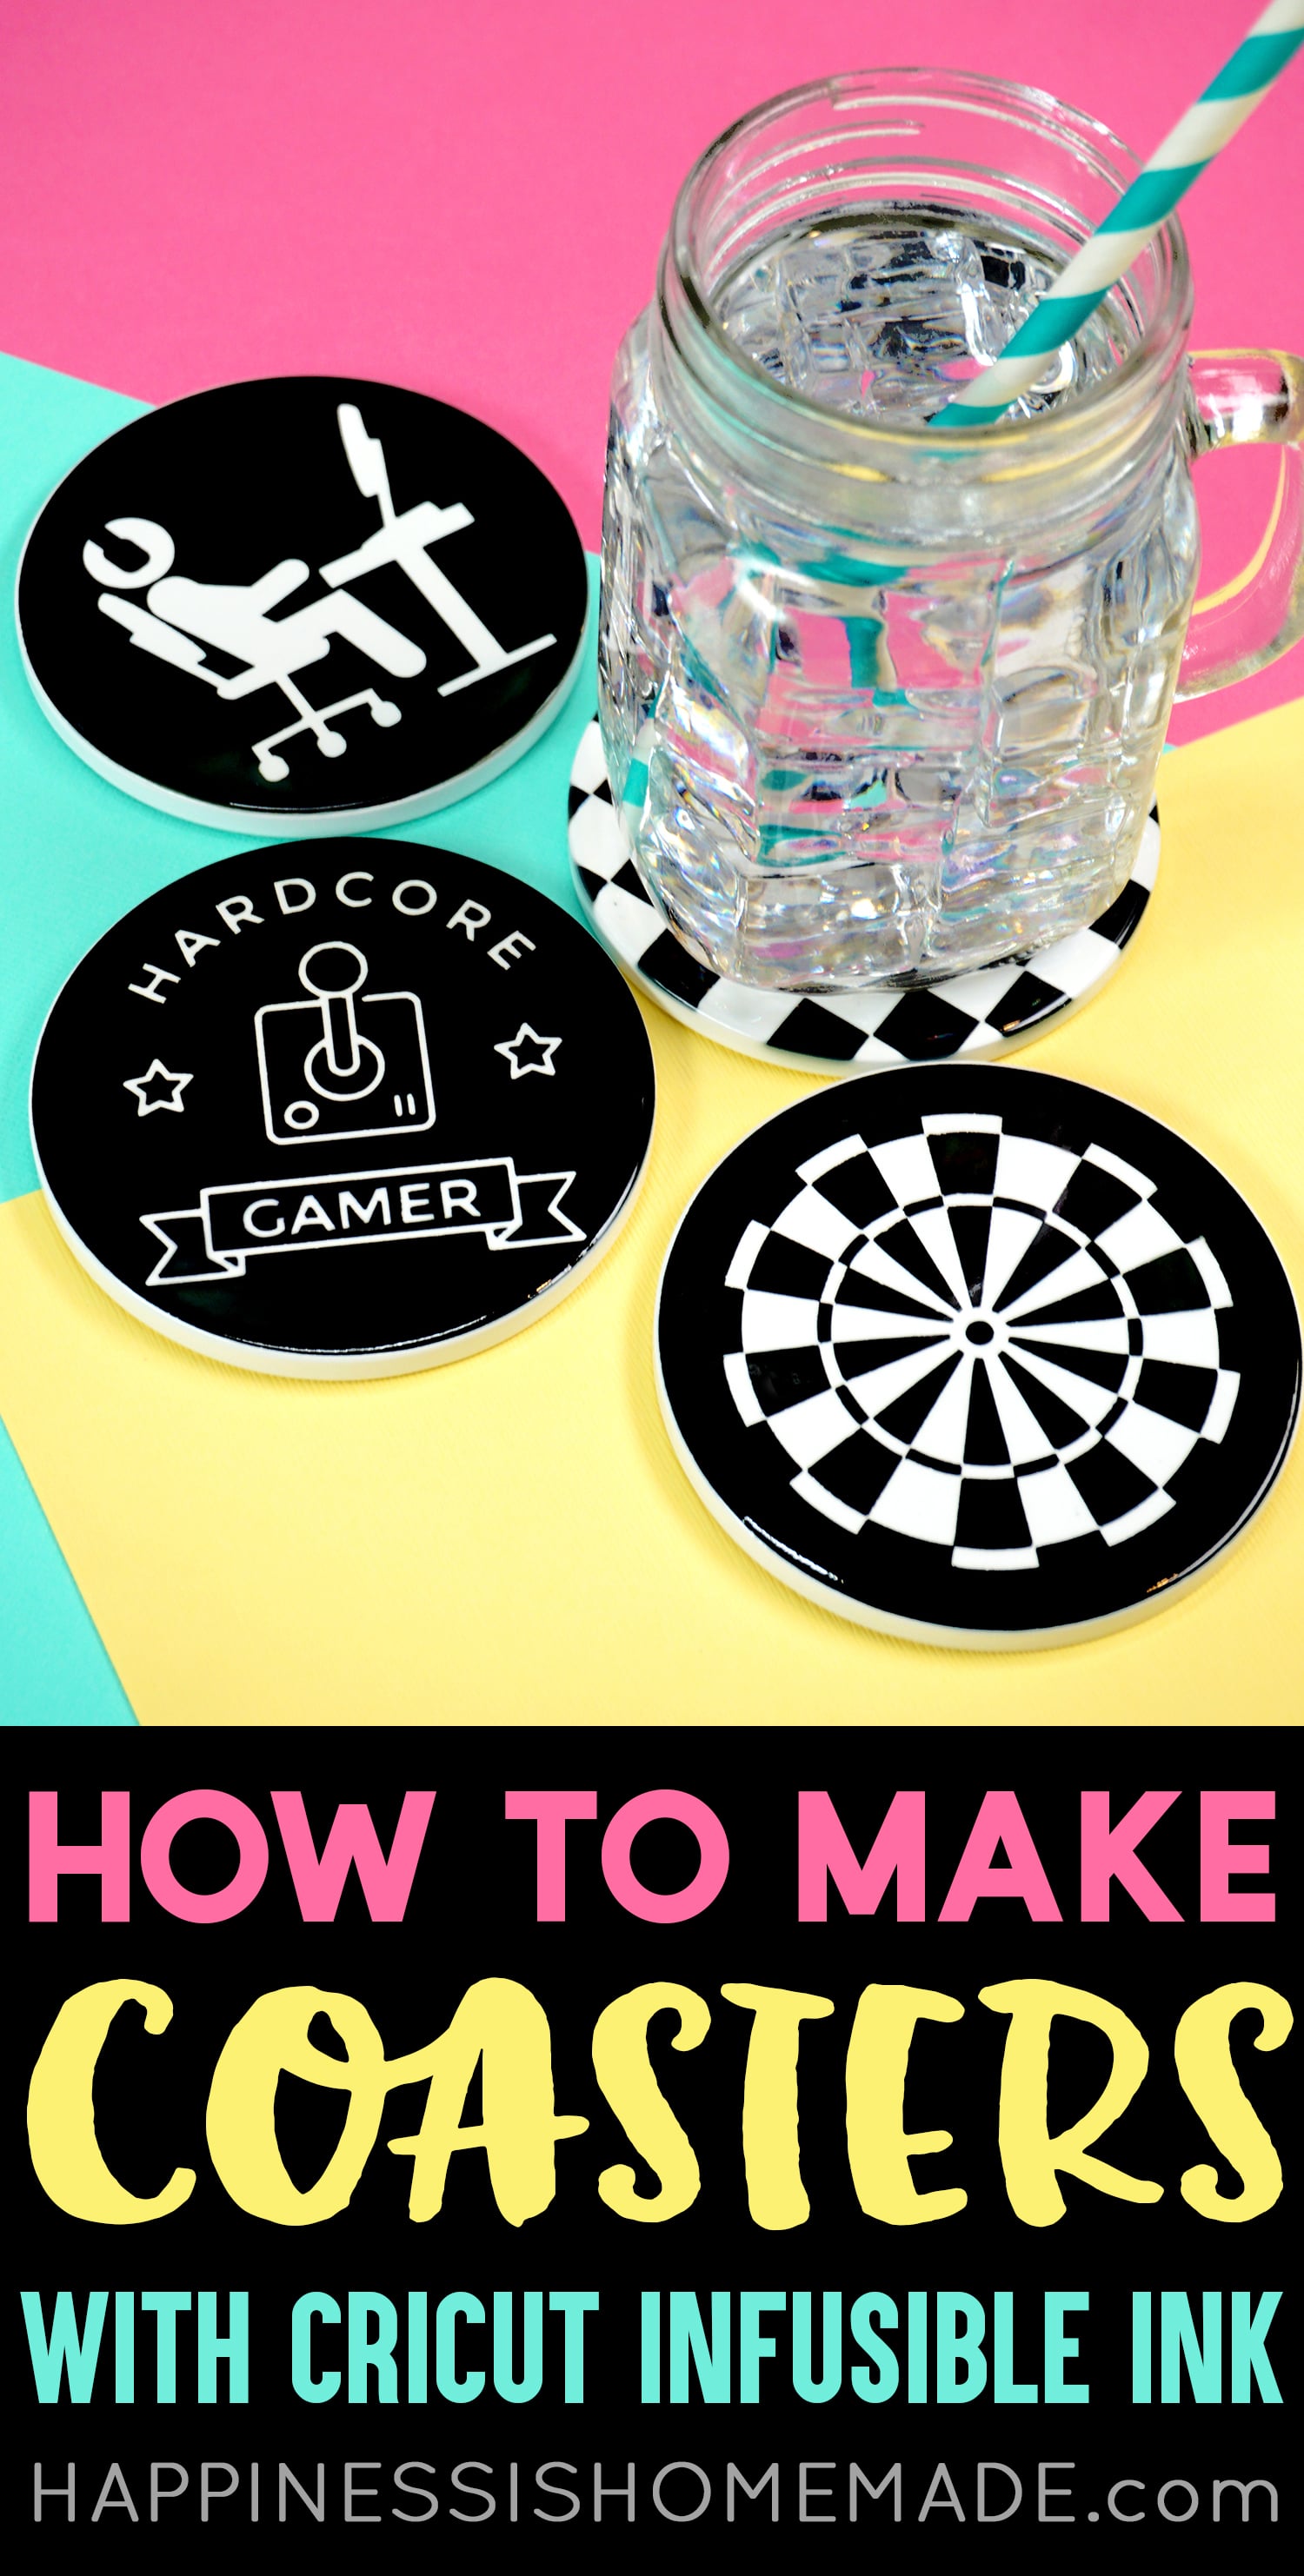
When you make ceramic coasters with Infusible Ink, your design becomes a part of the coaster (like it did with the shirts!), and you’re left with a shiny high-gloss finish that requires no sealing!
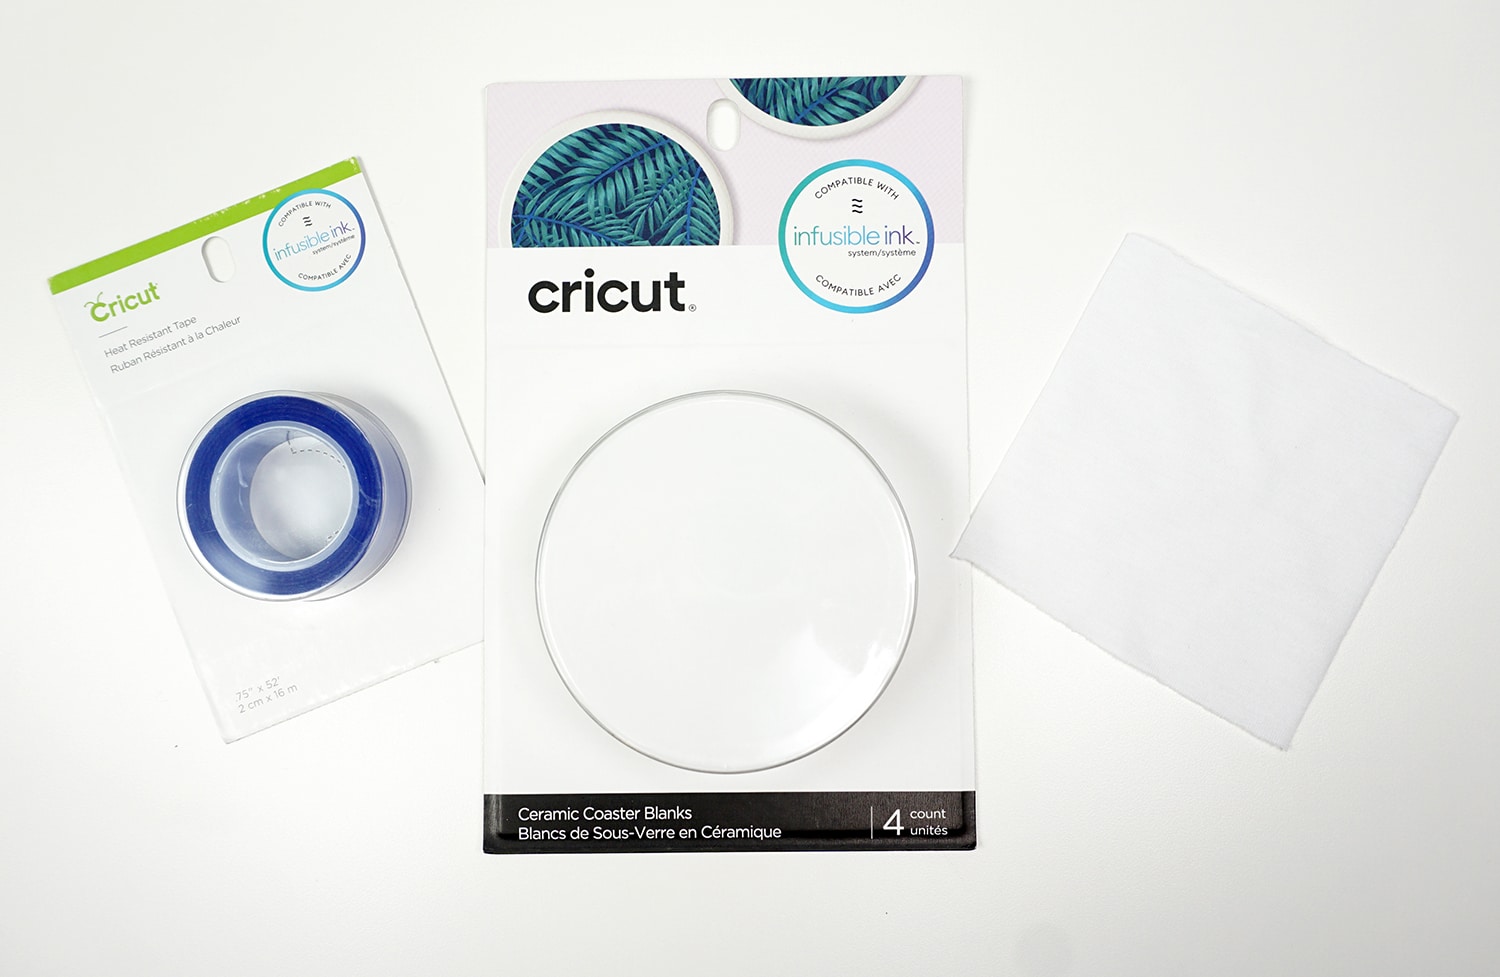
What We Used:
- Cricut Infusible Ink Ceramic Coaster Blanks
- Cricut Infusible Ink Transfer Sheet (we used black)
- Cricut Maker Machine (can also use Explore machines)
- Cricut EasyPress 2, and Mat
- White Cardstock
- Butcher Paper (included with Infusible Ink Transfer Sheets)
- Lint Roller
- Heat Resistant Tape (optional)
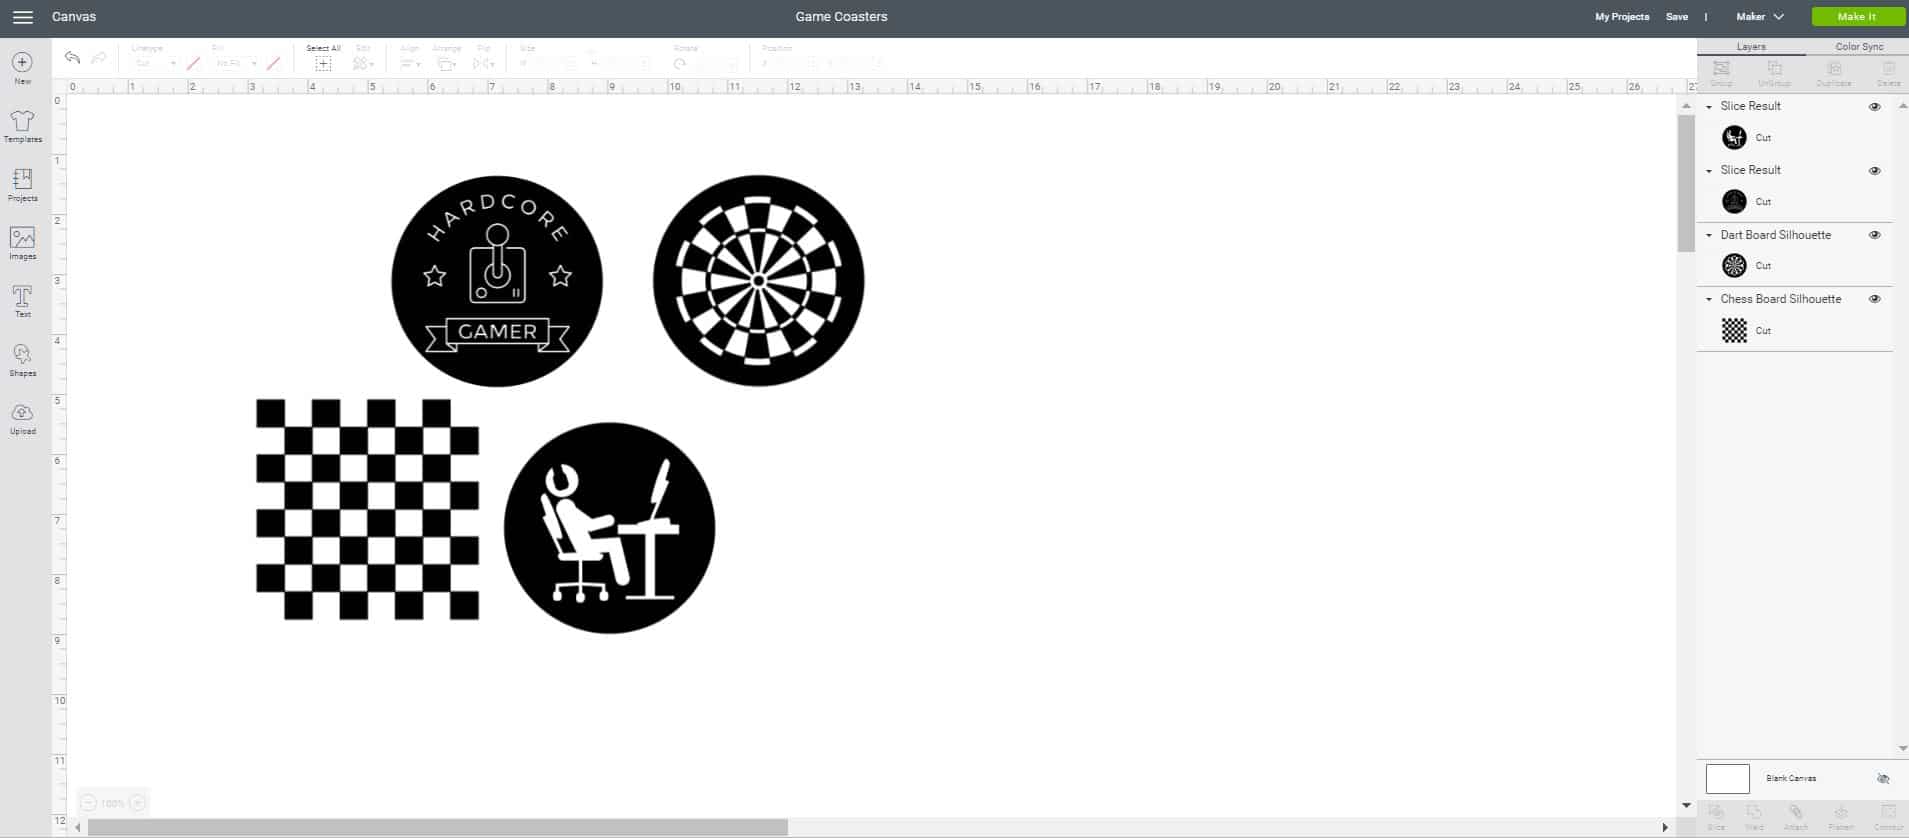
Begin by opening up your design in Cricut Design Space. You can access these Gaming Coasters here if you’d like to create this same project.
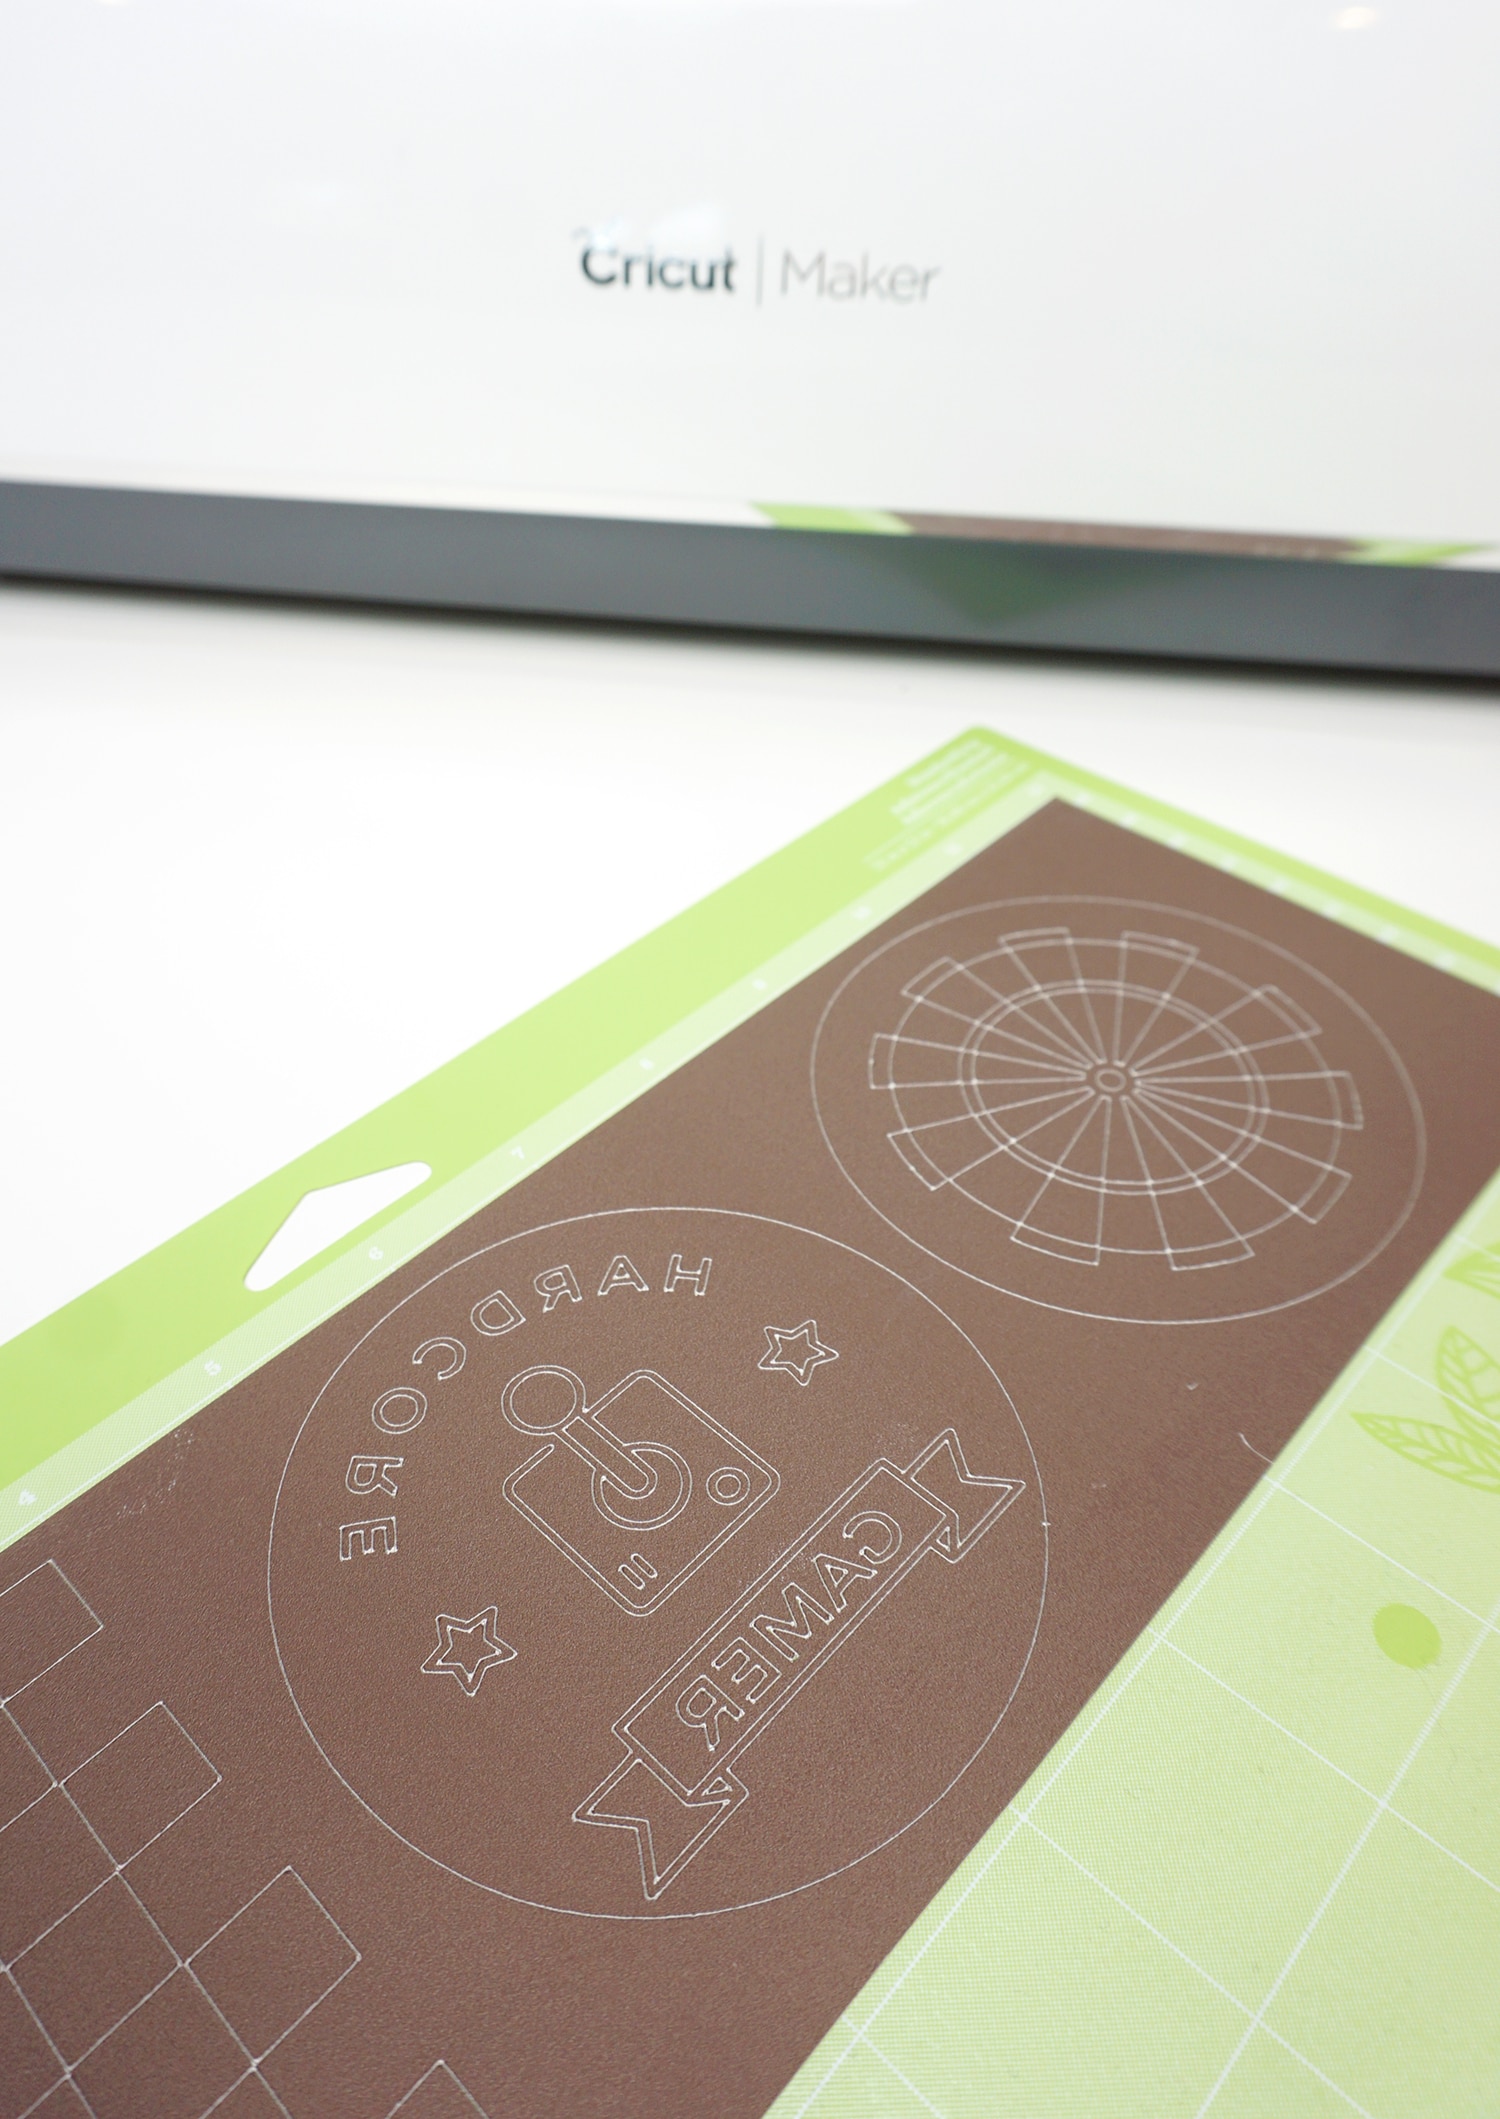
Use your Cricut machine to cut the Infusible Ink sheet. Again, make sure to mirror your design before cutting!
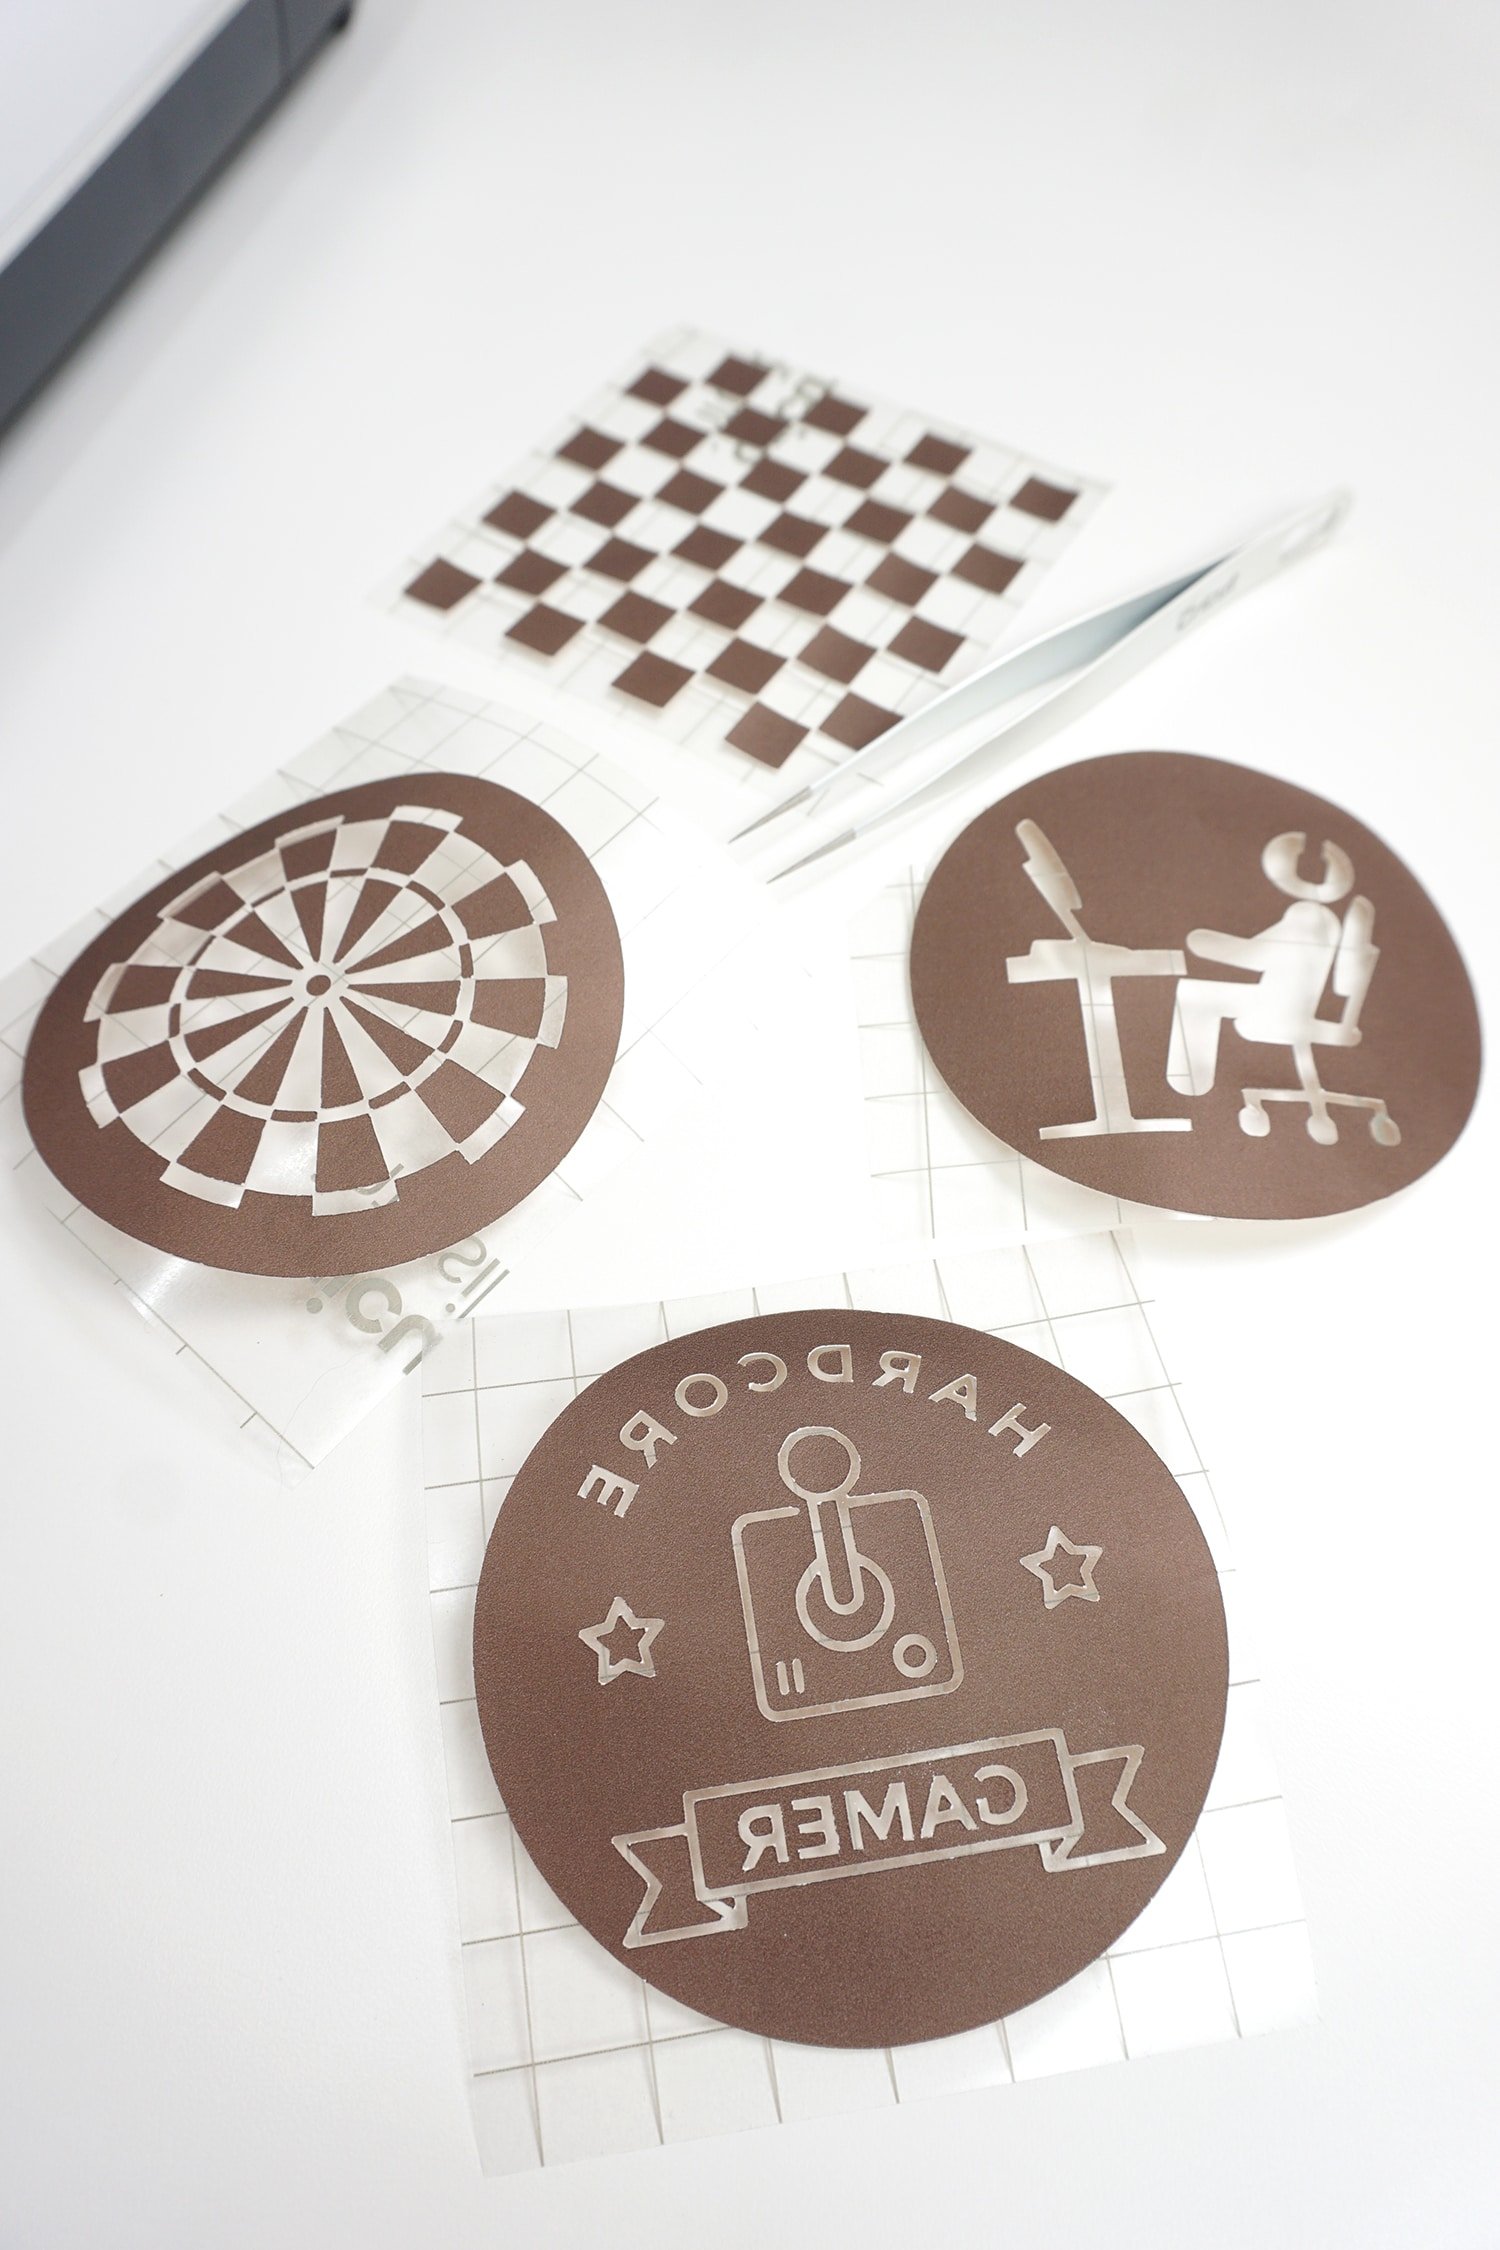
Weed the excess Infusible Ink using your hands or tweezers. Notice again that the color of the Infusible Ink transfer sheet is MUCH lighter than our finished project will be.
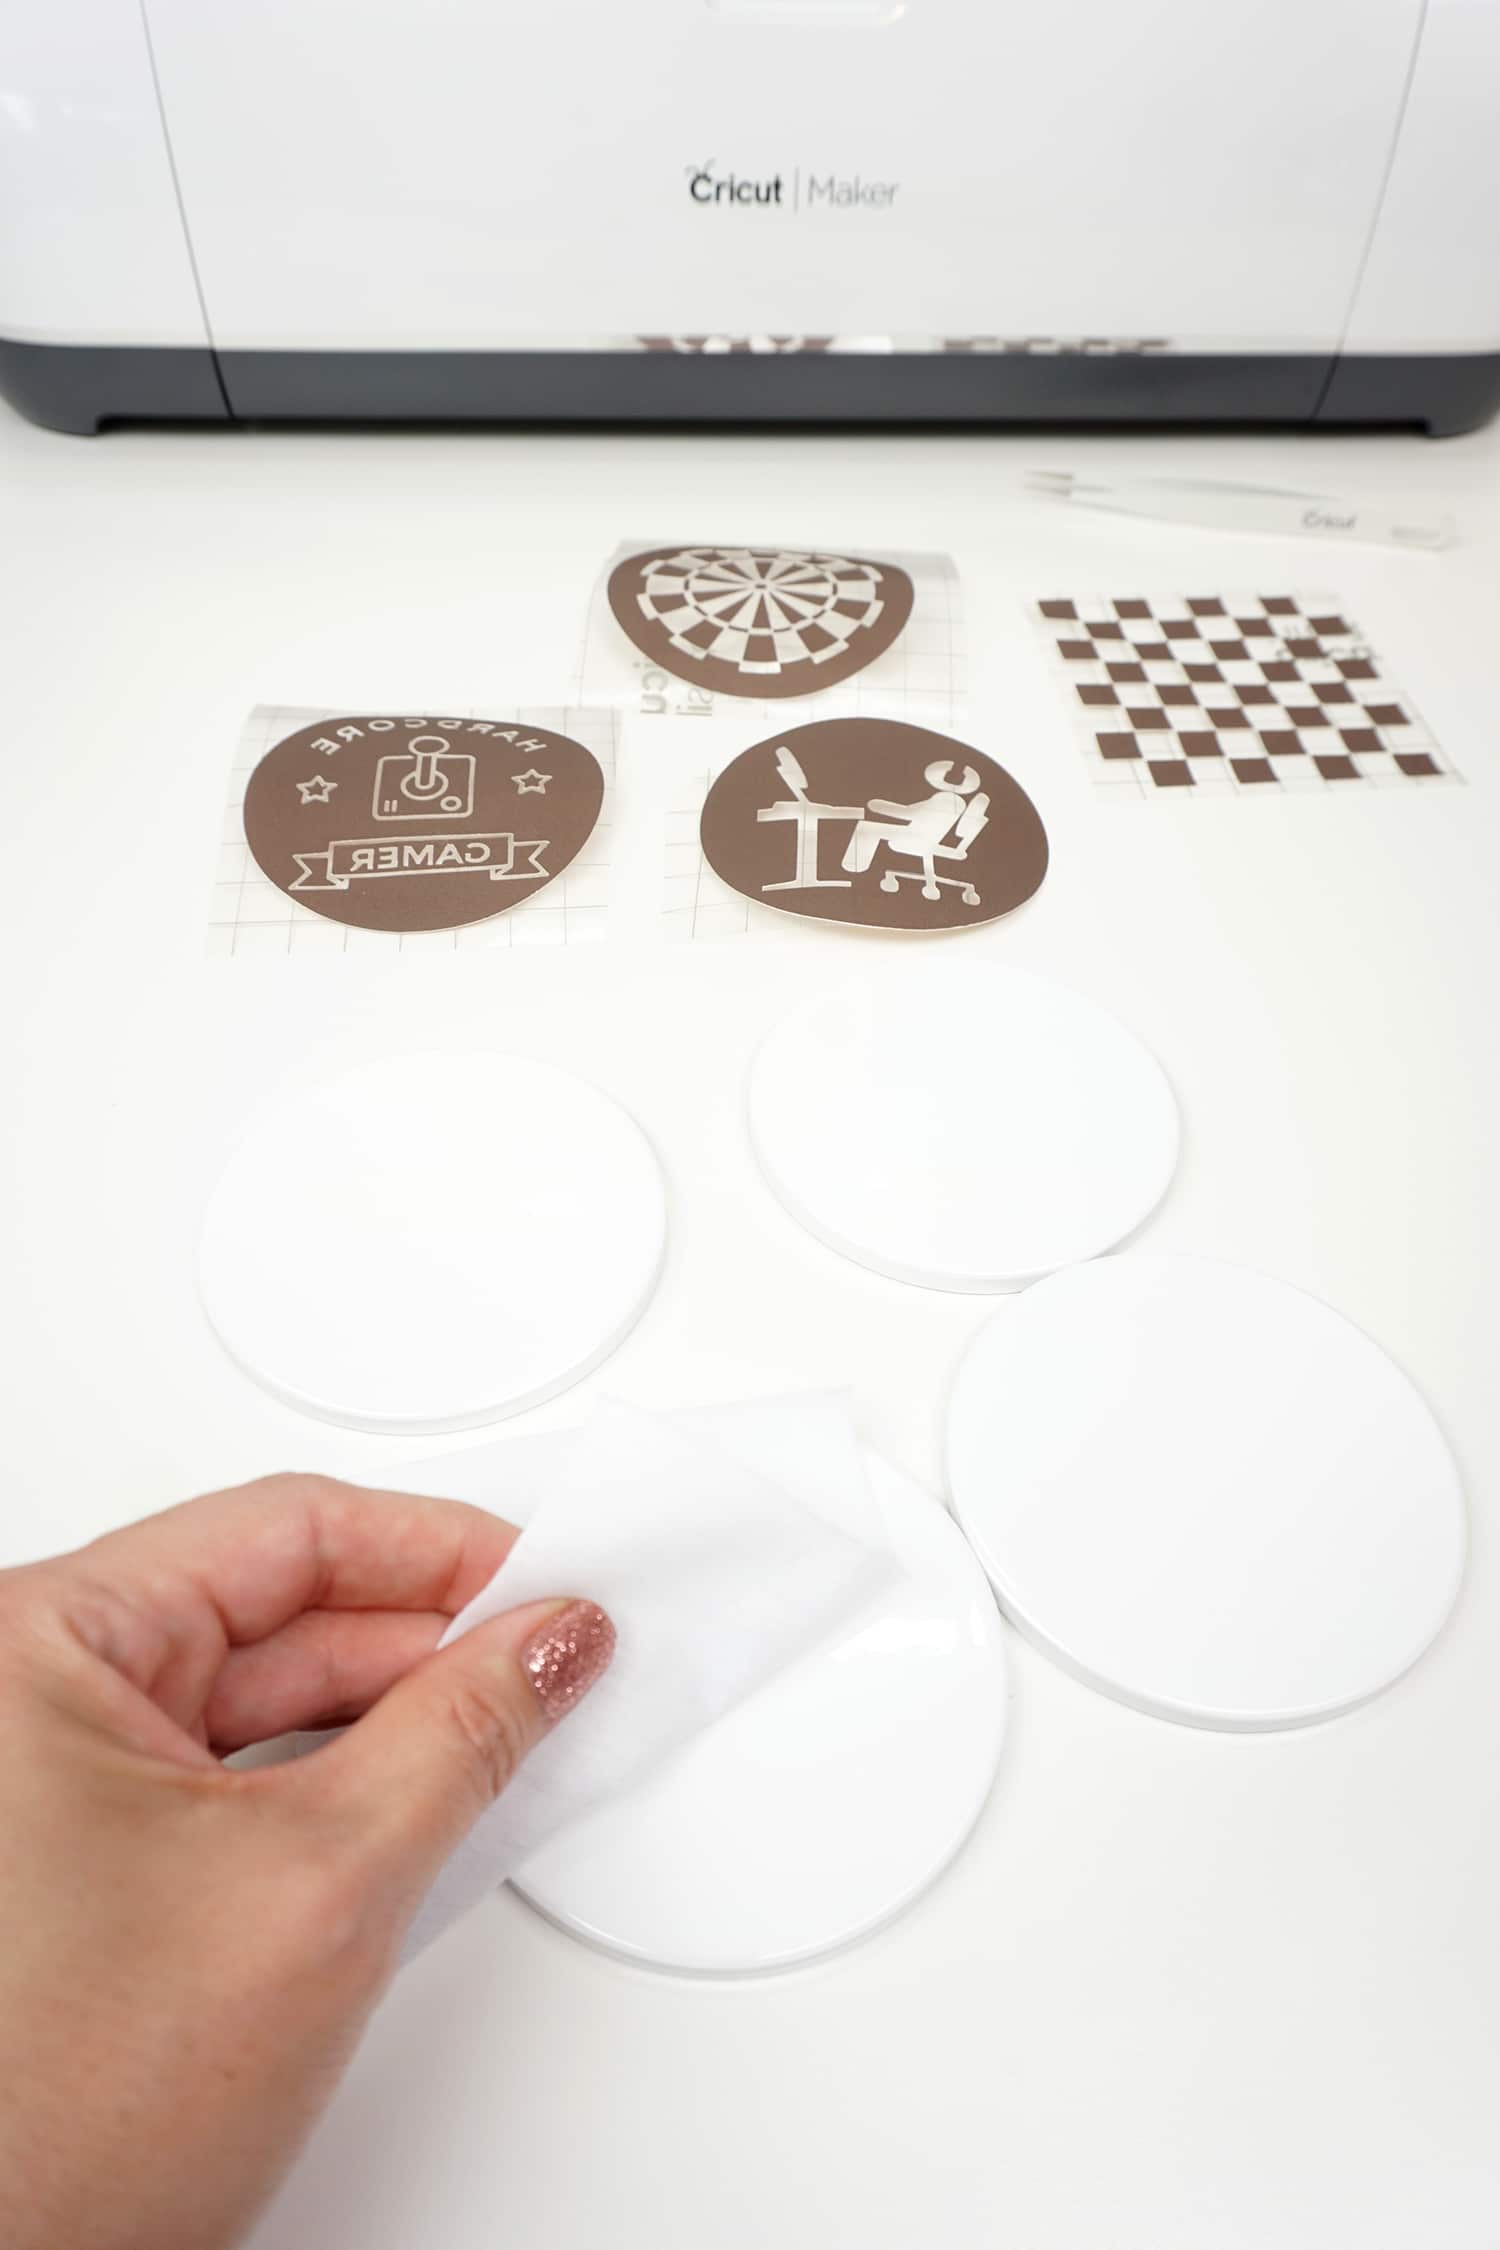
Use a lint-free cloth to remove any dust or debris from the coaster.
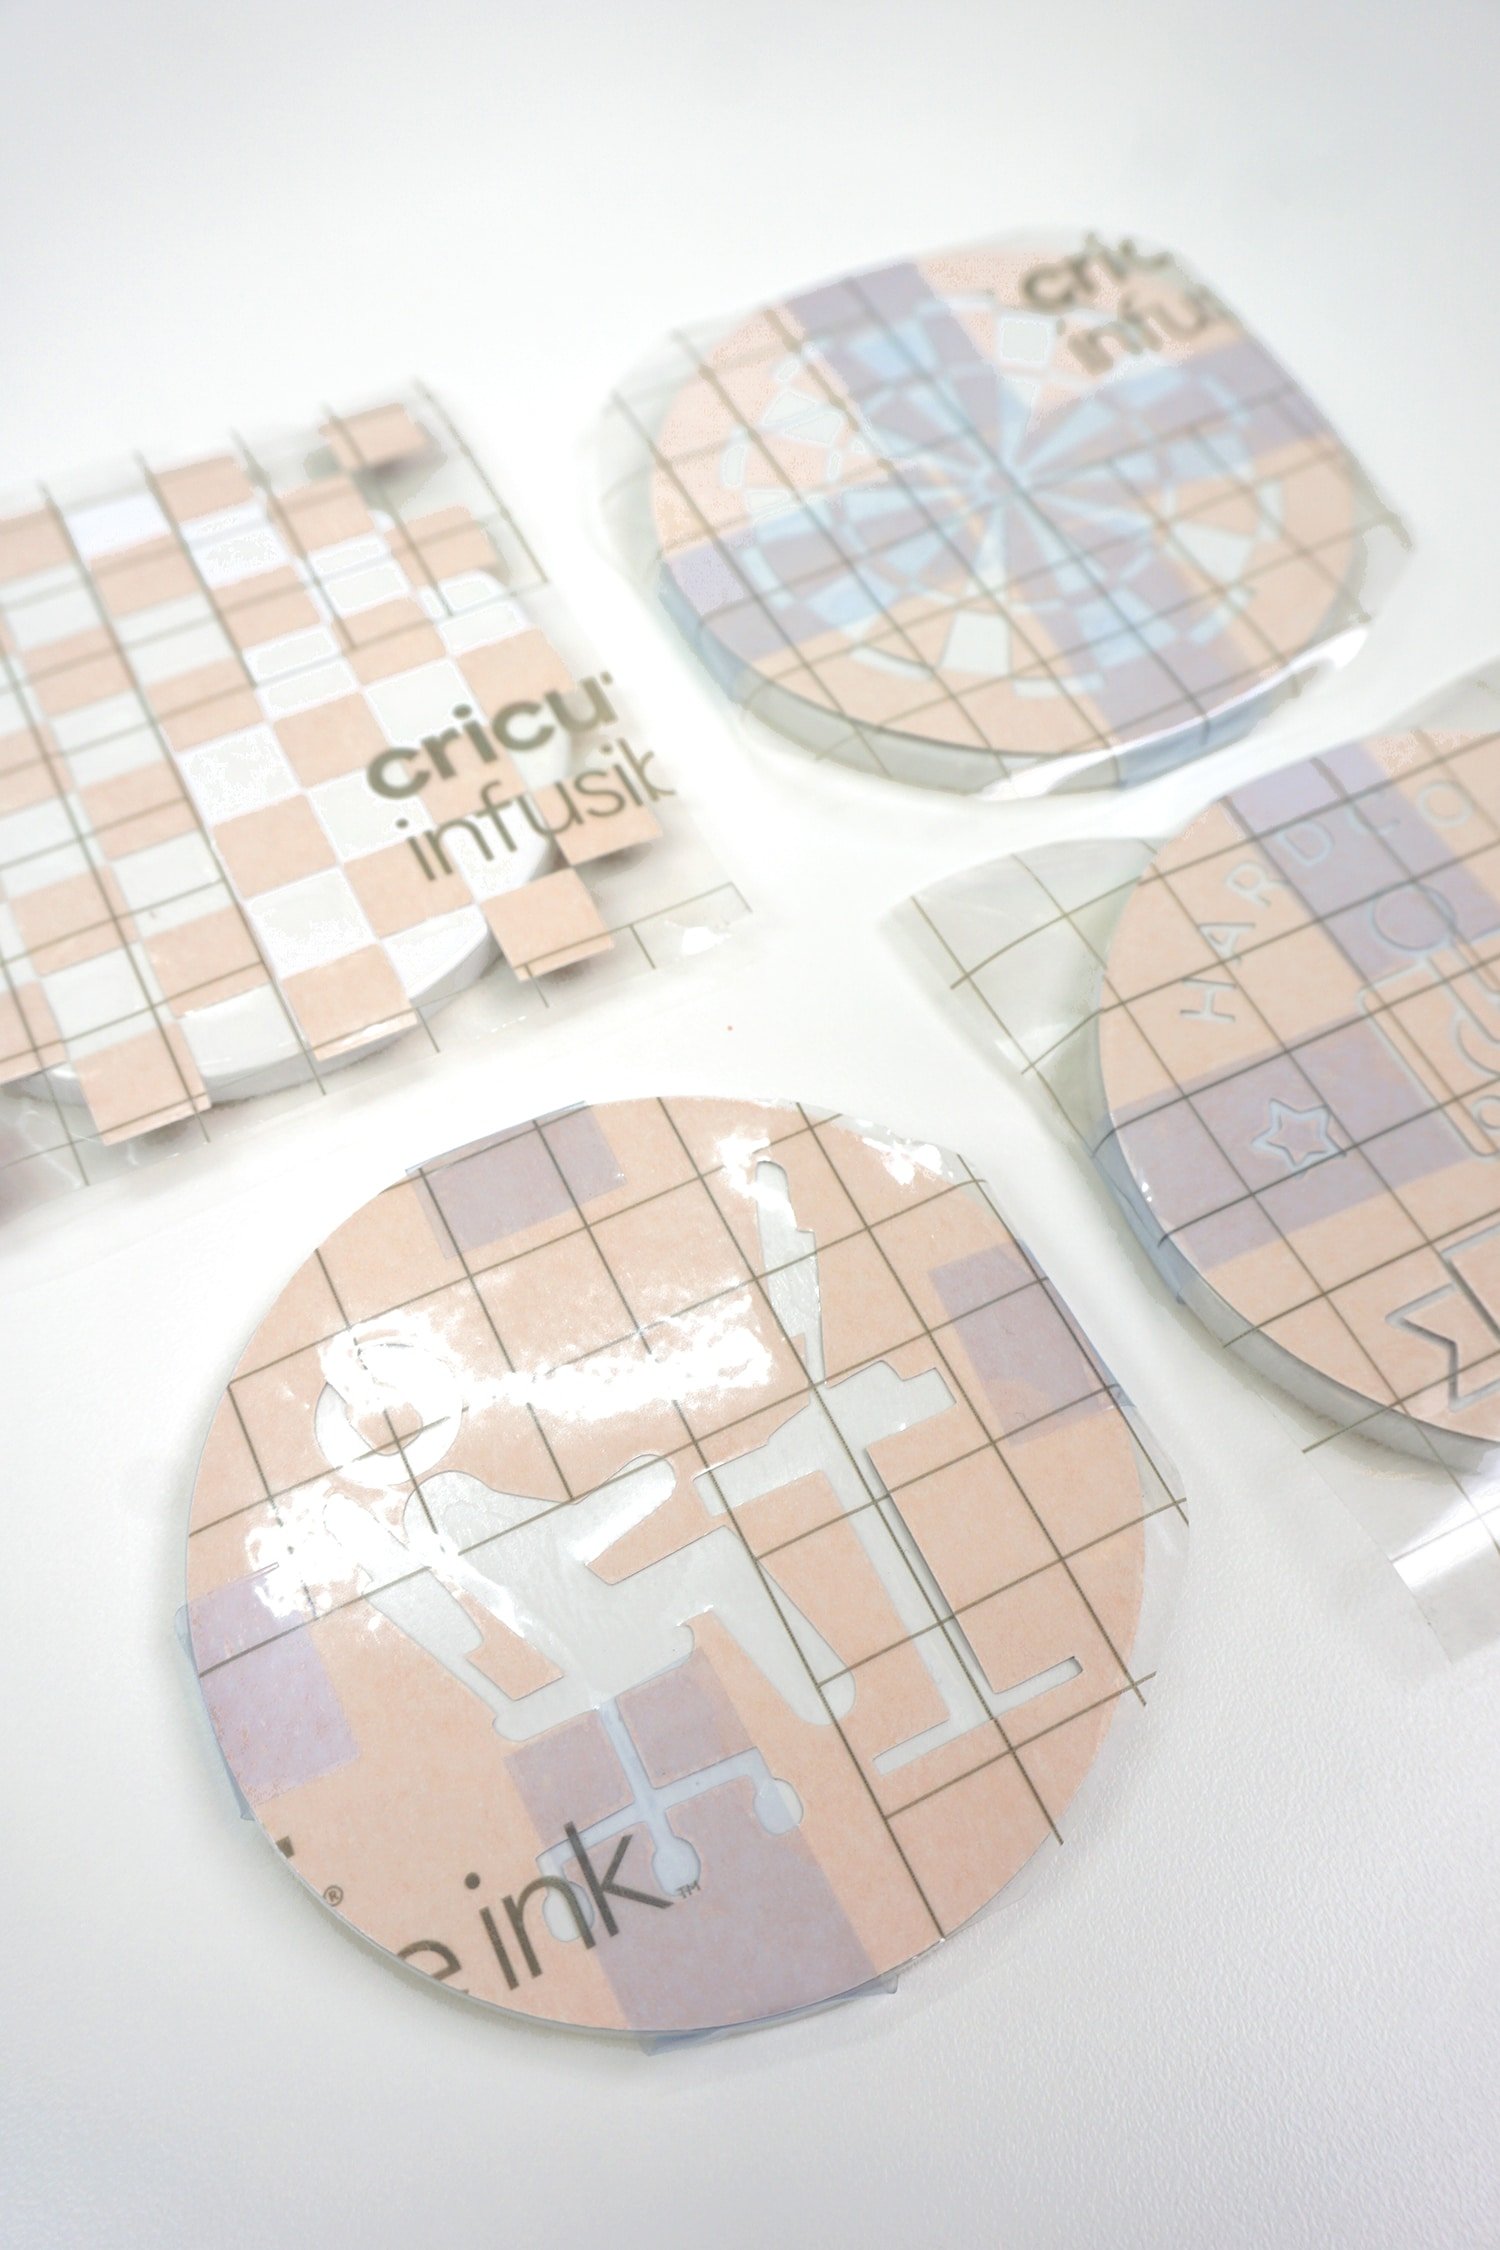
Place the designs on to the coasters and use the heat-resistant tape to hold them in place.
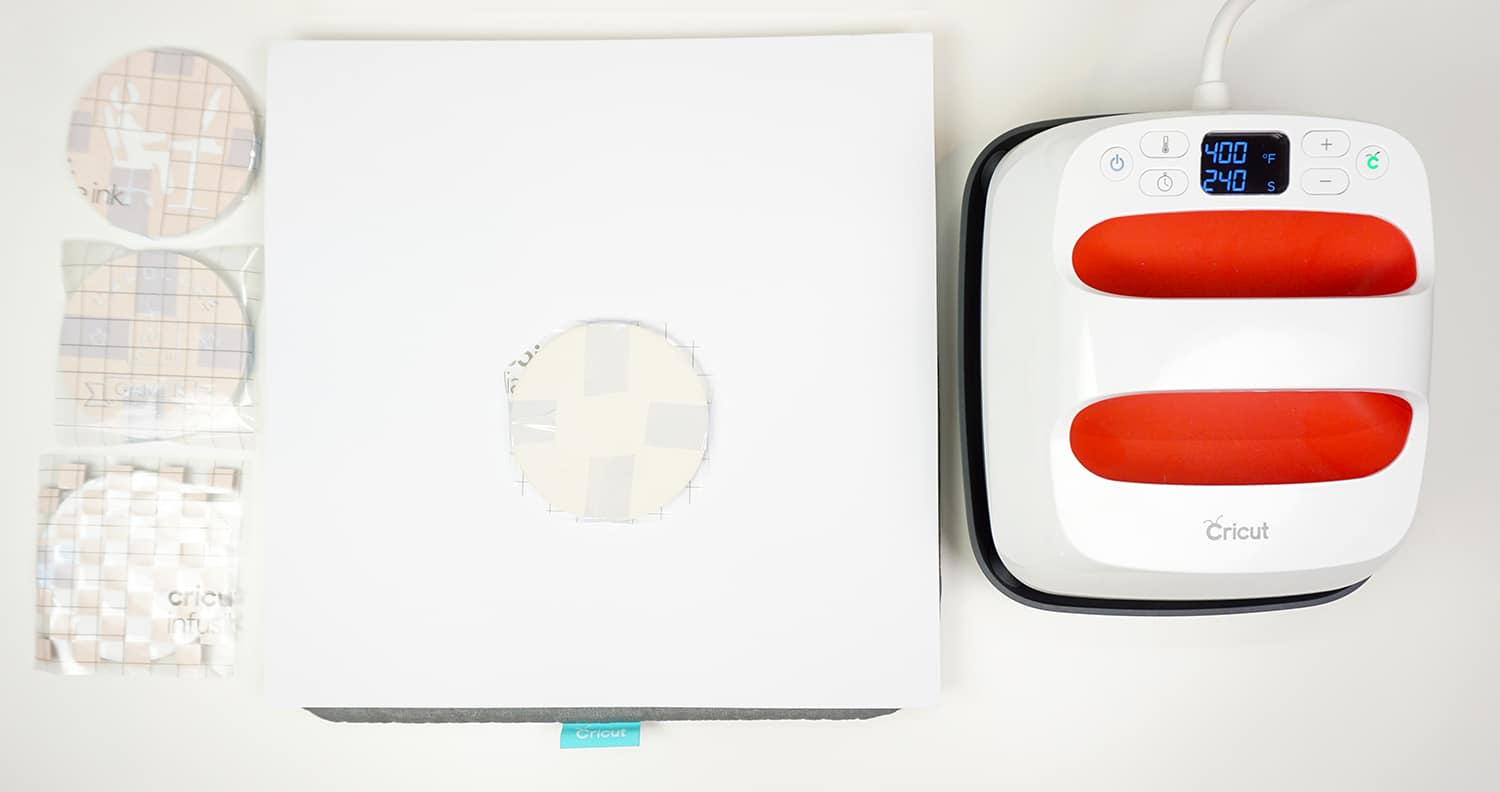
Heat the EasyPress 2 to 400 degrees and set it for 240 seconds. Yep, that is NOT a typo – it takes a full four minutes to infuse each coaster, so use EXTREME CAUTION when handling the VERY HOT coasters!
Cover the EasyPress mat with a clean sheet of white cardstock and place the coaster face-down on top of it.
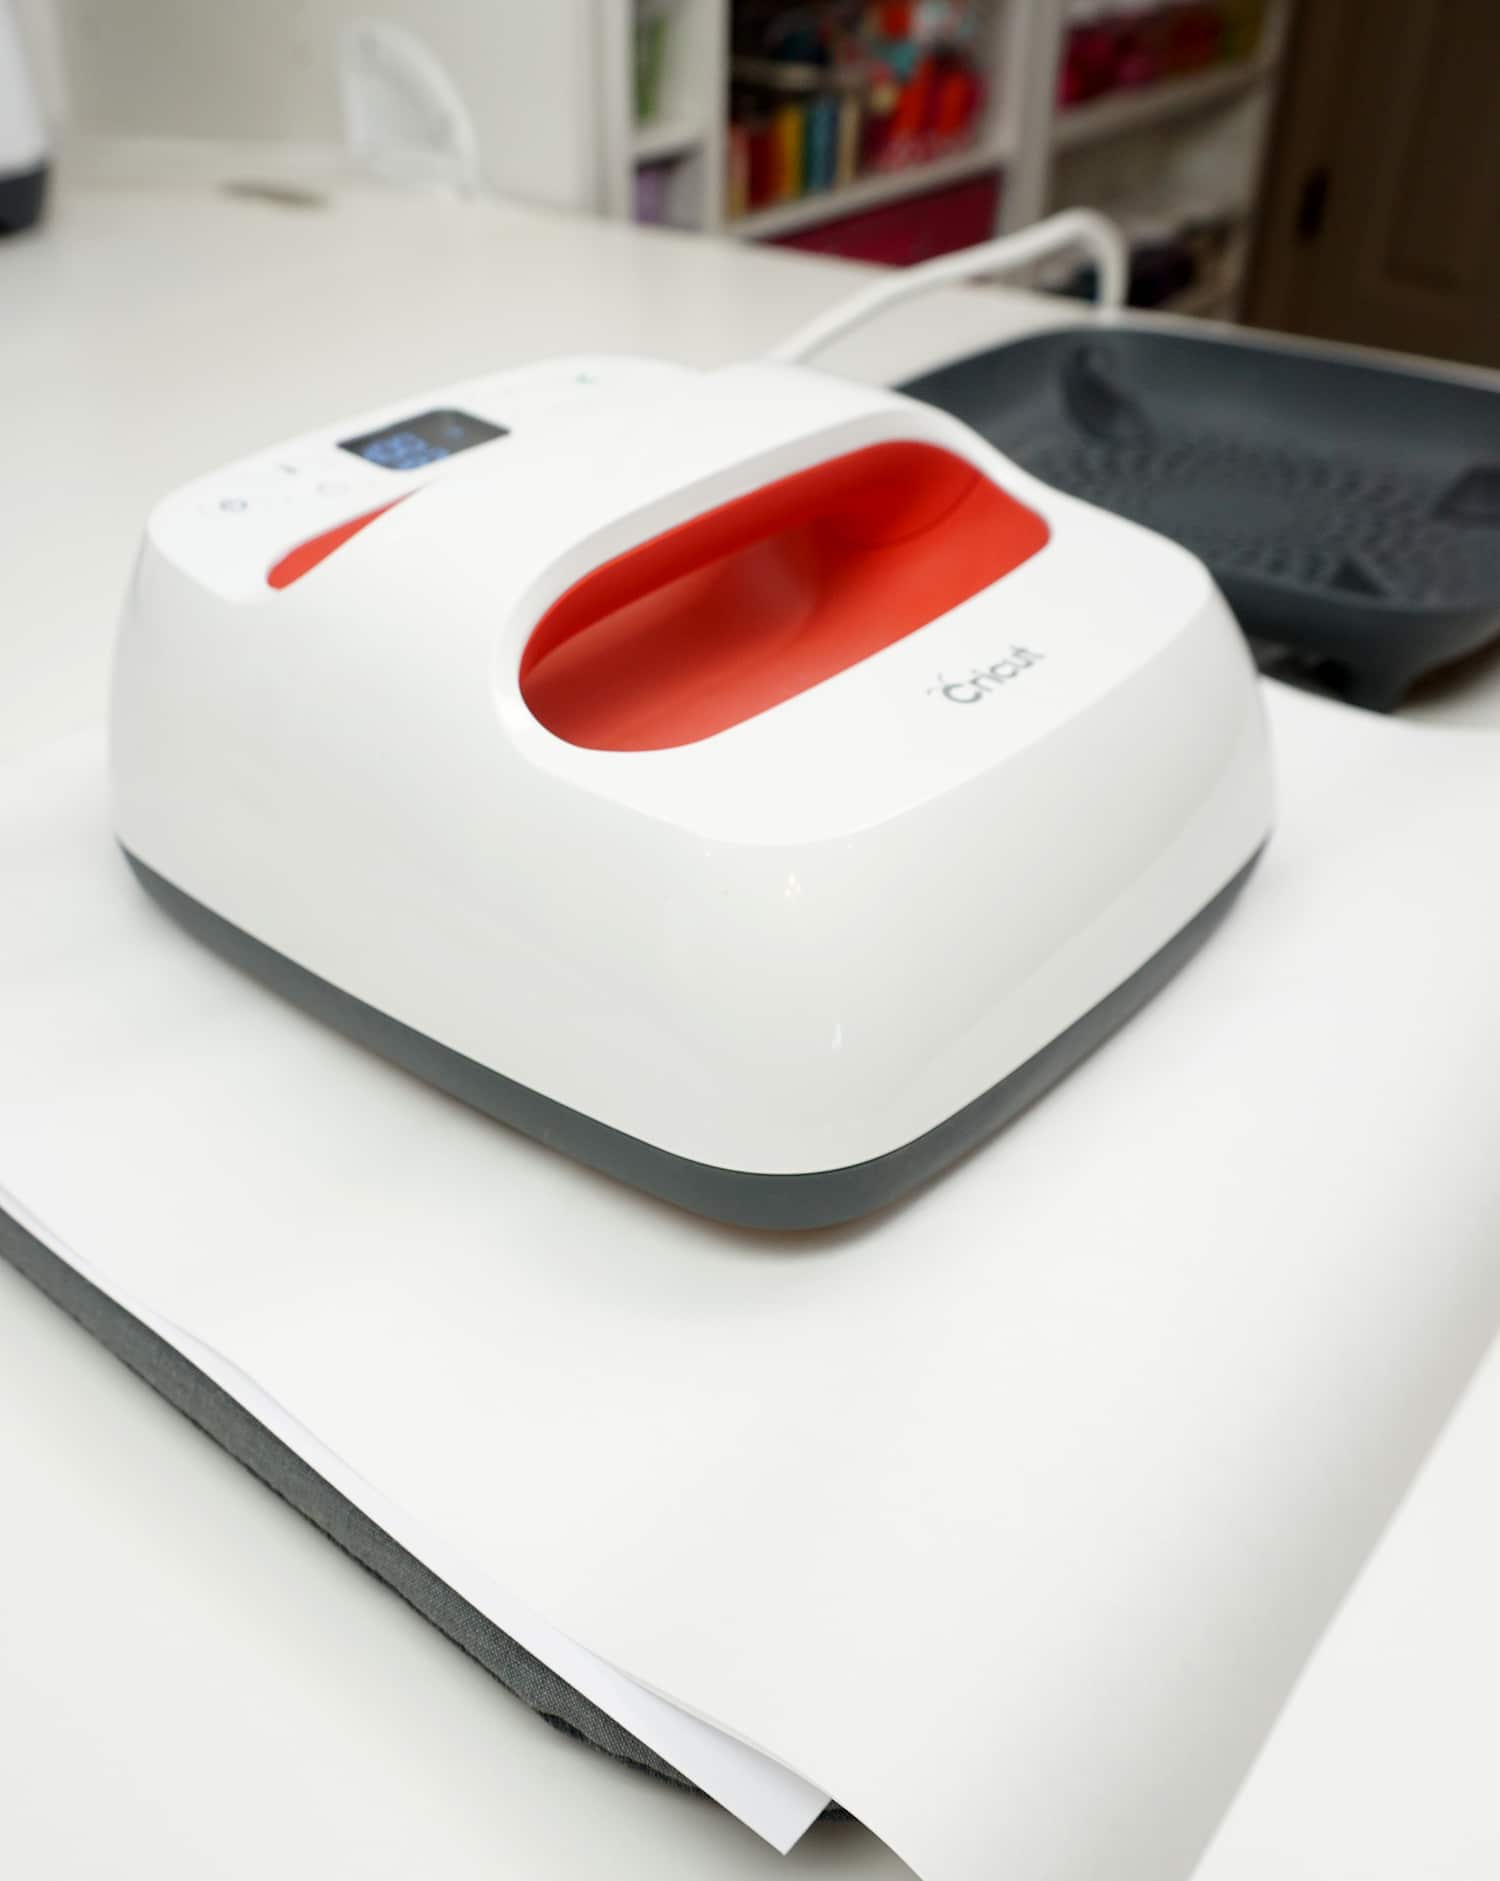
Place a clean sheet of butcher paper on top of the coaster and set the EasyPress 2 on top.
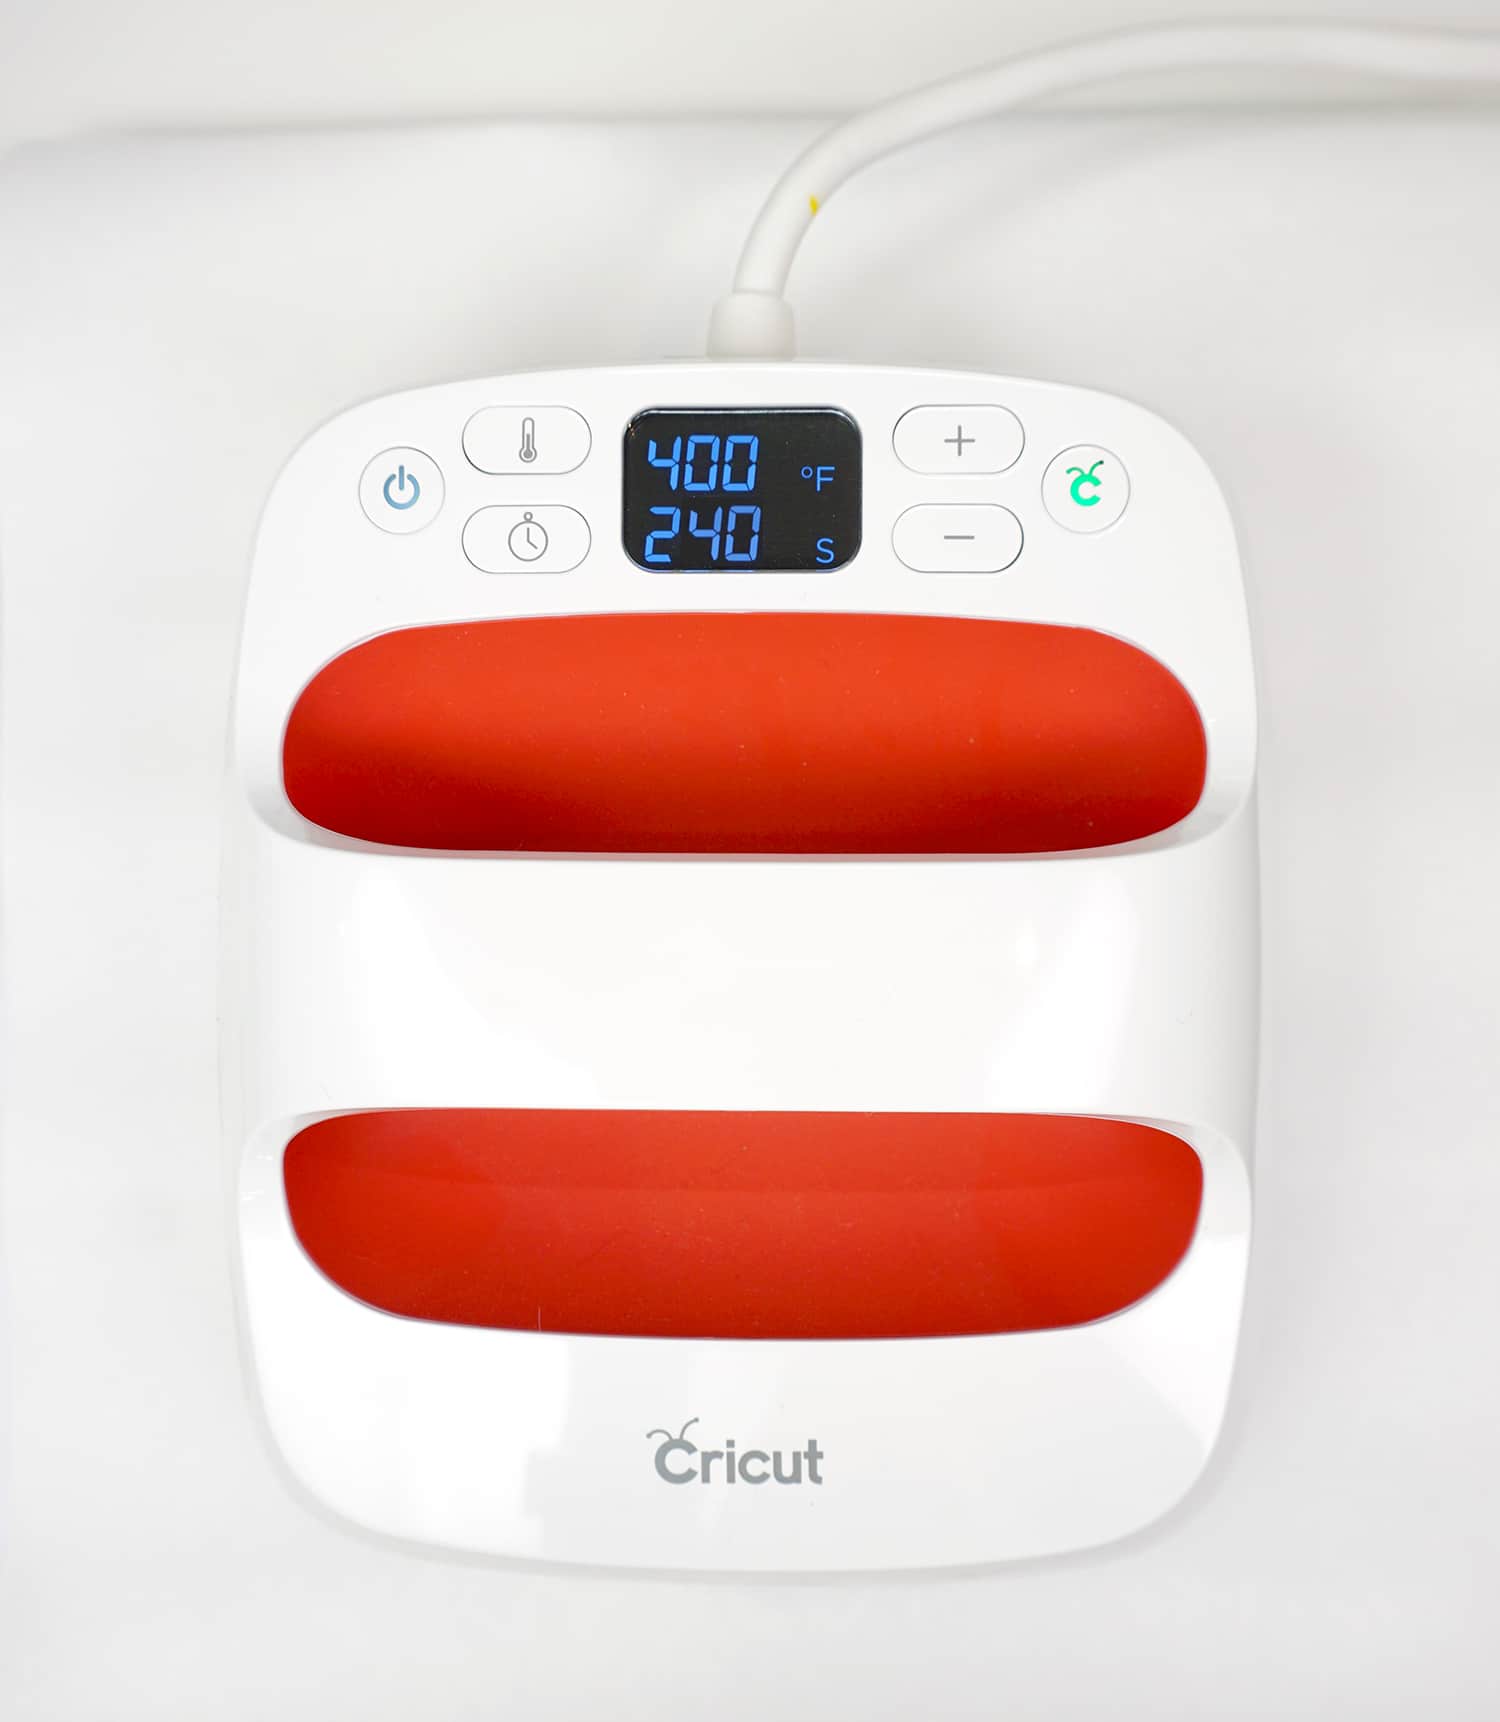
Let the EasyPress 2 heat the coaster for 240 seconds without any pressure. Remove the EasyPress 2 and allow the coaster to cool completely before handling. This can take awhile since it’s INCREDIBLY HOT! Please use caution!
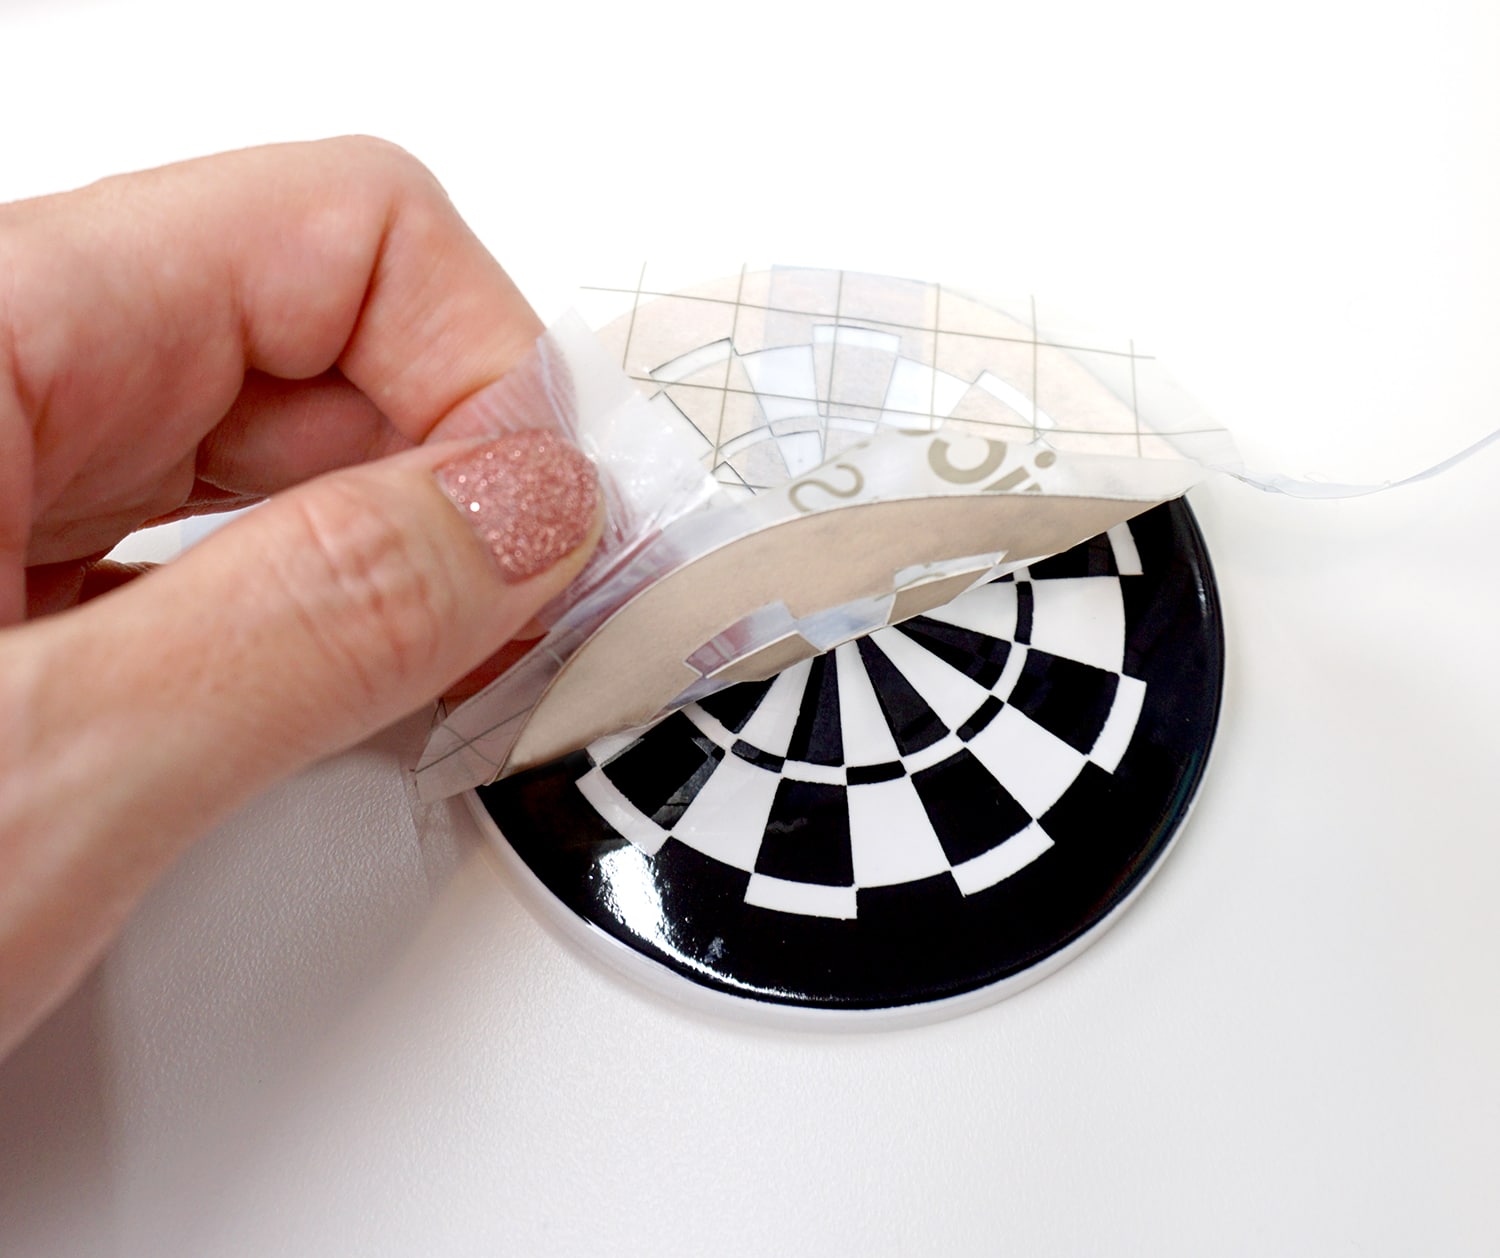
Once the coaster has cooled, peel away the paper to reveal your design. Look at how much darker that ink is now!
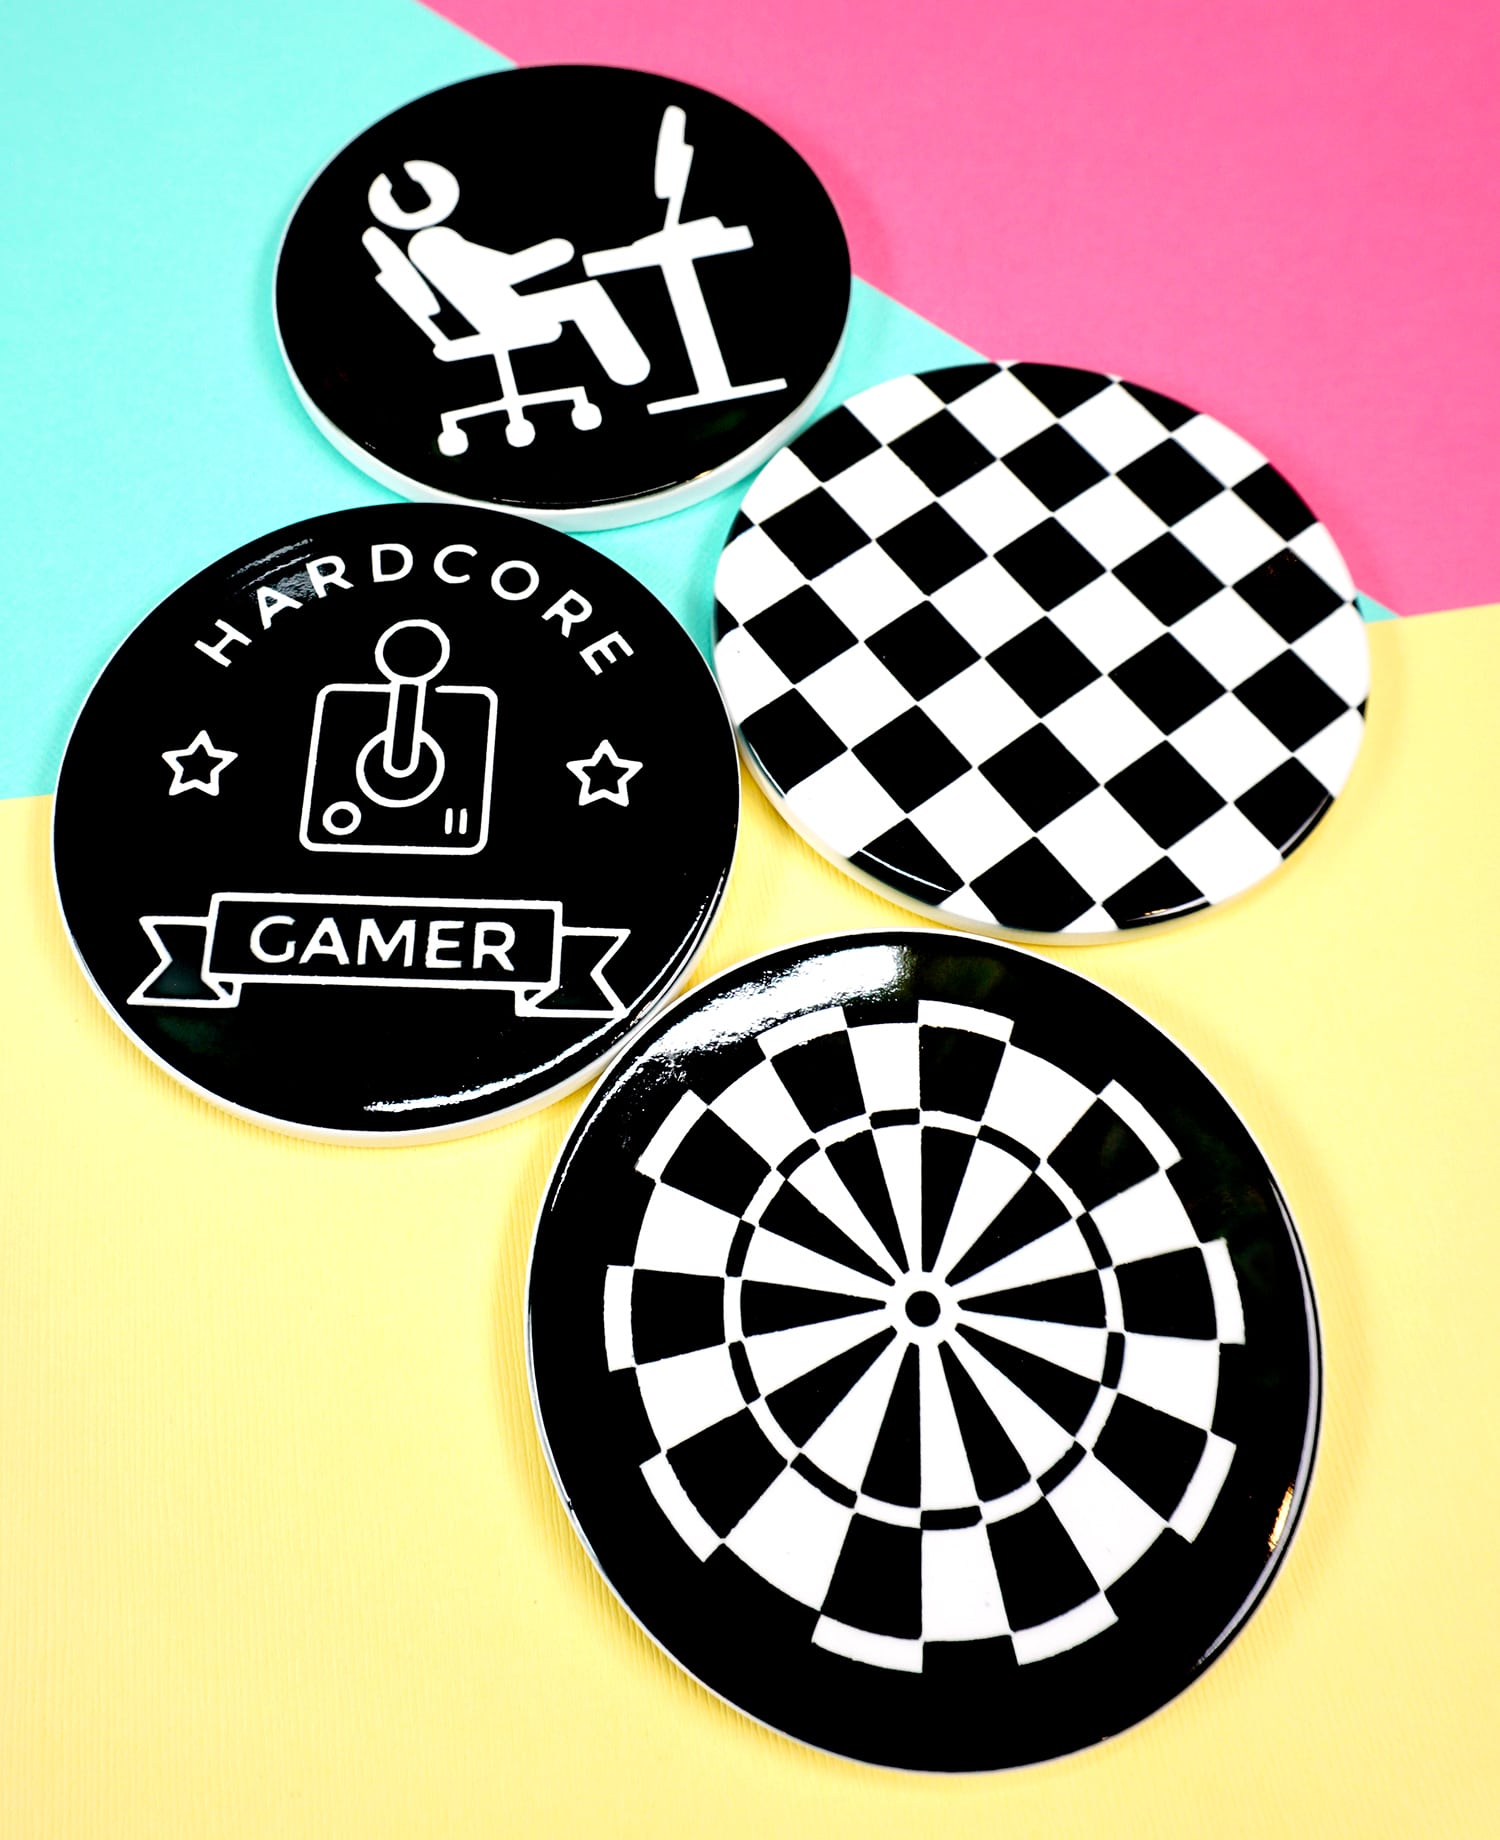
These coasters are SO much fun, and the finish is totally awesome and professional!
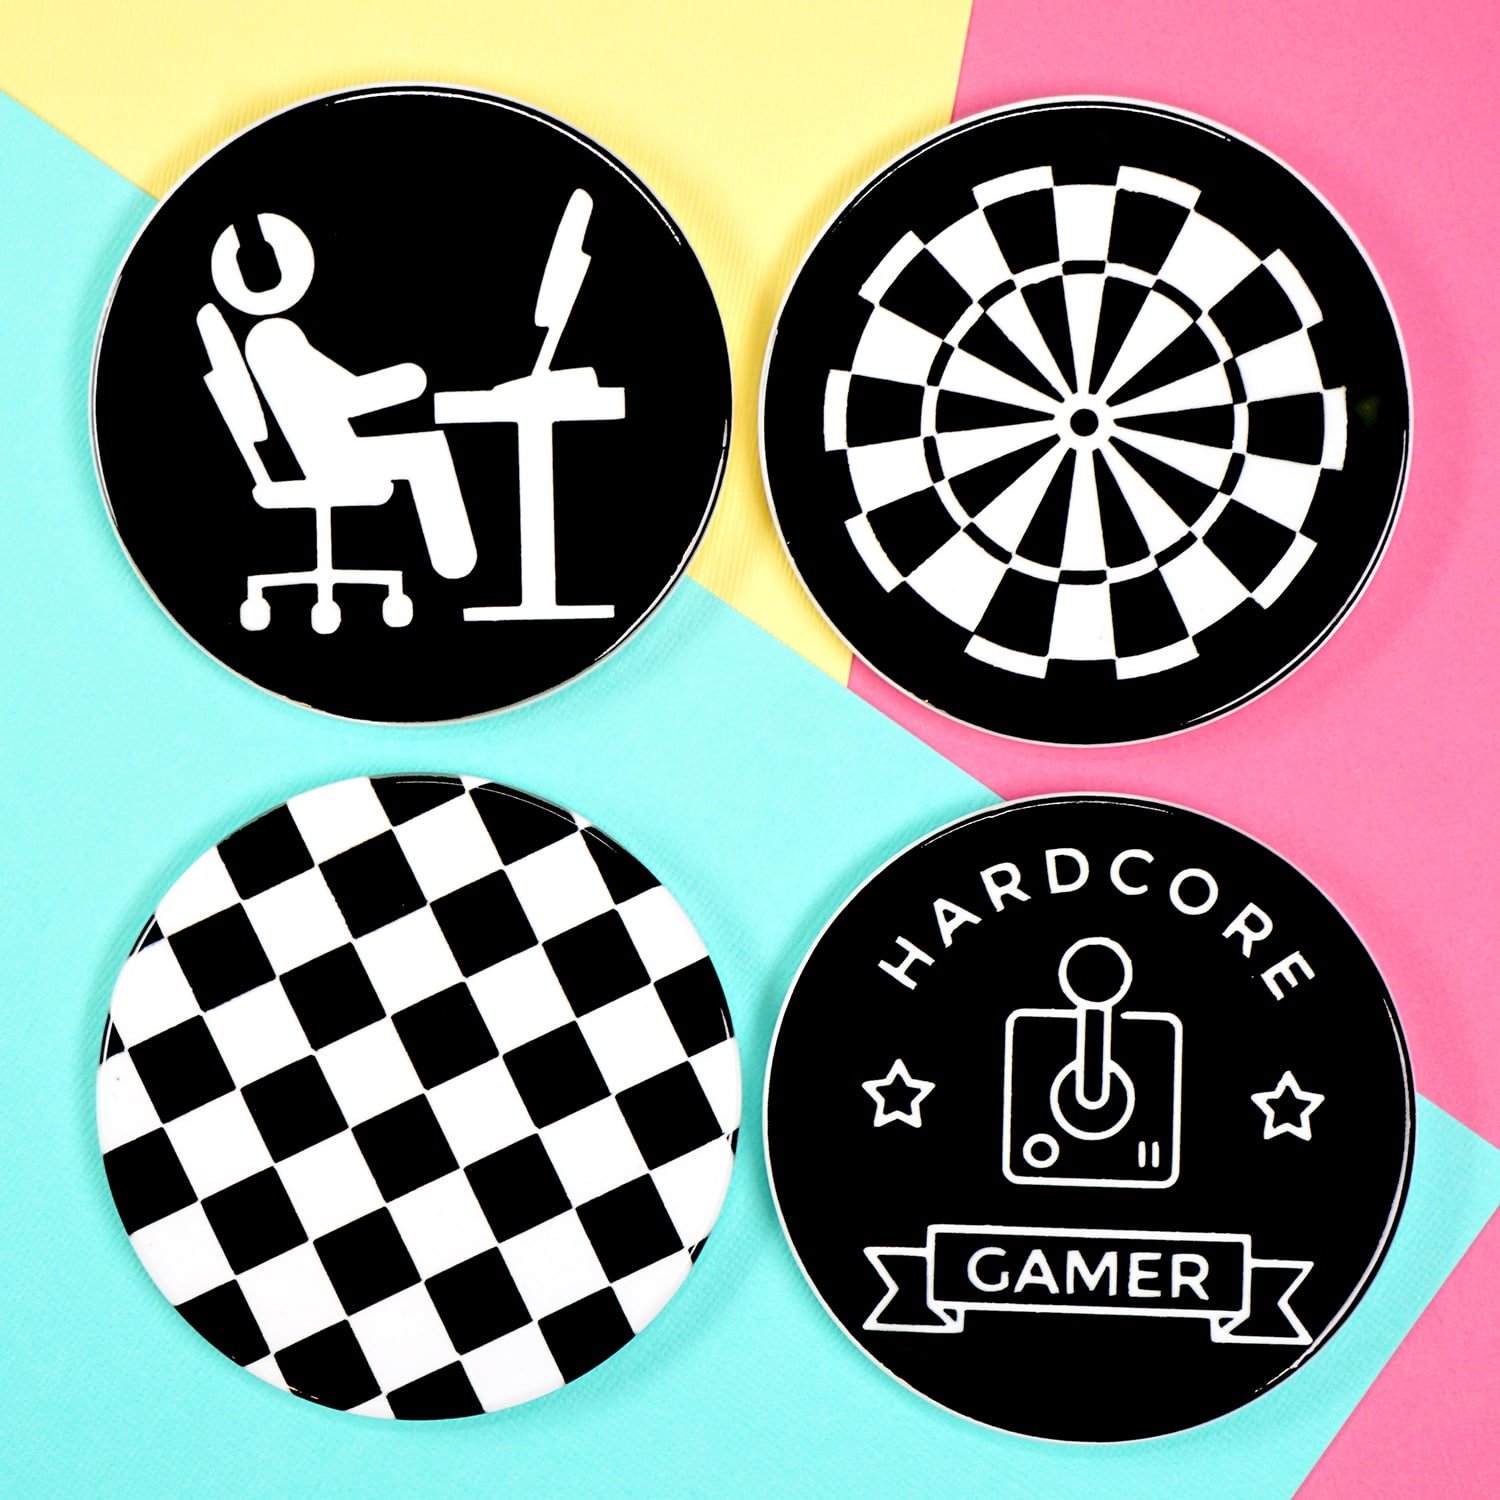
We keep a set of coasters on the edge of our kitchen countertop to encourage our boys to reuse the same cup and coaster over and over again throughout the day (less dishes = win!), so I designed this set of game-themed coasters with each of my kids in mind. There’s a computer gamer for my youngest (who is a HUGE fan of coding his own video games), a “Hardcore Gamer” for my middle son, a checkerboard pattern for my oldest (who often prefers board games), and a dartboard for whichever neighborhood kiddo happens to be hanging out at our house that day.
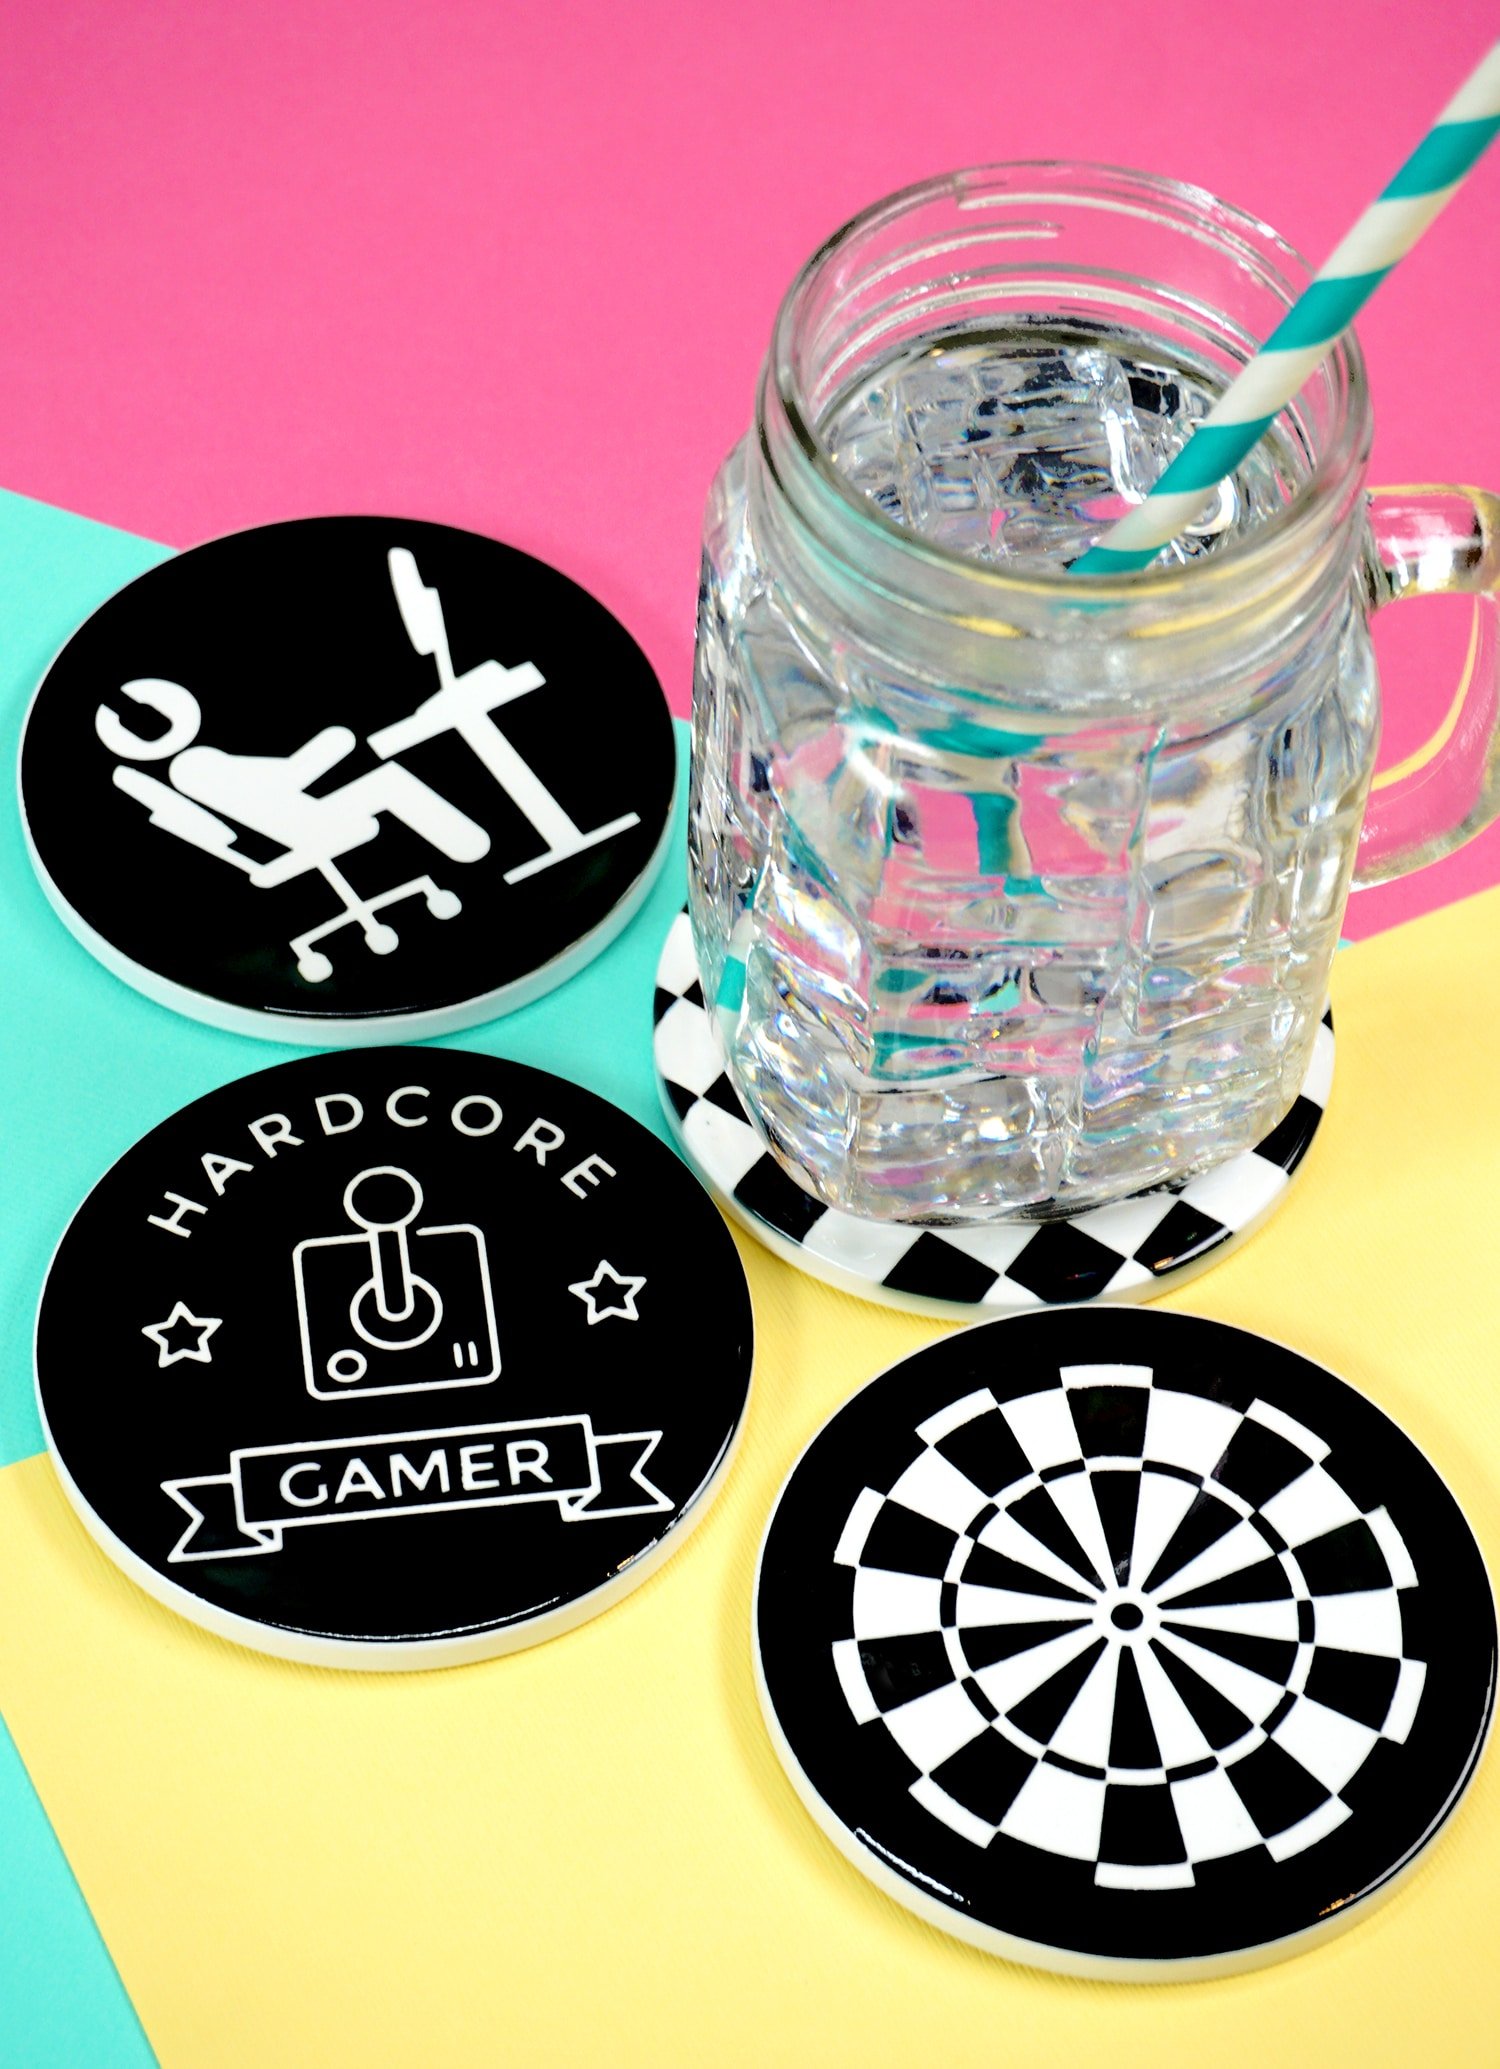
There really are SO many possibilities with Infusible Ink, and the results are incredible! I can definitely foresee custom coaster gift sets being made for a few upcoming weddings and holidays this year!
So, now that you’ve learned all about Infusible Ink and how to use it, what are you going to make first? Let me know in the comments below! I’d love to hear!

Check Out These Other Cricut Ideas!
 35+ Mother’s Day Cricut Craft Ideas
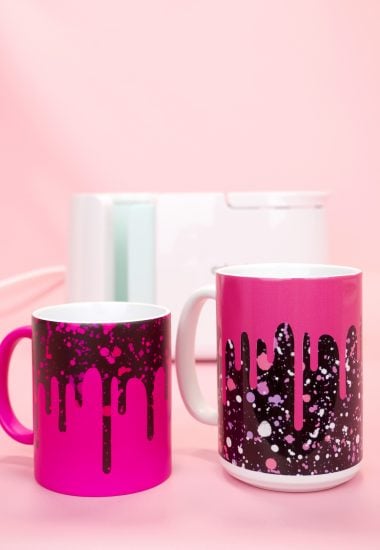
 Infusible Ink Mugs with the Cricut Mug Press
 How to Use the Cricut Mug Press
 Free Mug Wrap SVG Files
 How to Make an Infusible Ink Mug in the Oven
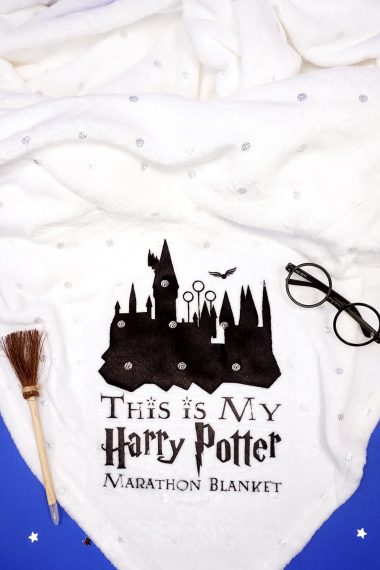
 Free Harry Potter SVG + Marathon Blanket
 How to Layer Cricut Infusible Ink: Slice & Set Method
 Personalized Christmas Ornaments with Cricut Infusible Ink
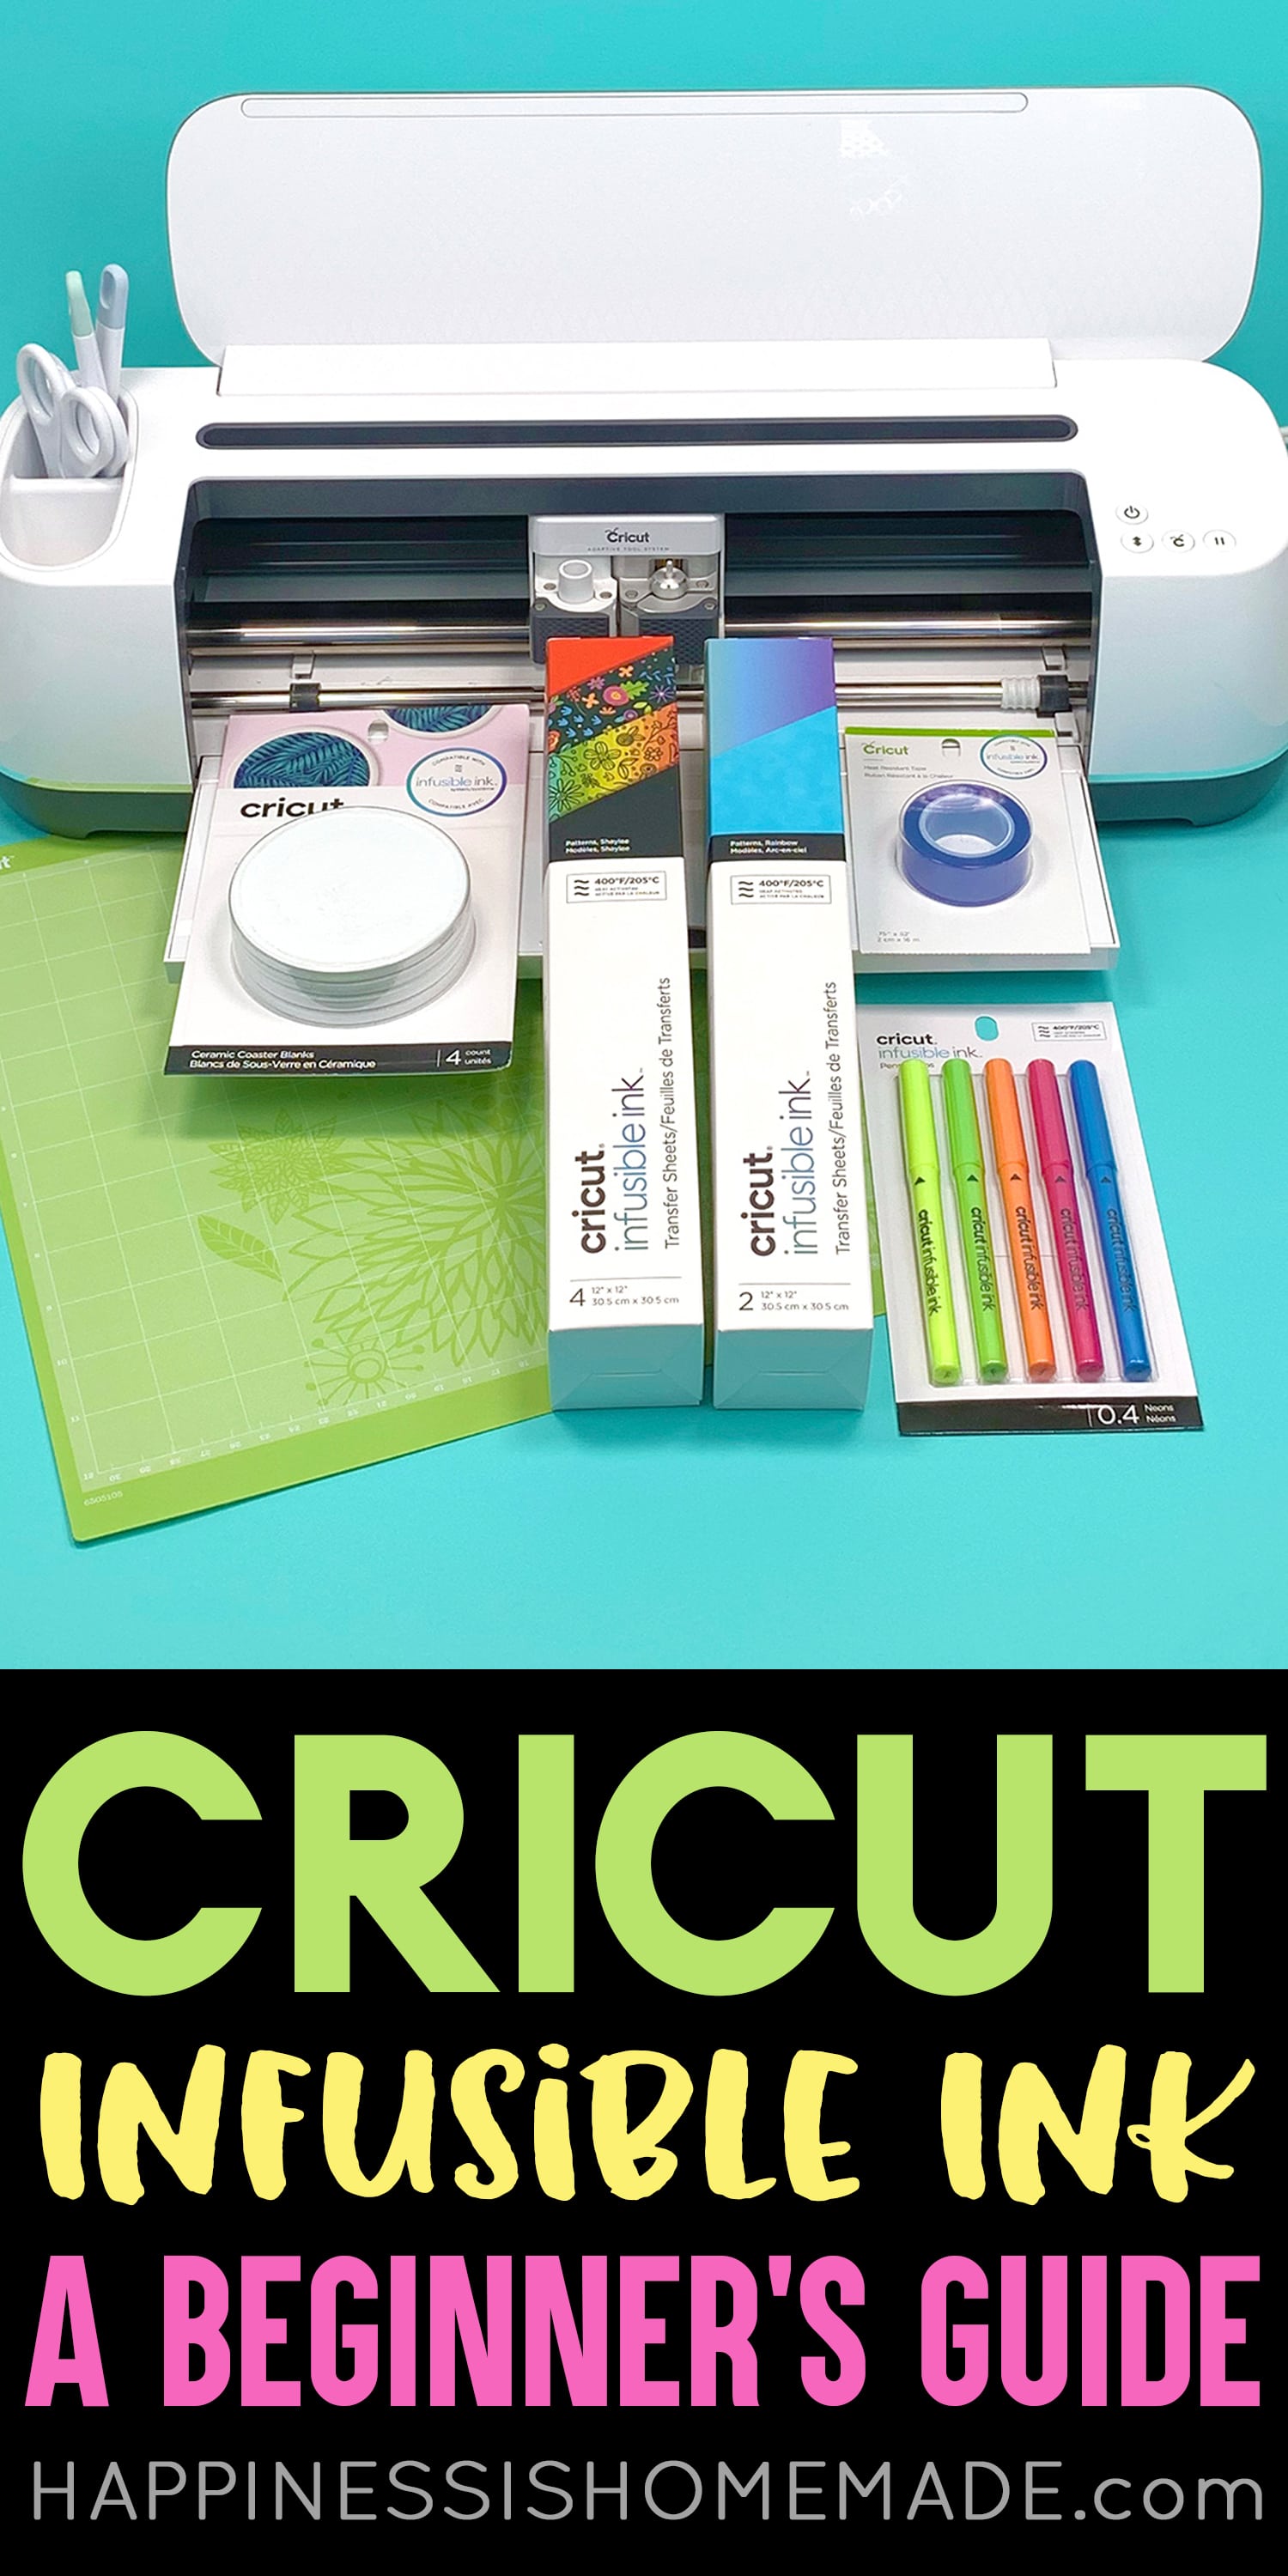
Don’t Forget to Pin This Beginner’s Infusible Ink Guide for Later!

Heidi Kundin has captivated the hearts of millions with her colorful and inspiring approach to crafting, celebrations, and family fun. With over 15 years of experience, Happiness is Homemade has become a must-visit destination for those seeking quick and easy creative ideas and last-minute solutions. Heidi’s warm personality shines through her posts, inviting readers to join her on a creative journey that’s fun, rewarding, and achievable. Heidi is also the author of Homemade Bath Bombs & More and DIY Tie-Dye.


