

Learn how to use the Cricut Mug Press to create quick and easy dishwasher-friendly mugs with our step-by-step tutorial – perfect for all kinds of DIY gift ideas!
This post may contain affiliate links. I will receive a small commission from these sales at no additional cost to you!
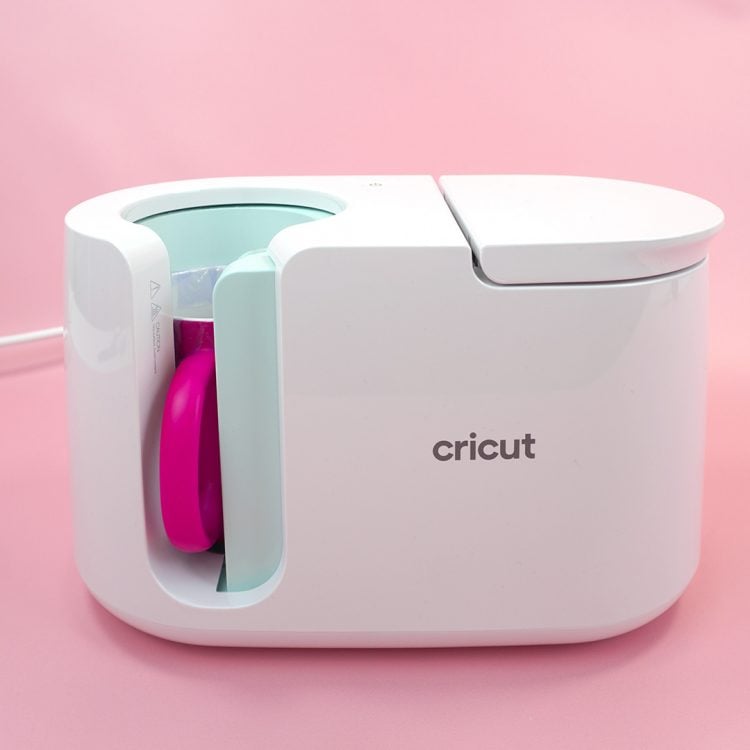
The brand new Cricut Mug Press is here, and it’s definitely living up to the hype! We’ve been playing with our Mug Press for a couple of weeks now, and we’re passing along all of our best tips and tricks to you today.
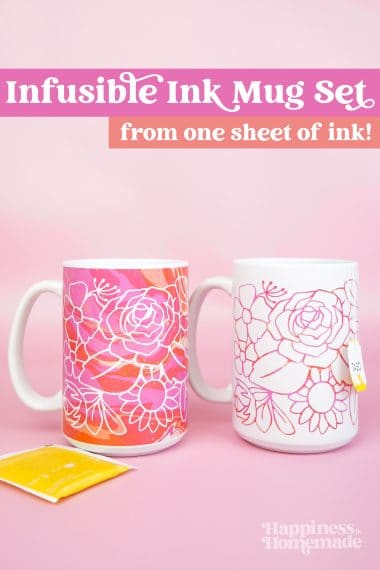
Learn how to use the Cricut Mug Press with Infusible Ink transfer sheets to create awesome custom mugs that make the perfect gift idea for all occasions! The Mug Press also works beautifully with Infusible Ink markers as well as sublimation designs, so you can be sure that we will have upcoming tutorials for those as well!
How to Use the Cricut Mug Press
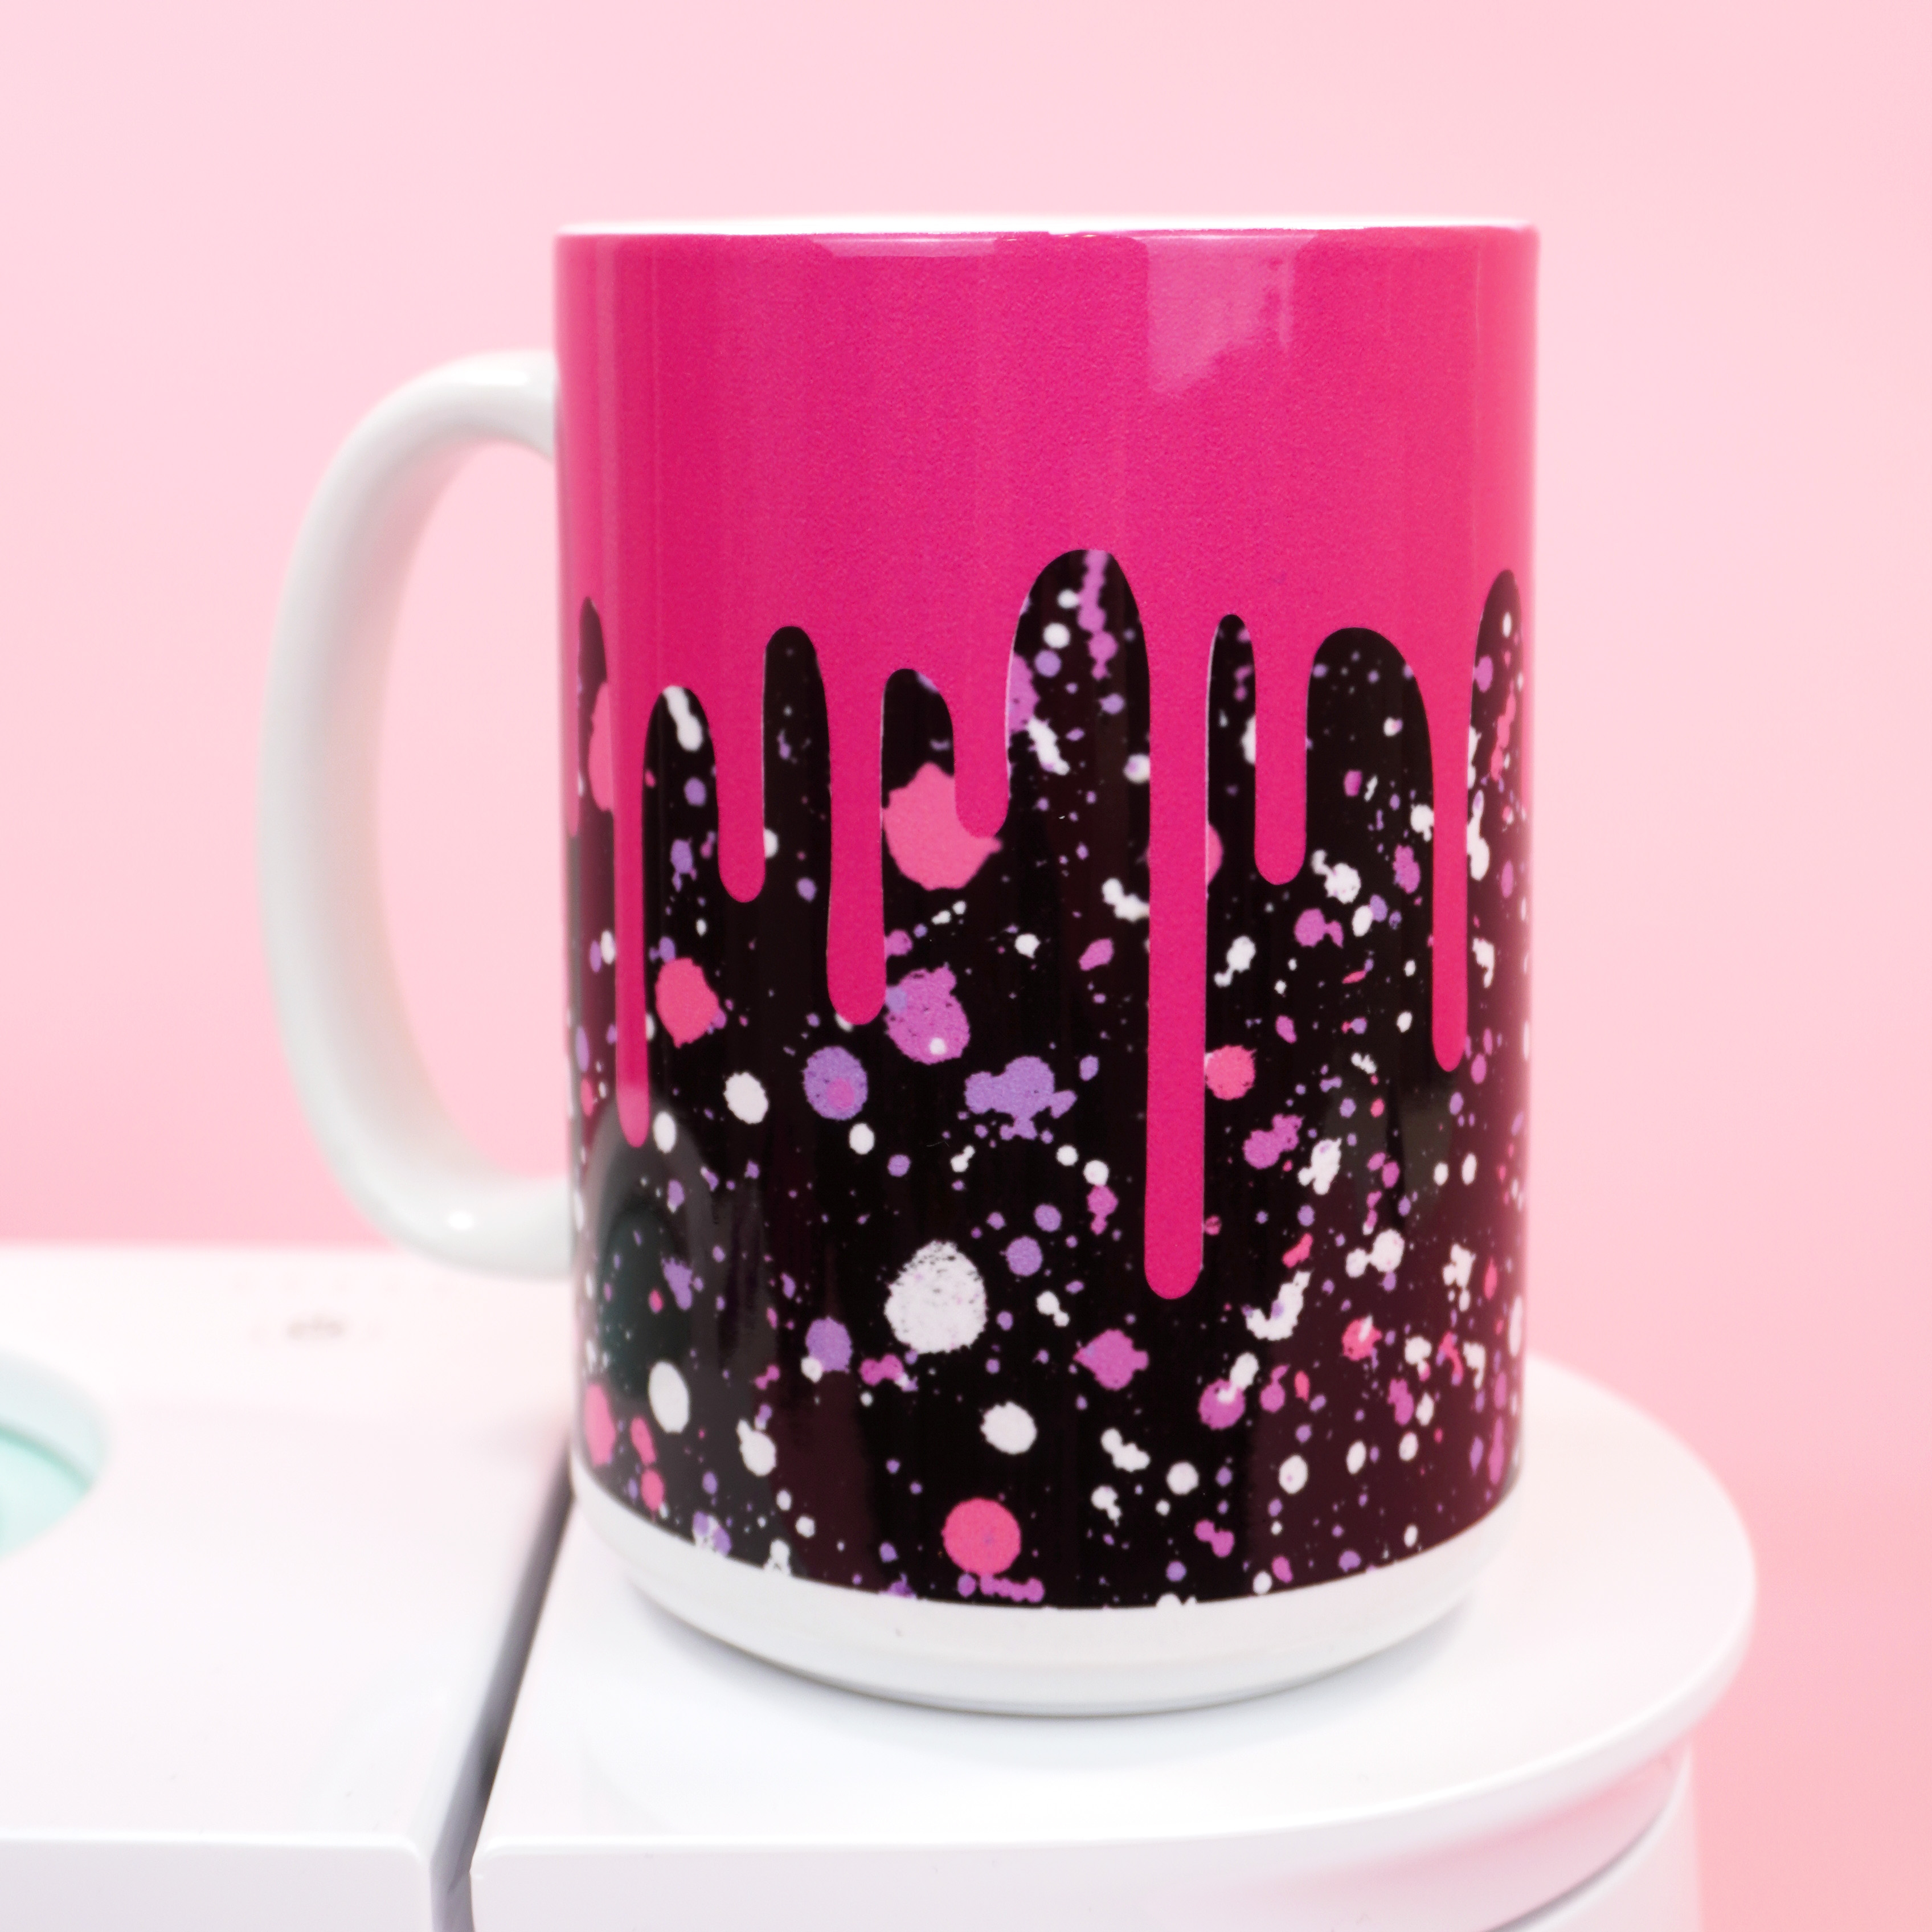
For this demonstration, I’ll be showing you how to create a mug using the Cricut Mug Press along with Infusible Ink and my “Drippy Mug” SVG Design. If you’re looking for even more fun and FREE Mug Wrap SVG file designs, be sure to check out this post!
Supplies Needed to Make a “Drippy” Mug:
- Cricut Mug Press (available at Amazon, Cricut, Michaels, JOANN, and more)
- Cricut Mug Blank or Sublimation Mug Blank* – we used this 15 oz. Sublimation Mug and this Hot Pink Sublimation Mug
- Cricut Maker, Explore Air 2, or Cricut Joy Machine
- Infusible Ink Transfer Sheets (2 different colors/patterns – we used Party Pink and Splash)
- Drippy Mug SVG File
- Heat-Resistant Tape
- Heat-Resistant Gloves or Pot Holder
- Mat for Cooling
* If using a non-Cricut sublimation mug, it must be straight-walled mug with an 11-16 ounce capacity. Mugs must have an outer diameter between 3.2″ – 3.4″ and have a maximum height of 4.72″
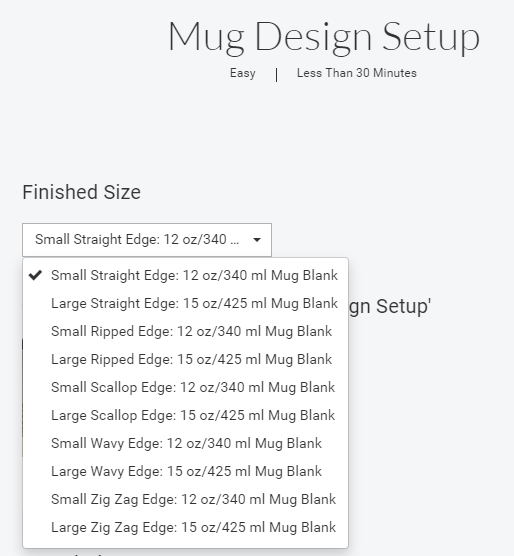
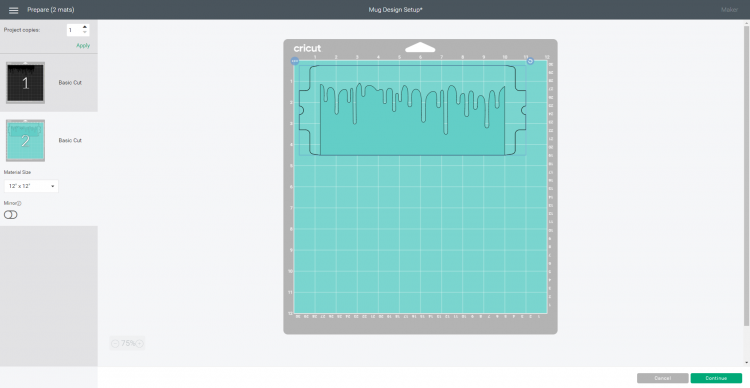
To begin, open the Mug Design Setup project in Cricut Design Space and select the “Large Straight Edge” size. (Don’t worry if your mug isn’t this size – I’ll show you how to resize your design later!)
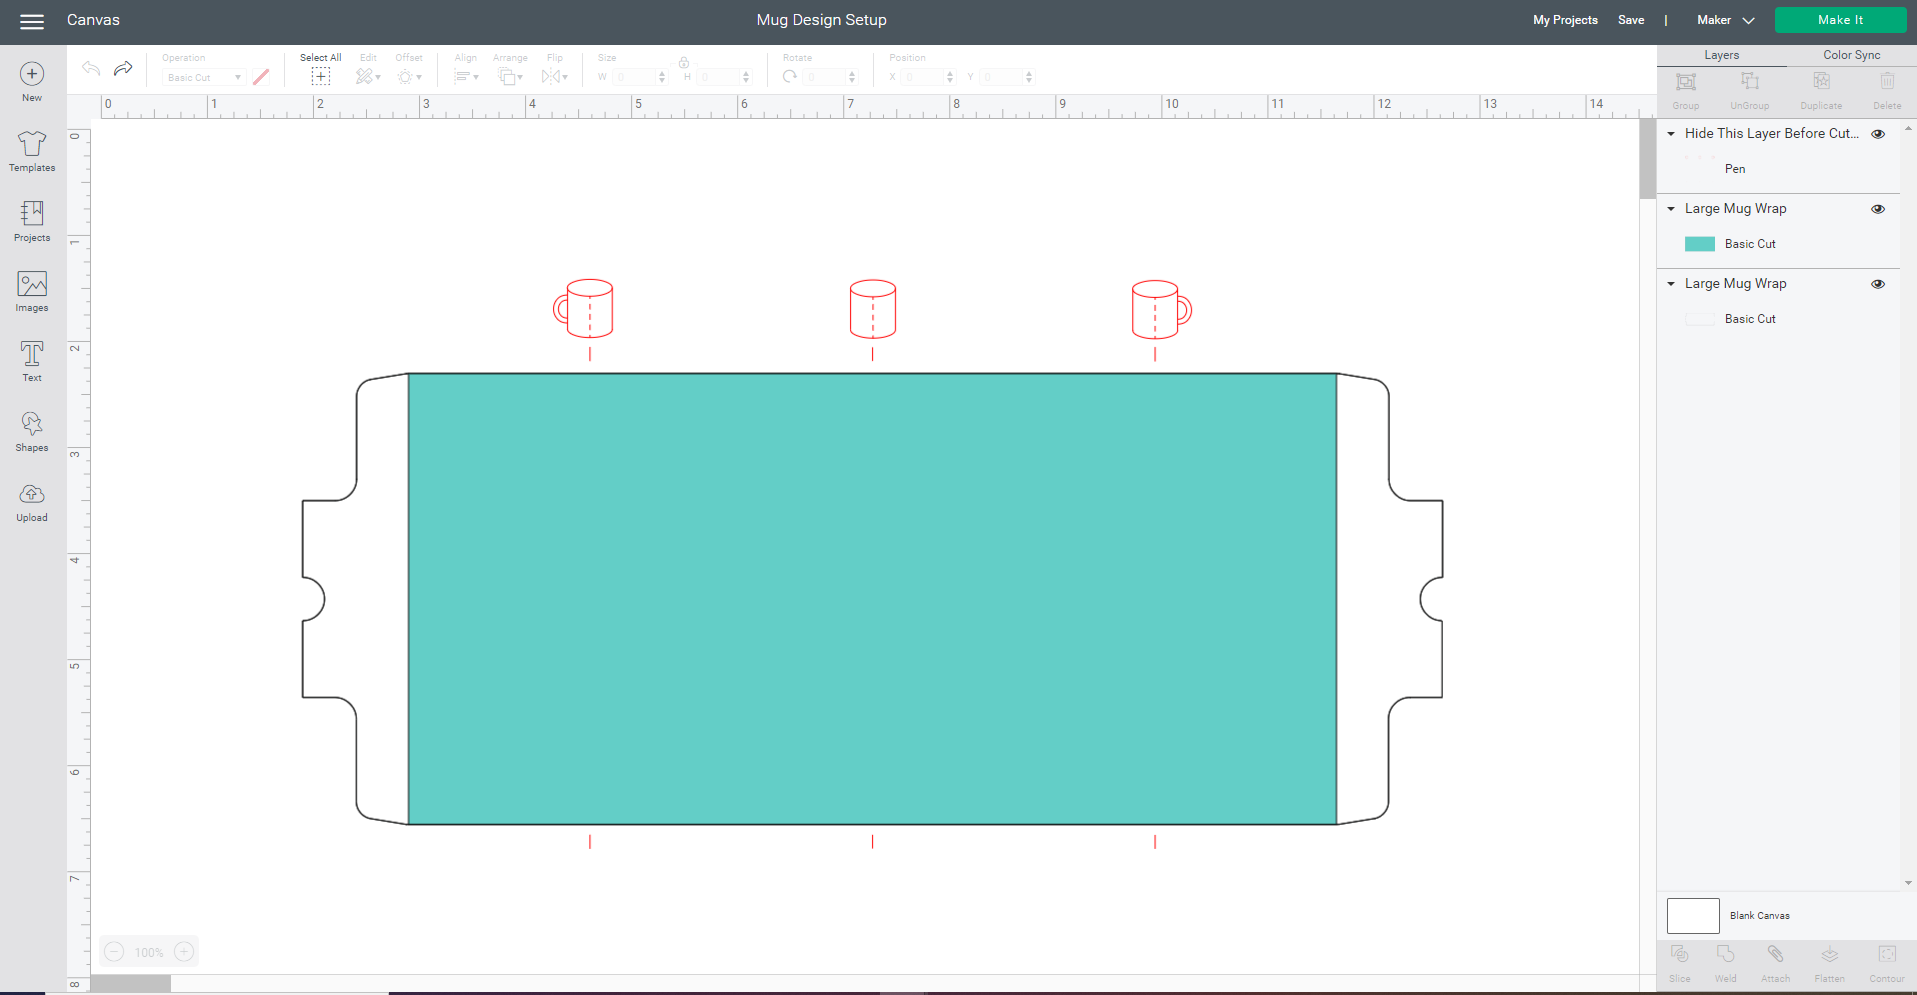
You will notice that the Mug Design Setup canvas has three layers:
- The Teal Layer is where you will place your SVG design (or image from the Design Space Library).
- The Red Layer is named “Hide This Layer Before Cutting” and is for your reference only. The red icons show you where the front, back, and center of the mug are located.
- The White Layer is designed to cut all the way through the back of the Infusible Ink transfer sheet to create a perfectly sized adhesive sheet to help you adhere the design to your mug.
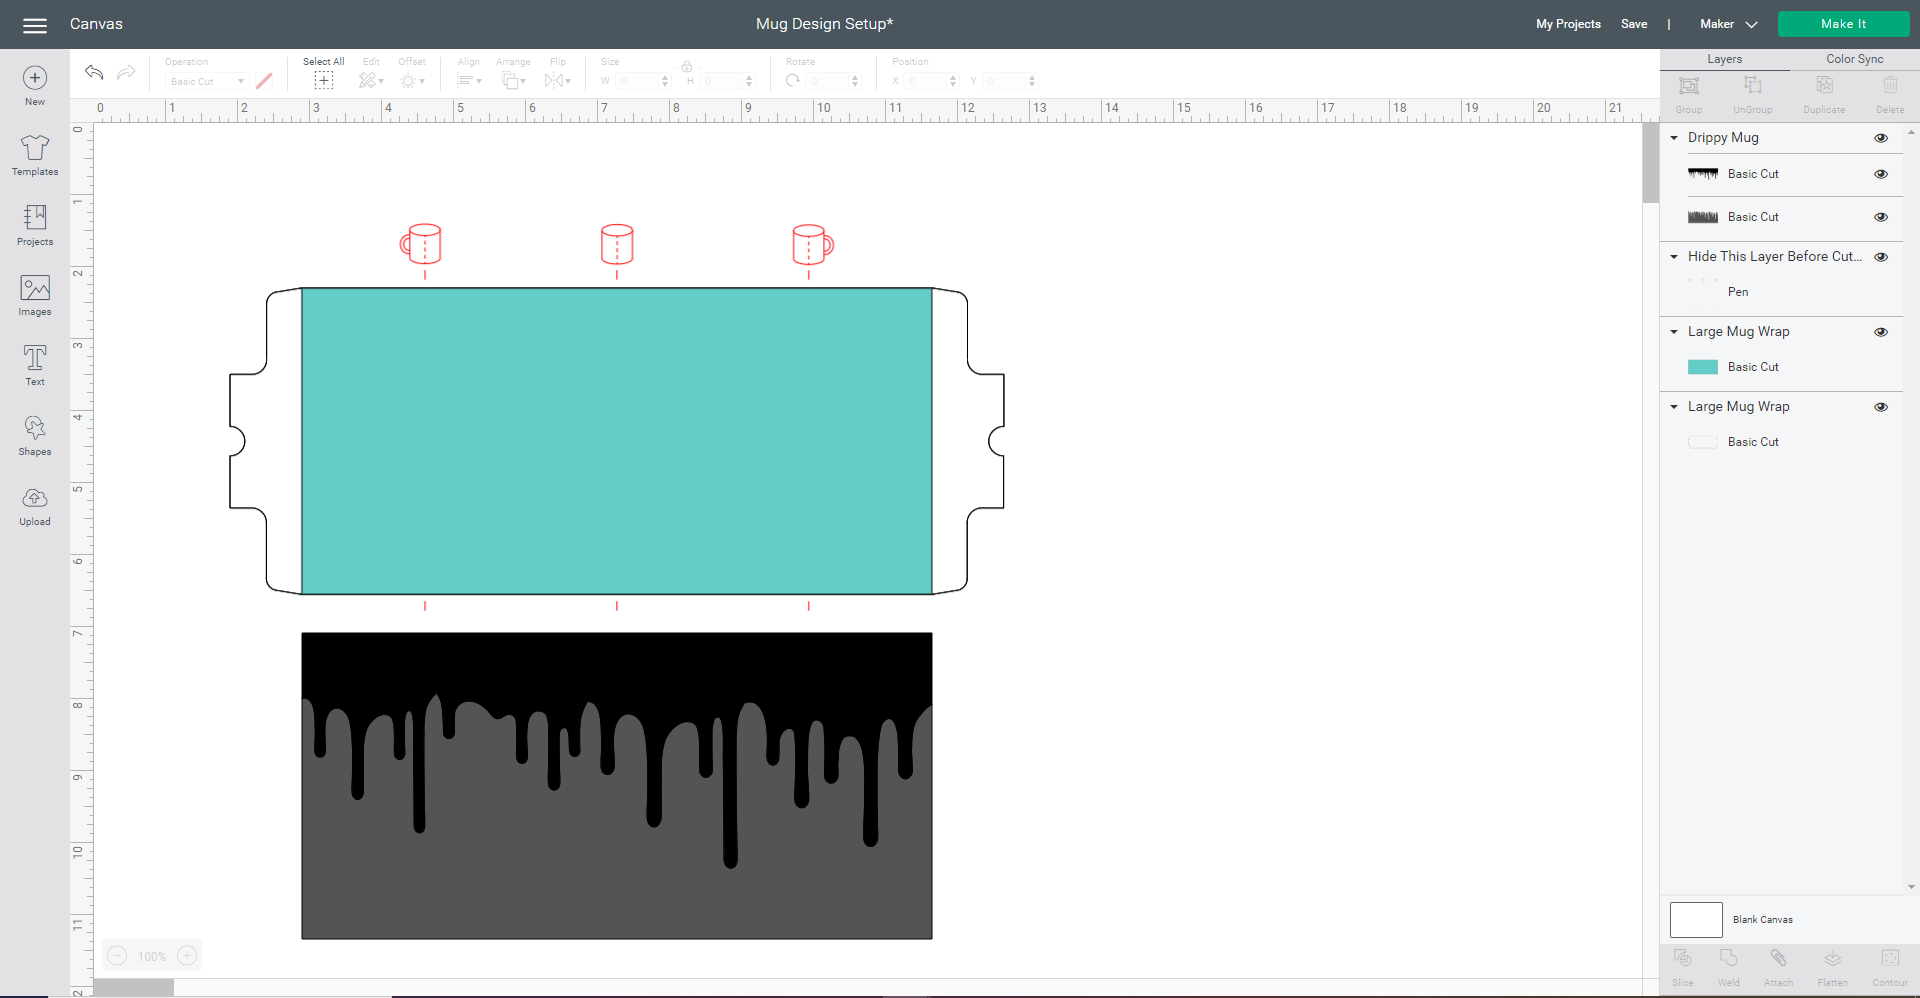
Next, upload the Drippy Mug SVG File and insert it into the canvas.
If you need additional help with this step, you can follow our complete step-by-step guide to How to Upload an SVG File to Design Space.
Layer the Drippy Mug design on top of the teal Large Mug Wrap layer, and use the Align Tool (in the top menu bar) to make sure everything is squared up.
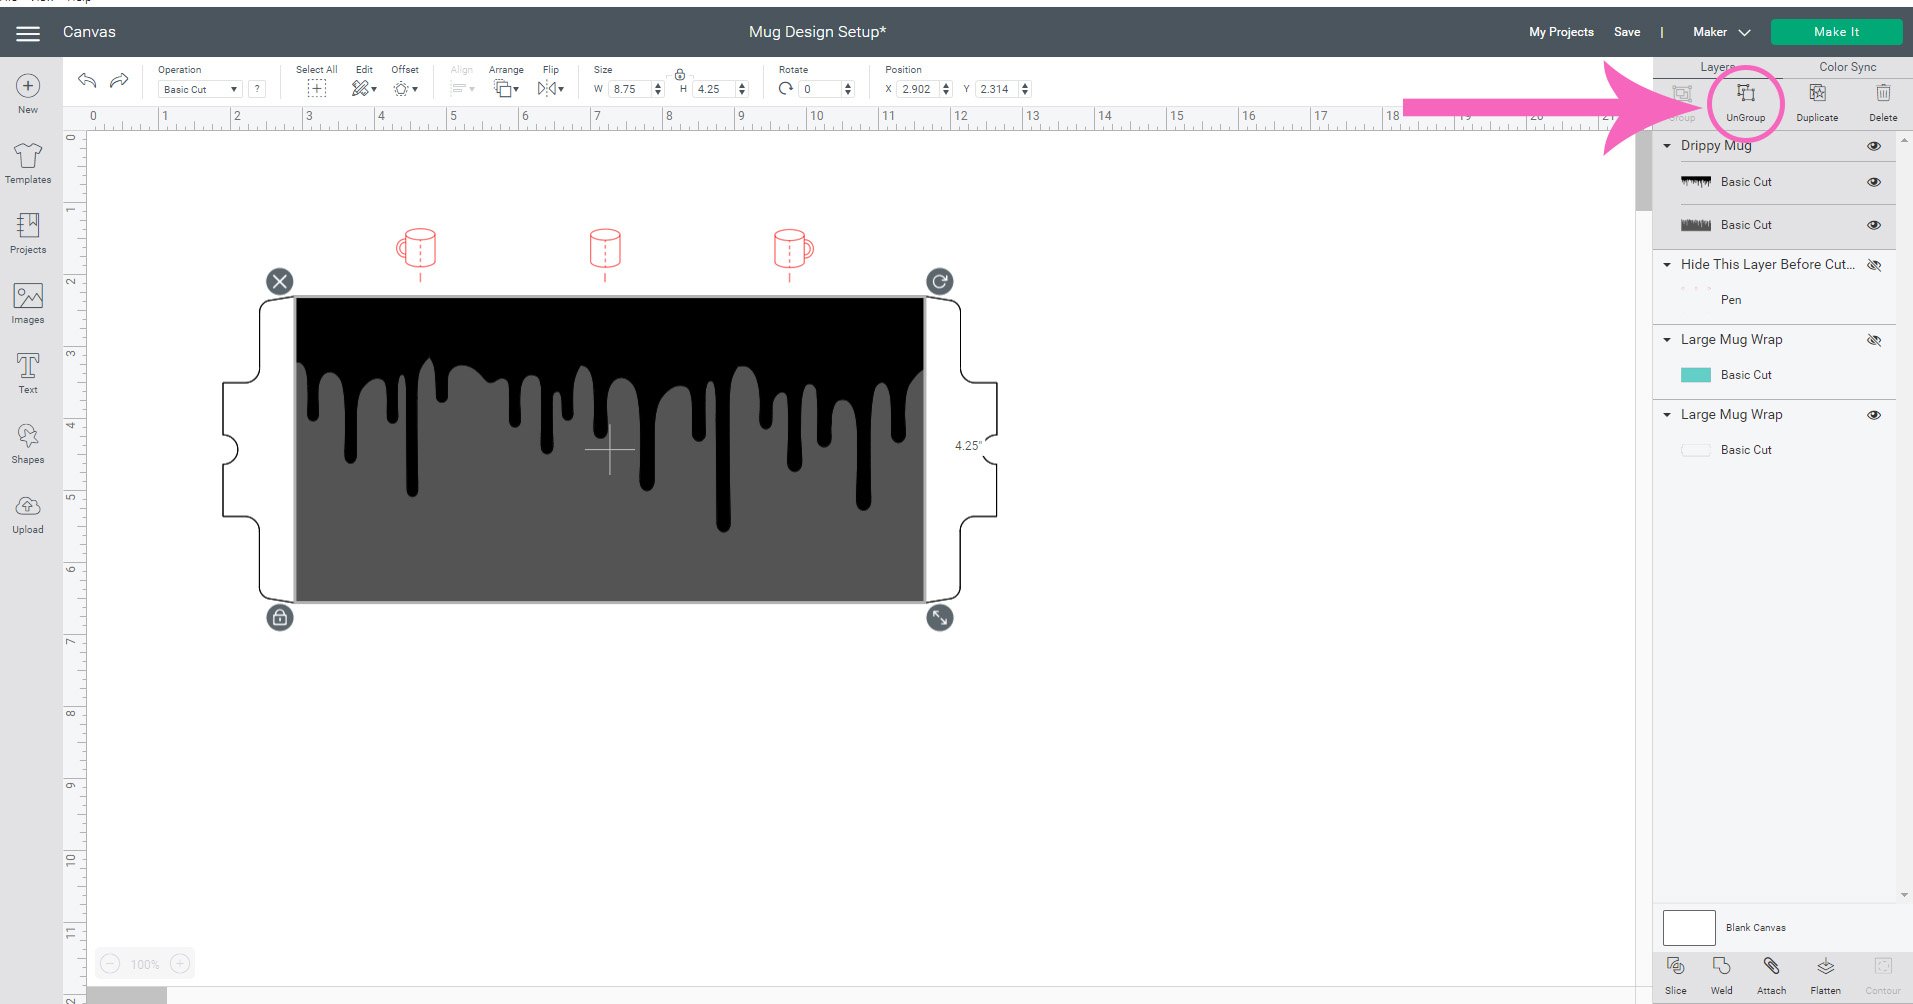
Then, select the two layers of the Drippy Mug design and ungroup them.

Hide (or delete) both the red layer and the teal layer since you no longer need them.
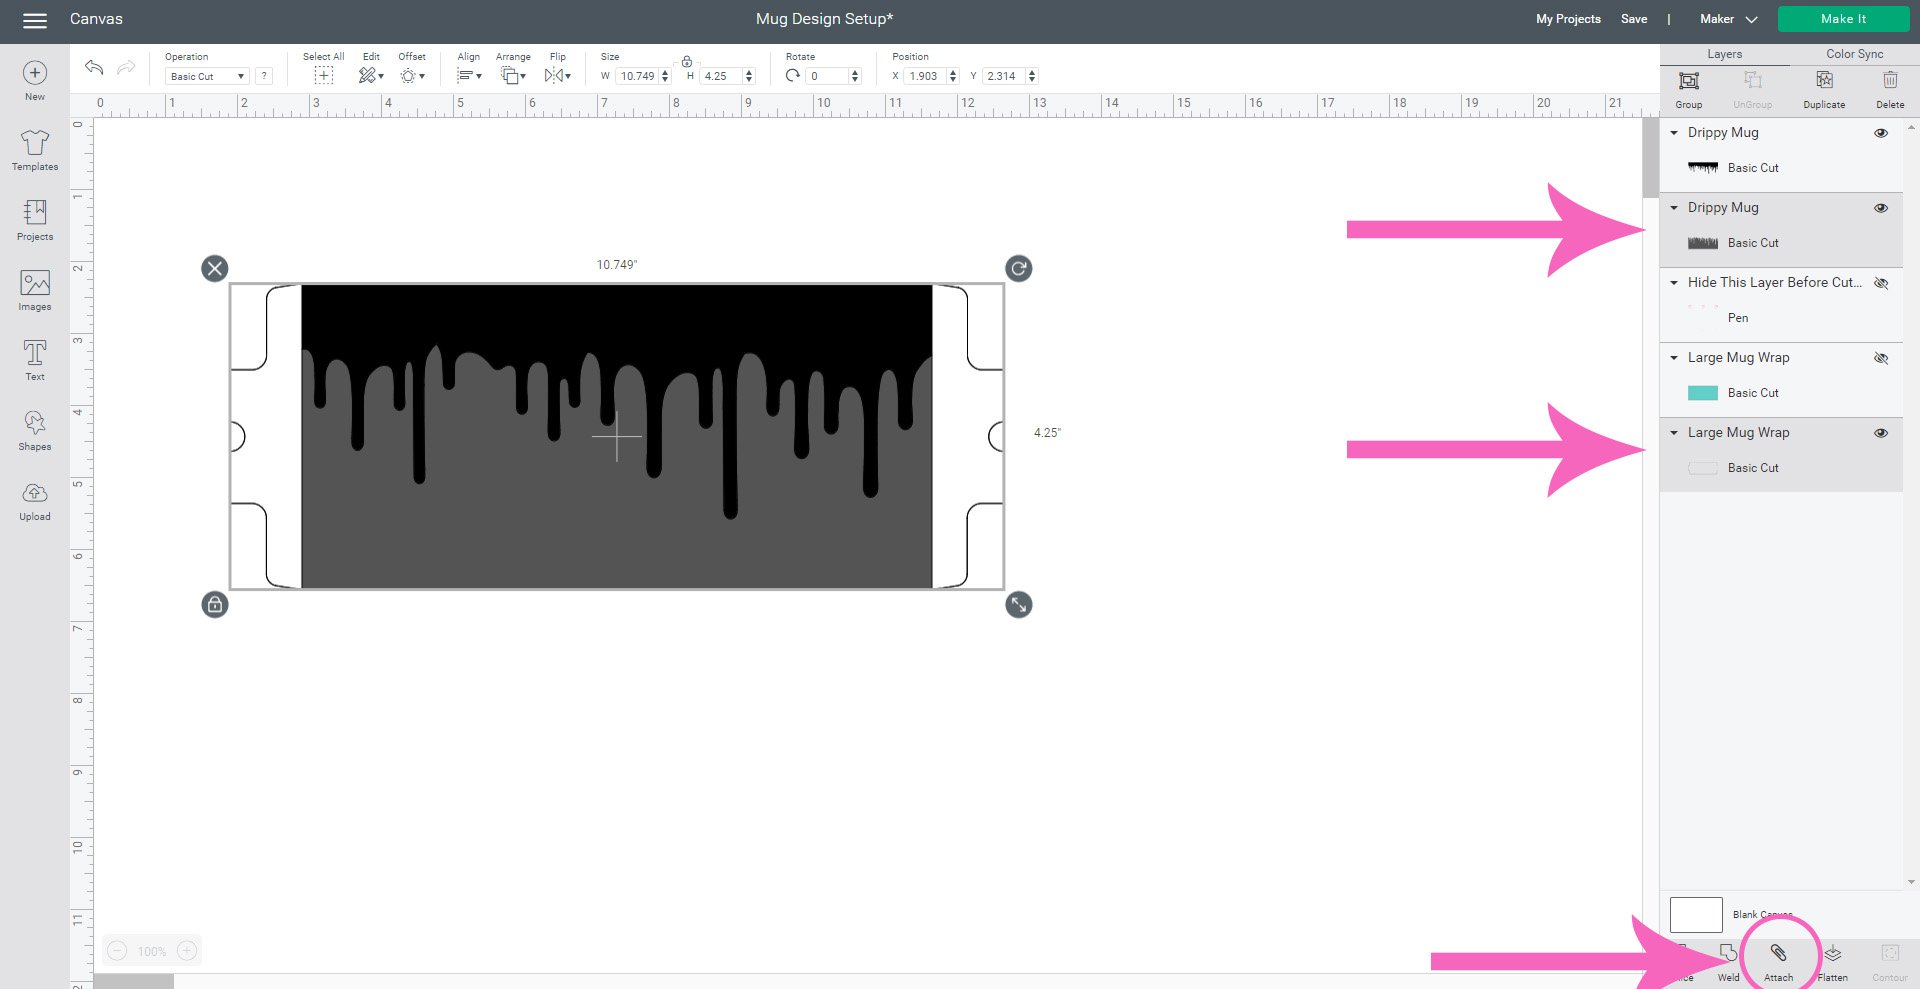
Select the white Mug Wrap layer and the grey bottom Drippy Mug layer and attach them.
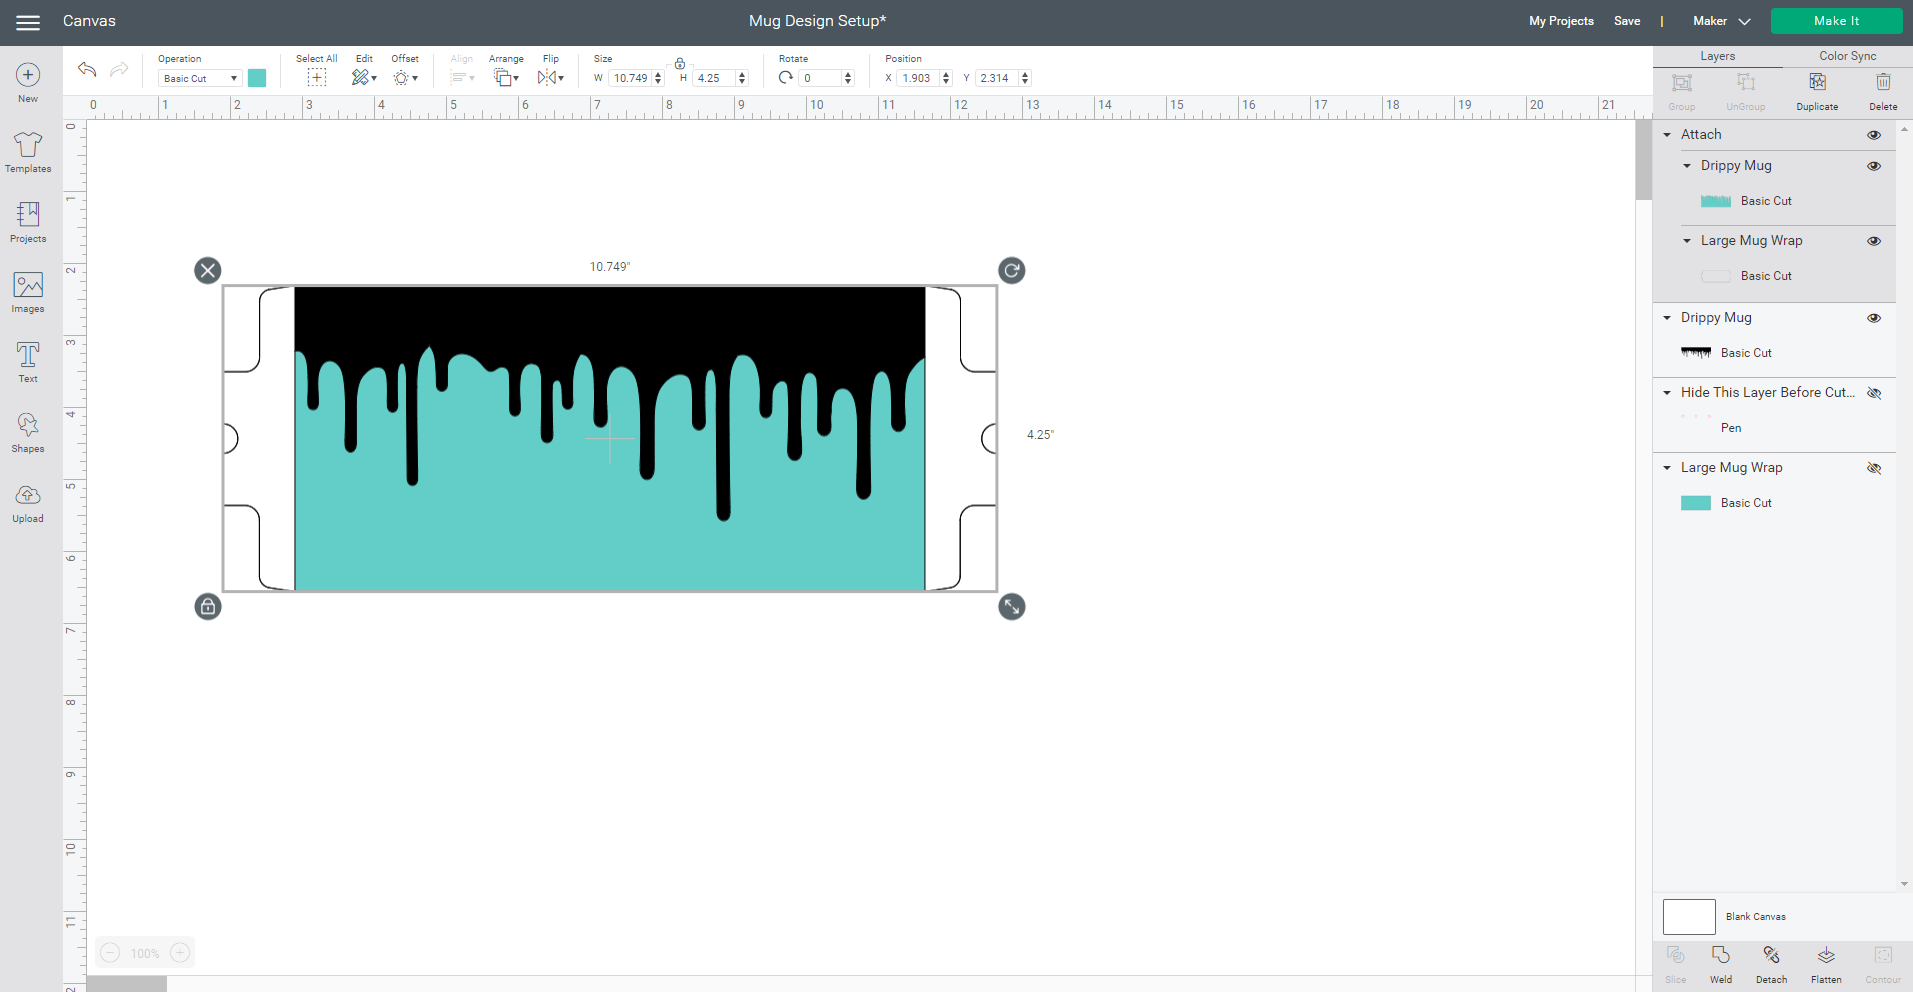
If you have attached everything correctly, the result will look like the above image.

If necessary, resize the design to fit your mug blank by clicking on the lock in the lower left corner or in the top menu bar. Once the lock icon toggles to the unlocked position, you may change the dimensions independently to fit your mug blank.
If you’re using a Cricut mug blank, the template should be 8.75″ wide for both sizes of mugs. For height, the 15 oz. mug is 4.25″ tall and the 12 oz. mug is 3.79″ tall. If you’re using a different sublimation mug blank, use a soft tape measure to measure the dimensions of your mug and resize accordingly. When finished, toggle the lock back to the locked position.
Select the green Make It button in the top right hand corner to begin the cutting process.
For this design, you do not need to mirror the mats since the design isn’t directionally specific and doesn’t contain any text.
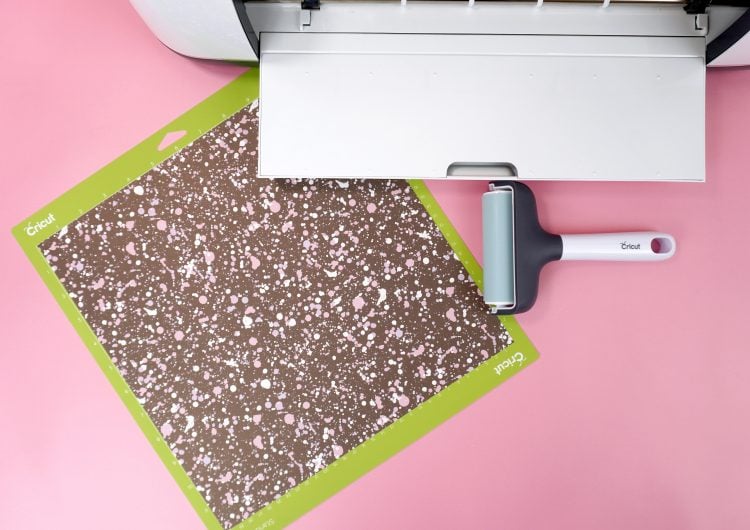
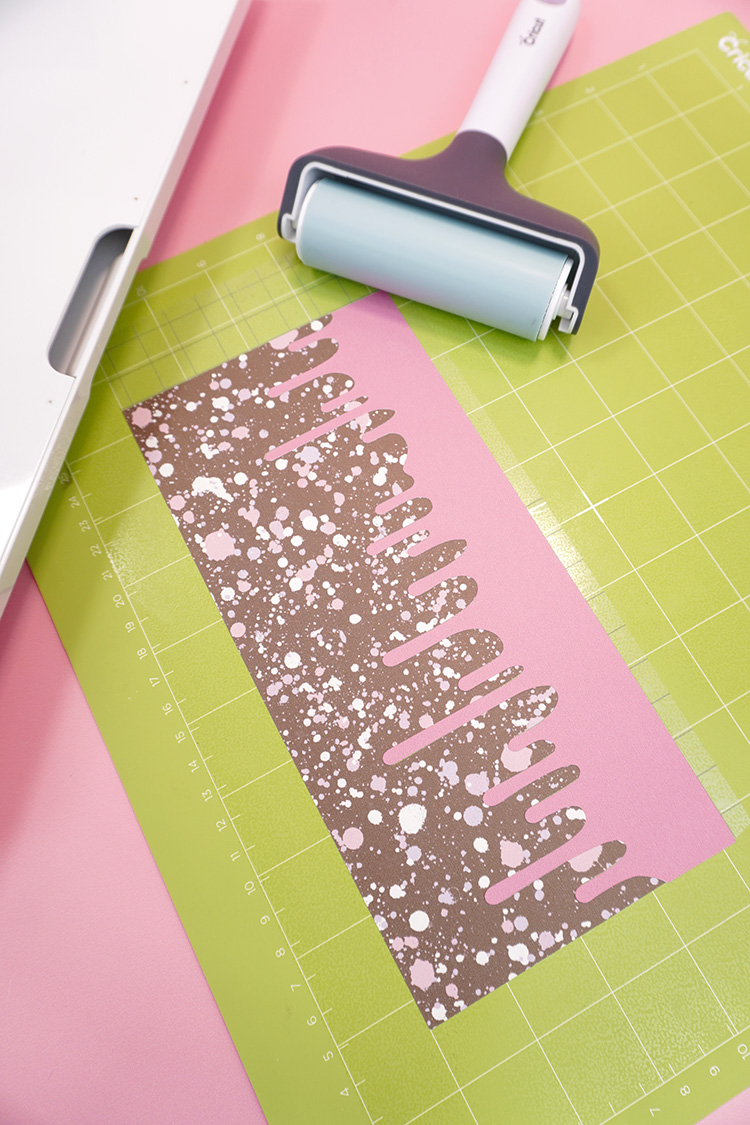
Place the Infusible Ink transfer sheet ink-side-up on a Cricut cutting mat. Try to avoid touching the ink with damp/oily hands as it can damage the ink. I like to use a brayer to smooth it down instead of my hands to avoid any fingerprints or smudges.
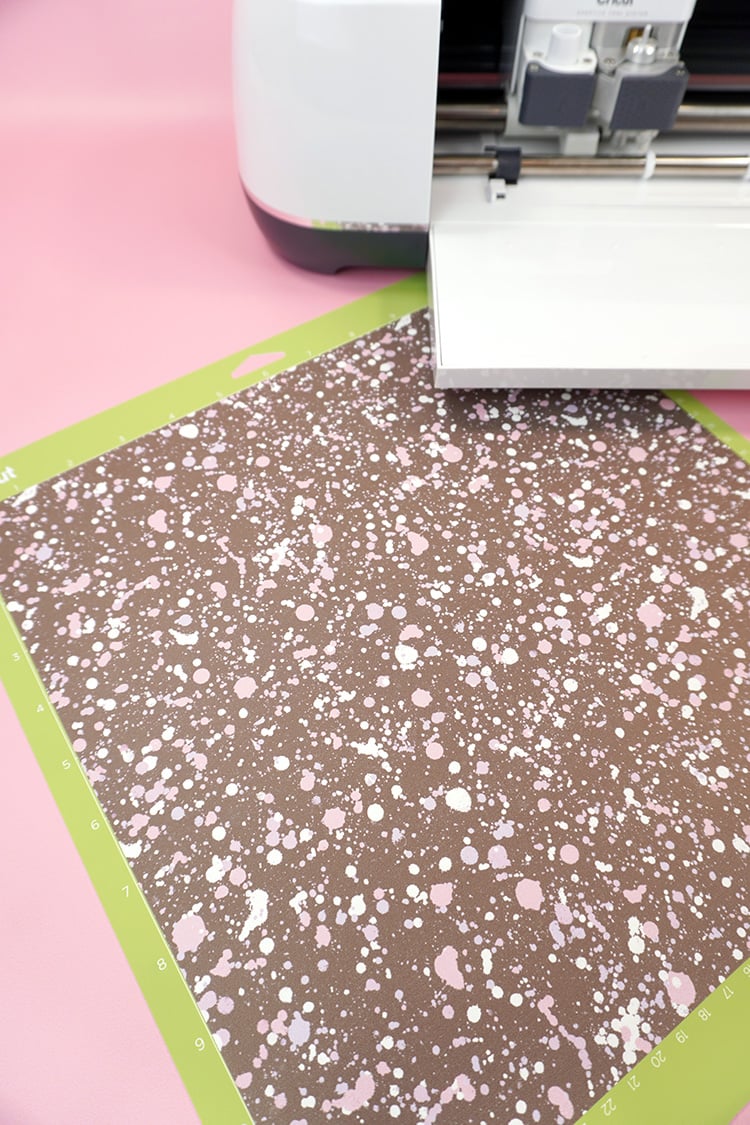
You’ll notice that the color of the Infusible Ink is not very bright at this point, but rest assured, it will get VERY bold and bright after you apply heat to it!
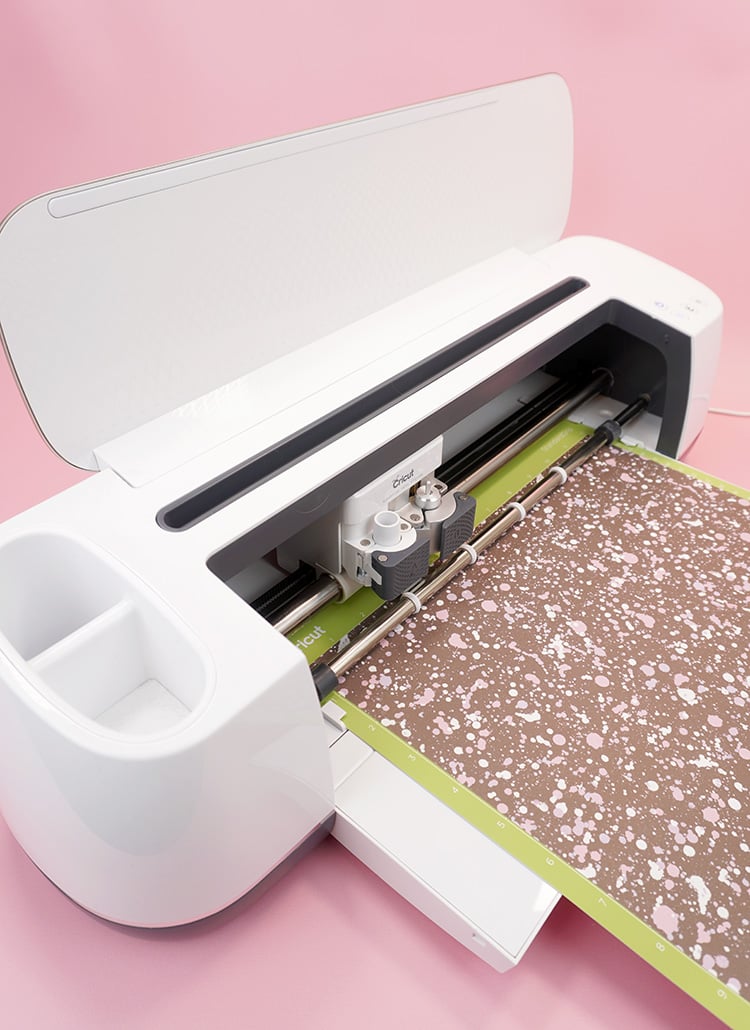
Cut both colors/patterns of Infusible Ink with your Cricut machine.
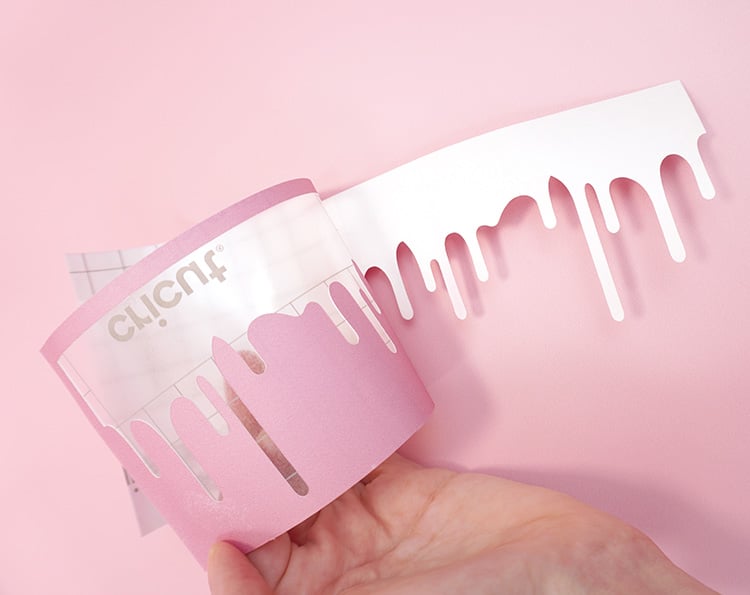
Use your fingers or tweezers to weed the excess Infusible Ink from the backing. If you haven’t worked with Infusible Ink before, you’ll notice that it is much thicker than vinyl and iron-on and therefore weeds a bit differently. Slightly bend and roll the backing paper until the smaller pieces “crack” away from the other pieces, and use your hands to weed away the excess.
Do NOT use traditional weeding tools to weed Infusible Ink! Doing so may result in small amounts of ink being pressed into the plastic carrier backing, and that ink WILL transfer to your blank! Always use your hands or tweezers to weed.
[Note: this is the part where I need to mention that my Maker machine got a little overzealous with cutting the Infusible Ink, and it cut through the transfer sheet for EVERY layer of my design instead of just the backing layer. If yours happens to do the same, no worries! I’ll show you how to roll with it and still make it work! 😉]
Carefully remove the top “drippy” layer of Infusible Ink from its transfer sheet backing and place it on to the larger transfer sheet forming one cohesive design with multiple colors.
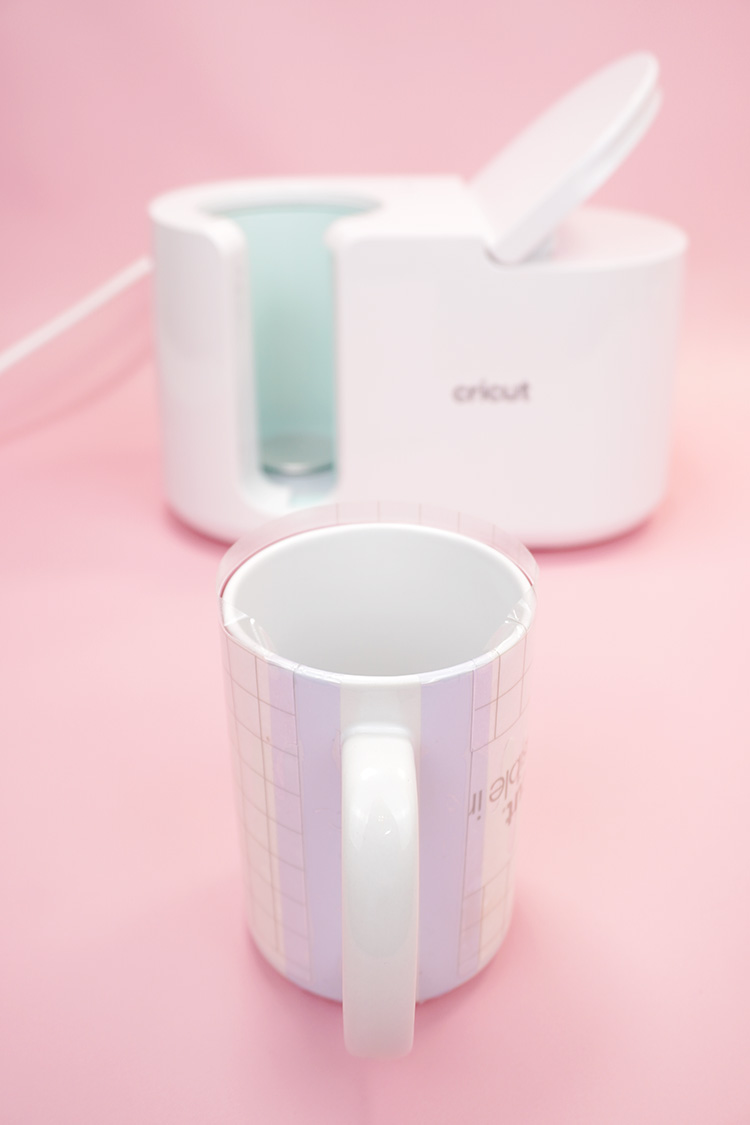
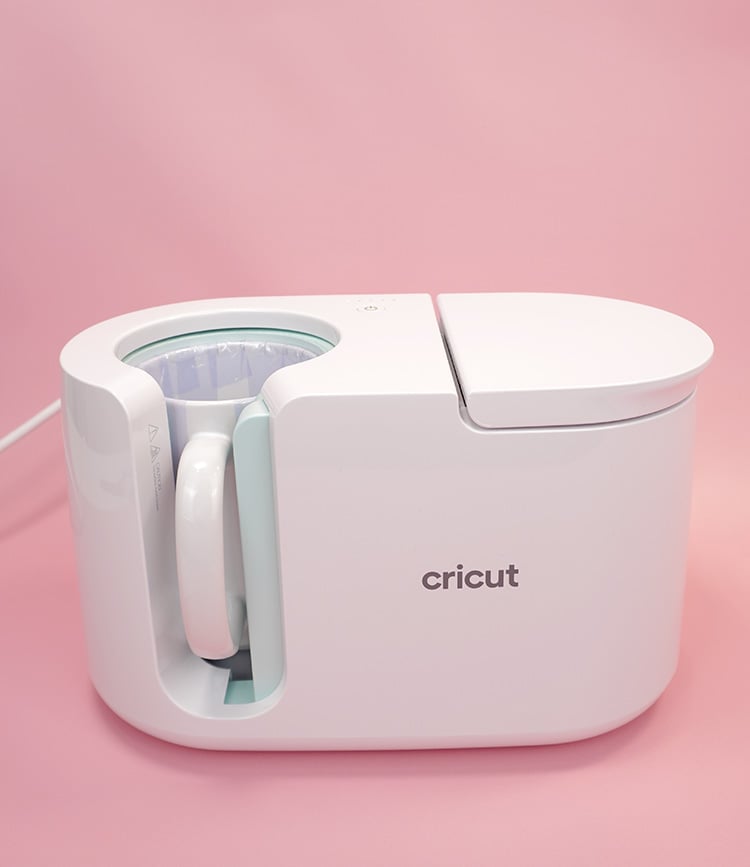
Plug in the Cricut Mug Press, raise the lever handle, and allow it to heat up. There are NO heat settings to adjust – you simply plug it in and power it on!
While the machine is heating, place the Infusible Ink design in position on the mug, and use heat-resistant tape to hold one side in place at the handle. Use your hands to smooth the design as you tightly wrap it around the mug and secure the other end with tape.
For the best transfer, you want the Infusible Ink to be tightly secured to the surface of the mug, so use additional tape as needed to hold everything in place. I like to tape around the top edge of the mug as well for crisp full-bleed results.
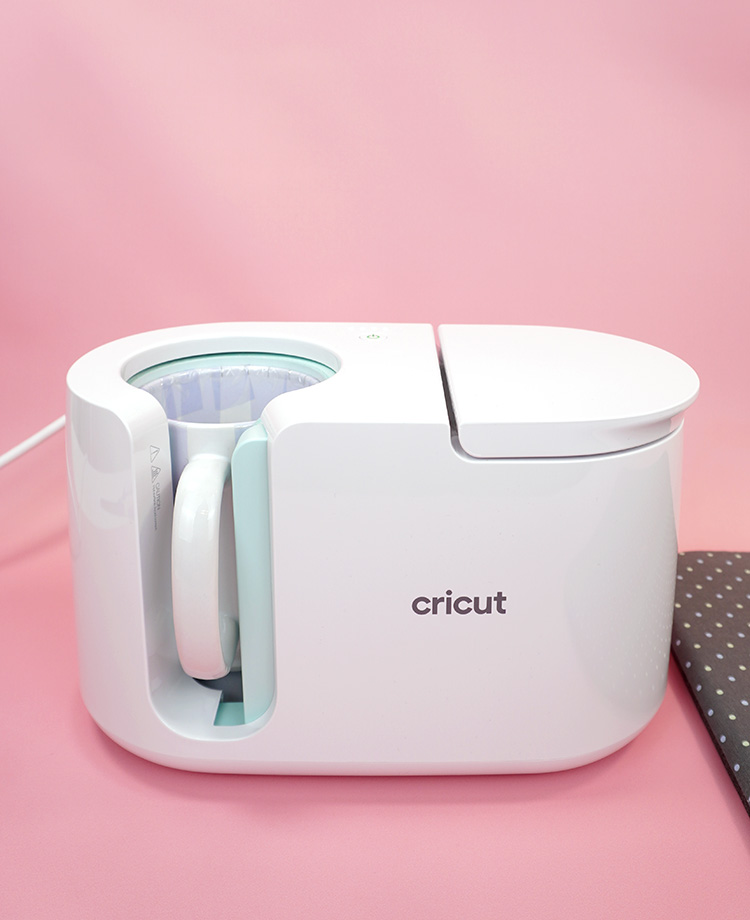
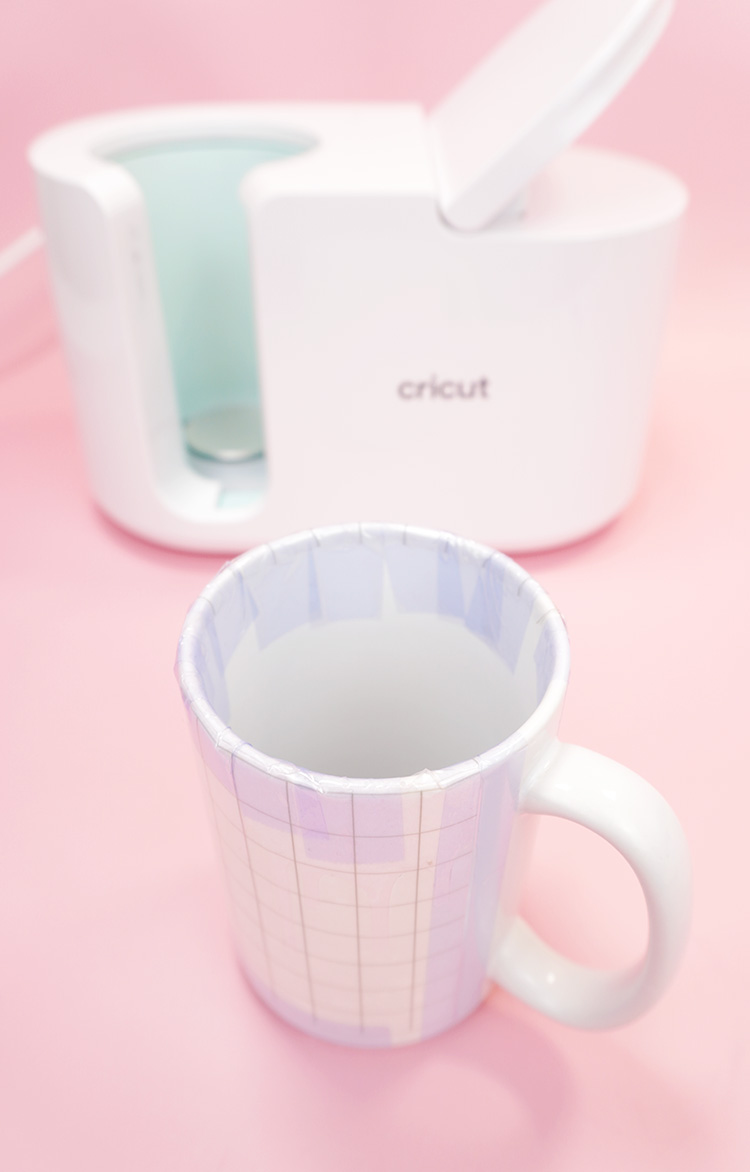
Place the mug inside the Mug Press and press down on the lever to tighten and close the press. Keep the mug handle in the center of the open area and make sure that your entire design is covered by the heating plate.
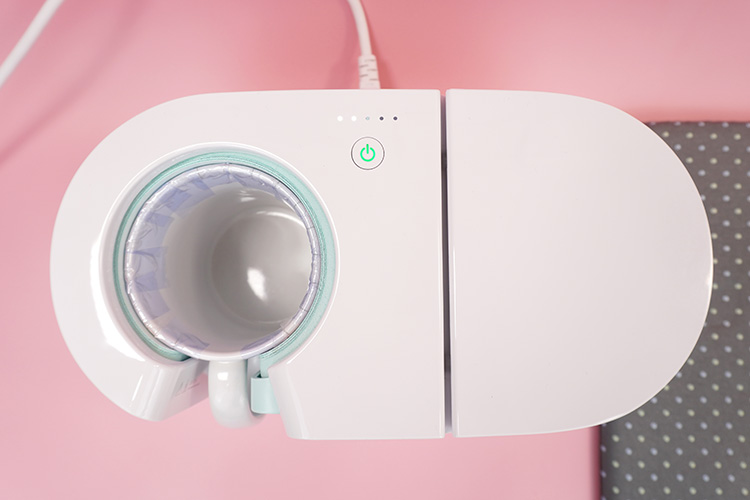
The Cricut Mug Press has a series of five small lights above the power button. These lights are the progress bar and will show you where are you at in the process. The Mug Press takes into consideration things like ambient temperature, so the actual pressing times will vary, but most mugs take around 6 minutes to press.
When the mug is ready, all five lights in the progress bar will be lit, and the Mug Press will beep to alert you.
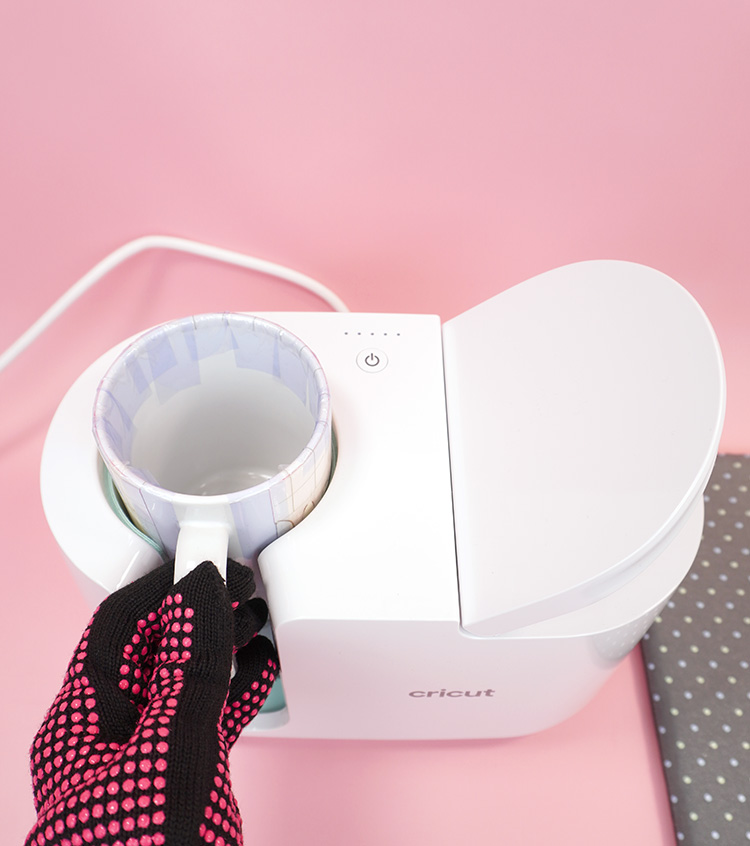
Carefully remove the mug from the Mug Press and place it on a cooling mat. I highly recommend using heat-resistant gloves! The handle does stay cooler than the rest of the mug, but the body of the mug will be VERY HOT!
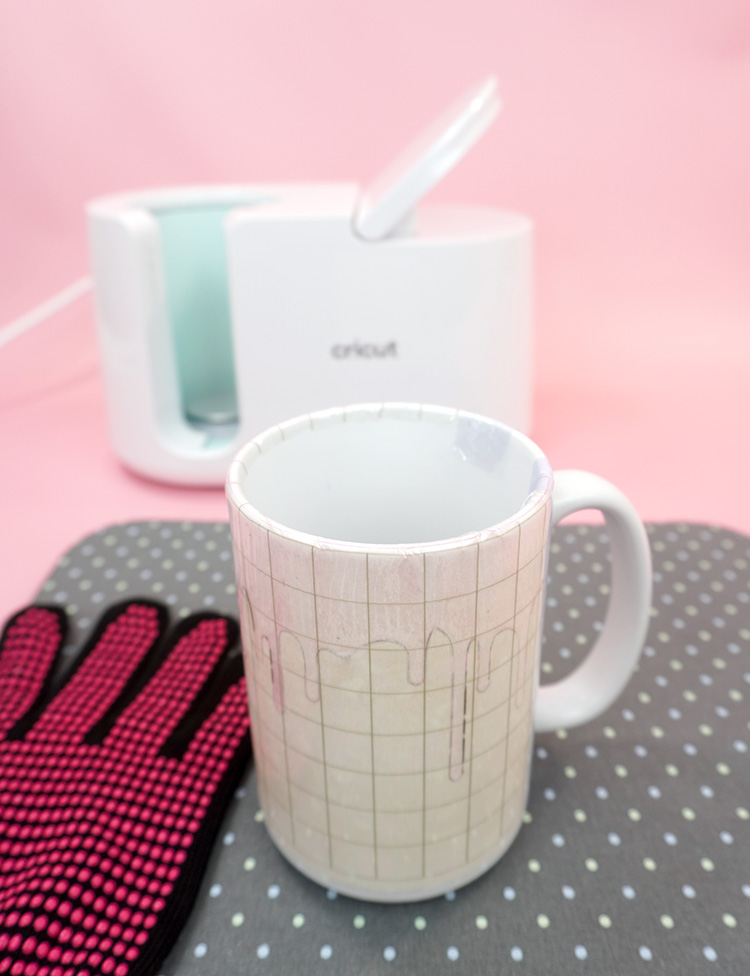
Allow the mug to cool for at least 15-20 minutes.
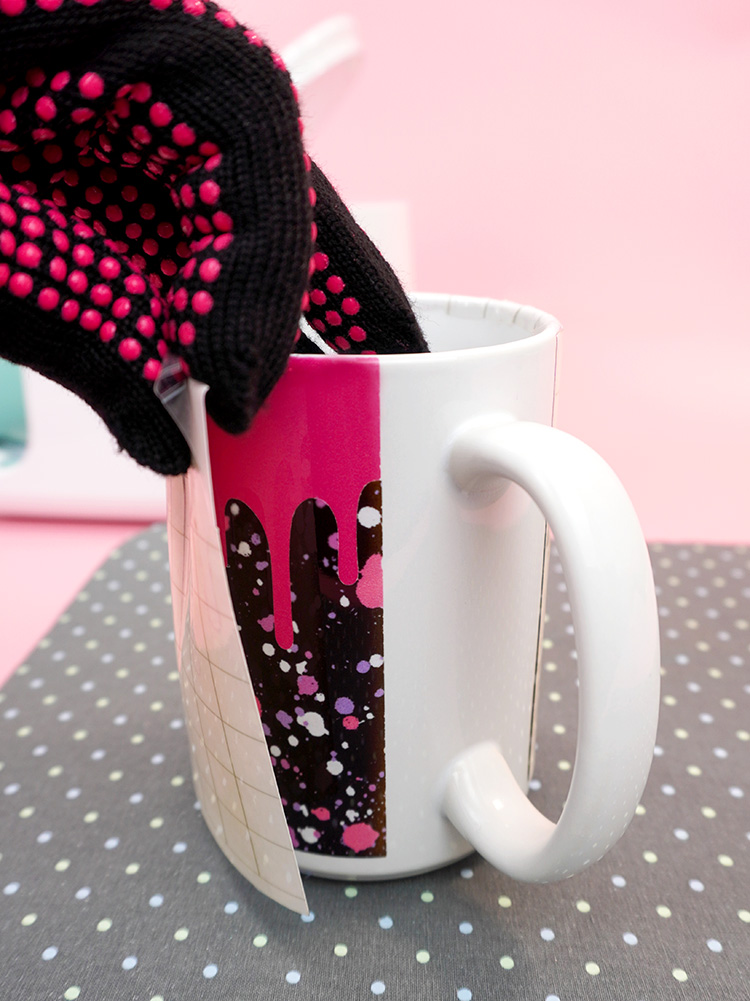
Once the mug has started to cool, it’s time to peel and reveal! Depending on the mug base that you used, some mugs may still have “hot spots,” so I recommend using the heat-resistant gloves again unless the mug is entirely cool!
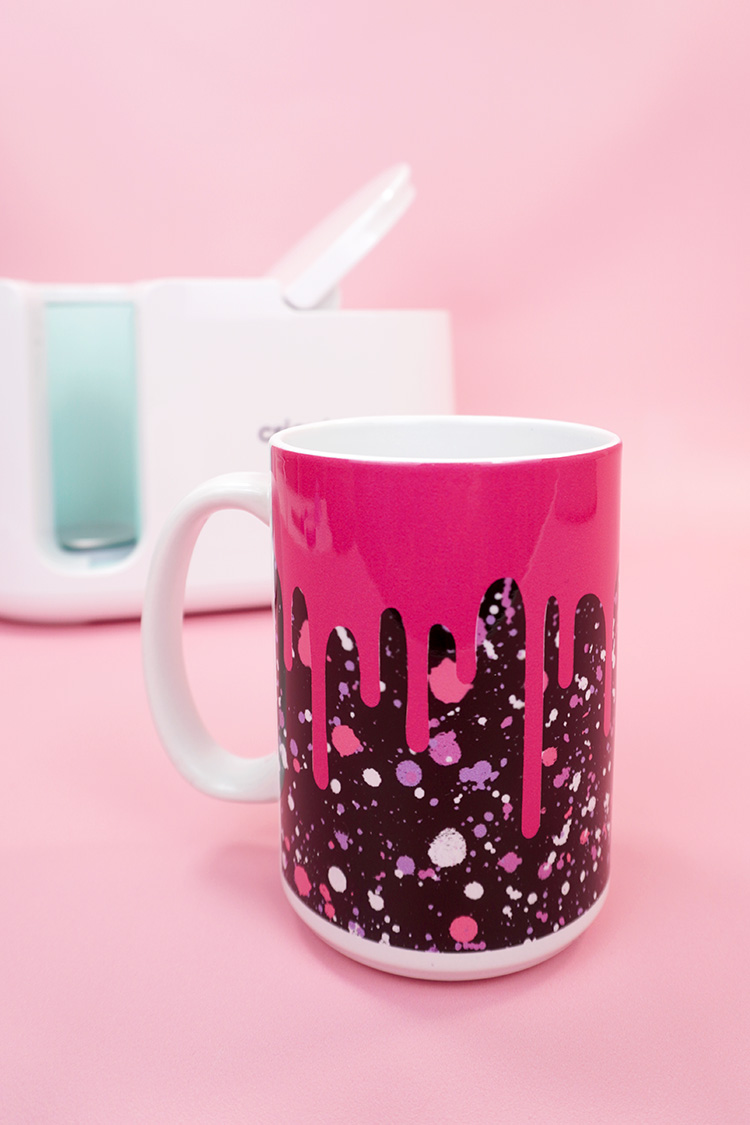
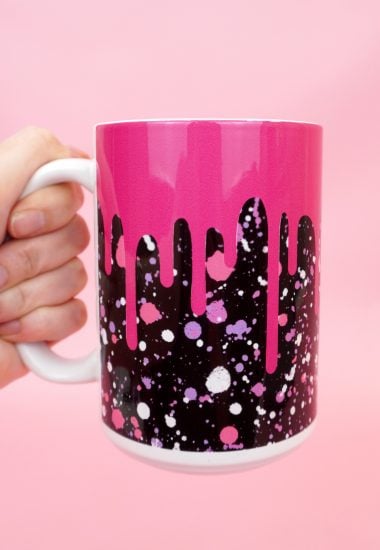
Ta da! How cool is that!?
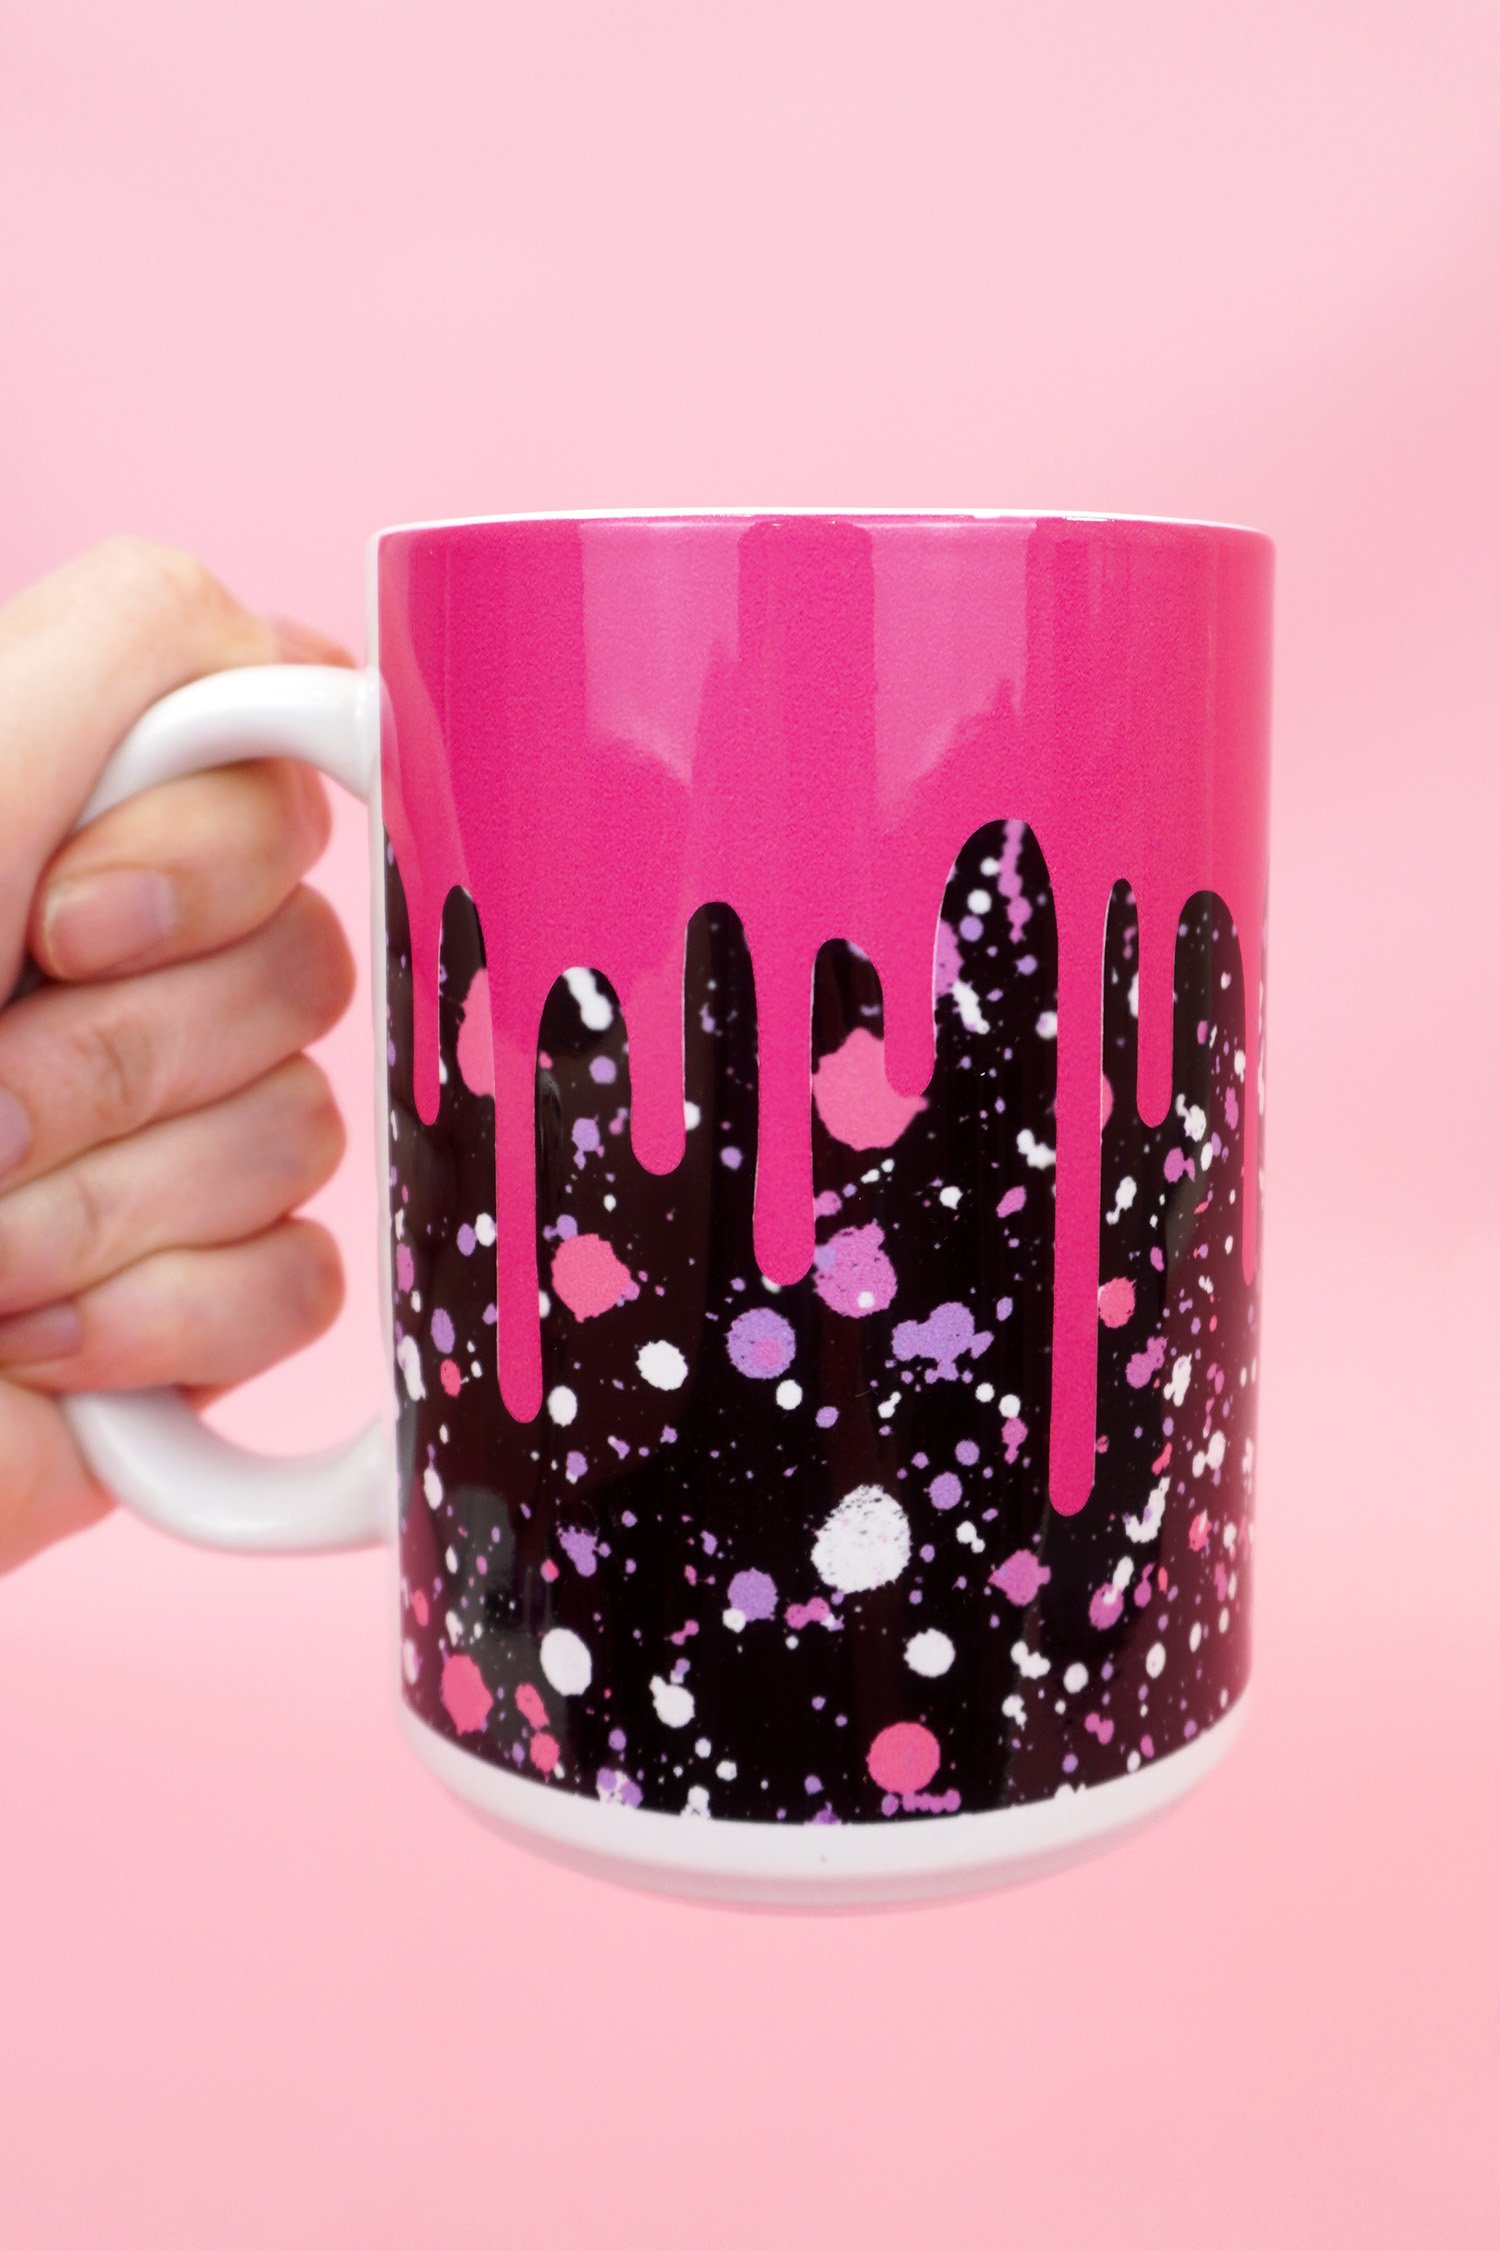
Cheers to being able to make cute, dishwasher-friendly mugs with ease!
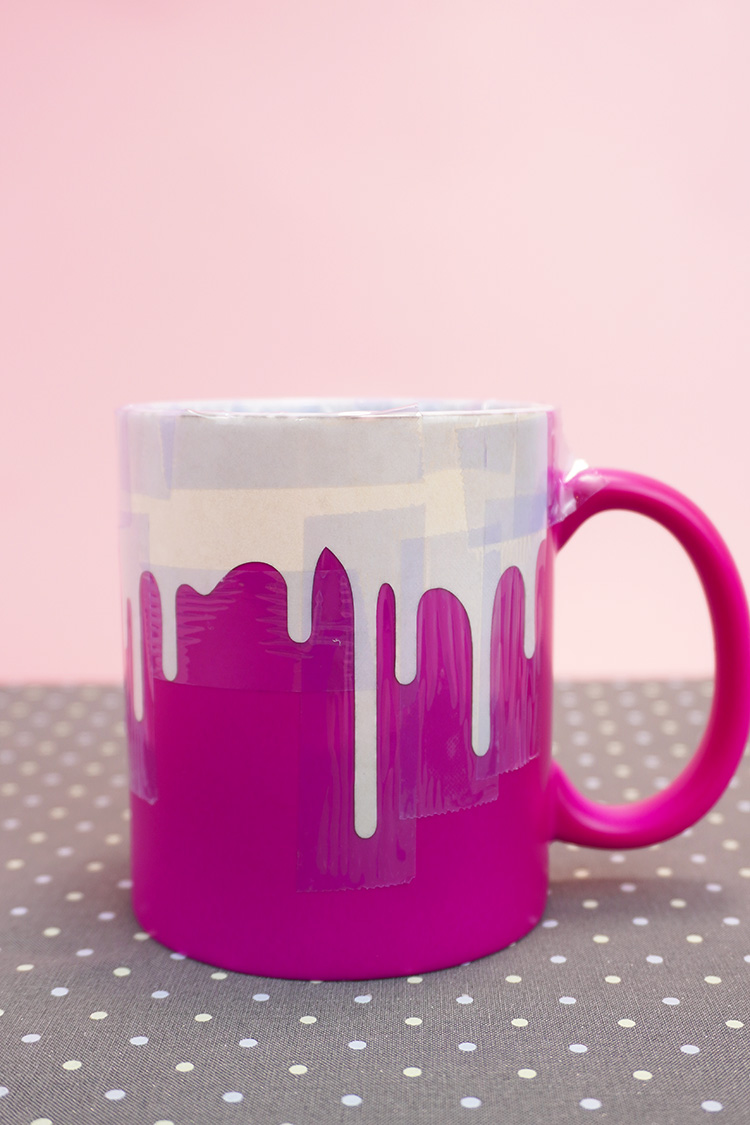
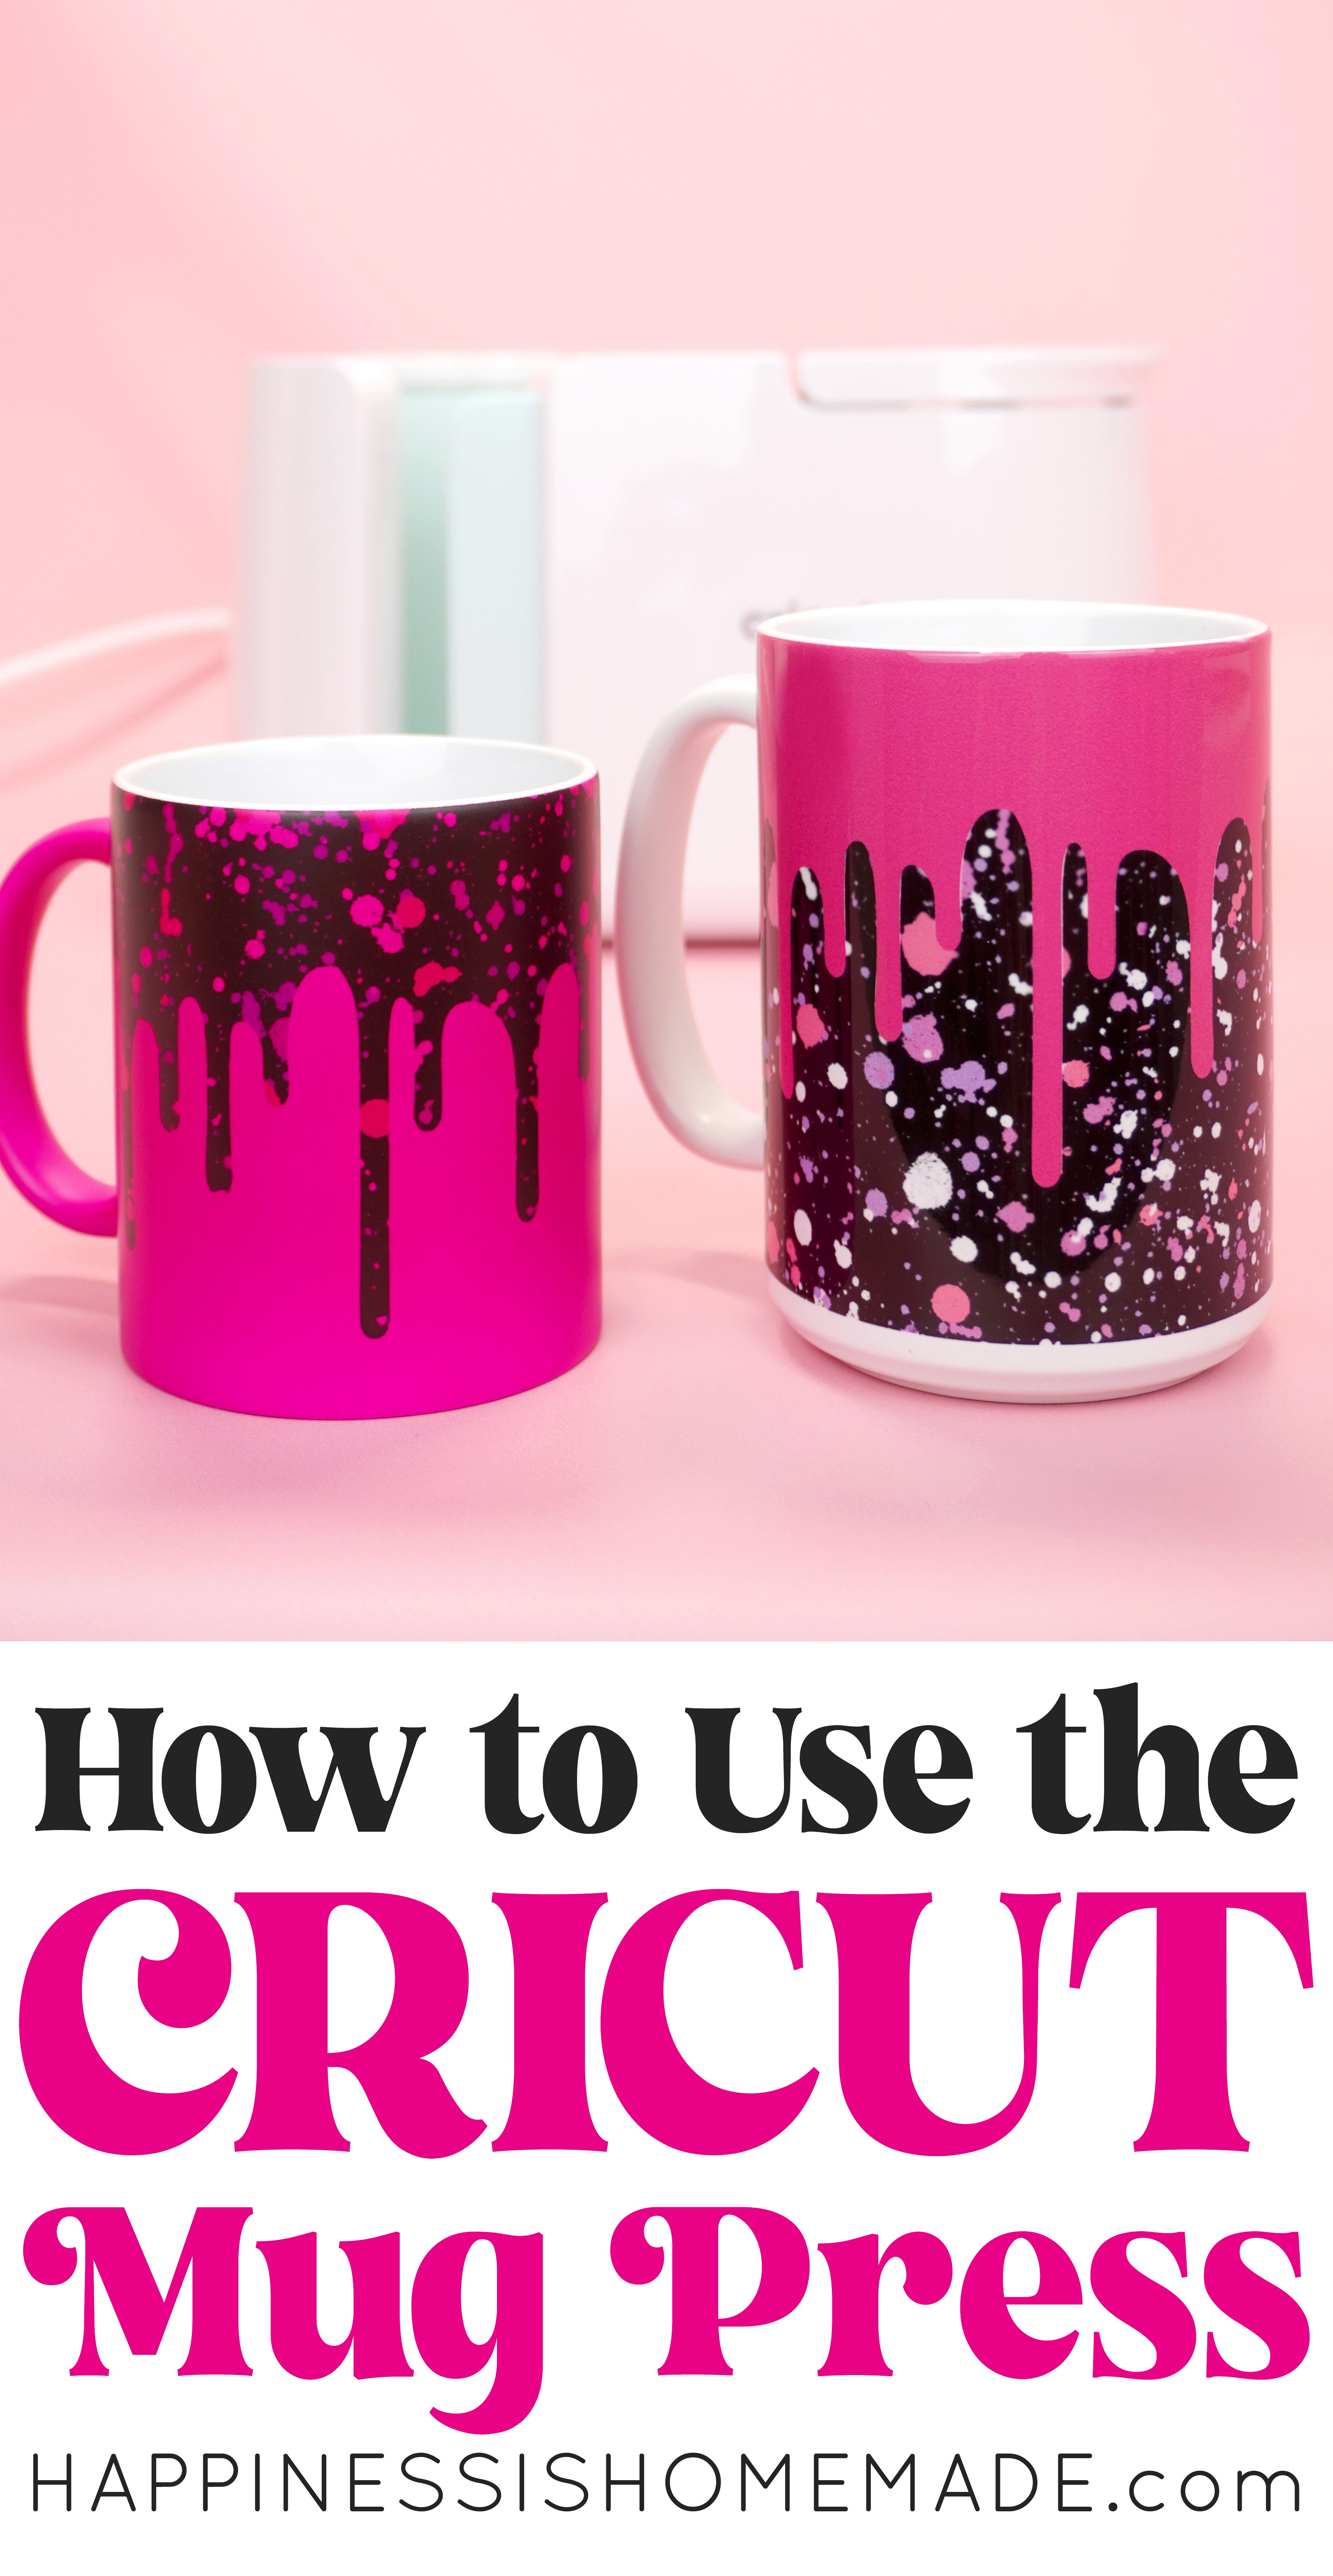
While I was in Mug Making Mode, I decided to use the “negative” piece that I weeded from the paint splash Infusible Ink to create a second mug with the Mug Press.

I LOVE the way that this turned out! 😍😍😍
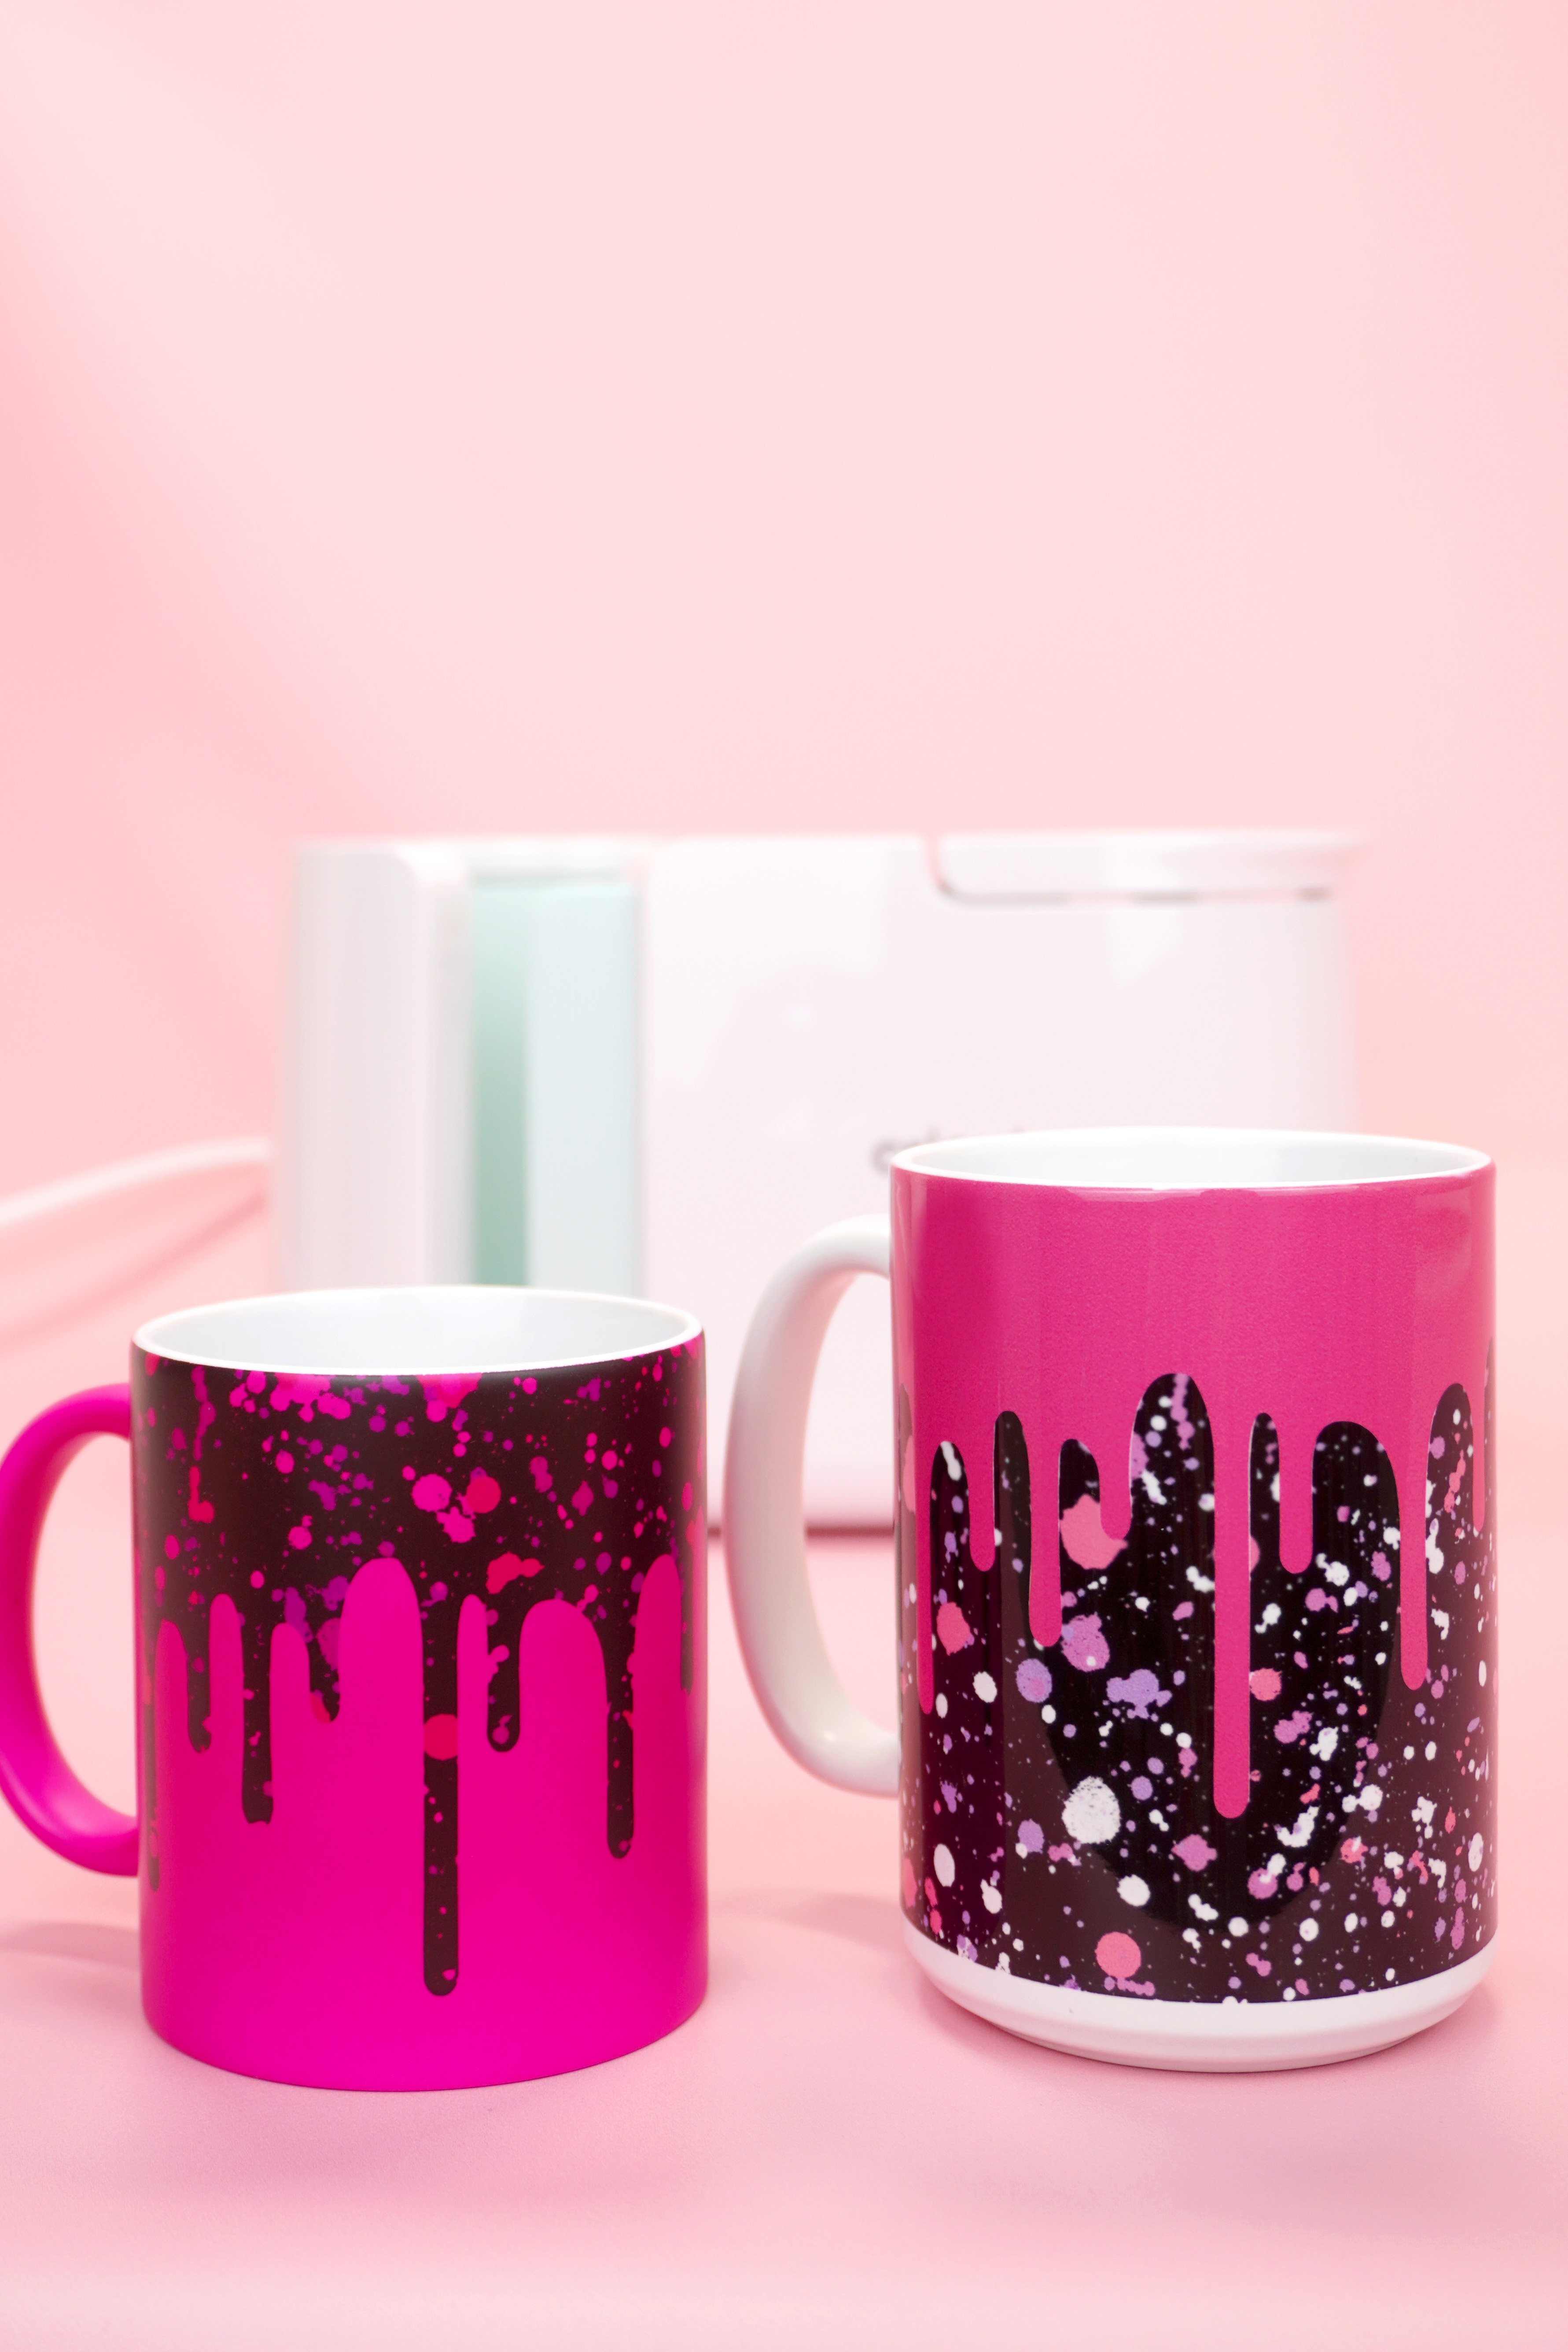
It’s SO cool to see how the color and appearance of the Infusible Ink changes between the white glossy mug base and the hot pink matte mug base! They’re both so awesome that I can’t even choose which one I like best!
Now that you know how to use the Cricut Mug Press, what will you make first! These easy dishwasher-friendly mugs make excellent gift ideas for all occasions!

Check Out These Other Infusible Ink Posts!
 35+ Mother’s Day Cricut Craft Ideas
- Infusible Ink Mugs with the Cricut Mug Press
 How to Use the Cricut Mug Press
- Free Mug Wrap SVG Files
- How to Make an Infusible Ink Mug in the Oven
- Free Harry Potter SVG + Marathon Blanket
- How to Layer Cricut Infusible Ink: Slice & Set Method
- Personalized Christmas Ornaments with Cricut Infusible Ink


Don’t Forget to Pin This Post for Later!

Heidi Kundin has captivated the hearts of millions with her colorful and inspiring approach to crafting, celebrations, and family fun. With over 15 years of experience, Happiness is Homemade has become a must-visit destination for those seeking quick and easy creative ideas and last-minute solutions. Heidi’s warm personality shines through her posts, inviting readers to join her on a creative journey that’s fun, rewarding, and achievable. Heidi is also the author of Homemade Bath Bombs & More and DIY Tie-Dye.
Do you place the “drippy” cut directly on top of the infusible ink of the rectangle cut? Or do you cut out the drippy shape on the rectangle and replace it with the other color cut in the same shape?
Hi Karen, you will want to cut the drippy shape out of the rectangle and replace it with the other color! The two should fit together like puzzle pieces. 🙂
I can’t wait to make gifts for my fellow teachers!