

Want to learn how to use iron-on vinyl on wood or MDF? We’ve got you covered with a step-by-step tutorial that will teach you how! Plus, download the cute “Home Sweet Home” cut file to make a wood + iron-on sign of your own!


Did you know that iron-on vinyl (also known as heat transfer vinyl) isn’t just for fabric and clothing? Using iron-on on metal, wood, and other unconventional surfaces are some of my favorite things to do! The thinness of the iron-on material combined with the strong and durable bond works great for home decor projects!
How to Use Iron-On Vinyl on MDF
What We Used:
- 10″ MDF Hexagon
- White Acrylic Paint
- Iron-On Vinyl (HTV) in Navy Blue, Mint, and Pink
- “Home Sweet Home” SVG File (below)
- Cricut Maker or Cricut Explore Air 2 machine
- Cricut EasyPress

I started by using my Cricut Maker machine to cut out the “Home Sweet Home” SVG file from navy, mint, and pink iron-on vinyl and weeding the excess. At first, I thought I might leave the hexagon the unfinished MDF color, but I ended up painting it with two coats of white acrylic paint to really help the colors pop against the background.
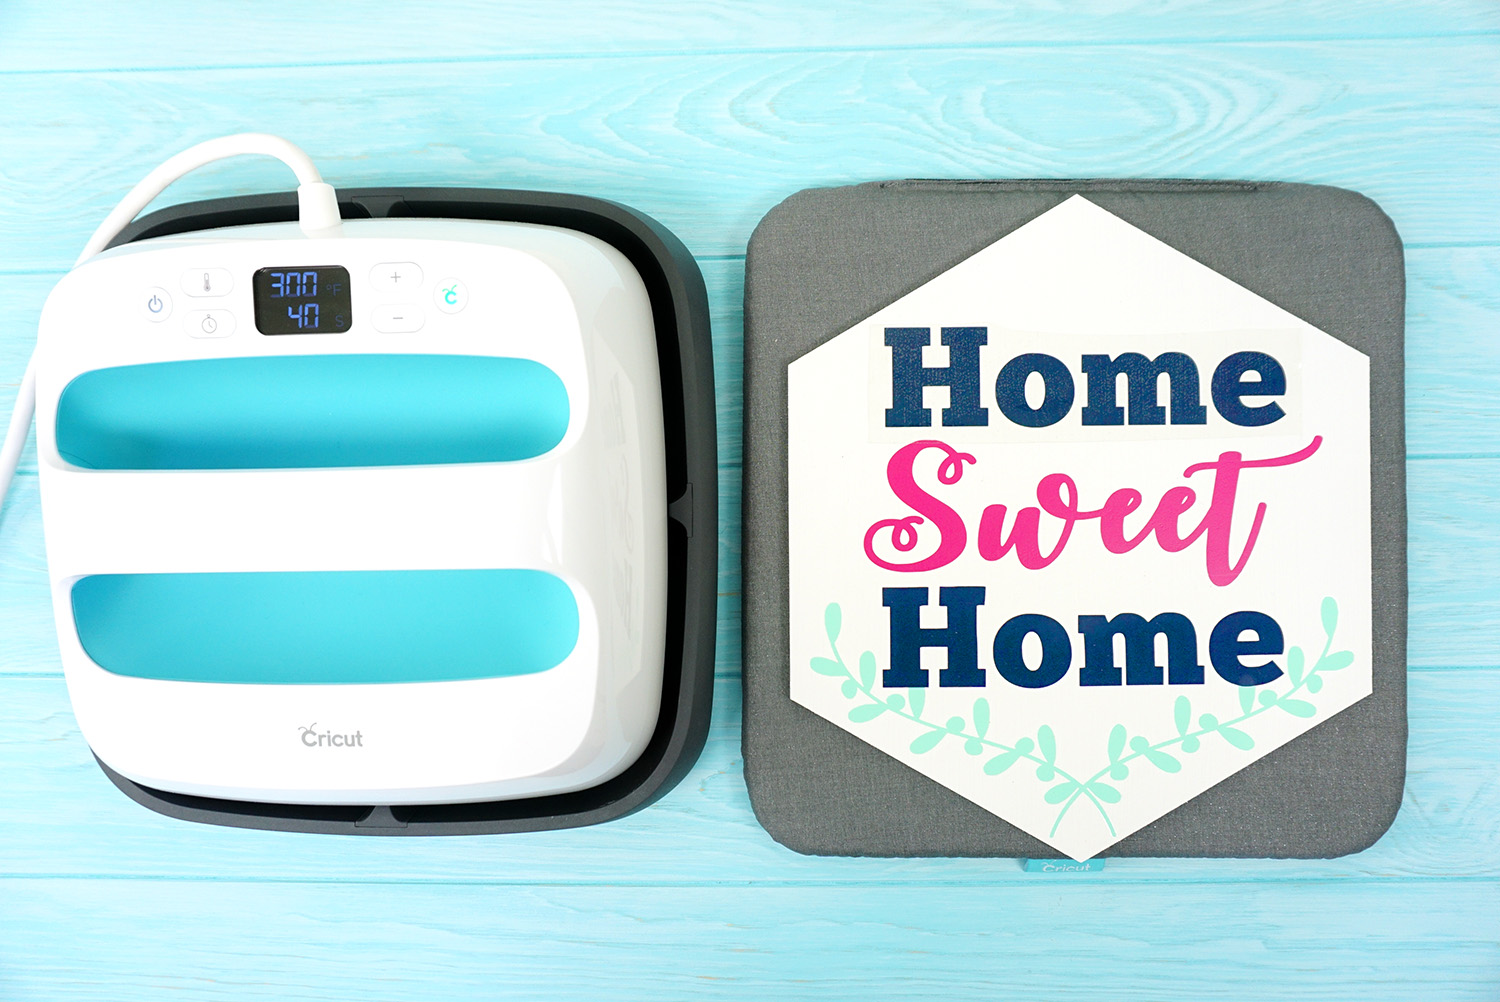
I set my Cricut EasyPress to the recommended settings for wood – 300 degrees for 40 seconds – and then pressed the surface twice (allowing it to cool between pressings) before peeling off the plastic backing. If you don’t have an EasyPress yet, I’m telling you, it is a total GAME CHANGER when it comes to iron-on projects (and also for ironing large items like tablecloths ha!)! The EasyPress has a 9″ square flat heating surface that heats with even temperature across the entire surface, so you can be assured that your entire design is getting the same amount of heat and pressure with each pass. The EasyPress combines the strength and power of a heat press with the ease and flexibility of a lightweight iron!
(You can read more about my love for the EasyPress along with some technical specifications here!)

Look at how incredibly thin that iron-on is on the wood! There’s hardly any discernable edges, so it gives the piece a look that is similar to a hand-painted design! I’m telling you, I really can’t get enough of iron-on on wood (or pressed wood, in this case!)!

To hang the sign, you can use 3m Command Strips on the back side of the piece, or you can opt to attach a ribbon hanger. I chose the ribbon option because I’m a sucker for gingham!

Simply create a loop with the ribbon and use hot glue to secure it in place on the back of the sign. You could also create a bow hanger like I did with my metal + iron-on sign!

Easy Peasy and SUPER cute!
Get the “Home Sweet Home” SVG File to Create Your Own!

You May Also Like These Cricut Crafts:
 Cardboard Gingerbread Houses + SVG Files
 Thanksgiving Treats: Turkey Lollipops
 35+ Mother’s Day Cricut Craft Ideas
 Free Christmas Countdown SVG +16 Christmas Cut Files
- 13 Free Bat SVG Files for Halloween
- 3D Stars + Christmas Ornament SVG Files
- Ouija Board Halloween Sign + SVG
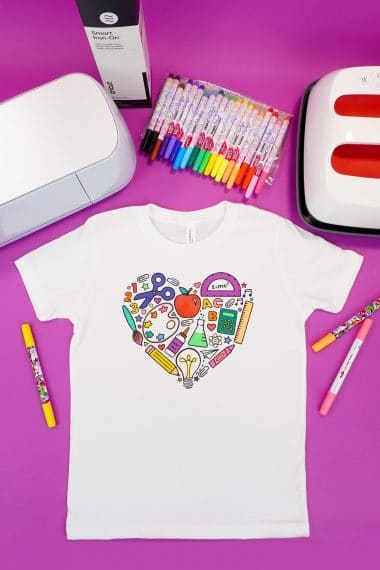
- Back to School SVG + Coloring Shirt


Pin This Home Sweet Home Sign for Later!


Heidi Kundin has captivated the hearts of millions with her colorful and inspiring approach to crafting, celebrations, and family fun. With over 15 years of experience, Happiness is Homemade has become a must-visit destination for those seeking quick and easy creative ideas and last-minute solutions. Heidi’s warm personality shines through her posts, inviting readers to join her on a creative journey that’s fun, rewarding, and achievable. Heidi is also the author of Homemade Bath Bombs & More and DIY Tie-Dye.
Can I use my iron for wood? What setting?
I have been trying to figure out how to make a similar project work! I am using MDF with two coats of acrylic paint. I used my Easy Press at 300 degrees for 30 seconds (only one press). I let it cool, then peeled it, and it peeled the paint off!
I also tried two coats of wall paint on MDF (exact same Easy Press settings), and I got the glue residue around the edges. I can’t figure out what I’m doing wrong! Any advice?
I think it definitely depends on the wood and the brand of paint that you’re using as I’ve heard of others having this issue as well. I have also heard that some people have had better success with spray paint, but I haven’t tried that myself.
My advice would be to press the wood with the EasyPress a few times BEFORE painting it to help remove any residual moisture trapped in the wood/MDF. Then, allow your paint to dry for at least 24-48 hours before you attempt to press it again. The paint peeling issue is usually a result of moisture in the wood and/or the paint, so make sure everything is completely dry before using the EasyPress again! Hope that helps! 🙂
I pressed my imsge onto a wooden kitchen board using tbe easy press but now there is a lot of glue all around the edges. I had the easy press set at 330.
Do you know how i remove th ee e vess residue
Thank you Robyn
Hi Robyn, generally when this happens, it means that your settings were too hot for the materials that you used. I recommend no hotter than 300 degrees for wood. You can use lemon (or any other citrus) essential oil on a q-tip to remove the residue, but be super careful not to get the oil on the actual iron-on or it will remove that as well!
Was your wood painted? I have been trying this method but the paint always pulls up from the heat when I remove the vinyl cover. I use an iron not an easy press. Could my iron be too hot? Thanks!
It could be too hot, Stephanie, or there could still be too much moisture in the wood/paint combination that you’ve used. I usually try to wait at least 48 hours after painting before applying vinyl if possible.