

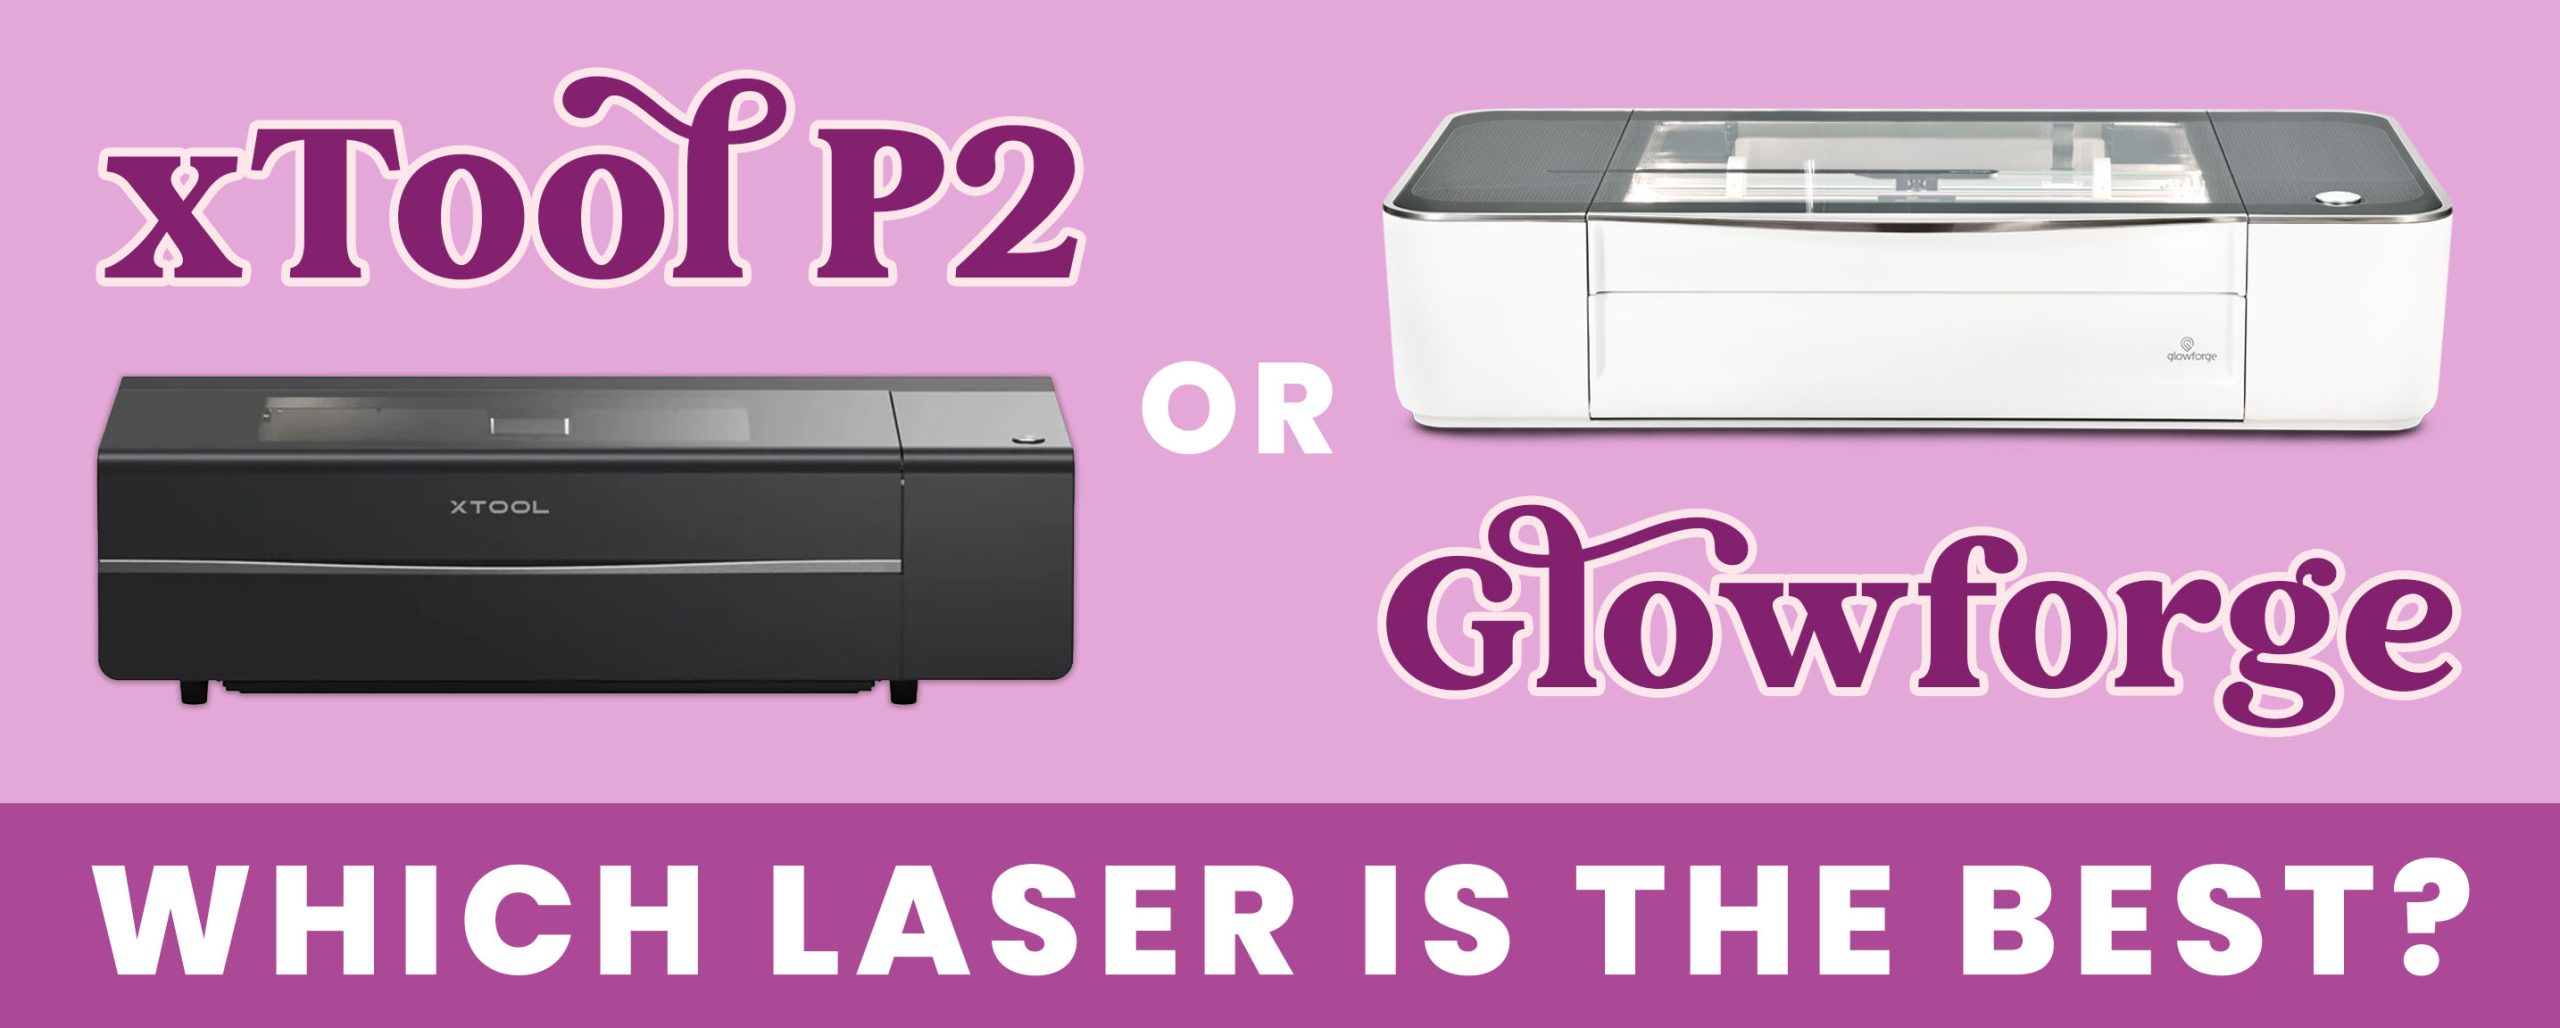
xTool P2 vs Glowforge Pro – which laser cutter is the best? Discover the details in our comprehensive comparison guide as we analyze features, pricing, and more for these top laser cutters!
This post may contain affiliate links. I will receive a small commission from these sales at no additional cost to you!
Venturing into the realm of laser cutting and engraving can feel like stepping into a completely new world, especially when you’re trying to compare two industry powerhouses like the xTool P2 and the Glowforge Pro. Both machines have certainly made their mark, earning high praise from small businesses and personal workshops around the world. But how do you make an informed choice between the two when everyone seems to love BOTH of them?
That’s where we step in! We are fortunate to have both a Glowforge Pro as well as an xTool P2 (and an xTool M1 diode laser) in our studio, and today, we’re going to share our insights to help you make the best decision – which laser beam is the best!?
Our comparison primarily focuses on the Glowforge Pro, the top-tier model in the Glowforge lineup which also includes the Glowforge Basic and the Glowforge Plus. The Glowforge Pro has been selected because not only do we have firsthand knowledge of its workings, but it also offers a comparable level of performance and features to the xTool P2 CO2 laser, creating a fair ground for our comparisons.
Our goal is to offer a comprehensive and balanced overview that will investigate and scrutinize every feature, from laser power and handling of thicker materials to the intricacies of cuts and even the noise produced. We believe it’s crucial for you to choose a machine that aligns with your workspace arrangement, requirements, and aspirations, rather than simply opting for the most popular pick.
In the following sections, we’ll cover a wide range of topics, from software compatibility and safety features to the diversity of materials each machine can handle, and even their respective price points. Our objective is to provide you with a well-rounded understanding of the unique strengths and potential limitations of each machine. We’ll dive deep into the xTool P2 vs Glowforge Pro, uncovering valuable insights that will help you make your decision as you enter this exciting new world of laser cutting and engraving.
Get More Detailed Information About These Lasers Here:
Product Overviews – Glowforge Pro & xTool P2

Brief History of Glowforge
The story of Glowforge begins with three innovators – Dan Shapiro, Mark Gosselin, and Tony Wright – who came together in Seattle, Washington in 2014 with a shared dream of making laser technology accessible and user-friendly. Their vision culminated in the creation of Glowforge, a company that managed to bring the power of lasers from large-scale industrial setups to the desktops of artists, small businesses, and educators. Glowforge was first introduced to the world via a Kickstarter campaign, which turned into a record-breaking crowdfunding endeavor that netted Glowforge over $28 million in 2015.
Their flagship products, including the Glowforge Pro, are the result of extensive research, innovation, and customer feedback. Launched as a part of a trio that also includes Glowforge Basic and Glowforge Plus, the Glowforge Pro stands out as the most powerful and versatile model of the bunch. This laser cutter machine has consistently made its mark in the industry, turning the heat on traditional crafting methods and opening up a whole new world of creative possibilities to hobby crafters and small businesses that could not previously afford such technology.
Brief History of xTool
xTool’s journey can be traced back to its parent company, Makeblock, a leading DIY robotics construction and programming learning platform founded in 2013. The team at Makeblock observed the burgeoning demand for high-quality, affordable laser engravers and cutters, and hence, xTool was born.
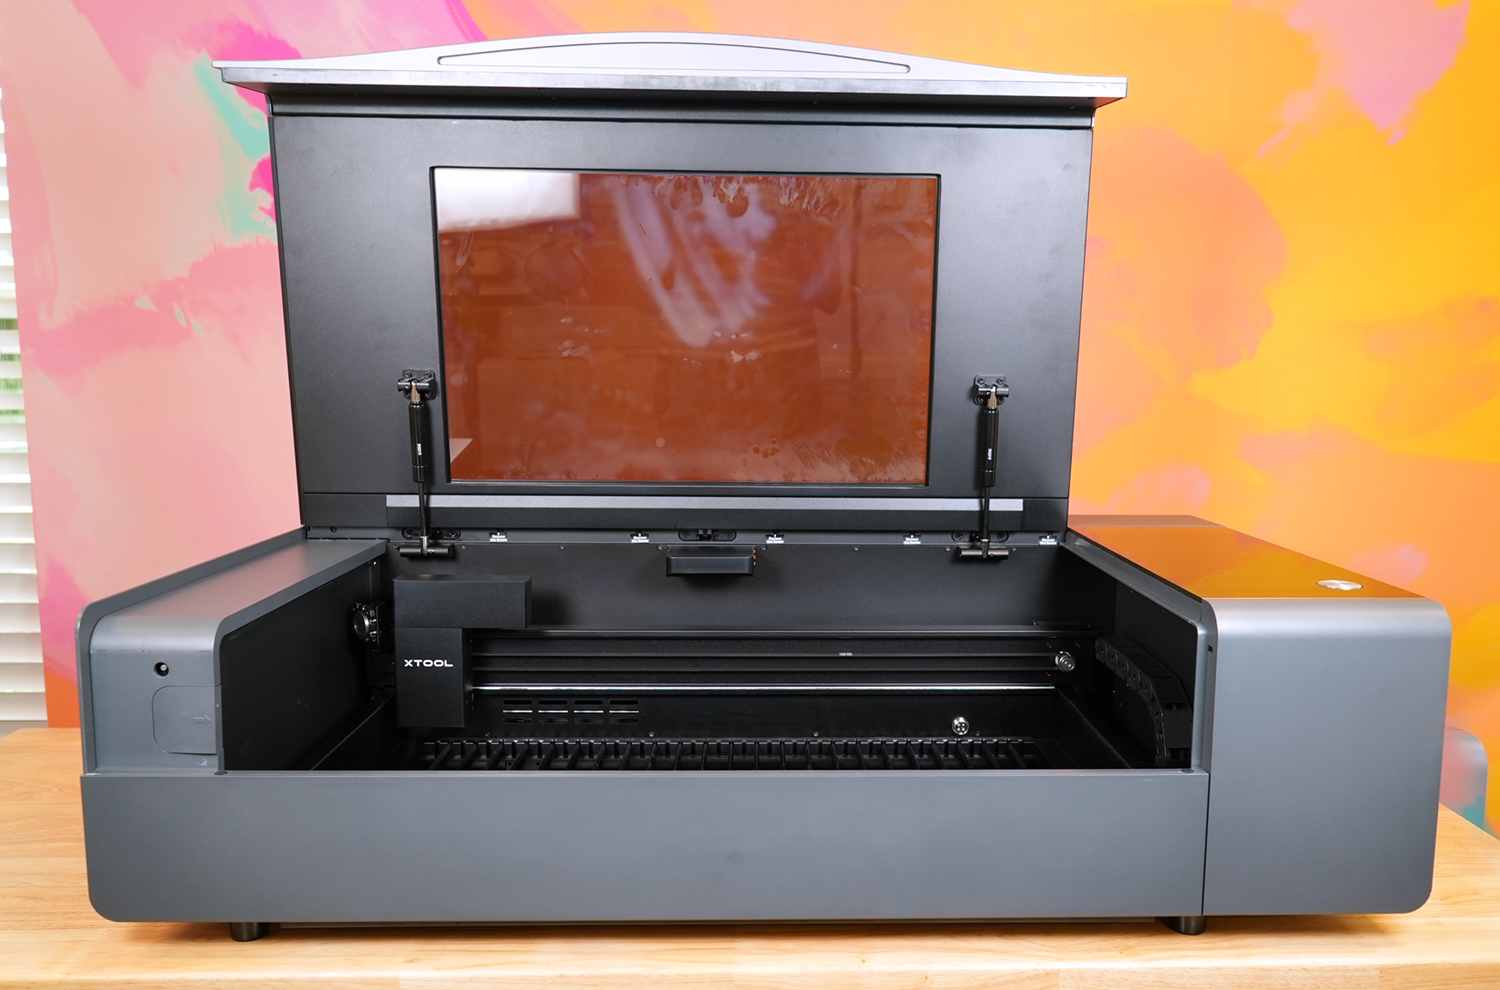
xTool’s aim was simple – bring industrial-grade laser technology to personal workshops and small businesses, all without the usually associated hefty price tag. Their standout newest product offering, the xTool P2, is a testament to their commitment. This machine couples power with precision, offering an expansive workspace and a suite of unique features. It signifies xTool’s dedication to driving innovation in the field of laser technology, opening up a new frontier for creativity for its users.
Technical Specifications
Laser Wattage & Power
The Glowforge Pro employs a 45W CO2 laser tube to cut and engrave materials, while the xTool P2 packs a more potent punch with a 55W CO2 laser. This extra power can contribute to cleaner cuts and better performance, especially when dealing with thicker materials. That said, both machine wattages are appropriate and adequate for working with the most commonly used laser crafting materials.

Machine Size, Footprint, and Weight
Both of these machines take up a considerable amount of space in your studio or workspace, especially once you start to factor in materials storage. Always make sure to measure your available space before selecting the laser that’s best for you!
The Glowforge Pro measures 38″ x 20.75″ x 8.25″ and weighs 55 lbs, while the xTool P2 is larger and heavier at 39.4″ x 25.1″ x 10.6″ and 99 lbs. While both machines require a sturdy workspace, it’s essential to consider the footprint and weight of the machines, especially for smaller workspaces or if your machine will need to be moved frequently. The xTool P2’s larger size accommodates its larger work area, but it also means it requires more space to utilize.
Bed Size & Working Area
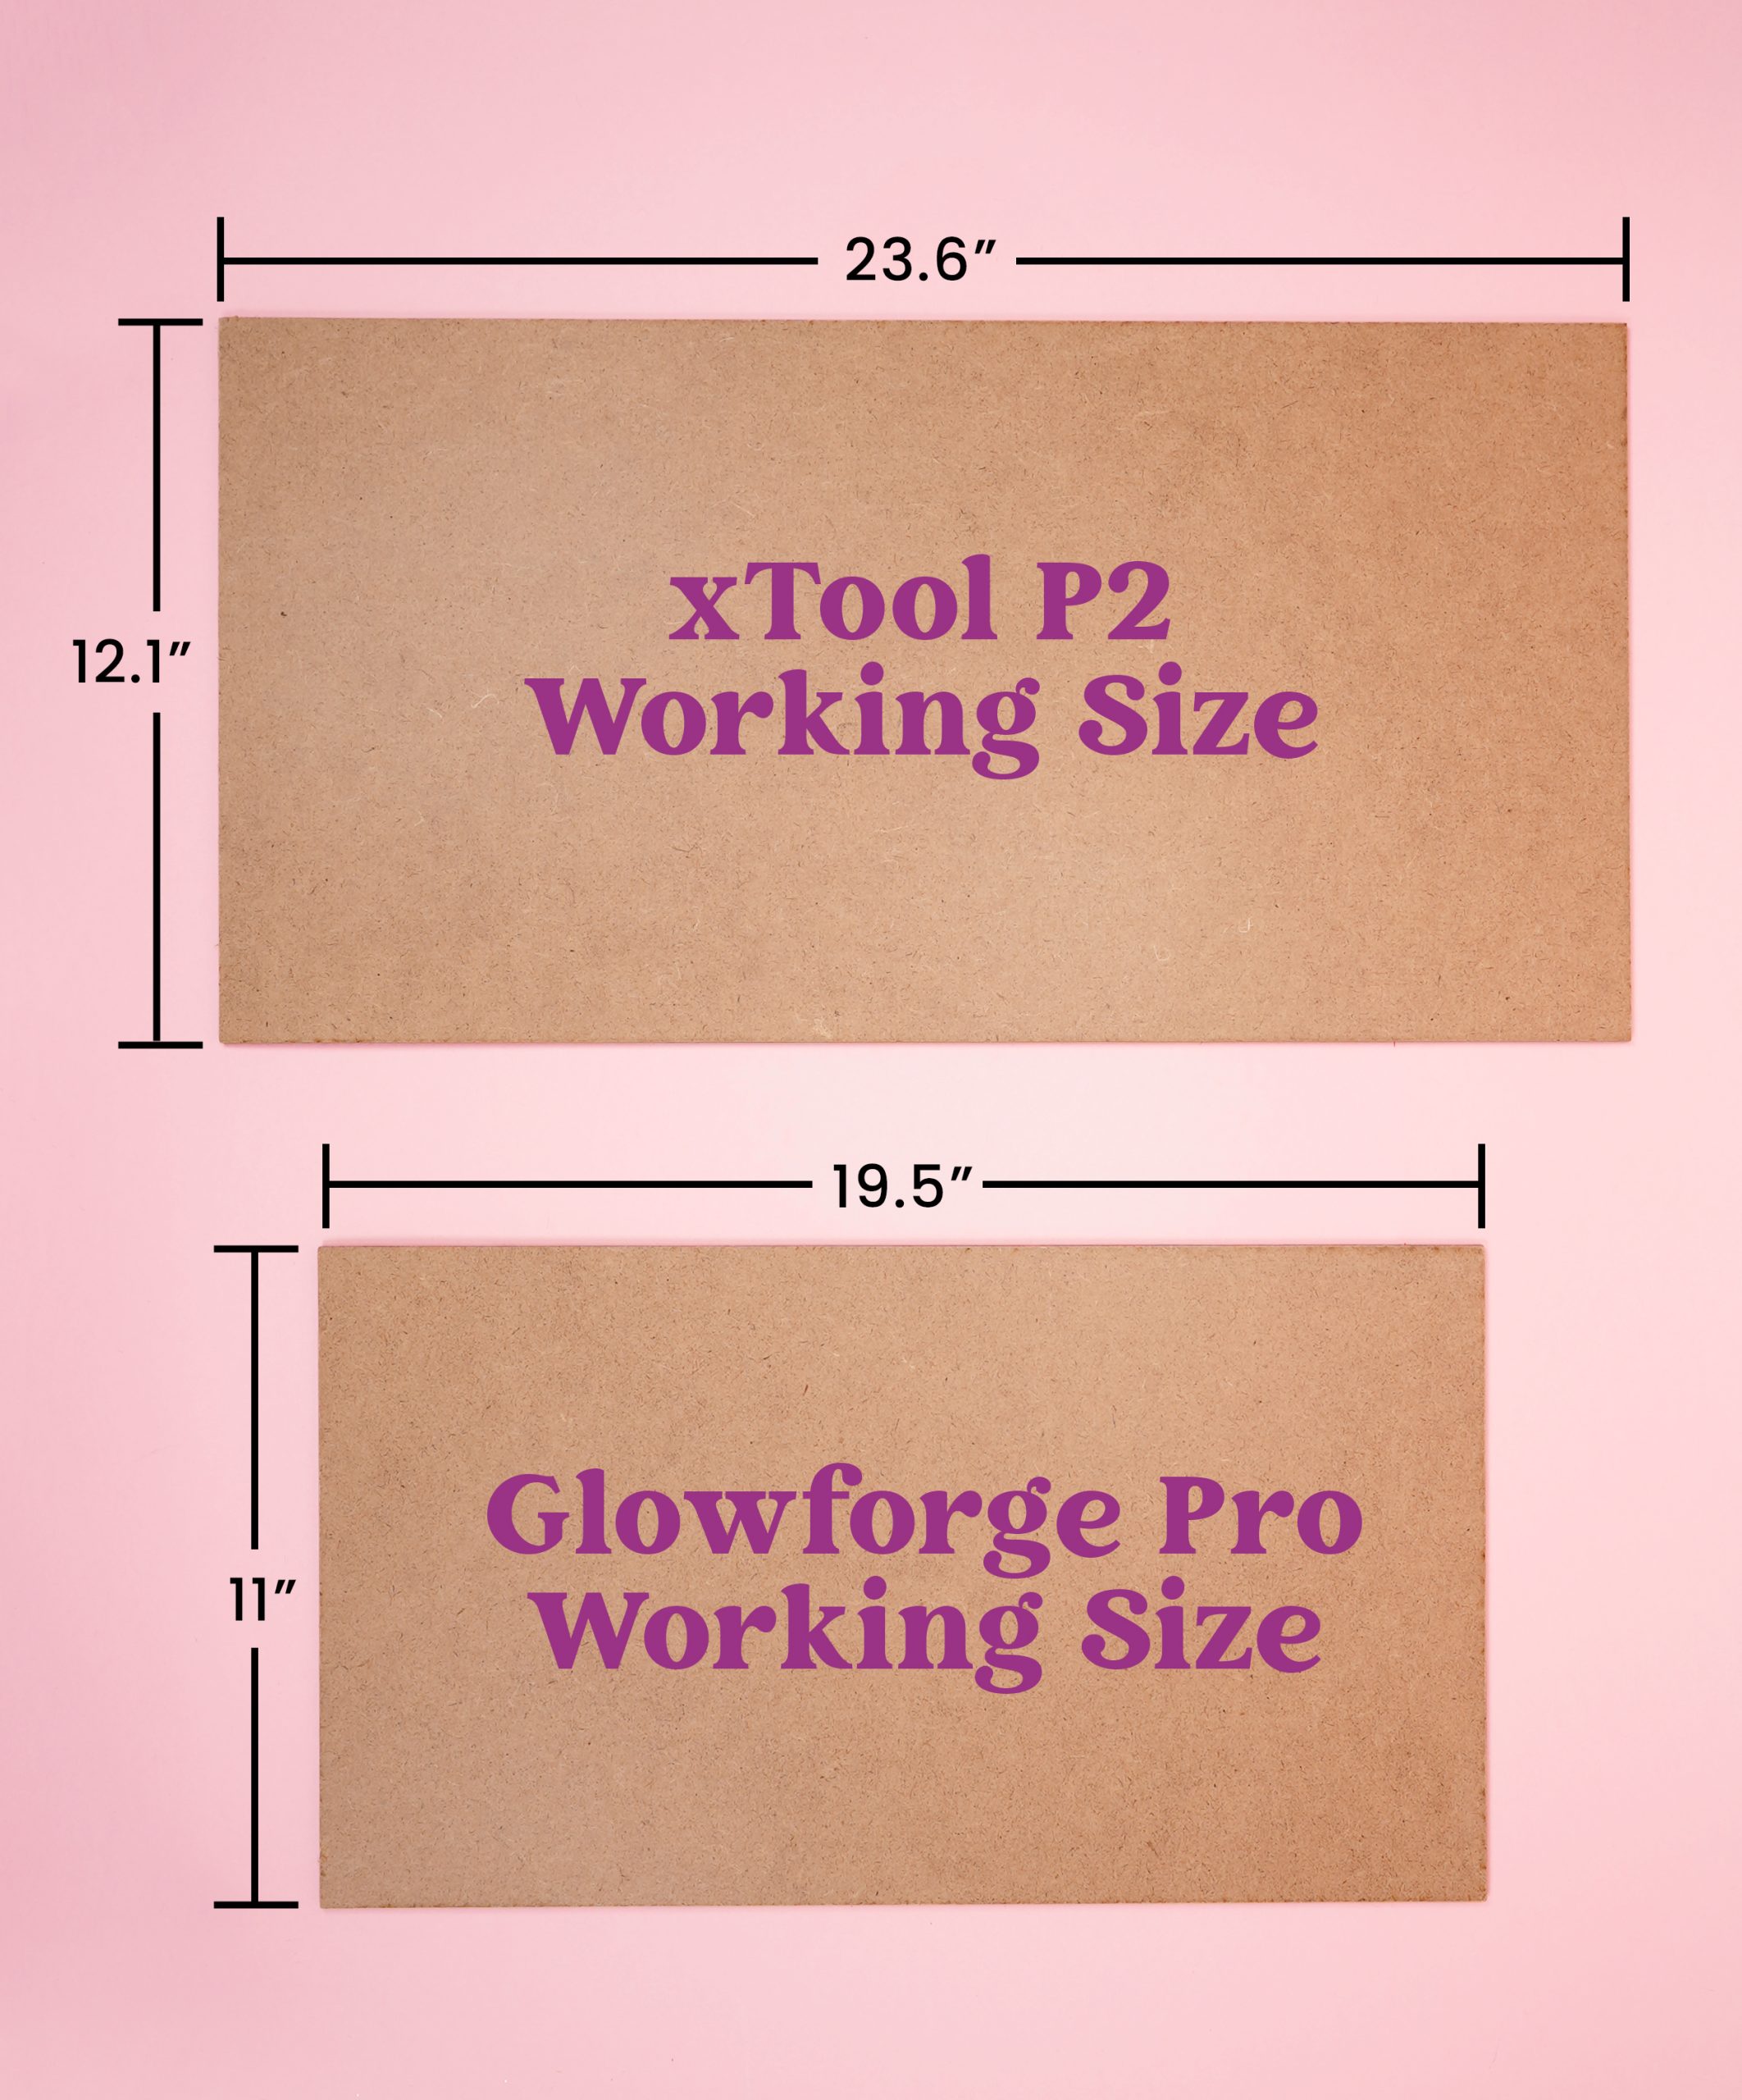
The xTool P2 boasts an extra large bed size of 26″ x 14″ with a working area of 23.6″ x 12.1″. In comparison, the Glowforge Pro offers a bed size of 20.4″ x 12″ with a working area of approximately 19.5″ x 11″. This means that you can cut and engrave items that are approximately 4″ longer and 1″ wider with the xTool P2 than with the Glowforge Pro.
Speed
Cutting and engraving speeds on both the xTool P2 and the Glowforge Pro can vary widely depending on your settings, which include a combination of speed, power level, and resolution (lines per inch).
Glowforge does not quantify their speed in traditional measurements (they typically relate one machine model to another, for example, saying that the Pro is 3x faster than the Basic model), however, with standard settings, you can expect to see speeds of around 50-200 mm/s with the Glowforge Pro for both cutting and engraving.
xTool’s P2 laser takes speed to the next level with a maximum of 600 mm/s engraving speed and 300 mm/s cutting speed; however, you should note that xTool also claims that it can cut 3mm basswood at 35 mm/s and 3mm acrylic at 25 mm/s, so reaching those maximum speeds may not be realistic or feasible for all projects.
Camera Capabilities
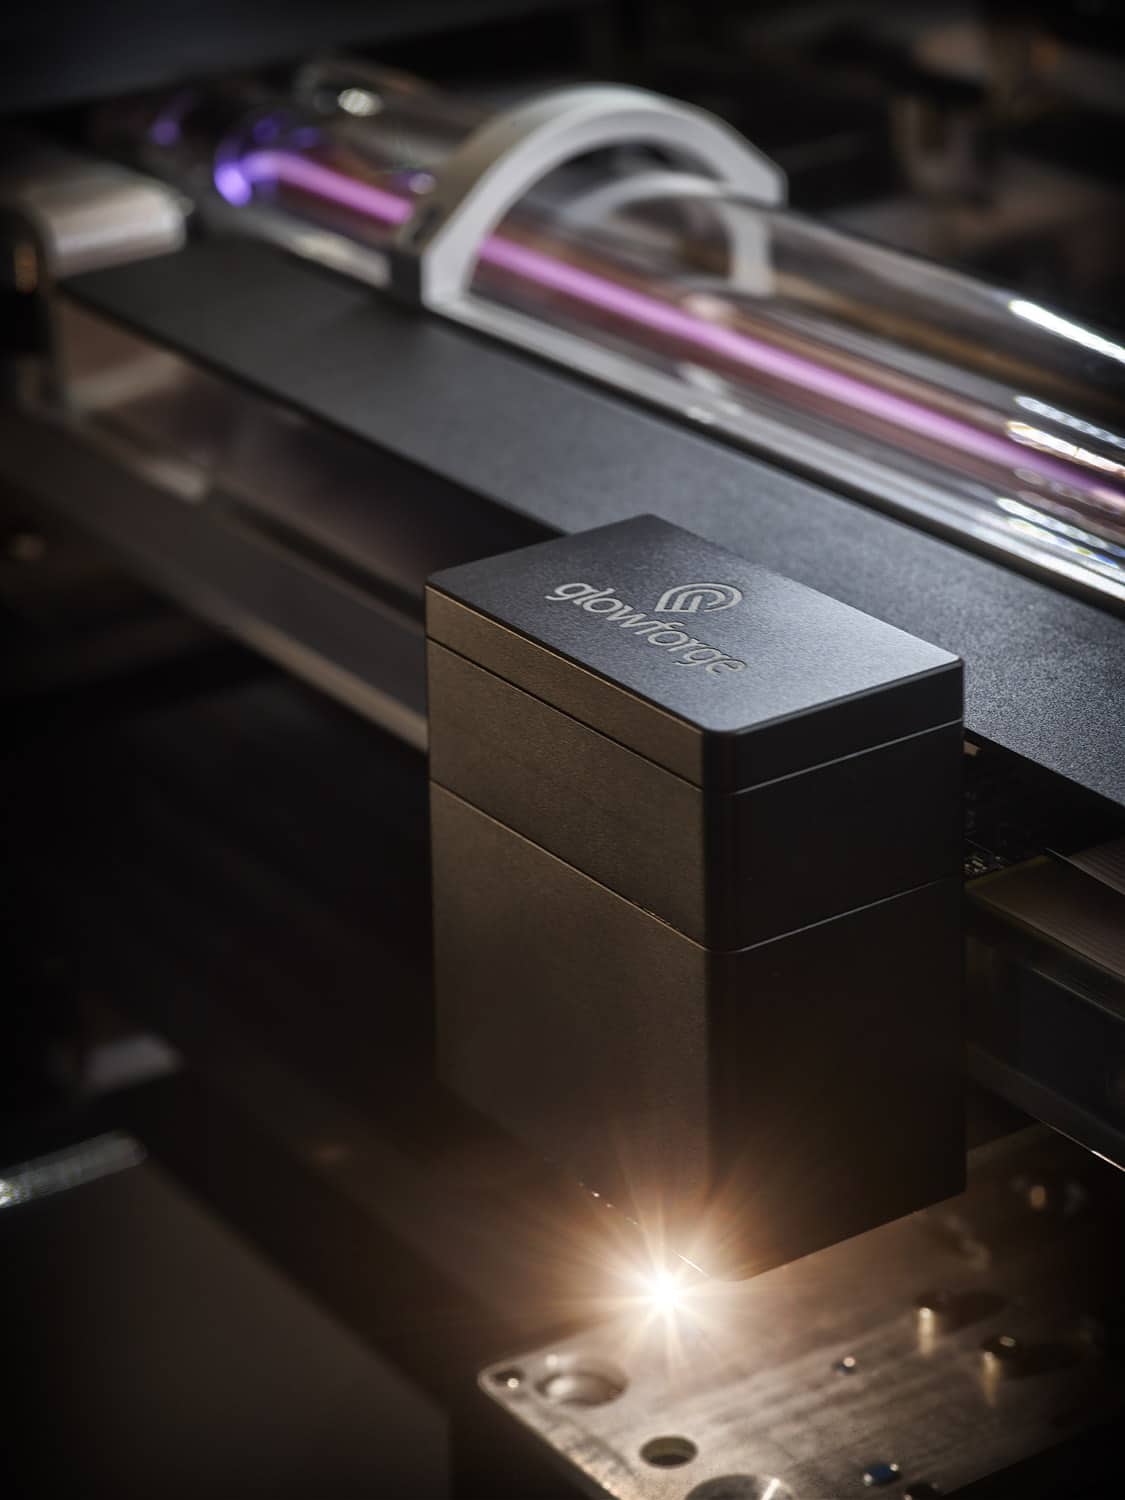
The Glowforge Pro features a wide-angle camera mounted on the lid for previewing your designs on the work material which offers a view of the entire printable area, accurate within .25″ (6mm). Glowforge also has a head-mounted macro camera that provides extreme up-close information for autofocusing, accurate within 0.004″ (0.1mm).
The xTool P2 includes dual 16MP cameras, a panoramic camera for viewing the entire working bed area, and a close-range head-mounted camera for precise positioning, accurate within .3mm.
While both machines utilize their camera system for auto-focusing and positioning, it should be noted that Glowforge’s cameras work independently, with one camera providing a positioning image and smart material recognition, and one camera providing the ability to auto-focus. The P2’s dual camera system works in tandem to provide auto-focus capabilities and increased visual accuracy.
Connectivity Options
Both machines support Wi-Fi and Bluetooth connectivity for a cord-free and simple setup. The Glowforge Pro depends on an internet connection to operate as it uses the cloud-based Glowforge App software to communicate with the laser machine. The xTool P2, however, stands out by offering an offline mode and optional ethernet and USB connectivity. In addition, the xTool Creative Space software does not require an internet connection to operate.
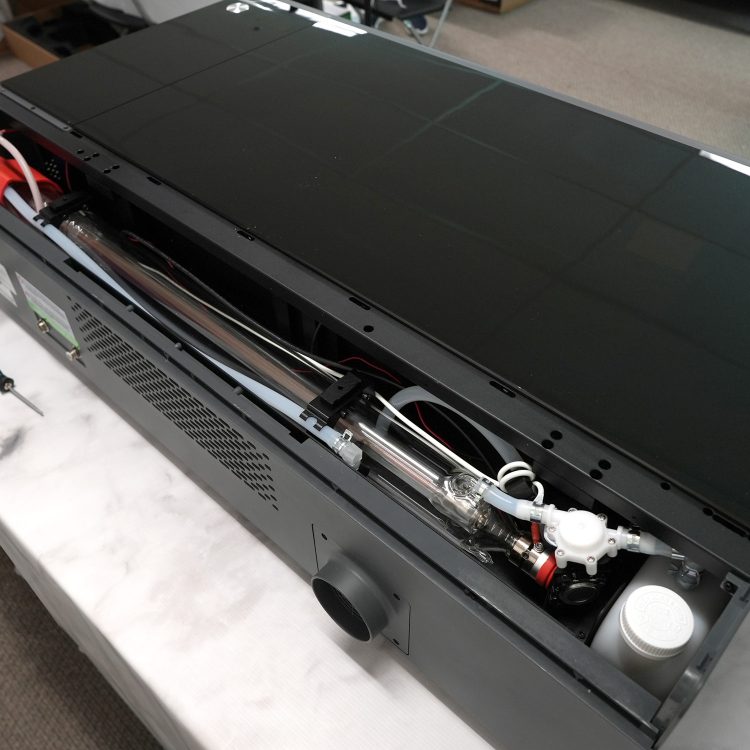
Cooling Mechanisms
The Glowforge Pro uses a closed-loop self-contained internal system for cooling. The xTool P2 uses an external water-cooling mechanism which takes a bit more initial setup but tends to offer better heat dissipation and can result in a longer laser tube life.

Materials Compatibility
Both machines can handle a wide range of common materials including wood, acrylic, leather, fabric, paper, coated metals, and the most frequently used laser crafting materials*. Glowforge machines are versatile, handling materials up to 1/2″ thick for cutting and 2″ thick for engraving. But the xTool P2 outshines here as well with its ability to engrave curved surfaces and cut through thicker materials, up to 20 mm clear acrylic and 16mm wood in a single pass, thanks to its high-power laser and specialized Z-axis module. The P2 can engrave items up to 2.5″ thick and up to 8.4″ thick with the optional Riser Base accessory.
Notable & Unique Laser Features
Glowforge Pro: User Interface
The Glowforge Pro sports an impressively user-friendly and intuitive interface. This laser-cutting machine leverages the power of the cloud, enabling users to work on their intricate designs through the Glowforge App software. With the help of an internet connection, you can use the app from anywhere, accessing Glowforge’s incredibly large library of project files or giving you the ability to upload and create your own projects from scratch.

Glowforge Pro: Passthrough Slot
One of the main differences between Glowforge models, the Glowforge Pro features a handy passthrough slot that allows users to handle materials much larger than the machine’s actual work area. It lets you create large and oversized works by feeding a longer piece of material through the slot and working on it in sections.
The Pro Passthrough slot is 3/8″ in” (0.9 cm) high but is designed in concert with the tray to work best with materials up to 1/4″ in” (0.6 cm) thick. The material is cut or engraved, then you must manually push it forward, load a new file for the next part of the print, and repeat. Because the materials are manually advanced, there are no length limitations on what you can create.
Glowforge Pro: Exhaust Fan
The Glowforge Pro comes equipped with a built-in exhaust fan. This helps to dispel any fumes that may be produced during the laser engraving process, ensuring the safety and comfort of the user.
xTool P2: Passthrough with Optional Automatic Conveyor Feeder
The xTool P2 Laser engraver also offers a passthrough feature, but it ups the game with an optional Automatic Conveyor Feeder accessory that eliminates the need to manually advance your project through the machine. This is a total game-changer for small businesses or large-volume users, as it further automates the process, allowing for a continuous workflow and faster completion of larger projects.
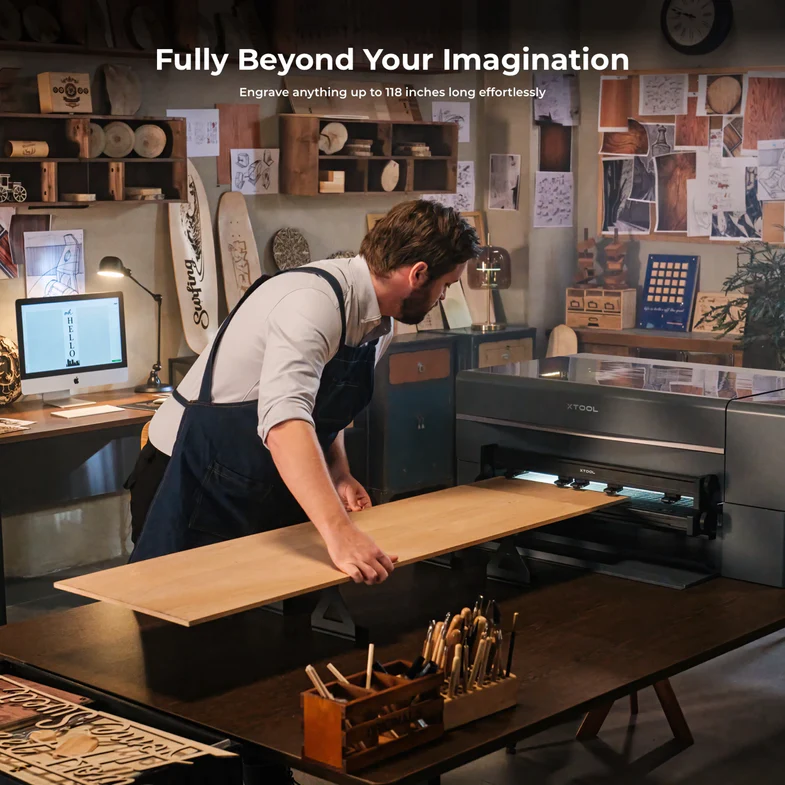
The xTool P2 passthrough has a length limitation of 118 inches.
COMING SOON:
xTool P2: Built-In Air Assist
The xTool P2 boasts a built-in Air Assist system, which is one of its unique features. The Air Assist feature helps in keeping the laser lens clean, resulting in cleaner cuts with less risk of scorching, better performance, and increased longevity of the machine.
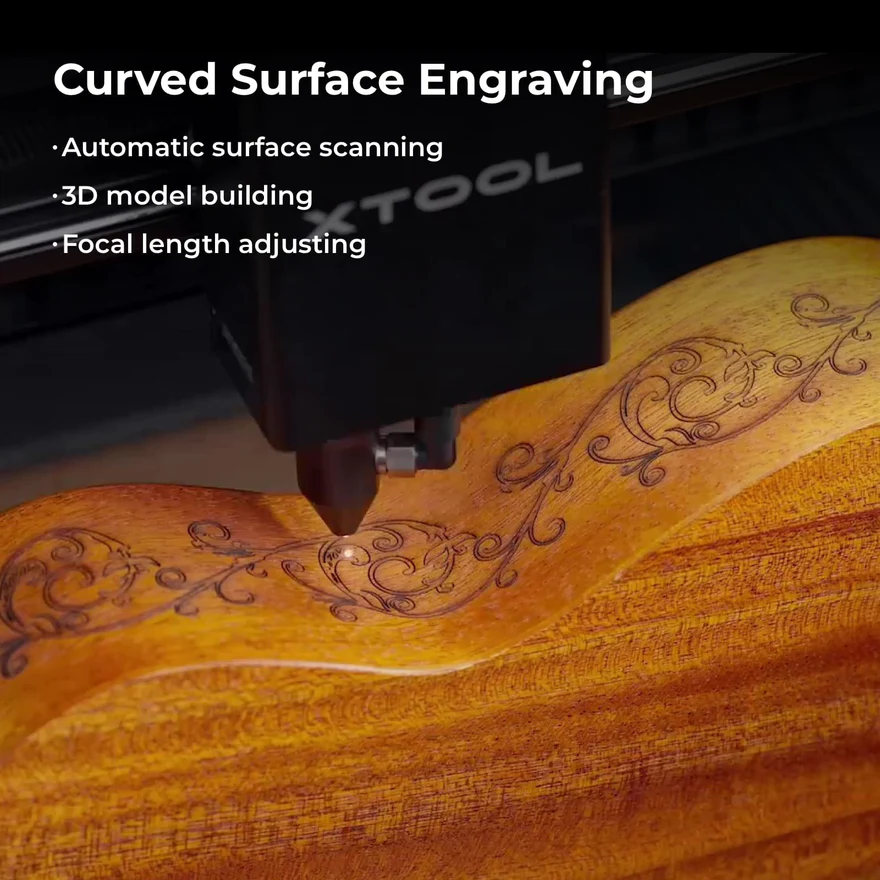
xTool P2: Curved Surface Engraving
One of the standout unique features of the xTool P2 is its ability to perform curved surface engraving. This opens up a plethora of creative possibilities, from customizing drinking glasses to adding unique touches to cylindrical items or any object with a curved surface. The xTool P2’s advanced laser head and high-precision motorized Z-axis adapt the laser’s focus in real-time to follow the contour of the object, ensuring a crisp and consistent engraving result.
But what really takes this feature to the next level is the integration with the xTool Creative Space software. This user-friendly software easily scans and creates a 3D model of your curved objects and then automatically adjusts the laser settings during the engraving process. With this dynamic duo of hardware and software, the xTool P2 ensures a perfect engraving result on curved surfaces every time!
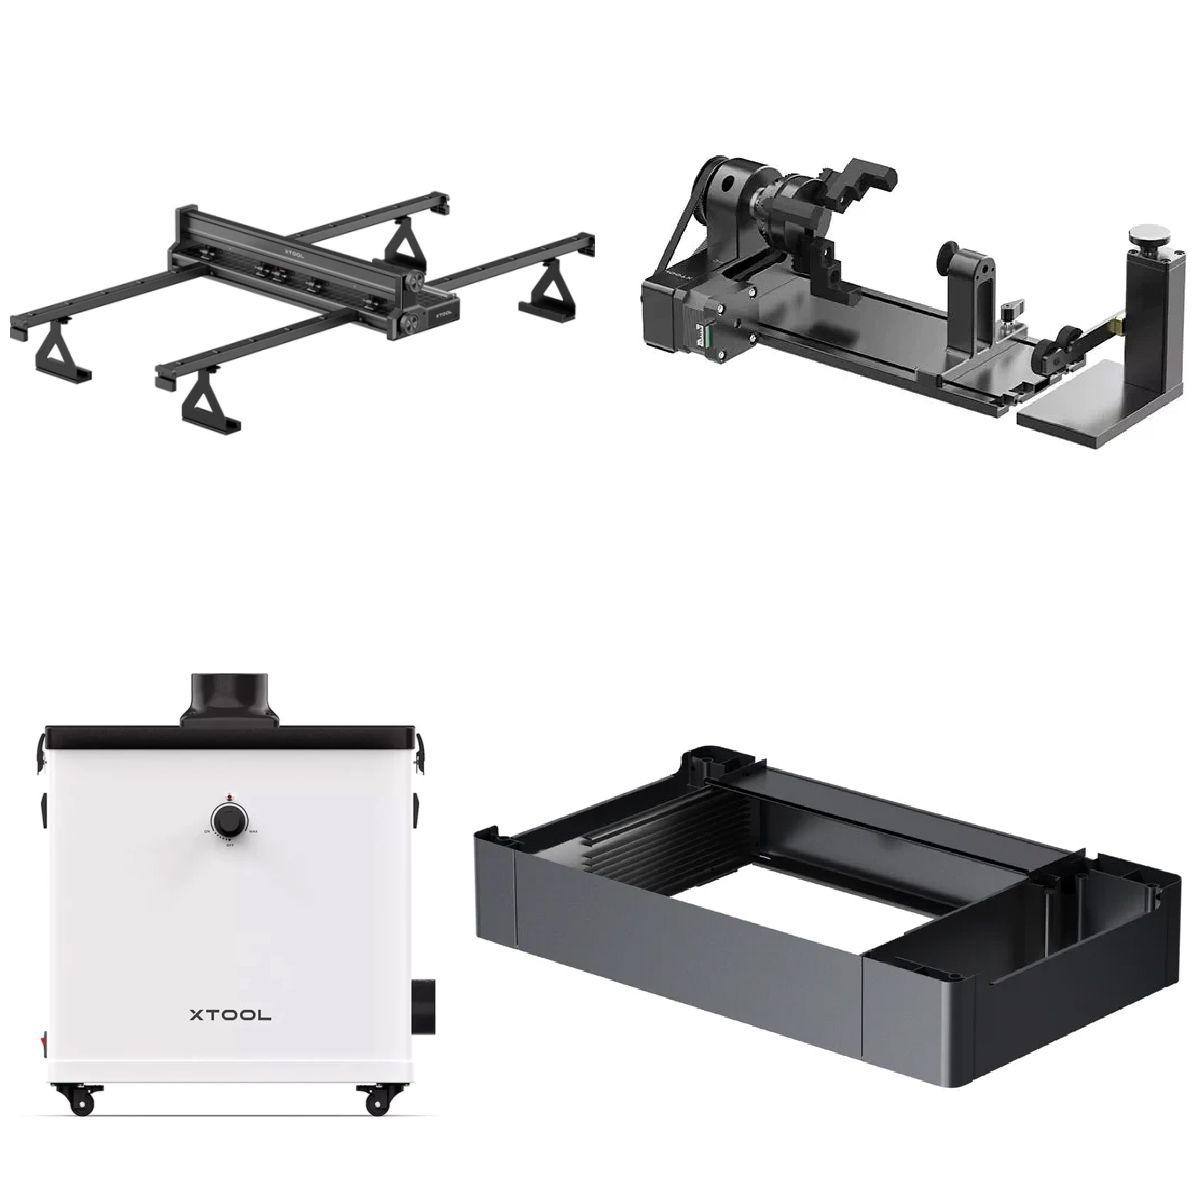
xTool P2: Optional Accessories
The xTool P2 is also able to integrate with xTool’s optional accessories such as the Riser Base which allows you to engrave objects up to 8.4″ thick and the RA2 Pro Rotary accessory which allows you to engrave rounded and cylindrical objects such as coated metal tumblers, drinkware, and round Christmas ornaments, broadening your range of potential projects.
User Experience
Set-Up and Installation Processes
Setting up both the Glowforge Pro and xTool P2 are a straightforward process. The Glowforge Pro’s setup involves unboxing, connecting the exhaust, placing the machine on a sturdy surface, and connecting to the internet using the Glowforge app. Its user-friendly interface guides new users through the initial setup effortlessly.
The xTool P2 also arrives nearly ready to go. You will need to unbox the laser and place it in your chosen workspace before setting up the machine’s coolant system (this is a simple task that only takes a few minutes). Then, install the xTool Creative Space software to get started. With an intuitive interface and clear instructions, it’s designed to get you cutting and engraving quickly, even if it’s your first time using a laser cutter machine.

Software Ease of Use and Compatibility
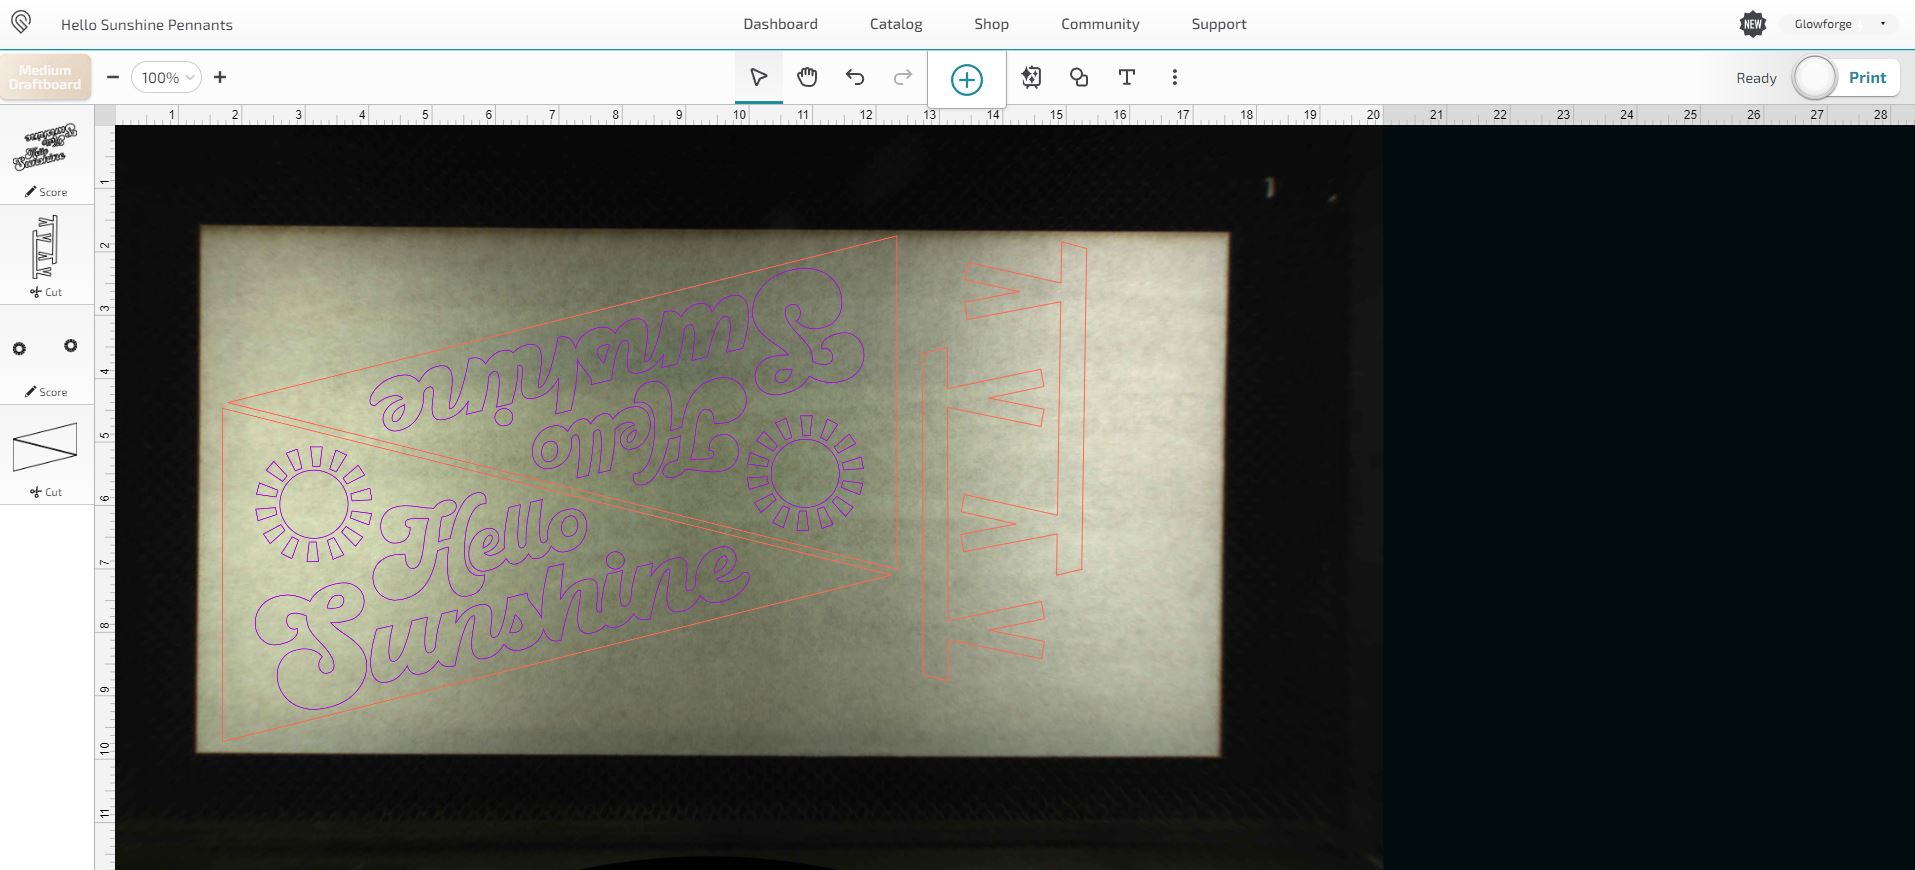
The Glowforge Pro uses its own cloud-based software, which is accessible via a browser on any device. Its drag-and-drop feature allows users to upload designs in various file formats, offering ease of use for all skill levels. However, one main difference to note is the dependency on an internet connection for operations.
xTool P2, meanwhile, offers great flexibility with the xTool Creative Space software. It’s compatible with Windows, macOS, and Linux systems and supports a wide range of file formats, including both raster and vector formats. The software allows users to make real-time adjustments and previews, and, unlike the Glowforge Pro, it doesn’t require an internet connection to work.
Both software systems are simple, intuitive, and easy to navigate.
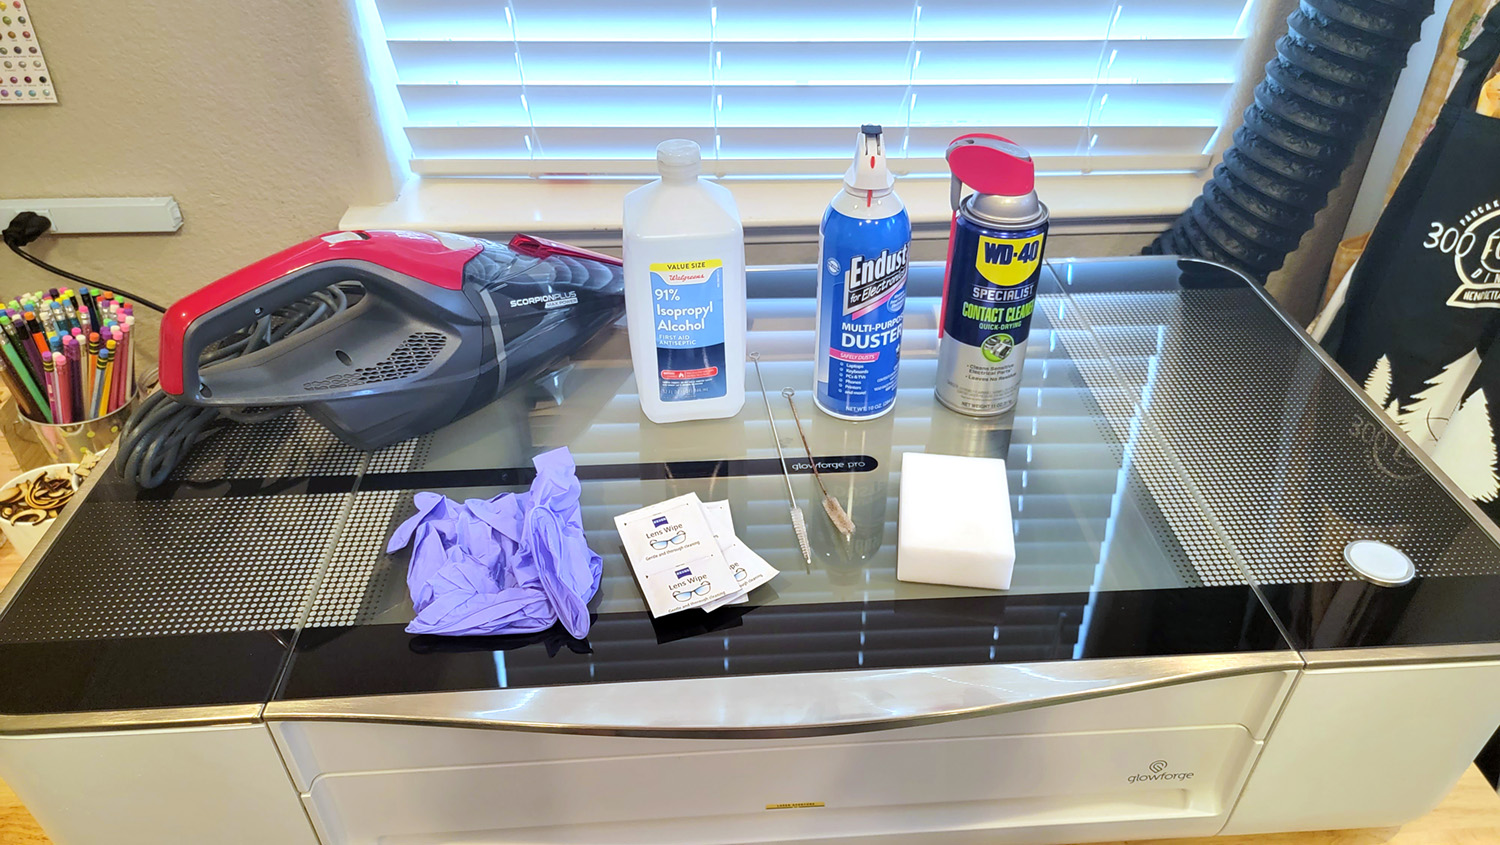
Maintenance Requirements
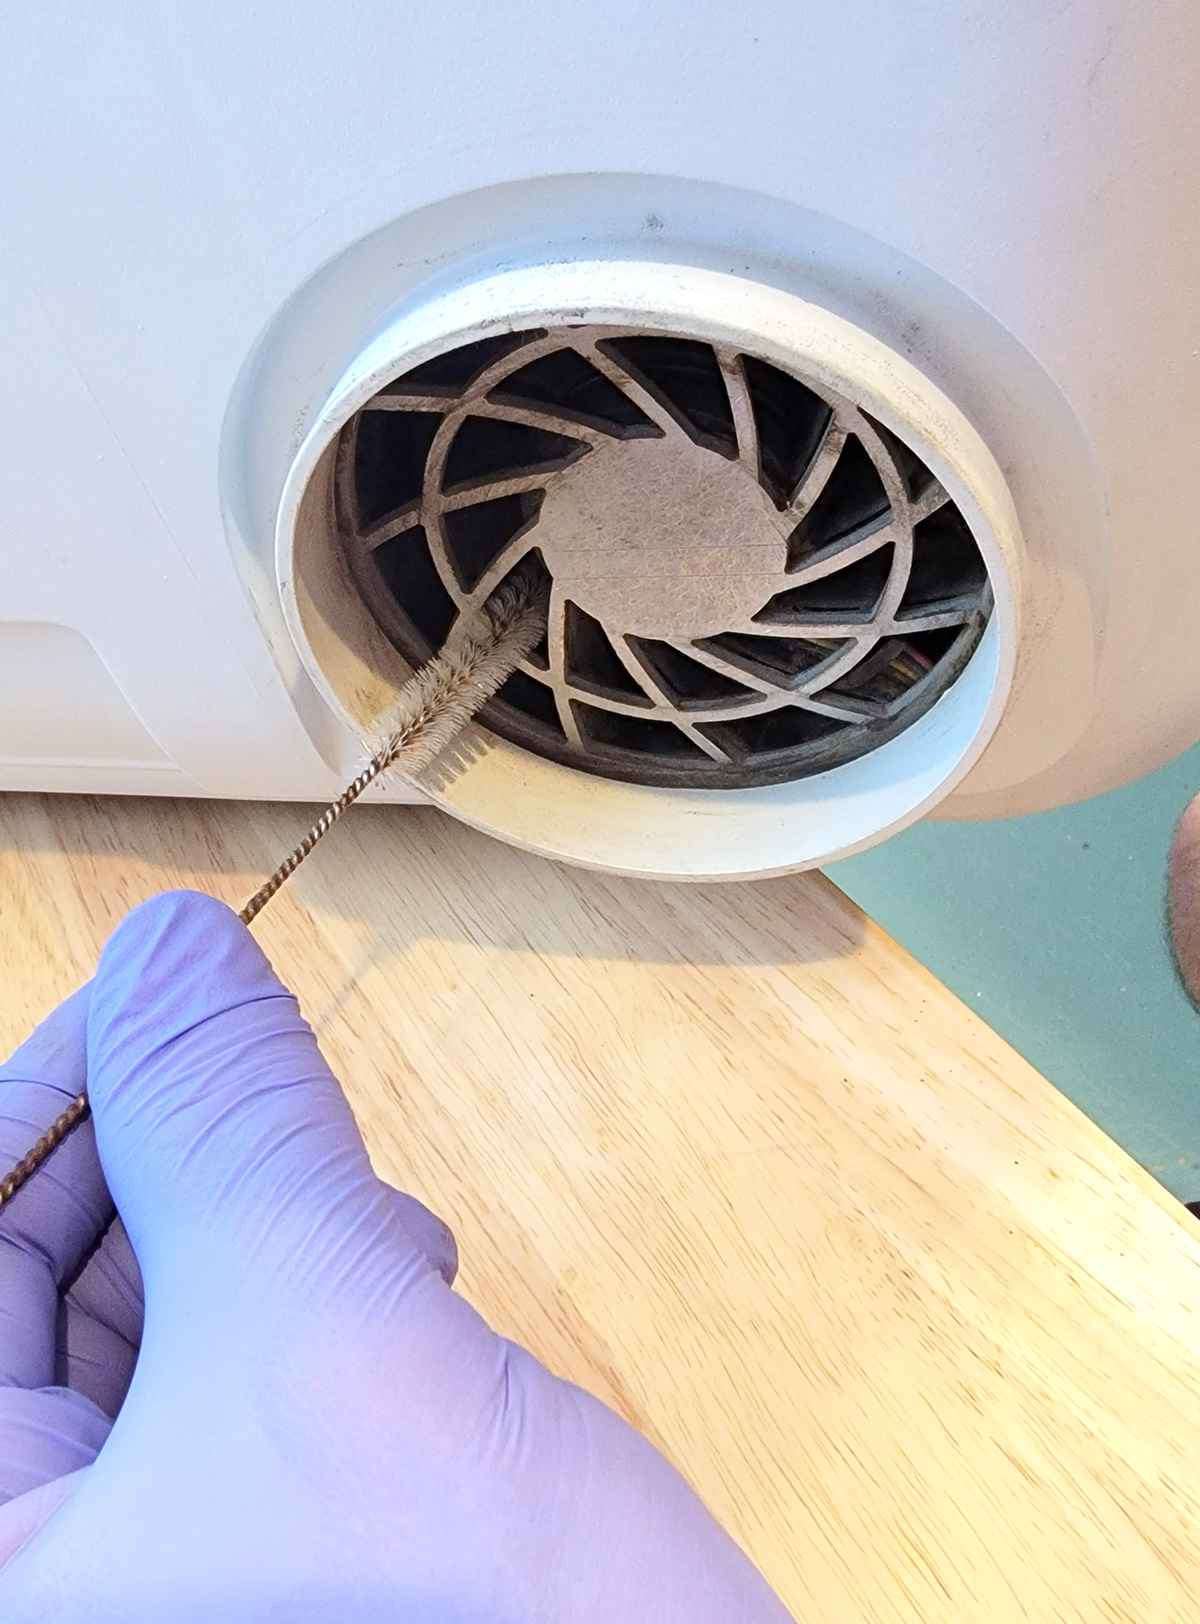
Maintenance for both machines involves regular cleaning to ensure optimum performance and longer lifespan. The Glowforge Pro requires routine cleaning of the laser head, the crumb tray, and the exhaust fan. More intensive maintenance includes mirror and lens cleaning, but it’s suggested infrequently.
The xTool P2 requires similar care, but may not need to be cleaned quite as often as the Glowforge, depending on the materials you are working with. Regular cleaning of the machine, focusing on the laser head and the work area, is crucial. An added benefit is the built-in Air Assist, which minimizes smoke and debris and reduces the frequency of deep cleanings.
Customer Support Quality and Responsiveness
Glowforge offers customer support via email, a comprehensive online FAQ, and a community forum where users can ask questions and share experiences. The support is generally regarded as responsive, but the lack of real-time support options (like phone or live chat) can be a downside for some users.
xTool, too, provides customer support via email and has a knowledge base on its website. Users have reported positive experiences with xTool support, citing their responsiveness and helpfulness. Plus, the xTool community is an active one, with many users ready to help and share tips.
All in all, both machines provide a solid user experience, but your choice will depend on your specific needs, your comfort level with technology, and your personal preferences.
Community Support and Resources
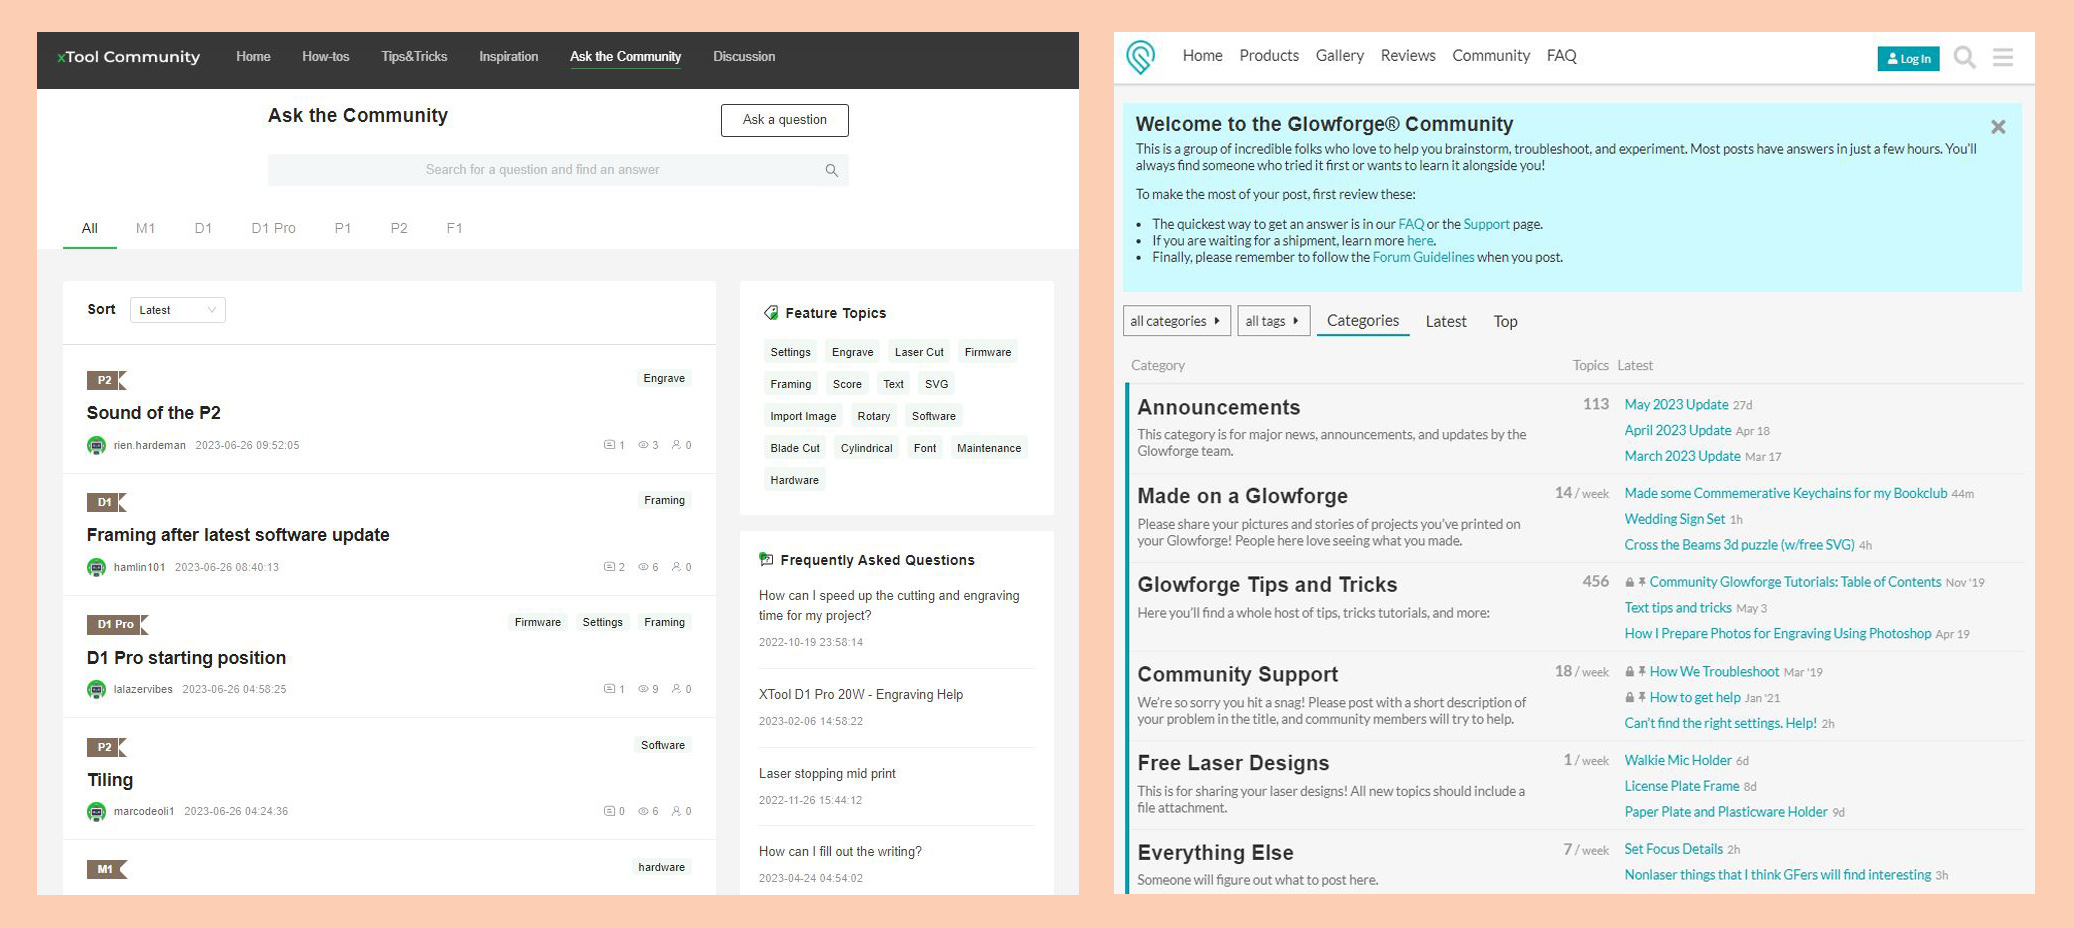
Community Support and Forums
The Glowforge community is a vibrant, helpful group that actively participates in the official Glowforge Community forum. Here, users share their creations, ask questions, provide troubleshooting help, and share advice. It’s a fantastic resource for both newbies and experienced laser engravers looking for inspiration or solutions.
The xTool community, while smaller, is just as engaged and supportive. It’s home to a diverse group of creators who actively share their experiences, provide tips, and help troubleshoot issues in various online forums. The community’s smaller size can lead to more personalized assistance and friendly connections; however, as it is still in its initial growth phase, it can occasionally be a challenge to find the answers that you are seeking if you happen to have a highly specialized problem or situation.
Availability of Design Resources
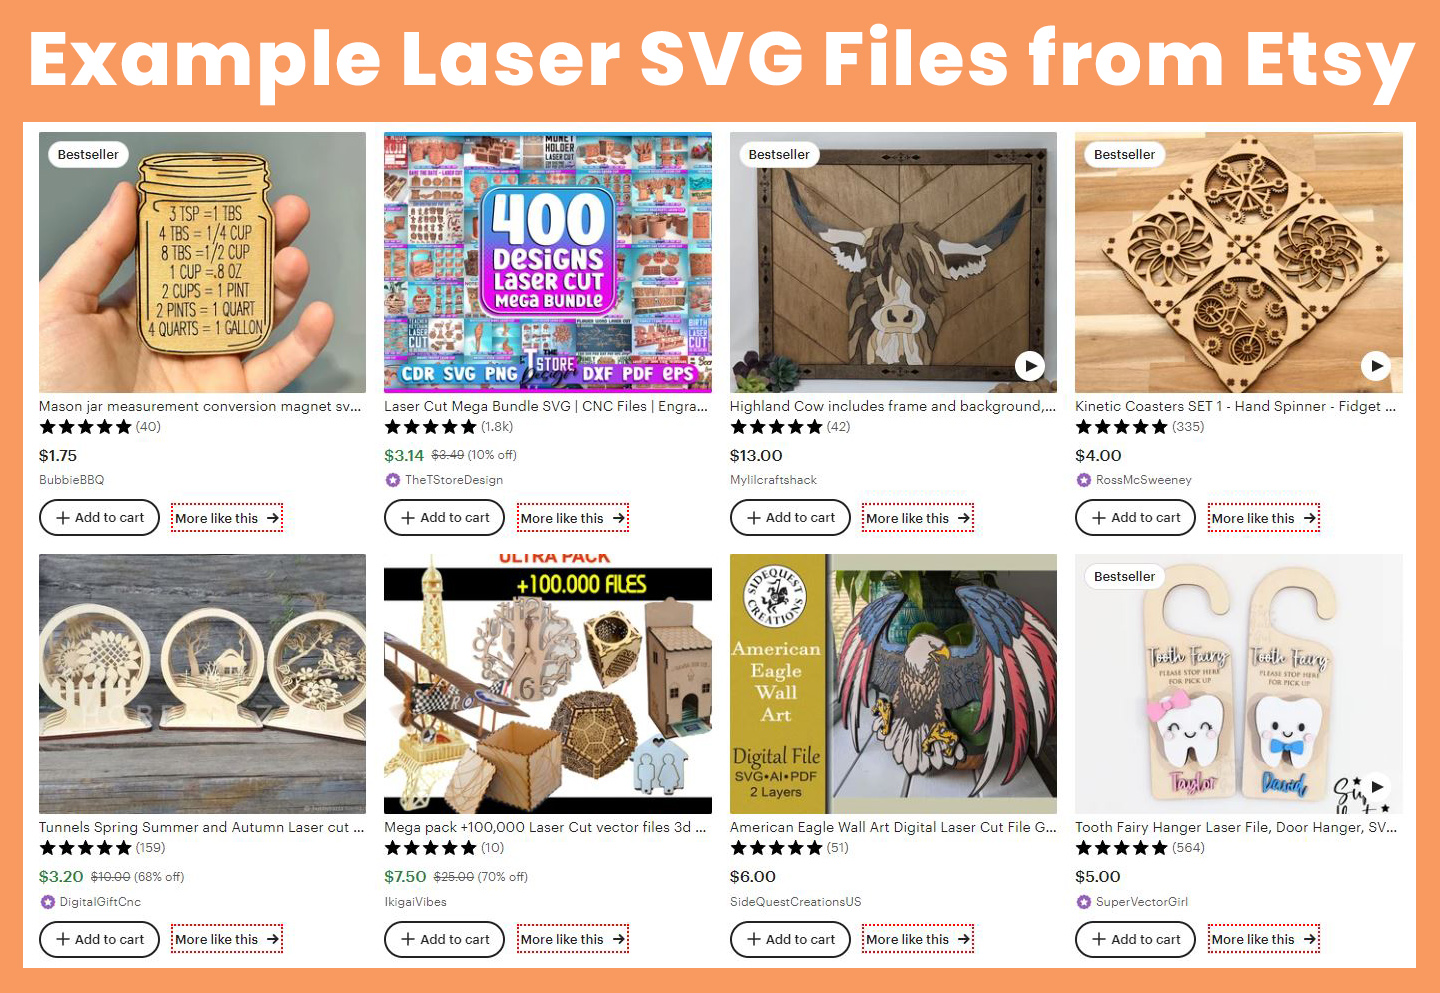
Both Glowforge and xTool utilize a wide range of common file types, and both allow you to upload your own design files, therefore there is a VAST variety of design resources available! You can learn how to design your own files via programs like Adobe Illustrator or Inkscape, you could choose to purchase laser design files from sites like Etsy or Creative Fabrica, or you could utilize the design libraries built into the Glowforge and xTool softwares.
Glowforge has a large design catalog available – a few of which are free, and most of which can be purchased at an additional cost, or are available as part of a Glowforge Premium monthly subscription. Their library is filled with pre-made designs that users can modify or use as is. They also provide tools and resources for creating your own designs.
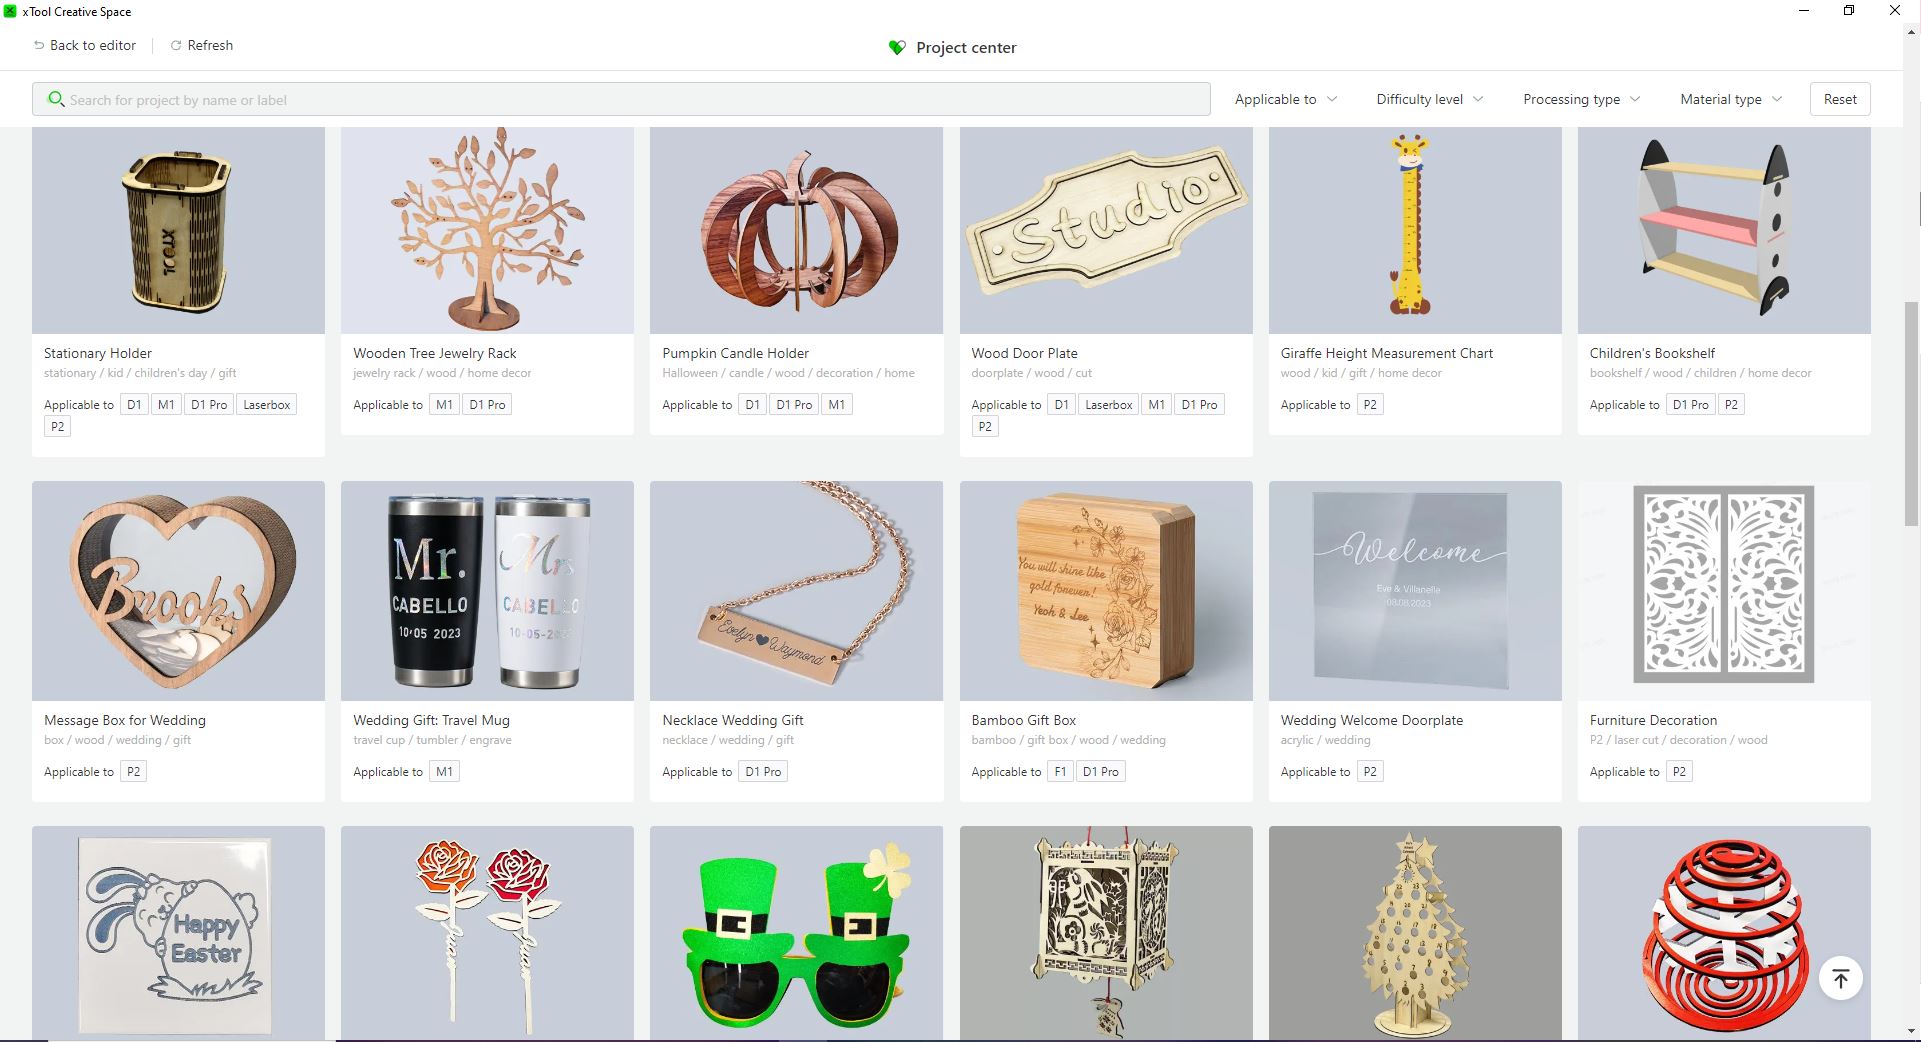
xTool also offers a free project library, featuring a variety of ready-to-use designs. In addition, the xTool Creative Space software is user-friendly and straightforward, making the design process intuitive and manageable, even for those new to laser cutting and engraving.
Learning Resources
Glowforge provides a wide range of learning resources, including a manual, online FAQs, and instructional videos. This comprehensive resource set helps users understand their machines, troubleshoot issues, and get the most out of their Glowforge Pro.
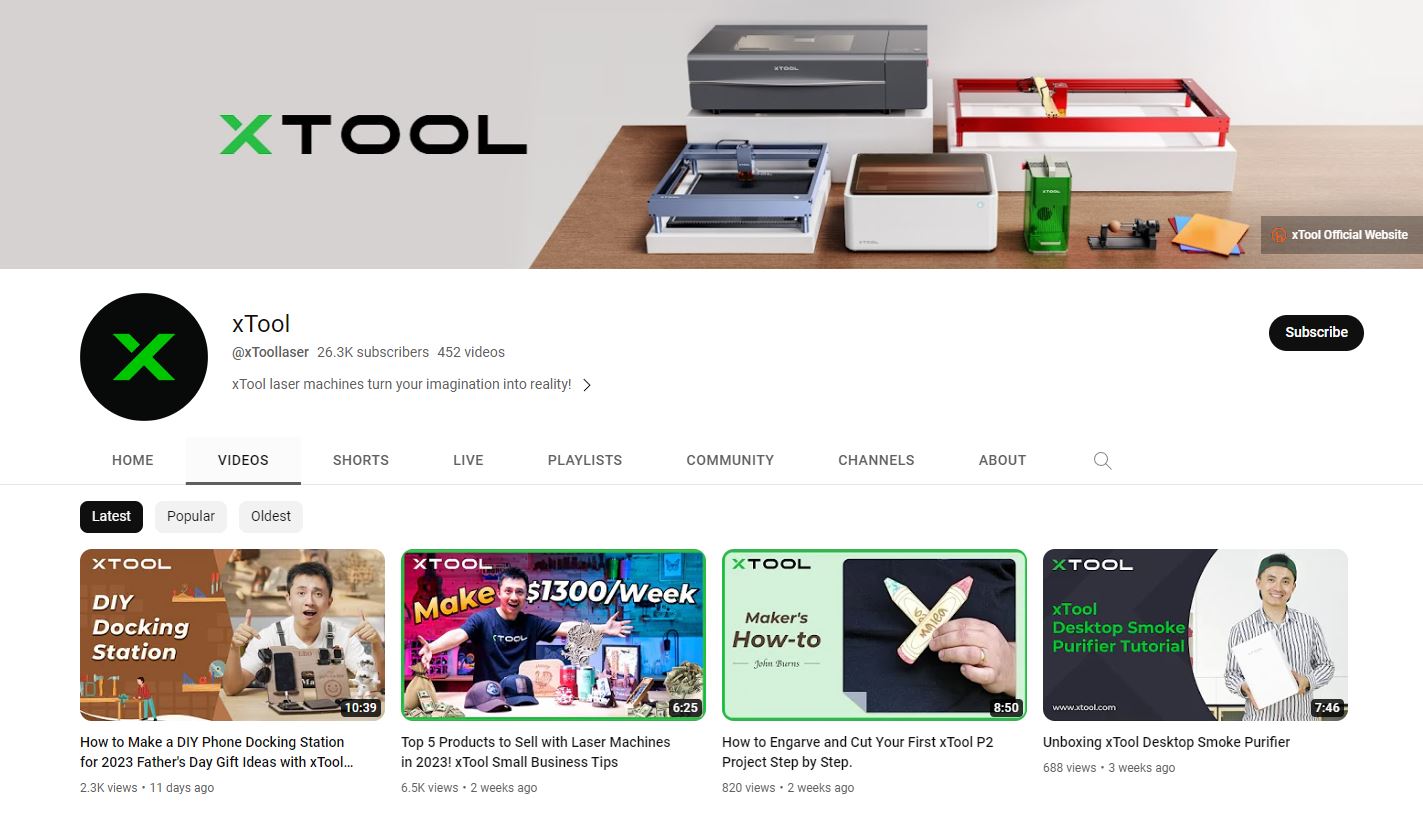
xTool also shines in this area, providing a robust library of tutorials and guides. They cover everything from the basics of setup and operation to more advanced topics, like working with a wide range of materials and using optional accessories.
Both Glowforge and xTool ensure users have the support they need, whether it’s through a passionate community, design resources, or a wealth of learning materials. The choice comes down to personal preference and your individual needs as a creator.
Pricing and Value
How Much Does a Glowforge Pro or an xTool P2 Cost?
Okay, now for the part that everyone wants to know about – let’s talk numbers!
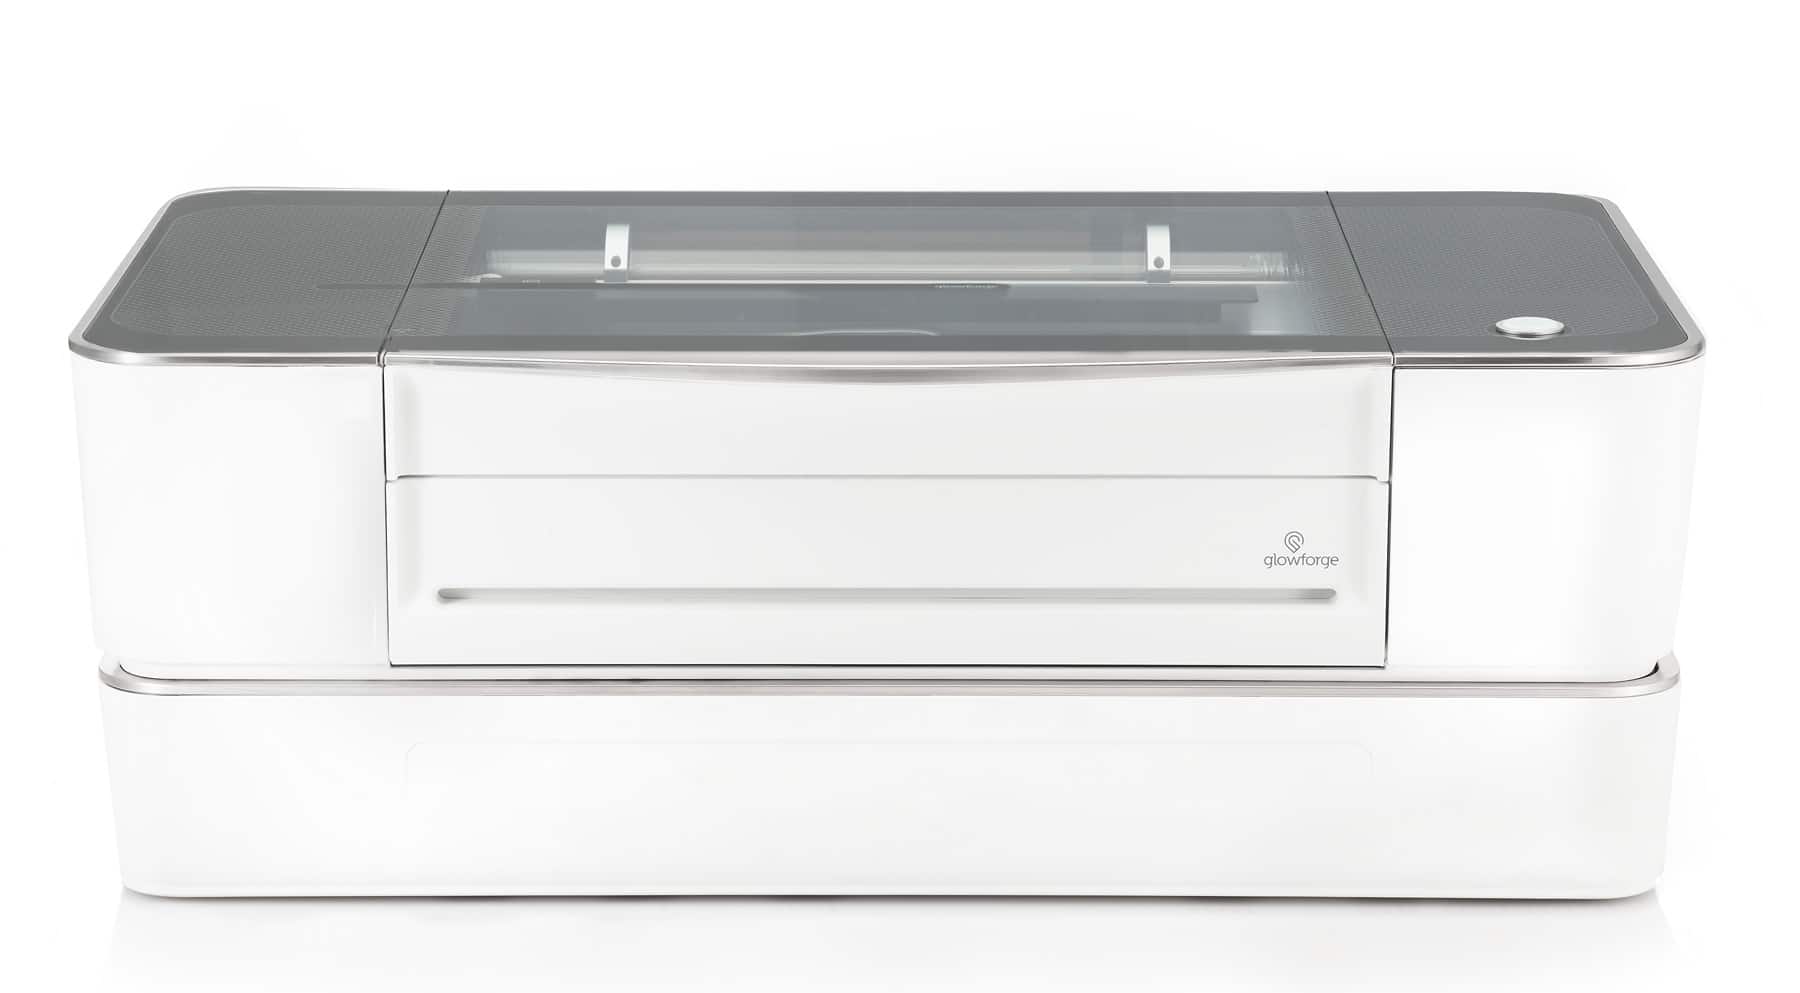
The Glowforge Pro is a considerable investment with a price point of $6,995. This cost includes the machine itself, the exhaust fan setup, and the basic features it offers for laser cutting and engraving. Considering the versatility, power, and user-friendly interface, it’s often considered a worthy investment for small businesses and serious hobbyists.
When Glowforge holds a sale, it is typically on materials and accessories, and NO sale will ever lower the price of the laser cutter itself. The VERY BEST discount you can get is to save $500 off a Glowforge Pro by using our referral link here!
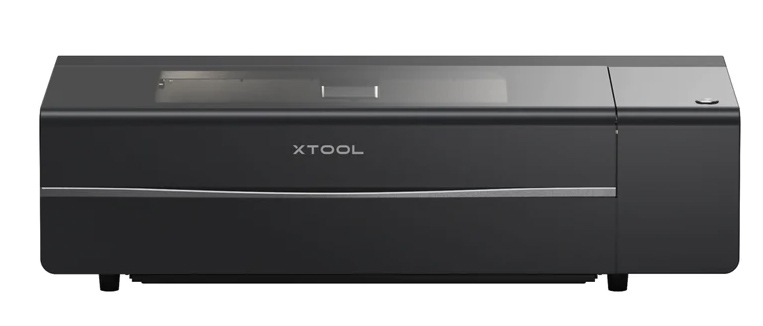
The xTool P2 is a more affordable choice with a current price point of $4,999 (and xTool frequently has sales that will lower the price even further!). At a lower price range, it brings an impressive array of features, such as dual 16 MP cameras and the ability to work on curved surfaces, giving users the ability to take on a wide variety of materials and projects. It’s also designed to handle thicker materials, making it a great option for those needing a versatile machine at a more accessible price point.
SAVE BIG ON THE BRAND NEW XTOOL P2 LASER!
Long-Term Costs (Maintenance, Replacement Parts, Etc.)
Maintenance is another crucial aspect to consider.
The expected lifespan of the CO2 laser tube in both the Glowforge Pro and xTool P2 largely depends on usage, care, and maintenance. The lifespan of the laser tube can often be extended with proper care and maintenance, including cleaning and aligning optics, maintaining proper cooling, and using the machine within its operating limits.
The Glowforge Pro uses a 45 W CO 2 laser tube, which can eventually require replacement, adding an additional cost over time. The company estimates the lifespan of their laser tube to be approximately two years with average use, which they define as a few hours per day. The machine also uses an inline fan system, which may necessitate occasional replacement parts. Regular cleaning is necessary, particularly of the lens and mirrors, to ensure cleaner cuts and optimal performance.
xTool does not provide a specific lifespan estimate for the 55W CO2 laser tube in the P2. However, under similar average use conditions as Glowforge, the more powerful laser tube should have a comparable lifespan, but it may vary based on the exact conditions and maintenance.
The xTool P2’s built-in air assist reduces the need for external parts, and its robust design allows for consistent performance with minimal upkeep. Replacement parts for the xTool P2 laser are also relatively inexpensive, reducing the potential for high long-term costs.
Warranty Terms
Warranty is another factor that could influence your choice between the Glowforge Pro and the xTool P2. Glowforge offers a 12-month warranty on the Pro model, covering defects in materials and workmanship.
xTool provides a two-year warranty for the P2, offering a bit more peace of mind with a longer coverage period.
These factors combined create the overall value for each machine. While the initial investment might be a primary deciding factor, considering the long-term costs and warranty terms will give you a more comprehensive understanding of the real value each machine provides.
Example Projects and Use Limitations
A Few Example Projects
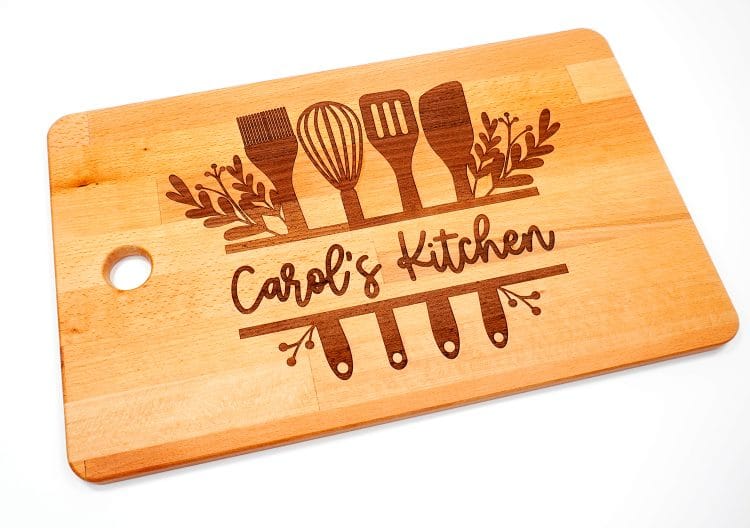
One of my favorite things to create in my lasers is customized cutting boards – they’re a great gift for all kinds of occasions!
It is possible to make this custom cutting board in my Glowforge Pro, however, due to the material height, I have to remove the crumb tray and then use another board to lift the cutting board back up to the proper lasering height. It’s not an exact science, and there’s definitely some trial and error involved in figuring out those settings, but it IS possible with a little innovation!
With the xTool P2, however, engraving custom cutting boards has never been easier! I never have to worry about the cutting boards being too thick because the P2 can engrave up to 2.5″ thick – and if it IS super thick, I can always use my Riser Base accessory, which allows me to engrave objects up to 8.4″ thick! Plus, with the P2, I can personalize even LARGER cutting boards, up to 24″ wide!

This “Sweet Land of Liberty” shaker sign is made from 3mm Birchwood, 3mm MDF, and a thin sheet of acetate, with the addition of some polymer clay sprinkles. All of these materials are easily cut by both the Glowforge Pro and the xTool P2, and they cut at approximately the same speed. Again, the main benefit of using the P2 here is that you can make this sign 4″ taller than you would be able to with the Glowforge Pro.
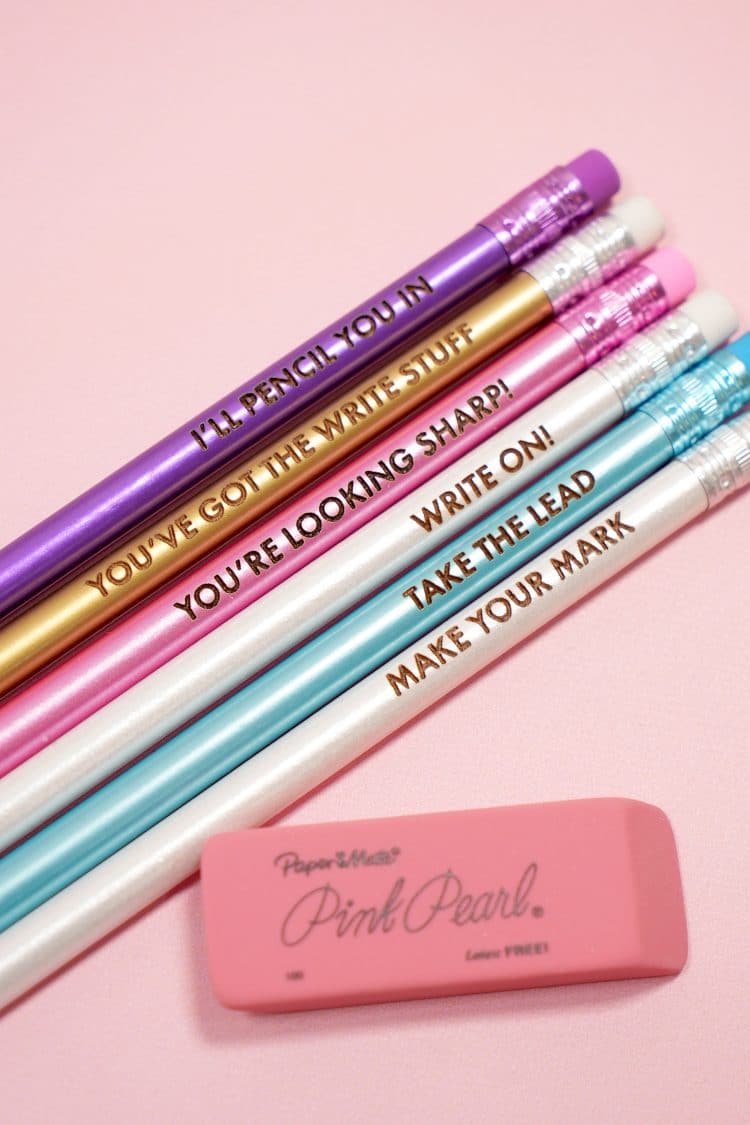
Engraved items are always a huge hit, and we find ourselves making lots and lots of engraved pencils for different holidays and occasions.
With the Glowforge Pro, it is best to use an engraving jig to ensure that you are able to properly line up the engraving on the pencils. The Glowforge’s positioning camera uses a fisheye lens, so if your object is not directly underneath the camera, there can be quite a bit of distortion that can lead to improper positioning if you’re not extra careful, especially on smaller items.
The xTool P2’s dual camera system makes it easier to position your engraving thanks to a close-up camera on the laser head that allows for more precise positioning while working in the xTool Creative Space Software. Using the pencil engraving jig is still recommended with the P2, however, because it helps the pencils sit nicely on the machine’s base slats.
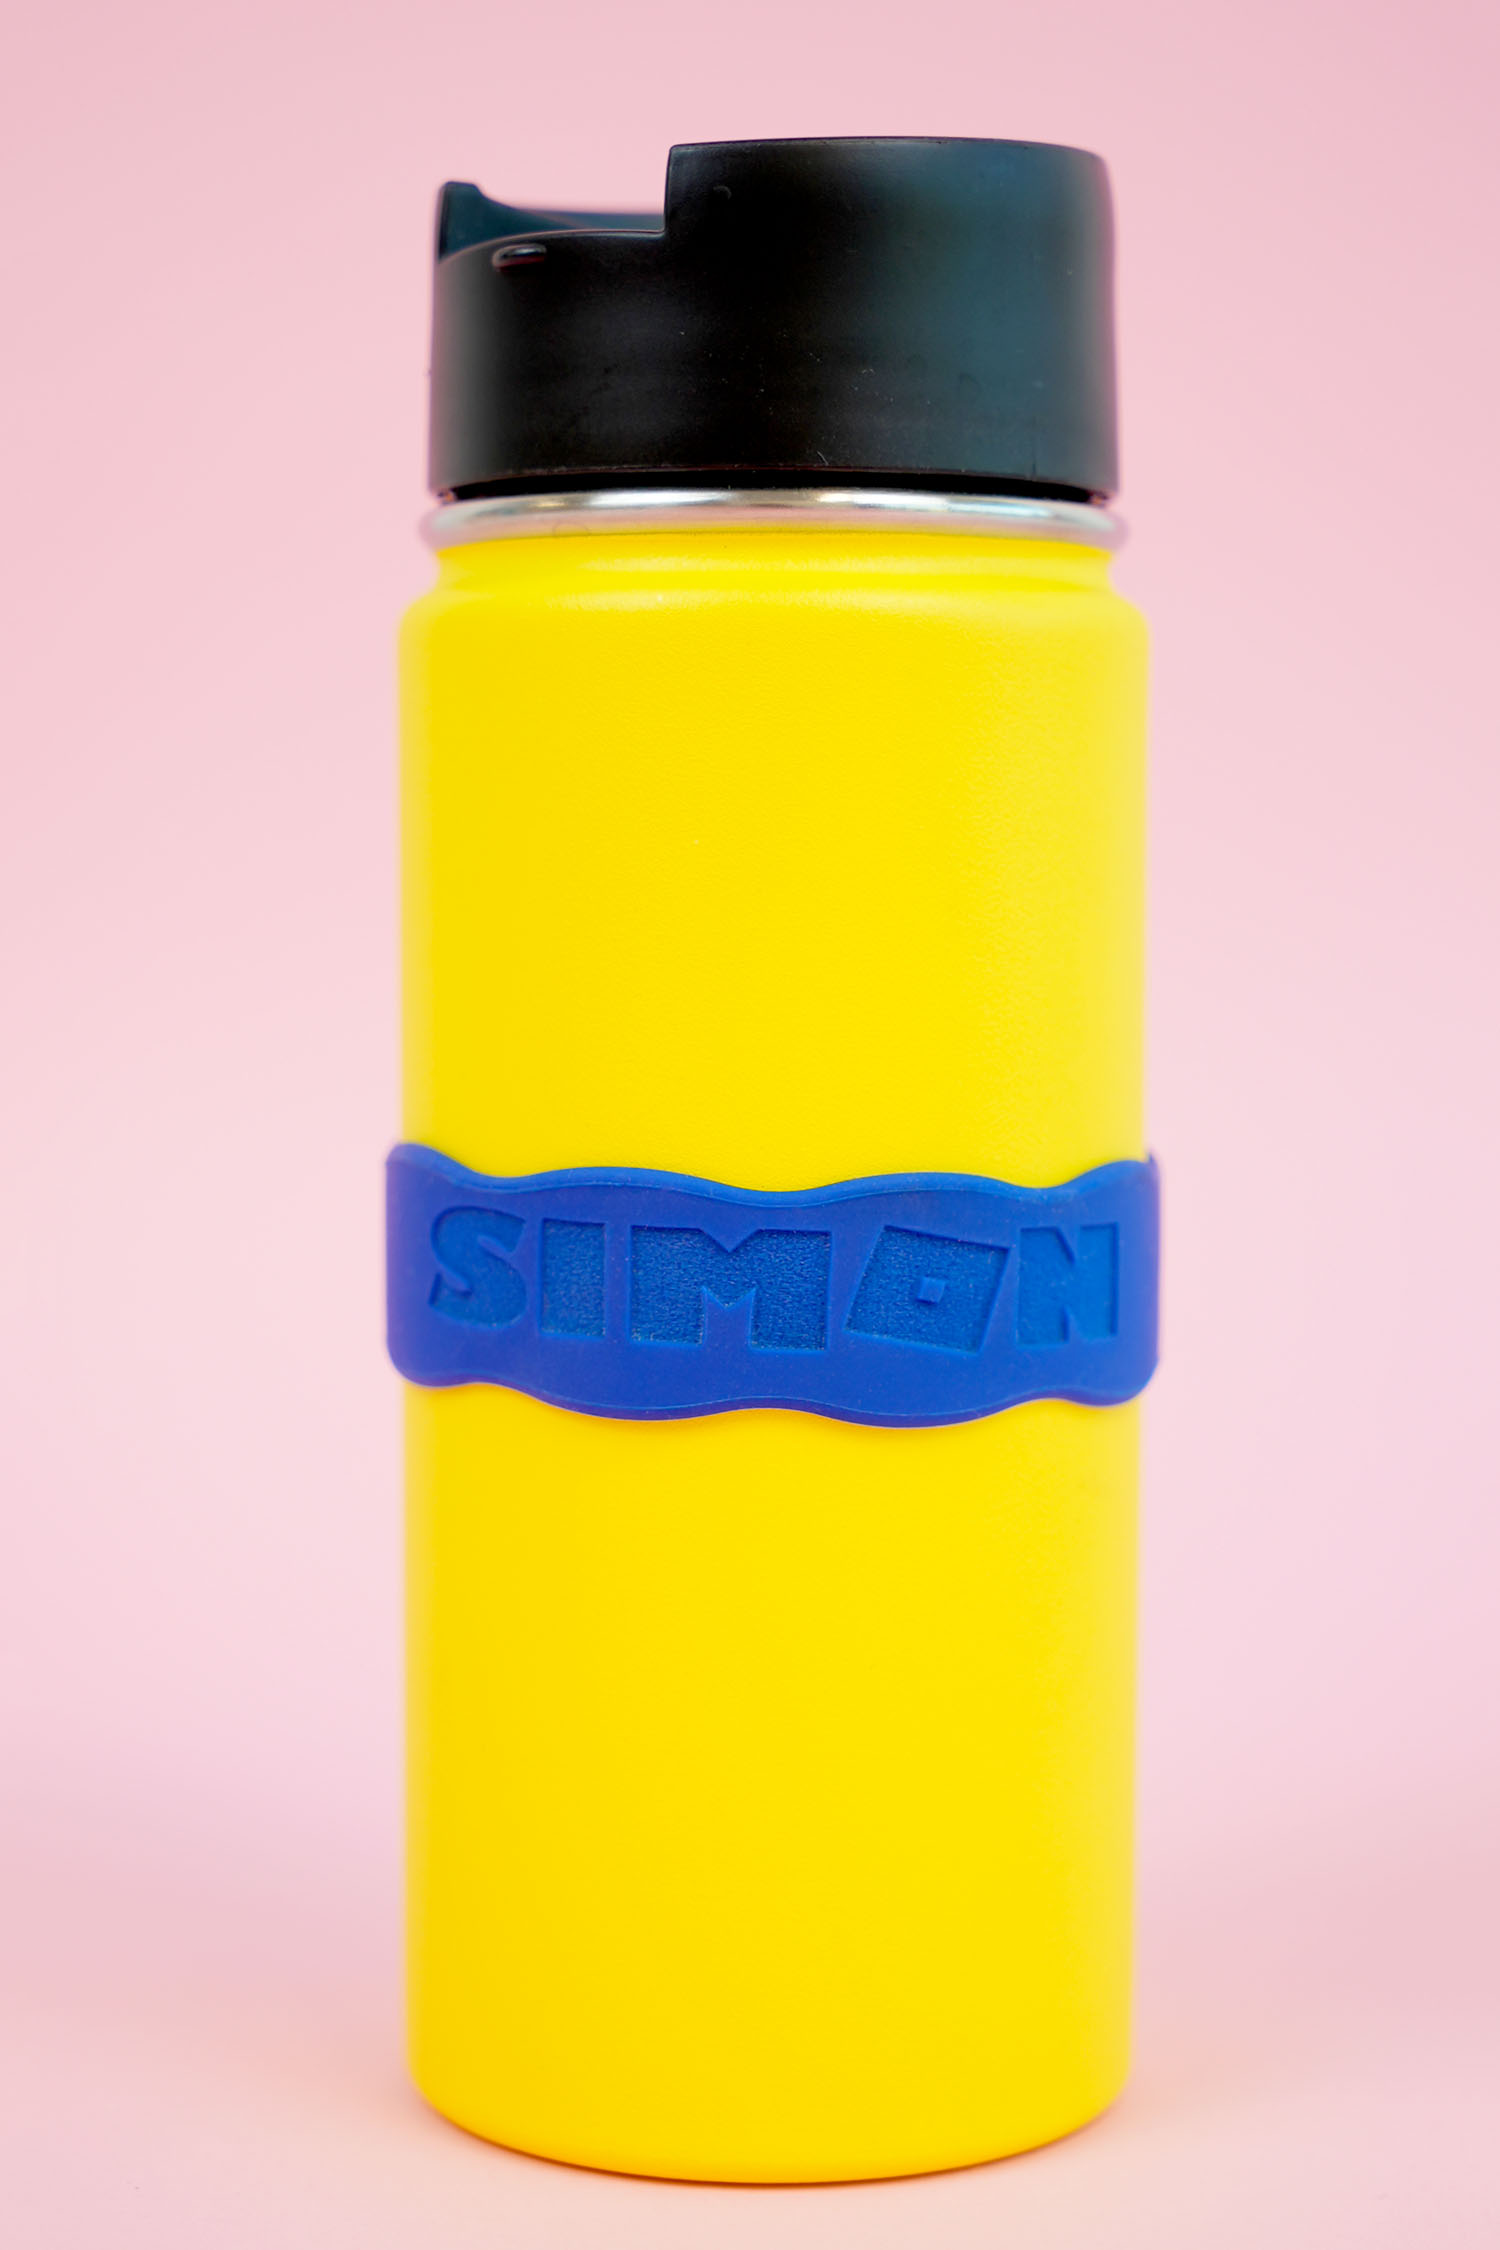
Both the Glowforge and the P2 are easily able to quickly engrave items like this silicone water bottle band here – as well as Apple watch bands, water bottle sleeves, and other silicone items!
Of course, if you’re hoping to engrave cylindrical items like this awesome engraved tumbler, it will require the use of the xTool P2 along with the Riser Base and RA2 Pro Rotary. These accessories make it simple to engrave all kinds of rounded and curved objects! Glowforge does not have the ability to work with these accessories, and can therefore only engrave semi-flat items up to 2″ thick.
Potential Challenges or Limitations
Glowforge Pro
a. Limited Materials Thickness: While the Glowforge Pro is a powerful machine, its 45W laser tube may struggle with materials thicker than 1/4 inch. To fully cut through such materials, users may need to perform multiple passes or flip the material over.
b. Internet Connection Requirement: The Glowforge Pro requires an internet connection to operate, which can be a drawback in areas with poor internet service.
c. Lack of Rotary Attachment: The Glowforge Pro does not offer a rotary attachment, limiting its ability to engrave on round or cylindrical objects.
d. Higher Price Point: Compared to the xTool P2, the Glowforge Pro comes with a higher initial investment. At $6,995, it may not be the best choice for hobbyists or small businesses operating on a tight budget.
xTool P2
a. Learning Curve: The xTool P2’s advanced features, such as the curved surface engraving, can require a bit of a learning curve for first-time users.
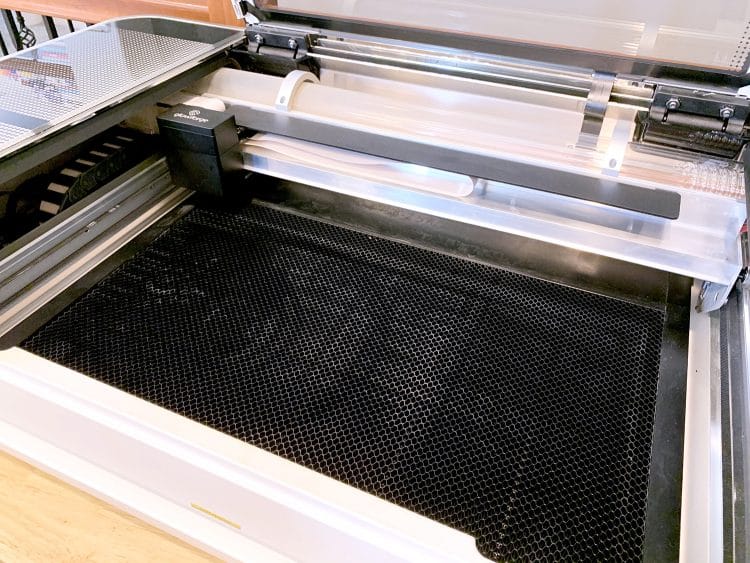
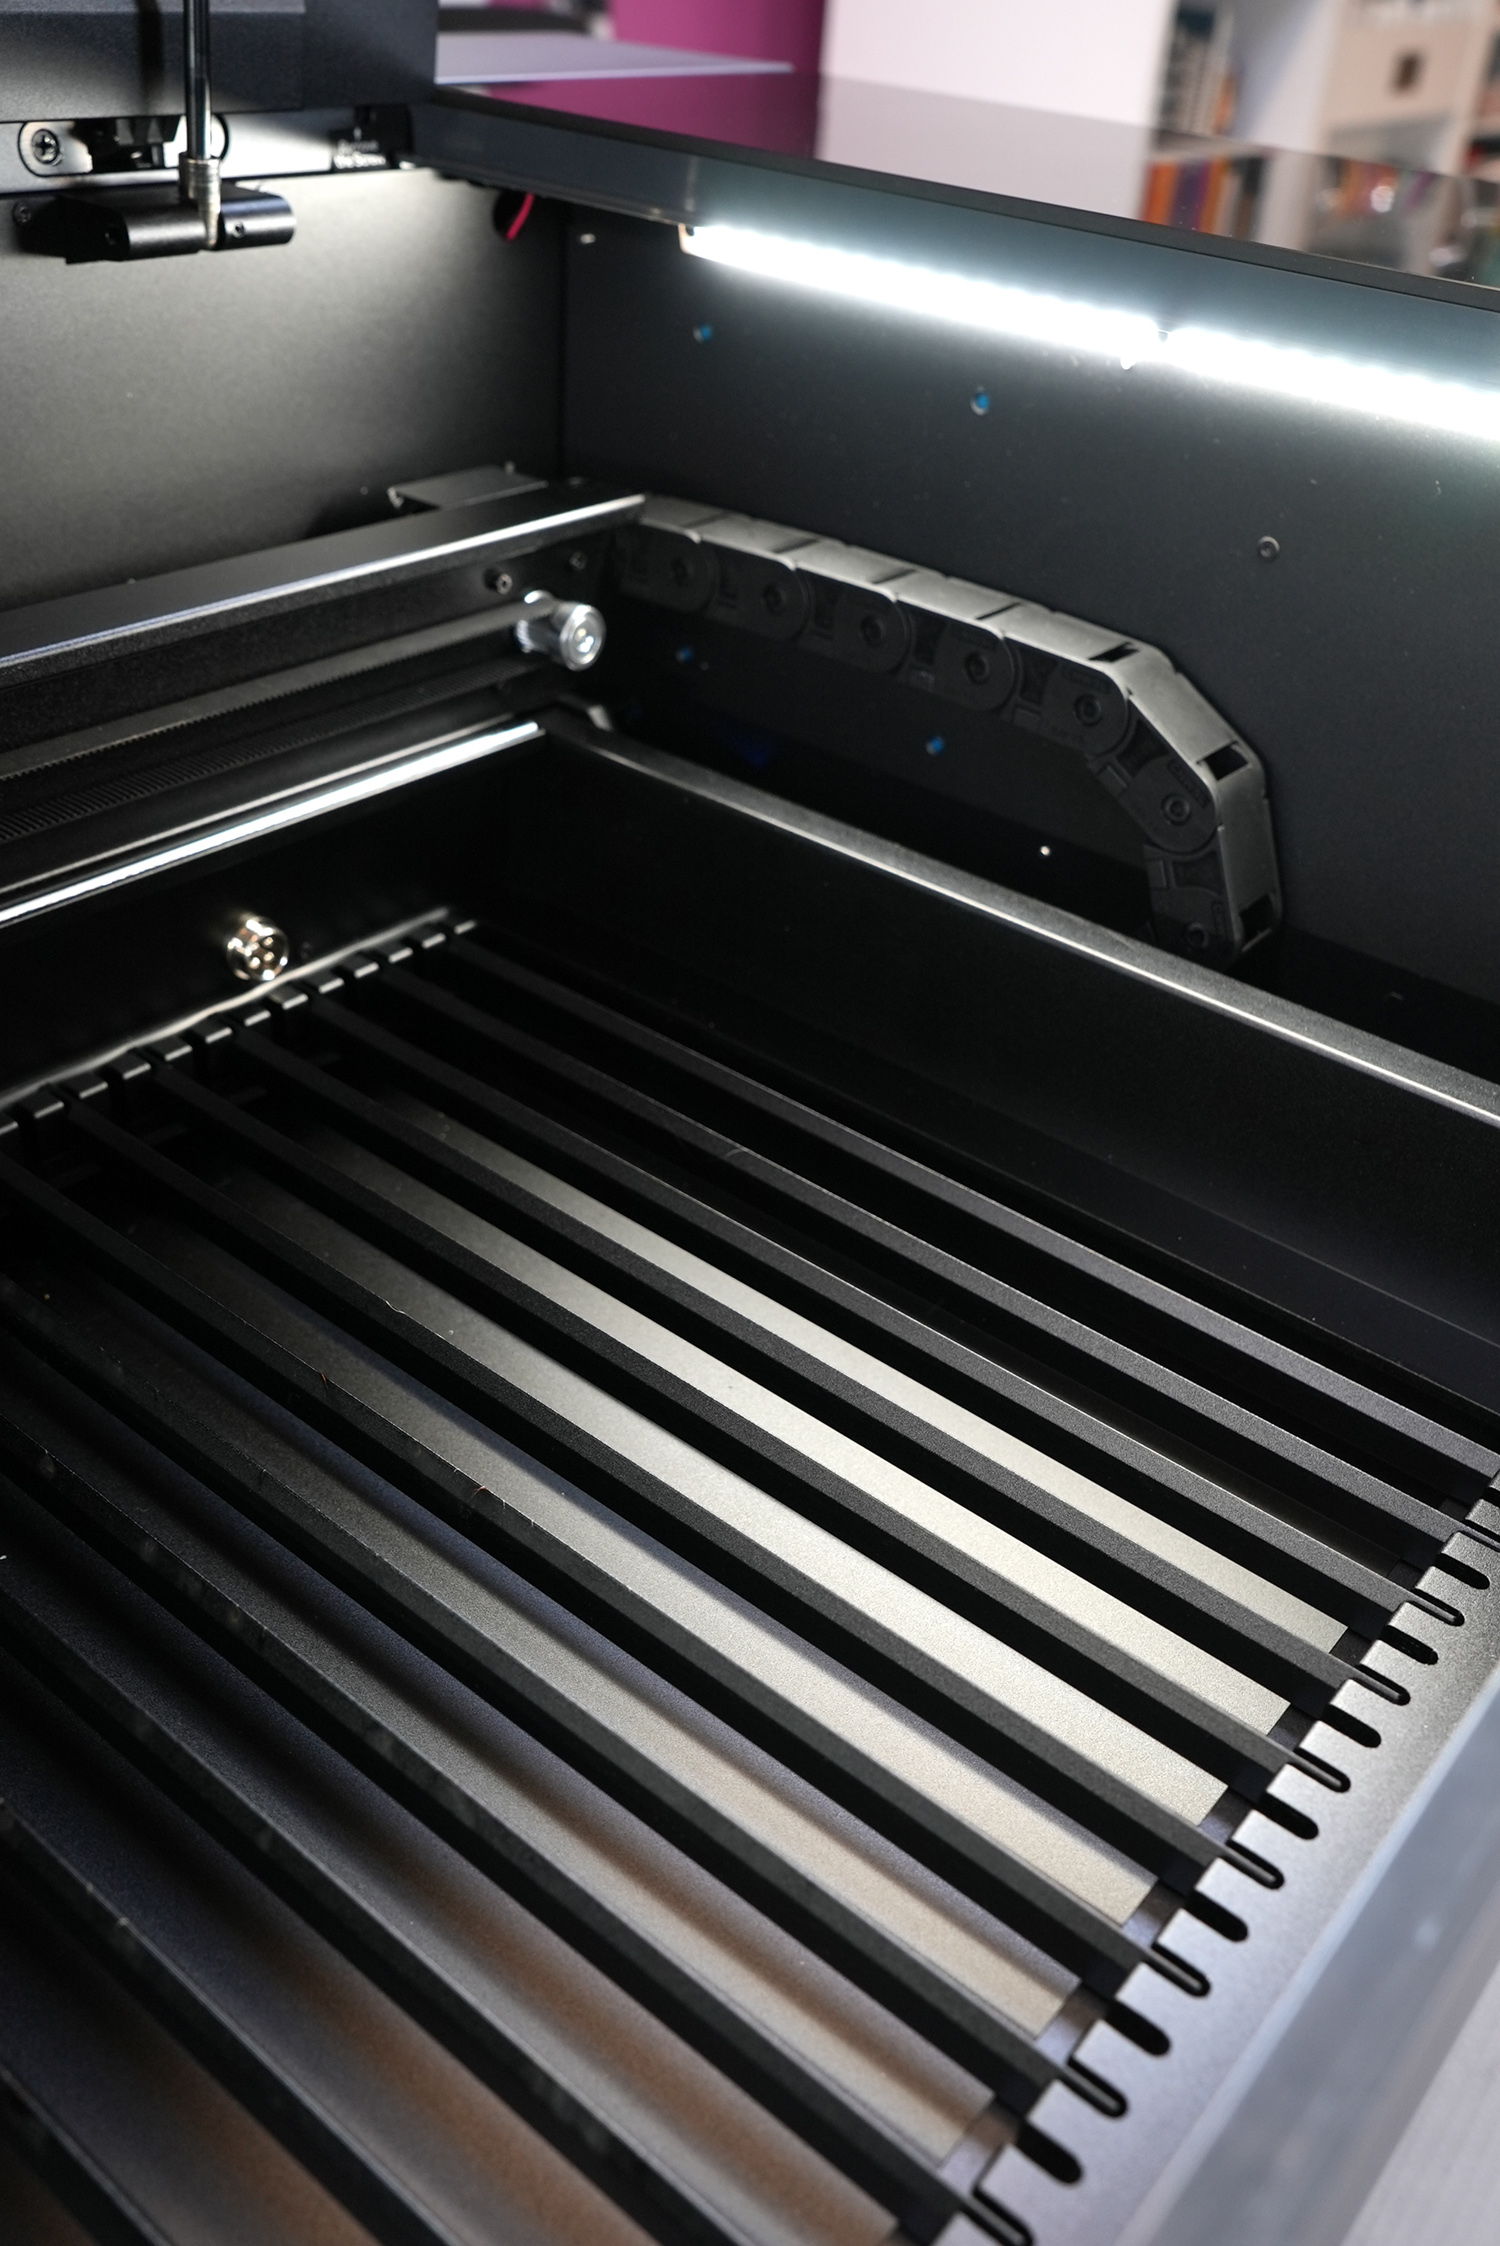
b. Internal Slat System: In contrast to Glowforge’s honeycomb base plate, the P2’s wide slat base can create challenges when working with smaller or oddly-shaped items.
c. Size: The larger footprint of the xTool P2 requires a bit more space, so it may not be the best choice for those with limited workspace.
d. Noise Level: The fan and built-in Air Assist system of the P2 is considerably louder than the Glowforge, which may be a deciding factor in some situations.
e. Extra Cost for Optional Accessories: While the xTool P2’s base price is lower, incorporating optional accessories like the Riser Base and RA2 Pro will increase the total cost.
Frequently Asked Questions
What types of materials can the Glowforge Pro and the xTool P2 cut or engrave?
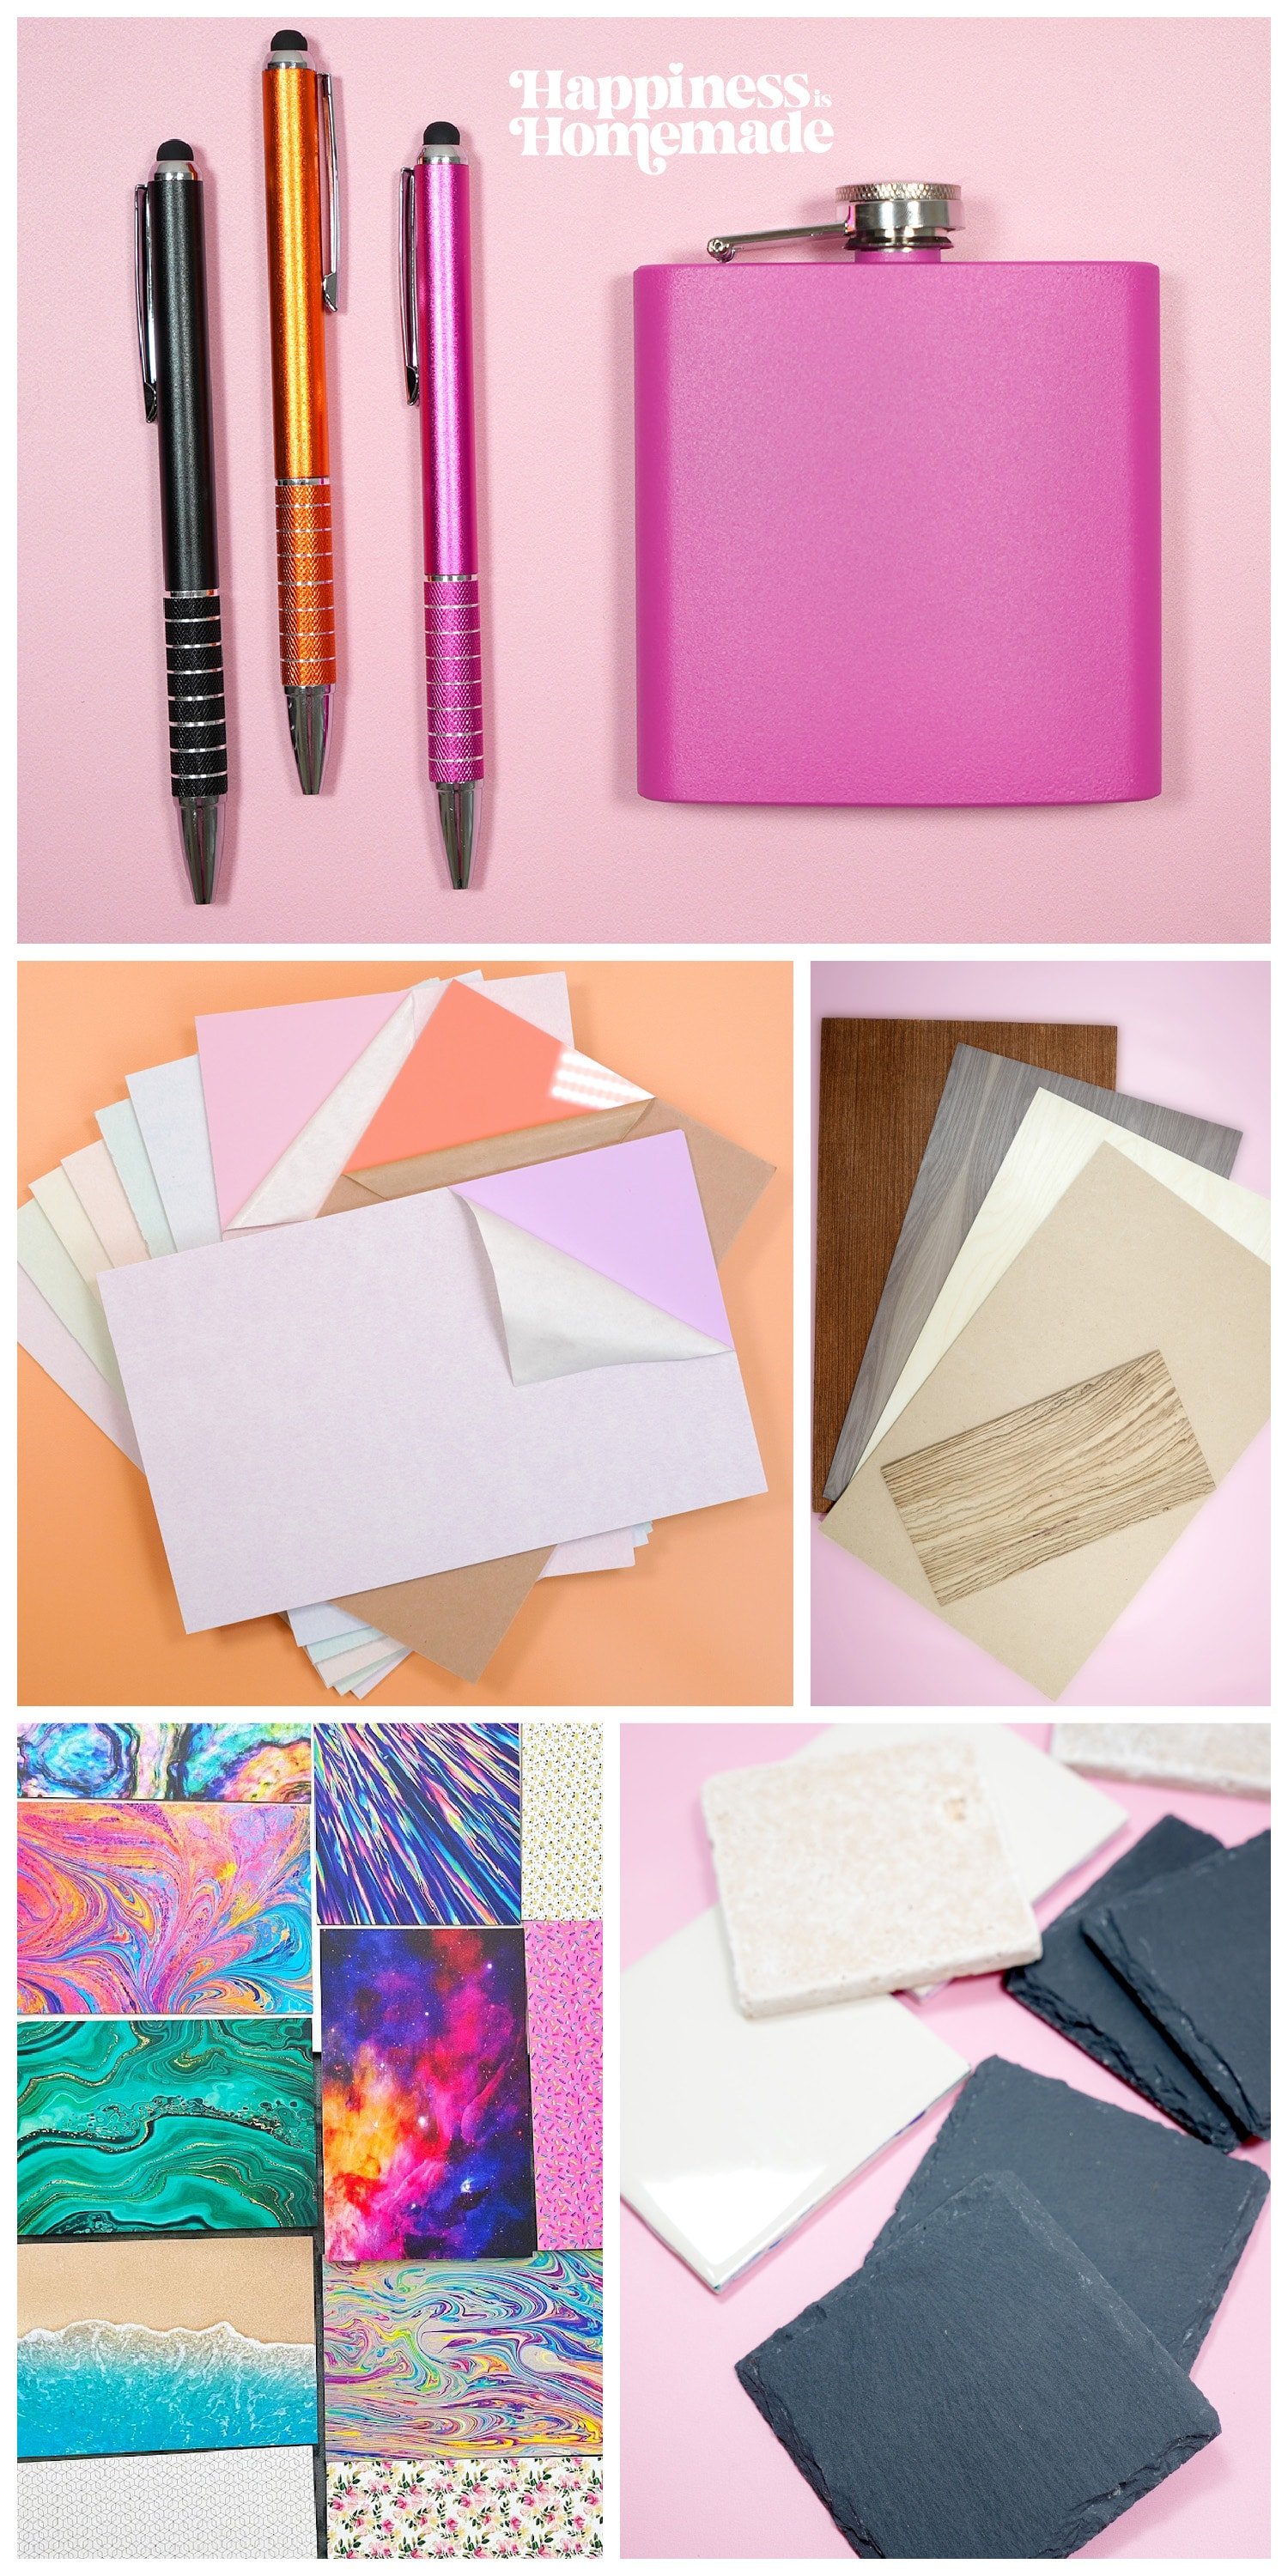
Both the Glowforge Pro and the xTool P2 can cut and engrave virtually the same assortment of materials. Here are some of the most commonly cut and engraved materials that are compatible with both machines:
CO2 LASERS CAN CUT:
- Wood
- Leather
- Acrylic (Plexiglass)
- Fabric
- Paper & Cardboard
- Rubber
- Foods (!!!)
- and MORE!
C02 LASERS CAN ENGRAVE:
- Wood
- Leather
- Acrylic (Plexiglass)
- Glass
- Coated Metal
- Stone
- Ceramic
- Marble & Corian
- Anodized Aluminum & Aluminum Alloy
- Stainless Steel (with marking spray)
- Titanium
- Some Phones, Tablets, Laptops, and Other Devices
- Denim & Other Sturdy Fabrics
- Rubber
- Foods
- and MORE!
Note: the P2 laser does not work well with soft metals such as silver, gold, brass, and copper.
What safety features do the Glowforge Pro and the xTool P2 have?
Both the Glowforge Pro and the xTool P2 prioritize safety. The Glowforge Pro has built-in safety sensors that automatically pause the machine if the lid is opened during operation. The xTool P2 features a built-in, real-time status monitor for temperature, speed, and laser power, which allows the user to control the operation closely. The P2 also has an emergency stop button and is comptaible with the optional Fire Safety Set accessory to extinguish any potential fires that may arise in your laser.
Are these machines suitable for commercial use?
Yes, both the Glowforge Pro and the xTool P2 are designed to handle a variety of projects, making them suitable for both personal and commercial use. Their high precision and ability to work with various materials make them ideal for creating intricate designs for small businesses.
CO2 Laser Cutter Recommendations
As we round off our in-depth look at the Glowforge Pro and xTool P2, it’s clear that both laser engravers have a lot to offer. The Glowforge Pro shines with its user-friendly software and excellent community resources, making it a reliable choice for beginners and hobbyists. Its cloud-based design software allows for anywhere design and printing, which can be a big advantage for some users.
The xTool P2, with its more potent 55W CO2 laser, larger working area, and high-speed engraving, is an excellent choice for professionals and small businesses that need to work with a wider variety of materials and thicker cuts. Its unique features like the built-in air assist and curved surface engraving offer significant benefits, and the more extended warranty adds an extra level of assurance.
For educational institutions, both machines have their merits. The Glowforge Pro’s ease of use and the safety features may make it a great tool for the classroom, while the xTool P2’s high precision and unique features provide advanced students with the opportunity to take their designs to the next level.
All in all, both of these popular CO2 lasers are great options, and your decision as to which is the best machine should take your own personal needs and space requirements into consideration.
We’d love to hear from you! If you’ve had experiences with either the Glowforge Pro or the xTool P2, feel free to share your thoughts and projects in the comments below. What has been your main reason for choosing one machine over the other? What types of awesome projects have you made? If you have any further questions about these machines, don’t hesitate to ask!

Check Out These Other Laser Projects, Ideas, & Info!
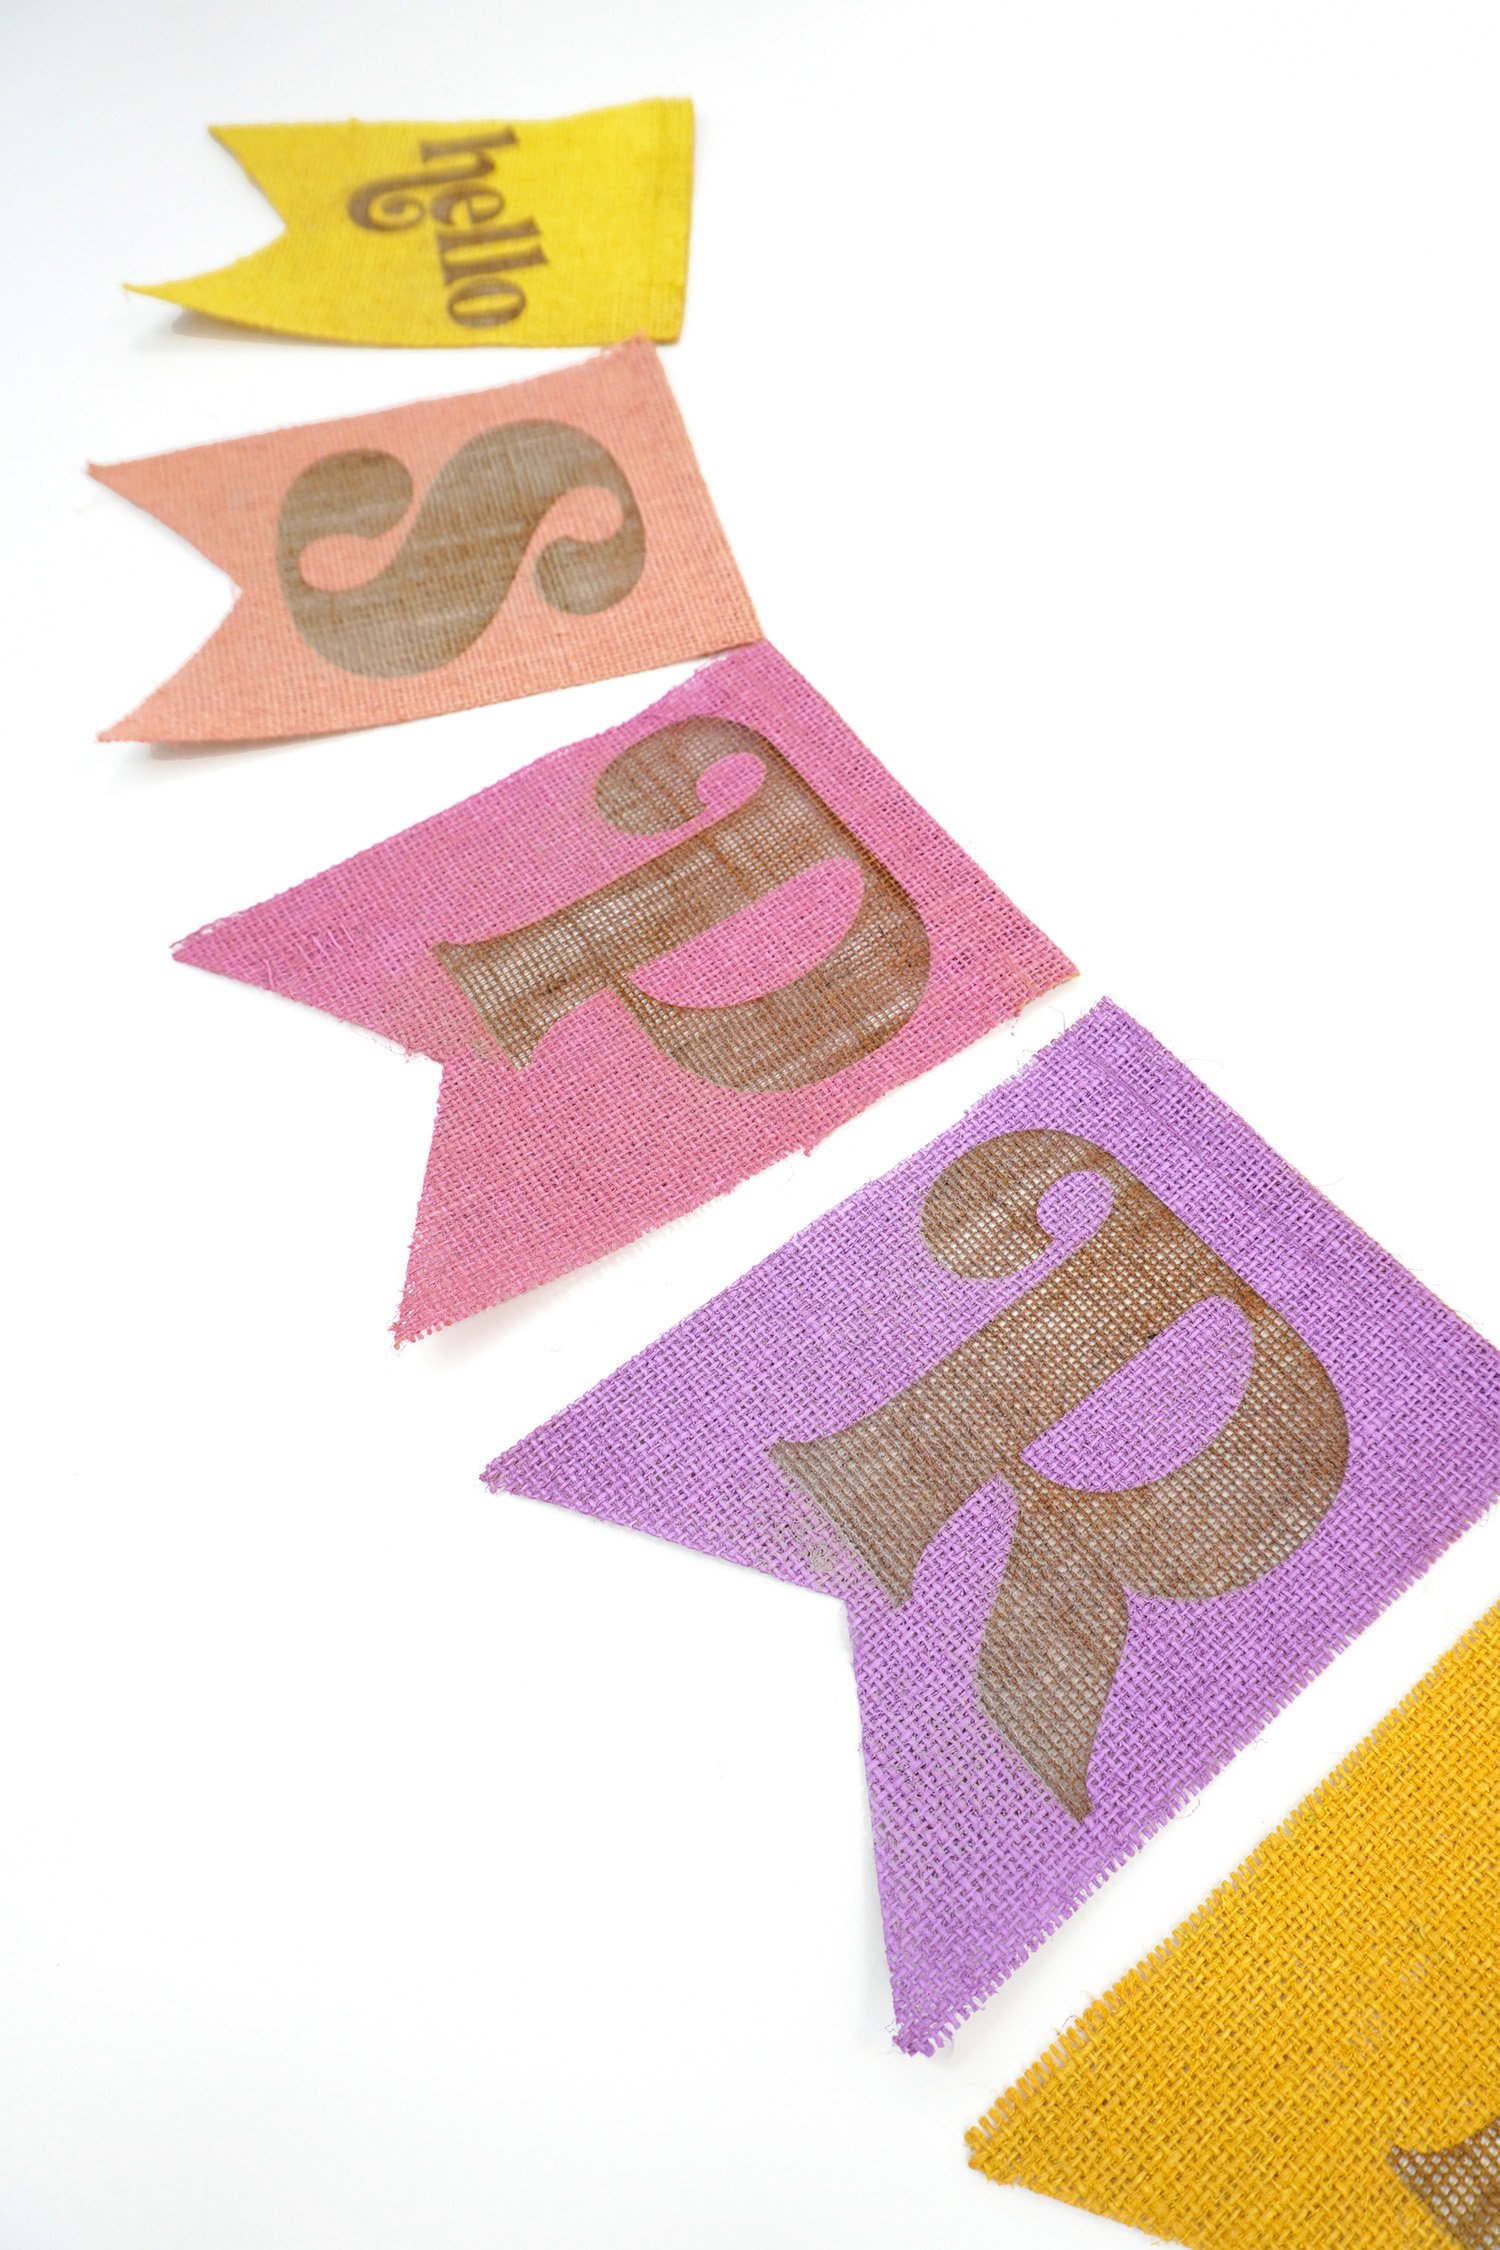
 How to Laser-Engrave a Burlap Banner
 Valentine Heart Ornaments + Laser SVG
 25+ Laser Craft Project Ideas for xTool P2
- xTool P2 vs Glowforge: CO2 Laser Comparison
- xTool P2 CO2 Laser Cutter Review: Everything You Need to Know!
- Ultimate xTool M1 Beginner’s Guide
- xTool M1 Laser Unboxing – What’s in the Box?
- Custom Tape Measure Gift Idea

Don’t Forget to Pin This for Later!


Heidi Kundin has captivated the hearts of millions with her colorful and inspiring approach to crafting, celebrations, and family fun. With over 15 years of experience, Happiness is Homemade has become a must-visit destination for those seeking quick and easy creative ideas and last-minute solutions. Heidi’s warm personality shines through her posts, inviting readers to join her on a creative journey that’s fun, rewarding, and achievable. Heidi is also the author of Homemade Bath Bombs & More and DIY Tie-Dye.
This has been really helpful in the decision making process for our school Makerspace. Our teachers are familiar with Glowforge and I wanted to see what else was out there. Ultimately we will go with Glowforge for ease of use in the classroom. Thank you for this thorough comparison!
I’m so glad that you found it helpful, Tara! 🙂