

xTool newbie? We’ve got you covered! Check out our Ultimate xTool M1 Beginner’s Guide and learn everything you need to know to get started with the xTool M1 Hybrid Laser and Blade Cutter! The complete xTool M1 guide for beginners!

This post may contain affiliate links. I will receive a small commission from these sales at no additional cost to you!
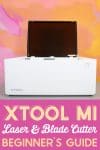
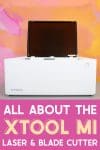
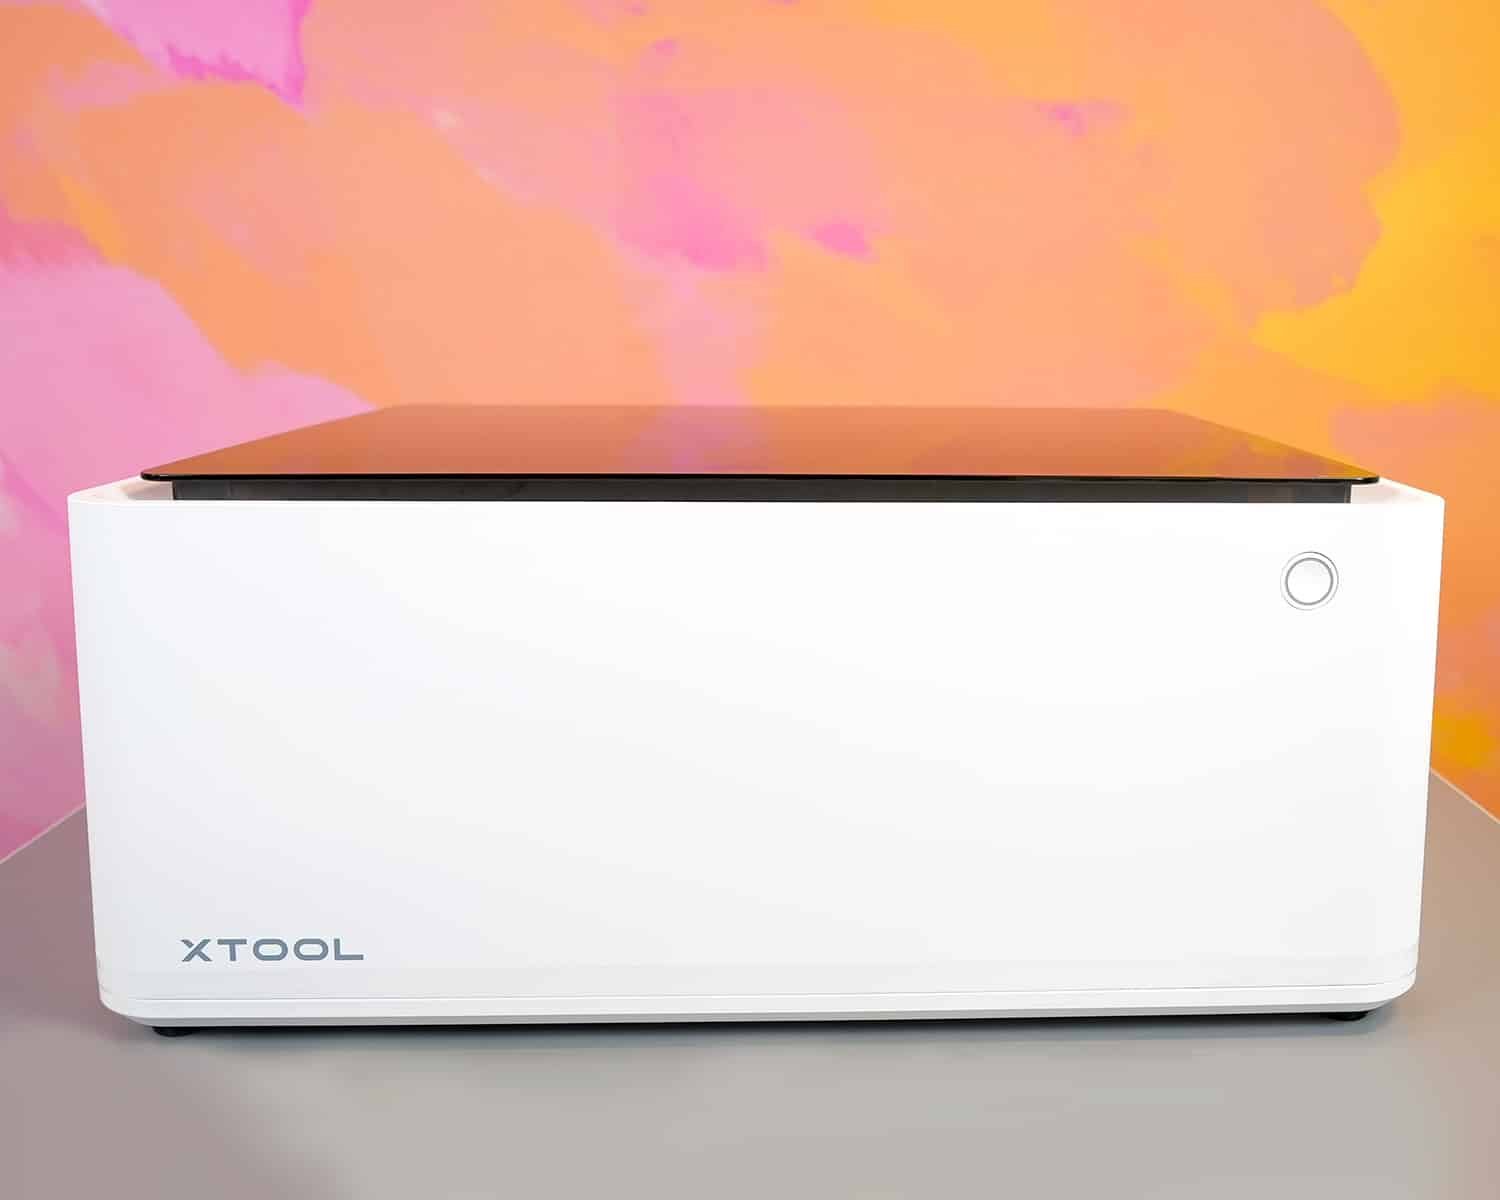
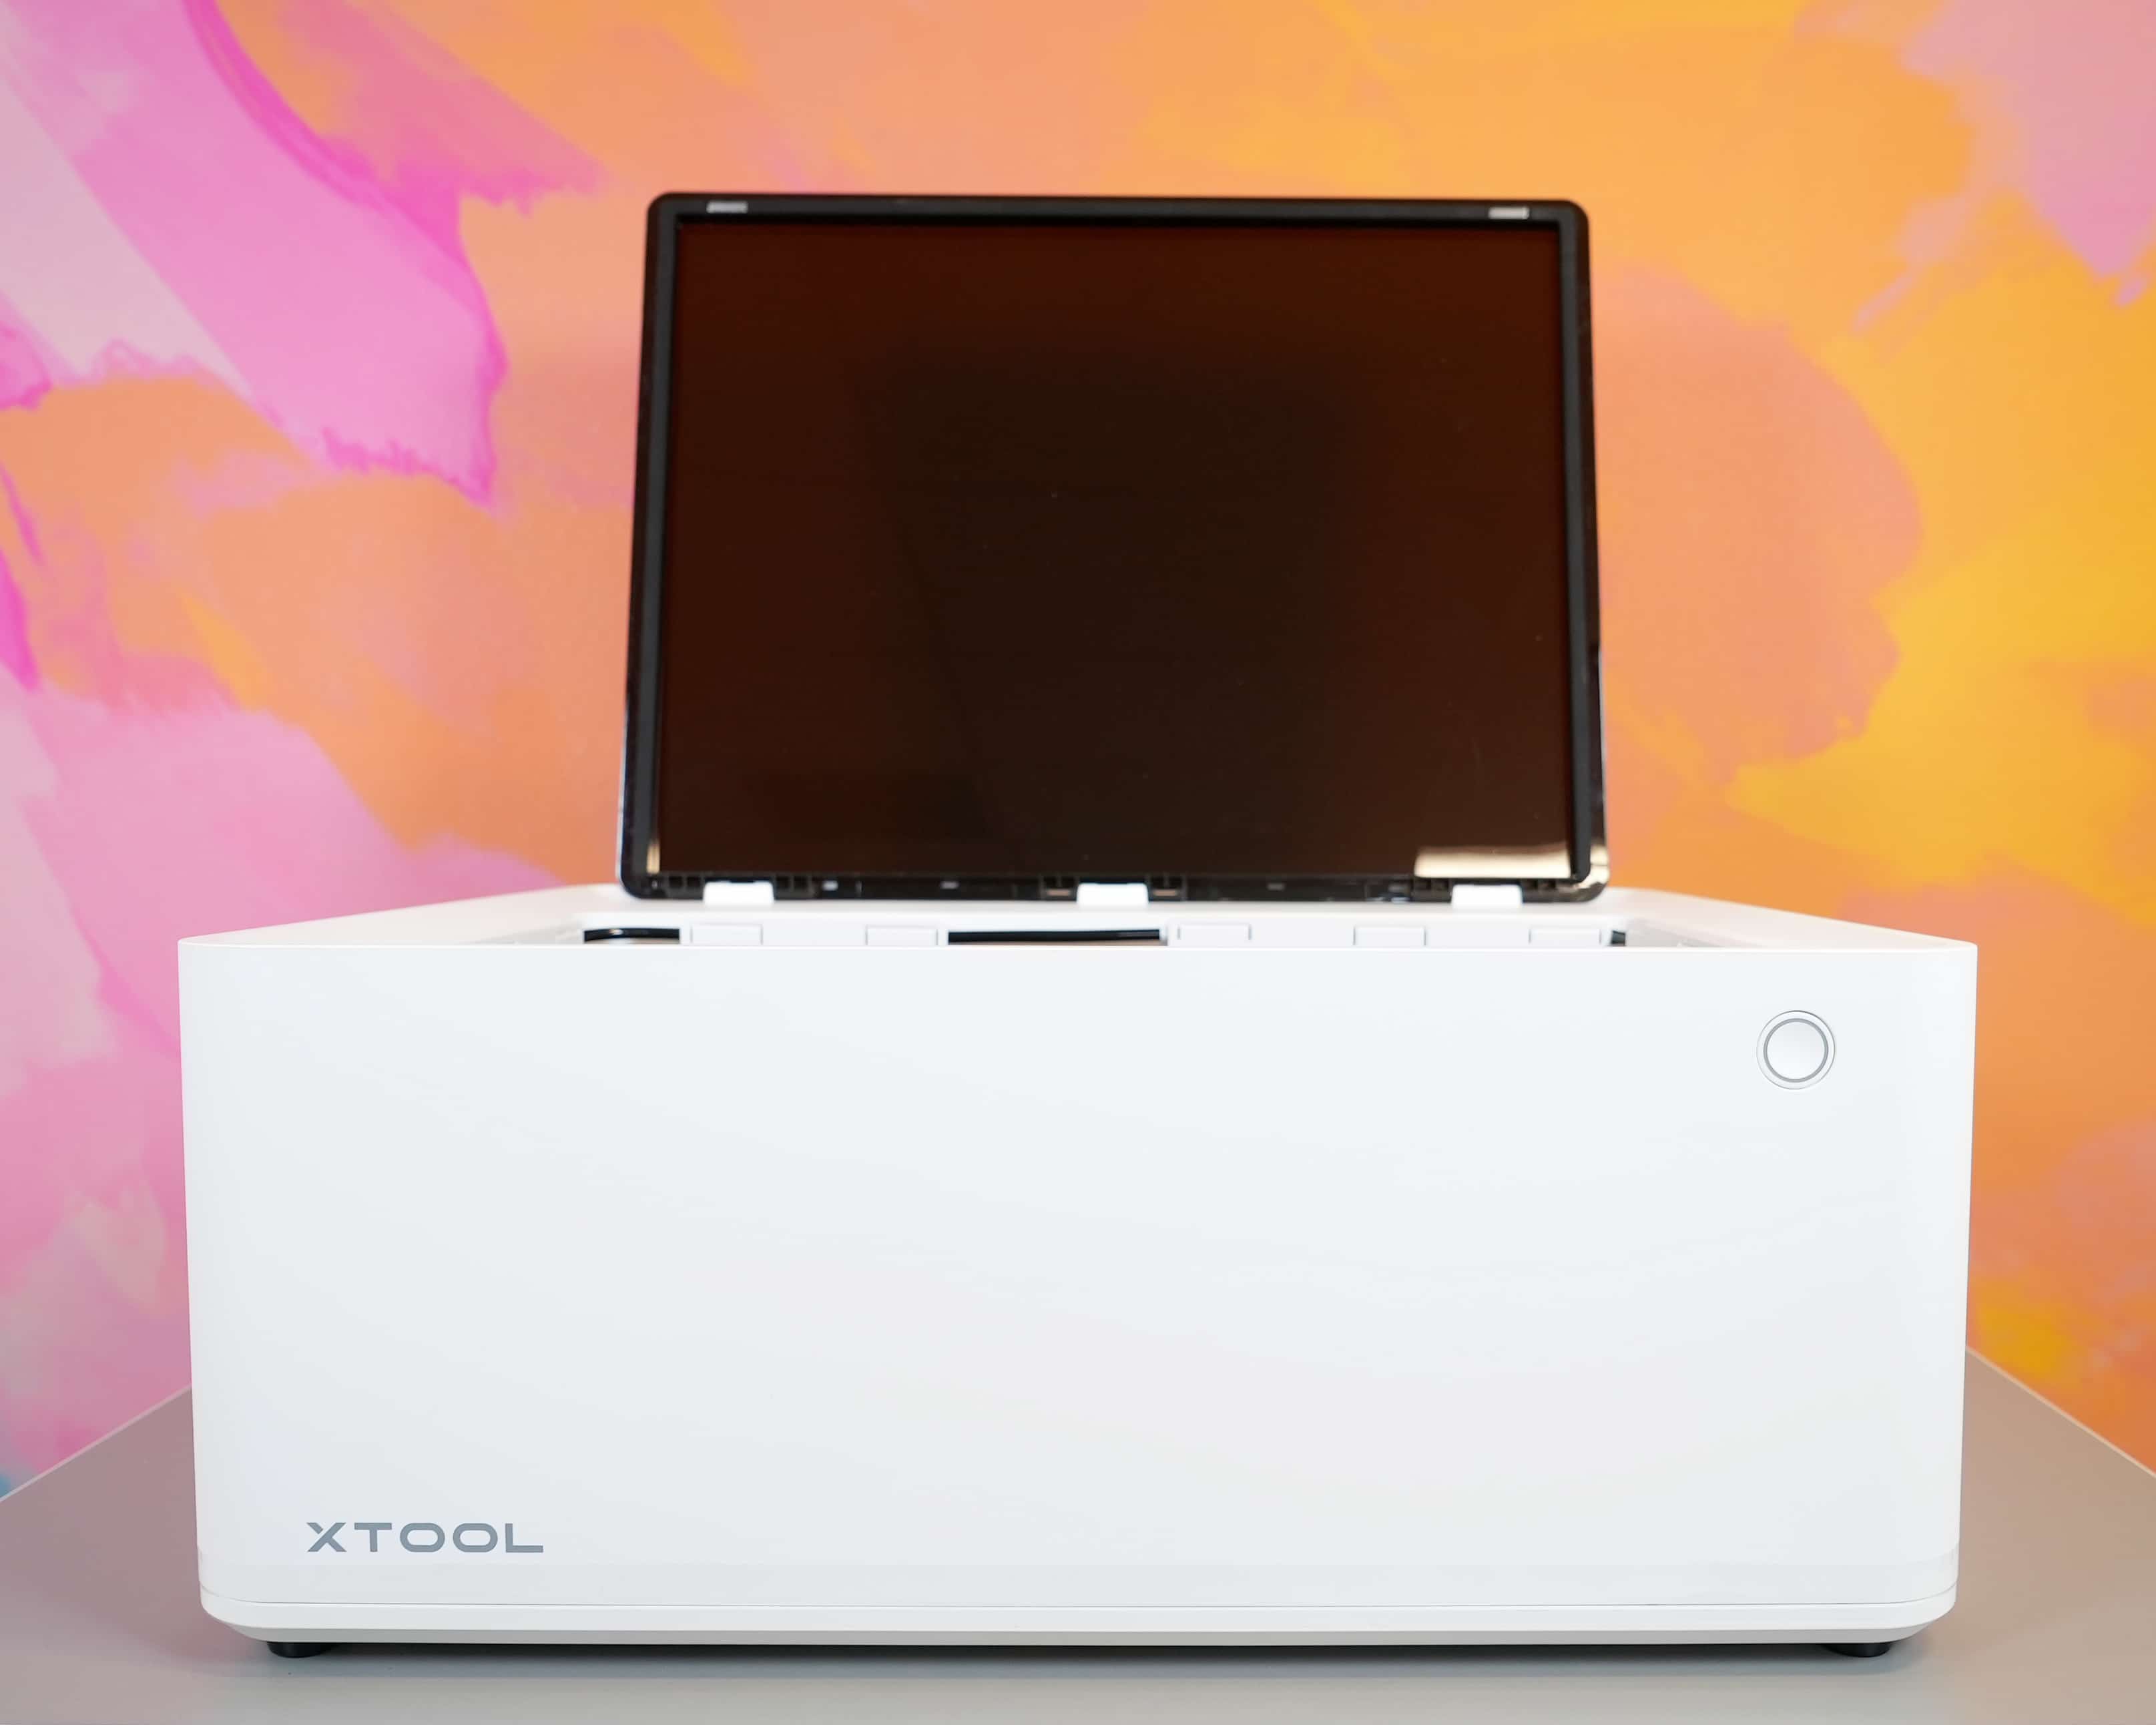
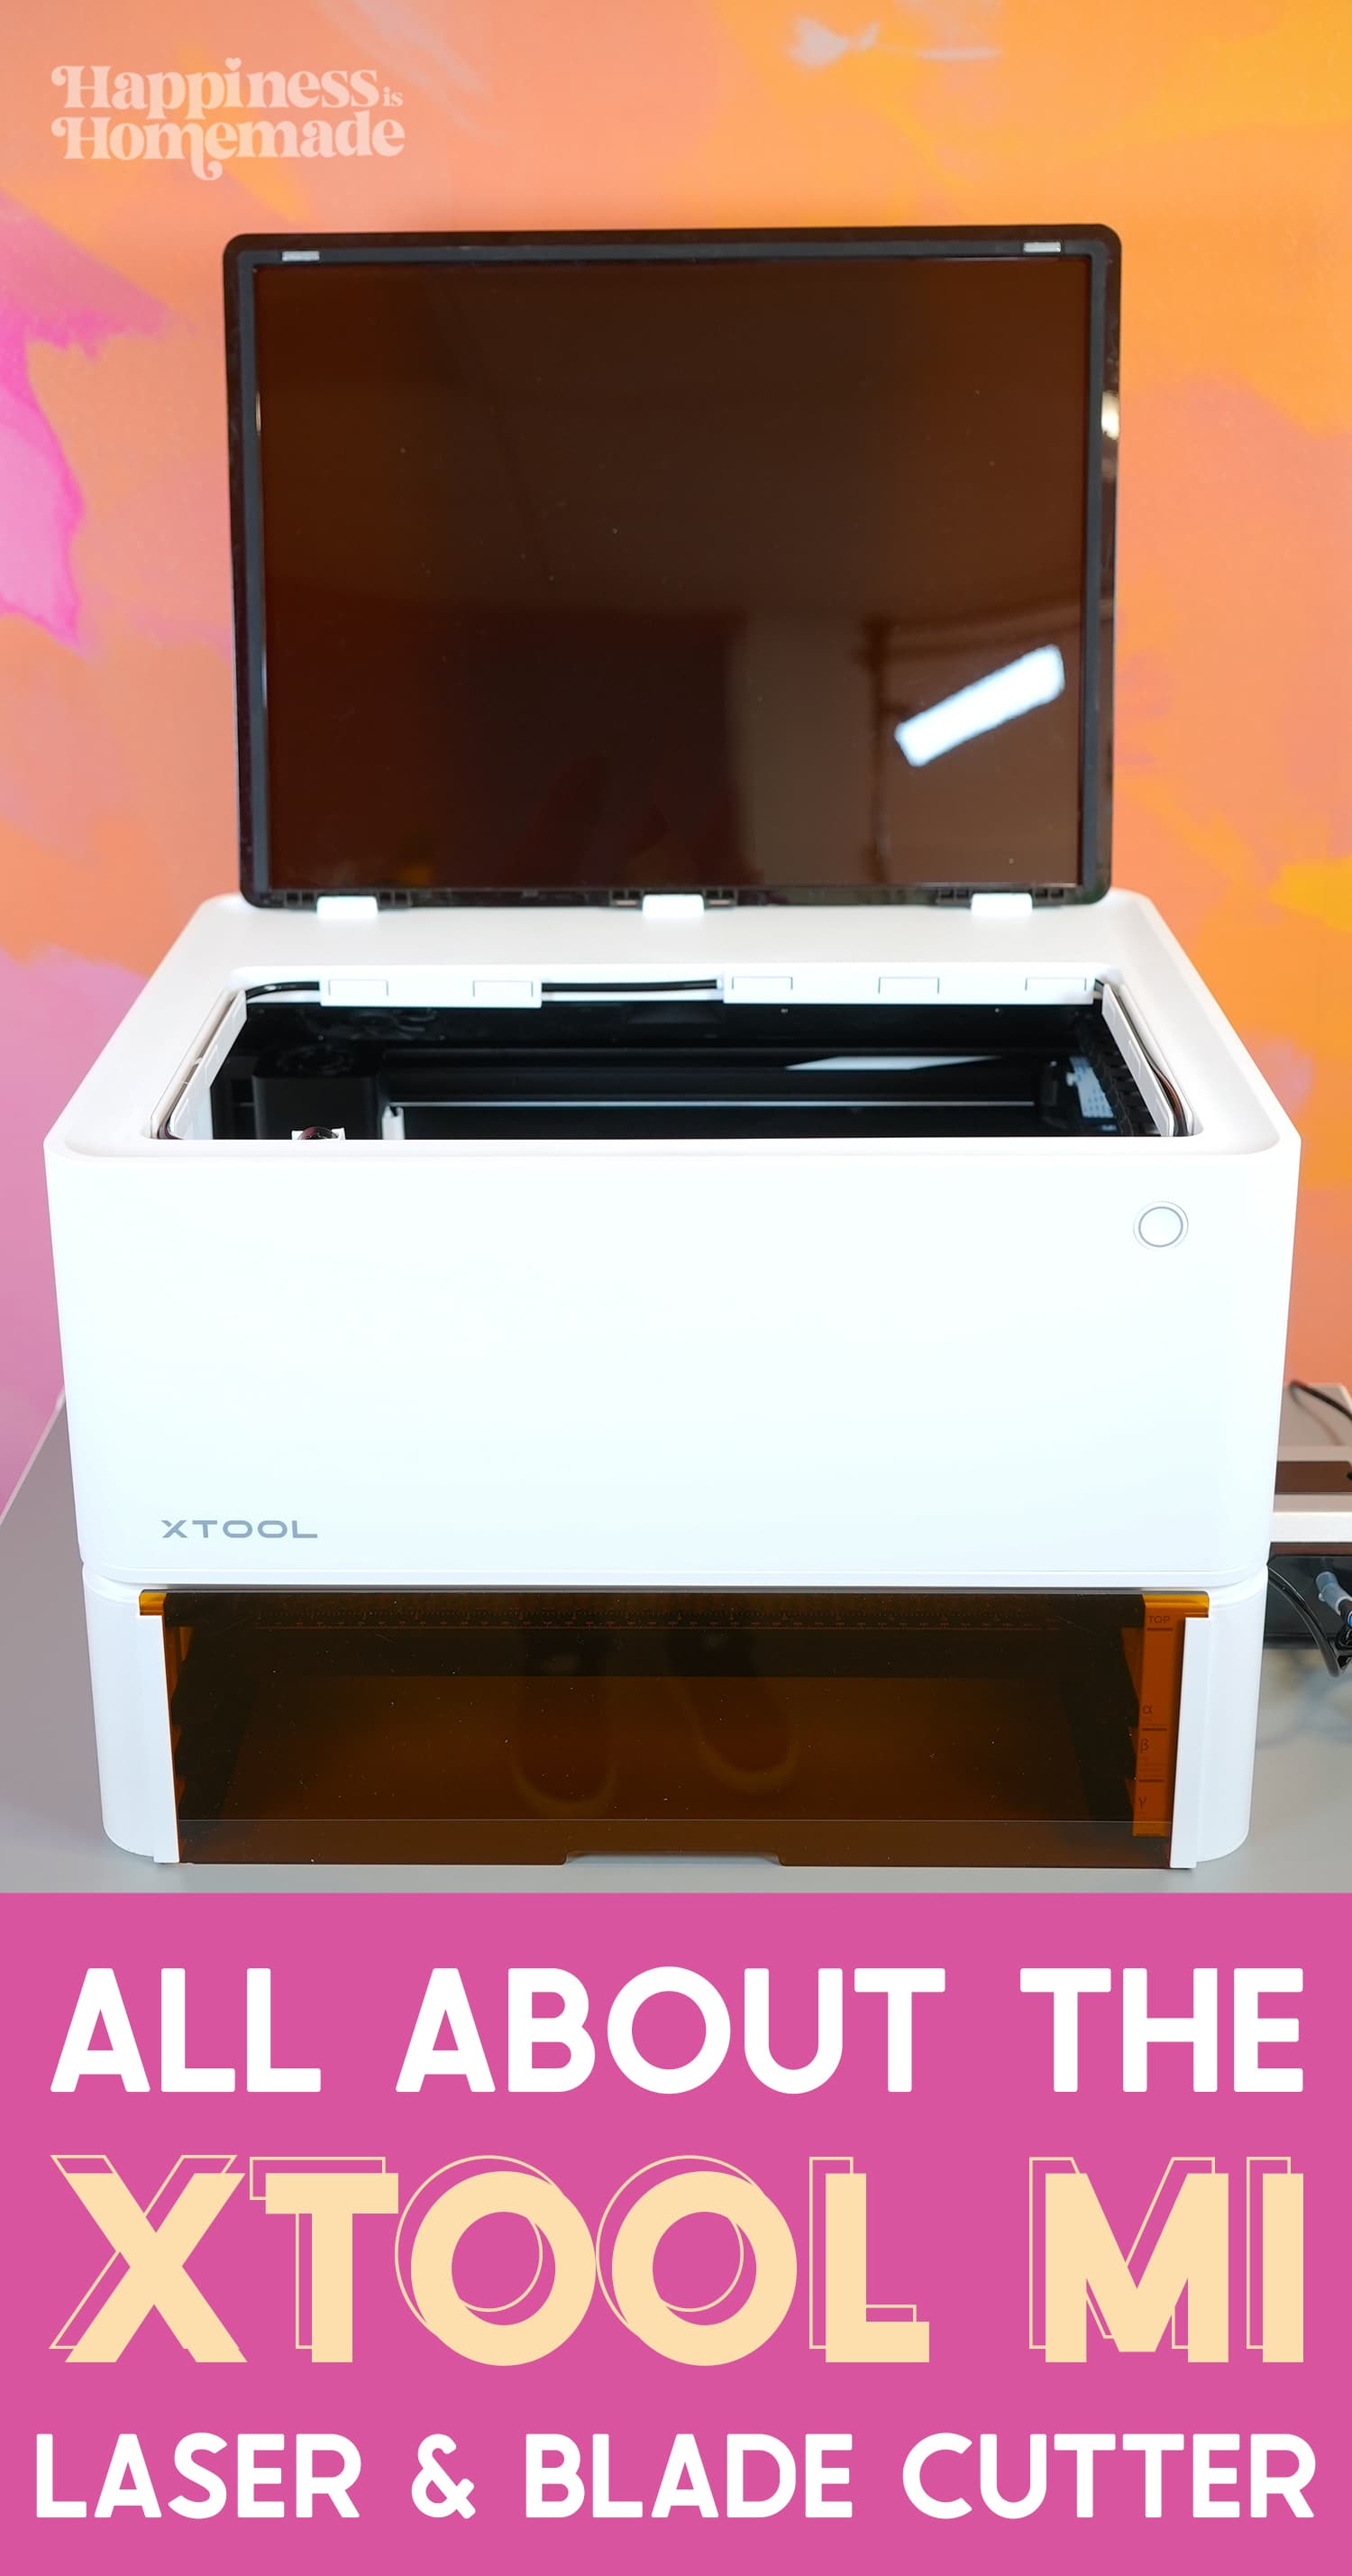
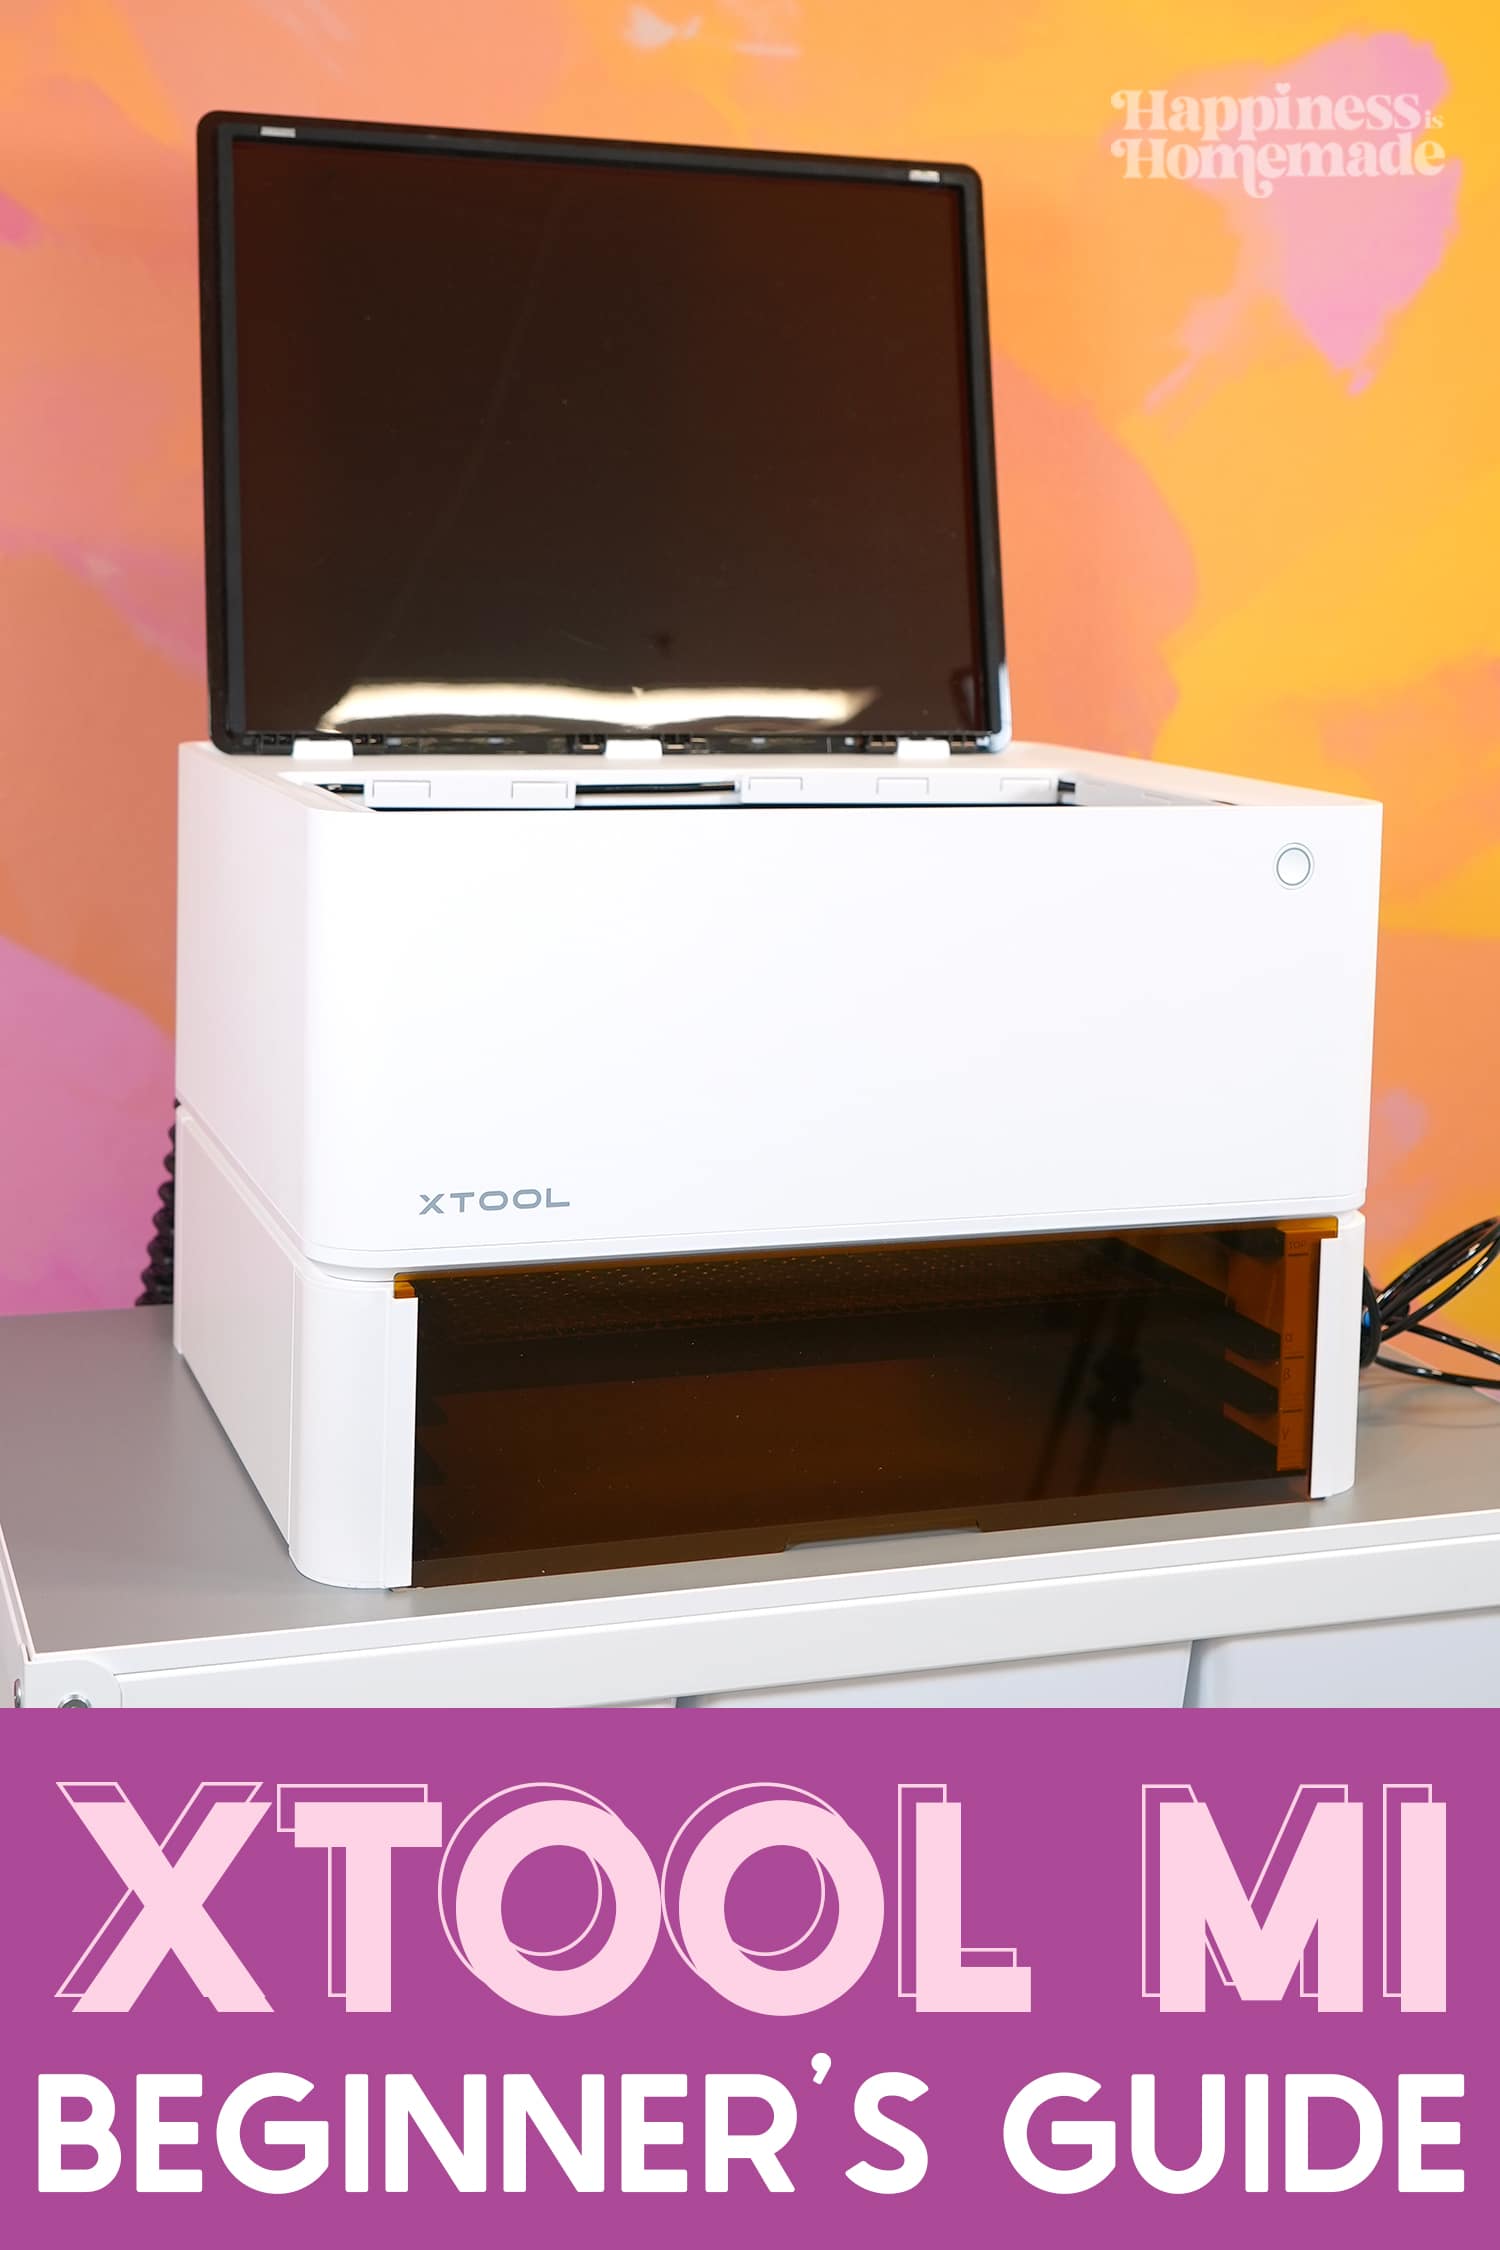
Meet the xTool M1 – the world’s first HYBRID 3-in-1 laser and blade cutting machine!
Last year, the xTool M1 became one of the fastest funded Kickstarter campaign projects EVER, becoming fully funded in just 15 minutes and raising over $1 million within the first five days of their campaign. People absolutely LOVED the idea of combining a laser cutter with blade cutting functionality similar to a Cricut or Silhouette machine.
After fulfilling all of their Kickstarter orders, Makeblock went public with sales of the xTool M1 in late June 2022, and needless to say, there has been a LOT of hype surrounding this hobby-sized laser cutter!
Today, I’m giving you ALL of the details and answering our most frequently asked questions about the xTool M1 laser and blade cutter. Whether you’re considering an xTool purchase, or you’re just getting started with your new xTool M1, this xTool M1 Ultimate Beginner’s Guide will cover everything you need to know!
Check Out These Other Projects You Can Make with an xTool M1!

What is the xTool M1 Hybrid Laser & Blade Cutter?
The xTool M1 3-in-1 Hybrid Laser & Blade Cutter combines the cutting and engraving functions of a diode laser with the blade cutting functionality you typically see in a Cricut or Silhouette machine. I often hear it referred to as “If a laser cutter and a Cricut had a baby,” and I have to say that that’s a pretty accurate description! 😂
Last year, the xTool M1 became one of the fastest funded Kickstarter projects EVER, becoming fully funded in just 15 minutes and raising over $1 million within the first five days of their campaign. People LOVED the idea of combining a laser cutter with a blade cutter! After fulfilling their initial Kickstarter orders, Makeblock recently went public with sales of the xTool M1 in late June, and needless to say, there has been a LOT of hype surrounding this hobby-sized laser cutter!
What Type of Laser does the M1 Use?
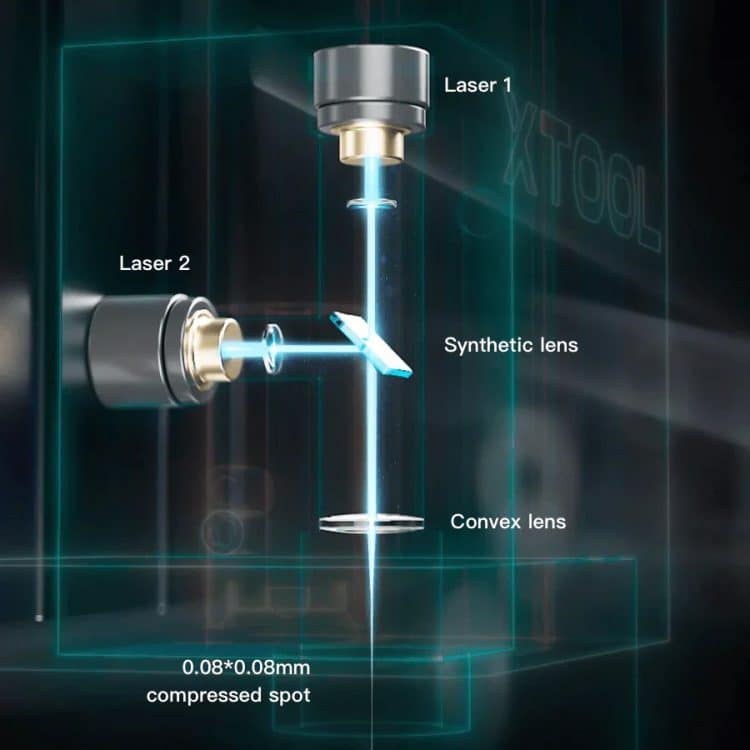
The xTool M1 utilizes a diode laser which uses a semiconductor material to produce a laser beam that enables the machine to cut and engrave a wide variety of materials. The xTool M1 has a .008mm compressed laser spot diameter and an engraving precision of 0.01mm.
Diode lasers have a long lifespan and a more affordable price tag than other types of lasers, so they’re perfect for an in-home machine like the xTool M1.
xTool M1 Size and Specifications
What is the Wattage of the xTool M1 Laser?
Currently, there are two different models of the xTool M1 – a 5 watt diode laser and a 10 watt diode laser. Both models have the same size footprint and utilize the same size materials.
Note: The machine shown in these photos is an xTool M1 10w.
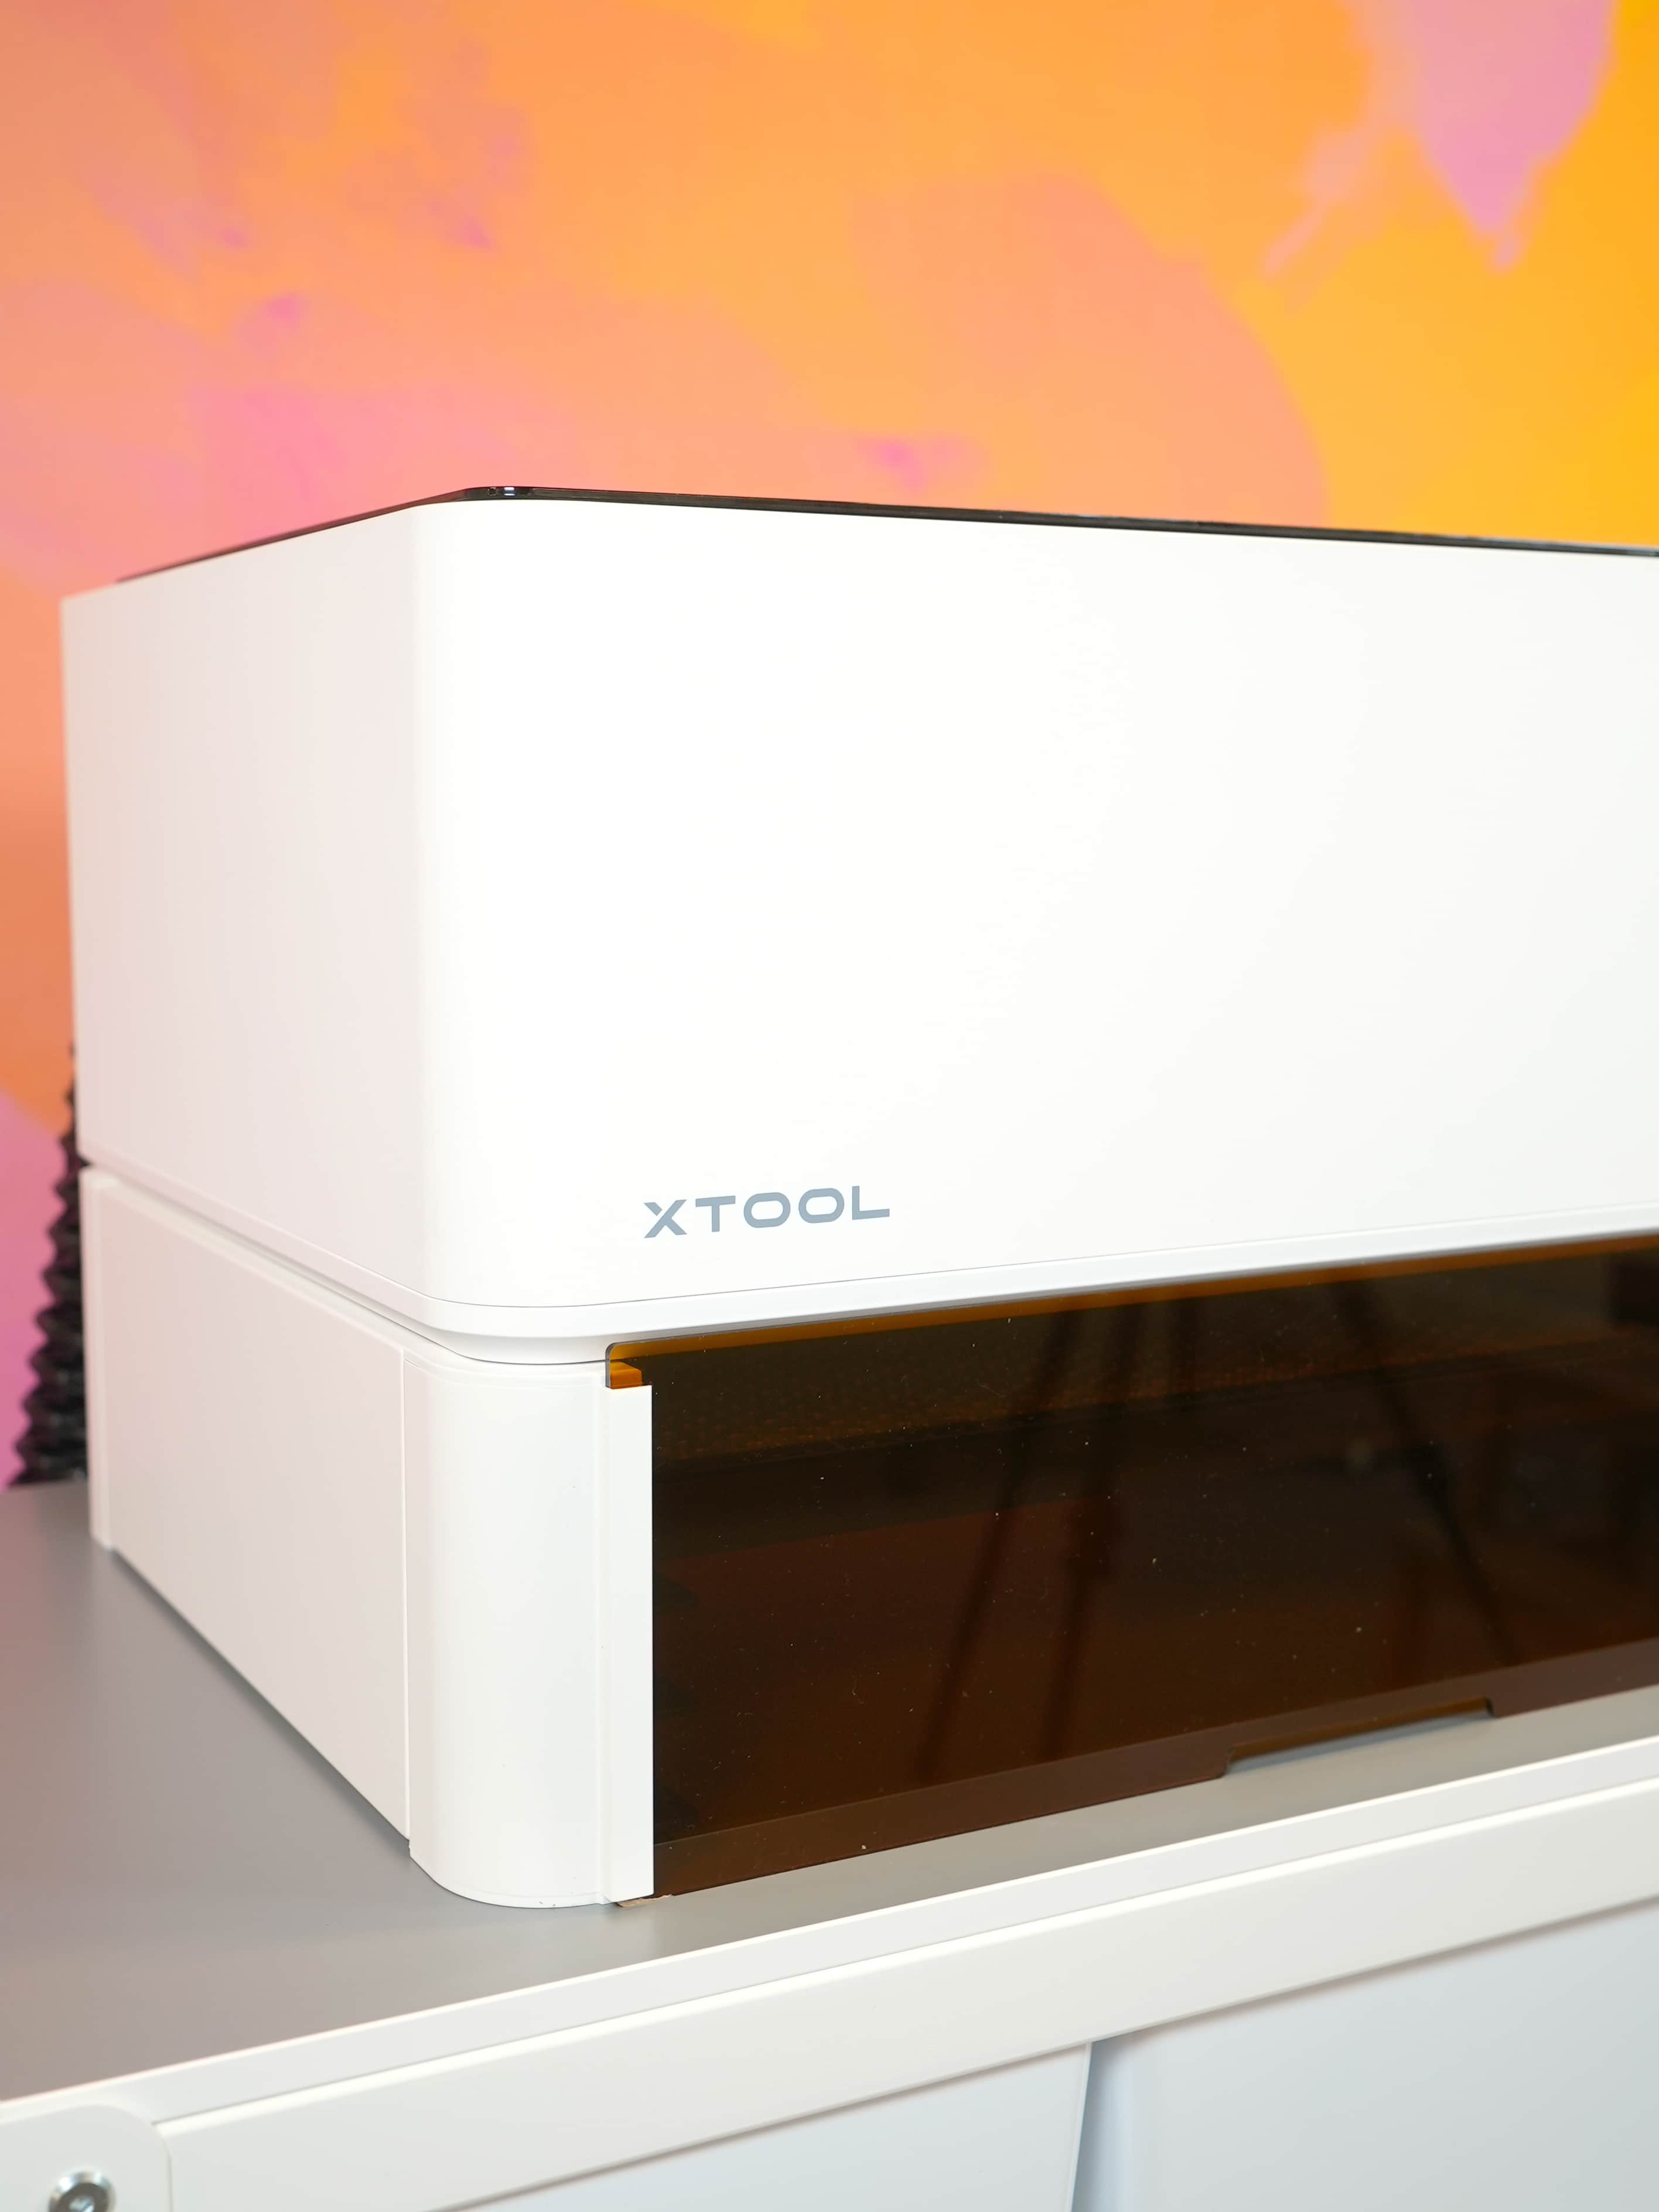
How Big is the xTool M1?
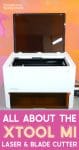
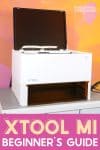
The xTool M1 has a relatively small footprint, measuring approximately 22″ x 18″ x 9″ and weighing just over 21 pounds.
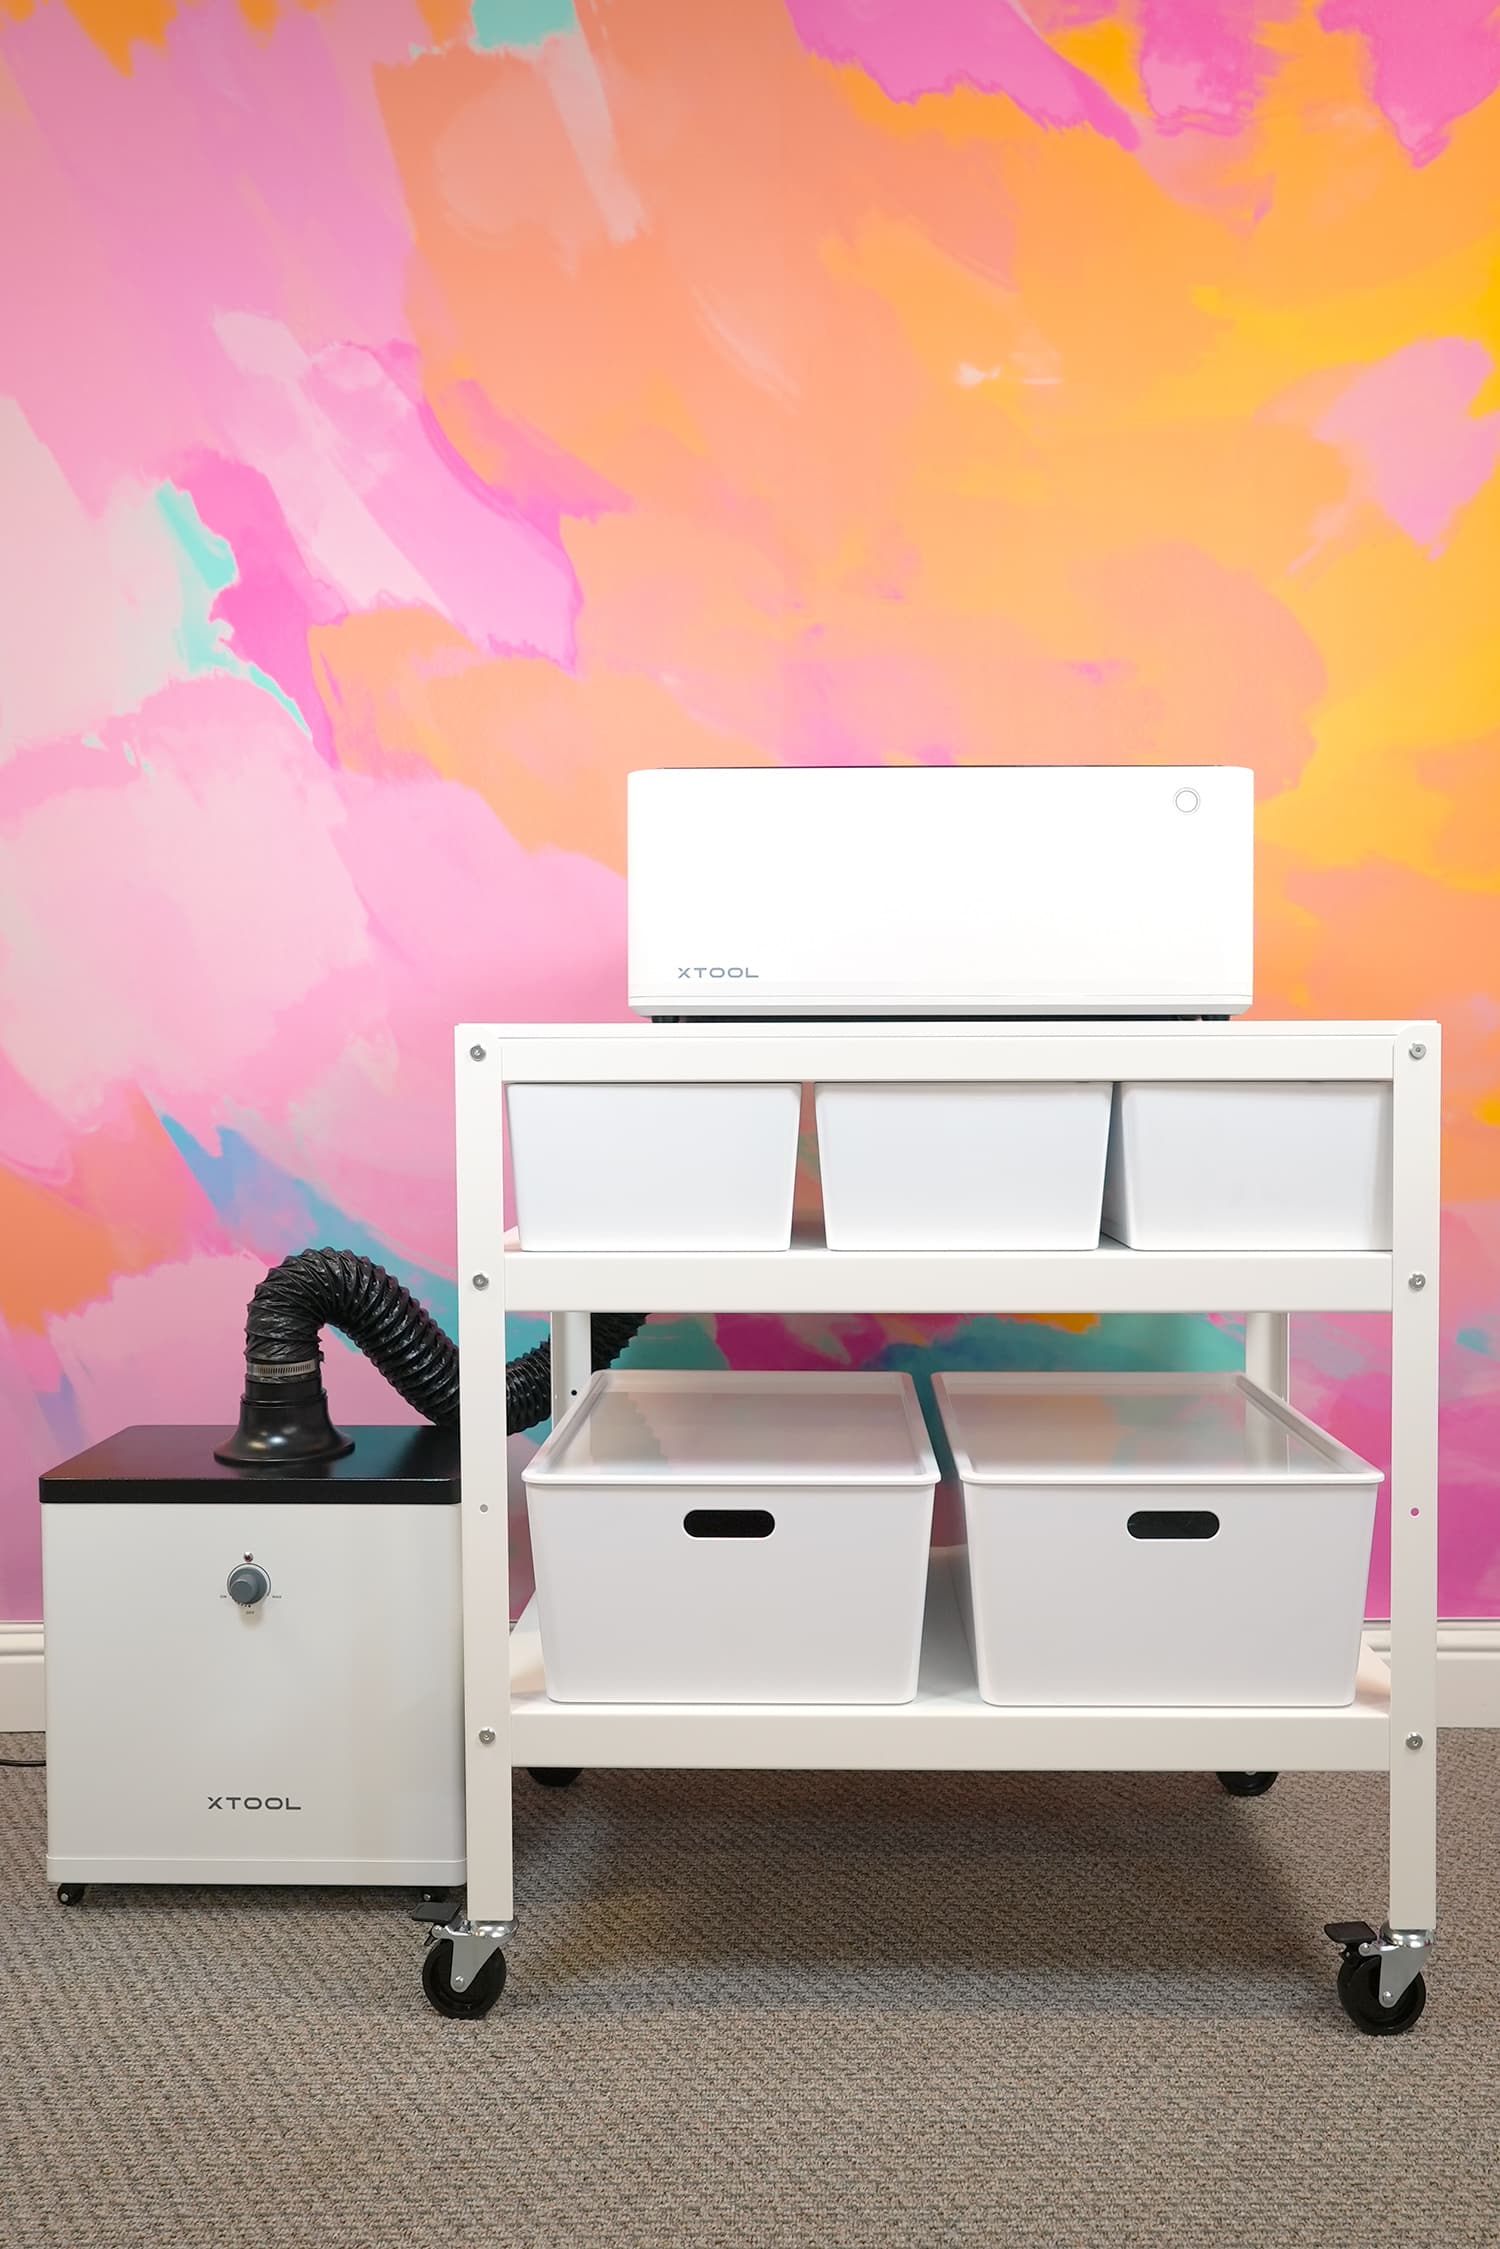
For reference, that’s about the same size and weight as my all-in-one laser printer, so it is the perfect sized desktop machine to fit in most craft rooms or hobby spaces! My xTool M1 sits atop an Ikea Bror Cart, and there’s plenty of additional space to store materials in the Kuggis Storage Bins (also from Ikea).
What Size Materials Can the xTool M1 Cut?
The xTool M1 has a working area of approximately 12″ x 15″ (specifically 385 x 300 mm), so materials that are sized 11.75″ x 15″ or smaller are ideal. The dual laser technology of the xTool M1 can cut up to 10mm thick wood or 3mm acrylic in a single pass!
Note: When using the optional Honeycomb Panel accessory, the work area is narrowed slightly to approximately 10.25″ x 15″ and the working height increases to 120mm (approx 4.7″) meaning you can engrave MUCH thicker and taller objects!
How Much Does the xTool M1 Cost?
The xTool M1 5w has an MSRP of $1,299, and the xTool M1 10w has an MSRP of $1,499. However, these machines are VERY frequently on sale, so be sure to keep an eye on the prices and check for deals! At the time of this publication, the 5w is currently on sale for $899 and the 10w is on sale for $999.
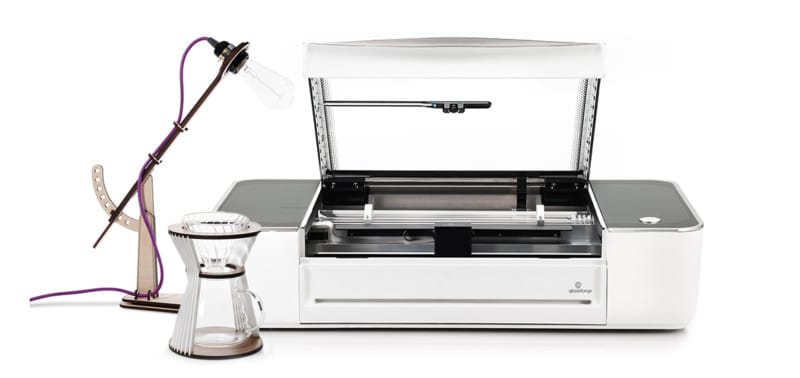
When you consider the price of other laser cutters like the Glowforge ($3,999 for the Basic model) and craft cutters like the Cricut Maker 3 (MSRP $429.99), the price of the xTool M1 is an AMAZING deal for a machine with 3-in-1 laser AND blade functionality!
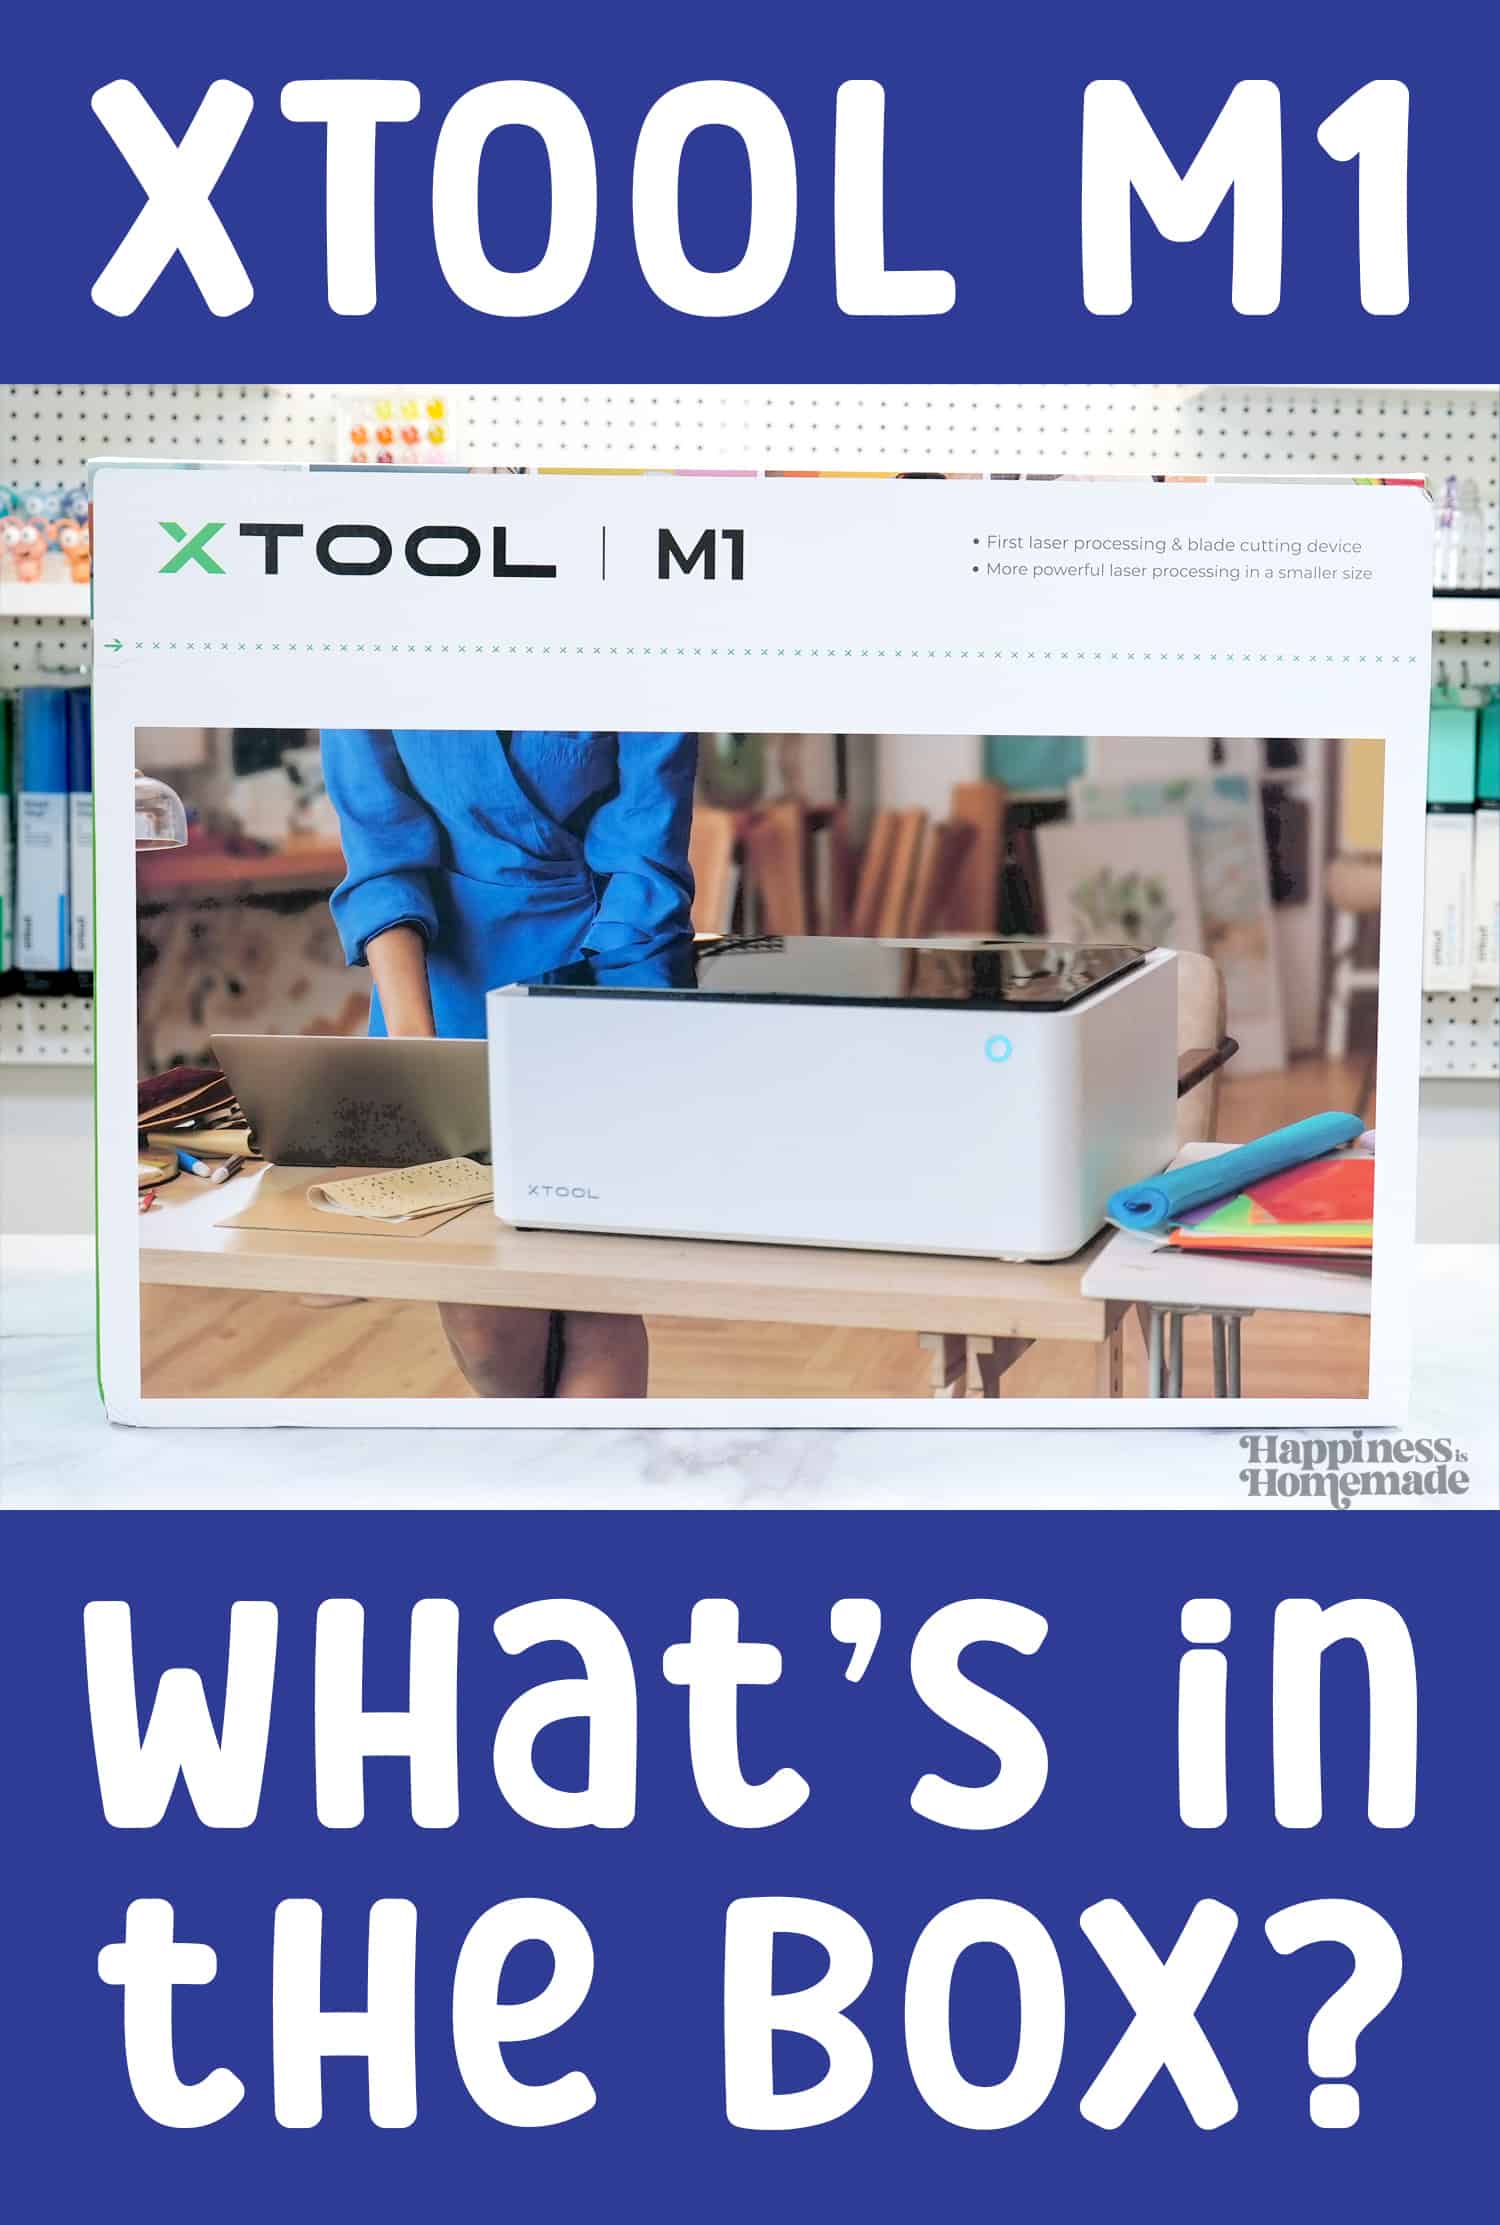
What is Inside the xTool M1 Box?
We have a full in-depth look at the xTool M1 Unboxing here, so you can see exactly what’s included inside the box! Hop on over and take a peek!
How to Set Up the xTool M1
The xTool M1 arrives fully assembled, so you can have it unboxed and ready to use in just a few minutes! Simply remove the machine from the packaging, install the built-in ventilation system and the xTool Creative Space software, and you’re good to go!
How to Vent the xTool M1
The xTool M1 creates a mild to moderate amount of smoke and debris when engraving and cutting different types of materials, so you will need to vent the machine’s exhaust. You can choose to vent the machine to the exterior of your workspace via an operable window or door, or you can opt to use an air purifier filter attachment if a window/door is not available.

The xTool M1 comes with all of the parts and pieces that are necessary to properly vent your laser – a vent hose, a plastic vent attachment, and a metal hose clamp.
To vent the xTool M1, first attach the plastic vent attachment to the back of the machine with the provided screws.
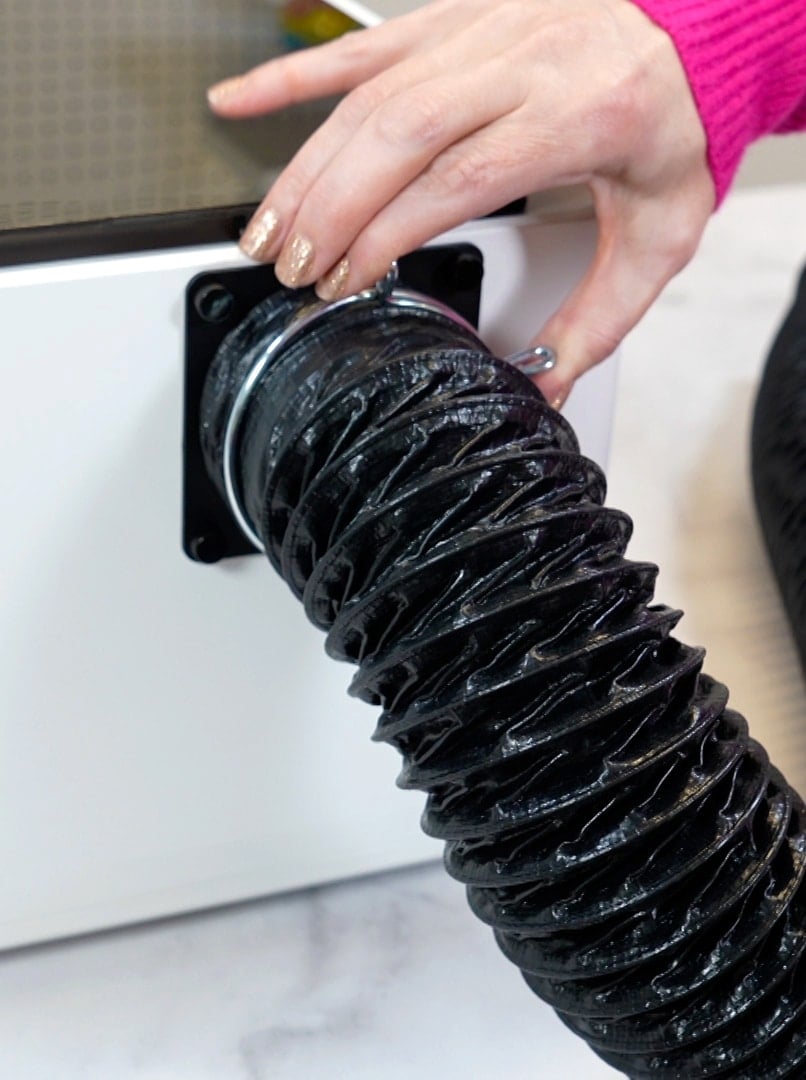
Use the metal hose clamp to attach the vent hose to the machine.
If you will be venting your machine out of a window or door, place the opposite end of the vent hose through the opening so that all of the smoke and debris will safely exit your workspace.
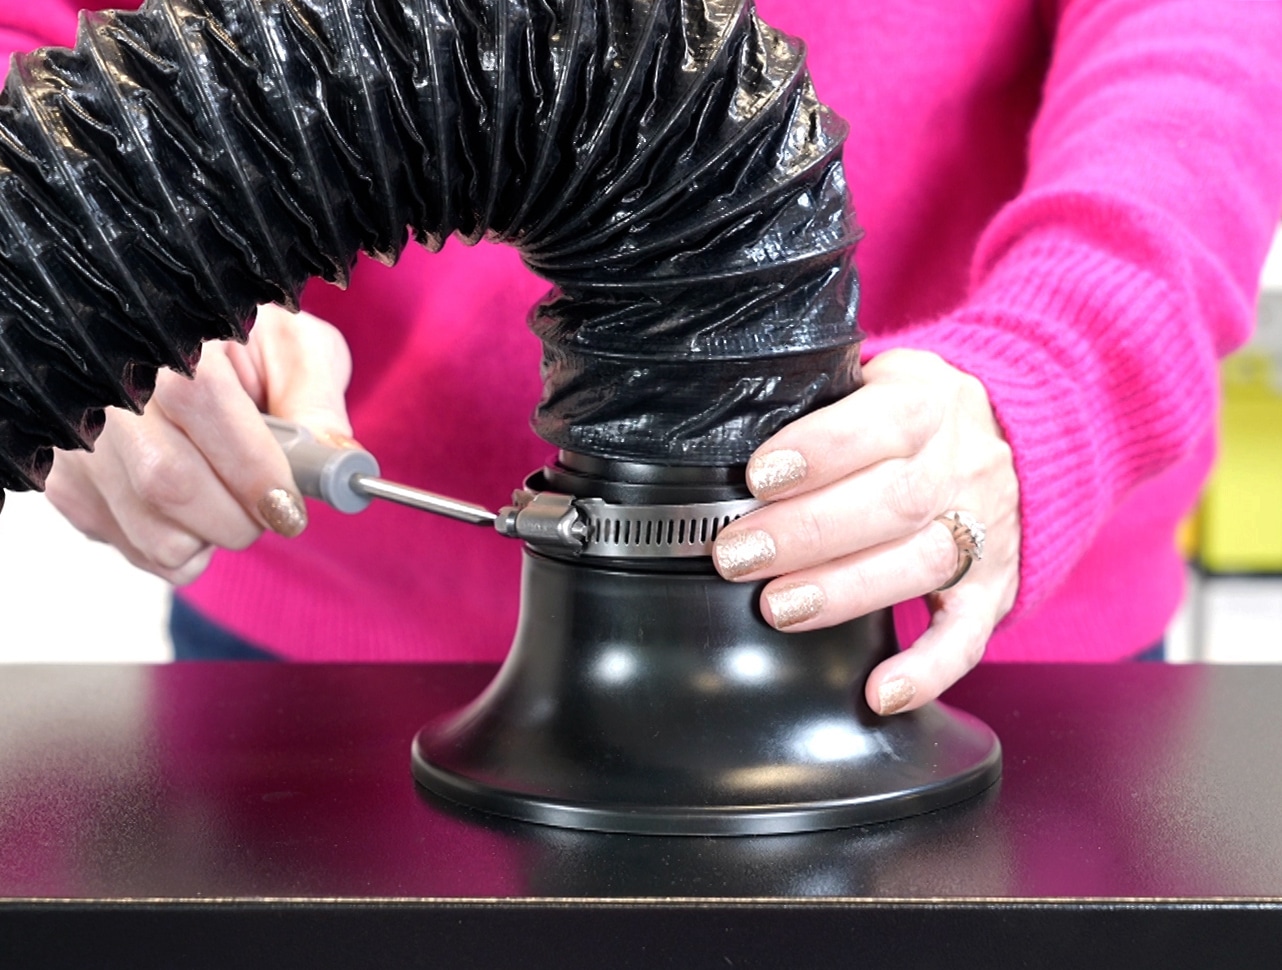
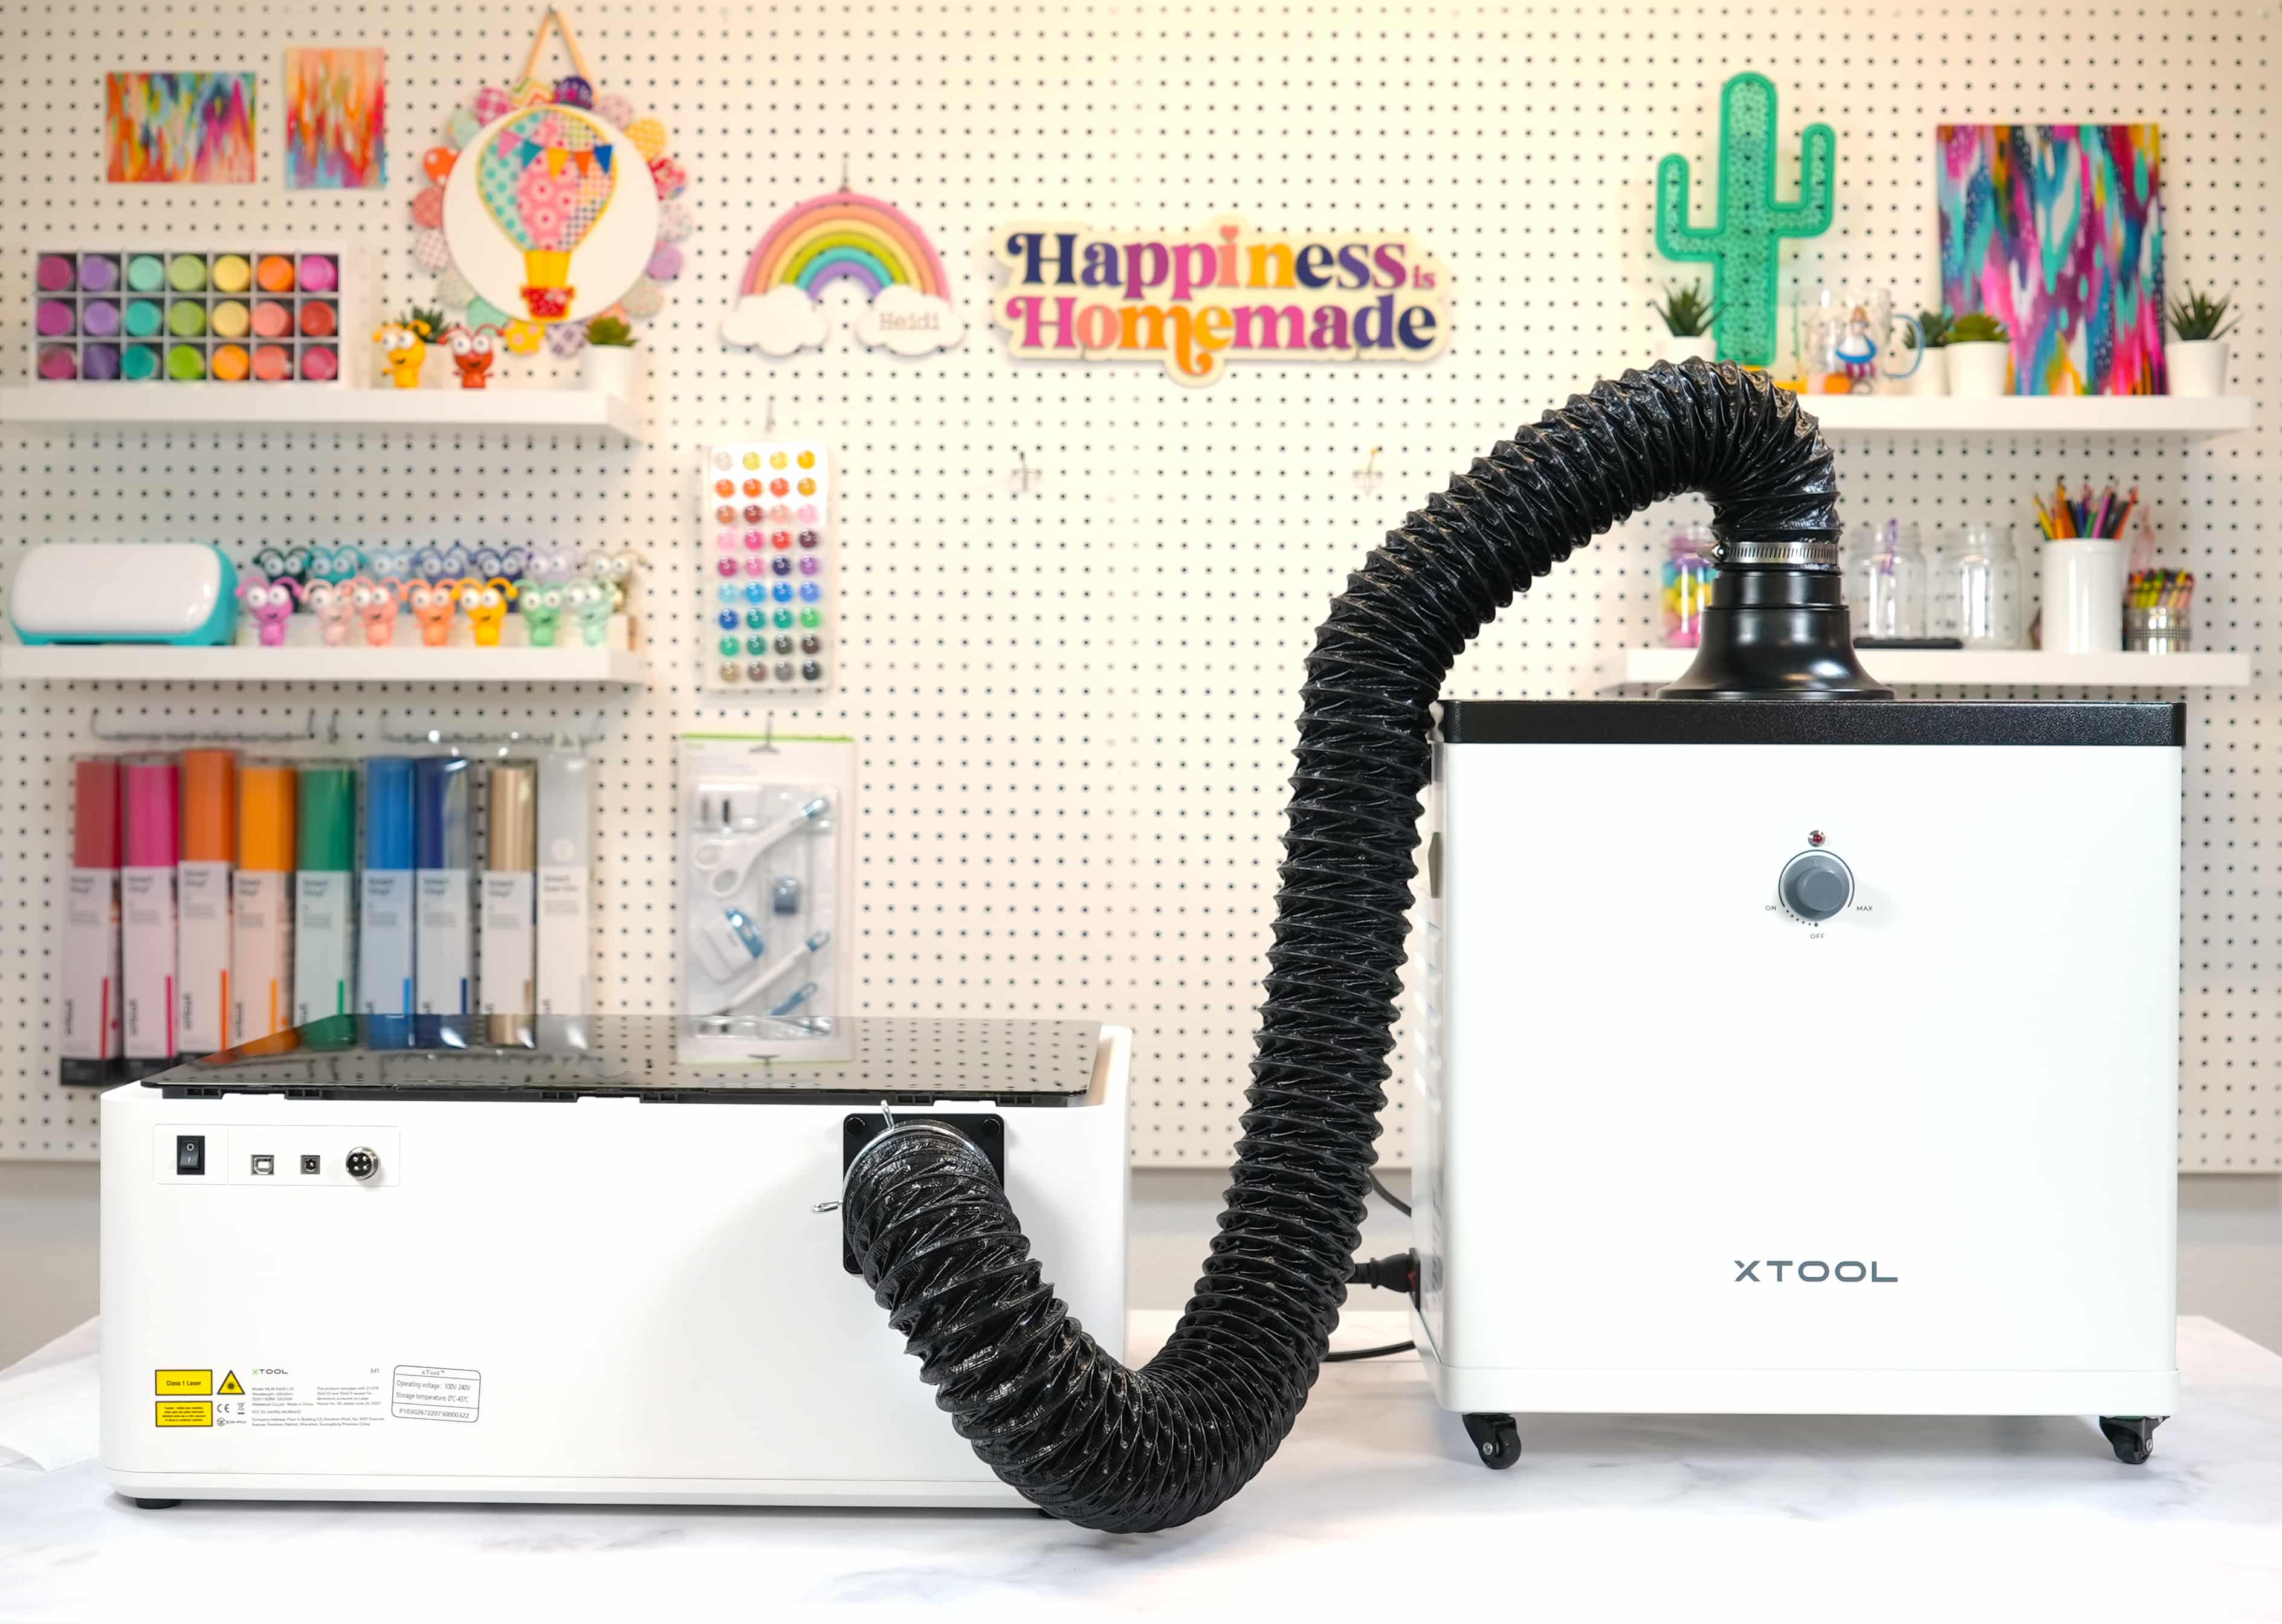
If you will be using the optional xTool Smoke Purifier accessory (which allows you to use the xTool M1 in enclosed spaces), attach the opposite end of the vent hose to the Smoke Purifier.
Connecting and Using the xTool Creative Space Software
To install the xTool Creative Space (XCS) software, first open the xTool Creative Space website and download the necessary installers. Then, click to run the file and complete the installation on your computer.
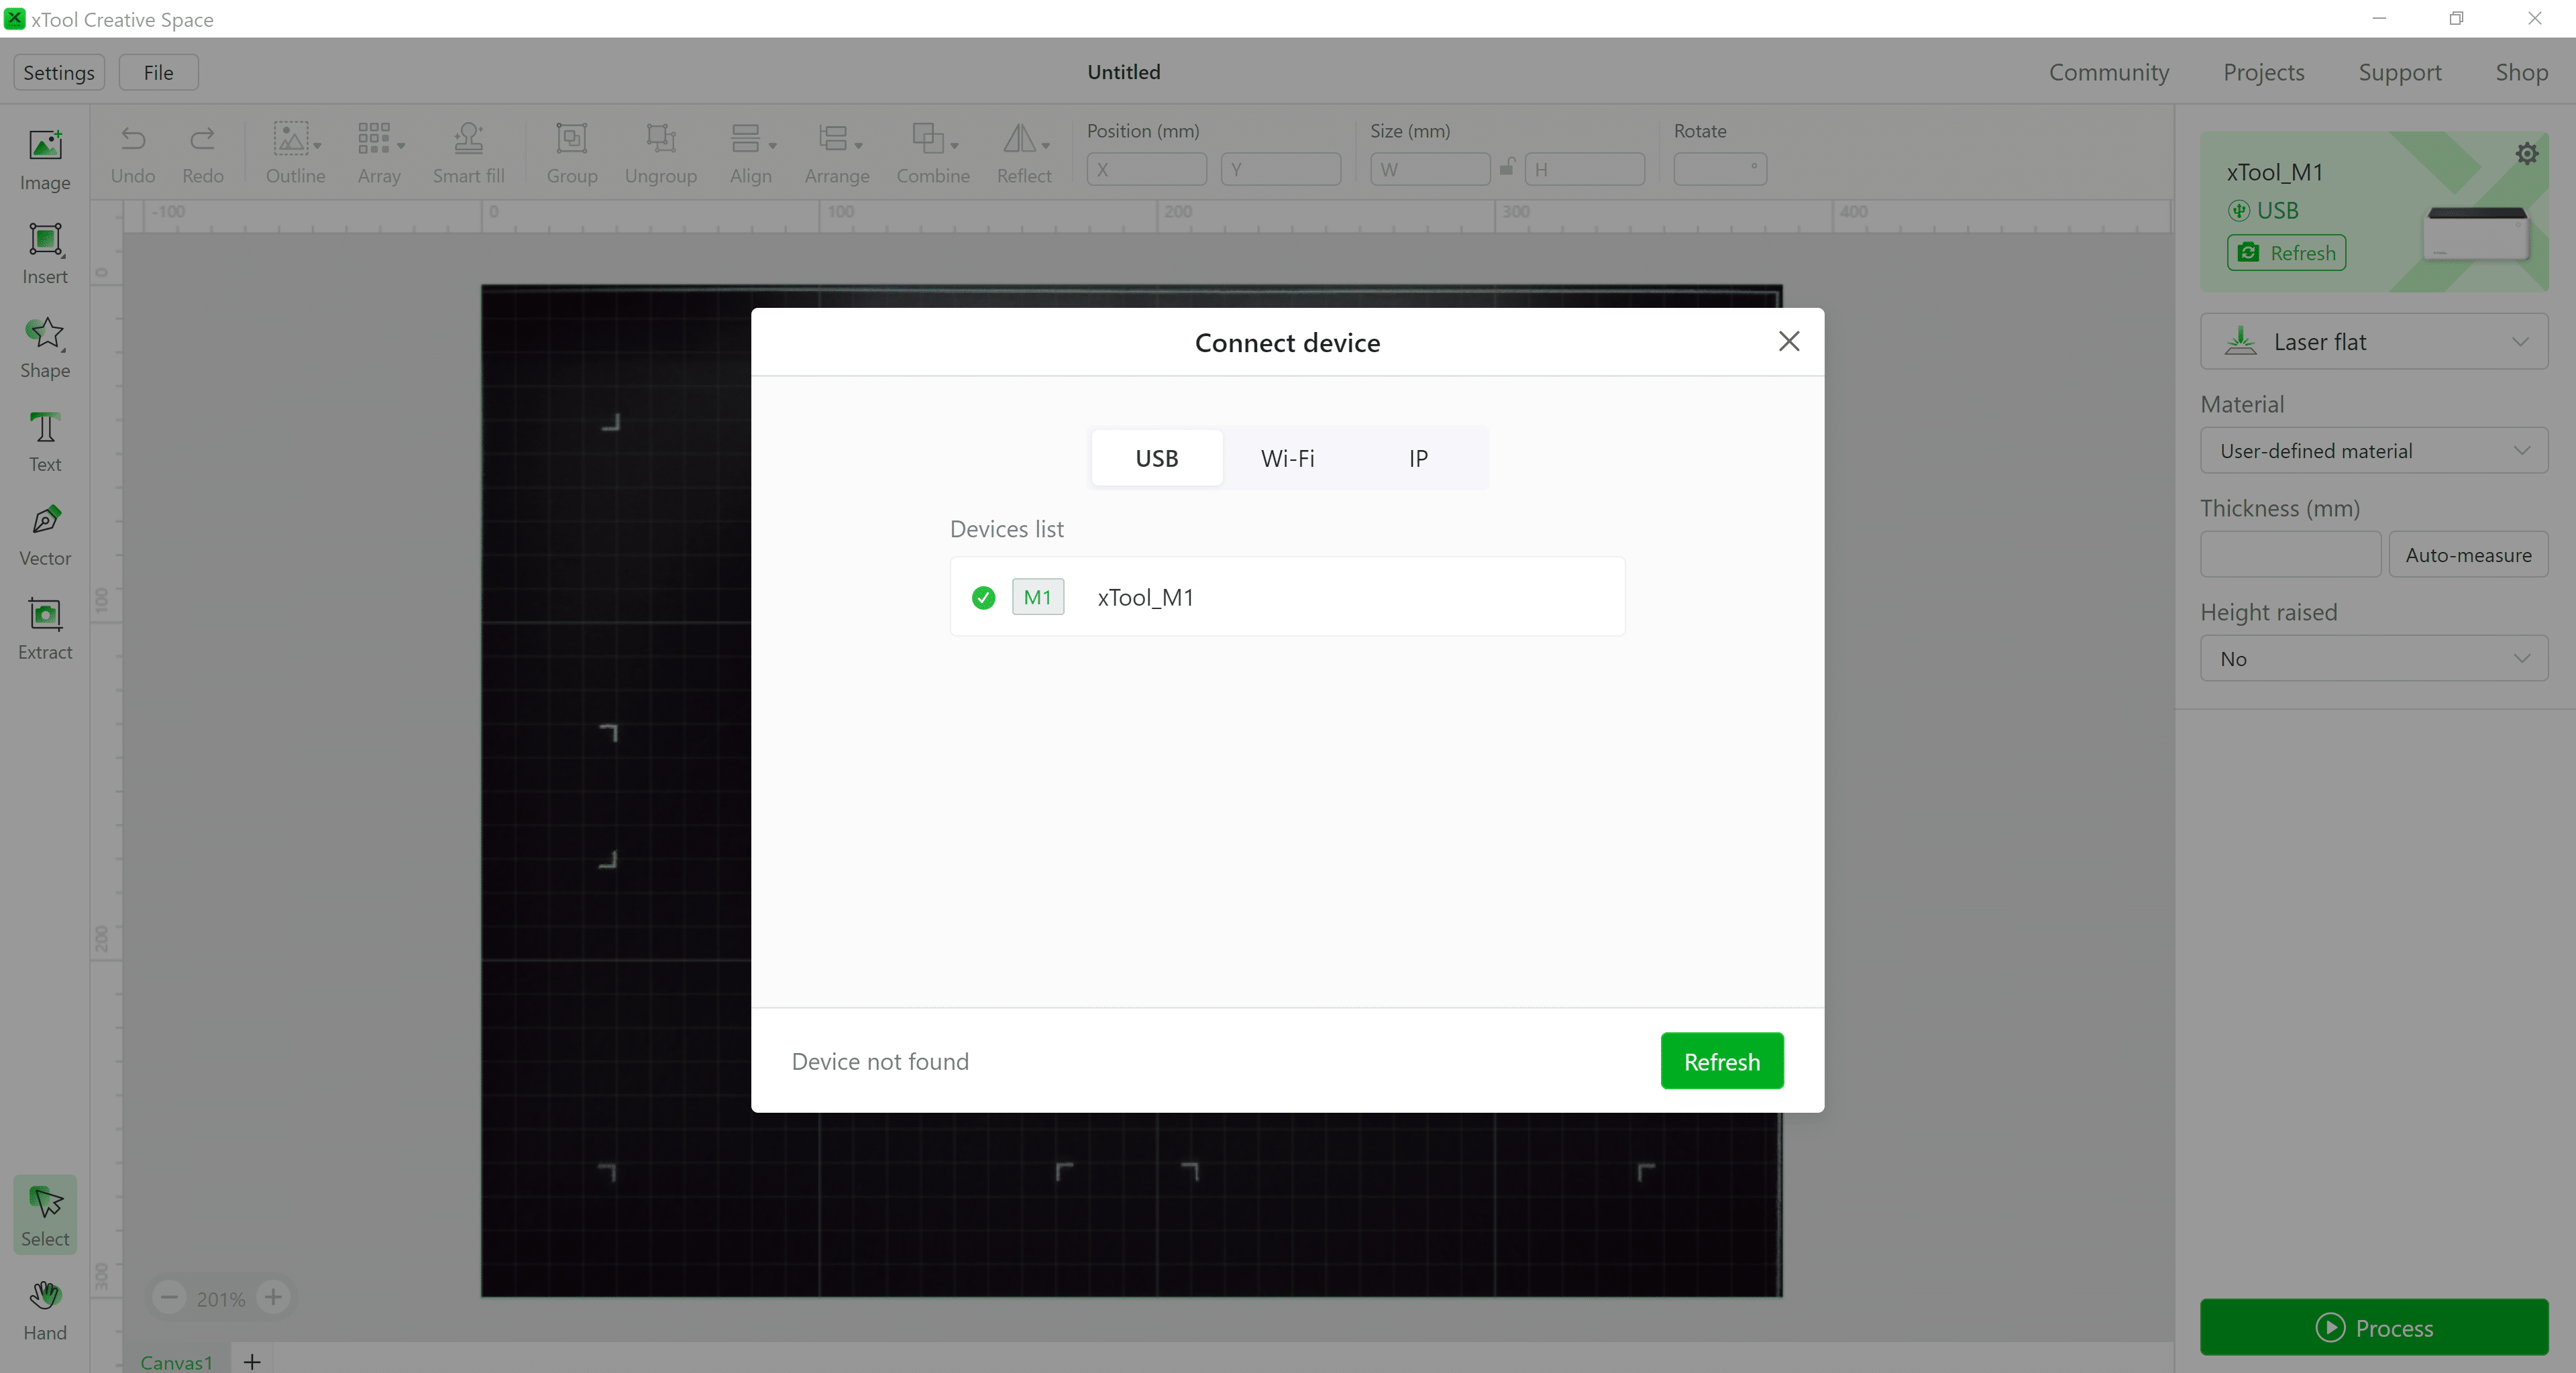
Next, you’ll need to connect and sync your M1 machine to the software. Do this by connecting the USB cable to your computer and connecting the other end to the xTool M1. Even if you intend to connect your computer and xTool M1 via WiFi, you will need to do these initial connection steps via USB and then switch to the WiFi or IP option.
You can read more about installing the xTool Creative Space software and troubleshooting tips here: Using XCS to Operate the xTool M1
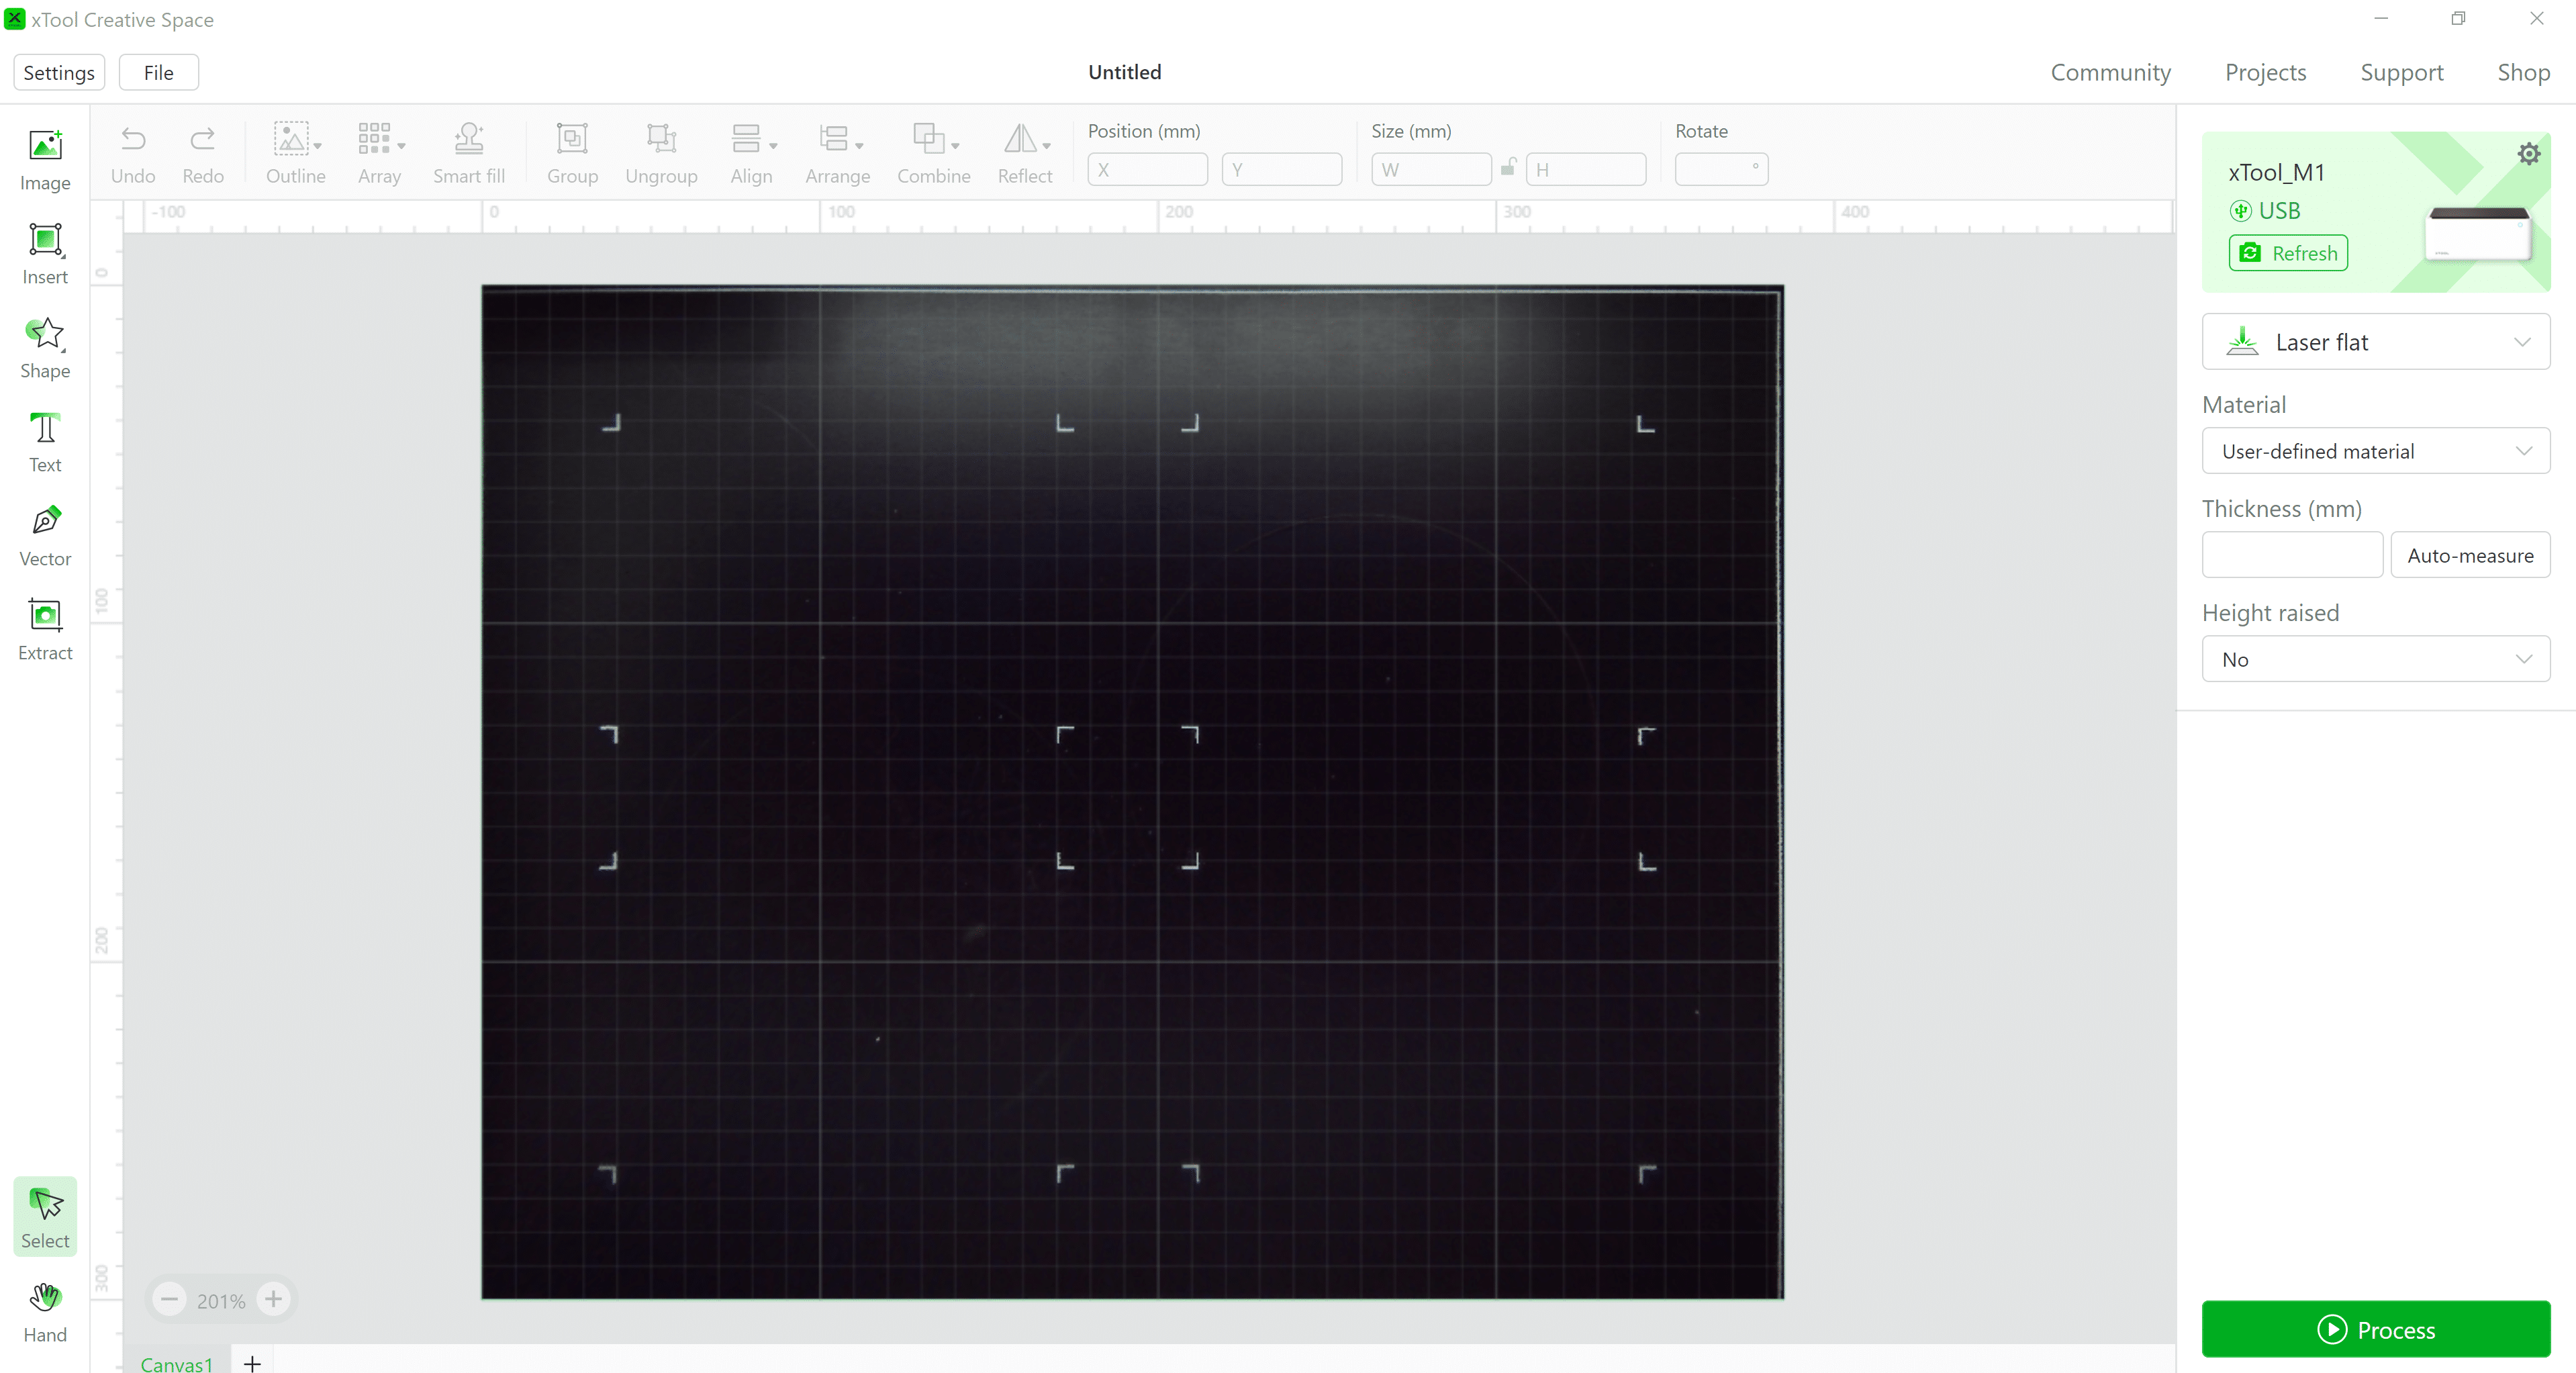
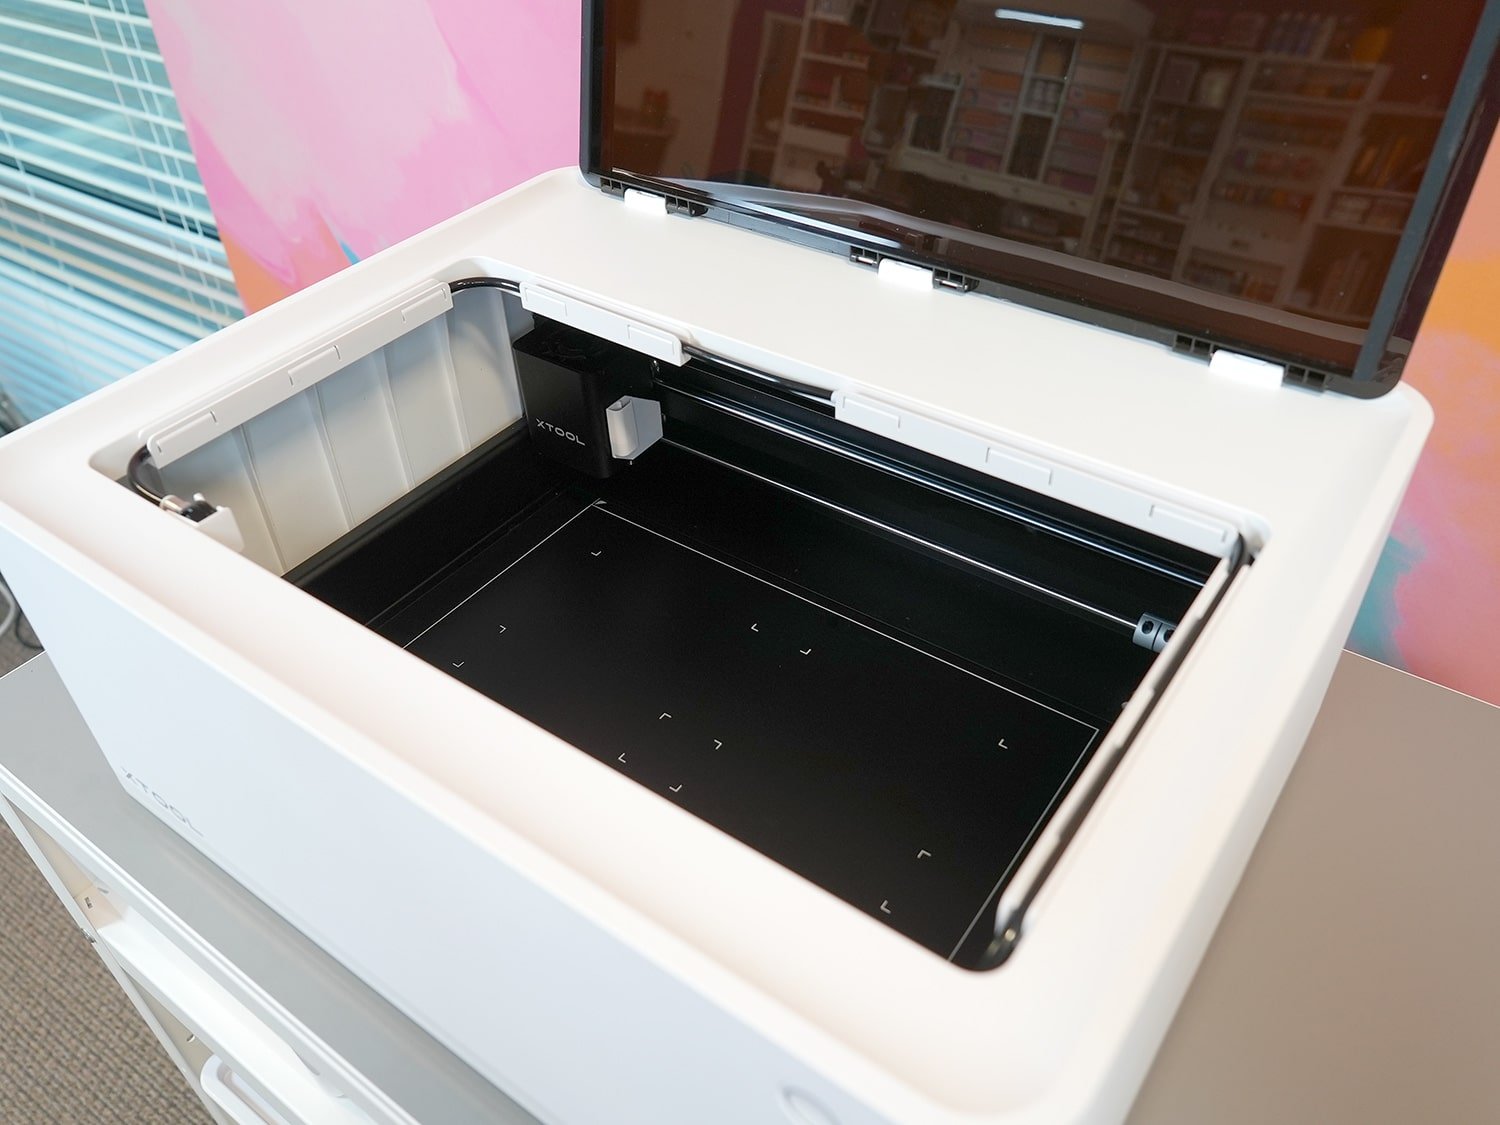
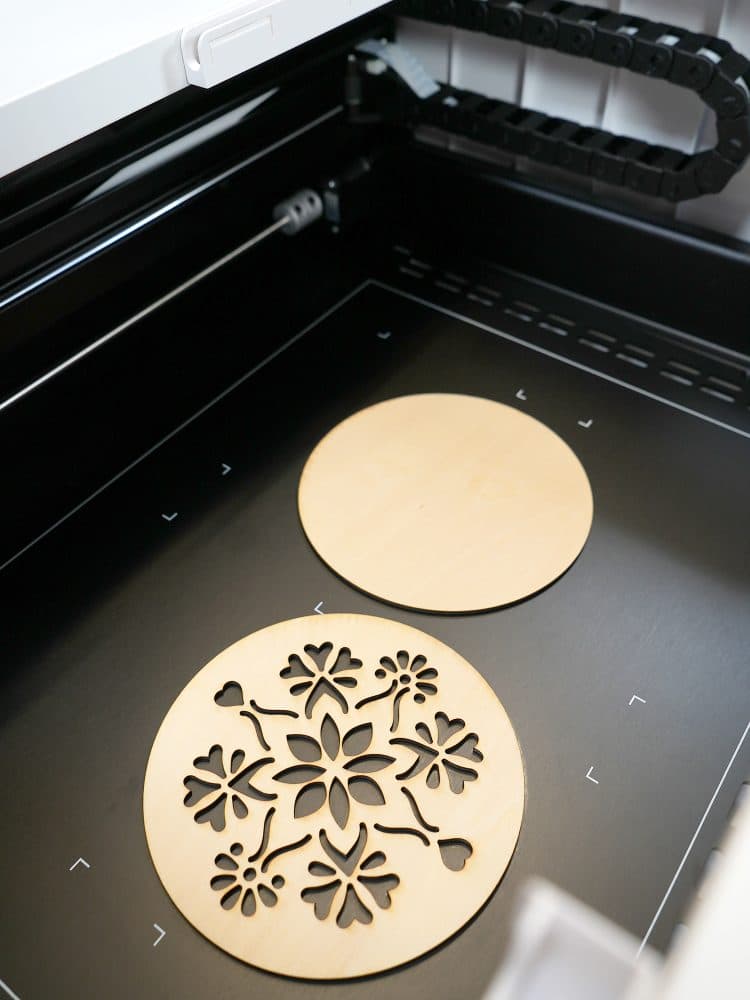
Once everything has been successfully connected, you will see an image of the laser bed taken by the M1’s 16MP high resolution camera displayed in the XCS screen.
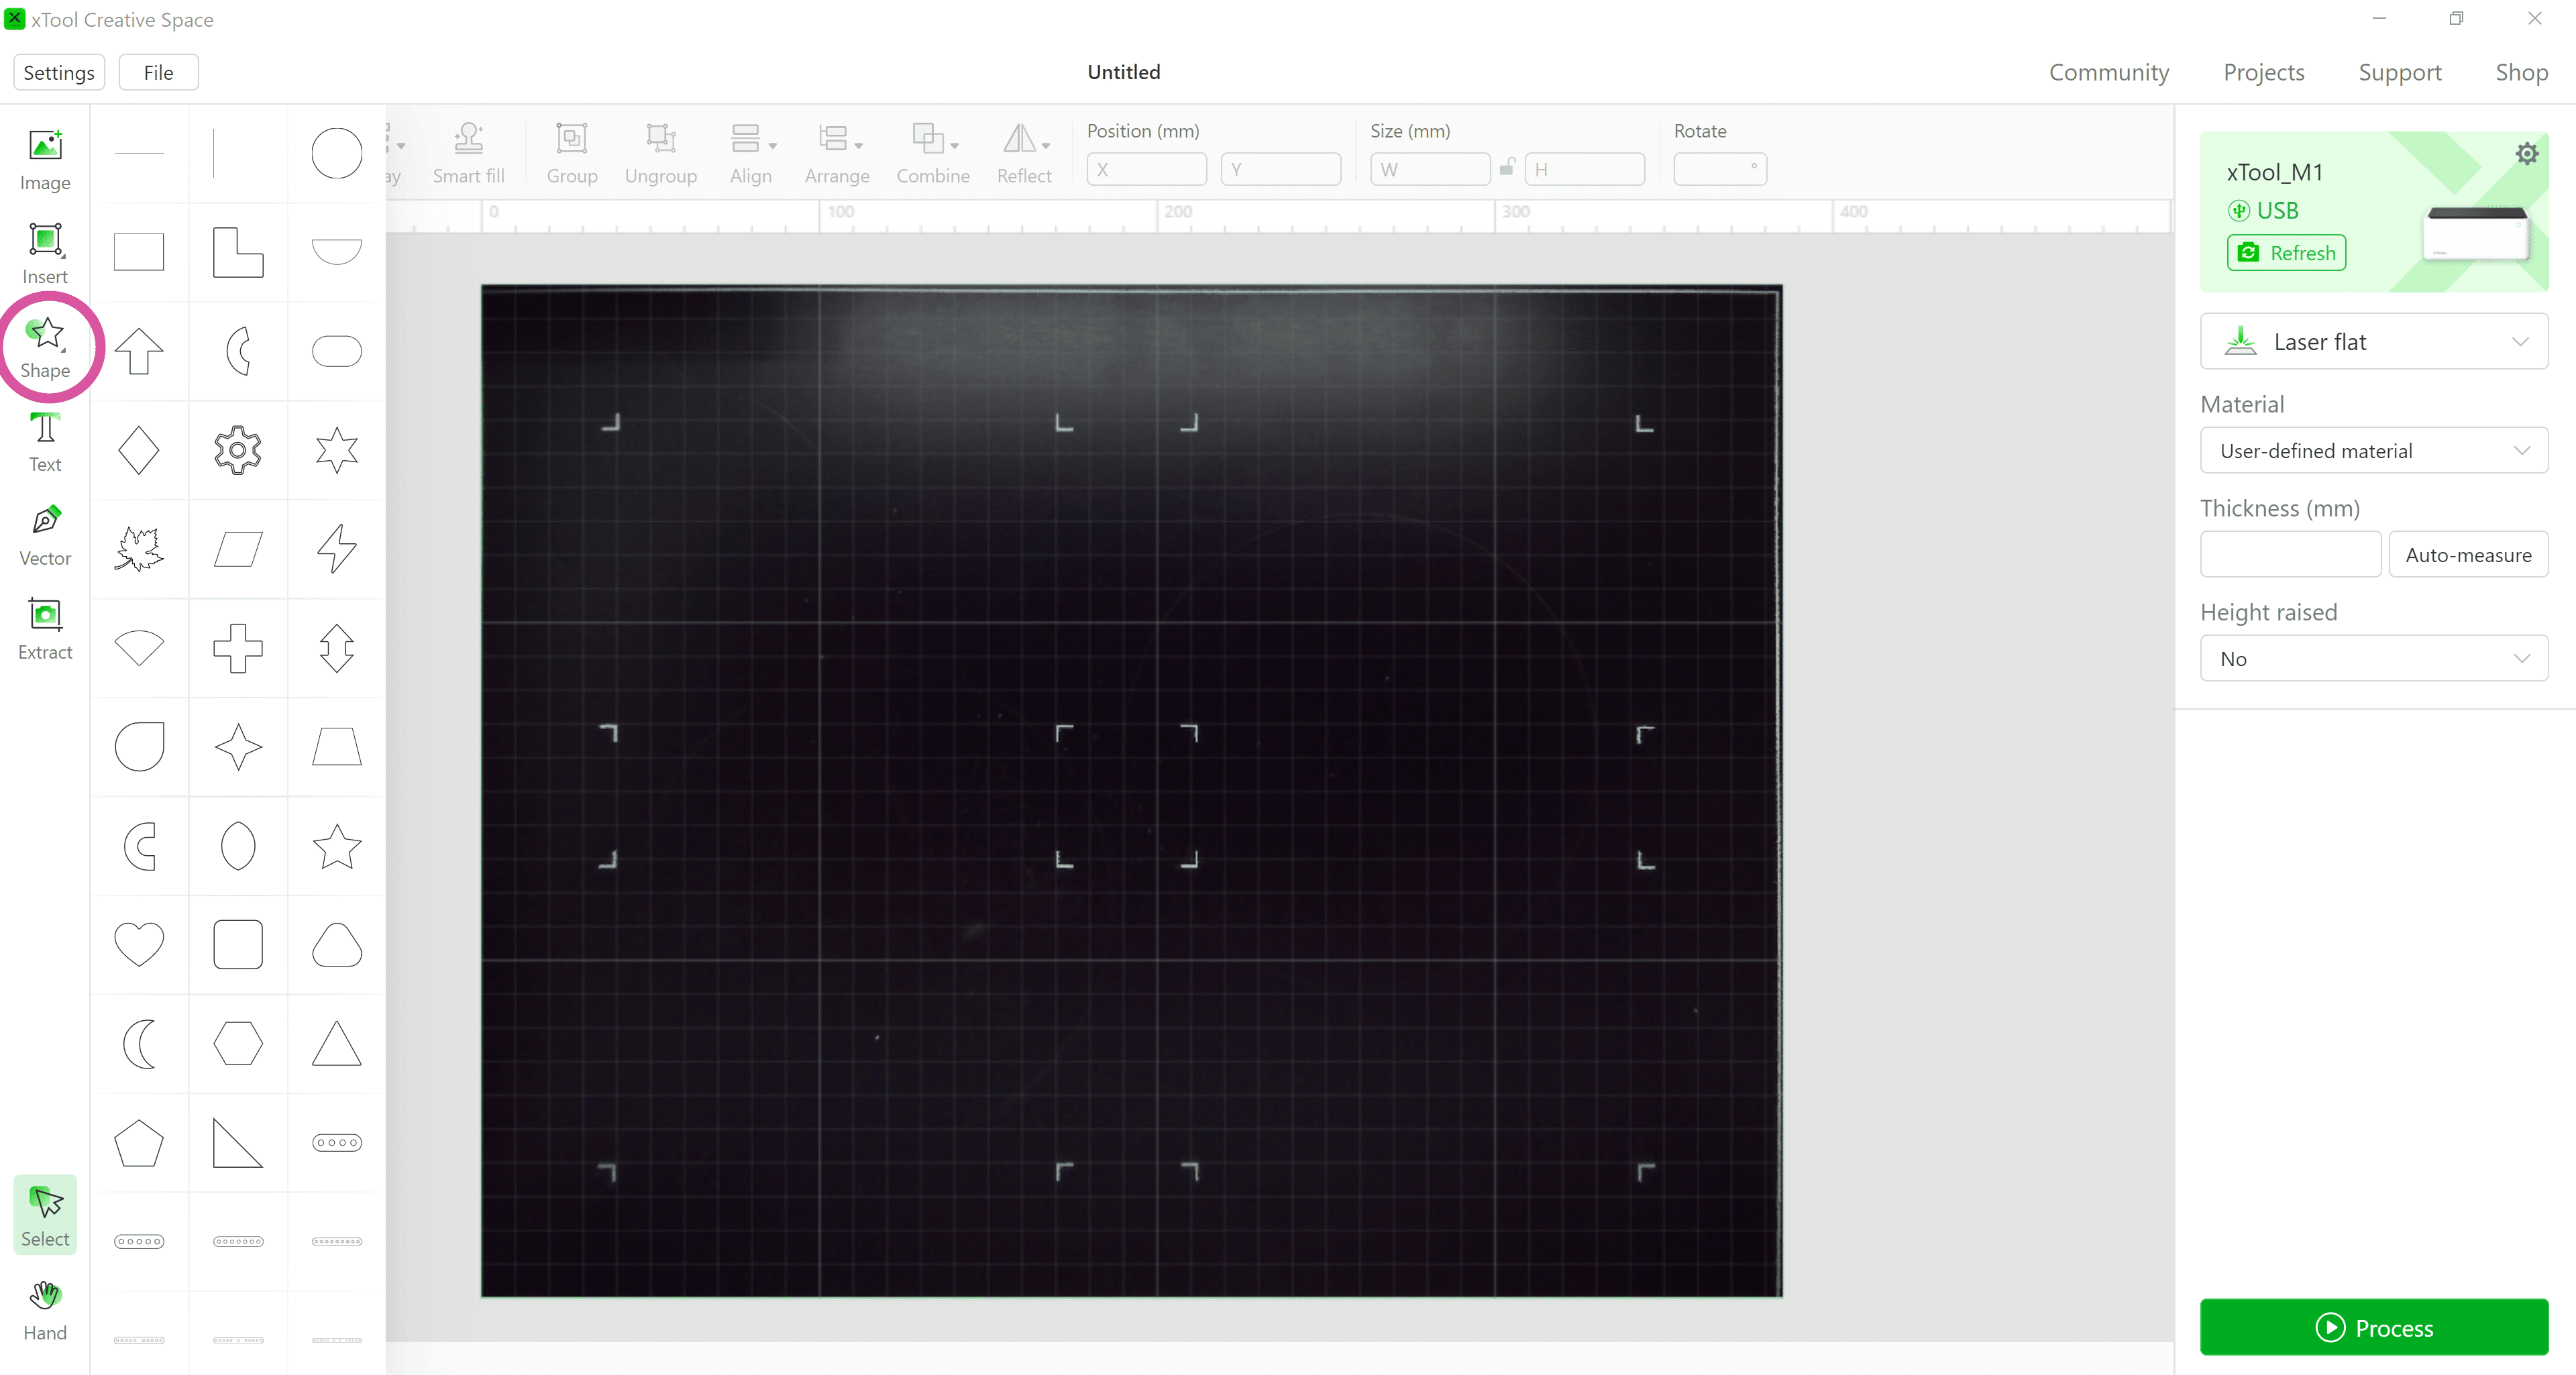
From here, you are able to upload your own designs and images as well as add shapes, text, and other various editing functions.
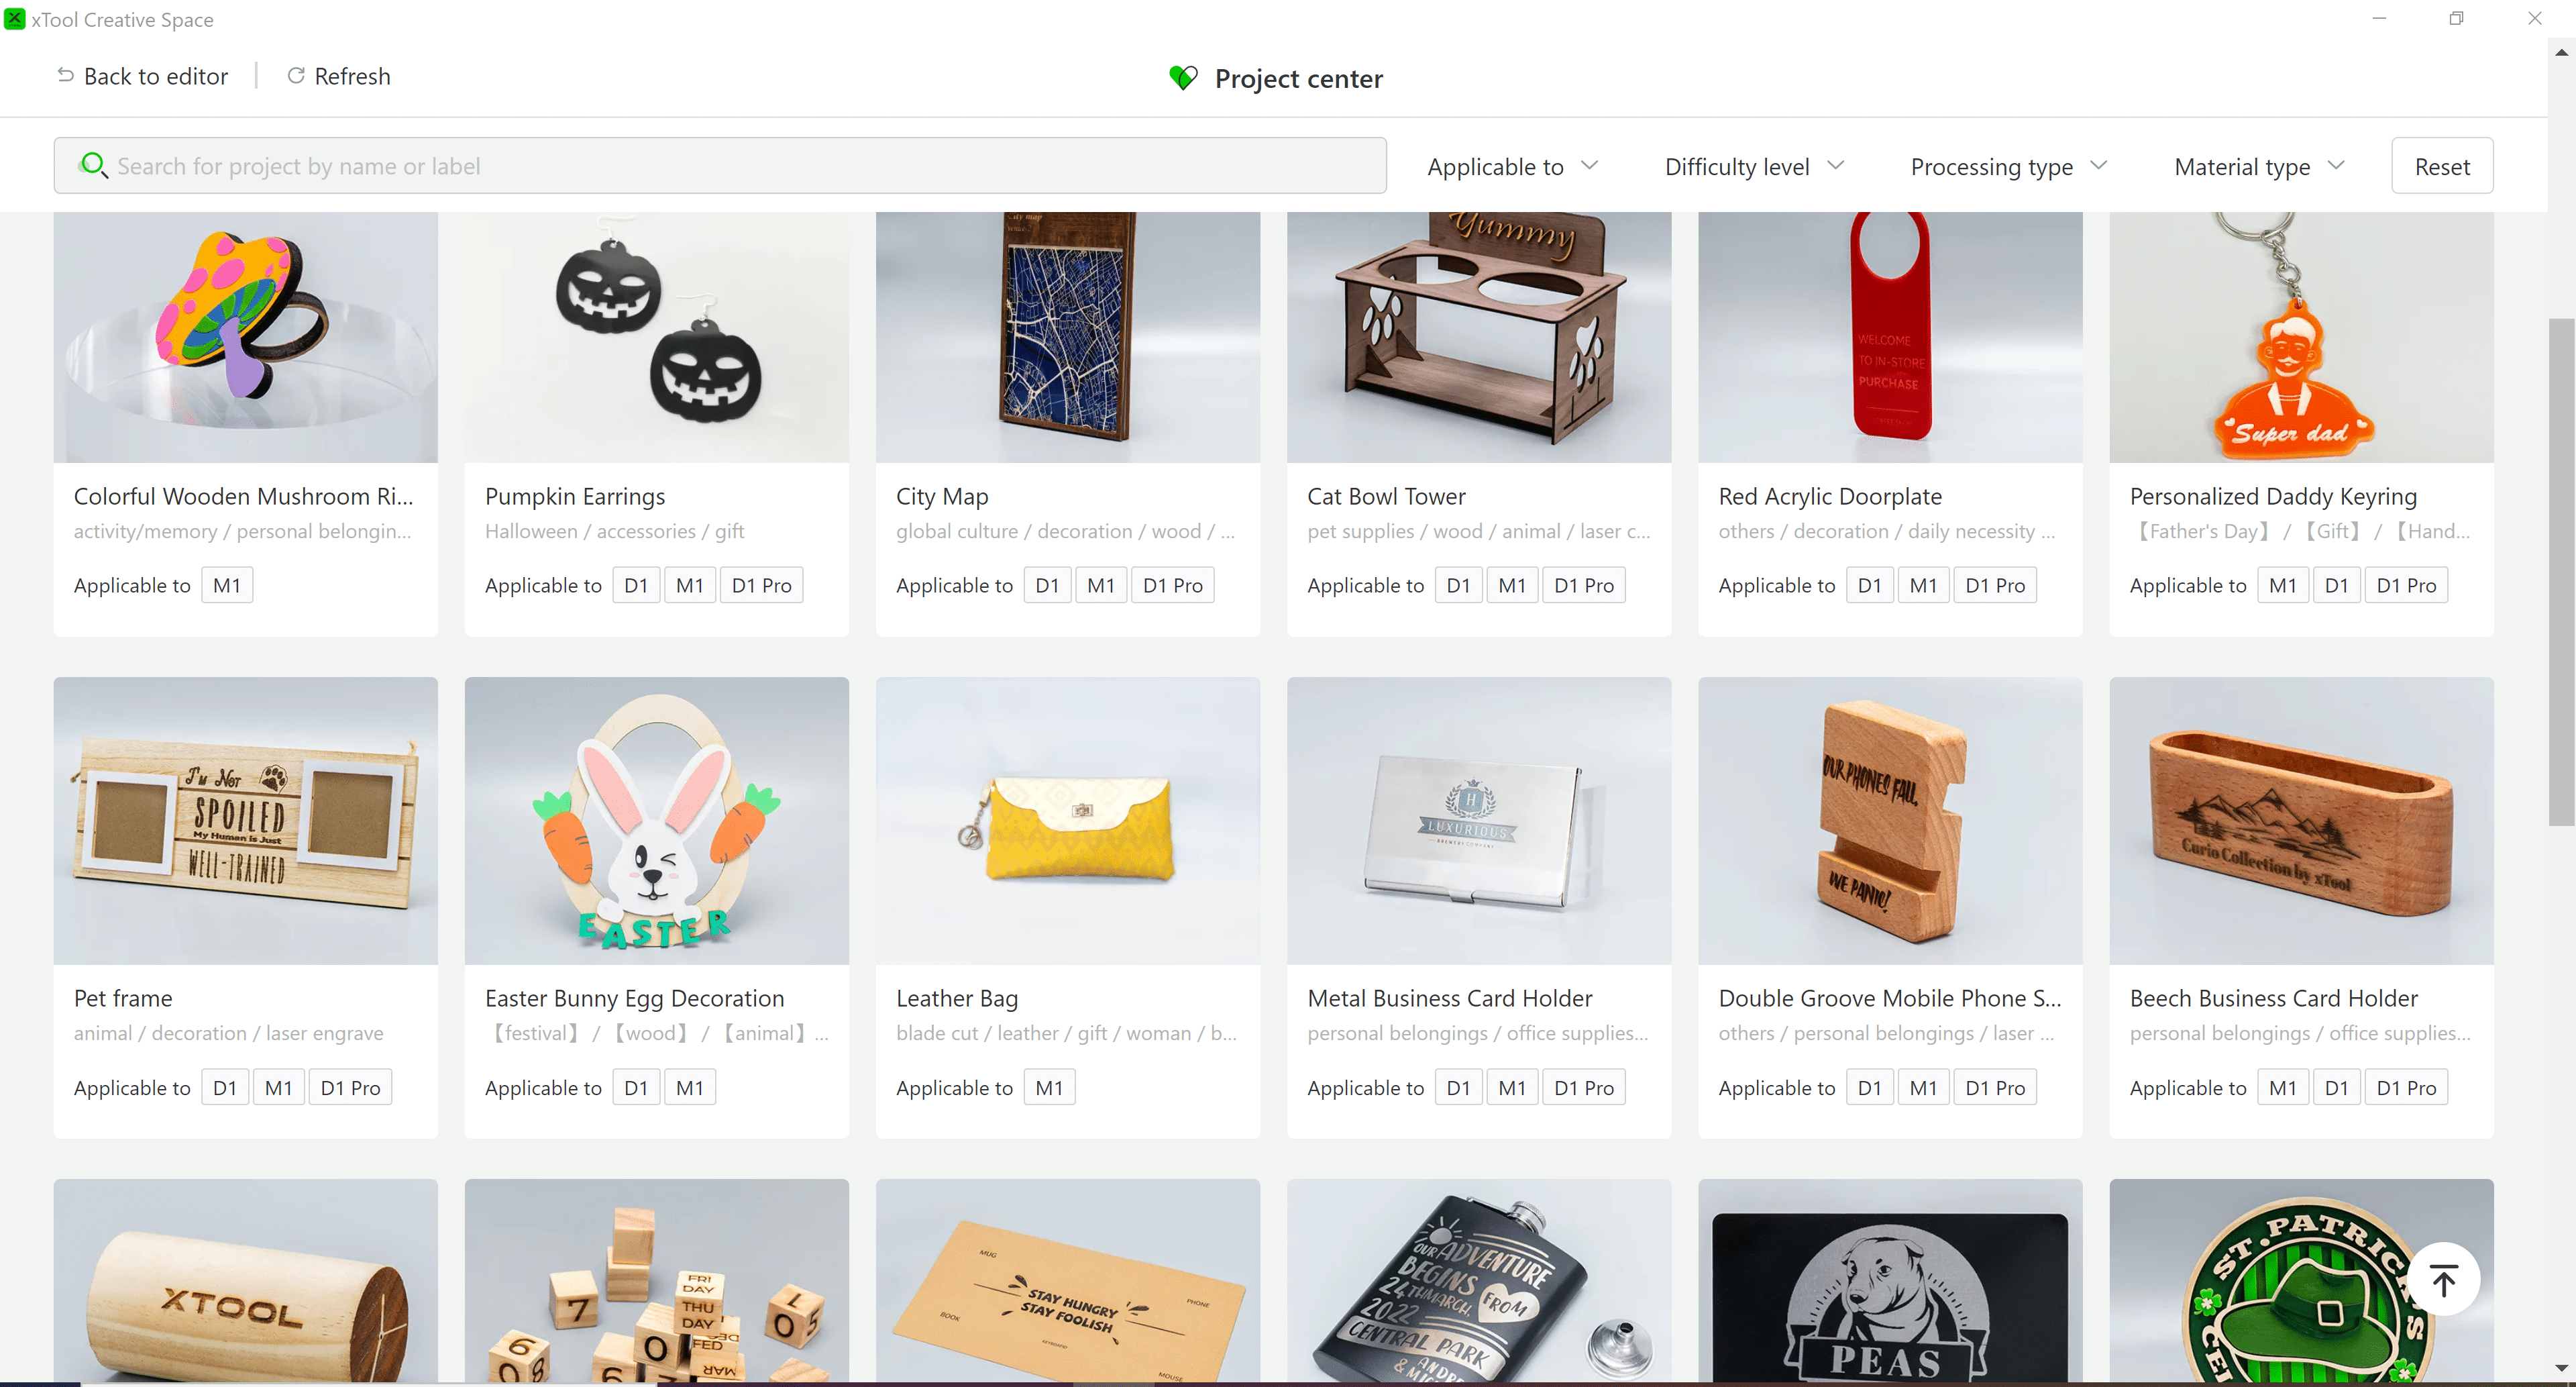
In the XCS software, you can also open the xTool Project Center where you’ll find all kinds of awesome pre-designed M1 projects ready and waiting to be made!
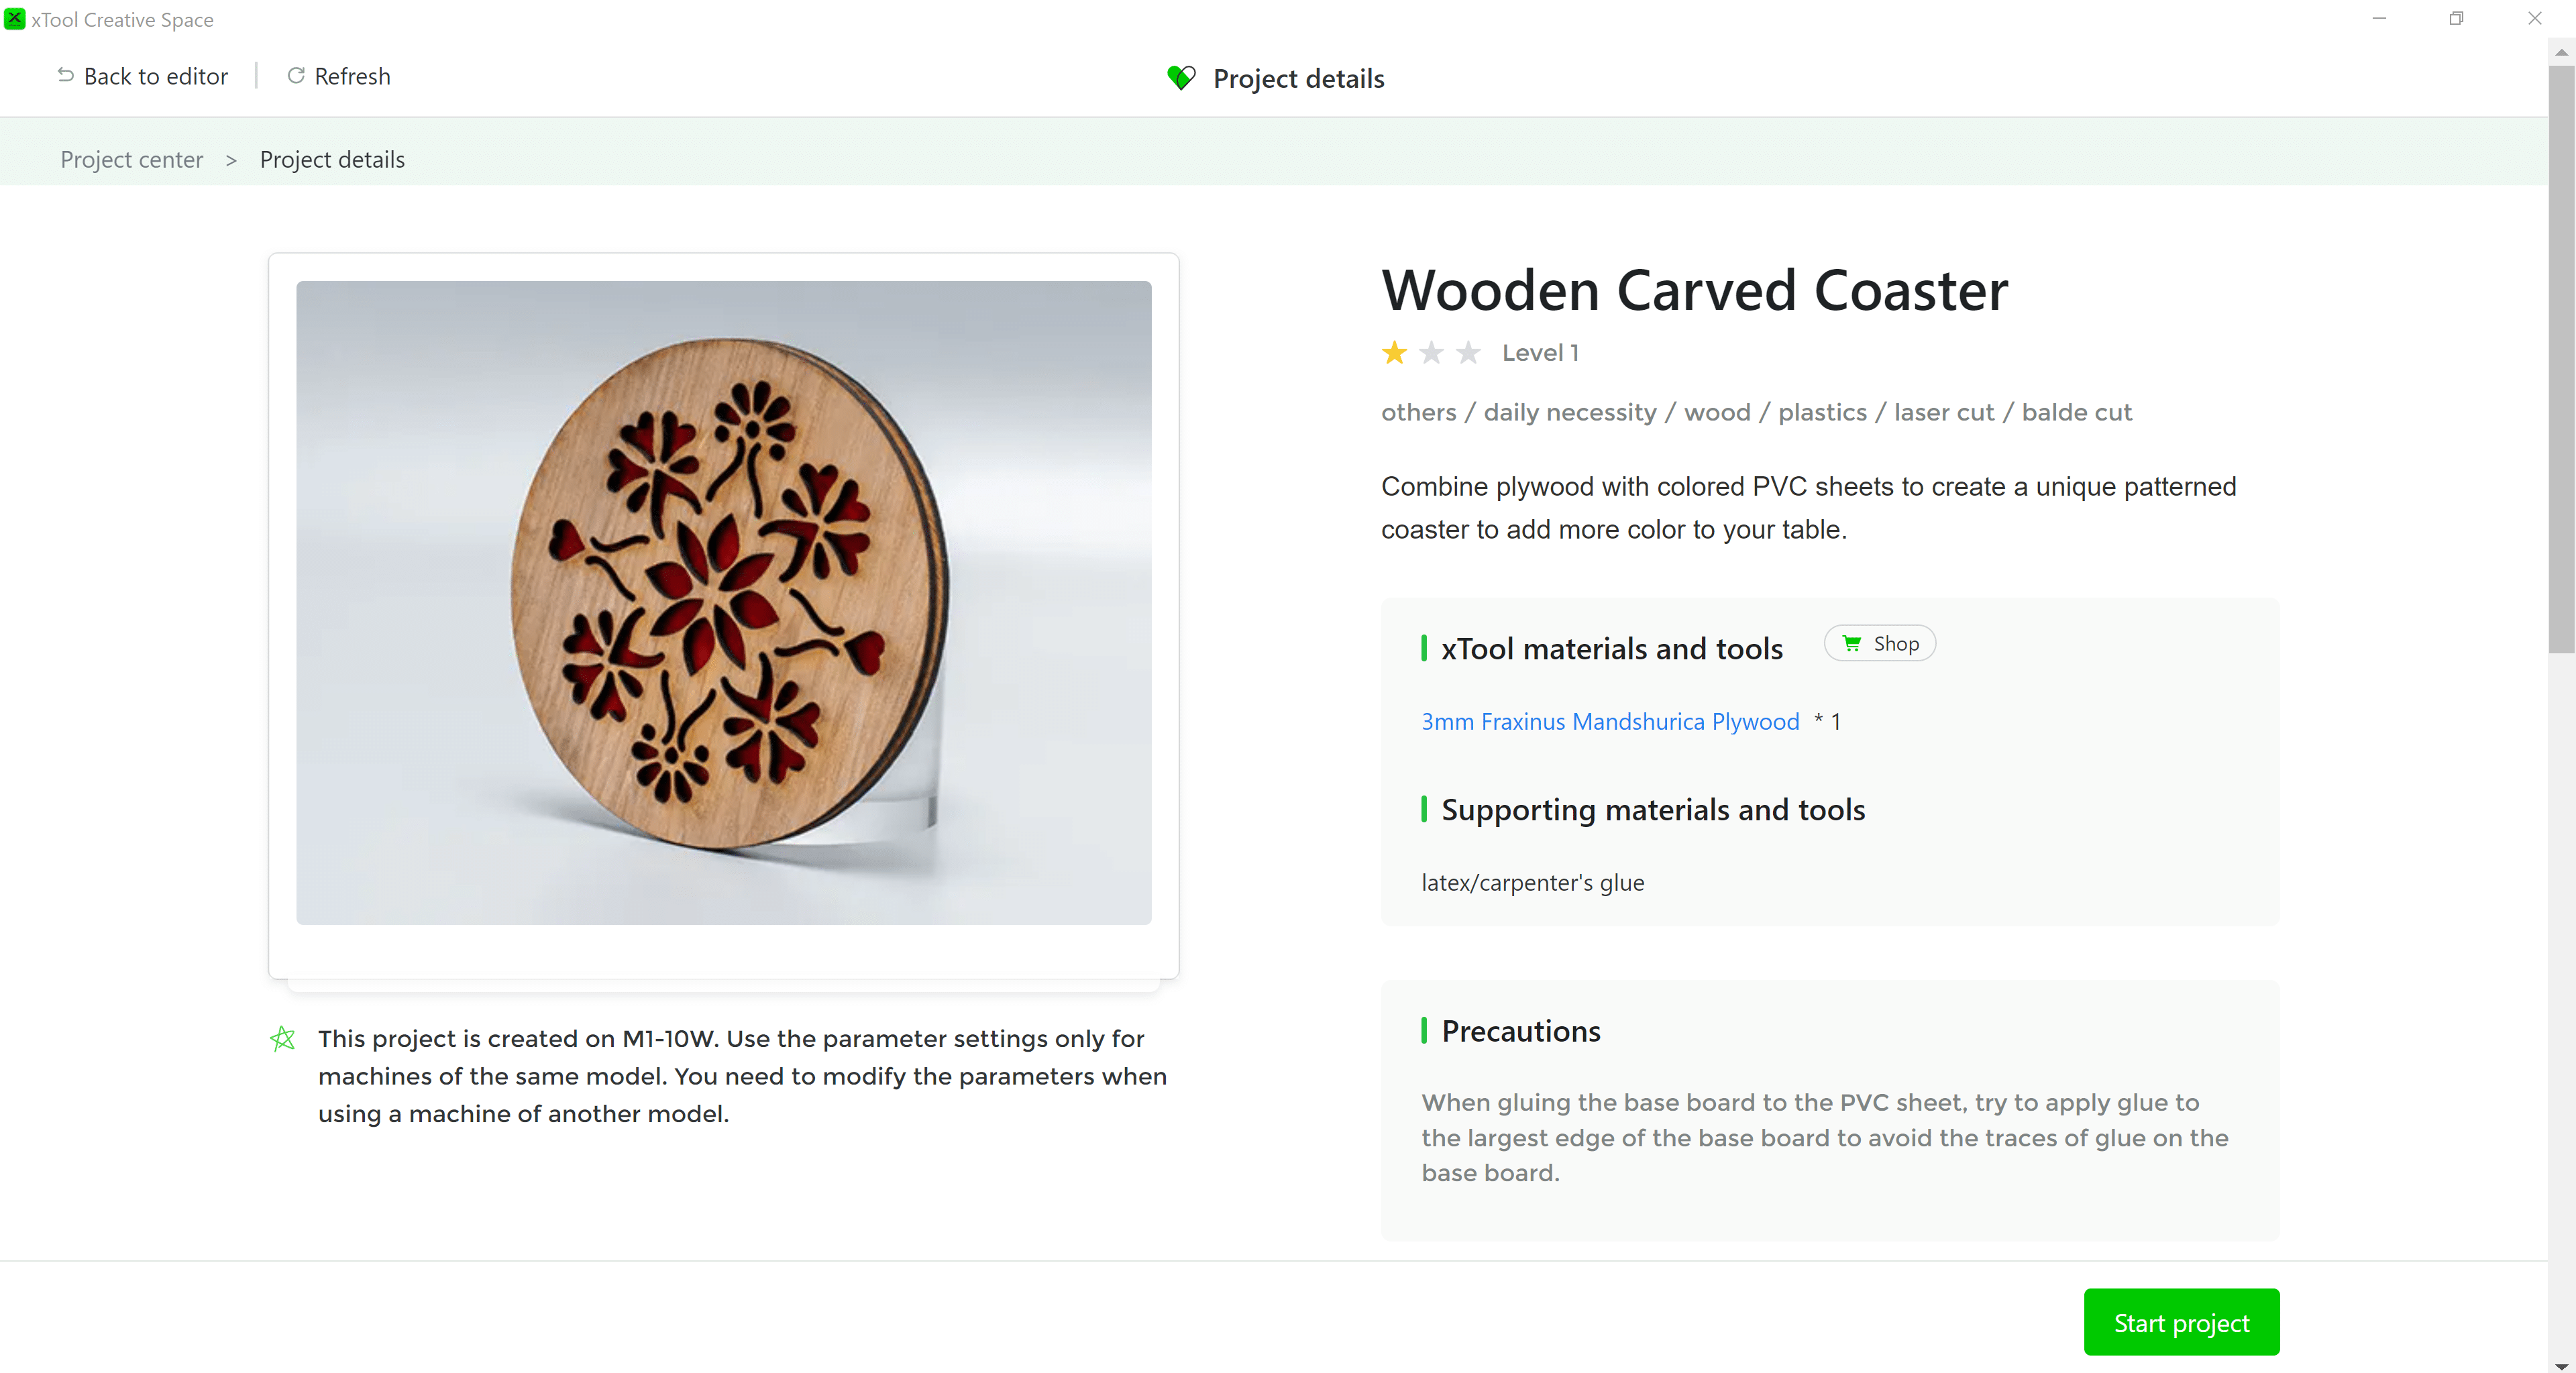
Simply select a project and click on the green “Start Project” button.
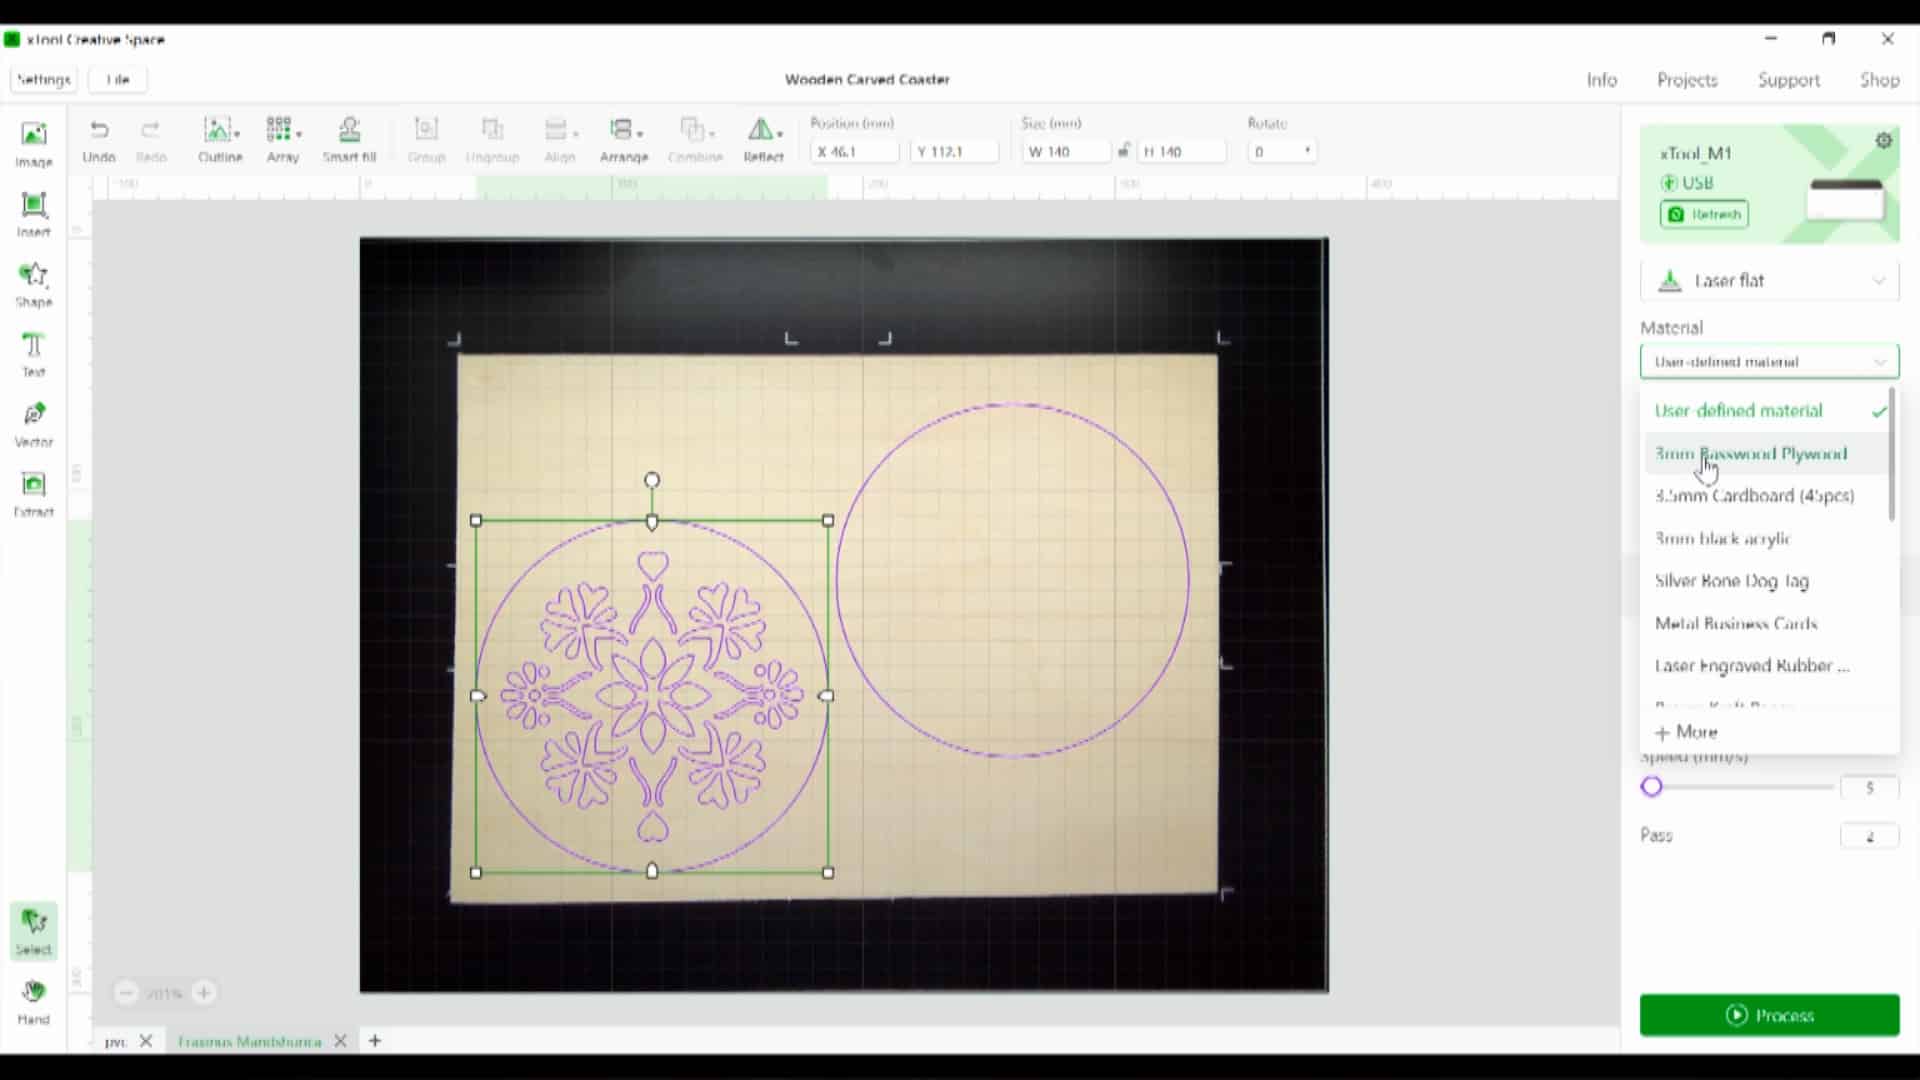
This will import the project design into XCS where you will then select your materials and materials settings before clicking on “Process” to begin the cut and/or engrave.
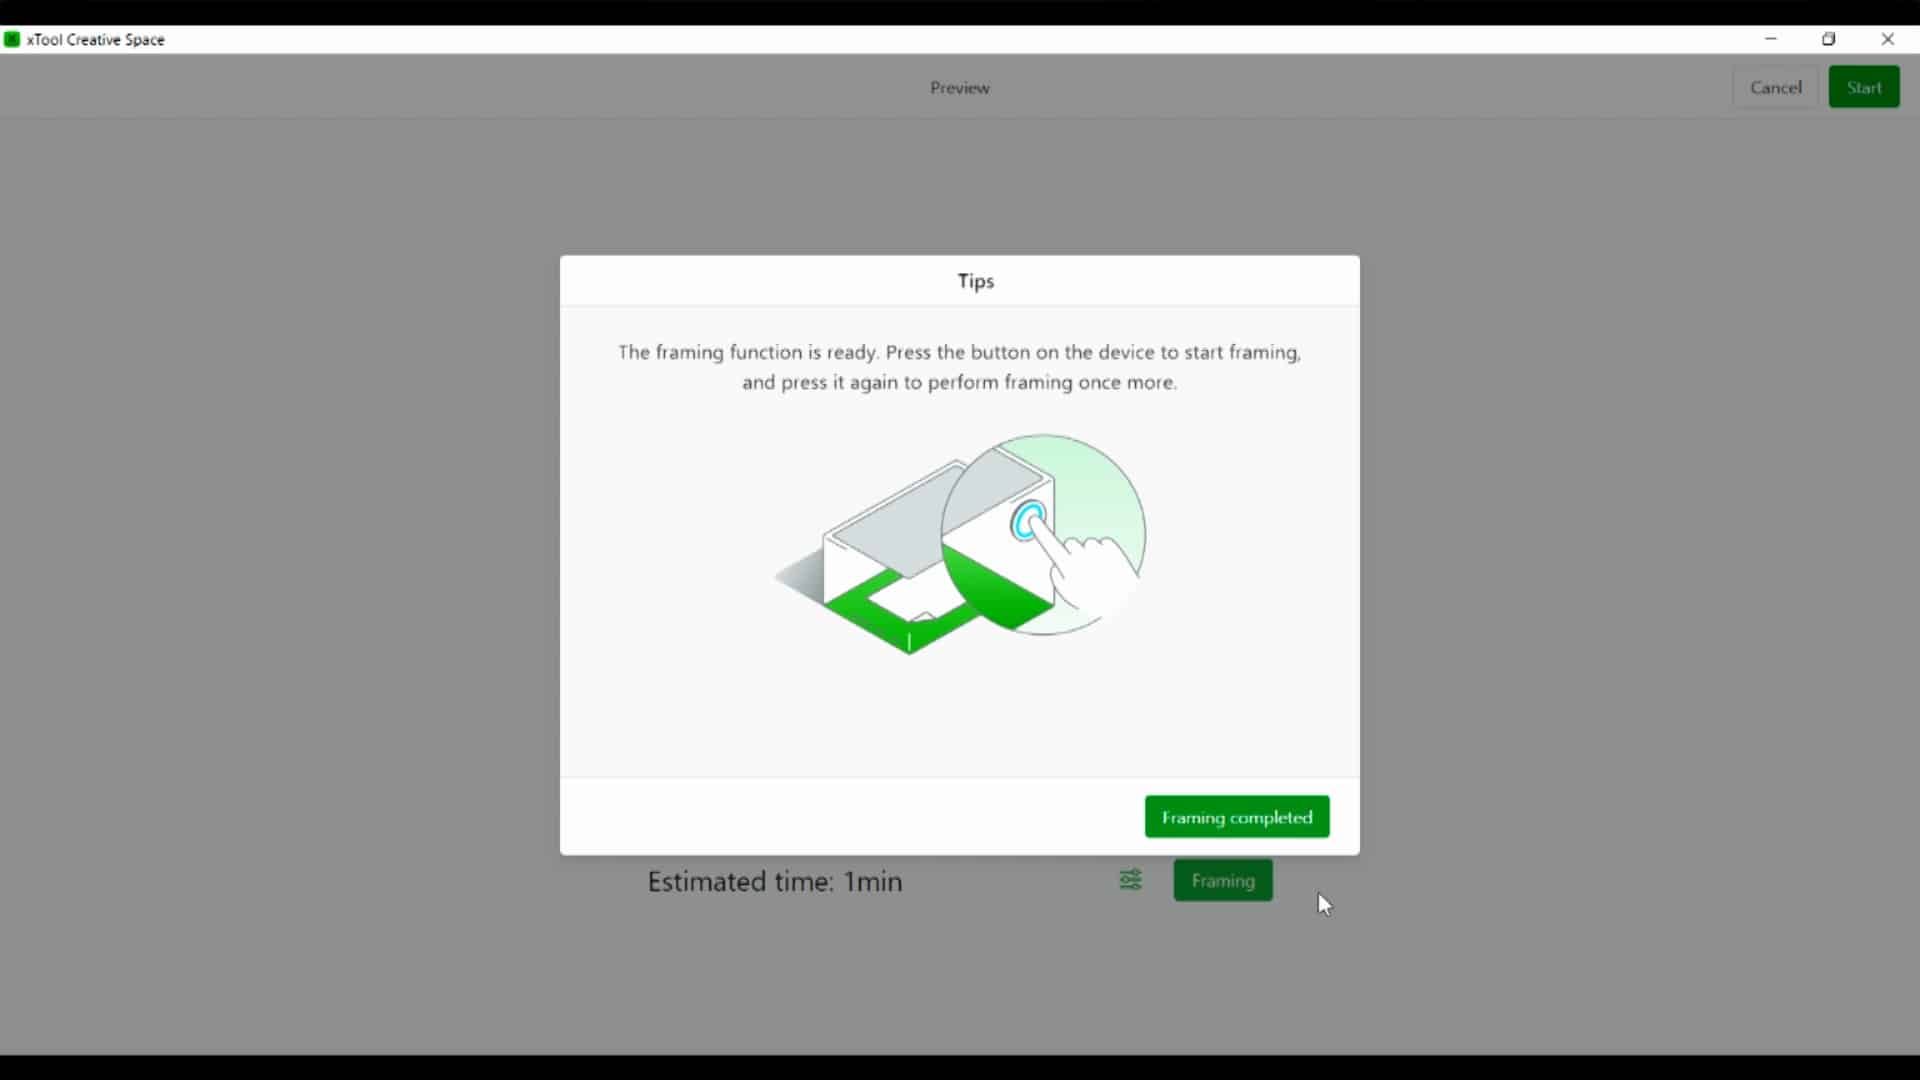
Next, you have the option to select the green “Framing” button. Selecting this button, and then pushing the button on the M1 will allow the laser to shine a white light in the machine bed that will outline exactly where it will cut on your materials .
What Materials Can the xTool M1 Cut and Engrave?
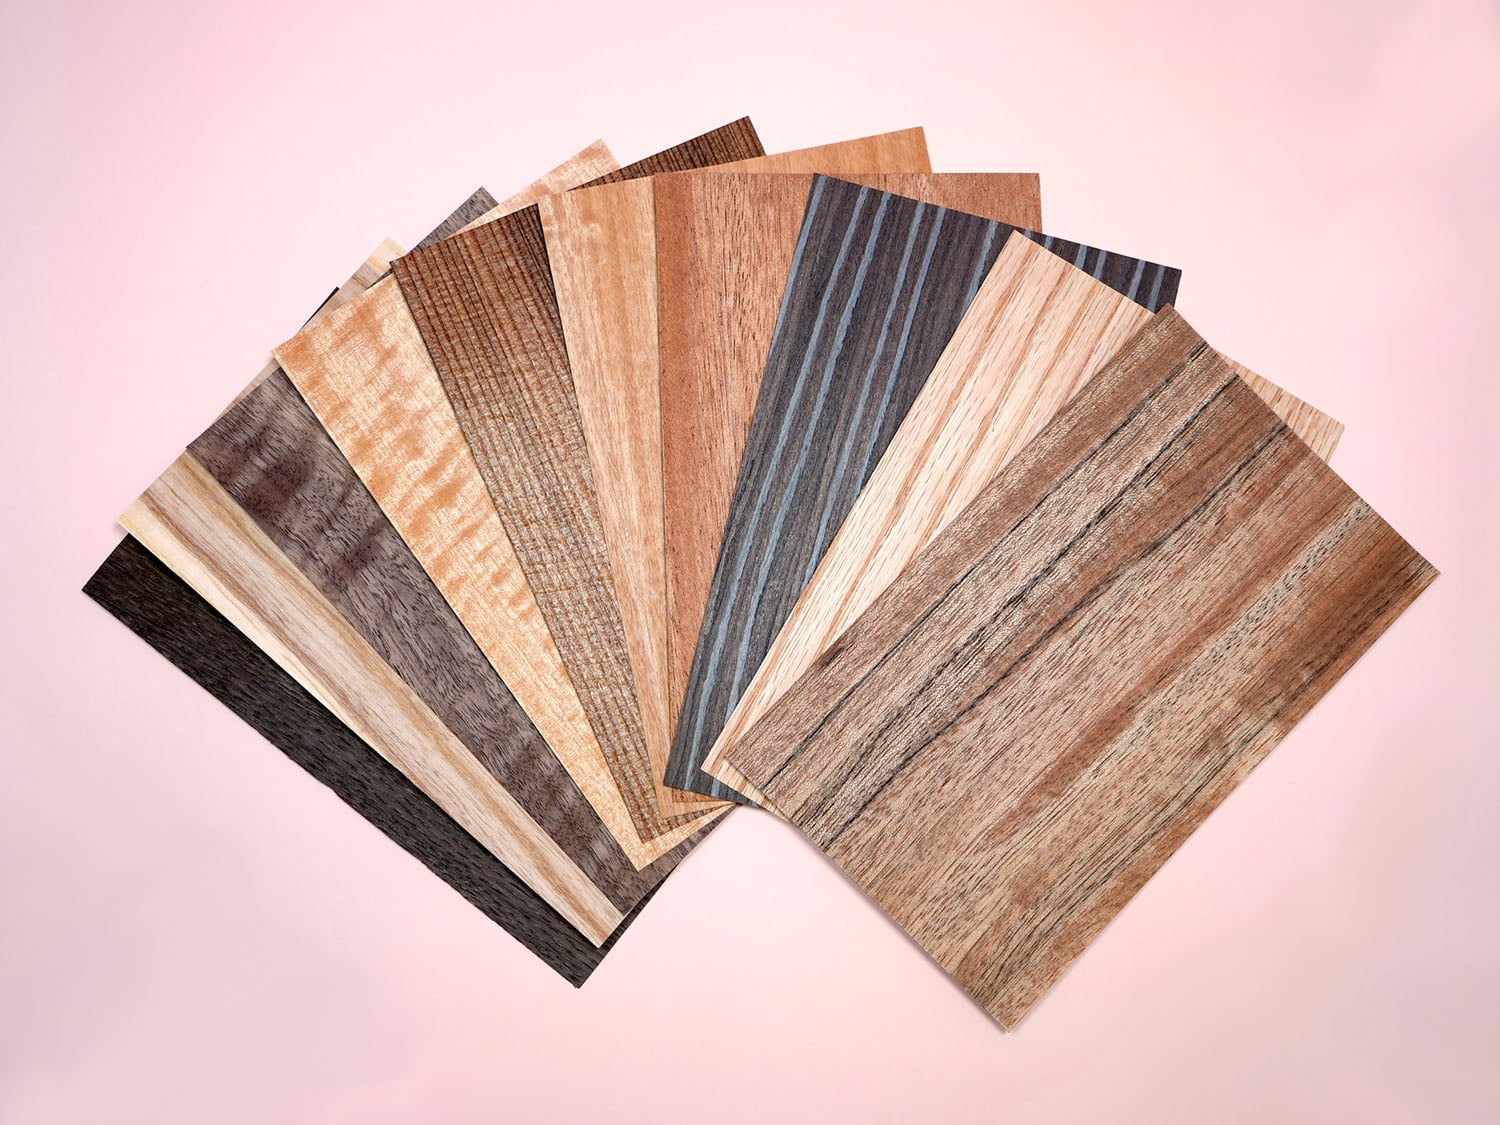
According to the official list, the xTool M1 can cut and engrave over 500+ materials including MANY different types of wood! You can view the full materials and settings list here.
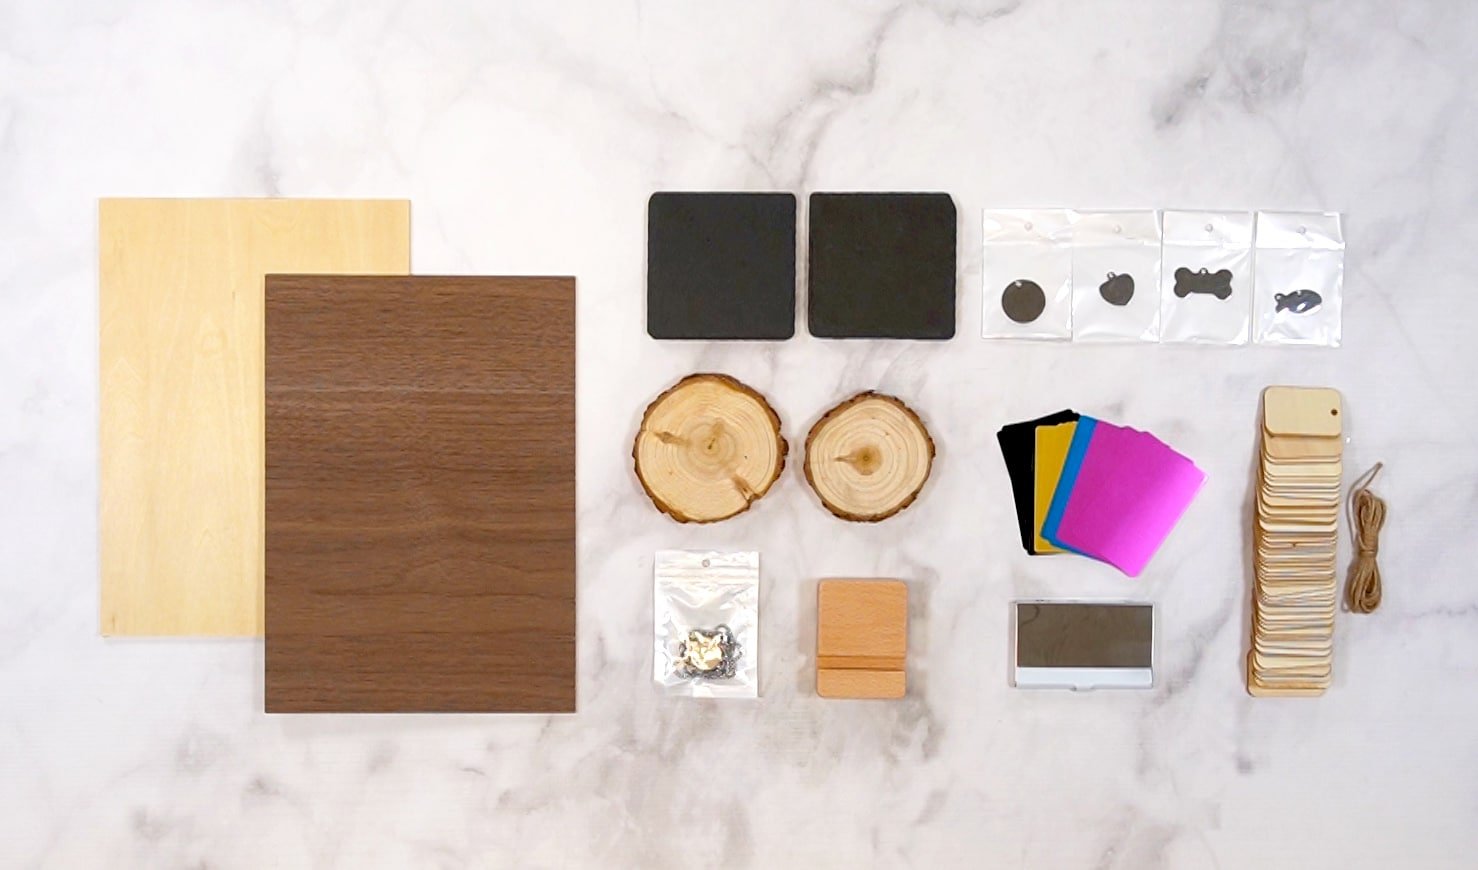
As an example, here are just a few of the various materials that the xTool M1 Laser and Blade Cutter can cut and/or engrave (materials from the xTool M1 Premium Materials Box):
- 3 mm Basswood
- 3 mm Black Walnut
- Stone Coasters
- Pet Tags
- Wood Slices
- Metal Cards
- Jewelry Set (Ring & Necklace)
- Wooden Phone Stand
- Metal Card Box
- Wood Tags
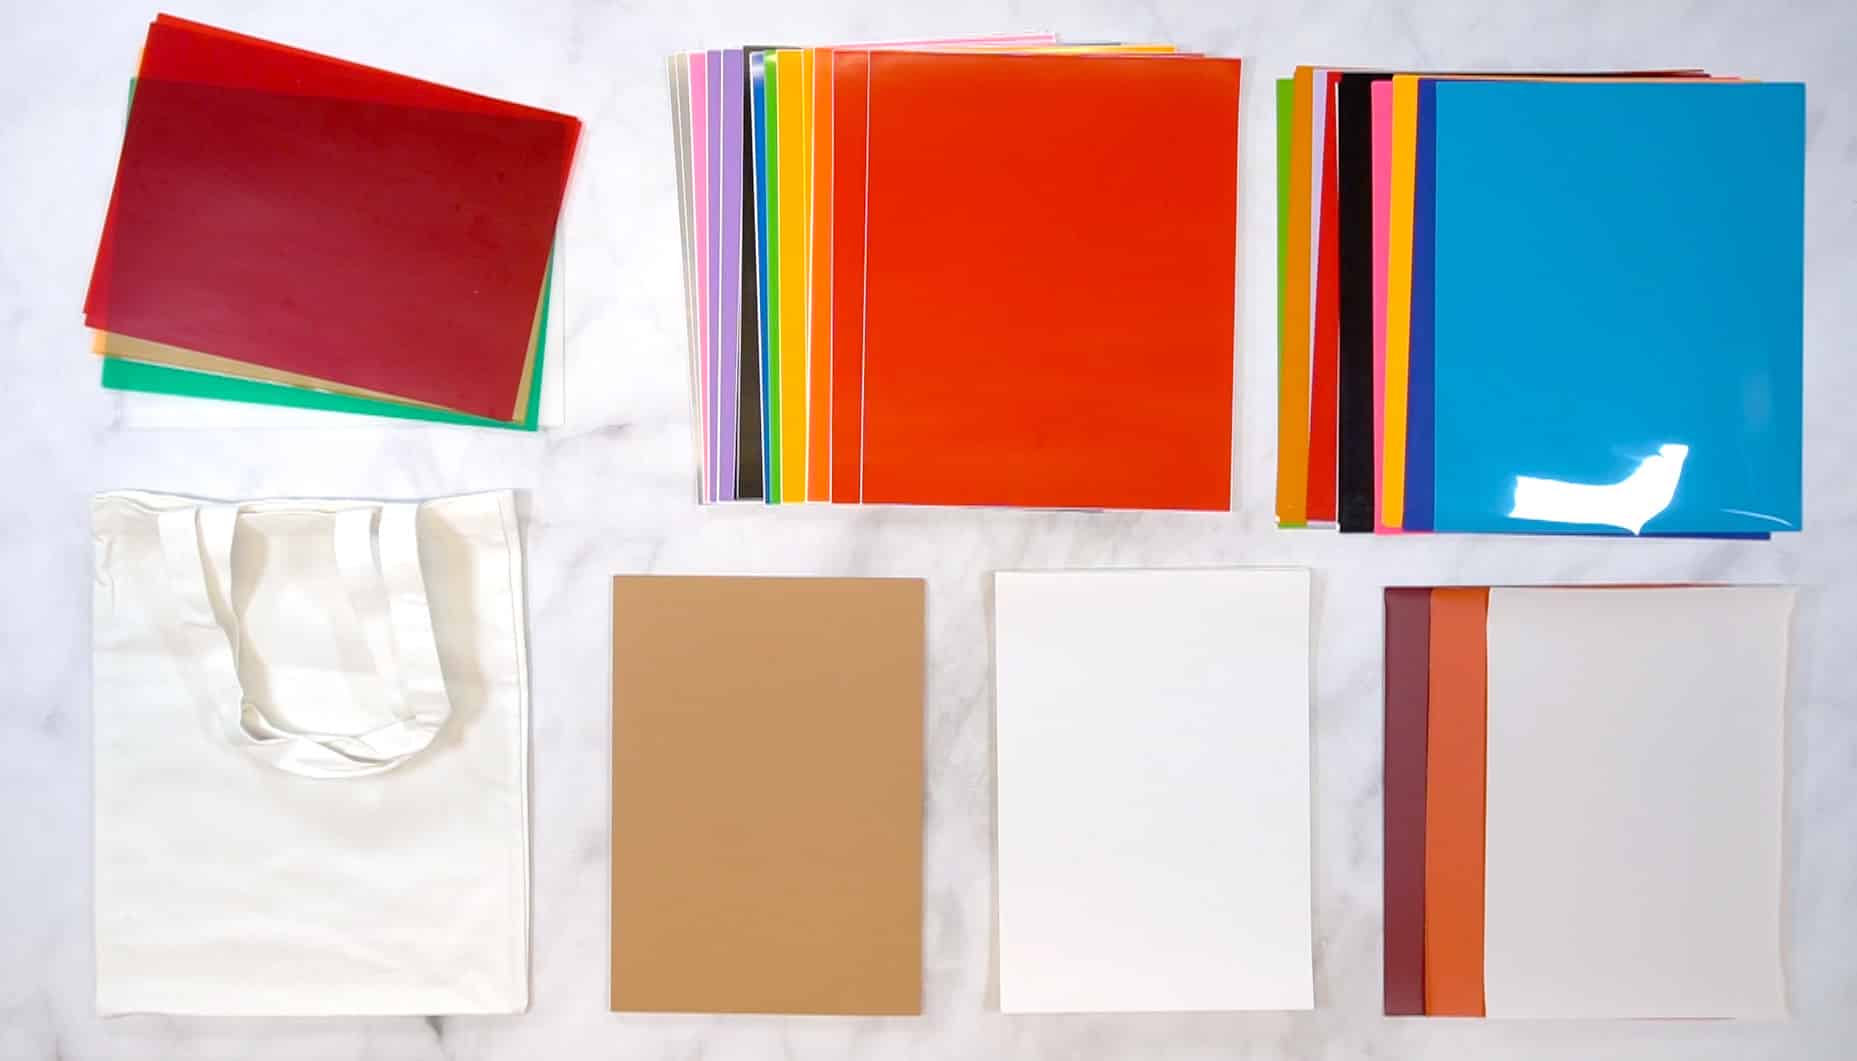
- PVC Sheets
- Adhesive Vinyl
- Heat Transfer Vinyl (Iron-On)
- Kraft Paper
- Sticker Paper
- PU Faux Leather

I have also successfully cut sheets of opaque cast acrylic in yellow, dark green, black, and red.
Note: the xTool M1’s diode laser only allows it to cut certain colors of acrylic, and it will not cut clear, white, or blue.
P.S. Stay tuned! We’ll be testing out additional colors of acrylic along with some “hacks” and tricks to see if we can expand our unofficial xTool-compatible materials list as well!
Sample xTool M1 3-in-1 Project Ideas
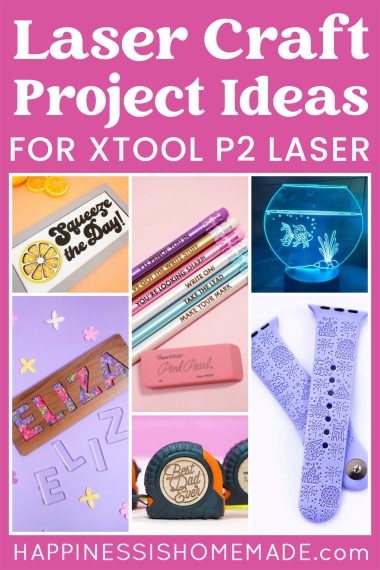
There are SO many different projects that can be made on your xTool M1, so let’s take a peek at a few examples of projects that I have created that are perfect for your M1!
xTool Laser-Engraving Projects
Check out these creative projects that can be made with the xTool M1 laser-engraving function!
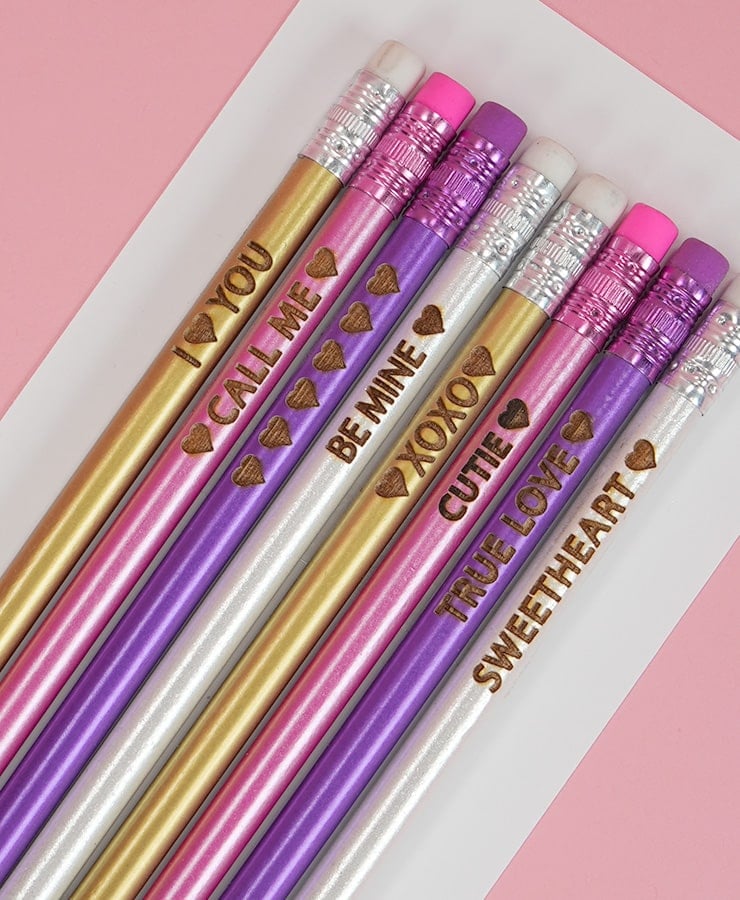
Engrave sweet love notes or positive affirmations on a set of pencils! Or, make a personalized pencil set for your favorite student or teacher!

This inspirational bracelet was laser-engraved and laser-cut!
(P.S. These bracelets are a fantastic way to use up your small wood scraps!)
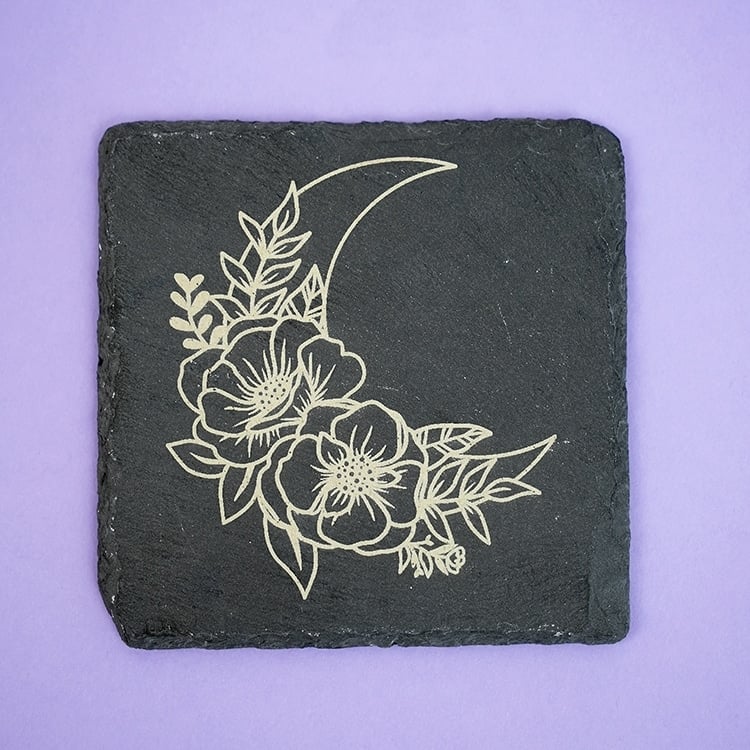
Of course, wood isn’t the only thing you can engrave! These slate coasters engraved beautifully!
xTool Laser-Cut Projects
Check out a few example projects that can be made with the xTool M1 laser cutter!

One of my favorite things to make with the xTool M1 are laser-cut earrings!
Since the xTool M1 can easily cut intricate and detailed shapes, along with a vast array of materials, there are SO many possibilities when it comes to jewelry making! (These earrings here are made from painted MDF, and they’re incredibly sturdy and lightweight!)

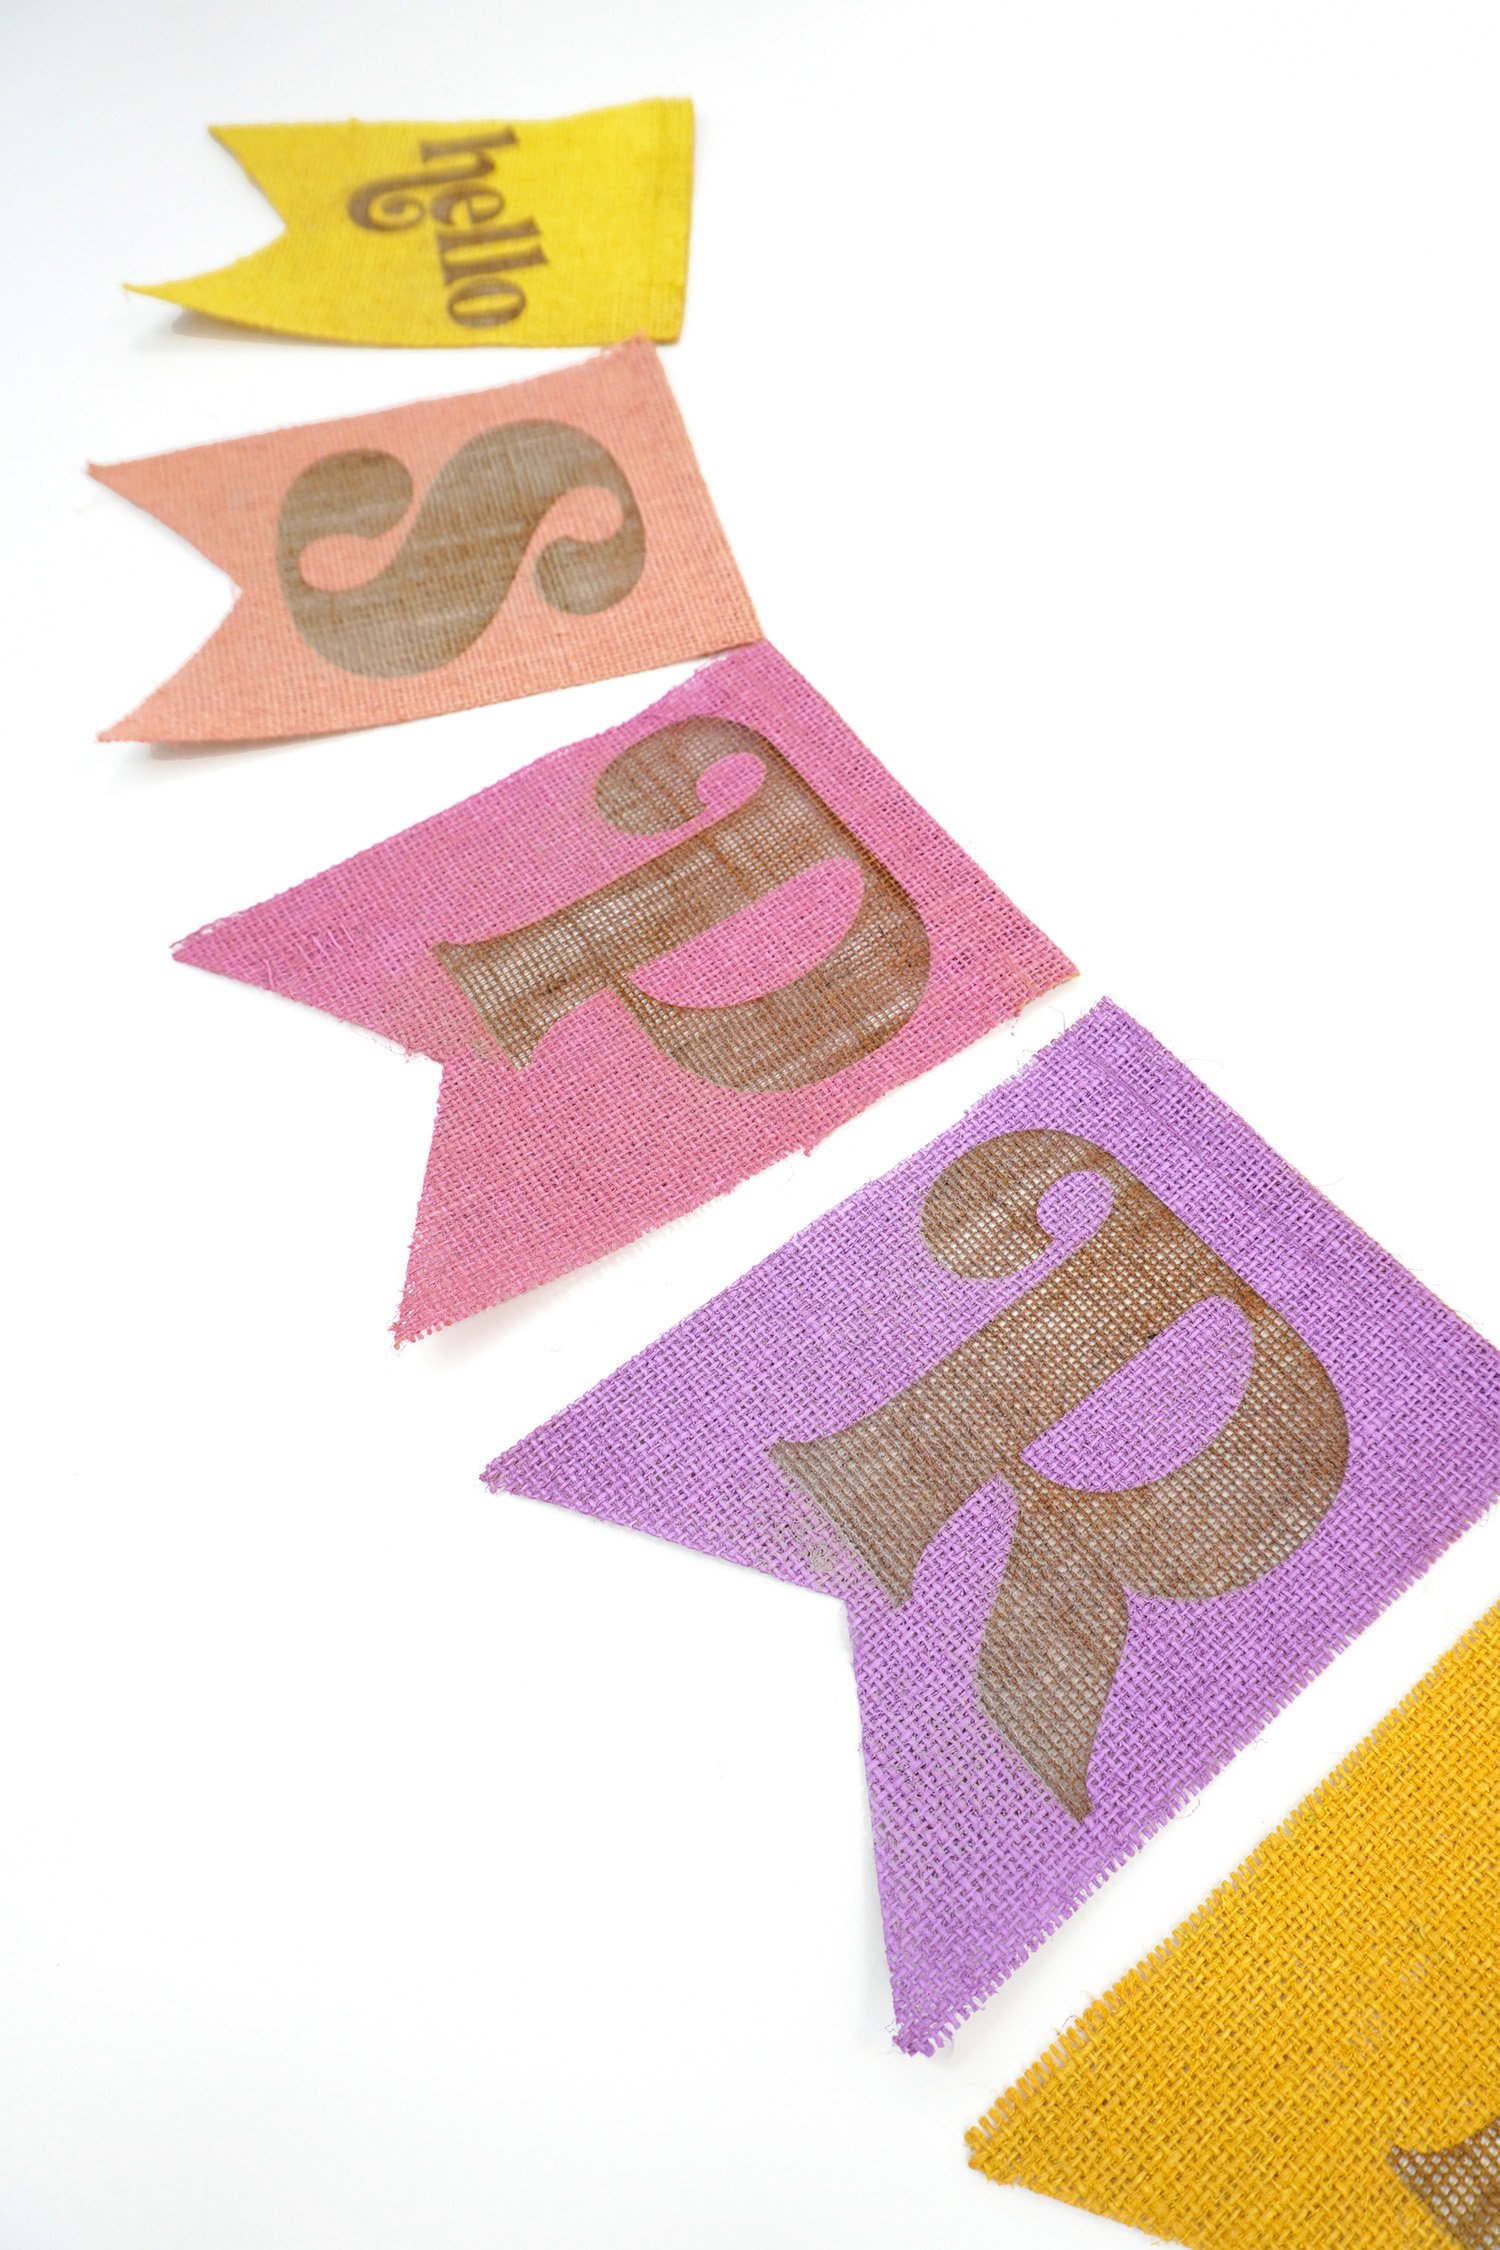
With the xTool M1 laser cutter, you can make adorable signs for every season and holiday! (Check out my tips for How to Make Wood Signs the Easy Way!)

Need a last-minute cake topper for your party? No worries! You can make one quickly and easily with your xTool M1!
xTool Blade-Cut Projects
Check out these fun projects that can be made with the xTool M1 blade cutter! The blade cutter is typically reserved for cutting thin and soft materials such as vinyl, paper, and fabric.

The Blade Cutter is perfect for cutting adhesive vinyl, so it’s great for making customized drinkware – just make sure to use a vinyl with permanent adhesive and always hand-wash your glasses!

The Blade Cutter is also perfect for heat transfer vinyl (iron-on), and HTV can be applied to SO many different surfaces! Here, I personalized a pair of flip flops with my monogram.

Of course, you can also use HTV to make just about any kind of DIY t-shirts and clothing items that you can imagine!
Between the laser cutting, laser engraving, and blade cutting, there are SO many different types of projects that you can create with the xTool M1!
Optional xTool M1 Accessories
These optional xTool M1 accessories will help you get the most out of your hybrid laser and blade cutter!
Note: these accessories are also frequently on sale for much lower prices than the MSRP and are also available to purchase along with the xTool M1 as bundle deals!
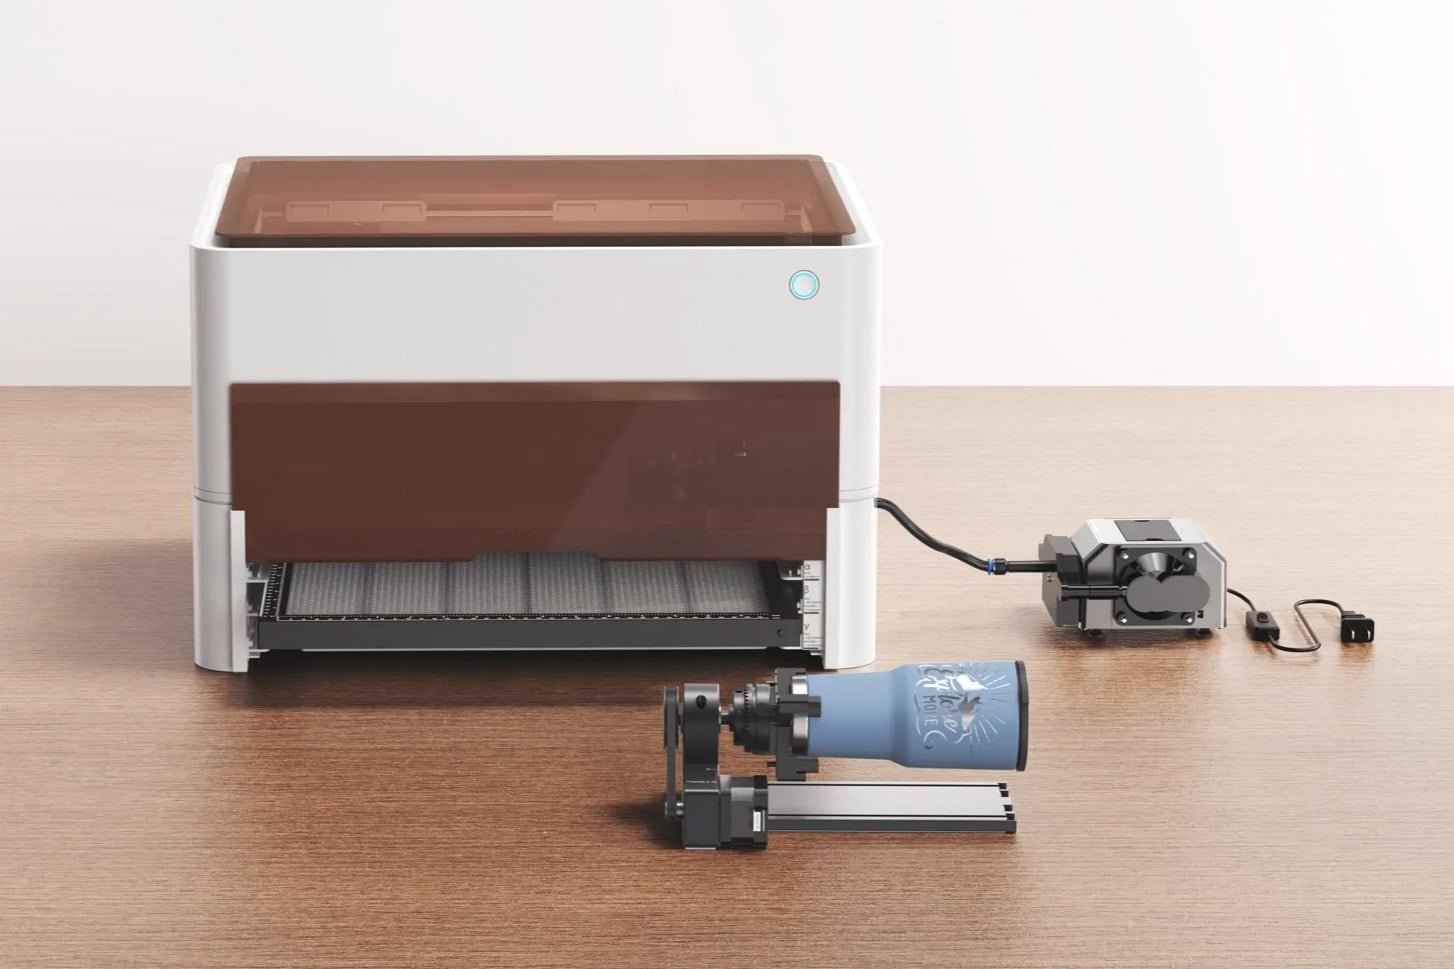
xTool M1 RA2 Pro Rotary
The RA2 Pro rotary tool (MSRP $319) is one of the coolest gadgets when it comes to laser engraving! The RA2 Pro allows you to engrave 360-degrees around round and cylindrical objects, so you can engrave everything from tumblers and mugs to baseballs and round Christmas ornaments!
We’ll be diving deeper into the RA2 Pro in a future post and testing out some of its amazing features!
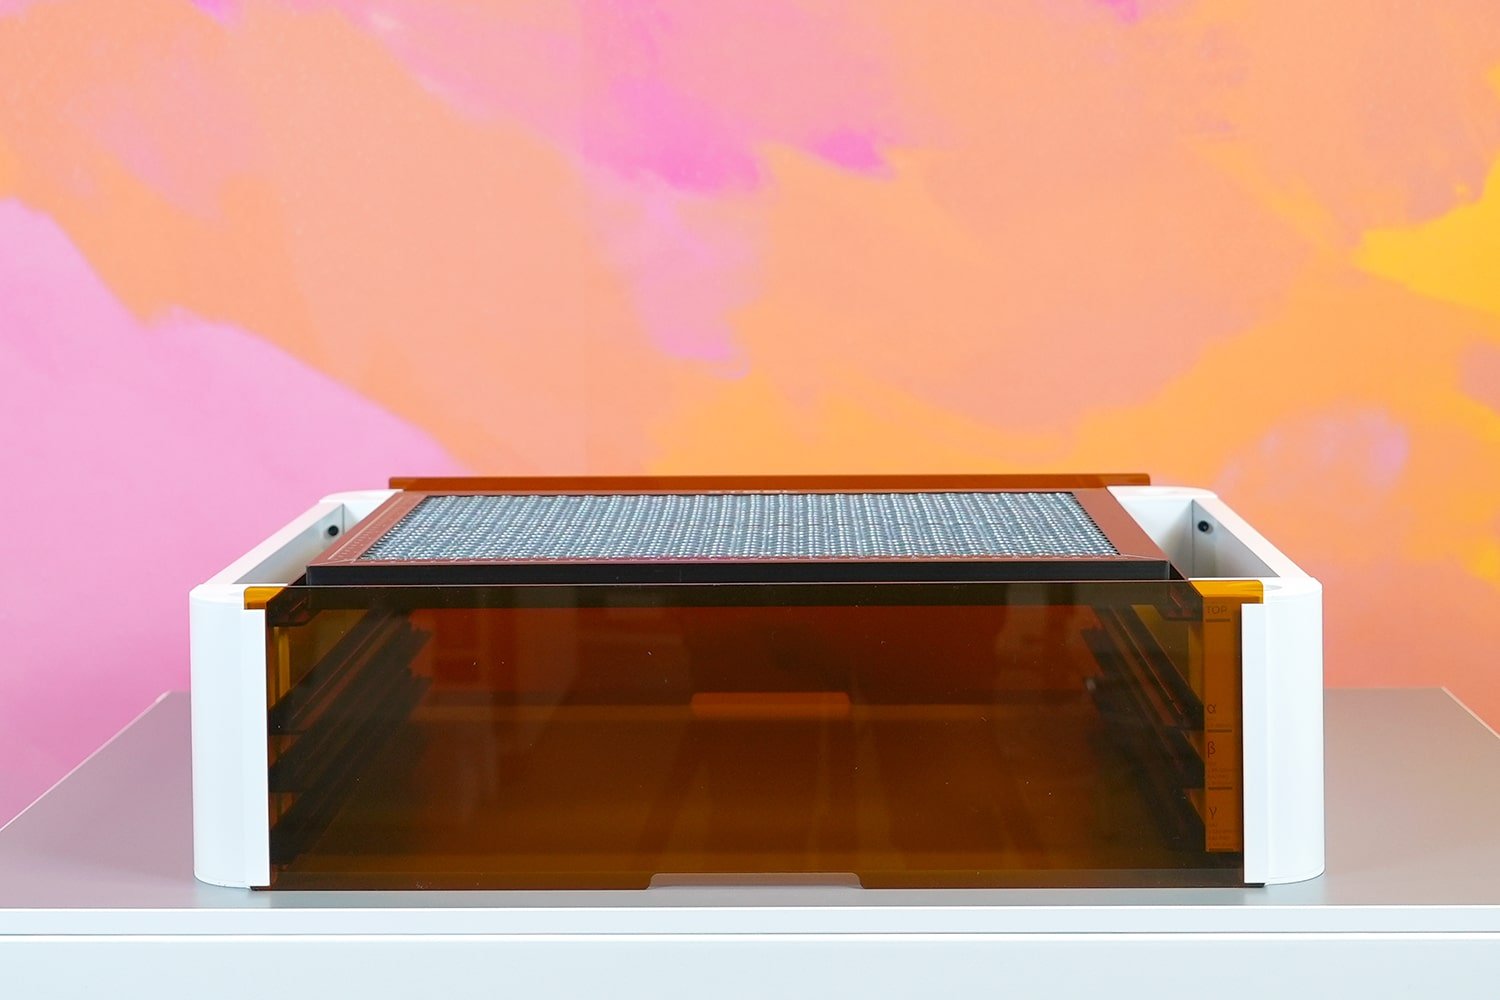
M1 Riser Base with Honeycomb Panel
The M1 Riser Base with Honeycomb Panel (MSRP $229) is an optional accessory that’s truly a must-have if you plan on engraving tall or thick objects, and especially if you plan to use the RA2 Pro rotary turner.
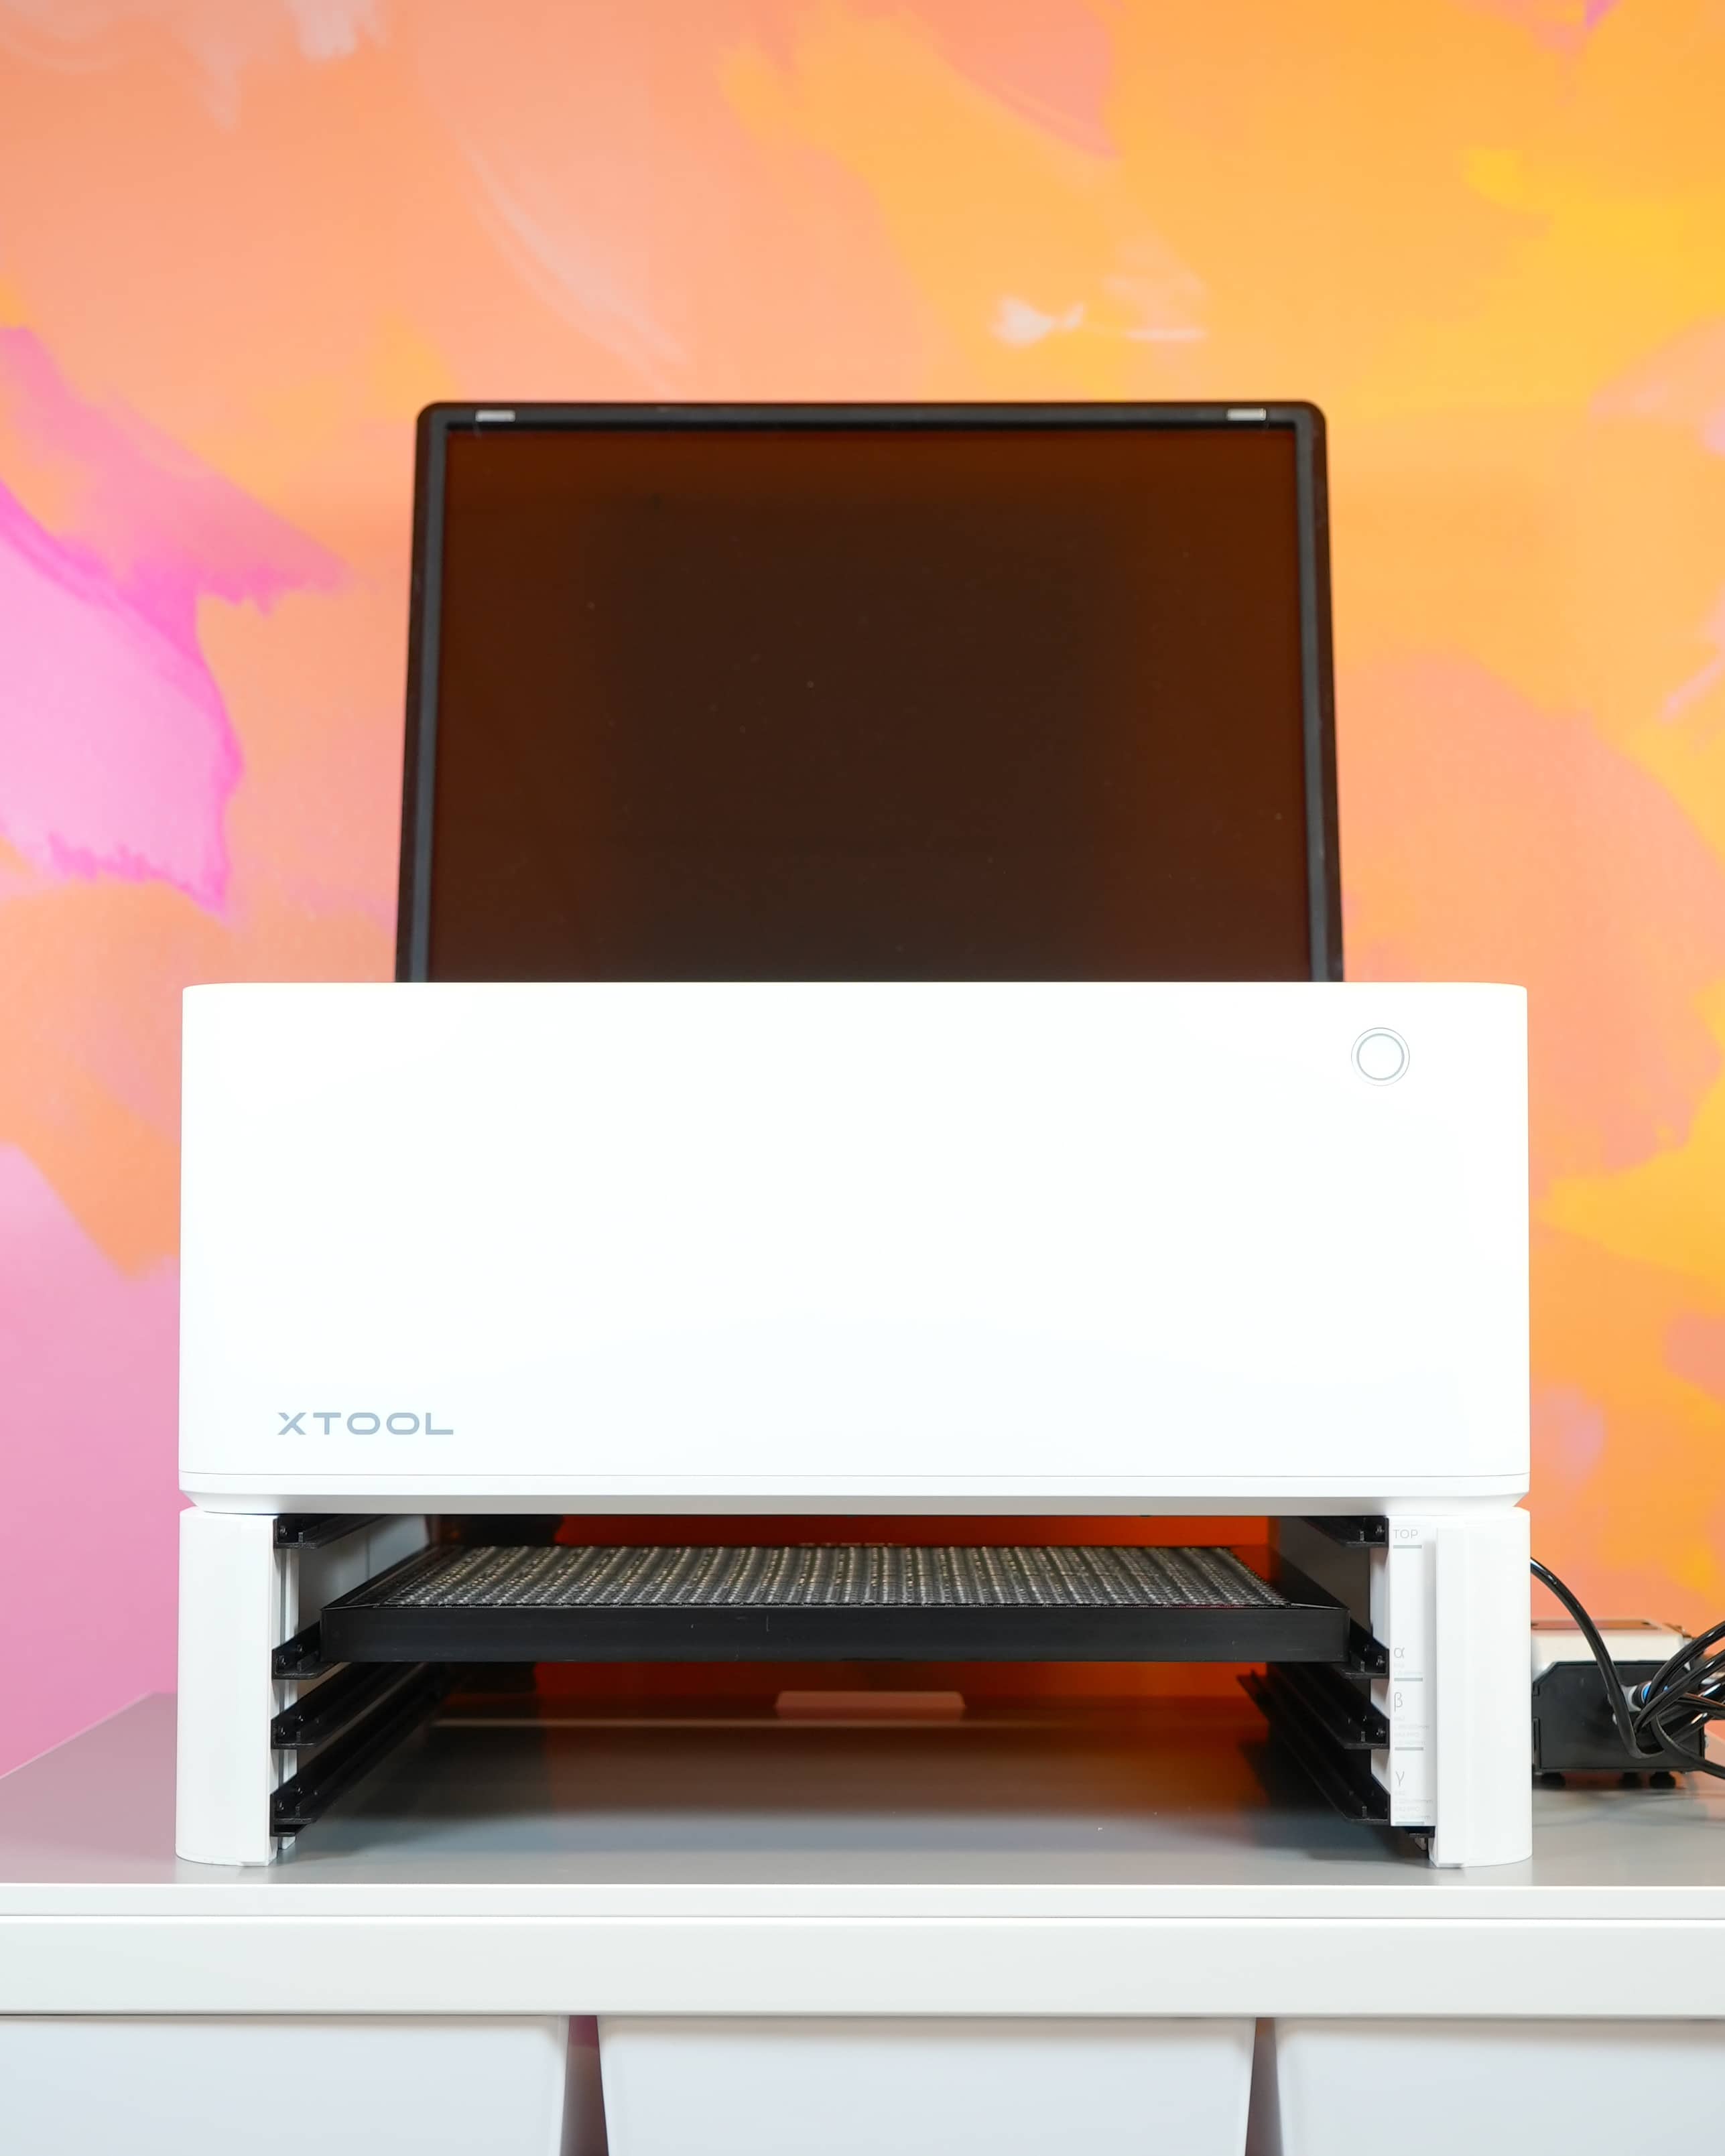
The xTool M1 laser sits atop the Riser Base, and the Honeycomb Panel can be adjusted to several different height positions to accommodate different sized items.

The wide openings in the metal Honeycomb Panel allow for optimal air flow and heat dissipation to reduce the chance of burning and scorch marks. The removable light-shielding panels at the front and rear of the Riser Base provide additional eye protection when working with the diode laser.
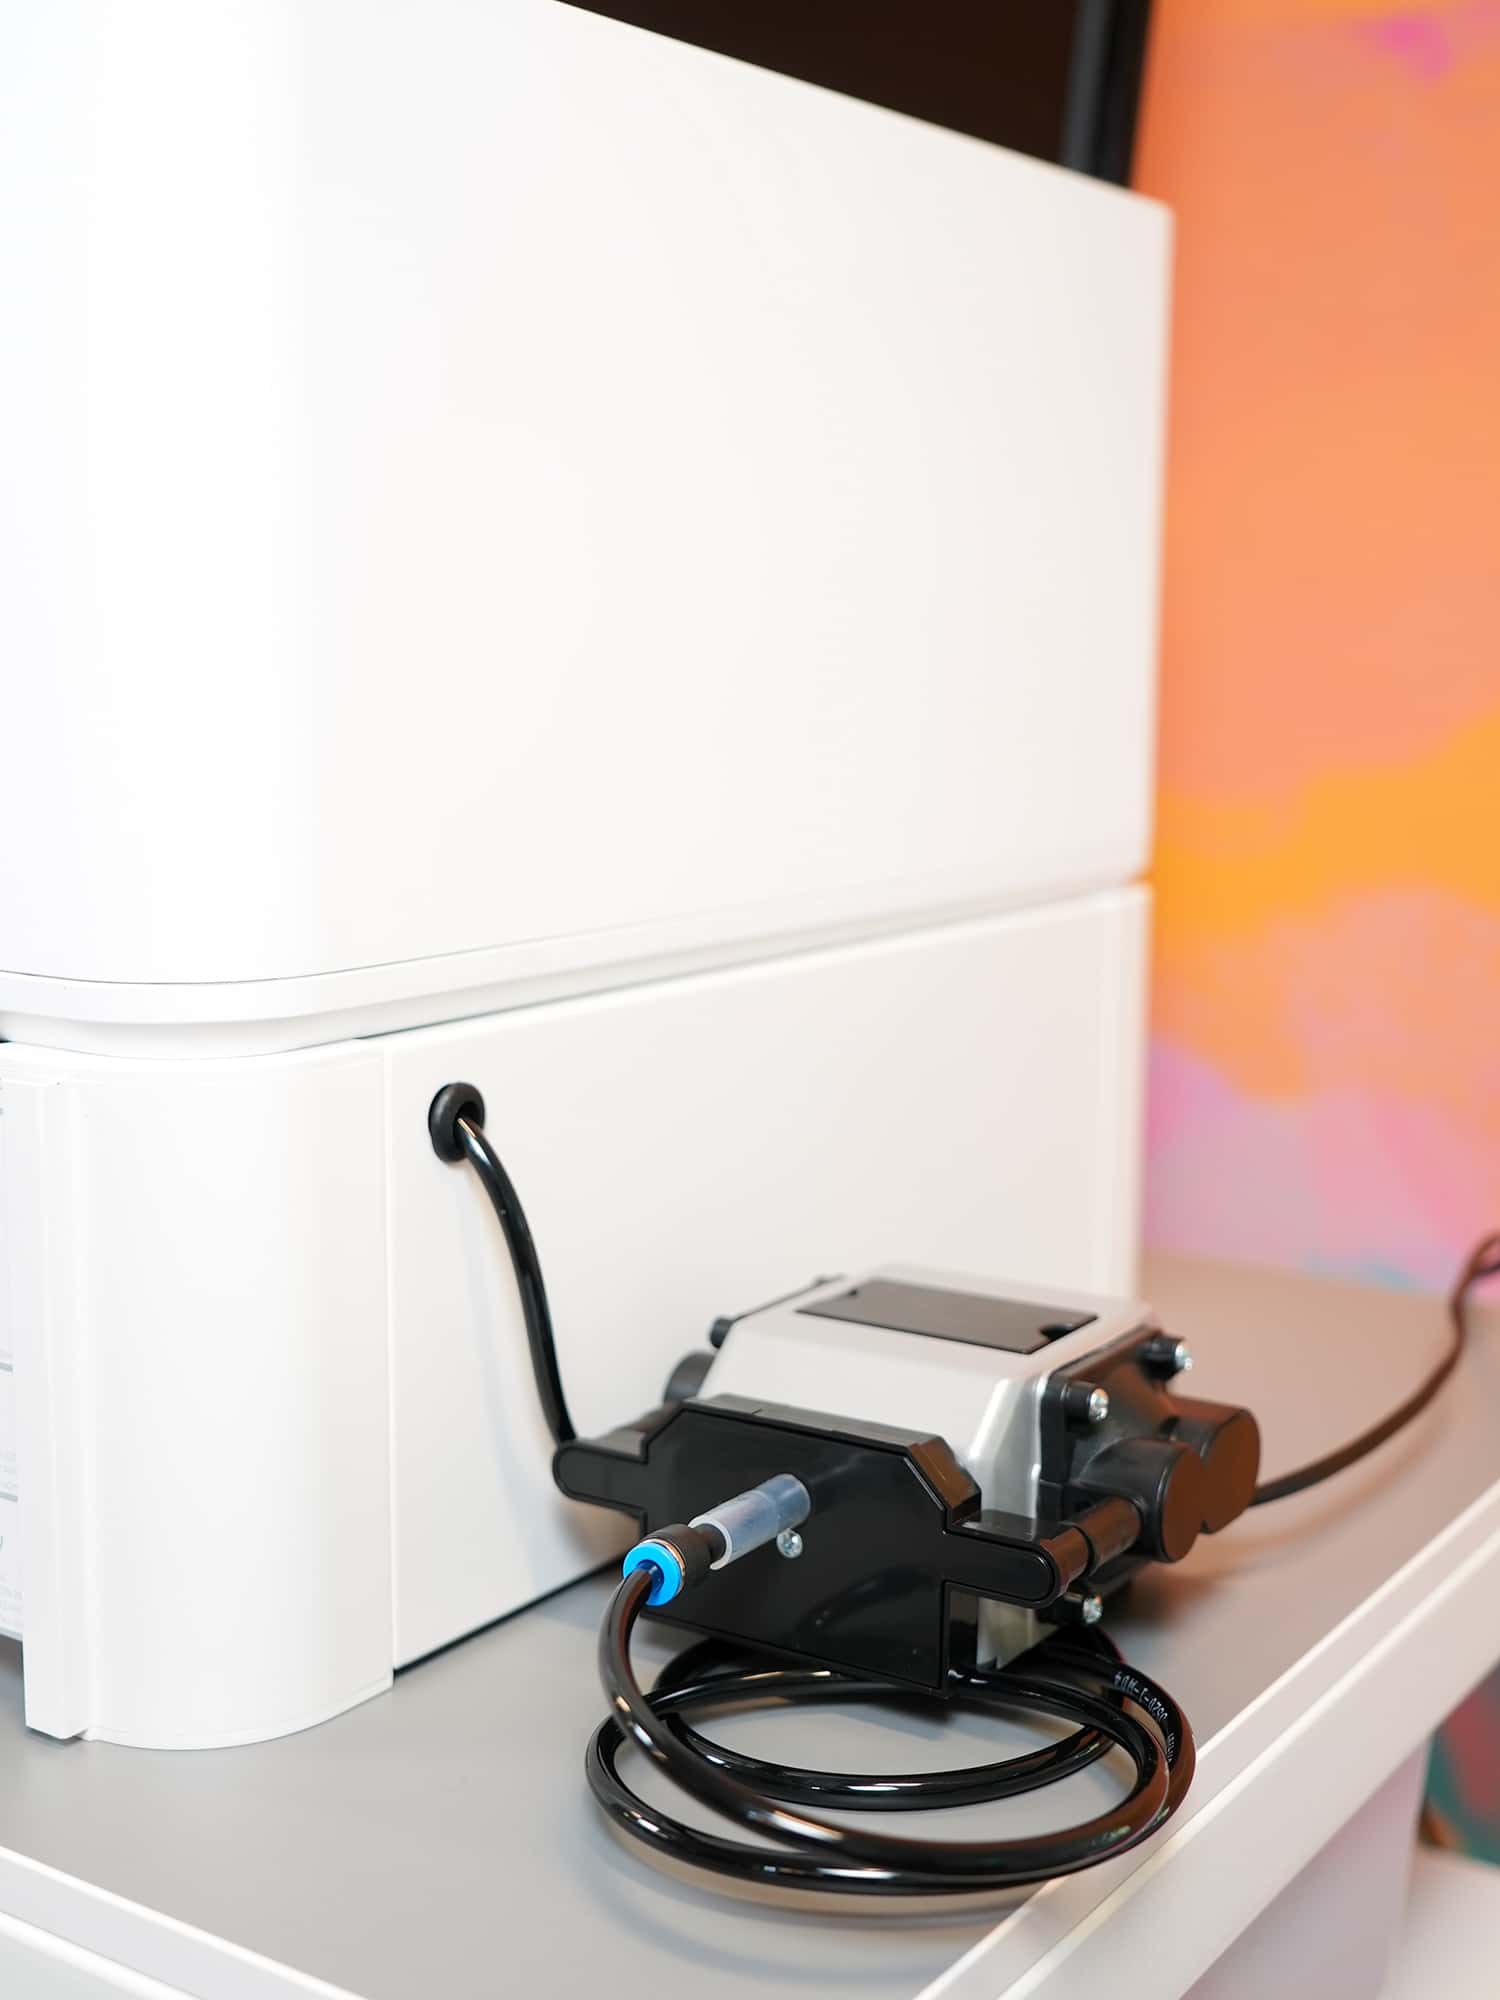
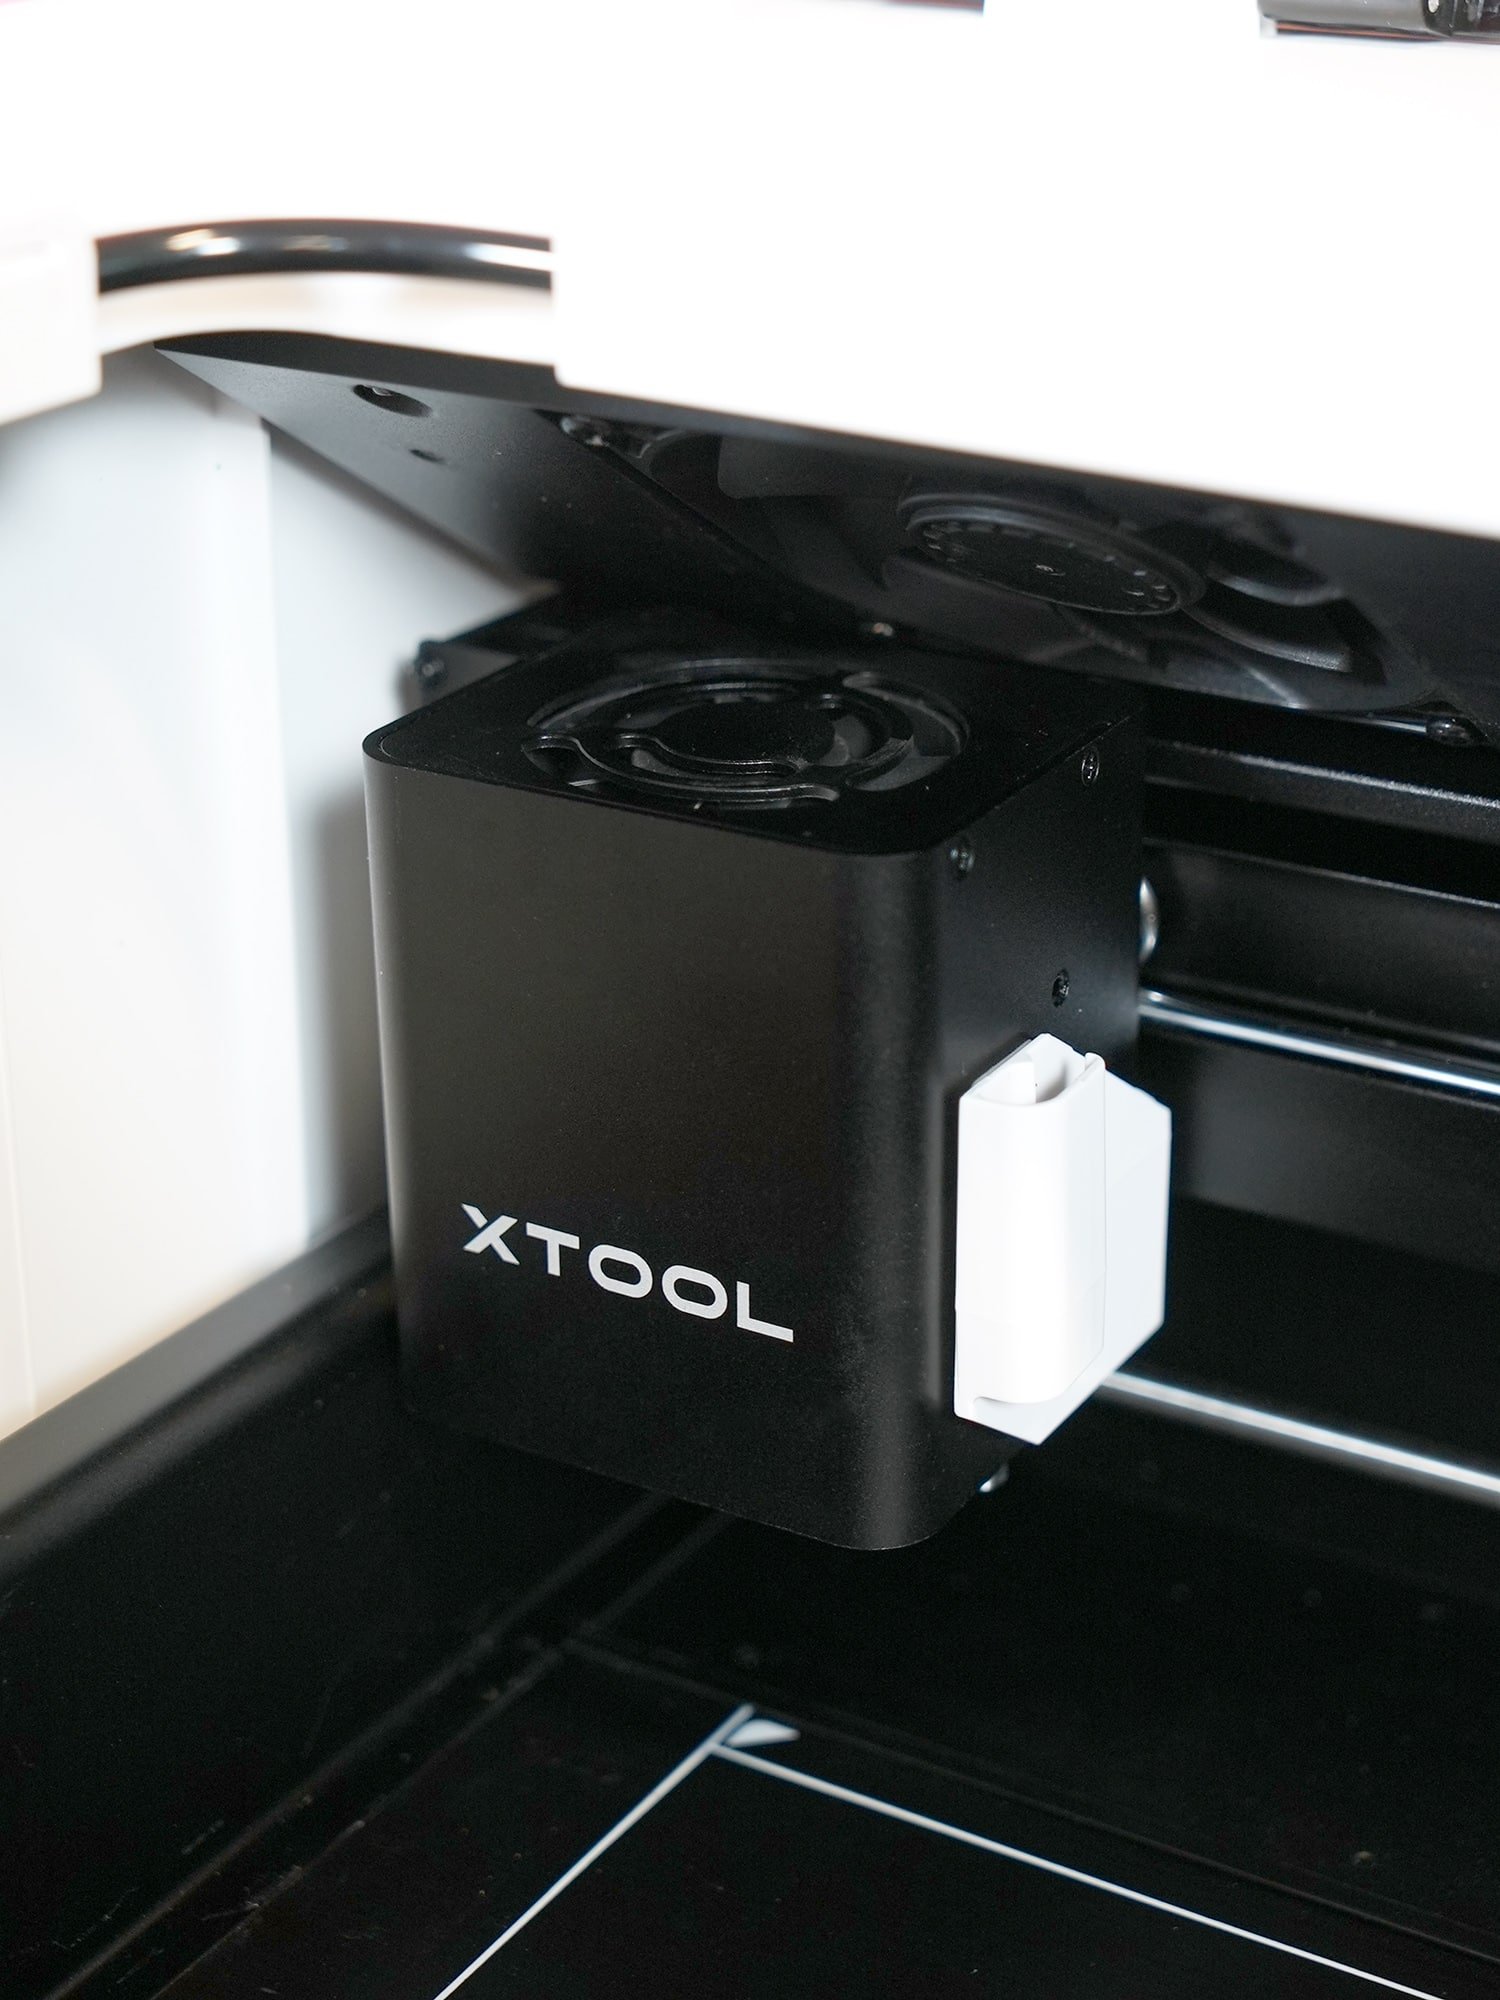
xTool Air Assist
The xTool Air Assist (MSRP $179) is another optional accessory that should be at the very top of your wish list! Honestly, I feel like “optional” should be in quotes here, because trust me, if you’re lasering, you will definitely want this accessory!
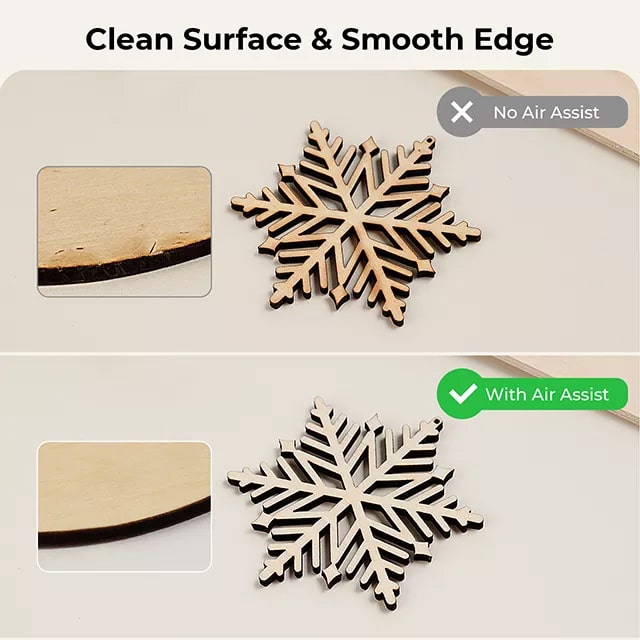
The Air Assist delivers a small stream of air alongside the laser beam to create even cleaner cuts and minimize any burning or charring of your materials (see that slight burnt edge in the example above?). Not only does the Air Assist make your cutting and engravings look nicer, it also helps to extend the lifetime of the laser lens!
We’ll also be looking closer at the Air Assist in a future post, showing you the step-by-step installation process along with several examples of cutting and engraving with and without its assistance!
Frequently Asked Questions
What’s the Difference Between a Diode Laser and a CO2 Laser?
A CO2 laser uses a mixture of excited gases, typically carbon dioxide, nitrogen, and helium, to produce a laser beam. It emits a powerful infrared light that is commonly used for cutting and engraving materials, as well as in medical and dental procedures.
CO2 lasers have traditionally been the most popular type of laser used in craft laser cutters and engravers because of their ability to cut and engrave a very wide range of materials including wood, acrylic, fabric, leather, and even metal. Despite their power and speed, however, CO2 lasers are also very expensive, and their lifespan is relatively short (5,000 – 8,000 hours).
A diode laser, on the other hand, uses a semiconductor material to produce a laser beam. It emits light in the visible or infrared range and is often used for hair removal, laser pointers, and in industrial and medical applications.
In general, diode lasers are less powerful and are moderately slower than CO2 lasers, but they are also more compact, cost-efficient, and have a MUCH longer lifespan (25,000 – 50,000 hours). They are also FAR less expensive, making them a cost-effective option for hobbyists and a typical home user.
Diode lasers have been gaining popularity in the craft world lately, particularly with the introduction of the xTool M1 machine. Though the diode laser in the M1 is not as speedy or powerful as a CO2 laser, it is still quite powerful enough to cut and engrave most common materials used in crafting applications. Coupled with the affordable price point and long lifespan, a diode laser such as the xTool M1 is a suitable choice for most users.
It’s worth noting that both CO2 and diode laser cutters/engravers have their own set of pros and cons, and the choice between the two will depend on the specific application, budget, and desired result.
You can read even more about the differences between a diode and a CO2 laser here.
How Does the xTool M1 Compare to a Glowforge?
As I mentioned earlier, the xTool M1 and the Glowforge use completely different laser types (diode laser vs CO2 laser), so it’s hard to draw a fair comparison between the two machines.
I will be doing a full in-depth analysis of the differences between the machines in the coming weeks; however, aside from laser type, the main variances are in the length of time necessary to cut/engrave (the Glowforge is noticeably faster) and the types of materials they can cut/engrave. Aside from materials that are engraved using the xTool’s RA2 Pro rotary attachment, the Glowforge is able to utilize all of the same materials as the xTool M1, and it also has the added benefit of being able to cut the full spectrum of acrylic colors.
While that may make it seem as though the Glowforge has an edge over the xTool, it should also be noted that the other remarkable difference is the price tag – an xTool M1 costs about 1/4 of the price of a Glowforge Basic, so it’s a FAR more budget-friendly option!
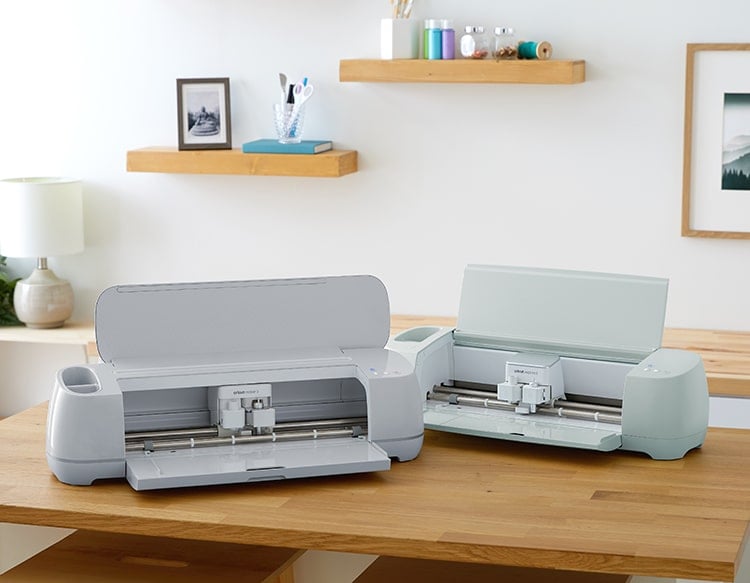
How Does the xTool M1 Compare to a Cricut Machine?
The blade-cutting function of the xTool M1 is very similar to the fine-point blade in Cricut machines (both the Maker and Explore family of machines) and will cut the same types of materials on all of these machines.
In my testing, the xTool M1 does cut slightly slower than the Cricut Maker or Explore Air 2, so if you already have a Cricut machine, you will likely find yourself utilizing the laser functions of the xTool more often than the blade-cutting. If you do NOT already have a Cricut machine, however, you will find that the xTool M1 blade cutter is a nice addition to the laser functions, and it is quite adequate for making all kinds of paper and vinyl crafts!
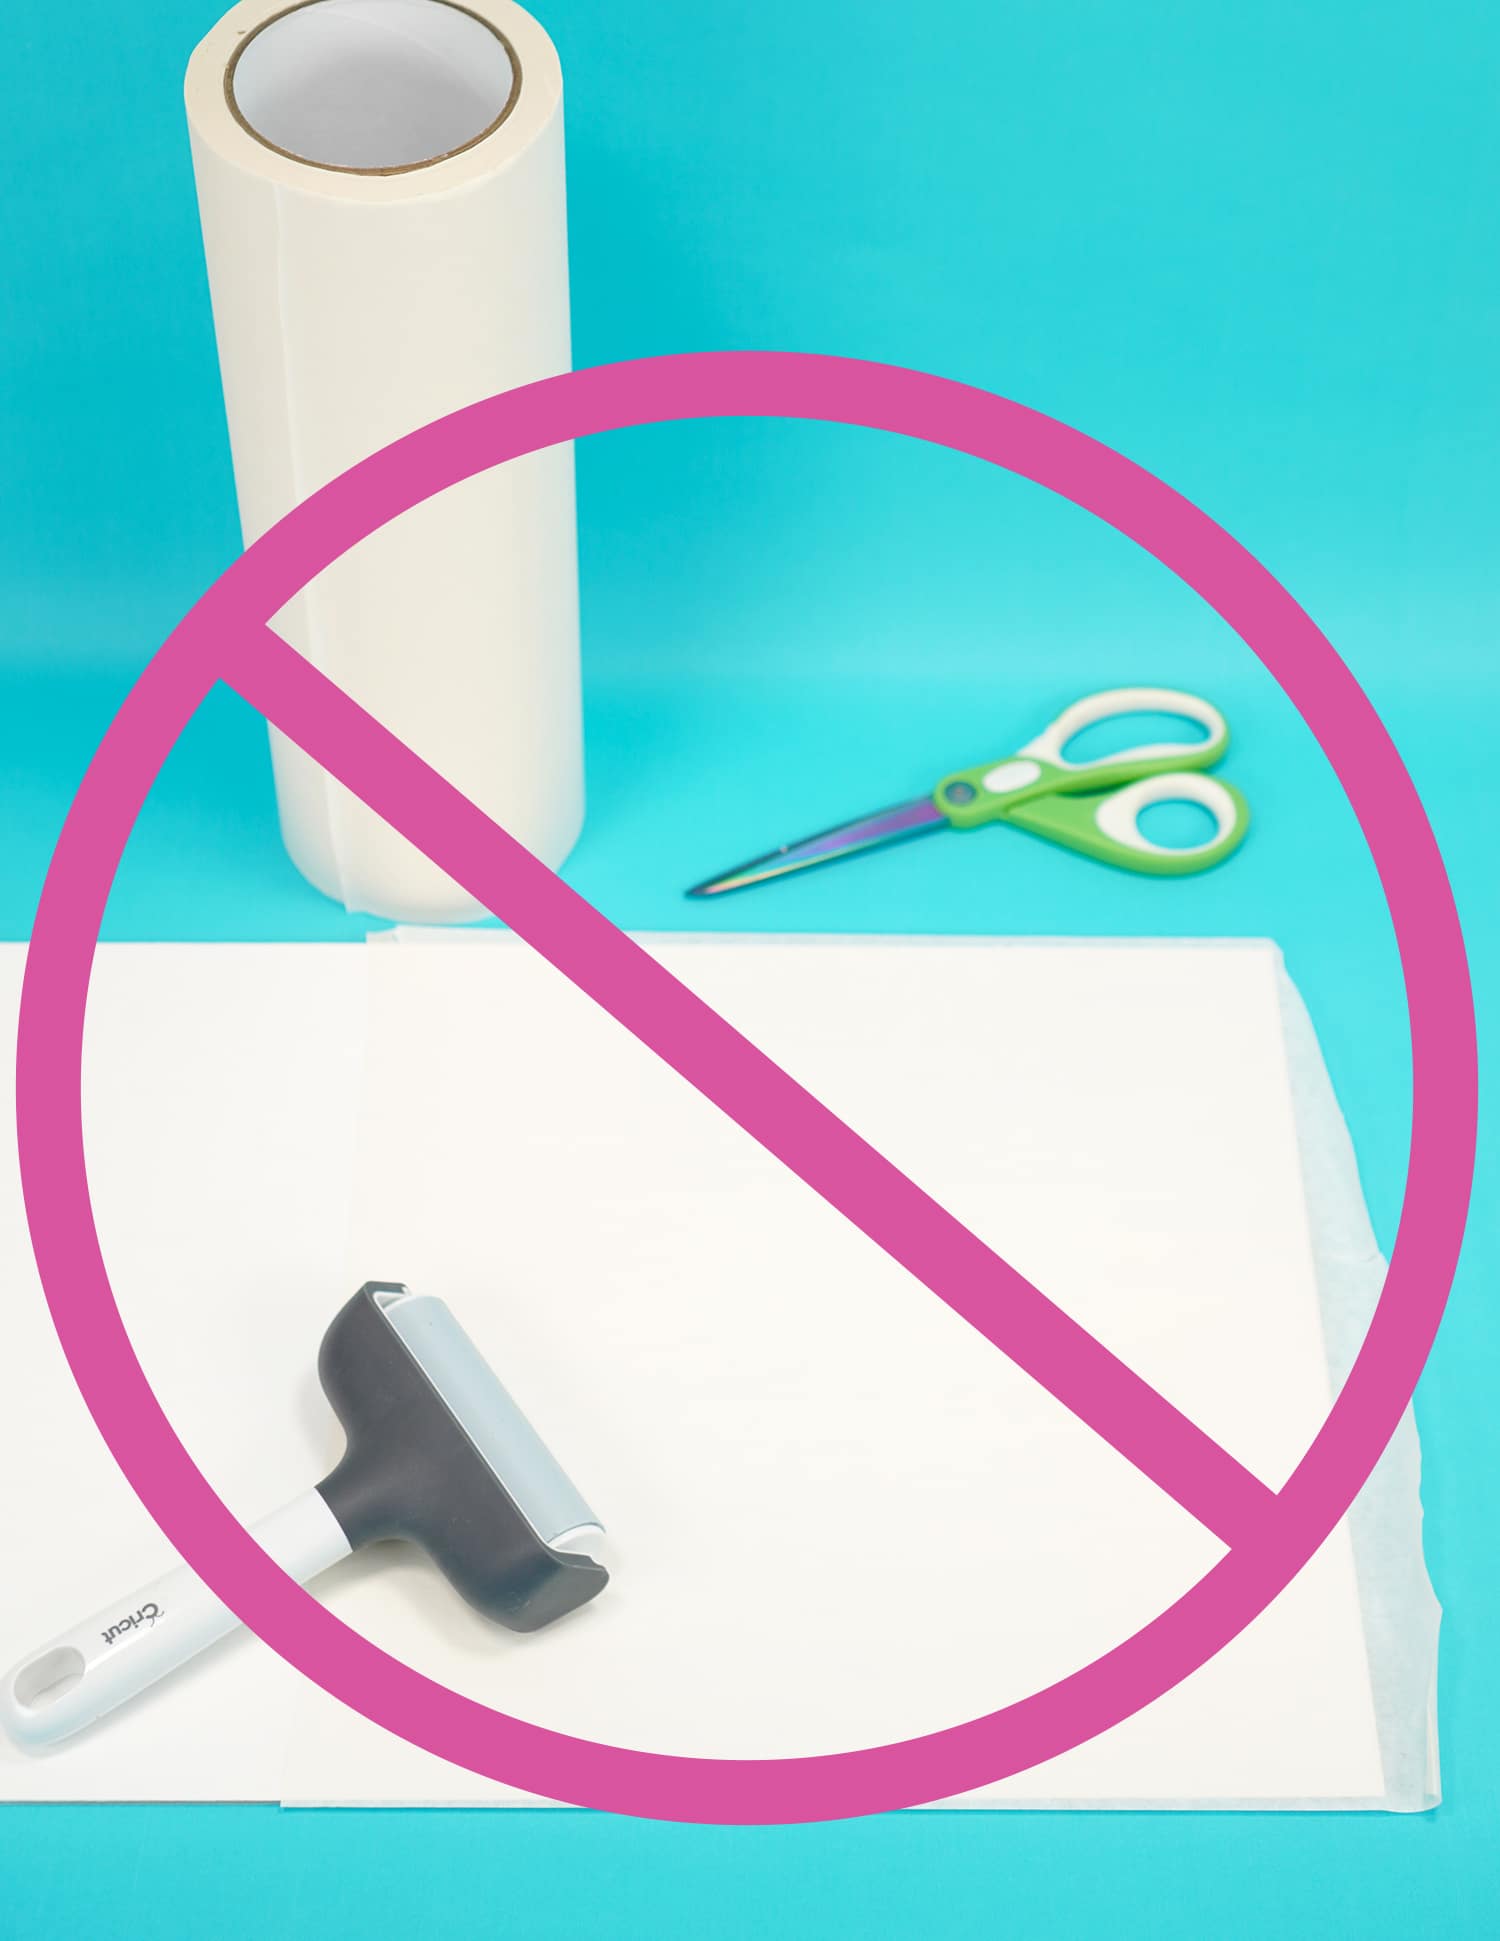
Do You Have to Mask Your xTool Materials?
Nope! A diode laser doesn’t typically produce the same type of scorching that you can often see with unmasked CO2 laser projects. Adding the optional Air Assist accessory to the xTool M 1 will also dramatically reduce the chance of any charring and scorch marks.
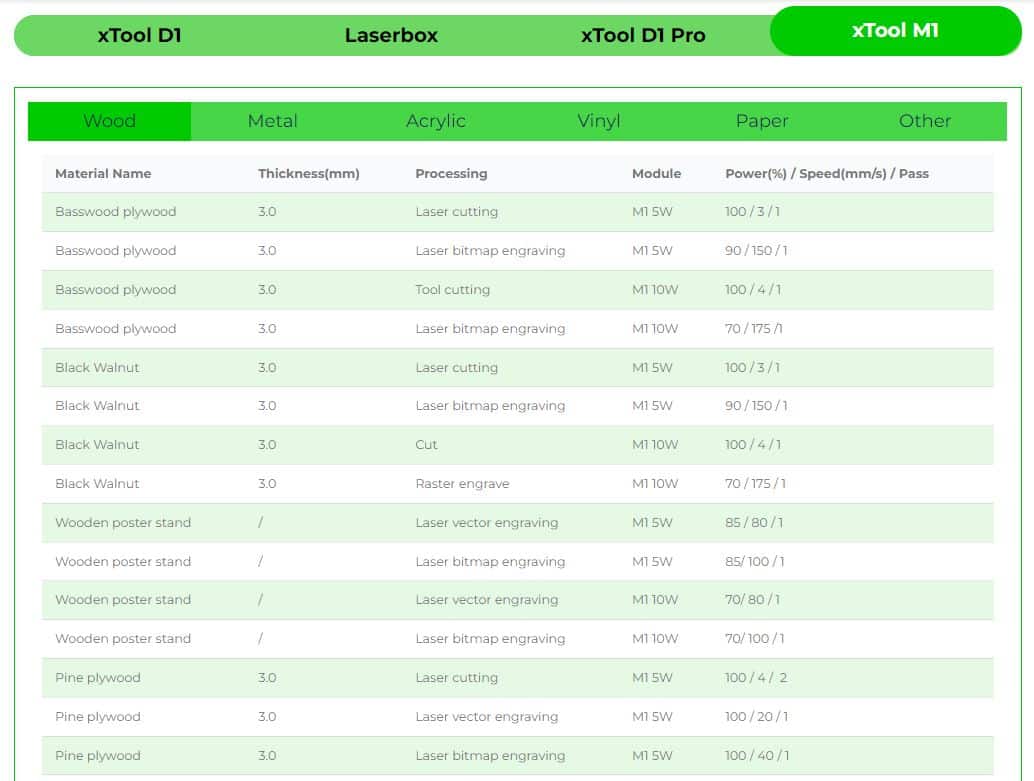
How Do I Know Which Settings to Use?
The xTool Creative Space software comes pre-programmed with settings for many different types of materials; however, you will certainly need to do some experimentation to fine tune those settings since every material varies and is slightly different.
You can view the full interactive chart of xTool M1 Materials Settings here. This materials chart also indicates whether you should cut the material with the laser or the blade-cutting tool.
So, there you have it – everything you need to know about getting started with the xTool M1 laser and blade cutter! We’ll be sharing lots more xTool projects in the coming months, so be sure to follow along! When you’re ready to try your first project, check out our laser craft tutorial library!

Check Out These Other Laser Ideas!


Pin This xTool M1 Guide for Later!


Heidi Kundin has captivated the hearts of millions with her colorful and inspiring approach to crafting, celebrations, and family fun. With over 15 years of experience, Happiness is Homemade has become a must-visit destination for those seeking quick and easy creative ideas and last-minute solutions. Heidi’s warm personality shines through her posts, inviting readers to join her on a creative journey that’s fun, rewarding, and achievable. Heidi is also the author of Homemade Bath Bombs & More and DIY Tie-Dye.
Hi Heidi
I amend to the xTool M1 and watched your video and instructions on setting up, didn’t take me long to realise I wanted the air assist and riser with honeycomb. Seem to have fitted it up all ok, but image capture has stopped working and I cant work out how to tell the software that the laser is on the riser.
Would really appreciate if you could point me in the right direction to sorting this out. I have included my website but it is all made with the Silhouette Cameo.
Many Thanks
Kim
Hi Kim,
Is there a chance that your Air Assist cord might be blocking the camera in the corner? When you are using the risers, you will typically want to switch it to Open Plane in the software. 🙂