


Learn how to make laser cut wood signs the quick and EASY way with these helpful tips and tricks! Perfect for Glowforge sign makers!

This post may contain affiliate links. I will receive a small commission from these sales at no additional cost to you!
Laser cut wood signs are one of my favorite things to create with my Glowforge Pro. They’re a fun and easy way to change up your home décor or decorate your home for the holidays, and they’re SUPER quick and easy to make! (Plus, they make pretty awesome gift ideas and craft fair items, too!)
Today, I’m sharing all of my favorite tips and tricks that turn custom sign-making into a quick and easy process! (It took me just a little over an hour to make this “It’s the Most Wonderful Time of the Year!” sign from start to finish! 🤯🤯🤯) I used my Glowforge for the process, but these handy tips and tricks can be applied to any laser-cut signs!
Quick Note!
If you don’t have a Glowforge yet and are considering a purchase, make sure to read our guide to Everything You Need to Know Before Buying a Glowforge for lots of helpful information and a Glowforge discount that can save you up to $500 on your Glowforge!
Check out all of our Glowforge Laser Projects and Files here!

How to Make Laser Cut Wood Signs
For this tutorial, I’m going to walk you through my process of creating a layered laser cut wood sign to demonstrate some tips and tricks that I use to make the process faster and easier.
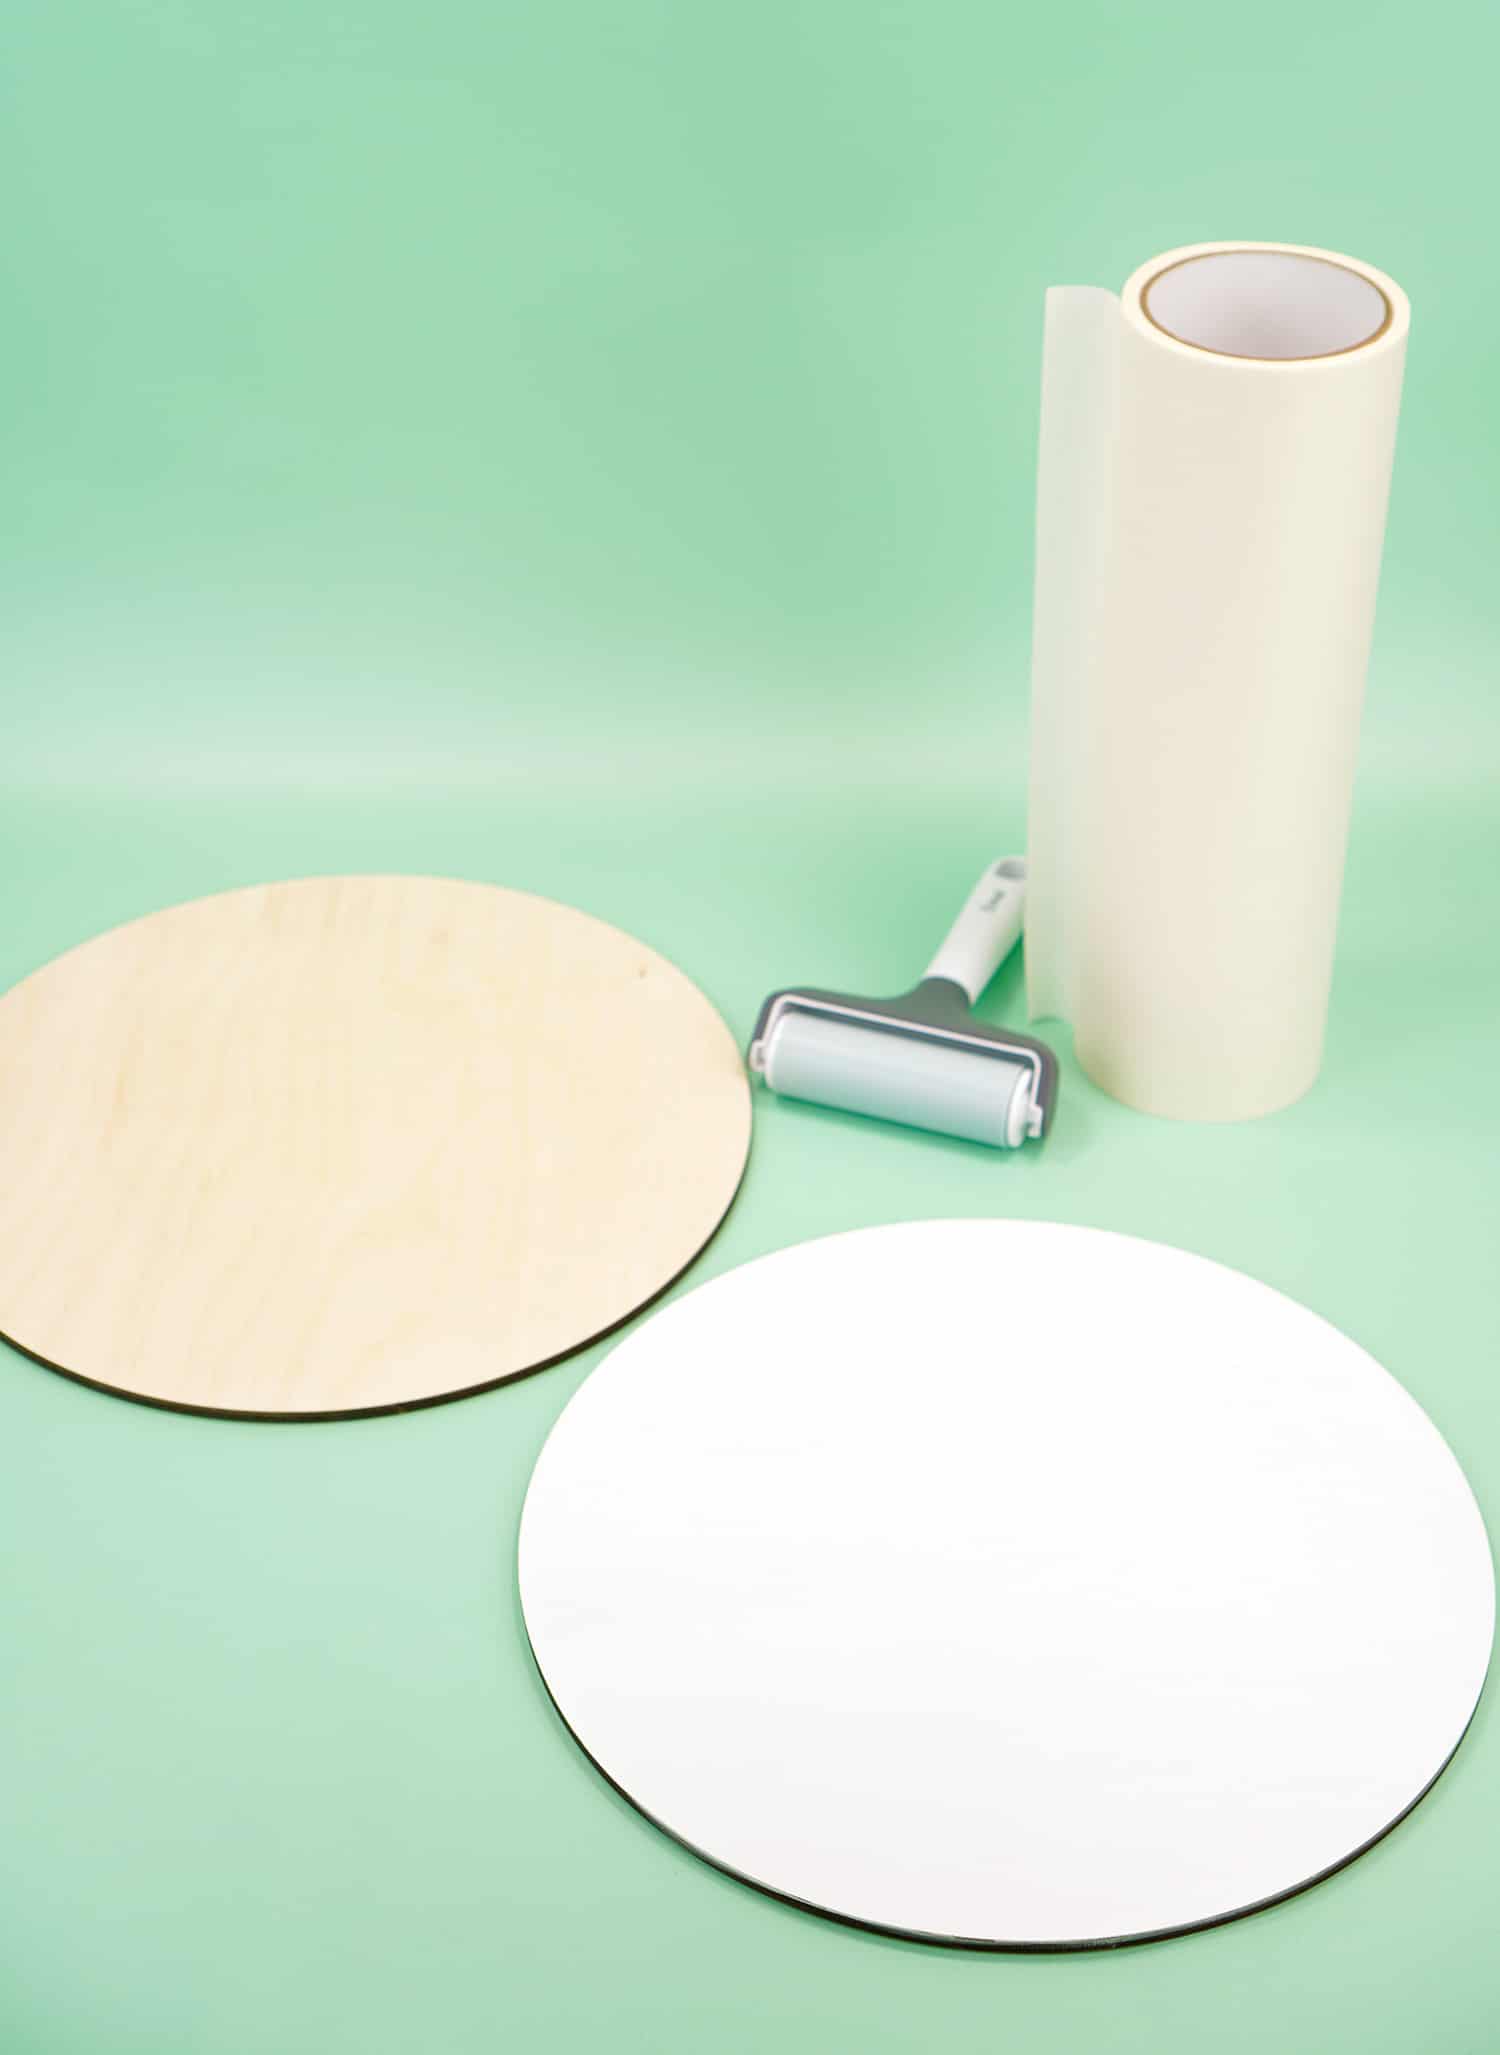
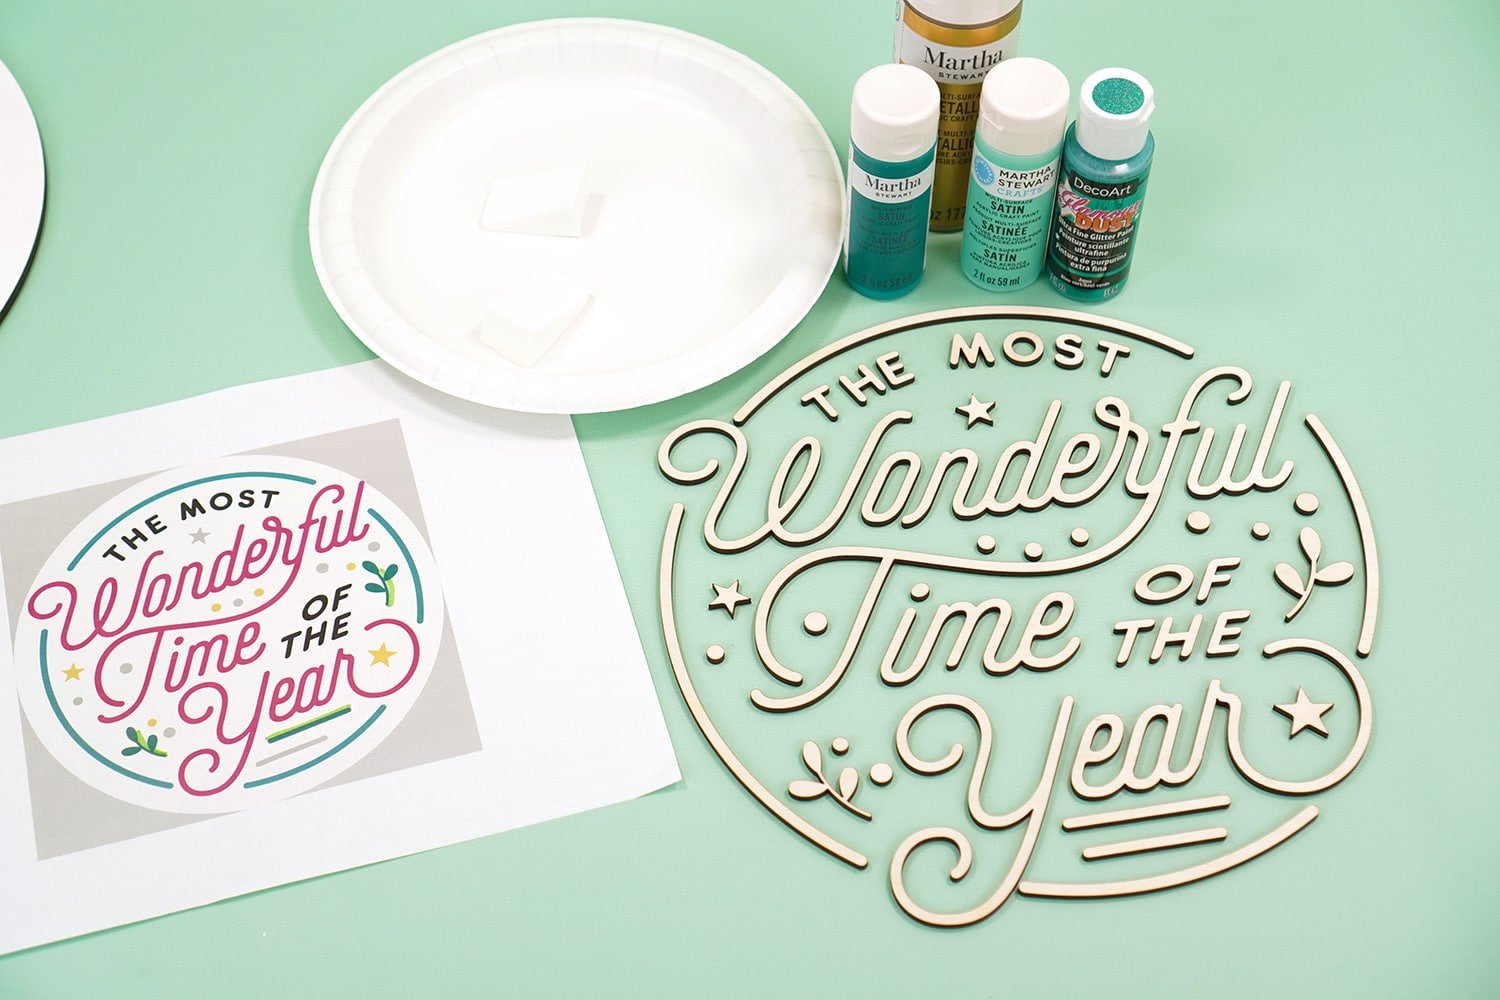
Supplies Needed to Make a Layered Wood Sign:
- Sheet of 1/8″ Wood of Choice (We used 3mm Baltic Birch Plywood)
- Wood Round (or additional sheet of wood – see note below)
- Paper Masking Tape
- 3M Double Sided Adhesive
- Acrylic Craft Paint* and Paintbrushes/Cosmetic Wedges
- Brayer or Scraper Tool, optional but recommended
- “The Most Wonderful Time of the Year” SVG File
- Glowforge or Other Laser Cutter
* Paint colors I used – Martha Stewart Mermaid Teal, Beach Glass (mixed with Mermaid Teal), Beetle Black, Gold, Platinum, and Apple Barrel Bright Magenta.
NOTE:
This project can be cut completely from wood sheets, but I happened to have some 12″ wood rounds (1/4″ thick) on-hand that I wanted to use.
For signs under 10″ wide, you will be able to cut all of the sign pieces from one single sheet of wood; anything larger will require two sheets.
Step 1: Prepping the Wood
The very first step in making a laser cut wood sign is painting and masking the wood. I painted my wood round with a coat of white paint and allowed it to dry completely before masking the painted side with paper masking tape.
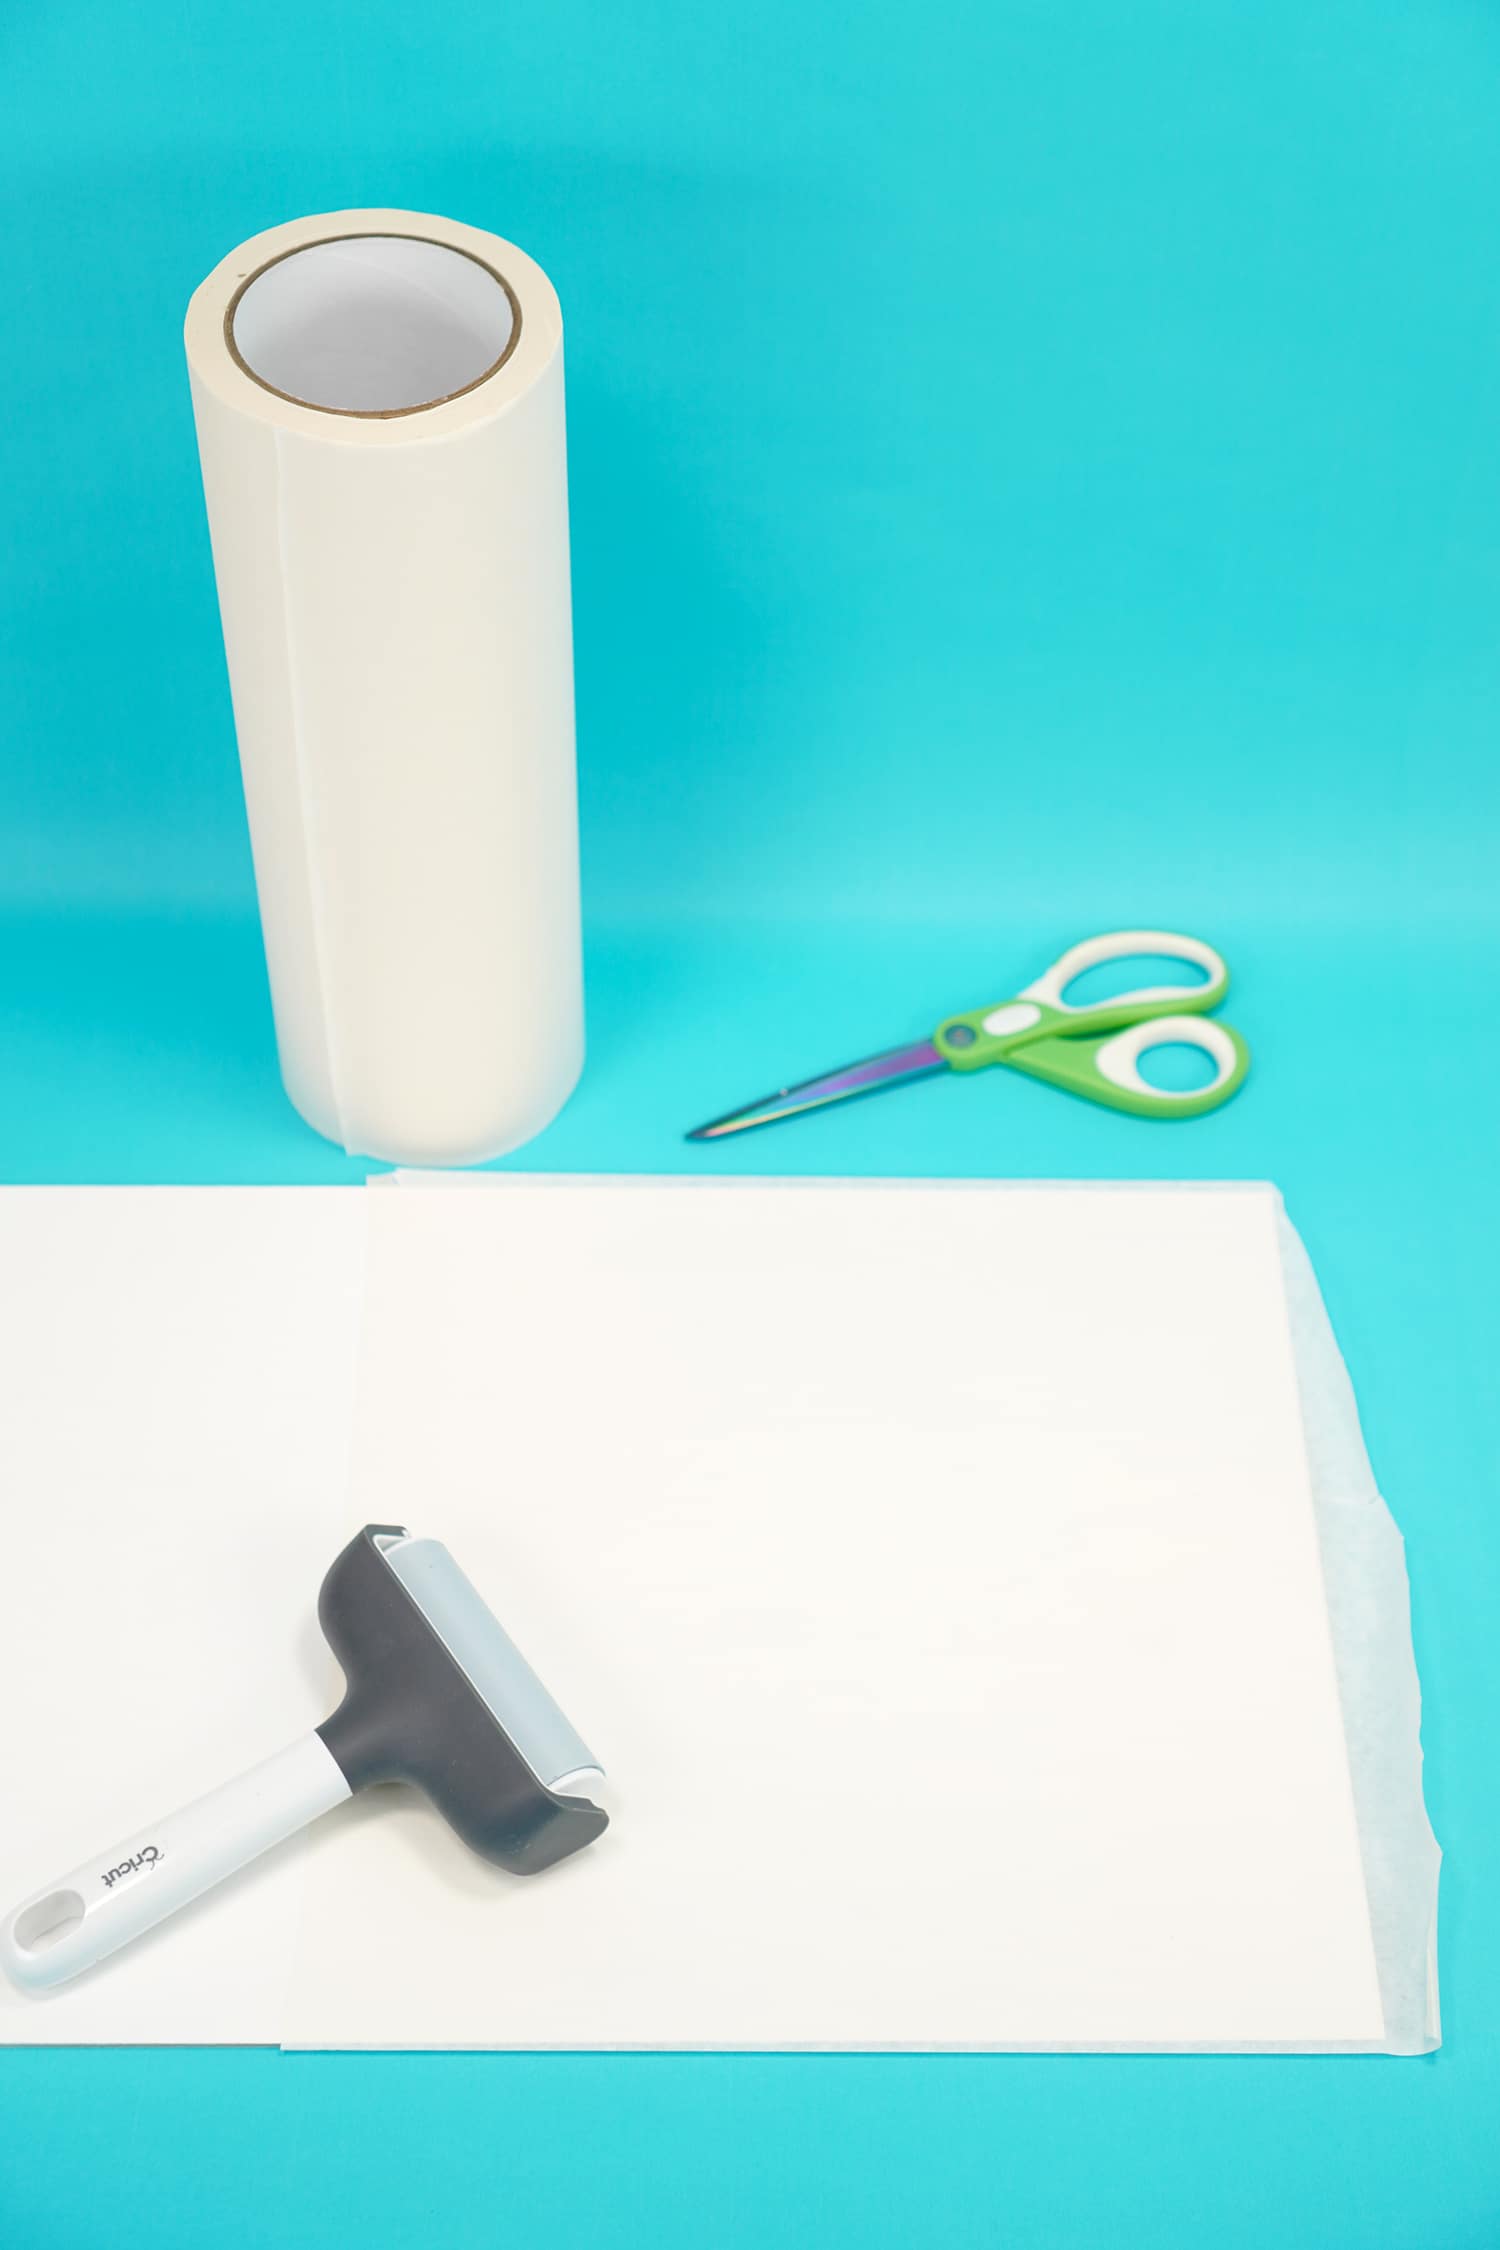
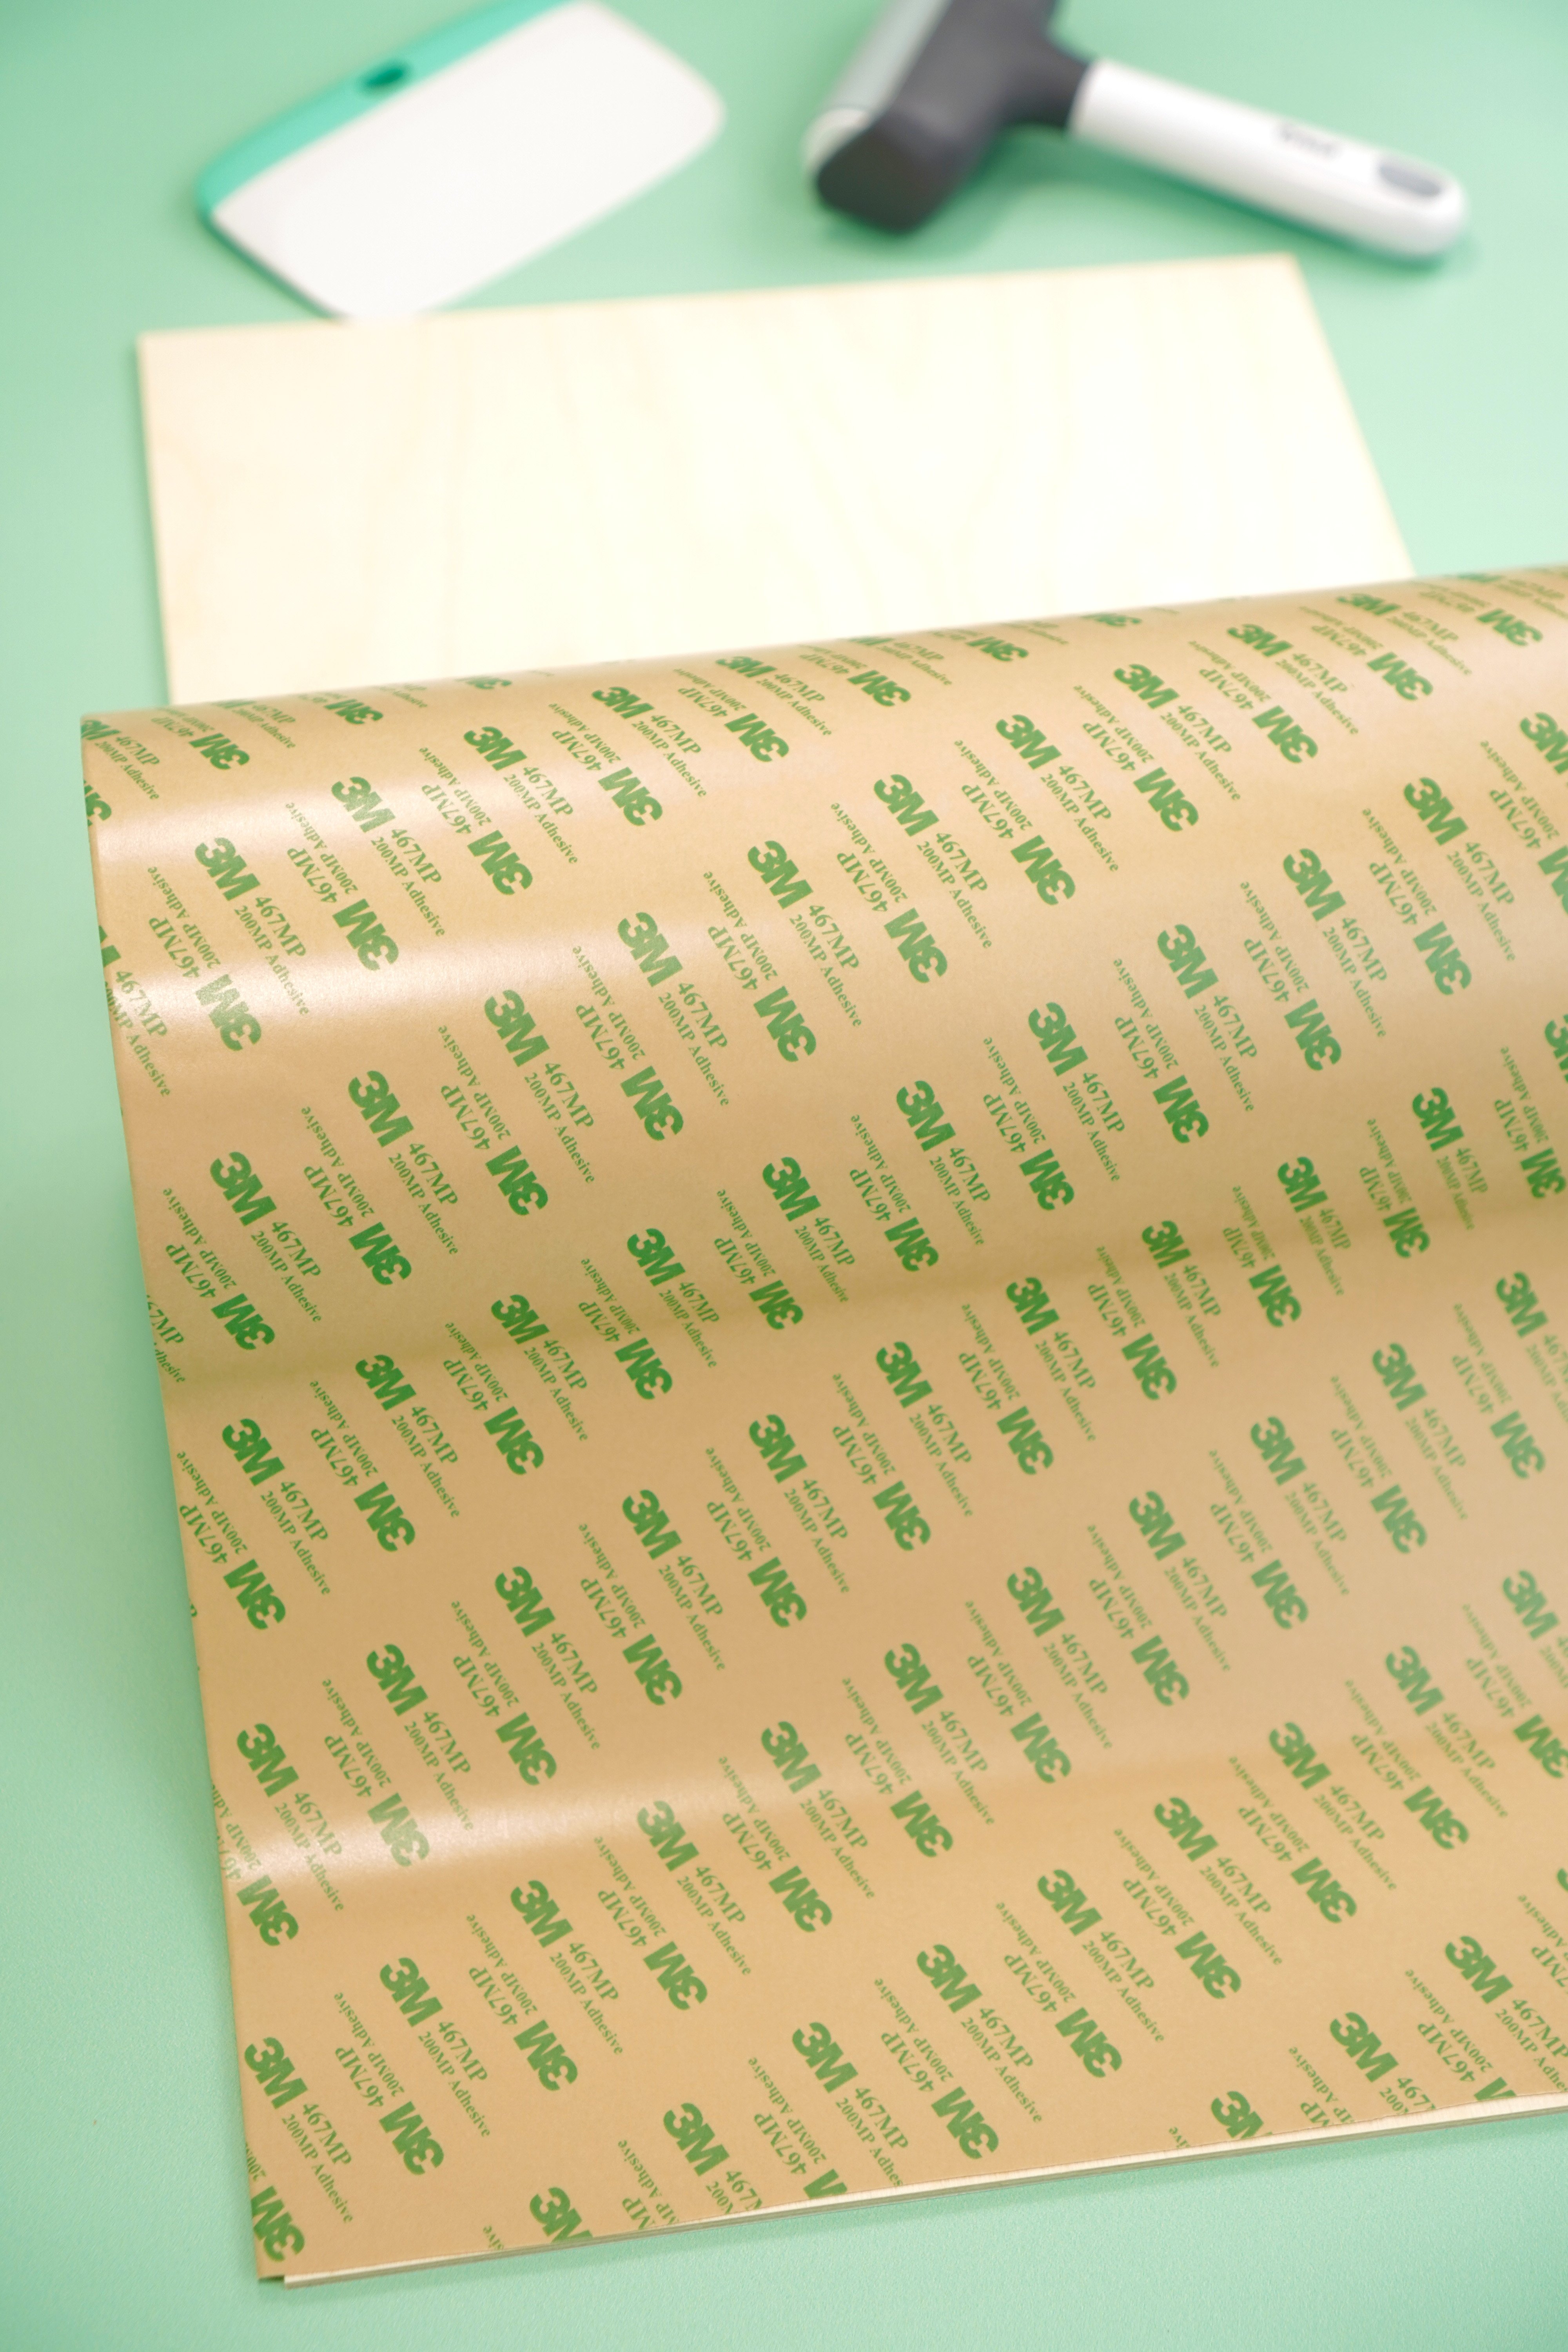
One side of the sheet of unpainted Baltic Birch Plywood gets masked with paper masking tape (use a brayer to make sure it’s firmly adhered to the surface). The other side of the wood sheet gets masked in one of my favorite time-saving products…
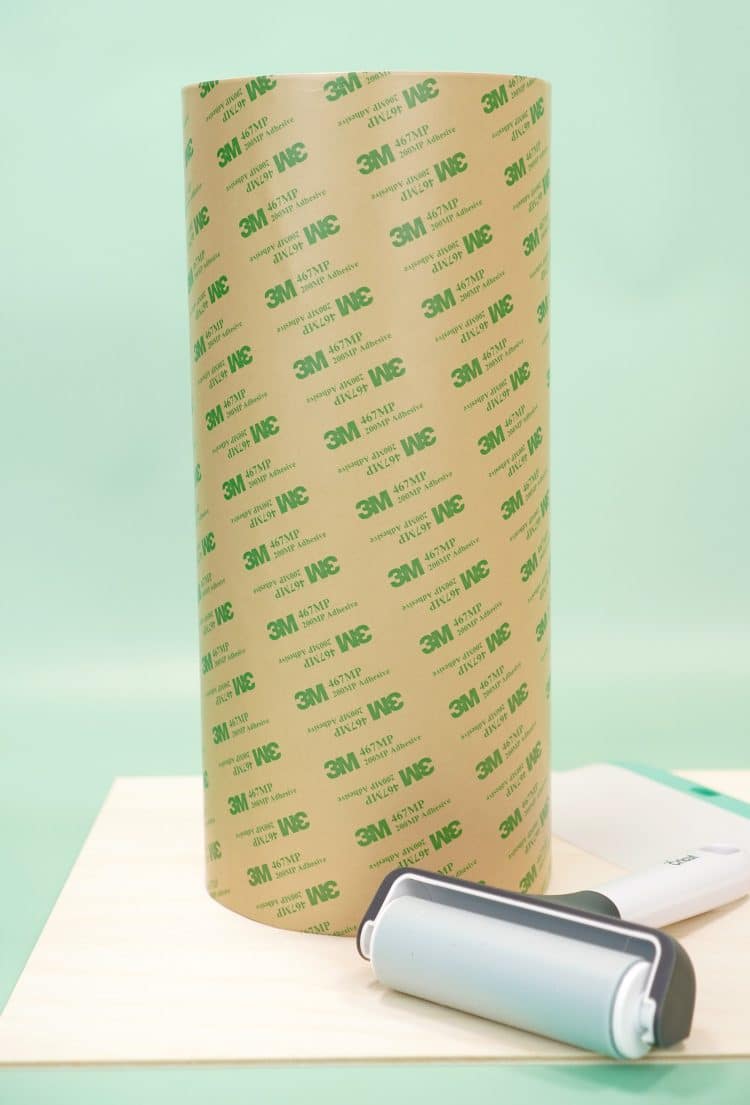
…and here she is, ladies and gentlemen…the star of the show! 🤩🤩🤩
This amazing 3M Double-Sided Adhesive Tape is a TOTAL game changer! When you apply this pressure-sensitive adhesive to the back of your wood before cutting, you’ll end up with individually cut wood pieces that can simply be peeled and stuck directly to your sign! No glue, no mess! You can’t get any more easy peasy than that!
Currently, 3M Double-Sided Adhesive Tape is a little harder to get your hands on than it was pre-pandemic, but it’s still readily available with a little searching. In your search, you may run across some similar 3M products with different numbers, so here’s a quick rundown on which ones we use and recommend for sign making.
We prefer to use 3M 467 Adhesive for lightweight sign pieces (wood, acrylic, draftboard, etc.), but 3M 468 is also totally acceptable (it’s basically just a thicker version of 467!). For heavier sign pieces, 3M 300 Double-Sided Adhesive is ideal as it is thicker and has an even heavier duty bond.
You can also purchase Glowforge-sized sheets of MDF or Baltic Birch Wood with 3M Adhesive already applied to save time AND money!
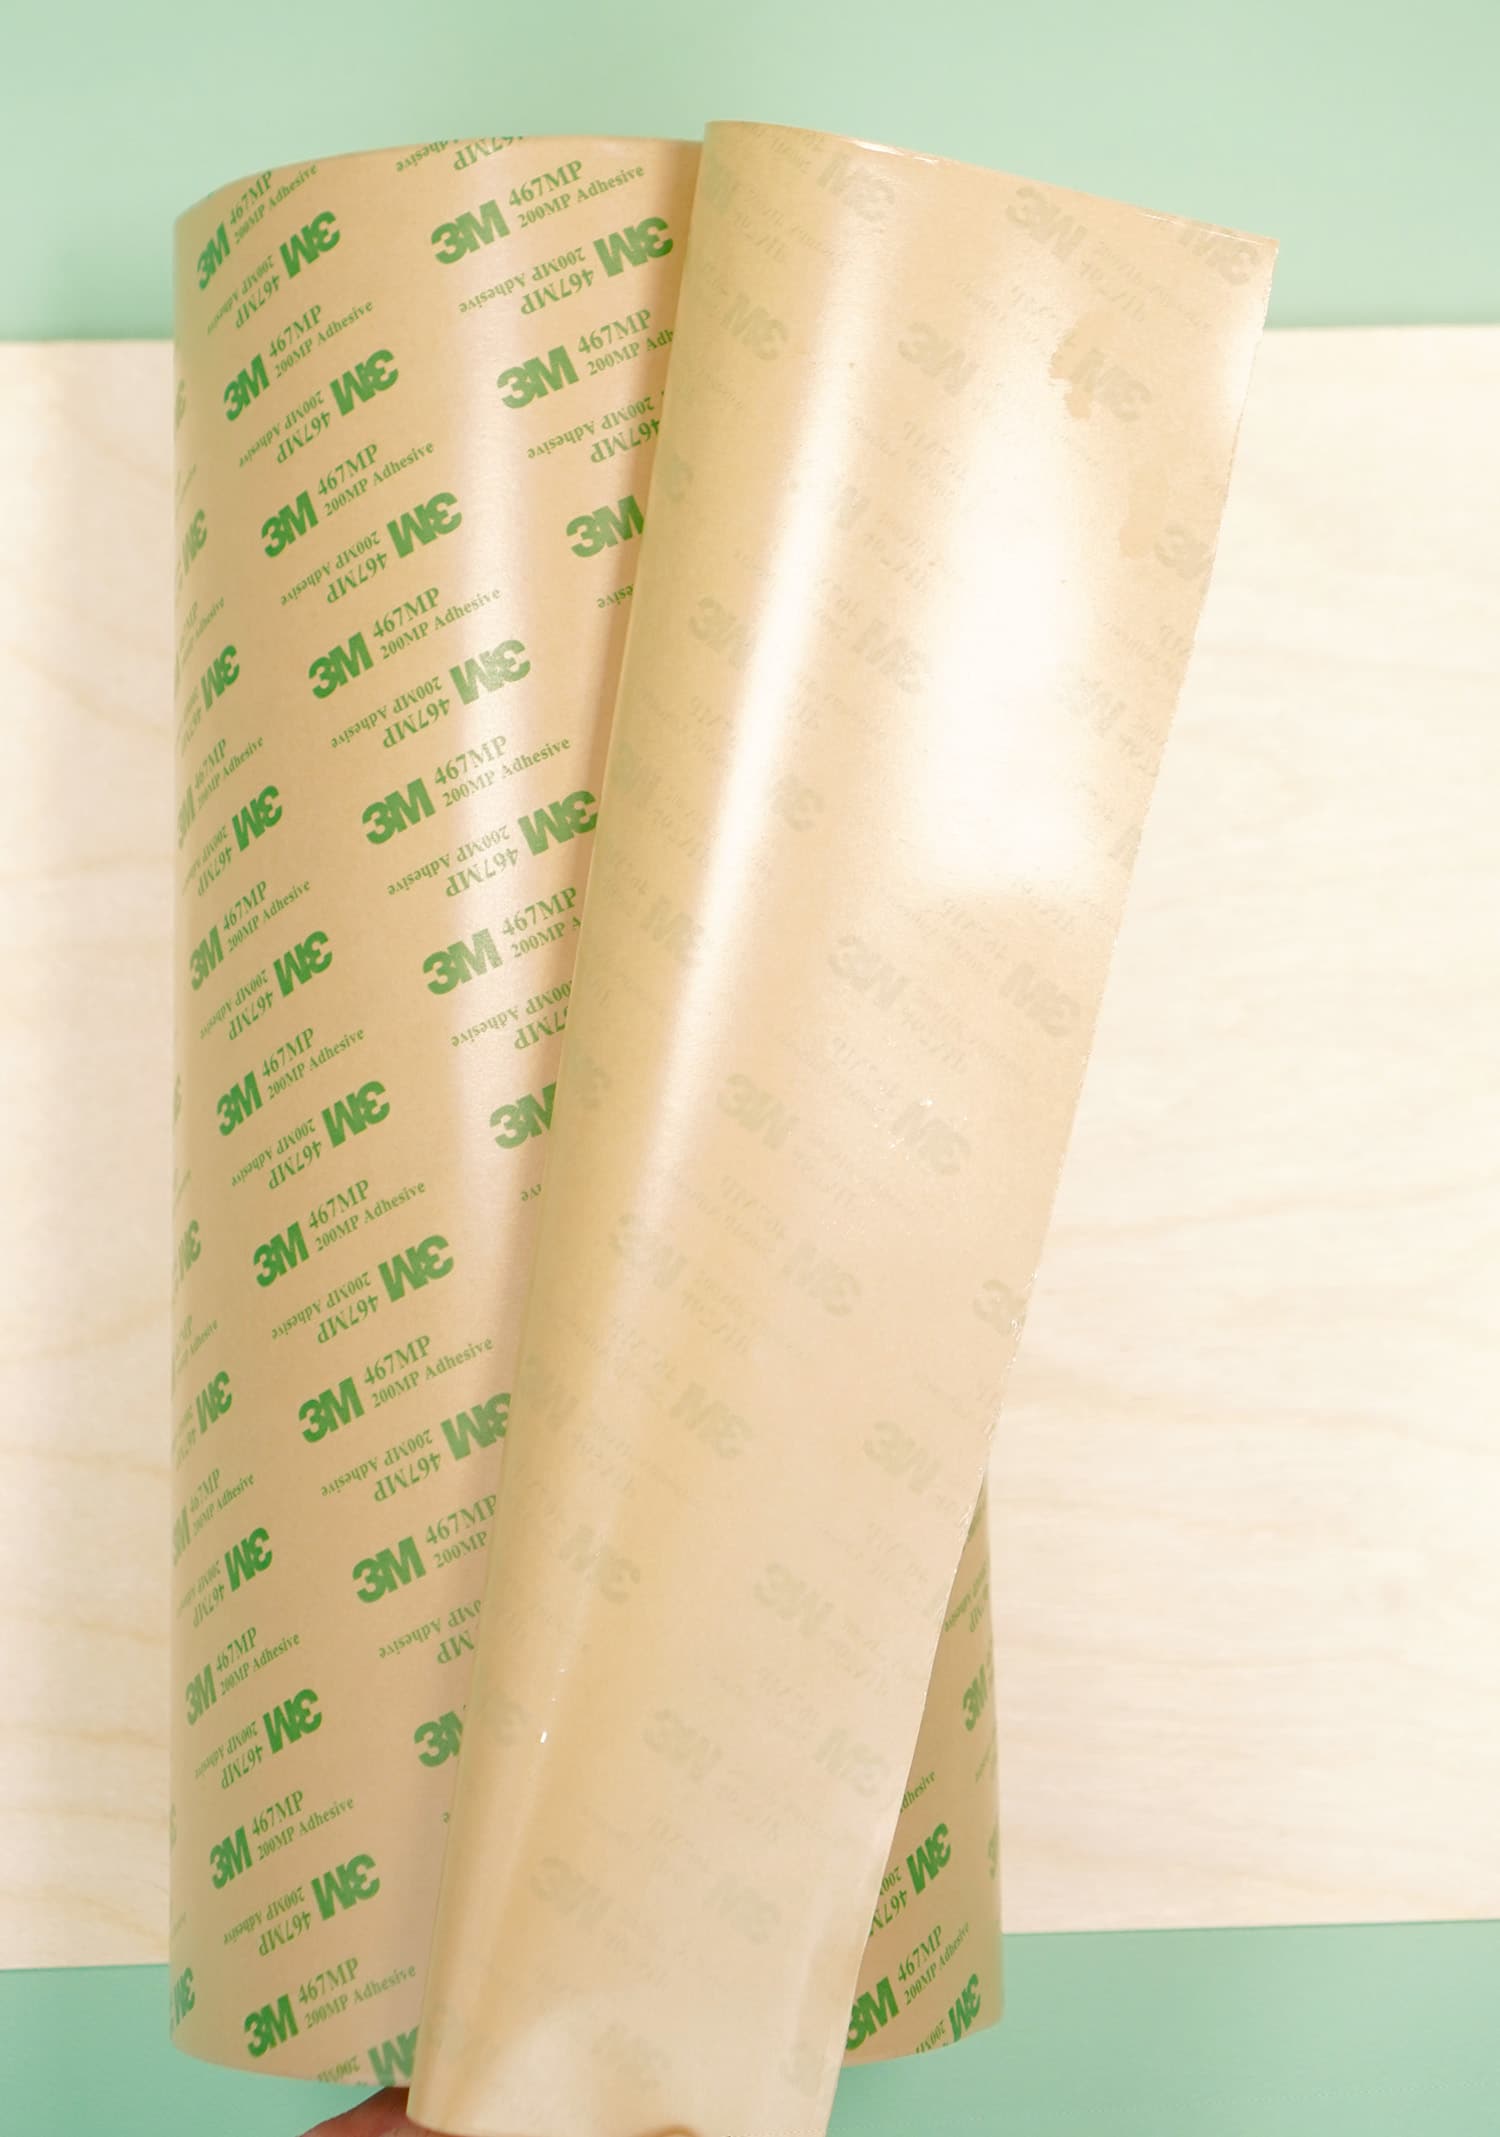
If you prefer, you can choose to unroll and apply the 3M adhesive directly to the wood, using a brayer or scraping tool to smooth it down as you apply it.
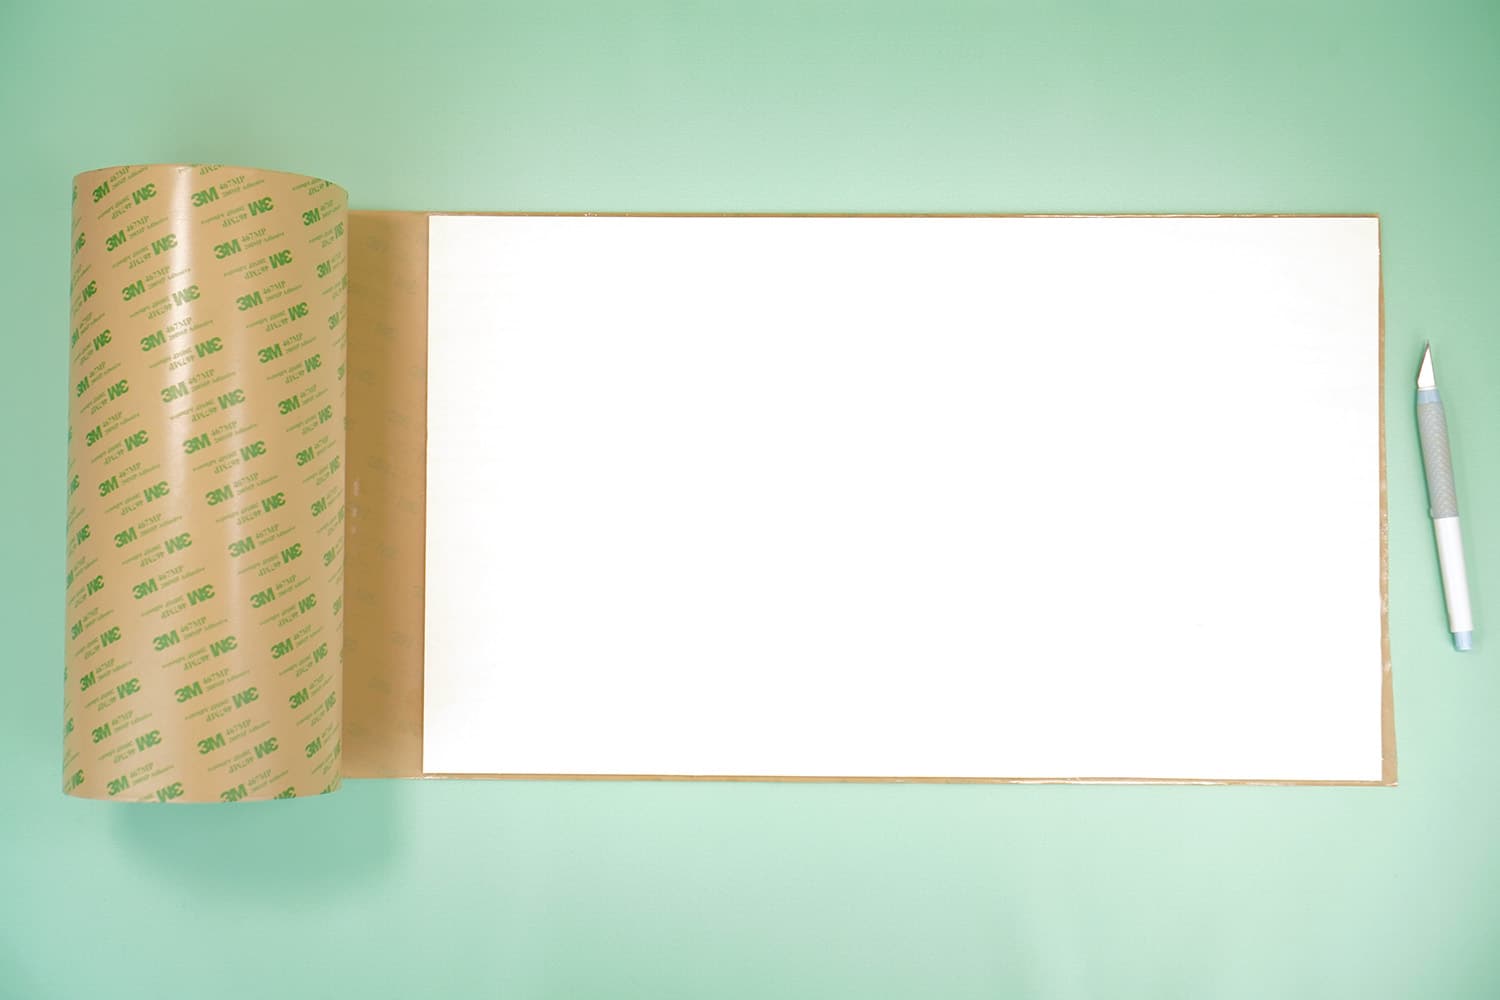
Personally, I prefer to unroll a length of adhesive and then place my wood on top of it. Then, I can trim the adhesive to size before flipping the board over and using the brayer to make sure everything is firmly adhered.
NOTE:
If you find yourself making a lot of signs after this (trust me, you will!), you may wish to paint, mask, and prep several sheets of wood at a time. That way you’ll always have wood prepped and ready-to-go when inspiration strikes! (And you’ll save even MORE time in the long run!)
Step 2: Glowforge Time!
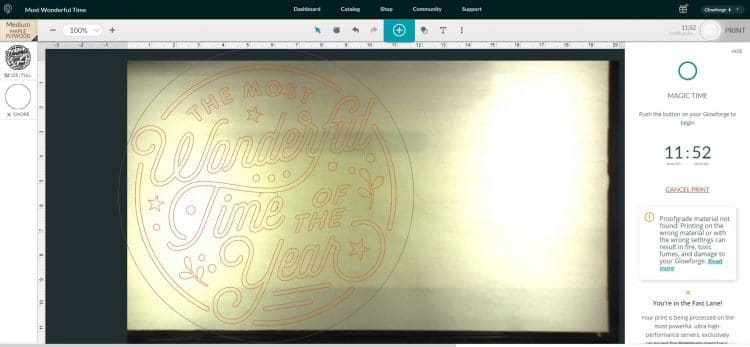
Turn on your Glowforge machine and place the wood round (or sheet of masked wood if you’re not using a round) into the machine. Open the Glowforge Software, and upload the “The Most Wonderful Time of the Year” SVG File by clicking on the large “+” in the upper center of the screen.
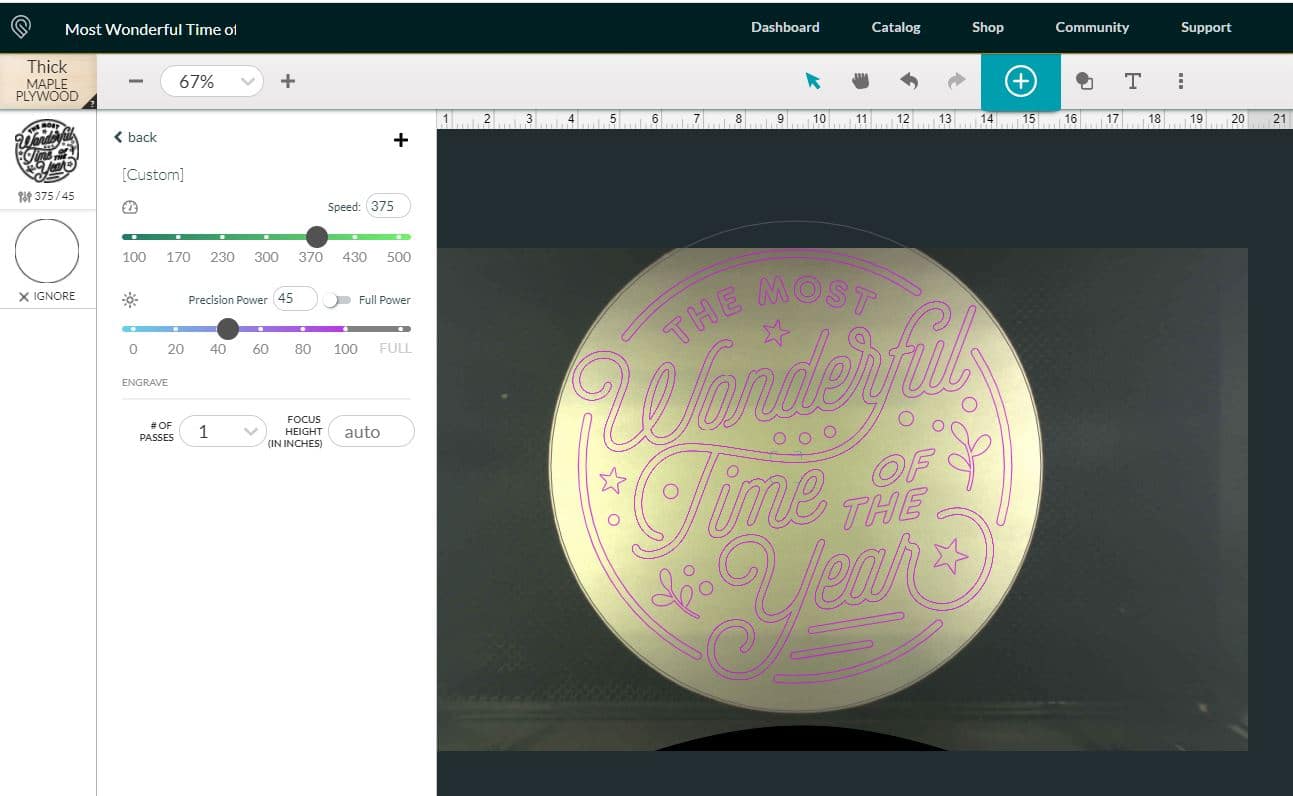
Select your material (I used “Thick Maple Plywood” for my 1/4″ round since it is very similar) and set your focus in the center of the wood. In the left panel, set the main layer of the design to “Score” with a speed of 375 and 45 power (see settings note below).
If you’re using a wood round as your base, scale the design to fit the circle, and choose to “Ignore” the outer ring of the design.
If you’re cutting the round sign base from a sheet of wood, select “Cut” from the left panel for the outer ring of the design.
Click “Print” and watch the magic happen! (Just don’t stare directly at the laser, okay?)

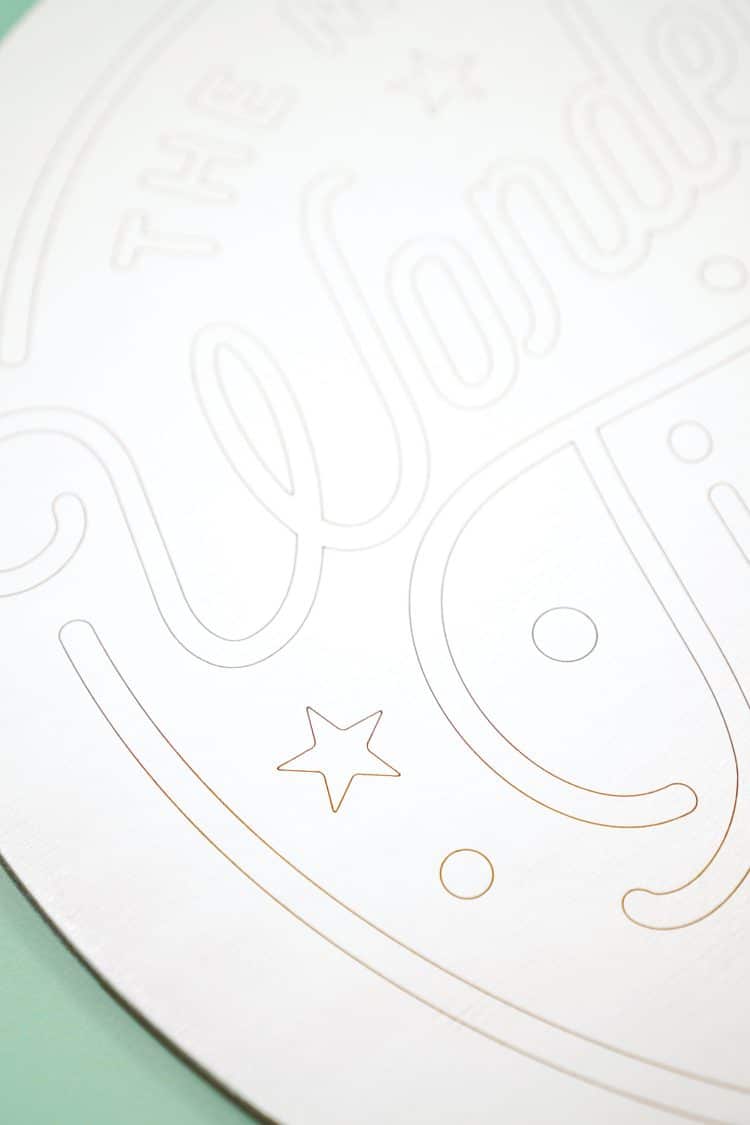
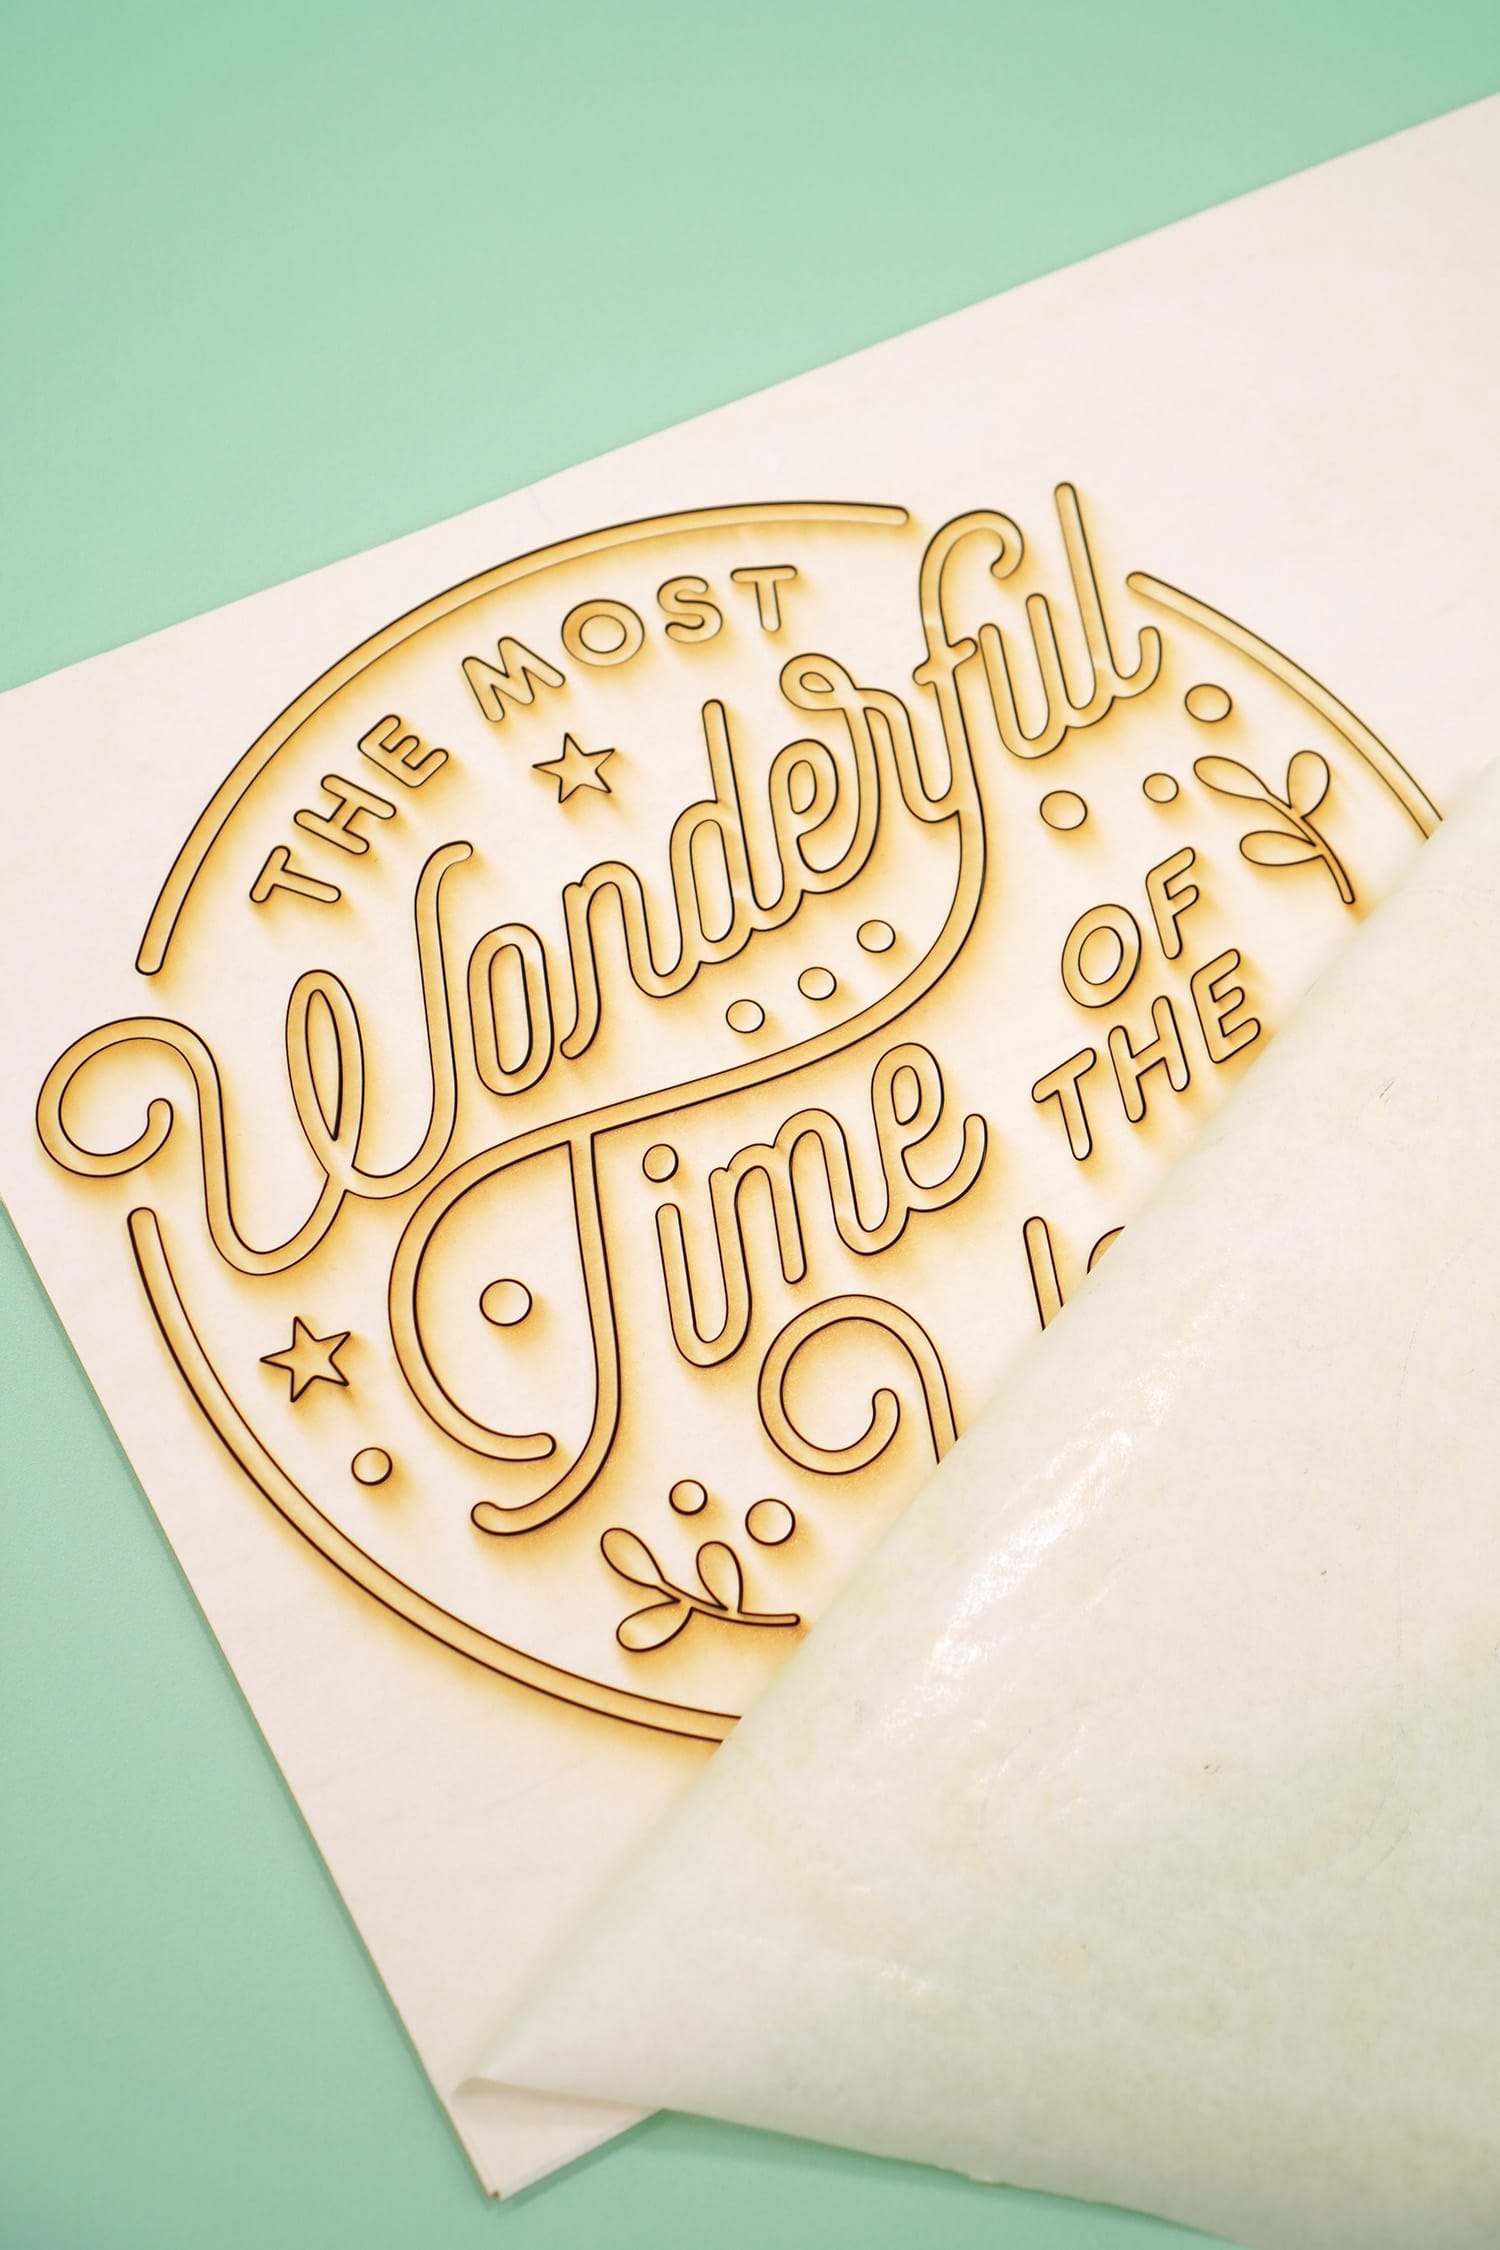
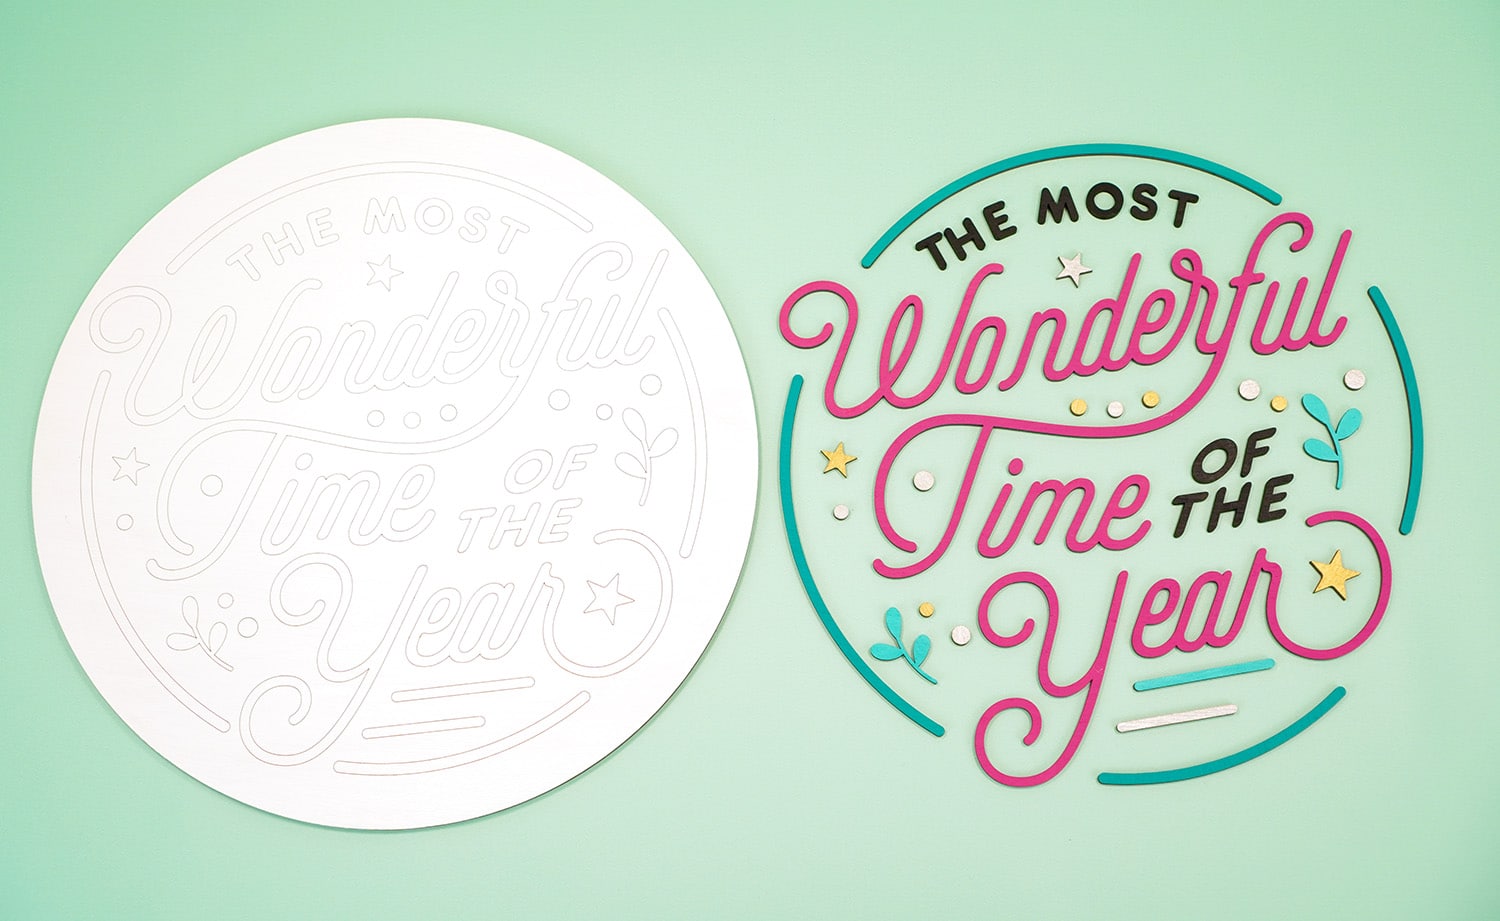
After the scoring is finished, remove the sign base from the Glowforge and peel off the masking tape.
By scoring the wood sign base with the design, I have essentially created a wood “Coloring Book” outline to be filled in with my laser-cut wood sign pieces! No more eyeballing or guessing at where to place your pieces or using awkward templates that can shift around! (Another time saver!)
Settings Notes: With the 375/45 score settings, you can plainly see the score lines, however, they are not very deep. If you would like even fainter scoring lines, you can experiment with the settings on your machine (I would suggest starting with speeding up the laser and keeping it around the same power intensity).
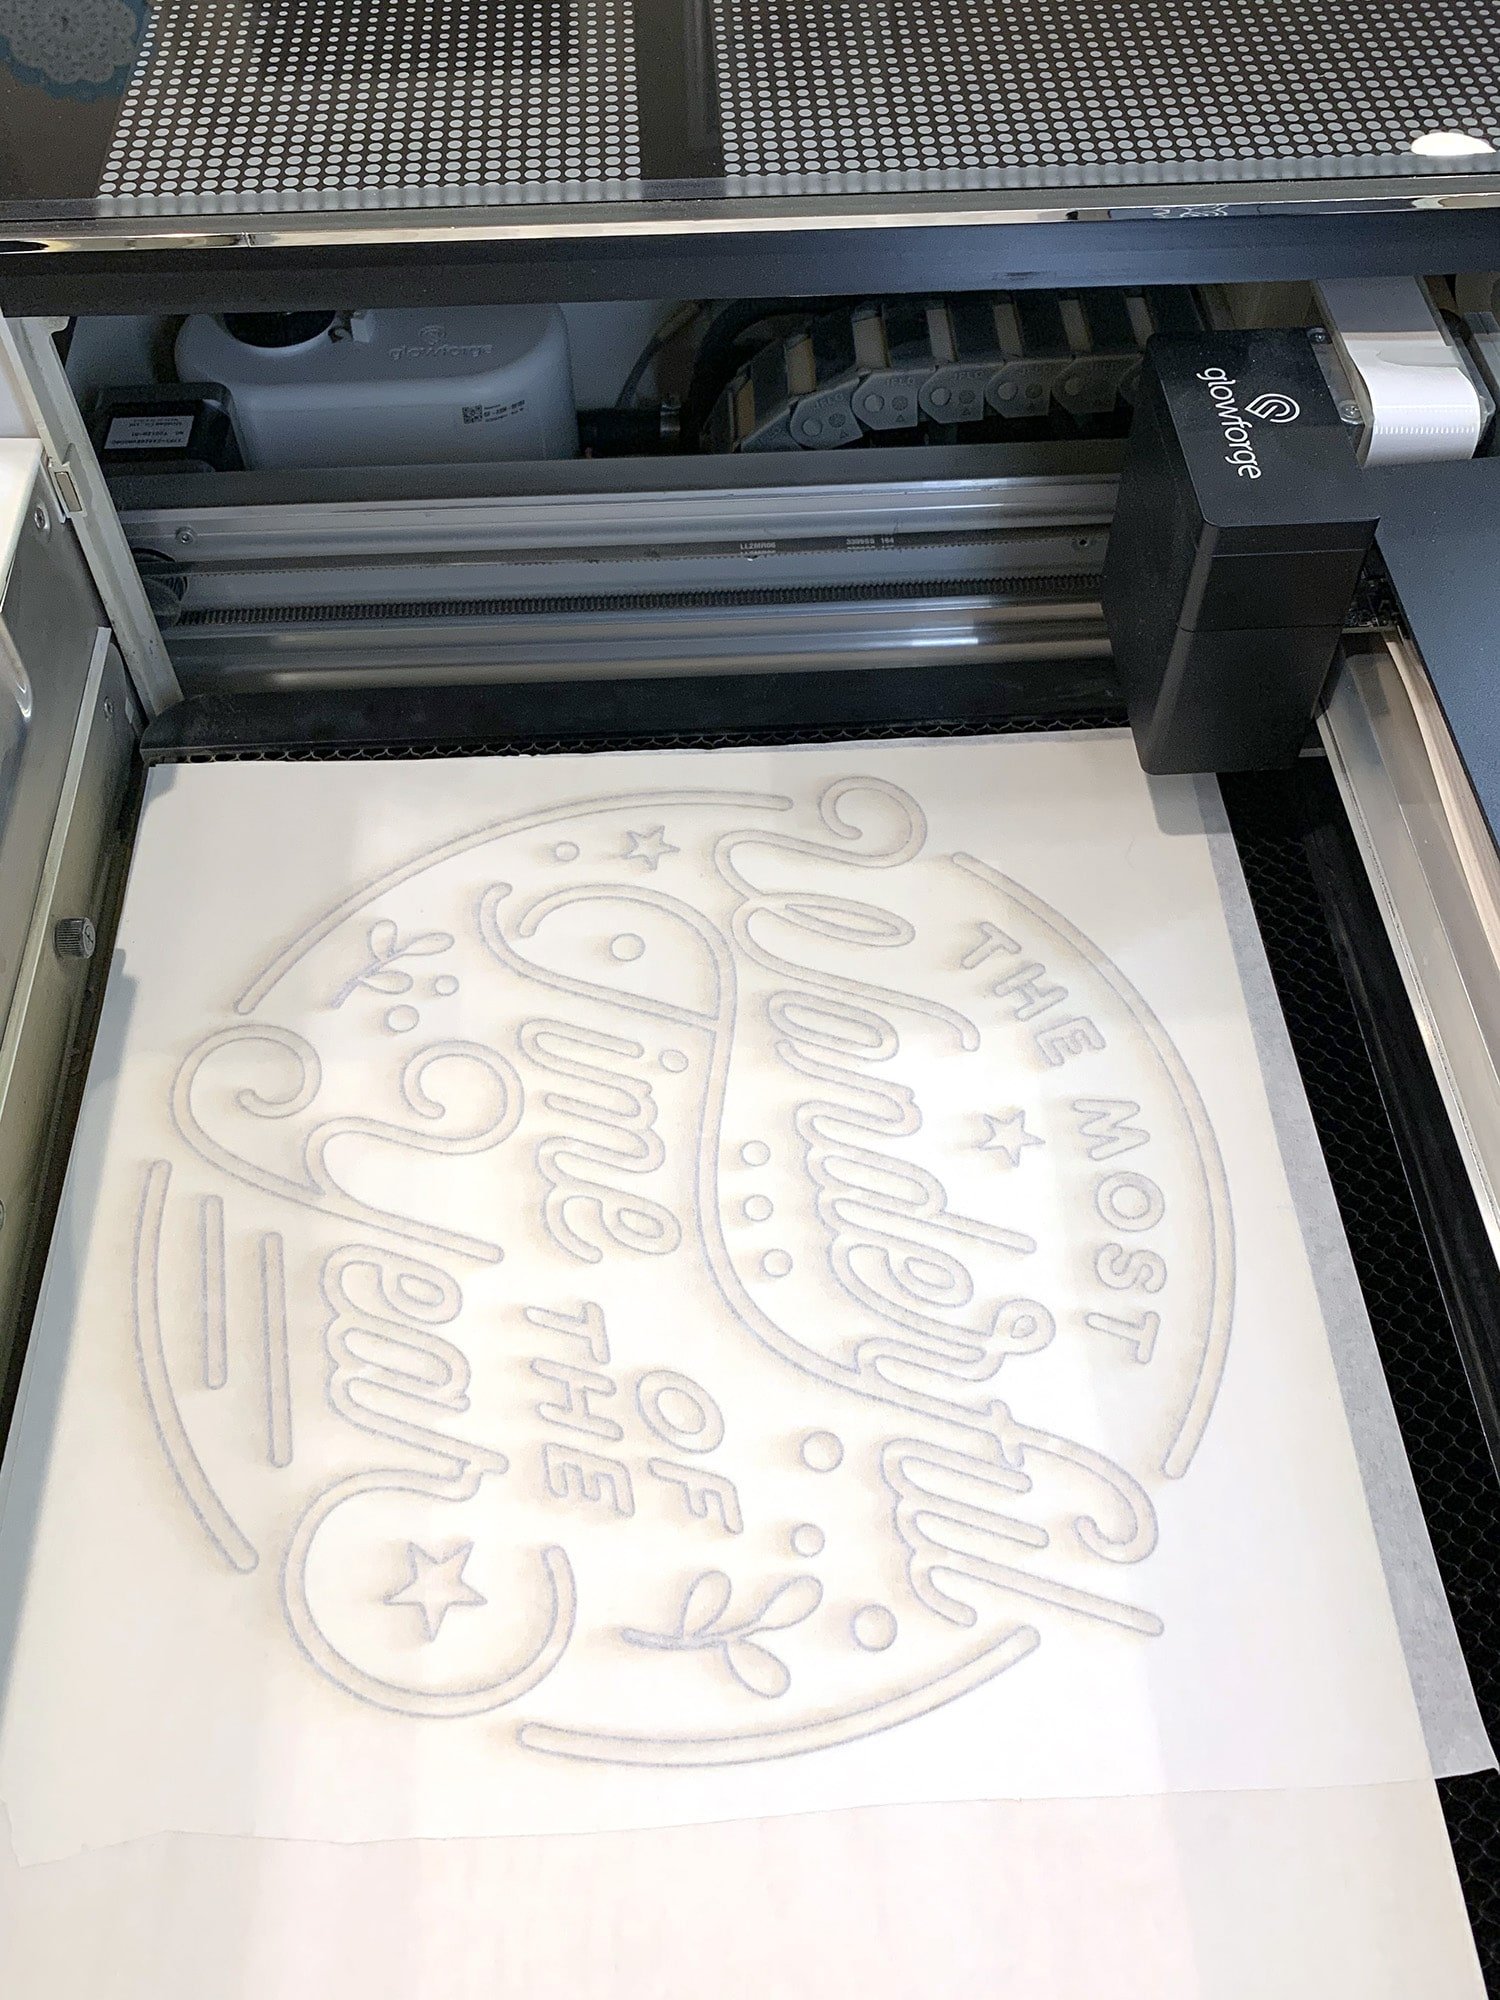
Next, load the sheet of wood into the Glowforge with the paper masked side up and the 3M Adhesive side down.
Select your material (I used “Medium Maple Plywood” for my 3mm Baltic Birch plywood) and set your focus in the center of the design. Choose “Cut” from the left panel and select settings appropriate for your material (I used 158 speed and full power).
Click “Print,” and it’s magic time again! I could watch the Glowforge cut ALL. DAY. LONG! (and sometimes I do! 😂)

When the cutting is finished, open up the machine, but don’t remove the wood just yet.
(Time for another time-saving tip!)
Carefully apply another layer of masking tape over the entire surface of your cut design. Use your fingers to apply gentle pressure to make sure all of the pieces are adhered to the tape. Use caution so that you don’t accidentally lose any small pieces through the Crumb Tray!
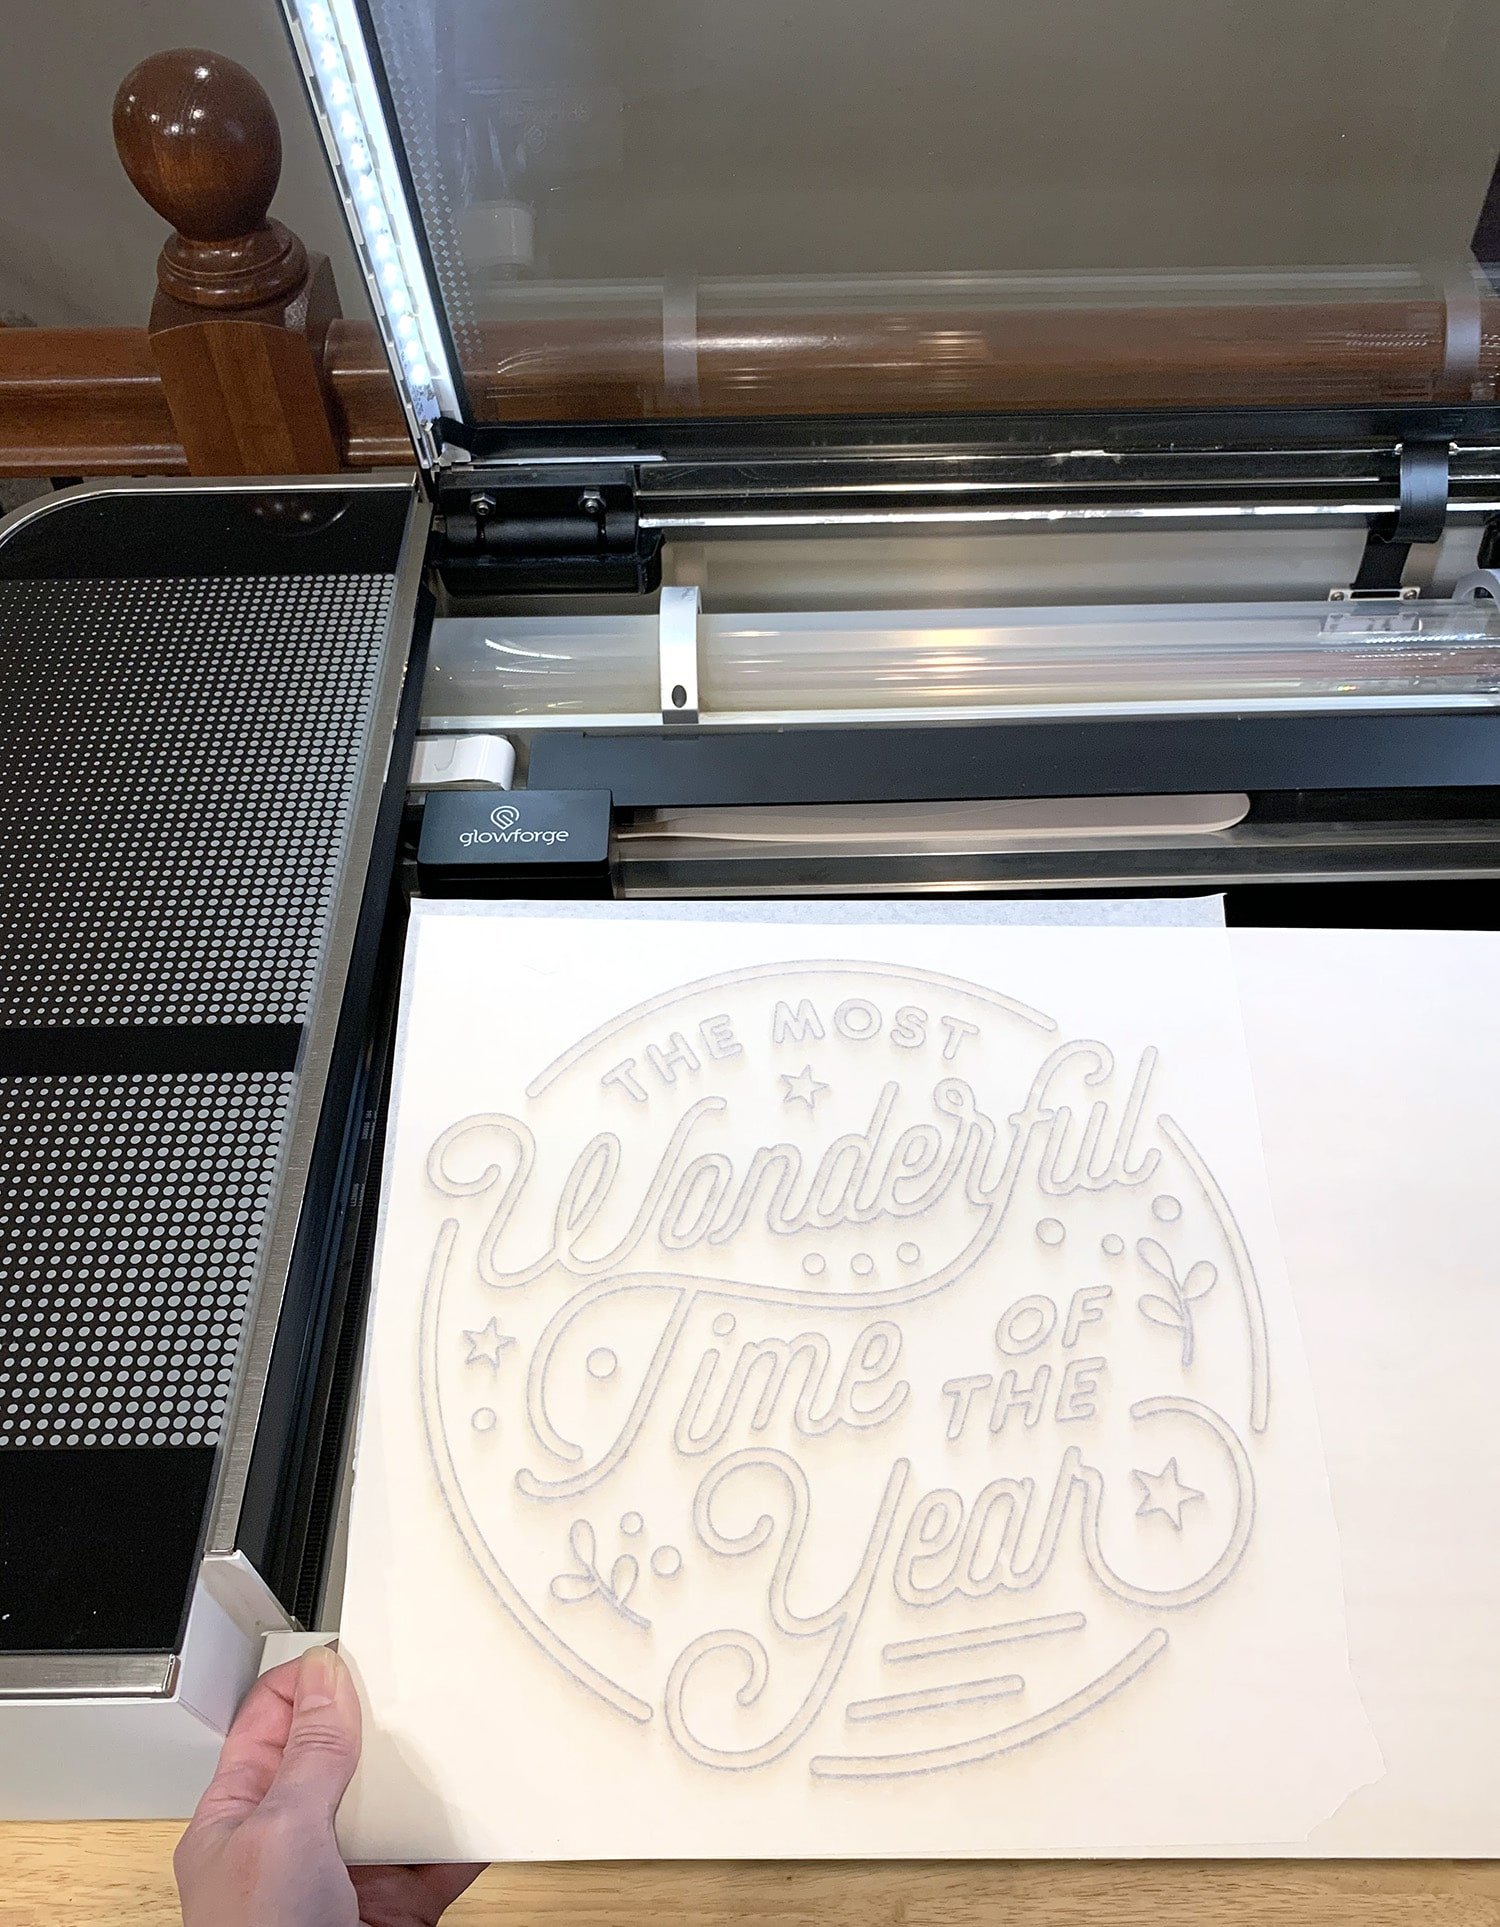
Now, you can lift the entire sheet out of the machine in one single piece and easily transport it to your work surface!
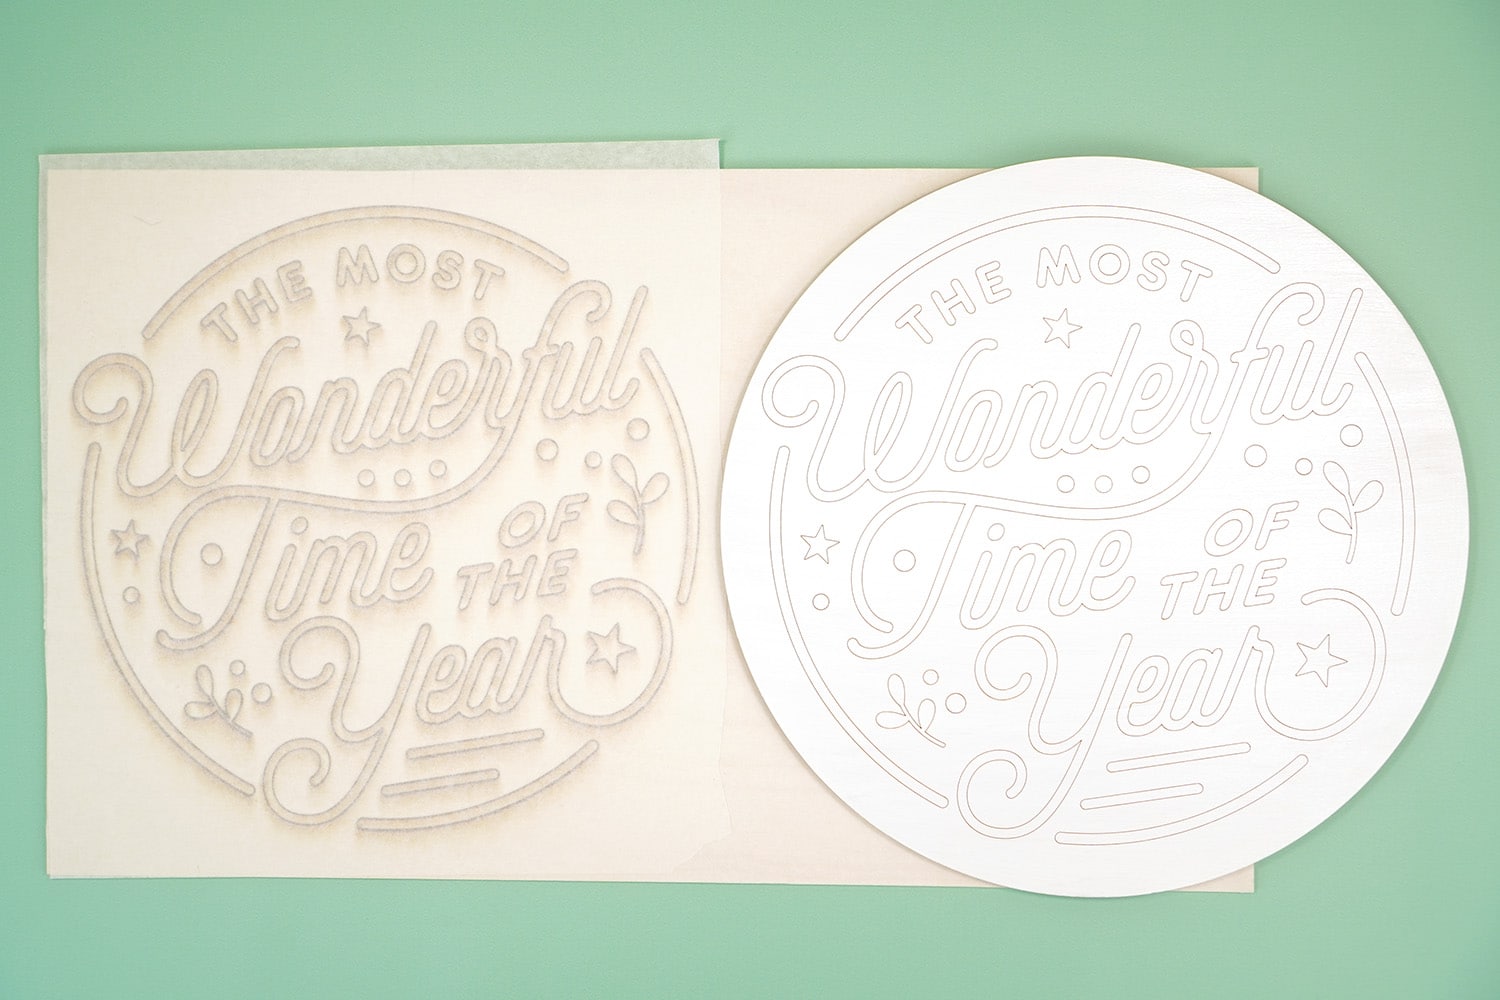
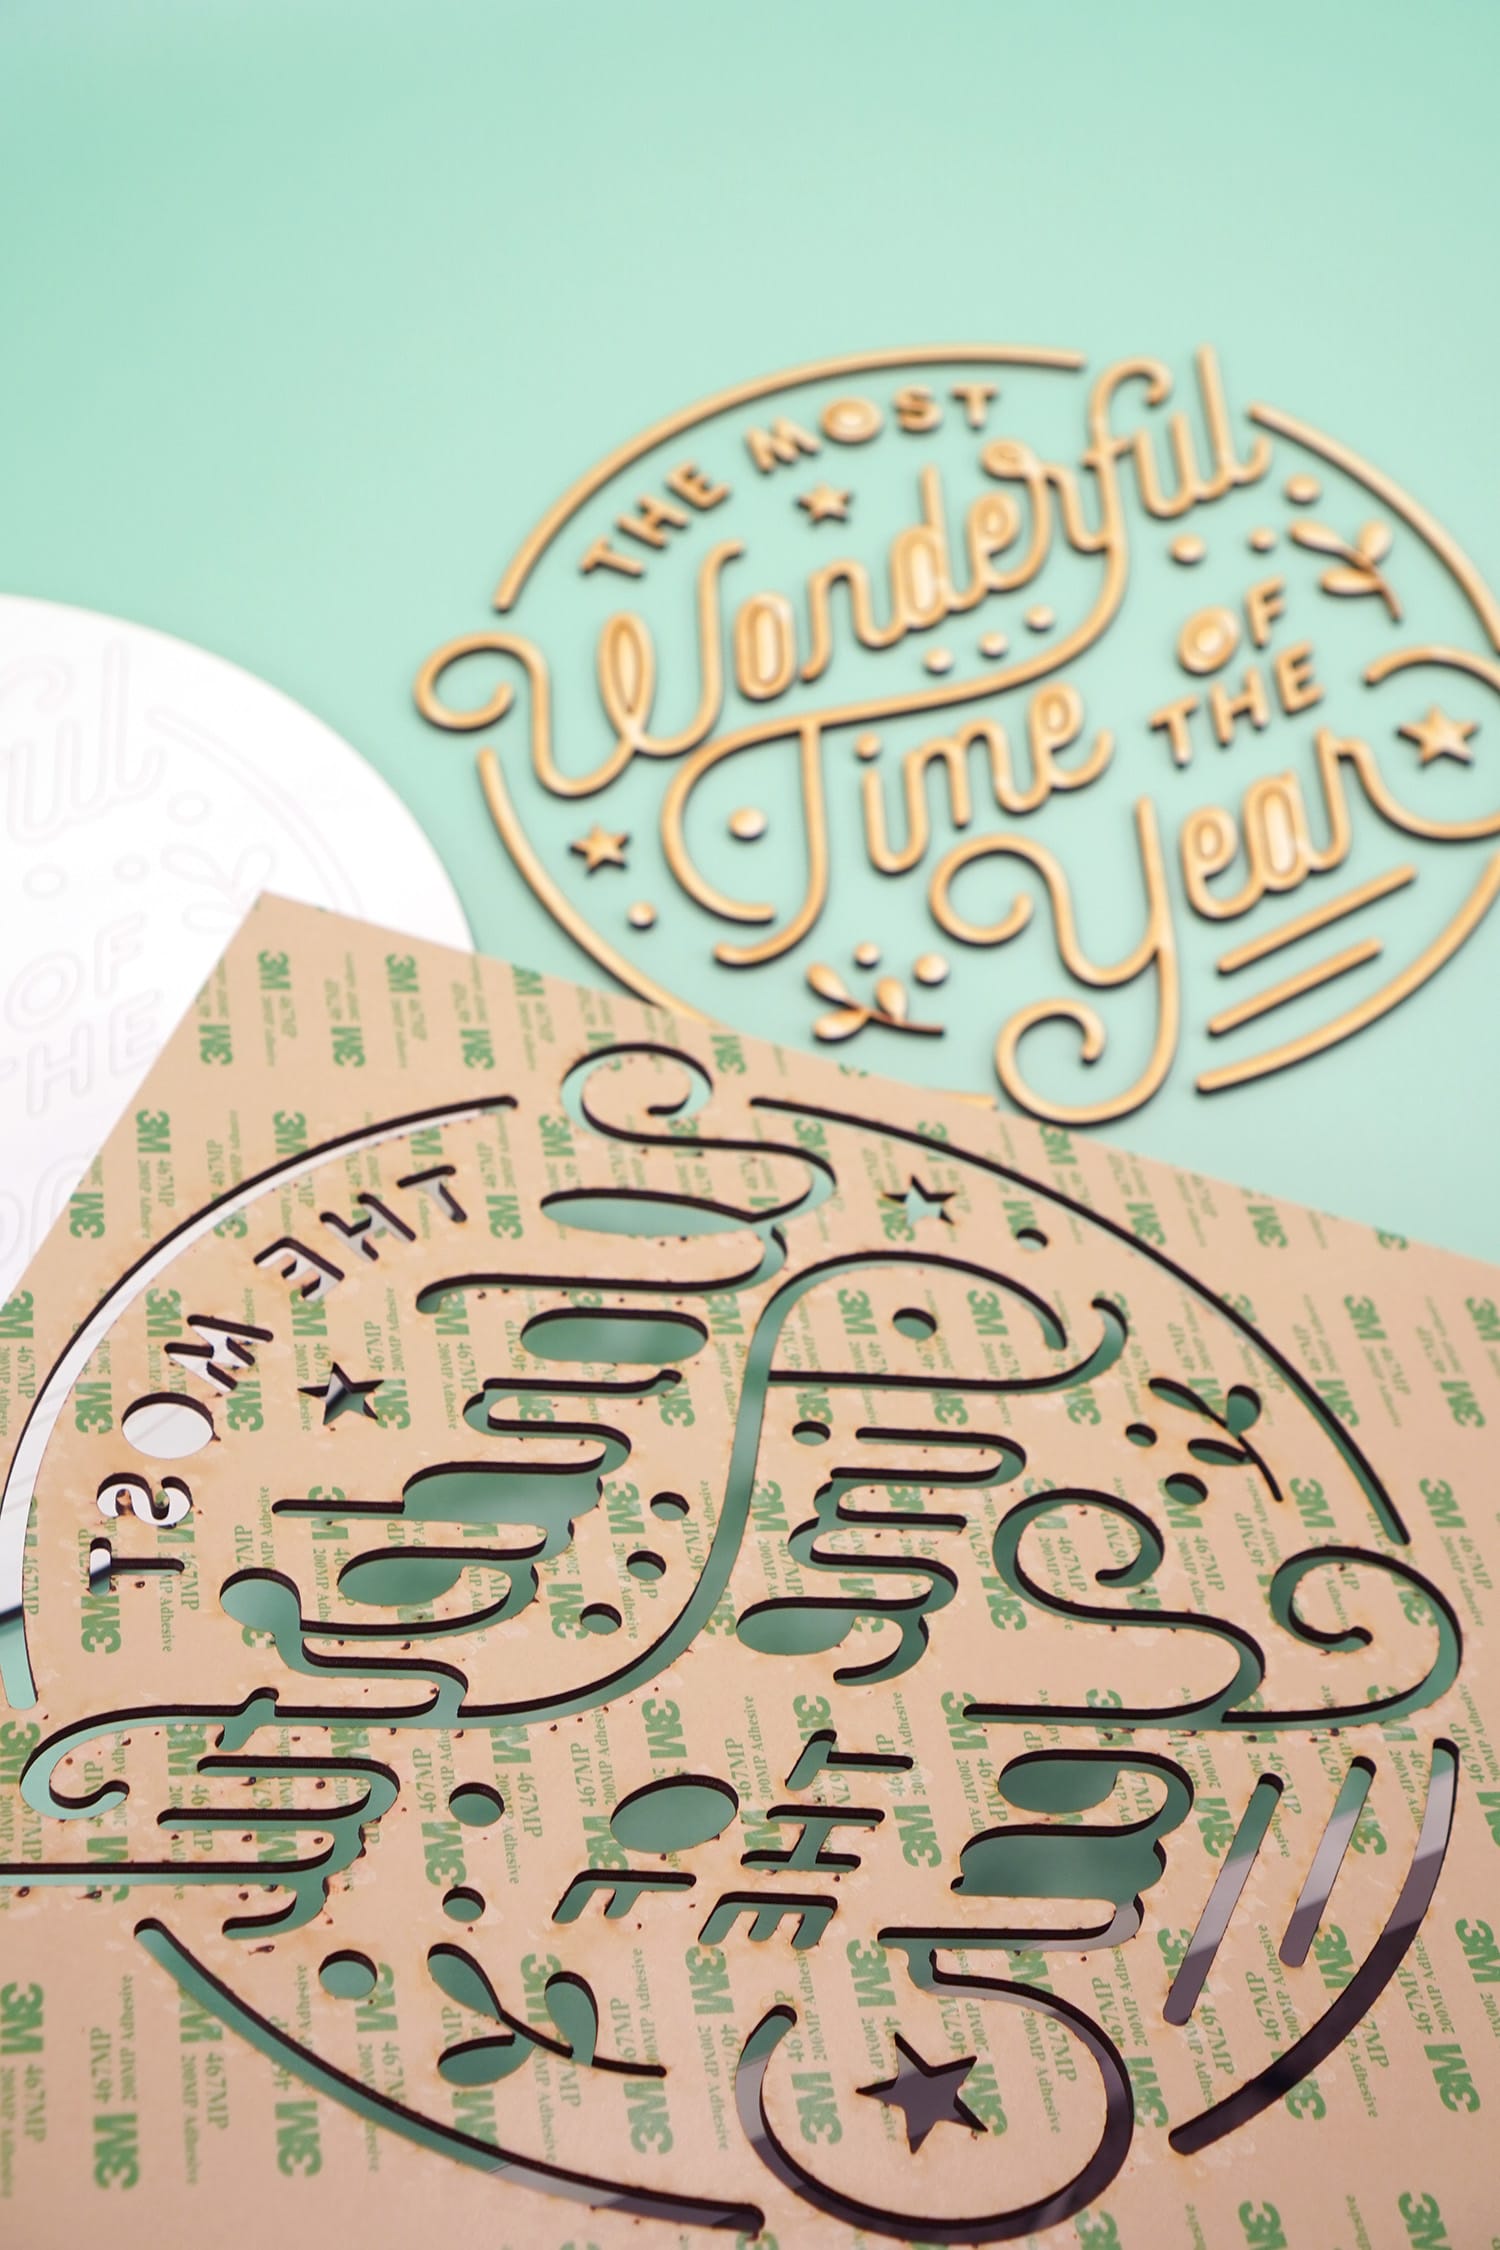
On your work surface, you should now have a painted, scored, and circle-cut sign base along with with a sheet of wood that has the design pieces cut out (masked with two layers of paper masking tape on the front and 3M Adhesive on the back). On to the next step!
Step 3: Unmasking & Painting
Carefully remove the top layer of masking from the cut sheet of wood.
Set the remainder of the large sheet of wood aside for another project – there’s still SO much you can do with the leftover scrap pieces, especially when you have the 3M Adhesive on the back! We don’t waste anything around here! (Scrap hoarders, unite! 😉)

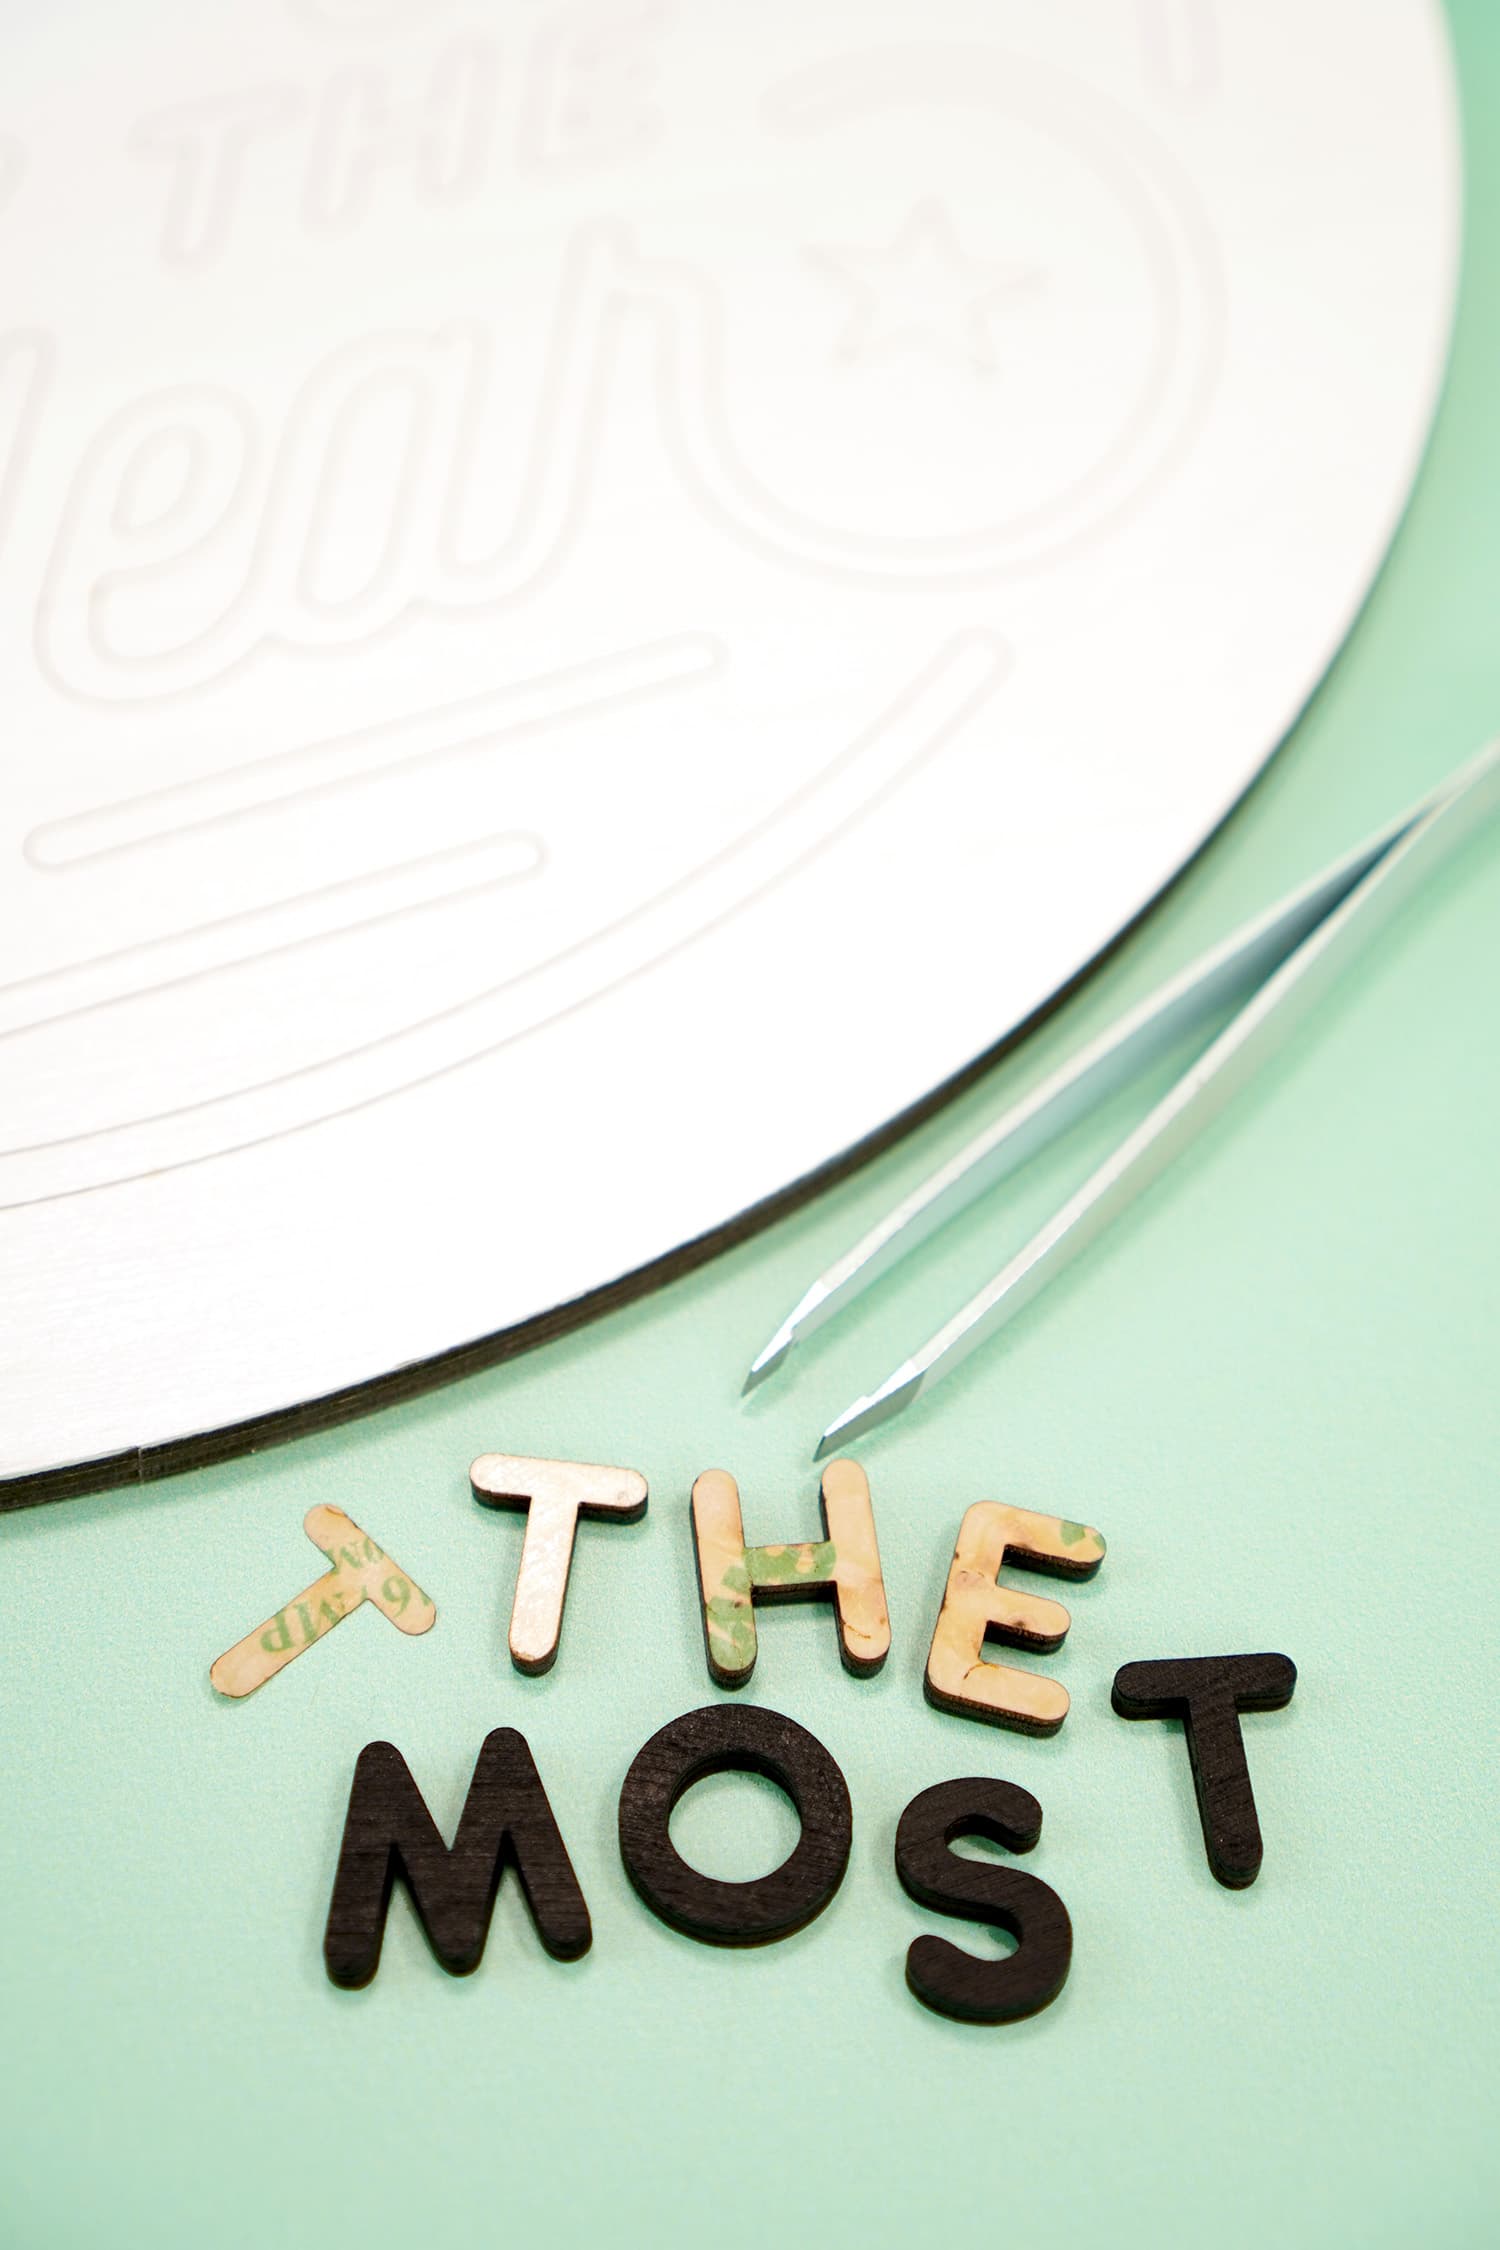
Remove the final layer of masking tape from the top of each of the laser cut wood pieces. I find that a pair of slant tip tweezers helps to make quick work of this step!

There’s something incredibly satisfying about peeling off the layer of scorched masking to reveal lovely clean wood beneath!
The front side of the laser cut pieces are all raw wood, ready to be painted.
The back side of the pieces have the layer of 3M Adhesive.
To make the painting process go more quickly, I frequently use photo editing software to re-color and print a copy of my design file so that I can clearly see what my finished sign will look like. Using this colored image as a guide allows me to quickly and easily paint the wood pieces in like-colored batches all at once.
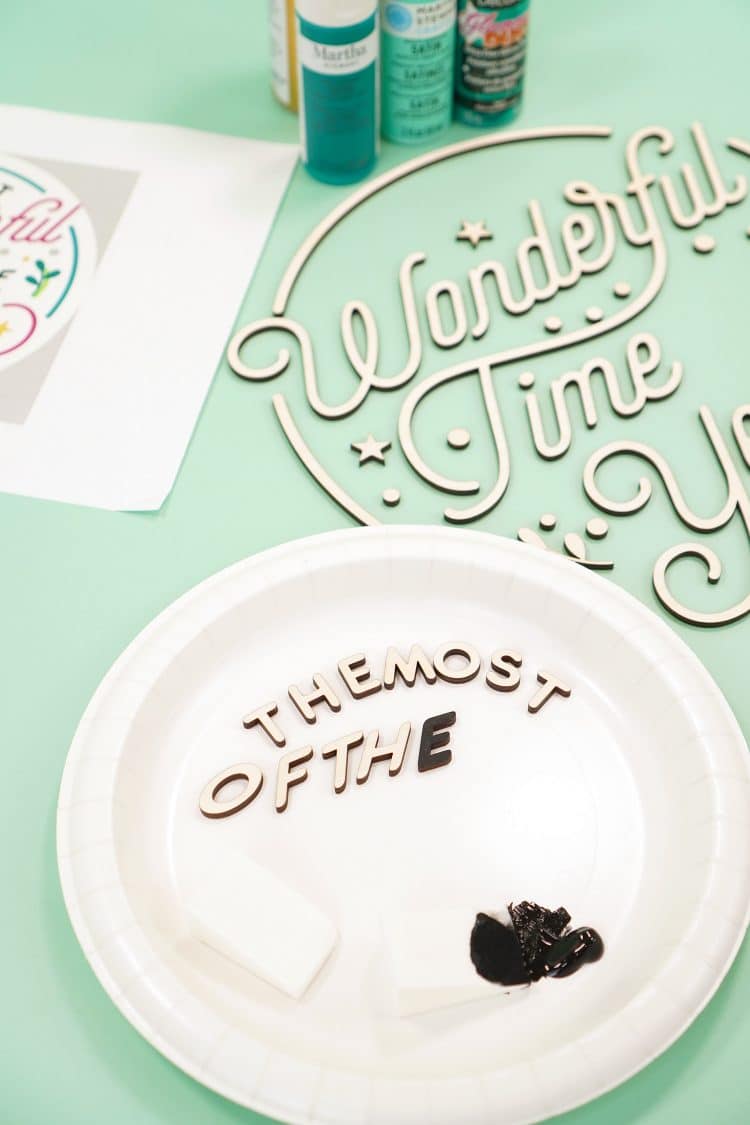
Paint the wood pieces using whichever method you prefer (brush, sponge, spray paint, etc.).
I generally get the smoothest and best results by using the edge of a cosmetic sponge to dab the face of the wood with a TINY bit of paint. Using this method, dark colors may require two coats of paint, but since the thin layers of paint dry VERY quickly, you can give it a second coat right away if necessary.
As I paint the pieces in colored groups, I place them back on the table in their approximate layout arrangement so that the next step goes as smoothly and quickly as possible.
Step 4: Laser-Cut Wood Sign Assembly
Time to put everything together! If you’ve ever tried gluing a bunch of thin pieces like these down, this may be your most dreaded step, but have no fear – this step goes by surprisingly fast now that we’re using the 3M Adhesive!
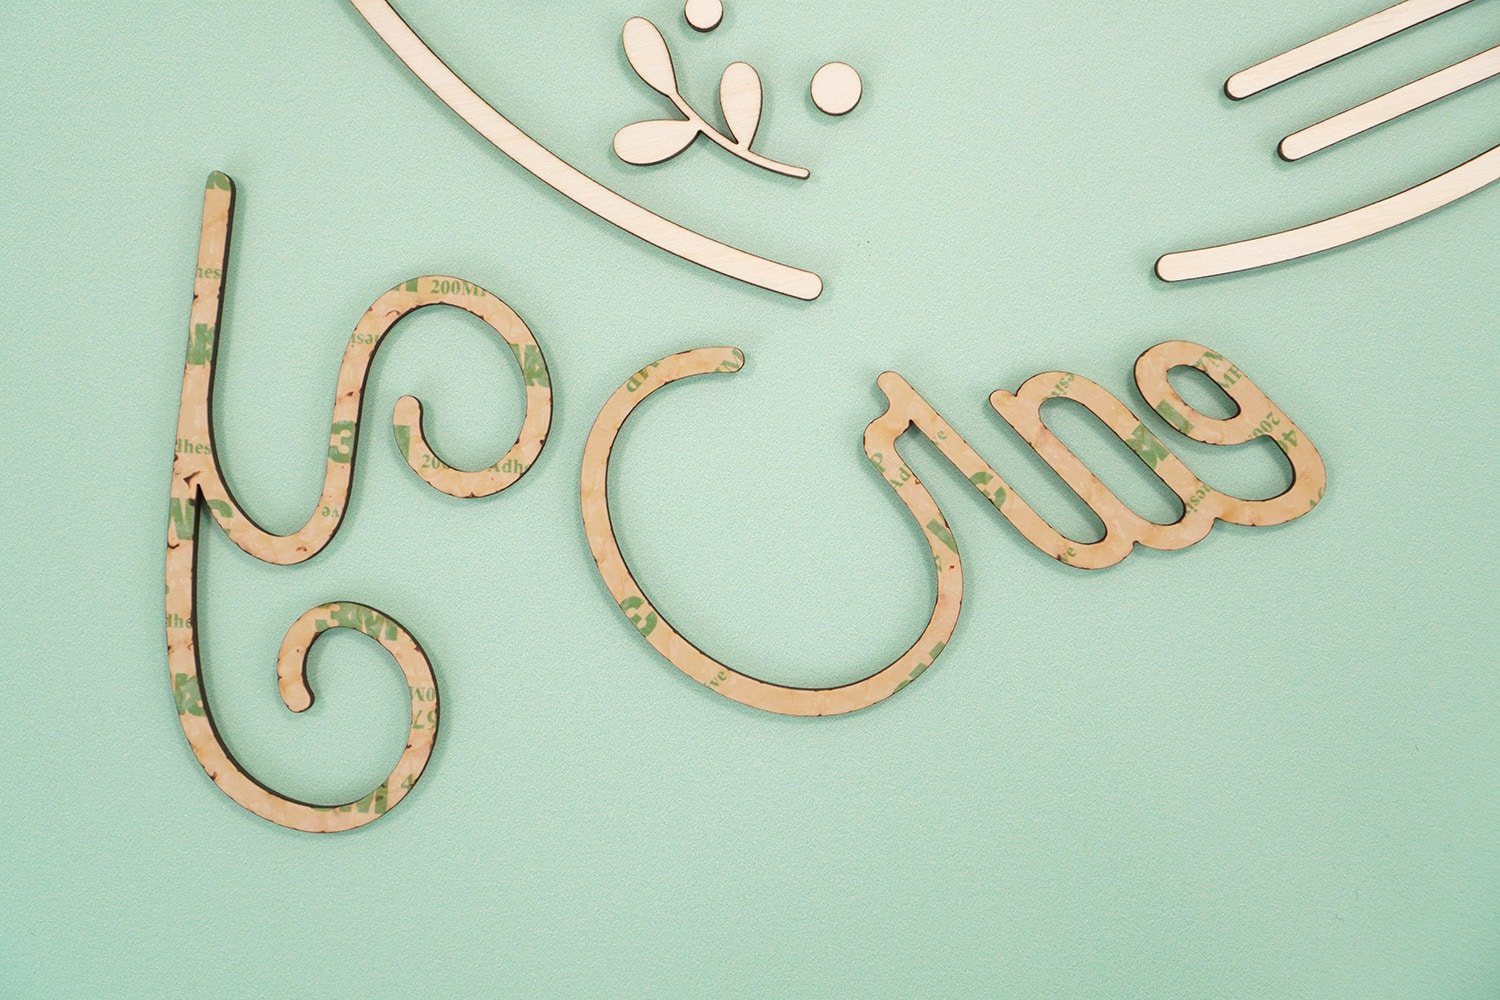
Peel off the brown paper layer on the back of the wood pieces to reveal a super thin layer of clear 3M Adhesive. I like to use my tweezers for this step, too.
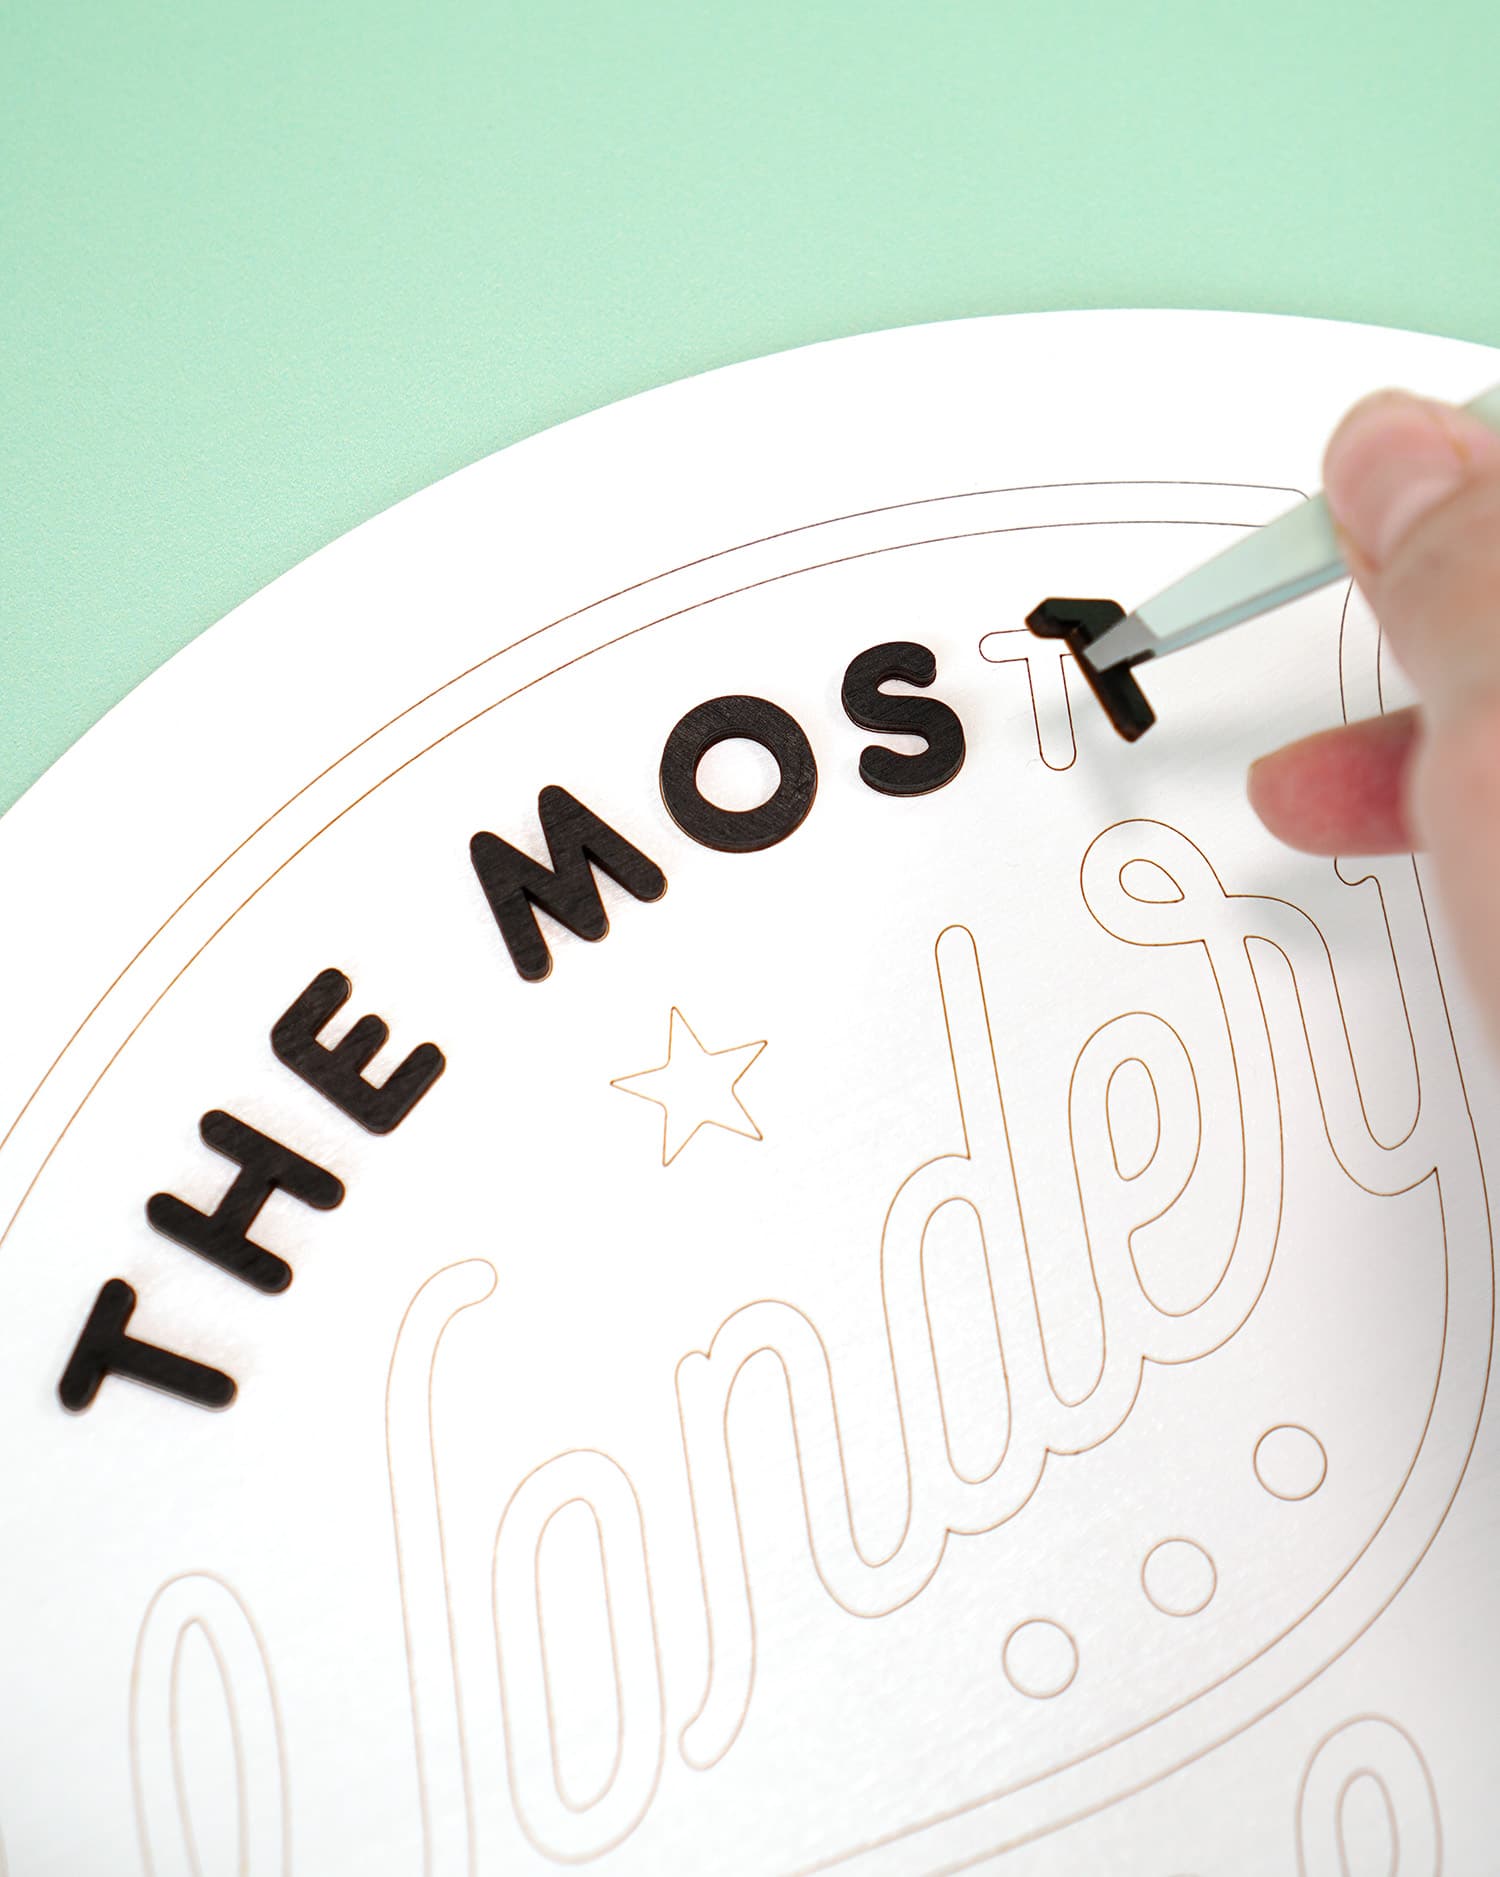
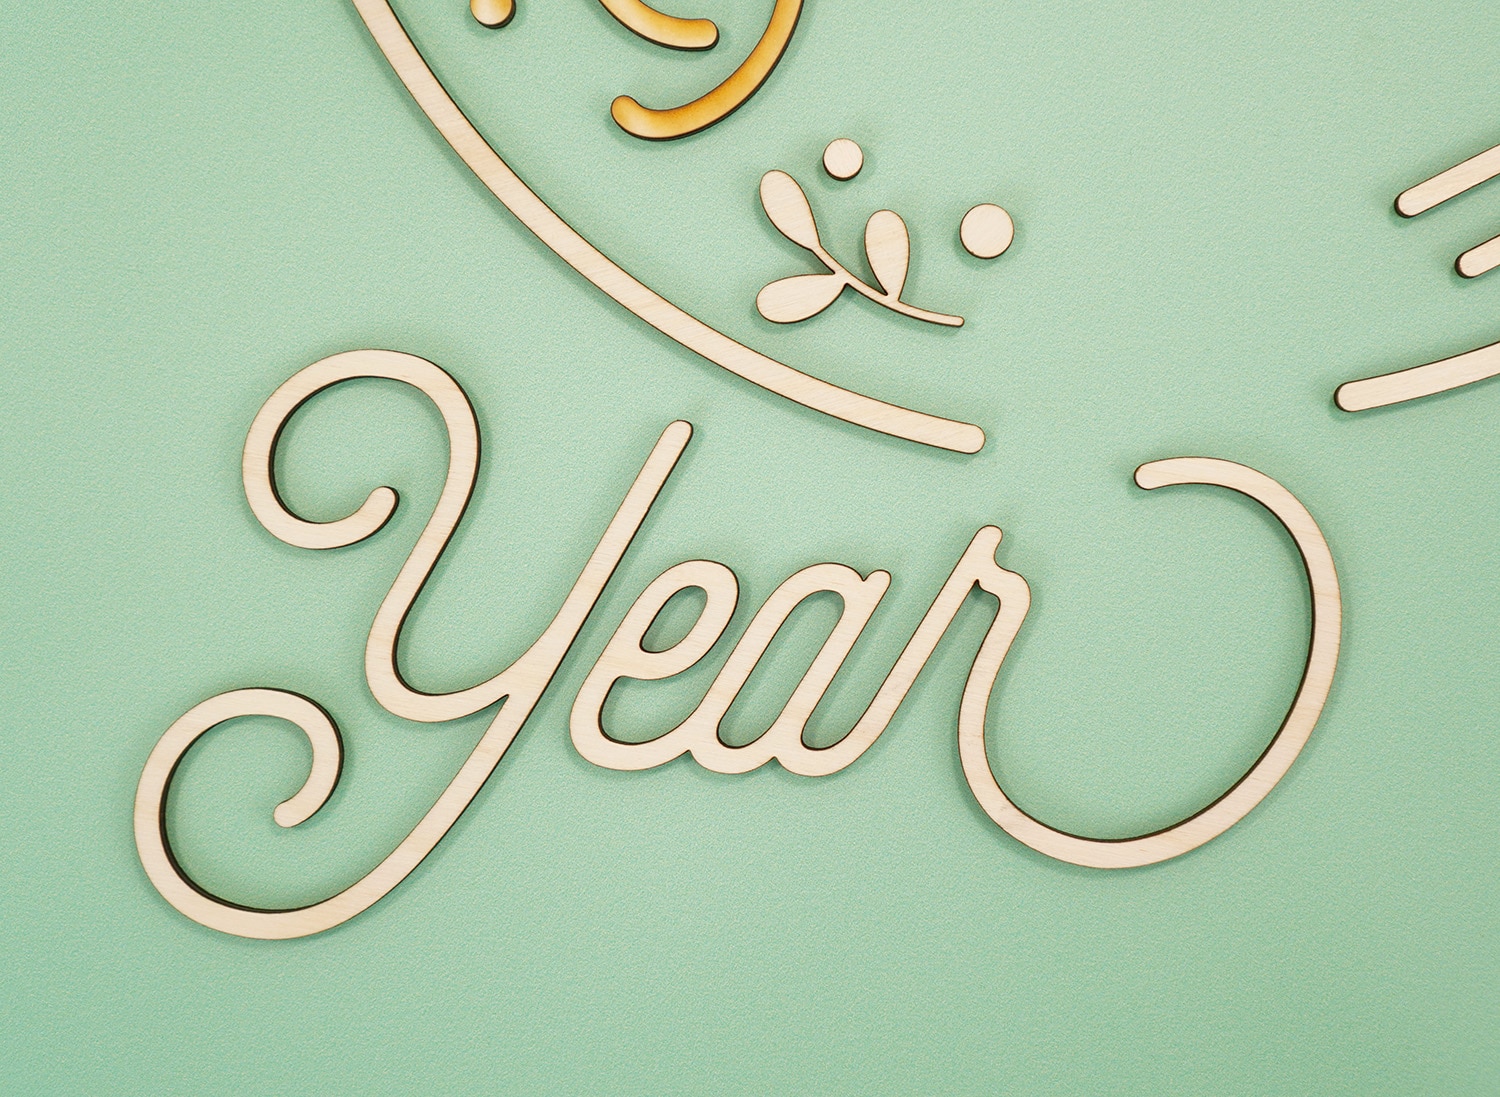
Place the wood pieces in their correct locations on your scored sign base and use your hand/fingers to apply pressure so that it is firmly adhered. Filling in this “coloring book” is SO much quicker and easier than using a template or eyeballing it!
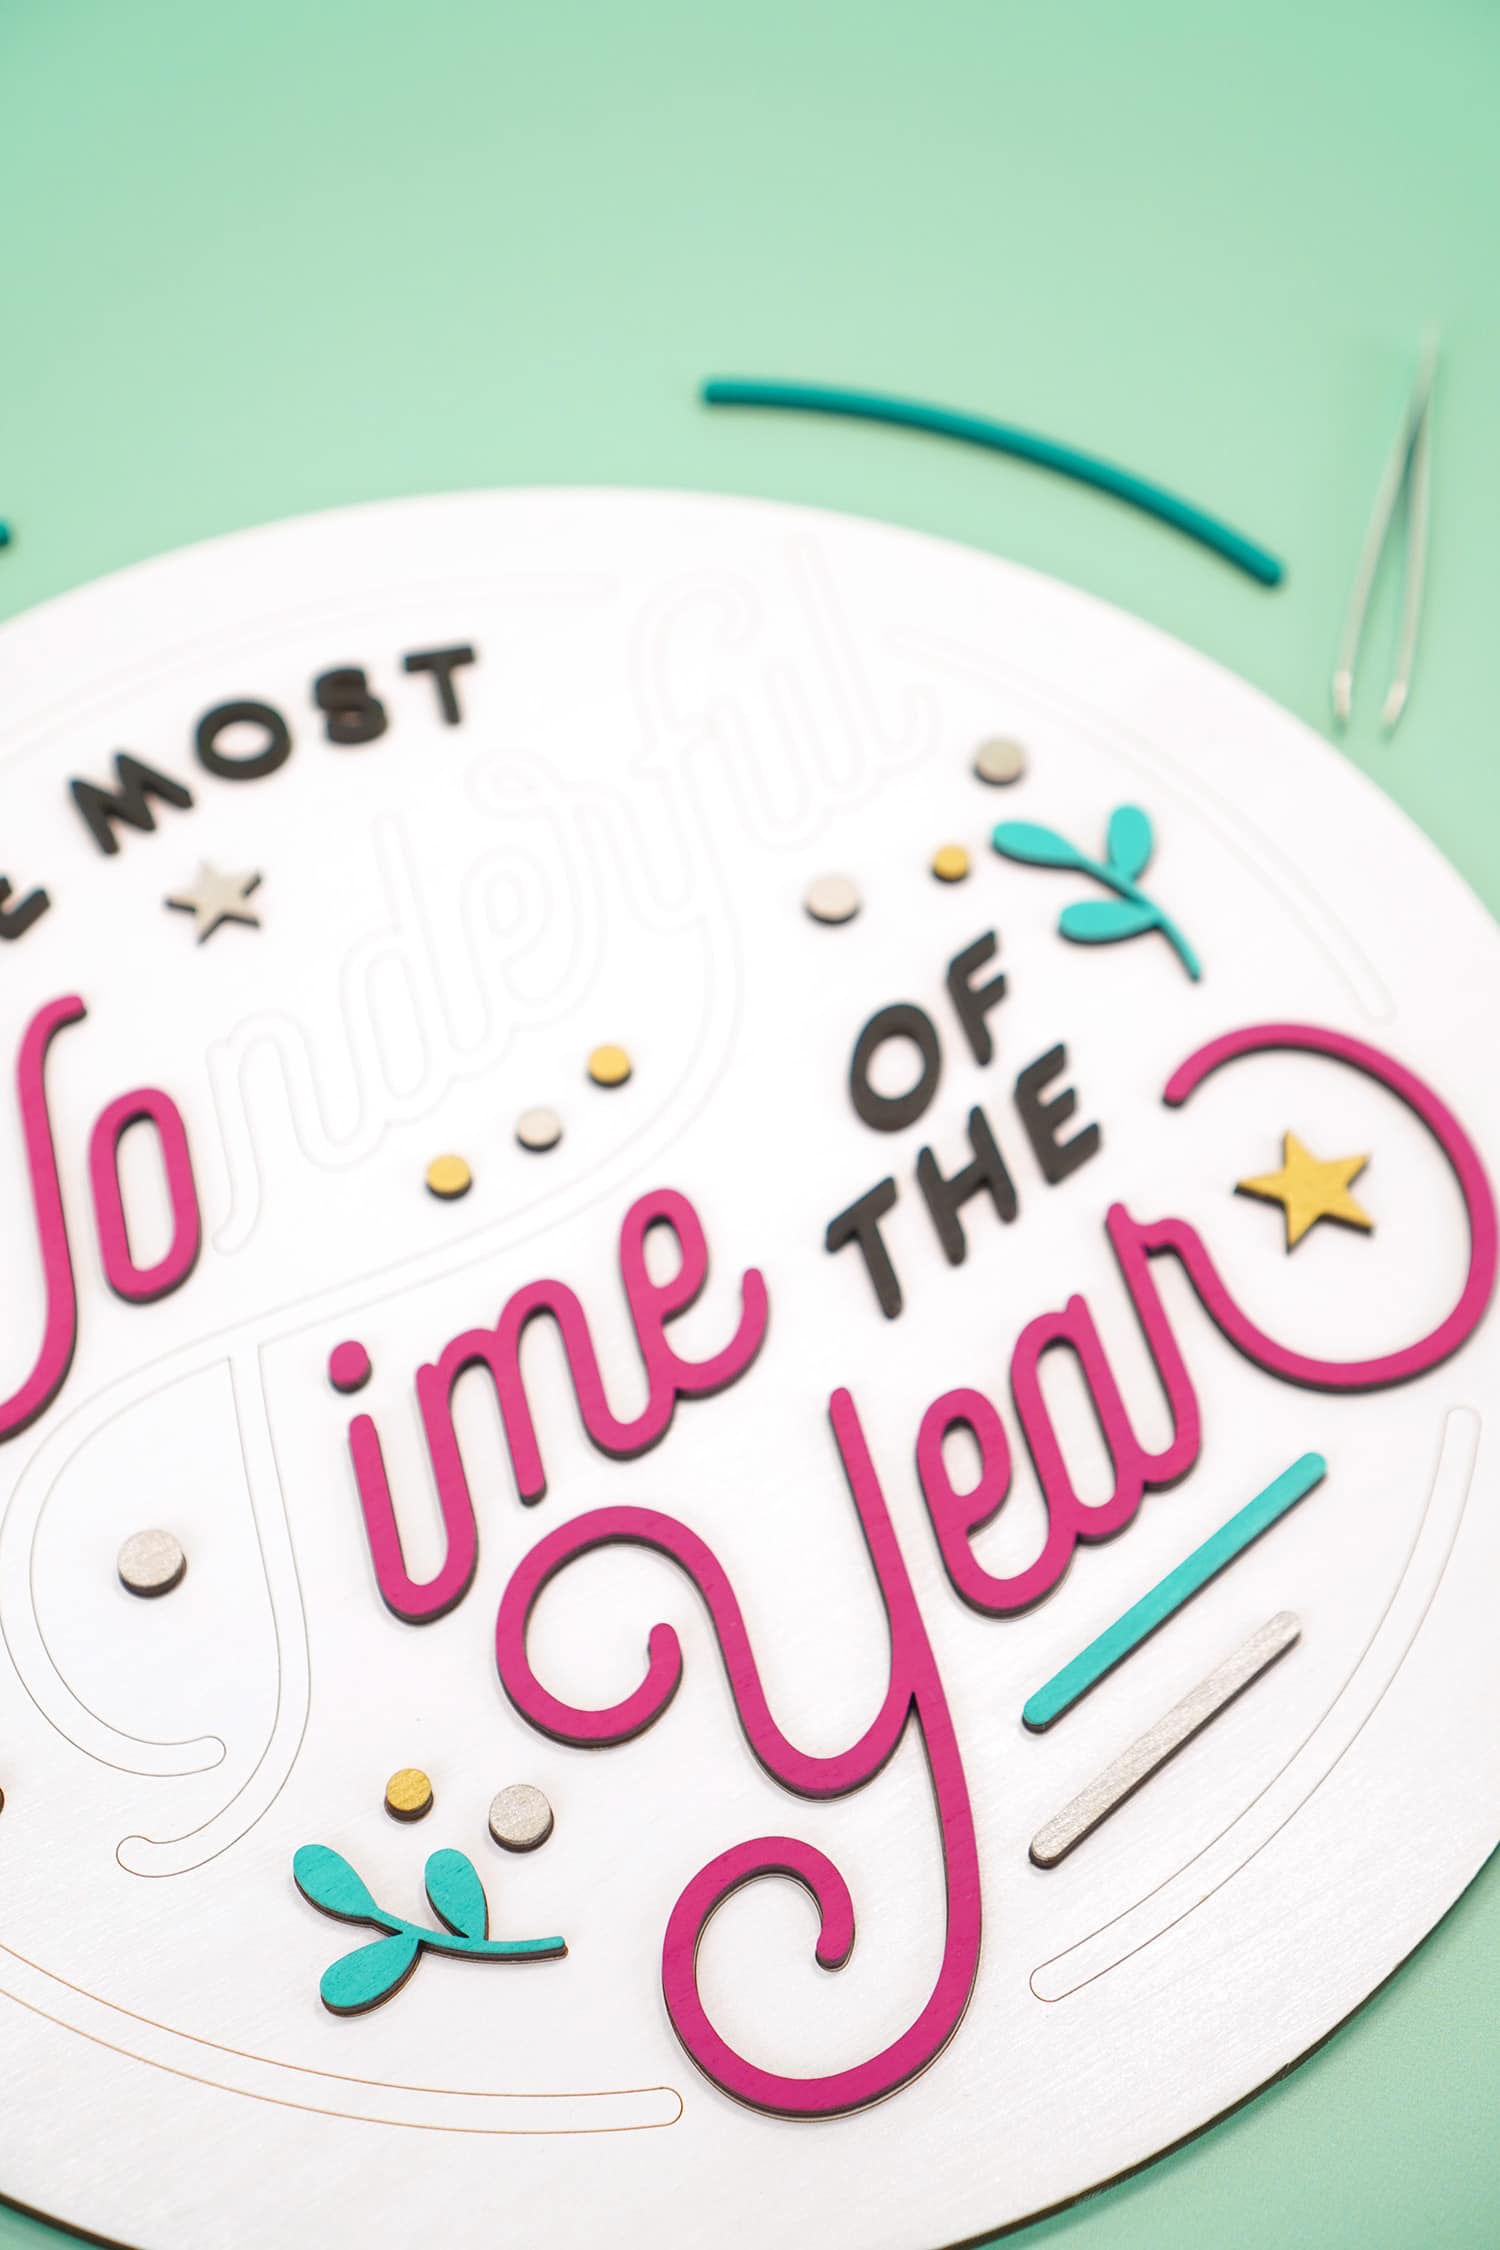
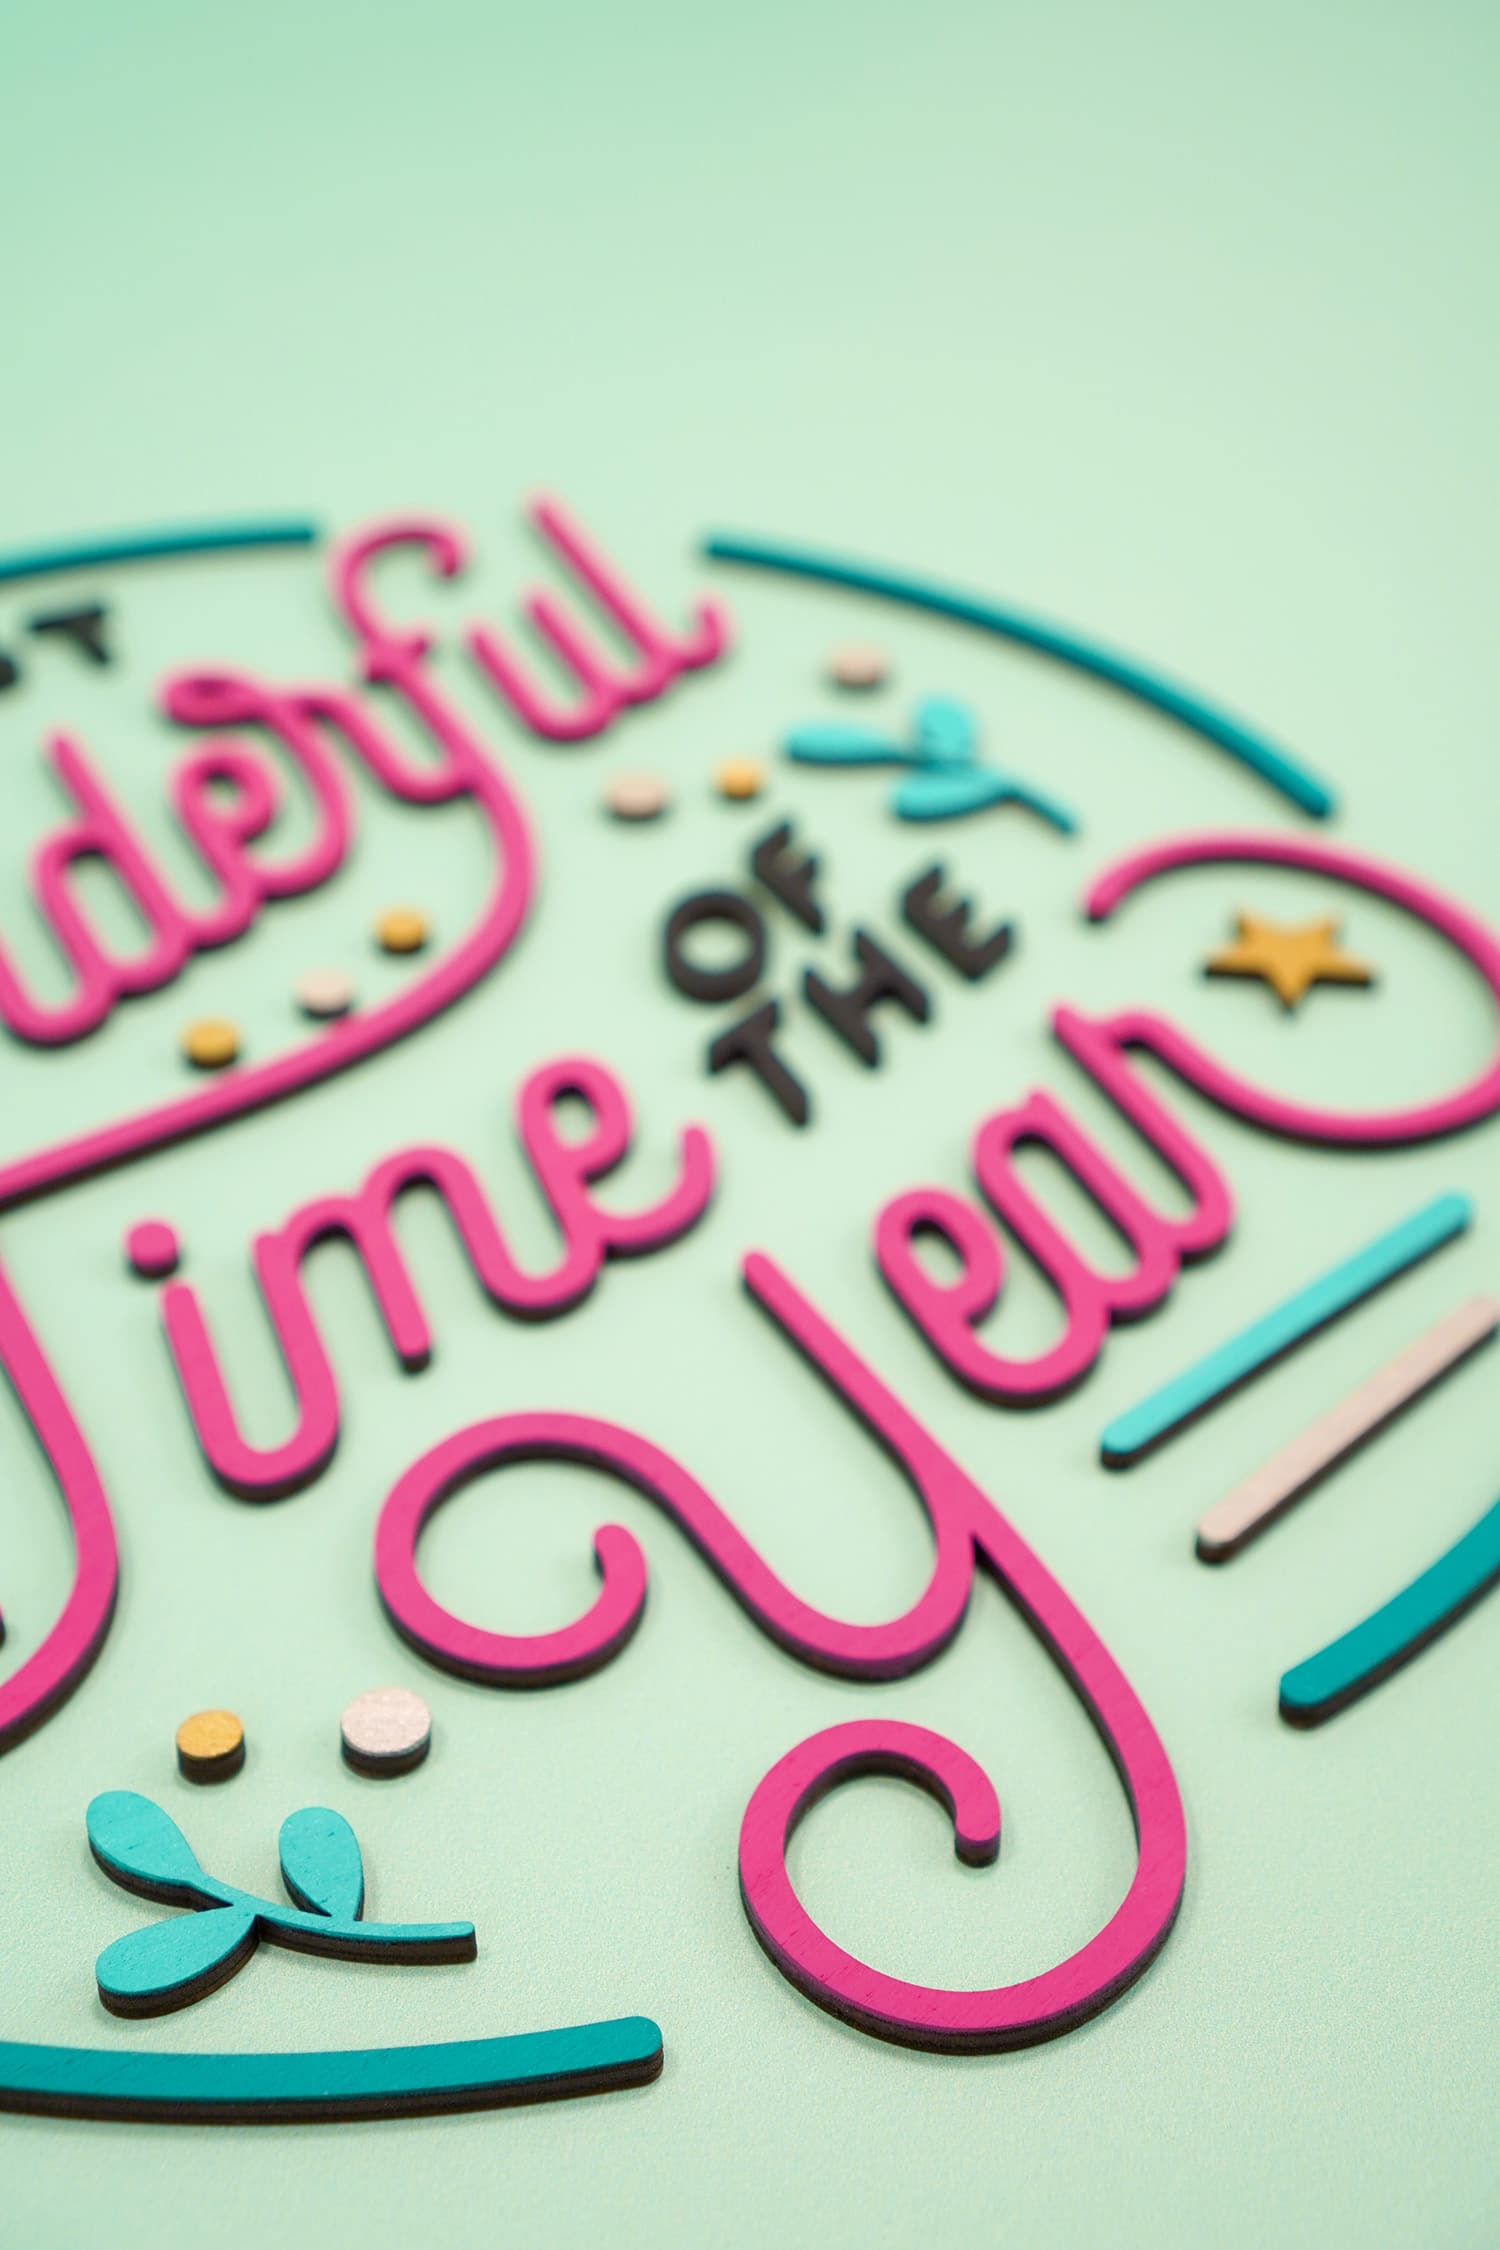
Ta da! Easy peasy! (and TOTALLY cute, too!)

The 3D layered wood pieces really make this sign stand out from the rest as something special, and it hardly took any extra time at all!

To hang your sign, there are a few options:
- Use Command Picture Hanging Strips
- Attach Sawtooth Hangers or D-Ring Picture Hangers
- Attach a Ribbon or Thin Rope for Hanging
NOTE:
We do not recommend using sawtooth hangers or D-rings for thin wood signs as the nails/screws may poke through to the face of your sign! Check your wood thickness and the nail/screw length before attempting.

Laser cut wood signs are TONS of fun to make, and hopefully you’ll find them faster and easier than ever to create with our helpful time-saving tips!
It’s so easy to make customized wood signs with your Glowforge! They’re the perfect way to change up your home and holiday décor in a flash!

Check Out These Other Glowforge Projects!
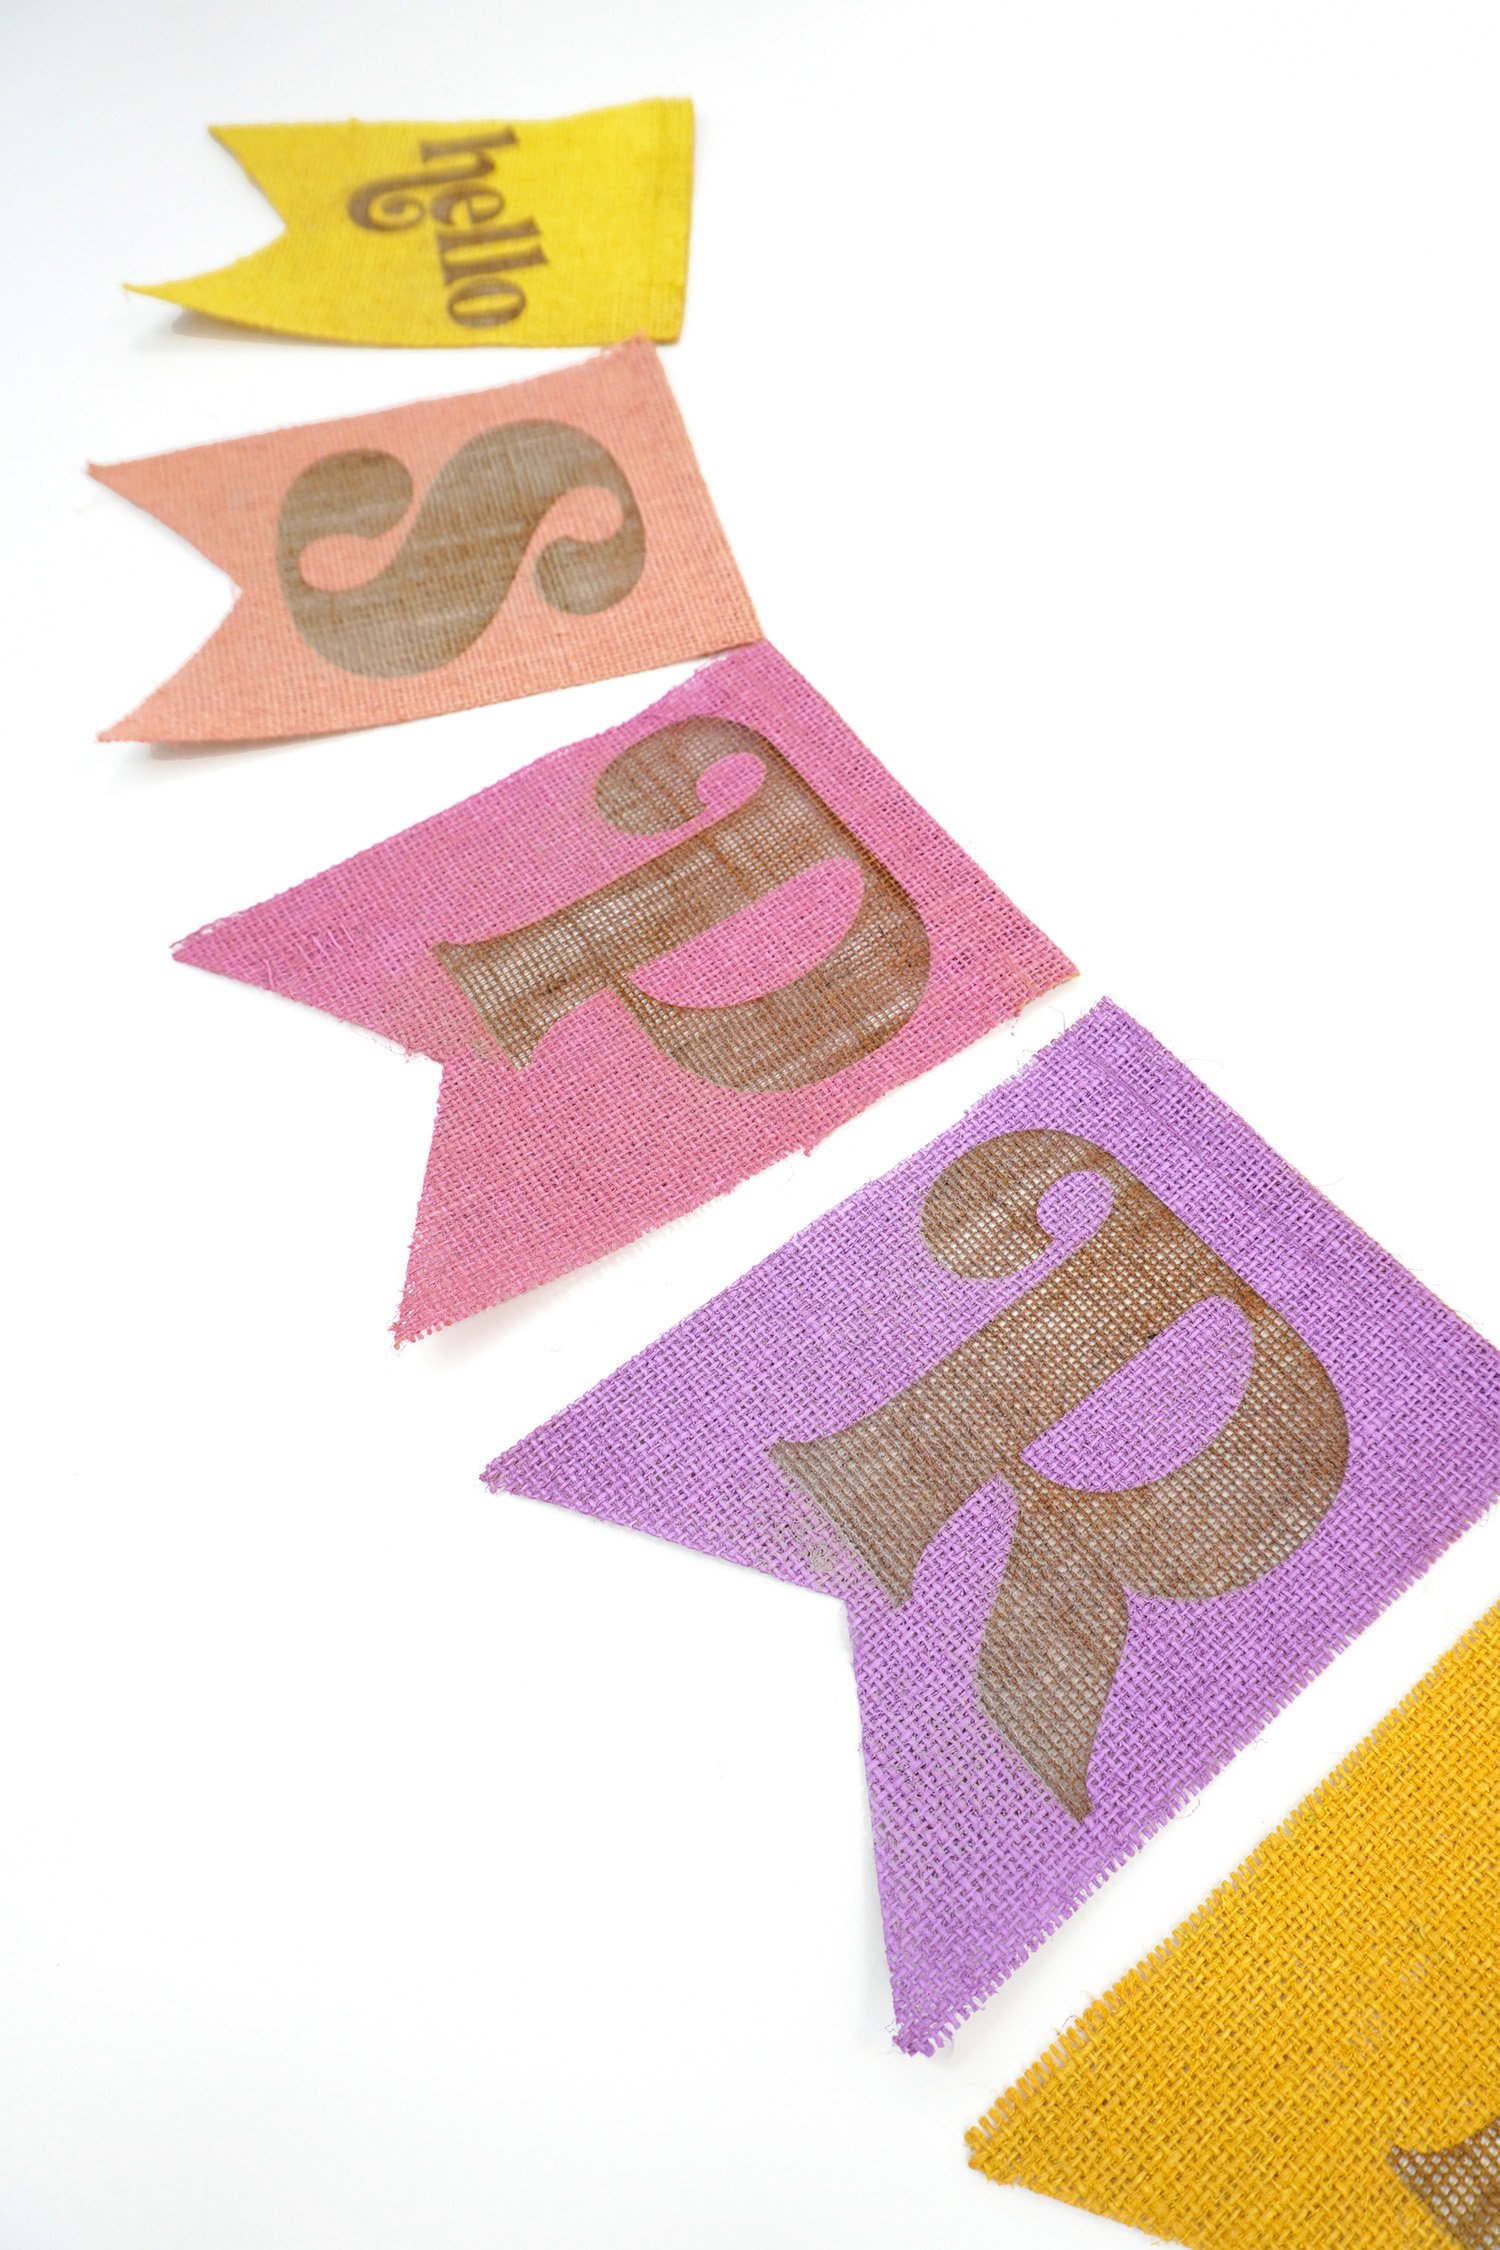
 How to Laser-Engrave a Burlap Banner
 xTool P2 vs Glowforge: CO2 Laser Comparison
- Custom Tape Measure Gift Idea
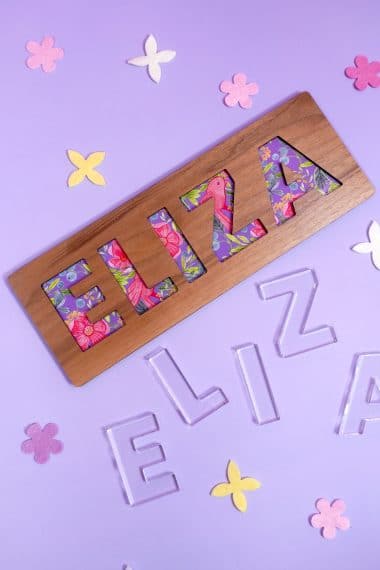
- DIY Name Puzzles with Glowforge & xTool
- How Much Does a Glowforge Cost?
- Glowforge Guide: Everything You Need to Know!
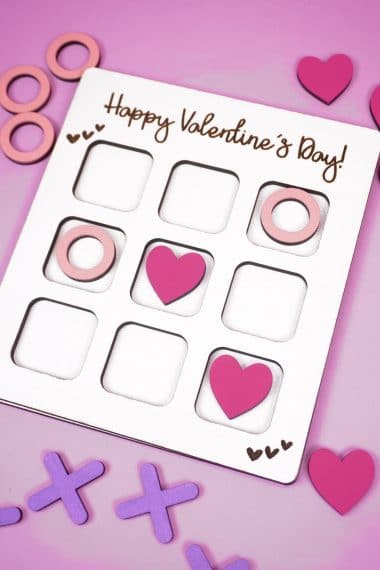
- Valentine Tic-Tac-Toe SVG File
- 3D Stars + Christmas Ornament SVG Files


Don’t Forget to Pin These Laser Cut Wood Sign Tips & Tricks for Later!


Heidi Kundin has captivated the hearts of millions with her colorful and inspiring approach to crafting, celebrations, and family fun. With over 15 years of experience, Happiness is Homemade has become a must-visit destination for those seeking quick and easy creative ideas and last-minute solutions. Heidi’s warm personality shines through her posts, inviting readers to join her on a creative journey that’s fun, rewarding, and achievable. Heidi is also the author of Homemade Bath Bombs & More and DIY Tie-Dye.