


Learn How to Make DIY Personalized Name Puzzles with Glowforge or xTool lasers! Make custom name puzzles with any name or personalization with this quick and easy tutorial!
This post may contain affiliate links. I will receive a small commission from these sales at no additional cost to you! This project was originally created in partnership with Michaels.
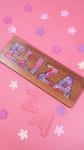
Custom personalized name puzzles make an excellent gift idea for baby showers and birthday parties! Lately, I have also seen name puzzles trending as sweet and sentimental bridal shower gifts incorporating the bride’s new surname. They’re also perfect for teacher appreciation gifts!
Today, I’ll show you how to use your Glowforge and xTool lasers to quickly and easily create DIY name puzzles with truly ENDLESS customization options!
DIY PERSONALIZED NAME PUZZLES
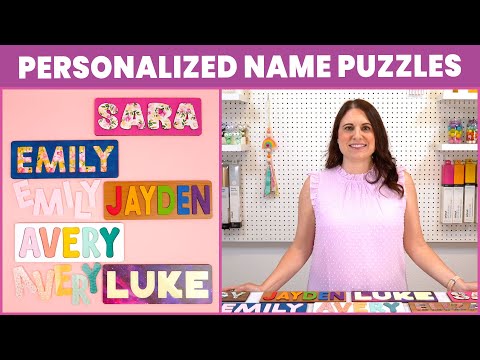
Watch this video of the process, and then read the post below for more information and step-by-step details!
Note: In the video, I demonstrate how to make name puzzles using an xTool P2 laser and the xTool Creative Space software (plus additional information about fun materials options you can use!). In the written tutorial, I demonstrate how to make this project with the Glowforge Pro and the Glowforge App software.
All of the supplies for this project can be picked up at Michaels! You can also order the Proofgrade materials directly from Glowforge, however, their shipping is a bit slower.
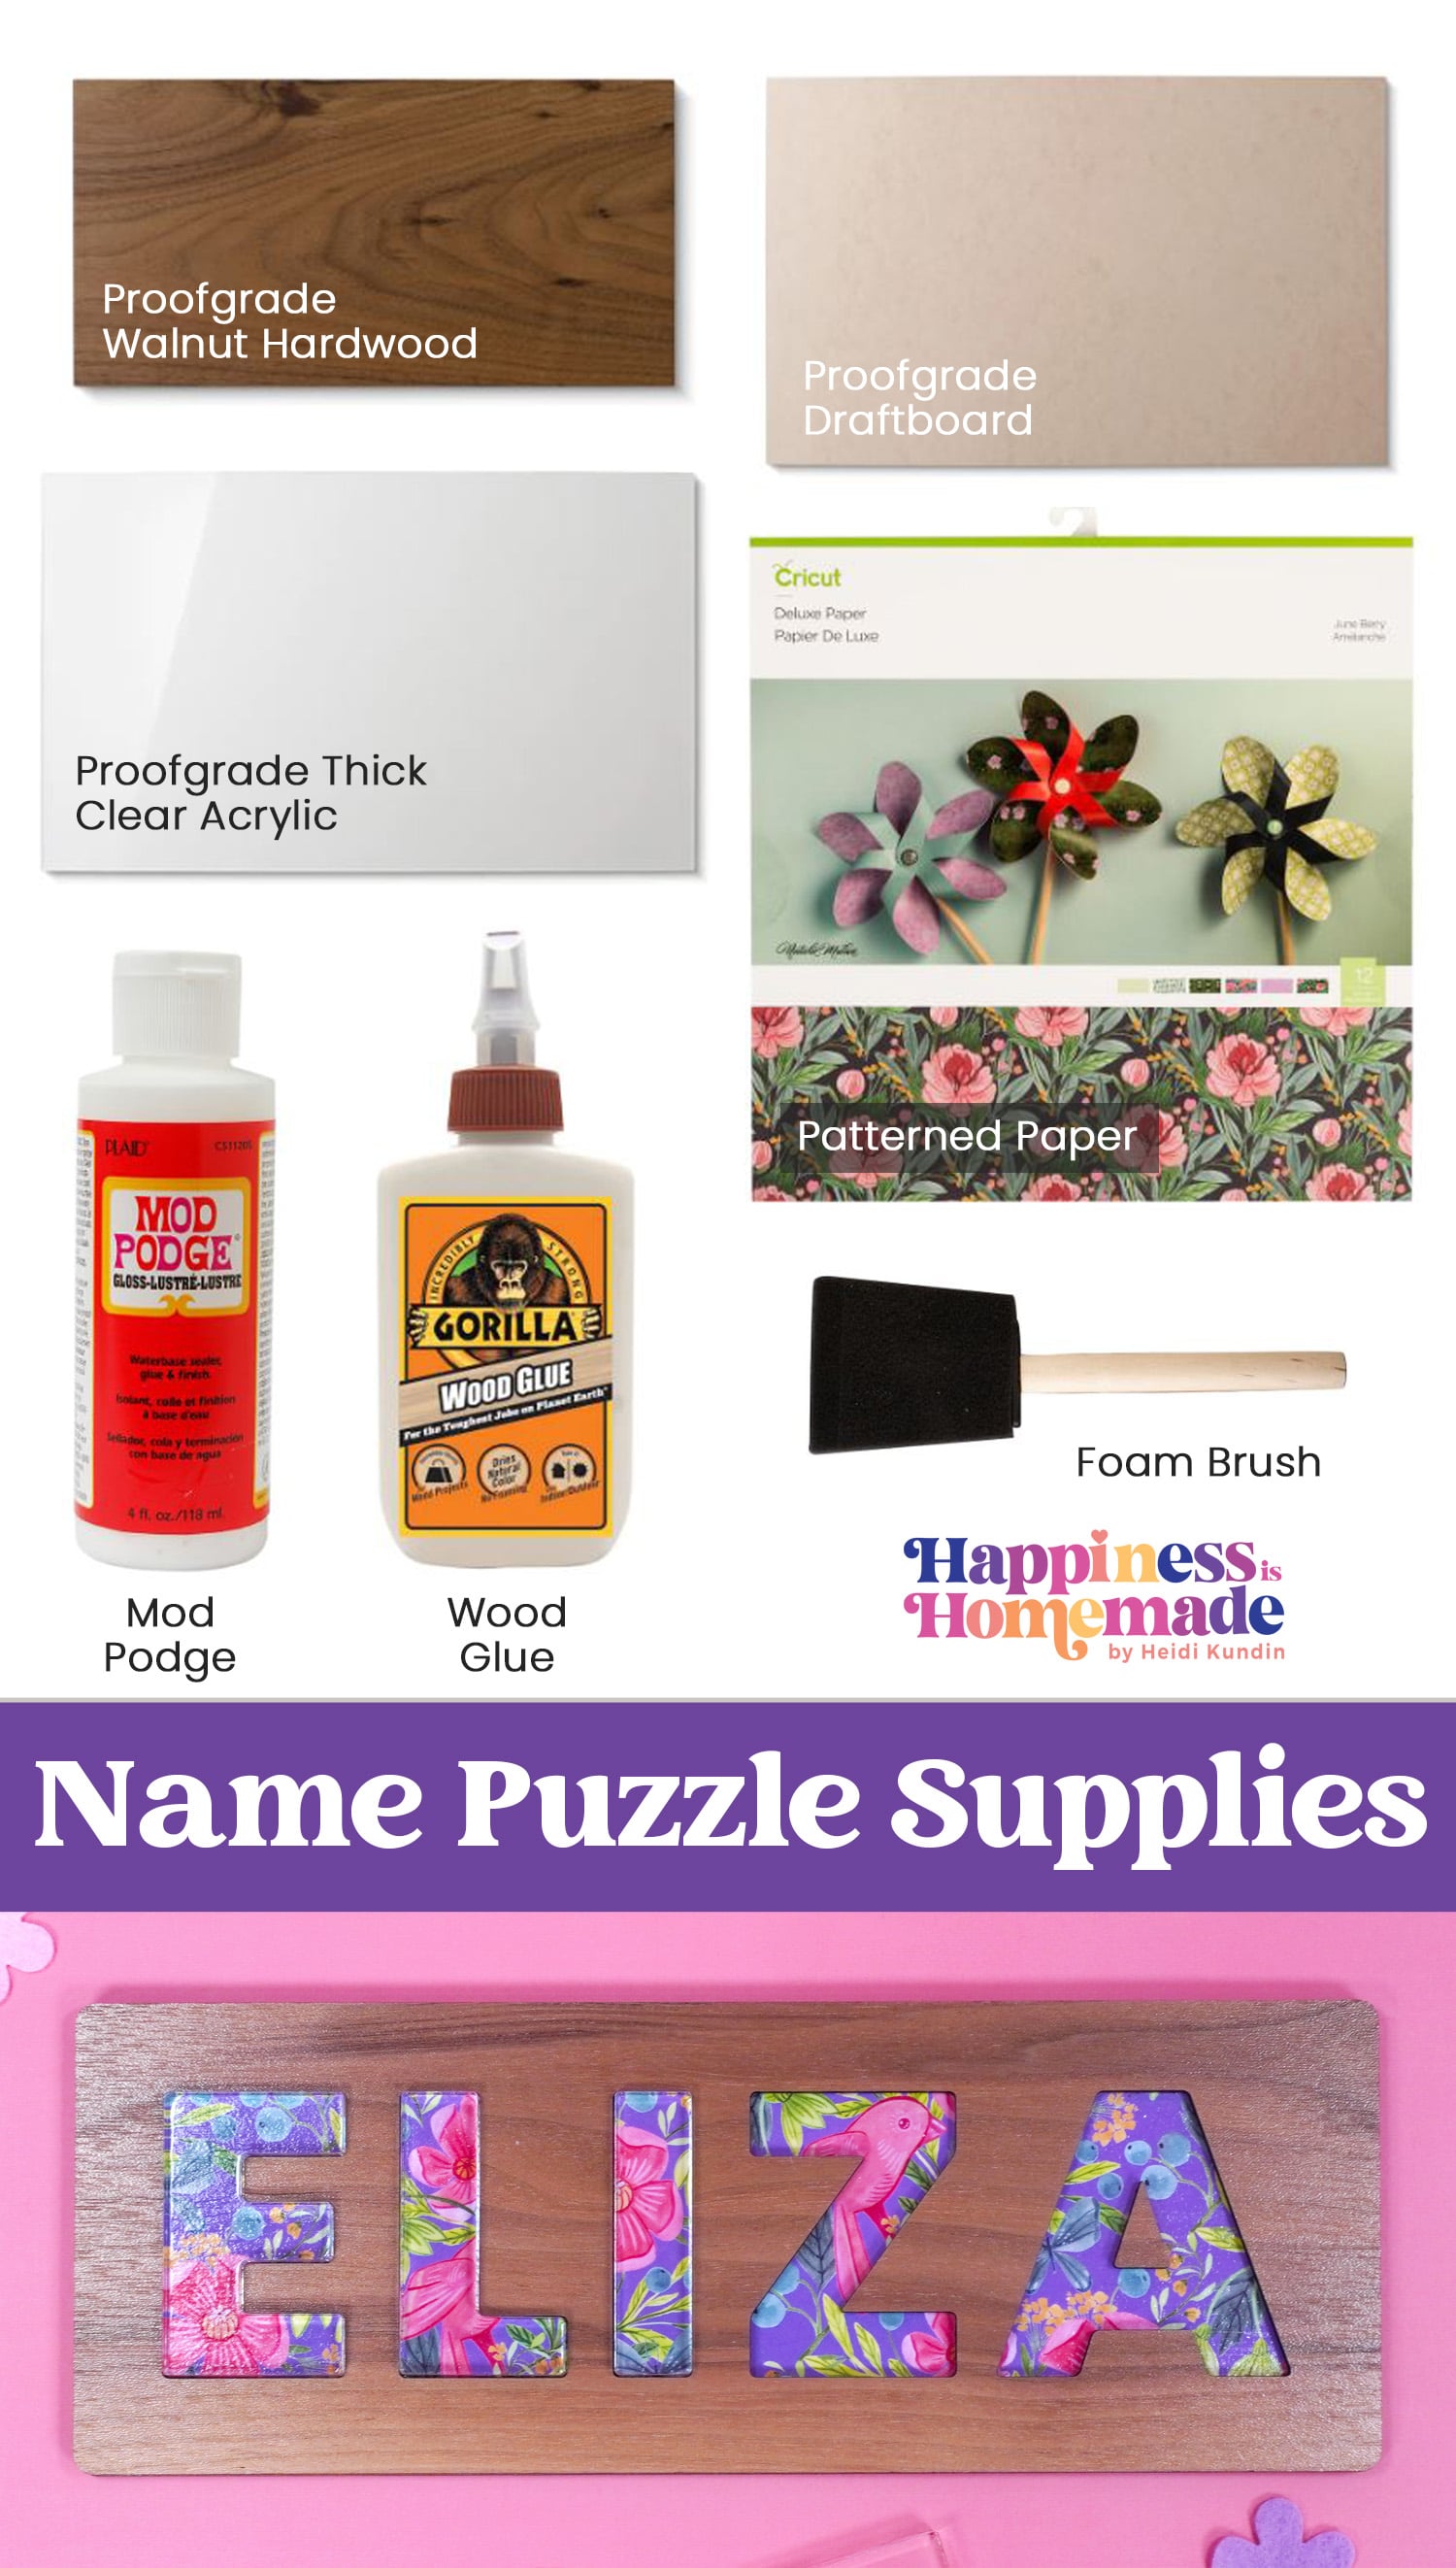
Supplies Needed for Name Puzzles:
- Glowforge Machine – available at Michaels or Glowforge.com.
- Proofgrade Medium Walnut Hardwood
- Proofgrade Medium Draftboard
- Proofgrade Thick Clear Acrylic
- Patterned Paper of choice (this is the pack we used!)
- Mod Podge
- Wood Glue
- Foam Brush
- Tweezers, optional (for assistance with unmasking and positioning)
NOTE: This project is compatible with ANY Glowforge laser – Glowforge Basic, Glowforge Plus, or Glowforge Pro!
How to Design a Personalized Name Puzzle
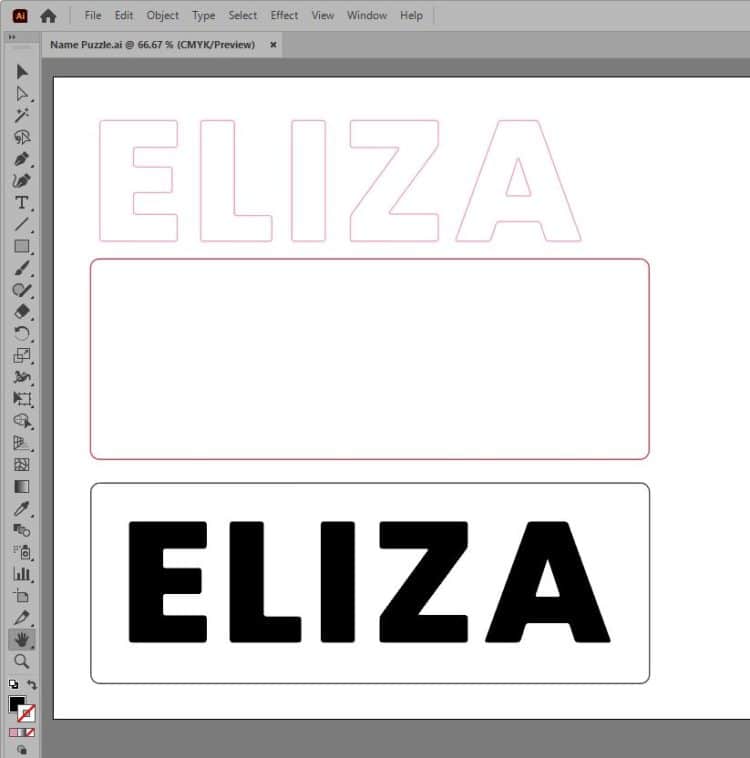
To design the name puzzle, you will want to use your preferred software program (I am using Adobe Illustrator here) to create a 4″ tall rectangle with rounded corners (the width will be adjusted according to the length of the name).
Use the text tools to add the desired name or personalization. If your software will allow you to do so, round the edges of the text just slightly so that there are no sharp edges on the puzzle pieces.
Place the text on top of the rectangle, size the font so that it fits the height of the rectangle (leaving about 1/2″ of space on each edge), and then re-size the width of the rectangle to fit the name. Note that the sheet of Walnut Hardwood is 6″ x 12″ so if your rectangle and name are wider than 12″, you will need to re-size them both a second time to fit the material.
Once you have the name and rectangle sized properly, copy/paste them to create a second set. Group one of the sets and leave one separated as shown in the image above.

How to Make a Personalized Name Puzzle
Upload your design into the Glowforge App Software platform. We will be cutting this design in three different steps, from 3 different materials.
Note: When making your cuts, use the Glowforge Proofgrade cut settings for each of the specific materials mentioned.
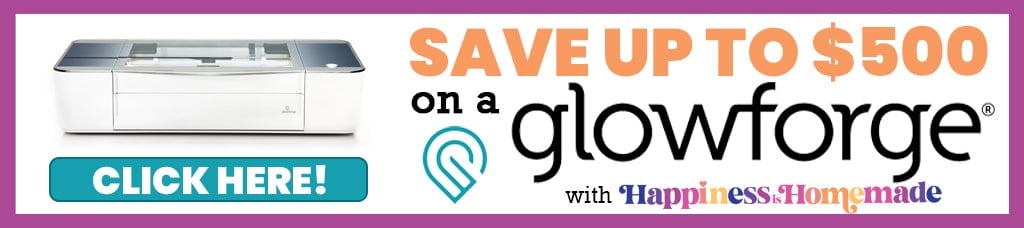
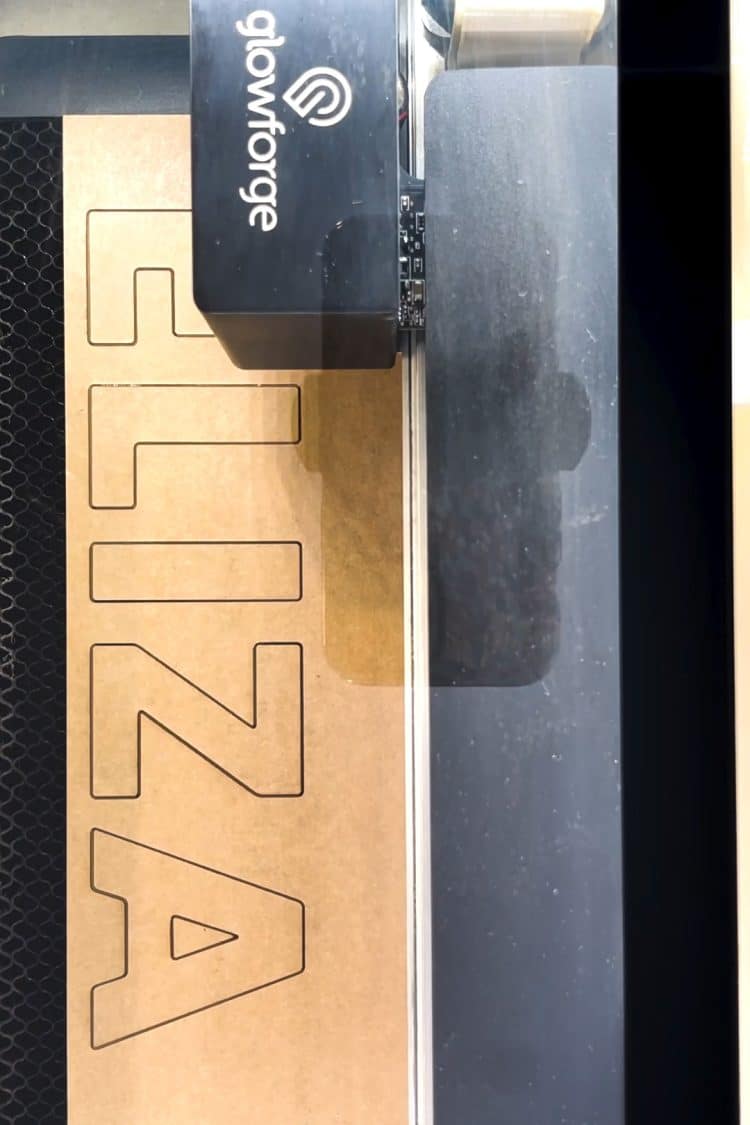
Step 1 – Cut the two grouped layers from Medium Walnut Hardwood to create the puzzle frame, and set the other two layers to “ignore.”
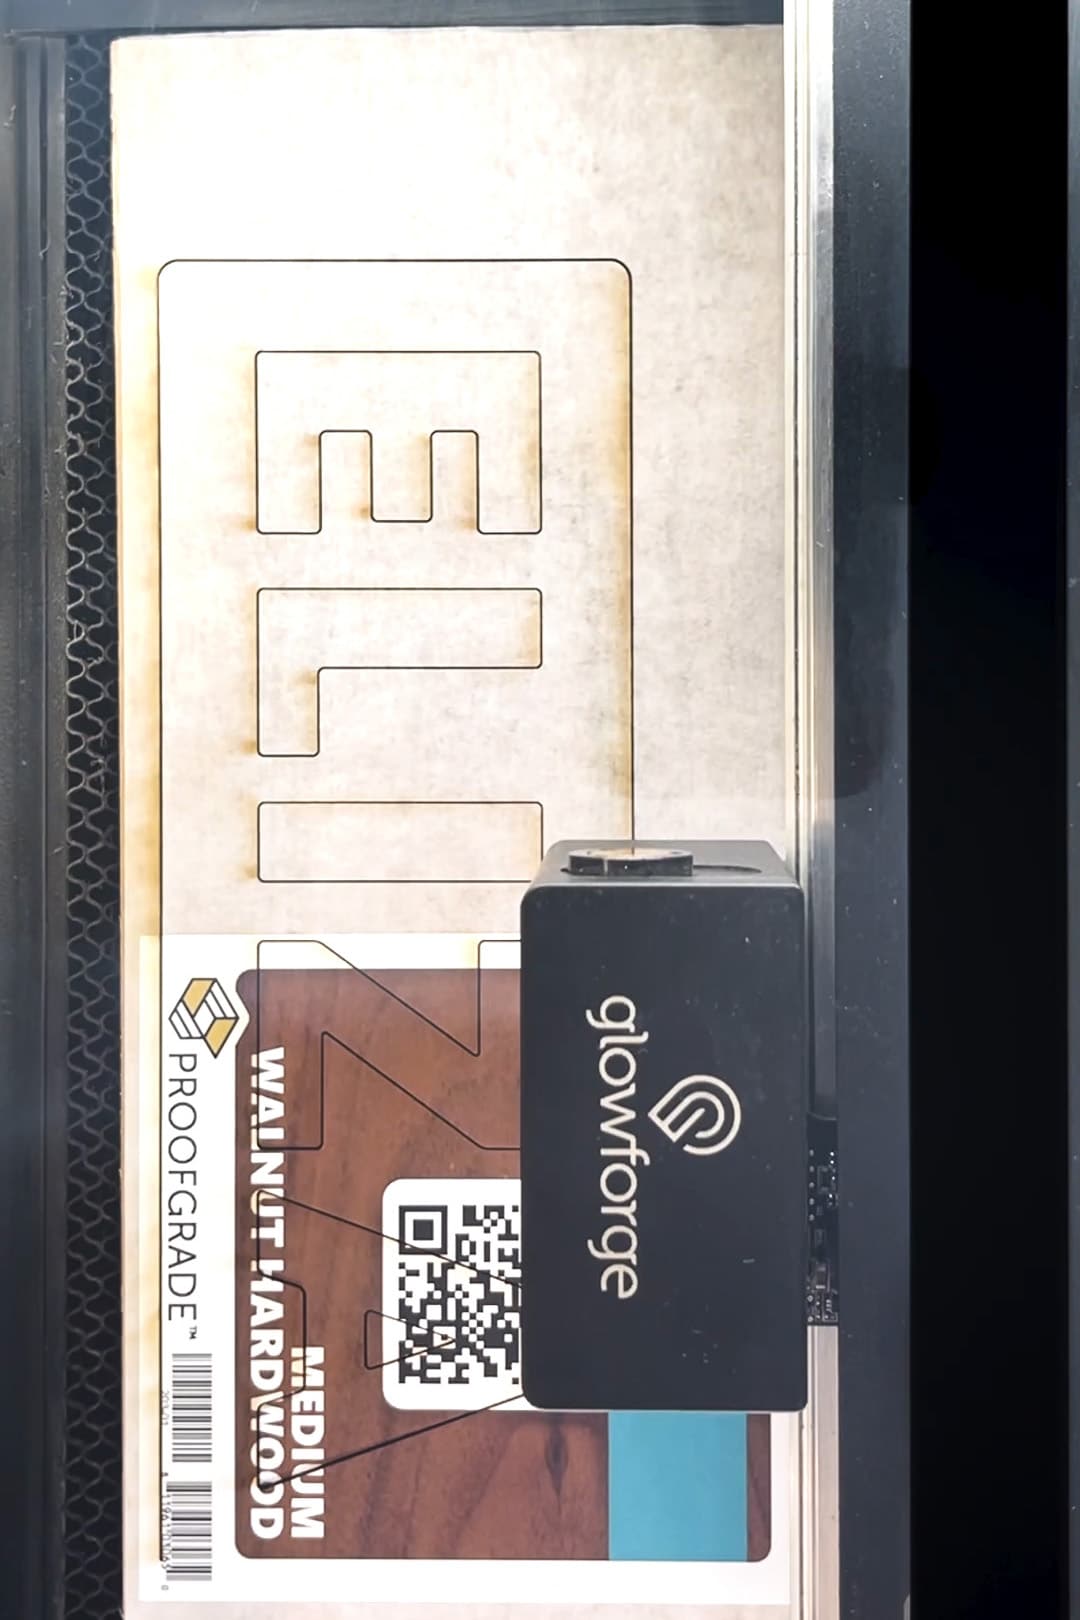
Step 2 – Cut the second (solid) rectangle from Medium Draftboard. This will be the backing piece to your puzzle.
Step 3 – Cut the second set of letters from Thick Clear Acrylic to create the alphabet puzzle pieces. I like to use two passes during this cut so that the laser melts away just a touch more acrylic from the edges. Doing this will help each puzzle piece to fit a little easier into the puzzle frame.
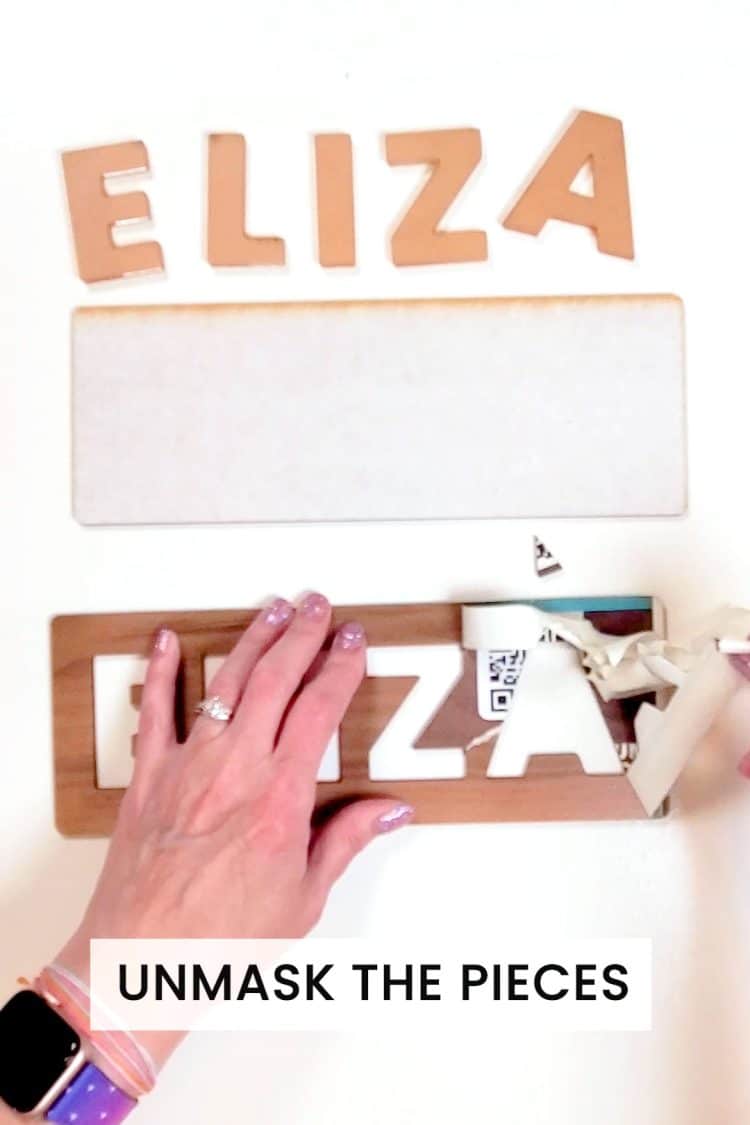
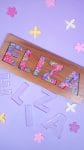
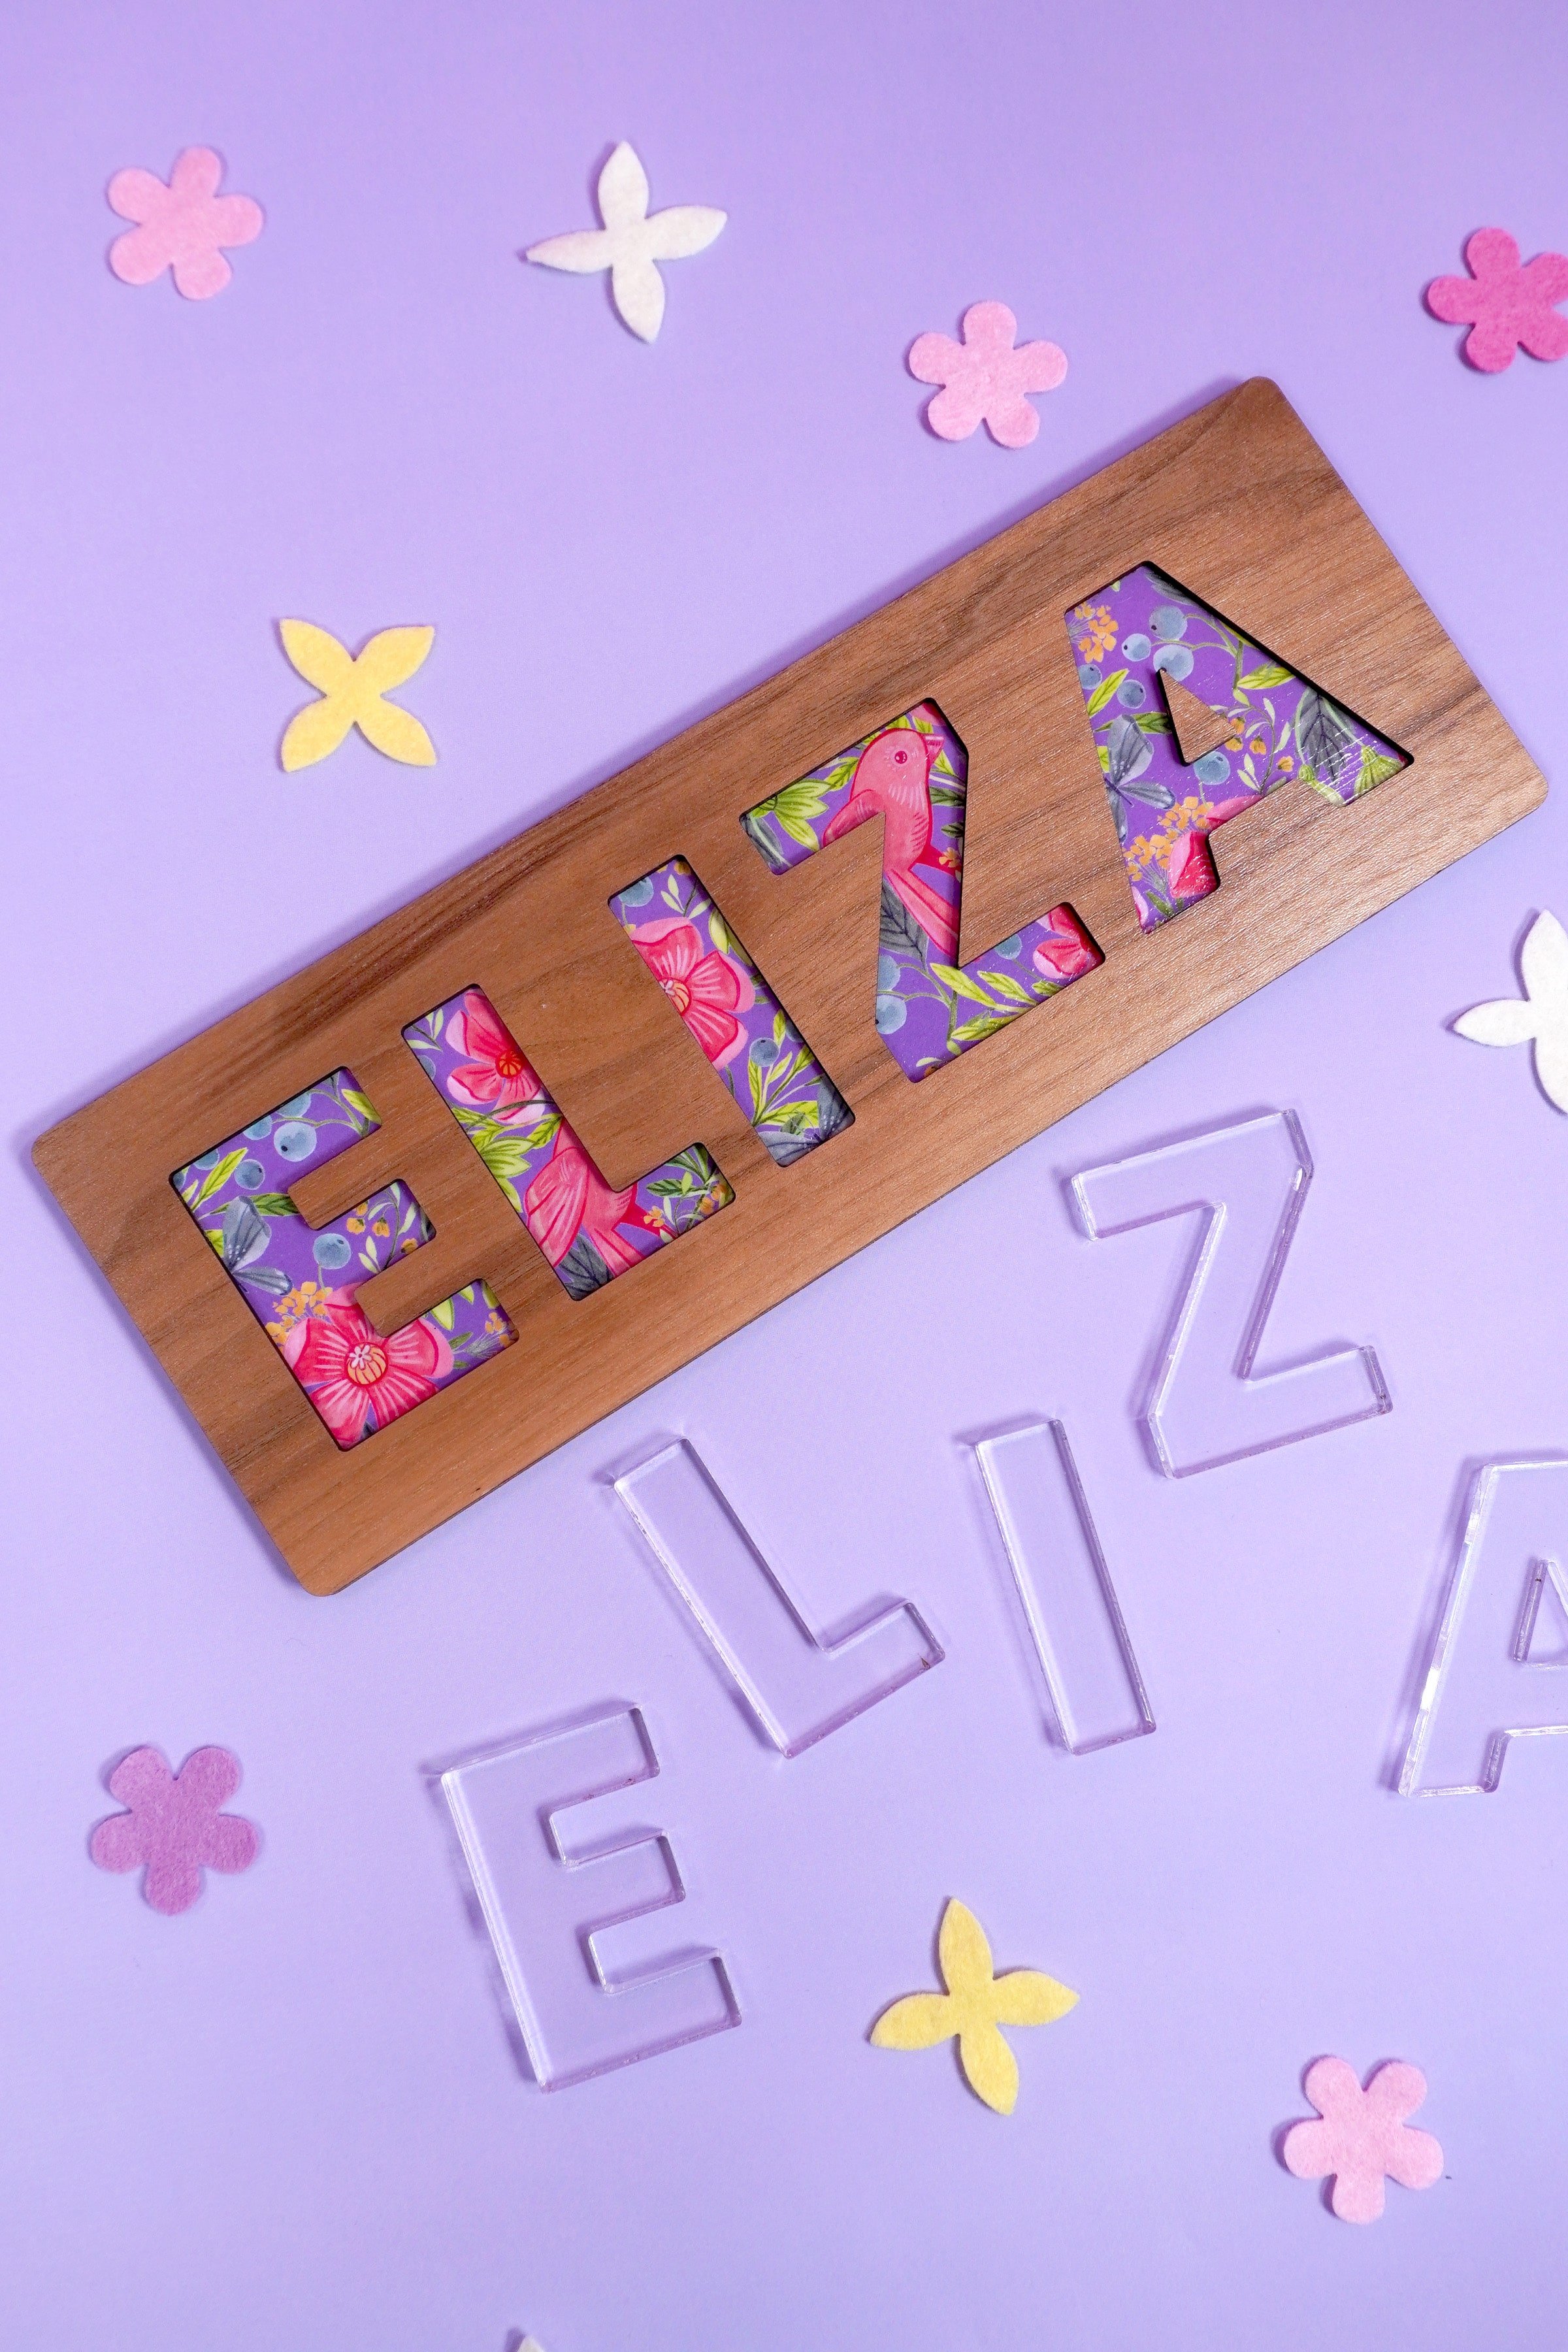
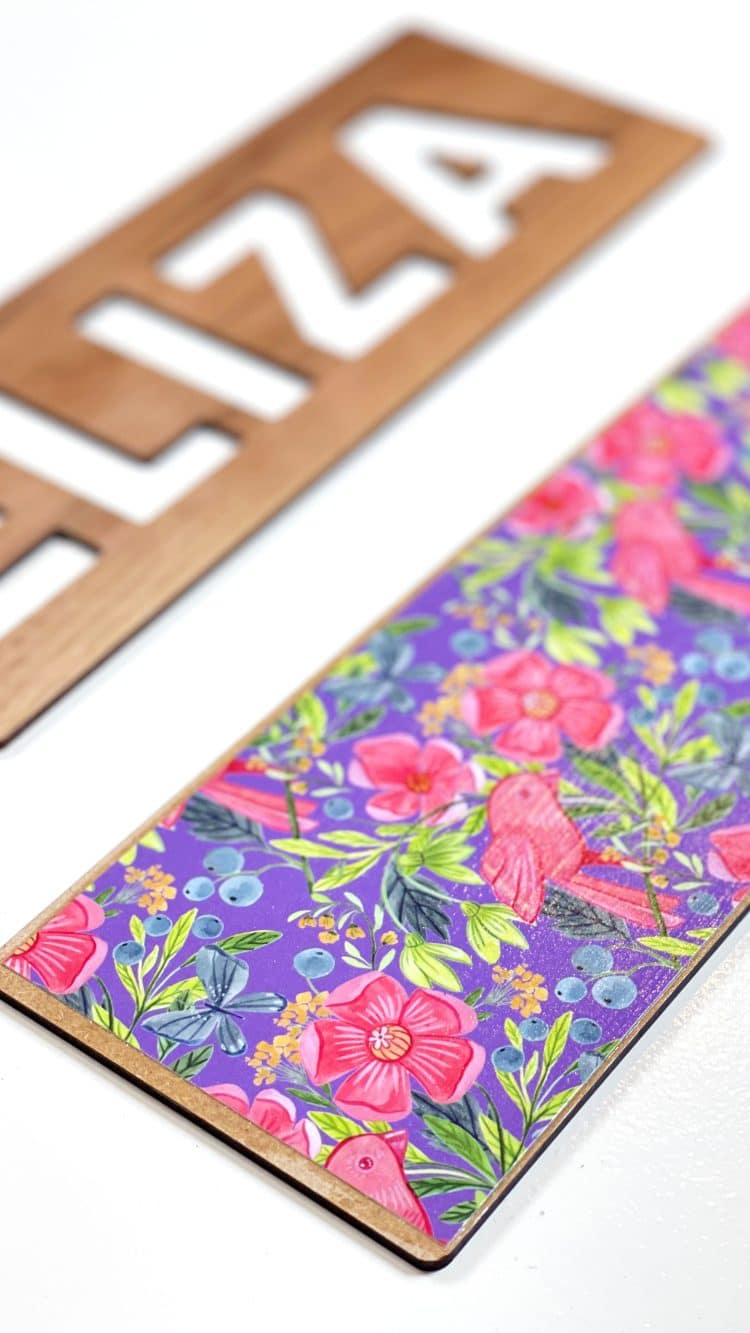
After the pieces have all been cut, remove the masking paper from each piece. I LOVE using this Walnut Hardwood for the puzzle frame because it is pre-finished with a smooth satin sealer, so all you have to do is cut it, and it’s ready to go!
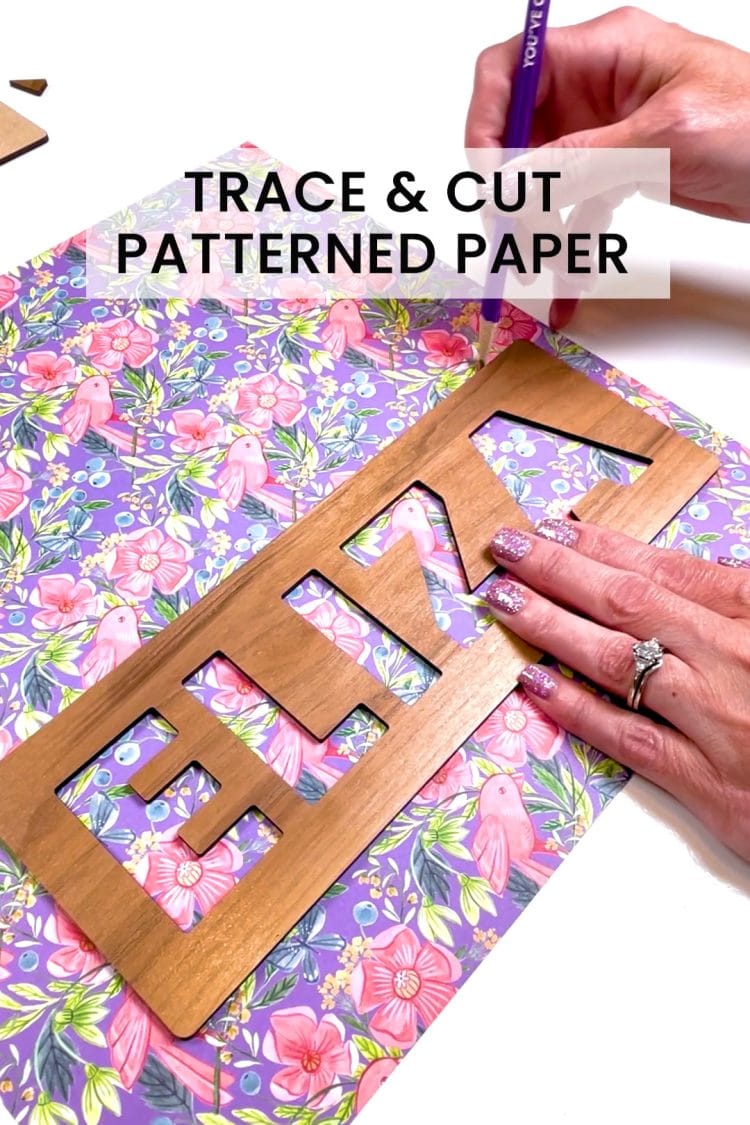
Using the puzzle frame as a template, trace the rectangle that you want to cut from your patterned paper.
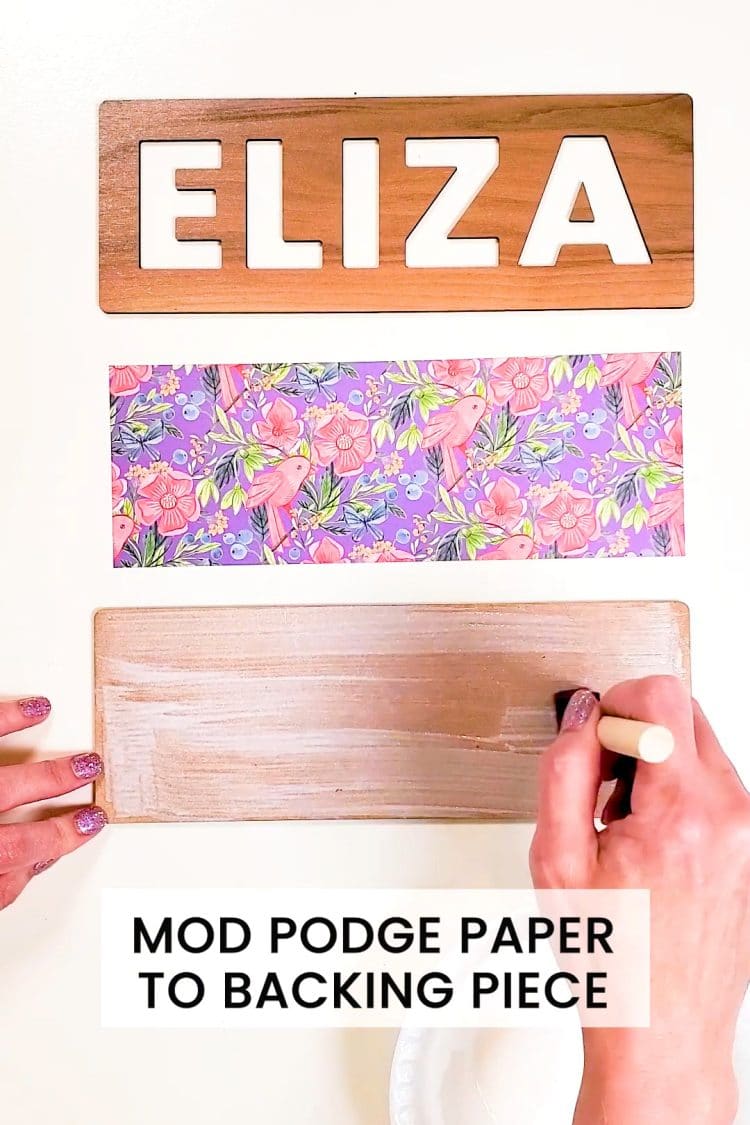
Paint a thin layer of Mod Podge on to the backing board.

Place the piece of patterned paper on top of the Mod Podged board, and use your fingers to smooth out any wrinkles or air bubbles. Allow to dry.
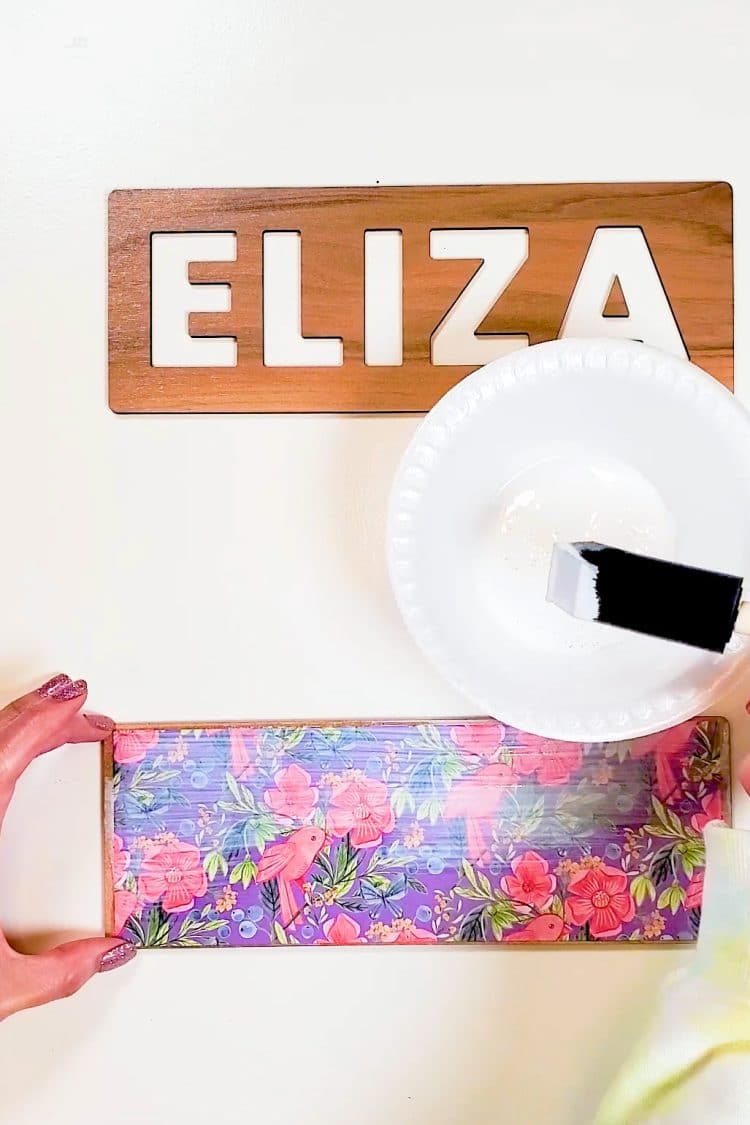
Paint a coat of Mod Podge on top of the paper to seal it and create a more durable surface. Allow to dry completely.
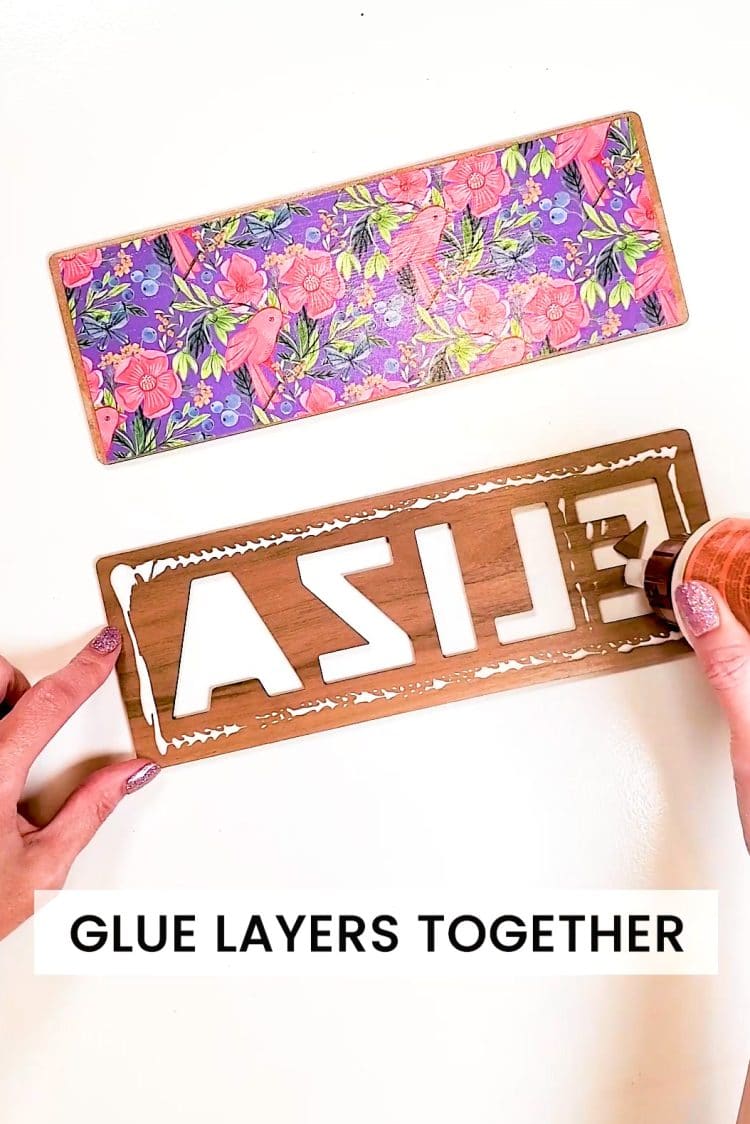
Use wood glue to glue the puzzle frame to the backing piece.
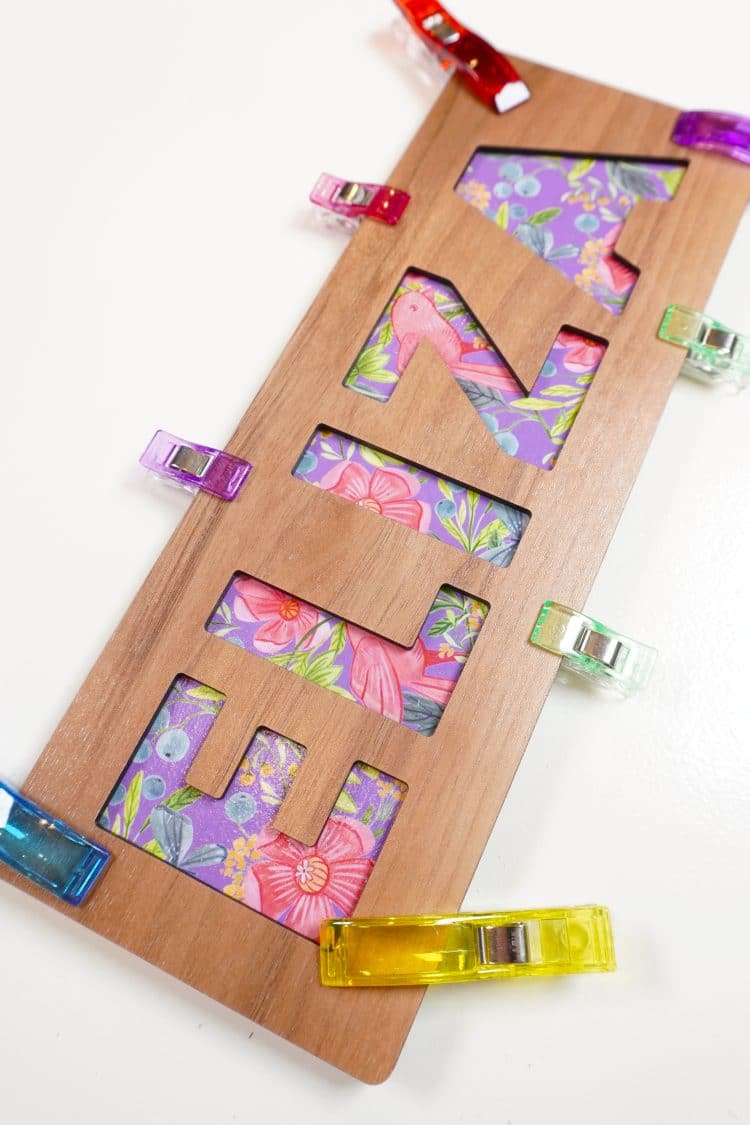
Clamp the pieces together if desired (I like to use small sewing clips) and allow to dry.
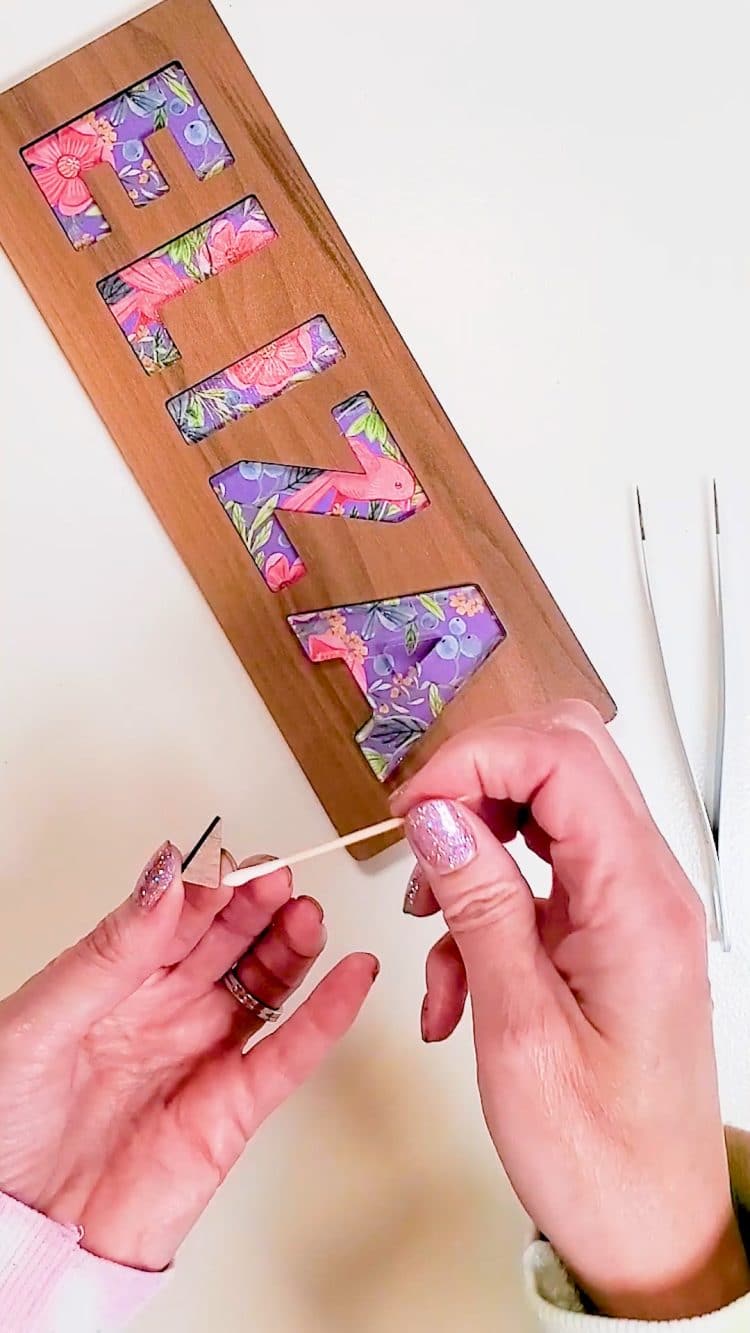
To position the center piece of the “A,” place the clear puzzle piece into the frame, add a small amount of glue to the back of the wood piece (I like to use a toothpick to apply the glue to small shapes), and use fine-point tweezers to position it into place. Once positioned, remove the clear puzzle piece until the wood glue has dried completely.
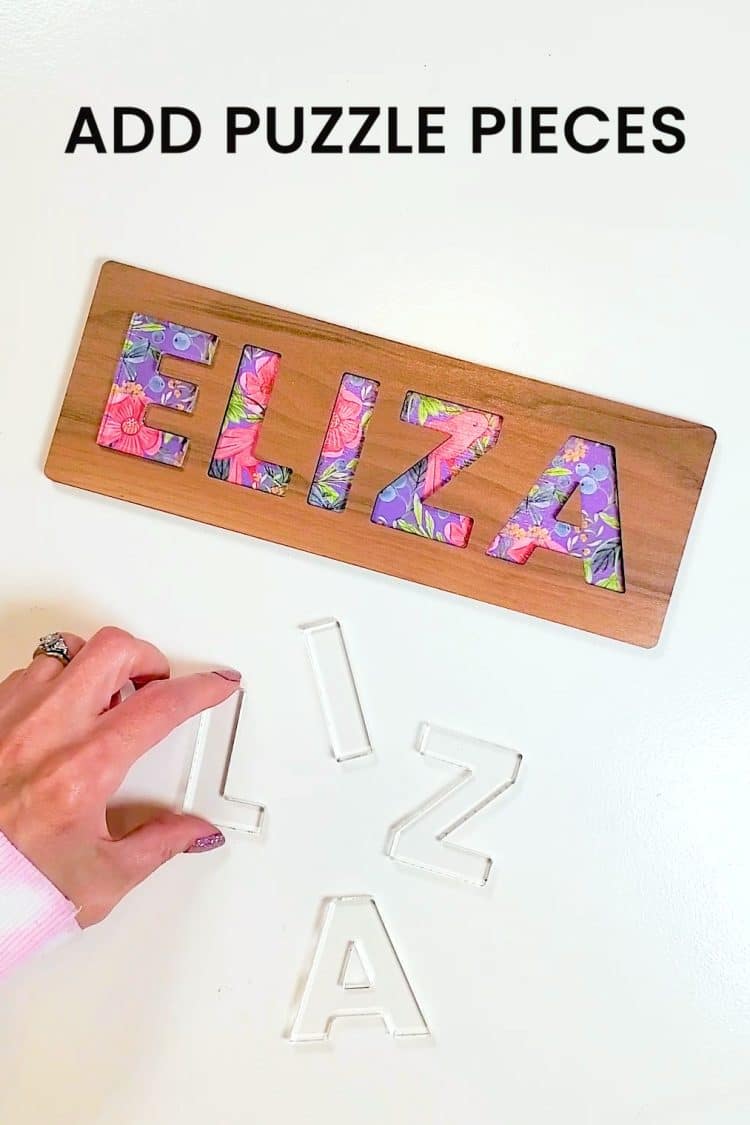
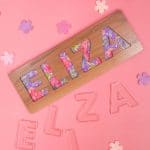
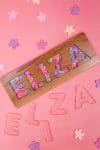
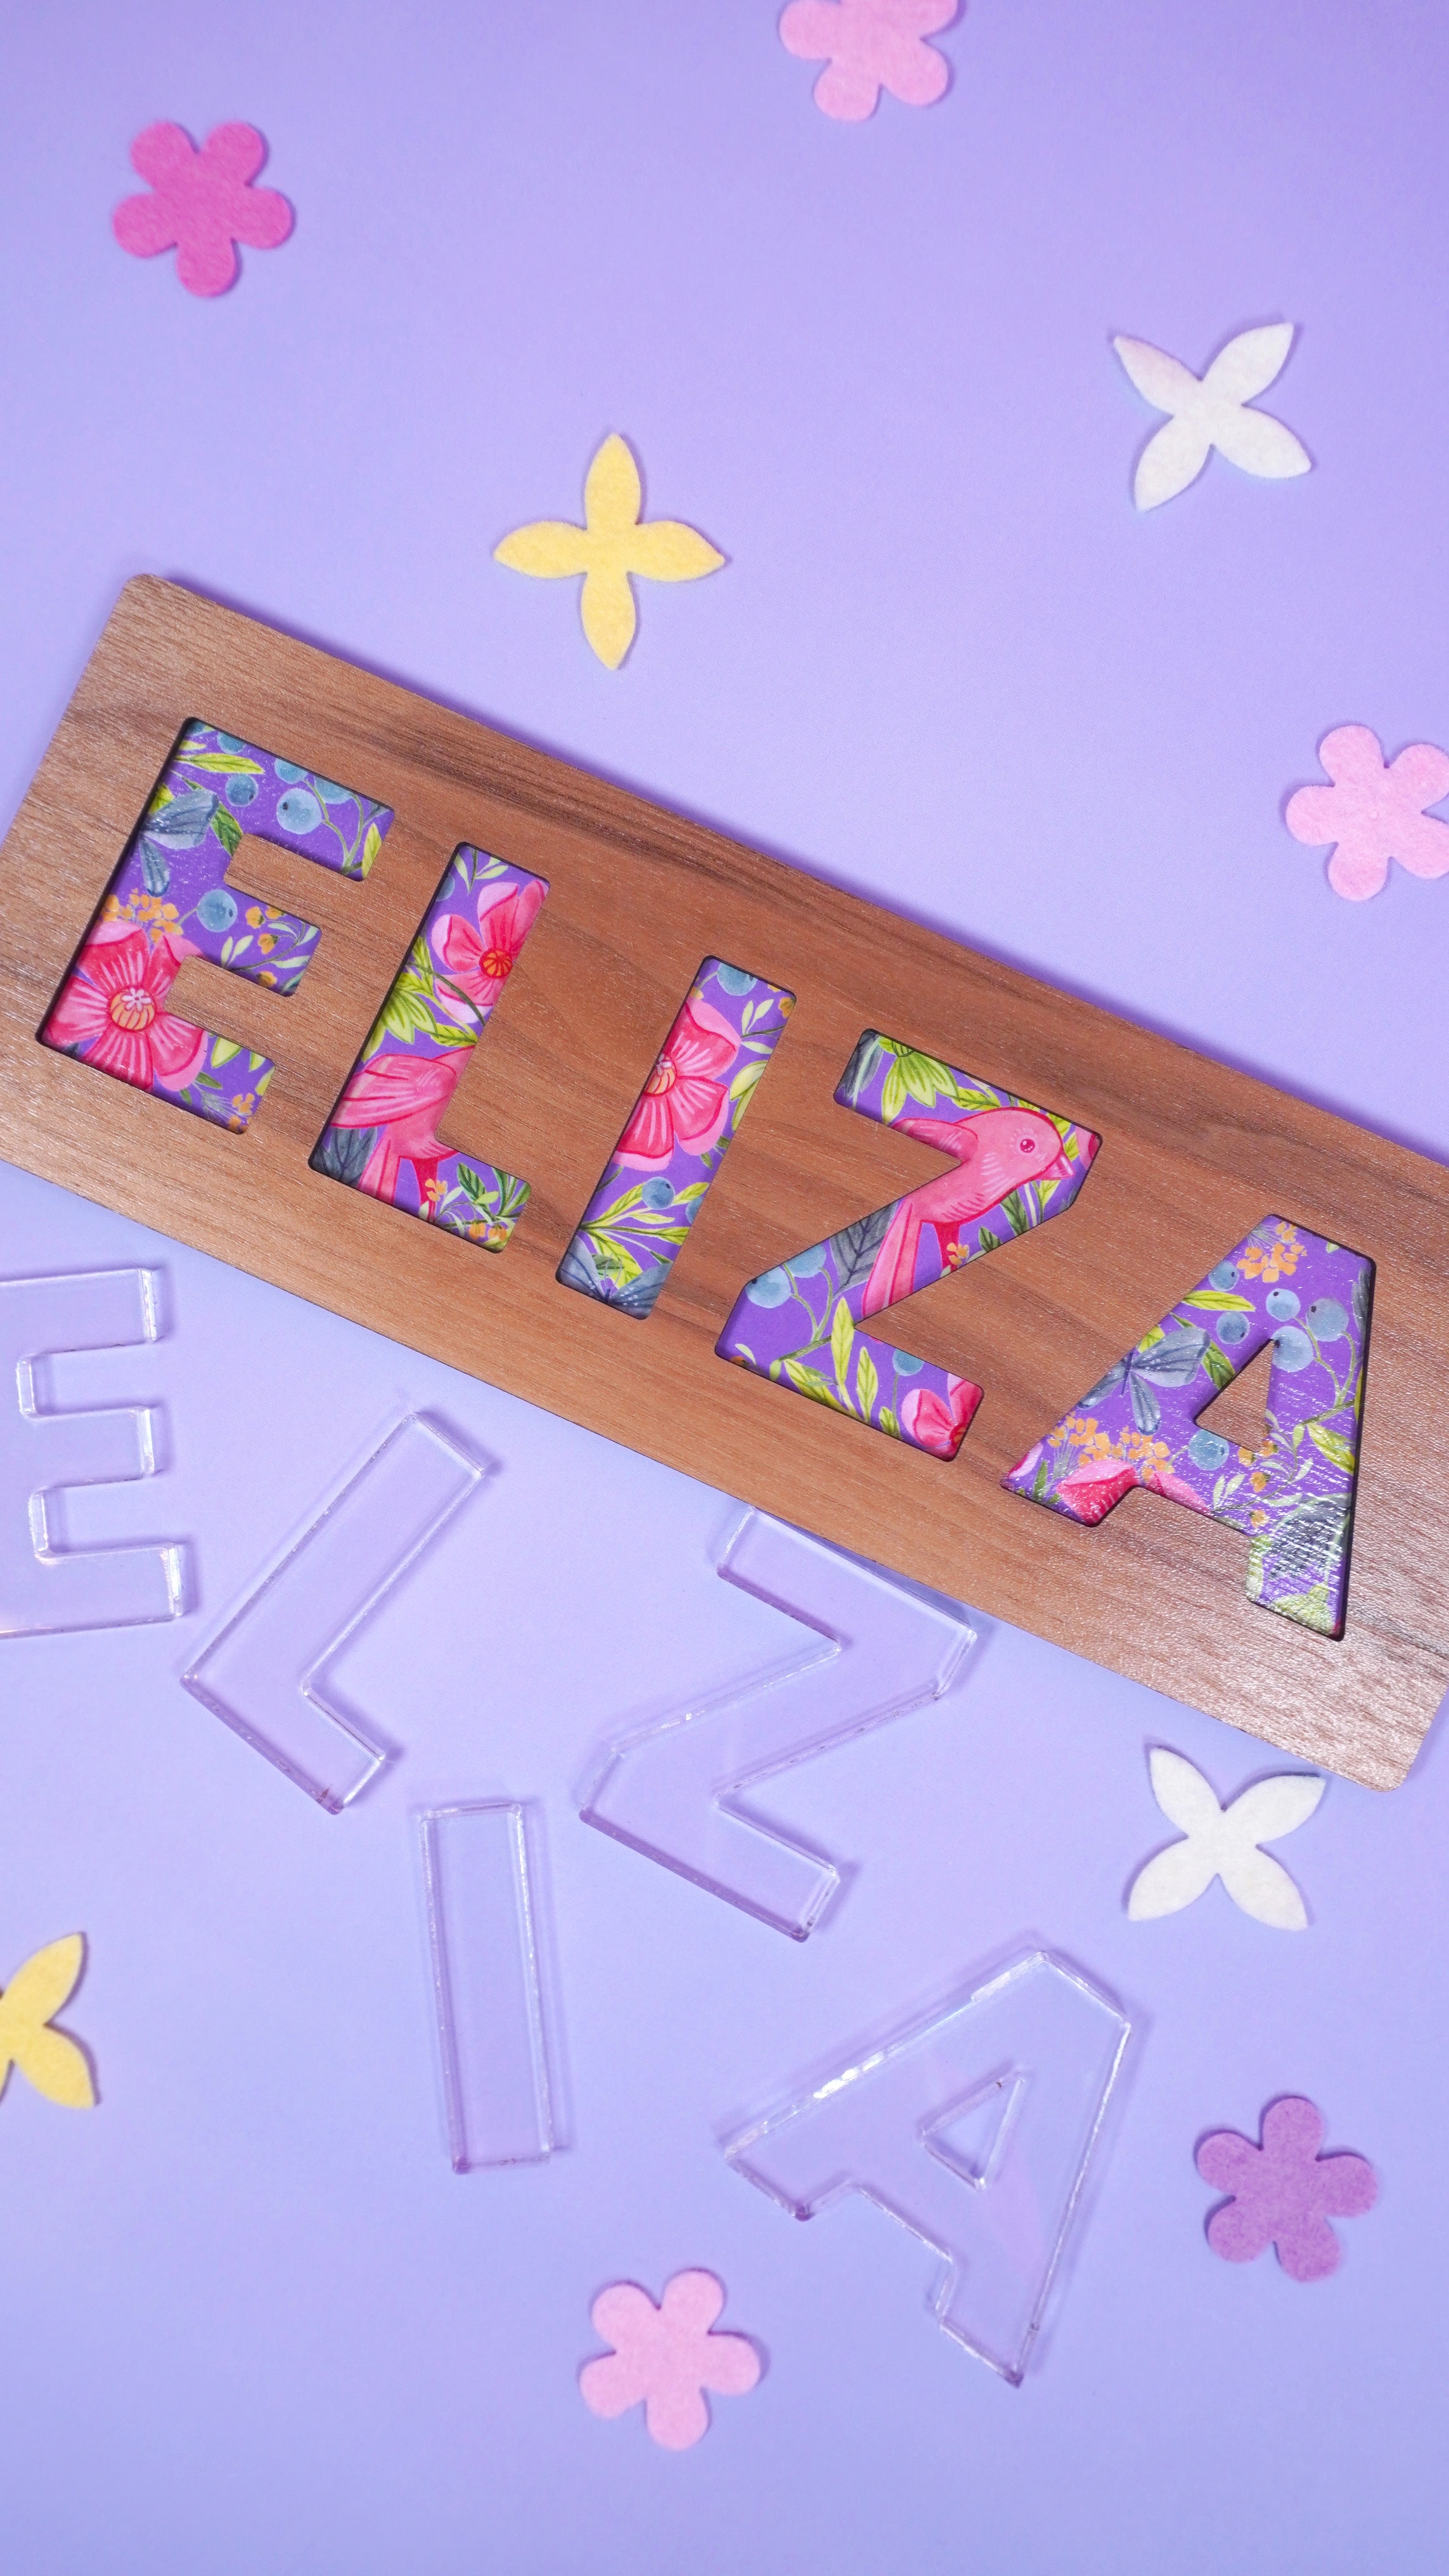
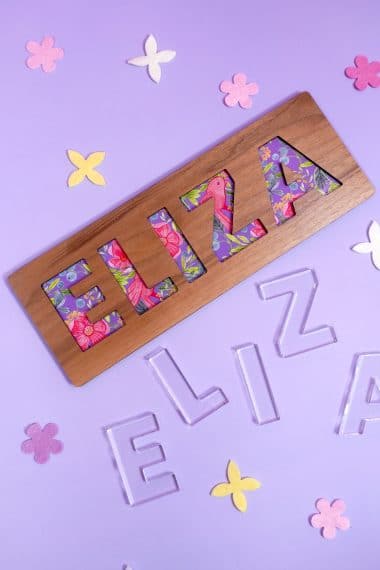
When all the glue has dried, add the clear acrylic puzzle pieces.
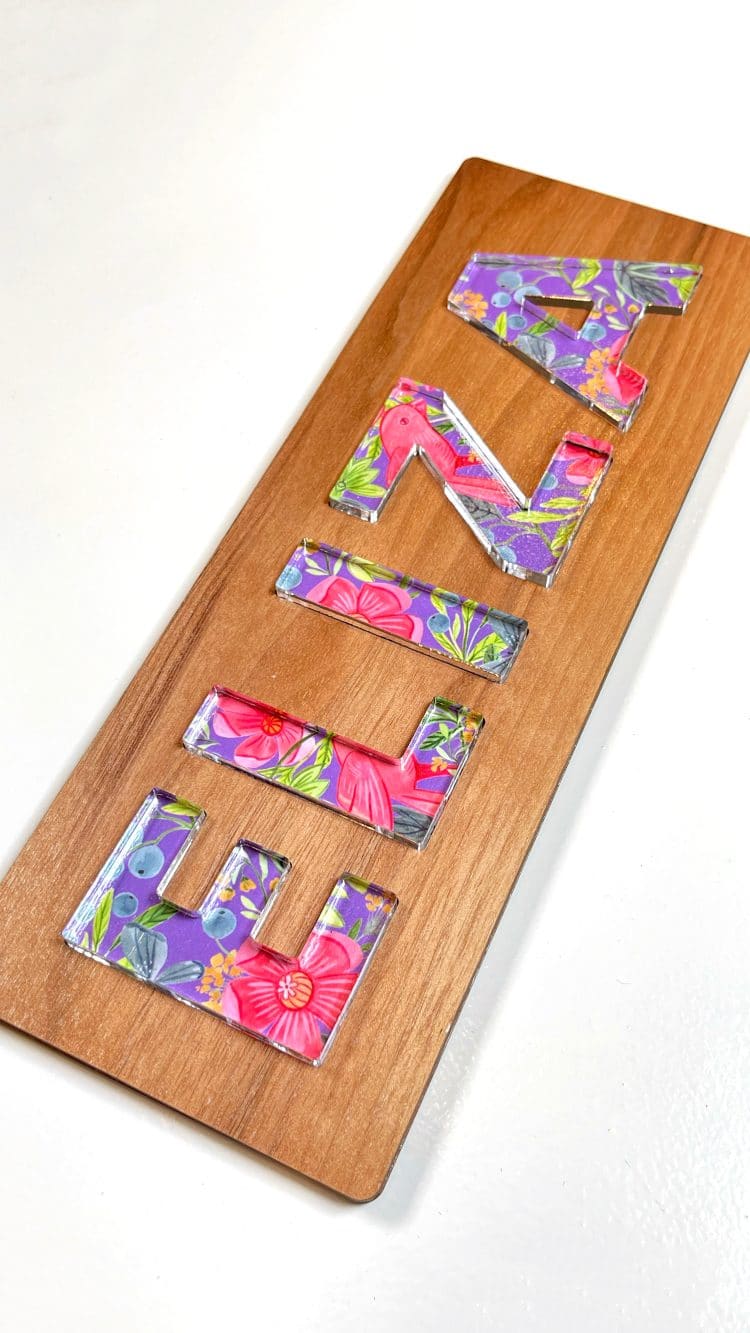
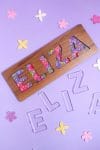
These personalized name puzzles are SO cute and SO easy to make!
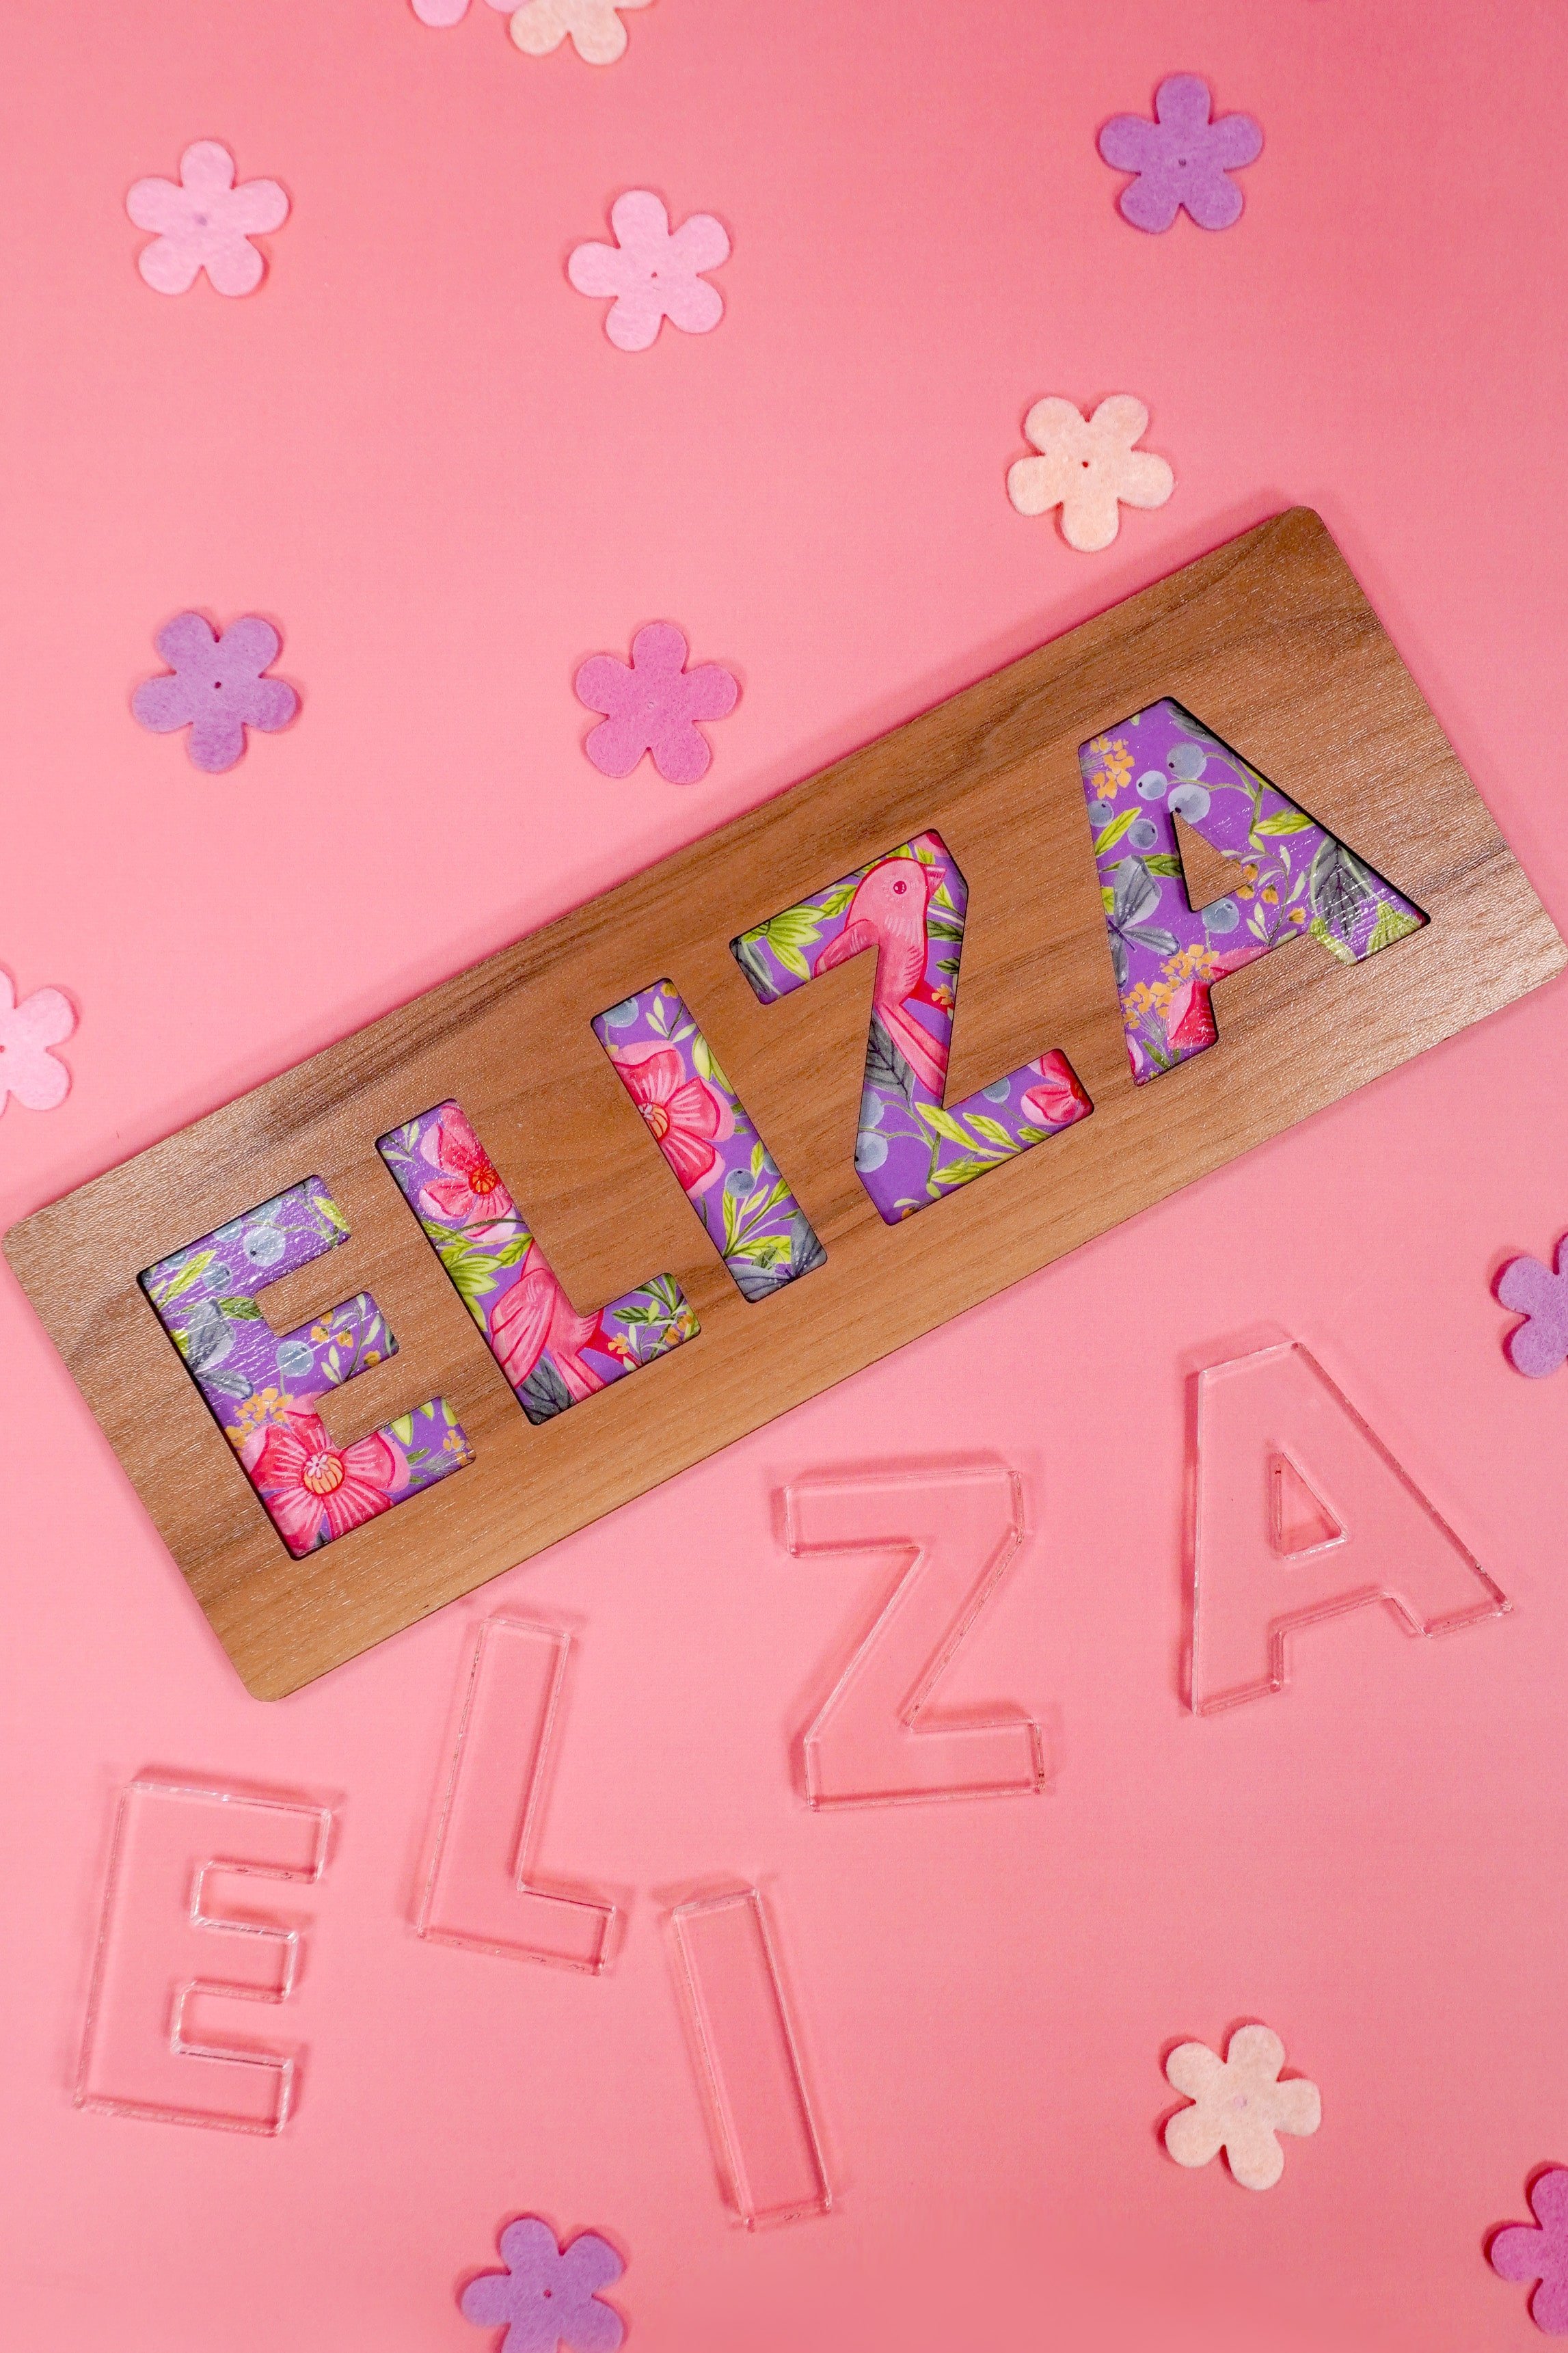
The best part about these custom name puzzles is that the personalization options are truly LIMITLESS! Change it up by playing with different fonts, different patterned papers, and even different types of pre-finished Proofgrade woods like Cherry or Maple for the frame!
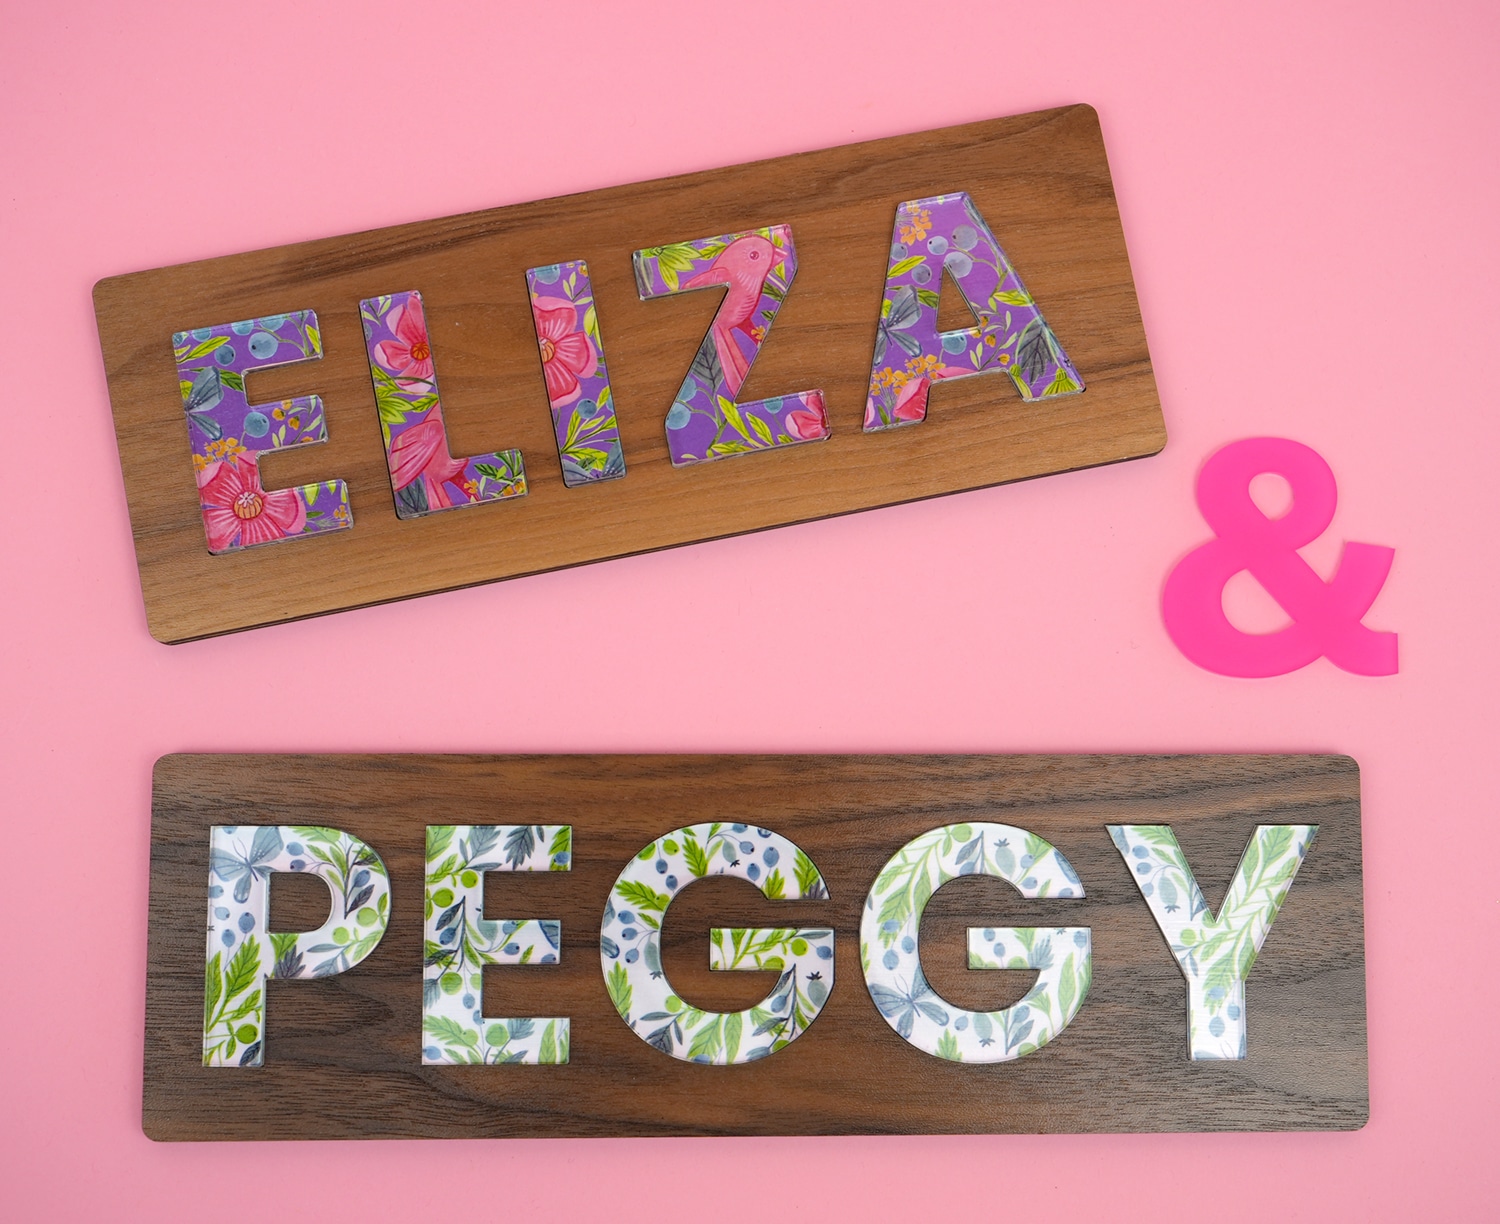
There are SO many fun possibilities!
If you’re someone who makes and sells your Glowforge crafts, you can bet that these personalized name puzzles will be a HUGE hit with your customers, too! Who would you make one of these custom puzzles for?

Check Out These Other Glowforge Project Ideas!


Heidi Kundin has captivated the hearts of millions with her colorful and inspiring approach to crafting, celebrations, and family fun. With over 15 years of experience, Happiness is Homemade has become a must-visit destination for those seeking quick and easy creative ideas and last-minute solutions. Heidi’s warm personality shines through her posts, inviting readers to join her on a creative journey that’s fun, rewarding, and achievable. Heidi is also the author of Homemade Bath Bombs & More and DIY Tie-Dye.