
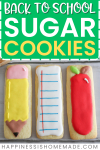
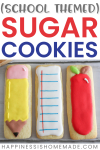

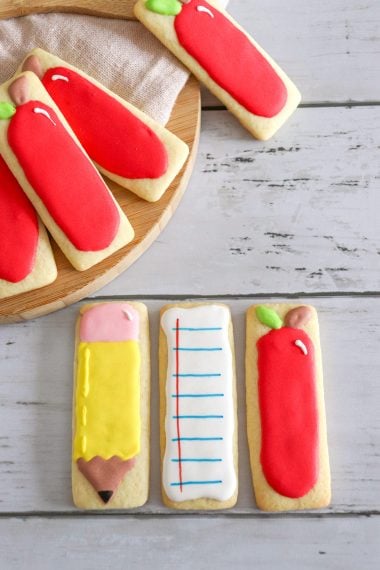
These cute Back-to-School cookies make a fun, delicious treat for celebrating the new school year! Everyone will love these yummy back-to-school sugar cookies!

This post may contain affiliate links. I will receive a small commission from these sales at no additional cost to you!
It’s that time of year again, when backpacks are packed, shoes are laced, and school bells are ringing in a new adventure! But, getting back to school ready doesn’t have to be a complete and total frenzy. Give yourself grace, with this super easy sugar cookie recipe that is sure to delight new teachers and new friends, alike!
With tons of neat frosting and decorating ideas included at the bottom of this post – these cool back to school inspired cookies will definitely be admired by all and satisfy your cookie cravings!
We’ve had such a great experience making our Notebook Rice Krispies Treats, that we knew these fun apple, pencil, and lined paper cookies would be a must-try for the next school year. They even make super cute teacher appreciation gifts for the end of the school year, too!
So, put on your apron, grab those cookie cutters, and get ready to indulge in the most delicious way to kick off the school year!
Back-To-School Sugar Cookies
Getting started making these cute, back-to-school-themed cookies is super easy! We used premade Sugar Cookie dough for this recipe to save time, but if you’d like to use homemade sugar cookies instead, try our ever-popular Soft, Classic Sugar Cookies recipe or chose one of your favorite sugar cookie recipes!
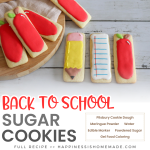
Ingredients Needed for School Treats:
Cookies
- Pillsbury Refrigerated Sugar Cookie Dough (or your favorite cookie recipe)
- All Purpose Flour
Royal Icing
- Powdered Sugar
- Meringue Powder
- Water (Room Temperature)
- Gel Food Coloring
- Edible Markers
Supplies Needed for School Cookies:
- Electric Mixer
- Mixing Bowls
- Measuring Cups
- Measuring Spoons
- Rolling Pin
- Baking Sheet
- Wire Cookie Rack
- Cookie Cutters
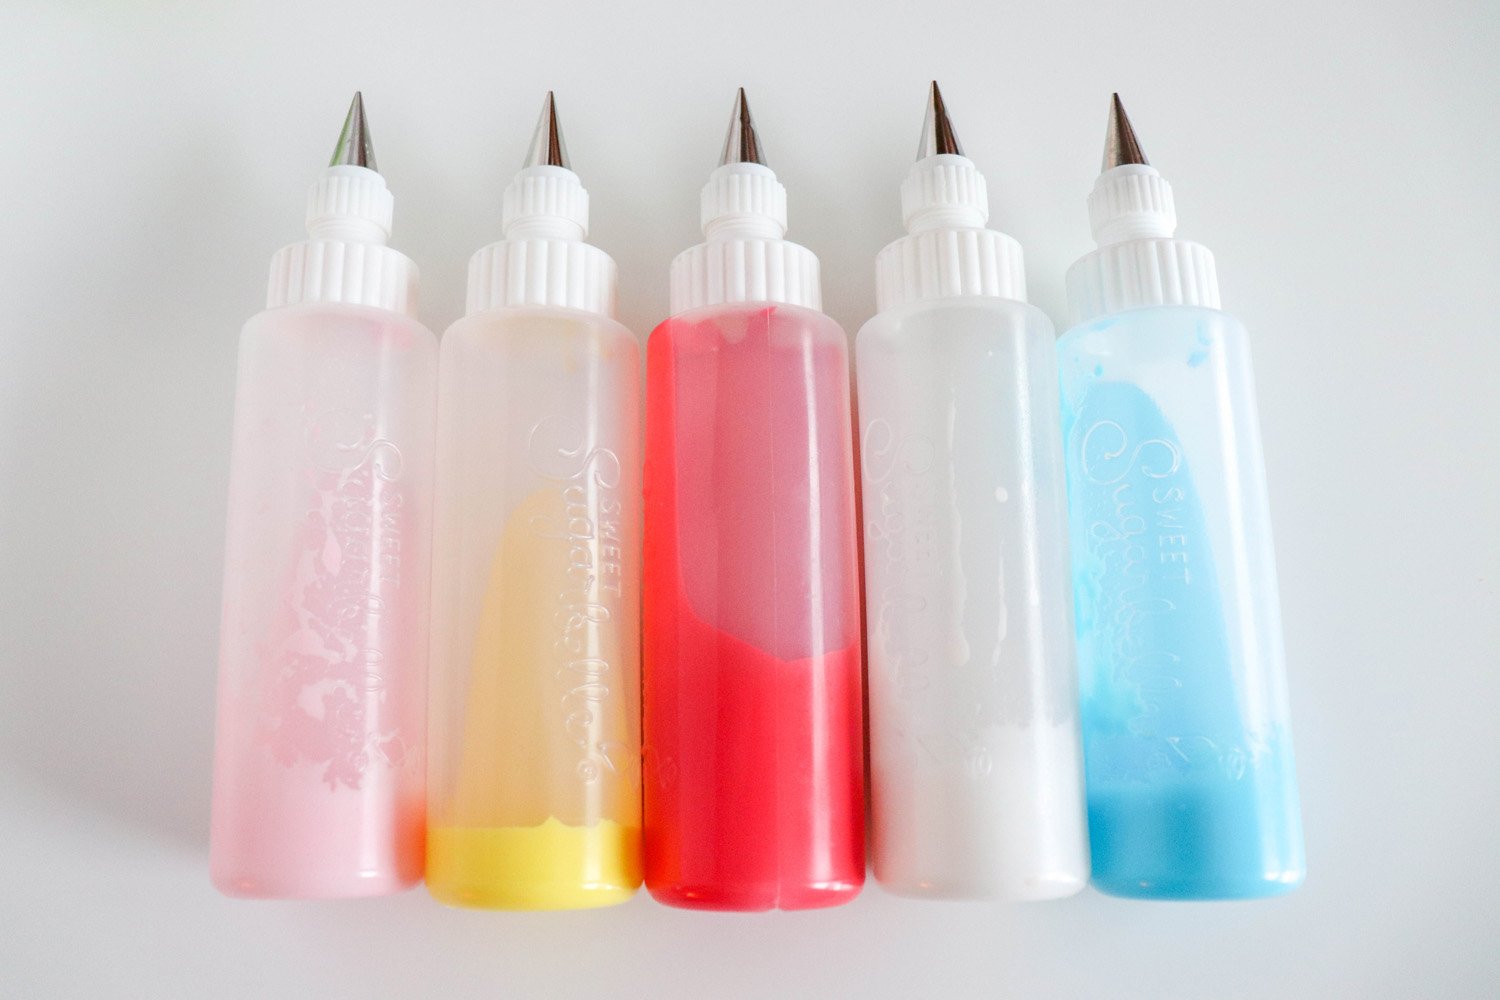
- Icing Bottles
- Icing Tips
- Toothpick
NOTE: You can substitute icing bottles for a piping bag, or cut the end off of a small Ziploc bag. Though, you may have less control when piping your cookie designs.
How to Make Sugar Cookies:
Roll up your sleeves and get ready to whip up a batch of irresistible sugar cookies!
Making the Cookies
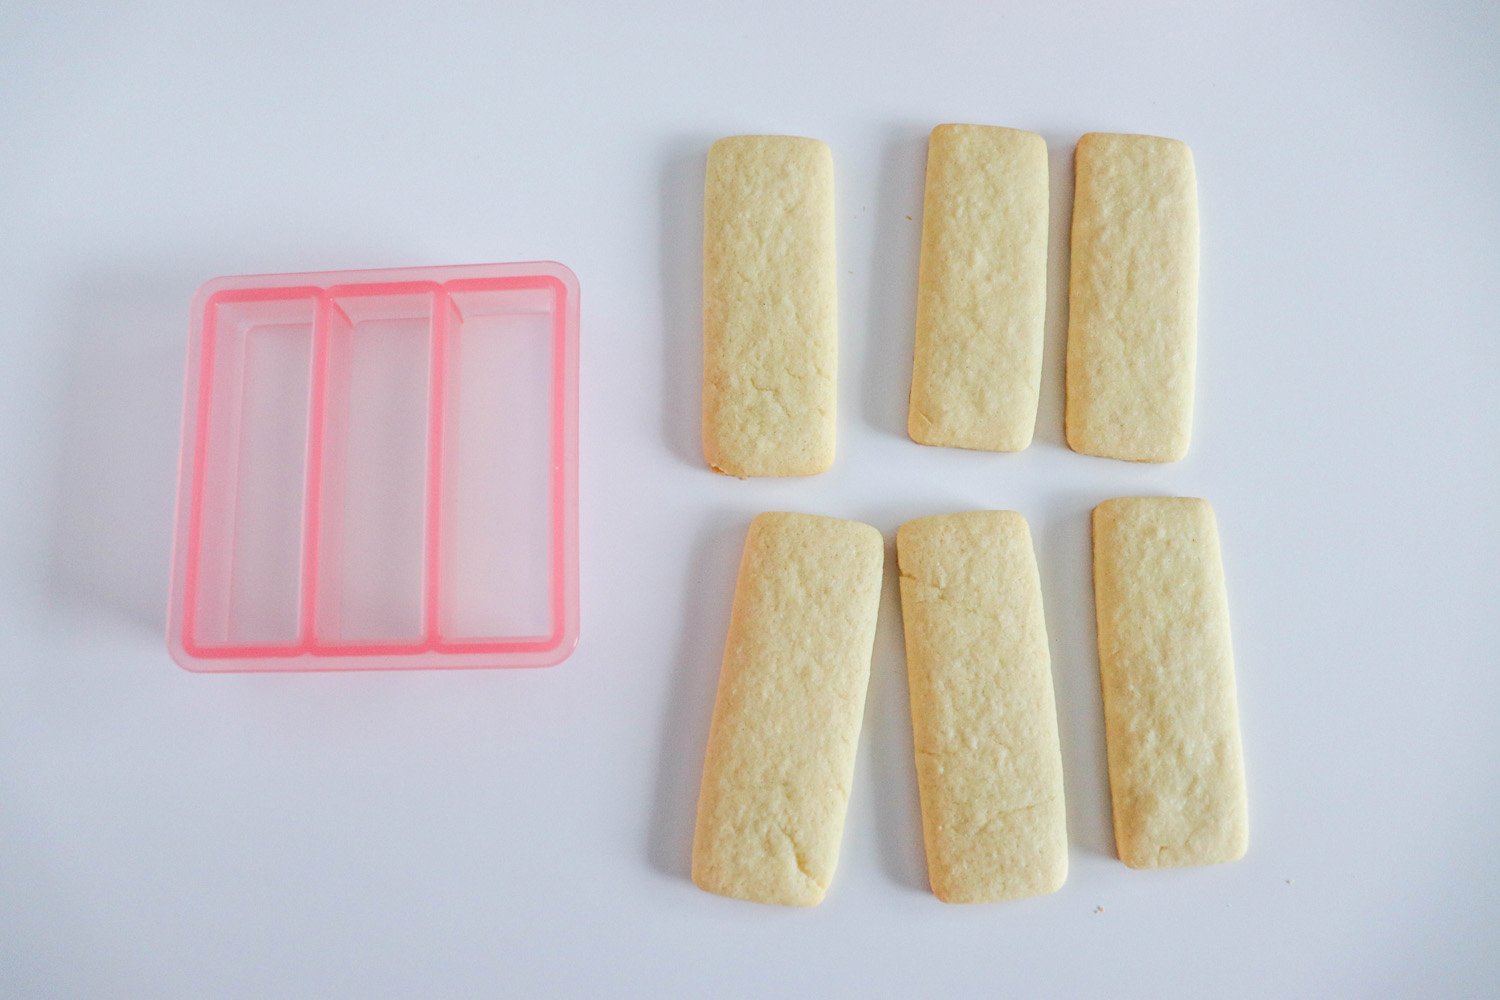
Combine dough and flour. Roll to ¼” thickness. Cut out cookie shapes.
Bake on a prepared baking sheet at 350 for 8 minutes or until the edges start to brown.
Making the Royal Icing
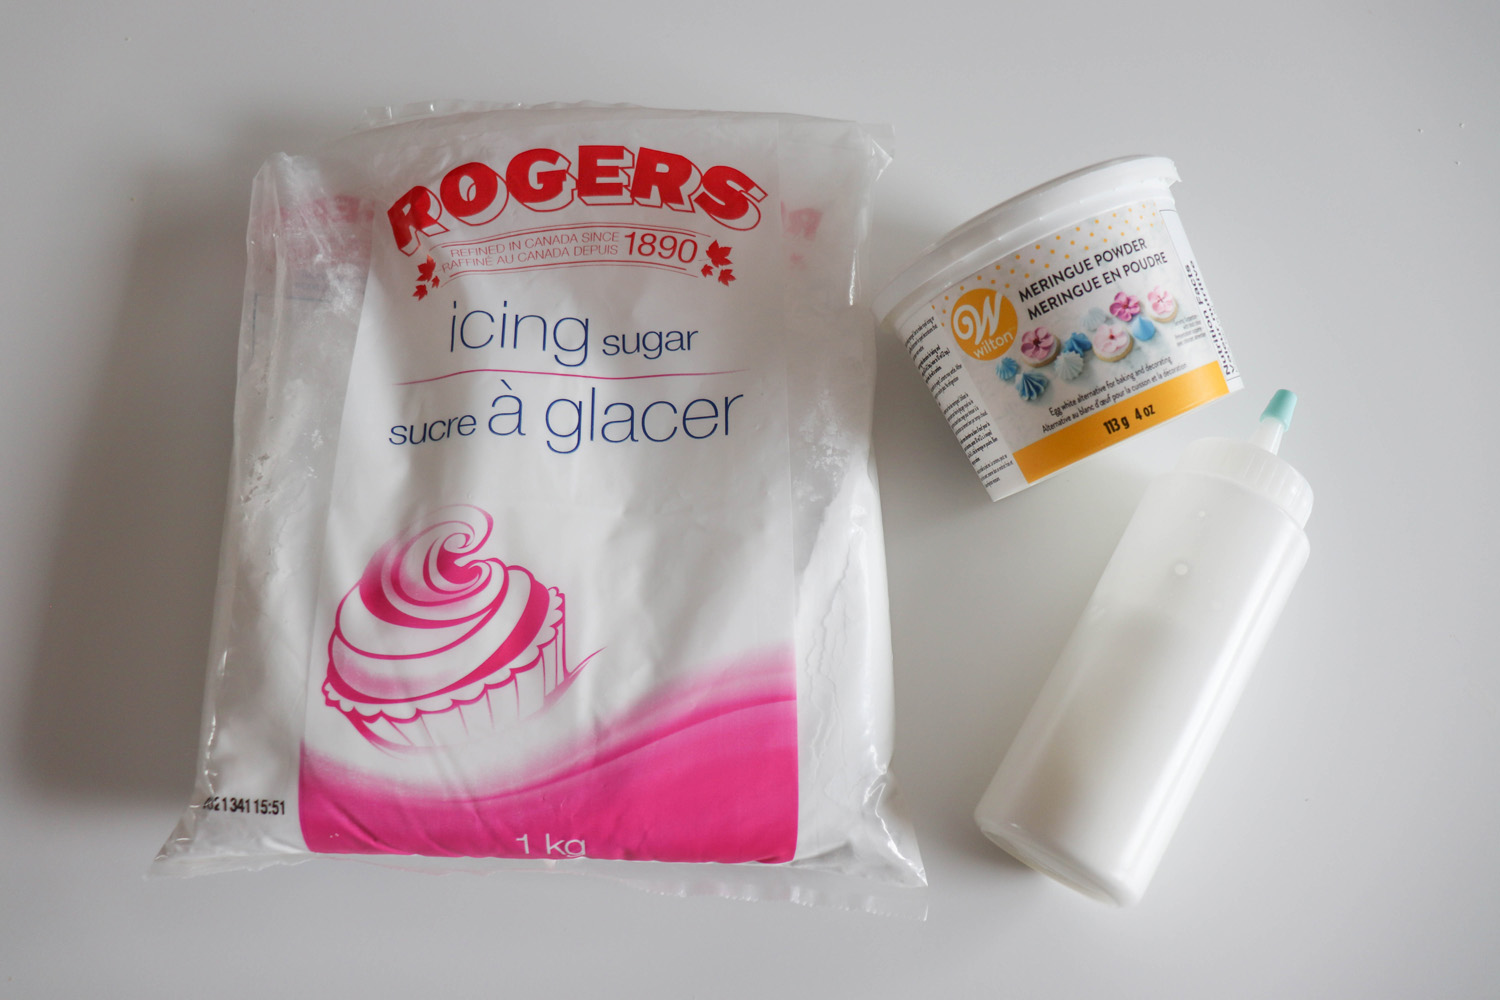
In a stand mixer combine sugar and meringue powder. Add 8 tablespoons of water, using the whisk attachment, and beat for 1 minute on low. Continue to add water one tablespoon at a time until the icing slowly drizzles from the whisk when lifted.
Once prepared, if the icing is too hard, add more water one drop at a time. If your mixture is too runny, add more icing sugar one teaspoon at a time.
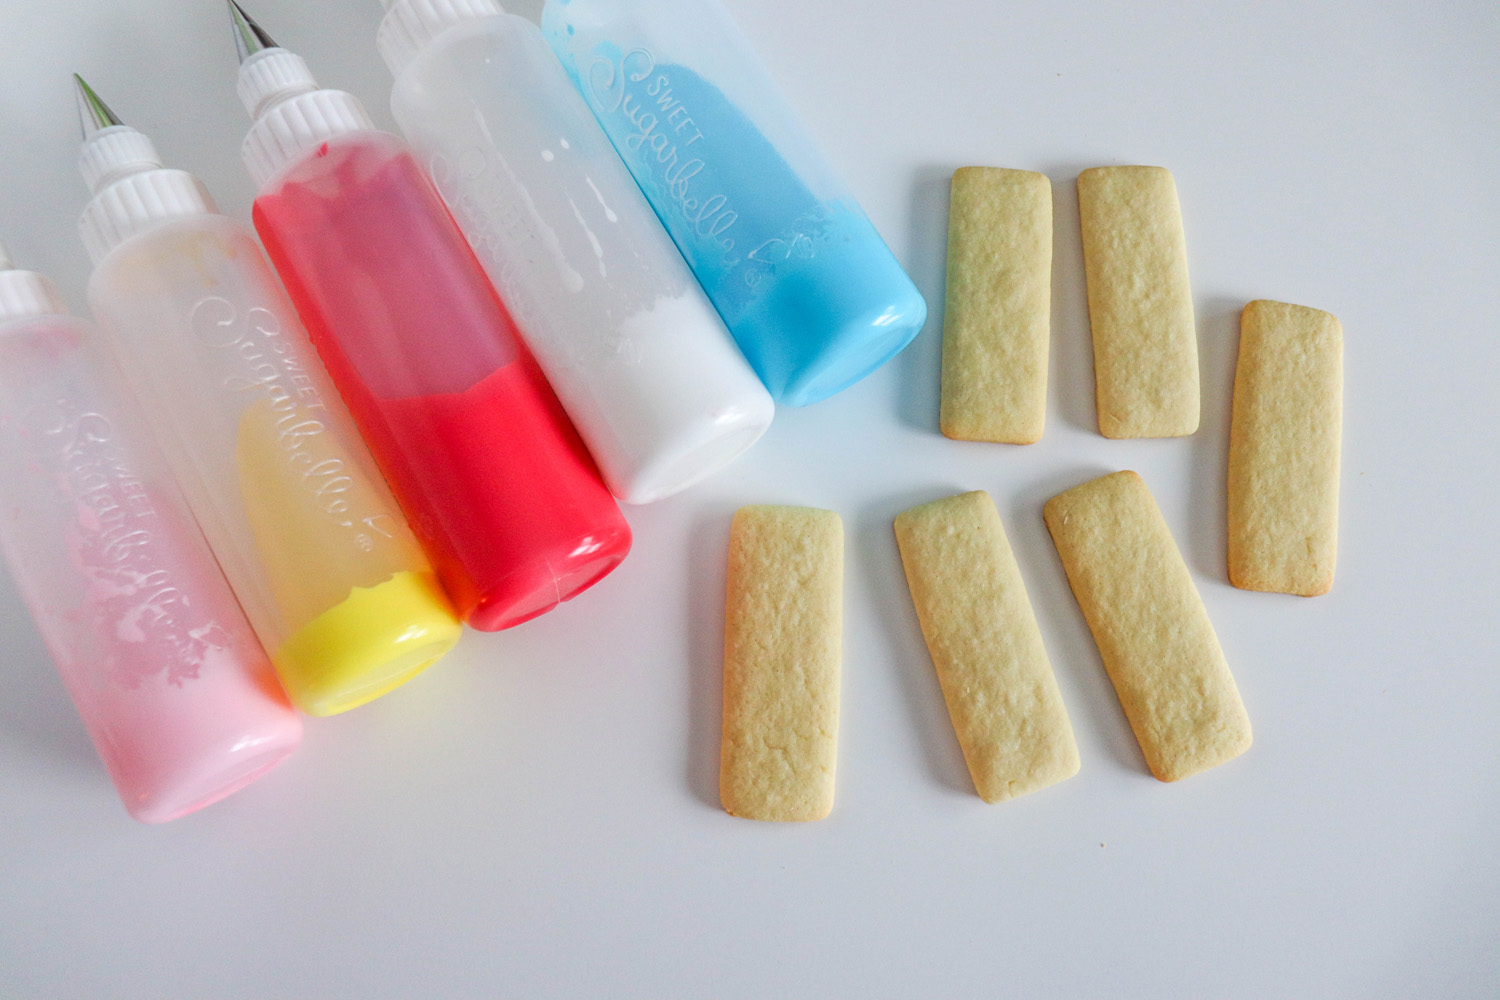
Separate the icing into small mixing bowls and add desired food coloring. Mix well. Scoop the icing into piping bags or icing bottles.
Decorating Instructions:
These decorating tips and tricks will have you feeling like a professional cookie decorator in no time!
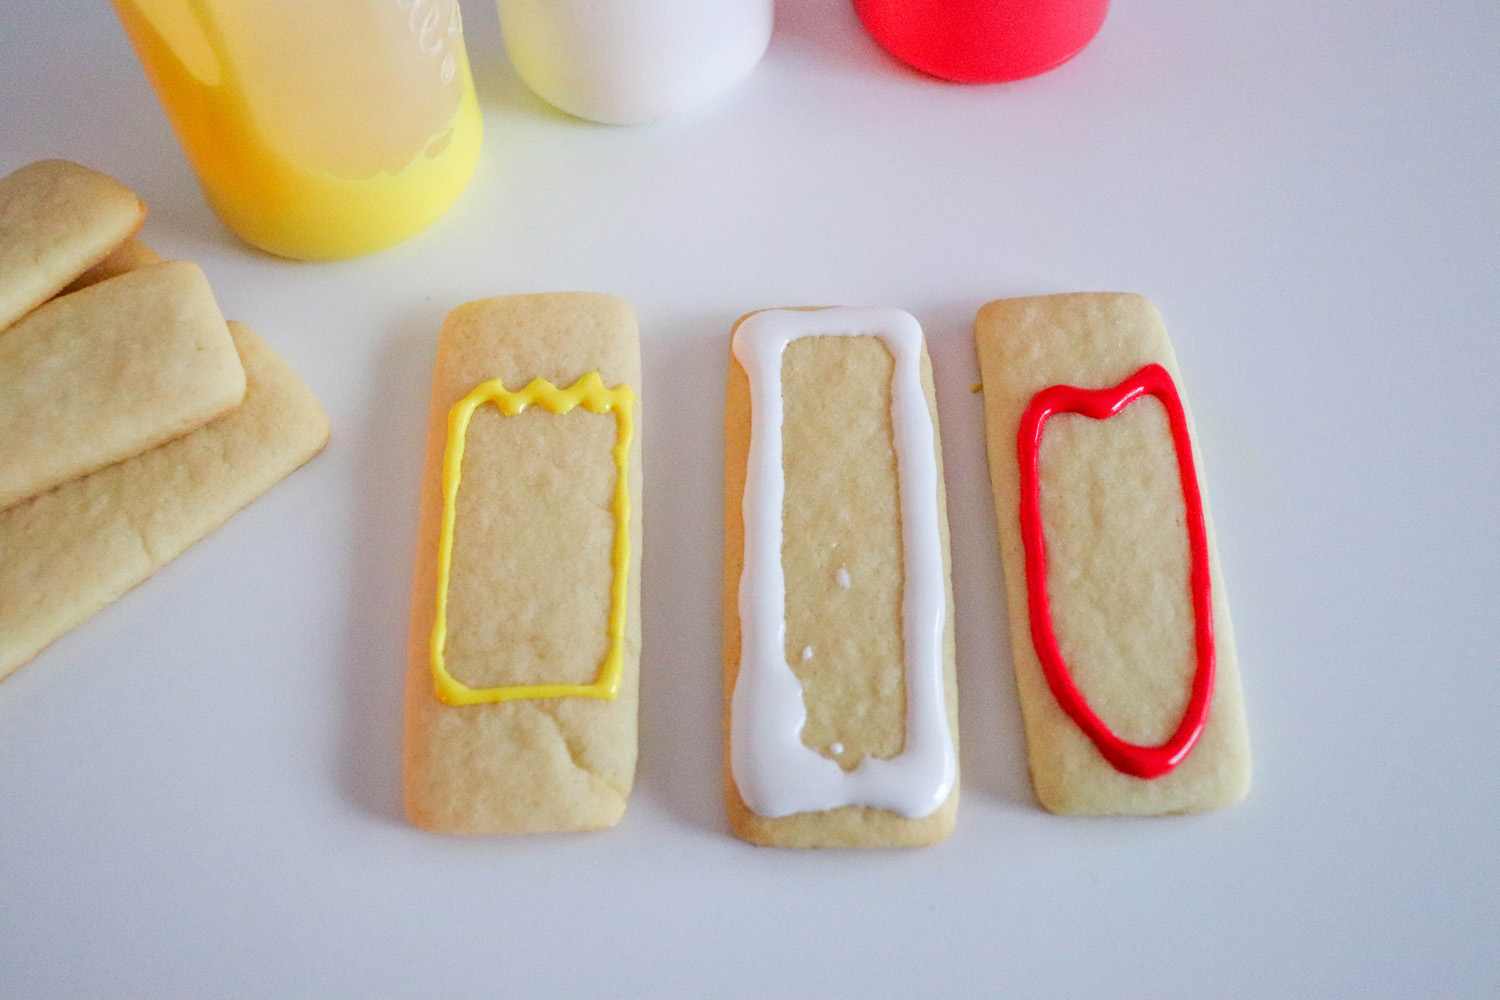
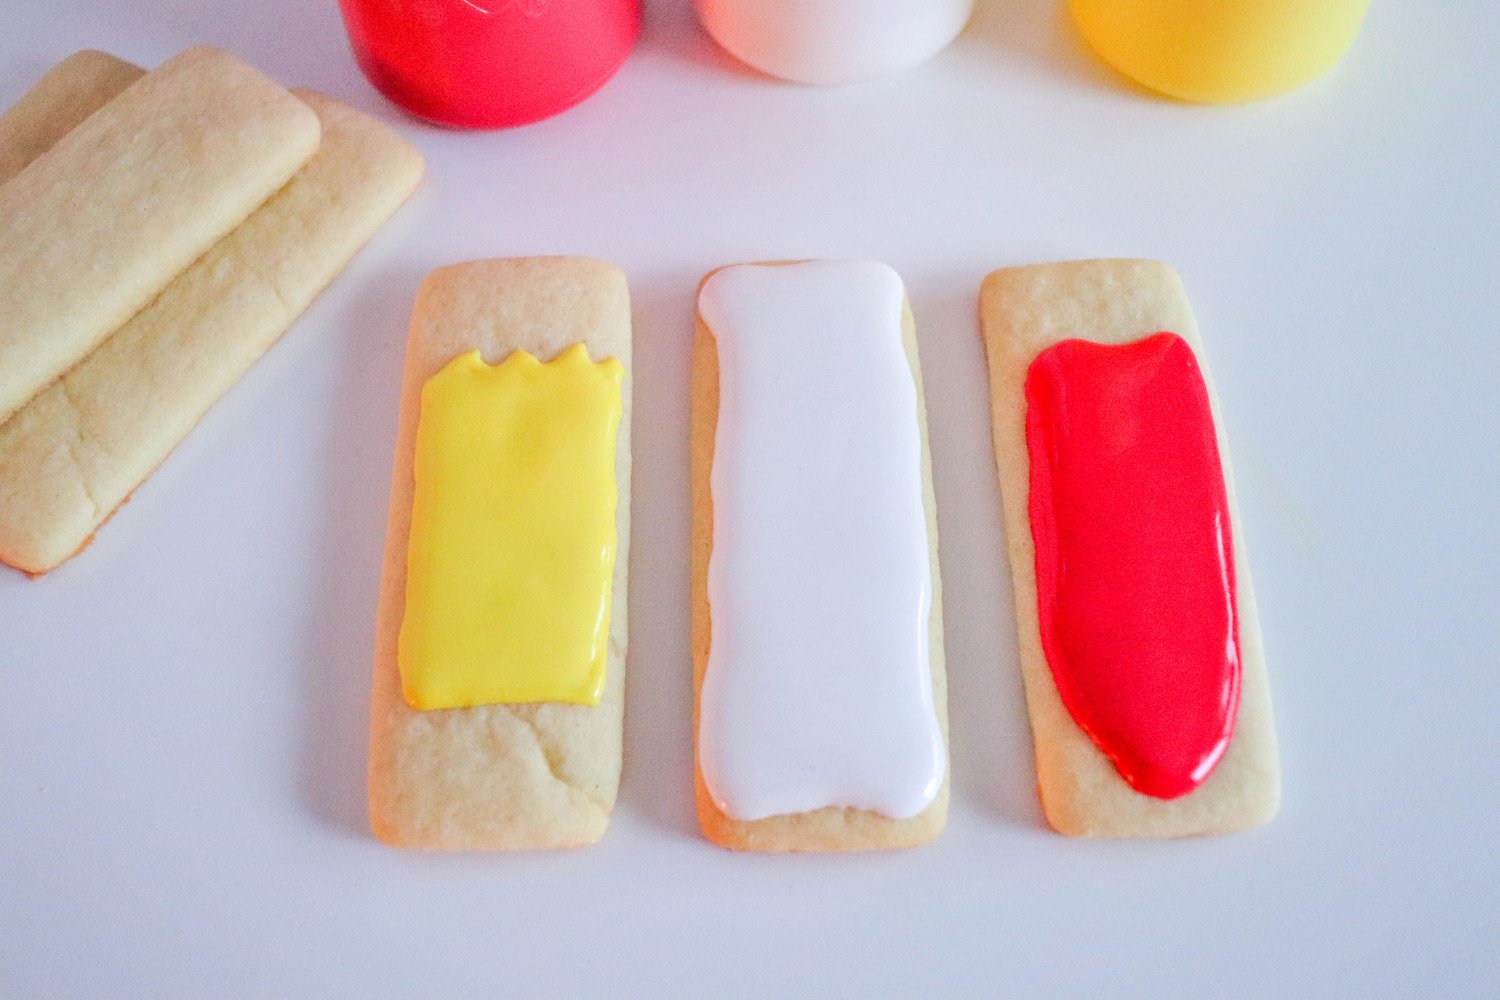
Start decorating your cookies by lining around the edge of the design with icing and filling in the middle. Use a toothpick to poke bubbles or direct icing into holes.
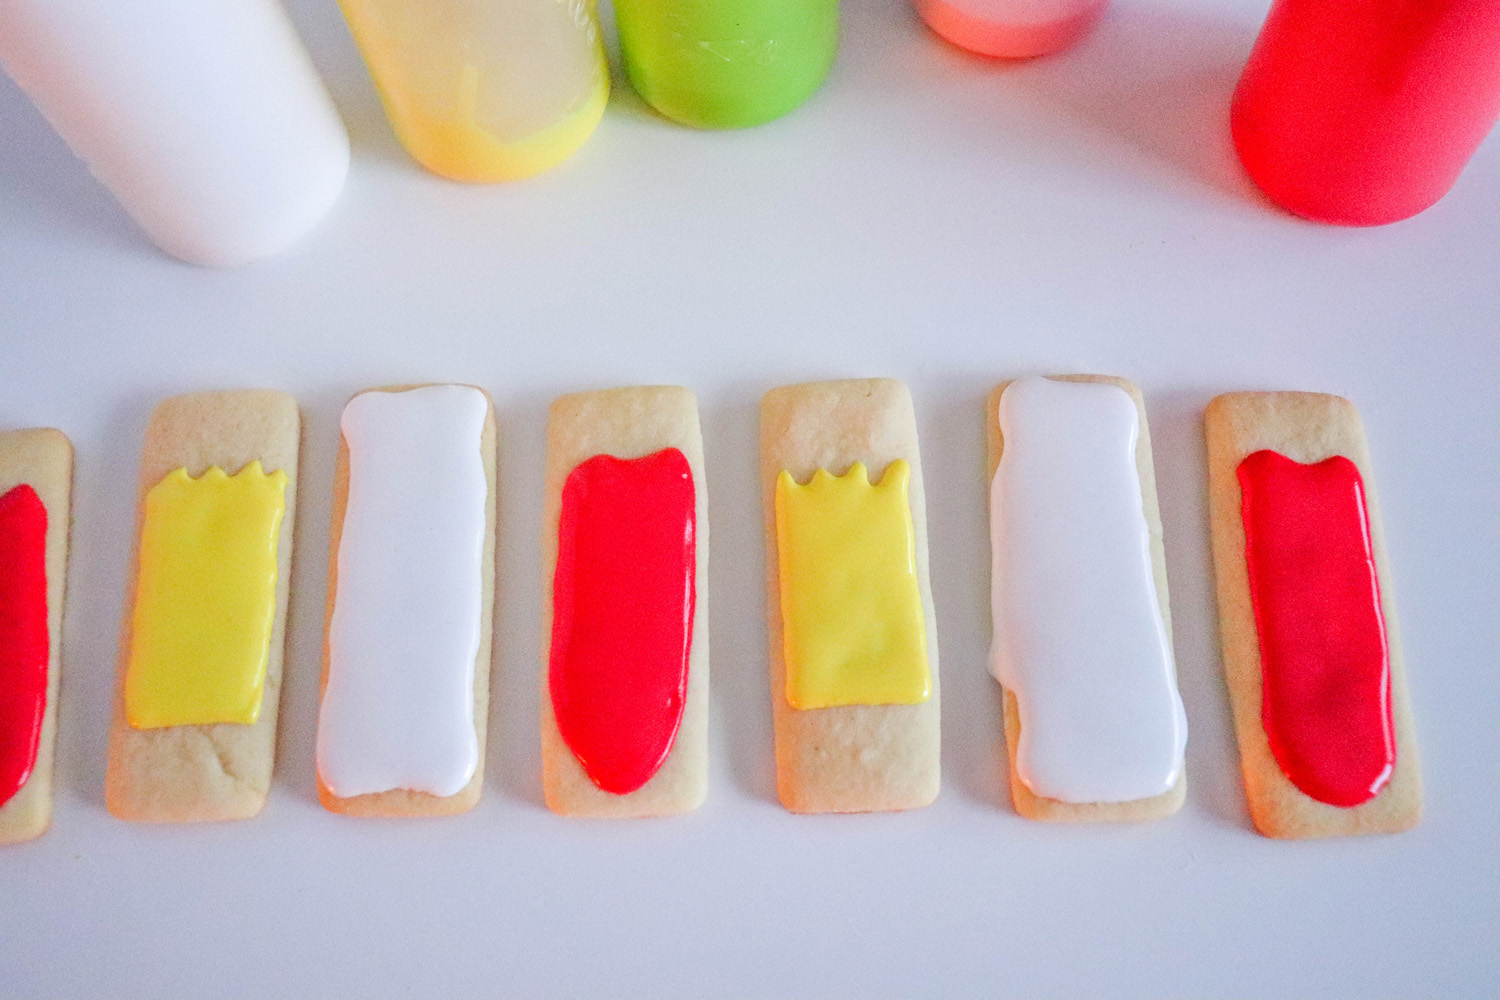
Allow each design area to dry before moving on. The icing should completely dry, at room temperature for at least four hours, before adding piping details to the top.
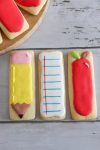
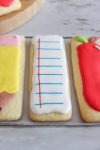
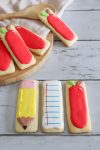
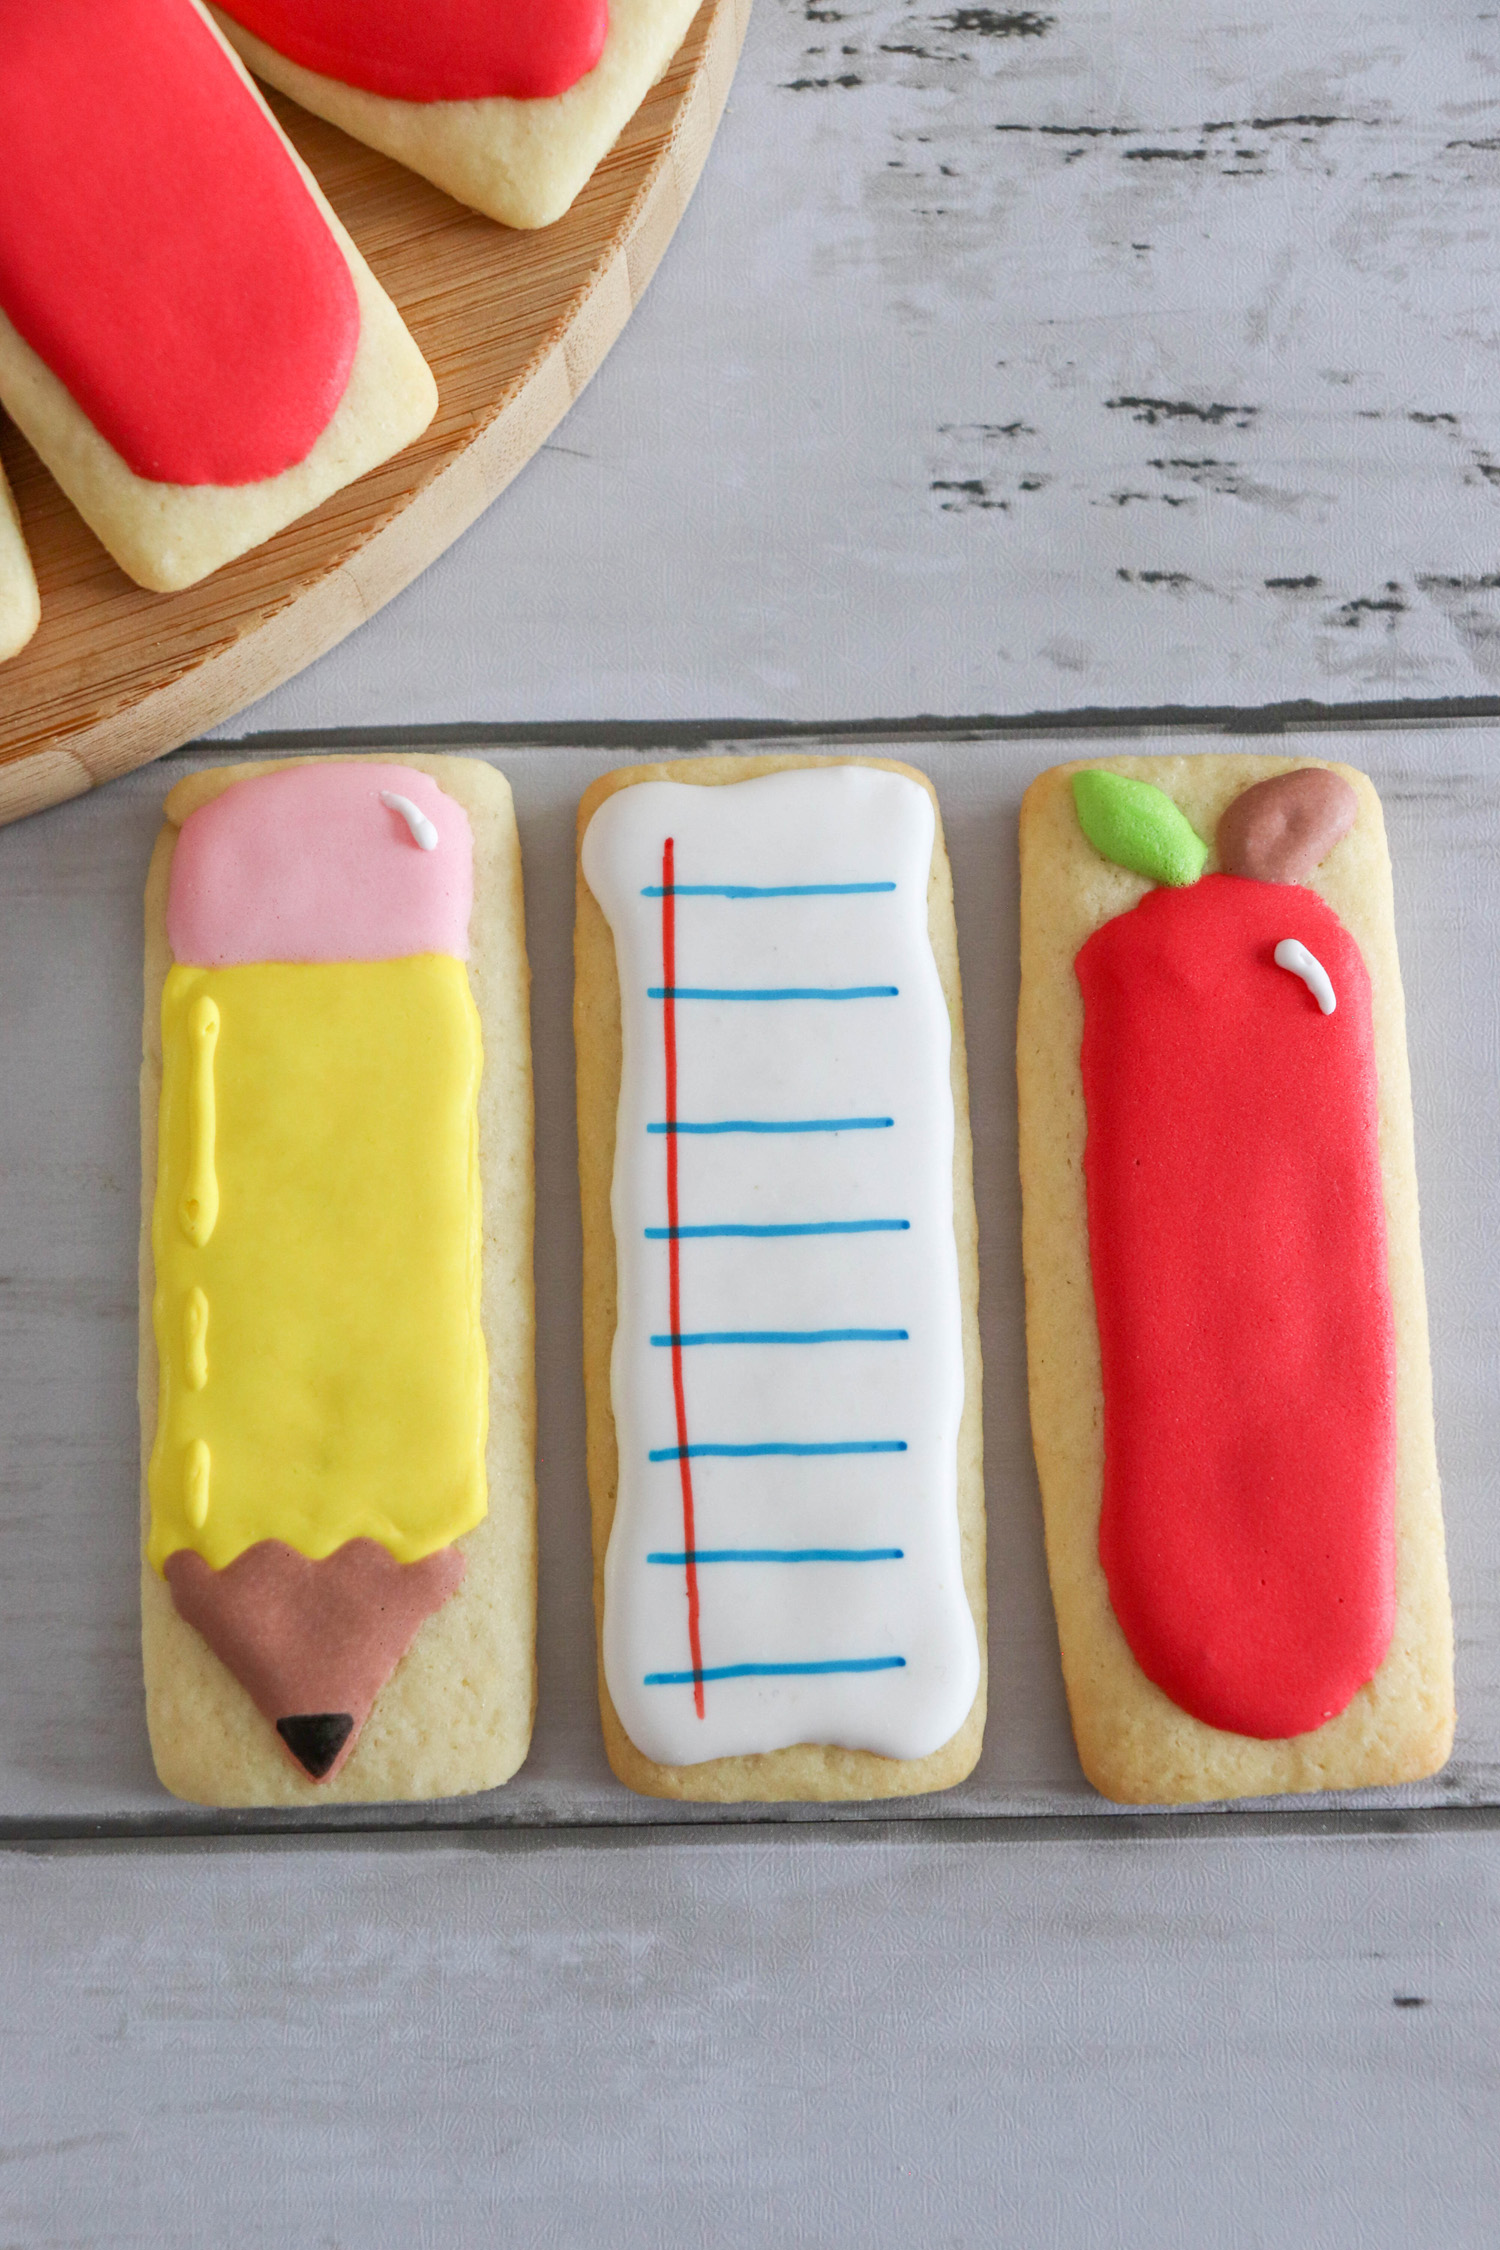
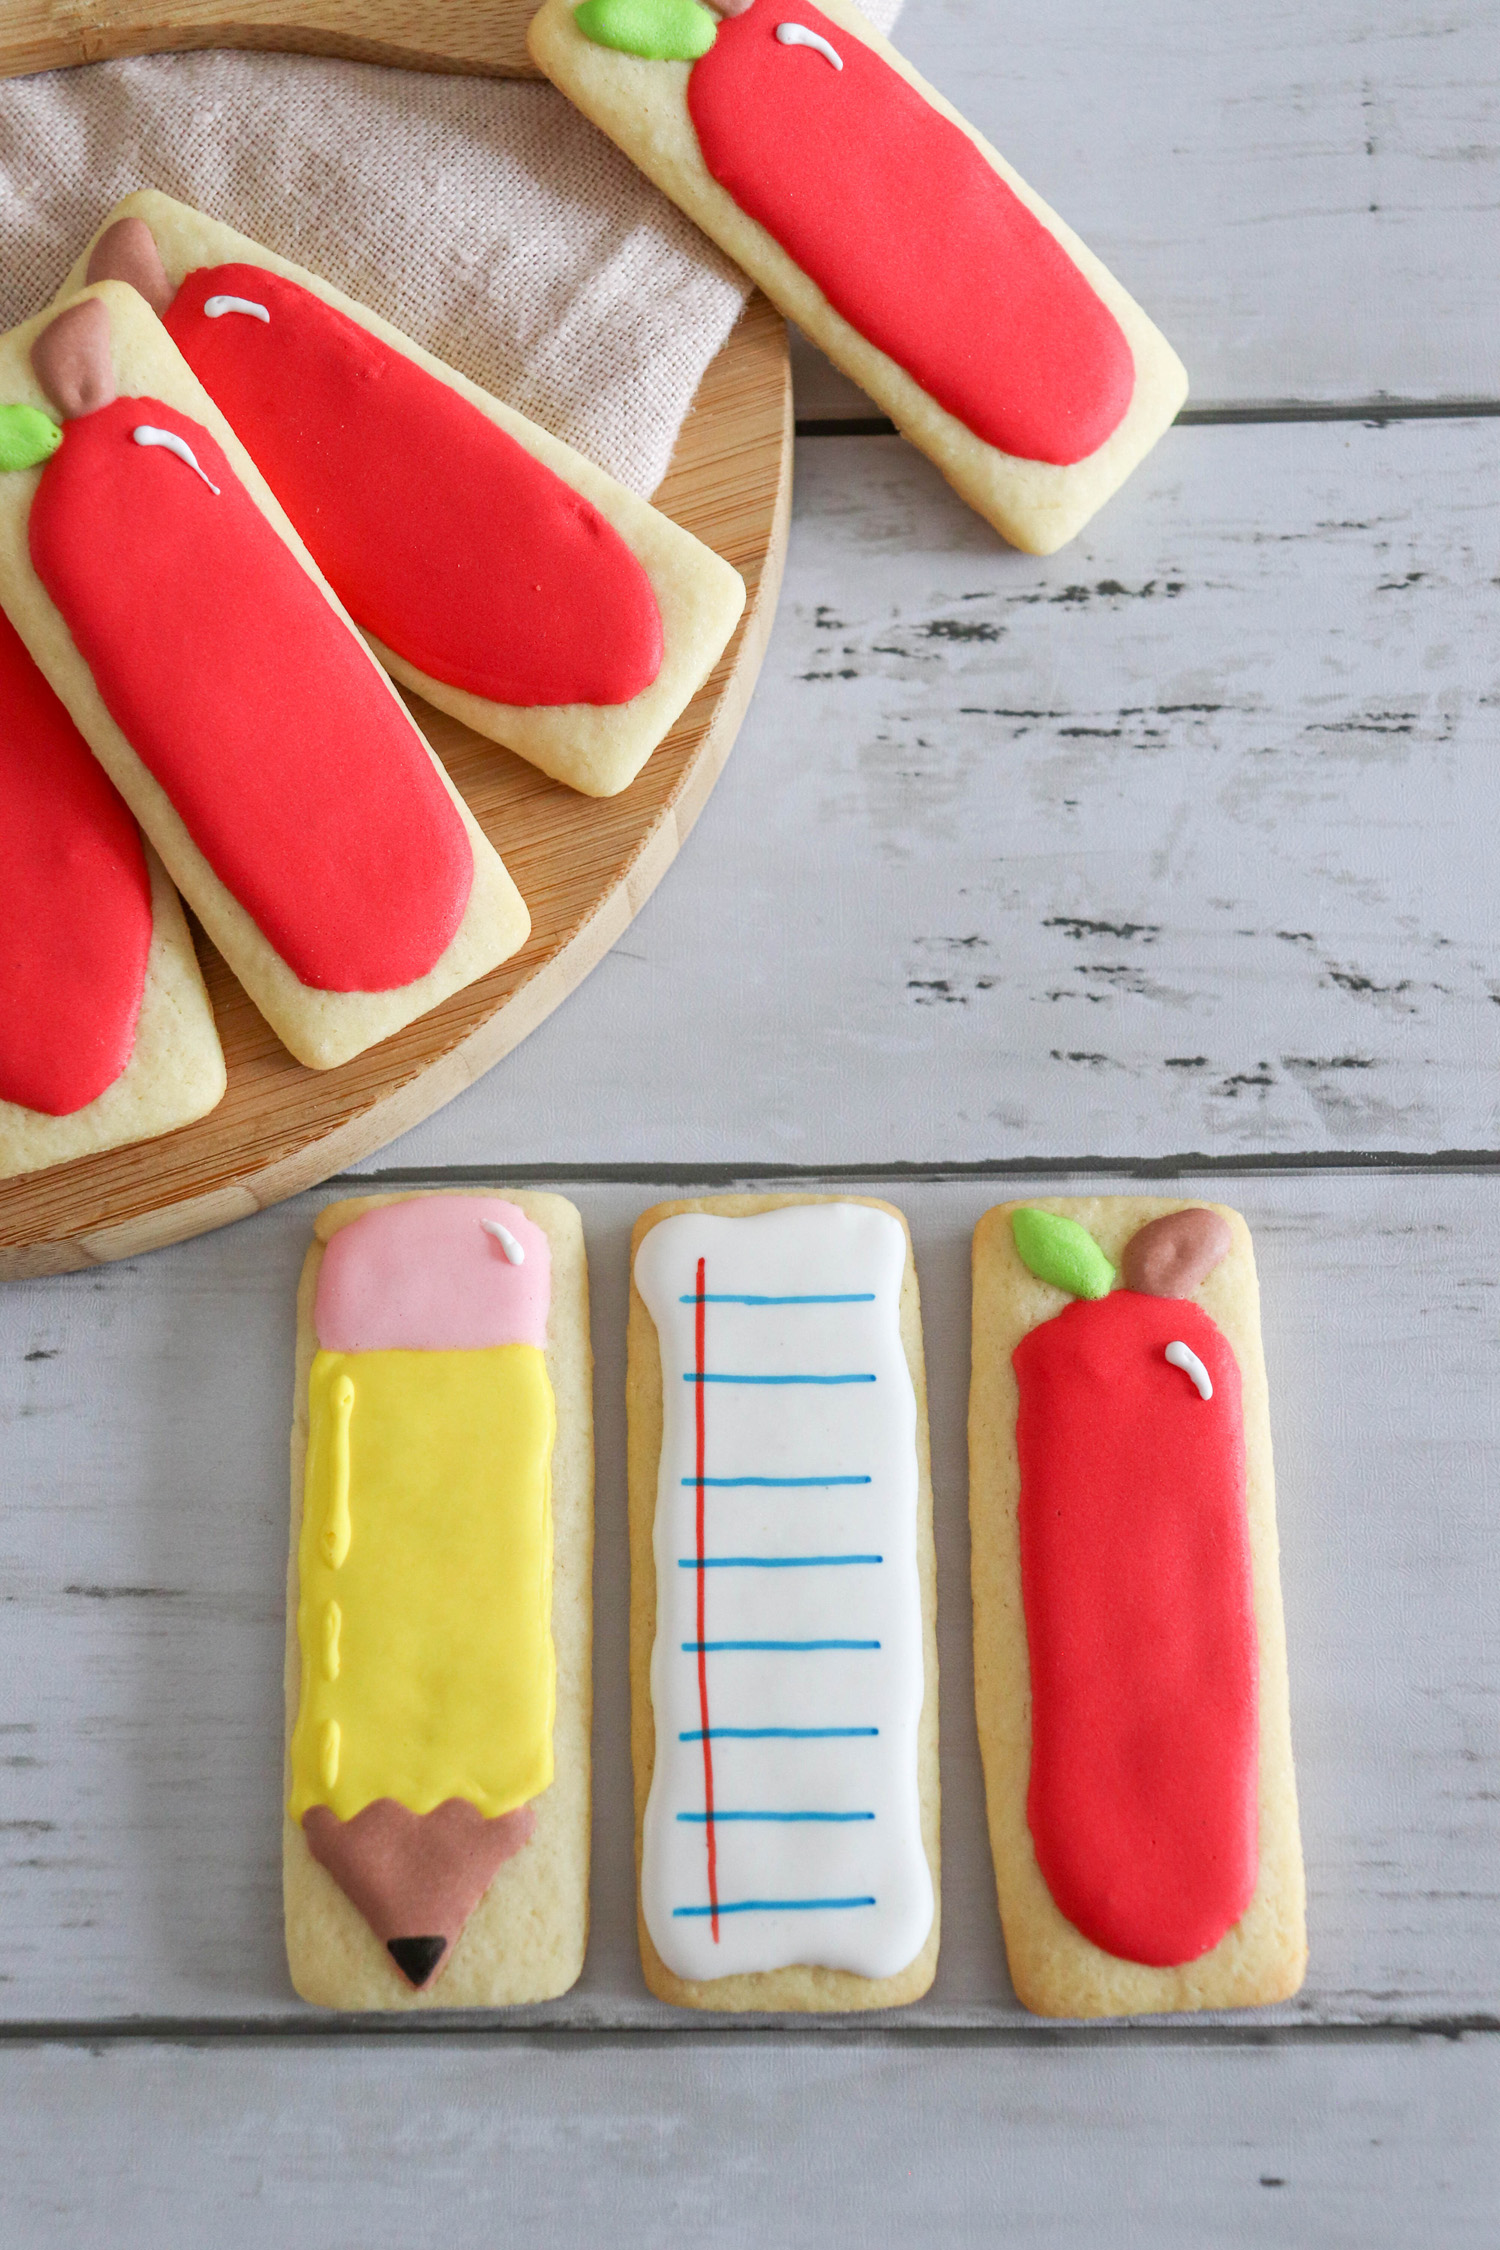
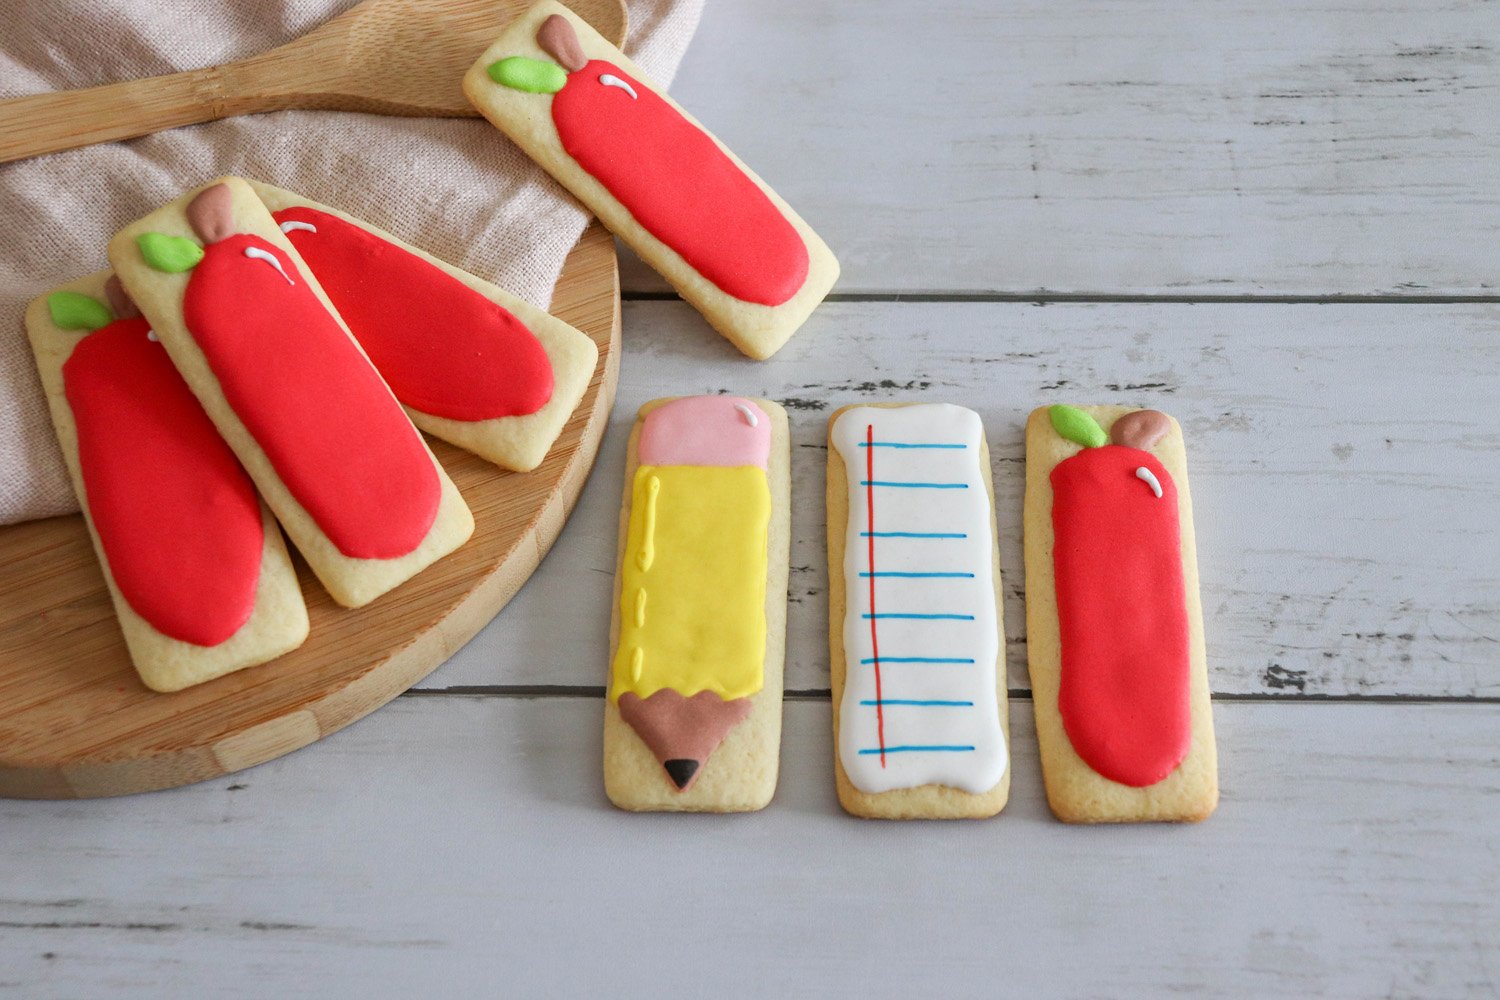
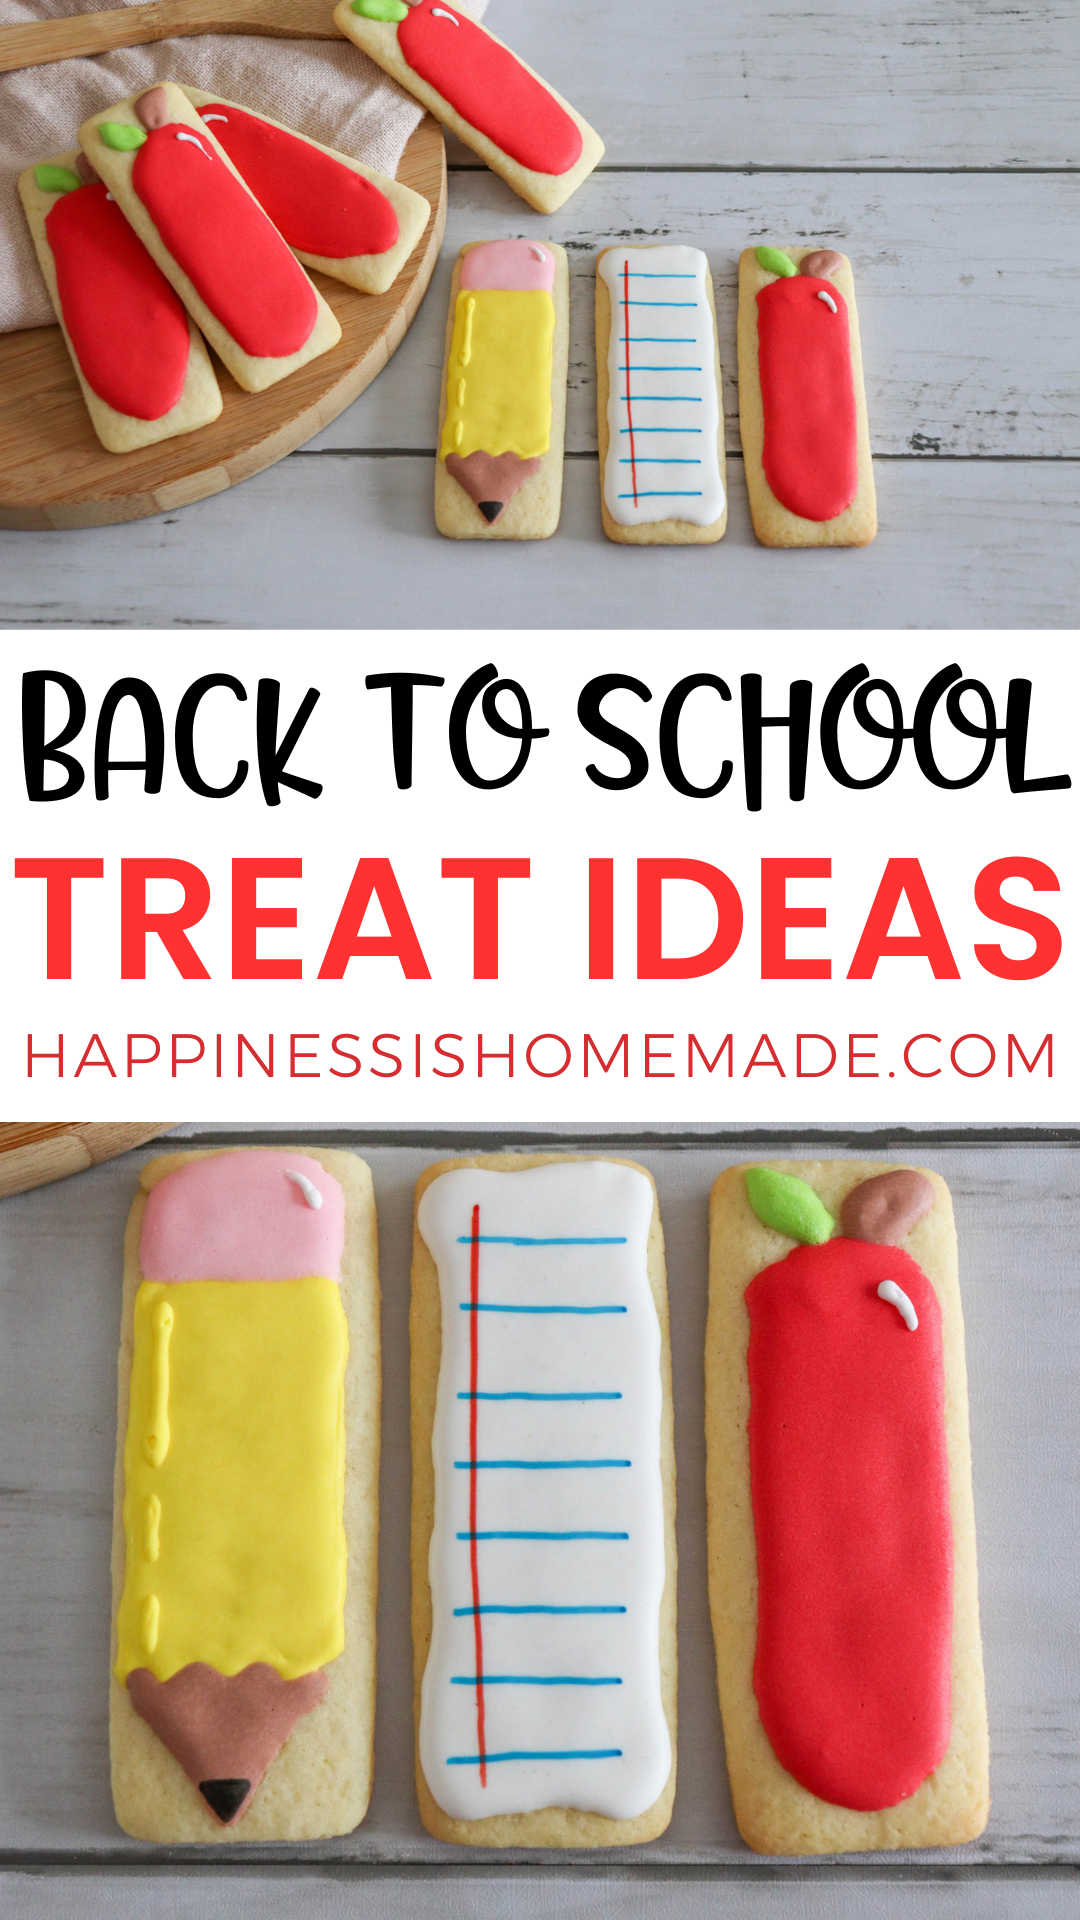
Pencil Designs
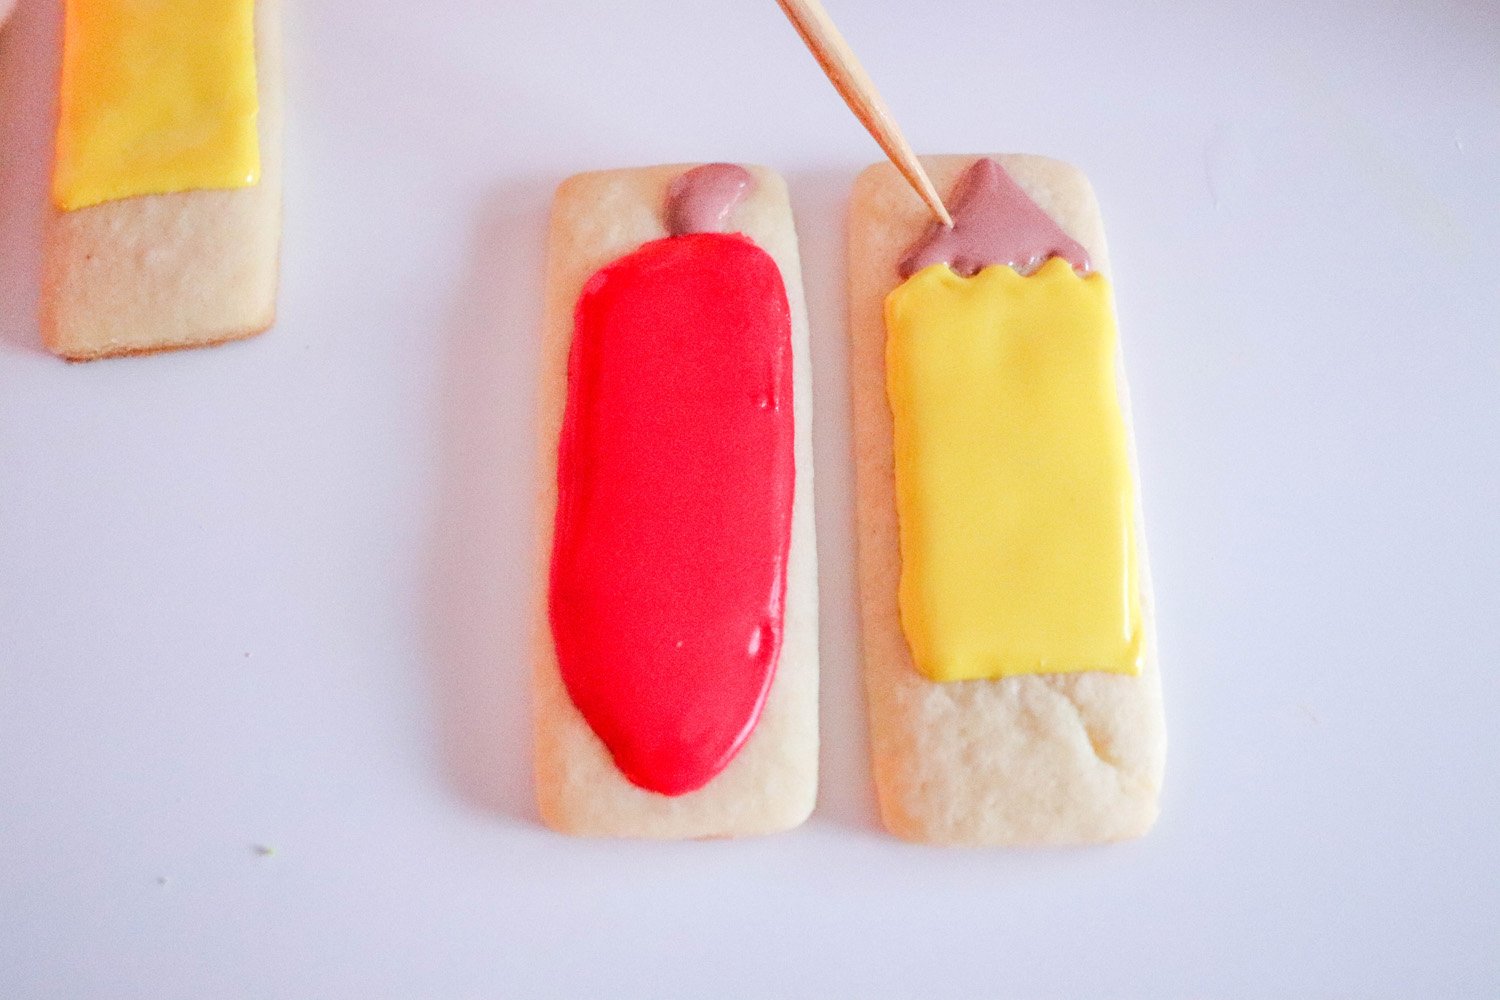
Using brown icing, draw and fill in your pencil tip. (You’ll also need brown for the apple stem in the next decorating step, too)
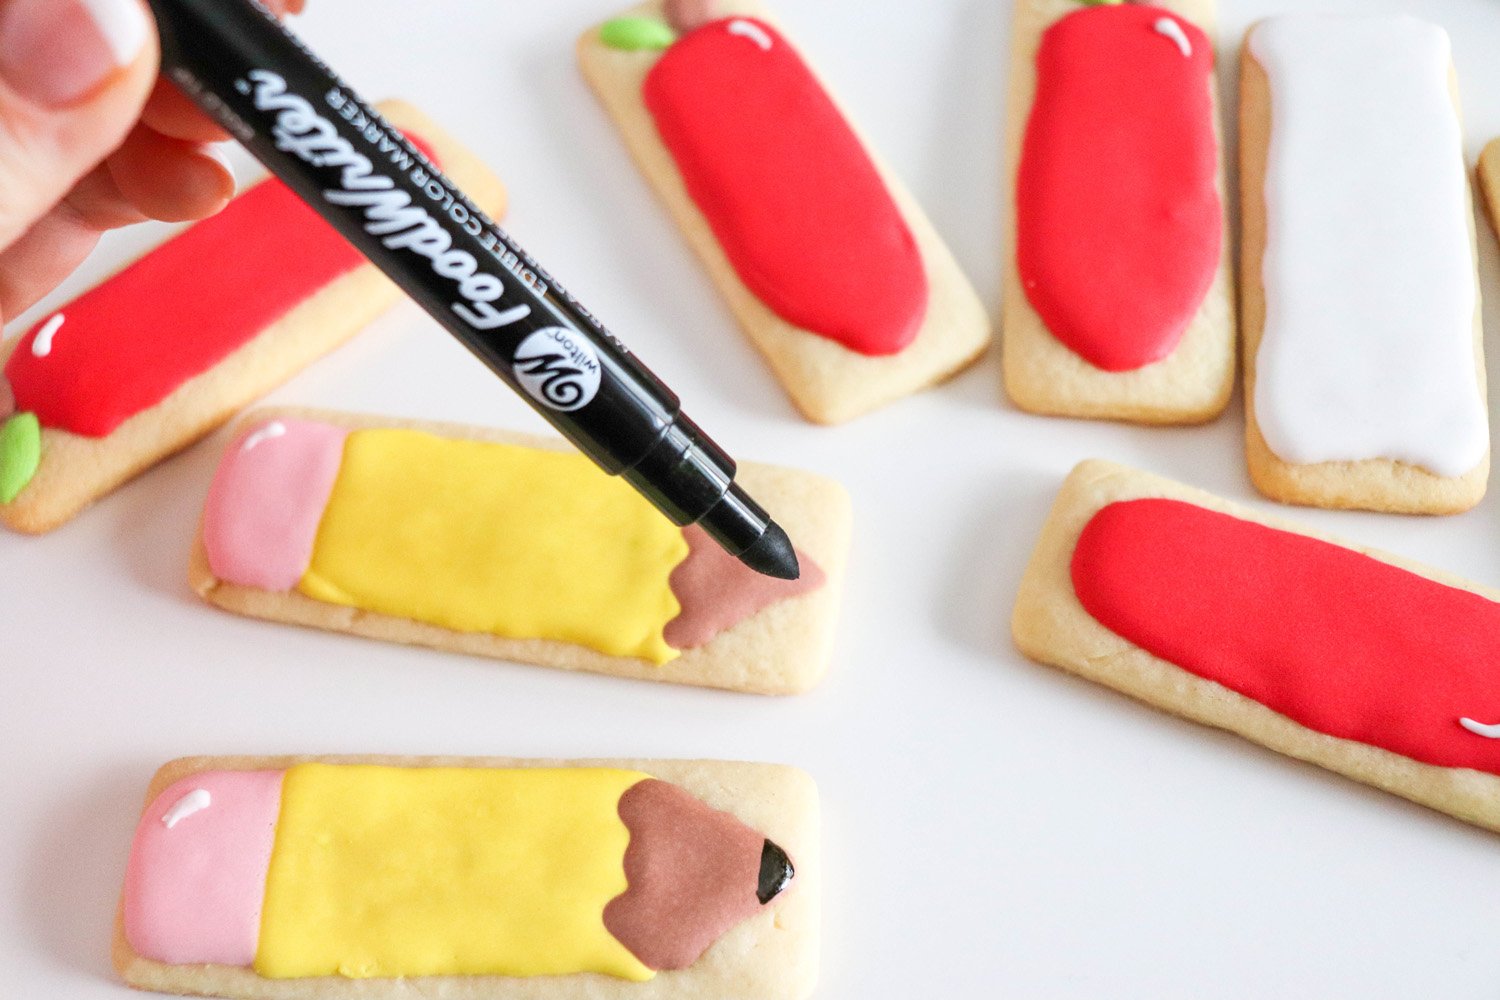
Add a white highlight to the eraser, a black marker “lead” to the pencil tip, and a yellow line to the flooded area once dry.
Apple Designs
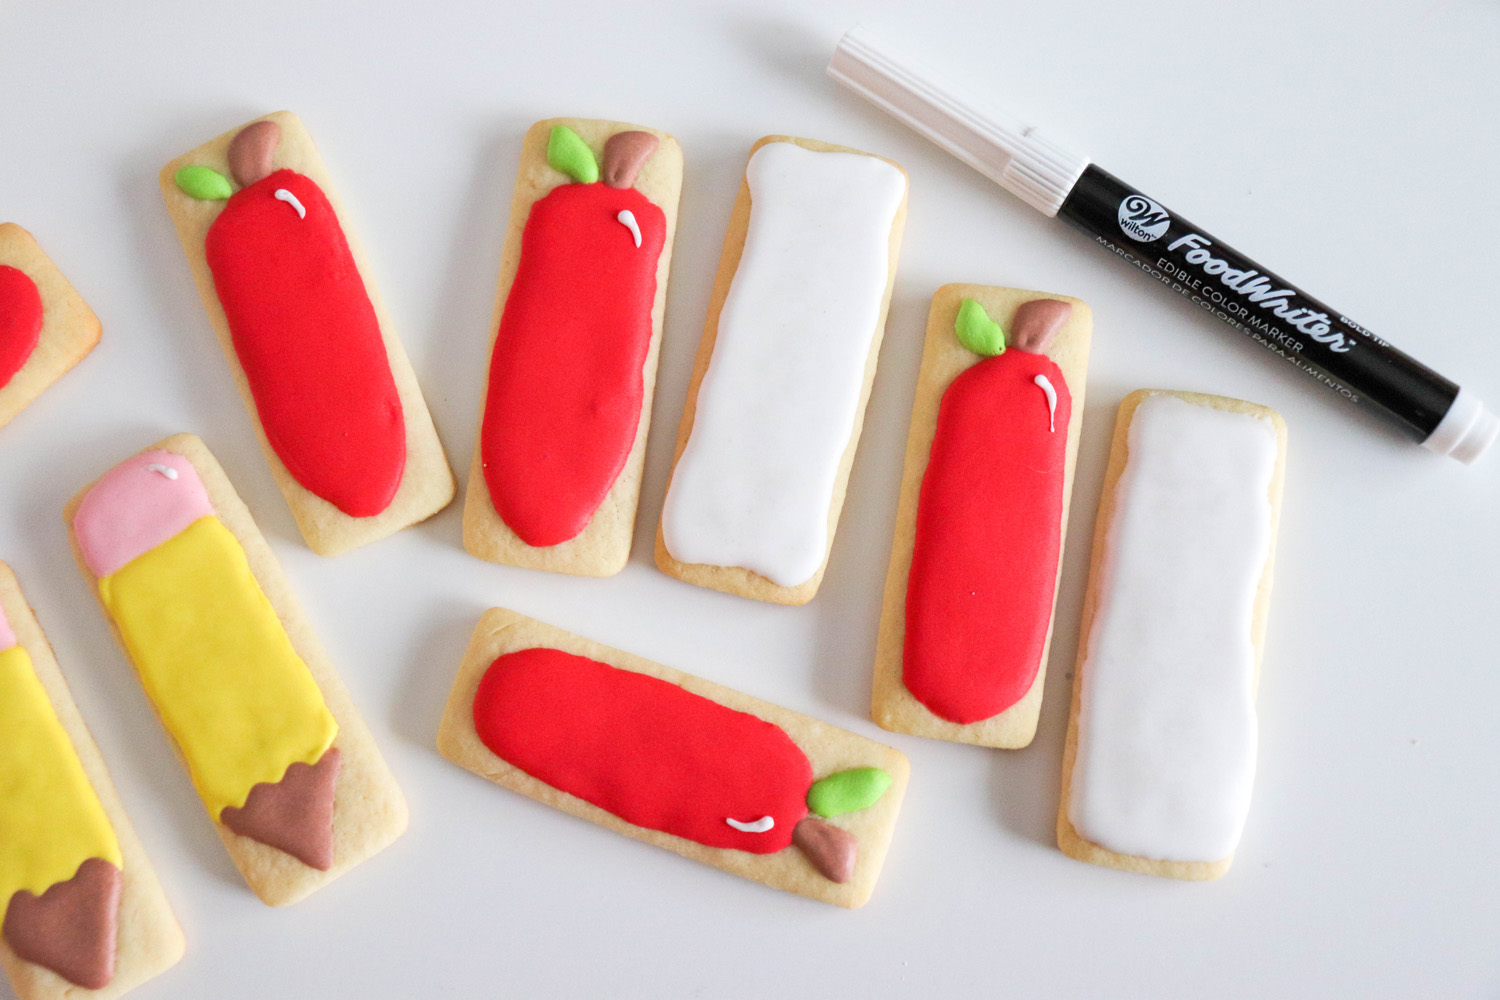
Add a green leaf, brown stem, and white highlight when the flooded area is dry.
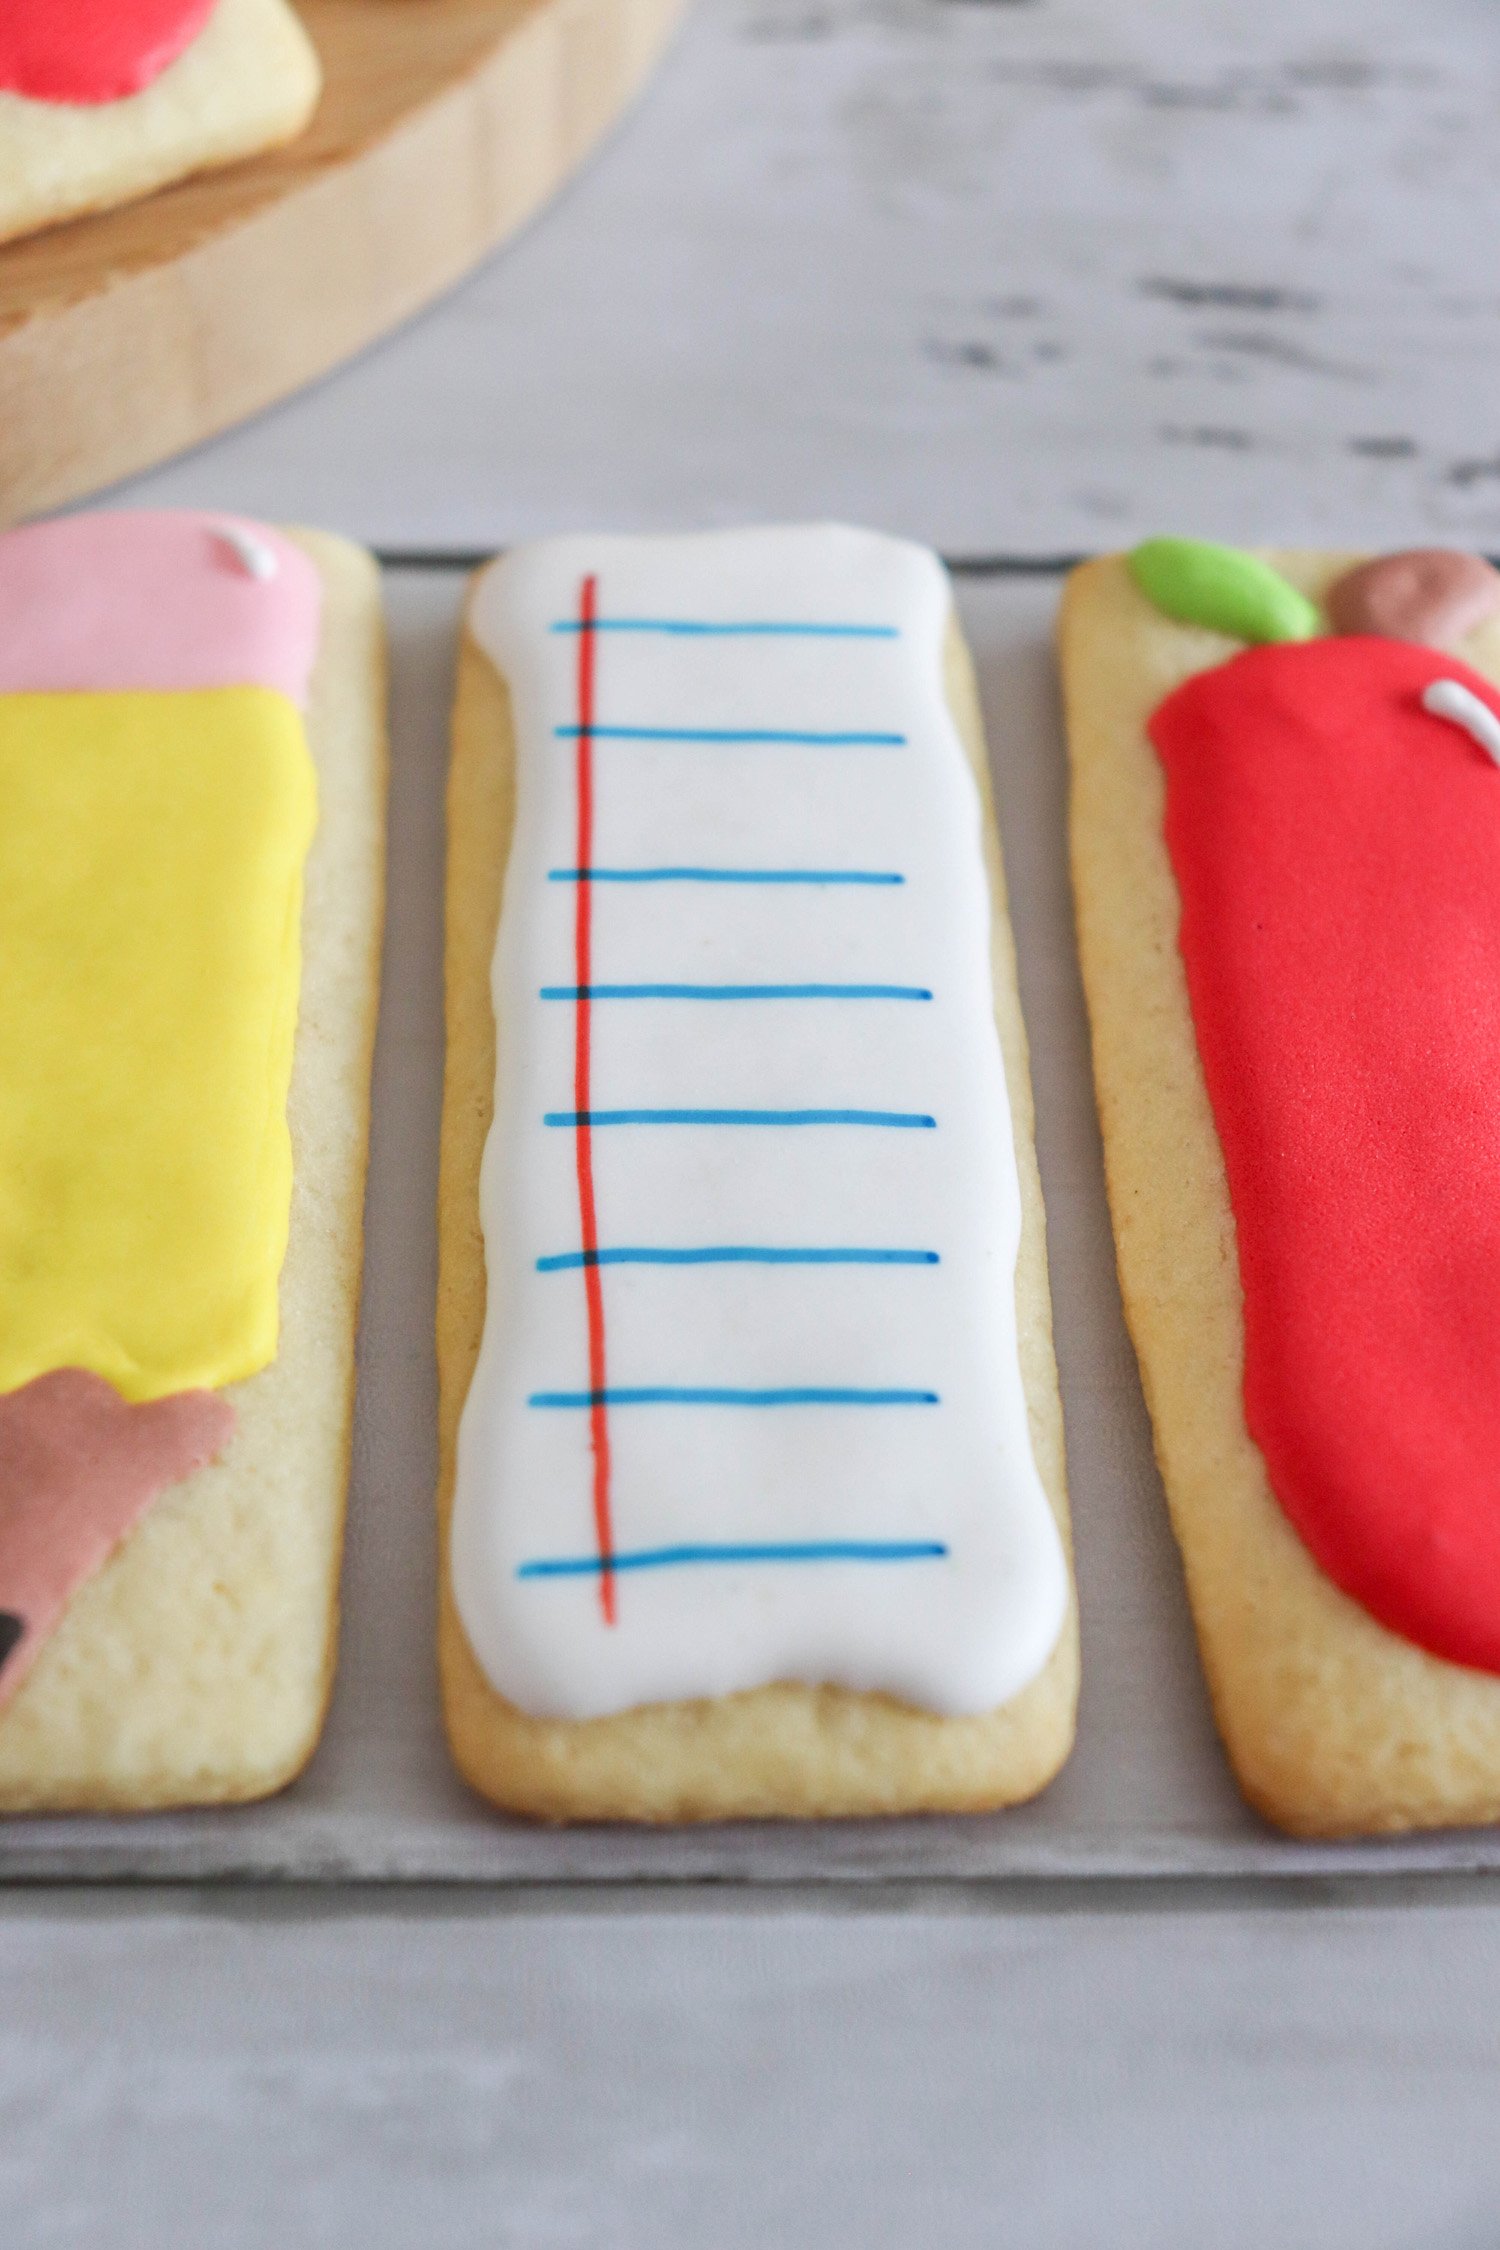
Notebook Paper Designs
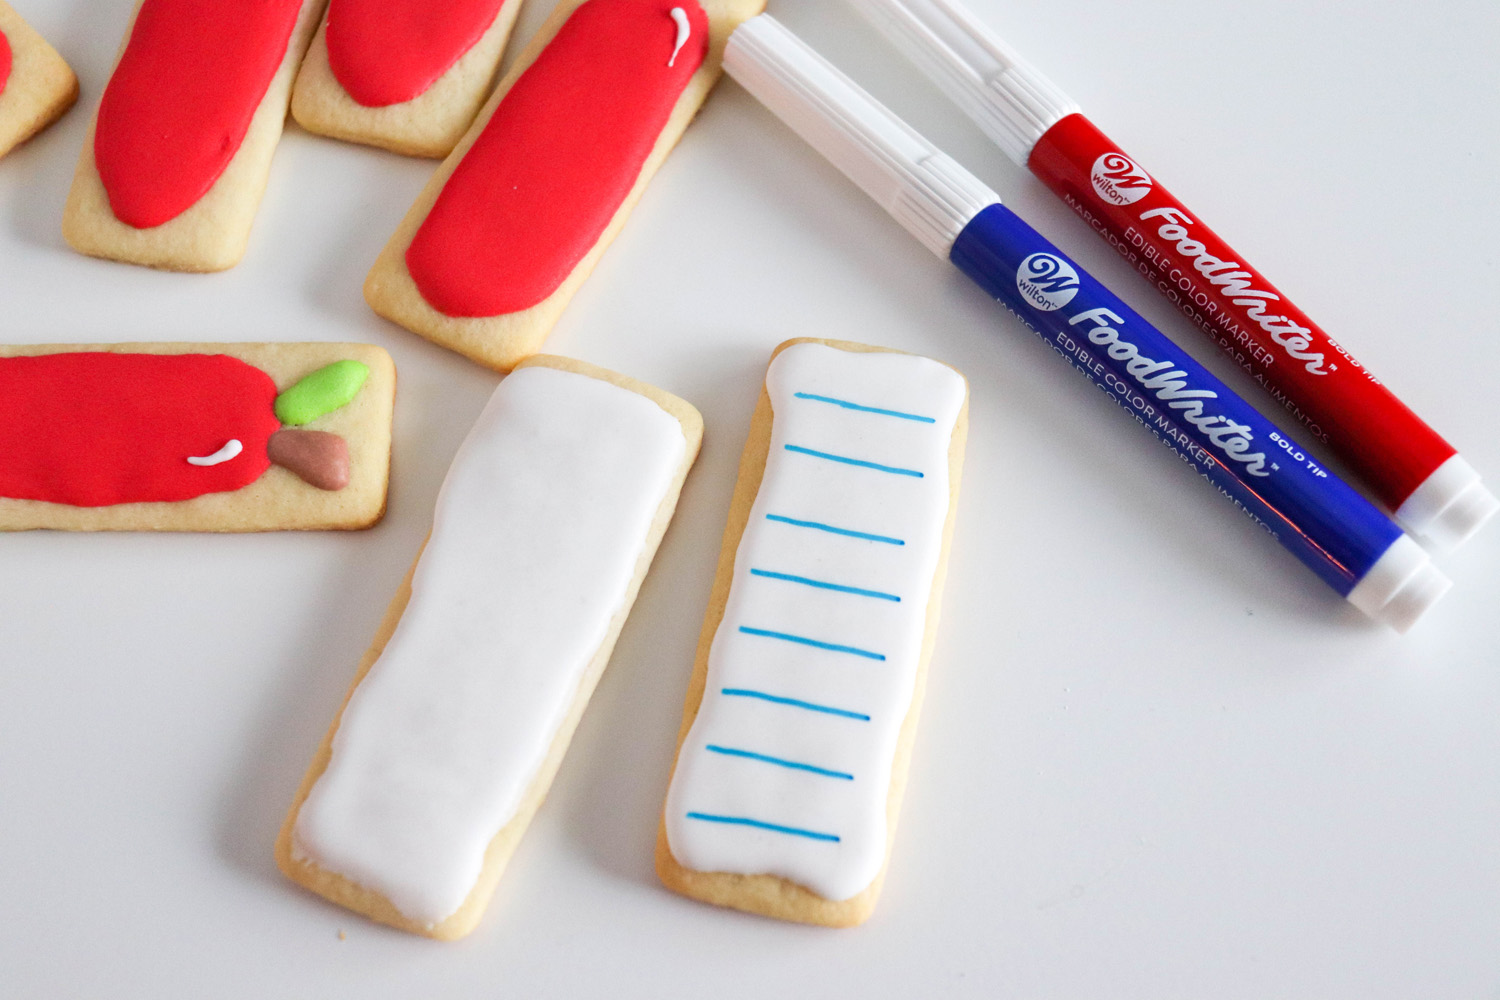
Add red and blue lines using an edible marker once the flooded area is dry.
Now you have the perfect snack for the first day of school! They’re so cute to add to kids’ lunches or to take as a batch of sweet treats for new friends.
Even More Cookie Decorating Tips:
We shared these fun decorating recommendations inside of our delicious, 4th of July Cookie recipe post. Each one of these frosting tips and tricks is super simple to do, and will surely take your cookies up to the next level!
Polka Dot Designs
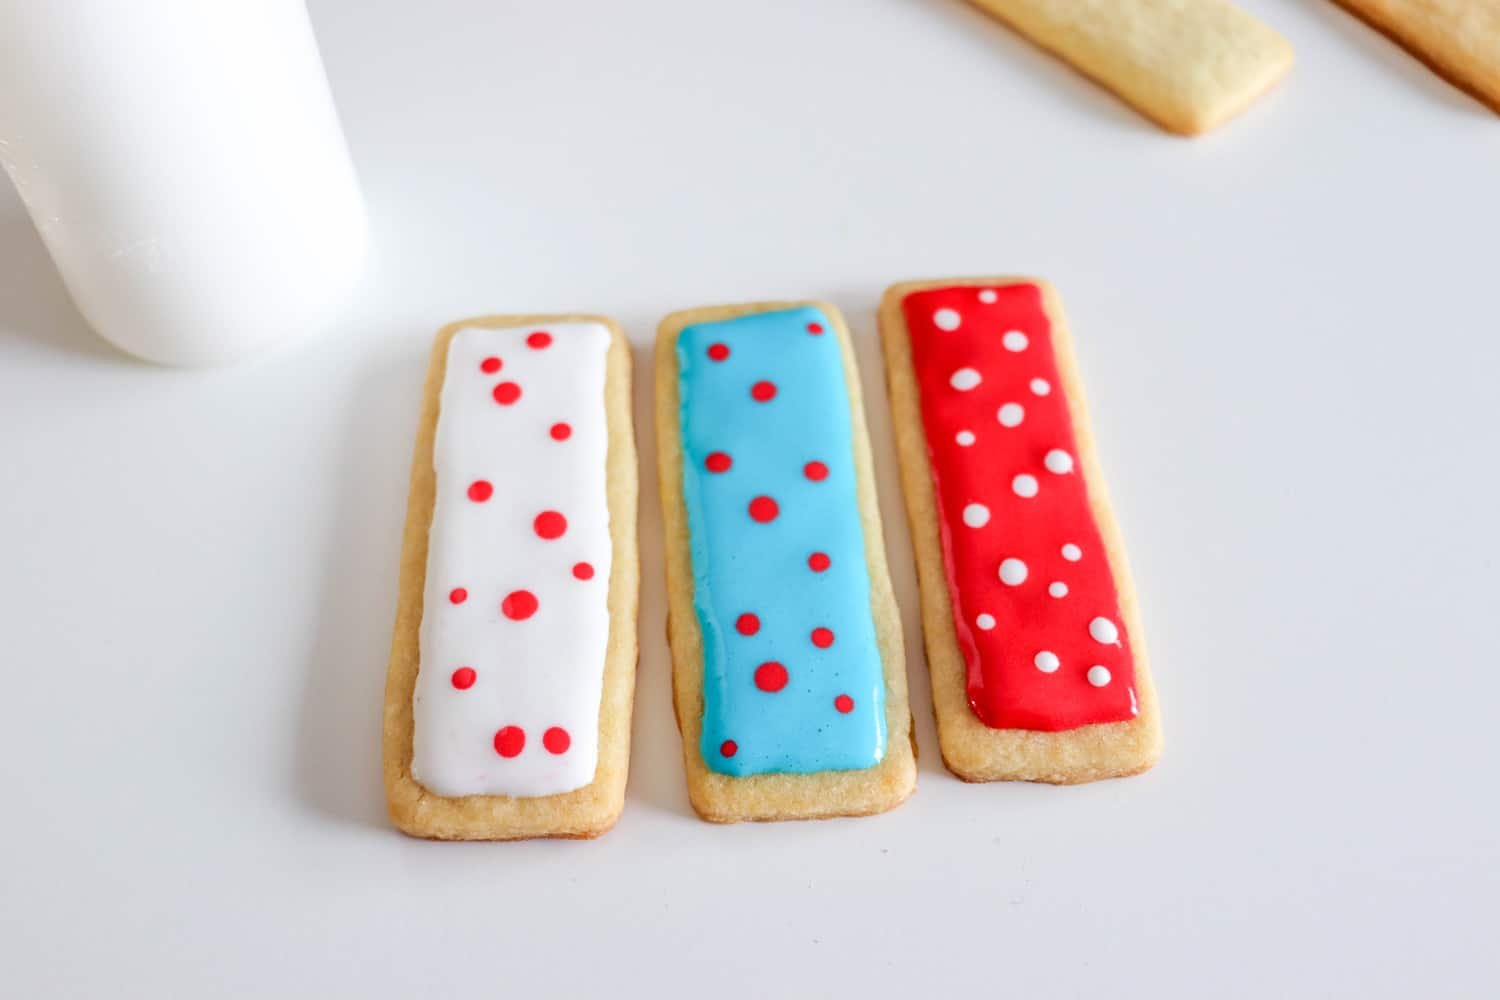
Before the flooded area dries, add dots of different colored icing. (This is my favorite and go-to design for any occasion!)
Zig Zag Design
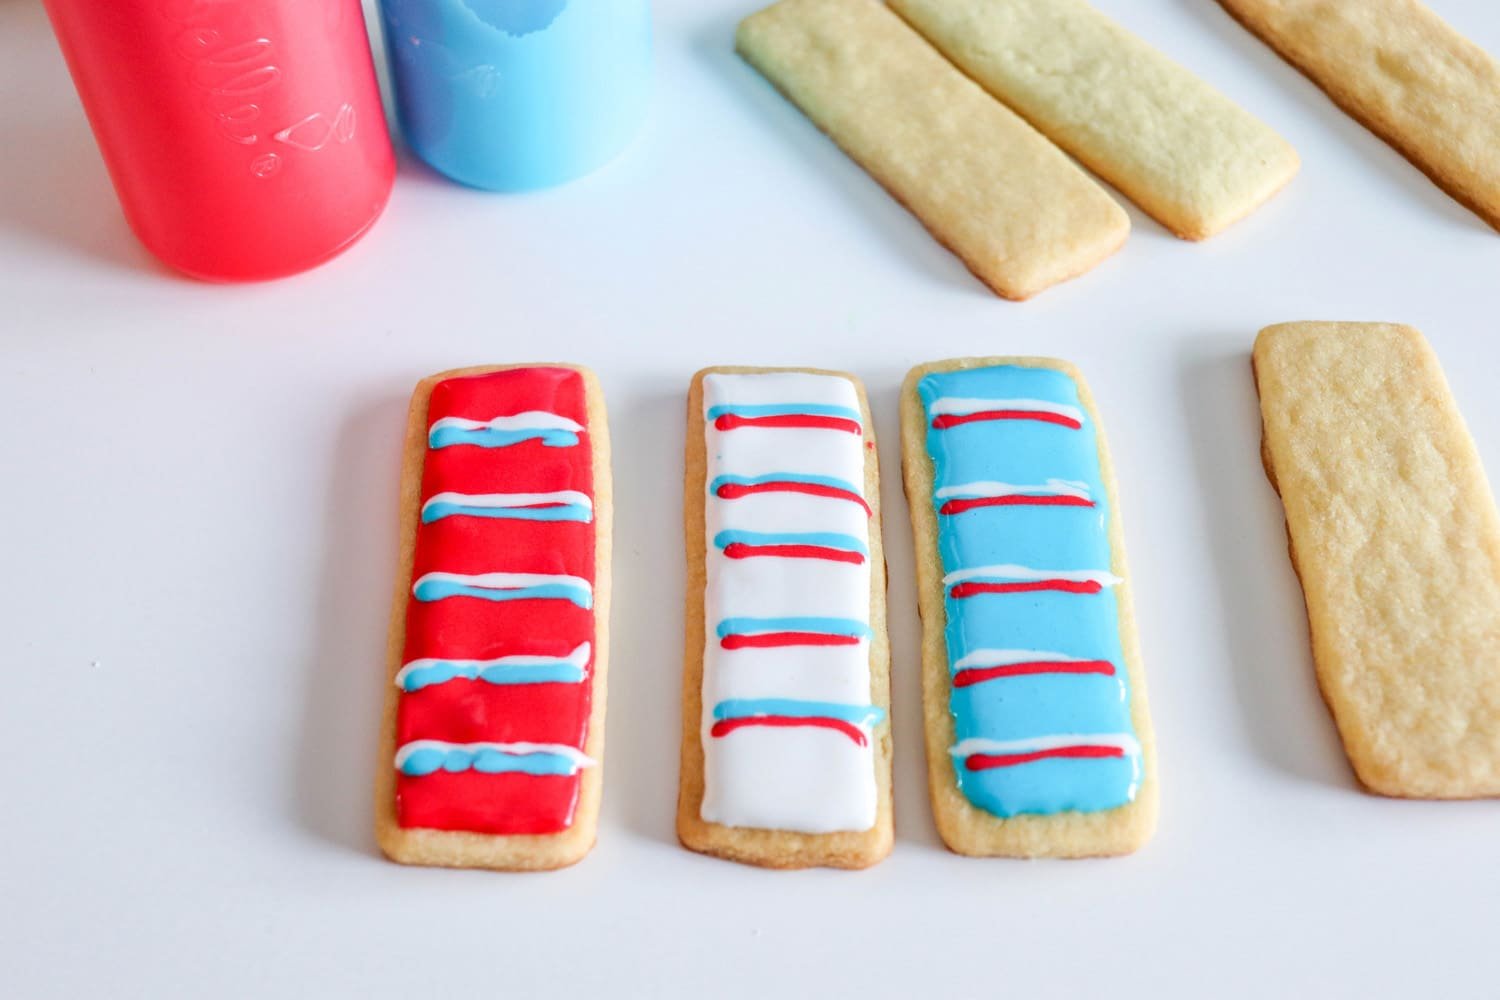
Before the flooded area dries, add stripes of different colored icing stacked tightly together.
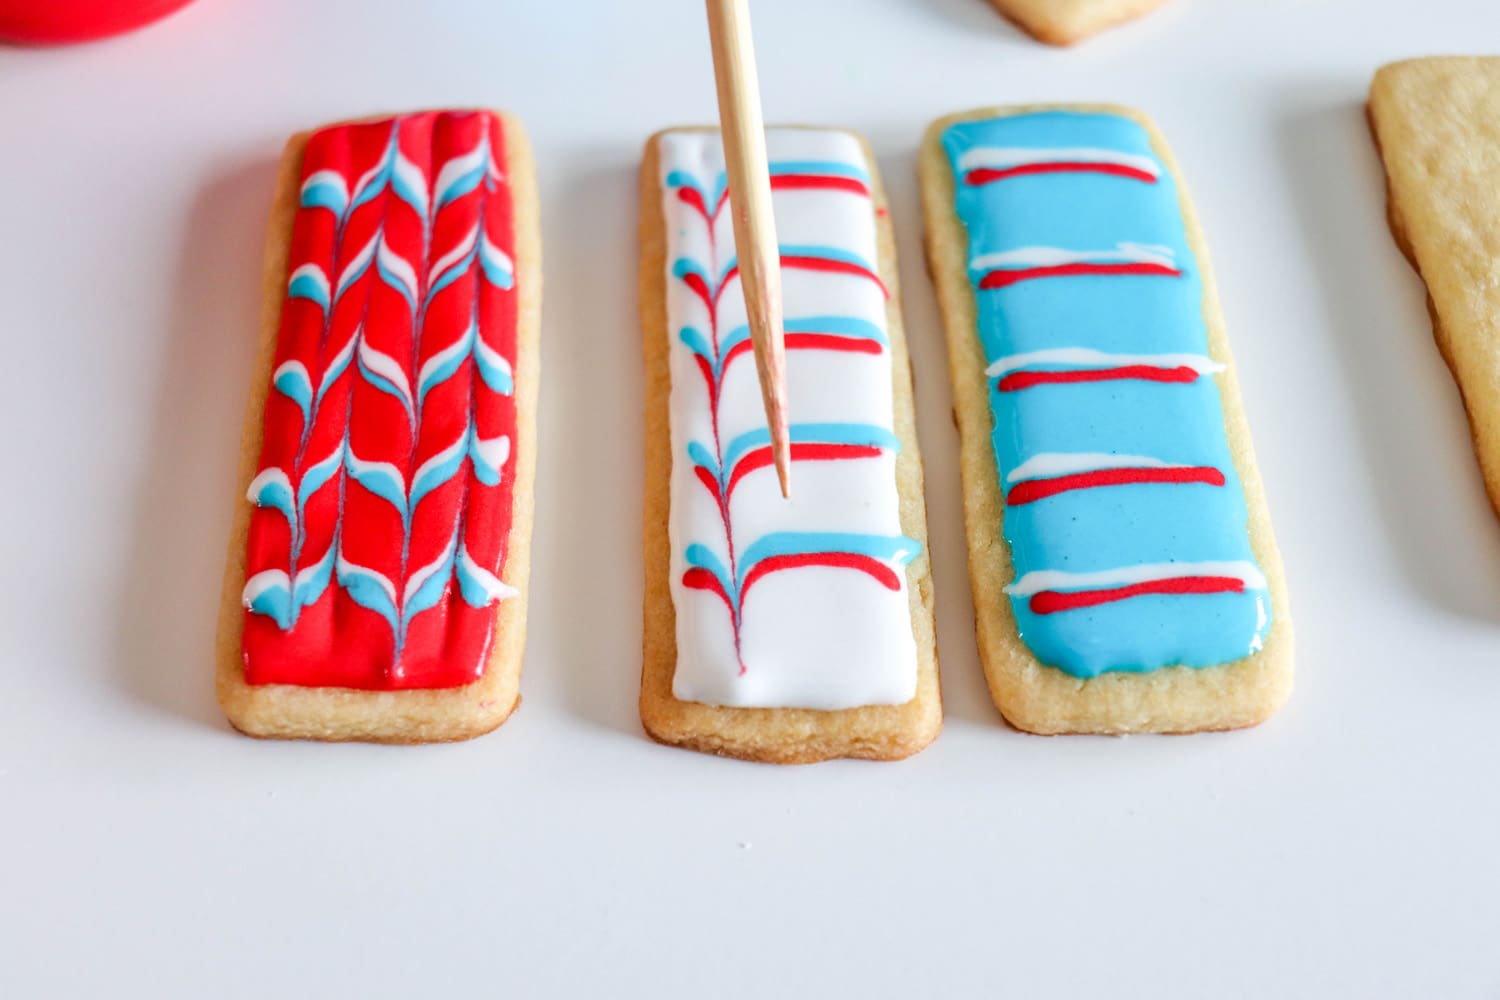
Then, drag a toothpick through the stripes. The zig-zagging result is amazing!
Alternate Decorating Recommendations

- Add Sprinkles: Add your favorite sprinkles onto each cookie before the flooded area dries.
- Candy: Glue your preferred candies to each cookie with a drop of icing.
- Plaid Pattern: Allow the flooded icing to dry. Add stripes of icing to the cookie, creating a fun plaid pattern.
- Edible Markers: Before using the icing, allow the icing to completely harden for at least four hours.
Now, you’ll be an absolute pro at decorating cookies in any given style or design! Package a few cookies in a gift bag or plastic wrap to leave on your teacher’s or students’ desks.
Frequently Asked Question
How Long Can I Store These Sugar Cookies?
If stored in an airtight container, these cookies can last up to two weeks!
Back To School Cookie Recipe Card

Back to School Sugar Cookies
Equipment:
What You’ll Need:
Cookies
Royal Icing
- 4 Cups Powdered Sugar
- 3 Tbsp Meringue Powder
- 8-12 Tbsp Water Room Temperature
- Gel Food Coloring
- Edible Markers
Instructions:
Making the Cookies
- Combine dough and flour. Roll to ¼” thickness. Cut out cookie shapes.1 Pkg Pillsbury Refrigerated Sugar Cookie Dough, 1/4 Cup All Purpose Flour
- Bake on prepared baking sheet at 350 for 8 minutes or until the edges start to brown.
Making the Royal Icing
- In a stand mixer combine sugar and meringue powder. Add 8 tablespoons of water, using the whisk attachment, beat for 1 minute on low. Continue to add water one tablespoon at a time until the icing slowly drizzles from the whisk when lifted.4 Cups Powdered Sugar, 3 Tbsp Meringue Powder, 8-12 Tbsp Water
- Once prepared, if the icing is too hard, add more water one drop at a time. If your mixture is too runny, add more icing sugar one teaspoon at a time.
- Separate the icing into small mixing bowls and add desired food coloring. Mix well. Scoop the icing into piping bags or icing bottles.Gel Food Coloring
Decorating Instructions
- Start decorating your cookies by lining around the edge of the design with icing and filling in the middle. Use a toothpick to poke bubbles or direct icing into holes.
- Allow each design area to dry before moving on. The icing should completely dry, at room temperature for at least four hours, before adding piping details to the top.
Pencil Designs
- Using brown icing, draw and fill in your pencil tip. (You’ll also need brown for the apple stem in the next decorating step, too)Edible Markers
- Add a white highlight to the eraser, a black marker “lead” to the pencil tip and yellow line to the flooded area once dry.
Apple Designs
- Add a green leaf, brown stem and white highlight when the flooded area is dry.
Notebook Paper Designs
- Add red and blue lines using an edible marker once the flooded area is dry.Edible Markers
EVEN MORE DECORATING TIPS:
Polka Dot Designs
- Before the flooded area dries, add dots of different colored icing.
Zig Zag Design
- Before the flooded area dries, add stripes of different colored icing stacked tightly together.
- Then, drag a toothpick through the stripes.
Alternate Decorating Recommendations:
- Add Sprinkles: Add your favorite sprinkles onto each cookie before the flooded area dries.
- Candy: Glue your preferred candies to each cookie with a drop icing.
- Plaid Pattern: Allow the flooded icing to dry. Add stripes of icing to the cookie, creating a fun plaid pattern.
- Edible Markers: Before using on the icing, allow the icing to completely harden for at least four hours.
Classic sugar cookies have become one of our absolute family favorites! What are some of your favorite cookie recipes? Tell us in the comments section!

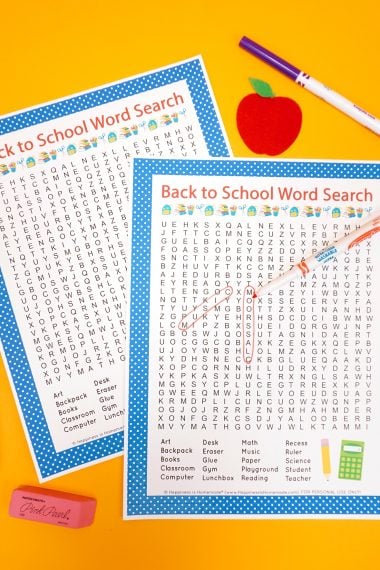
Check Out These FUN Back to School Games & More!


Don’t Forget to Pin These Back to School Sweet Treats for Later!


Heidi Kundin has captivated the hearts of millions with her colorful and inspiring approach to crafting, celebrations, and family fun. With over 15 years of experience, Happiness is Homemade has become a must-visit destination for those seeking quick and easy creative ideas and last-minute solutions. Heidi’s warm personality shines through her posts, inviting readers to join her on a creative journey that’s fun, rewarding, and achievable. Heidi is also the author of Homemade Bath Bombs & More and DIY Tie-Dye.