


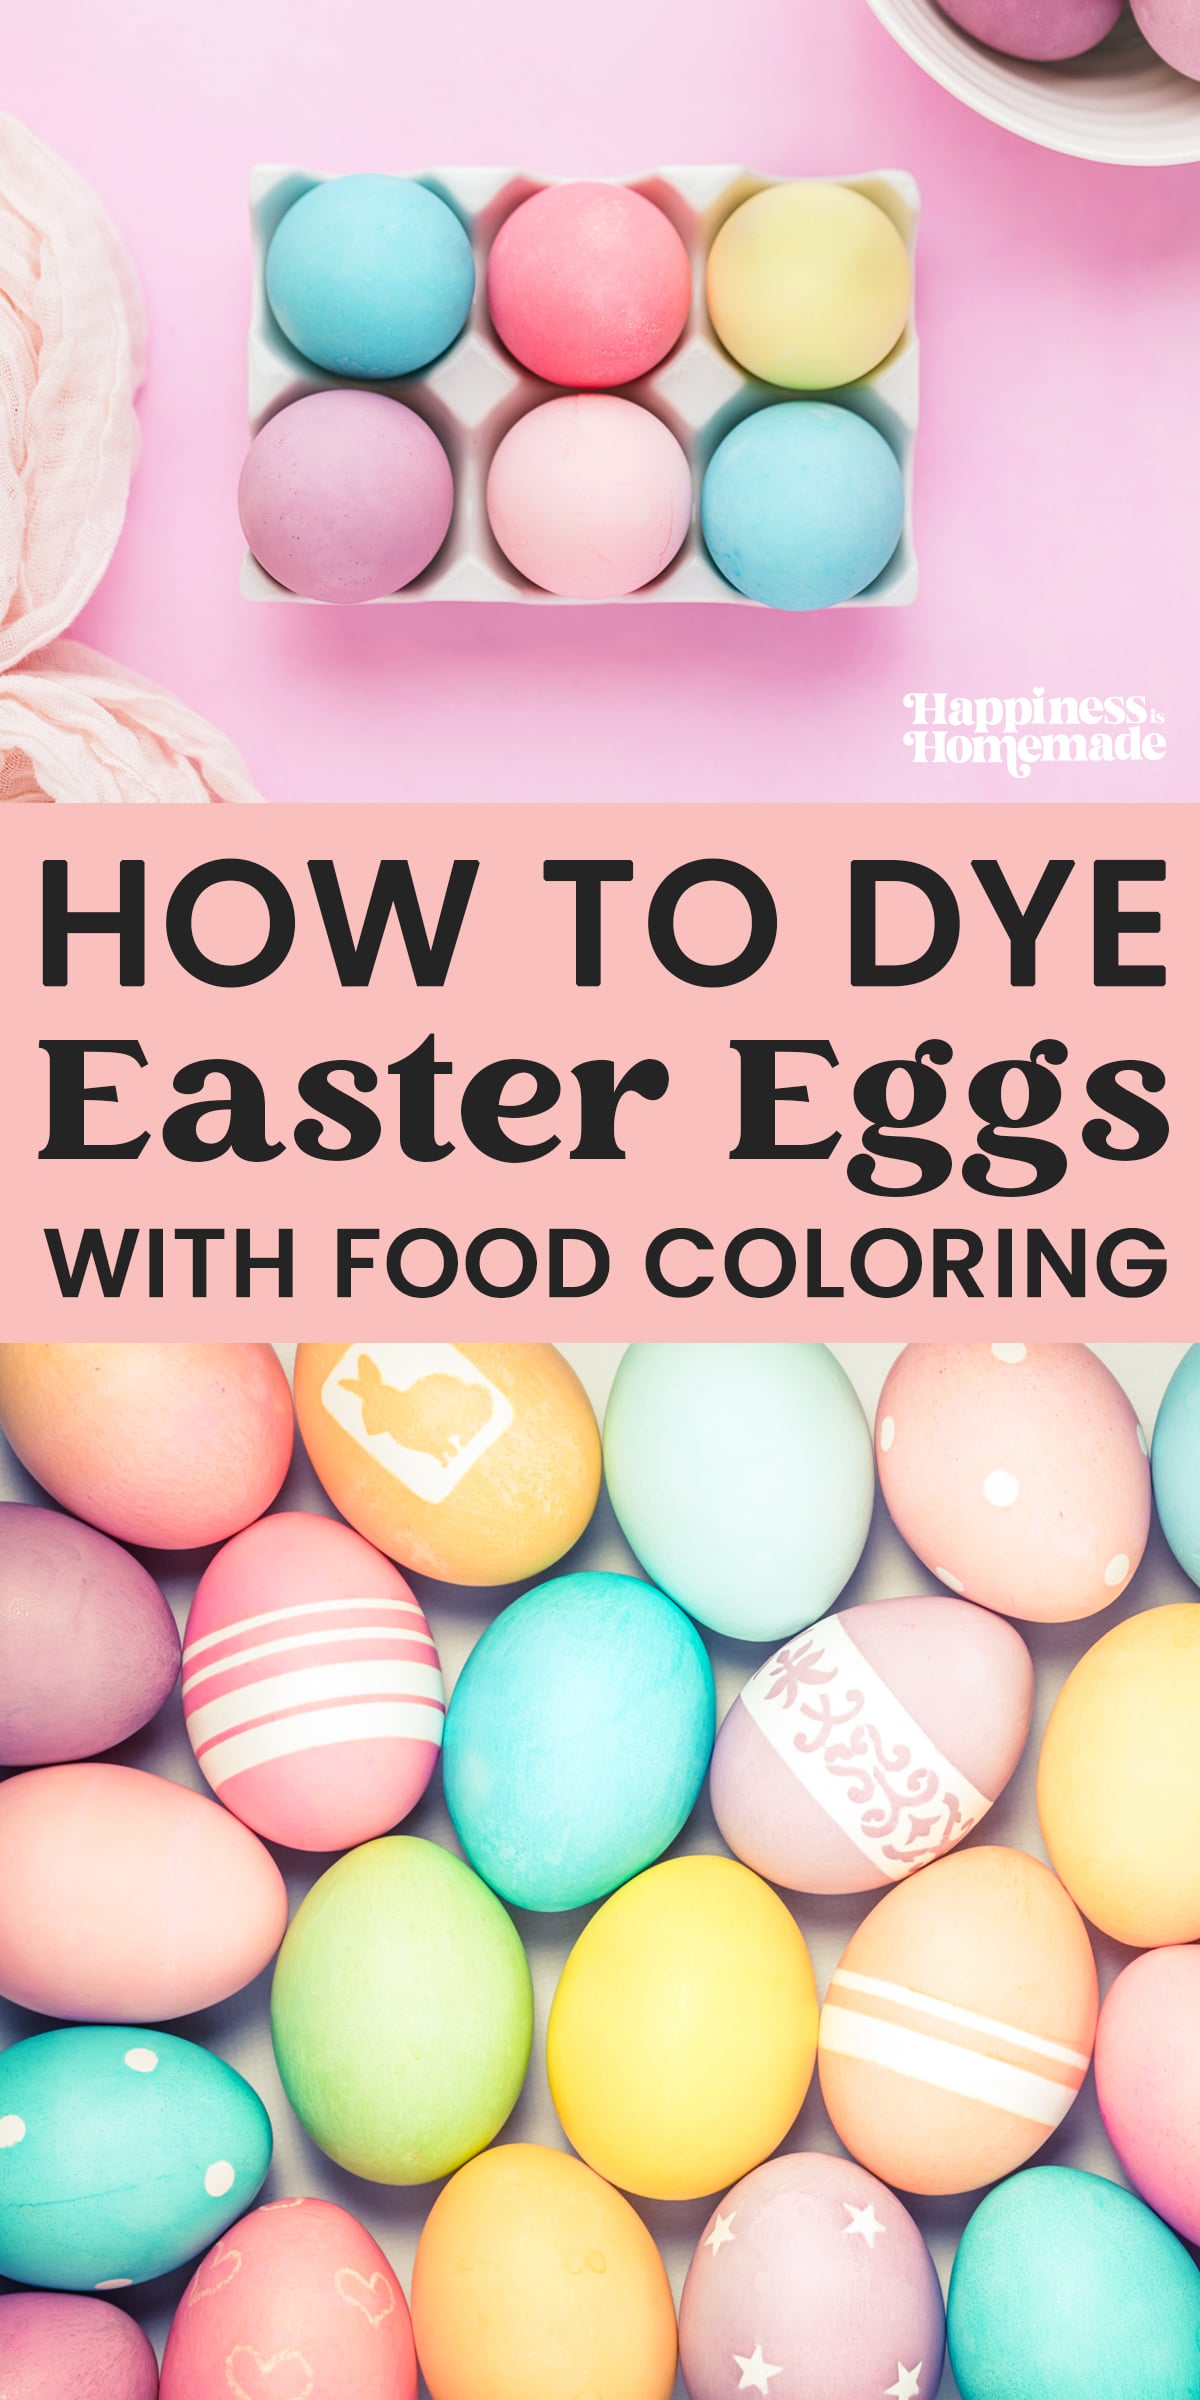
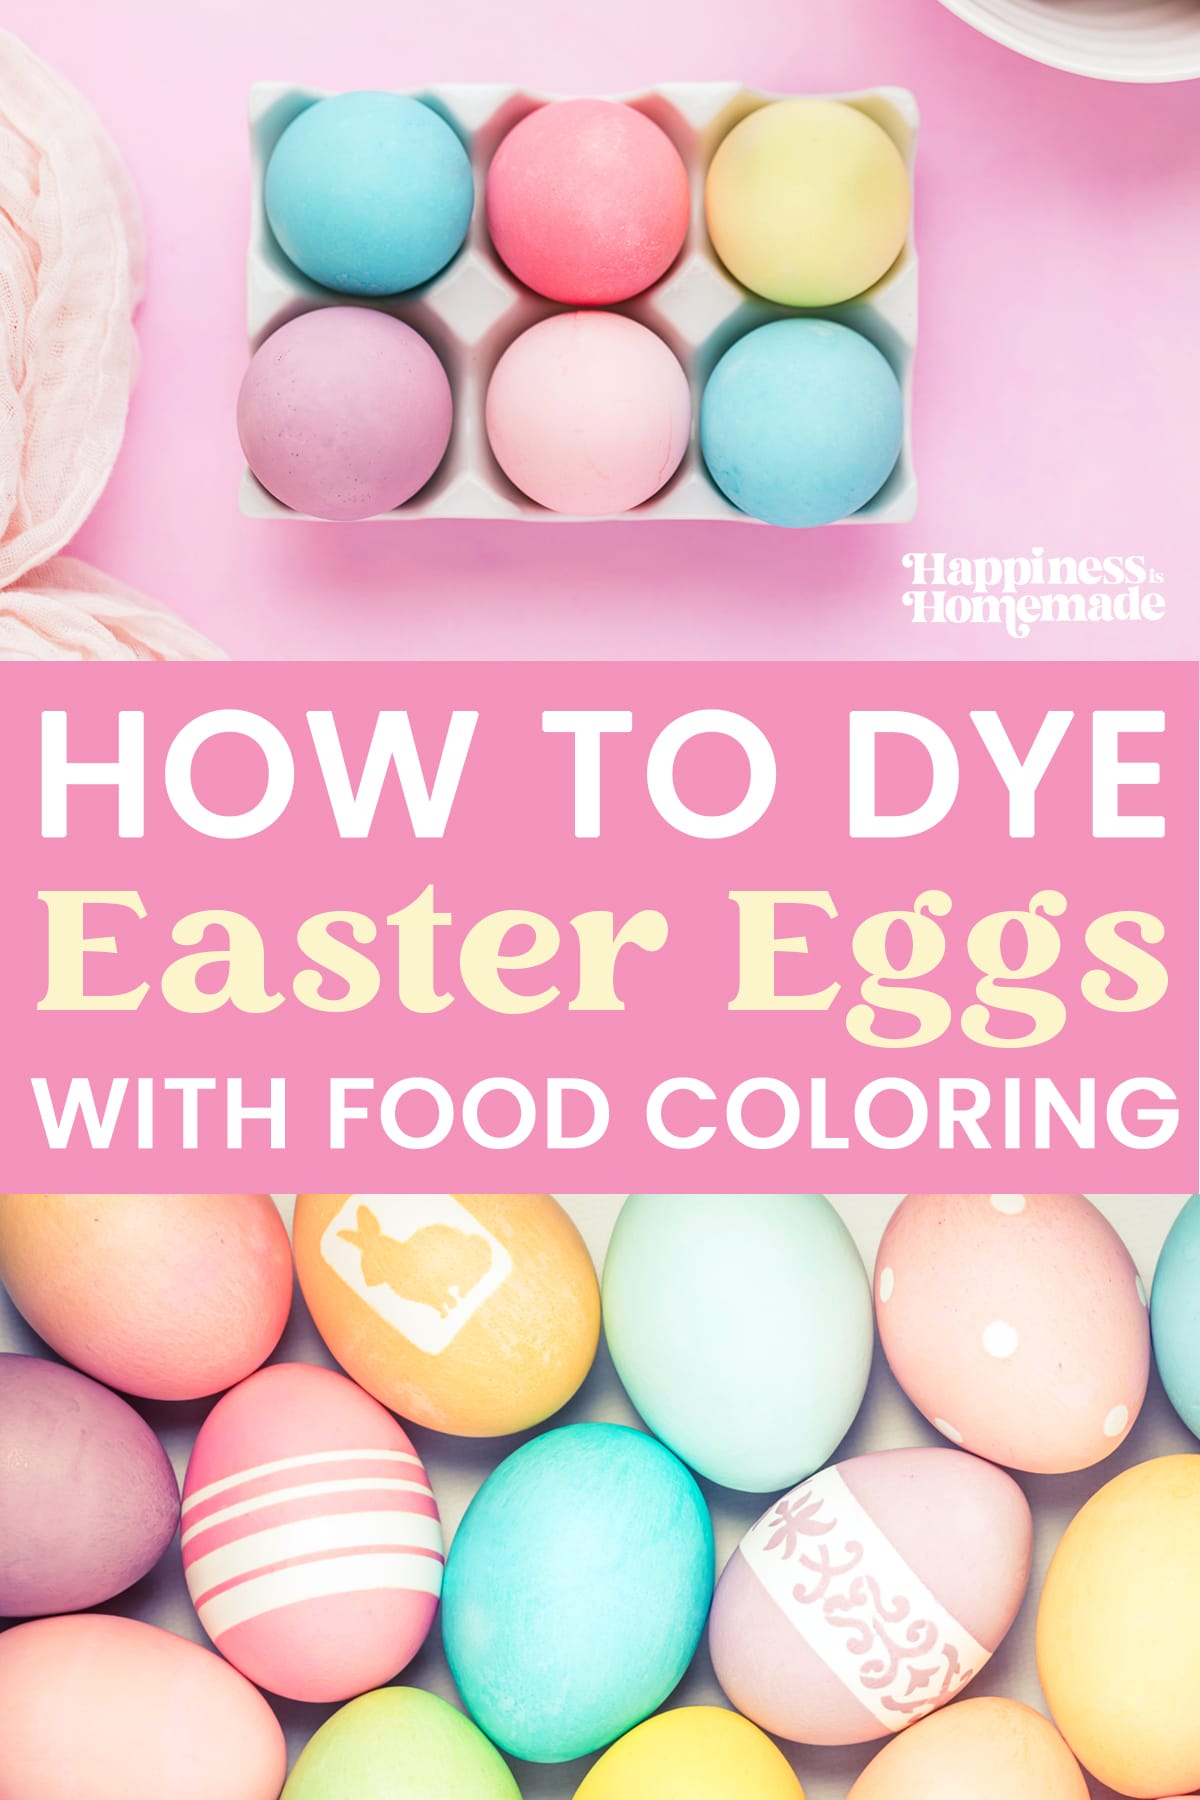
Learn how to dye Easter eggs with food coloring! Dye eggs for Easter with bold, vibrant colors thanks to concentrated food dyes! Plus, learn our favorite tips for dyeing pastel eggs, too!
This post may contain affiliate links. I will receive a small commission from these sales at no additional cost to you!
It’s almost time to start dyeing Easter eggs, and I am SO excited! Dyeing Easter eggs is one of my family’s favorite springtime activities, and we like to go ALL out and decorate some really creative eggs! Once you’ve mastered the basic art of how to dye Easter eggs with food coloring, the possibilities are endless!
Making your own Easter egg dye with food coloring is super simple, and we have a few easy tips and tricks to help you ensure that you get the best results!
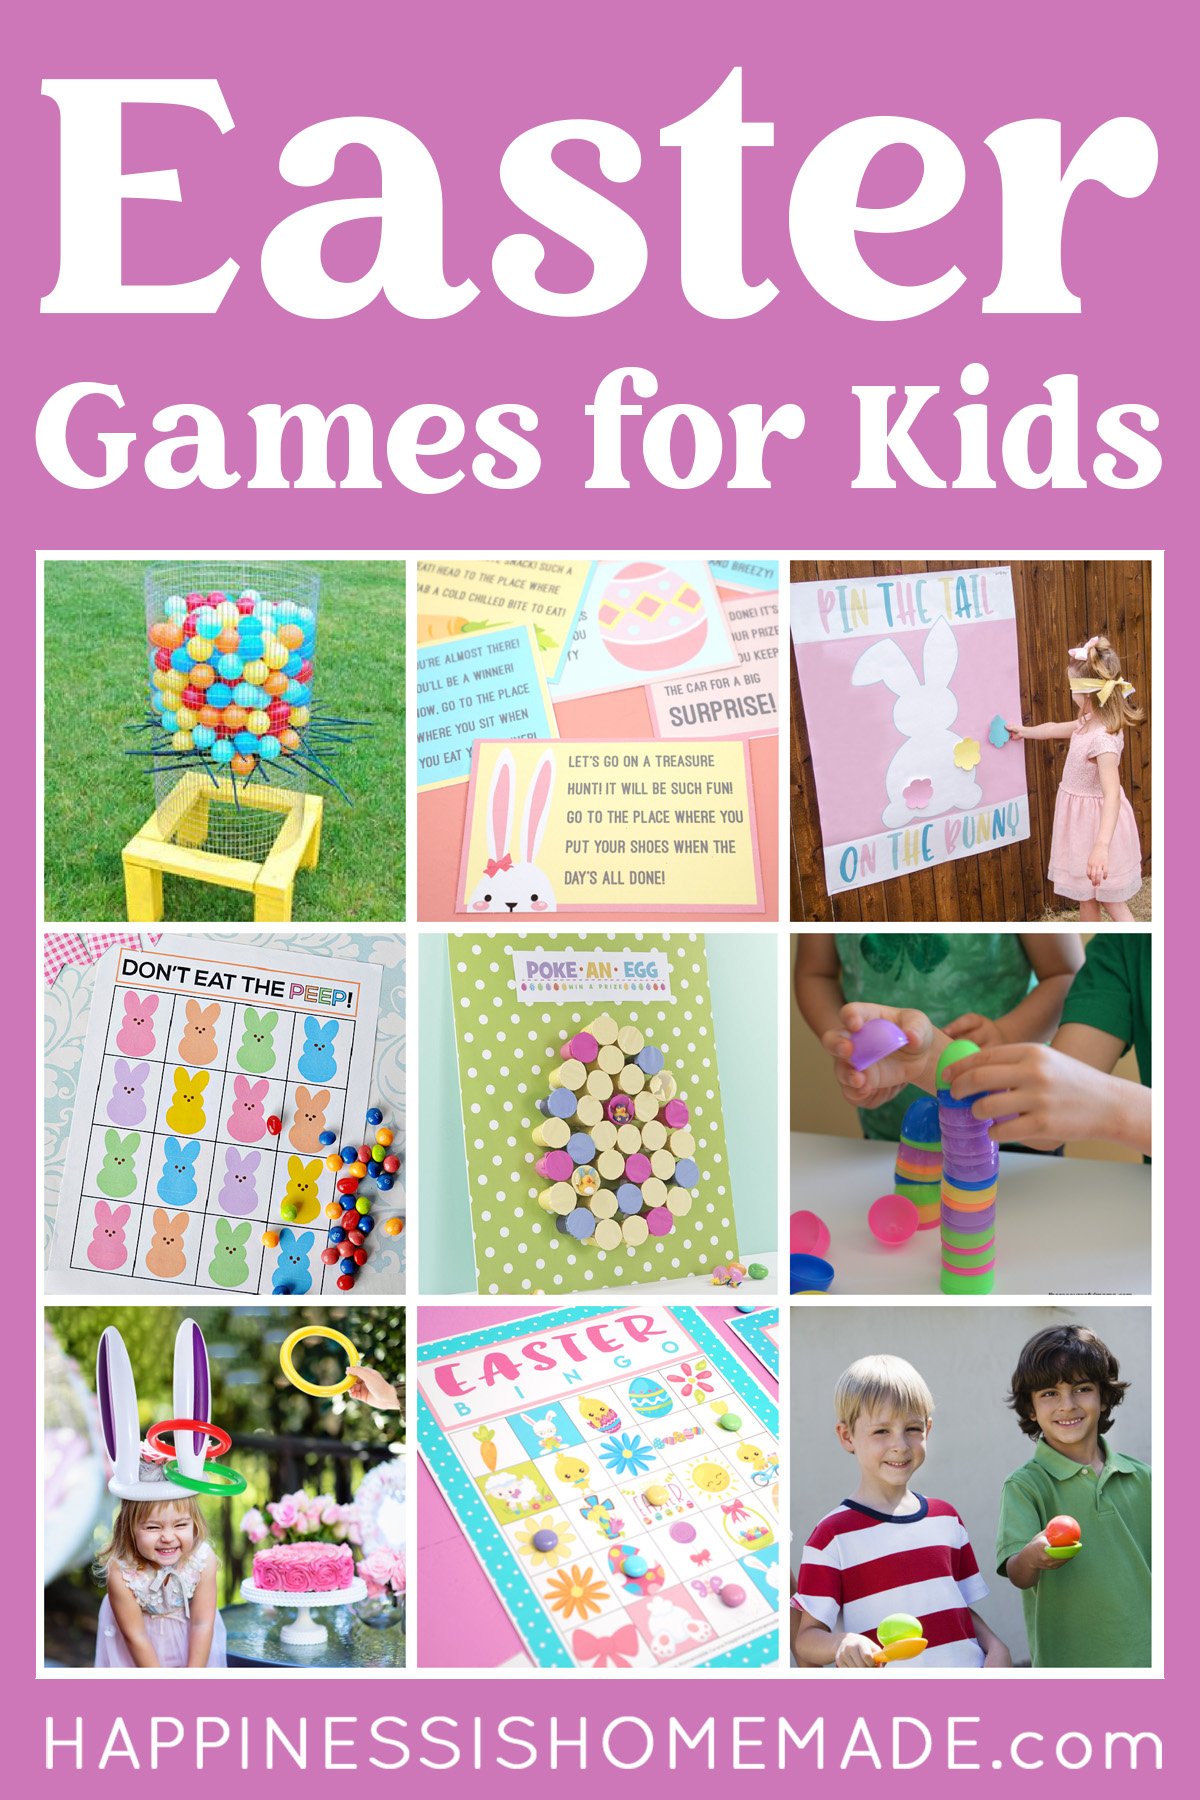
Check Out These Other Fun Ways to Decorate Easter Eggs!
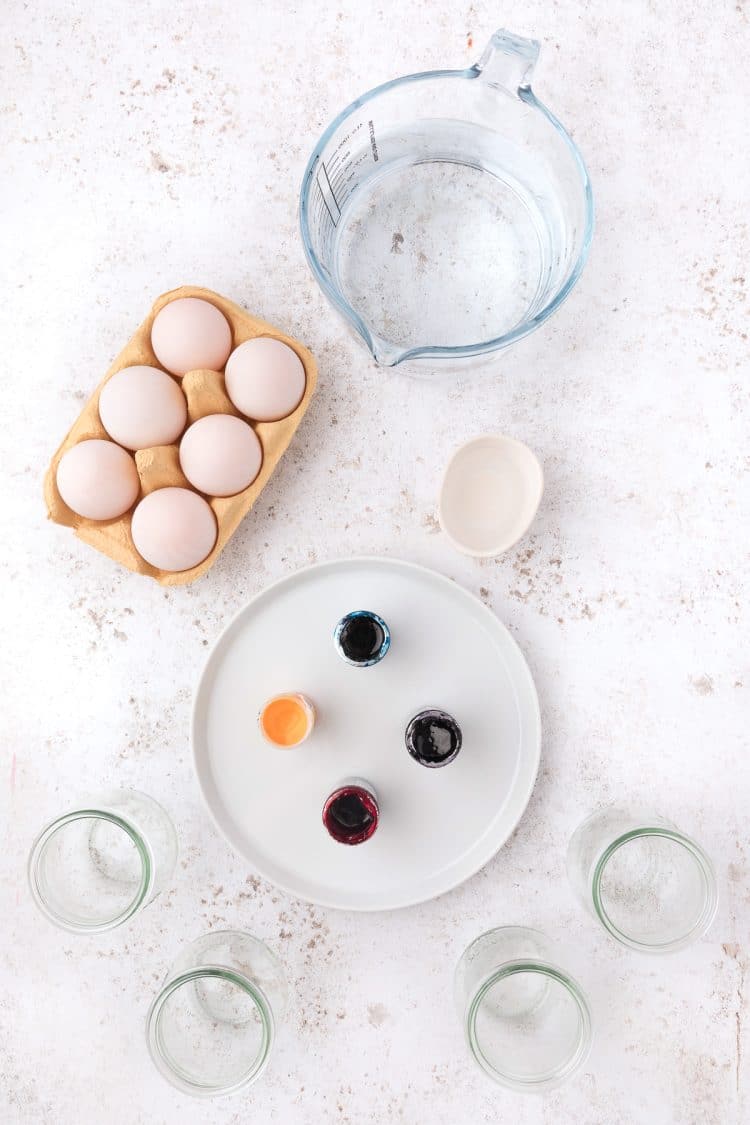
Supplies Needed to Dye Easter Eggs:
- Eggs
- White Vinegar
- Food Coloring
- Water
- Glass Jars or other containers to hold the dye and eggs, one per color (mugs work great if you don’t have glass jars!)
NOTE: You can use gel food coloring or liquid food coloring – both work great! Gel food coloring provides the most intense shades for highly saturated colors such as red and purple.
Instructions for Dyeing Easter Eggs with Food Coloring
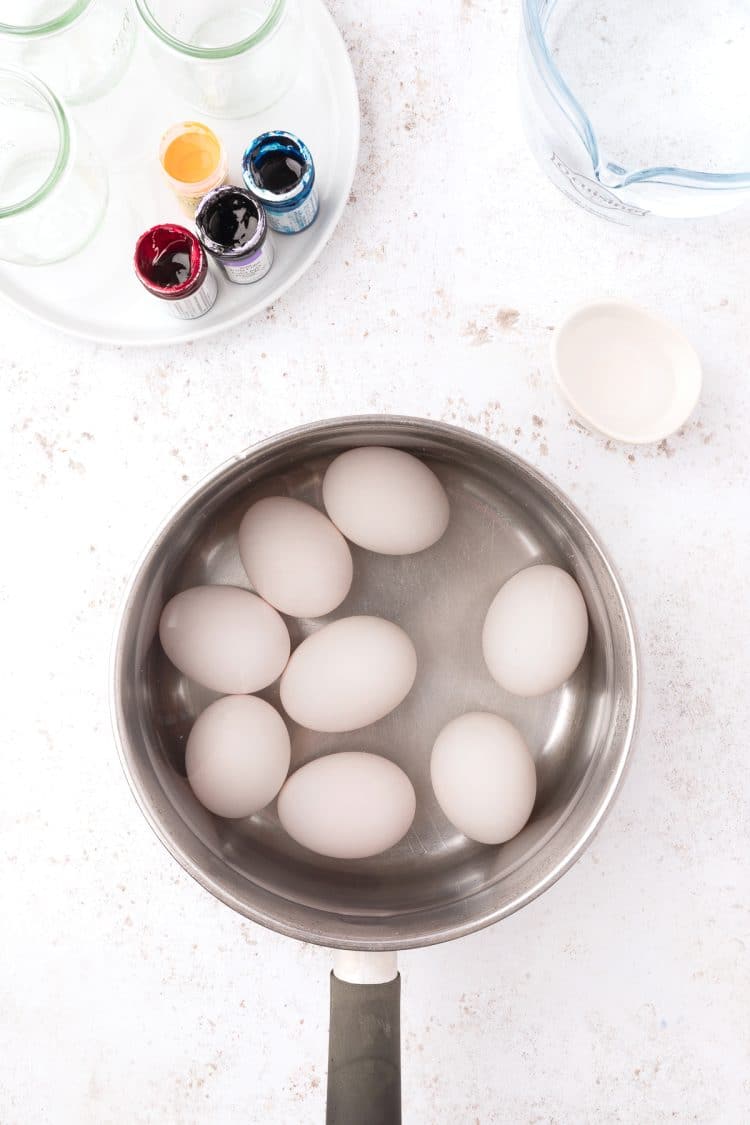
Start by boiling the eggs in a large saucepan of water. Depending on how you like your eggs, you will want to boil them between 10-15 minutes, and then gently run cold water over the eggs to stop the cooking process. Allow the eggs to cool to room temperature.
Note: Bringing the heat up slowly and adding a pinch of salt and a teaspoon of vinegar to the boiling water can help ensure that none of the eggs will crack during the hard boiling process.
If you have an Instant Pot or an air fryer, you could also opt to “boil” your eggs that way, if you prefer!
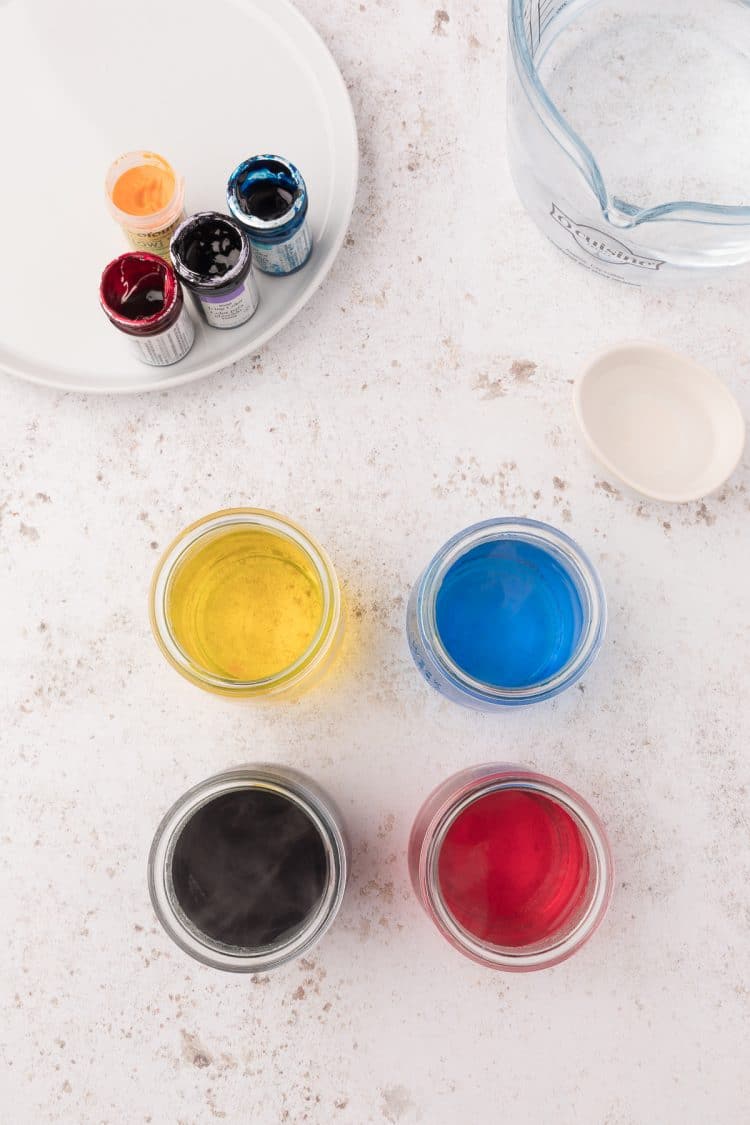
Boil water in a kettle or saucepan – you’ll need about 12 oz. of water (1.5 cups of water) per color of dye.
Carefully pour the hot water into the glass containers, and add 1-2 teaspoons of vinegar to the water. If you want darker colors, use 2 teaspoons; for medium tones, use 1 teaspoon of vinegar; for pastel hues, omit the vinegar.
Add the food coloring to the water and vinegar mixture to create the dye solution. Depending on the intensity of the colors you wish to create, you will want to add approximately 10-20 drops of food coloring for each of the different colors. If you are using gel food coloring, it is much more concentrated than the liquid, so you will only need a very small amount to achieve the desired color.
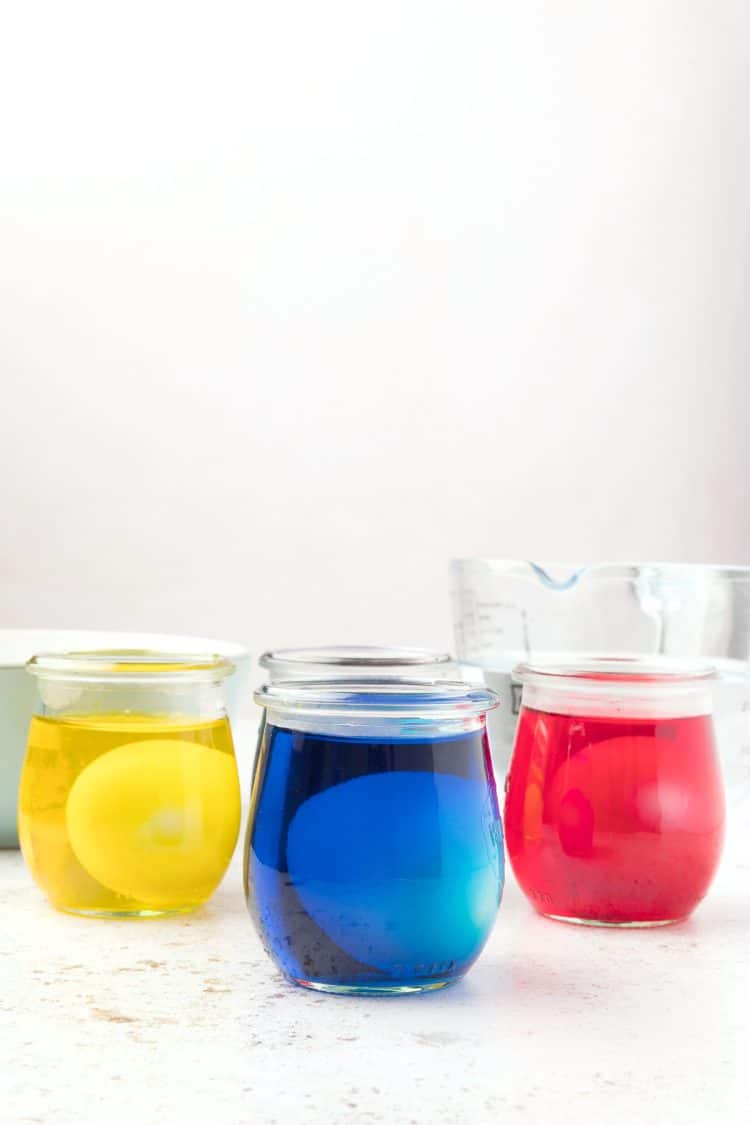
Carefully place eggs into each dye bath (using a wire egg holder, slotted spoon, or a pair of tongs is helpful for taking the eggs in and out of the dyes).
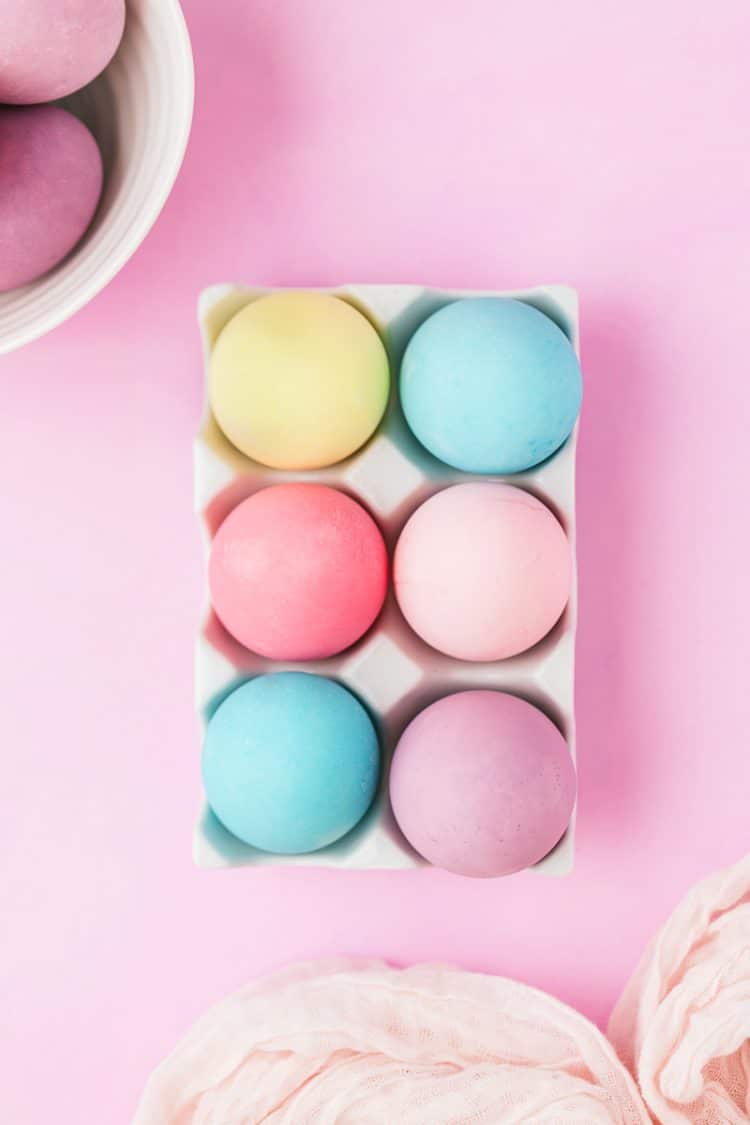
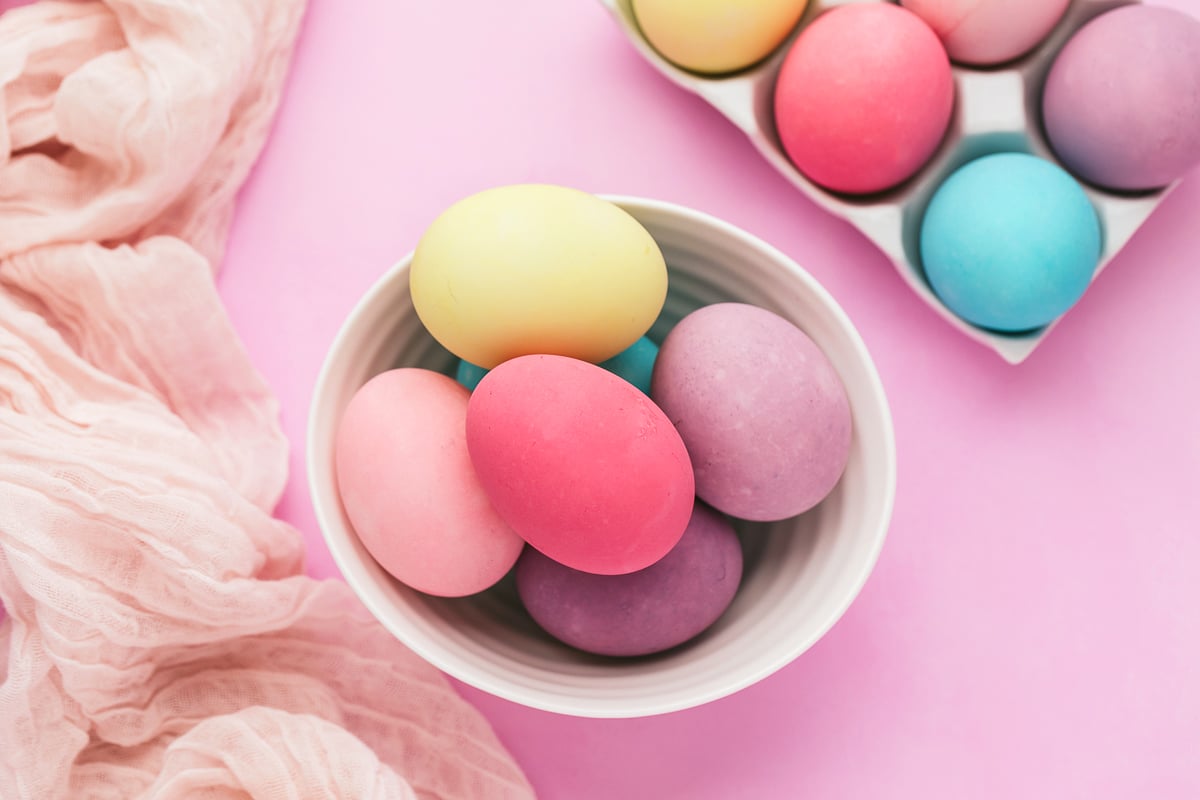
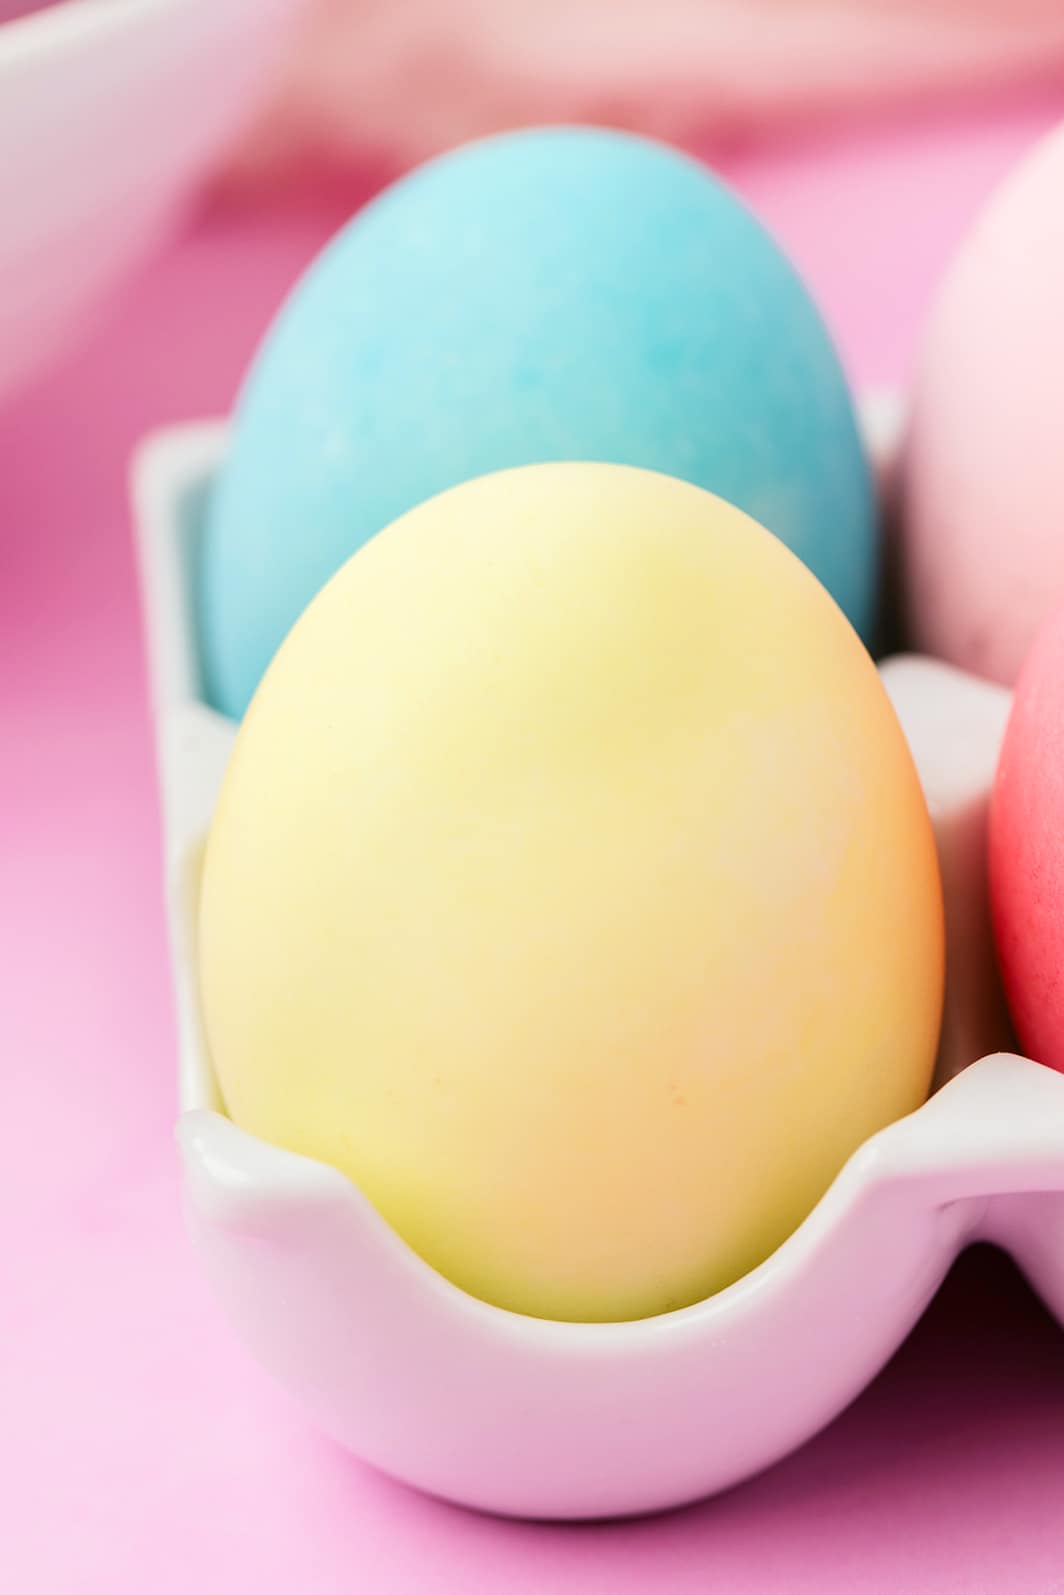
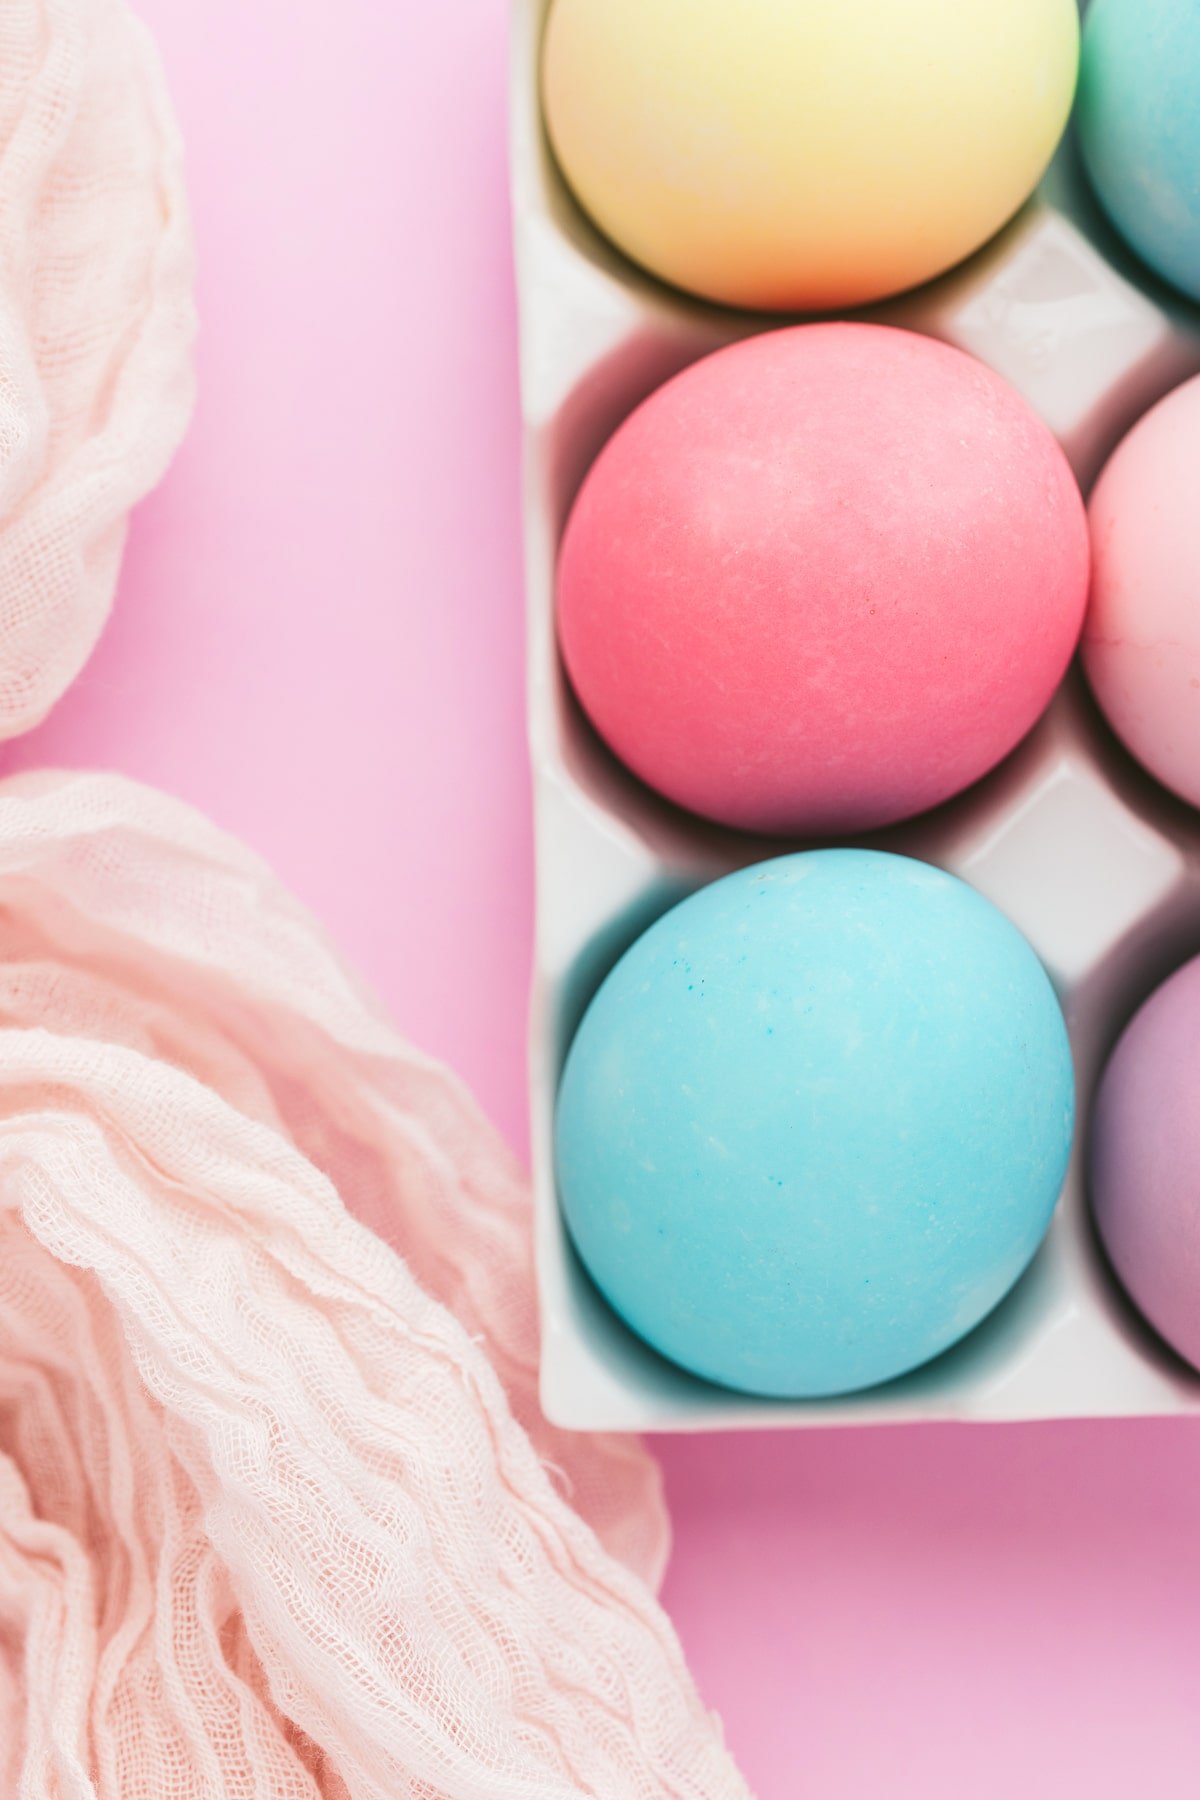
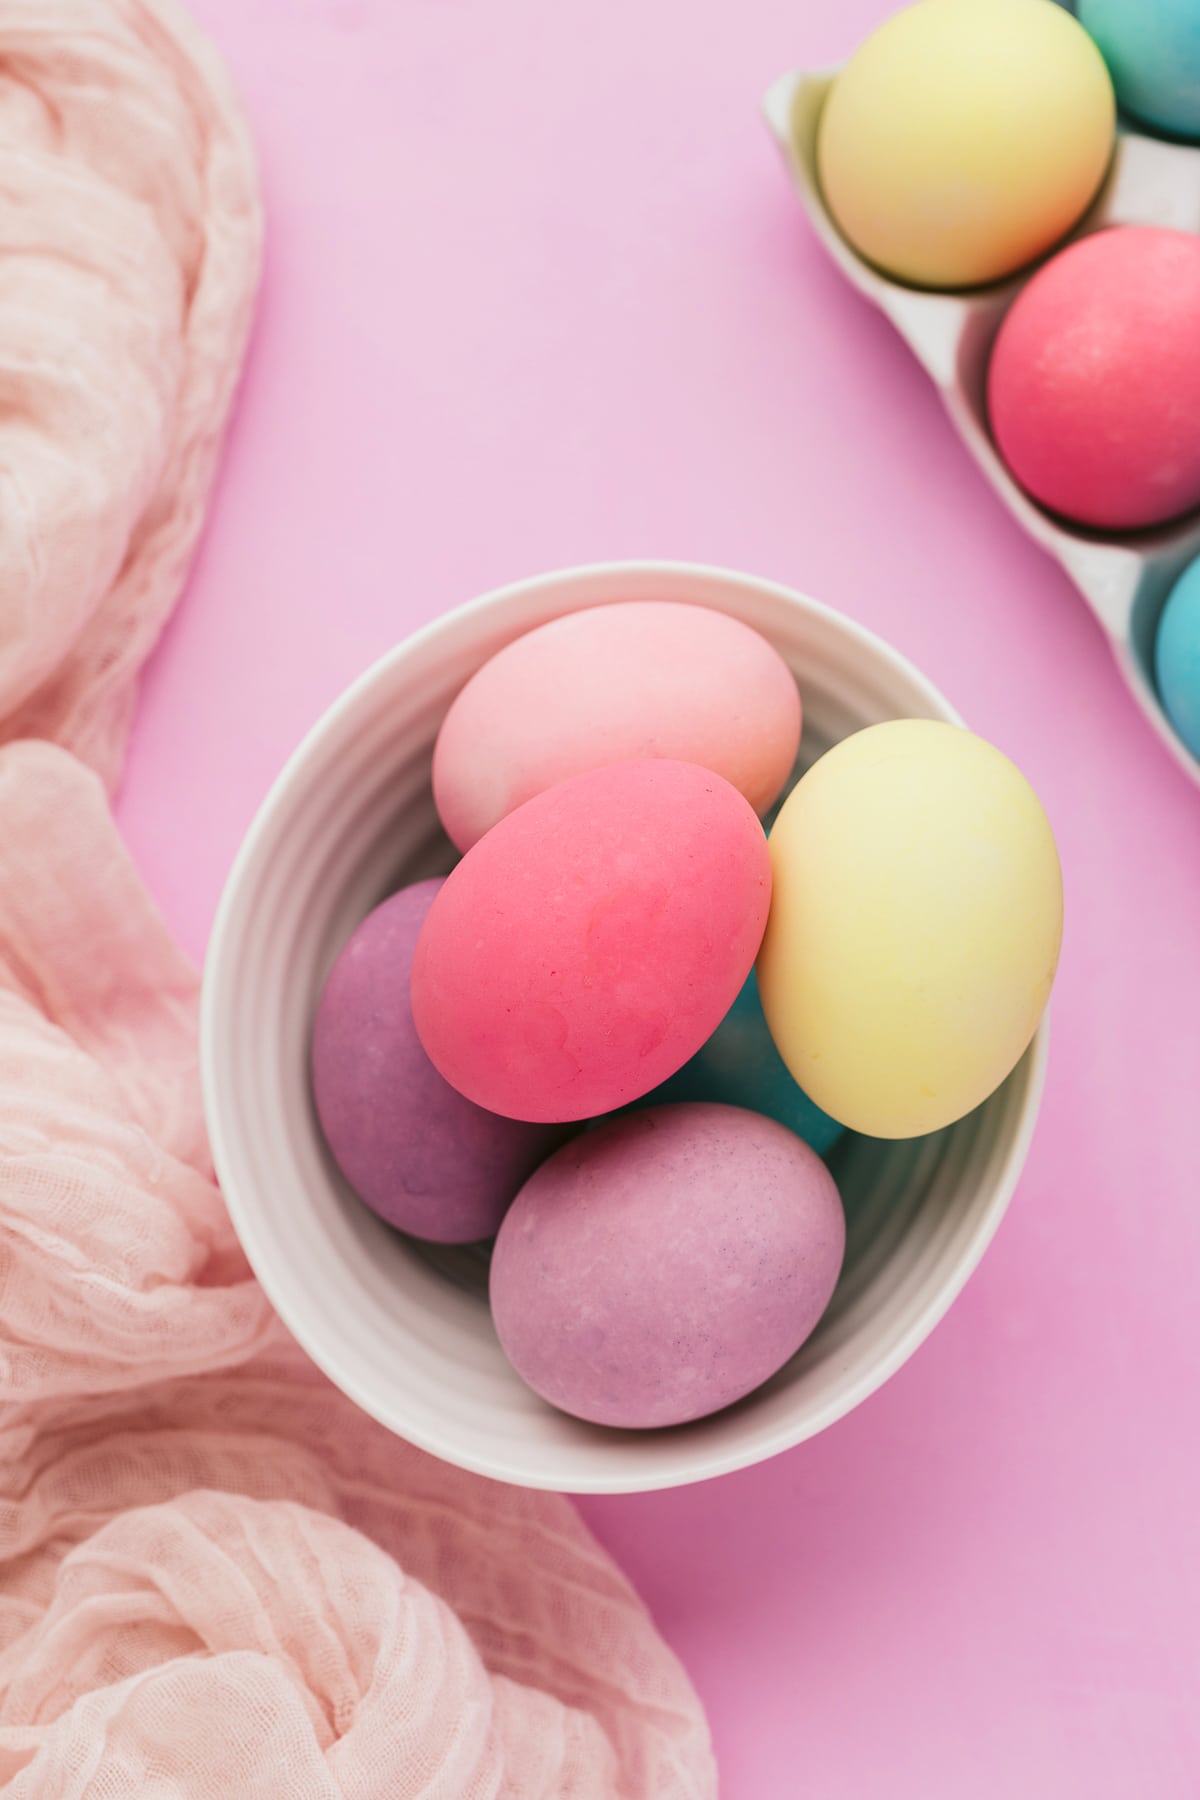
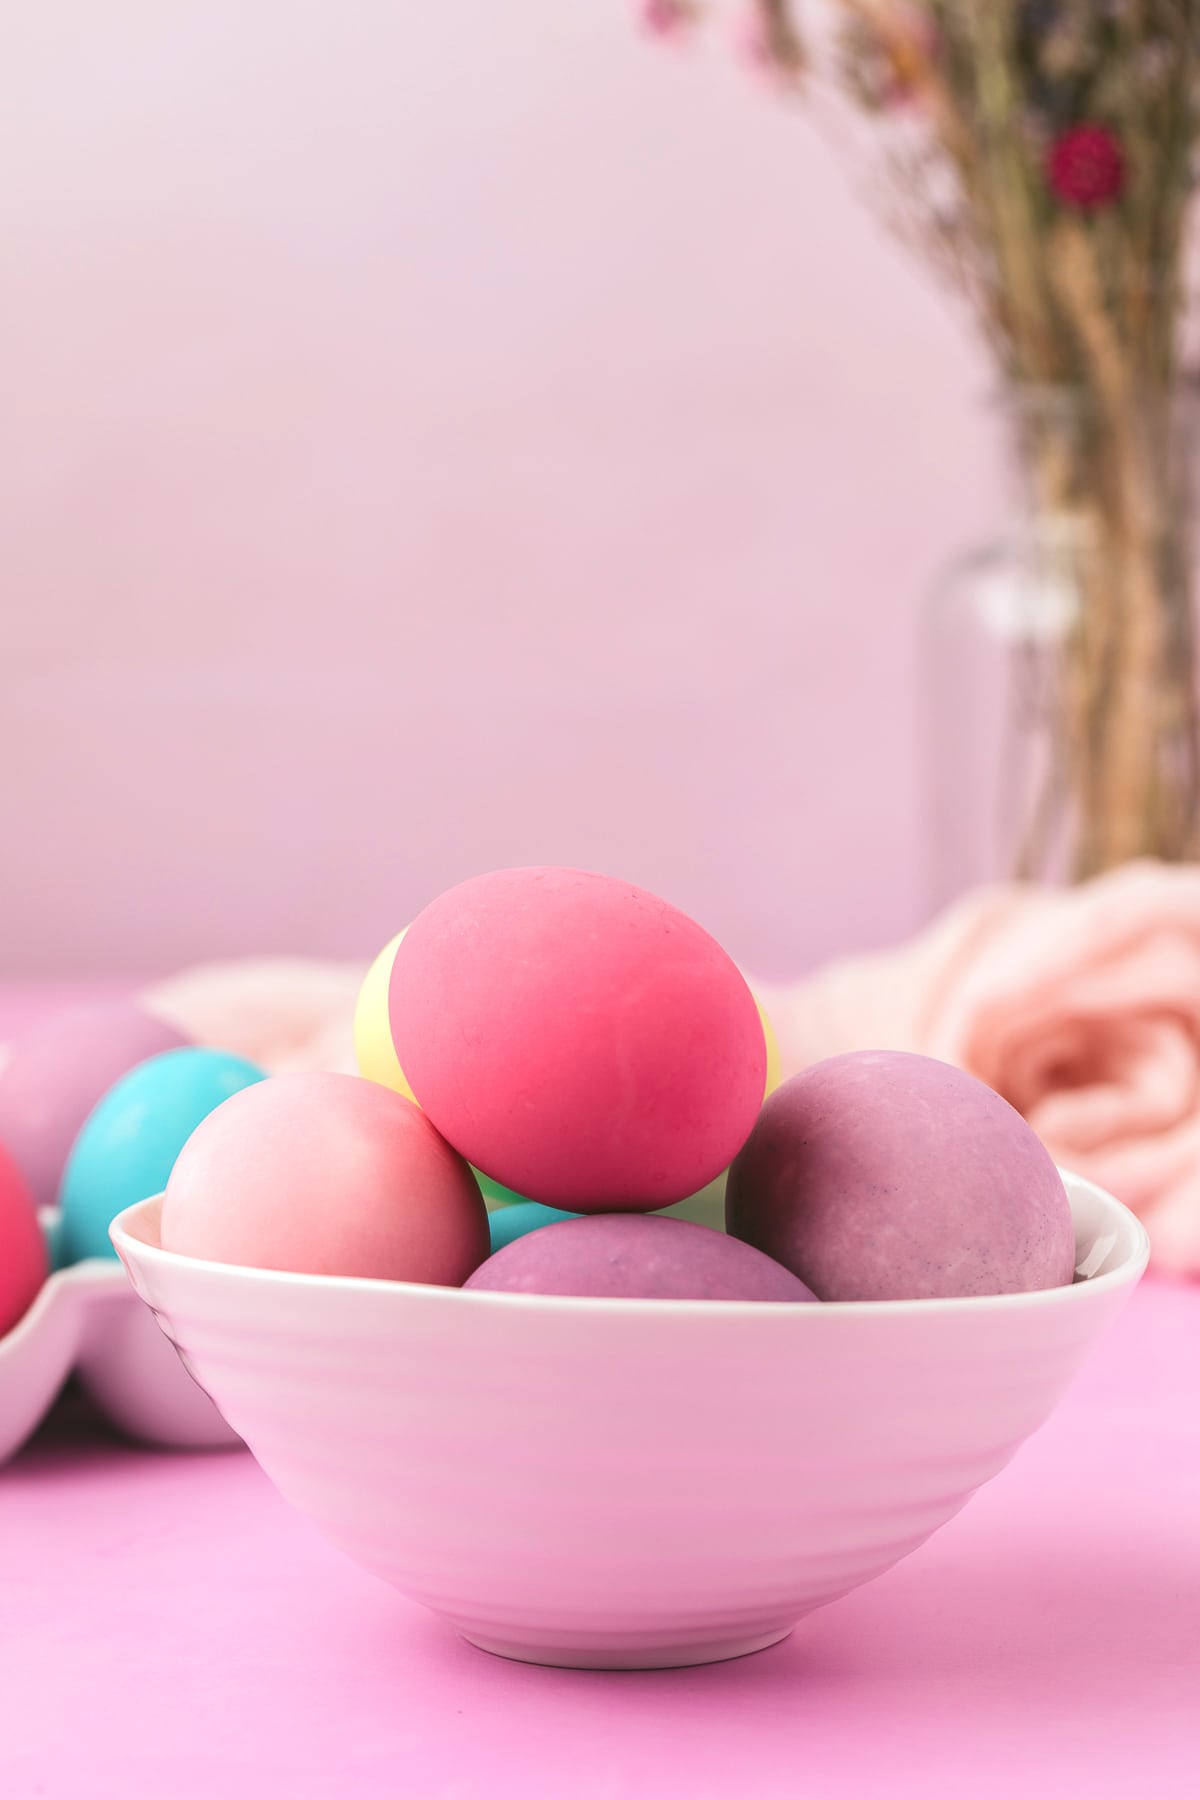
- If you want pastel colors, remove the eggs from the dye after 30-45 seconds.
- For medium shades, keep the eggs in the dye for 2-3 minutes.
- For darker and more vibrant colors, keep the eggs in the dye for 4-6 minutes or longer until maximum saturation is achieved.
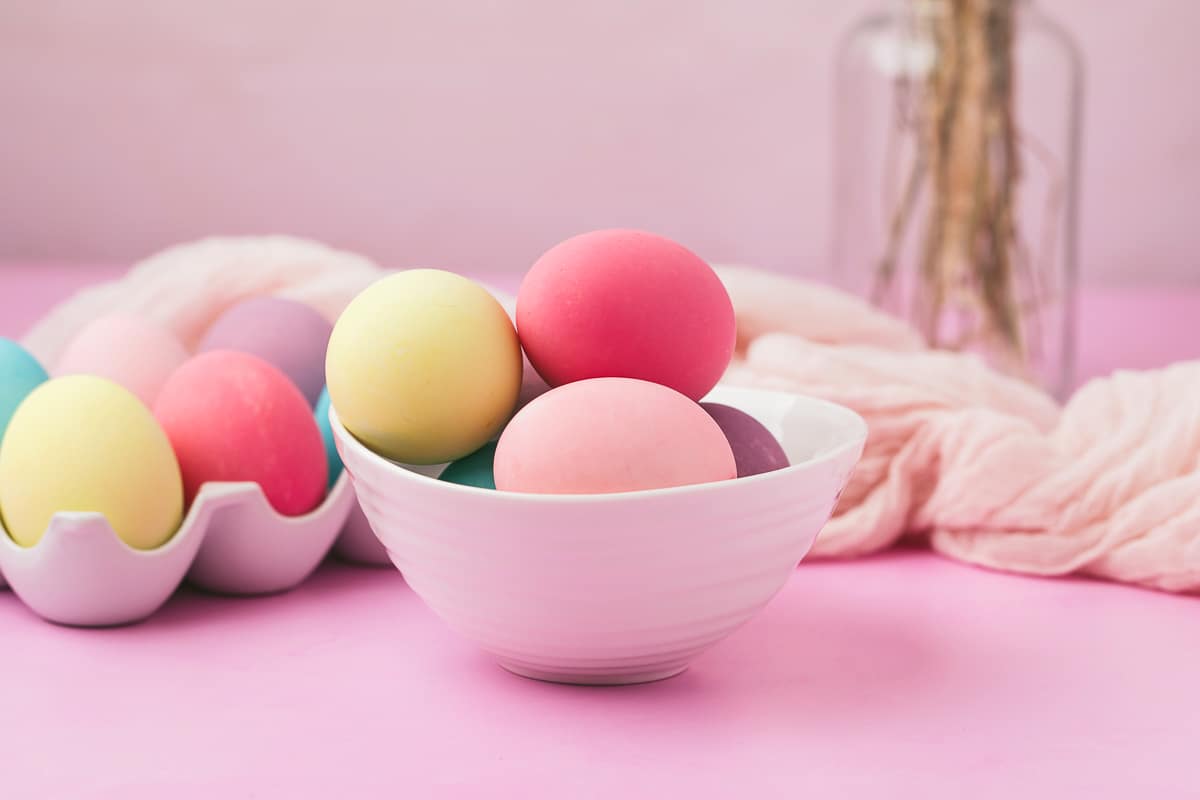
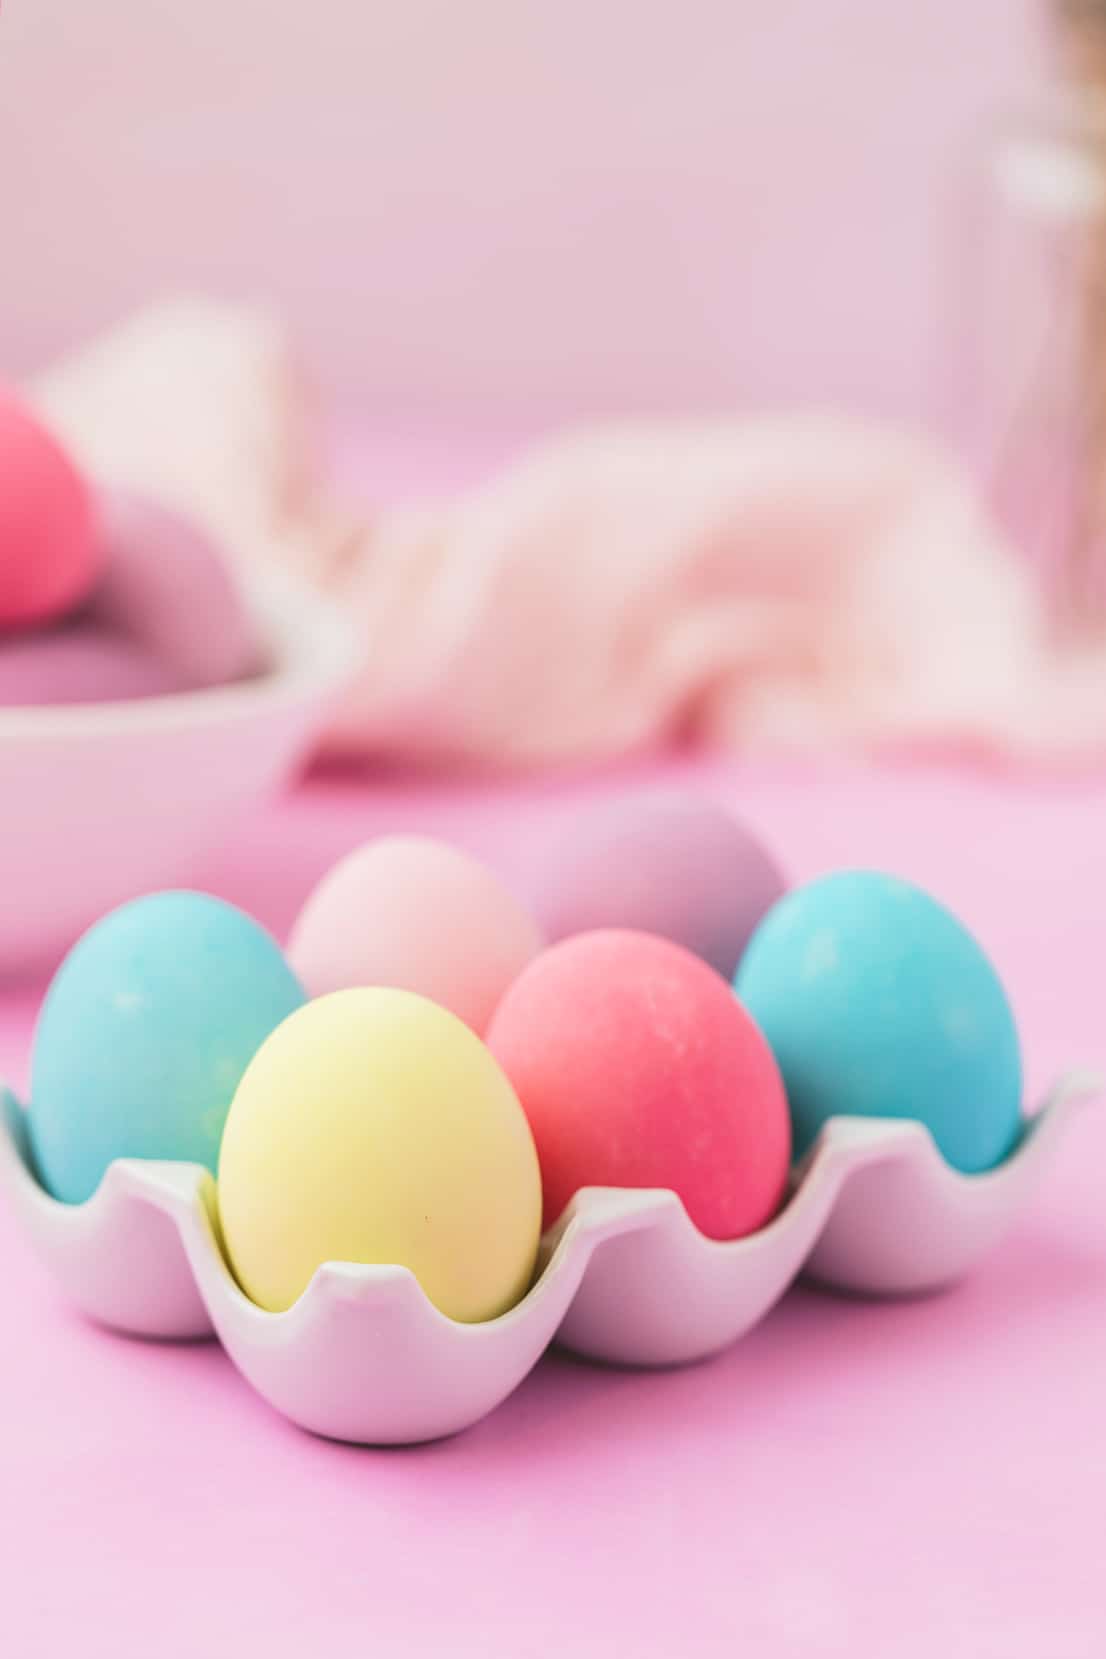
Set the eggs aside to dry – you can use the egg carton to hold the freshly dyed eggs or create your own drying rack by placing pins or toothpicks into a sheet of foam.
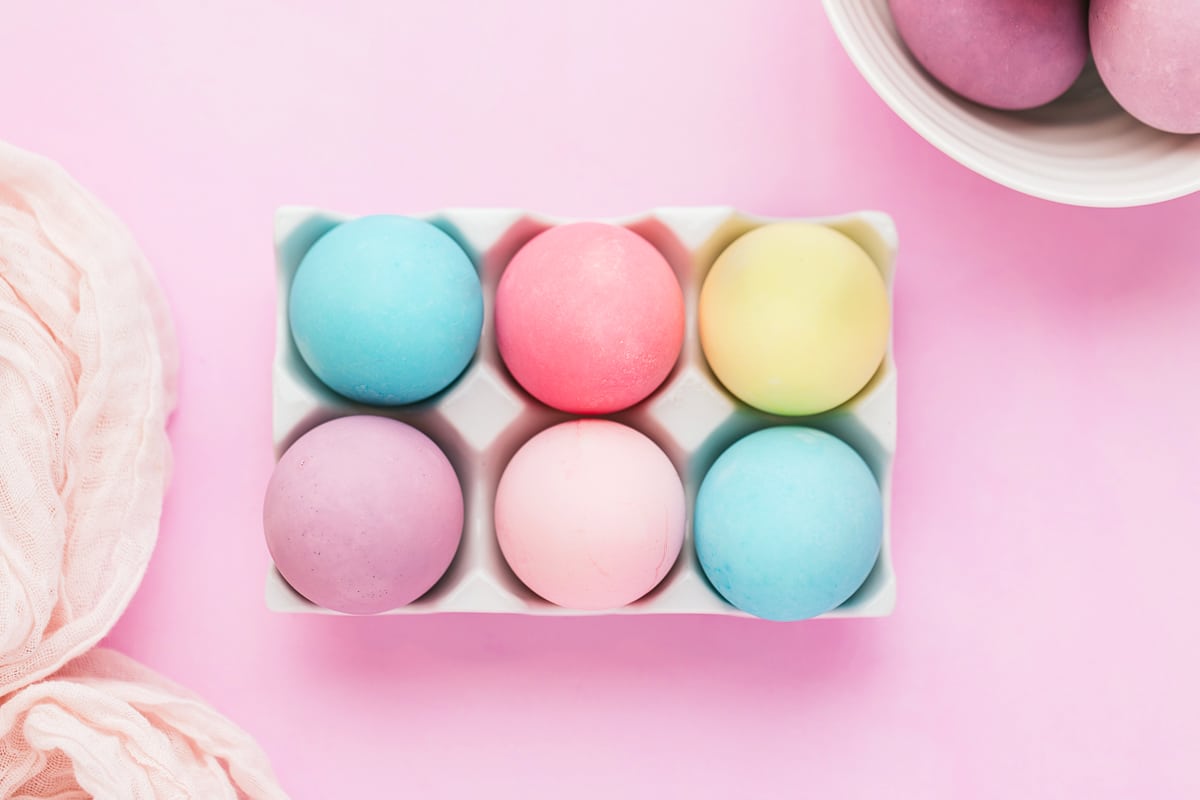
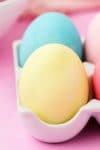
I prefer my Easter eggs to be on the lighter side, so most of the eggs shown here were in the dye bath between 30 seconds and 2 minutes. Leaving them in the dye longer will result in even darker and more intense shades of color.
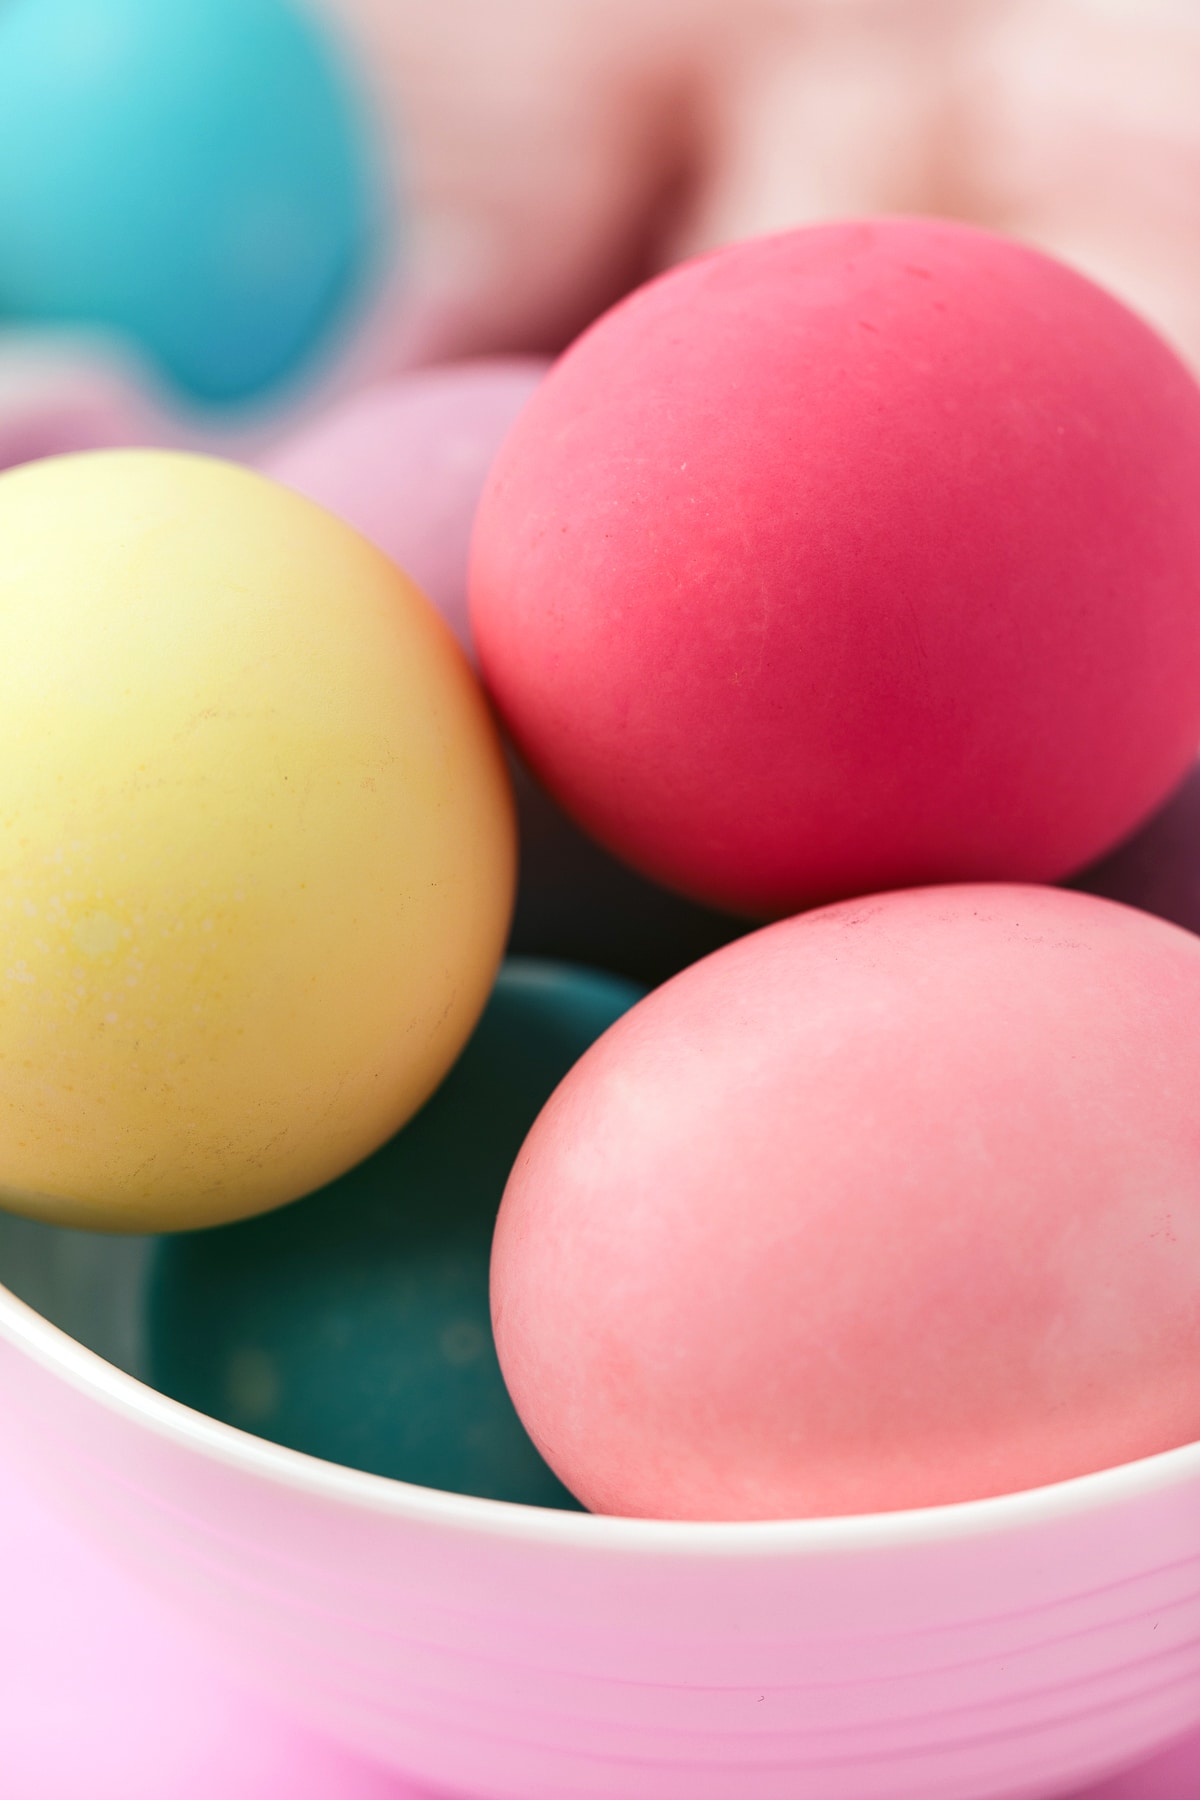
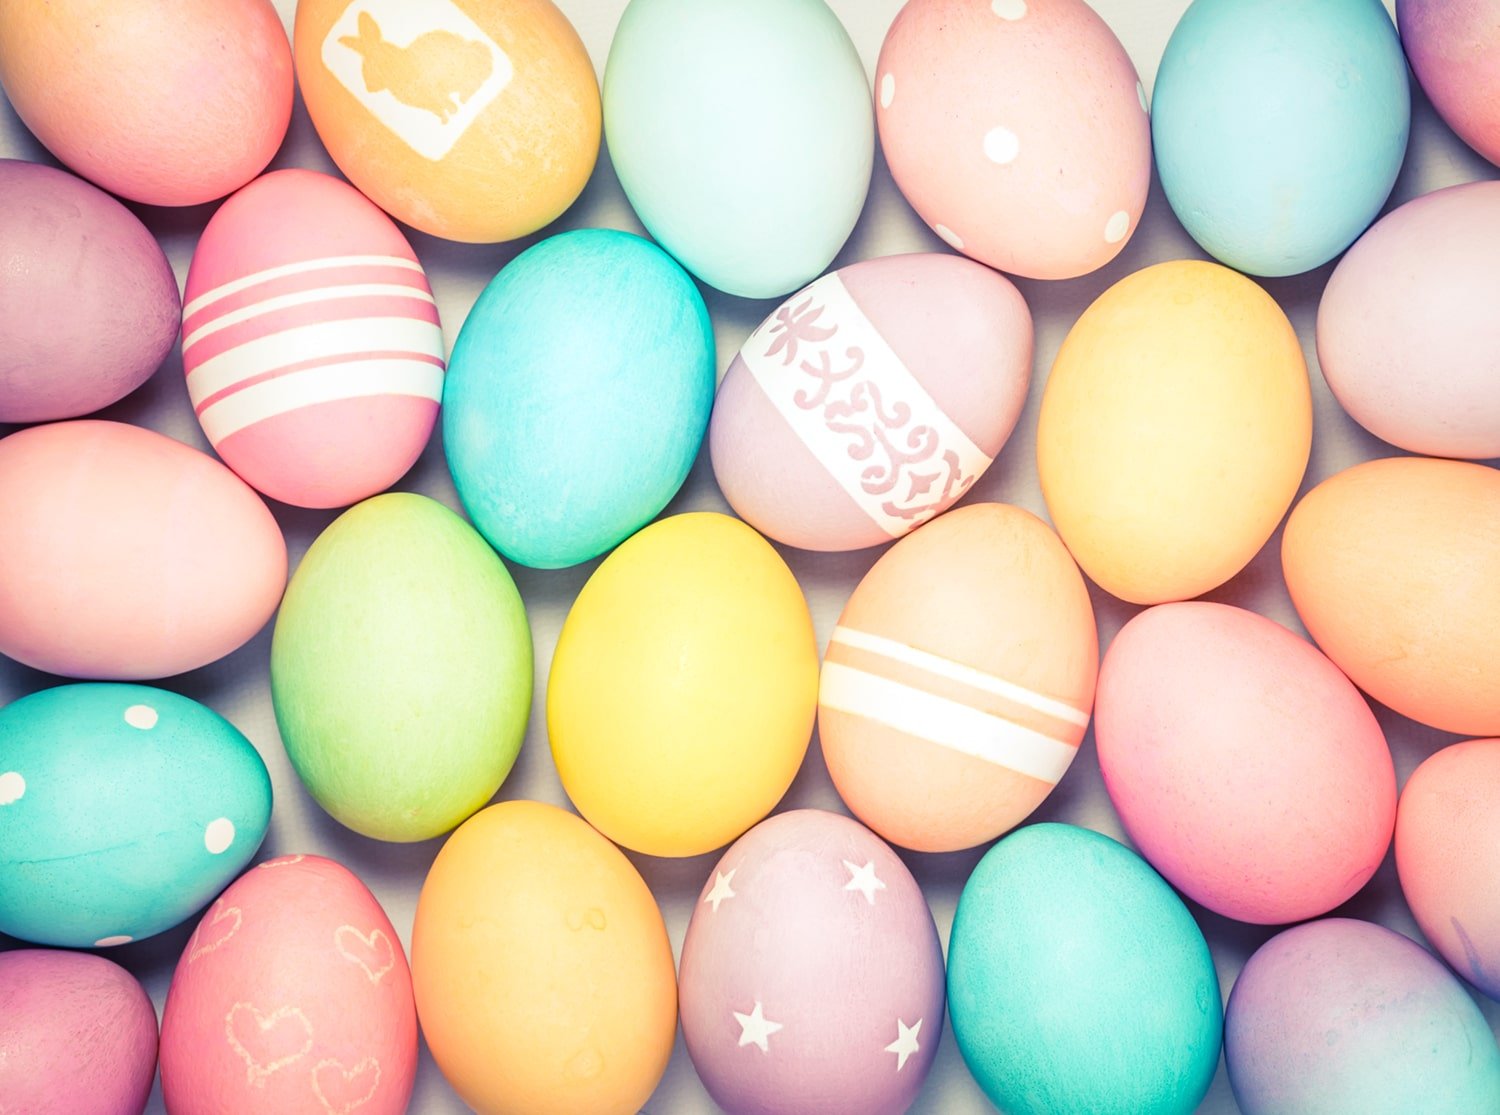
Once you have the basics of dyeing down, you can experiment with adding other elements! My family enjoys using rubber bands, white crayon, and stickers to create resist designs on the eggs before placing them into the food dye.
You can also experiment with using different colored eggs such as green or brown eggs which give the dye colors more muted shades and a variety of hues. We’re always looking for new ways to get creative with our Easter egg dye!
All About Easter Egg Dyeing
Let’s go over some of the most common and frequently asked questions that I receive about dyeing Easter eggs with food coloring:
Can You Dye Raw Eggs?
Technically, yes, you can dye raw eggs, but it’s not as easy! When working with raw eggs, you need to be extra careful and cautious to avoid breaking the egg and making a mess.
The vinegar in the dye can also weaken the egg shell, so you’ll want to be super duper careful when handing any raw egg that has been colored.
Is It Better to Dye Eggs Hot or Cold?
The temperature of the egg doesn’t really make a measurable difference when dyeing Easter eggs. The temperature of the dye bath, however, does matter. You should always dye eggs in hot water because the heat helps to set the dye and achieve richer color (much in the same way that tie-dye works best when done at warmer temperatures!).
We prefer to dye eggs that are room temperature (cooled to room temp after boiling) so the egg temperature won’t interfere with or change the dye temperature.
Note: Any eggs that you intend to eat should be refrigerated shortly after dyeing. Eggs should not be kept at room temperature longer than 2 hours!
Do You Have to Use Vinegar to Dye Eggs?
Nope! Vinegar causes the dye solution to become acidic, which helps it bond with the egg shell and create more vibrant colors. If you don’t have vinegar on hand, though (or just dislike the smell of vinegar), you can substitute with lemon juice or lime juice, however, you will get the best results when using vinegar.
Can You Eat Eggs That You Dye?
Yes! Just make sure to refrigerate your Easter eggs shortly after coloring them. Dyed hard-boiled eggs must be kept refrigerated, and they will last about a week in the refrigerator.
Can I Boil My Eggs Now and Dye Them Later?
Yes! You may boil your eggs now and place them in the refrigerator until you are ready to dye them. Eggs should be dyed within 5 days of boiling for best results.
Allow the eggs to sit out for about 20-30 minutes while you prepare the dye to take the chill off of them. If the eggs are too cold, they can lower the temperature of the dye solution, which may result in less vibrant Easter eggs.
These beautiful Easter eggs are sure to become your favorite Easter tradition that the whole family will enjoy!
How to Color Easter Eggs with Food Dye

How to Dye Easter Eggs with Food Coloring
What You’ll Need:
- 1 Dozen Eggs (or more)
- White Vinegar
- Food Coloring (liquid or gel)
- Water
Instructions:
- Hard boil your eggs via method of choice. Allow to cool to room temperature.
- Boil water for dye – you will need 1.5 cups per color of dye that you wish to create.
- Carefully pour the hot water into glass jars or mugs. Add 1-2 teaspoons of vinegar into each jar.
- Add 10-20 drops of food coloring into each container until desired shade is achieved. For gel food coloring, you will only need a very small amount to achieve vibrant colors.
- Carefully add an egg to each of the dye baths. If you want pastel colors, remove the eggs from the dye after 30-45 seconds.For medium shades, keep the eggs in the dye for 2-3 minutes.For darker and more vibrant colors, keep the eggs in the dye for 4-6 minutes or longer until maximum saturation is achieved.
- Remove the eggs from the dye, and allow to dry. Refrigerate shortly after dyeing to preserve edibility.
- Store dyed eggs in the refrigerator for up to a week.
Notes:
If you have any questions about how to dye Easter eggs with food coloring, drop them in the comments below, and I’m happy to help however I can!
P.S. If you’re interested in learning how to dye Easter eggs using natural dyes such as red cabbage, yellow onion skins, grape juice, red wine, turmeric, blueberries and more, check out this post from Taste of Home!
Happy dyeing!


Don’t Forget to Pin This Egg Dyeing Tutorial for Later!


Heidi Kundin has captivated the hearts of millions with her colorful and inspiring approach to crafting, celebrations, and family fun. With over 15 years of experience, Happiness is Homemade has become a must-visit destination for those seeking quick and easy creative ideas and last-minute solutions. Heidi’s warm personality shines through her posts, inviting readers to join her on a creative journey that’s fun, rewarding, and achievable. Heidi is also the author of Homemade Bath Bombs & More and DIY Tie-Dye.
This worked perfectly!