
Learn How to Use Transfer Tape with vinyl for your Cricut and Silhouette crafts! This easy beginner lesson will walk you step-by-step through the process!
Skill Level: Beginner – this tutorial is perfect for people who are just getting started with Cricut or Silhouette crafting.
Are you new to vinyl crafting and looking to understand how to use transfer tape with your adhesive vinyl decals, letters, and designs? I’ve got you covered with an easy step-by-step tutorial that includes everything you need to know about using transfer tape!
Vinyl crafts are some of the best beginner projects you can make with your Cricut or Silhouette cutting machine, and understanding how to use transfer tape with vinyl is a game-changer. But what exactly is transfer tape, and why is it a must-have for vinyl craft projects? Read on!
This post may contain affiliate links. I will receive a small commission from these sales at no additional cost to you!
What is Transfer Tape?
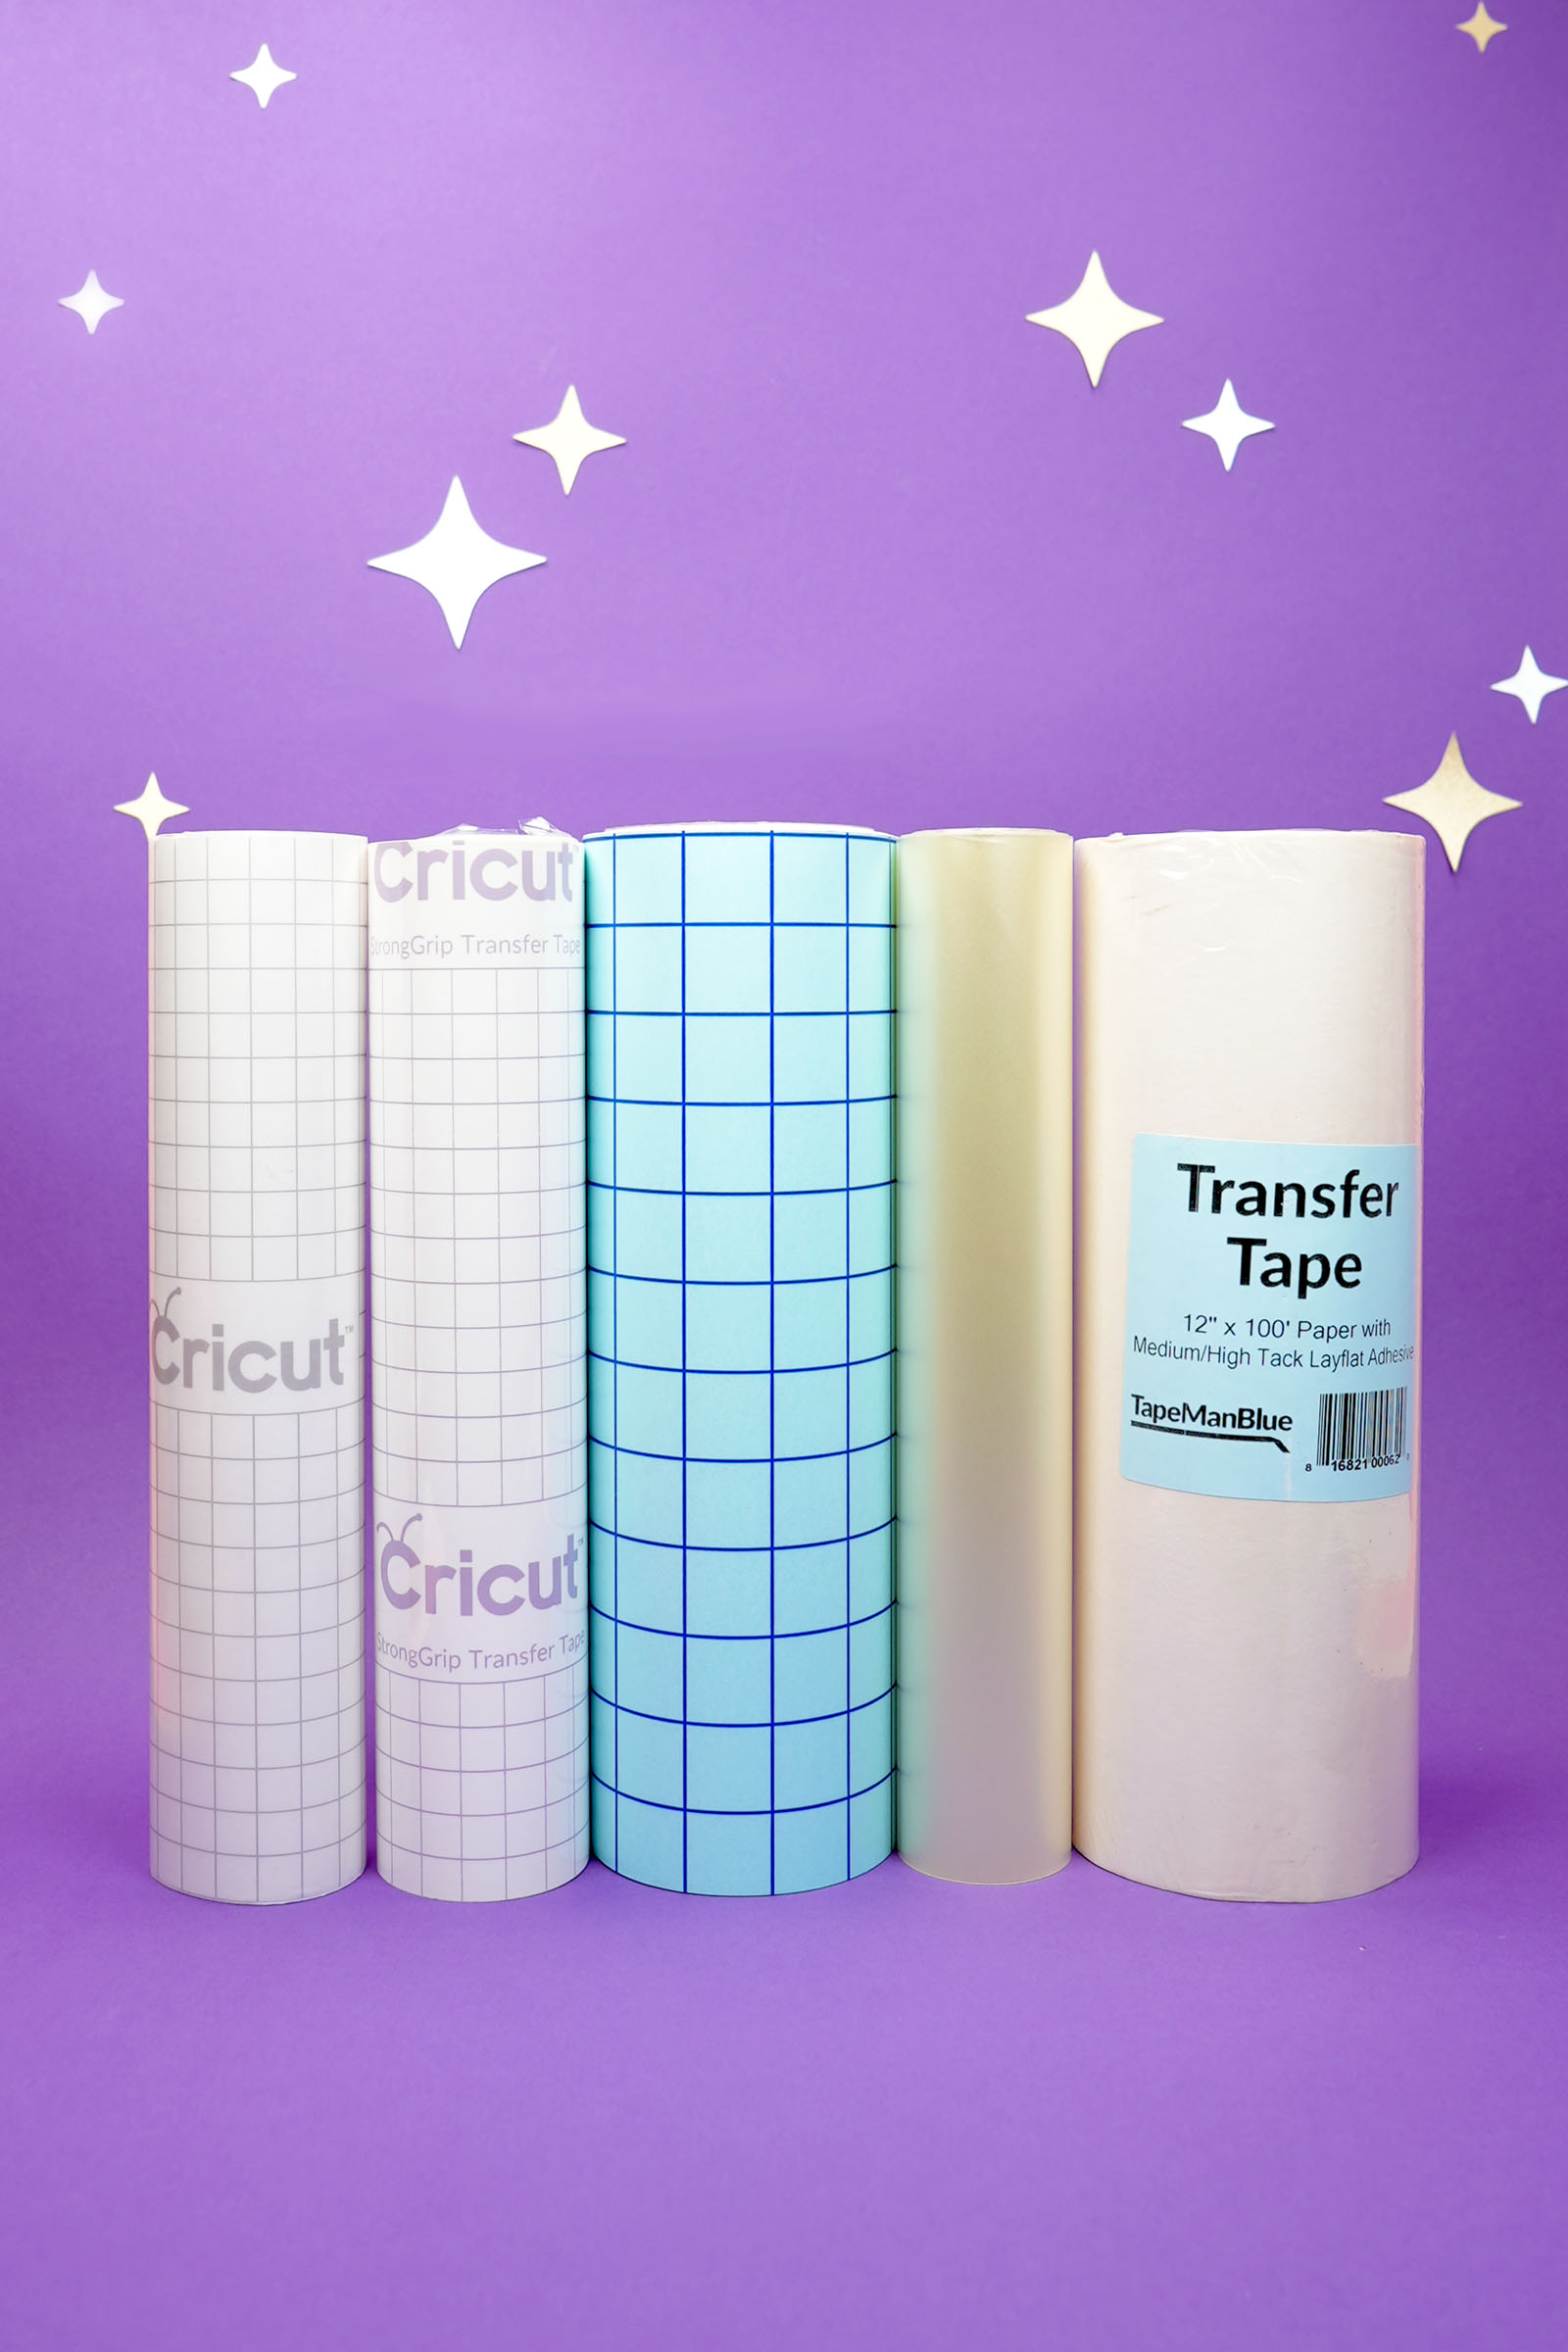
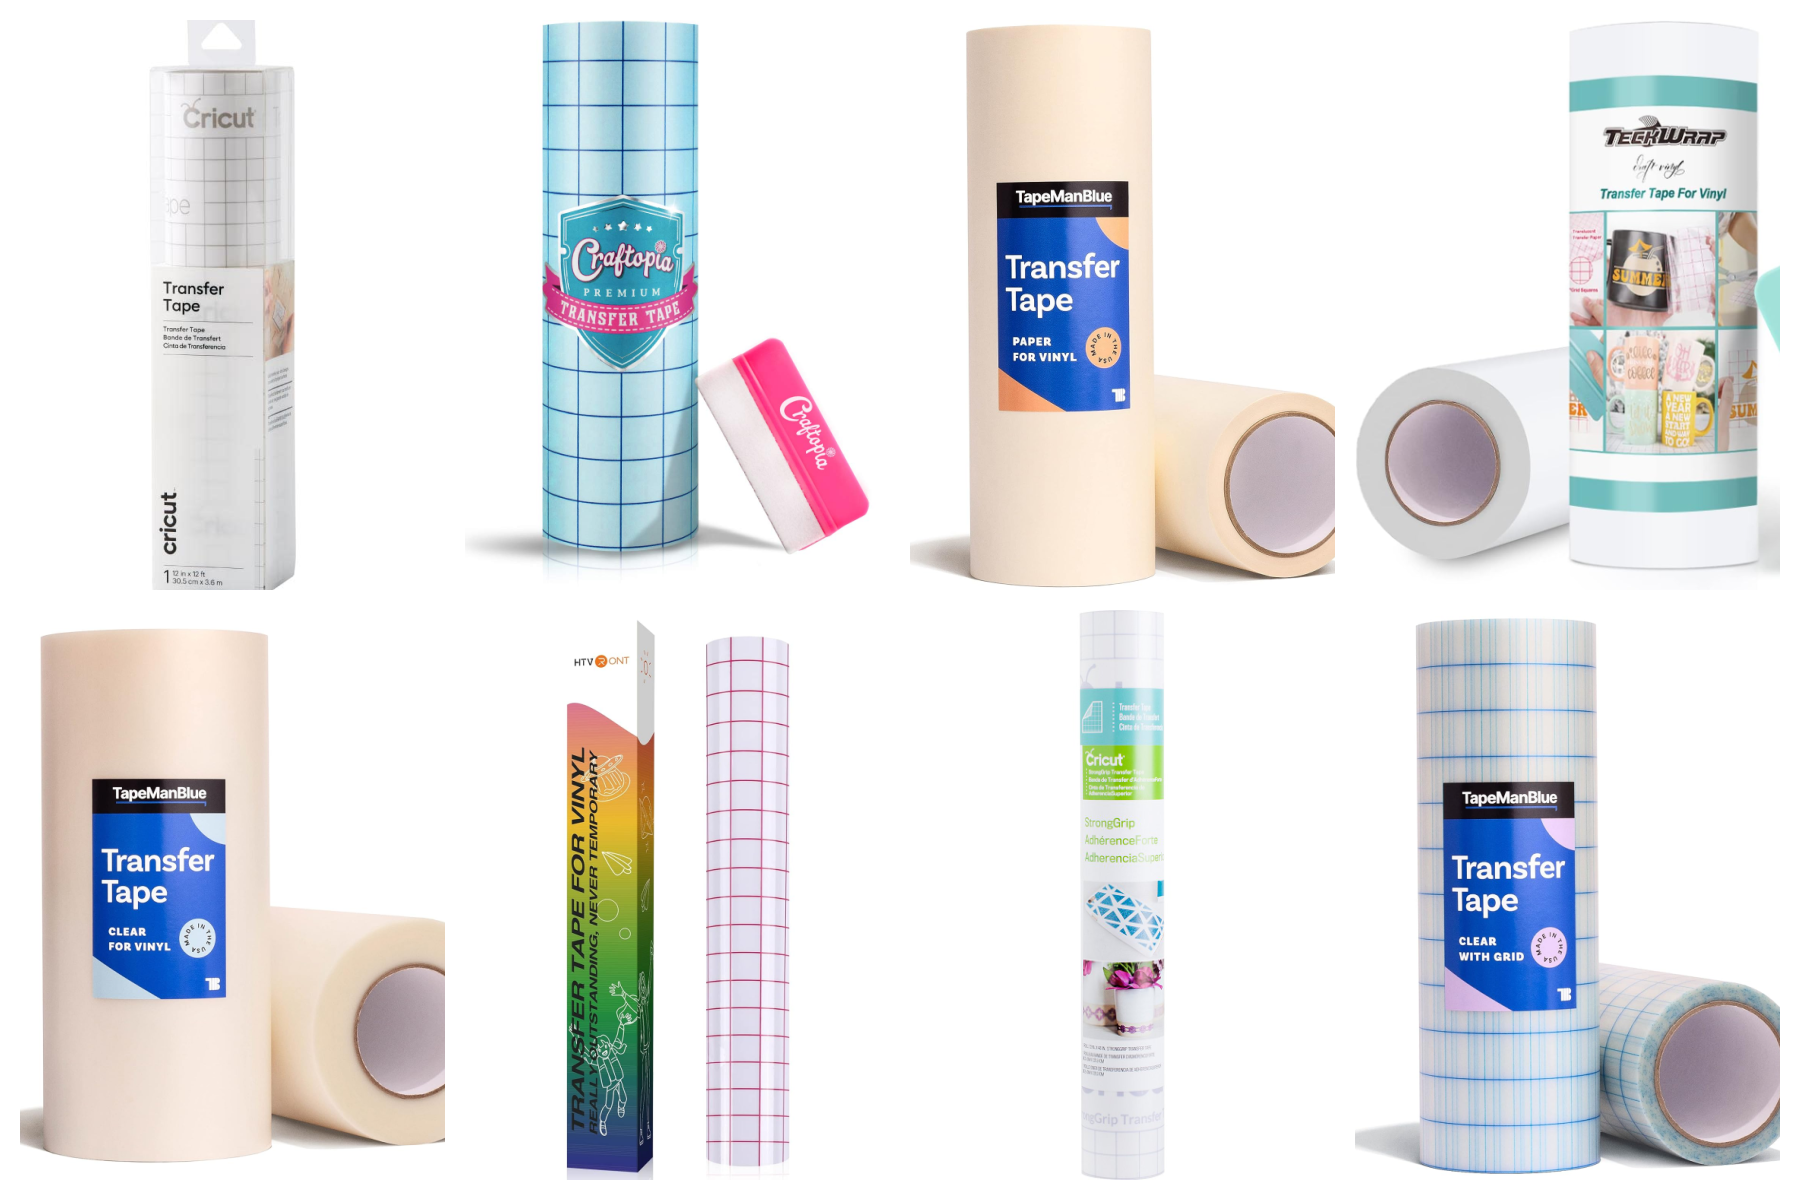
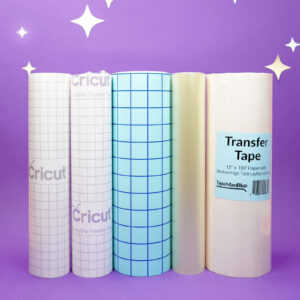
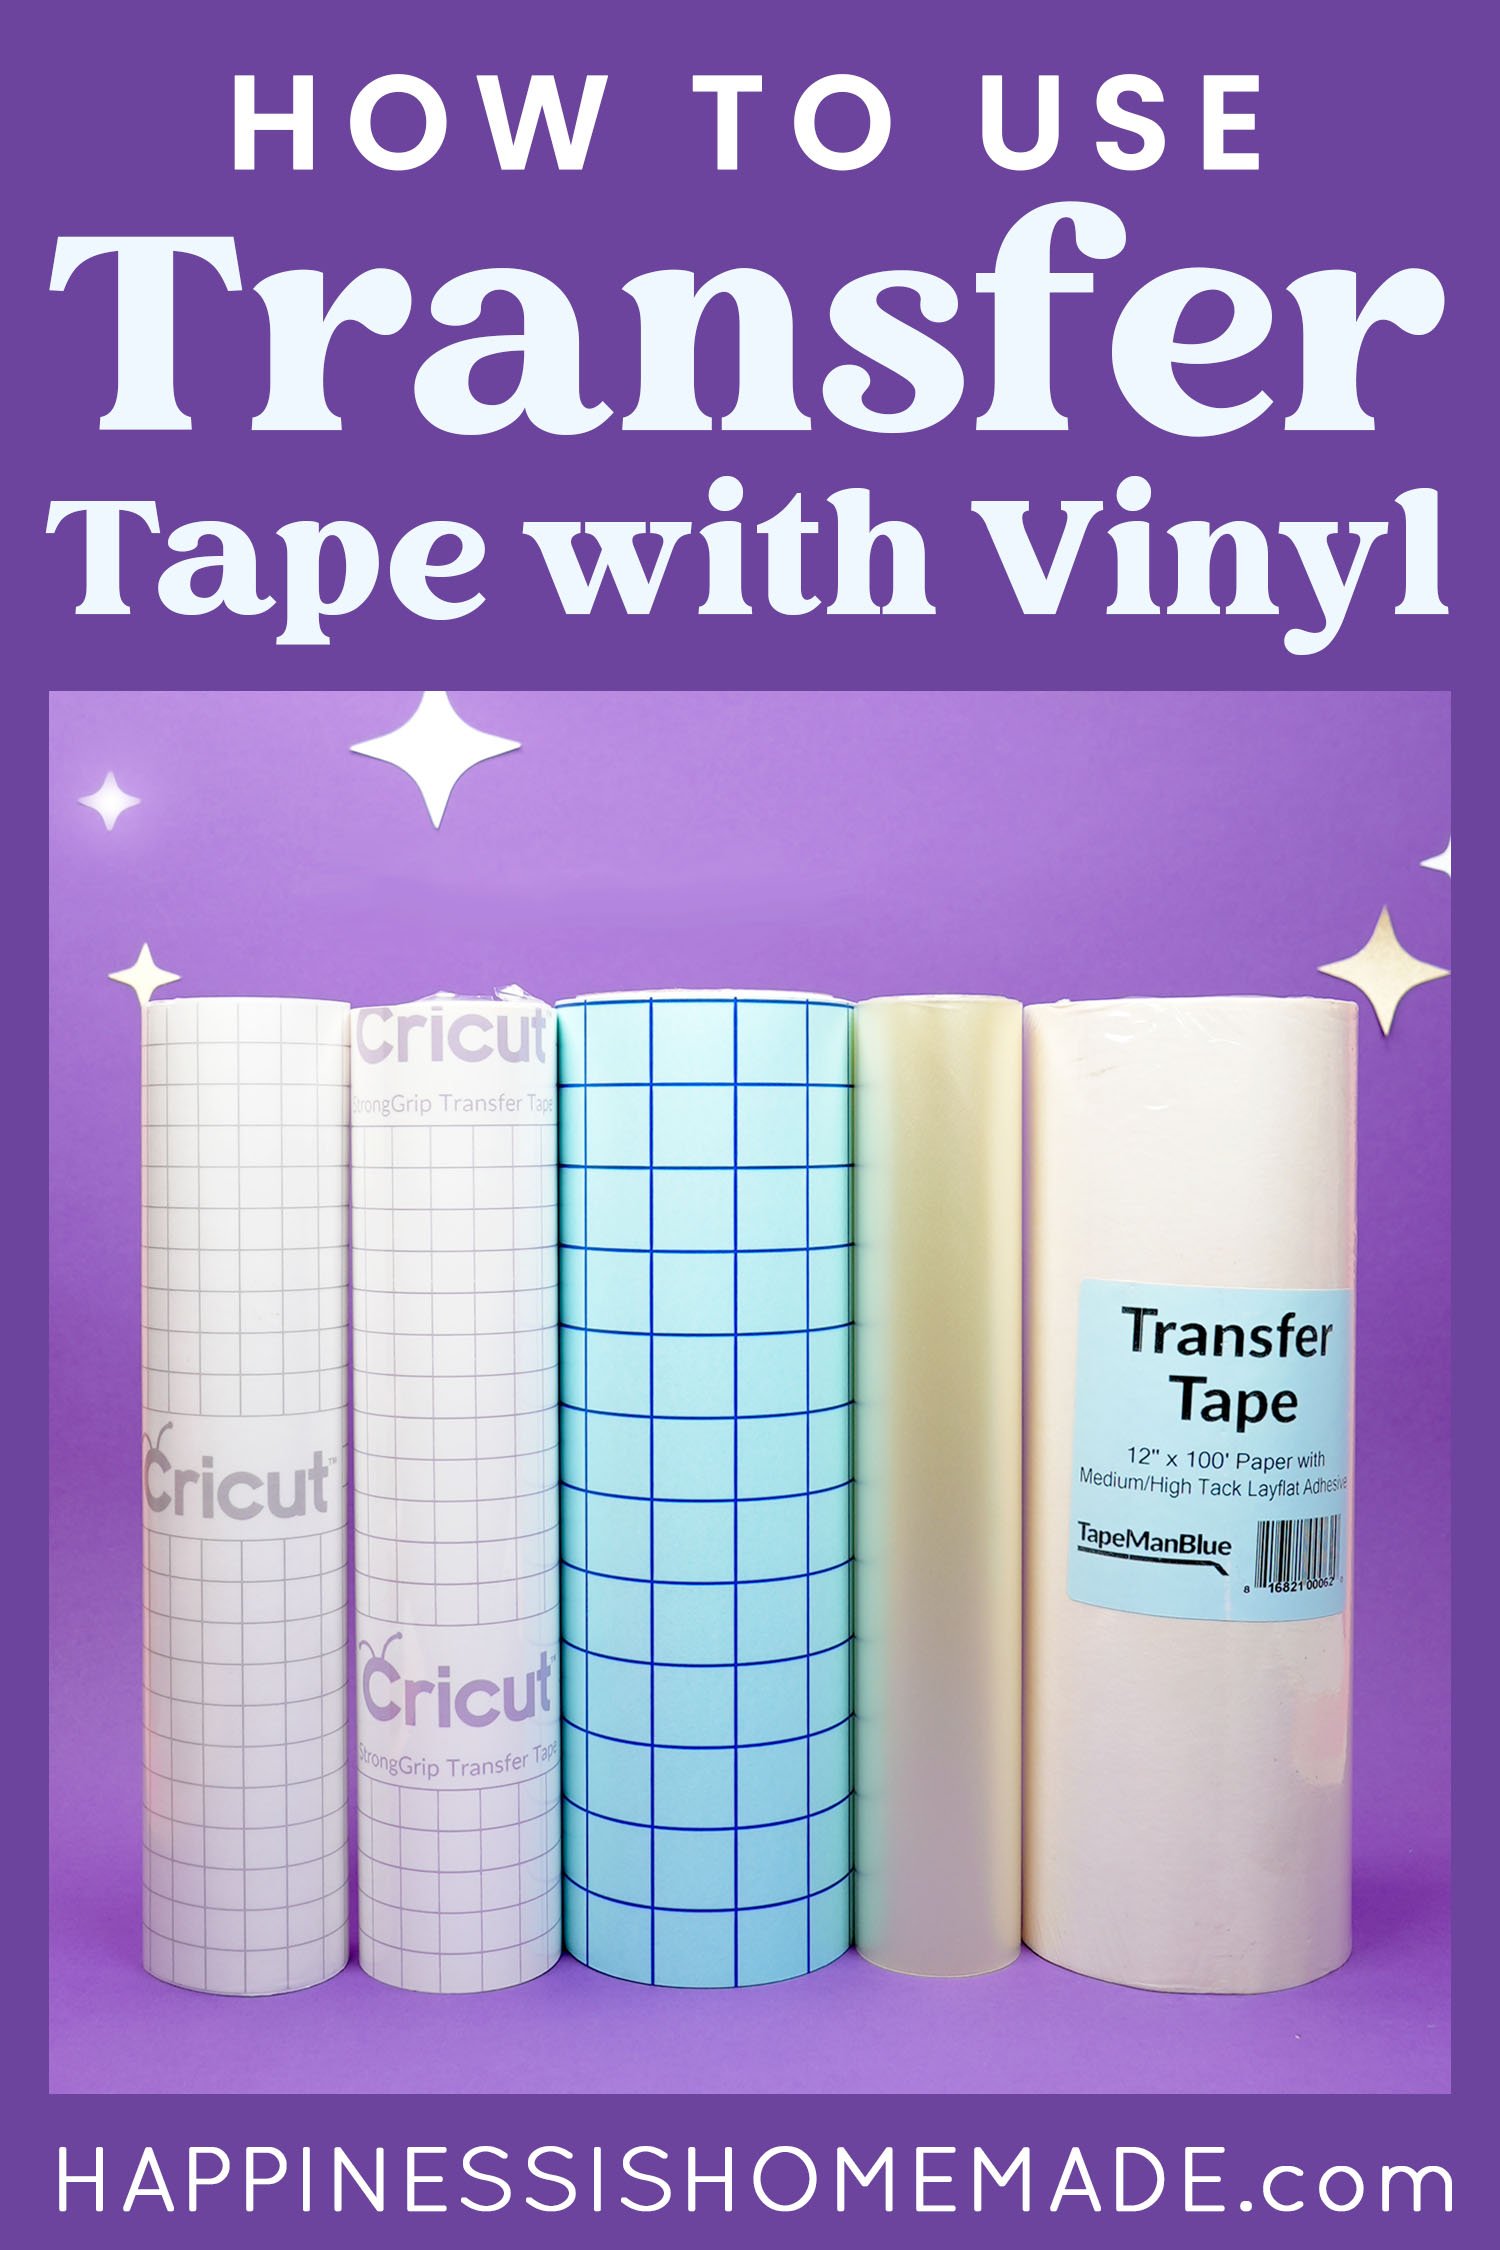
Transfer tape, sometimes called transfer paper, is a type of clear or translucent sticky material that comes either rolled up or as flat sheets. Its main purpose is to help move designs or decals made of adhesive vinyl onto a crafting surface. By using transfer tape, you can place and align the vinyl exactly where you want it, ensuring the design transfers cleanly and sticks firmly without twisting, wrinkling, or forming bubbles.
Transfer tape comes in various forms, including the standard clear type, paper-based tape, strong-grip for heavier applications, and even options for textured surfaces. Many transfer tapes feature a grid pattern to aid in accurately placing your design.
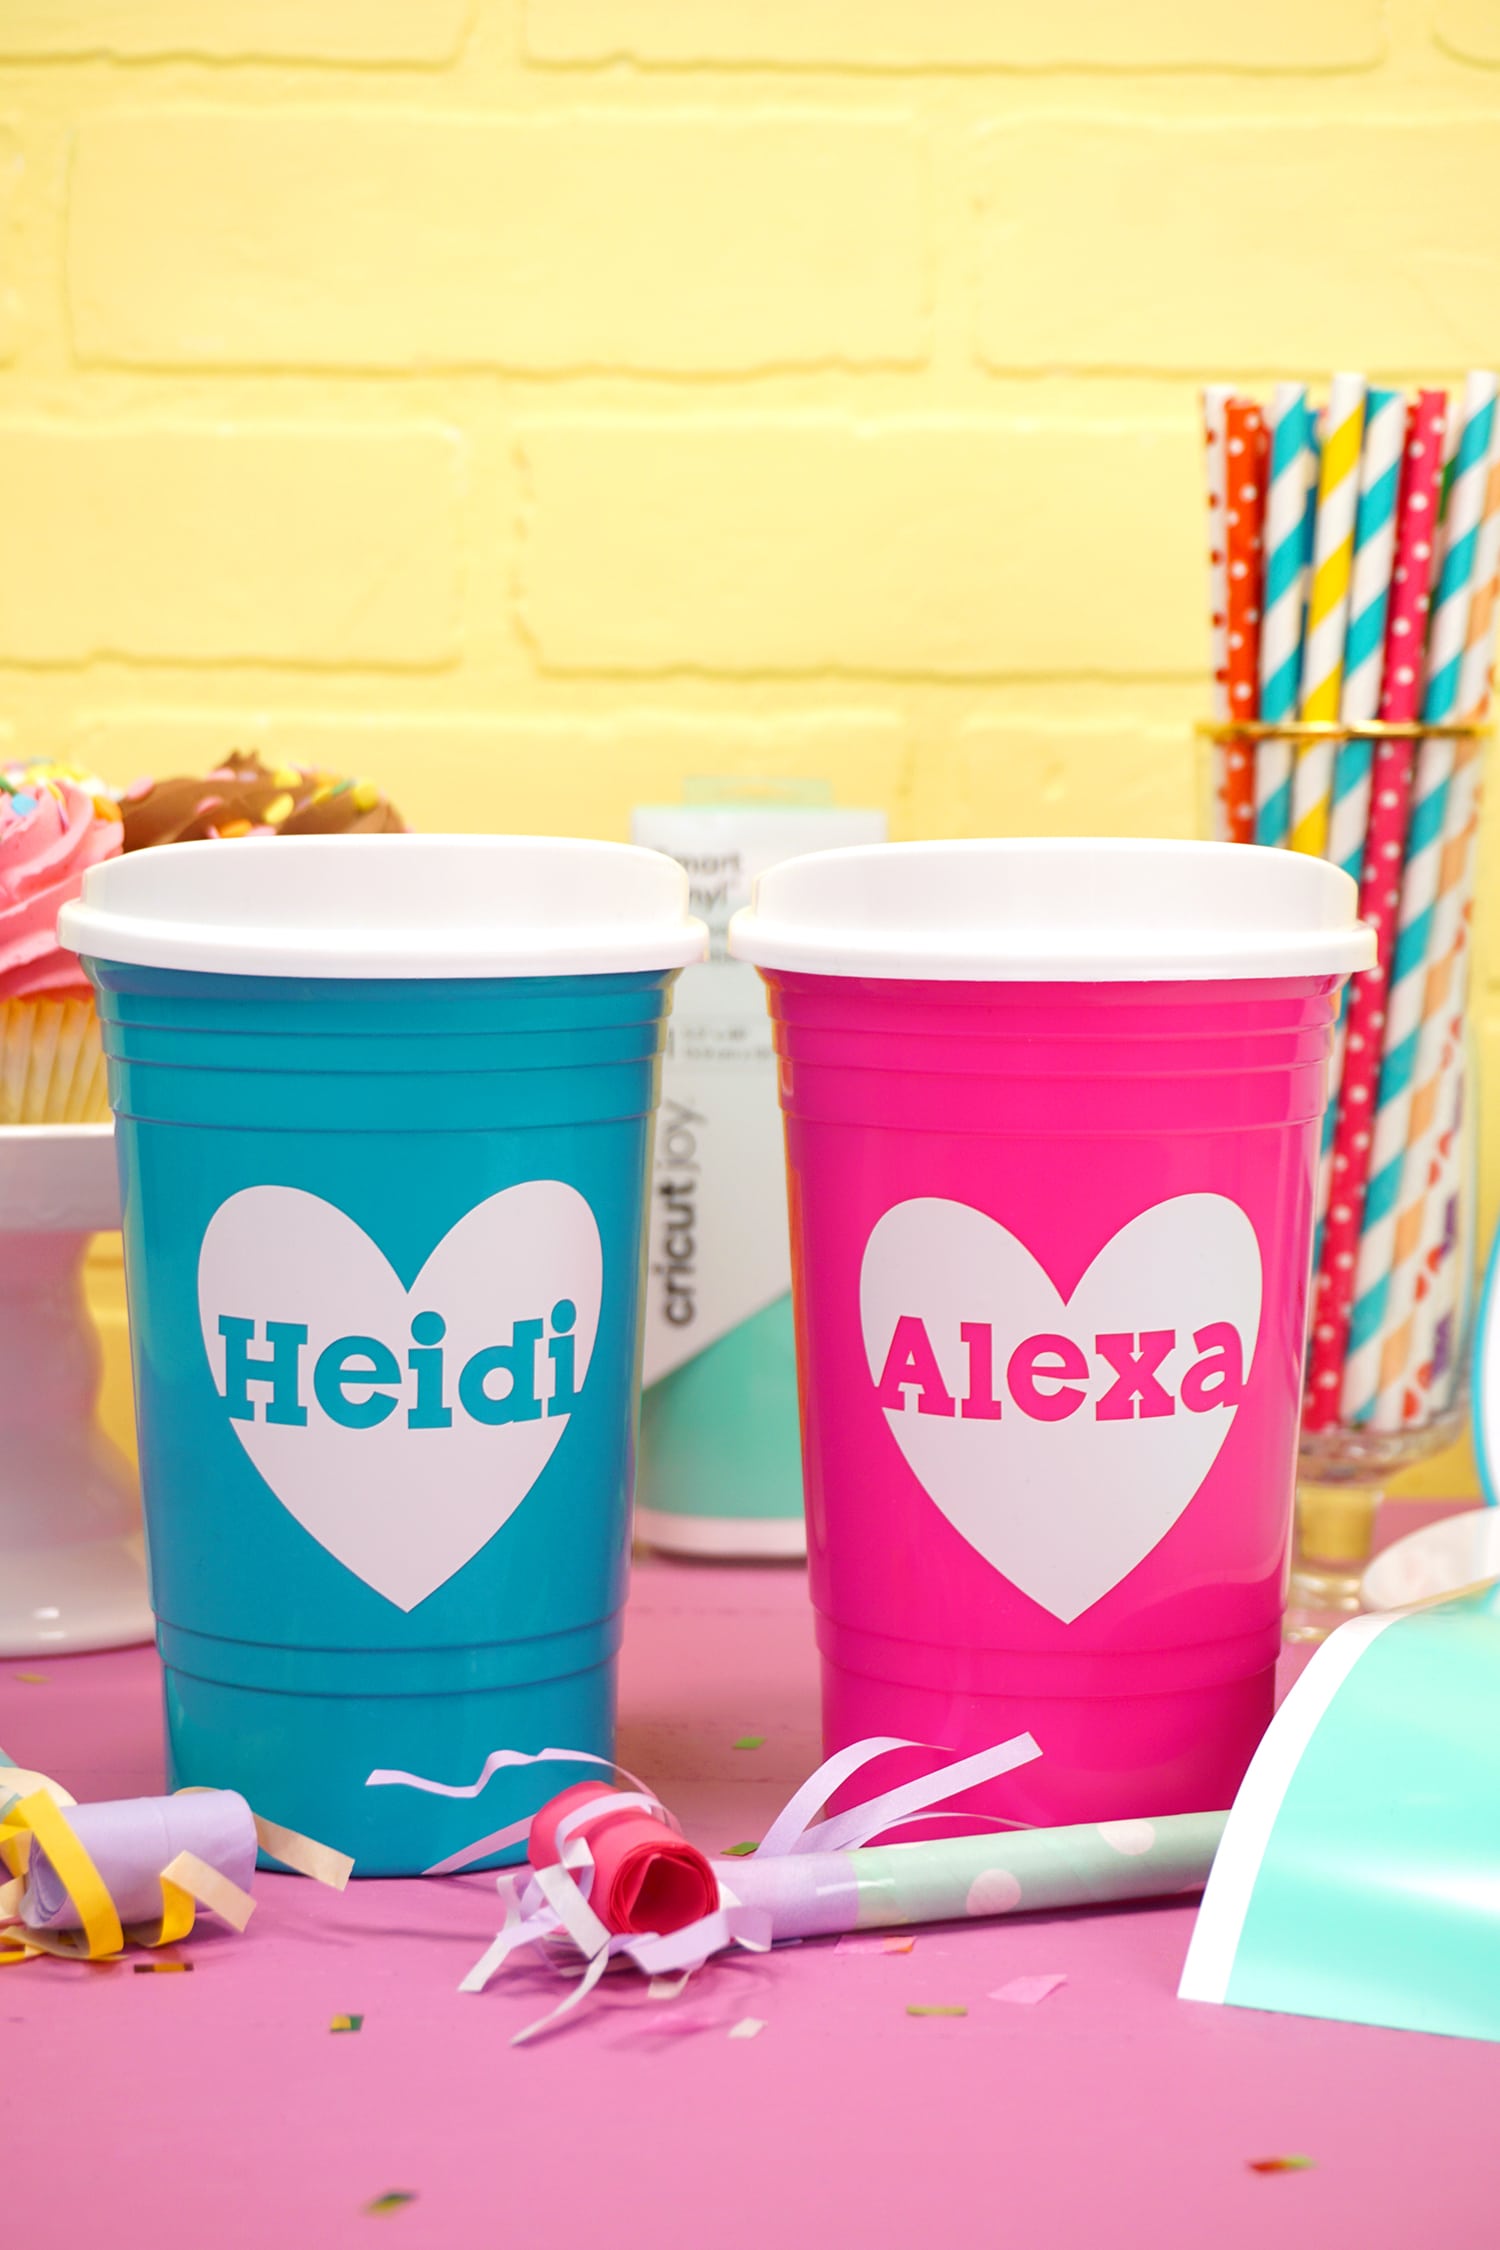
The choice of transfer tape depends largely on the vinyl you’re working with. For the project we’re discussing today, I’m using Oracal 651 Permanent Vinyl paired with Cricut Transfer Tape. However, my personal favorite for general use is what many crafters affectionately call “the blue tape,” officially known as Craftopia brand tape.
Benefits of Using Transfer Tape:
Precision: Meticulously apply intricate designs with ease!
Reusable: Transfer tape can be reused for several projects, so it’s very cost-effective!
Professional Finish: Using transfer tape will ensure that you get the very best results with your vinyl crafts!
Transfer Tape Supplies:
In addition to transfer tape, you’ll need the following supplies to create this example project.
NOTE:
In this tutorial, I alternate between using black and white vinyl. This is due to the fact that the white vinyl tends to blend in with the white backing paper, making it difficult to see on camera. Swapping out the vinyl colors ensures that you can easily follow each step and clearly see the details! 😊
How to Use Transfer Tape
Using transfer tape for vinyl projects is super easy once you know how! It only takes a few simple steps to quickly and professionally transfer your vinyl design to your surface.
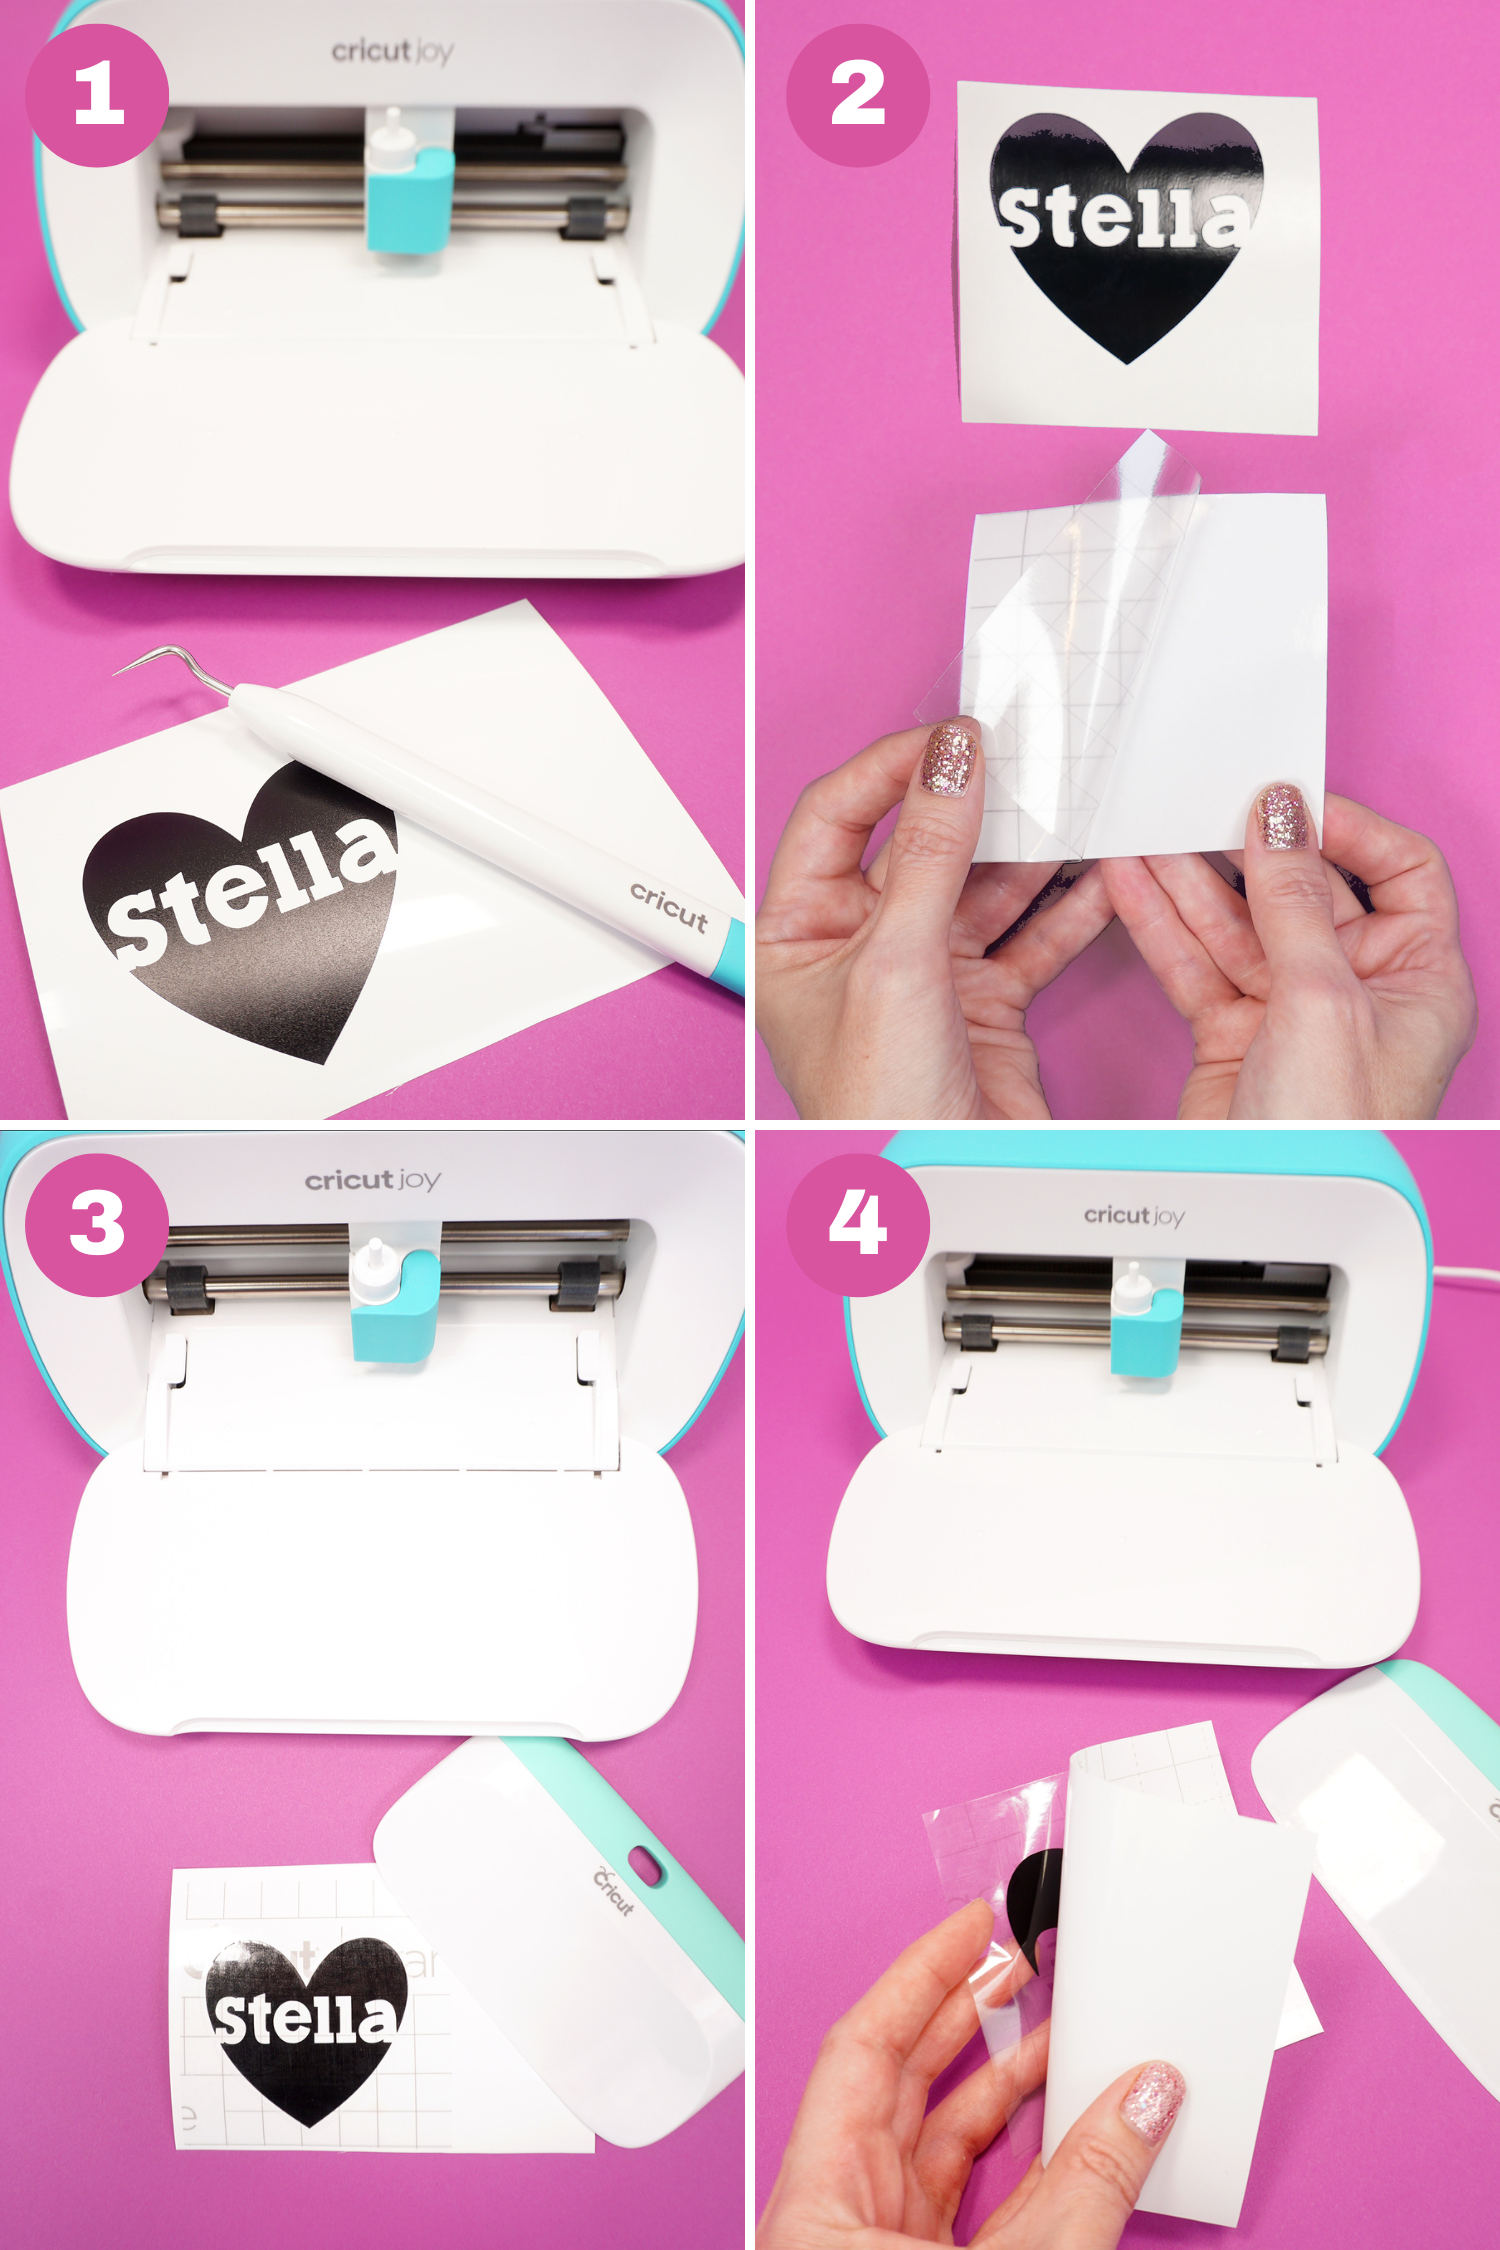
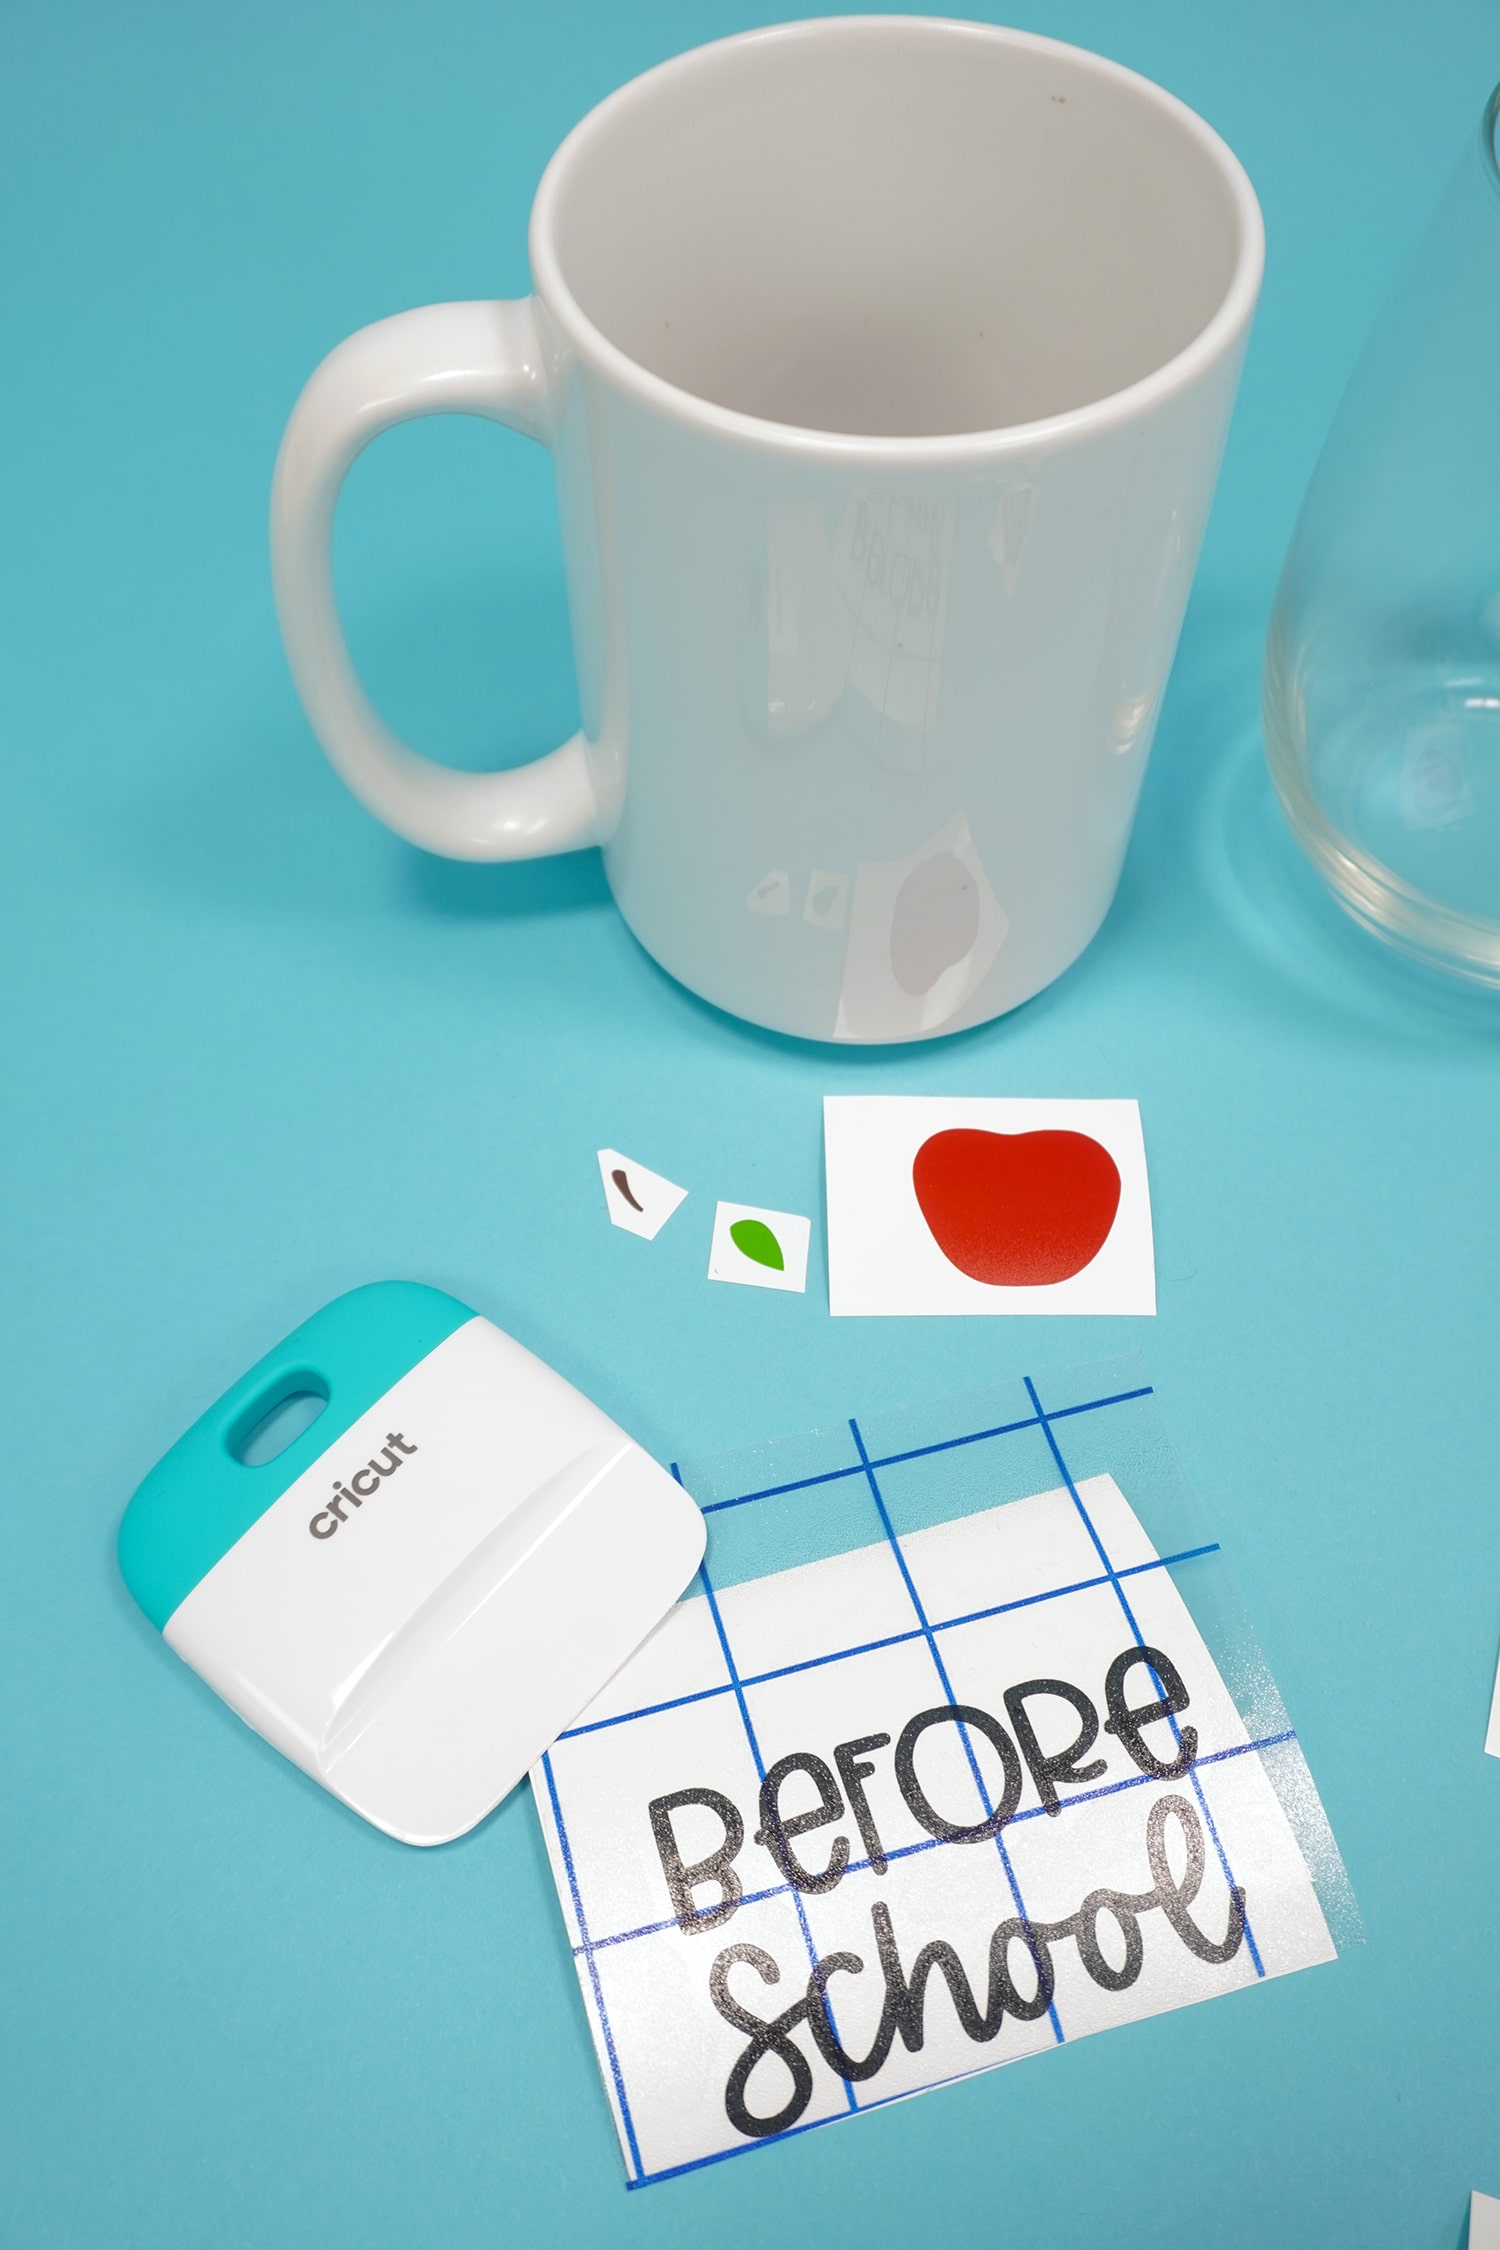
- Step 1 – Use your cutting machine to cut the design from adhesive vinyl, and use your weeding tools to remove the excess vinyl from the negative space.
- Step 2 – Use scissors to cut a piece of transfer tape that is slightly larger than your vinyl design. Remove the transfer tape from the paper backing (save the backing for later!).
- Step 3 – Place the transfer tape on top of the vinyl design, and use the scraper tool to gently burnish the surface.
- Step 4 – Peel the paper backing away, leaving the vinyl stuck to the transfer tape.
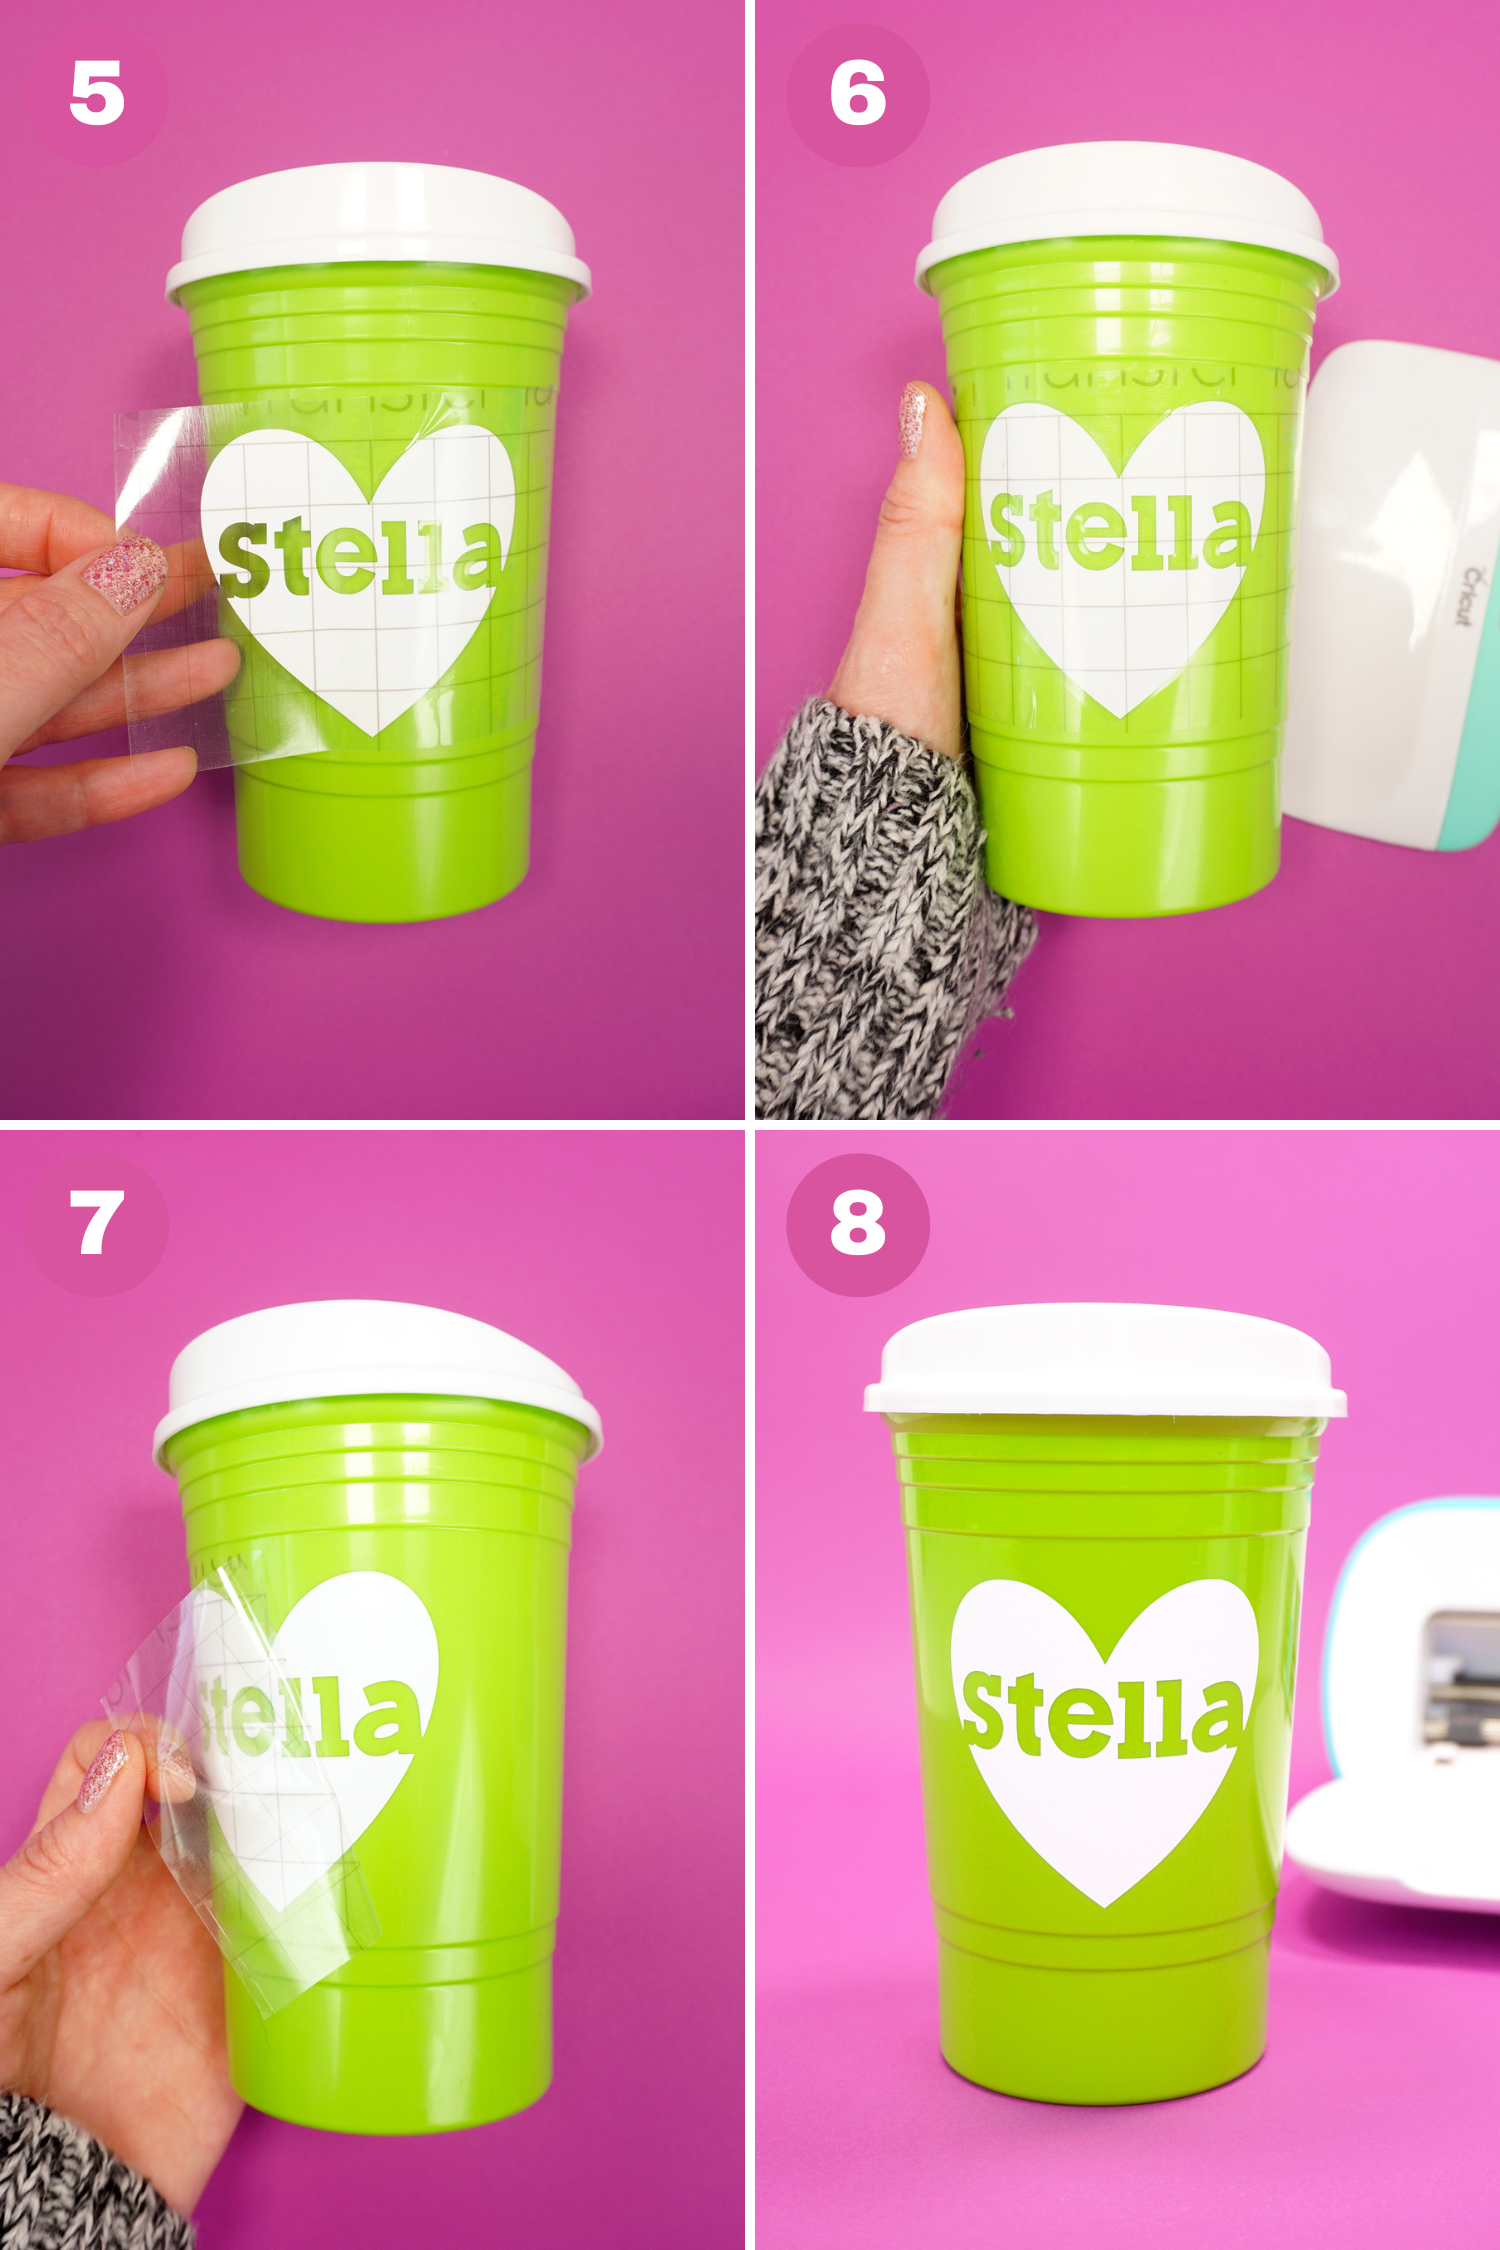
- Step 5 – Carefully position your vinyl design onto your crafting surface.
- Step 6 – Burnish the design lightly with your fingers, and then use the scraper tool to smooth out the design and ensure that it is firmly adhered to the surface.
- Step 7 – Carefully peel off the transfer tape. You can now place this piece of transfer tape back on the backing paper and save it for future use.
- Step 8 – Enjoy your finished project!
PRO TIP!
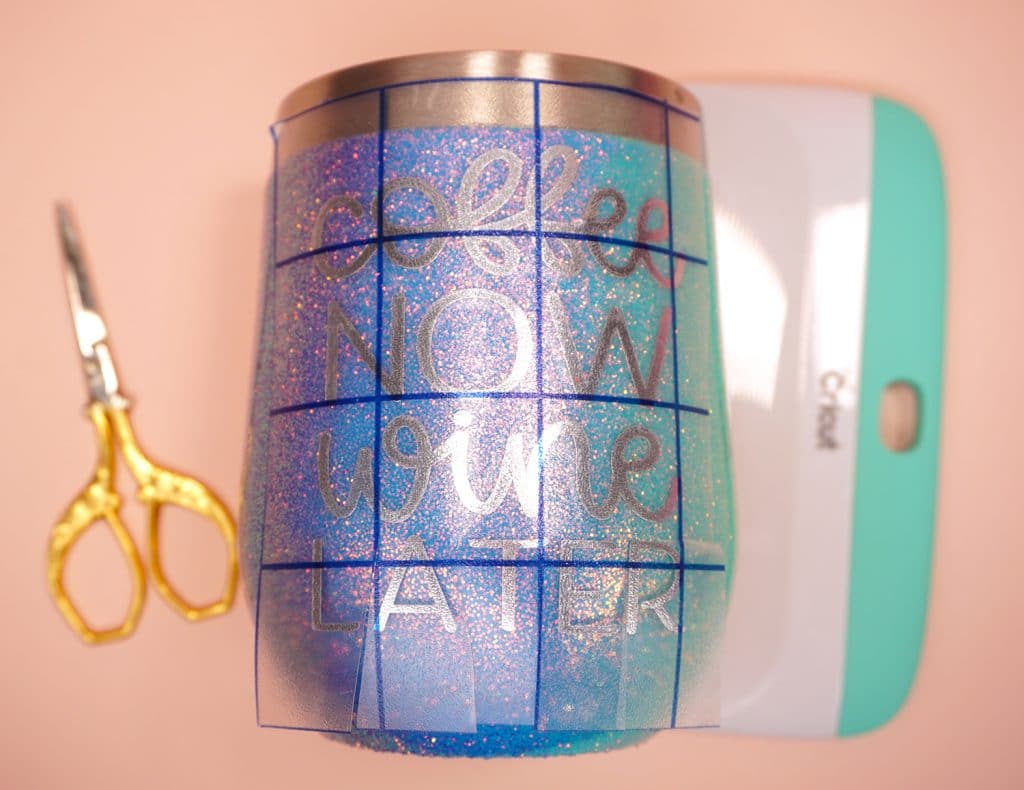
For easier application of vinyl on curved surfaces, gently cut small slits around the edges of the transfer tape before placing it onto your object. This allows the transfer tape to bend and conform smoothly to the surface for better application results.
Transfer Tape FAQs
Alternatives to Transfer Tape
I always recommend that you use transfer tape with your vinyl projects, but in a pinch, if you don’t have any transfer tape on hand, you can try using one of the following materials instead:
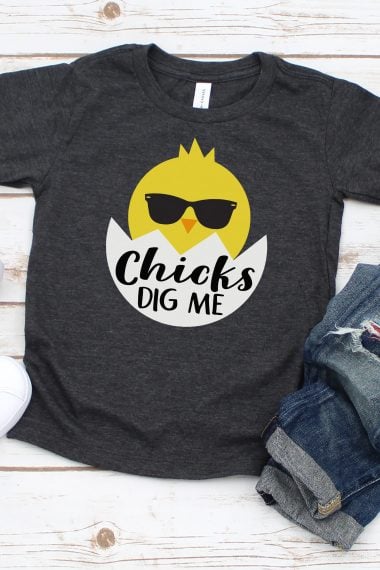
More Great Vinyl Tutorials for You
- How to Use Iron-On Vinyl on Wood – open up even more crafting possibilities!
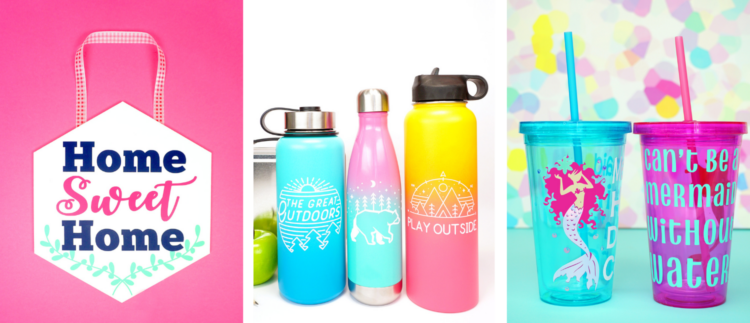
- How to Make Custom Water Bottles with Cricut – use your new vinyl and transfer tape skills for this fun project!
- How to Curve Text for Tumblers in Design Space – learn how to curve text for tapered tumblers!
If you have any questions about how to use transfer tape or have any comments, please leave them below – I’m always happy to help! 😊
How to Use Transfer Tape with Vinyl
Equipment:
- Scissors
- Scraper Tool
- Weeding Tools
What You’ll Need:
- Adhesive Vinyl Design
- Transfer Tape
Instructions:
- Use your cutting machine to cut the design from adhesive vinyl, and use your weeding tools to remove the excess vinyl from the negative space.
- Use scissors to cut a piece of transfer tape that is slightly larger than your vinyl design. Remove the transfer tape from the paper backing (save the backing for later!).
- Place the transfer tape on top of the vinyl design, and use the scraper tool to gently burnish the surface.
- Peel the paper backing away, leaving the vinyl stuck to the transfer tape.
- Carefully position your vinyl design onto your crafting surface.
- Burnish the design lightly with your fingers, and then use the scraper tool to smooth out the design and ensure that it is firmly adhered to the surface.
- Carefully peel off the transfer tape. You can now place this piece of transfer tape back on the backing paper and save it for future use.
- Enjoy your finished vinyl project!
Notes:
You May Also Like:
 How to Use Transfer Tape with Vinyl
 16 Free Easter SVG Files
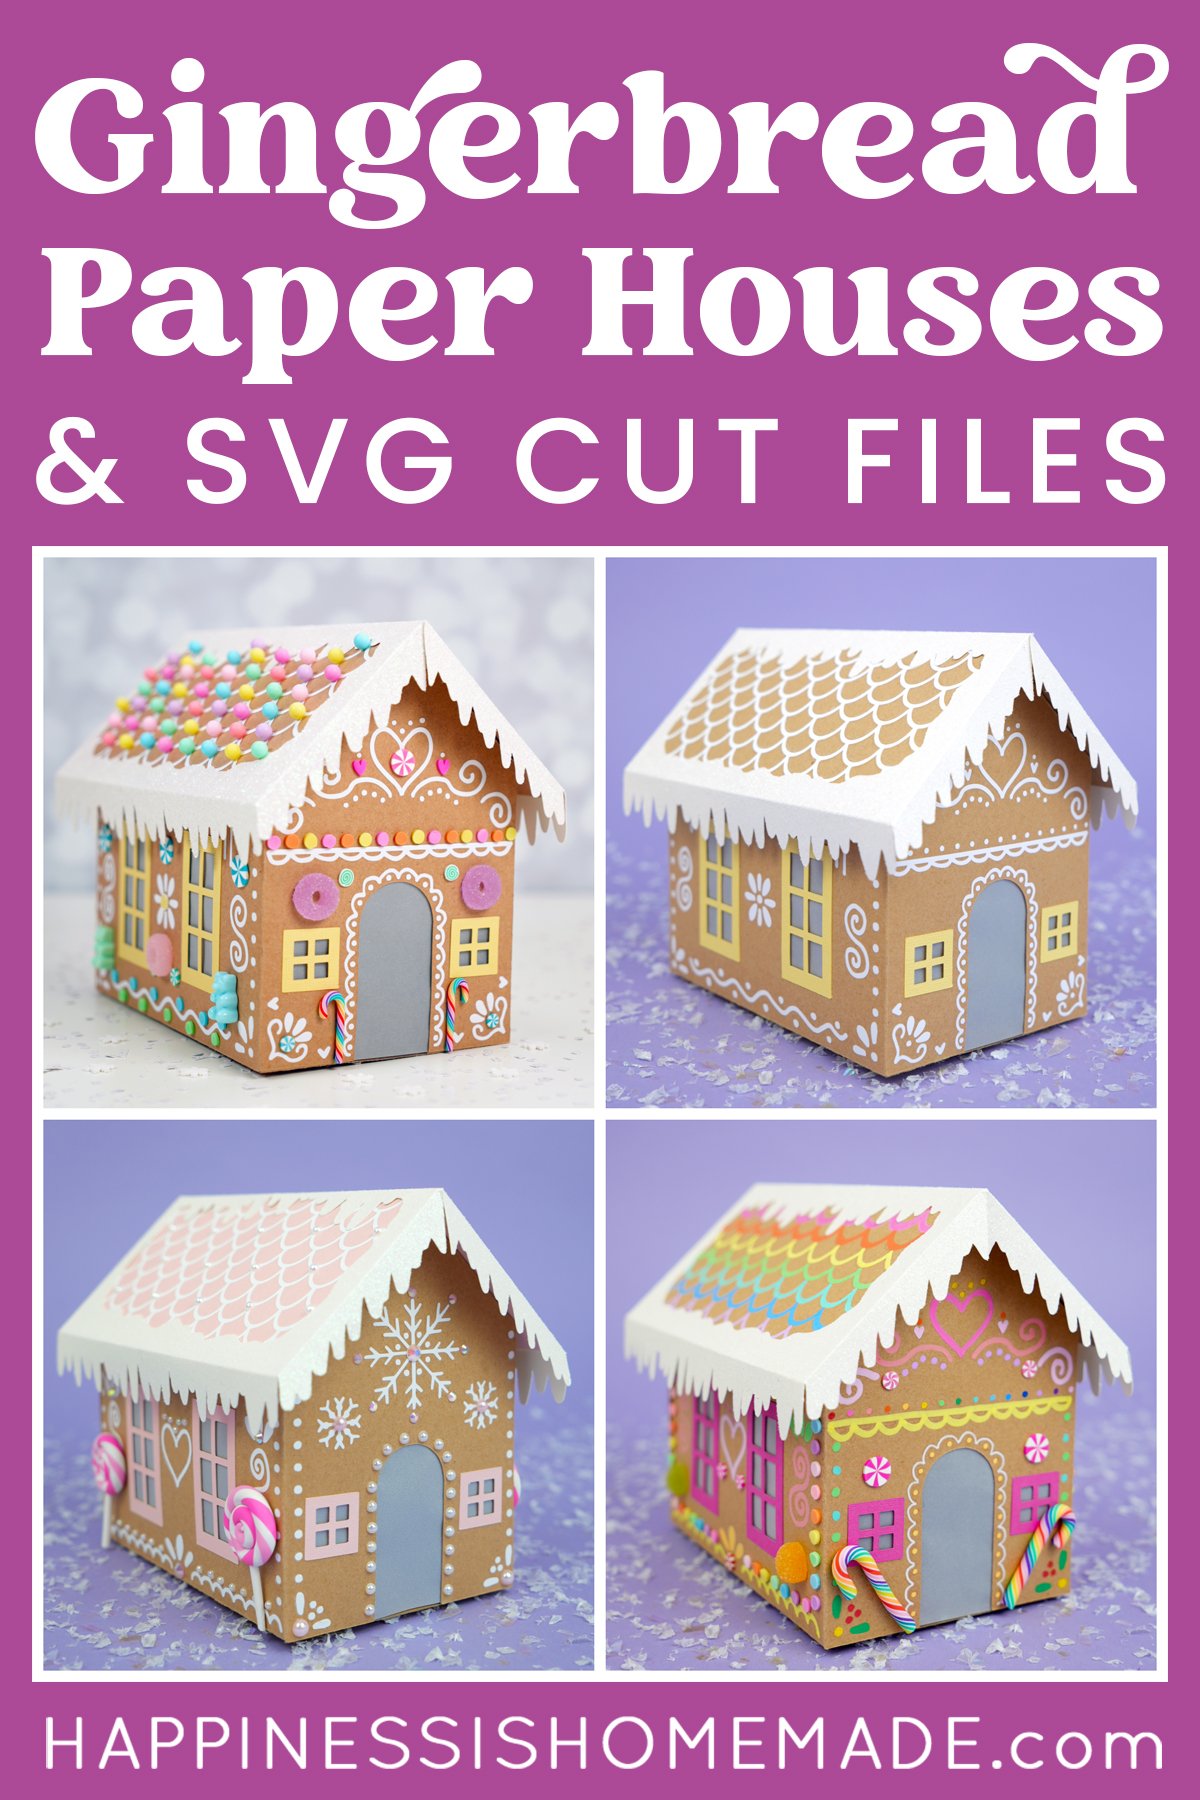
 Cardboard Gingerbread Houses + SVG Files
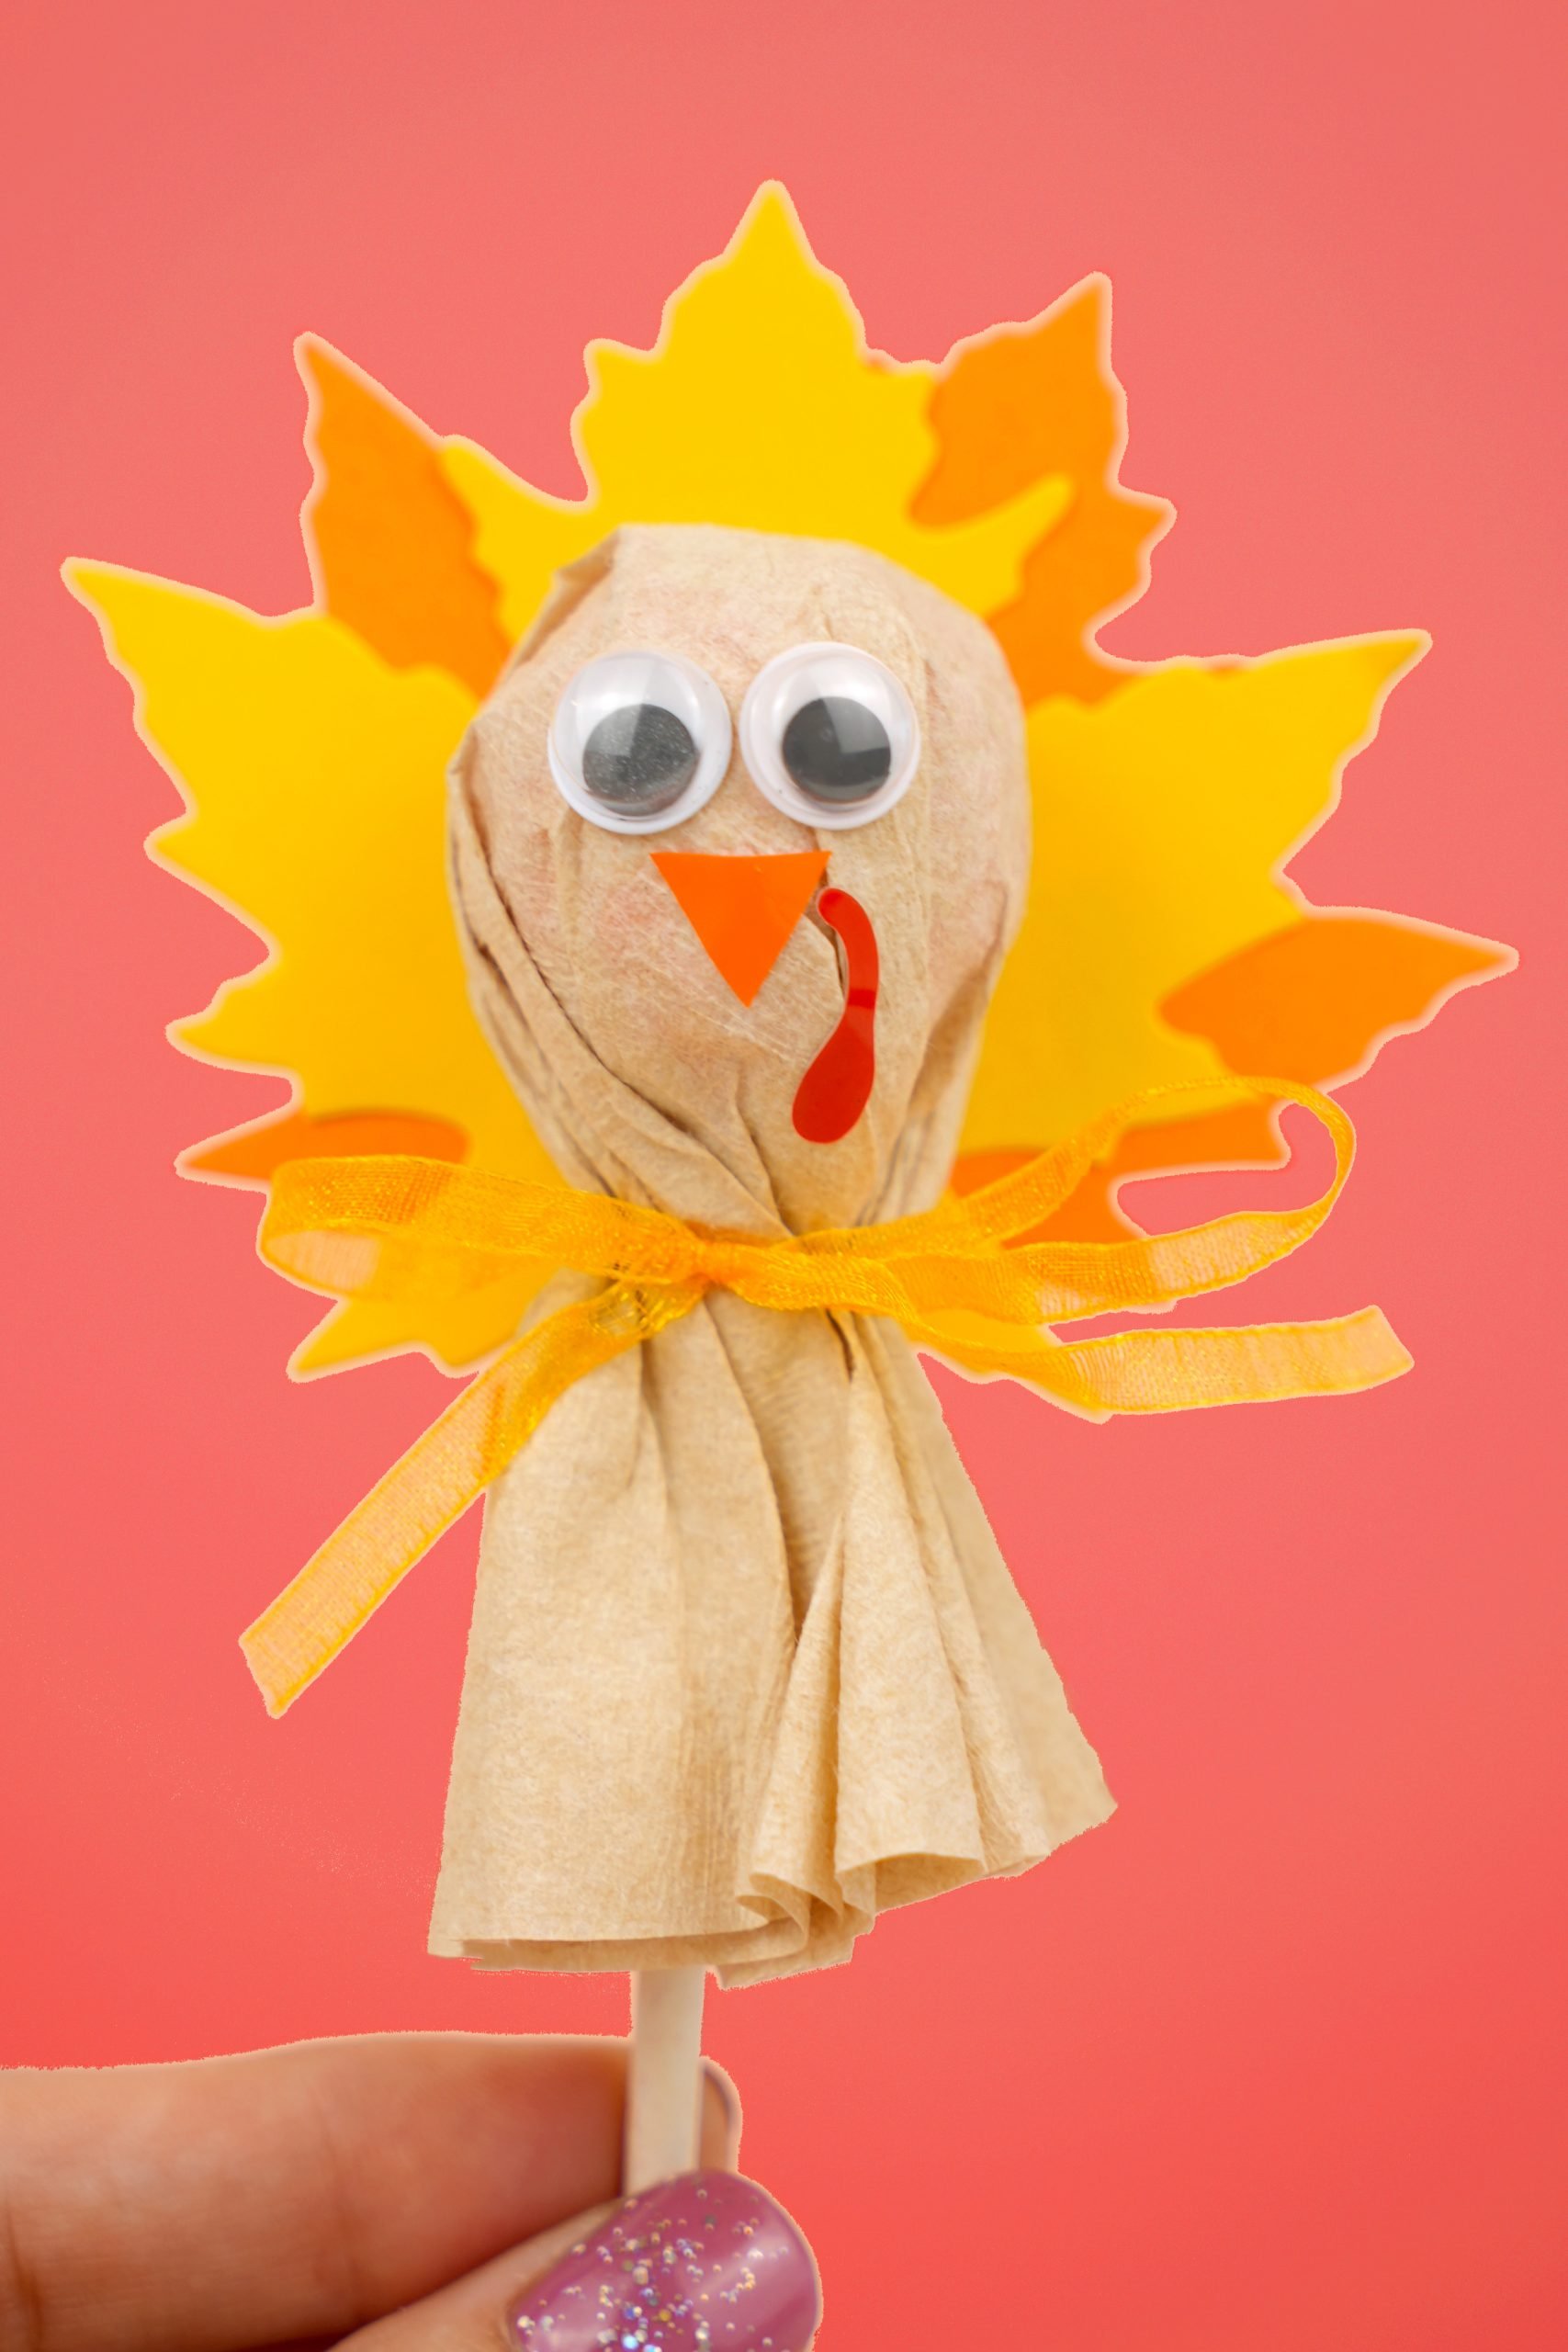
 Thanksgiving Treats: Turkey Lollipops
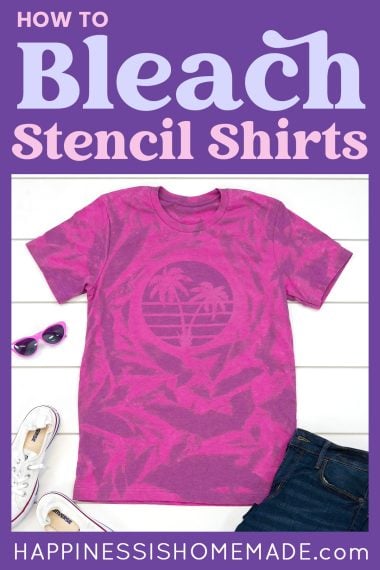
- How to Bleach Stencil Shirt Designs
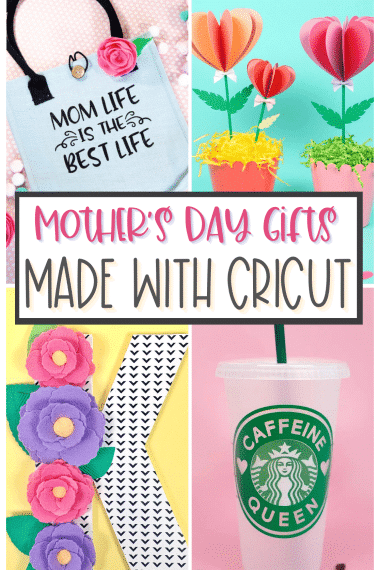
- 35+ Mother’s Day Cricut Craft Ideas
- How to Make a Piñata
 Free Christmas Countdown SVG +16 Christmas Cut Files


Heidi Kundin has captivated the hearts of millions with her colorful and inspiring approach to crafting, celebrations, and family fun. With over 15 years of experience, Happiness is Homemade has become a must-visit destination for those seeking quick and easy creative ideas and last-minute solutions. Heidi’s warm personality shines through her posts, inviting readers to join her on a creative journey that’s fun, rewarding, and achievable. Heidi is also the author of Homemade Bath Bombs & More and DIY Tie-Dye.