
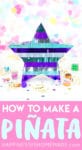
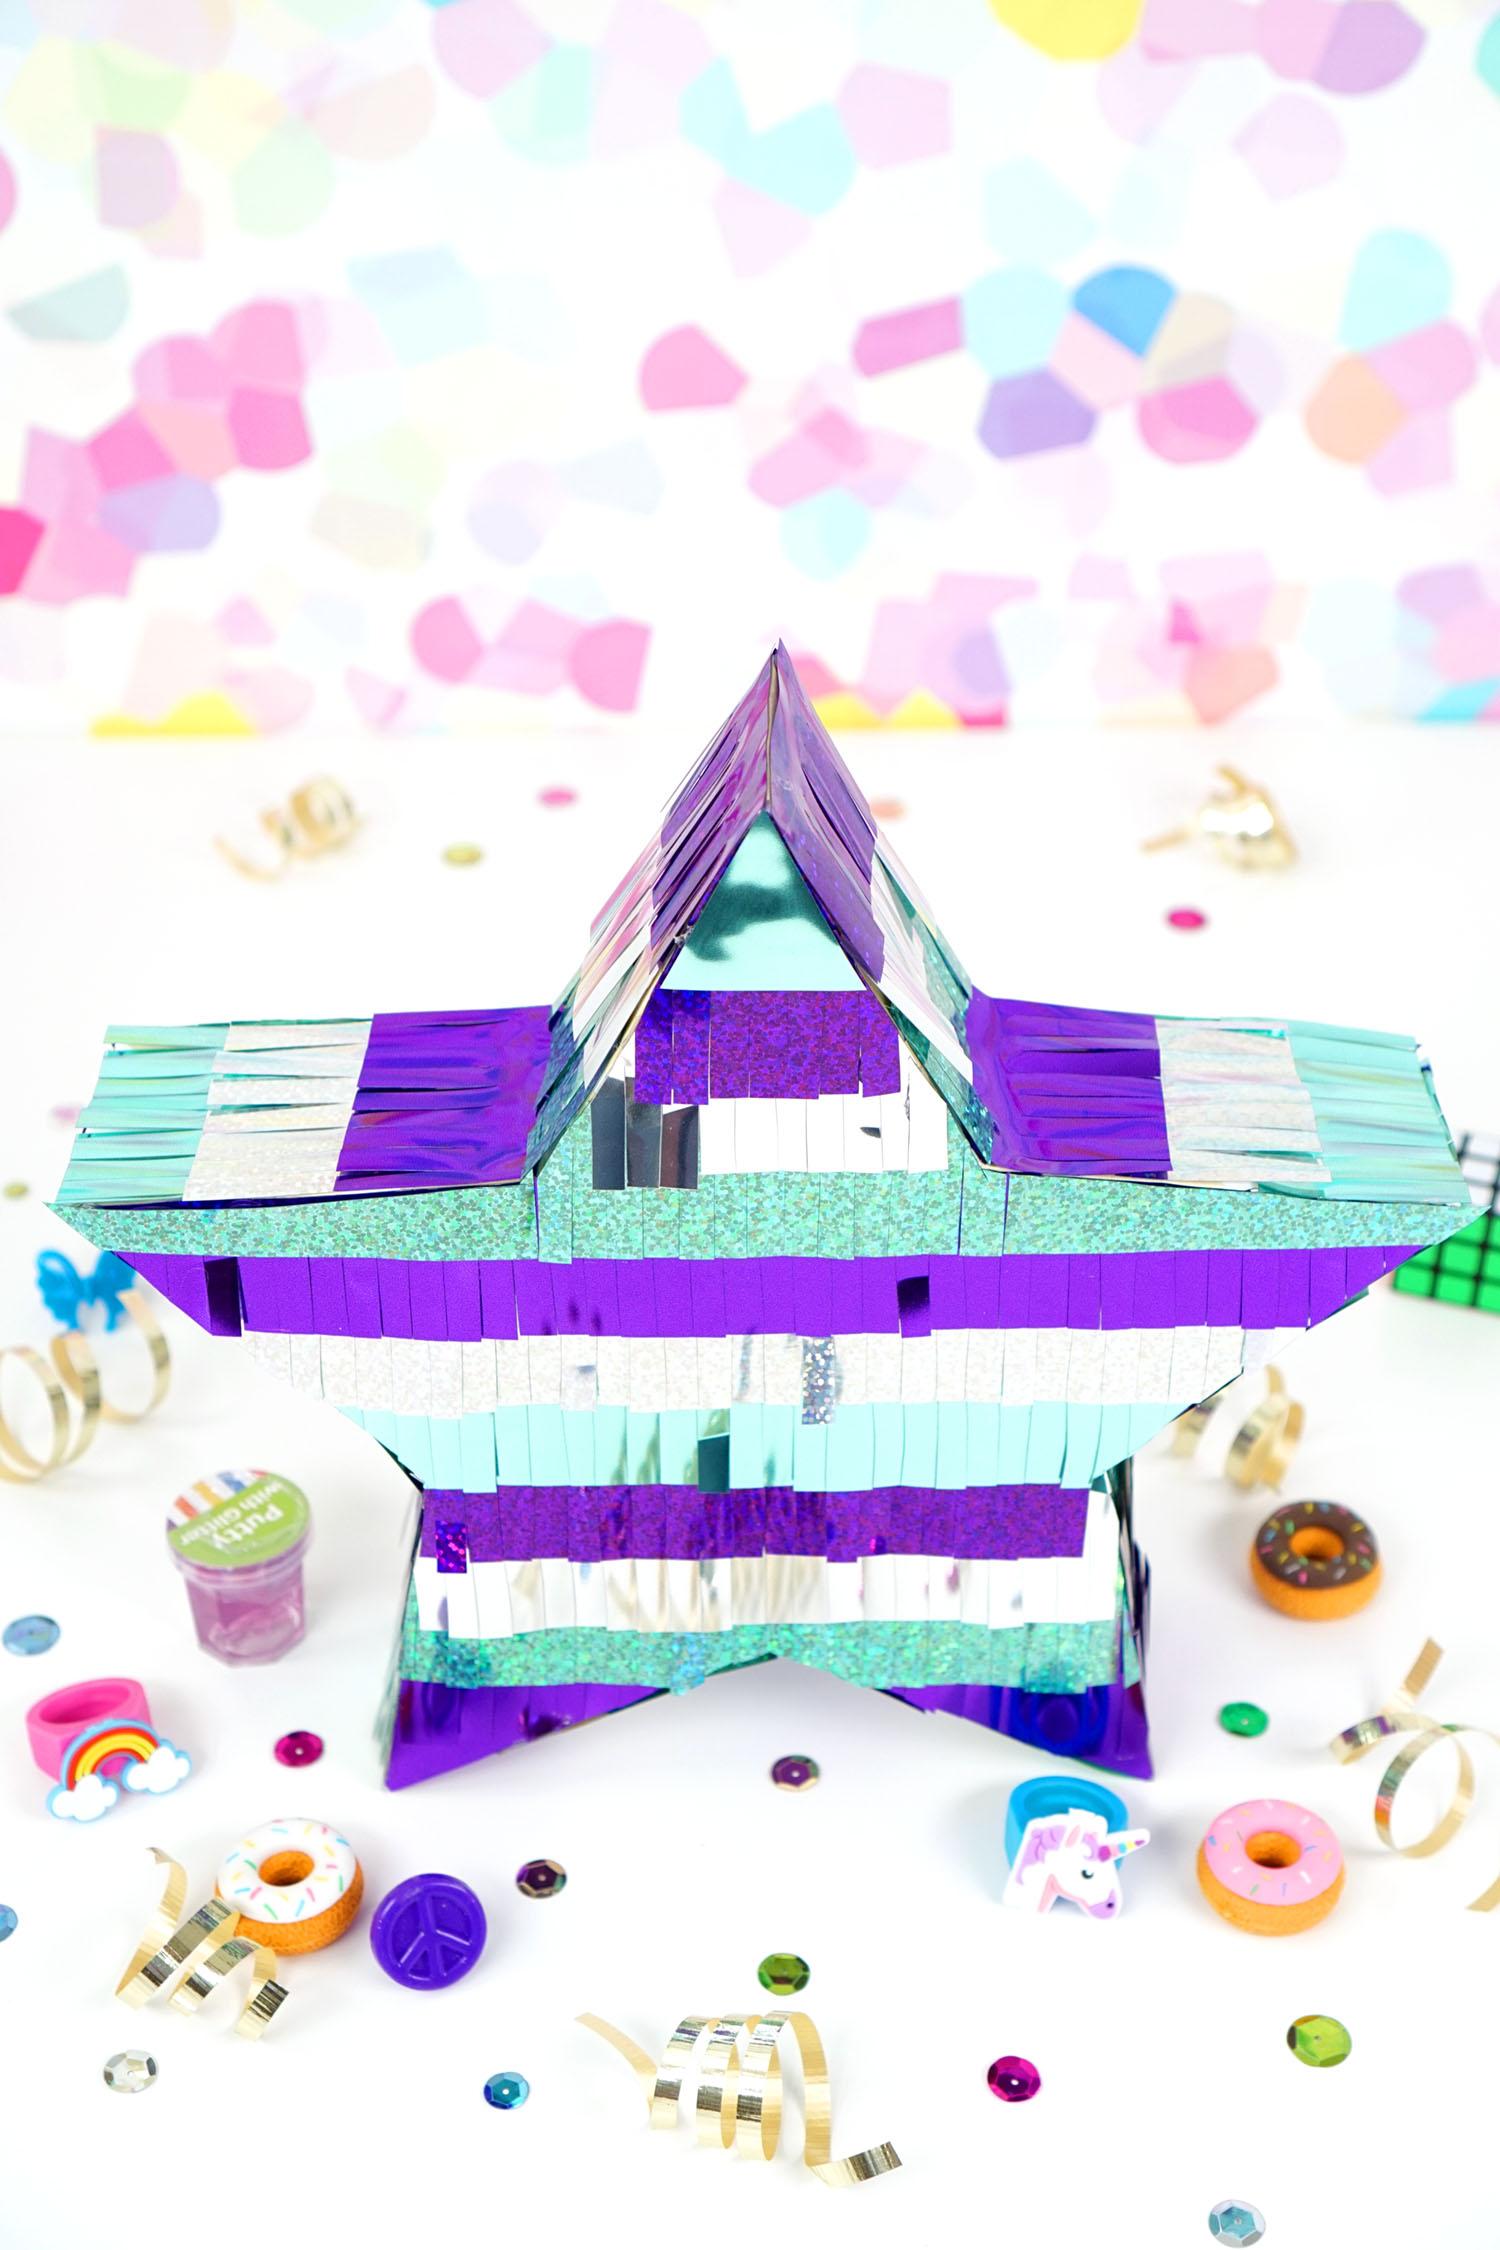
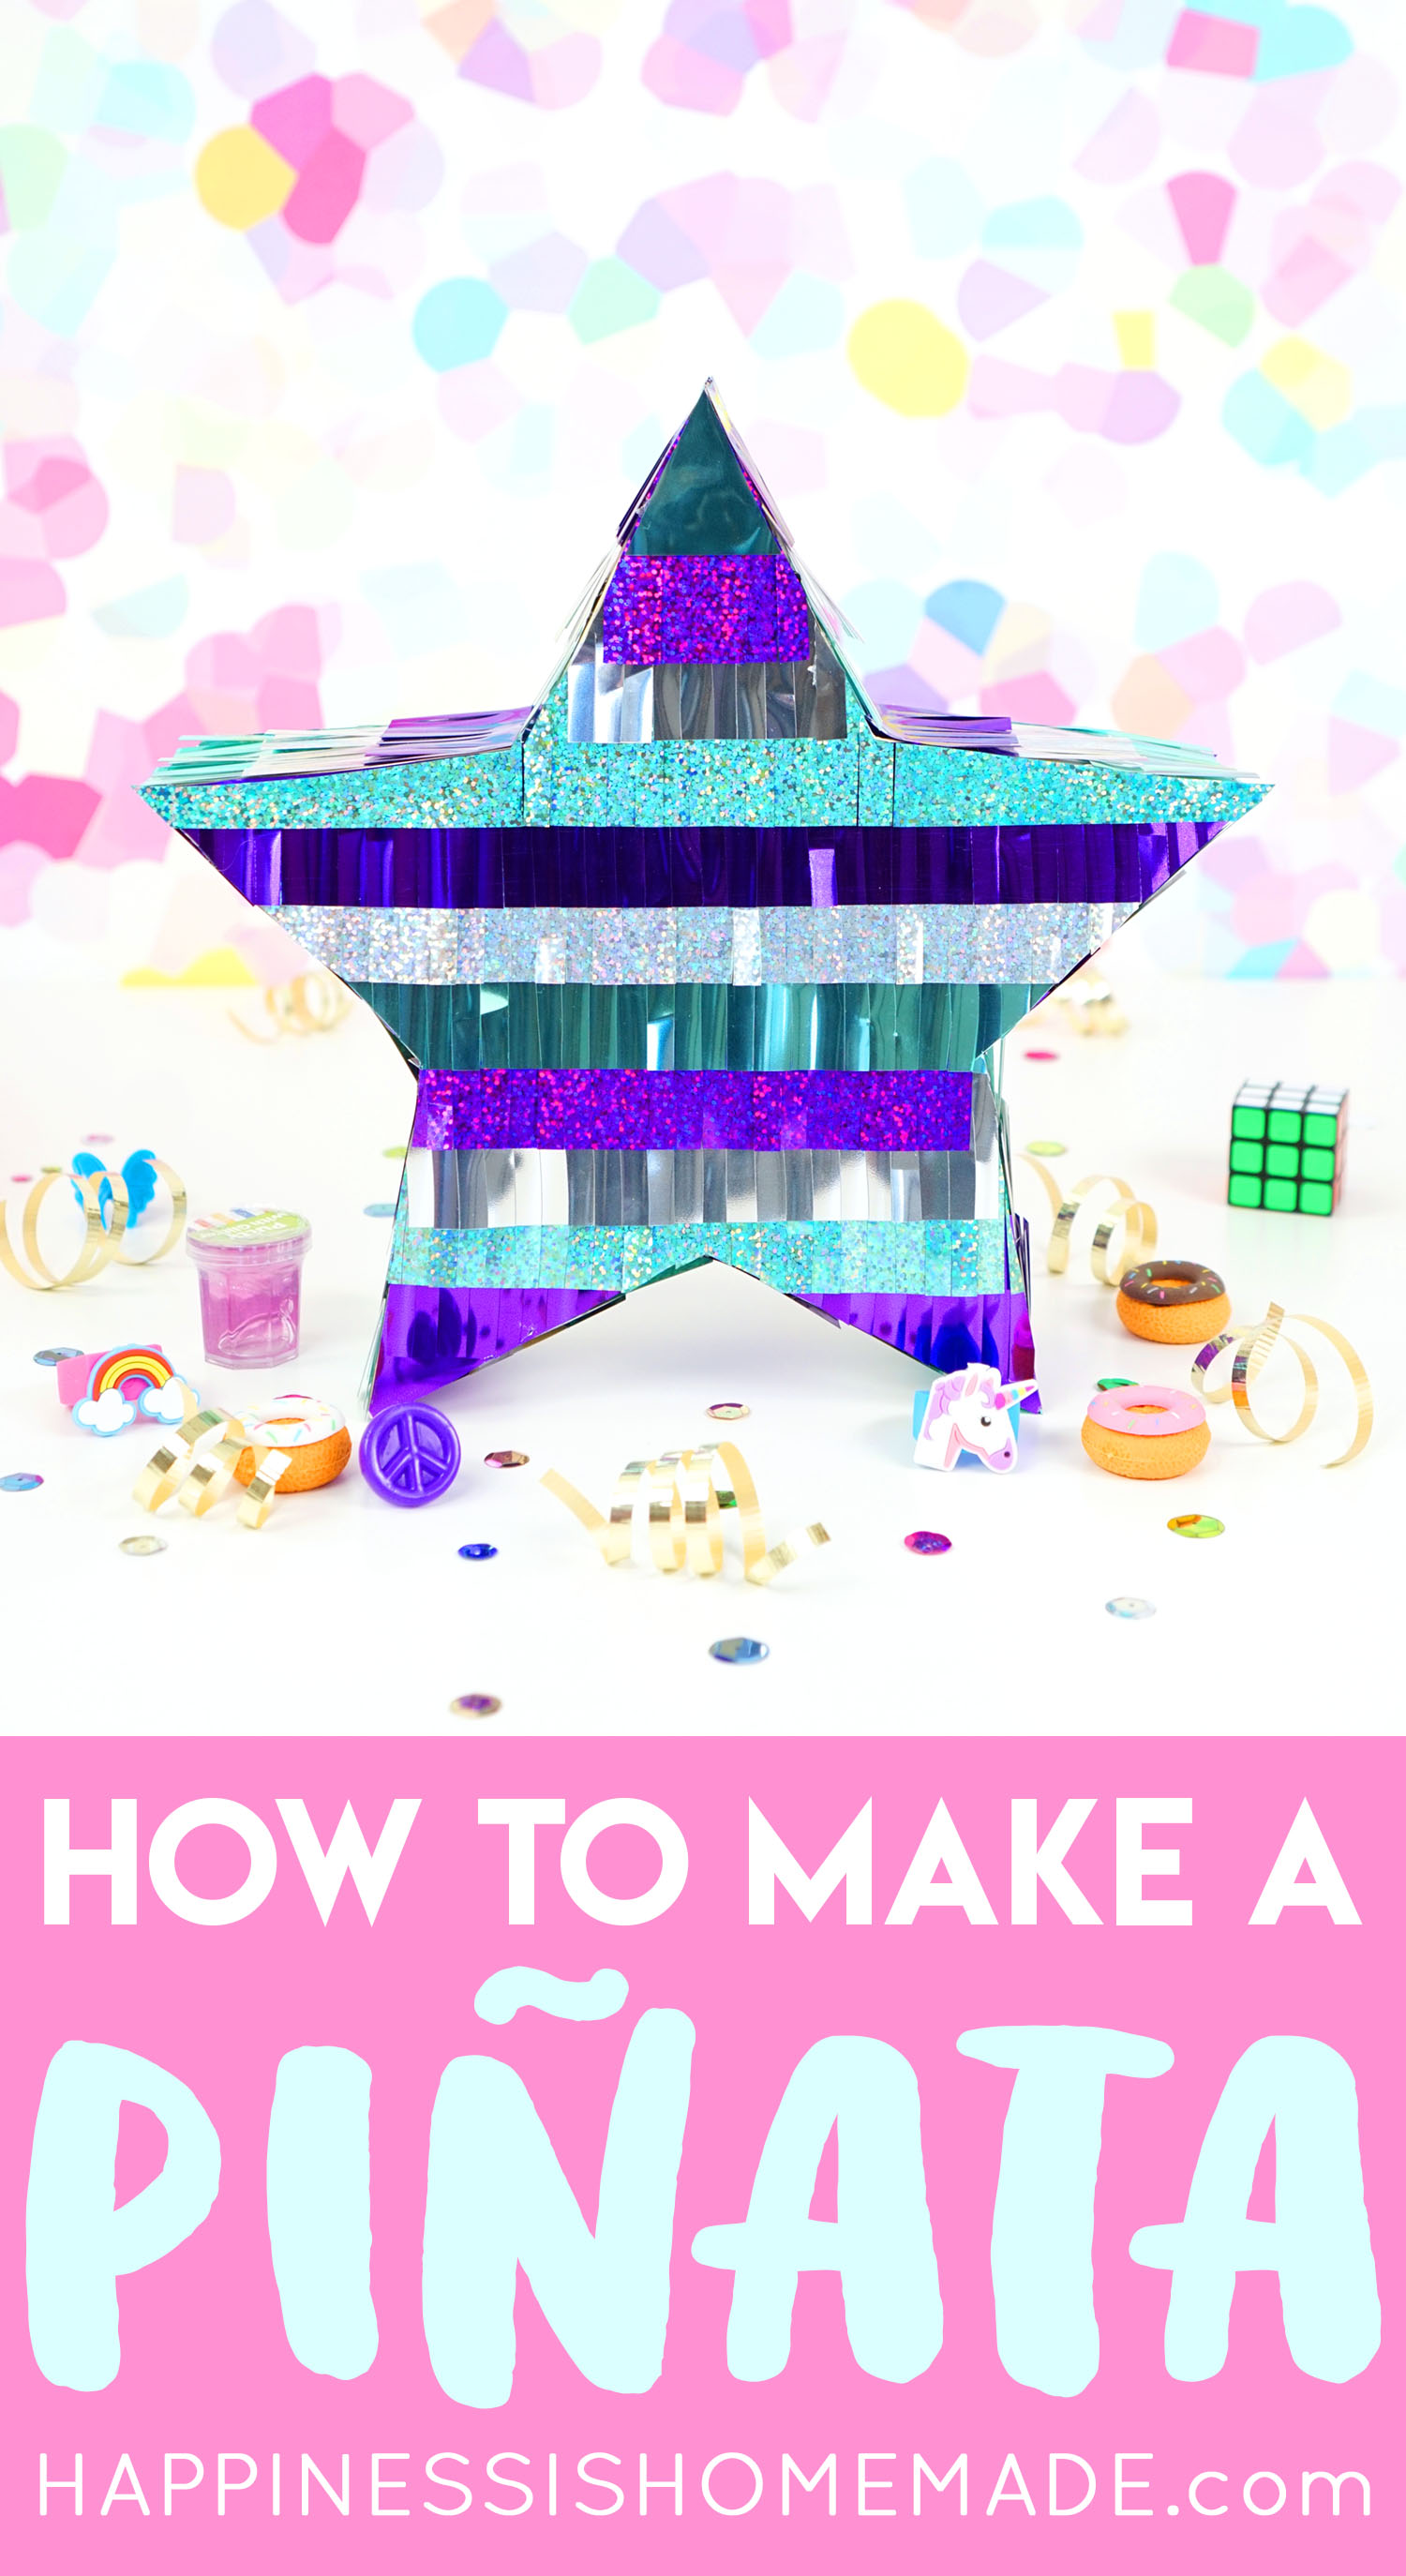
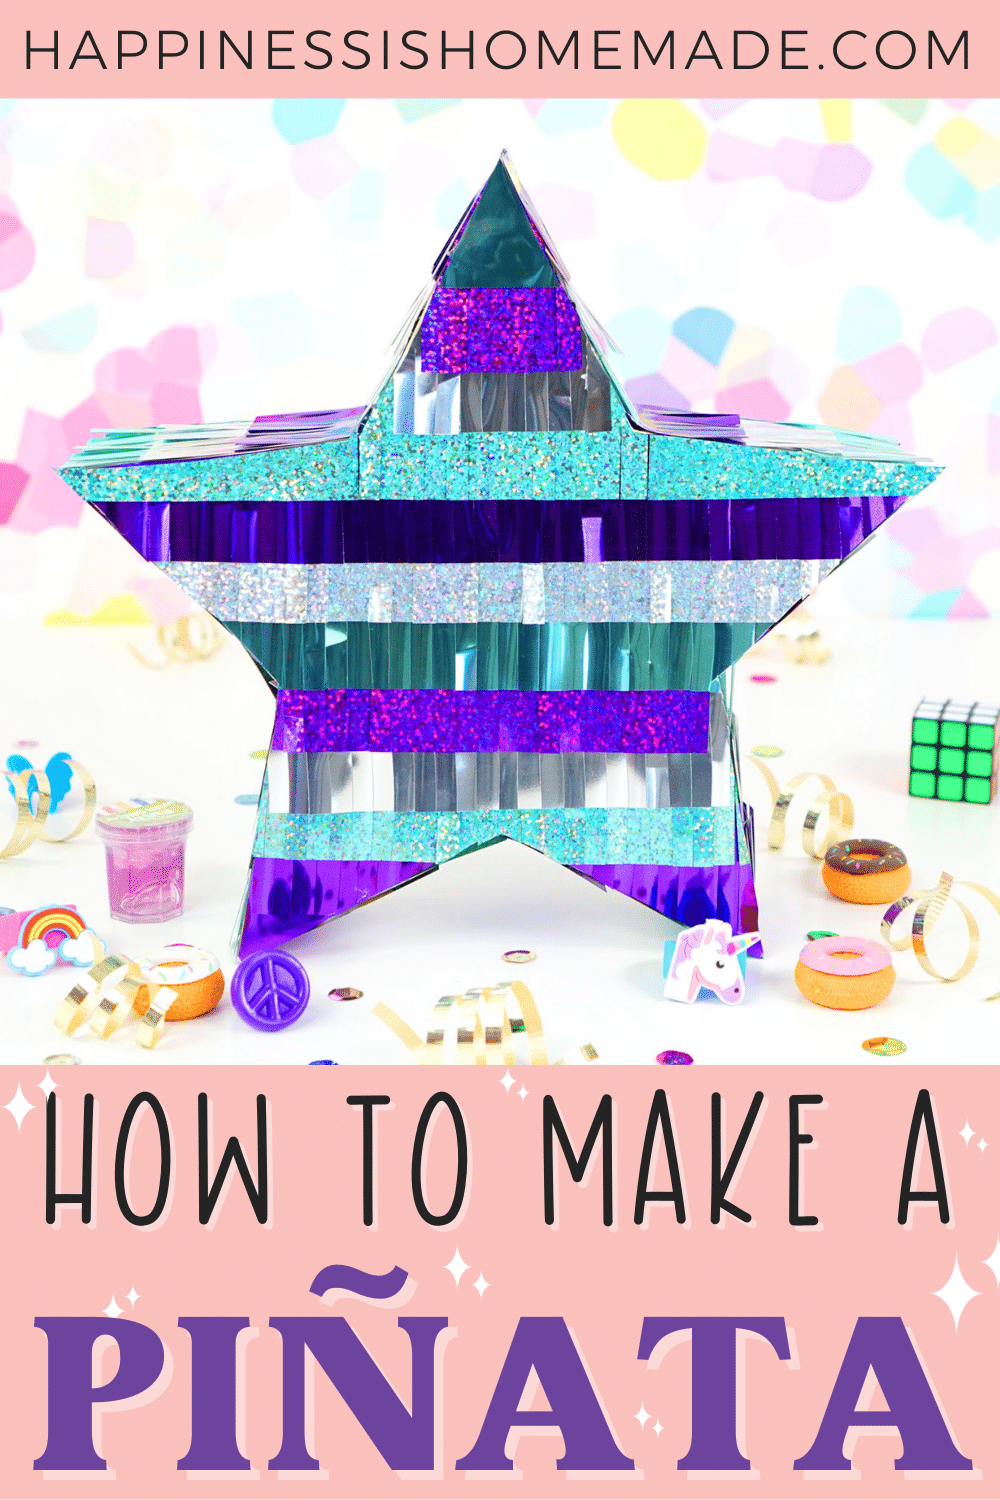
Want to learn How to Make a Homemade Piñata? Follow this easy step-by-step tutorial to make your own DIY piñata in all shapes and sizes!
This post may contain affiliate links. I will receive a small commission from these sales at no additional cost to you! This post is sponsored by Cricut. All opinions are my own.
The best part about a party is cracking open a full piñata and watching all of the heaps of candy scatter around you! Little kids will have an absolute blast rushing to get pieces of candy or small toys. They’re not just for a kid’s party either, piñatas can be hilarious fun for adults too! They’re perfect for celebrating bachelorette parties or even Cinco De Mayo! Fill them with adult beverages (travel shots!) and cute little party favors for a rockin’ good time.
Save yourself a trip to the party store and ‘WOW’ your party guests with your very own homemade piñata using our step-by-step tutorial. It’s SO easy! Pretty soon, you’ll be able to make your own DIY piñata in any shape or desired size. You can use an abundance of materials to make your own piñata, from a piece of cardboard to a cereal box, craft glue to hot glue, and crepe paper to newspaper strips. Chances are you have many of these materials already in your home!
We’ve made our piñata using materials from Cricut, but you can follow along using any materials of your choice. You’ll be amazed at how easy it is to make your own DIY piñata in tons of unique and different ways!
So, let’s get ready for your next party and get crafting!
You May Also Like These FUN DIYS!
How to Make a Piñata
Making your own pinata is quick and easy with this simple how-to tutorial! DIY piñatas are one of my favorite party DIYs, and once you have the technique down, you can make your own homemade pinata in all different shapes, sizes, and party themes (like our DIY Bacon Piñata and Christmas Tree Piñata Party Favors!). Just follow these easy steps to get started!
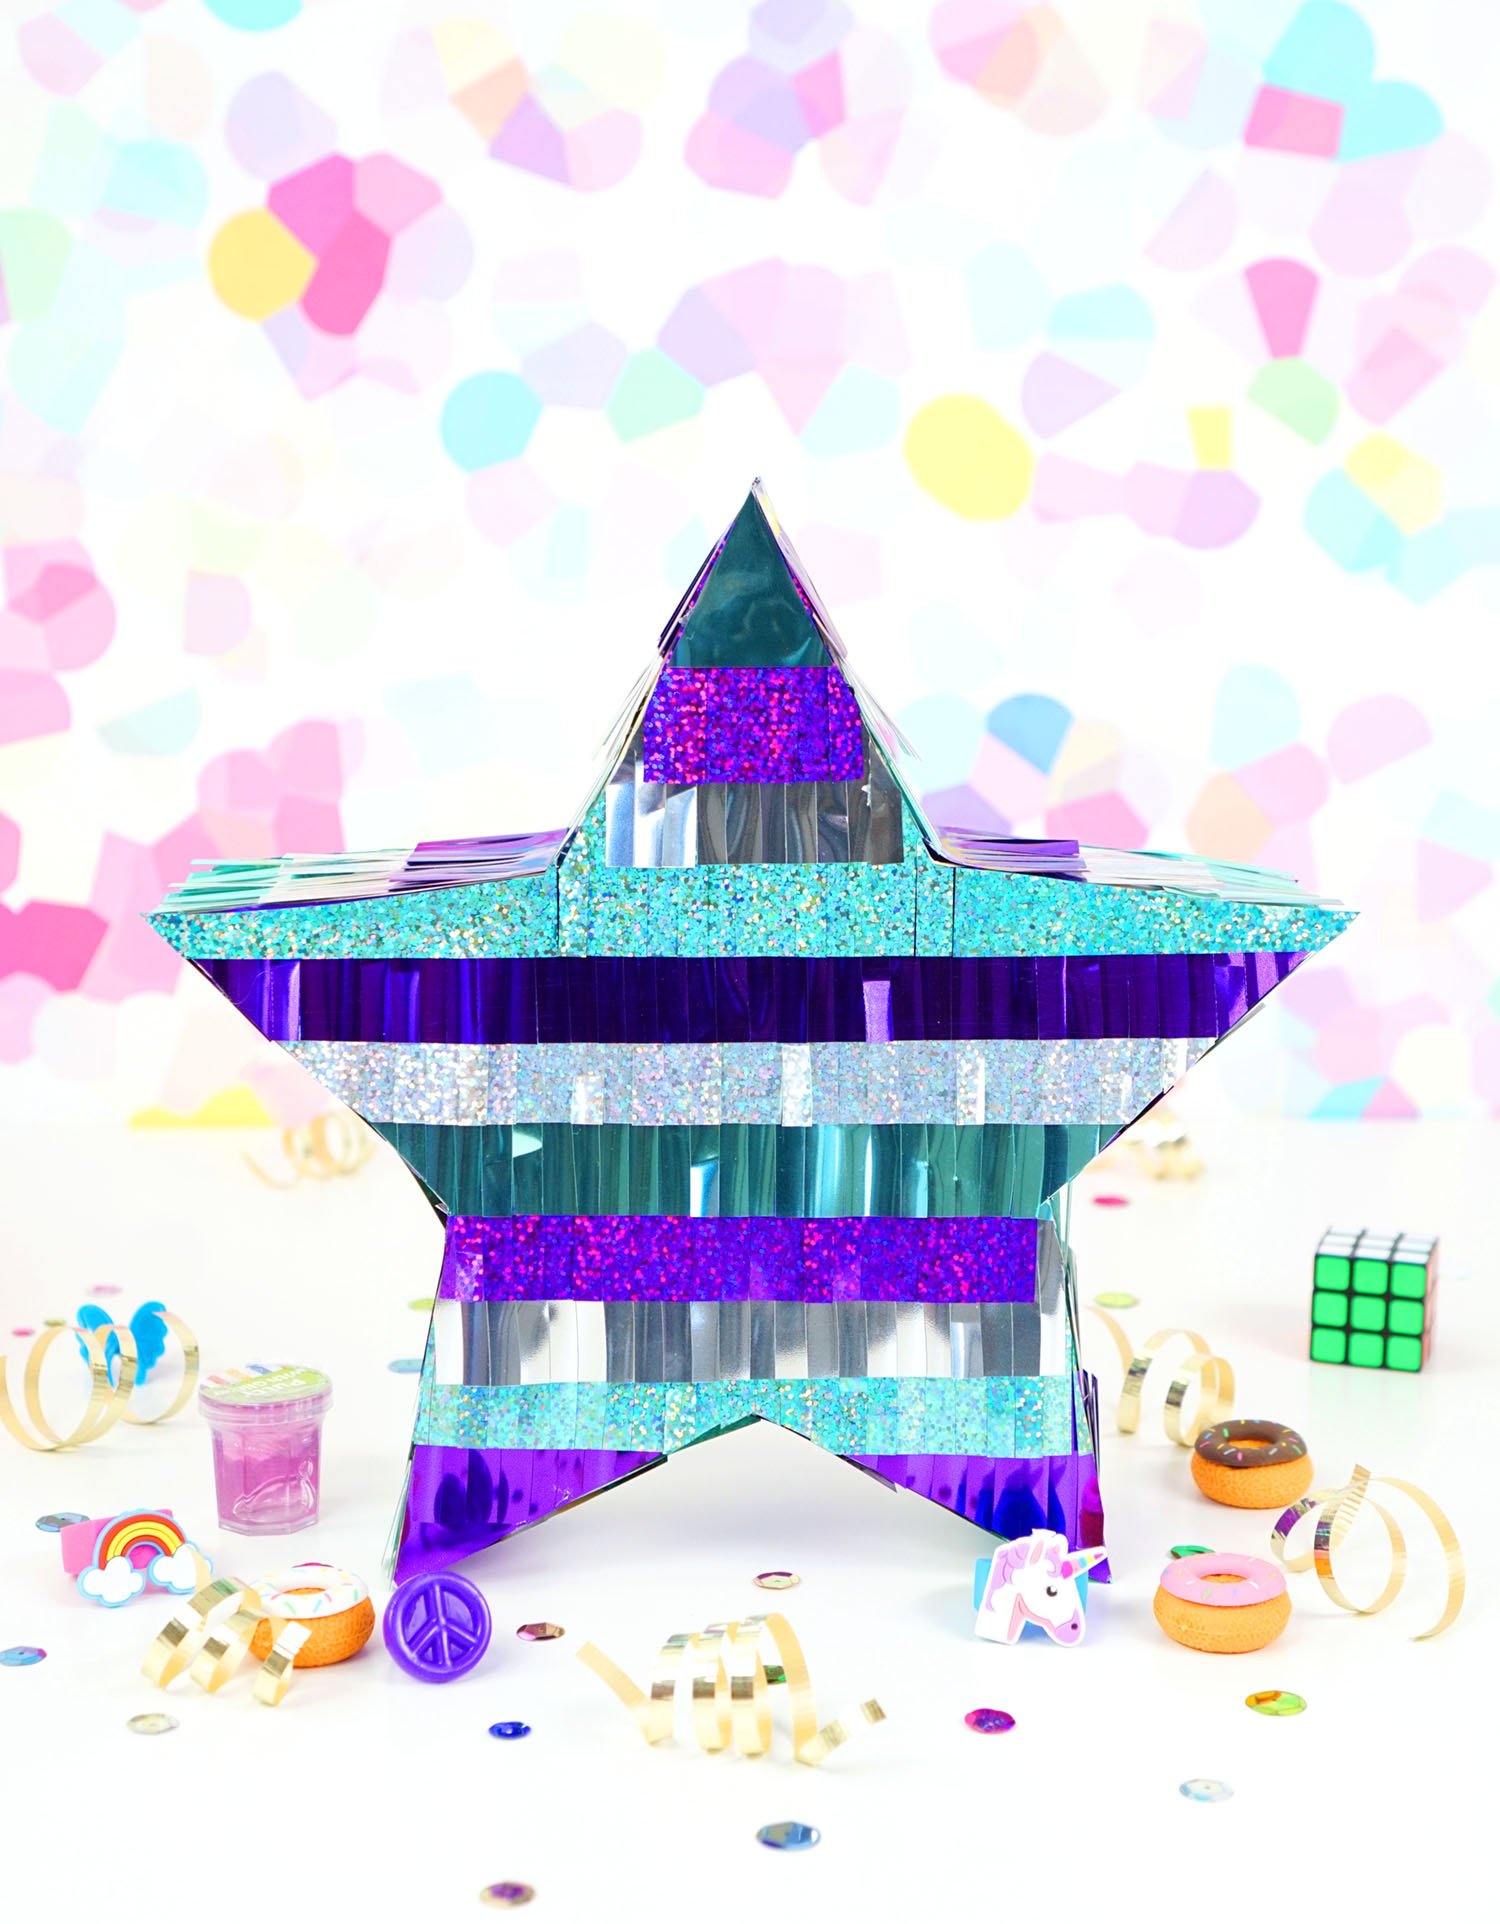
The other day I talked to you about My Favorite Cricut Hand Tools, and I’ll be using them again for this easy piñata project – the Cricut TrueControl Knife, Rotary Cutter, Self-Healing Mat, Cutting Ruler, and Acrylic Ruler.
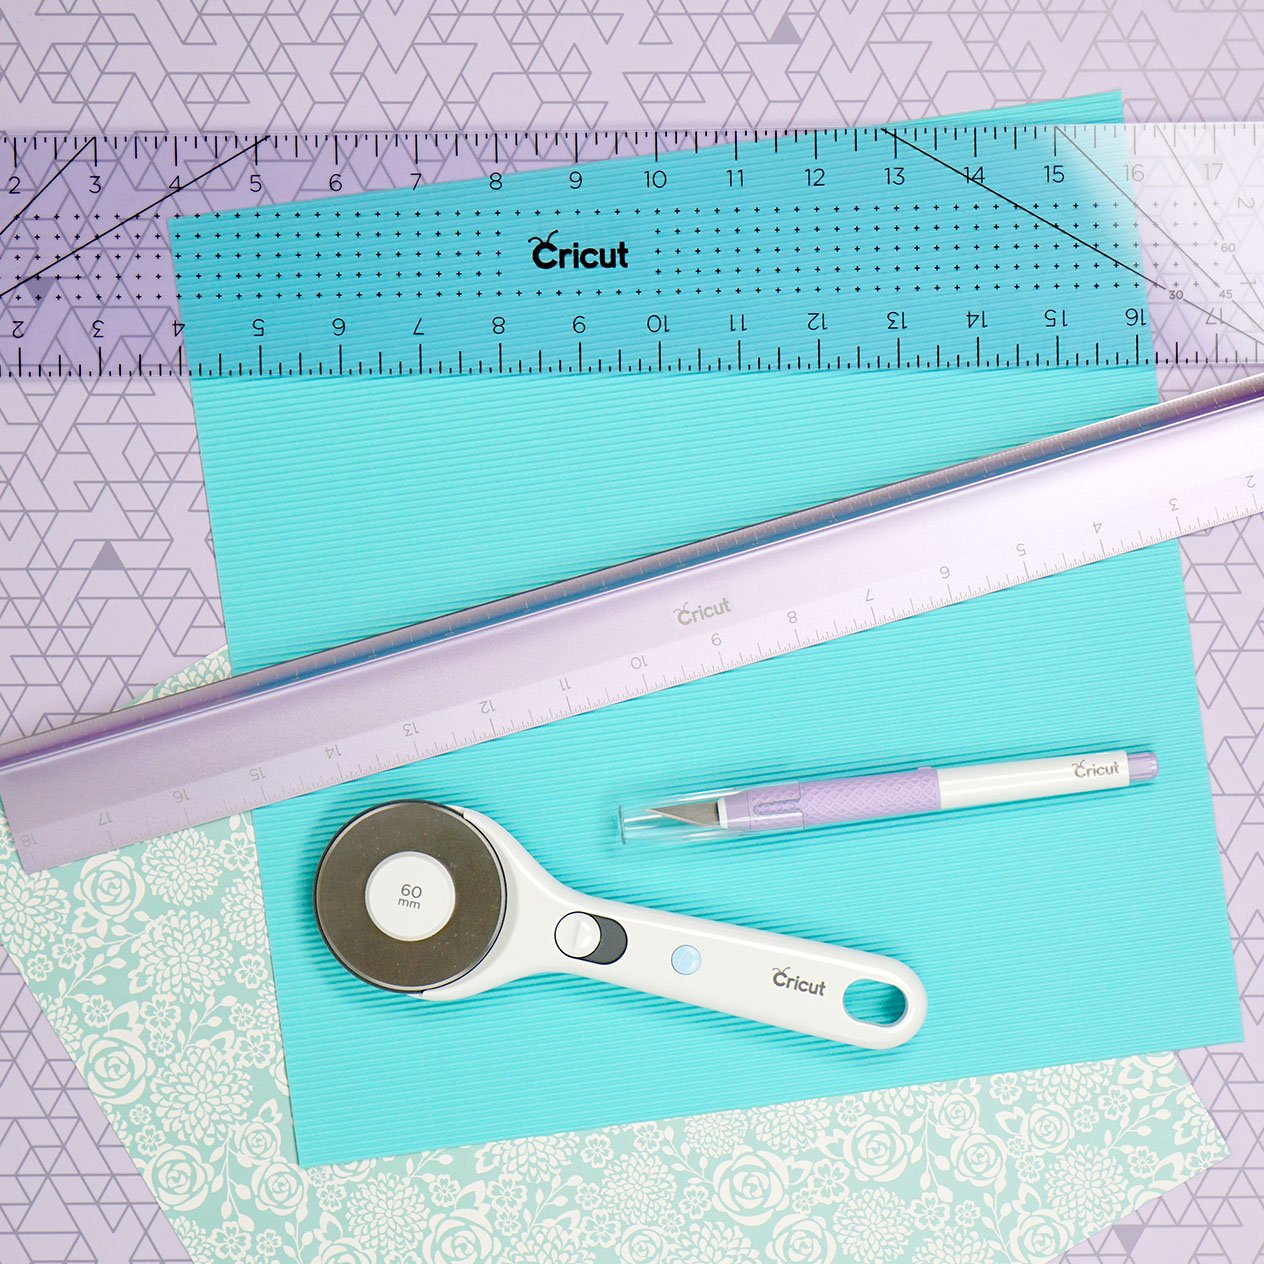
Supplies Used to Make a DIY Piñata:
- Kraft Board in White
- Cricut Party Foil in Teal, Silver, and Purple
- Cricut TrueControl Knife
- Rotary Cutter
- Self-Healing Mat
- Cutting Ruler
- Acrylic Ruler
- Masking Tape
- Hot Glue Gun
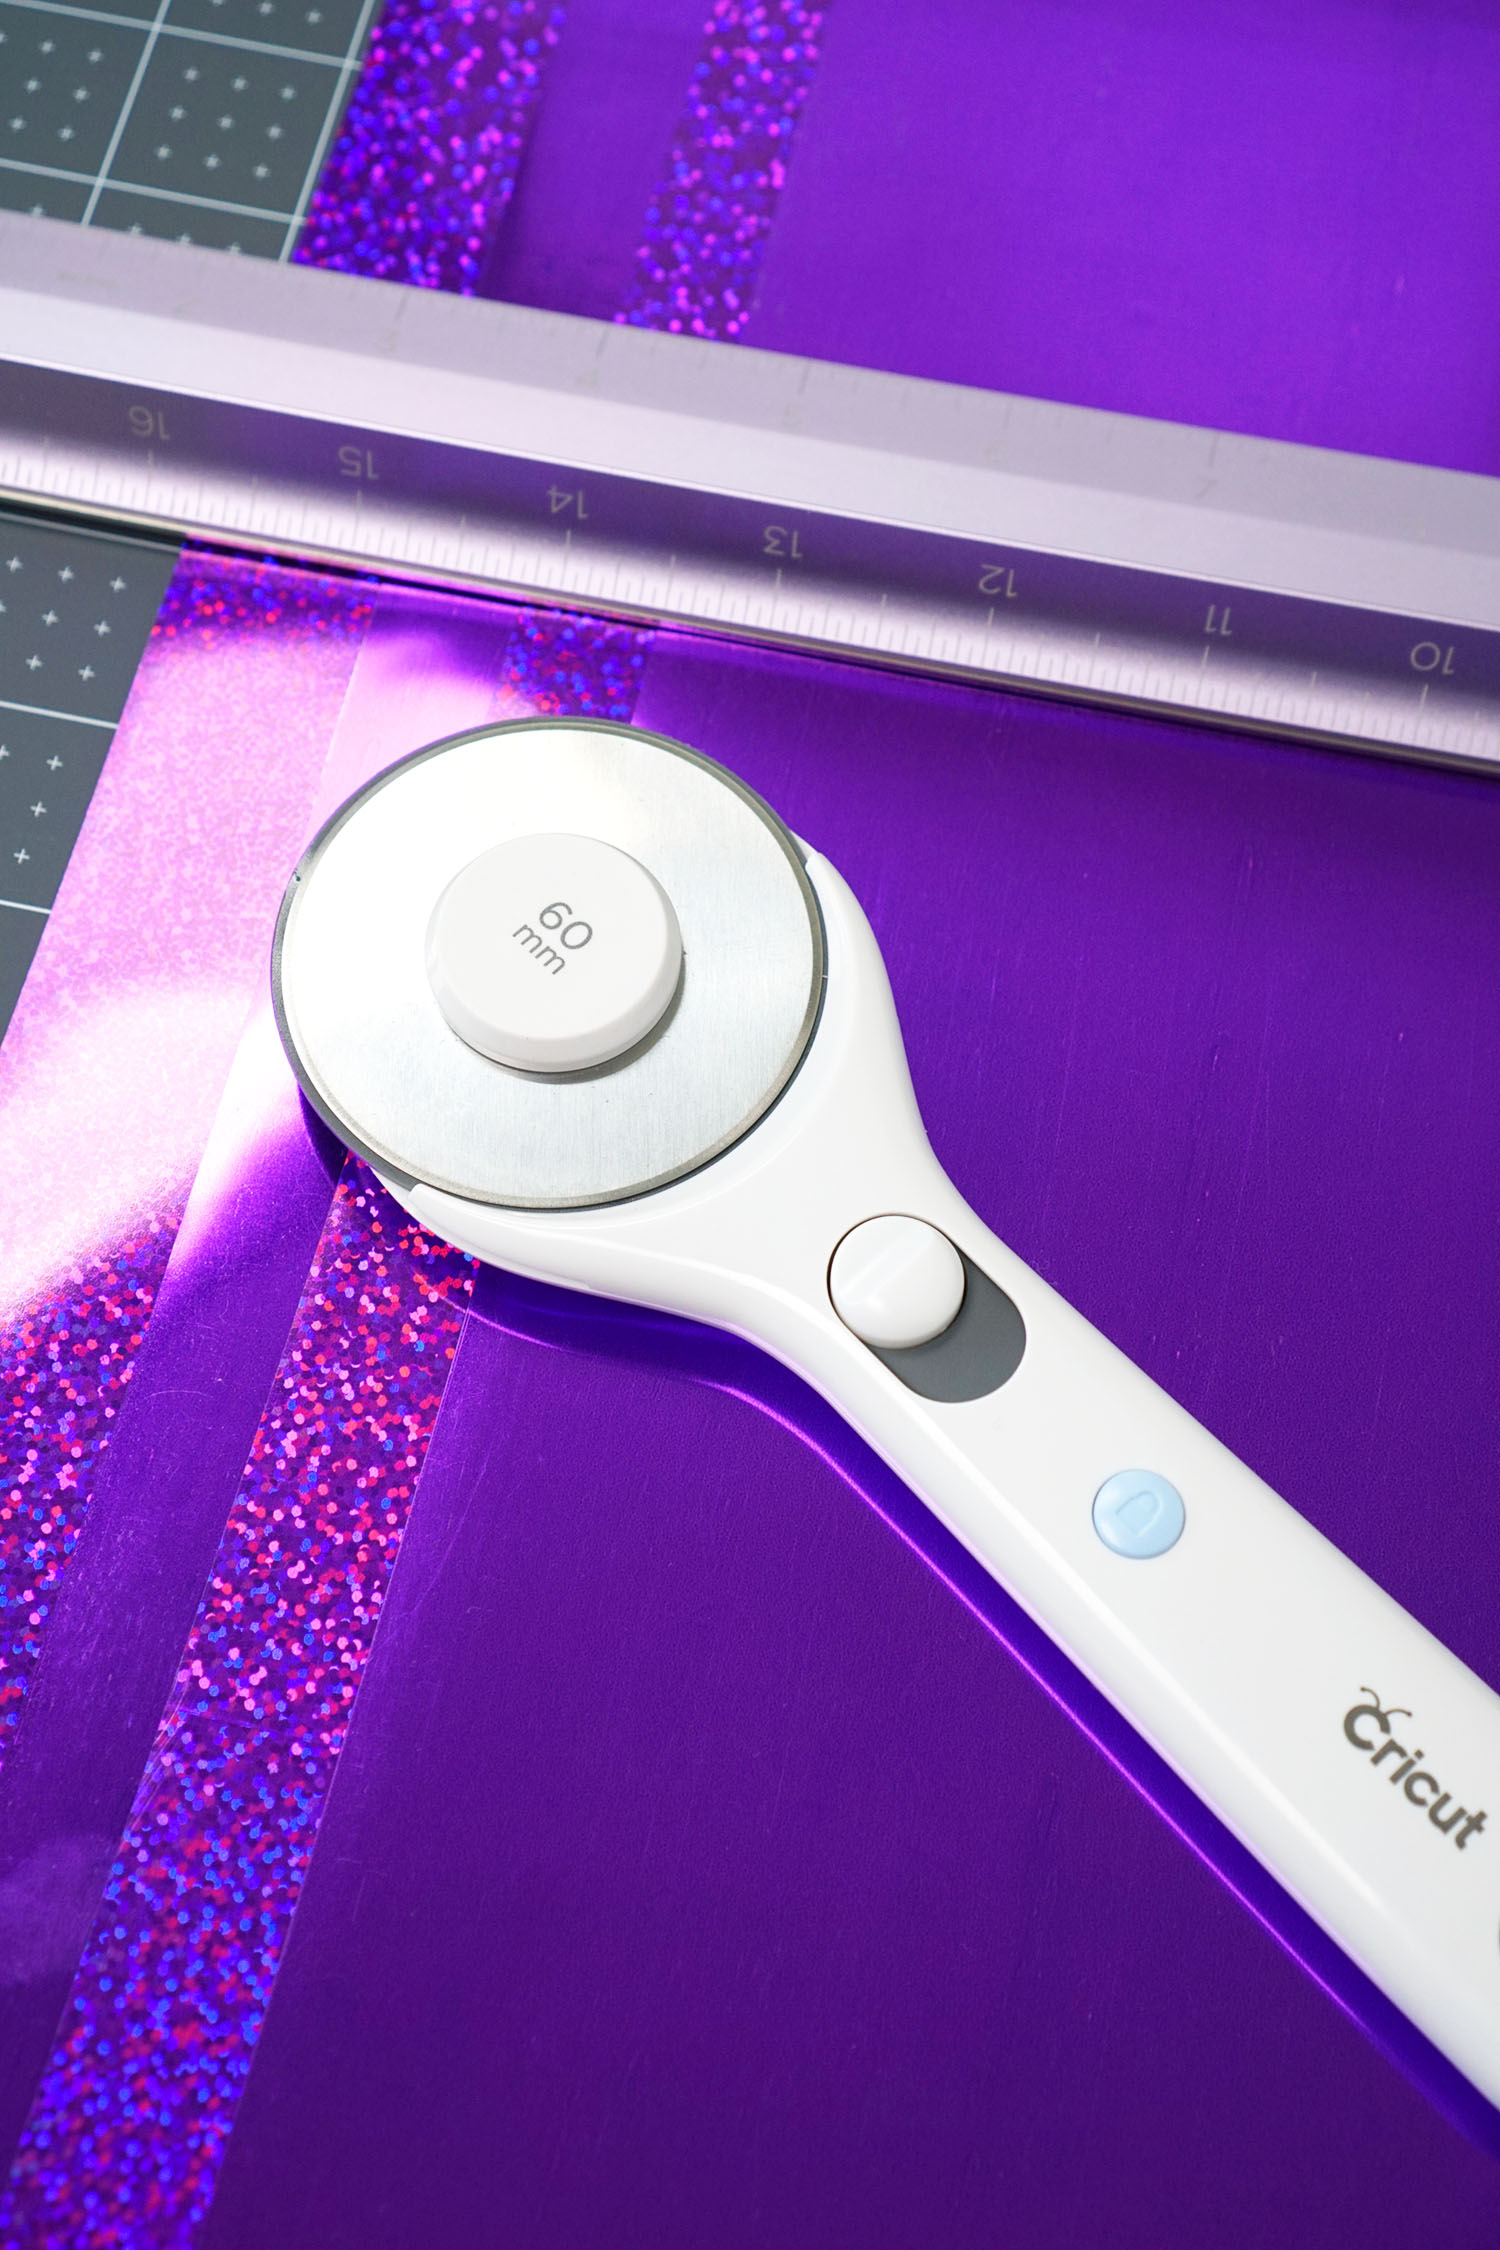
To begin, start by cutting the 48″ long roll of Party Foil (both sheets – foil and holographic foil) in half and stacking the four 24″ x 12″ pieces together.
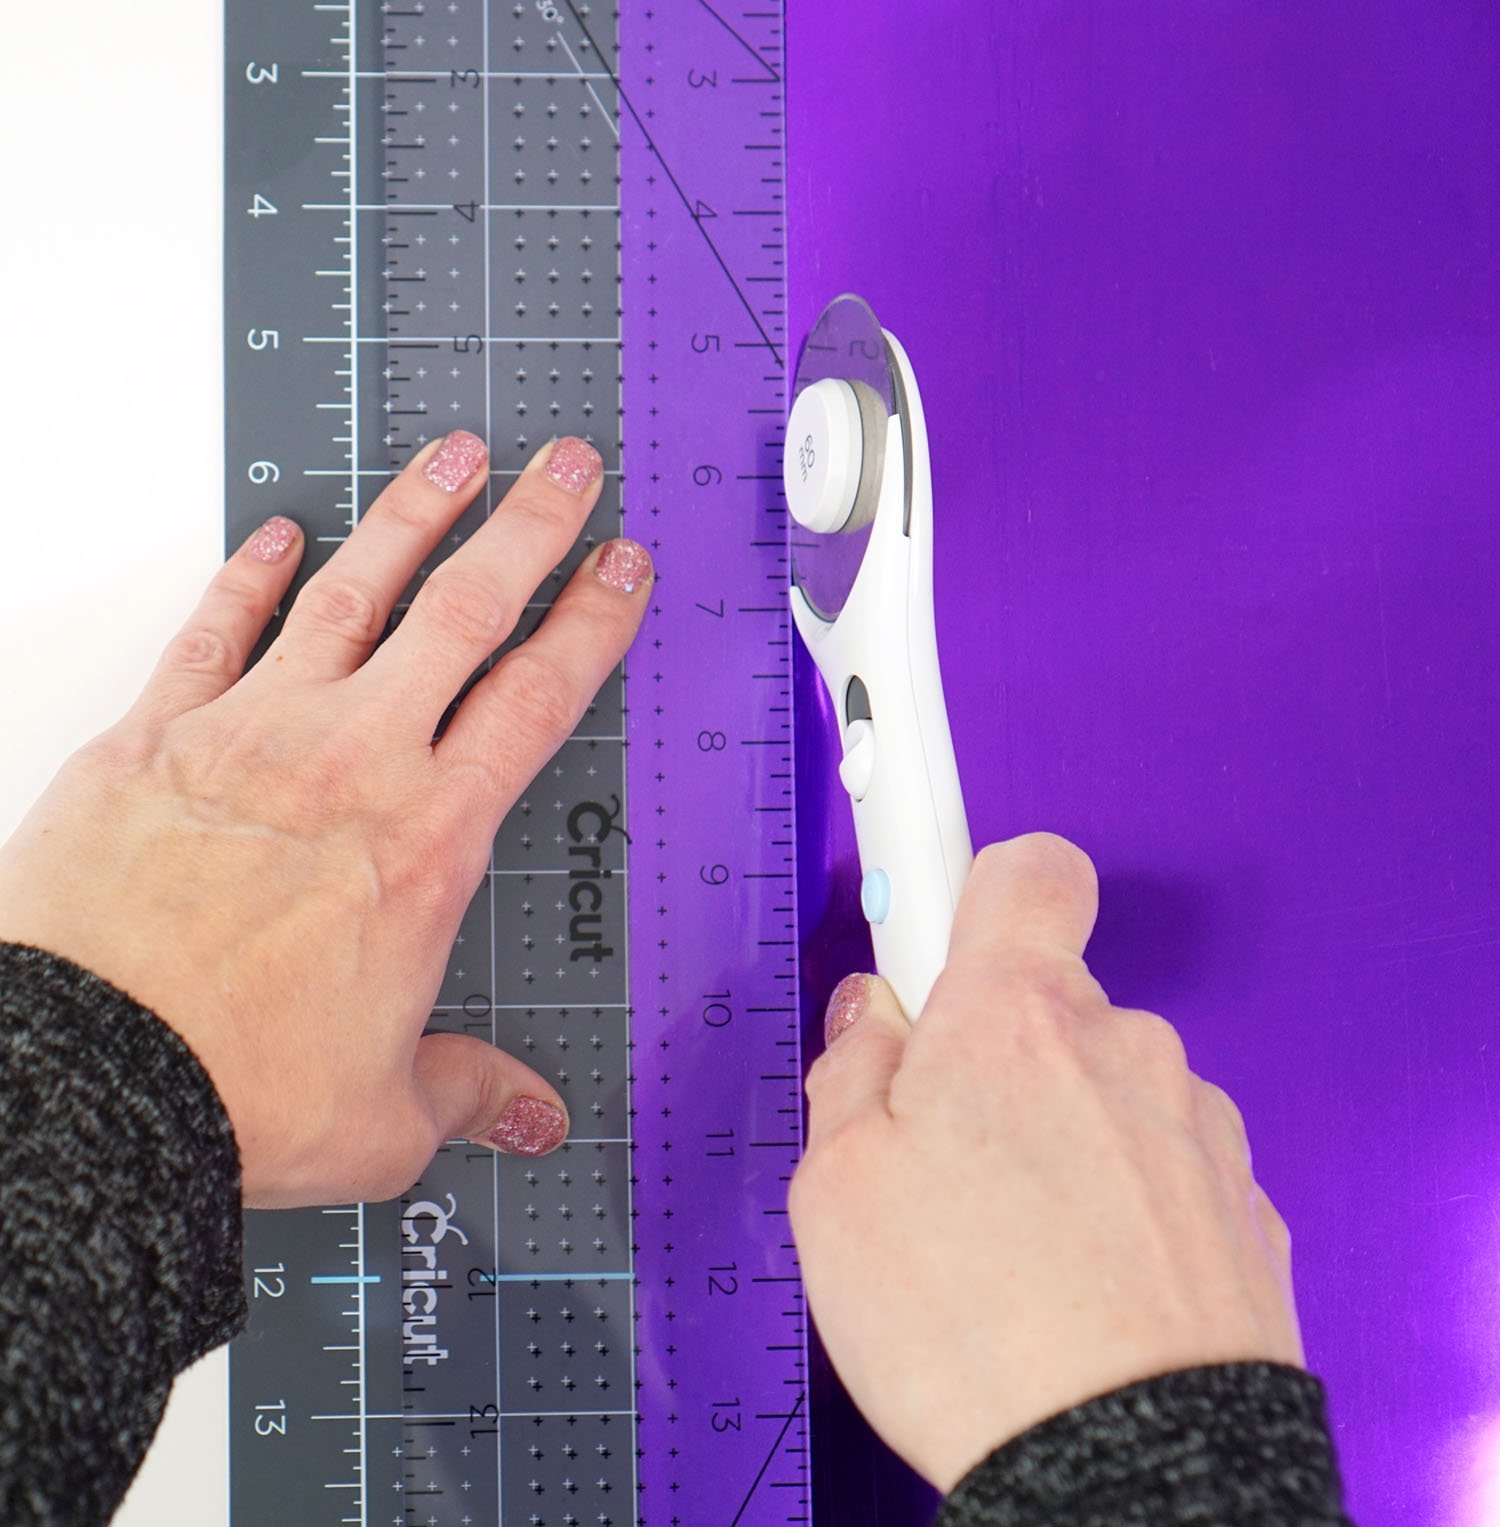
The Cricut 60mm Rotary Cutter slices through multiple layers of materials with ease, so it’s the perfect tool for quickly and easily cutting through the stacked sheets of Party Foil.
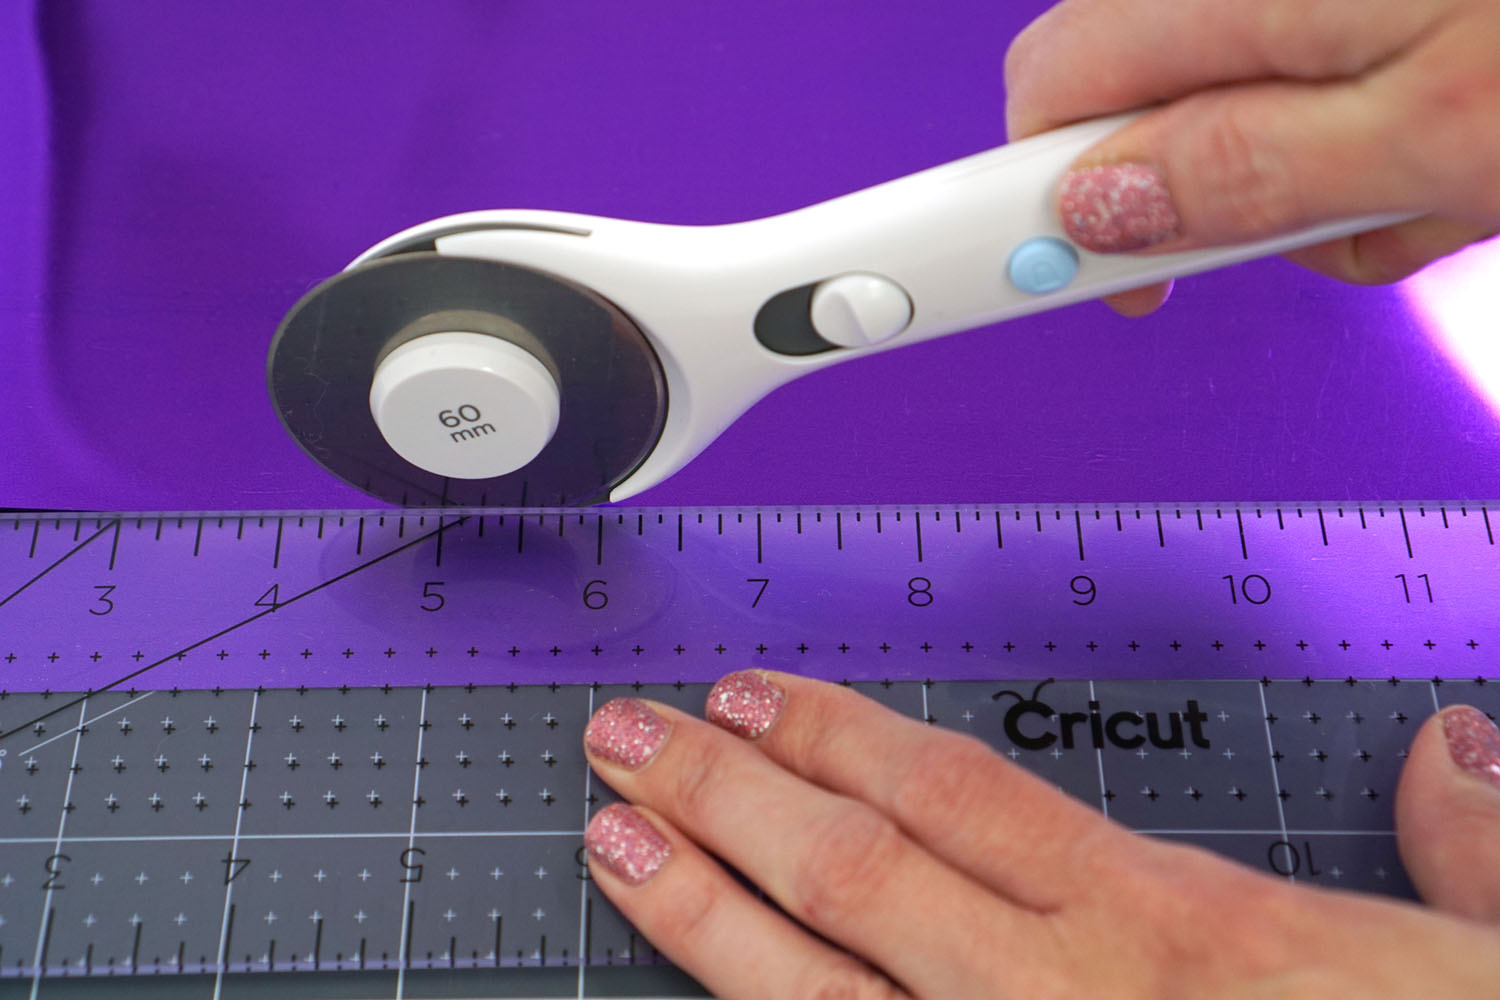
The 3″ x 18″ Cricut Acrylic Ruler is made from frosted acrylic and is marked with easy-to-see 1/8″ measurements that are visible on both light and dark surfaces, so you can always see your markings. I found the Acrylic Ruler particularly helpful when working with the Party Foil since the shimmer can often make the material look both light AND dark at the same time!
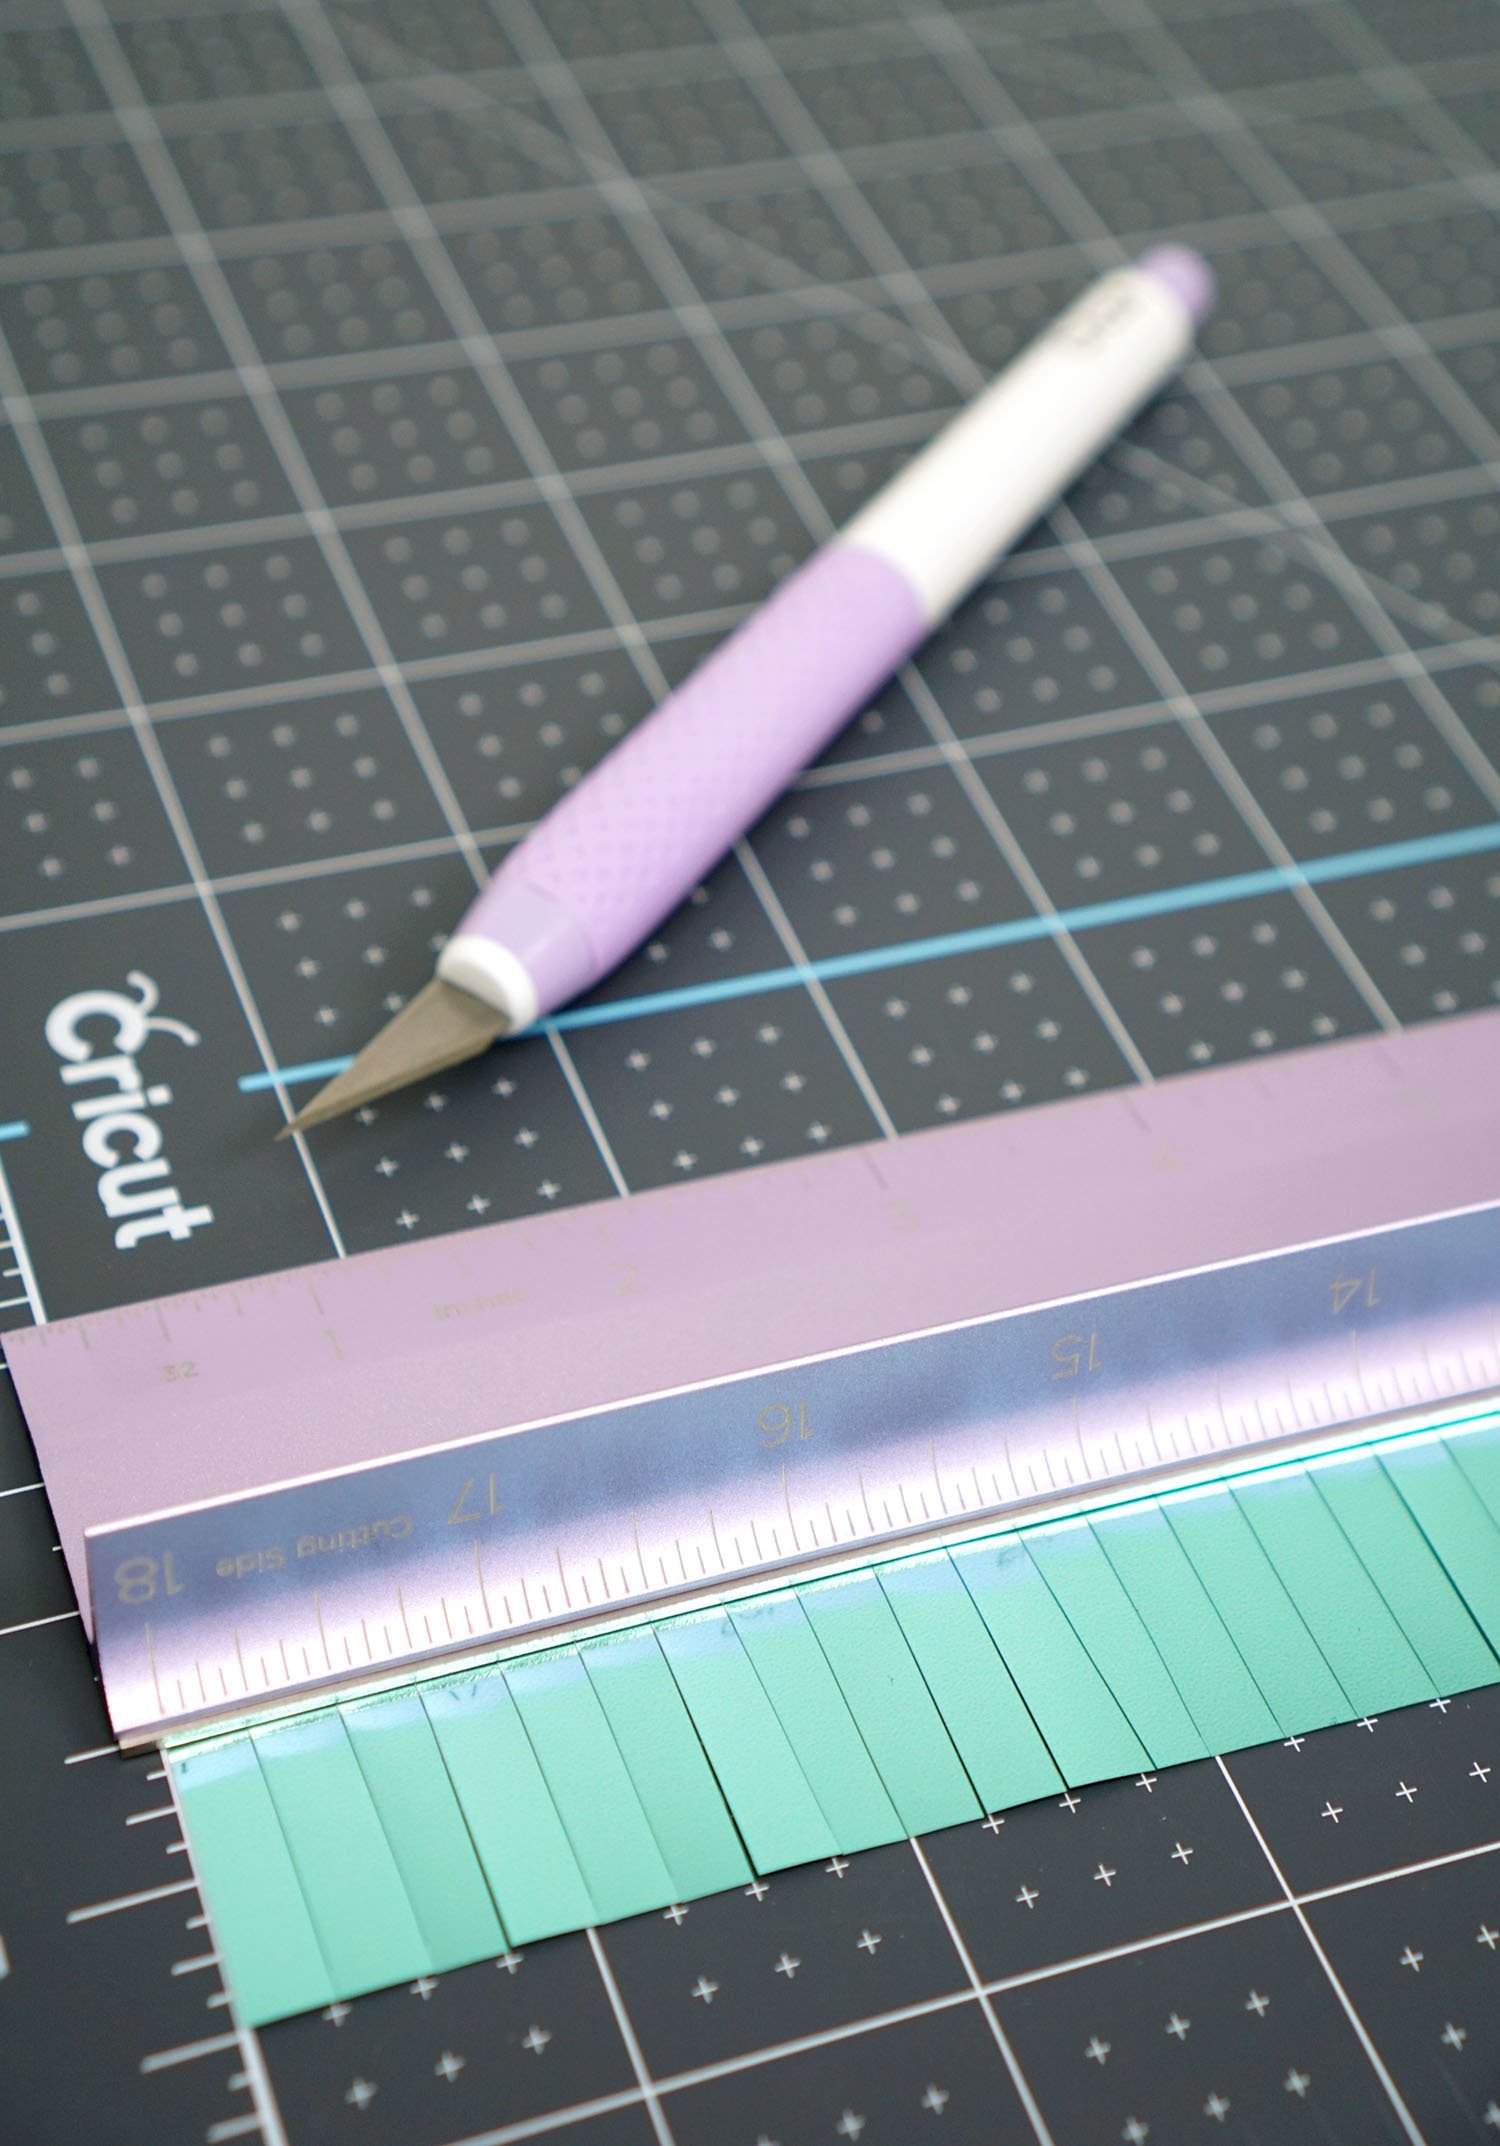
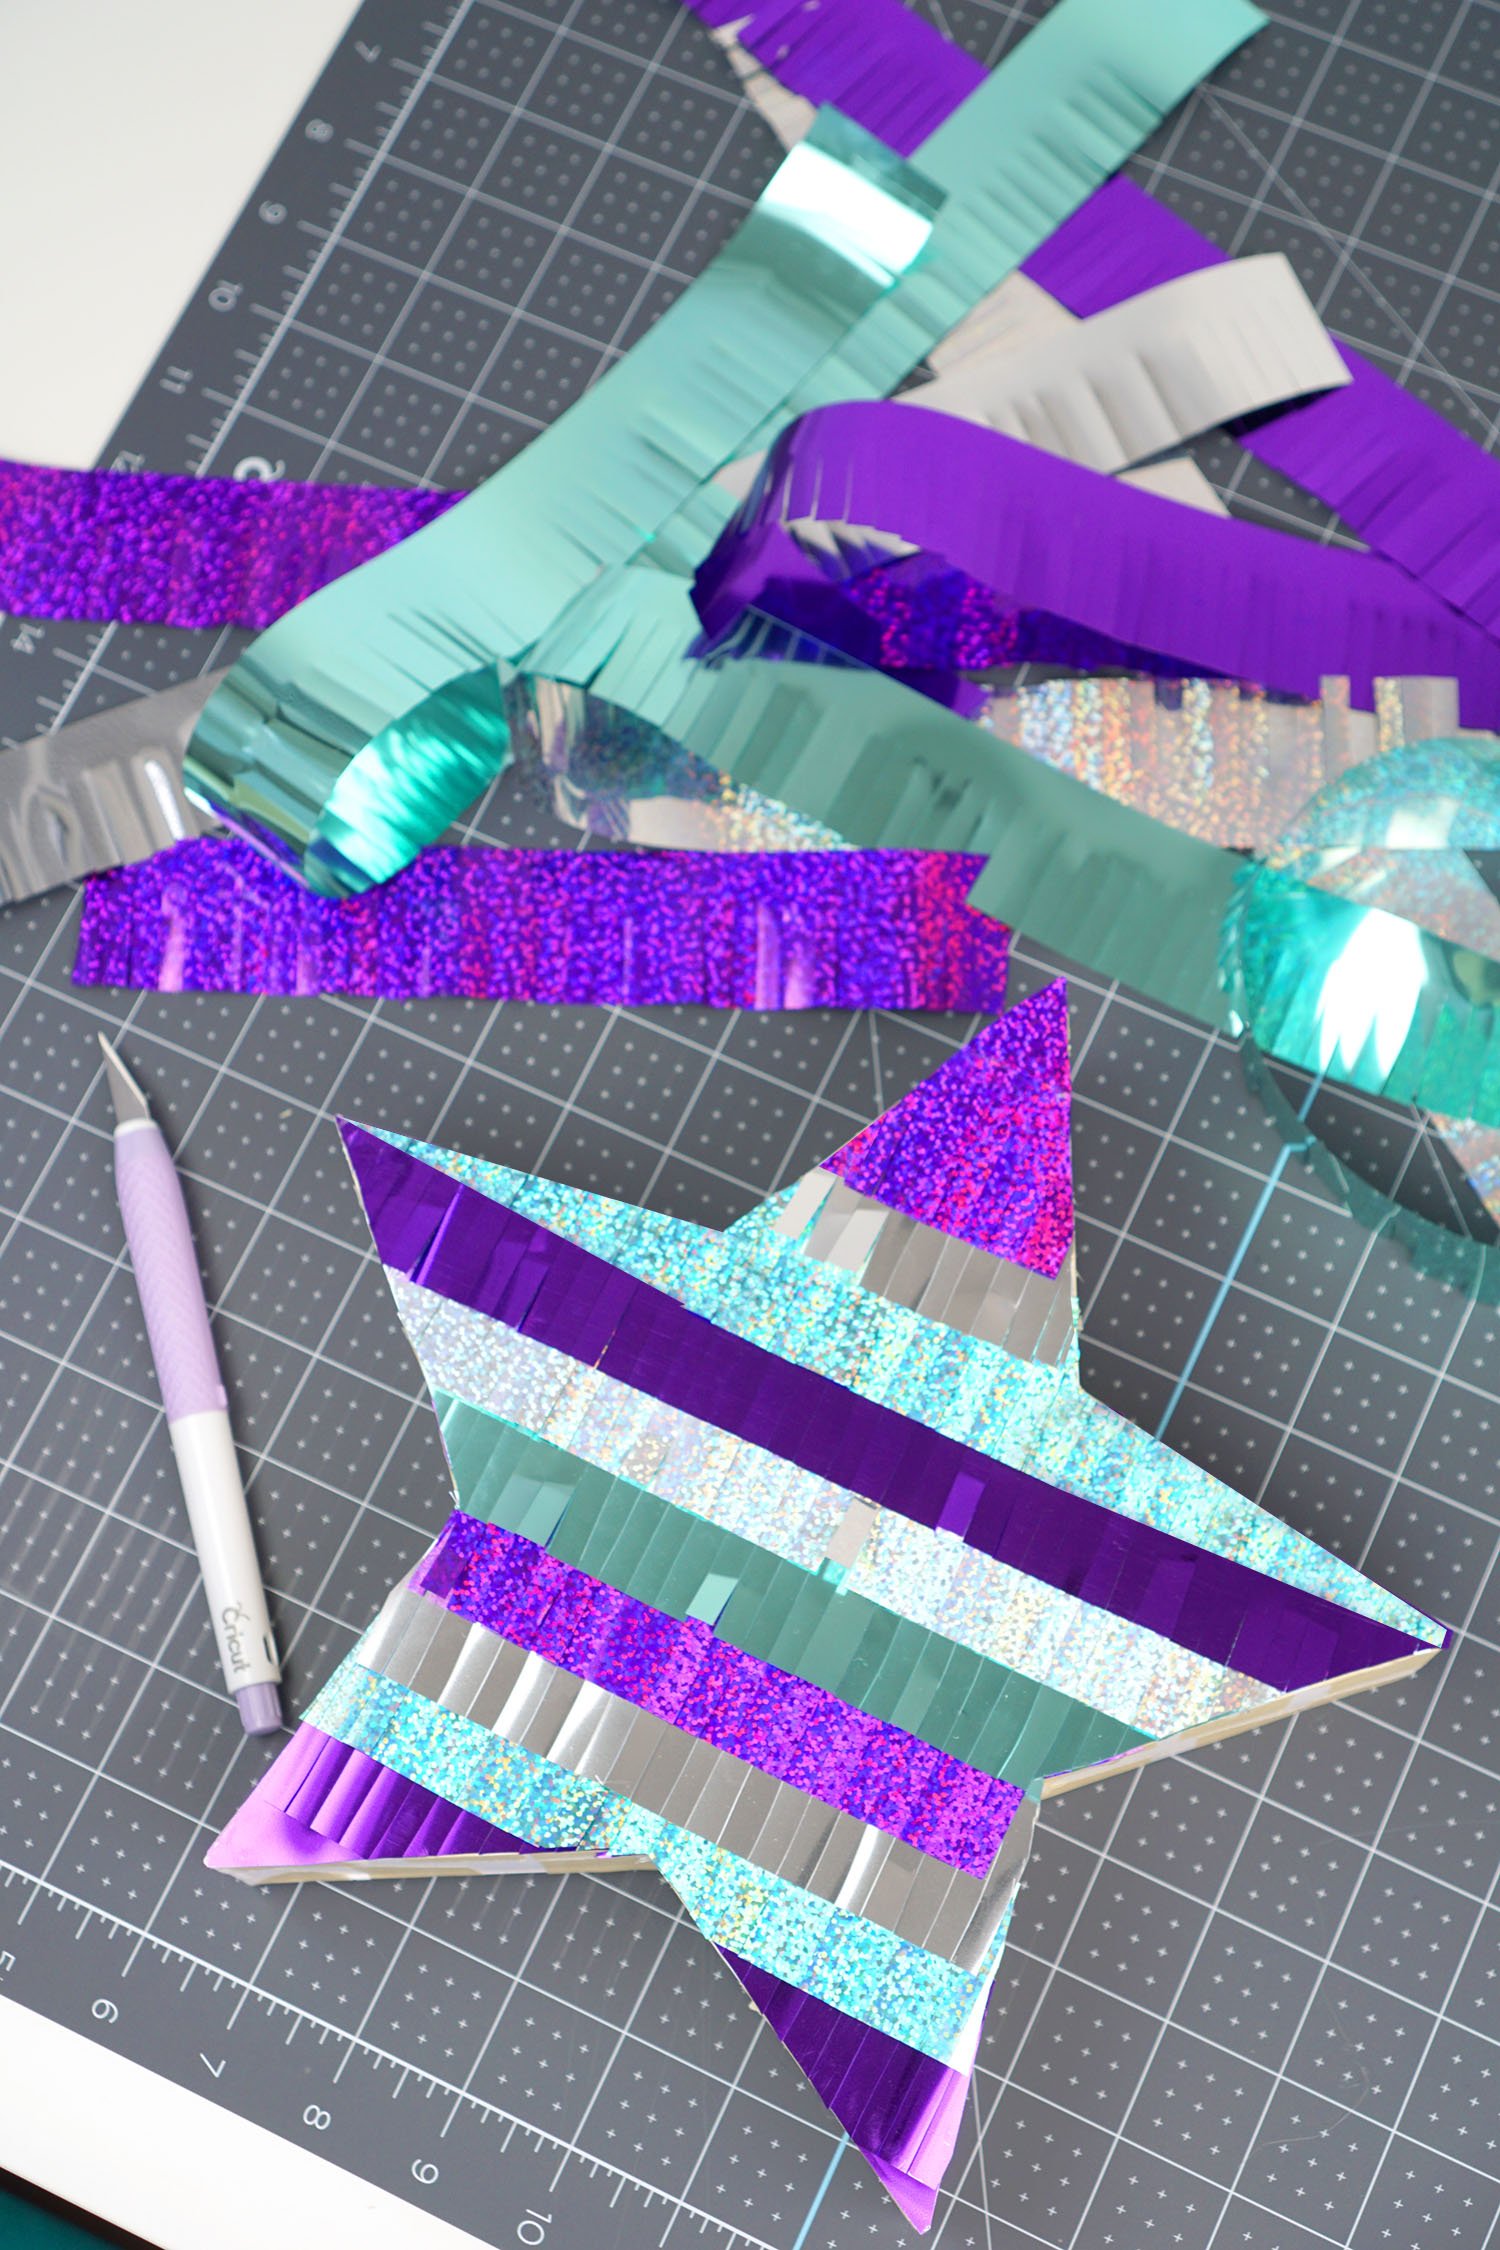
Once the Party Foil has been cut into strips, it’s time to turn those strips into fringe! I used my TrueControl Knife and Cutting Ruler to cut 1/4″ fringe into the Party Foil. The non-slip Cutting Ruler is one of my favorite tools ever because it keeps your fingers away from sharp blades, so you can craft in safety with confidence. The markings on the Self-Healing Mat also provided an extra level of easy-to-see measurements which helped keep the hand-cut fringe uniform and even.
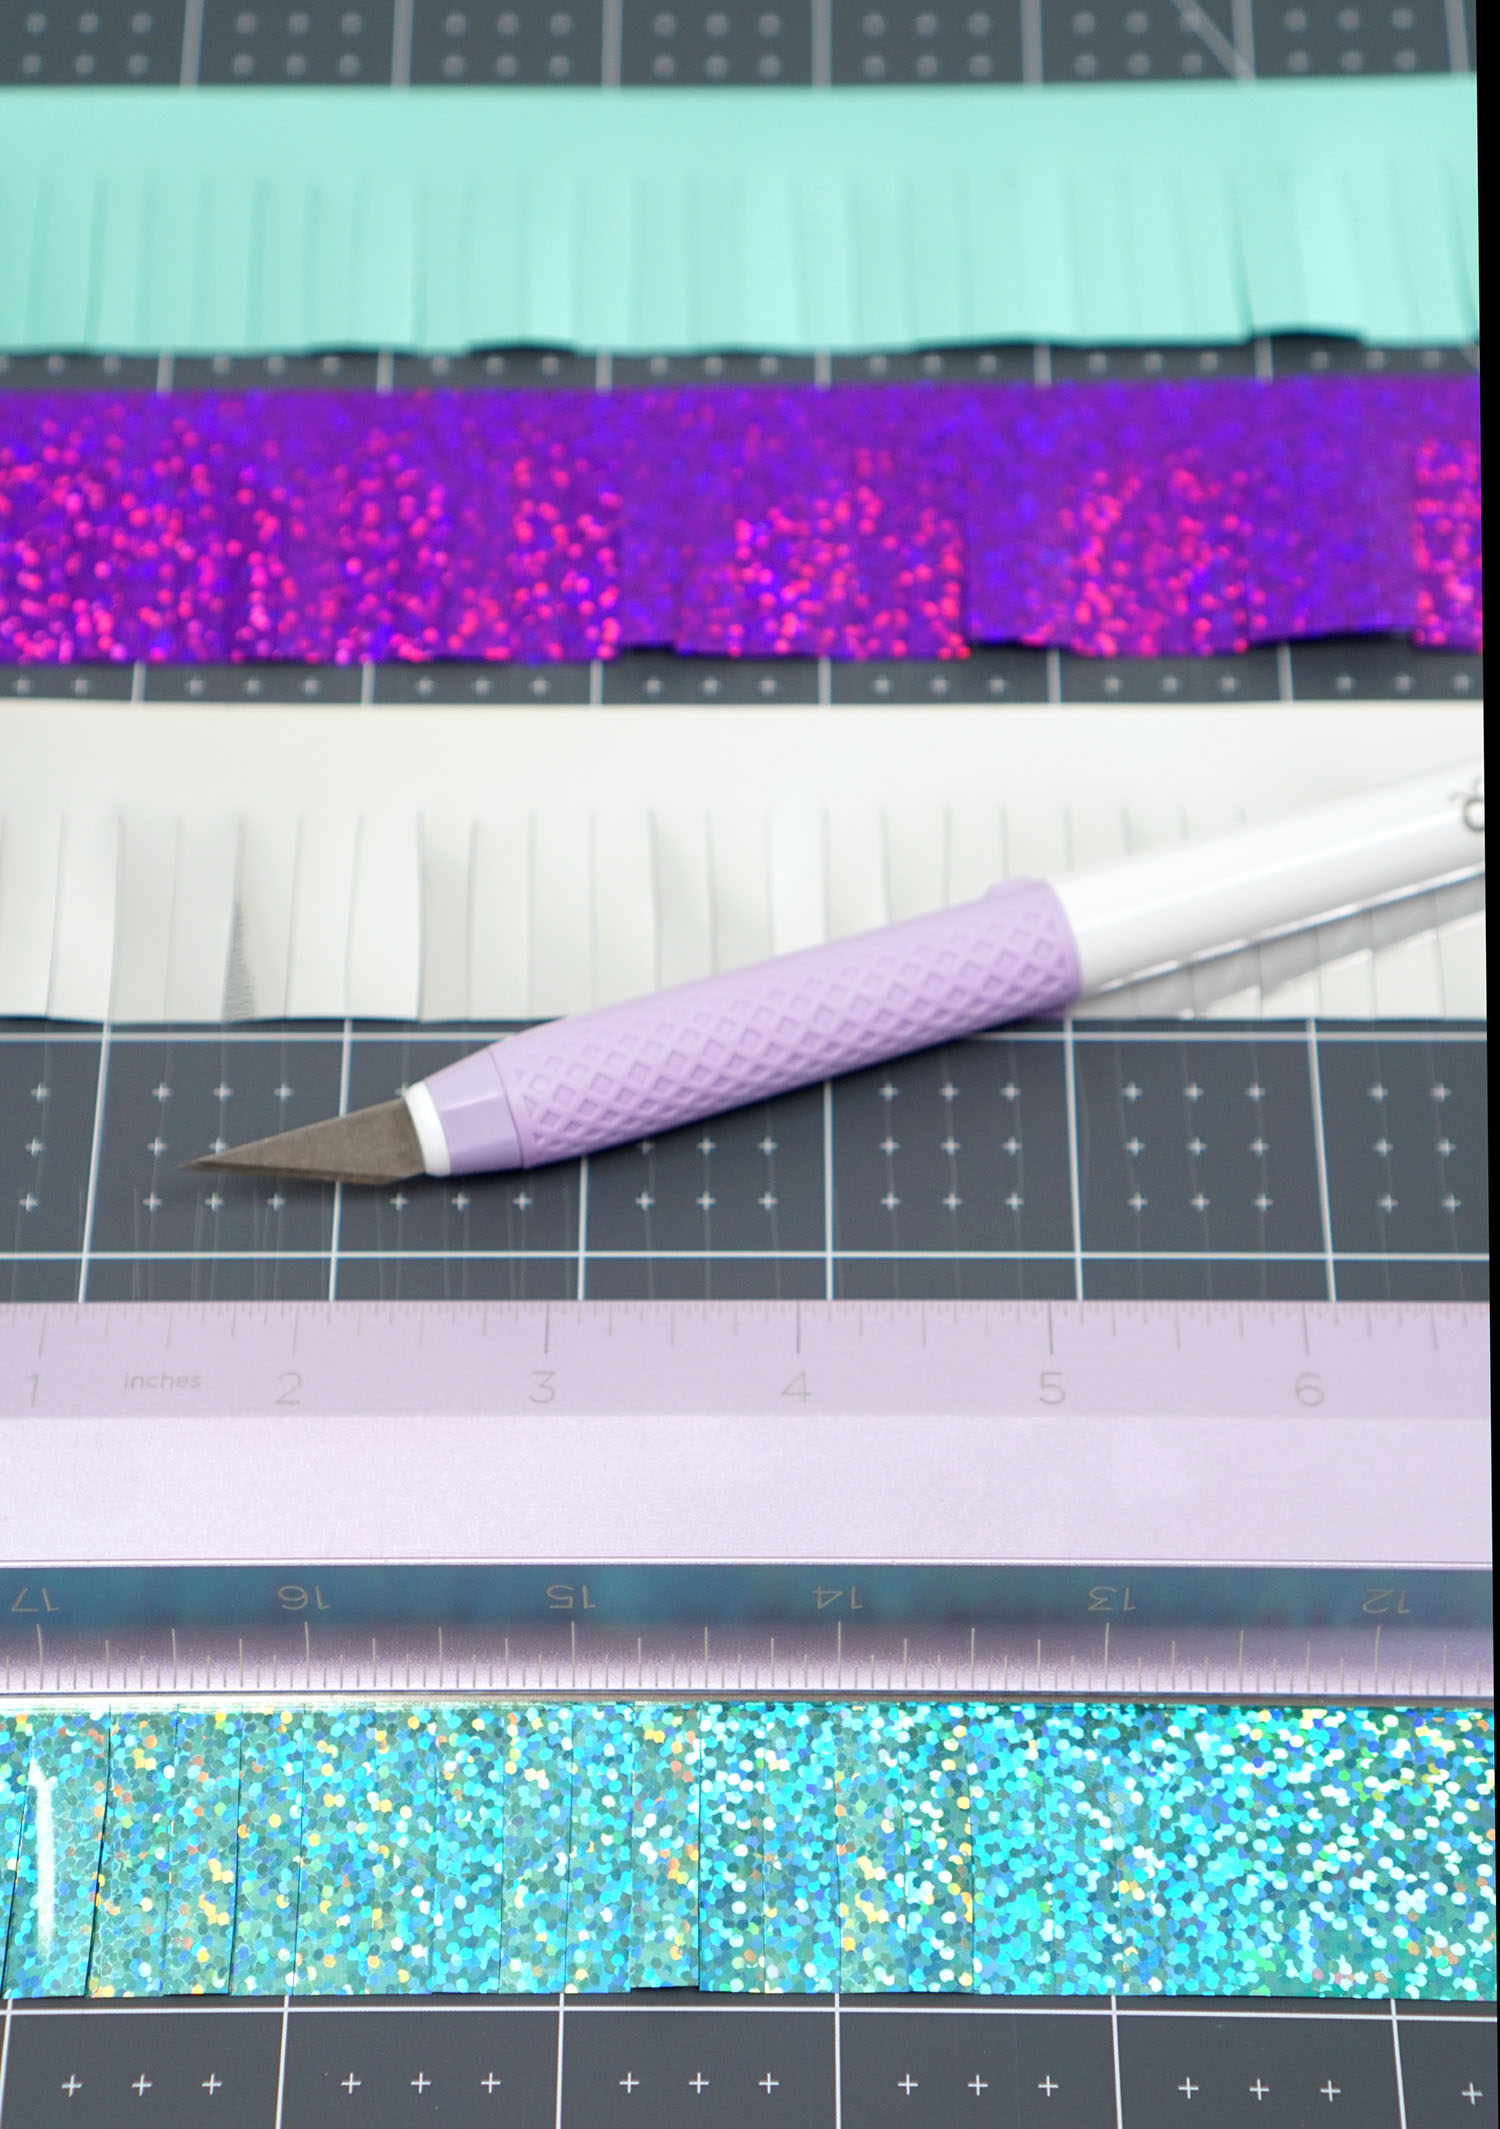
Repeat with additional colors of Party Foil as desired until you have enough to wrap your piñata.
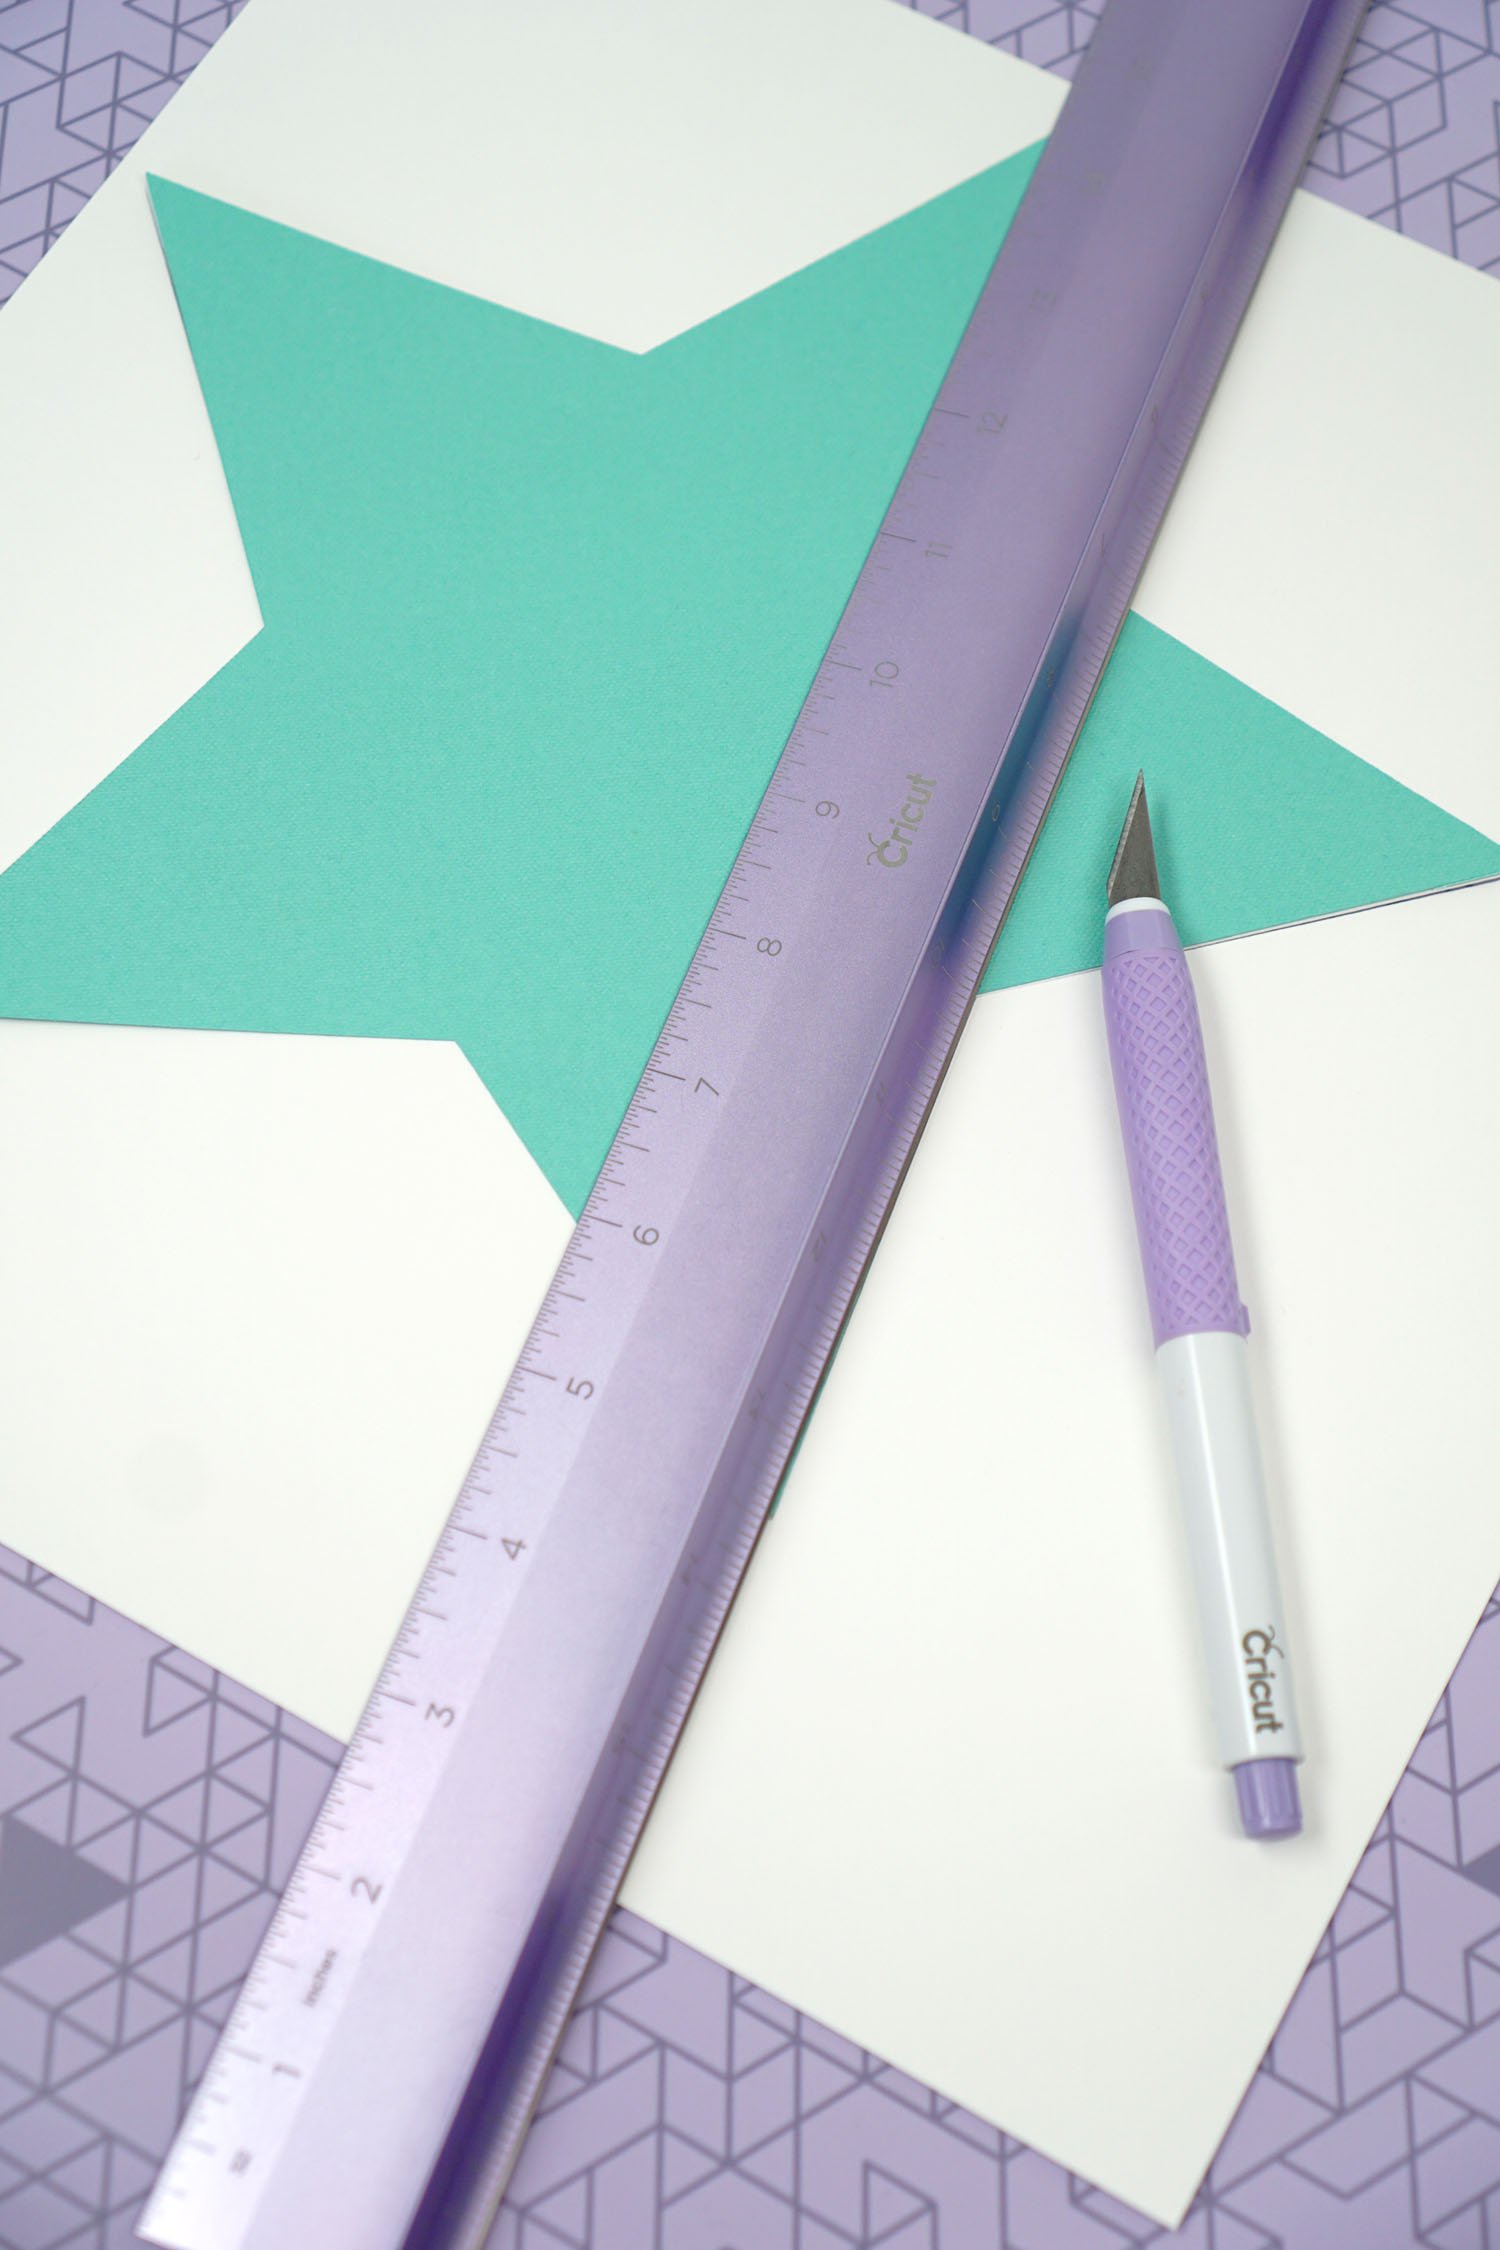
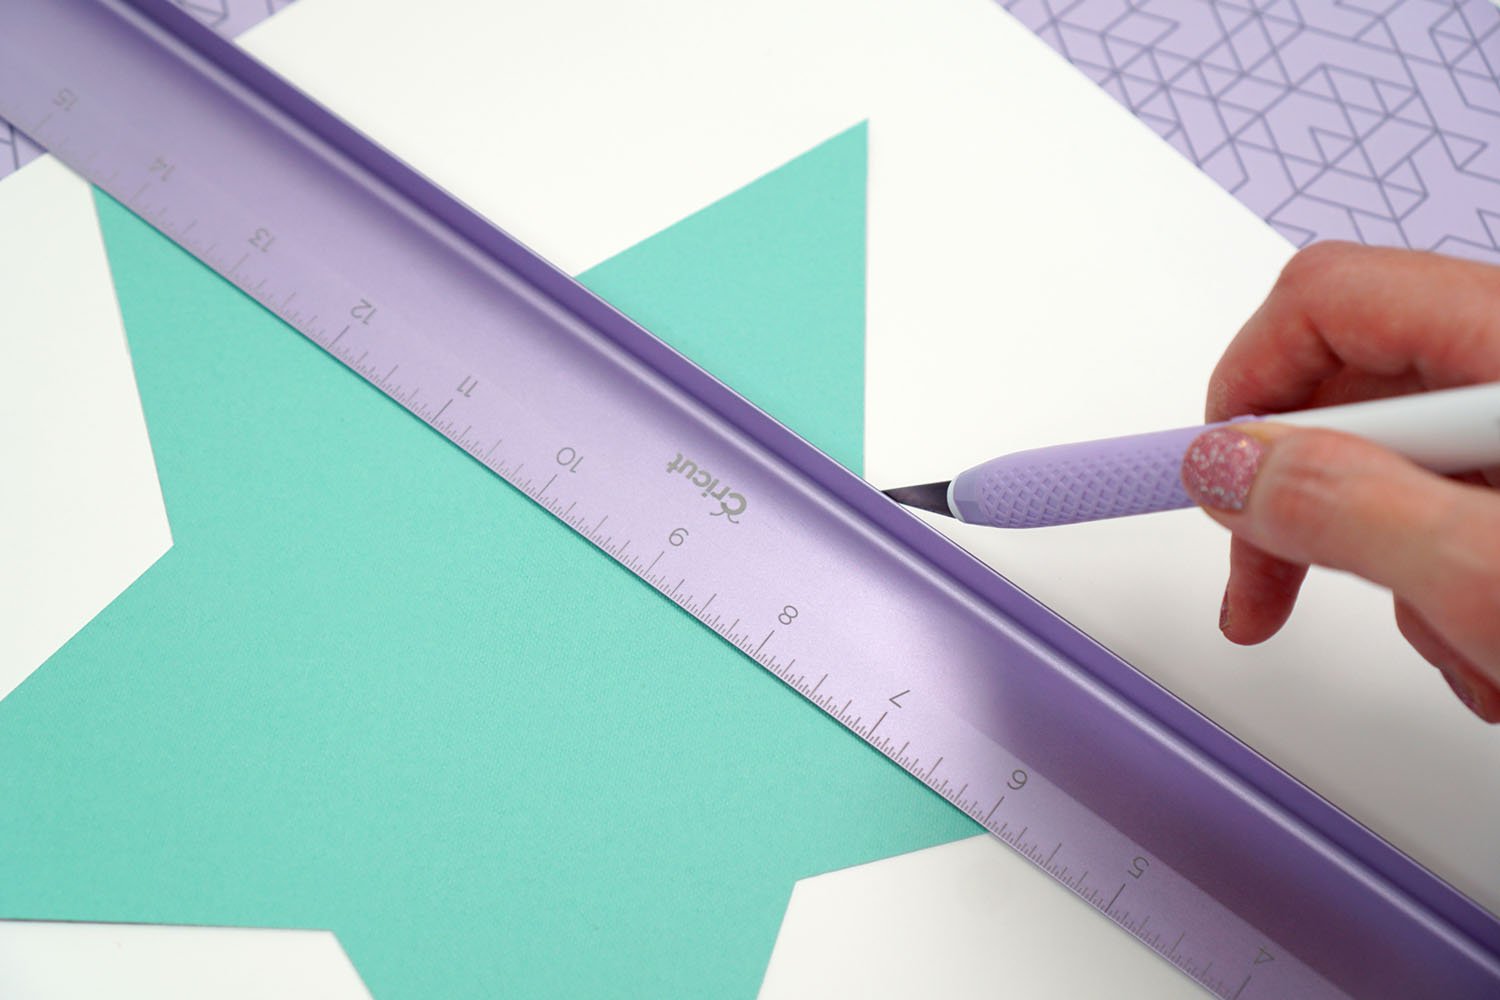
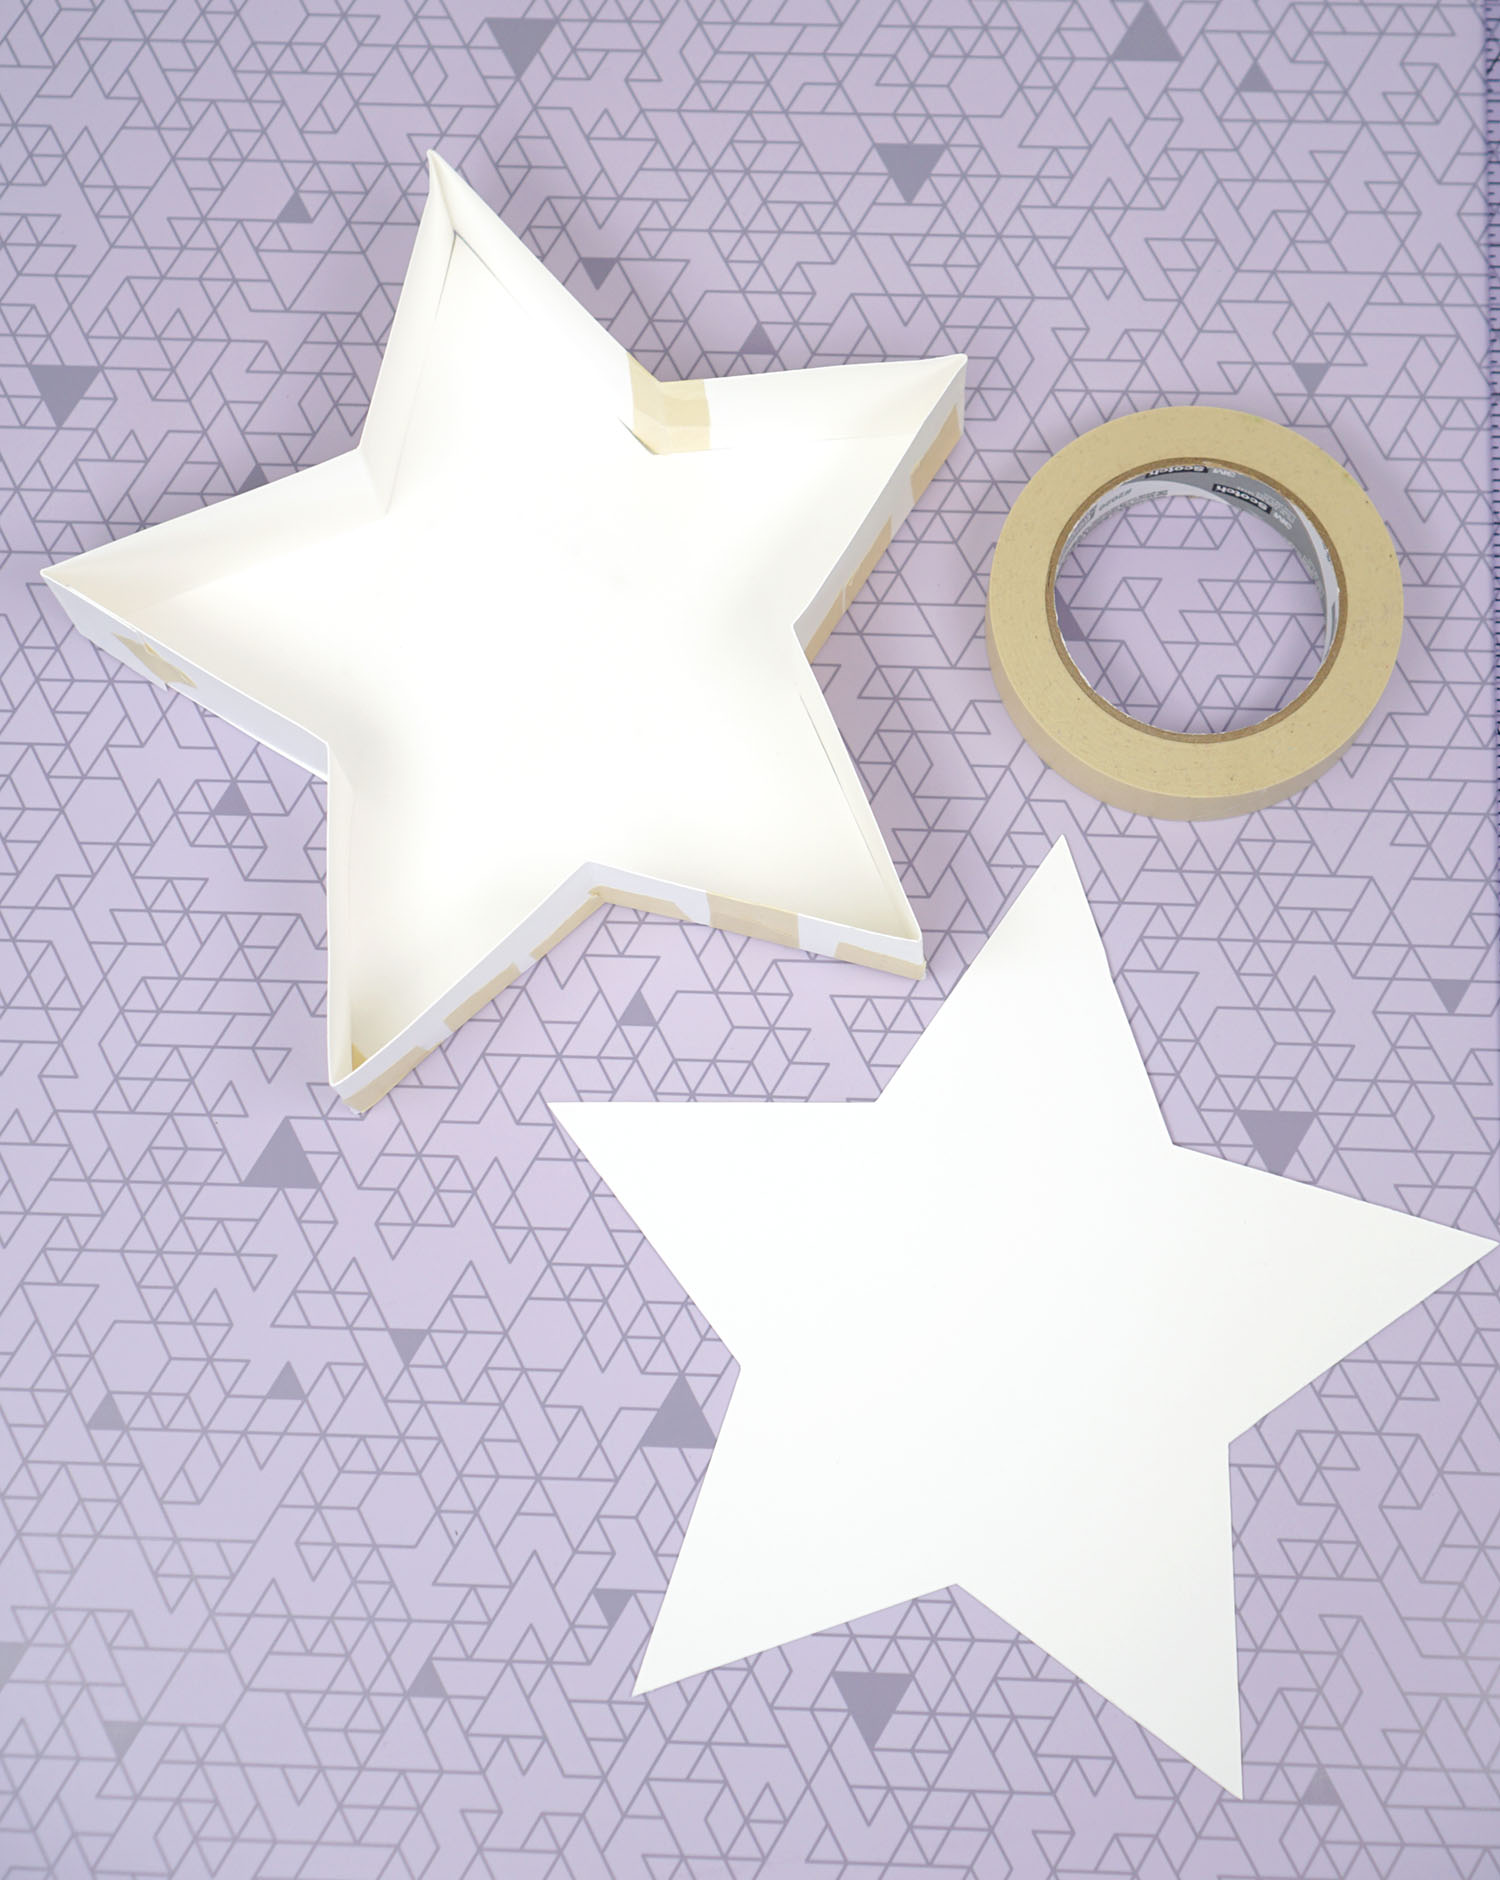
For the next step, use the TrueControl Knife to cut your piñata designs out of two sheets of Kraft Board. For my star piñata form, I created a template out of cardstock and then used the template to cut multiple stars from Kraft Board.
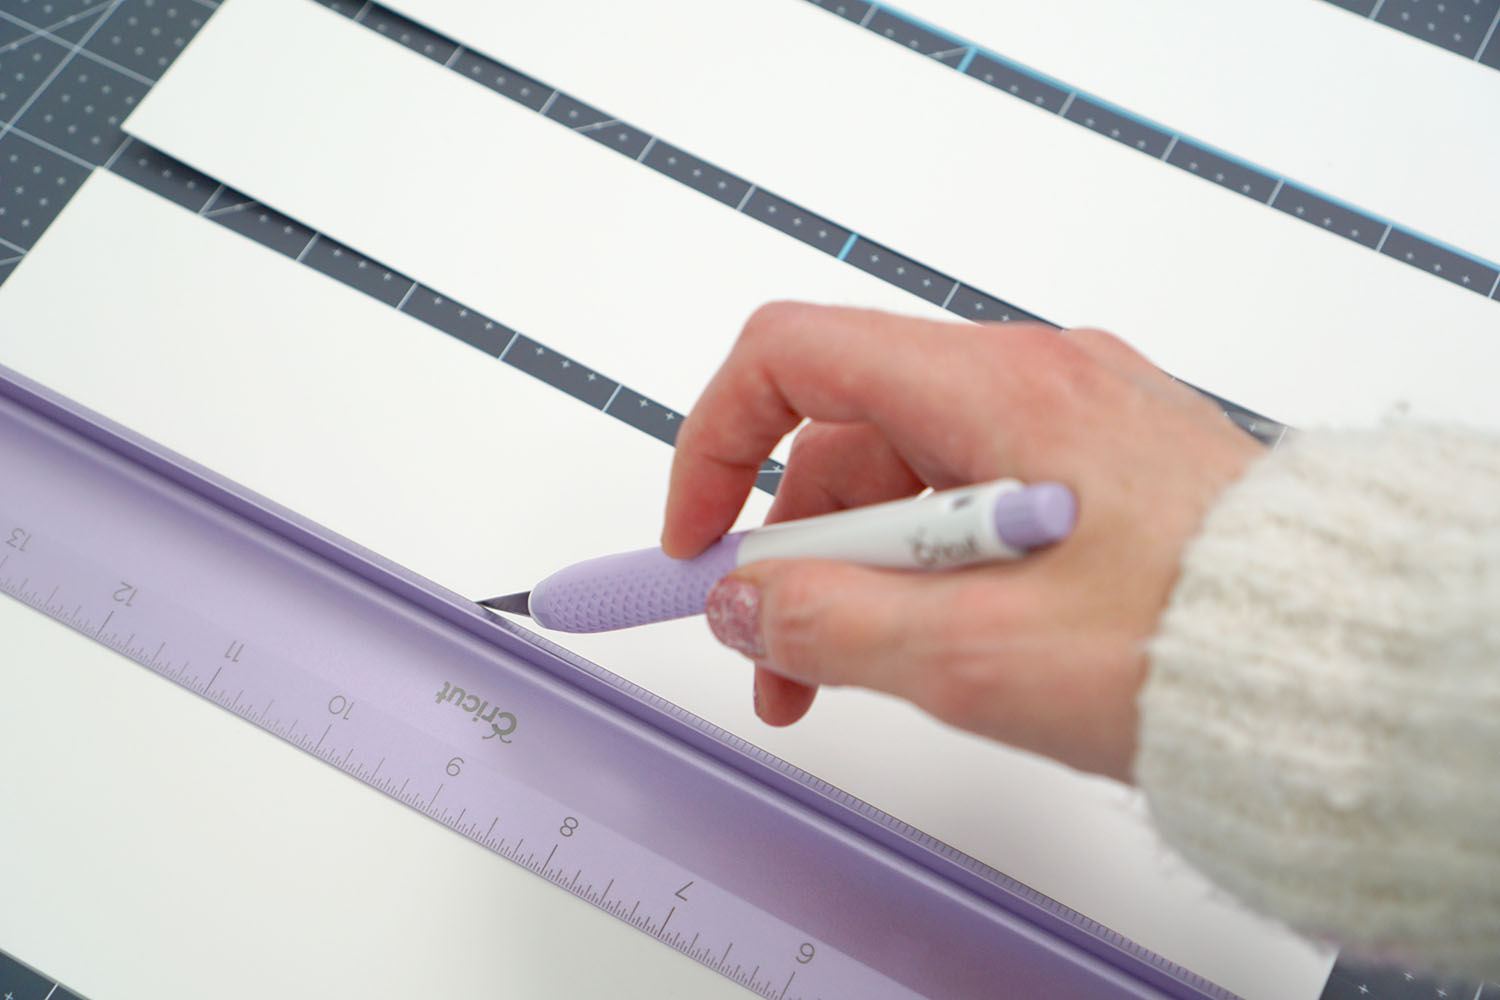
To make the sides of your pinata, you will need to cut several 2″ wide strips of Kraft Board, long enough to wrap around the perimeter of your pinata designs.
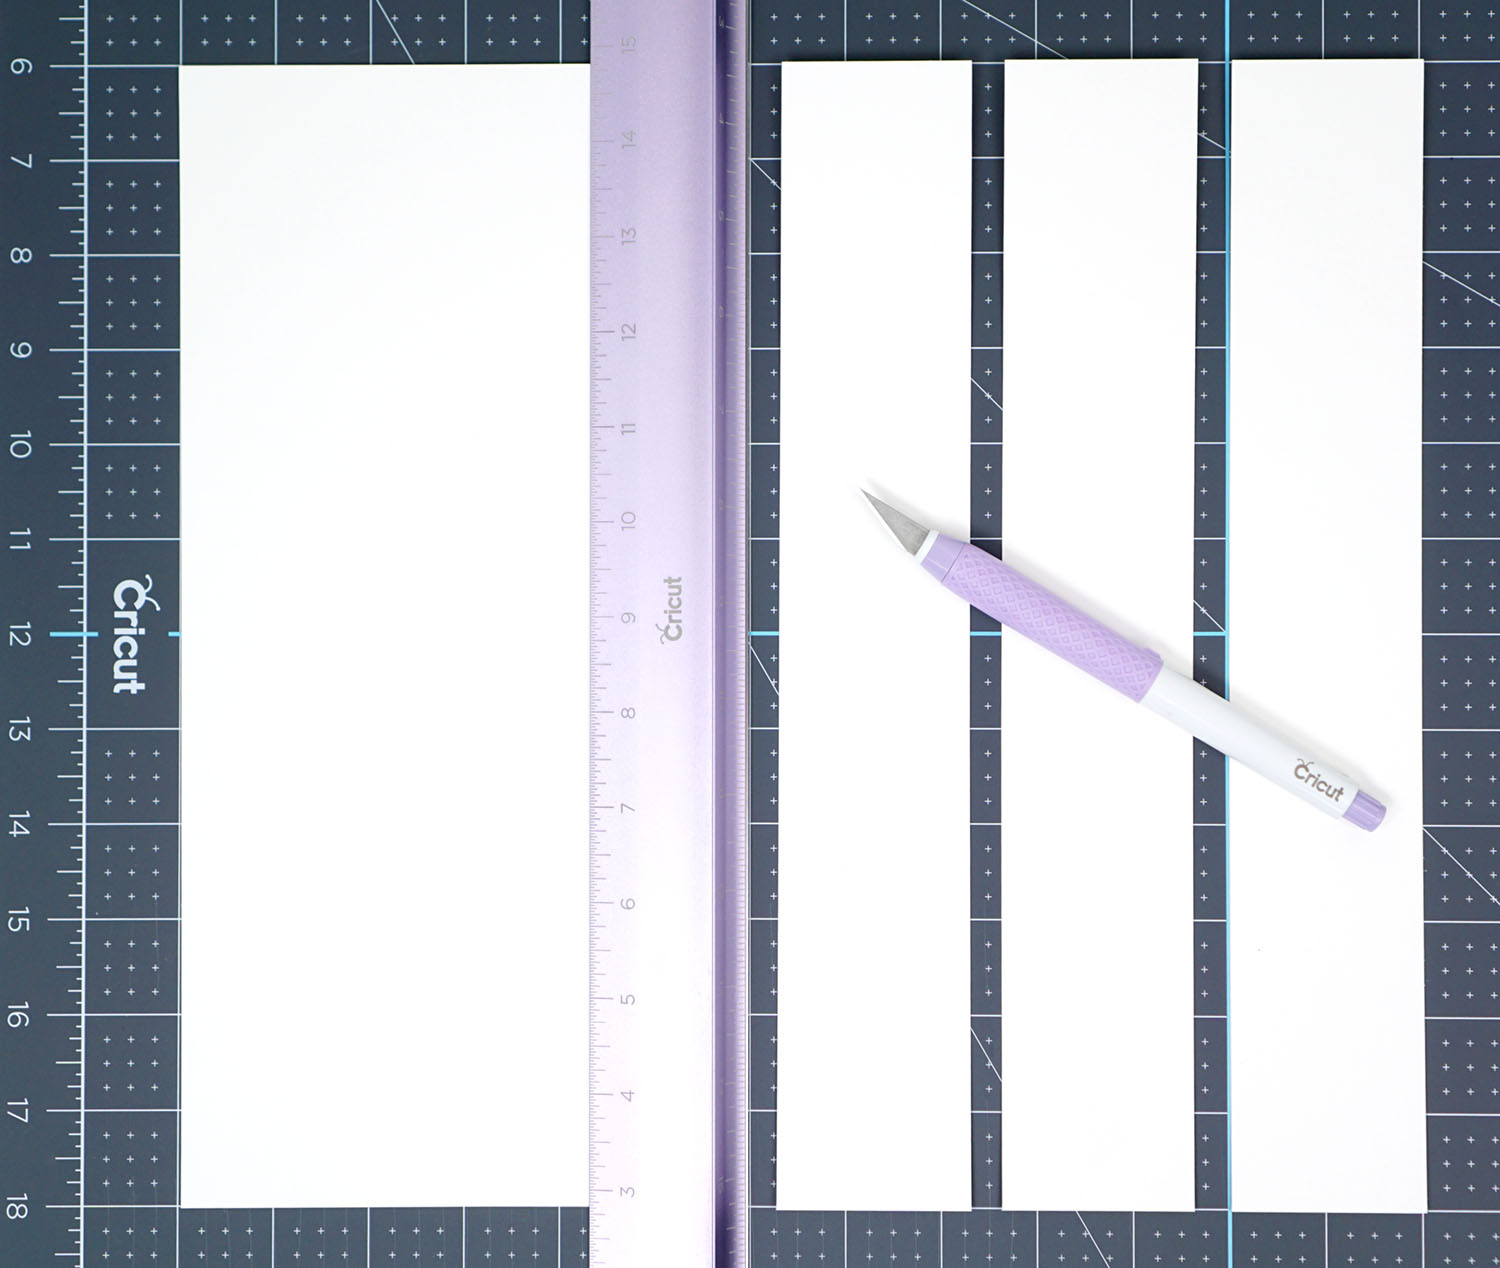
Note: For my 11″ wide star piñata, I needed a 36″ strip of Kraft Board, so I cut (3) 12″ x 2″ strips and pieced them together.
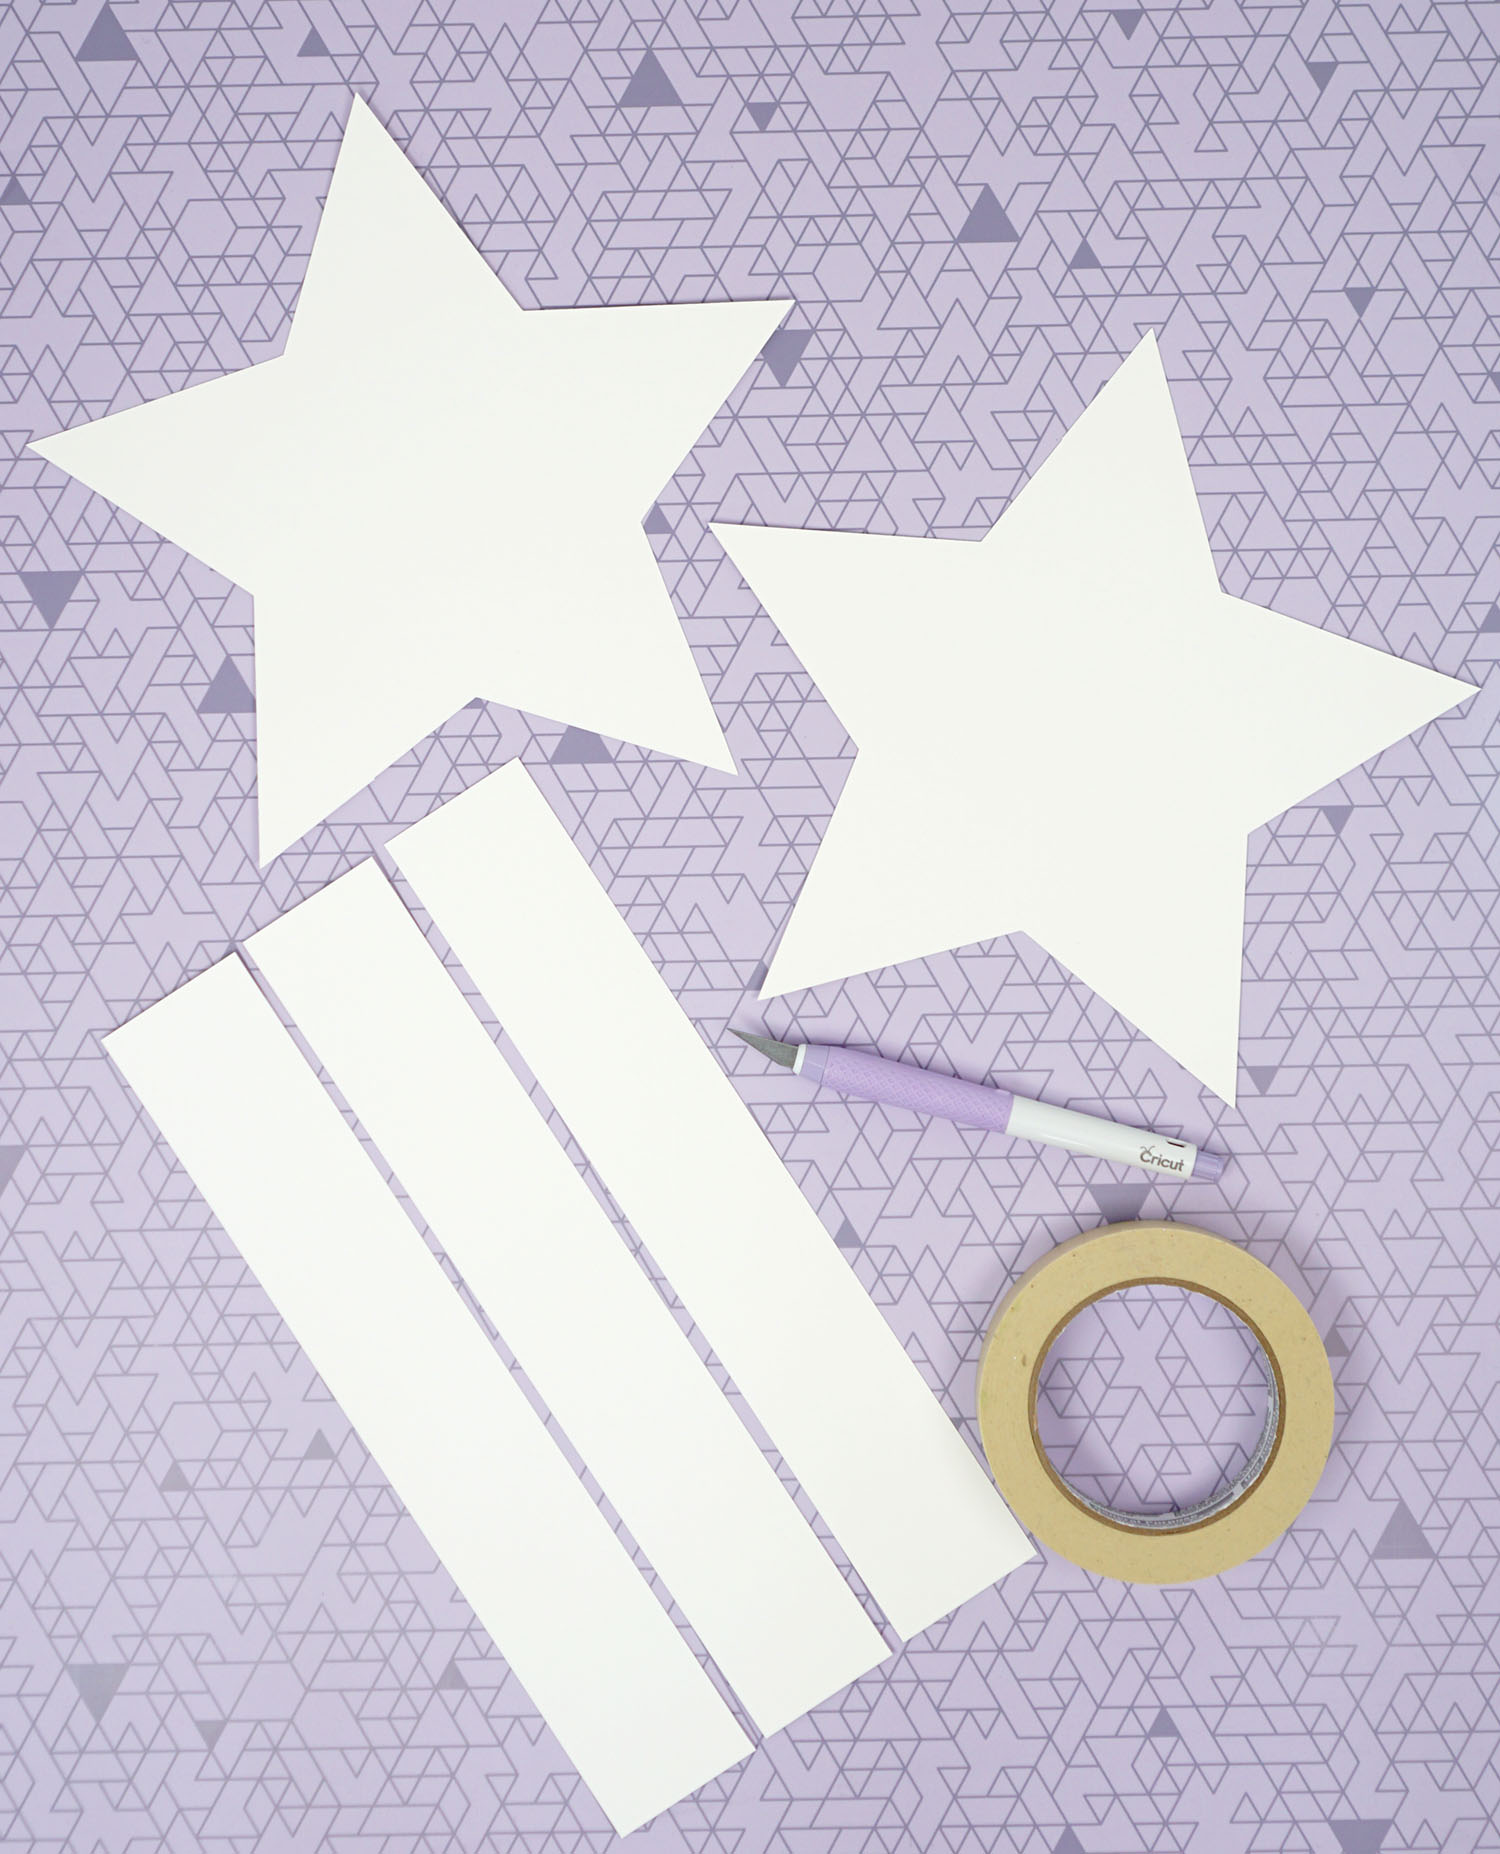
Now, it’s time to assemble the piñata, so grab plenty of masking tape and all of your Kraft Board pieces!
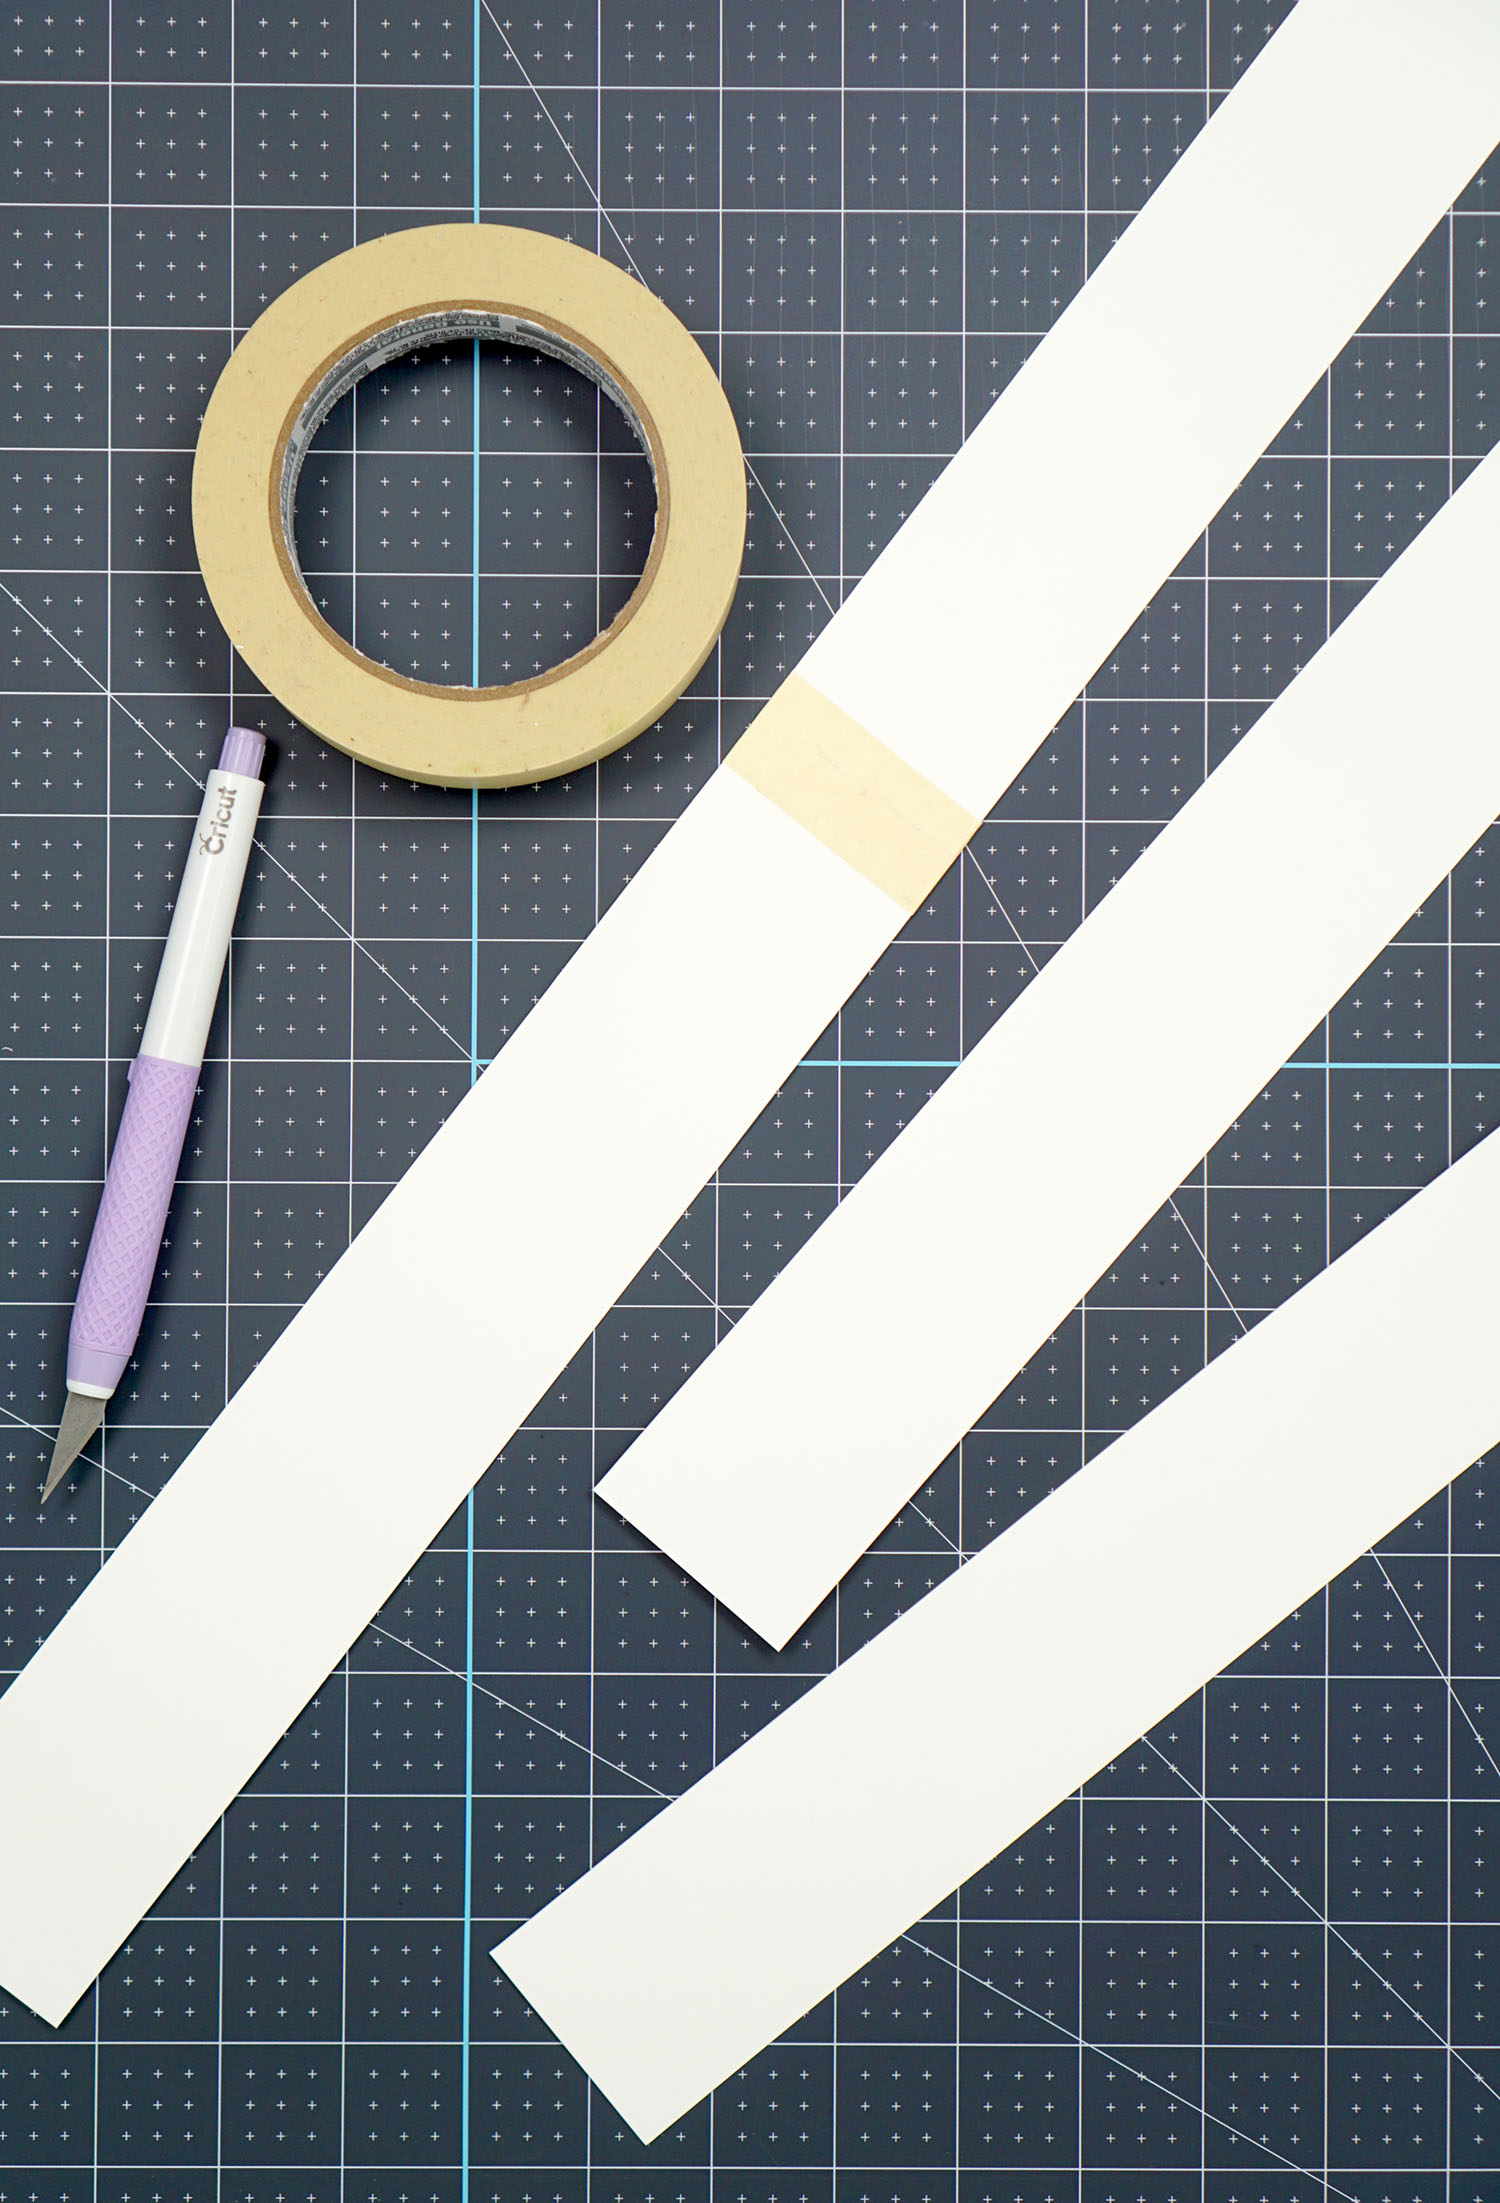
Use the masking tape to piece together the 2″ strips until the desired length is reached.
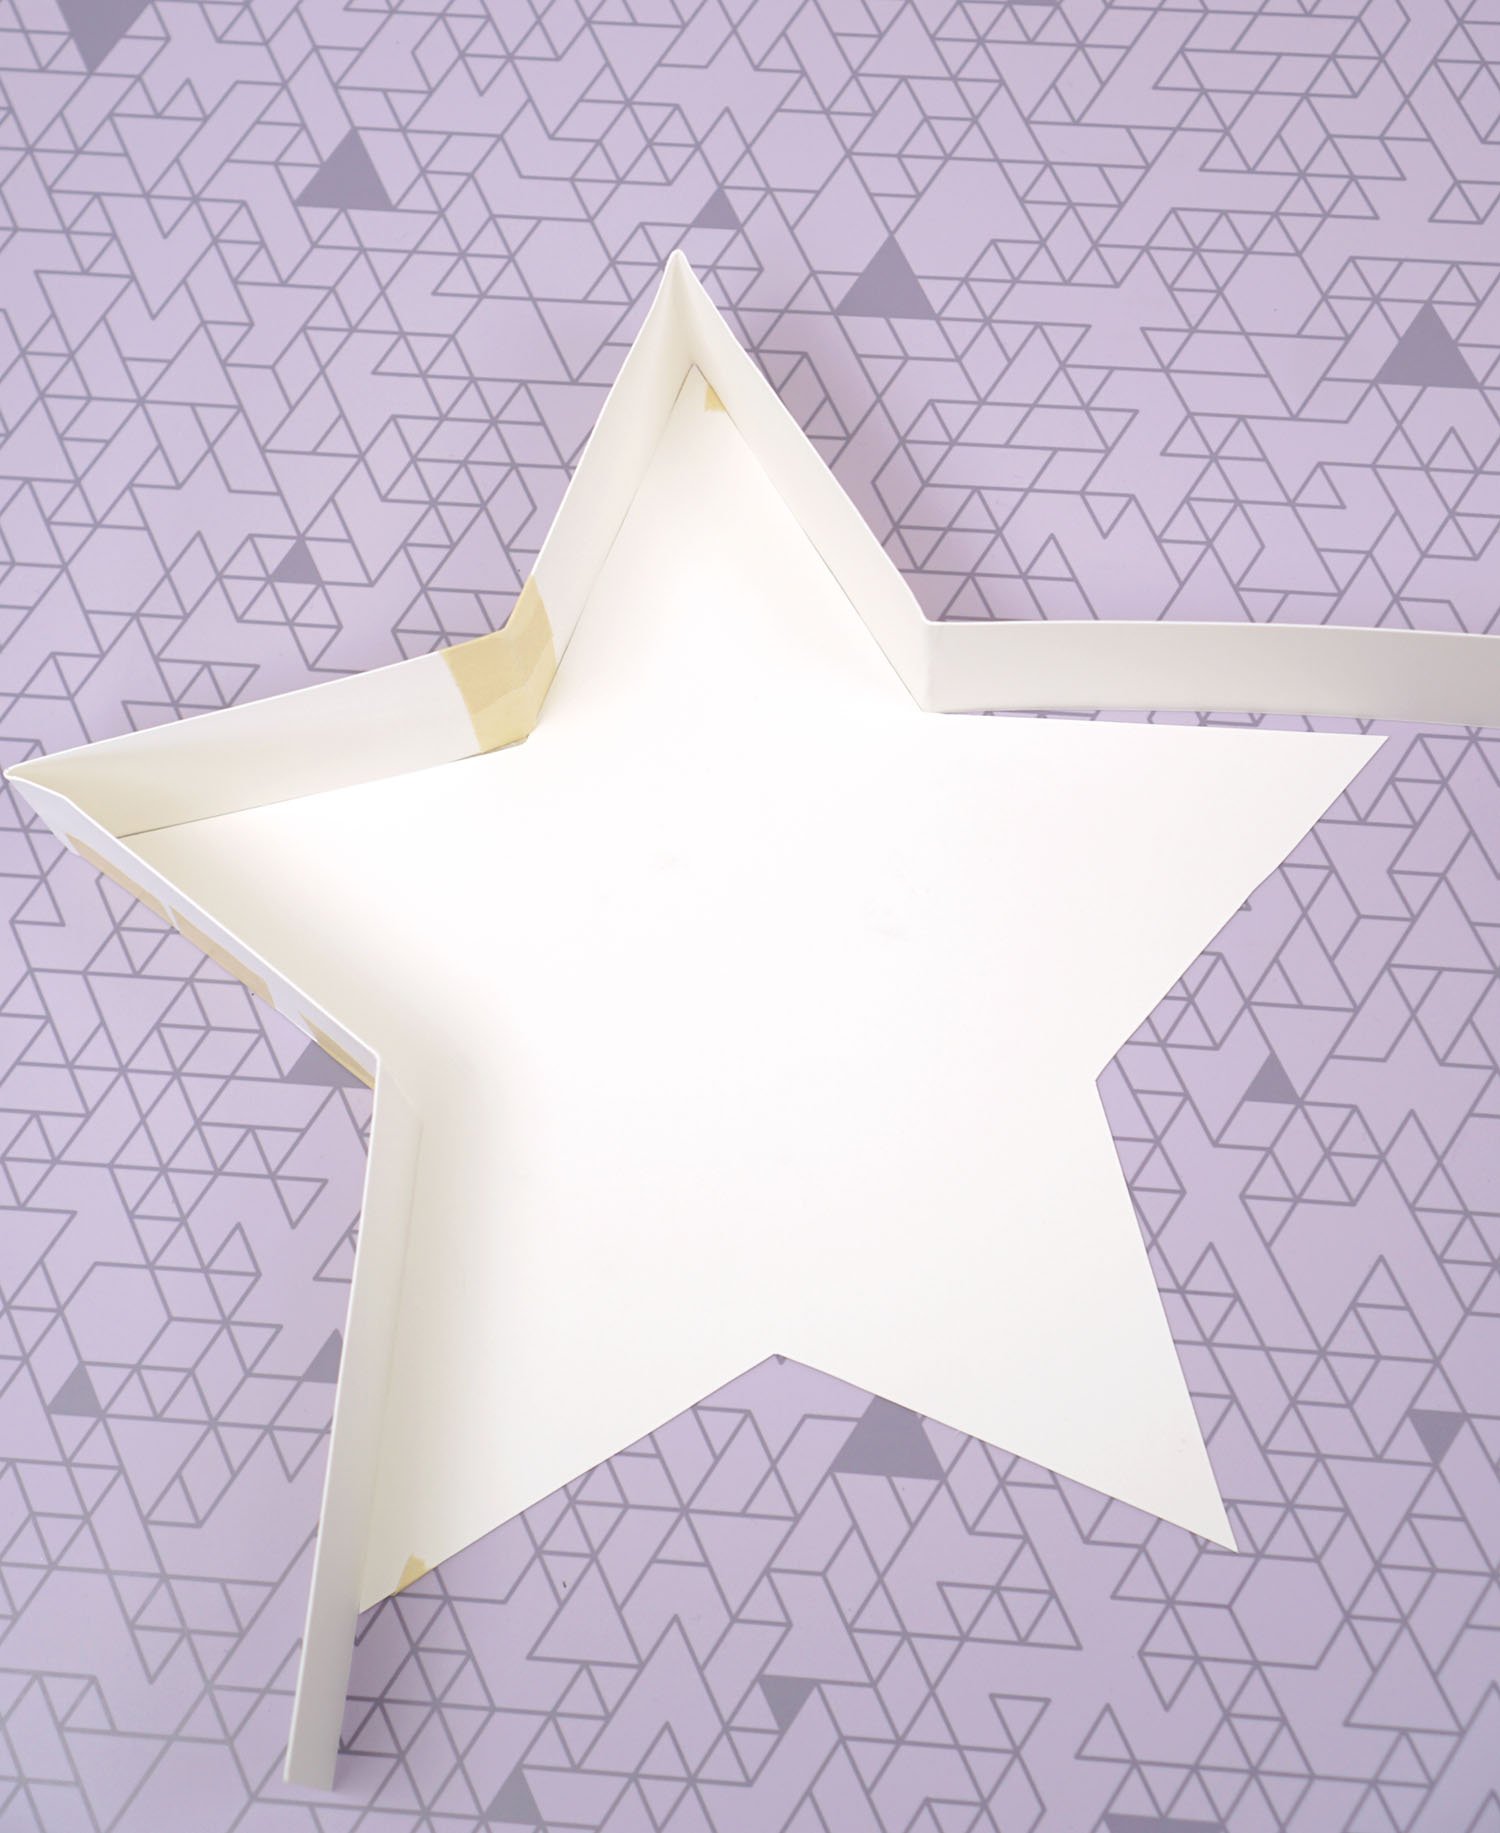
Bend and fold the 2″ wide paper strip to fit the perimeter of your piñata design. Note: start at the location where you would like to fill the piñata, and leave a little bit of overhang at the starting edge.
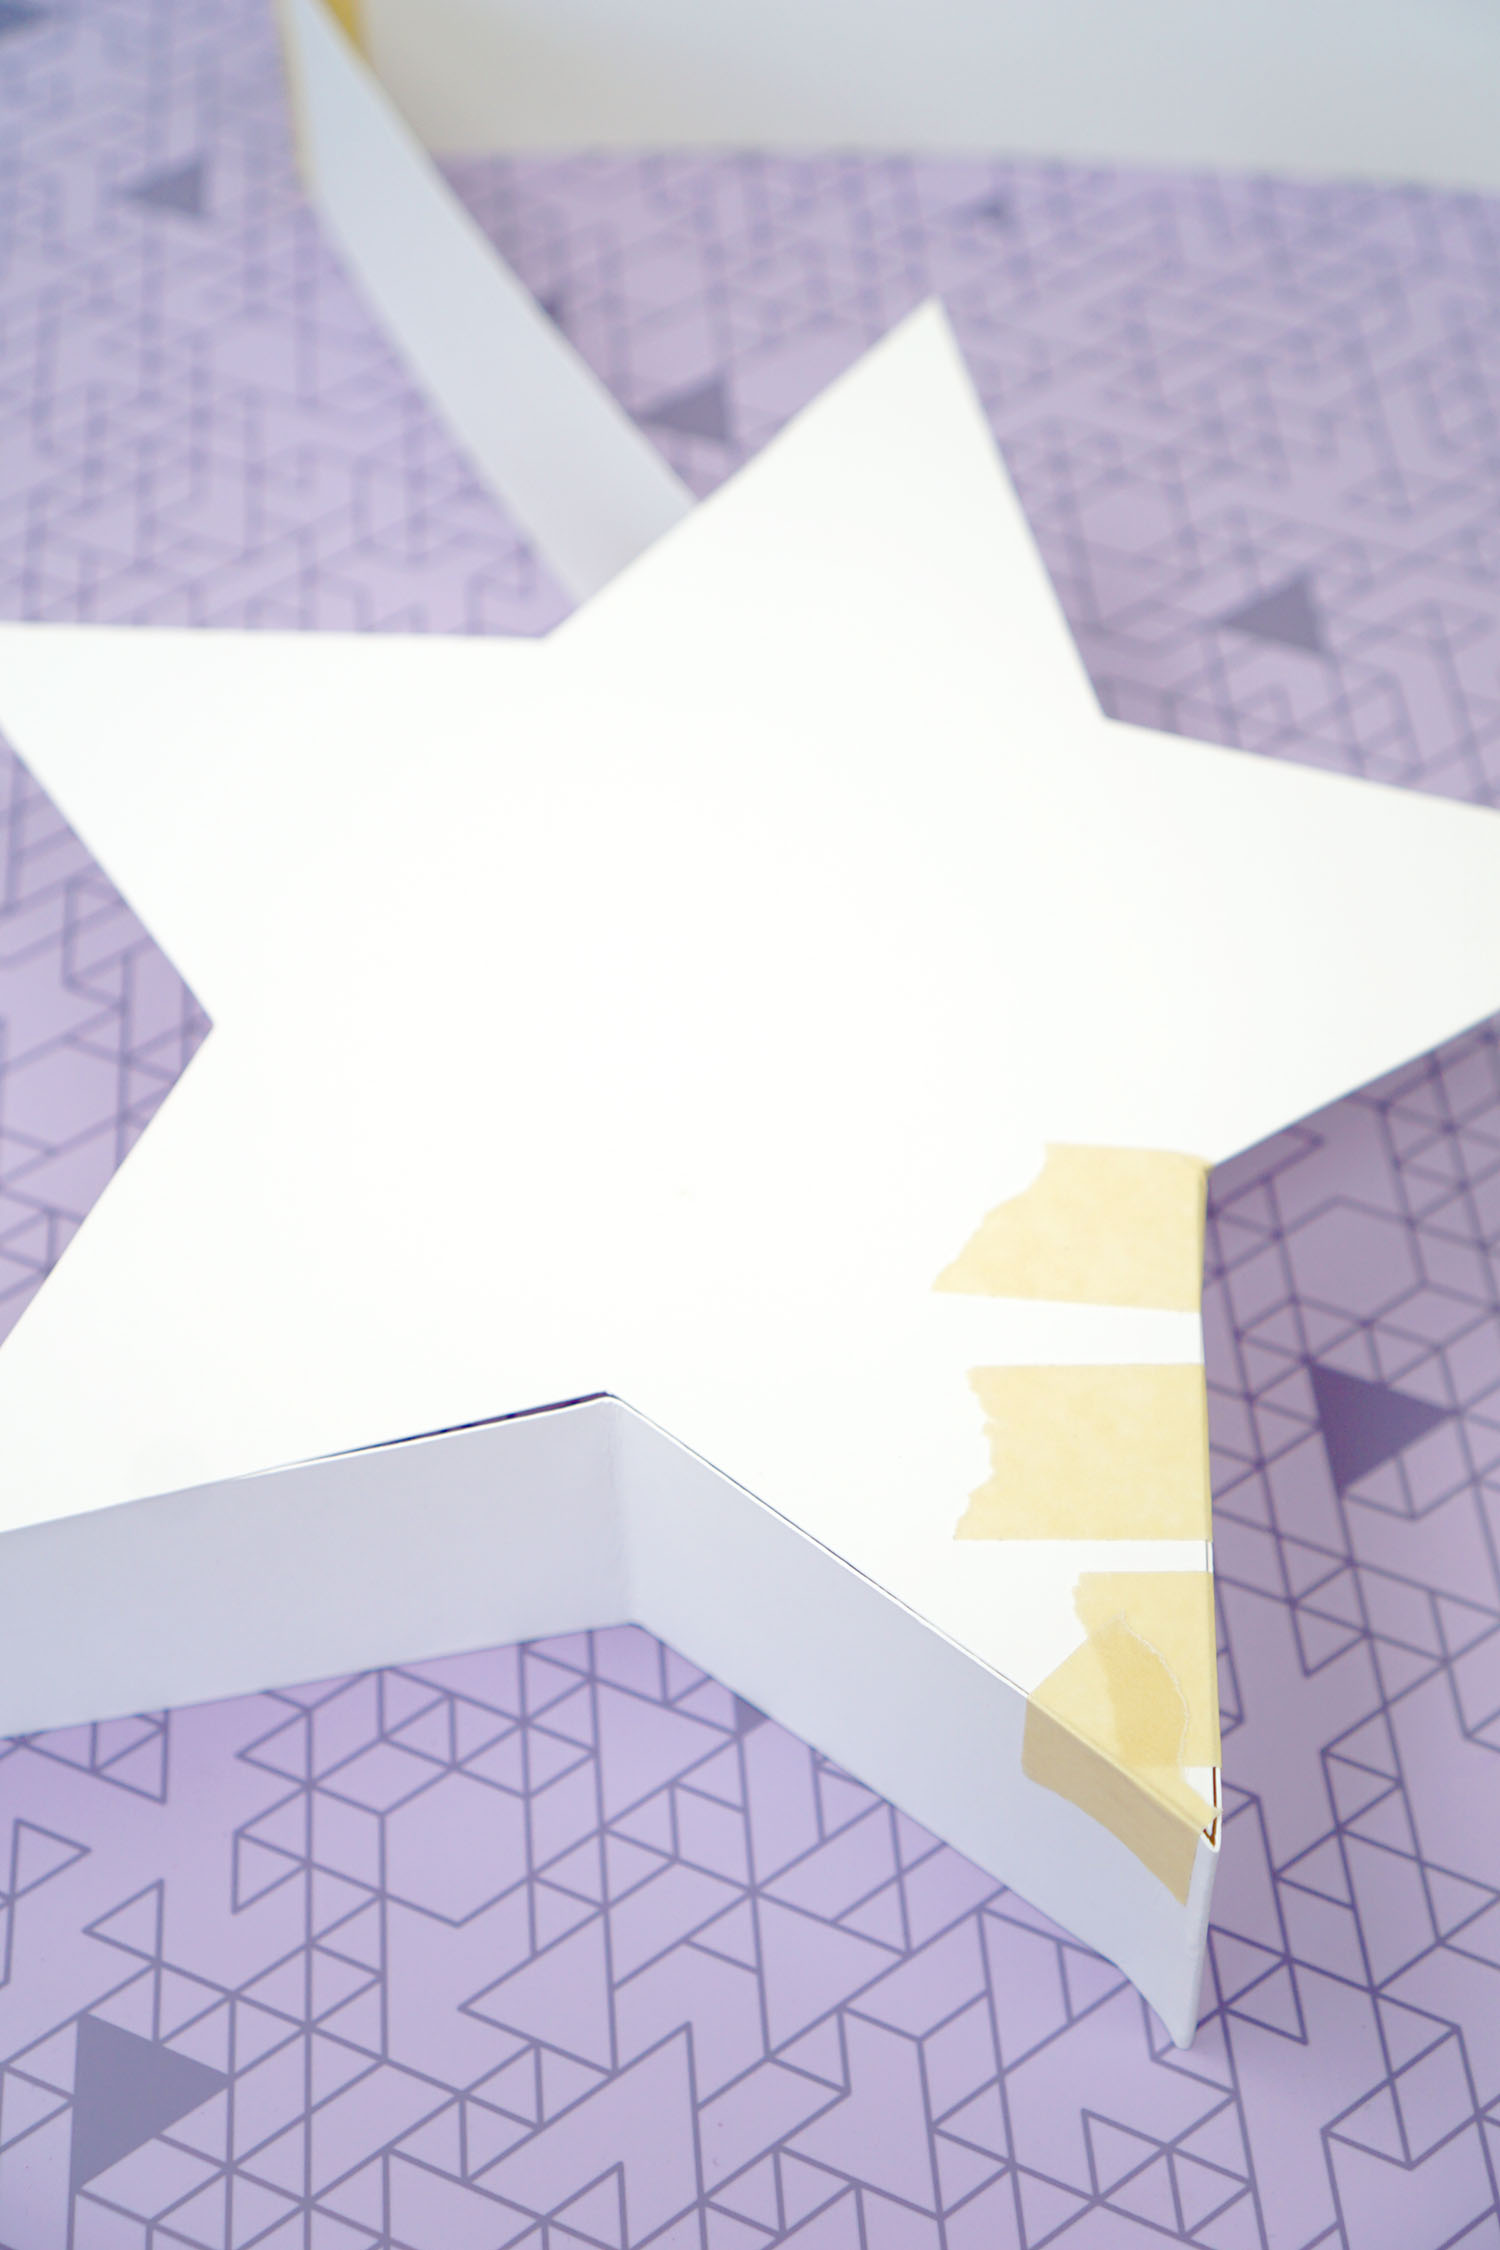
Use the masking tape to adhere the first face of the piñata to the sides.
When you get to the end, leave a small-ish piece of the 2″ strip un-taped (this is where you’ll fill the piñata with plenty of candy and small toys later!).
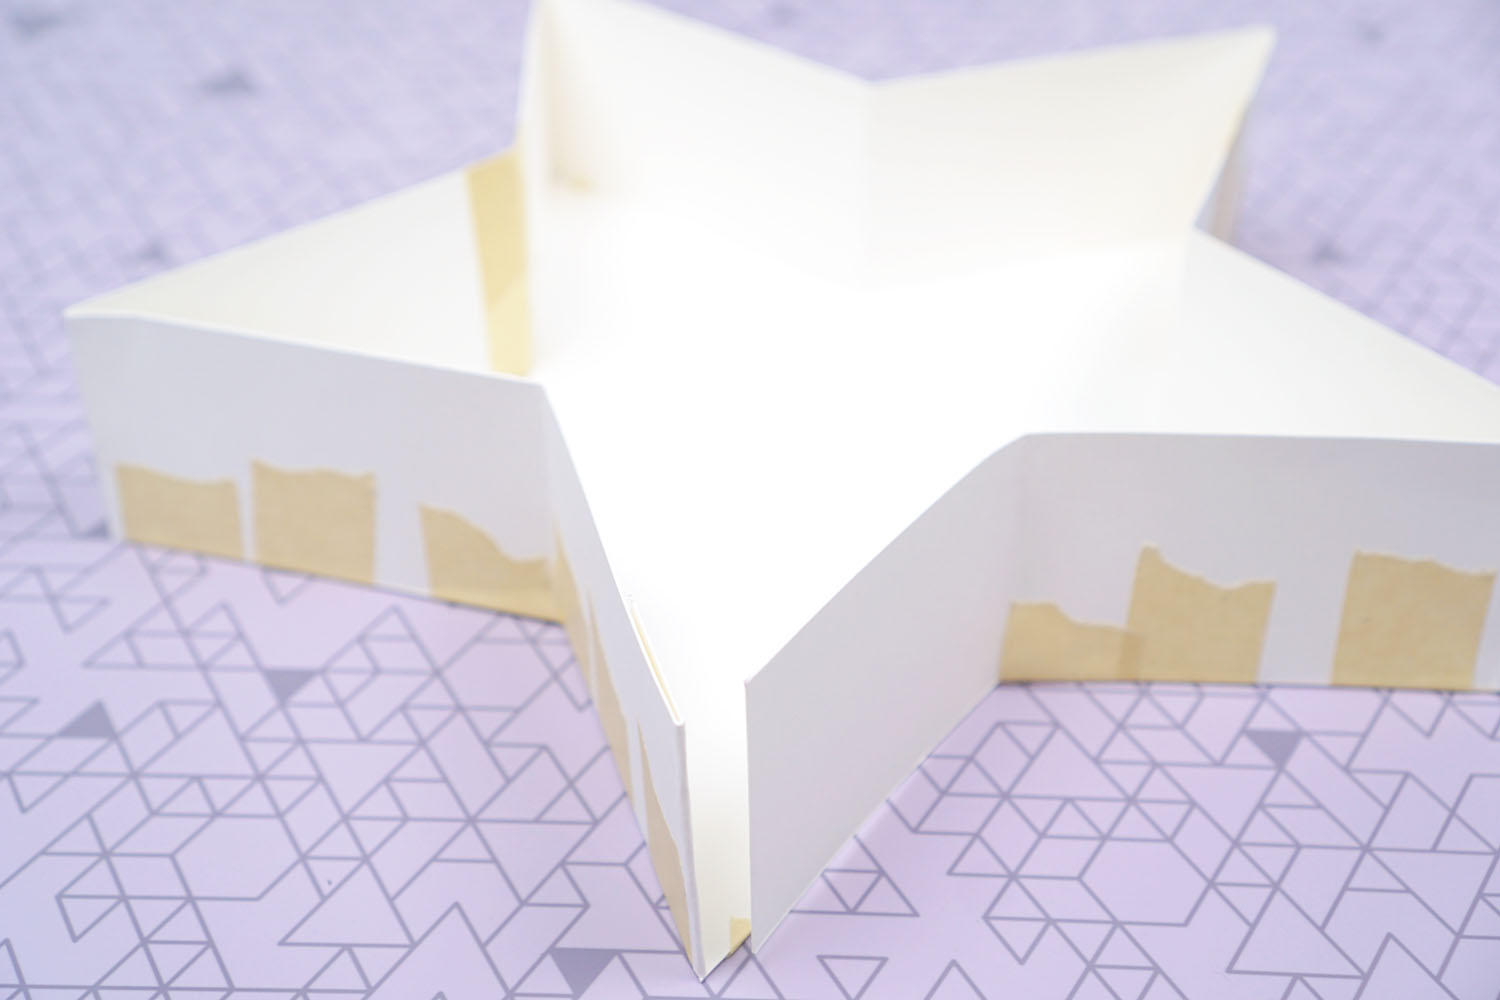
Repeat the process with the second face of the piñata.

When you’re finished assembling the piñata, fill up your finished product with treats, goodies, and small novelty toys. Seal the opening with additional masking tape.
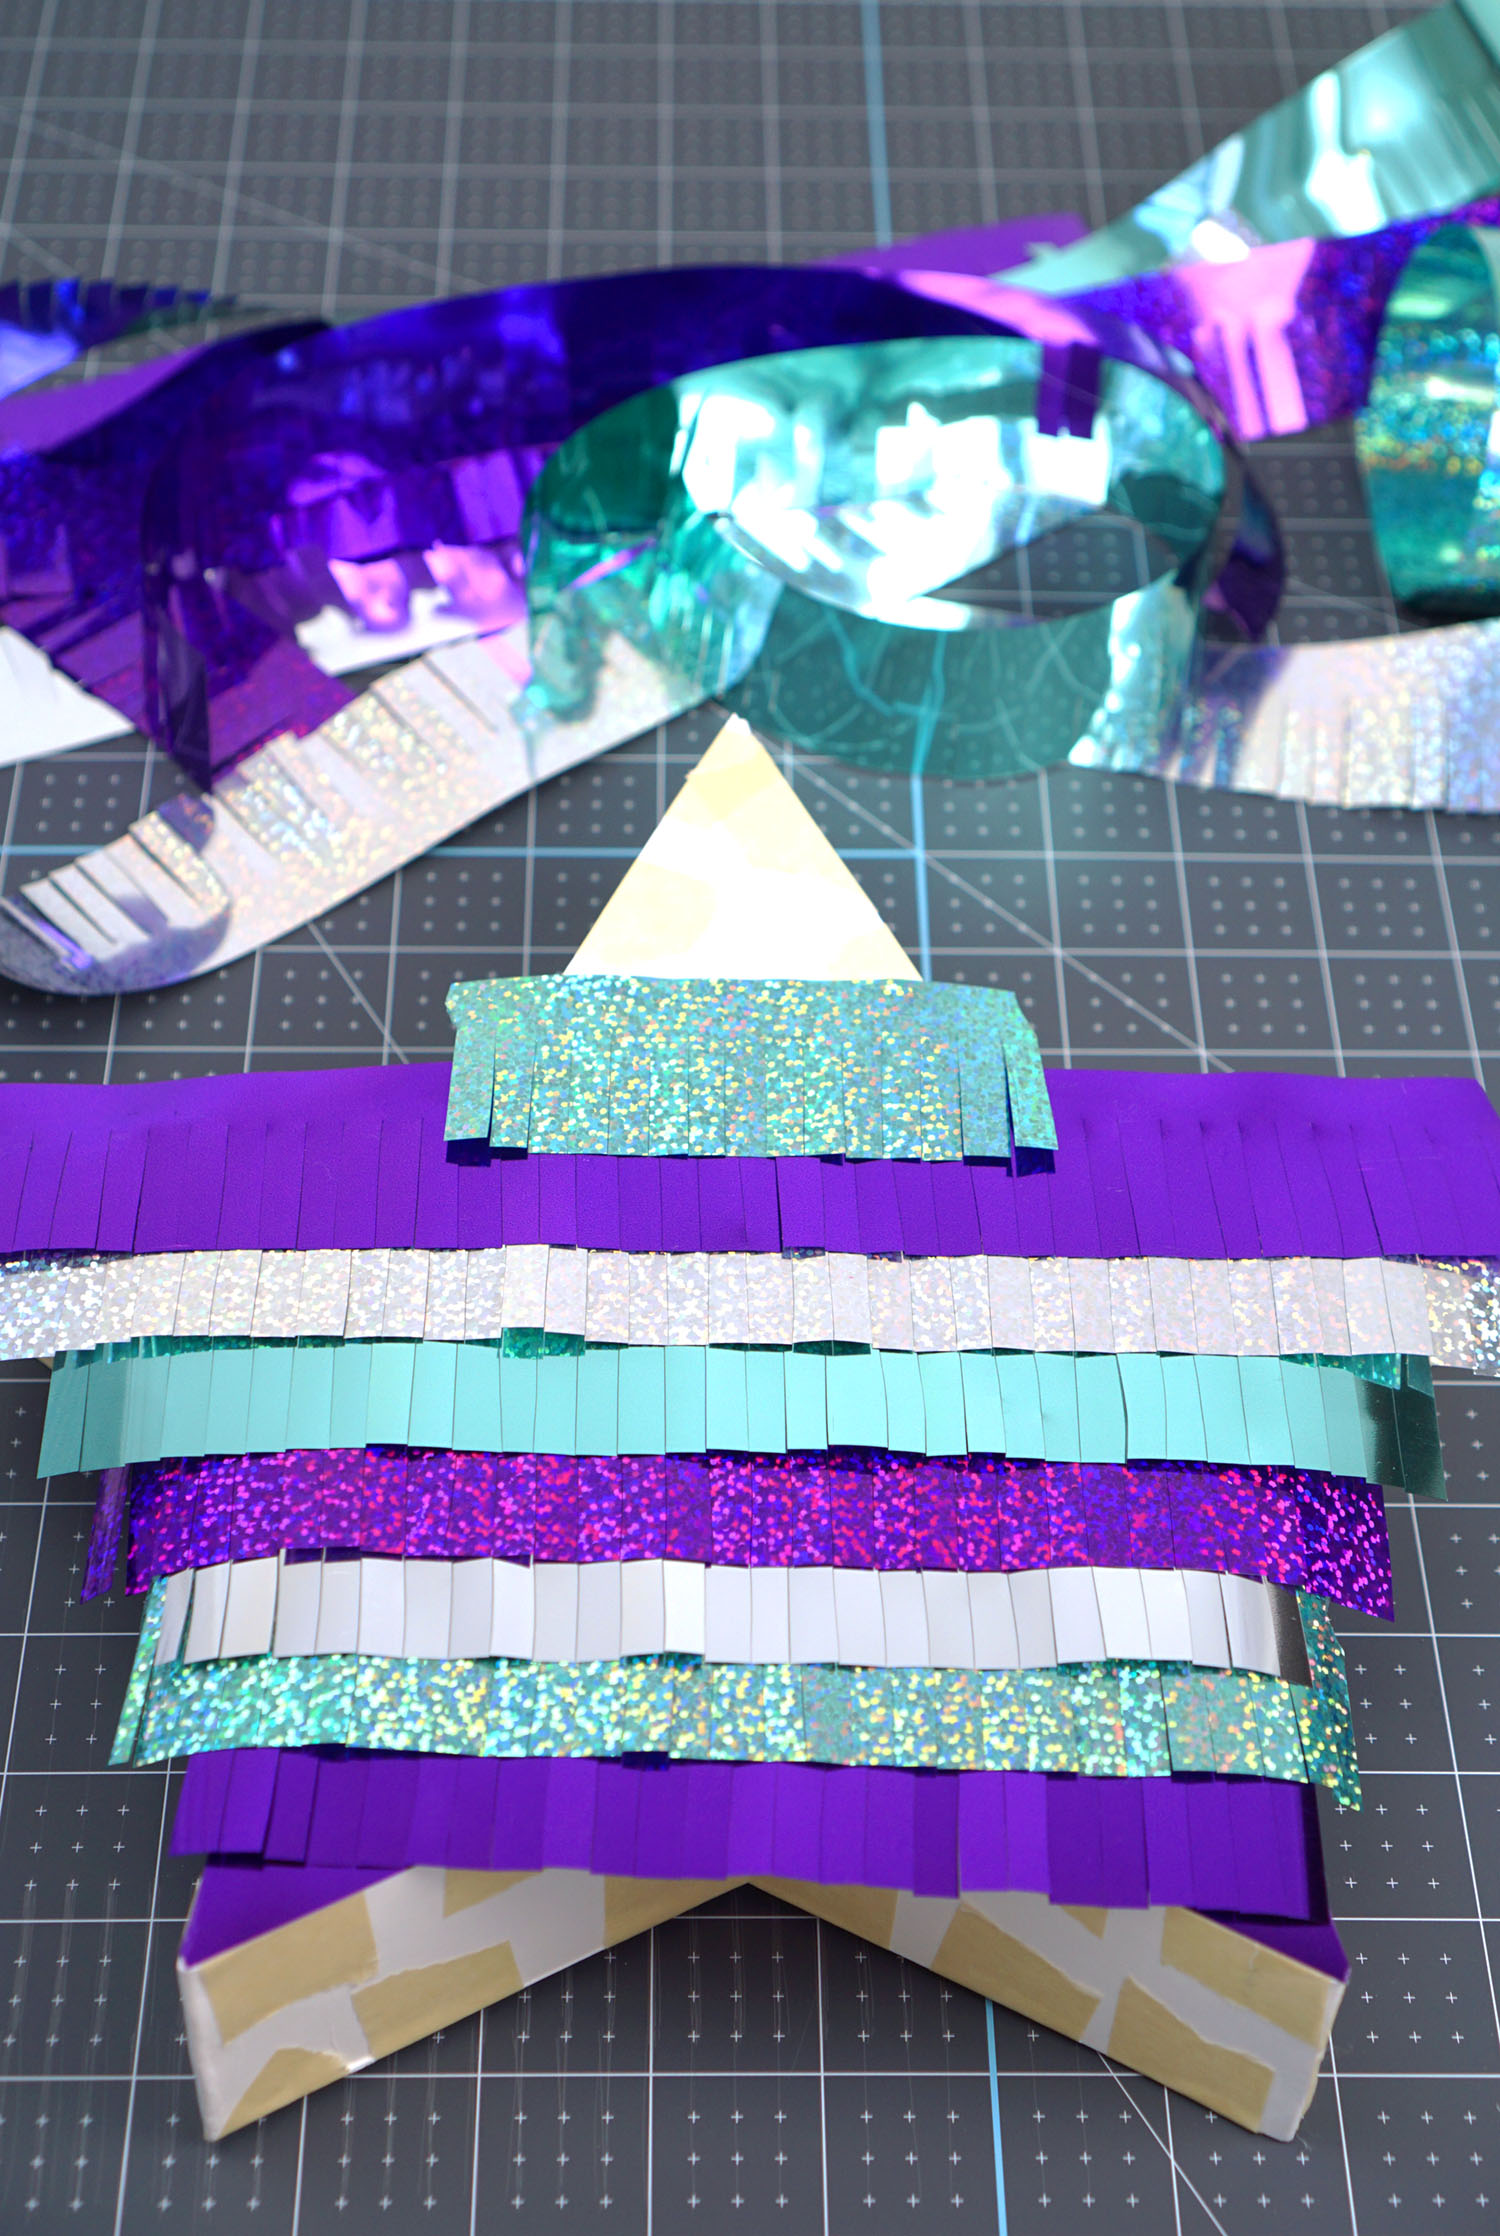
Use the hot glue gun to layer the strips of fringed Party Foil over the piñata until the entire surface is covered.
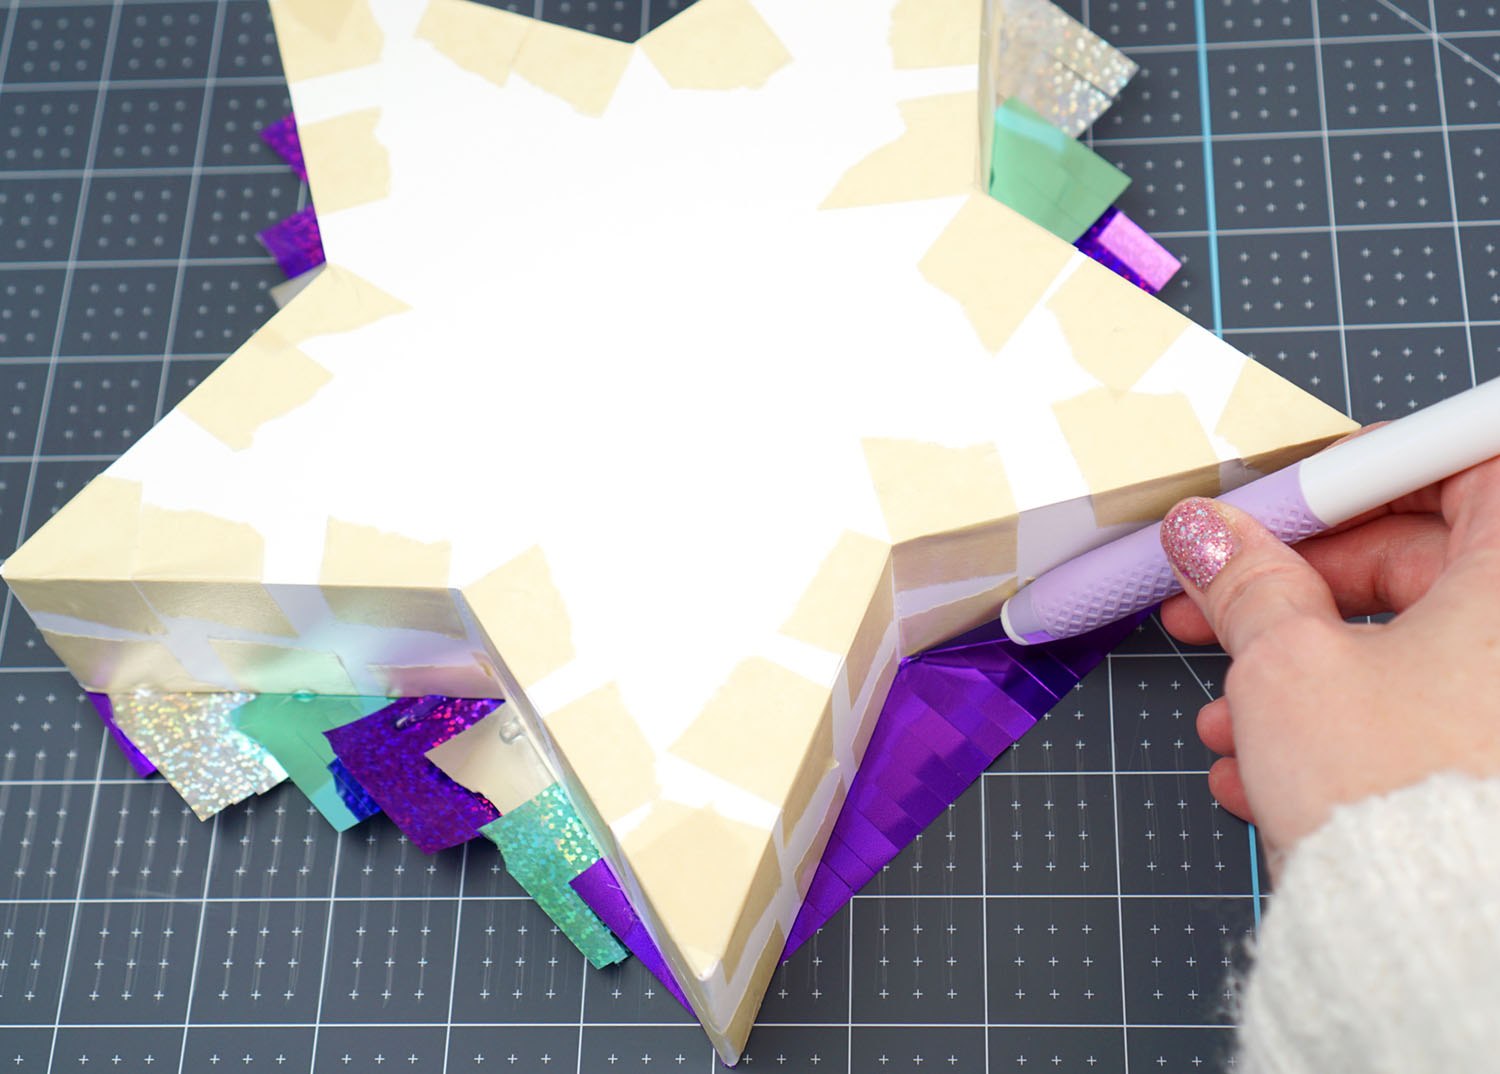
Trim any excess overhang with the TrueControl knife.
Repeat the process for the opposite side.
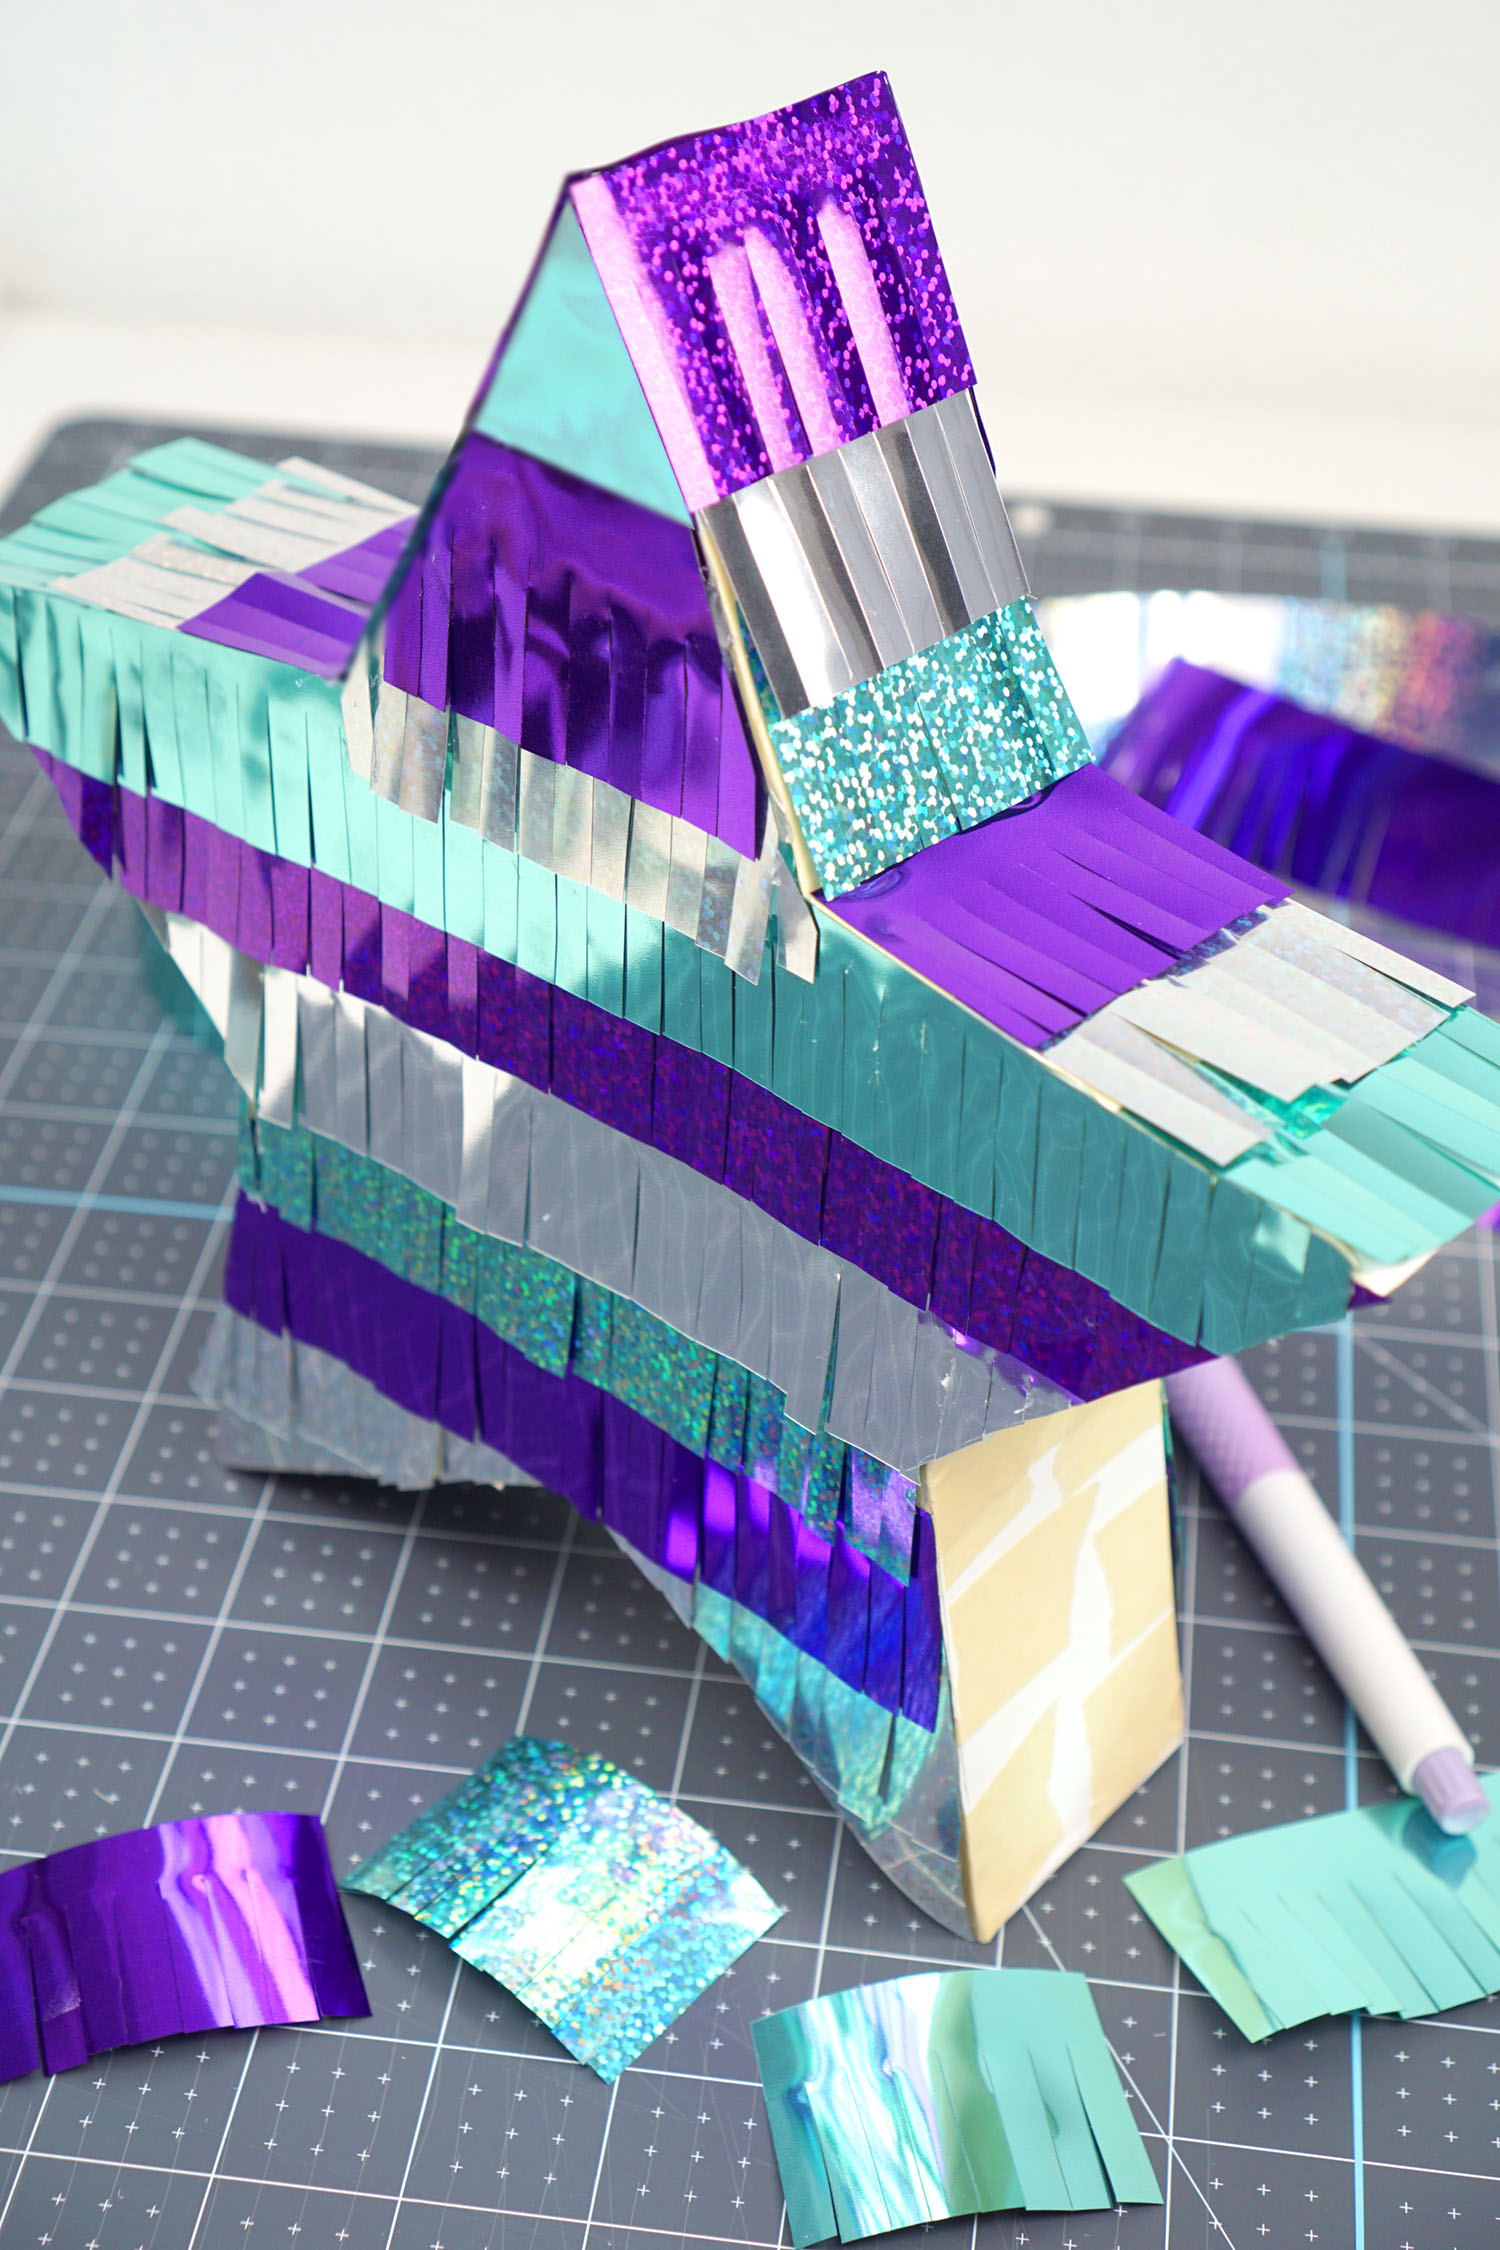
For the sides, layer 2″ wide strips of Party Foil fringe. Once finished, poke a small hole near the top of the piñata so you can string it.
Note: Depending on the shape of your pinata, you may be able to continuously wrap strips of Party Foil around the entire project instead of decorating the faces and edges separately. Please use your discretion and see which method works best for your piñata style!

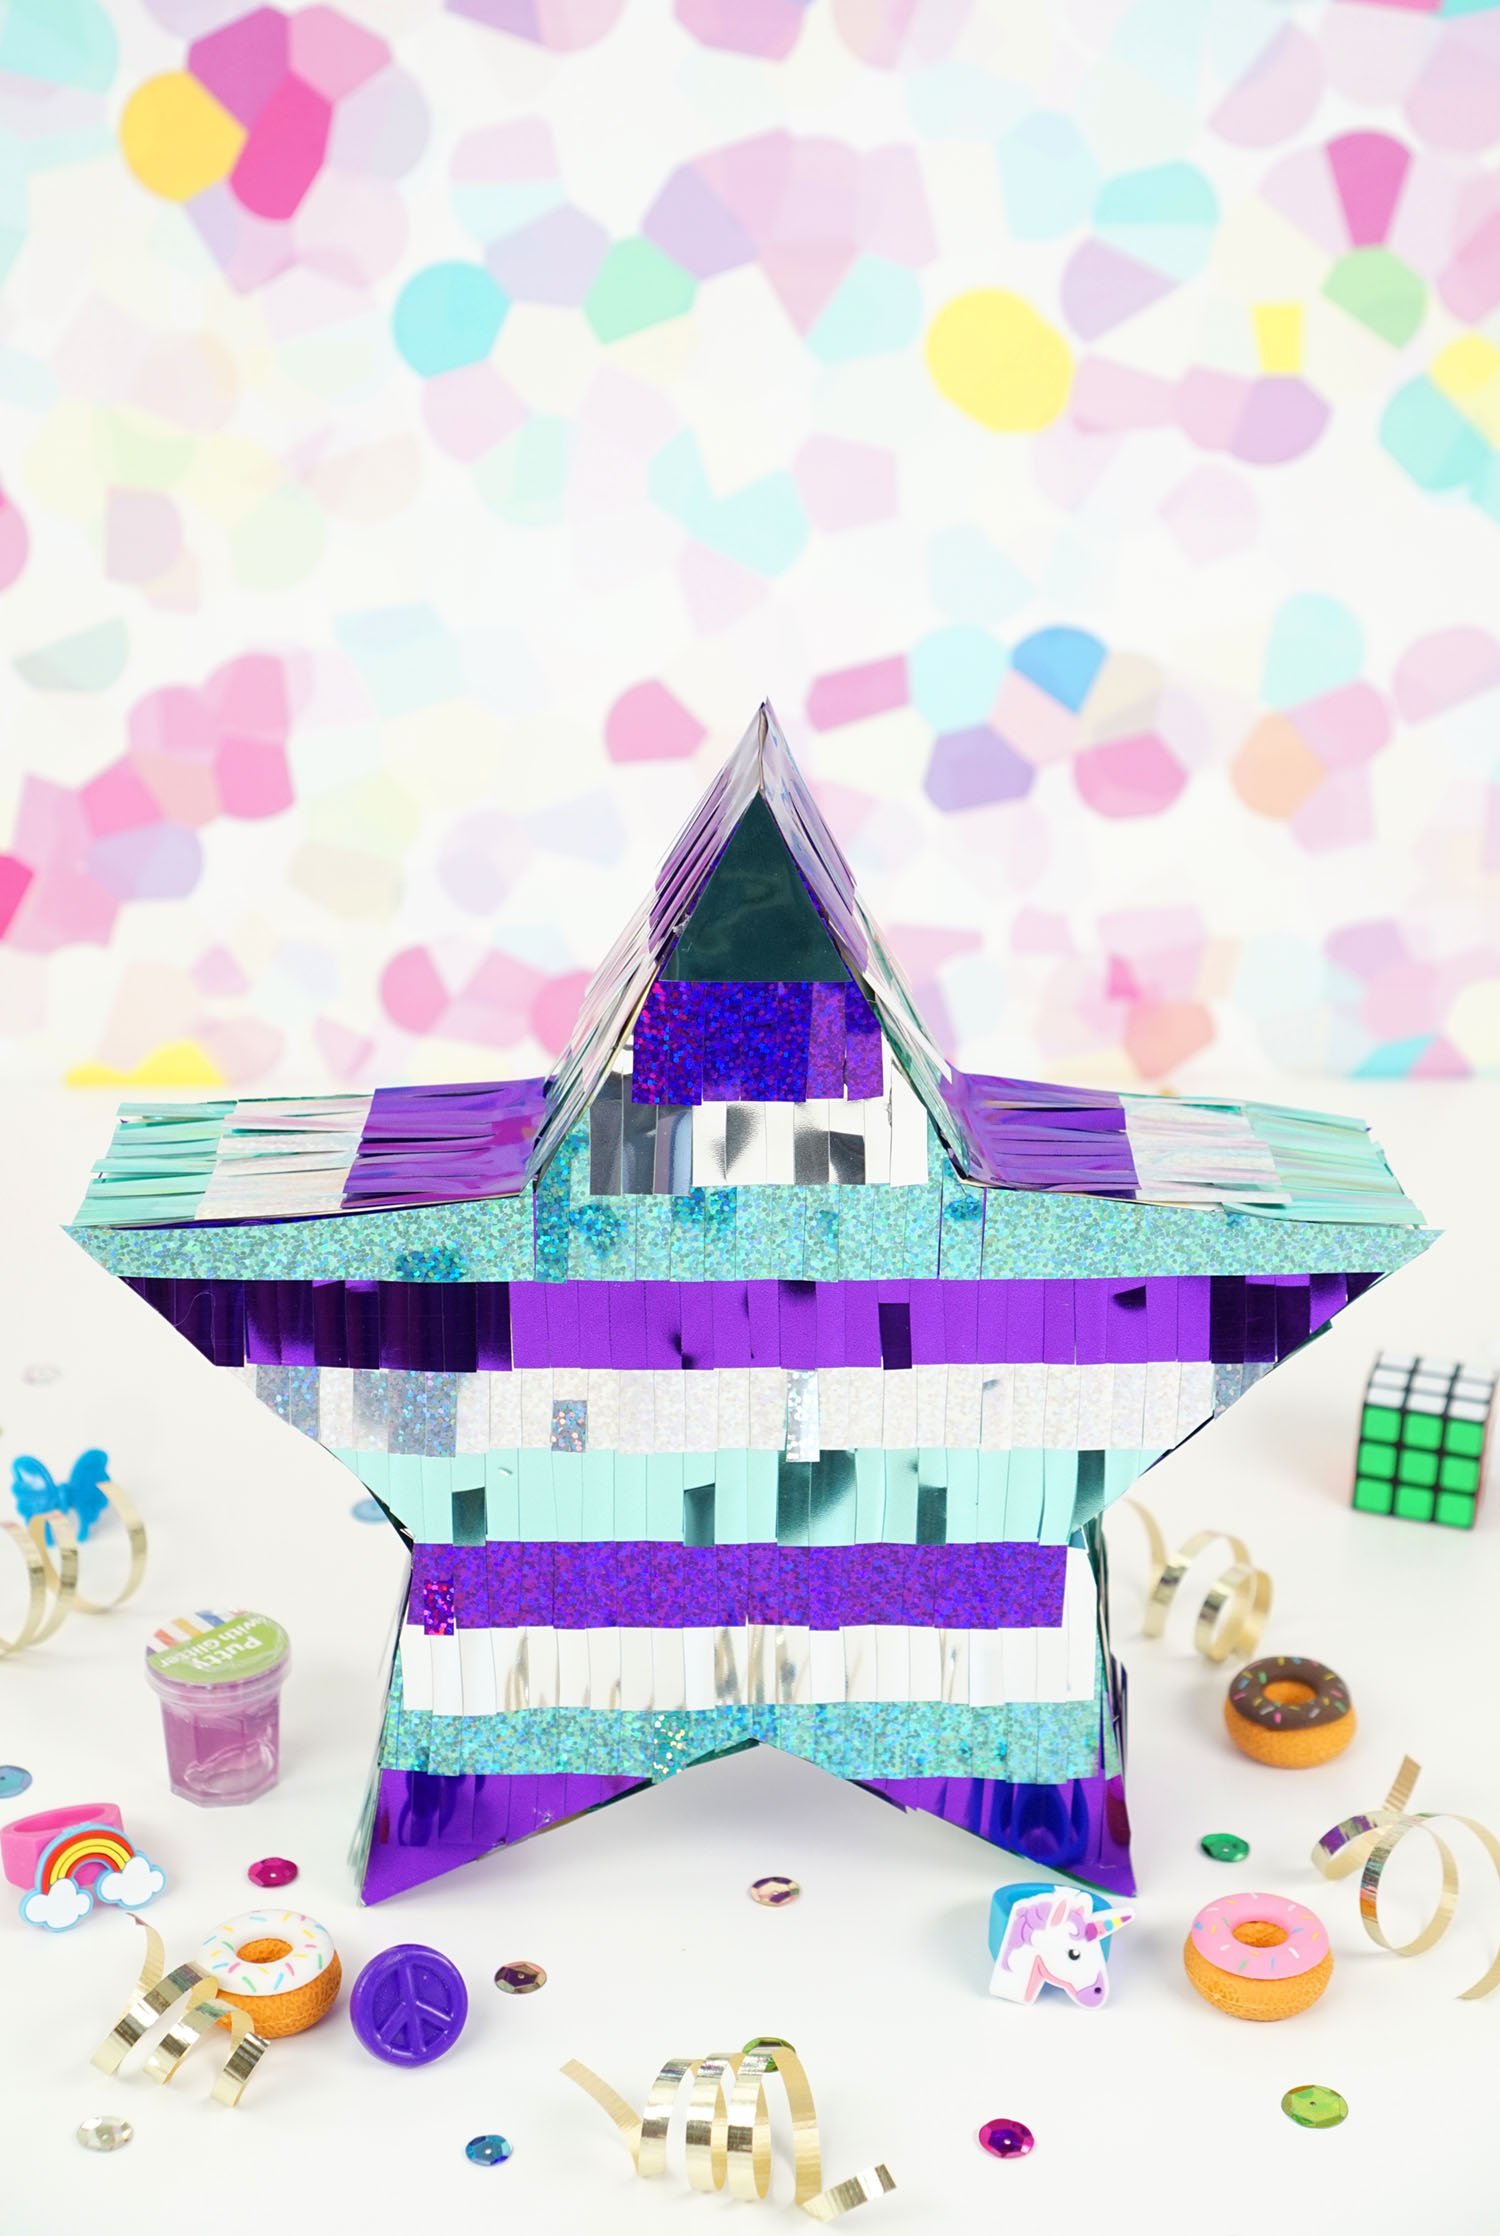
Once you’ve mastered the basic technique, you can make piñatas in all kinds of different shapes and sizes! It’s so easy and so much fun!
Now that you’ve learned how to make a piñata of your own, you can make them to match all of your different party themes and decor! Piñatas always make a party better!

Check Out These Other Party Ideas!
 35+ Fun New Year’s Eve Games
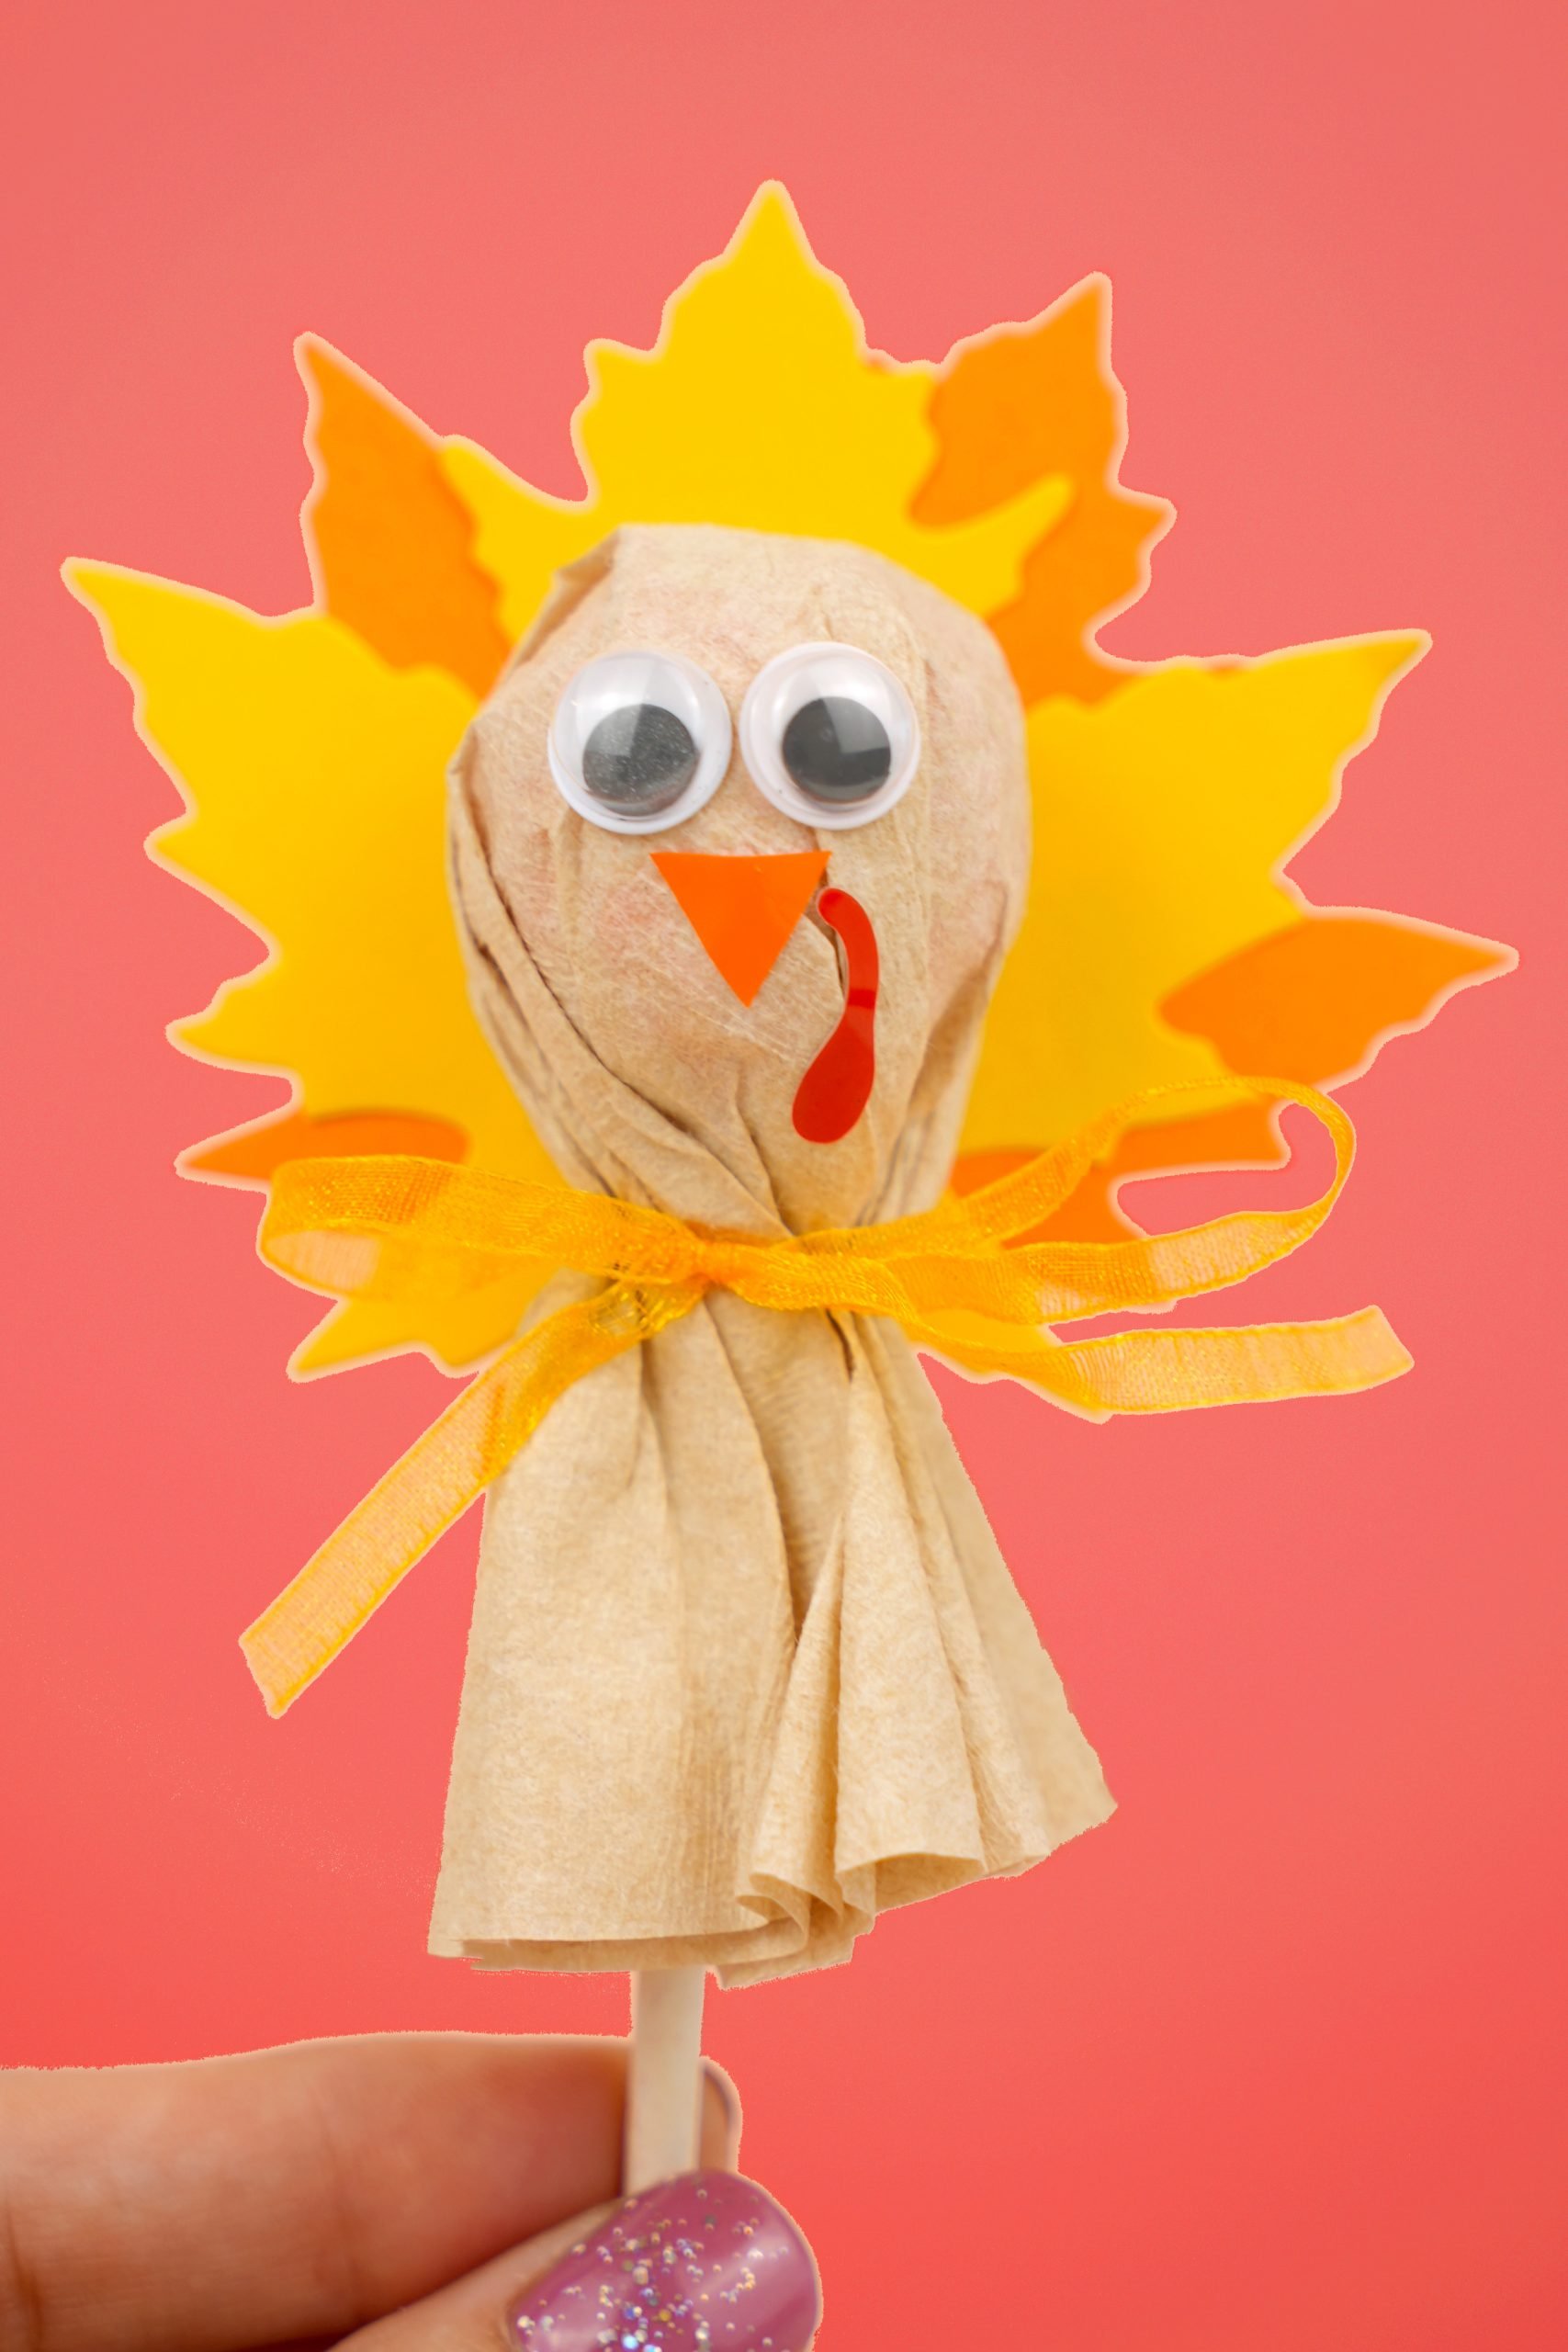
 Thanksgiving Treats: Turkey Lollipops
 35+ Fun Christmas Games for Kids & Adults
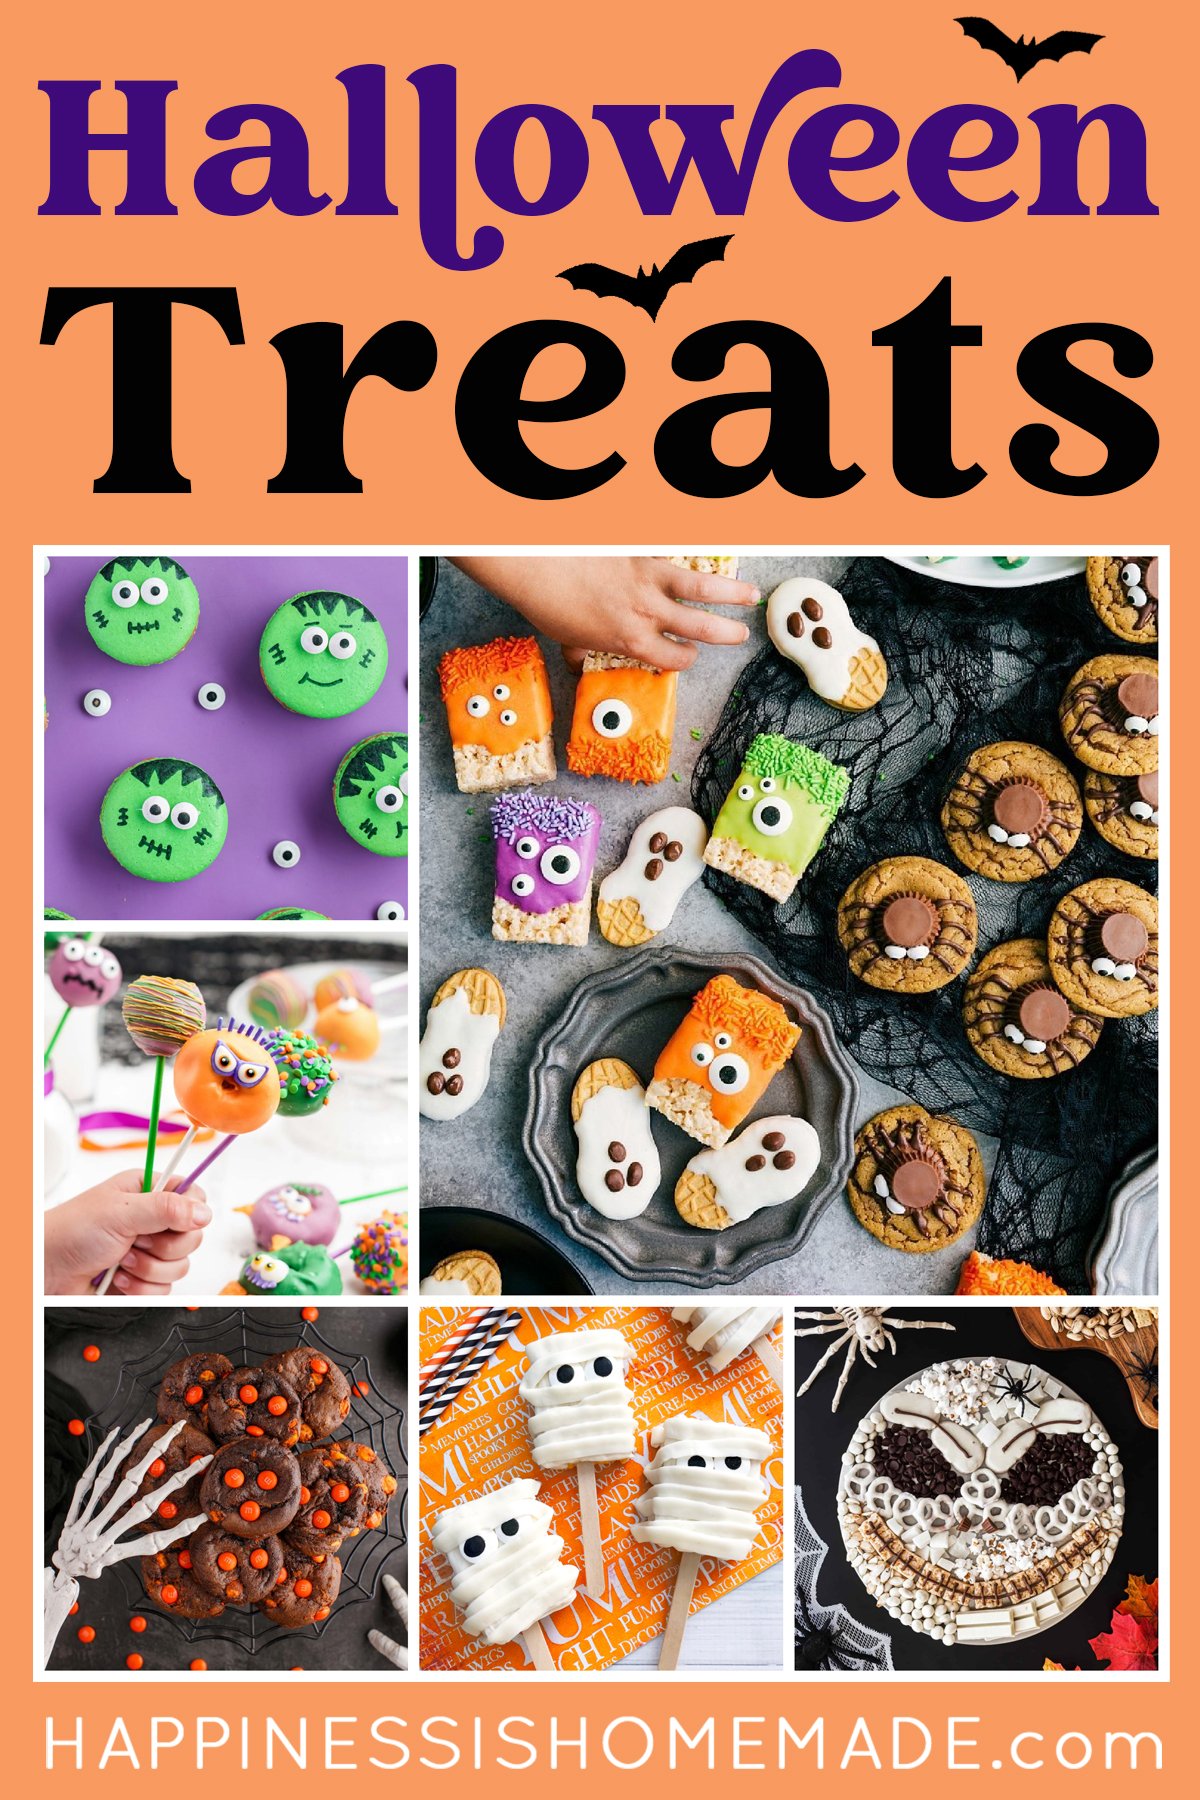
 60+ Easy Halloween Treat Ideas
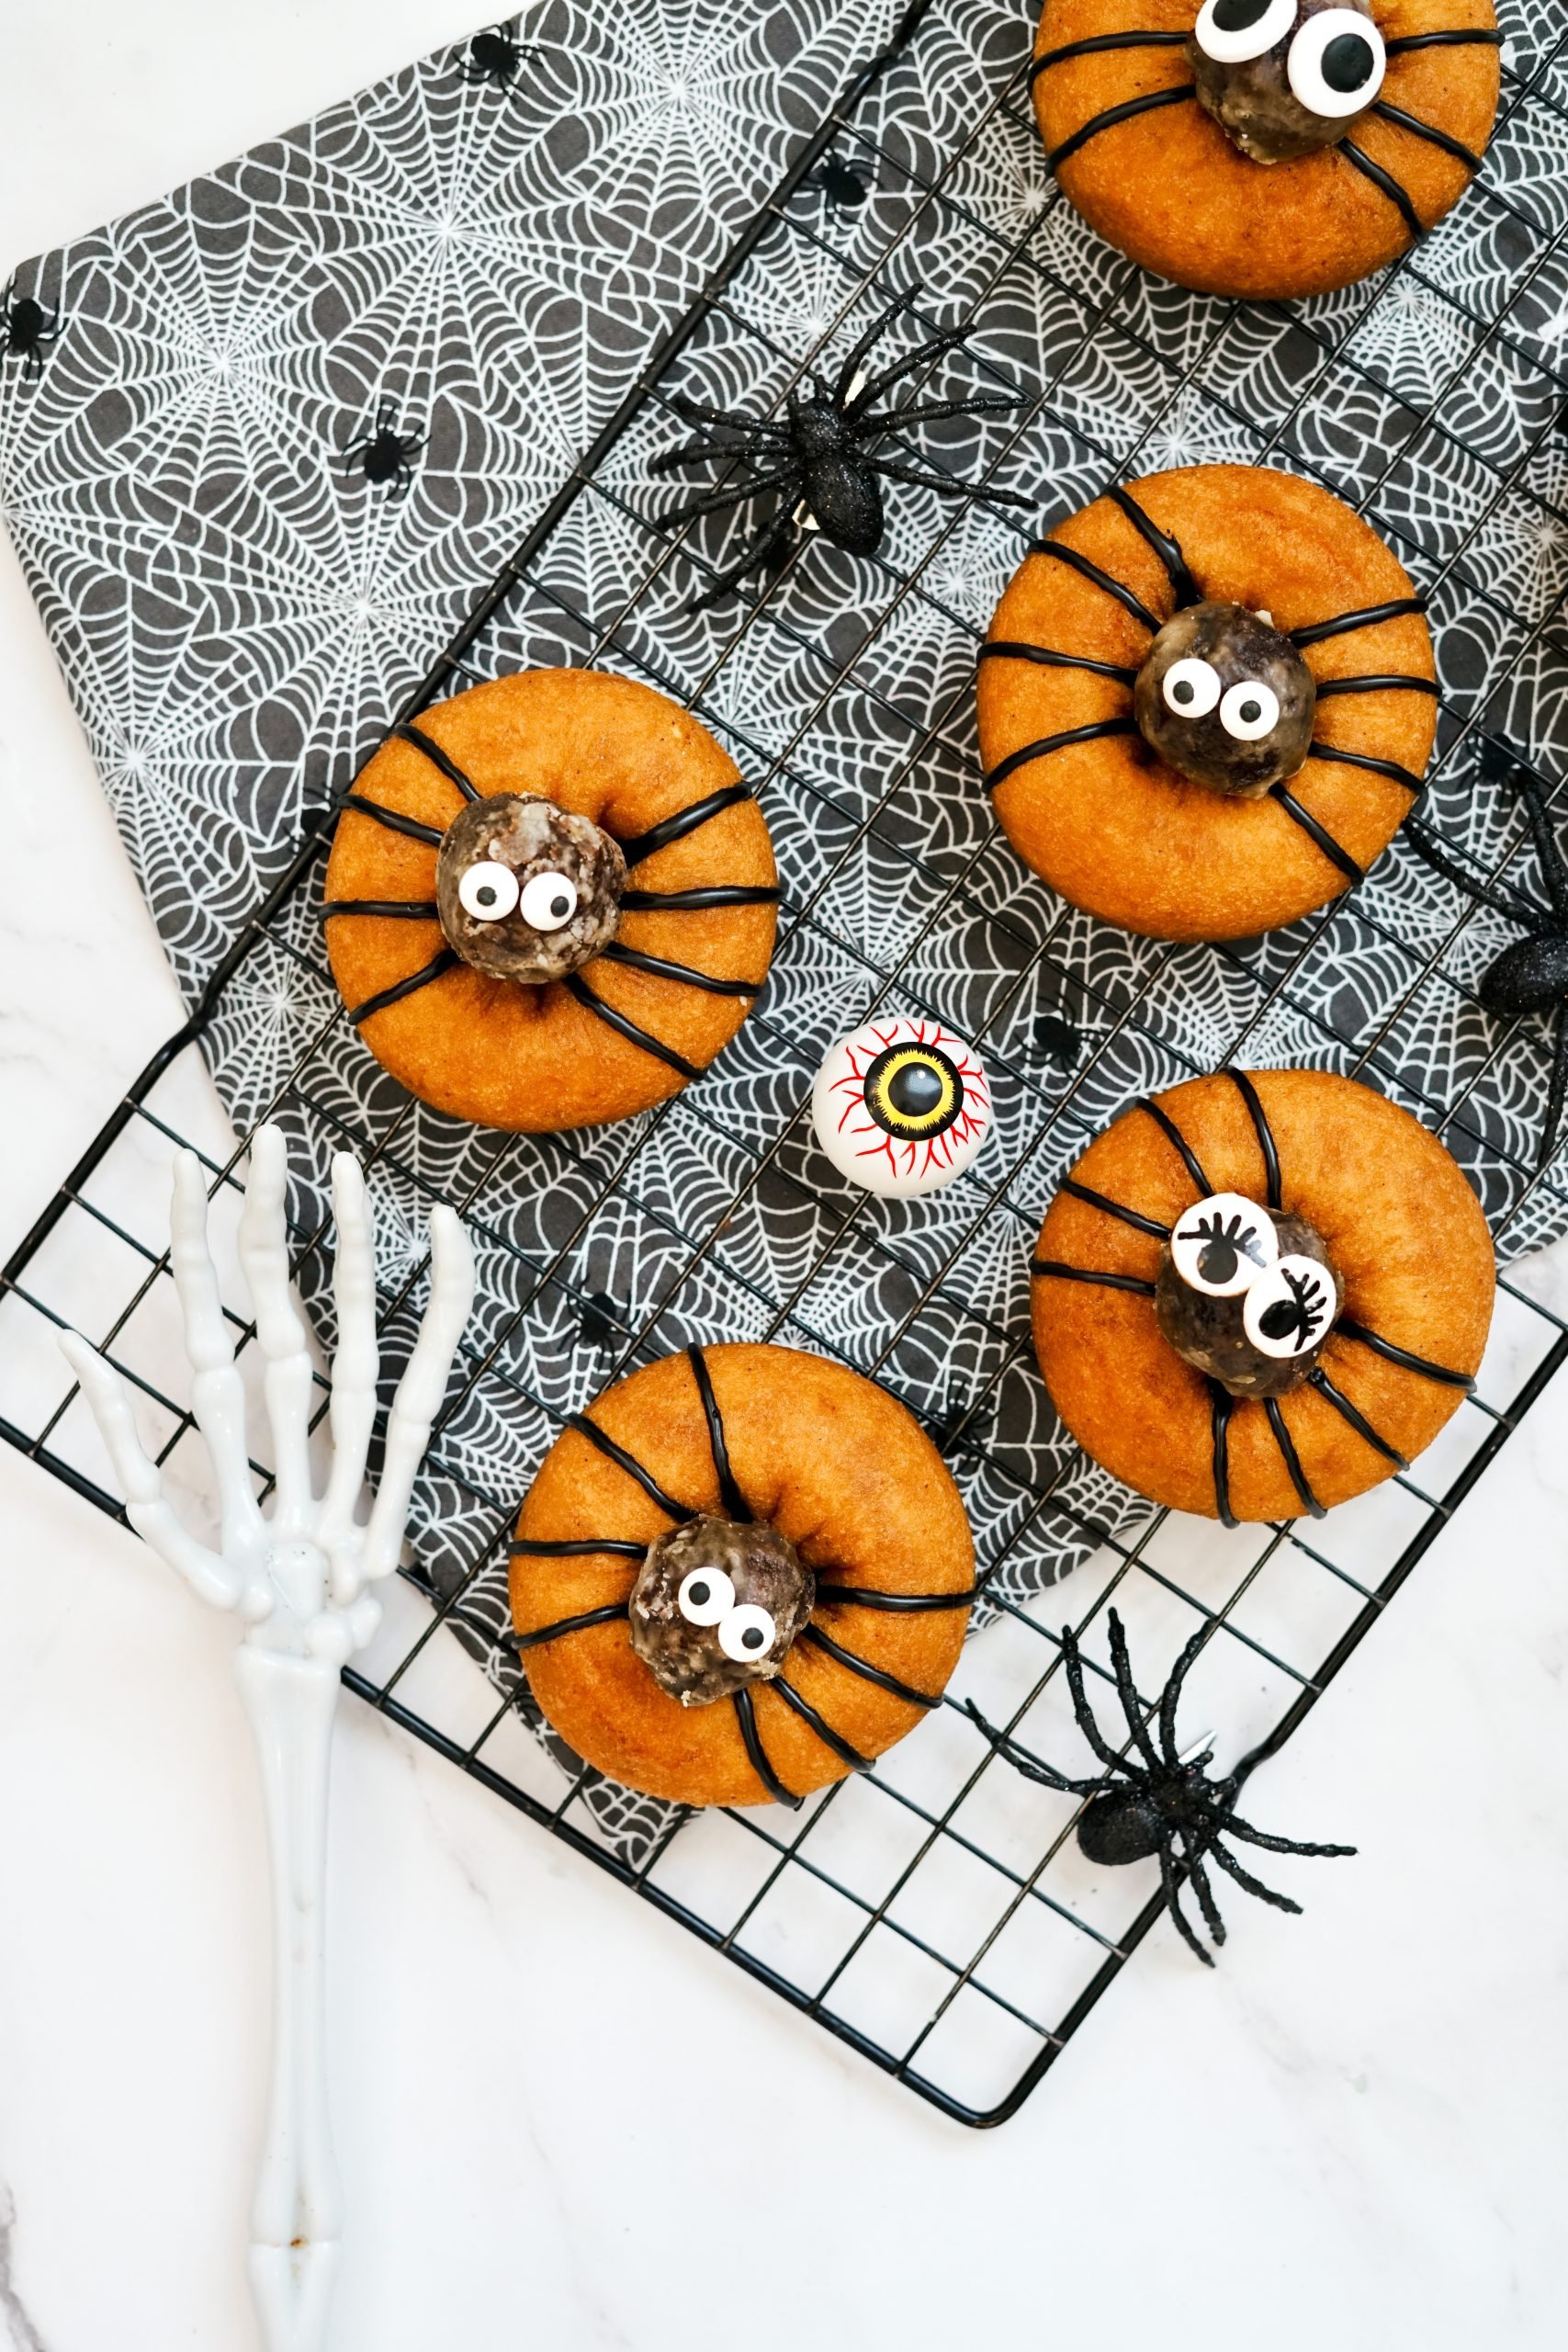
- Easy Spider Donuts for Halloween
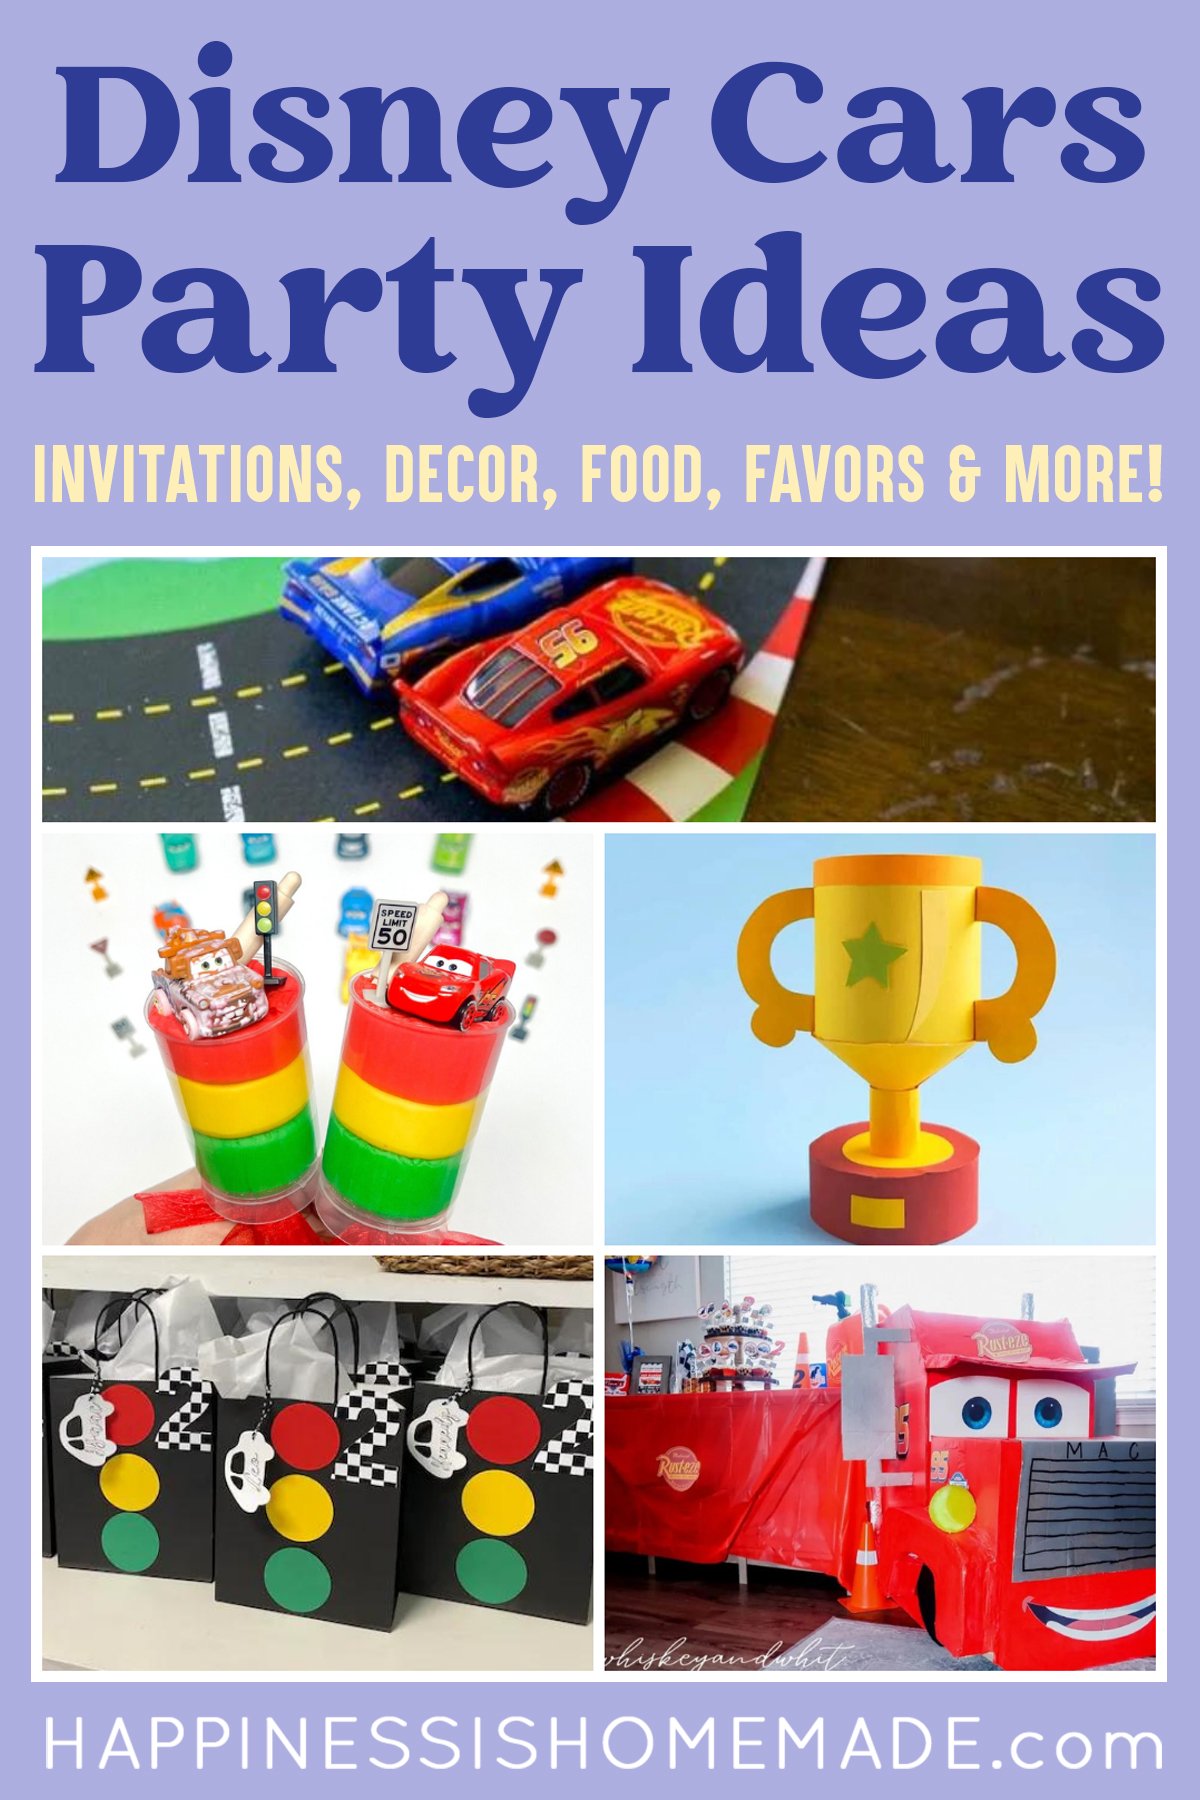
- Disney Cars Birthday Party Ideas
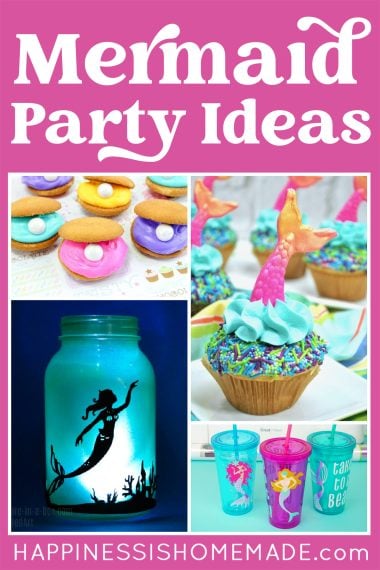
- 30+ Mermaid Party Ideas
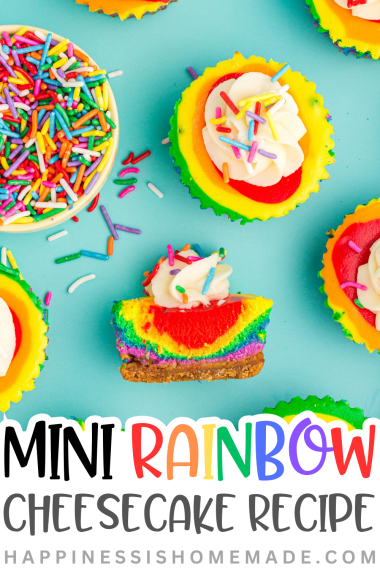
- Mini Rainbow Cheesecakes


Pin This Piñata Tutorial For Later!

Heidi Kundin has captivated the hearts of millions with her colorful and inspiring approach to crafting, celebrations, and family fun. With over 15 years of experience, Happiness is Homemade has become a must-visit destination for those seeking quick and easy creative ideas and last-minute solutions. Heidi’s warm personality shines through her posts, inviting readers to join her on a creative journey that’s fun, rewarding, and achievable. Heidi is also the author of Homemade Bath Bombs & More and DIY Tie-Dye.