
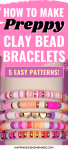
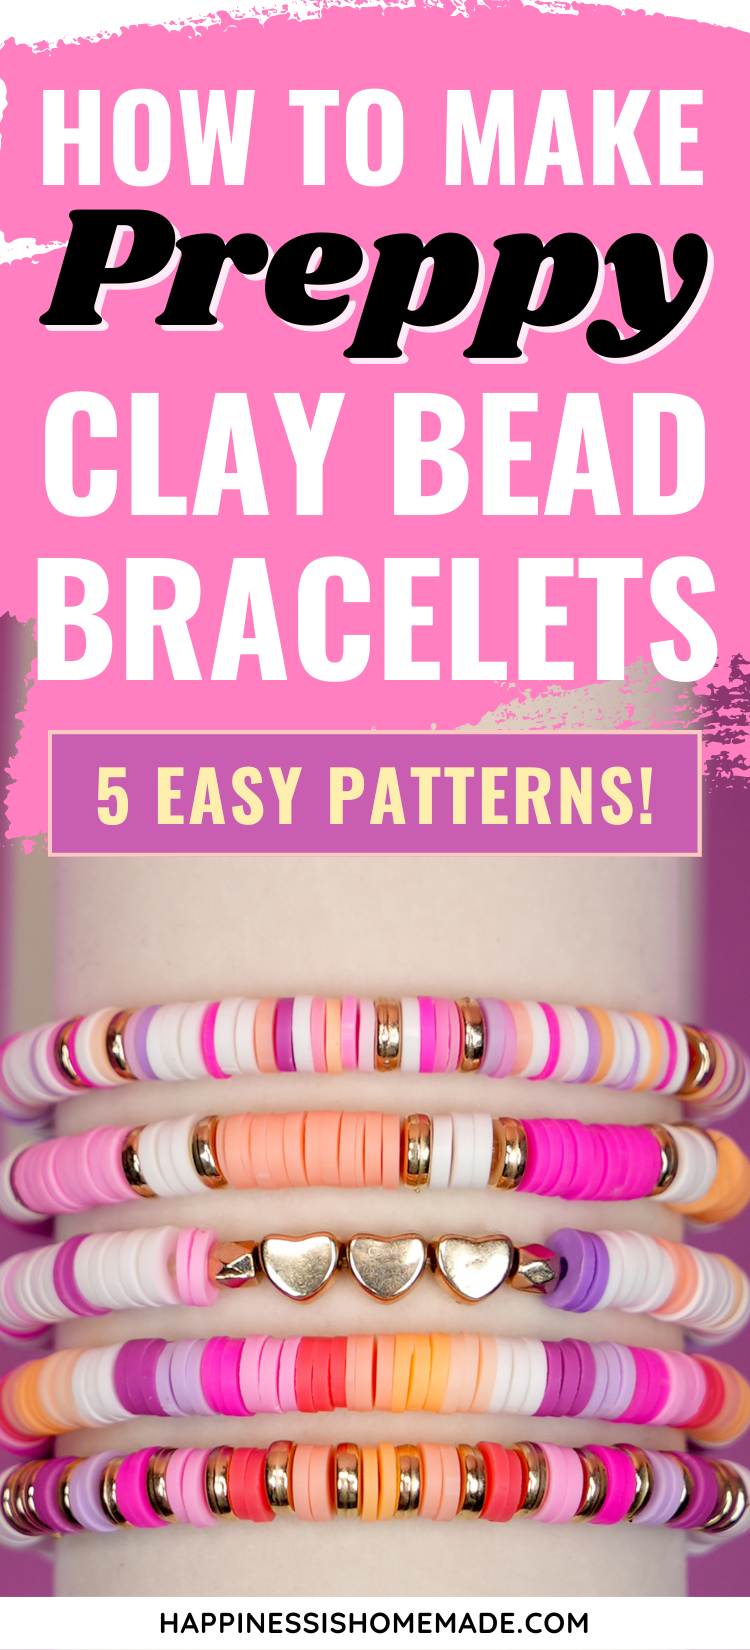
Learn how to make your own Preppy Clay Bead Bracelet set! These clay bead bracelet ideas are sure to spark some creative DIY bracelet inspiration!
This post may contain affiliate links. I will receive a small commission from these sales at no additional cost to you!
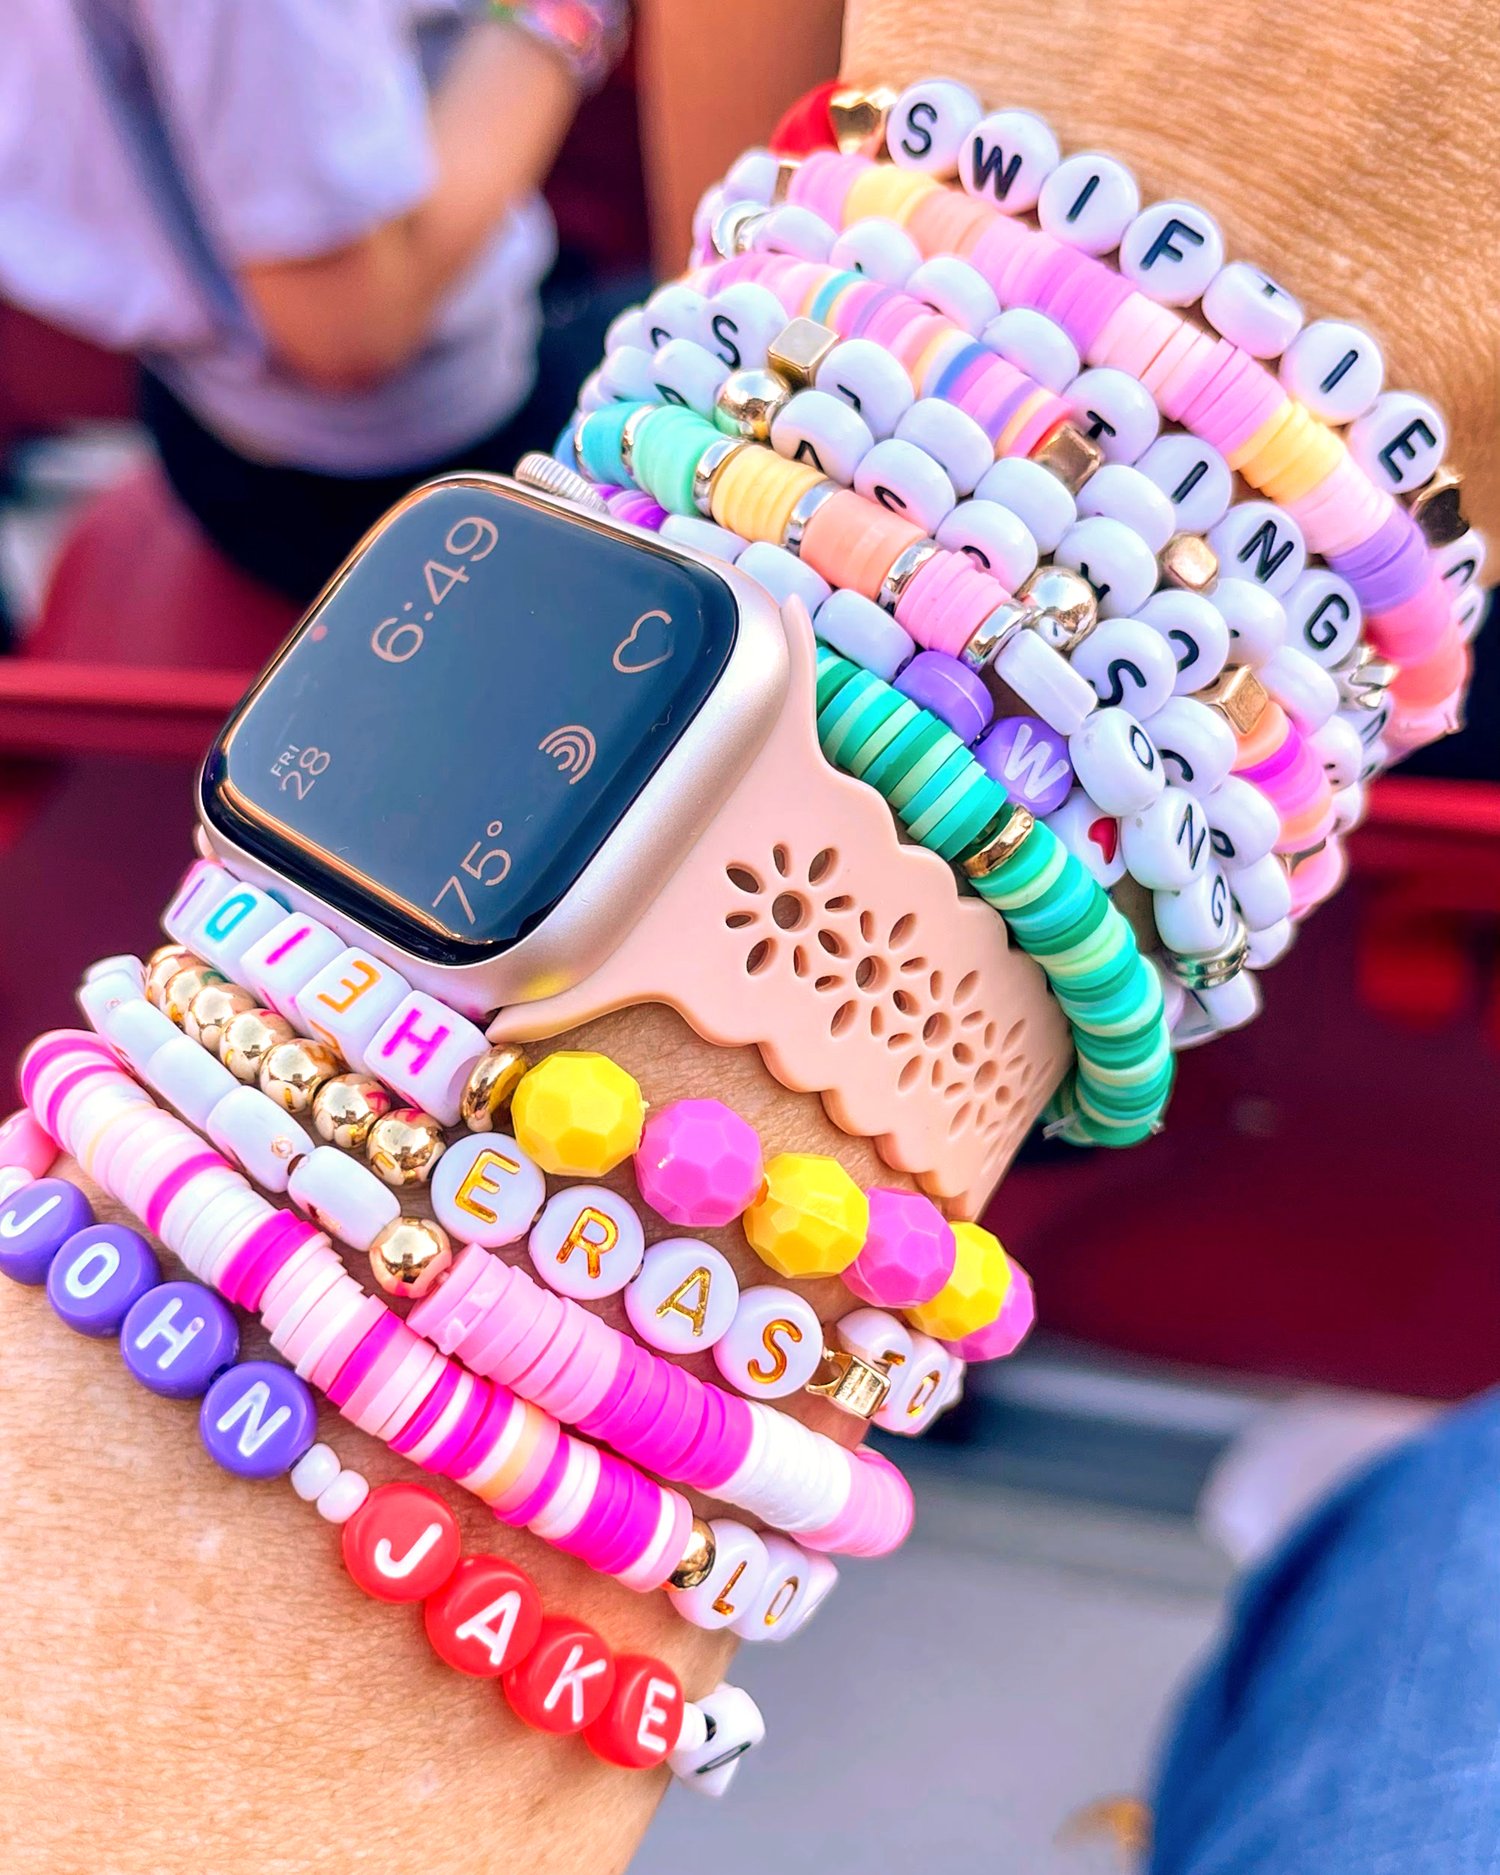
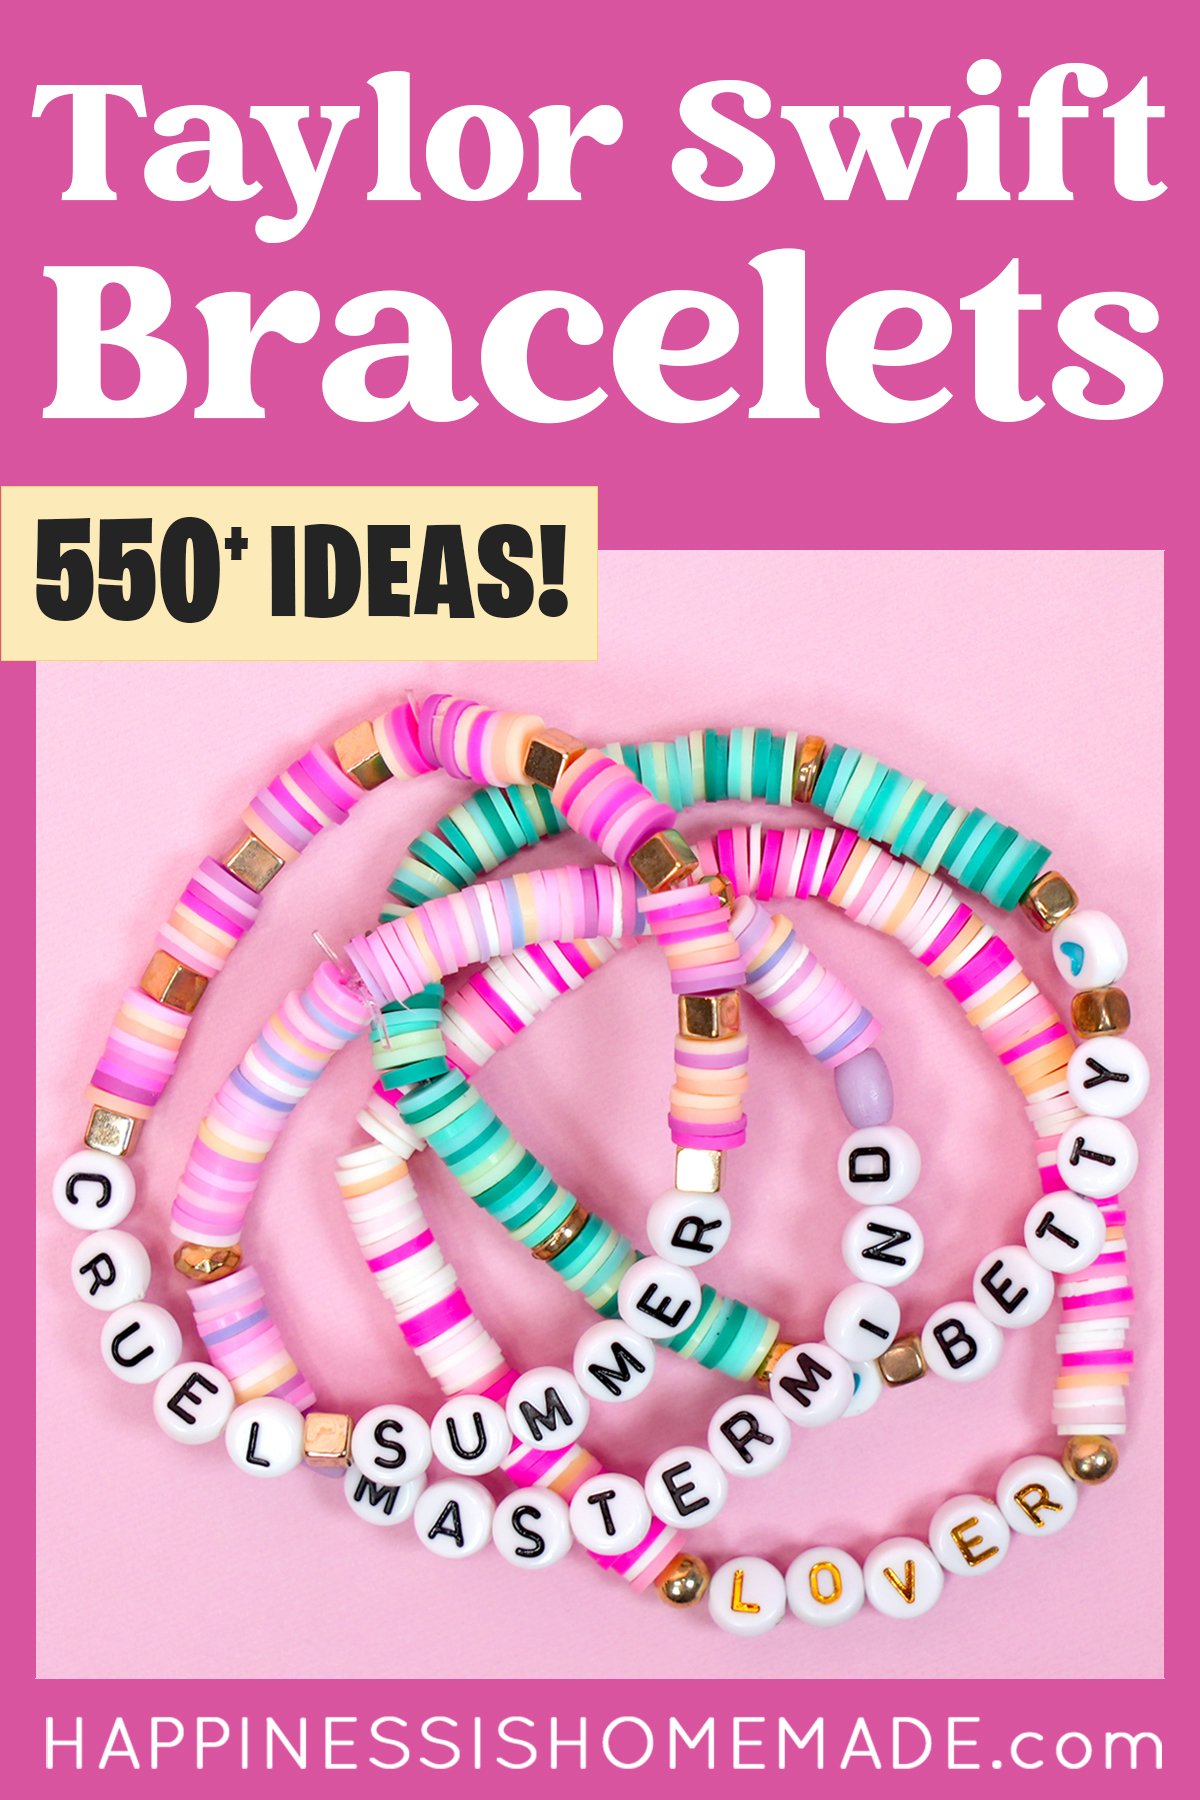
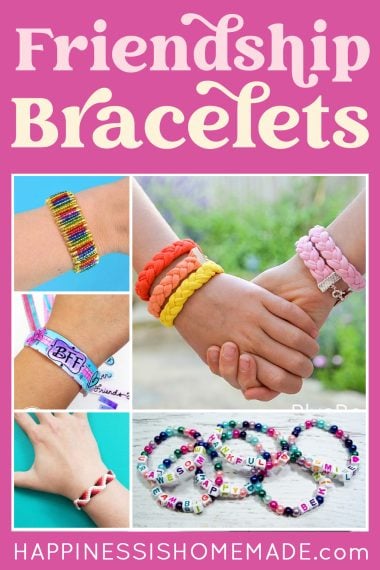
These super cute, preppy clay bead bracelets have been popular for a few years now, but with all of the friendship bracelet trading that has been happening recently at Taylor Swift’s The Eras Tour, we have seen an even bigger resurgence of their popularity lately!
Of course, friendship bracelets can be made from many, MANY different types of beads and string, but we’re especially partial to these clay beads (also known as heishi beads) because they have more of a refined appearance and are perfect for everyday wear (for all ages!)! Long after the Taylor Swift concert is over and done with, these clay bead bracelets will still reign supreme in your wardrobe!
Today, I’ll walk you step-by-step through the process of creating these clay beaded bracelets and share the patterns for FIVE different preppy clay bead bracelet ideas that you are going to want to make ASAP!
You May Also Like/Learn More Here:
DIY Preppy Clay Bead Bracelets
These clay bead bracelets don’t require many supplies, and they don’t take long to make, so you will most definitely end up wanting to make a bunch of them – it’s SO fun, and no one can resist a wrist full of “arm candy!”
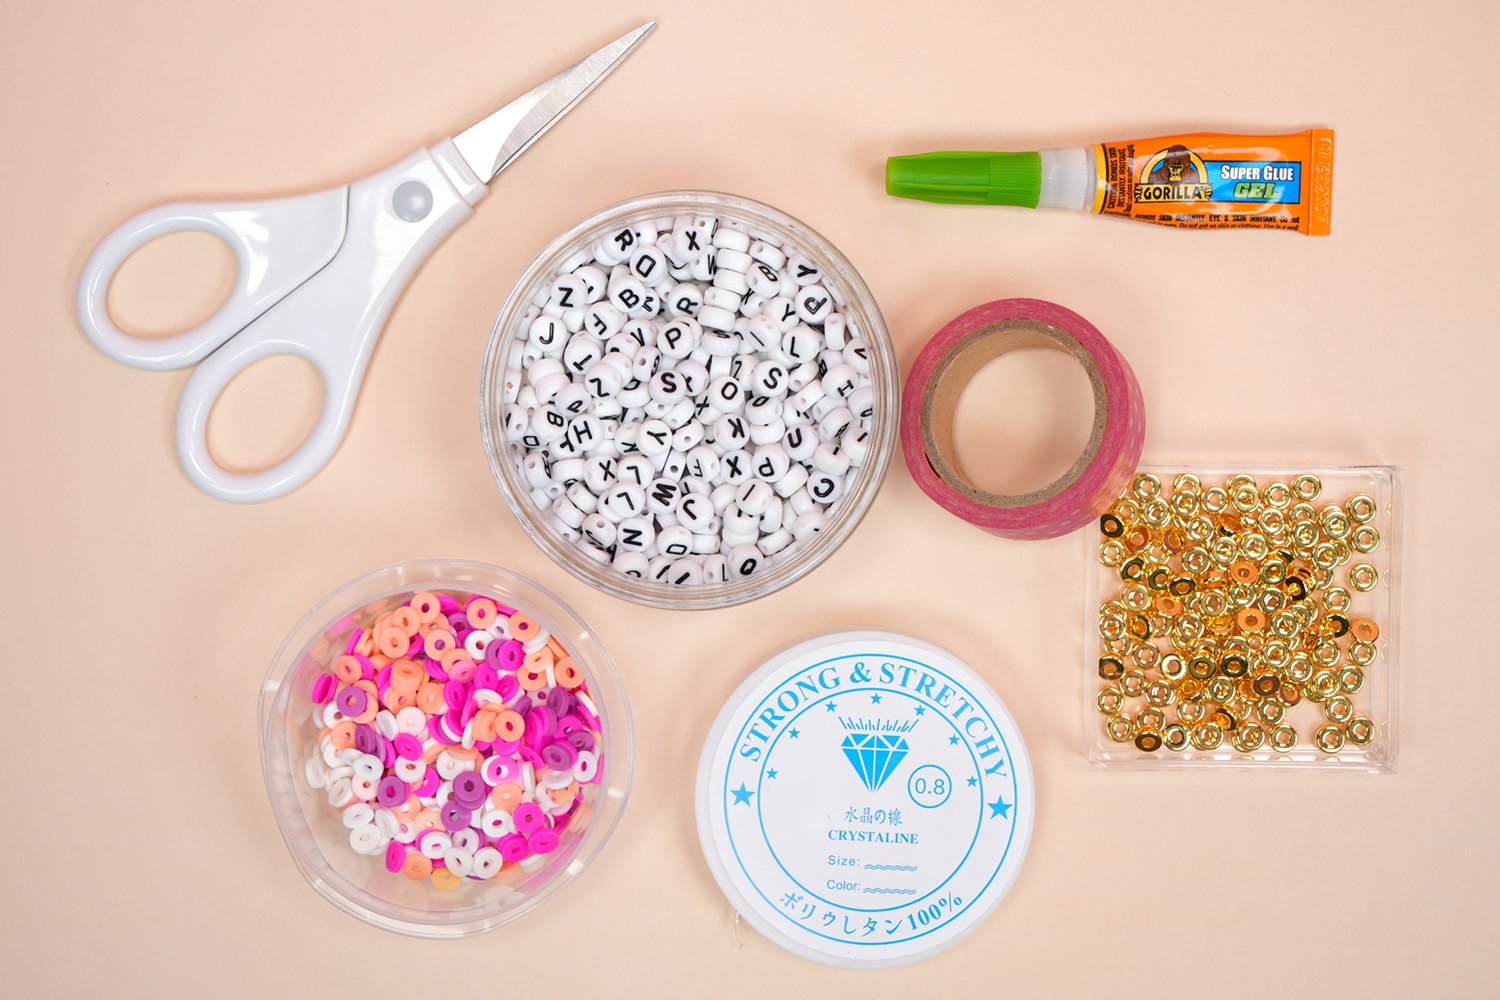
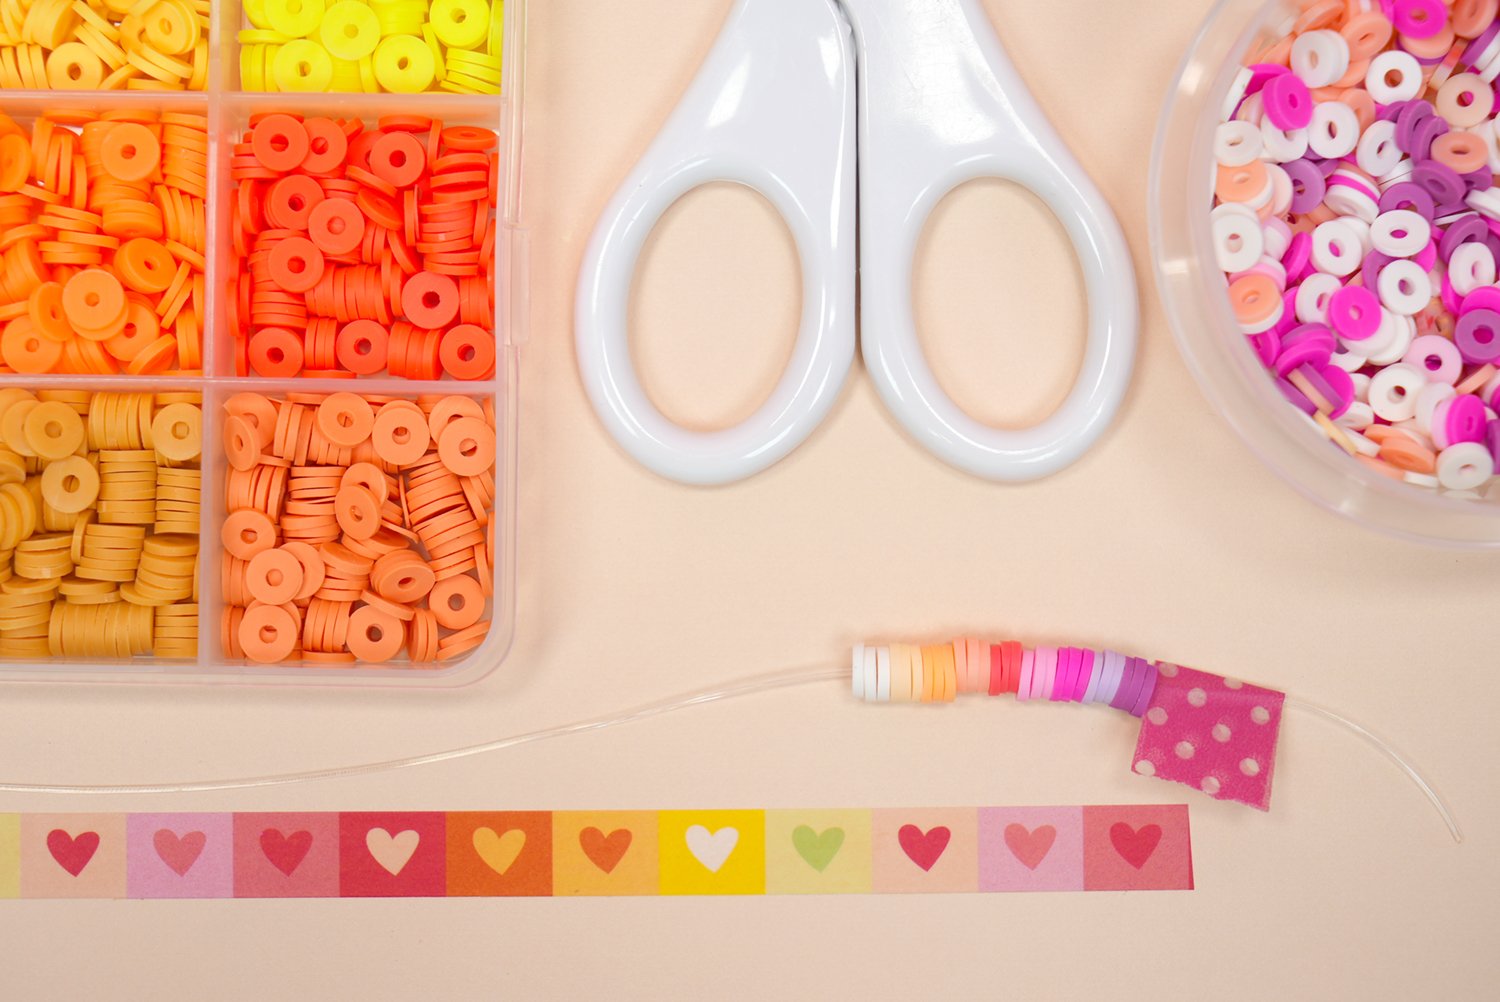
Supplies Needed for Preppy Clay Bead Bracelets:
- Clay Beads (6mm) in assorted colors
- Elastic Beading Cord
- Washi Tape (Scotch Magic Tape also works well!)
- Assorted Spacer Beads
- Super Glue Gel or GS Hypo Cement
How to Make Clay Bead Bracelets
1. Starting the Bracelet
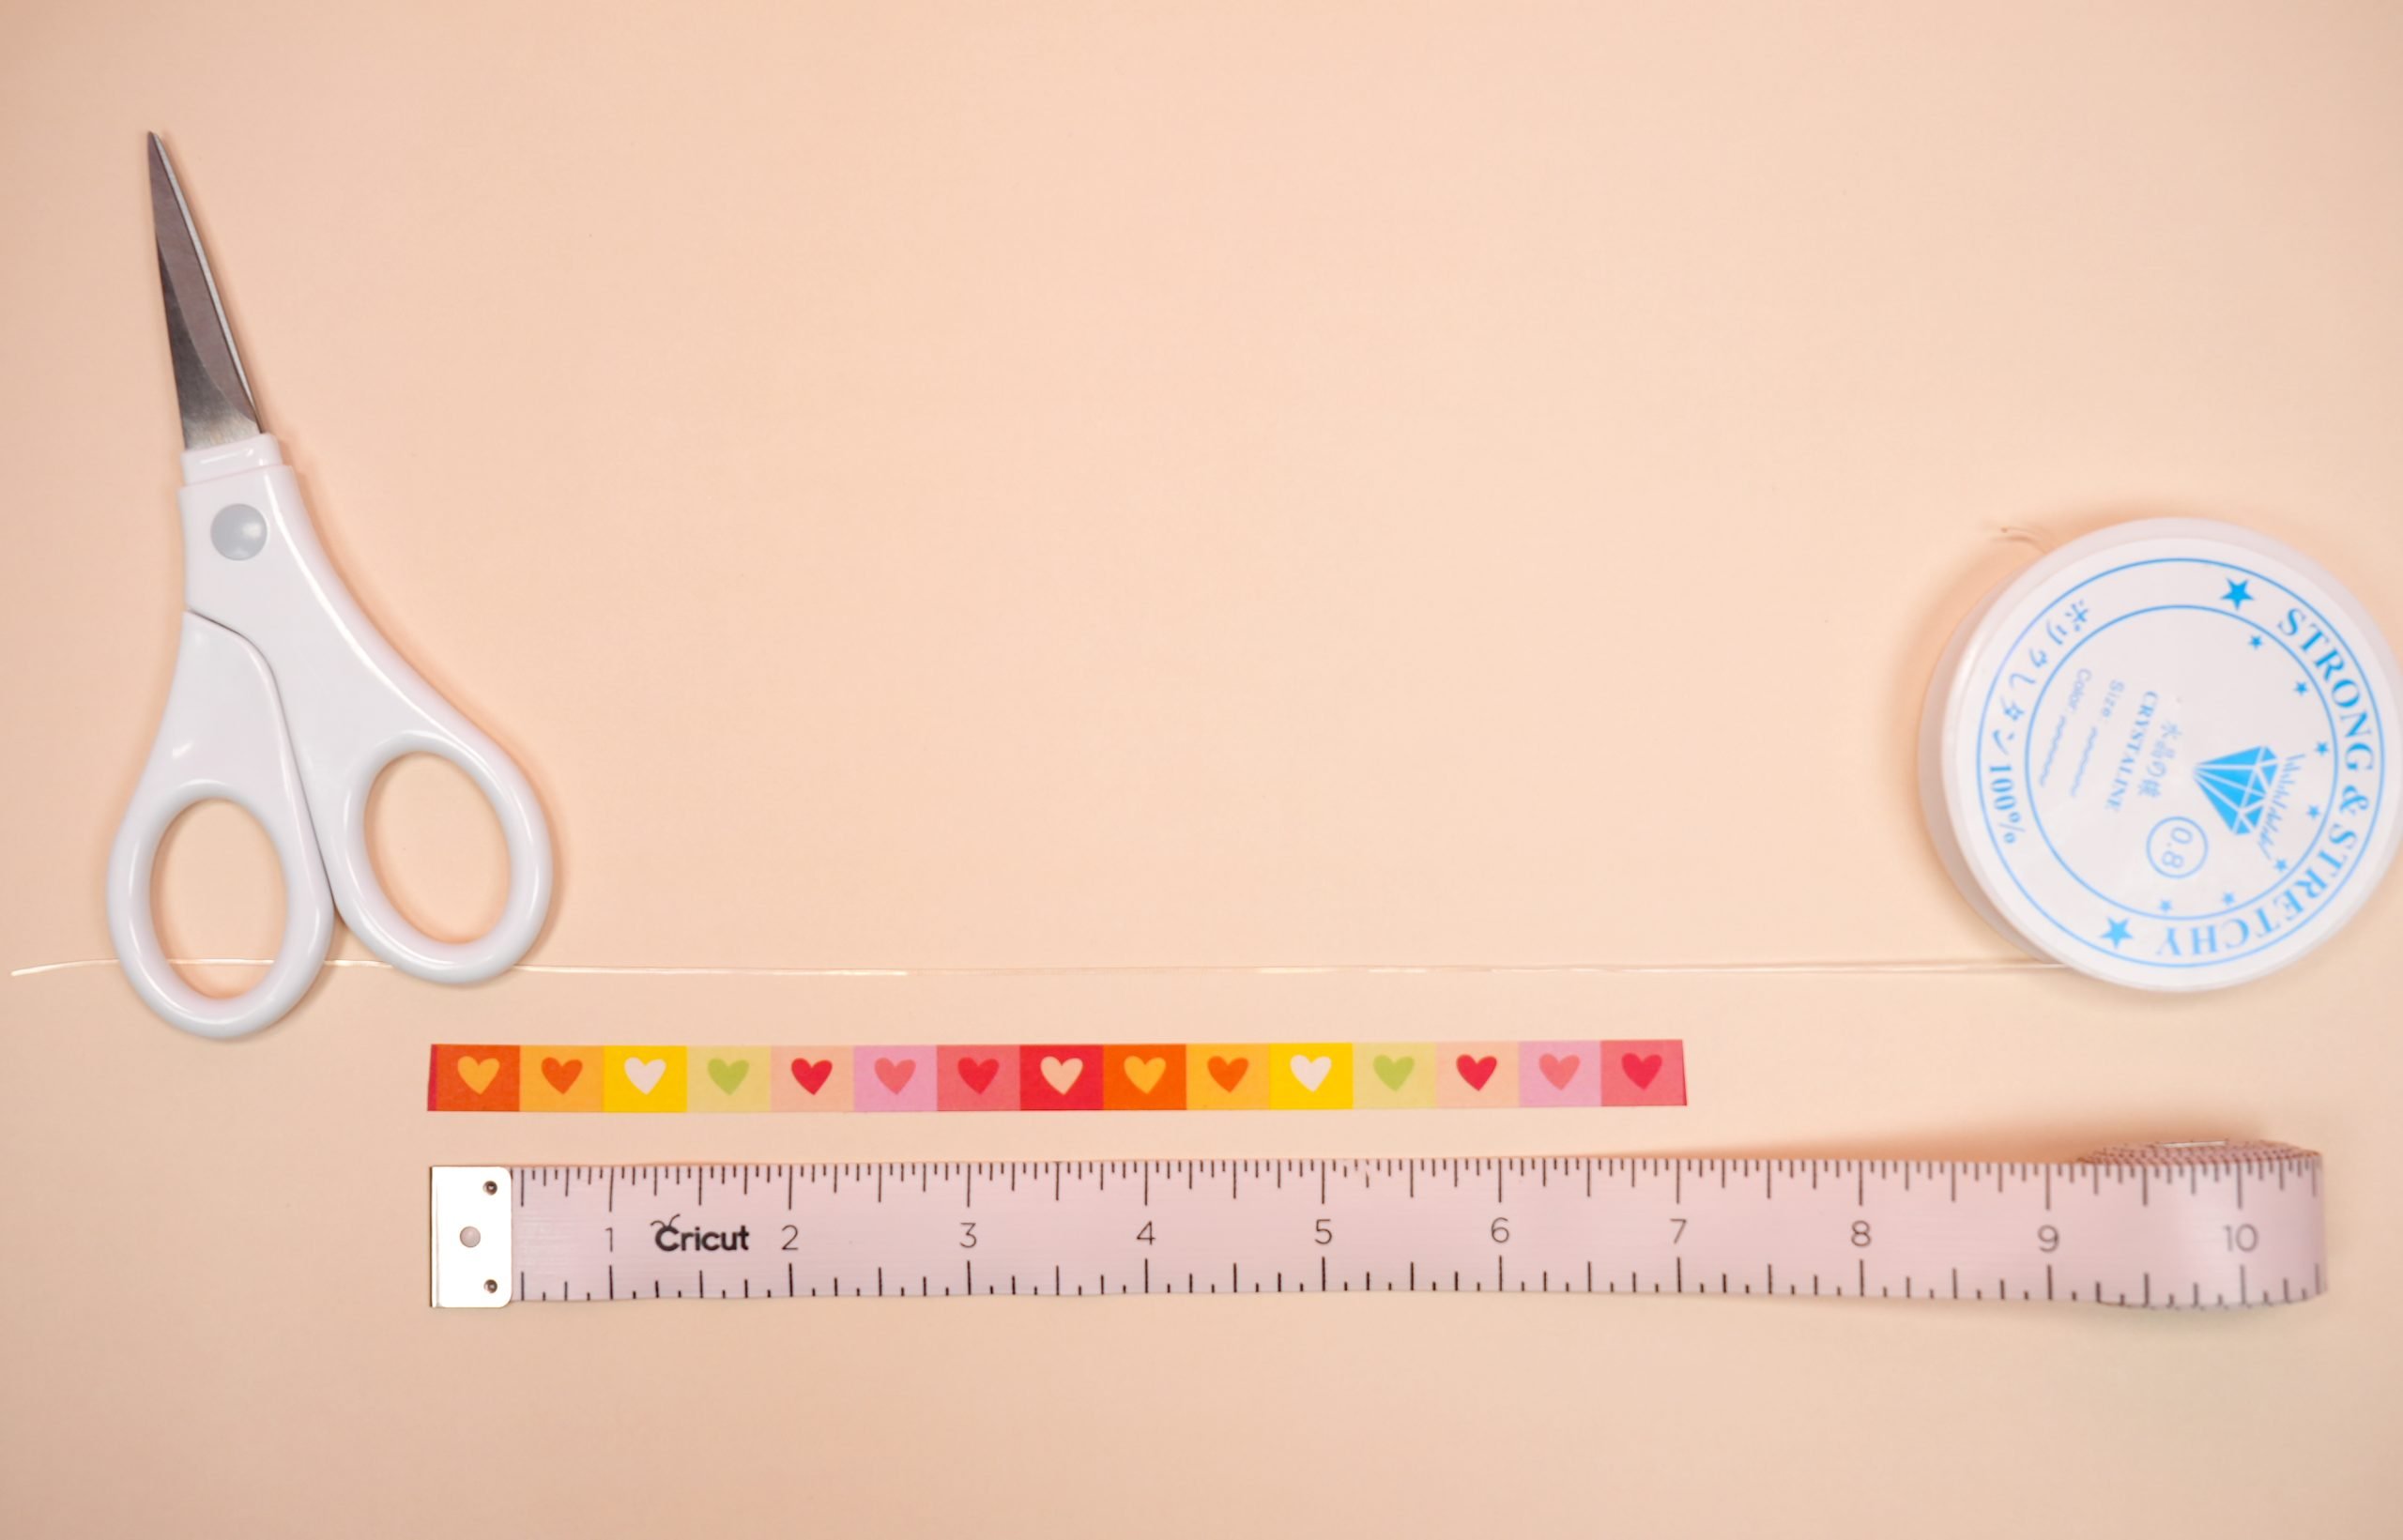
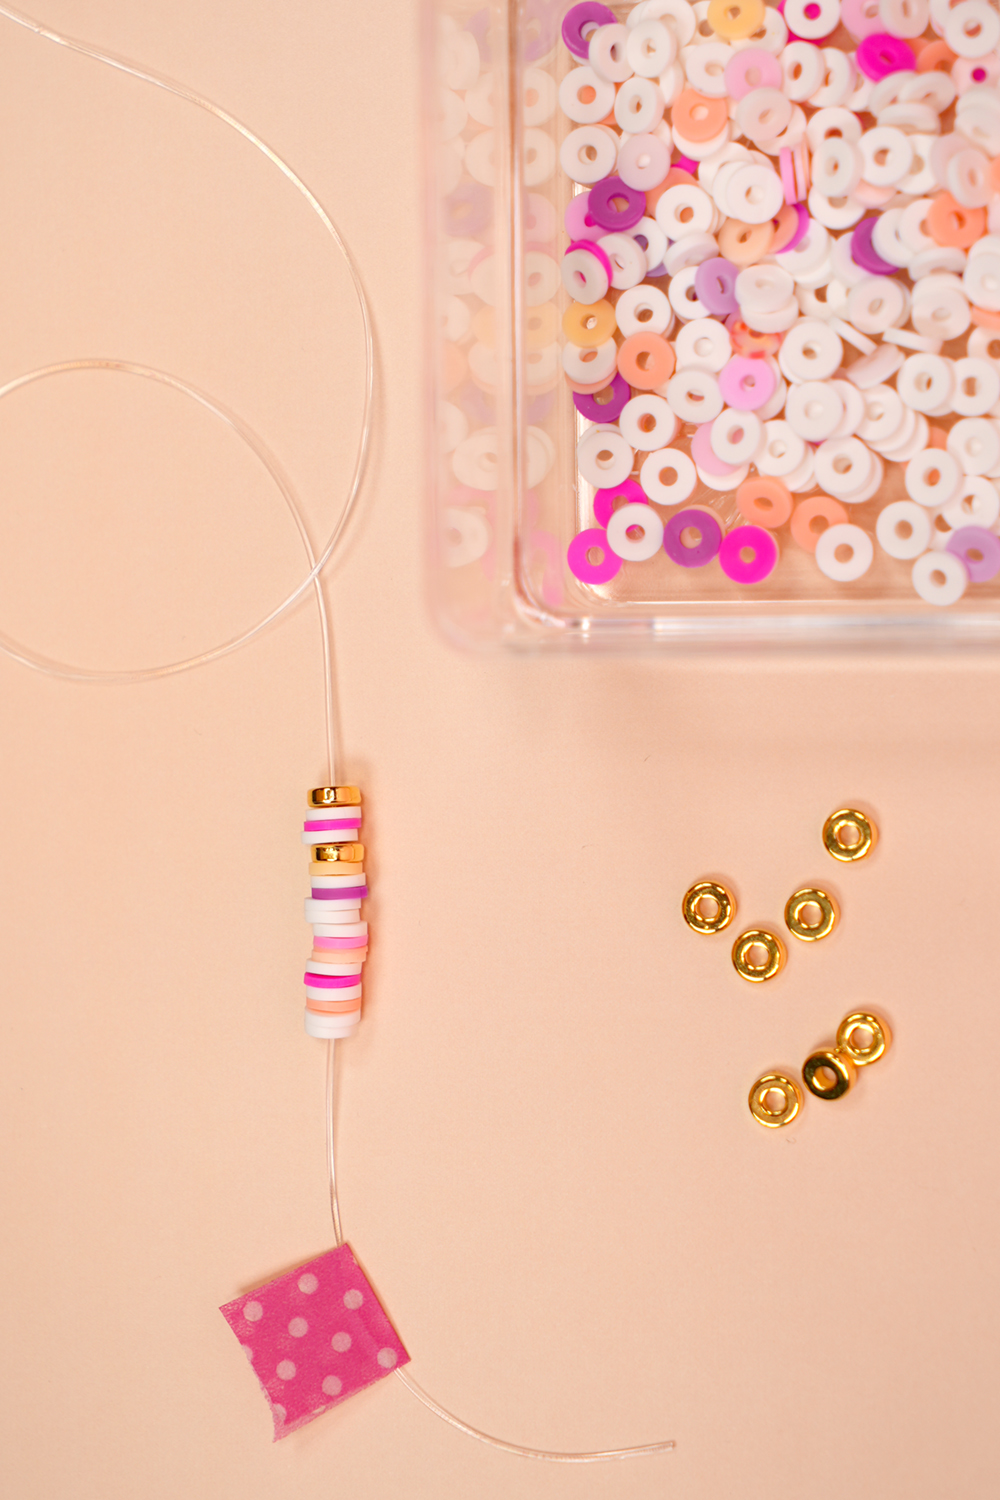
To begin, cut a length of stretchy cord that is approximately 10″ long.
Heidi’s Handy Tip:
To make quick work of measuring, I like to add a piece of washi tape to my desk that is 7″ long, which is the length that I will make all of my beading. Simply extend the cord about 1.5″ from each end of the washi tape and then cut.
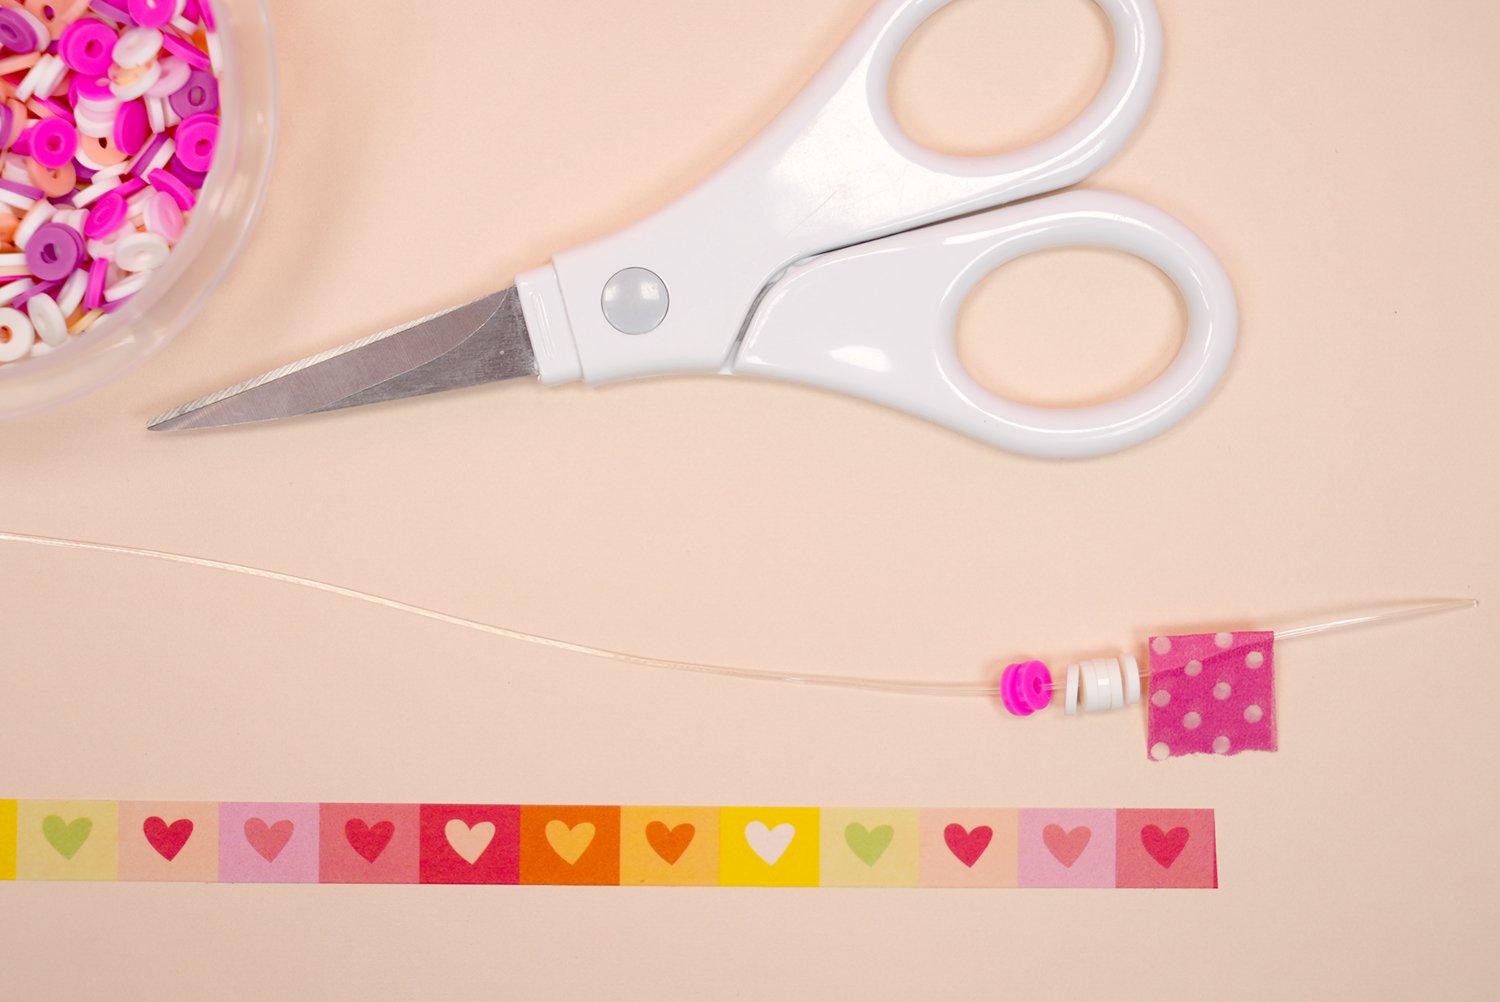
Grip the ends of the cord and pull to stretch. Pre-stretching the cord will allow you to tie tighter knots at the end!
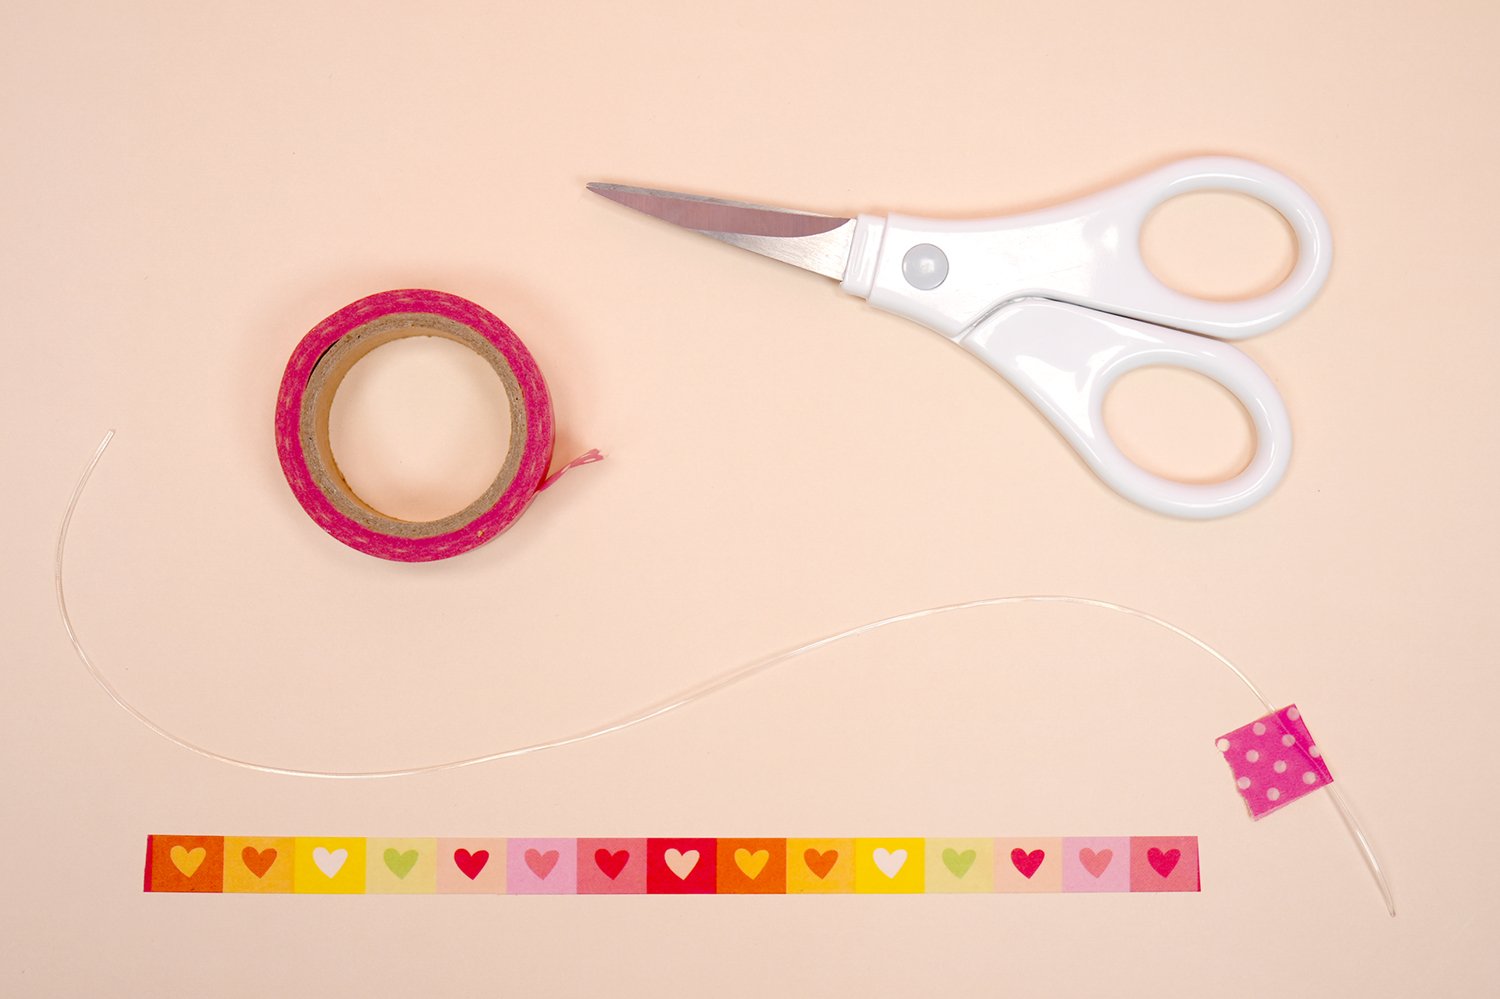
Add a small piece of washi tape to the end of the elastic cording, and fold the tape back on itself. This will create a barrier so that your beads don’t slip off the end of the cord.
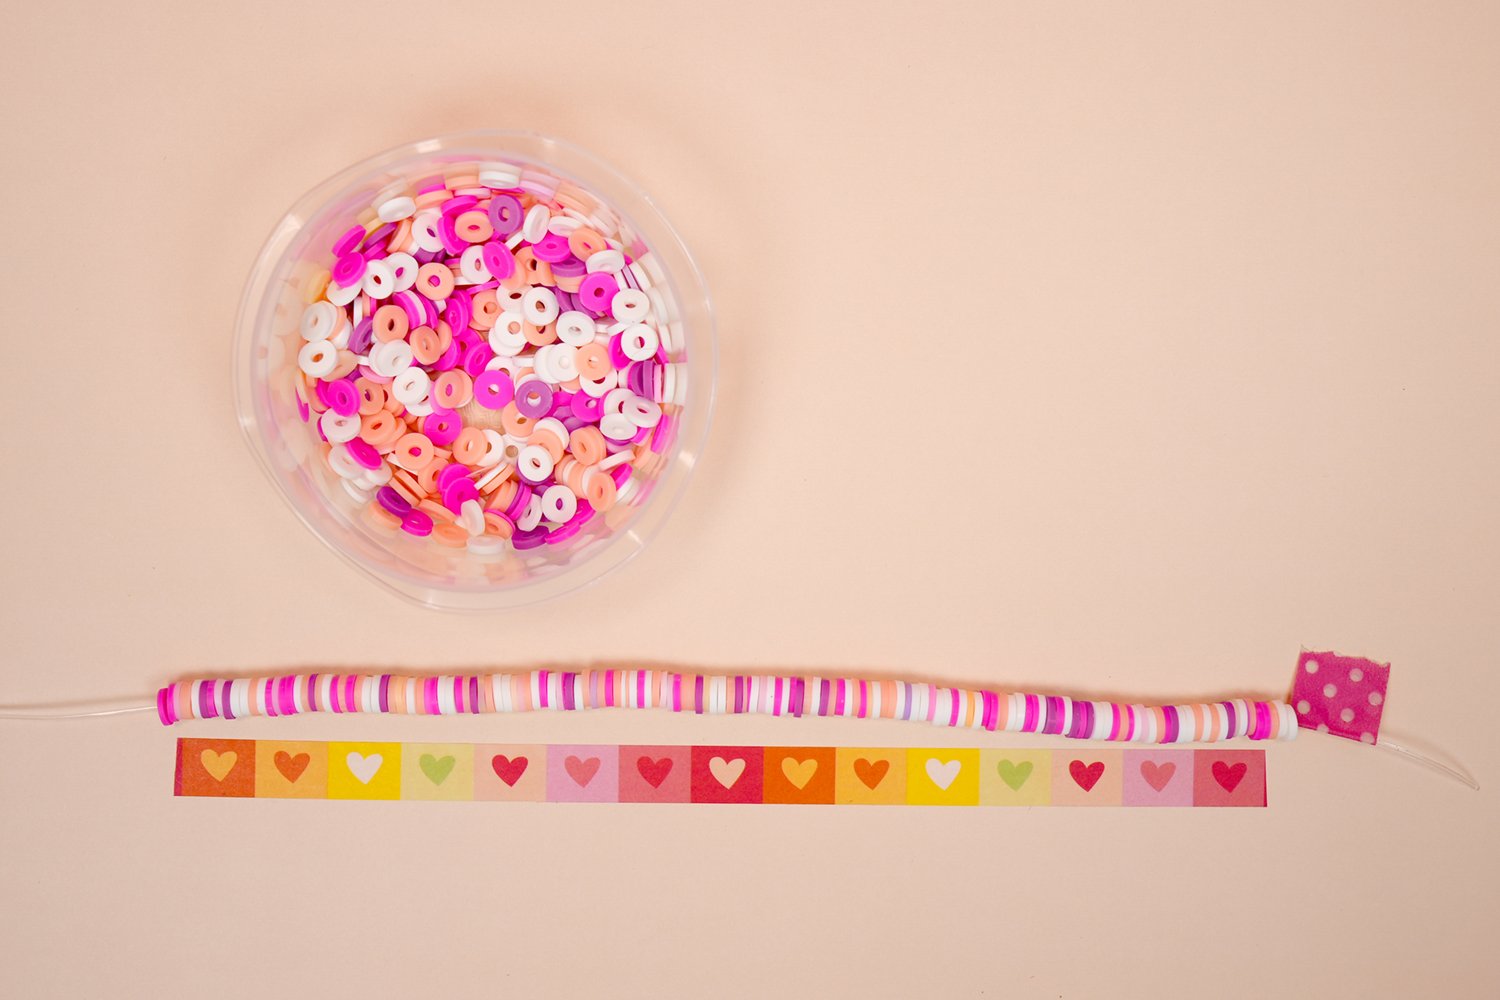
2. Beading the Bracelet
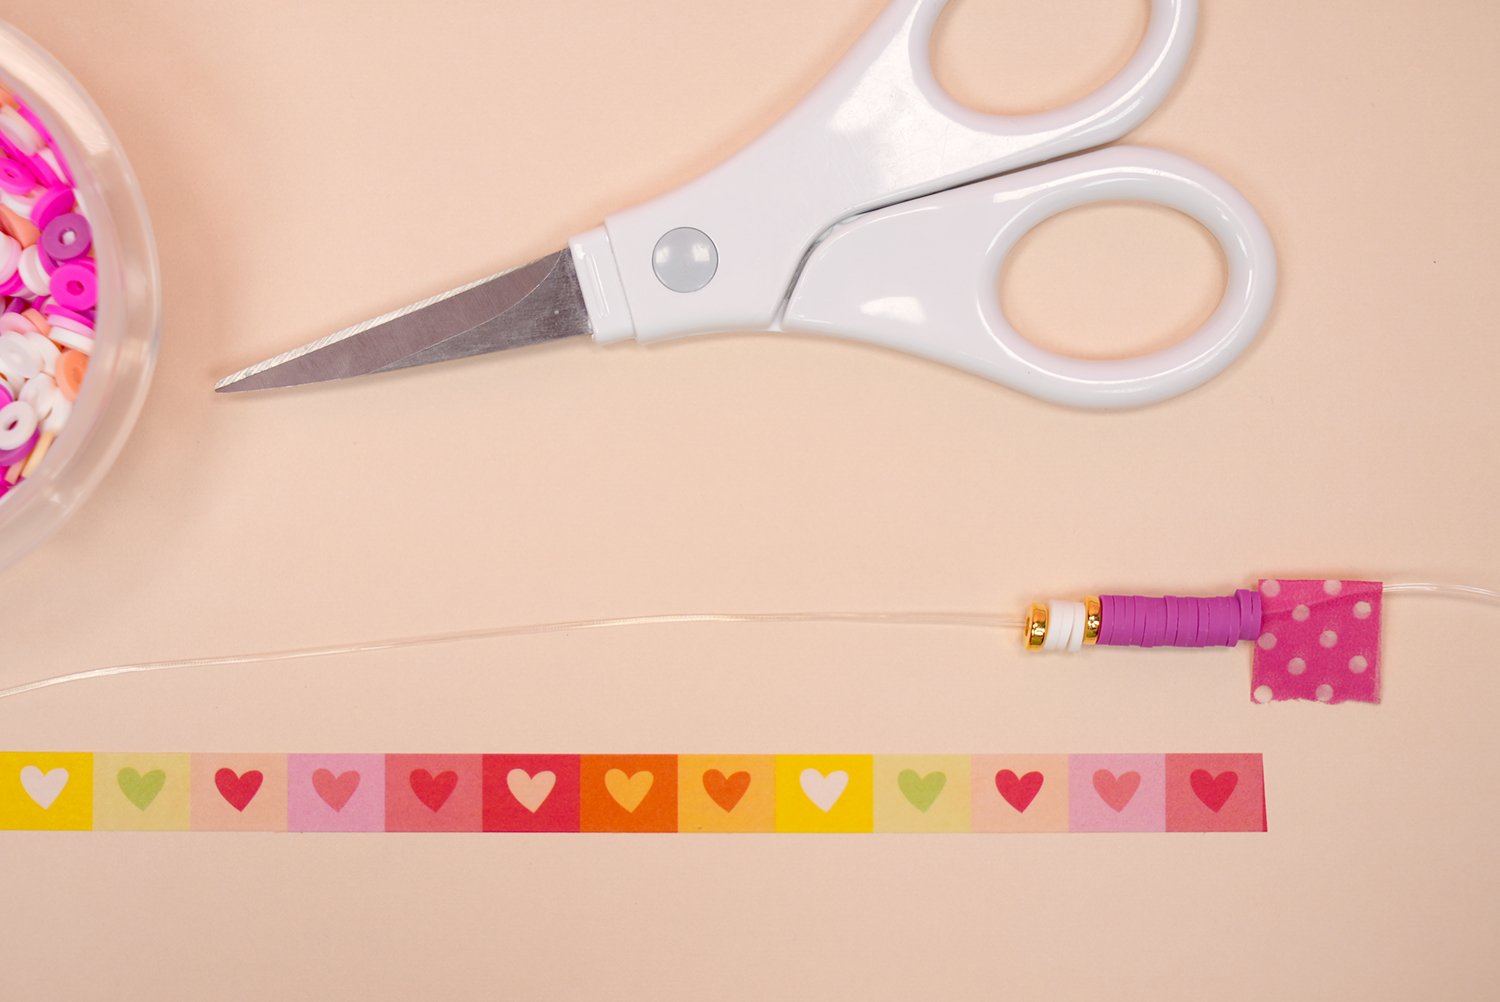
Following the patterns below, add beads to the bracelet string until it reaches the desired length.
Again, you can use that handy strip of washi tape to easily measure the length at a glance!

3. How to Tie a Clay Bead Bracelet
My favorite way to tie clay bead bracelets is with a surgeon’s knot. It’s quite simple to do, and it holds better than a typical square knot.
Follow the video above: tie a half-knot, then another half-knot (do NOT pull the second half-knot tight yet!). Loop each tail through one more time, and then pull tightly.
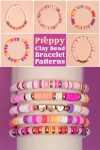
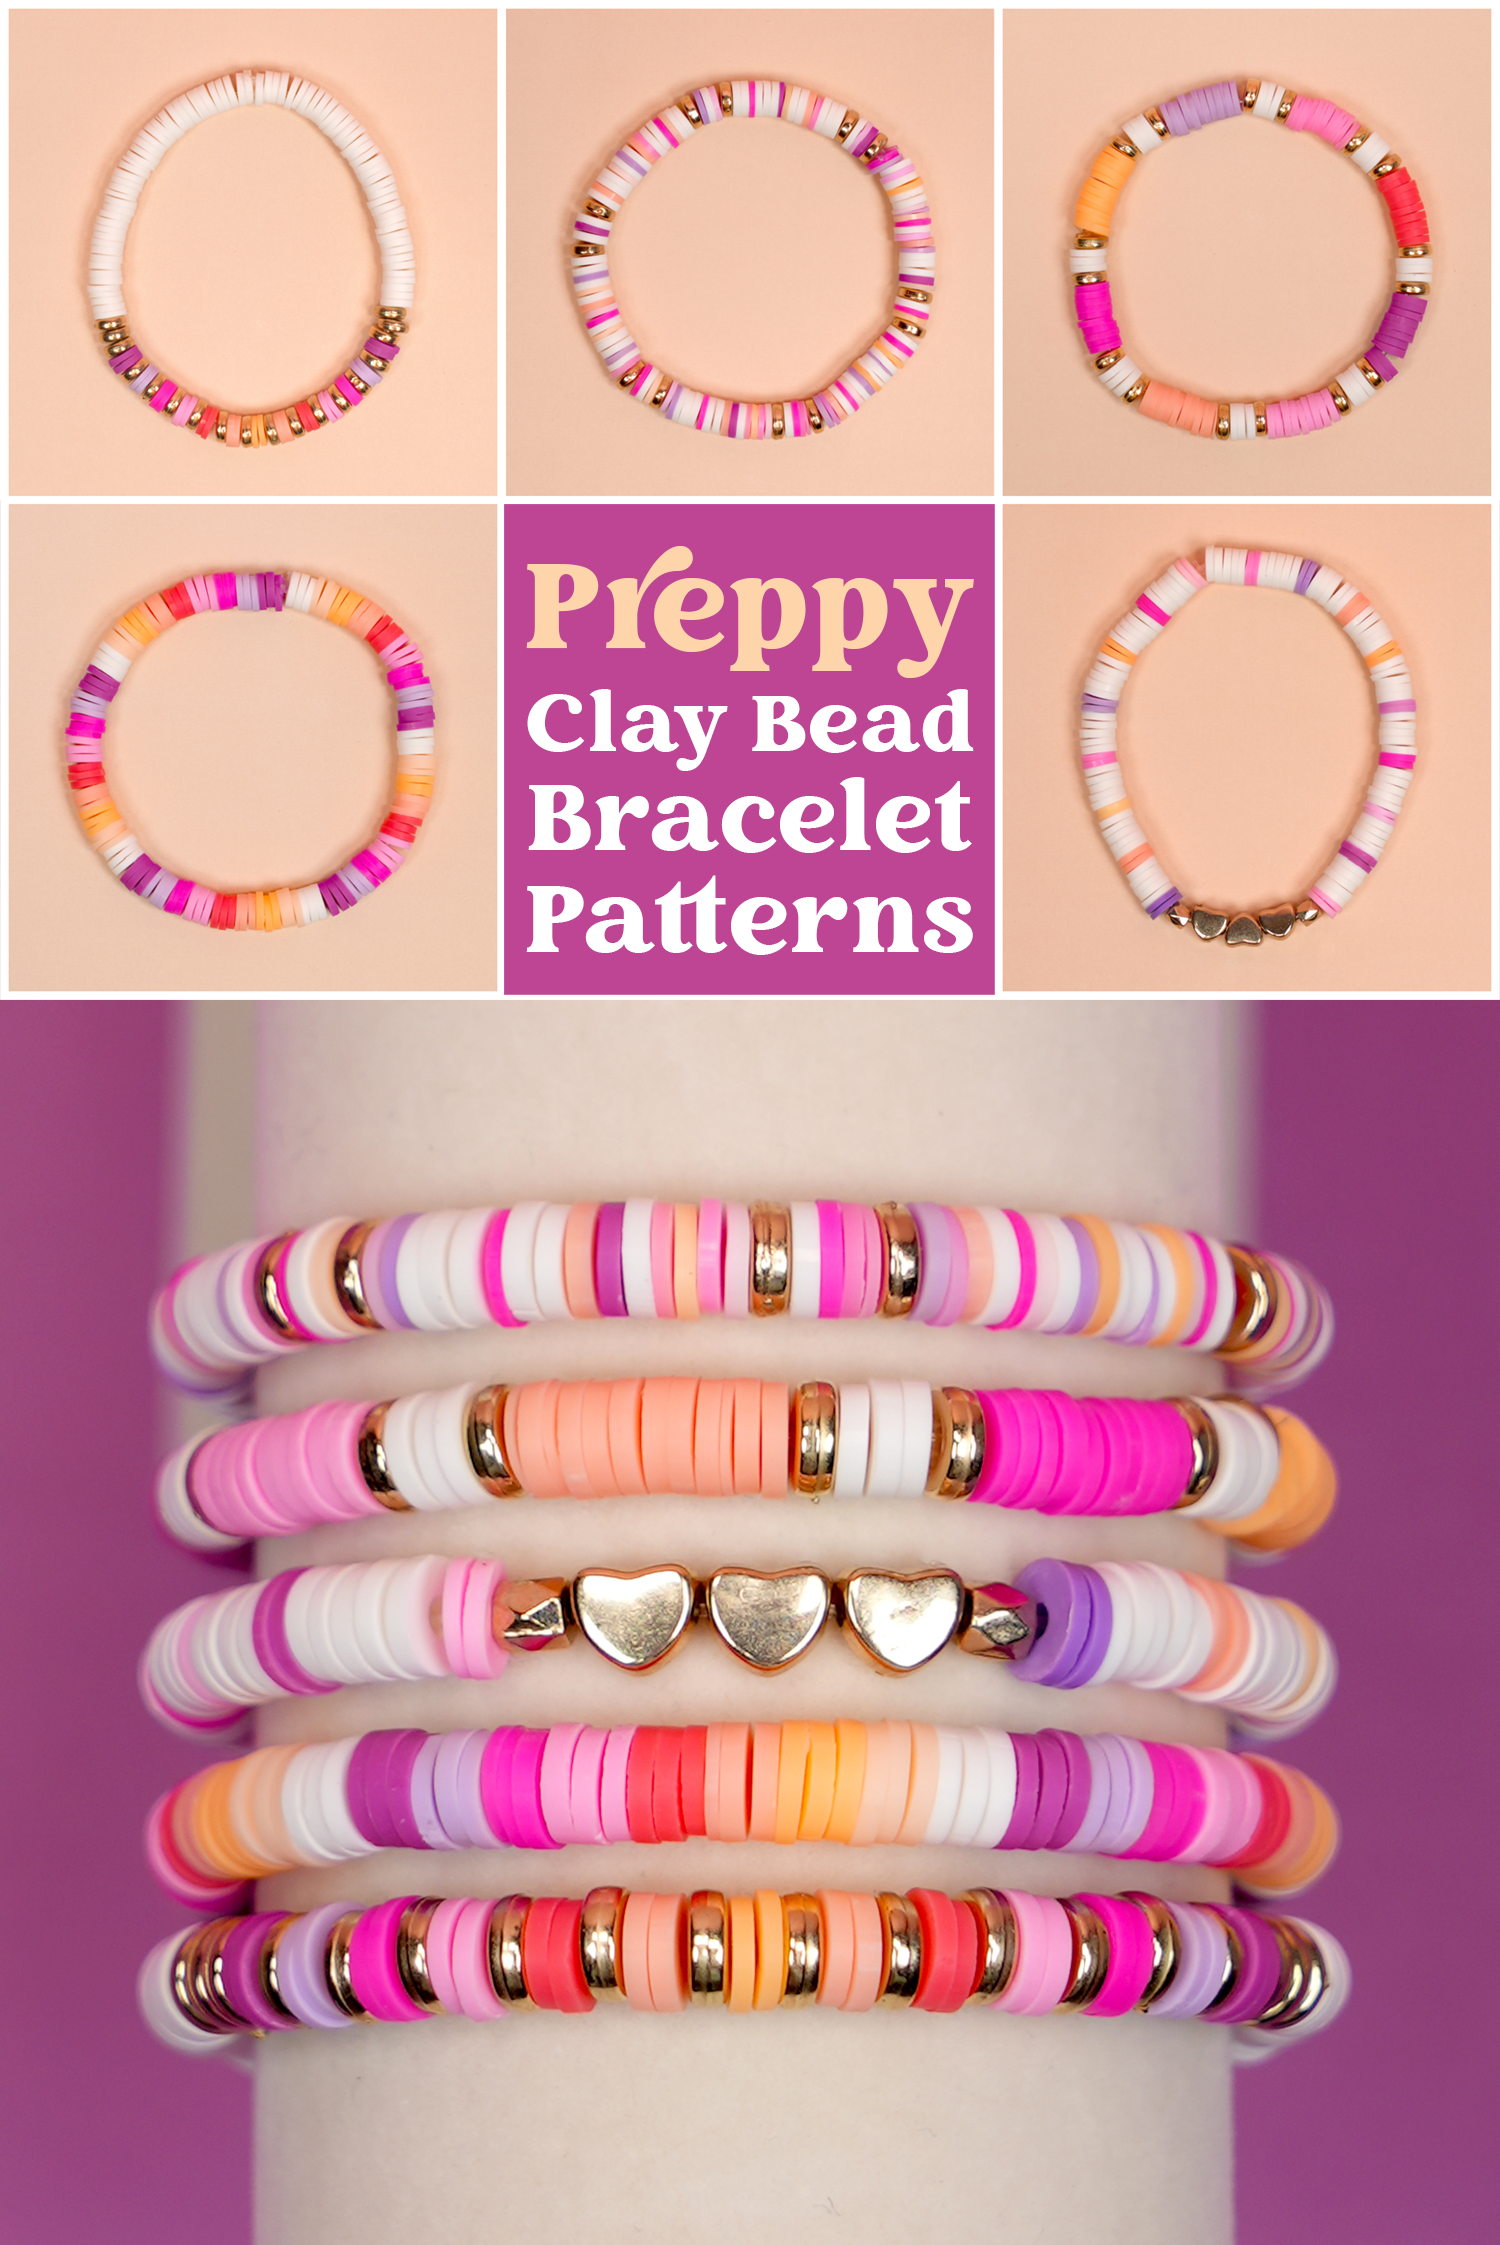
Preppy Clay Bead Bracelet Patterns
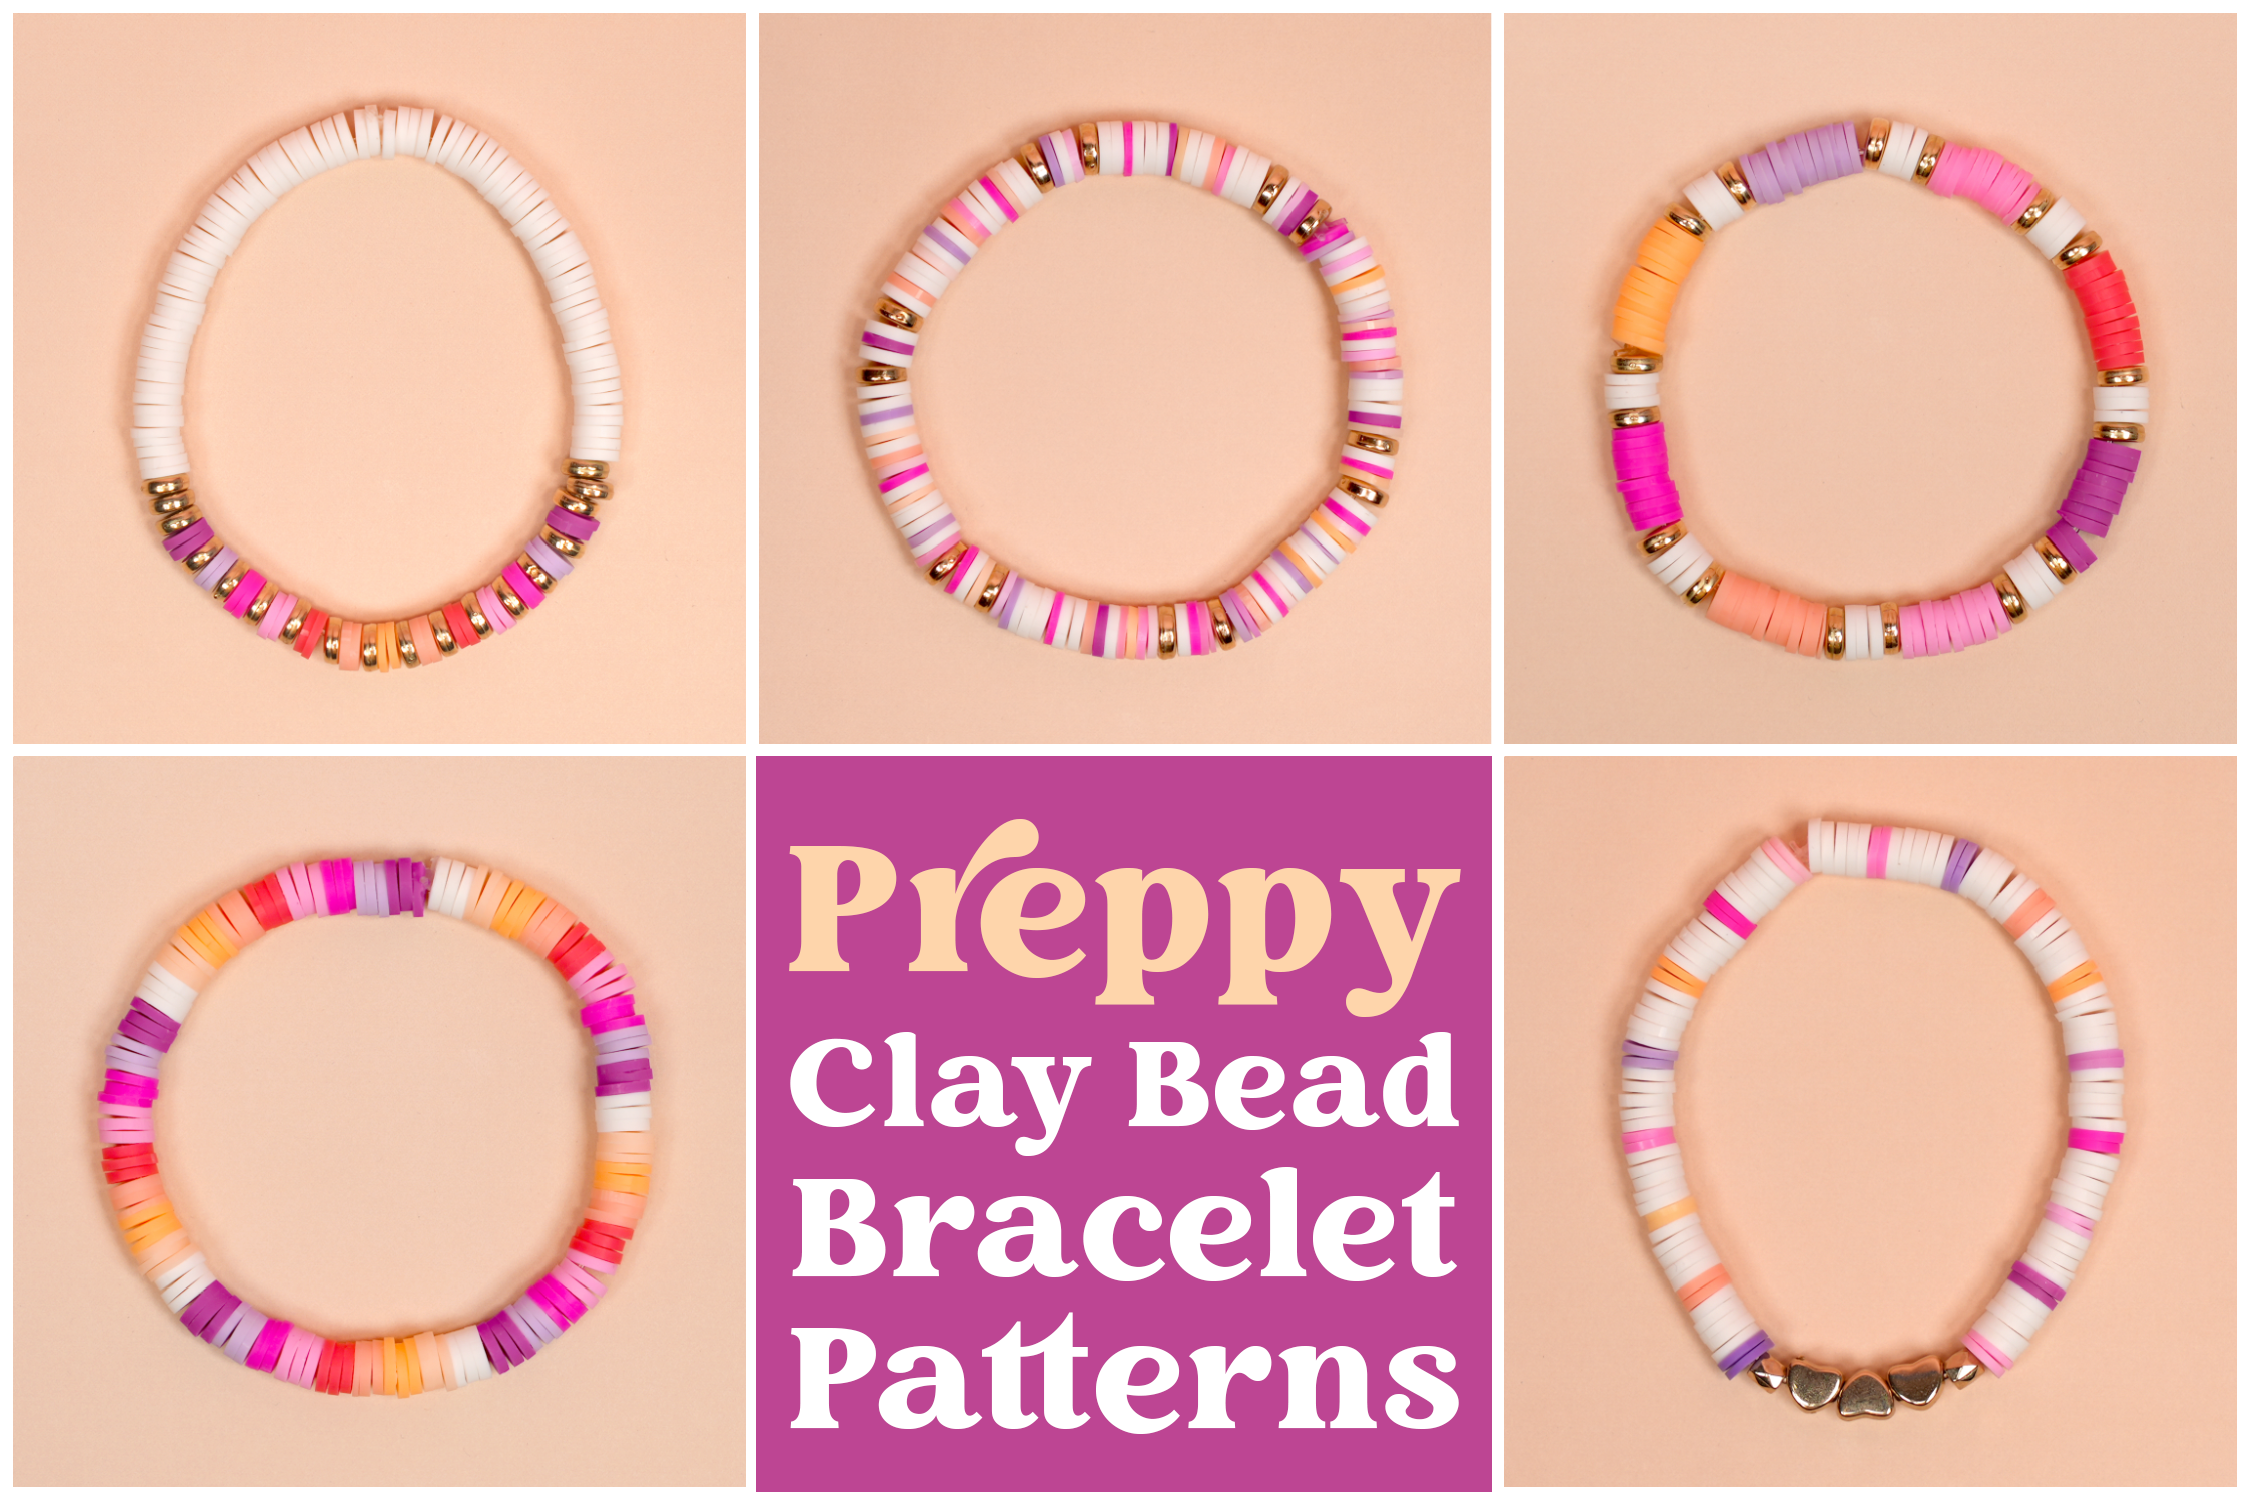
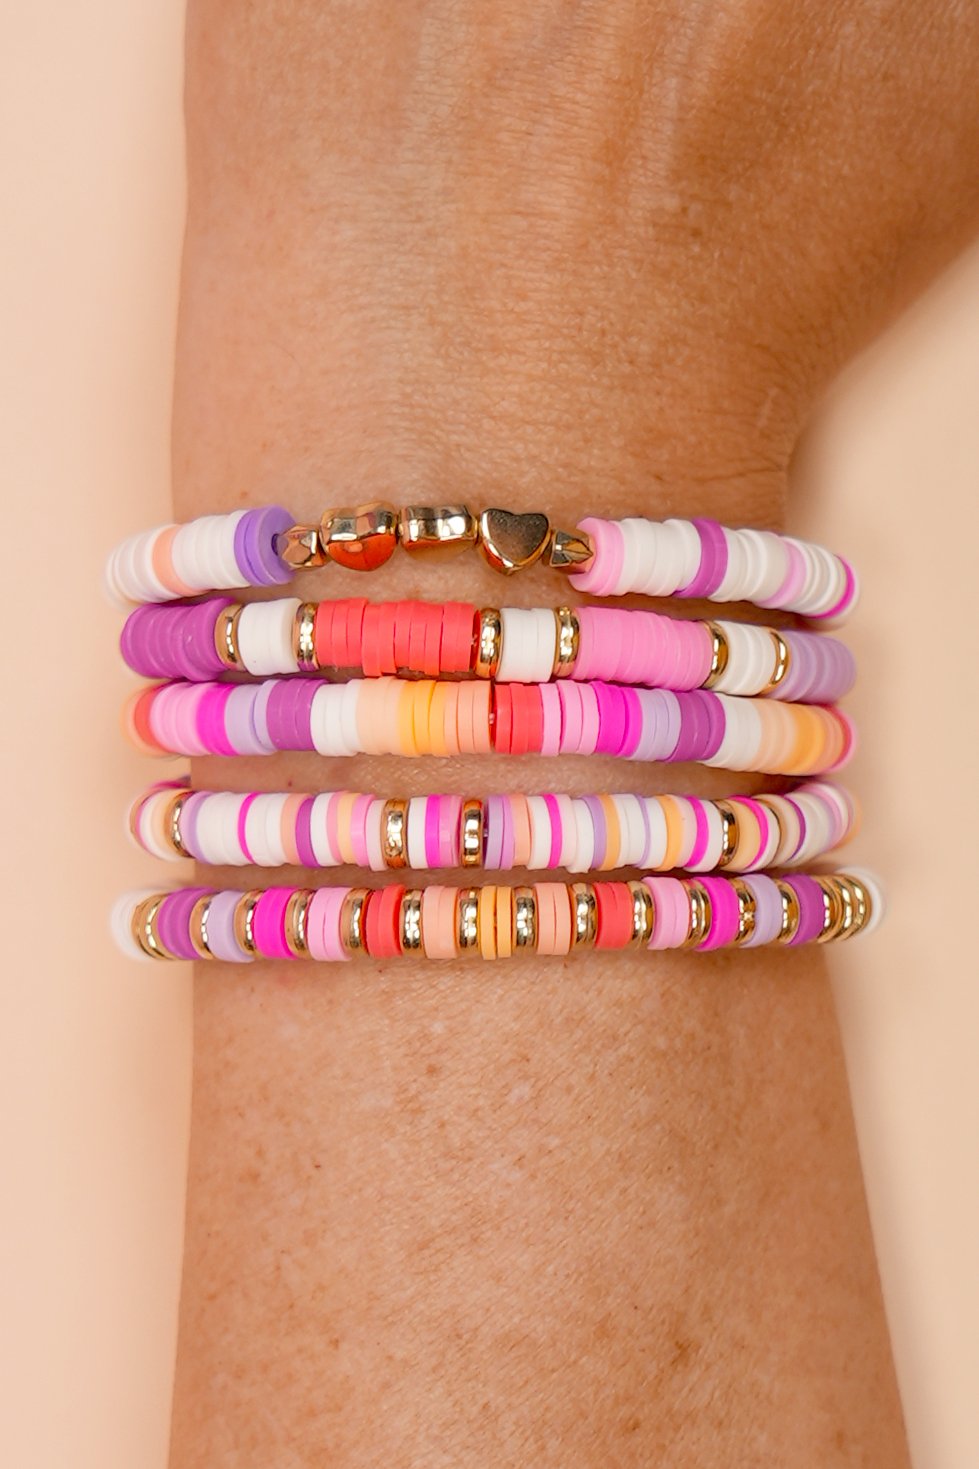
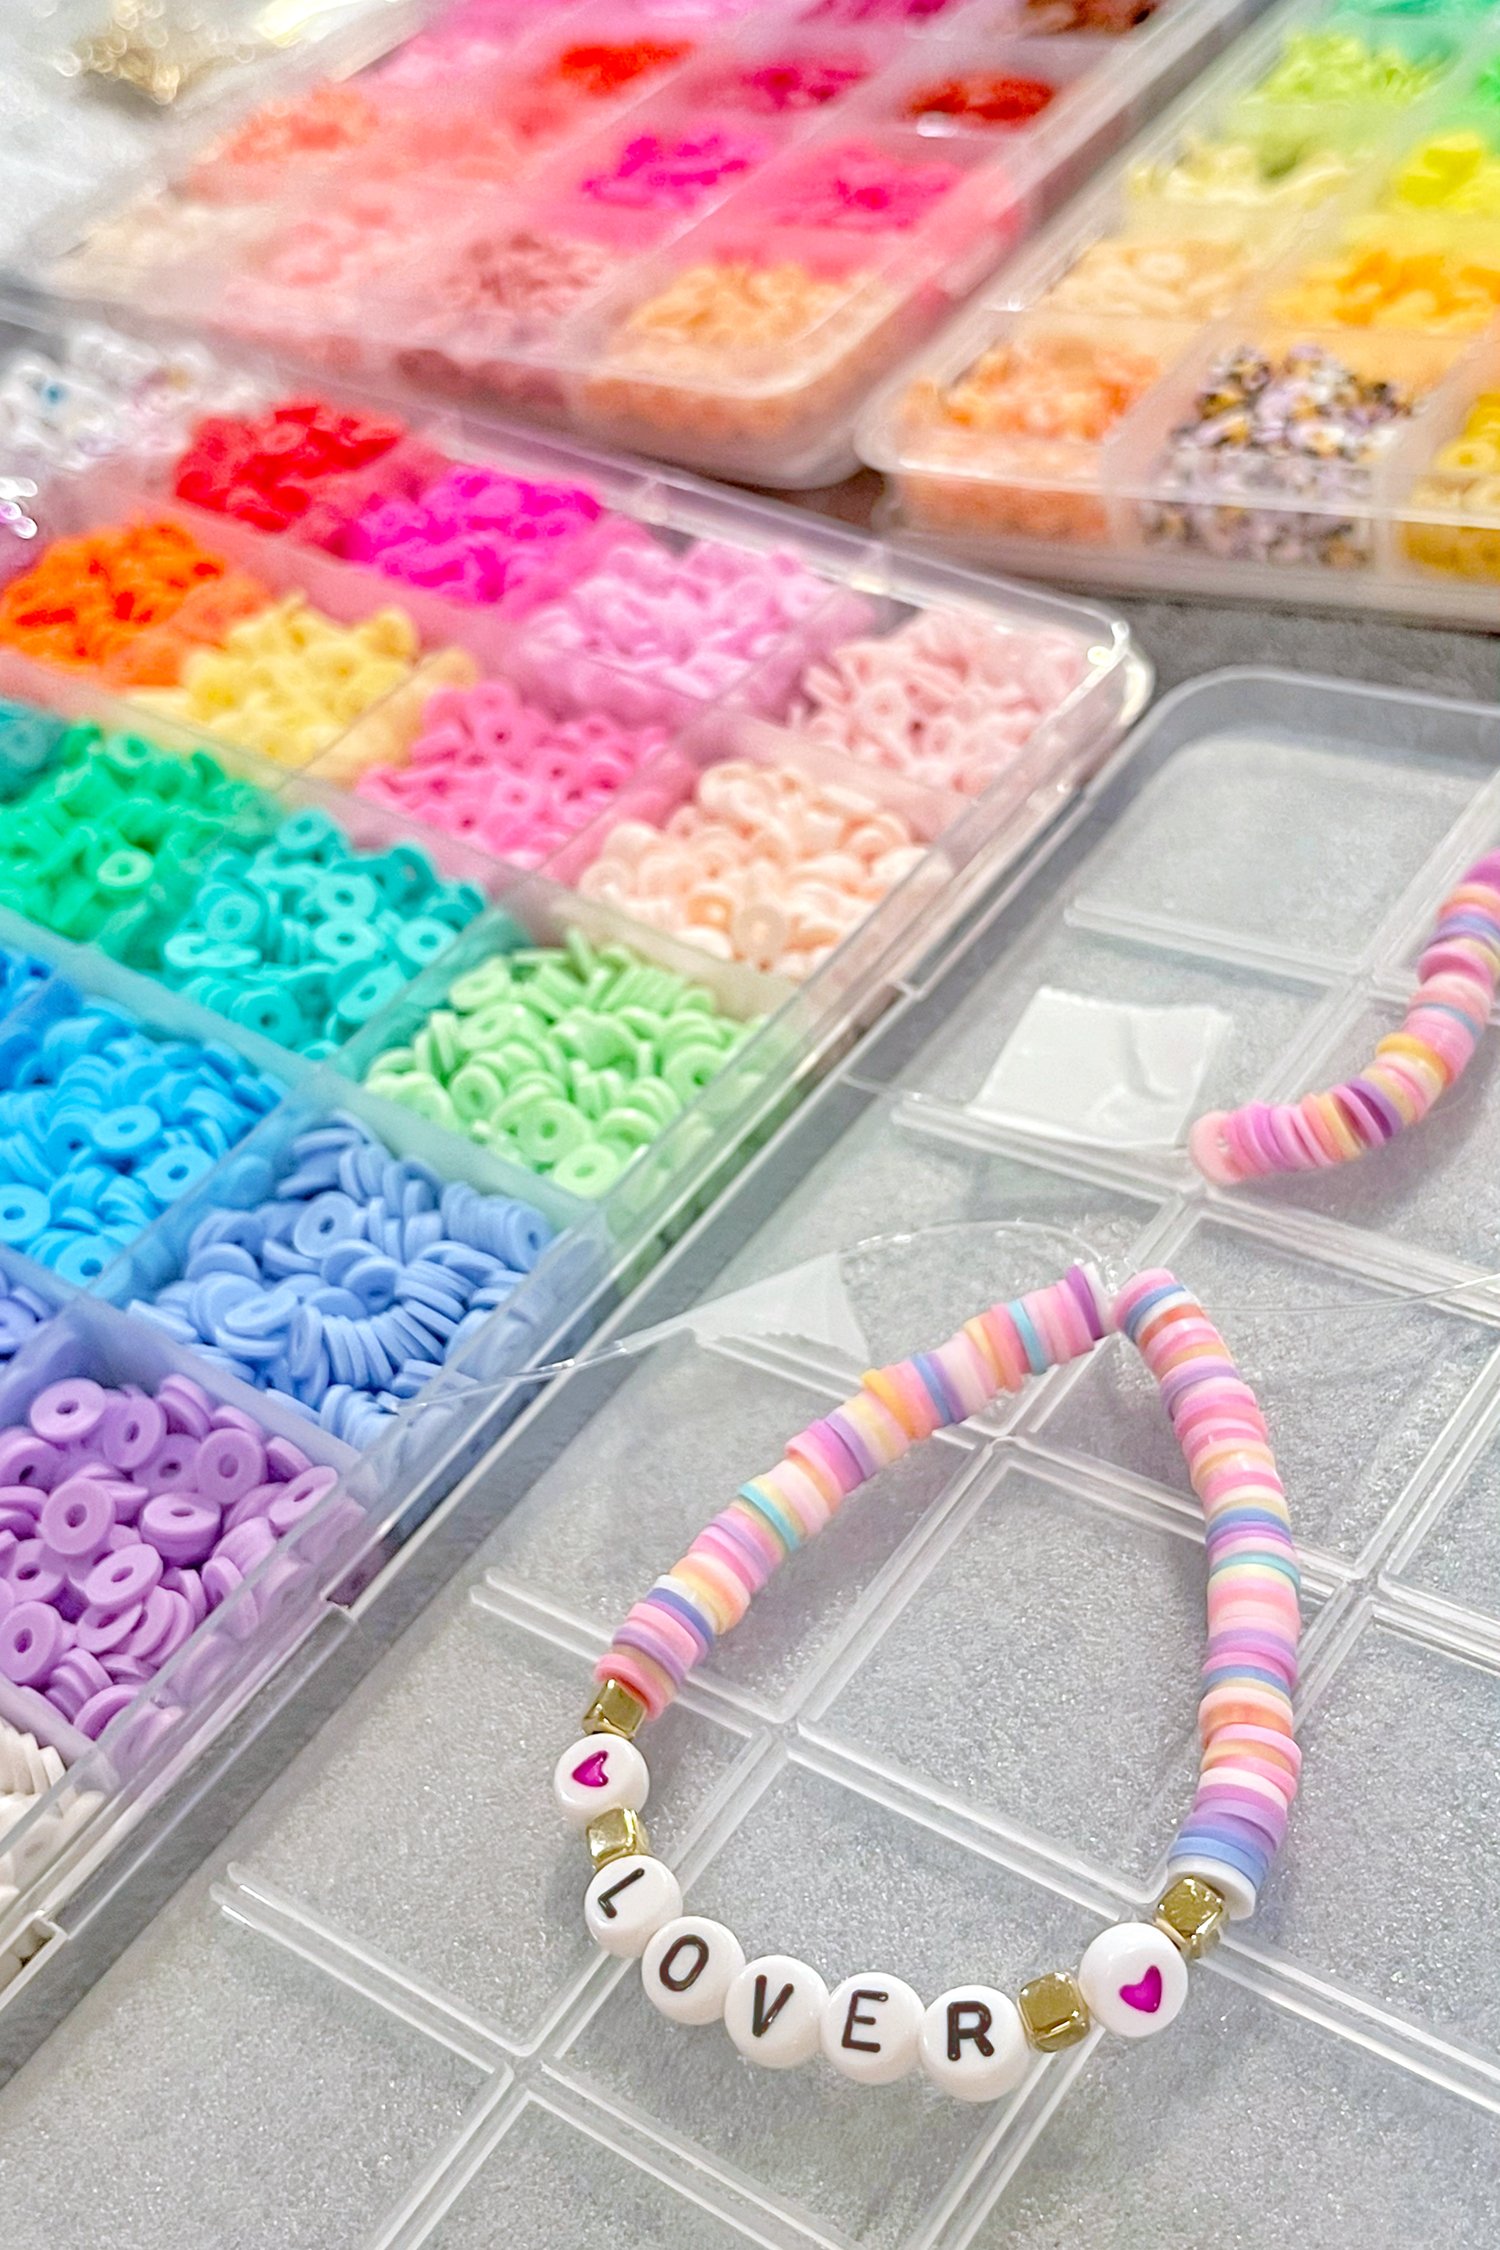
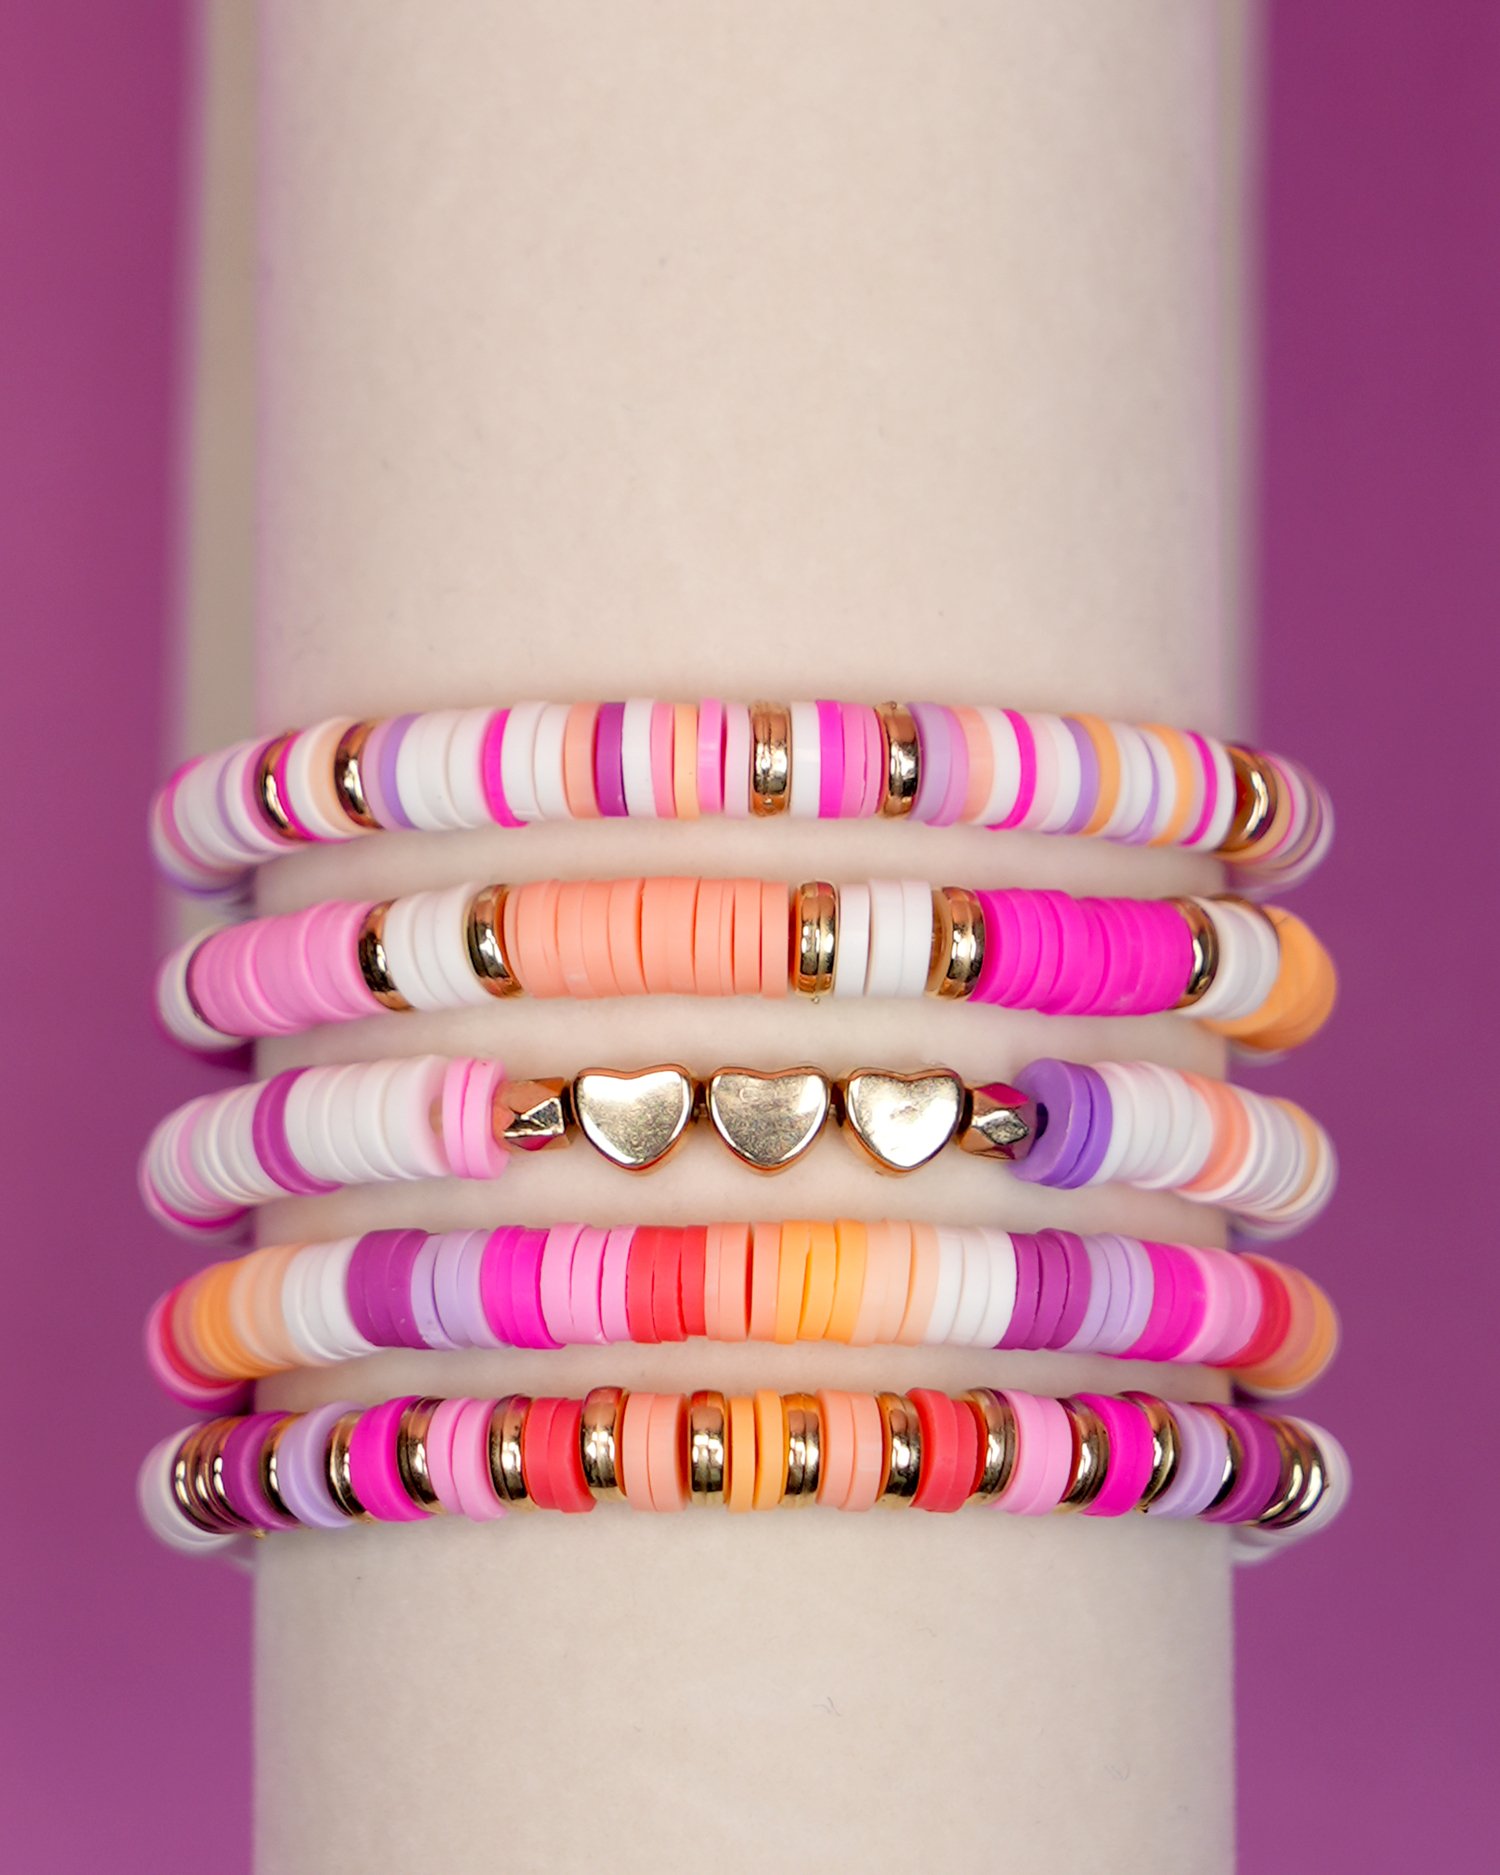
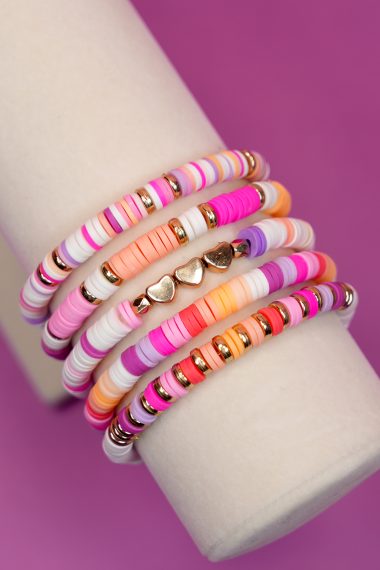
This set of preppy clay bread bracelets contains five different patterns, all made using the same basic color palette. I used white clay beads along with 10 different sunset-hued colors including light and dark shades of purple, pink, coral, and golden yellow, as well as gold spacer beads and gold hearts.
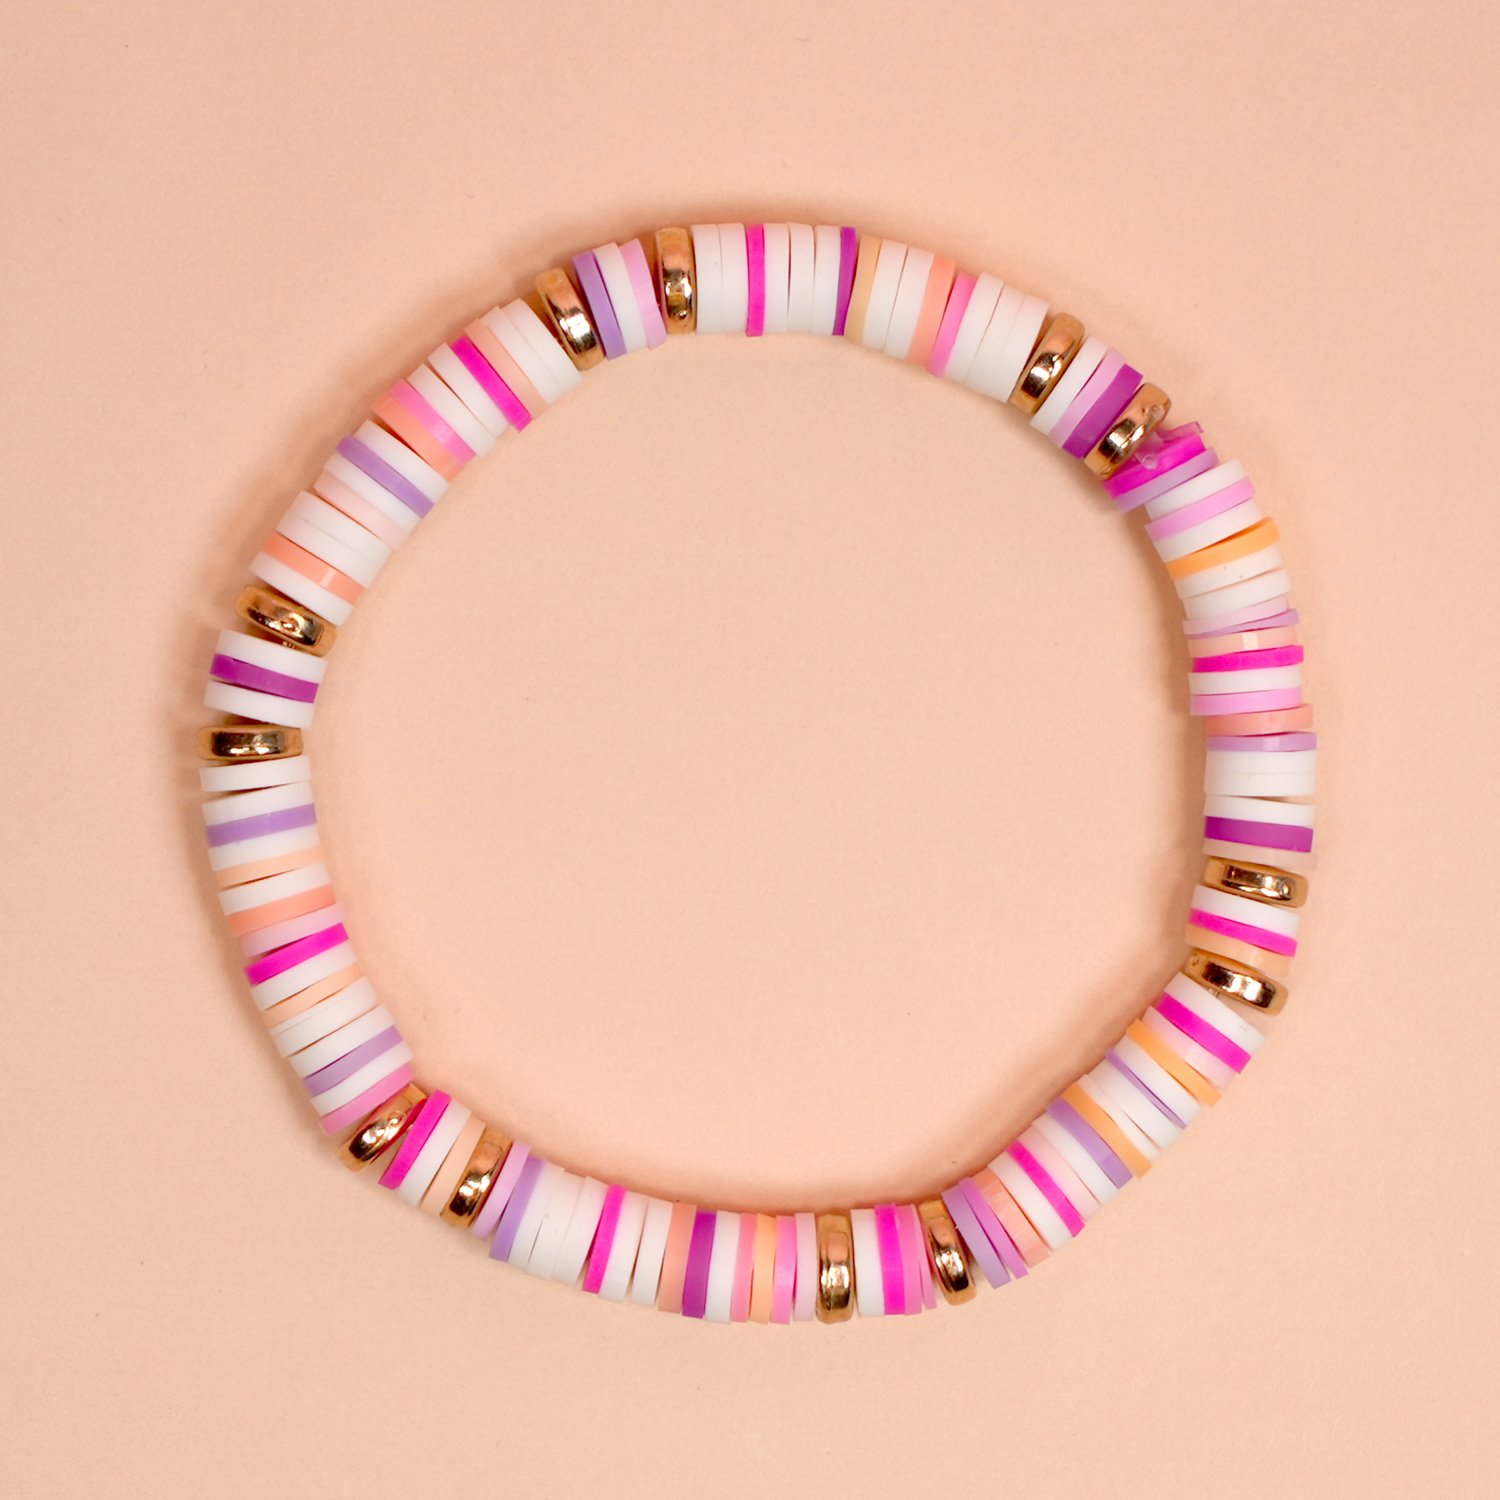
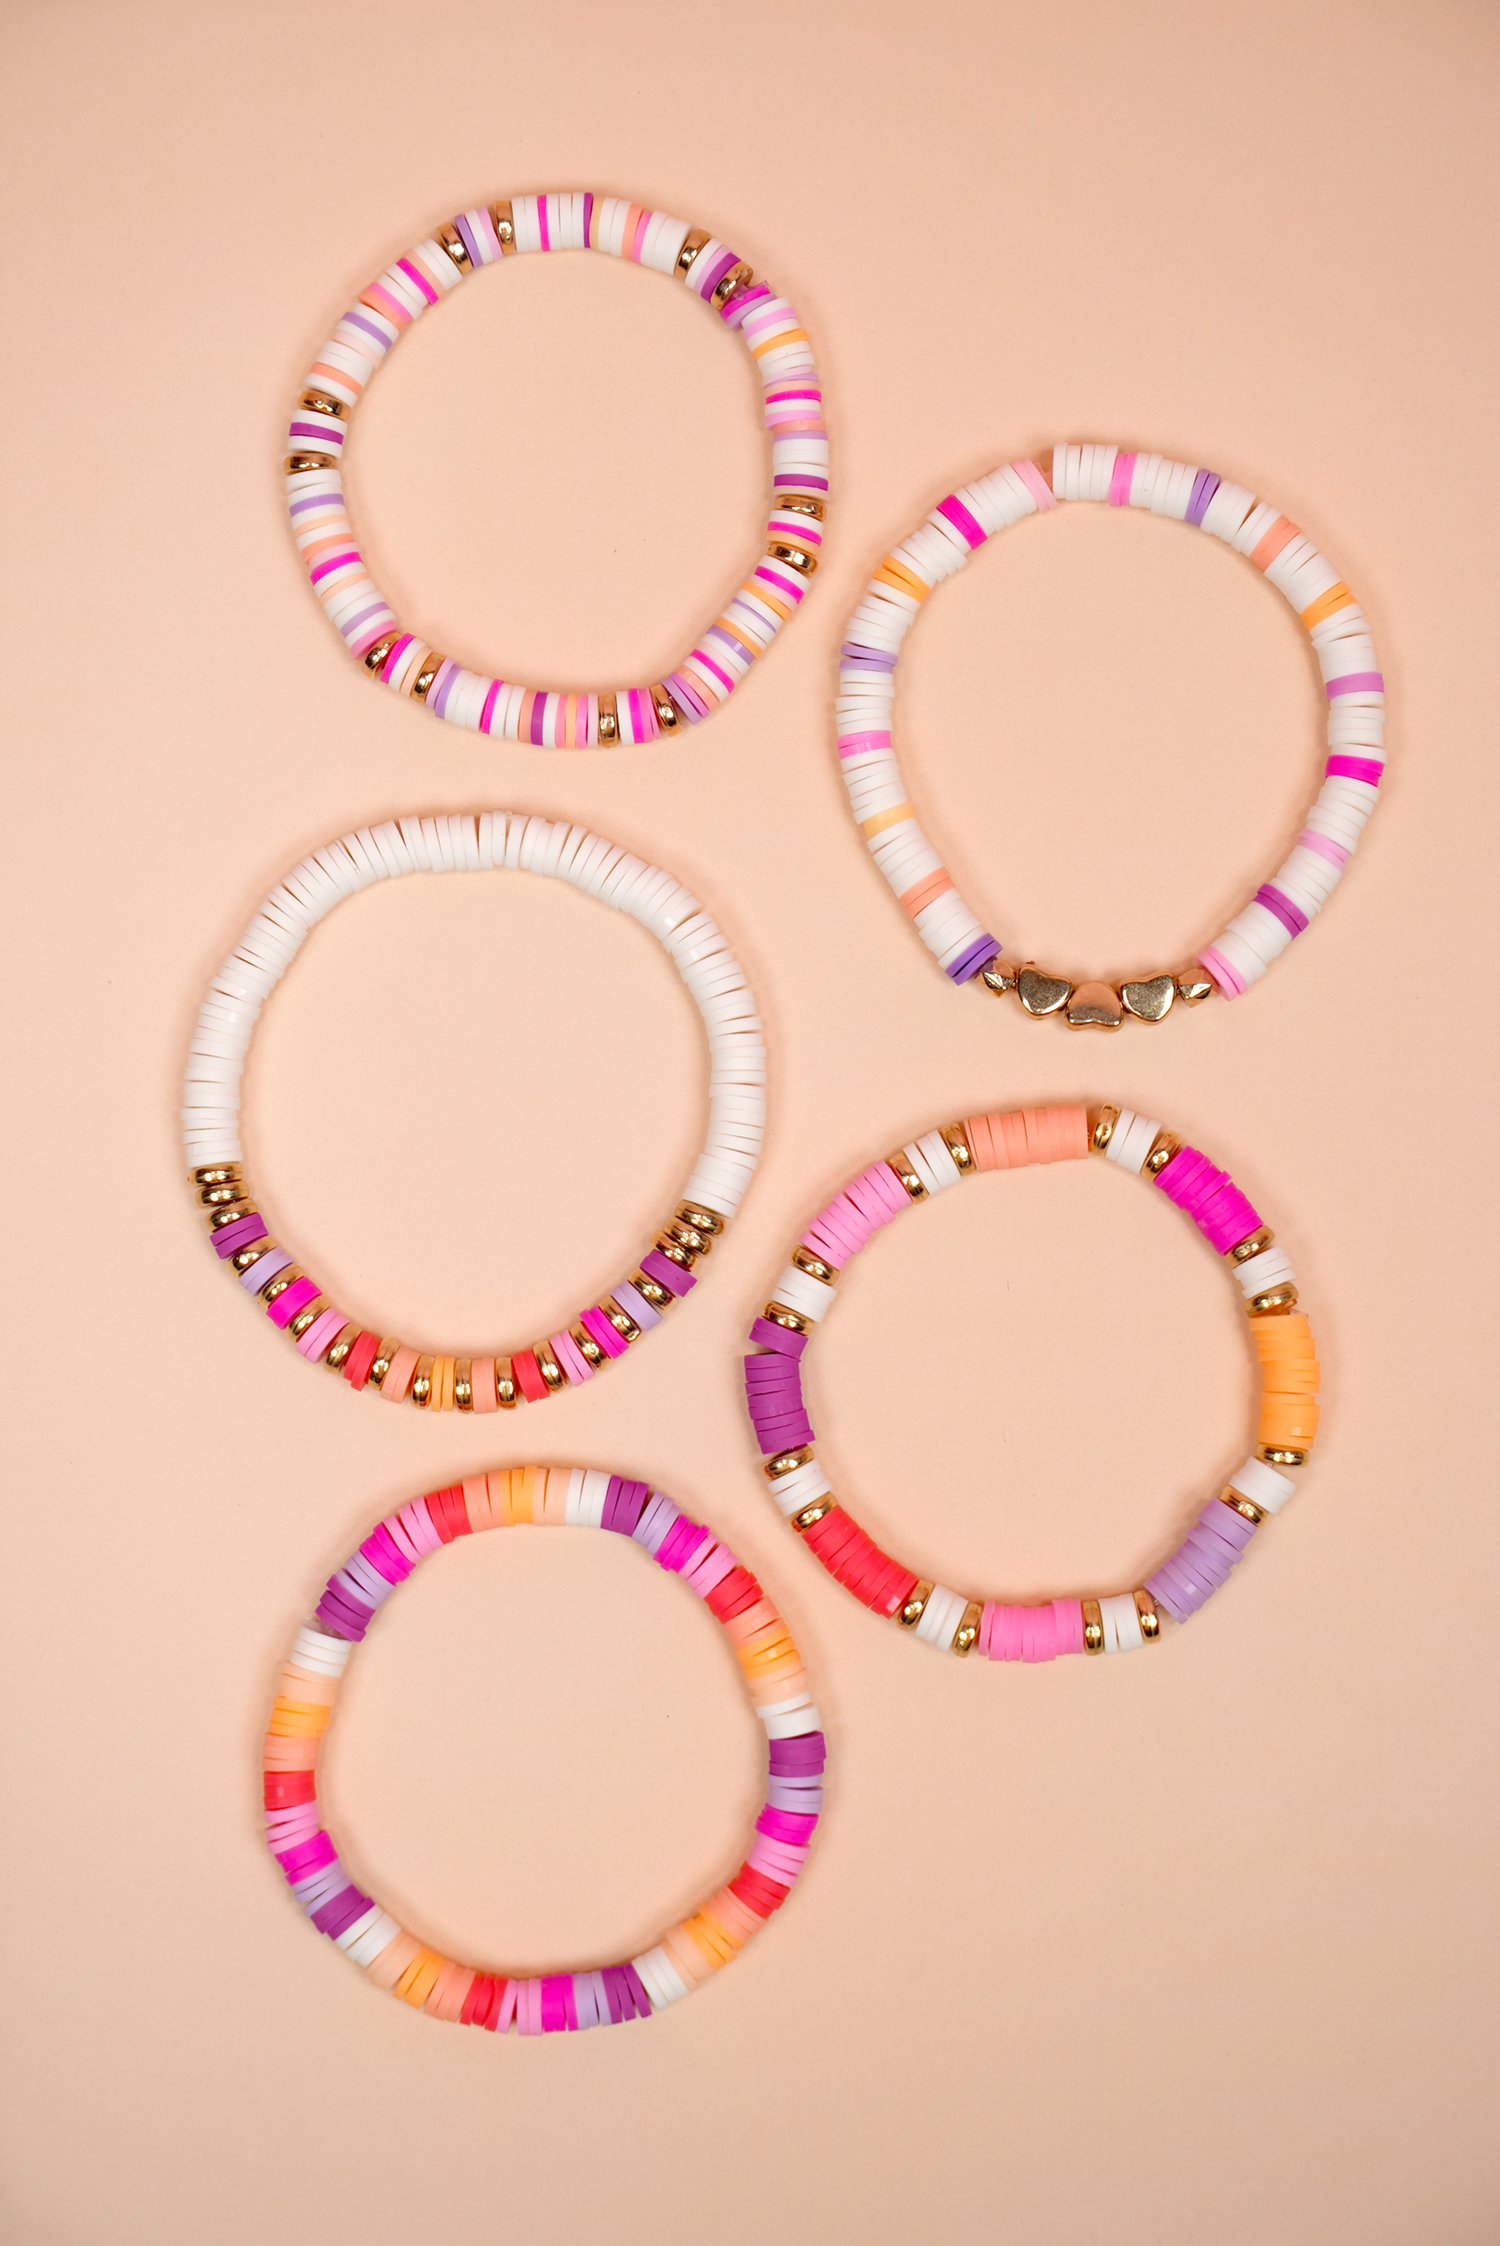
Bracelet 1 – Random Mix
The first bracelet here is the easiest to make because it doesn’t require much thought! The whole point of this bracelet is that the bead colors and order are totally random, so it’s extra easy peasy!
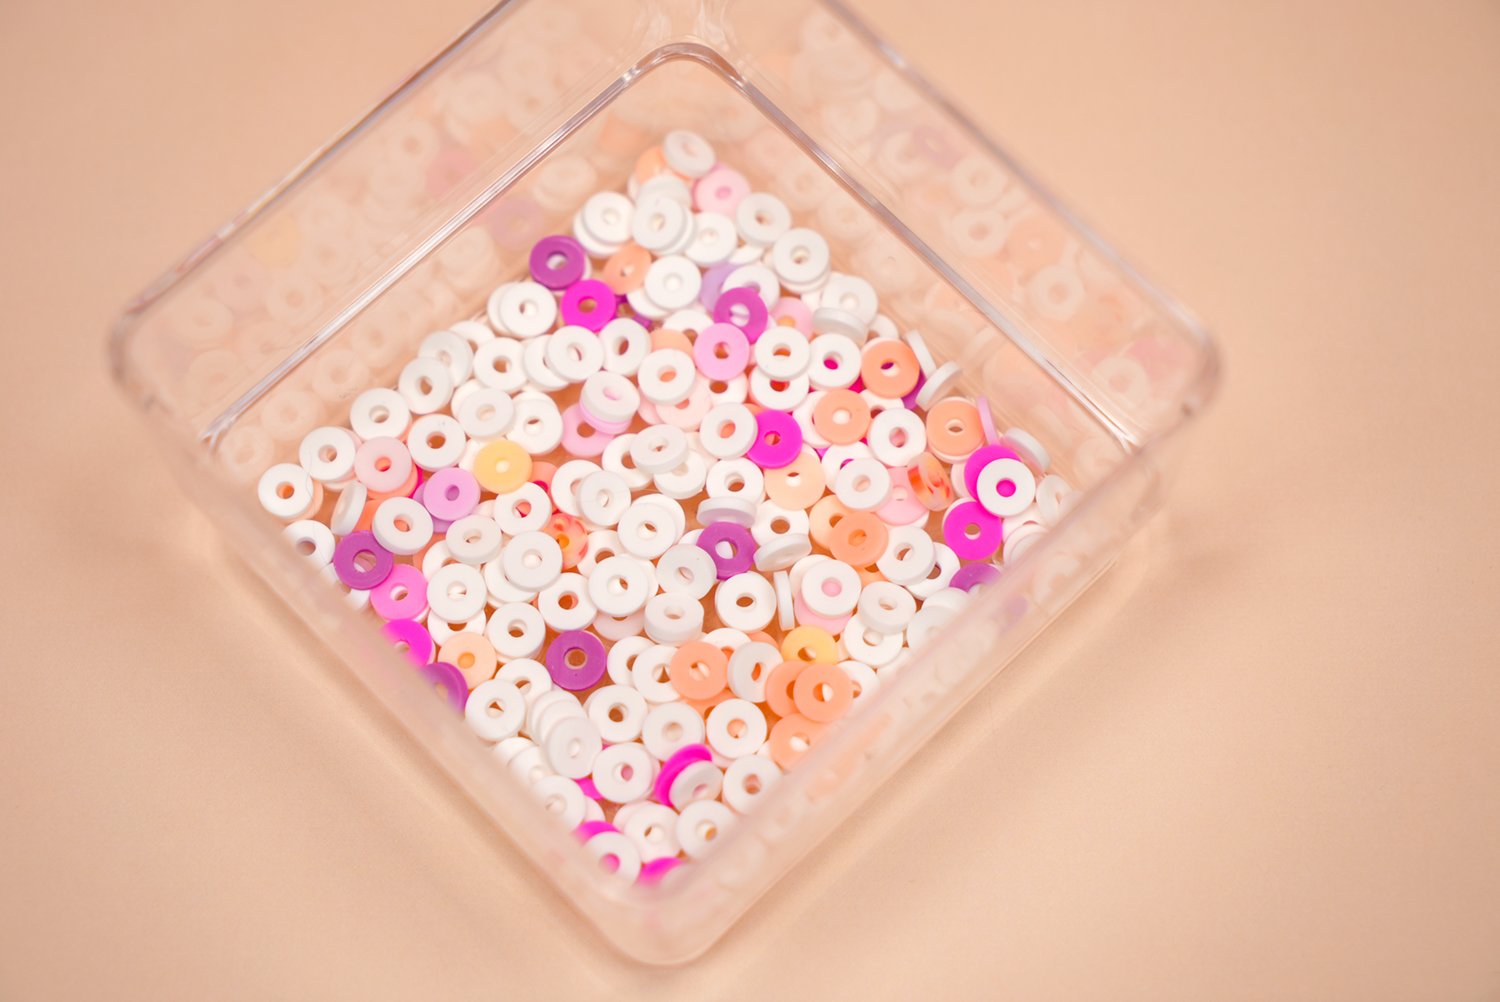
In a small dish, mix together about 100 white clay beads and 5-10 beads each of several different sunset-hued colors (about 40-50 beads total). You want the mixture to be approximately 2/3 white and 1/3 colored.
String the beads as follows:
- 15-16 Clay Beads (any color!)
- Gold Flat Spacer
- 3 Clay Beads (again, any color)
- Gold Flat Spacer
Then, repeat the pattern until you reach the desired length. For my 7″ bracelet, I repeated the pattern six times.
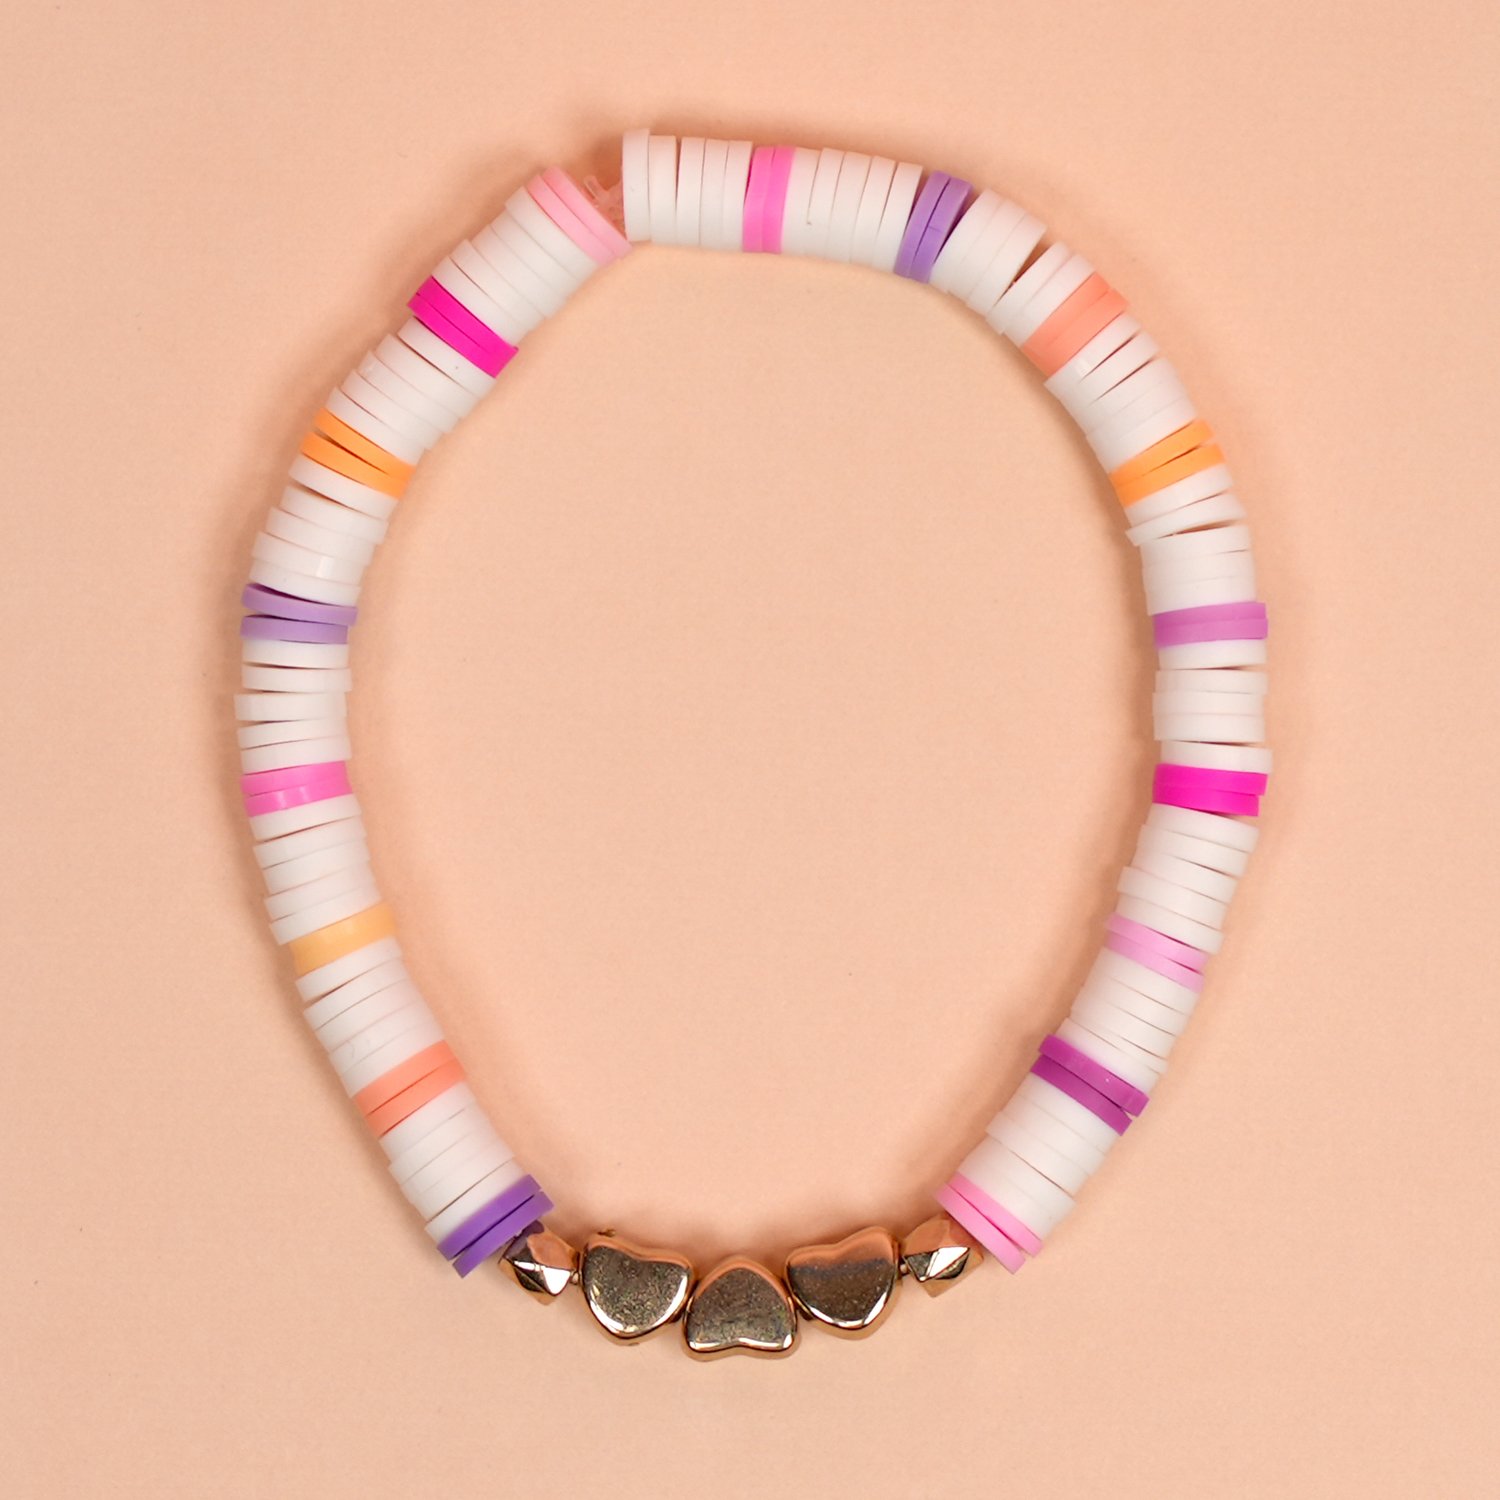
Bracelet 2 – White with Colored Bands and Hearts
For this heart bracelet, I used 80 white clay beads, 34 colored clay beads, two faceted gold spacers, and three gold hearts.
String the beads as follows:
- 5 White Clay Beads
- 2 Colored Clay Beads (any color from the palette)
- Repeat the white/colored pattern 8 times
- Faceted Spacer
- 3 Gold Hearts
- Faceted Spacer
- 2 Colored Clay Beads
- 5 White Clay Beads
- Repeat the pattern until the desired length is reached
Bracelet 3 – Sunset with Gold Bands
For this bracelet, I used 80 white clay beads, 26 colorful clay beads (in 7 colors), and 18 flat gold spacers.
String the beads as follows:
- 40 White Clay Beads
- 3 Flat Gold Spacers
- 2 Clay Beads, Color #1
- Flat Gold Spacer
- Repeat the 2 Clay Beads, 1 Flat Gold Spacer pattern for Colors #2-7
- Then, repeat the pattern in reverse color order for Colors #6-1.
- 3 Flat Gold Spacers
- 40 White Clay Beads

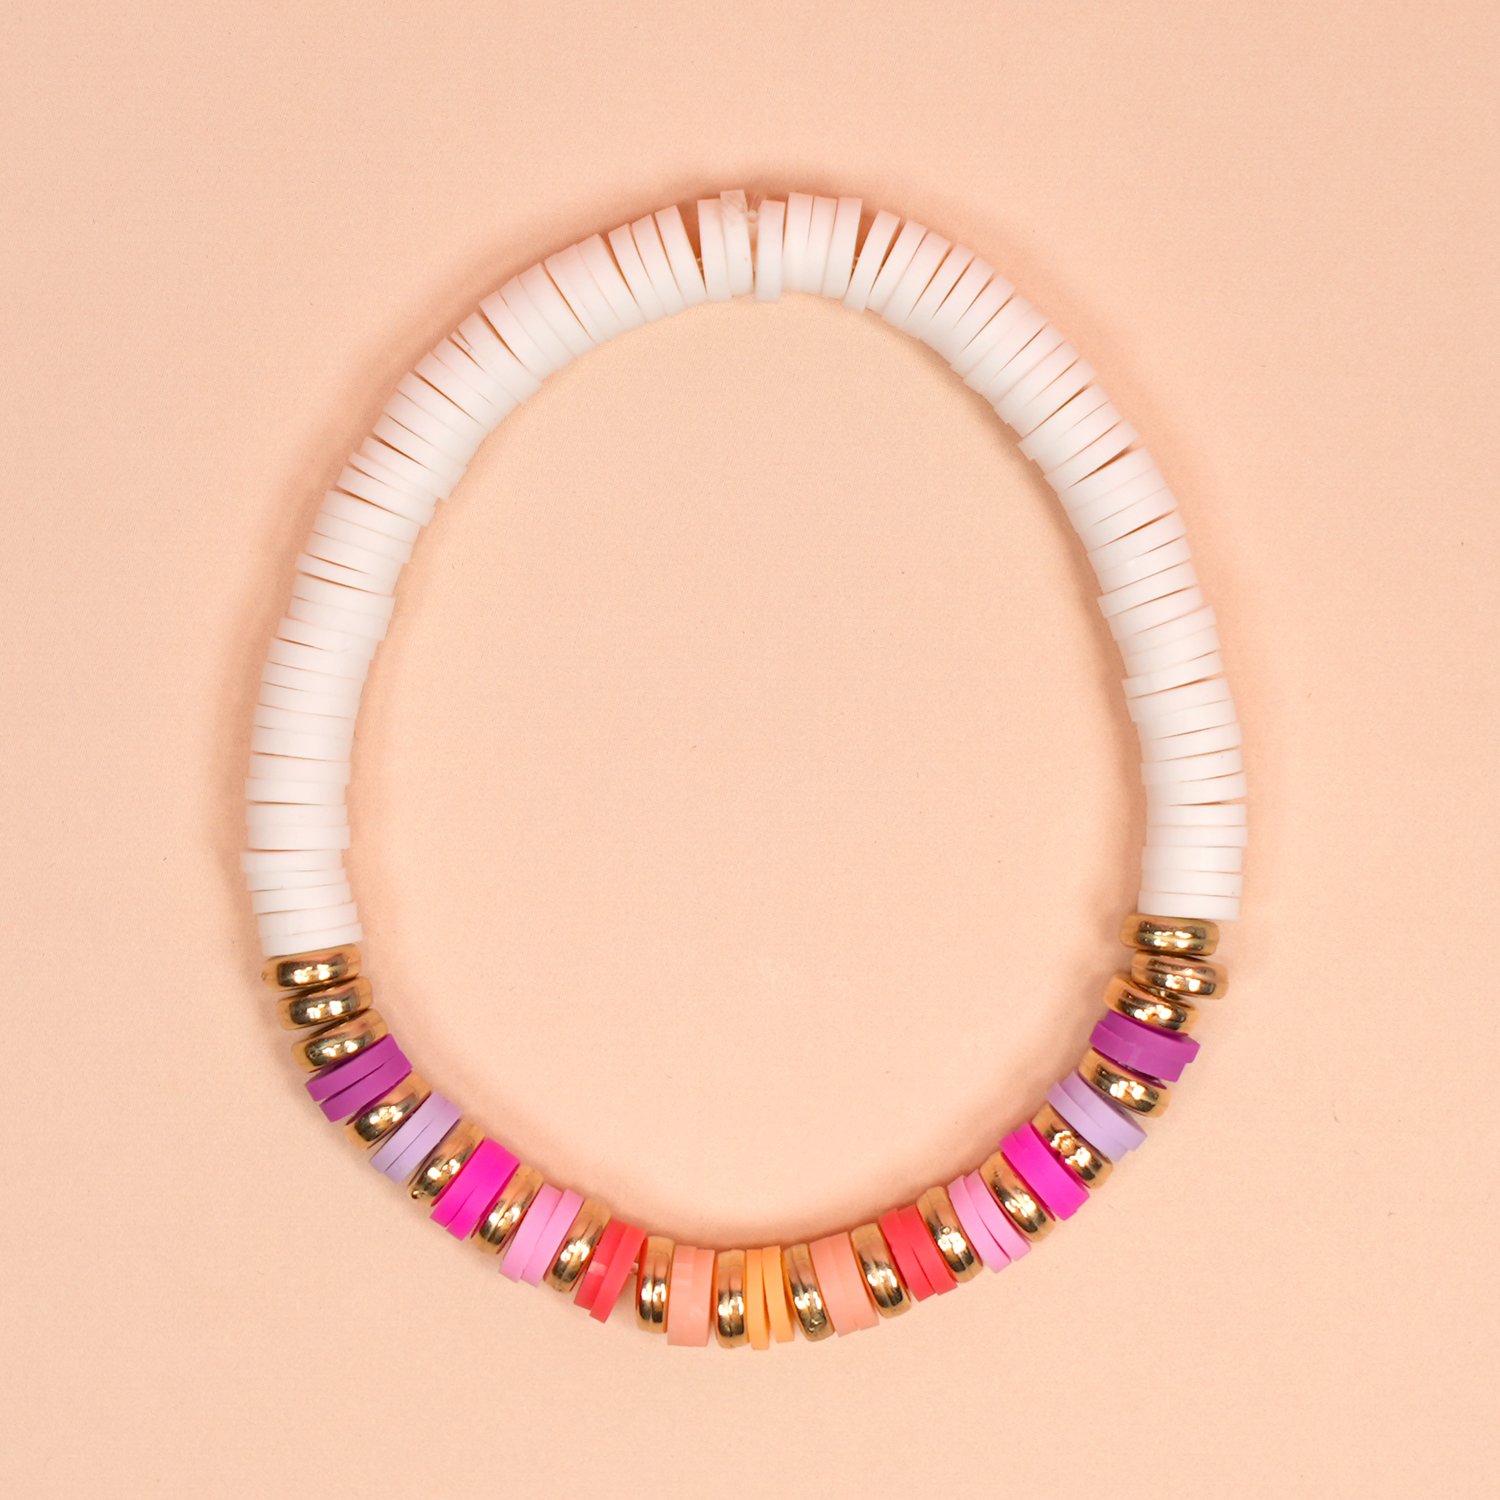
Bracelet 4 – Color Blocked
For this fun color-blocked bracelet, I used 24 white clay beads, 10 colored clay beads in each of 8 different colors (you may need to adjust this number slightly depending on the length desired), and 18 flat gold spacer beads.
String the beads as follows:
- 10-12 Colored Clay Beads (Color #1)
- Flat Gold Spacer
- 3 White Clay Beads
- Flat Gold Spacer
- Repeat the pattern for Colors #2-8

Bracelet 5 – Sunset Ombré
This pretty bracelet mimics the shifting colors of the setting sun, and it’s one of my favorites!
To make this one, I used 15 beads each of white as well as eight different colors – light and dark versions of purple, pink, coral, and golden yellow.
String the beads as follows:
- 3 Clay Beads of Color #1
- Repeat for Colors #2-8
- Repeat the entire color pattern (colors #1-8) four more times or until the desired length is reached
Frequently Asked Questions About Clay Bead Bracelets

How long should my clay beaded bracelet be?
The most common women’s bracelet length is 7 inches long, however, the standard range is anywhere from 6 to 8.5 inches. For best results, use a soft tape measure to measure your wrist, and then add 1/4 inch to the length.
Children’s bracelets typically range from 5 to 6.5 inches; men’s range from 7.5 inches to 10.5 inches.
How many clay beads do I need to make a bracelet?
To make a standard 7″ adult bracelet, you will need around 100-140 flat clay beads per bracelet, depending on the thickness of each clay bead (you will notice that some are thinner-cut than others). If you are weighing out the number of beads, you will need around 5 grams of clay beads per bracelet.
If you include any additional letter beads, spacers, or decorative beads, you will need fewer clay beads.
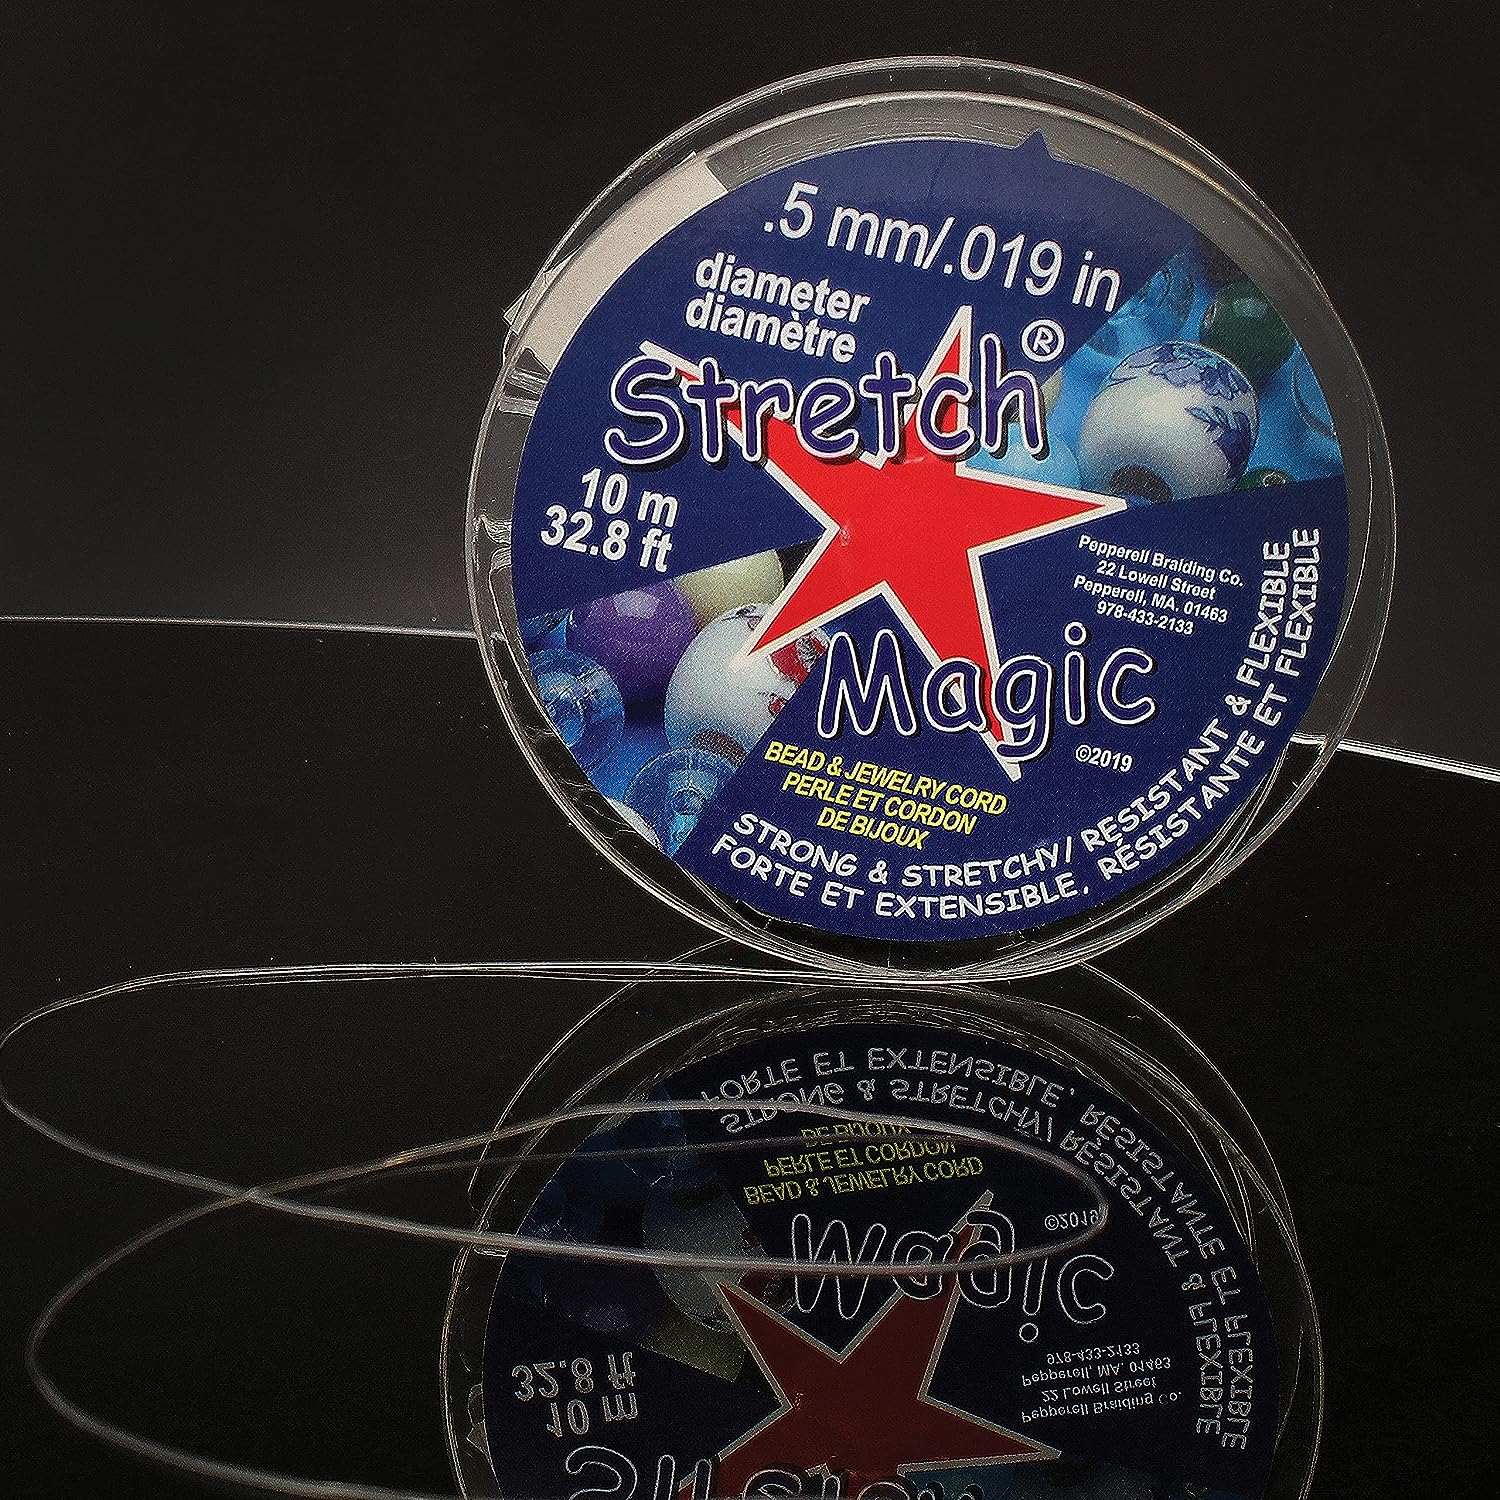
What is the best string to use for clay bead bracelets?
We recommend using a clear stretchy beading cord that is between .4mm and 1mm thick. Stretch Magic is a popular brand of jewelry cord that we use frequently.

Which clay beads are the best for bracelets?
You can find all of my favorite clay beads and bracelet supplies in my Amazon Shop!
How do I keep my clay beaded bracelet from untying or breaking?
Follow the step-by-step video demonstration above to tie your bracelets using a surgeon’s knot, which creates one of the strongest and tightest knots possible when working with stretchy jewelry cords. Adding a dab of glue to the knot can add an extra layer of security.
When pulling the knot tight, you’ll want to be gentle so as not to overstretch the cord, which can weaken it and may lead to potential breakage.
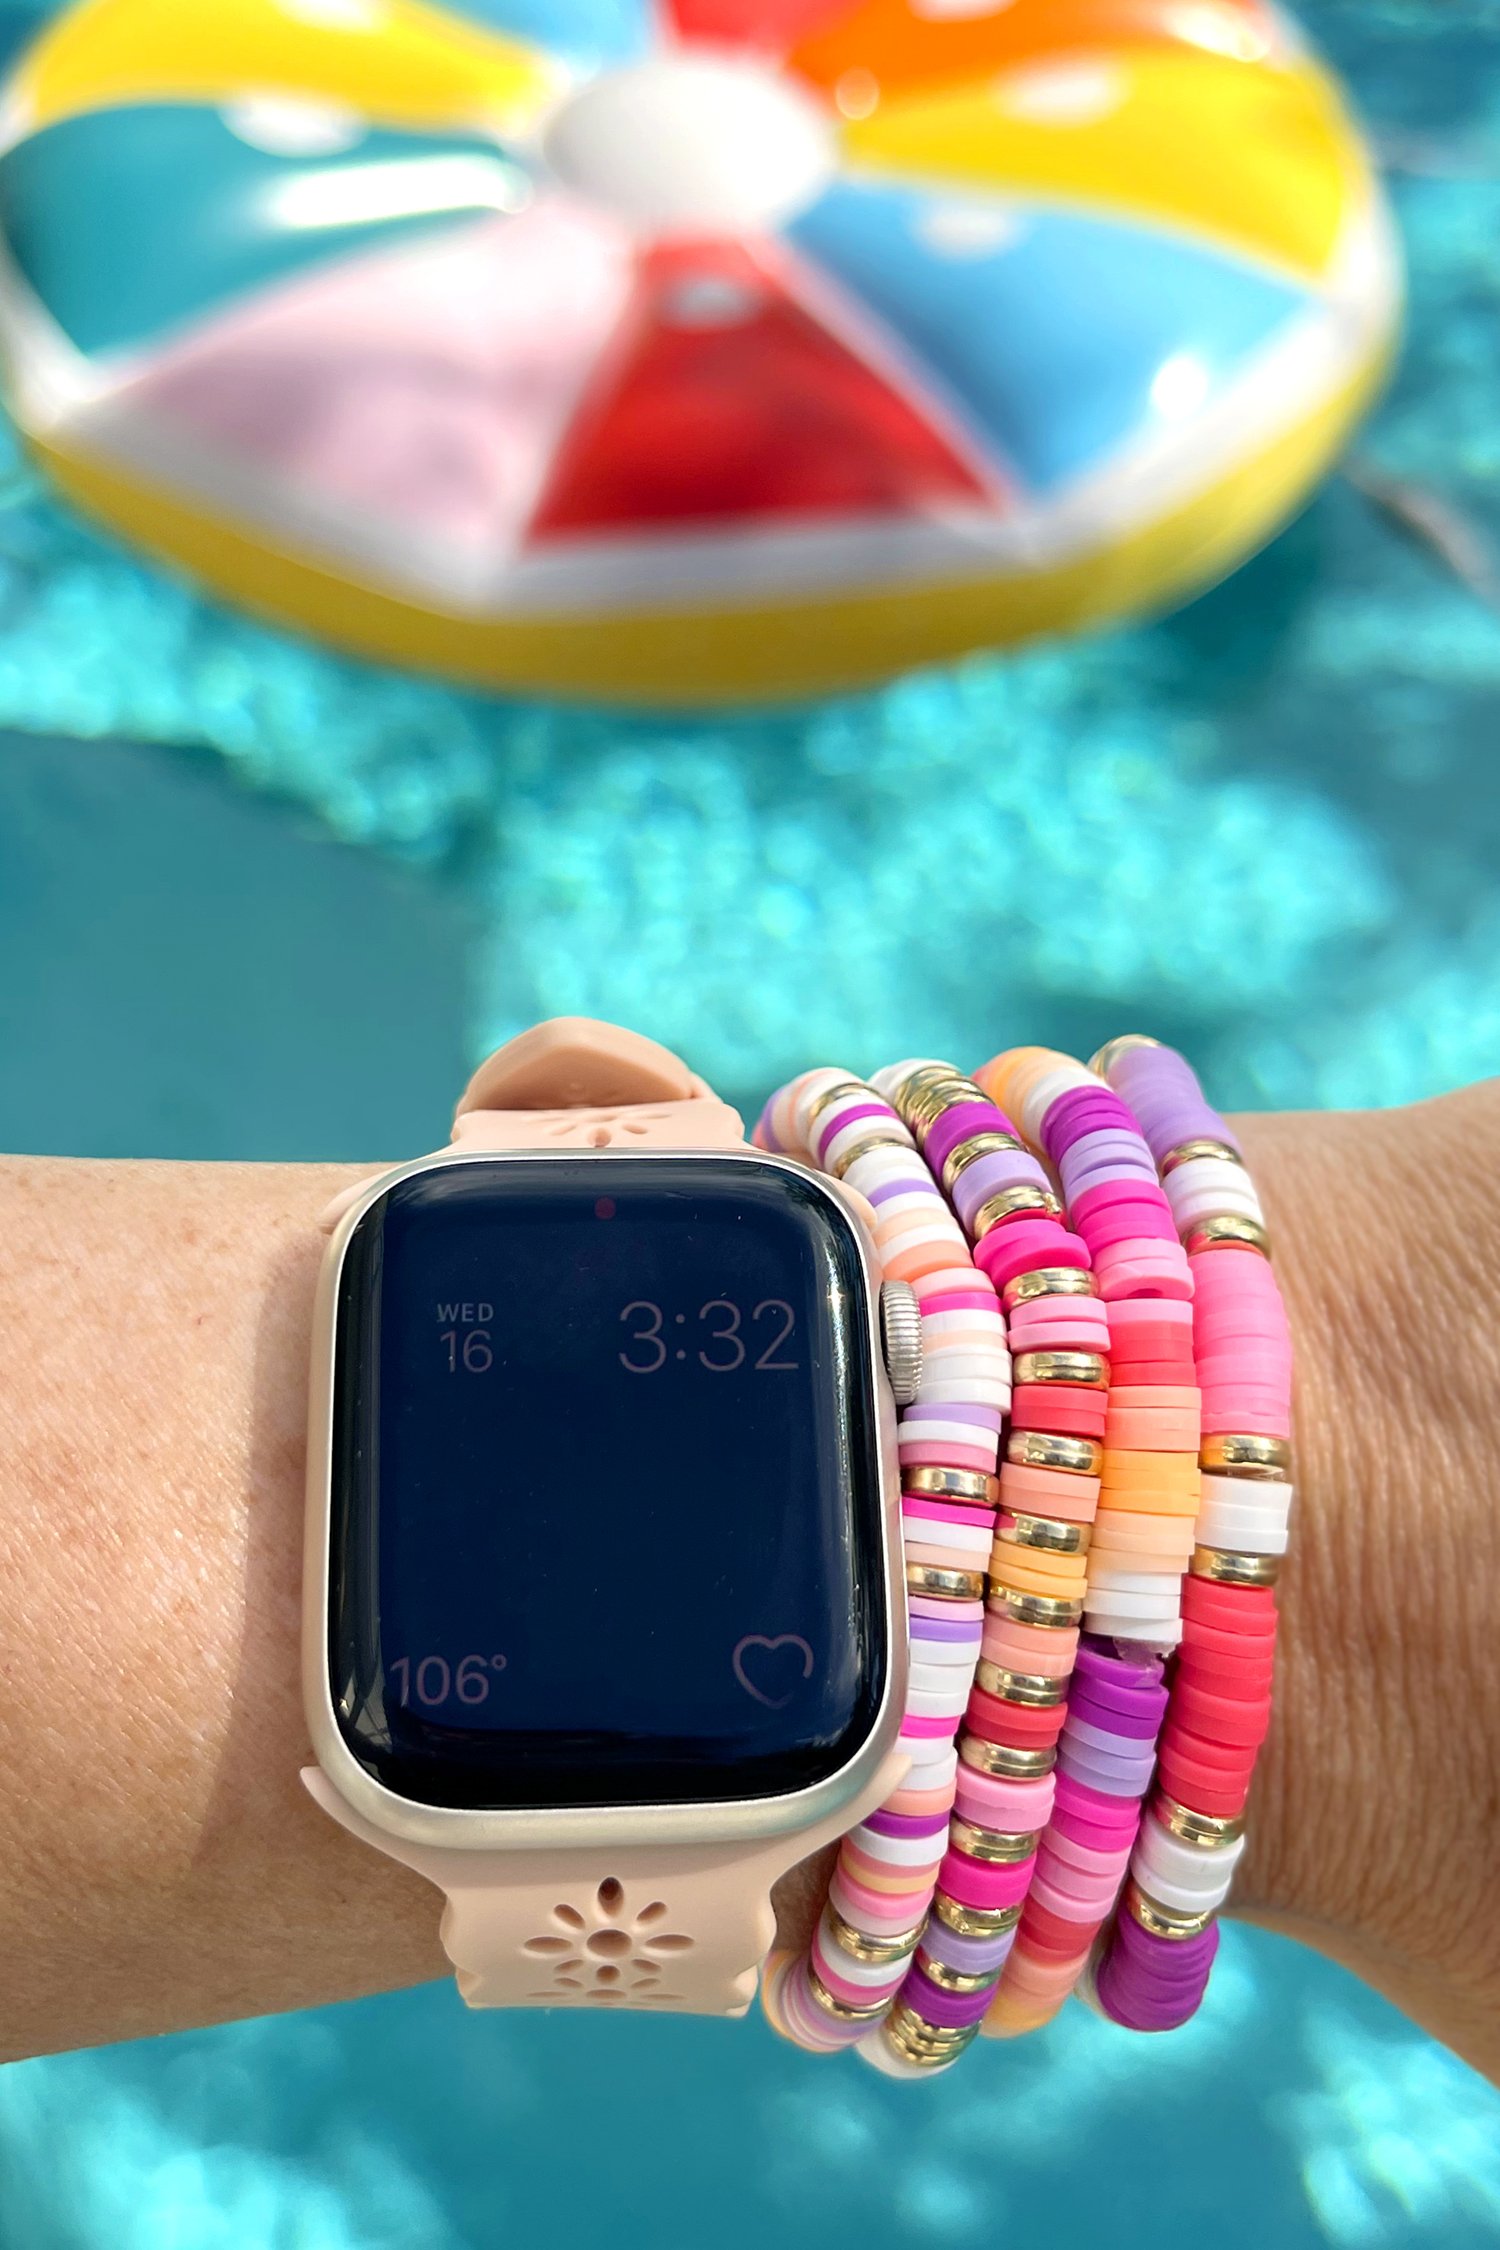
Are clay bead bracelets waterproof?
Yes! Clay beads are made from cured polymer clay or vinyl material which are durable and waterproof materials; however, due to other chemicals and components often found in pools and other bodies of water, we still recommend that you remove your bracelets before swimming or bathing for the best results and longevity.
So, now that you have all the details, it’s time for you to start making your own preppy clay bead bracelets! If you make your own, don’t forget to tag me on Instagram @HeidiKundin or use the hashtag #HIHMakersClub so I can check them out!
Happy crafting!


How to Make Clay Bead Bracelets
What You’ll Need:
Instructions:
- To begin, cut a length of stretchy cord that is approximately 10" long. Tip: to make quick work of measuring, I like to add a piece of washi tape to my desk that is 7" long, which is the length that I will make all of my beading. Simply extend the cord about 1.5" from each end of the washi tape and then cut.
- Grip the ends of the cord and pull to stretch. Pre-stretching the cord will allow you to tie tighter knots at the end!
- Add a small piece of washi tape to the end of the elastic cording, and fold the tape back on itself. This will create a barrier so that your beads don't slip off the end of the cord.
- Following the patterns as shown in the blog post, add beads to the bracelet string until it reaches the desired length. (Again, you can use that handy strip of washi tape to easily measure the length at a glance!)
- To finish the bracelet, tie a surgeon's knot as demonstrated in the video. Ttie a half-knot, then another half-knot (do NOT pull the second half-knot tight yet!). Loop each tail through one more time, and then pull tightly.
- Add a small dab of glue to help secure the knot, and then allow the glue to dry completely before trimming off the ends of the cord.
Check Out These Other DIY Jewelry Making Ideas!
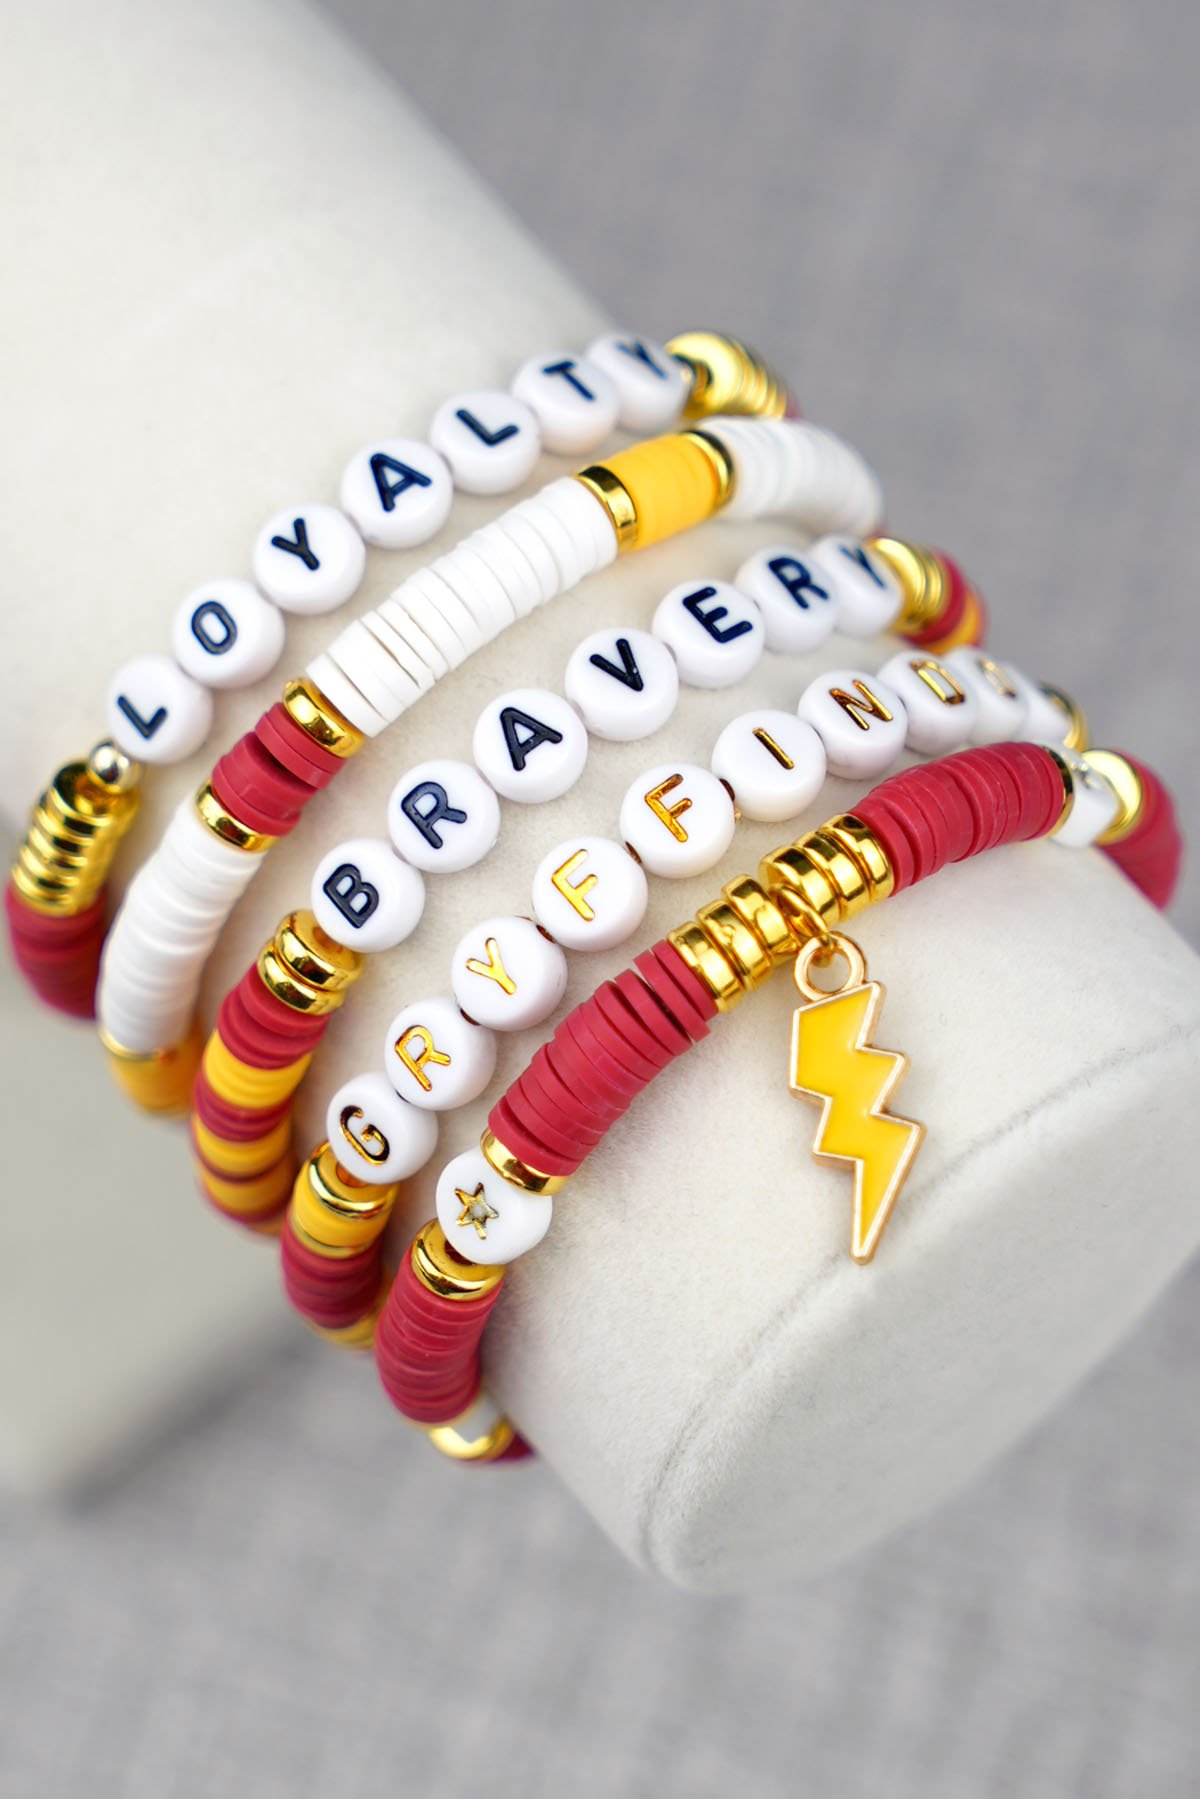
 DIY Gryffindor Bracelet Set
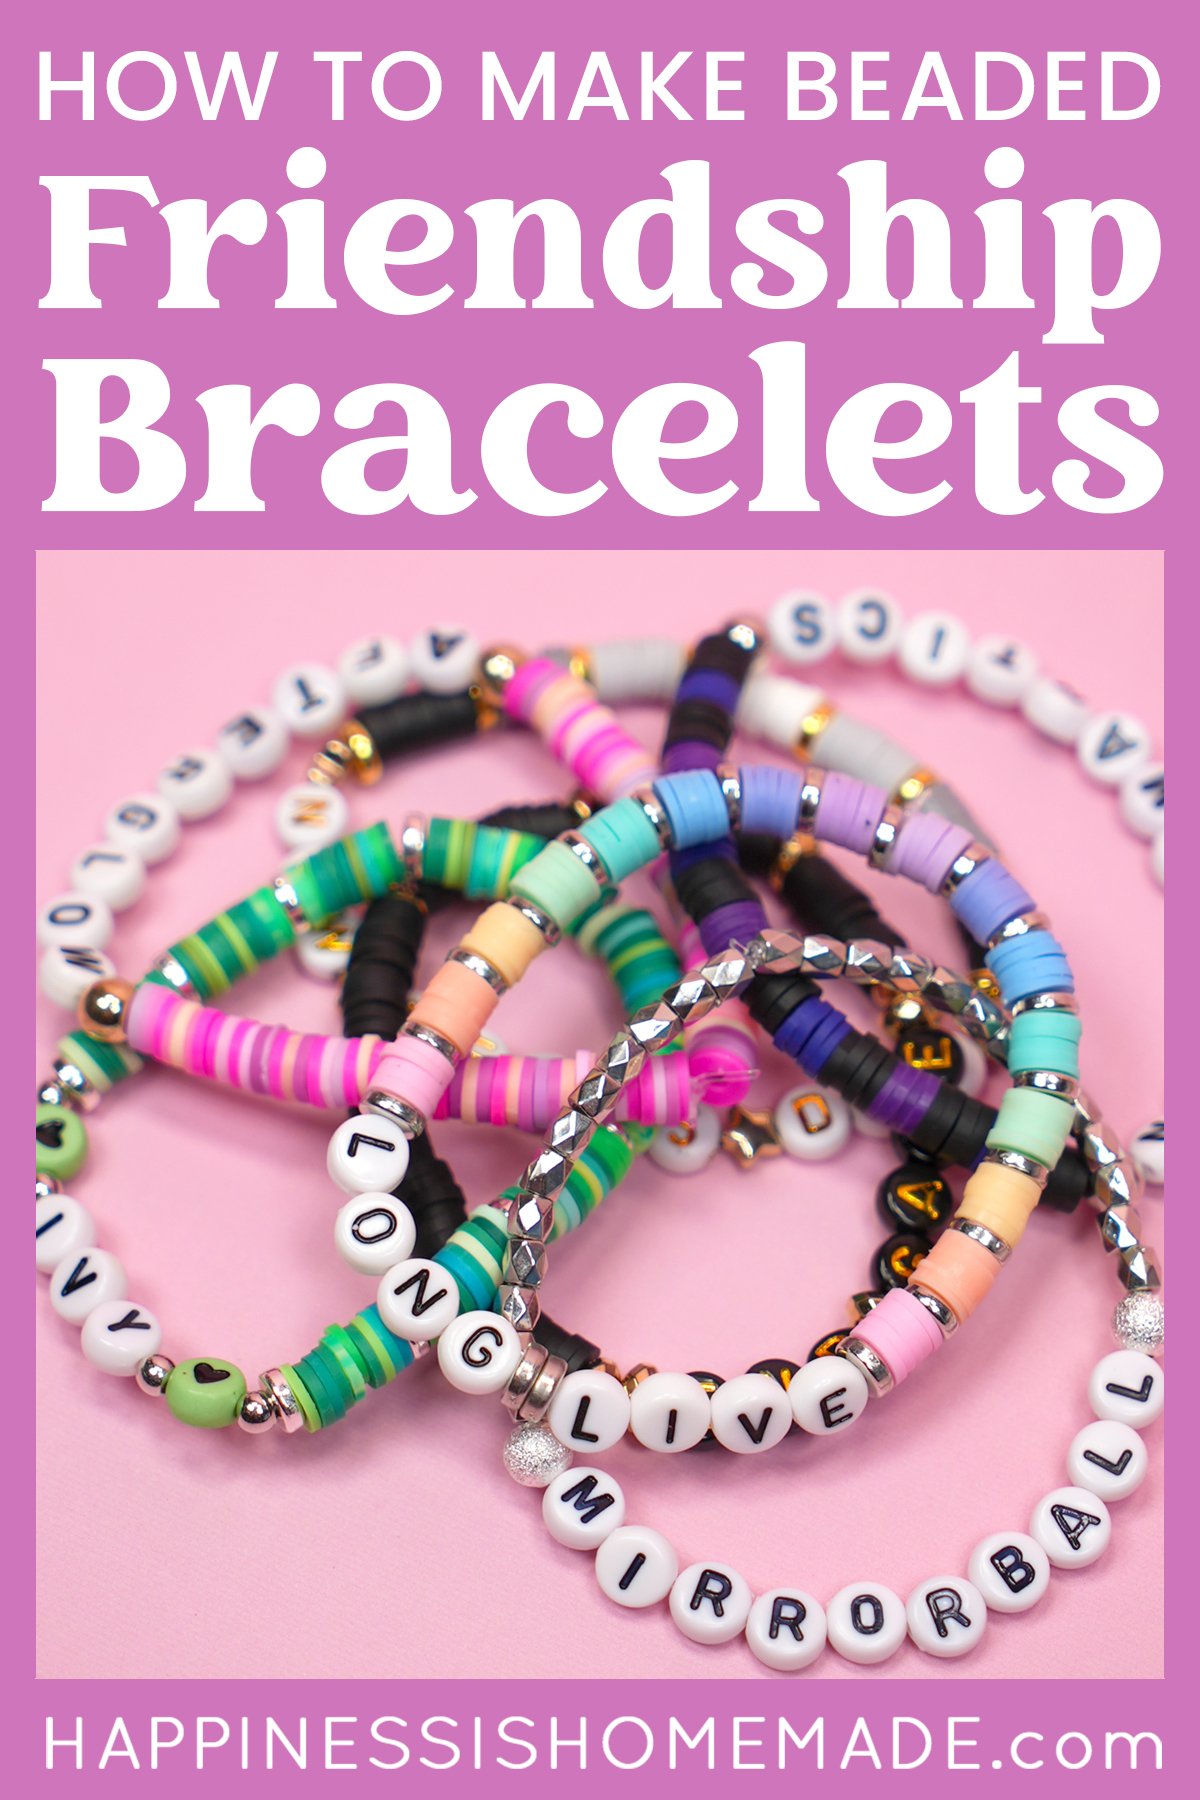
 How to Make Beaded Friendship Bracelets
- 550+ Taylor Swift Friendship Bracelet Ideas
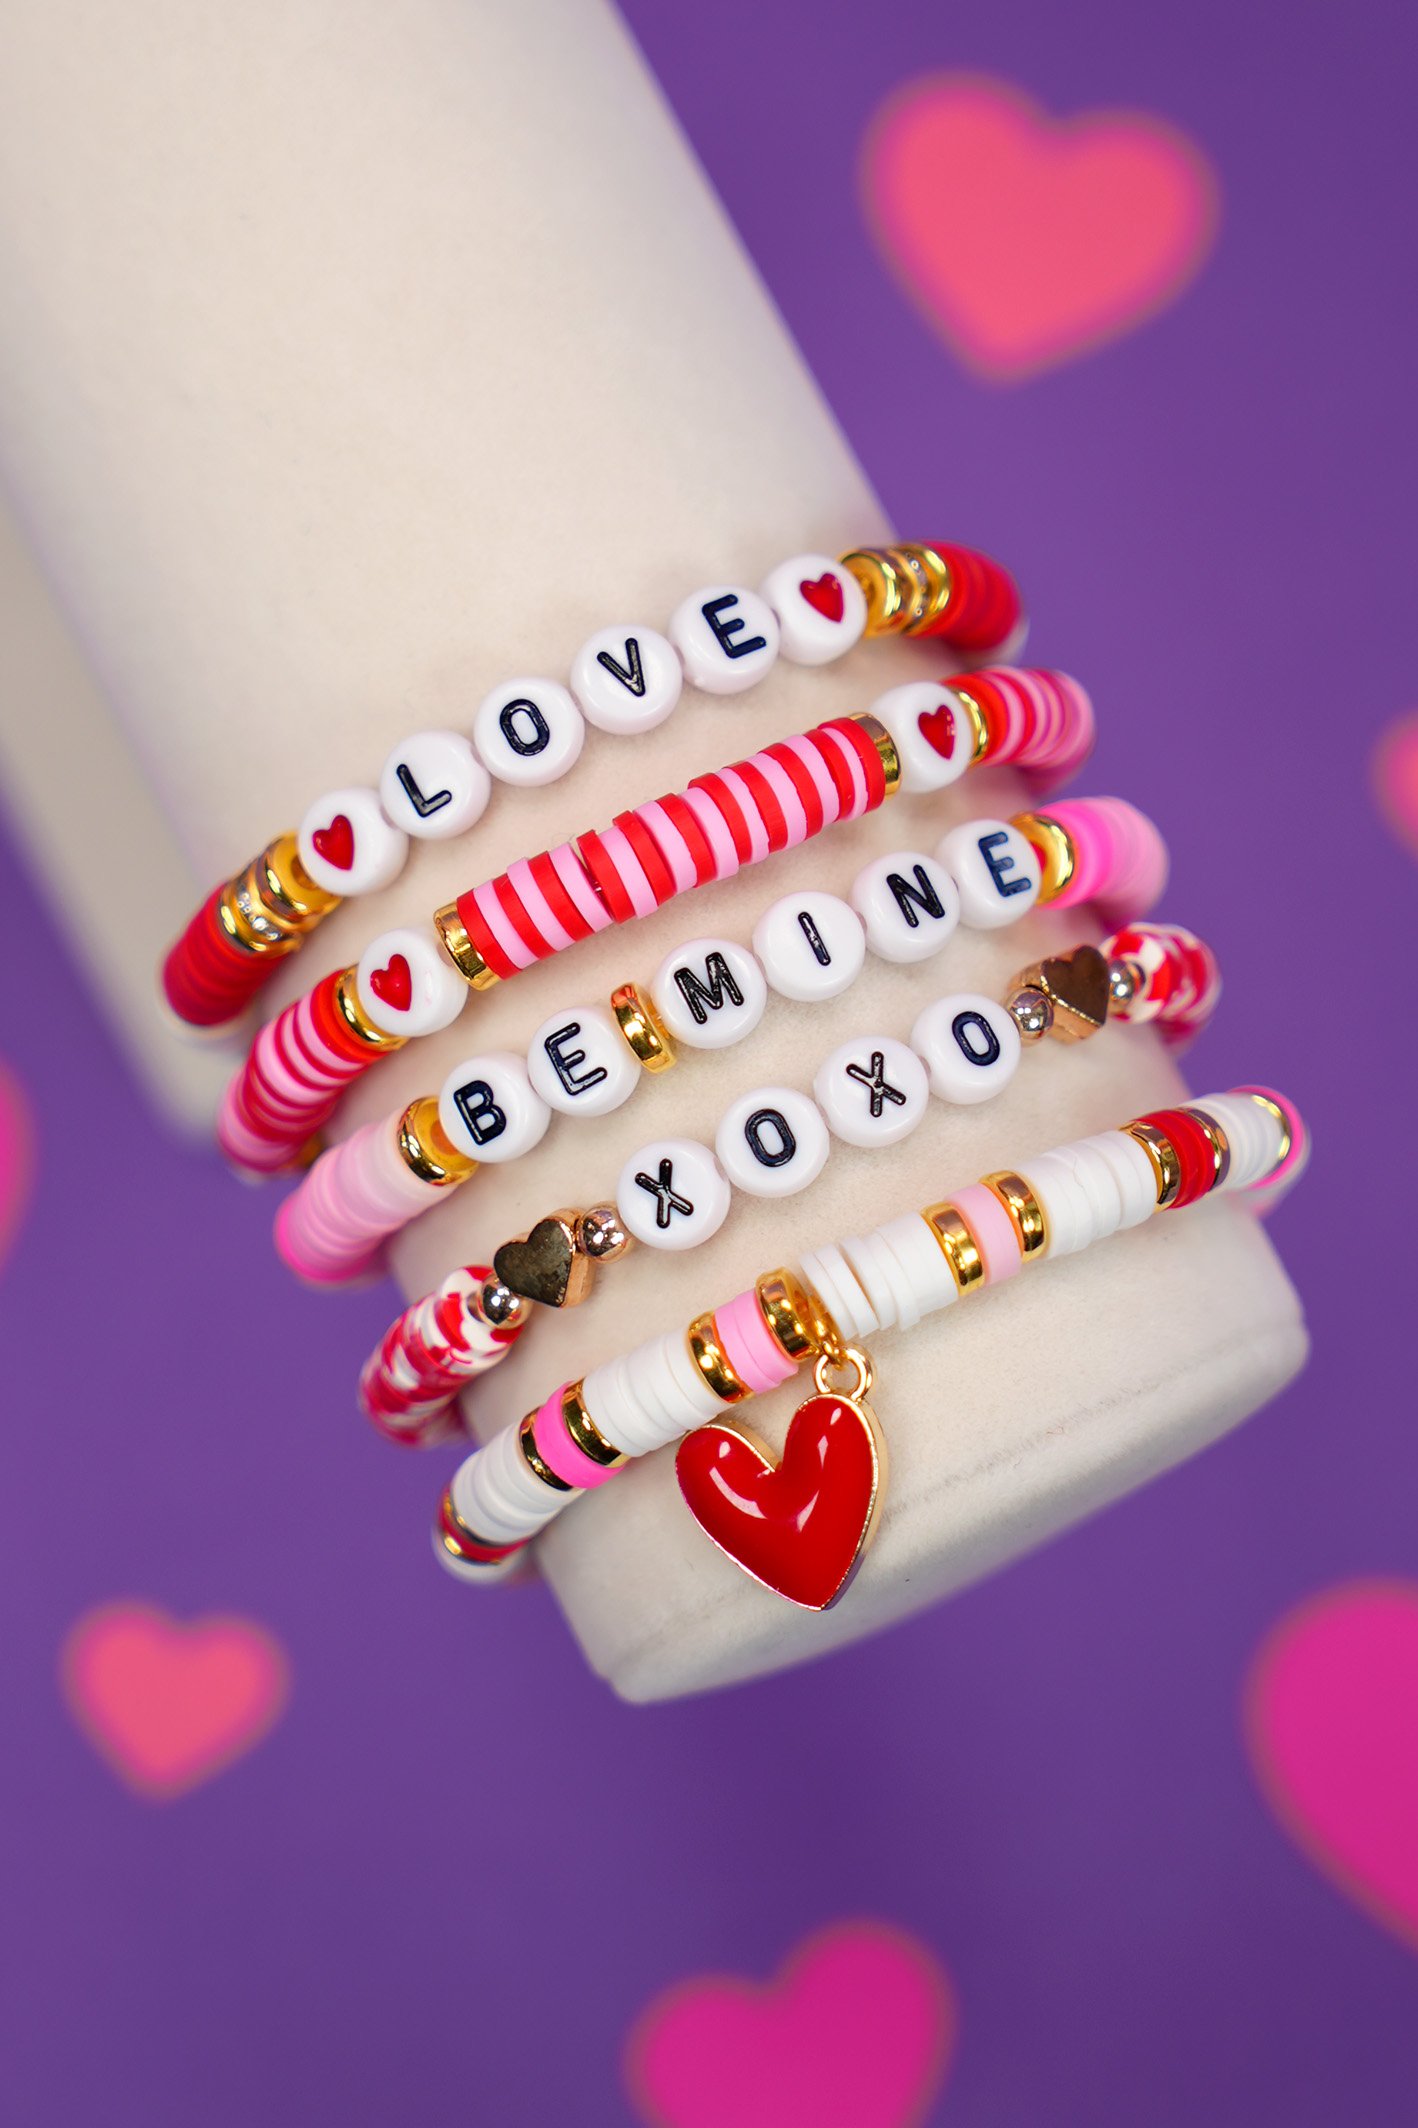
 Easy DIY Valentine’s Day Bracelets
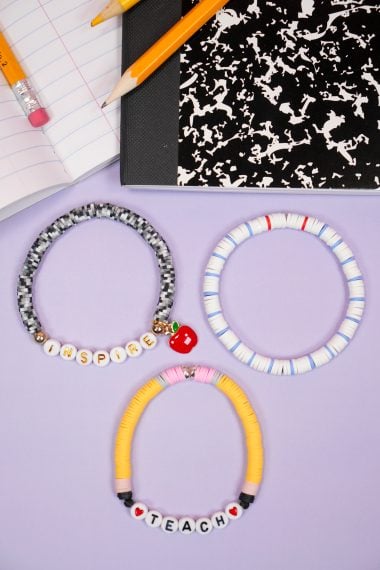
 Easy DIY Teacher Bracelet Set
- Preppy Clay Bead Bracelet Ideas & How-to Tutorial
- 25+ DIY Friendship Bracelet Ideas
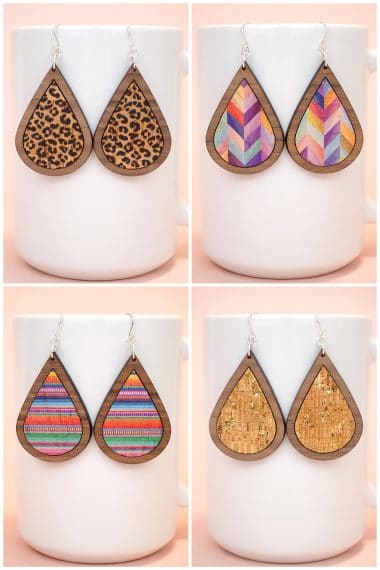
- Laser Cut Wood Earrings with Cork Inlay
Don’t Forget to Pin These Clay Bead Bracelets for Later!

Heidi Kundin has captivated the hearts of millions with her colorful and inspiring approach to crafting, celebrations, and family fun. With over 15 years of experience, Happiness is Homemade has become a must-visit destination for those seeking quick and easy creative ideas and last-minute solutions. Heidi’s warm personality shines through her posts, inviting readers to join her on a creative journey that’s fun, rewarding, and achievable. Heidi is also the author of Homemade Bath Bombs & More and DIY Tie-Dye.
Thanks for the easy tutorial!