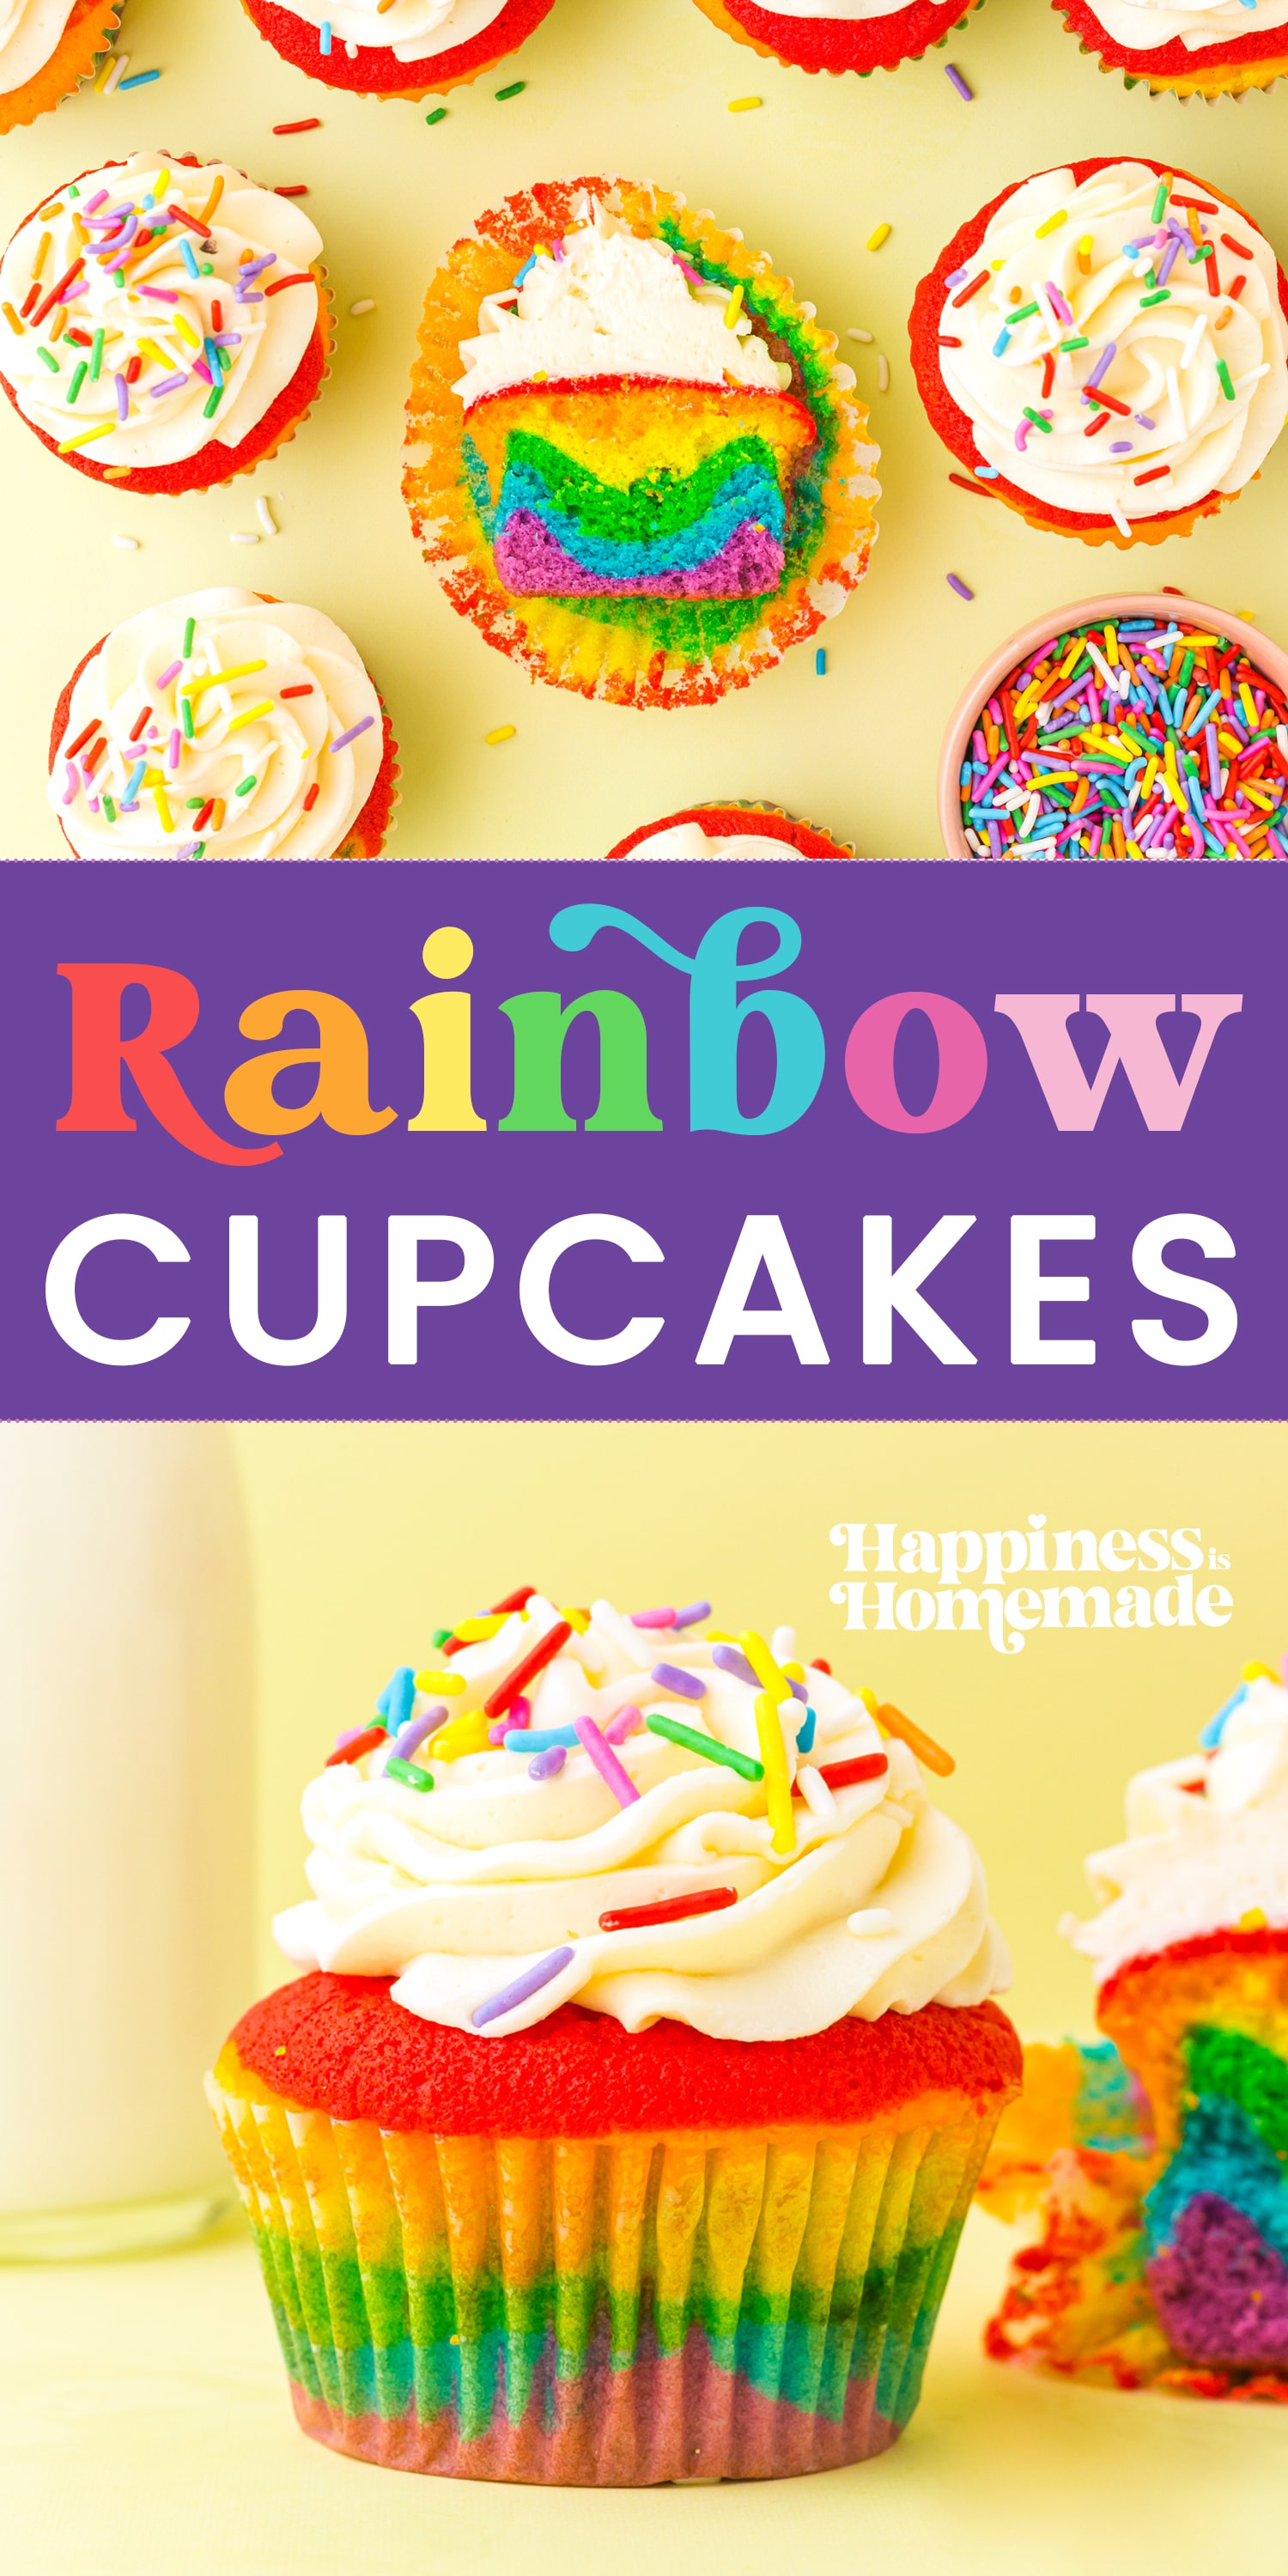
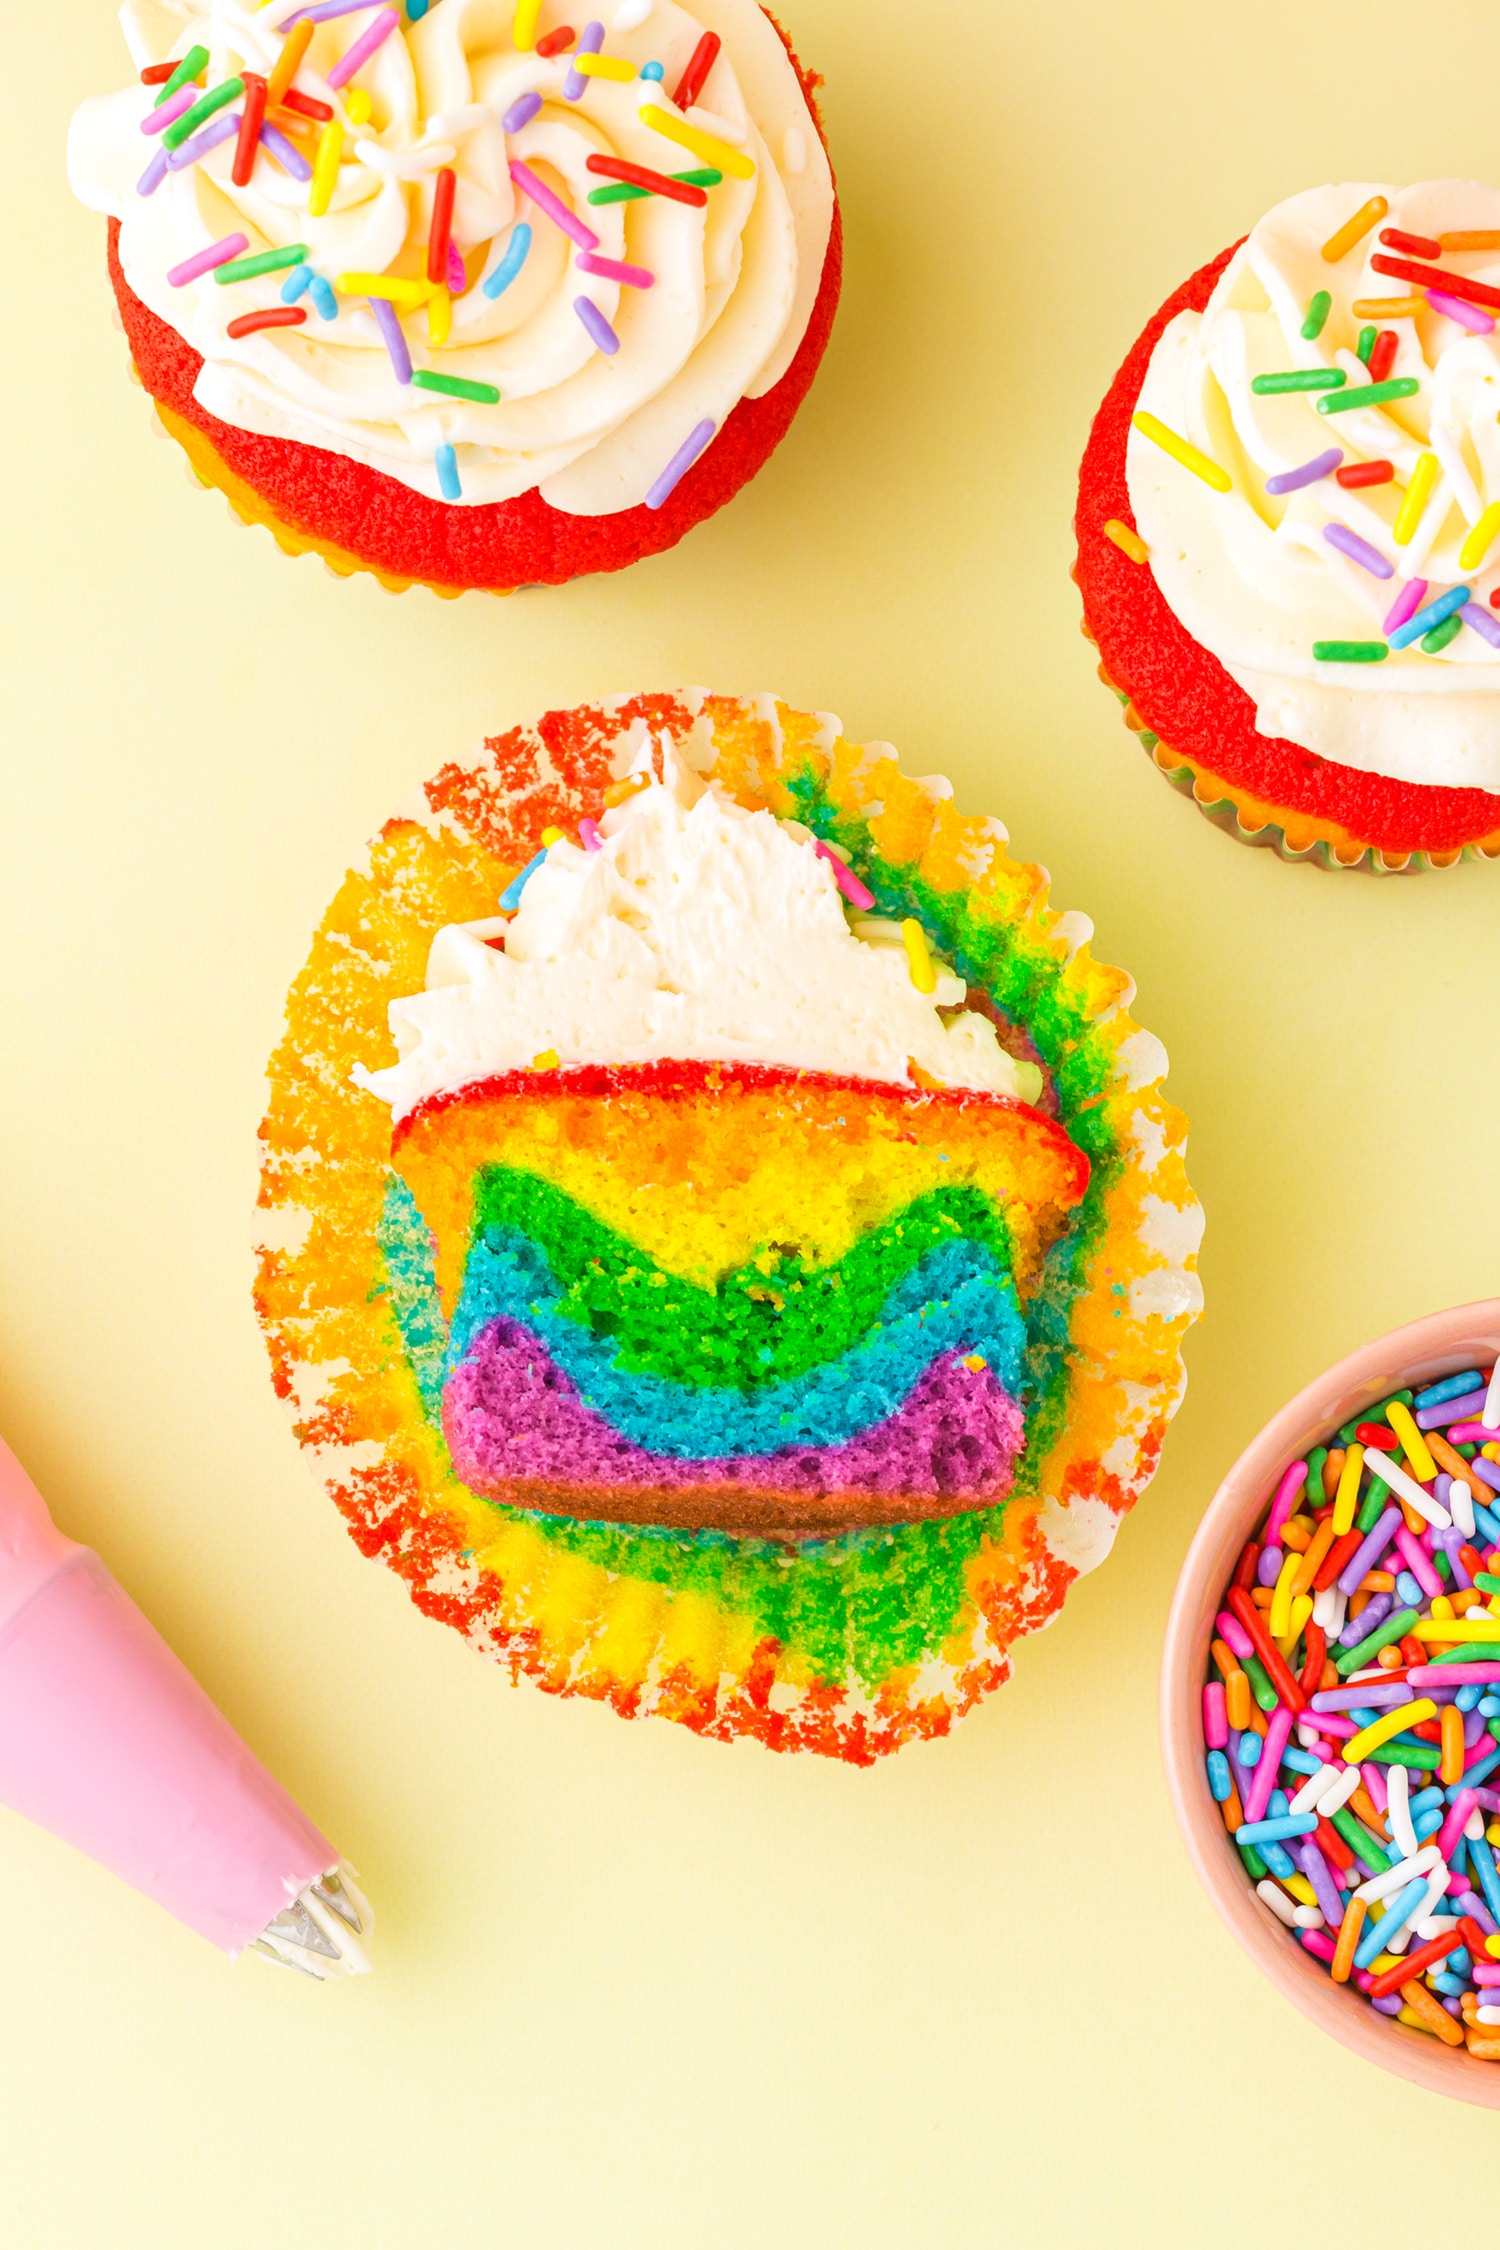
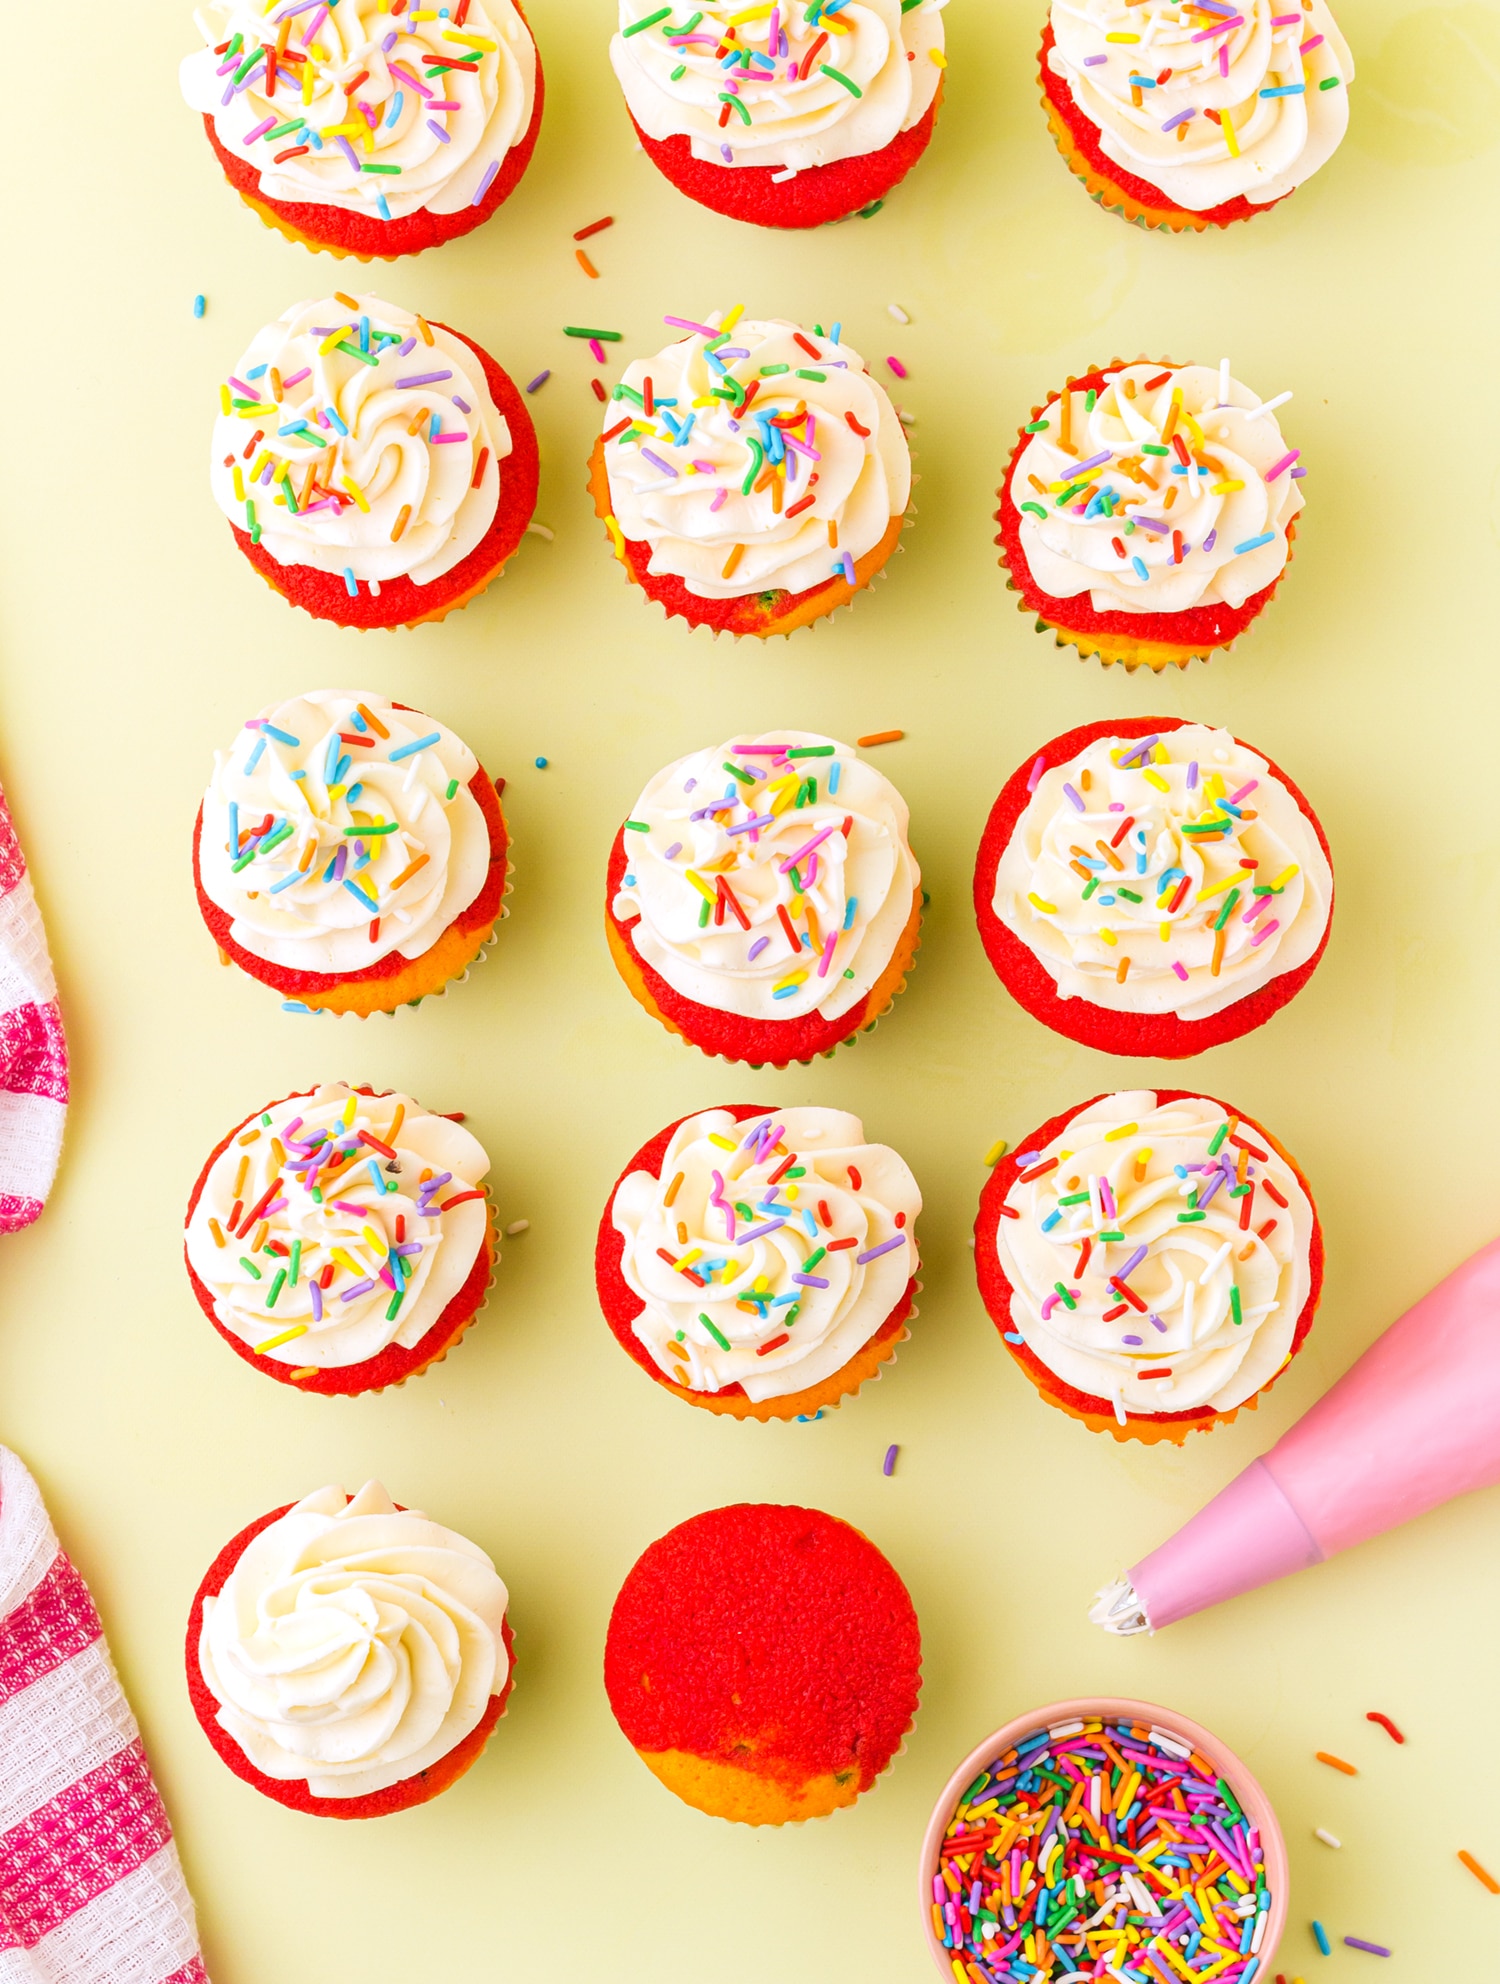
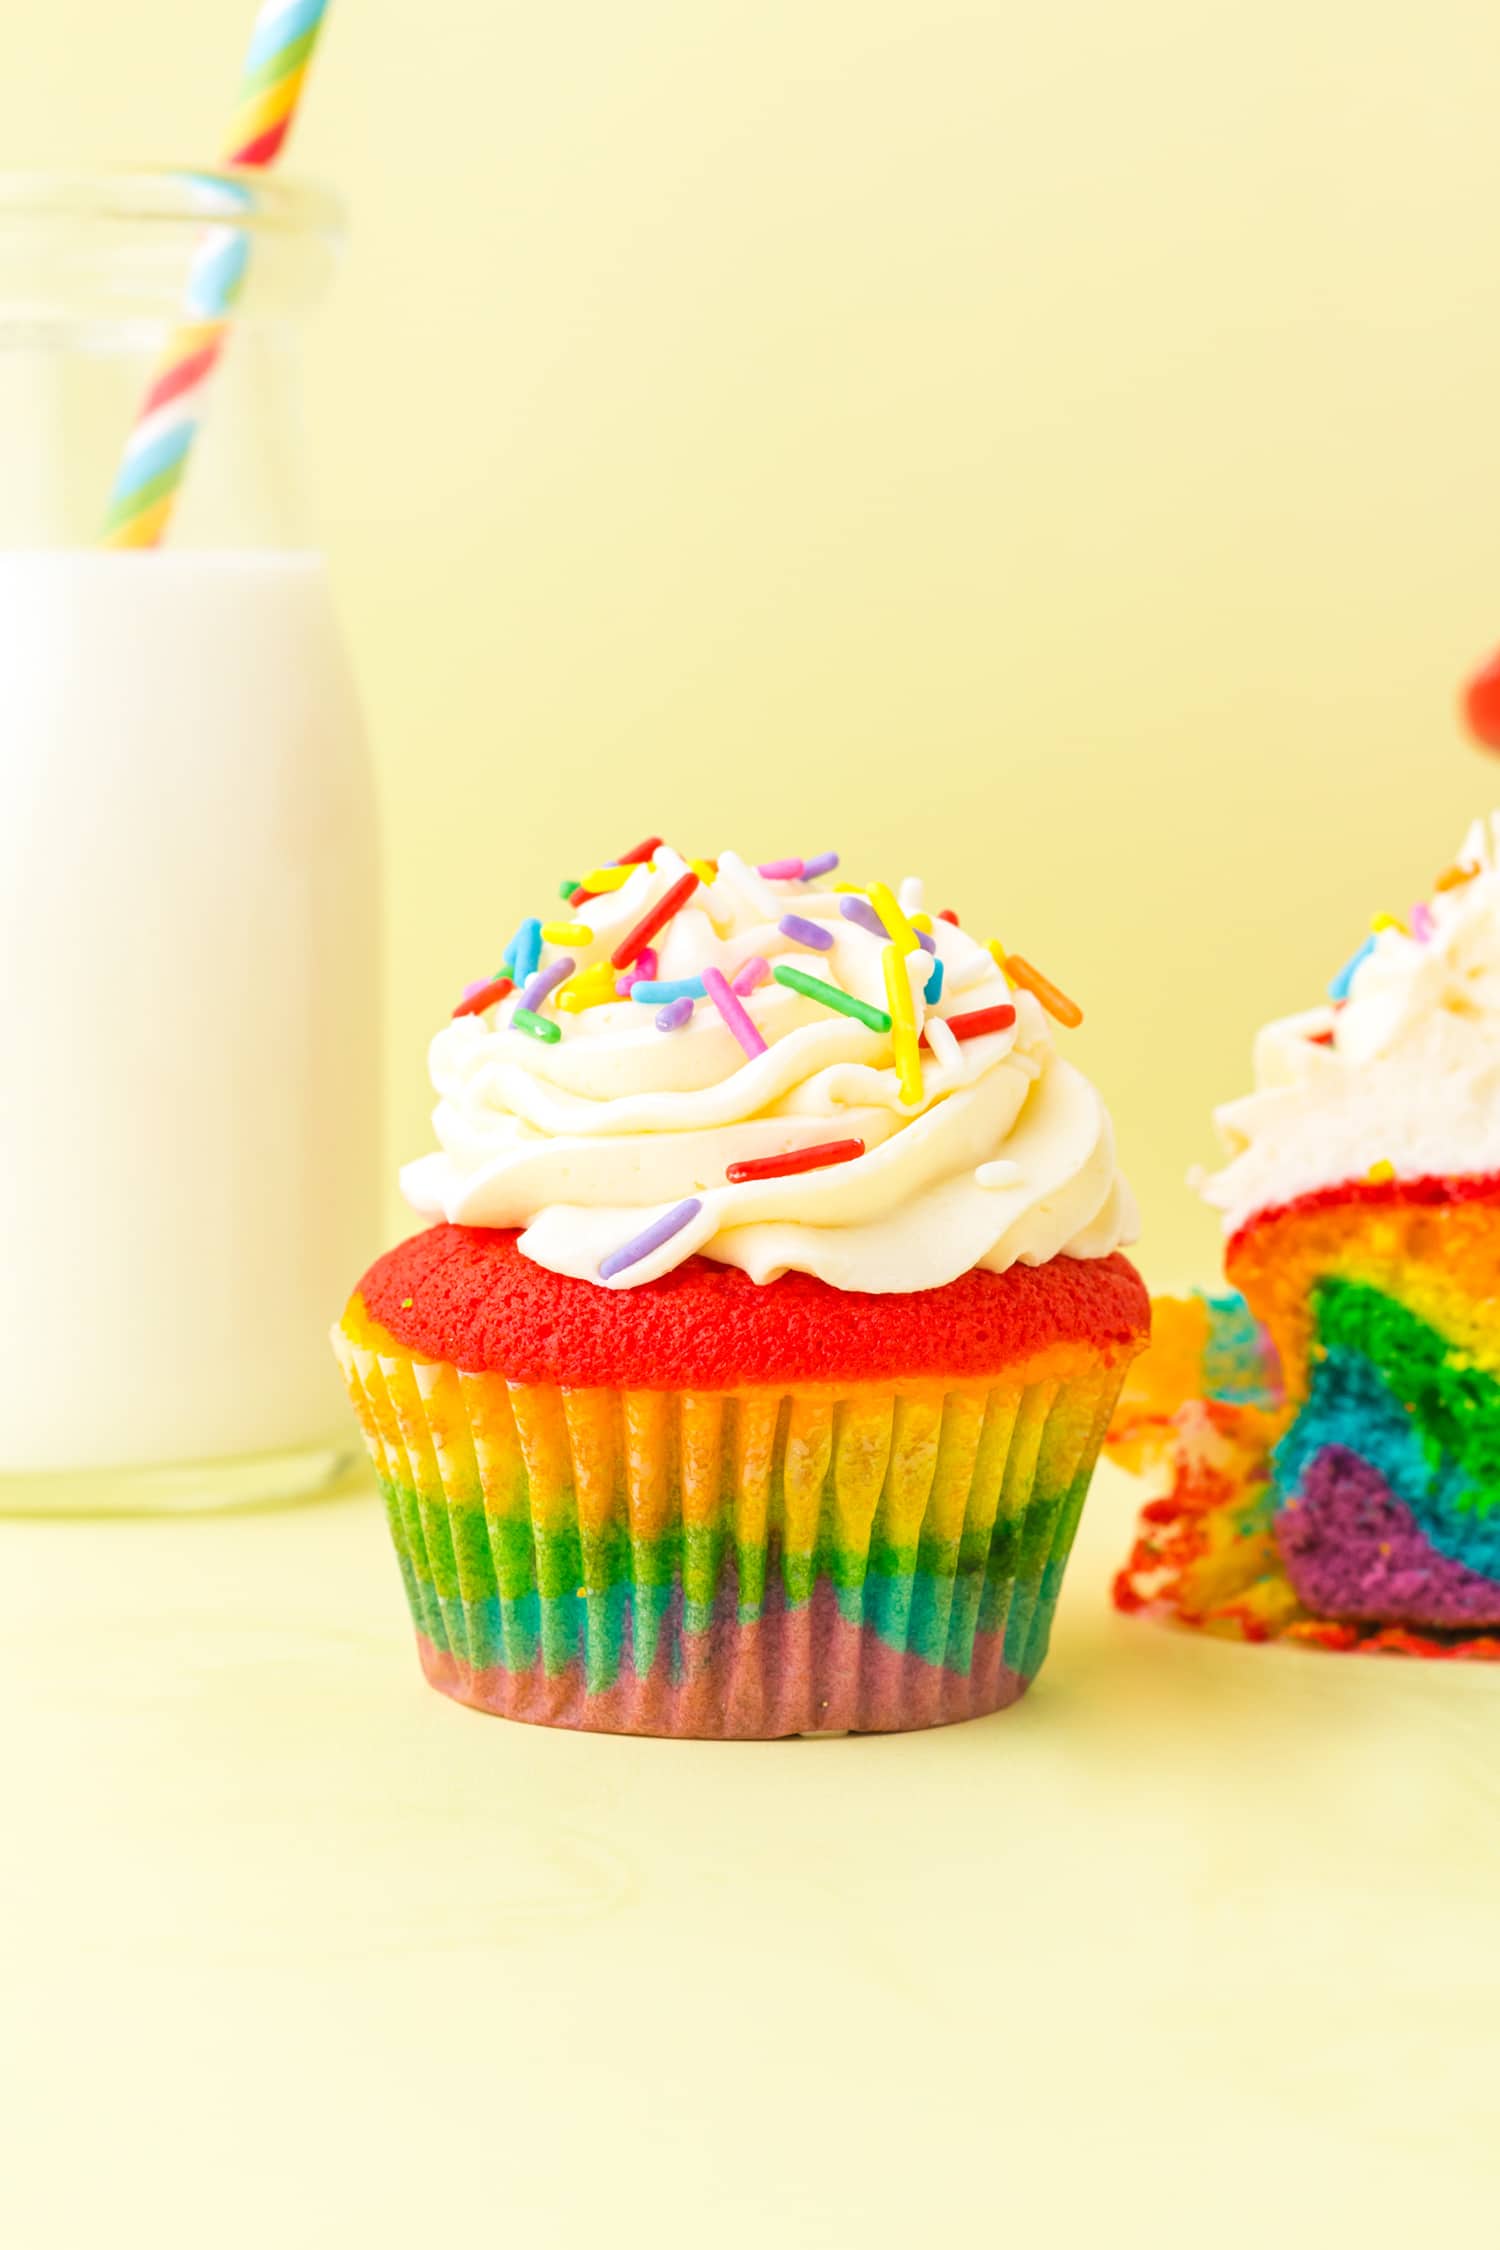
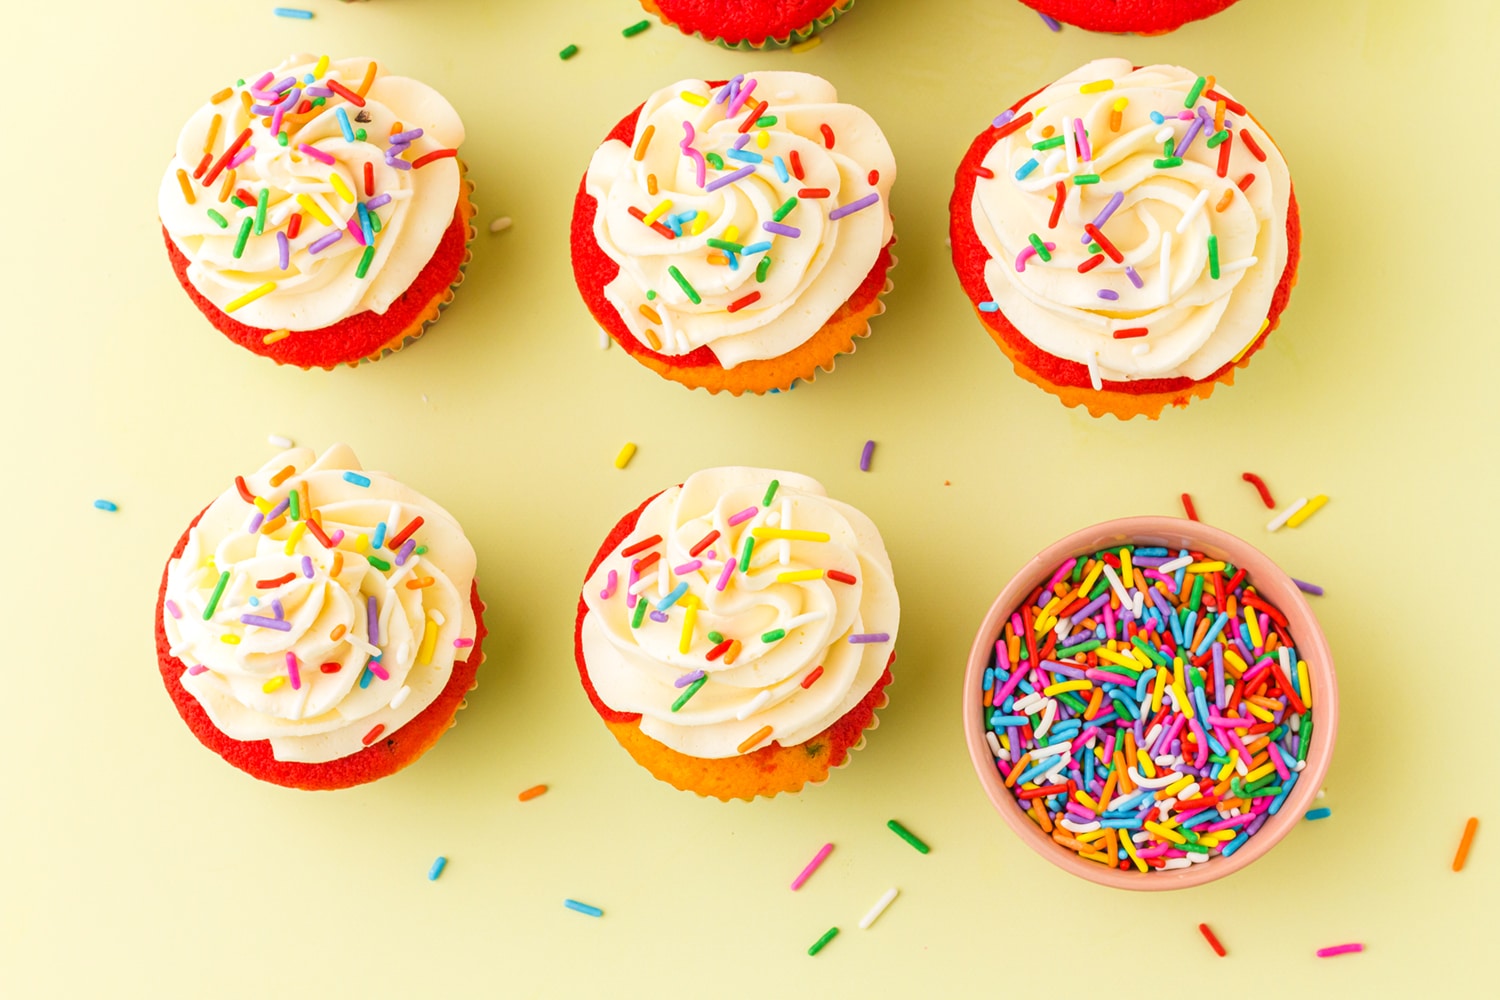
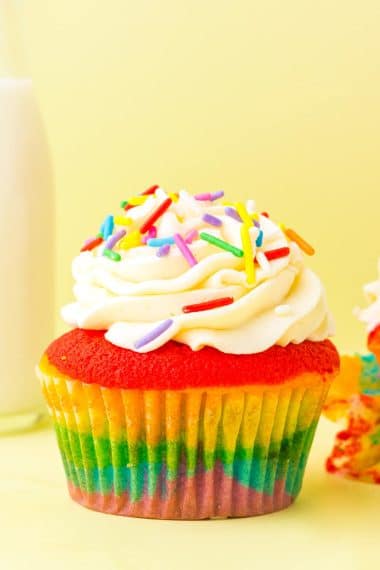
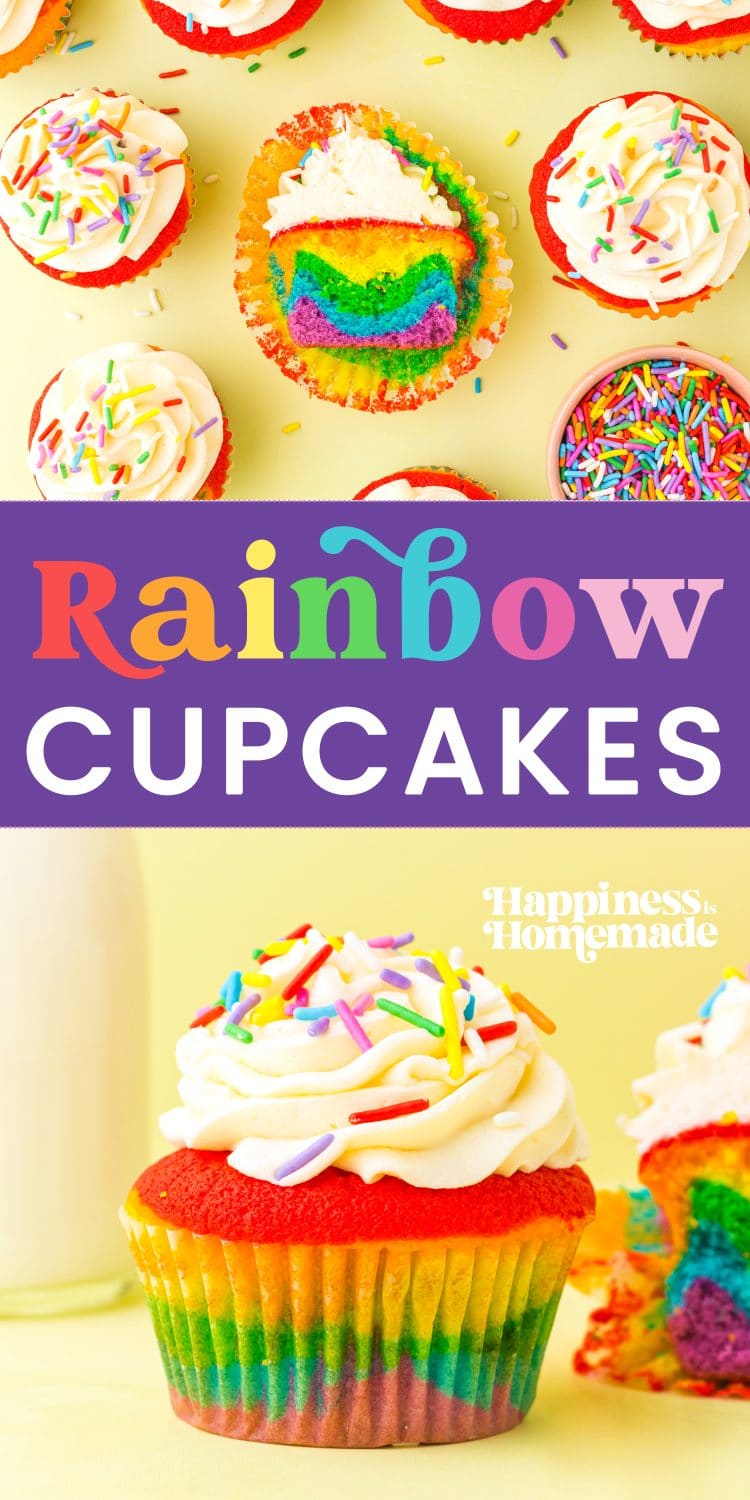
This delicious Rainbow Cupcake recipe is so easy to make! These colorful cupcakes are topped with vanilla buttercream frosting…can you get any more heavenly than that!? YUMMMMM!
This post may contain affiliate links. I will receive a small commission from these sales at no additional cost to you!
These easy rainbow cupcakes are the perfect addition to any party! They’re not only colorful and festive, but they also taste amazing, too! Everyone will love these delicious treats!
The best part is that they’re easy to make, even if you’ve never baked before. You need just a few simple ingredients and a little bit of time, and soon, you’ll have a batch of beautiful rainbow cupcakes ready to enjoy!
Check out these other sweet treats!
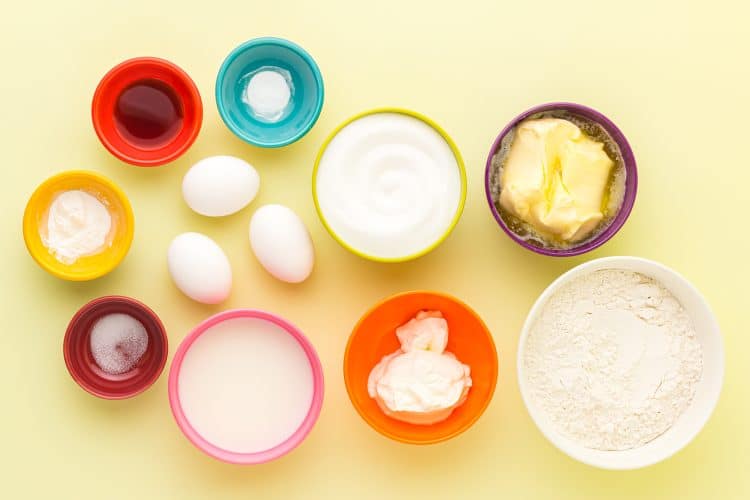
Ingredients You’ll Need For These Rainbow Cupcakes:
- Unsalted Butter
- Granulated Sugar
- Eggs
- Vanilla Extract
- Sour Cream (full fat)
- 2% or Whole Milk
- All-Purpose Flour
- Baking Powder
- Baking Soda
- Salt
- Gel food coloring in rainbow colors (red, orange, yellow, green, blue, purple)
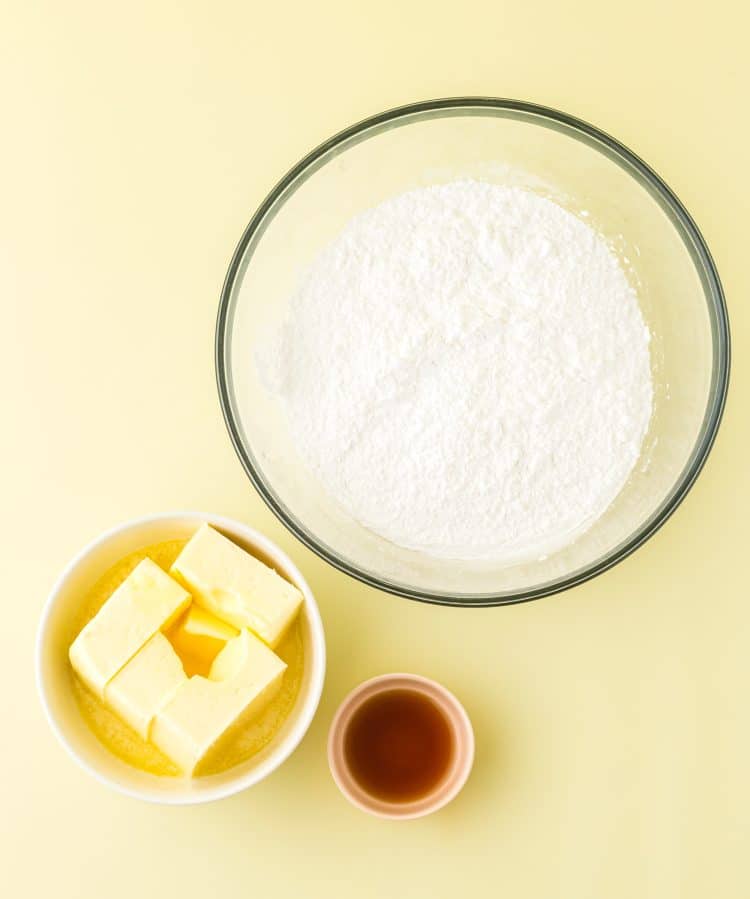
Ingredients You’ll Need For Buttercream Frosting
- Unsalted Butter
- Confectioners’ Sugar
- Vanilla Extract
- Optional: rainbow sprinkles for topping
How to Bake Rainbow Cupcakes
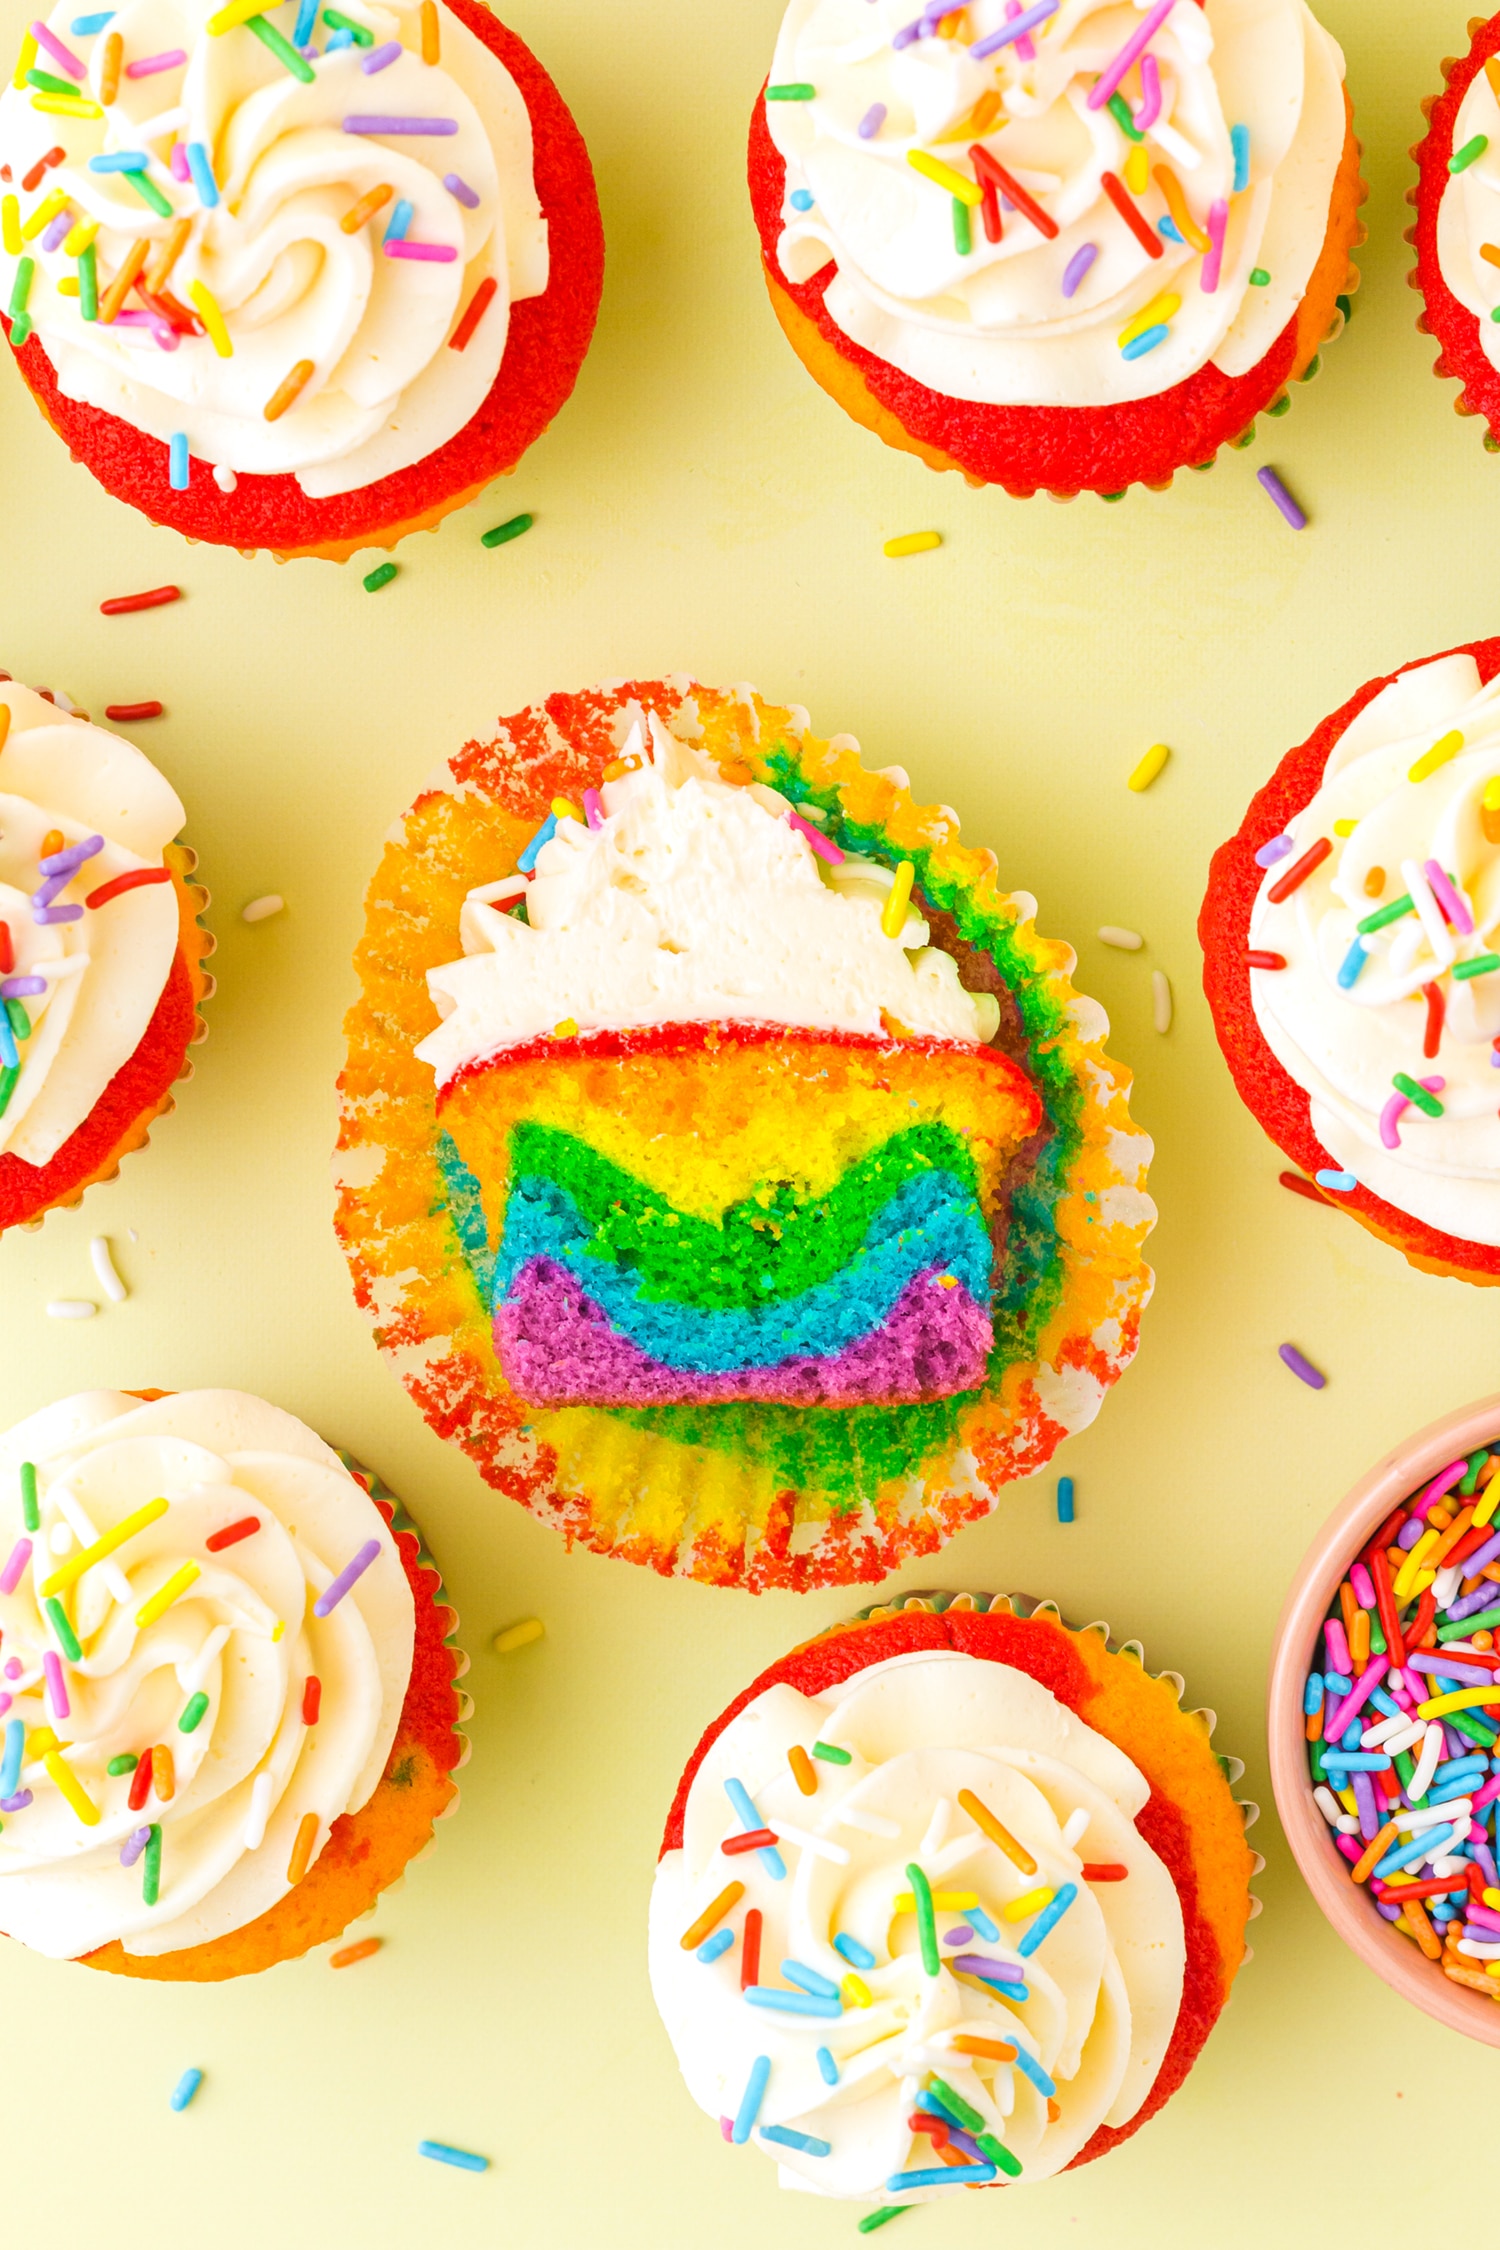
Making these rainbow cupcakes is easier than you might think!
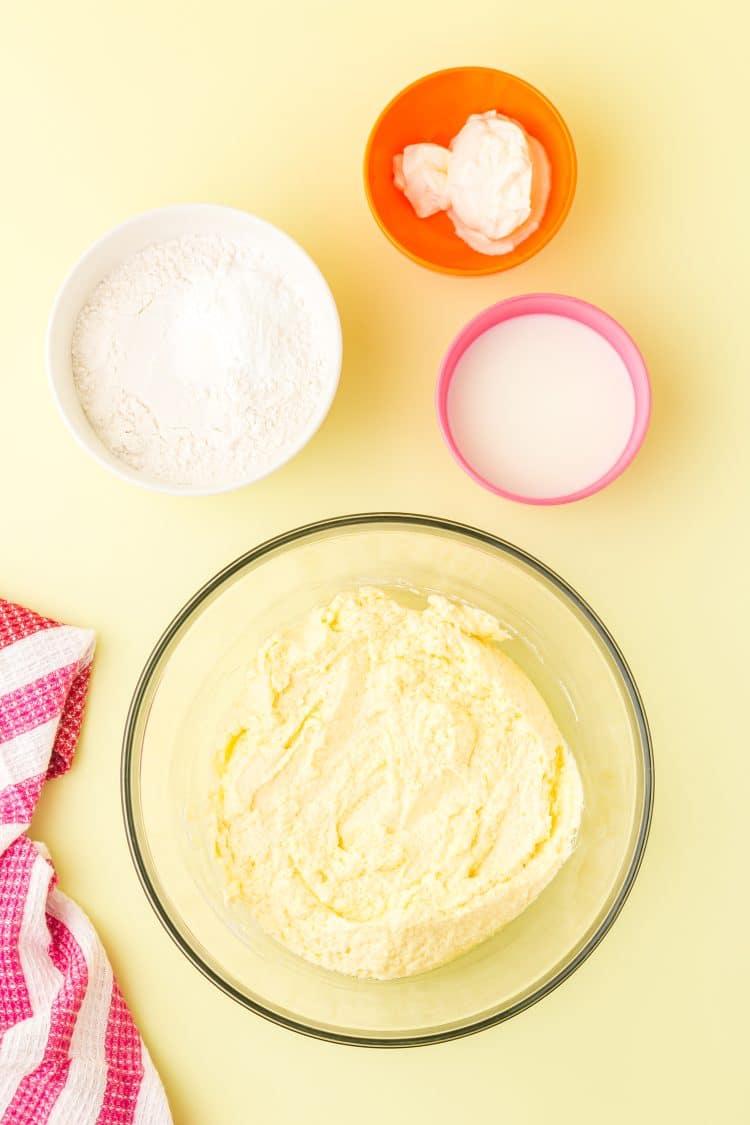
In a large bowl, beat together the butter and the sugar for about a minute until thoroughly combined.
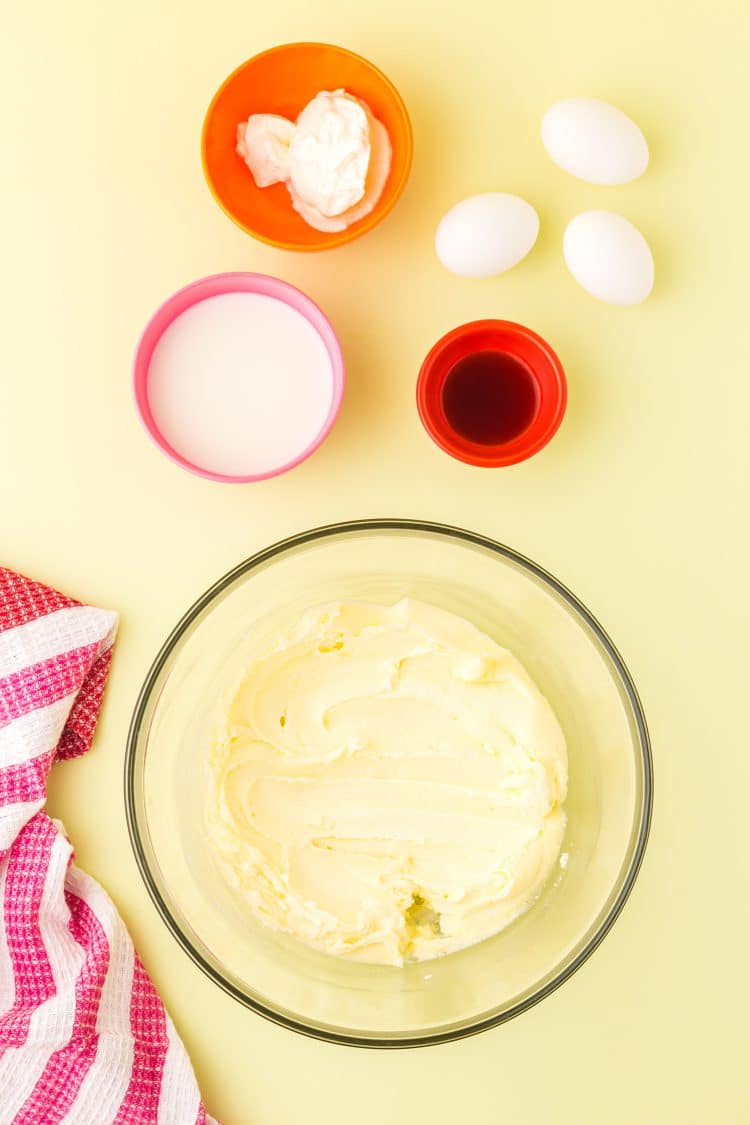
Add in the eggs and vanilla extract and beat until smooth. Next, beat in the sour cream and milk. Try to make sure that your ingredients are all just below room temperature when mixing, otherwise you might end up with a curdled mixture!
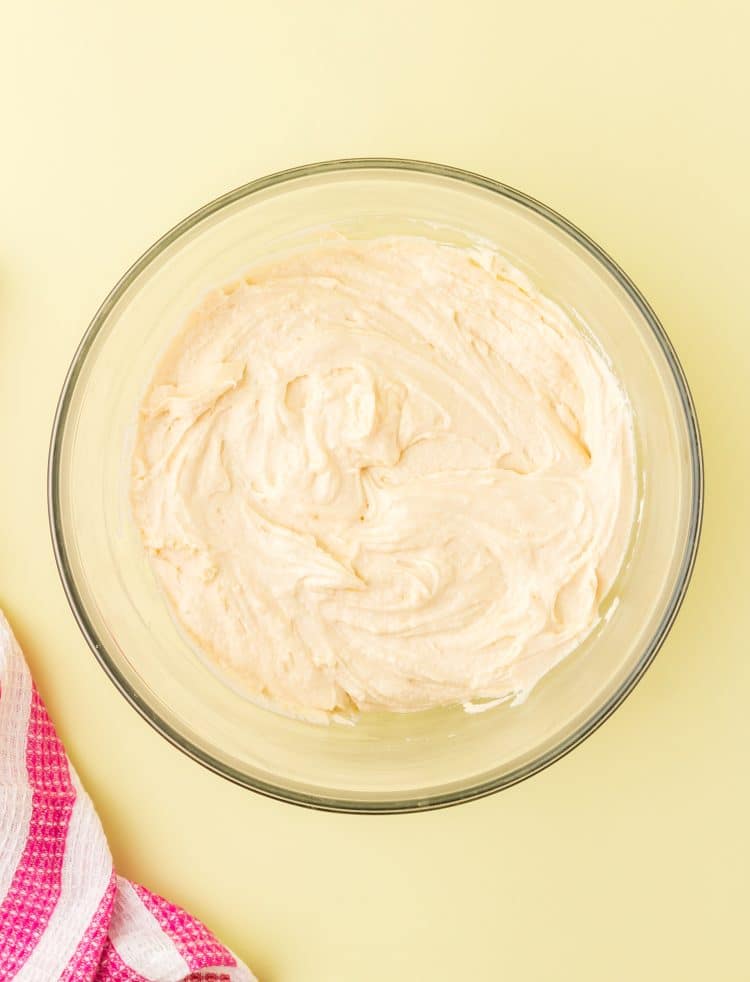
In a medium bowl, combine the flour, baking powder, baking soda, and salt. Then, beat the dry ingredients into the wet ingredients until just mixed. Try your best not to overmix them!
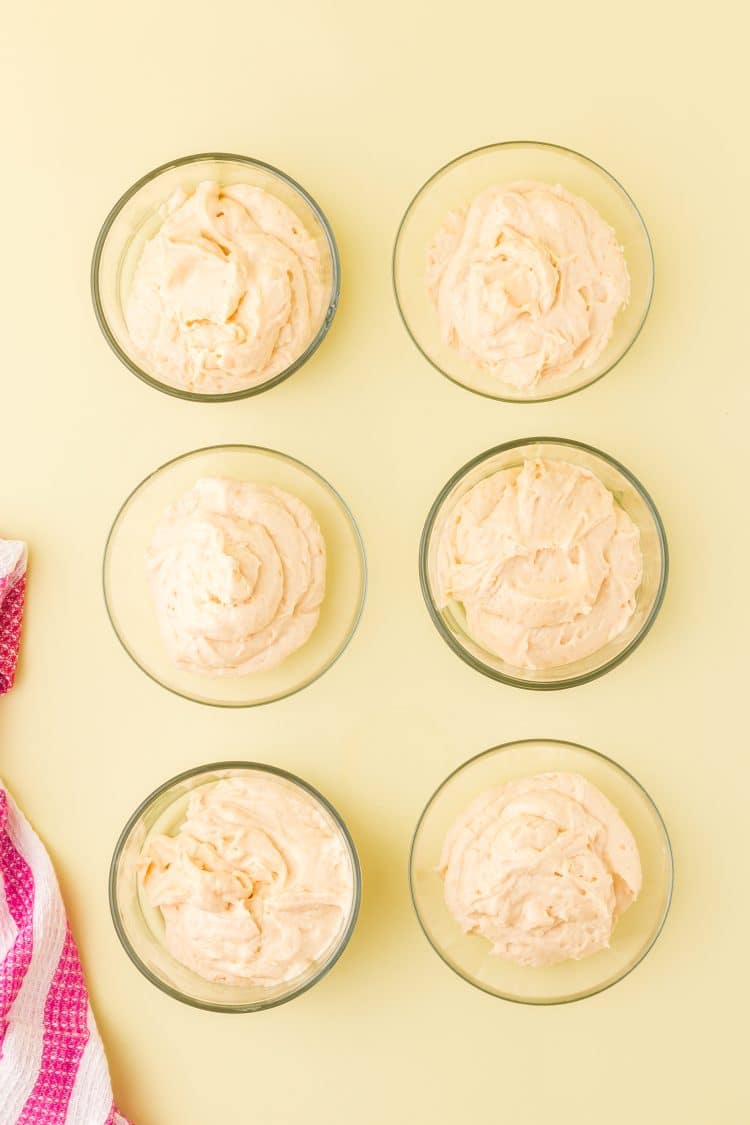
Divide batter evenly into six small bowls (this works out to be about 175 grams per bowl). It’s best to use a food scale for this part so you end up with an equal amount of cupcake batter in each bowl.
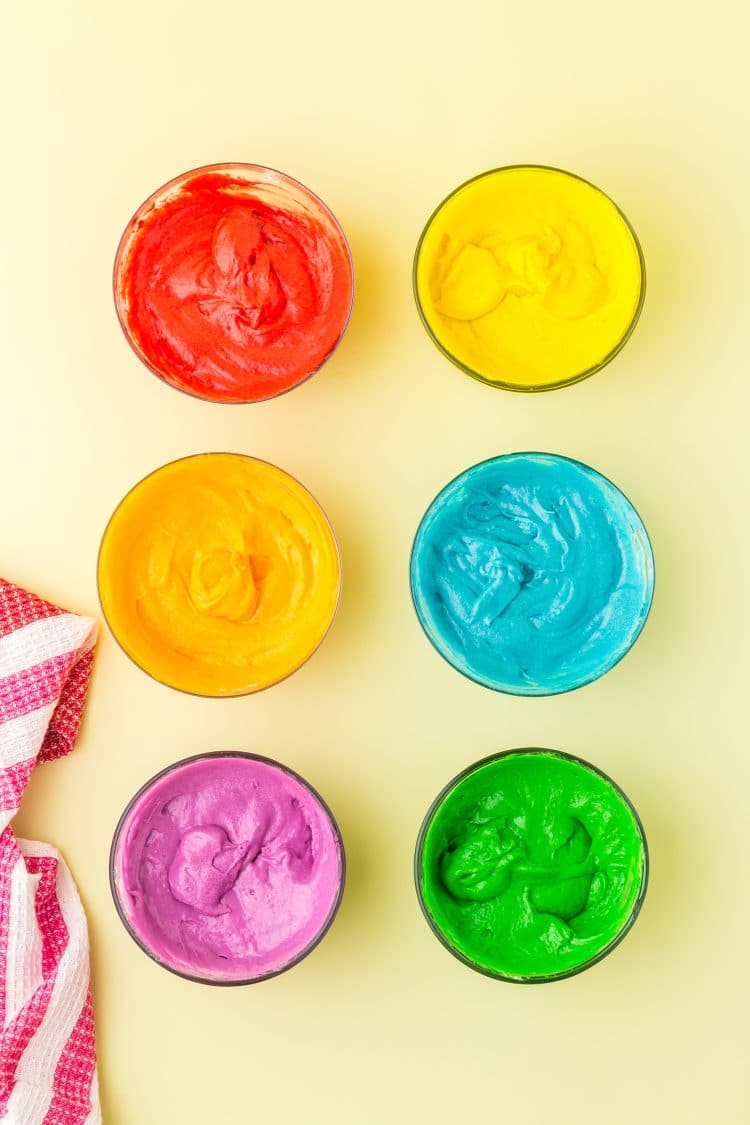
Use the gel food coloring to make six different colors of batter: red, orange, yellow, green, blue, and purple. Next, line 18 muffin cups with paper cupcake liners.
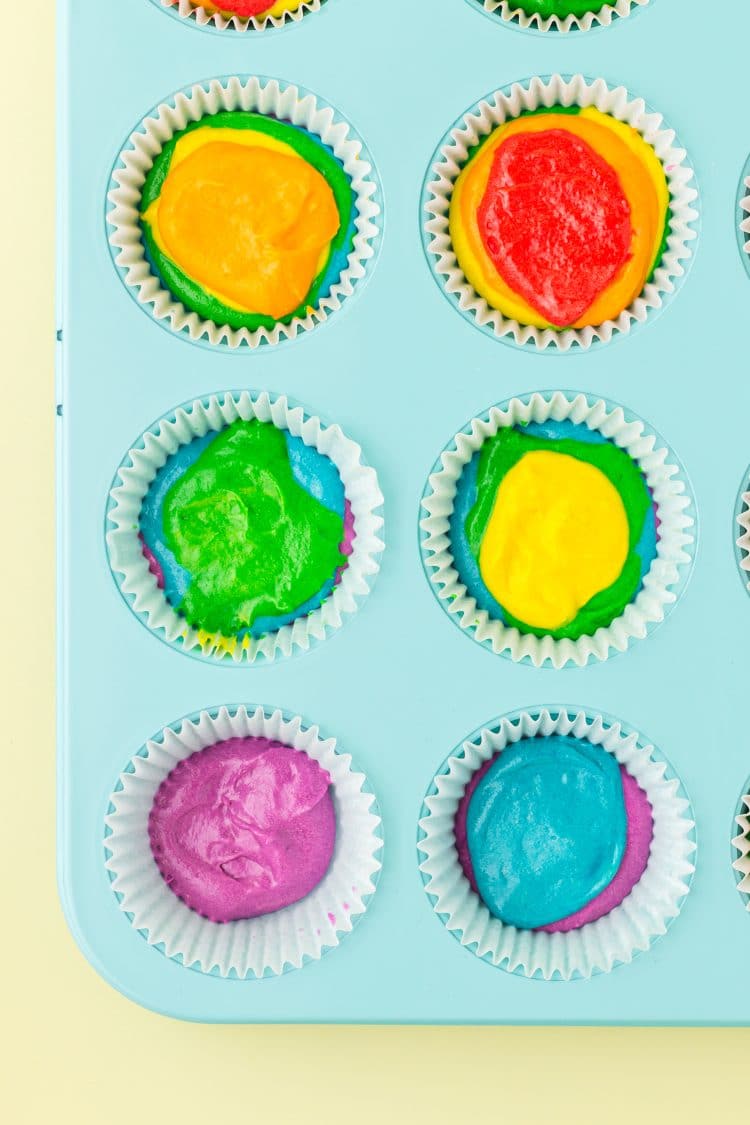
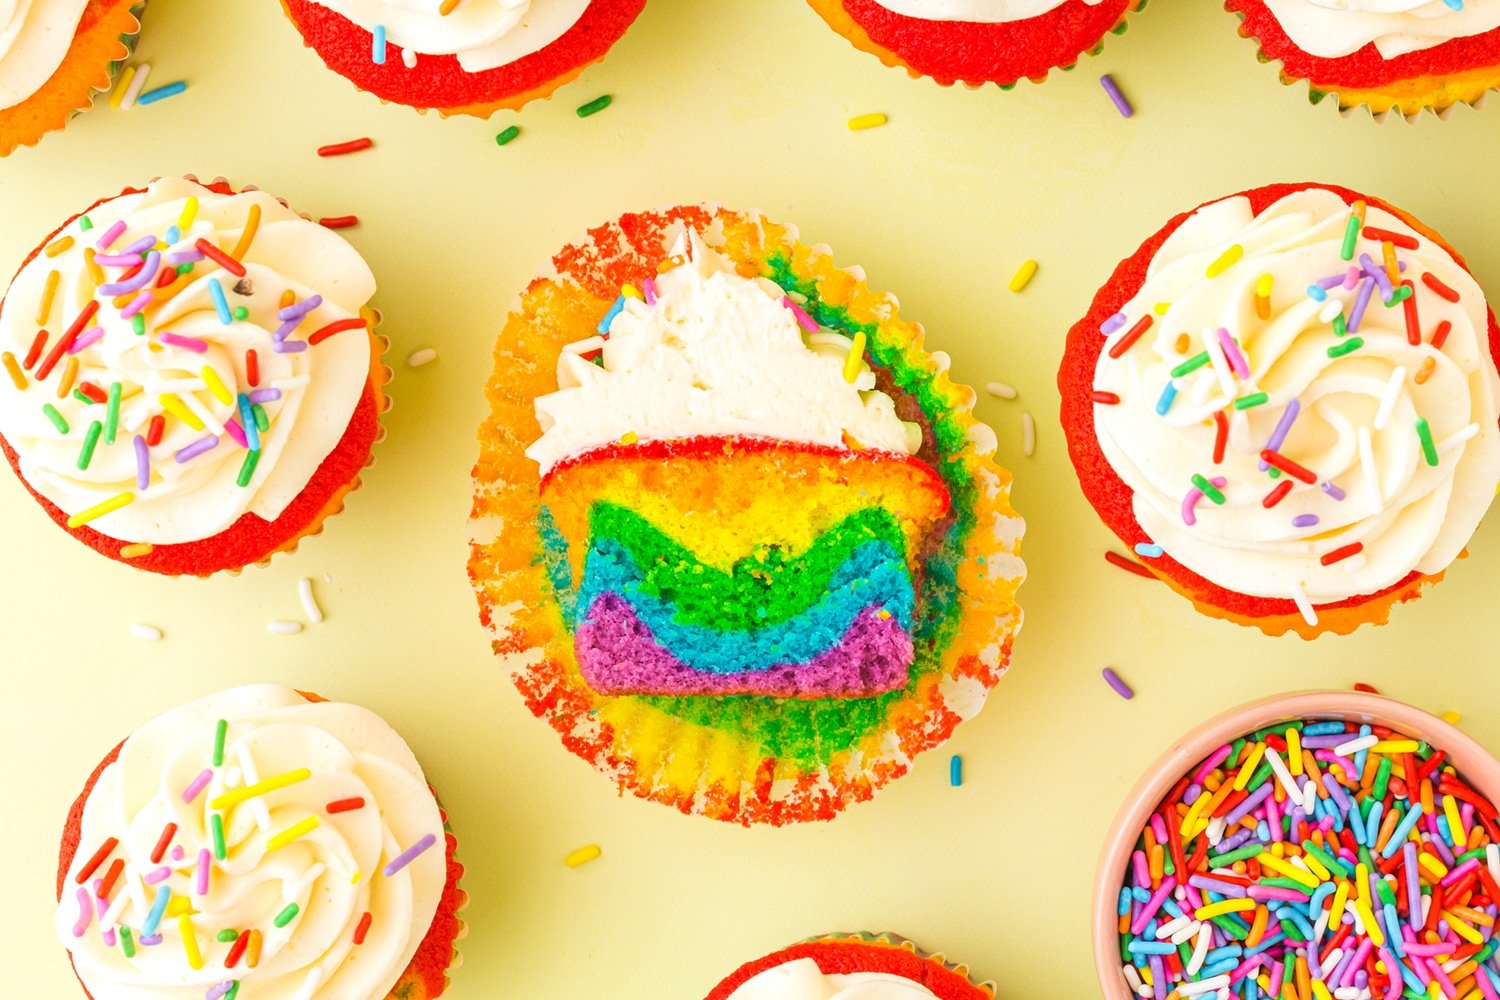
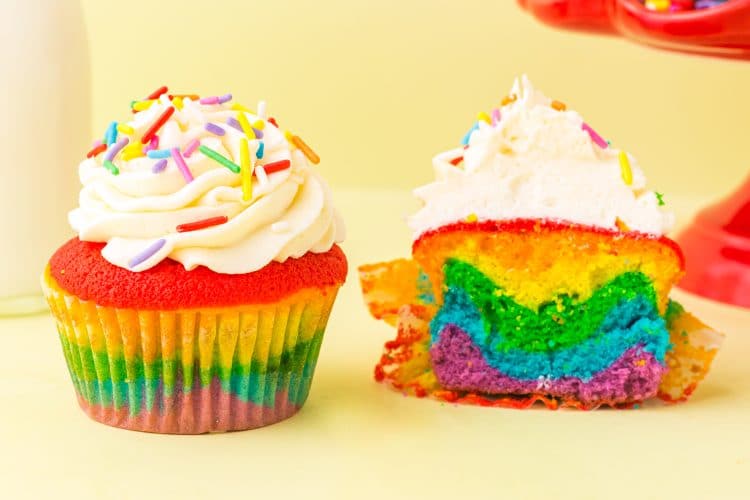
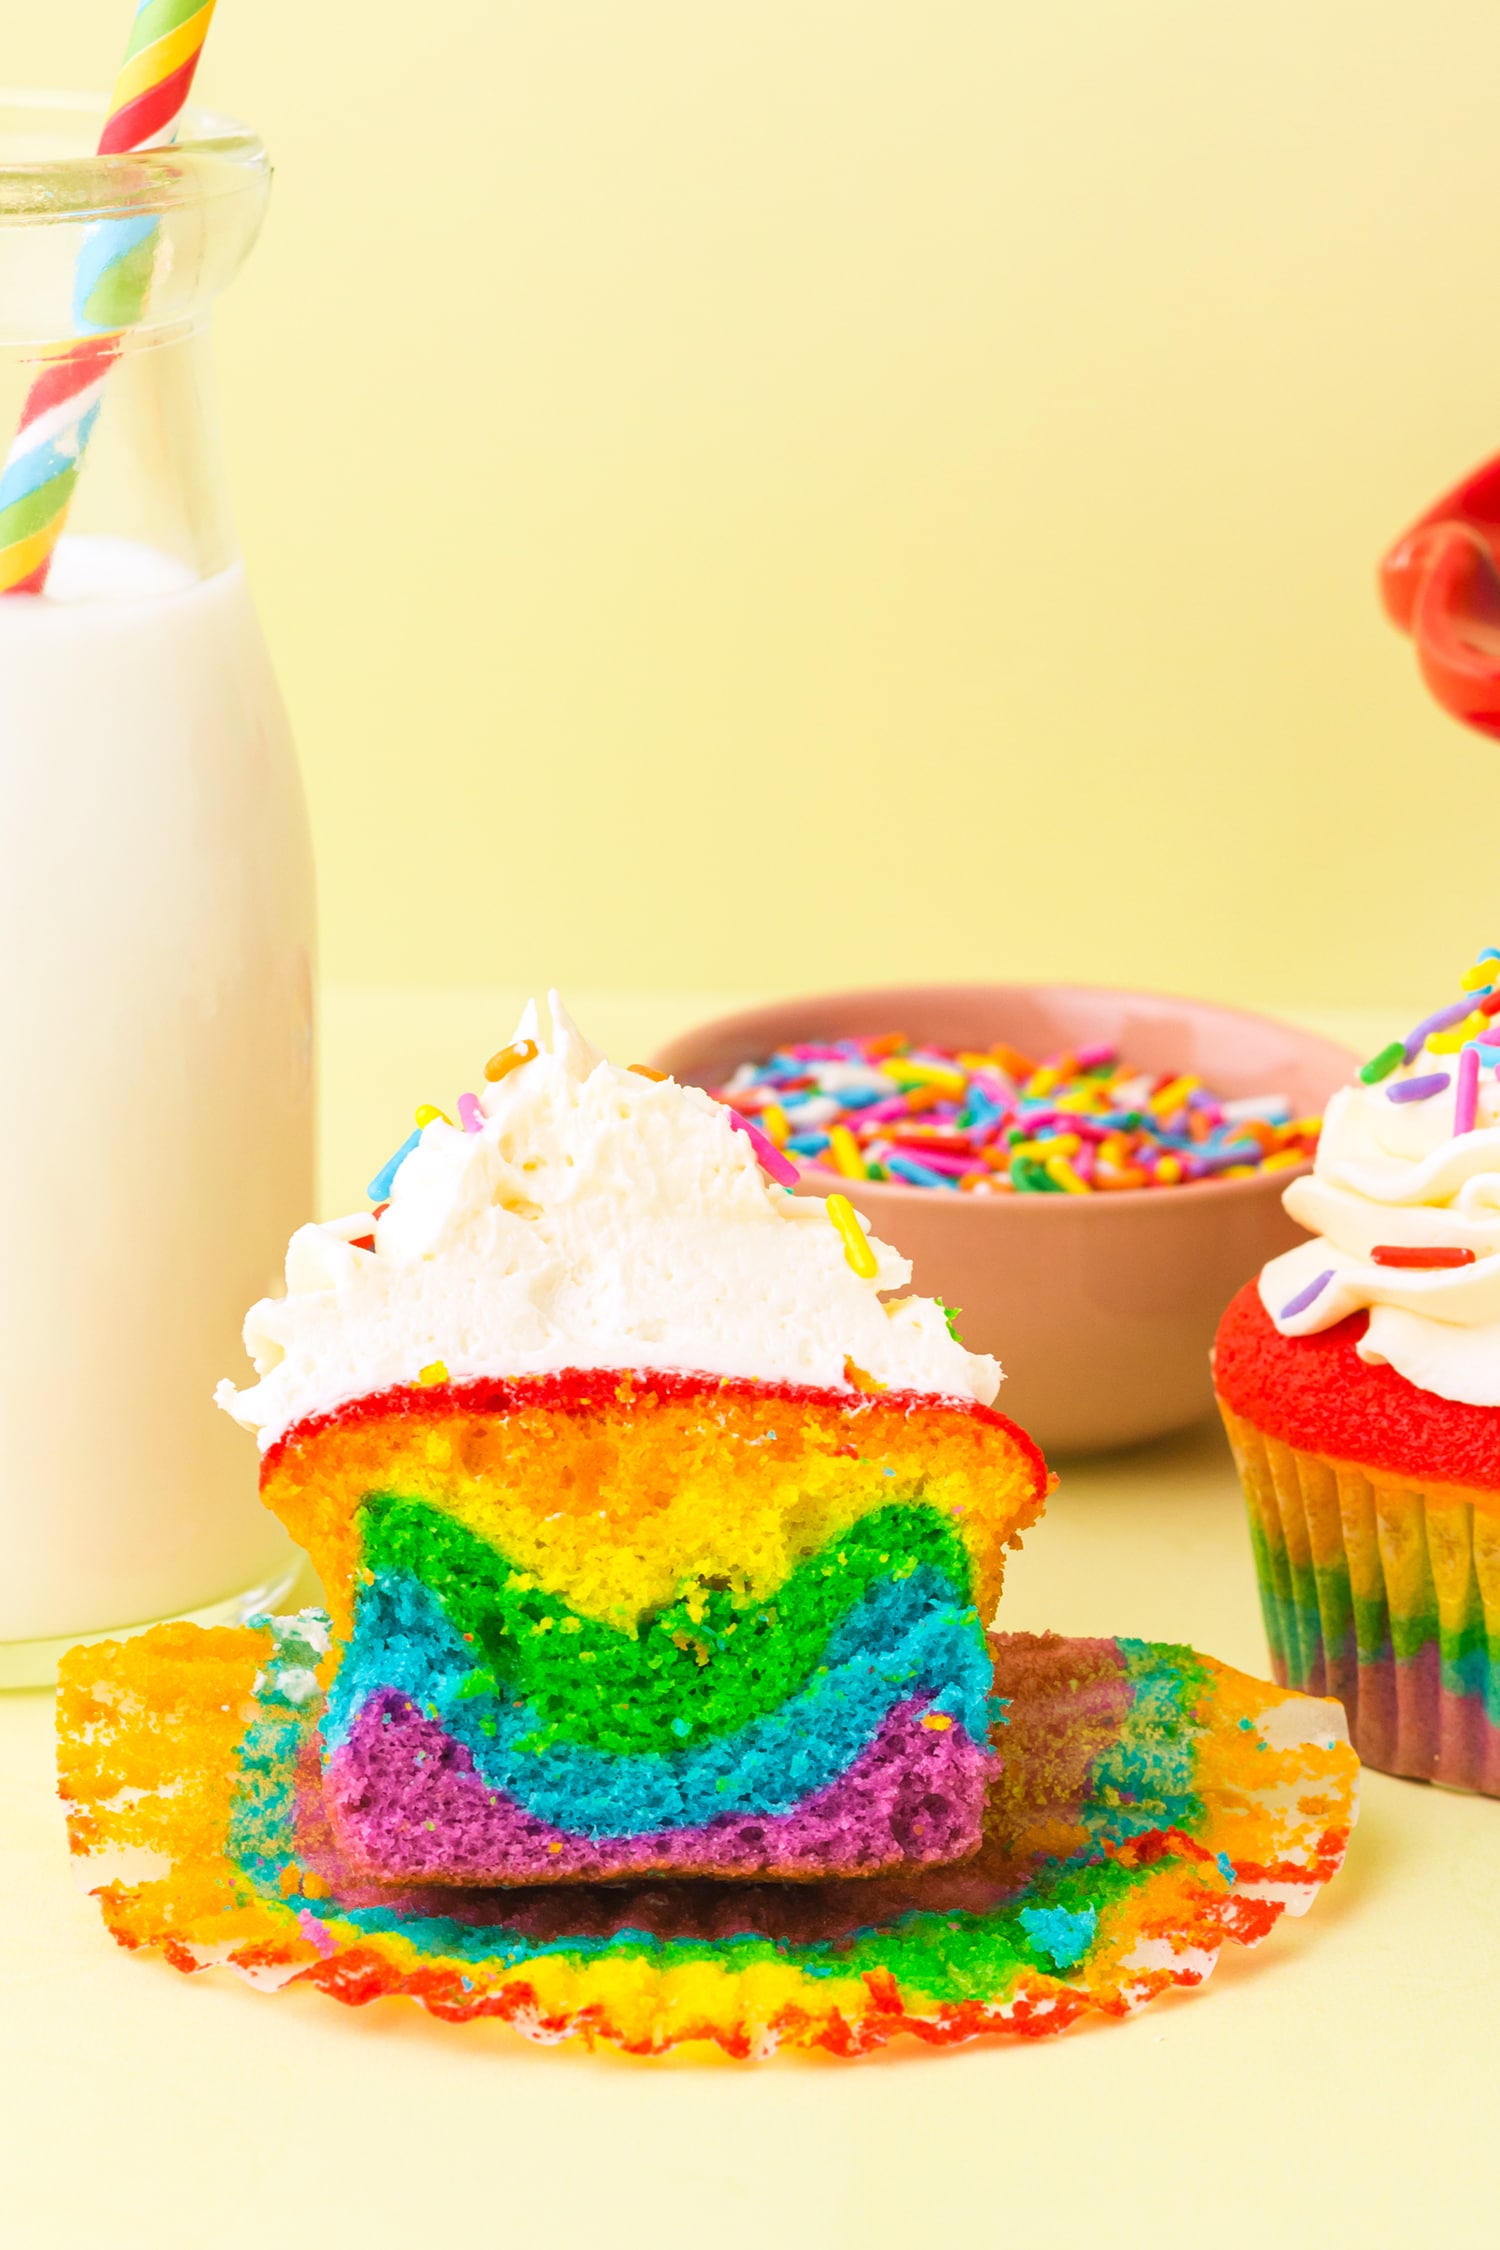
To create a beautiful layered rainbow look, you’ll want to layer the batter by color in the muffin cups. Start with around two teaspoons of purple batter in the bottom of all the paper muffin liners, which will help to distribute the batter between all 18 cups evenly.
Put about two teaspoons of blue batter on top of the purple batter in each muffin cup with a spoon. Spread the blue batter evenly over the top of the purple batter, but don’t press down too hard. It should be spread on top rather than swirled together. If the batter sticks to the spoon while spreading it out, lightly spray the back of the spoon with nonstick cooking spray.
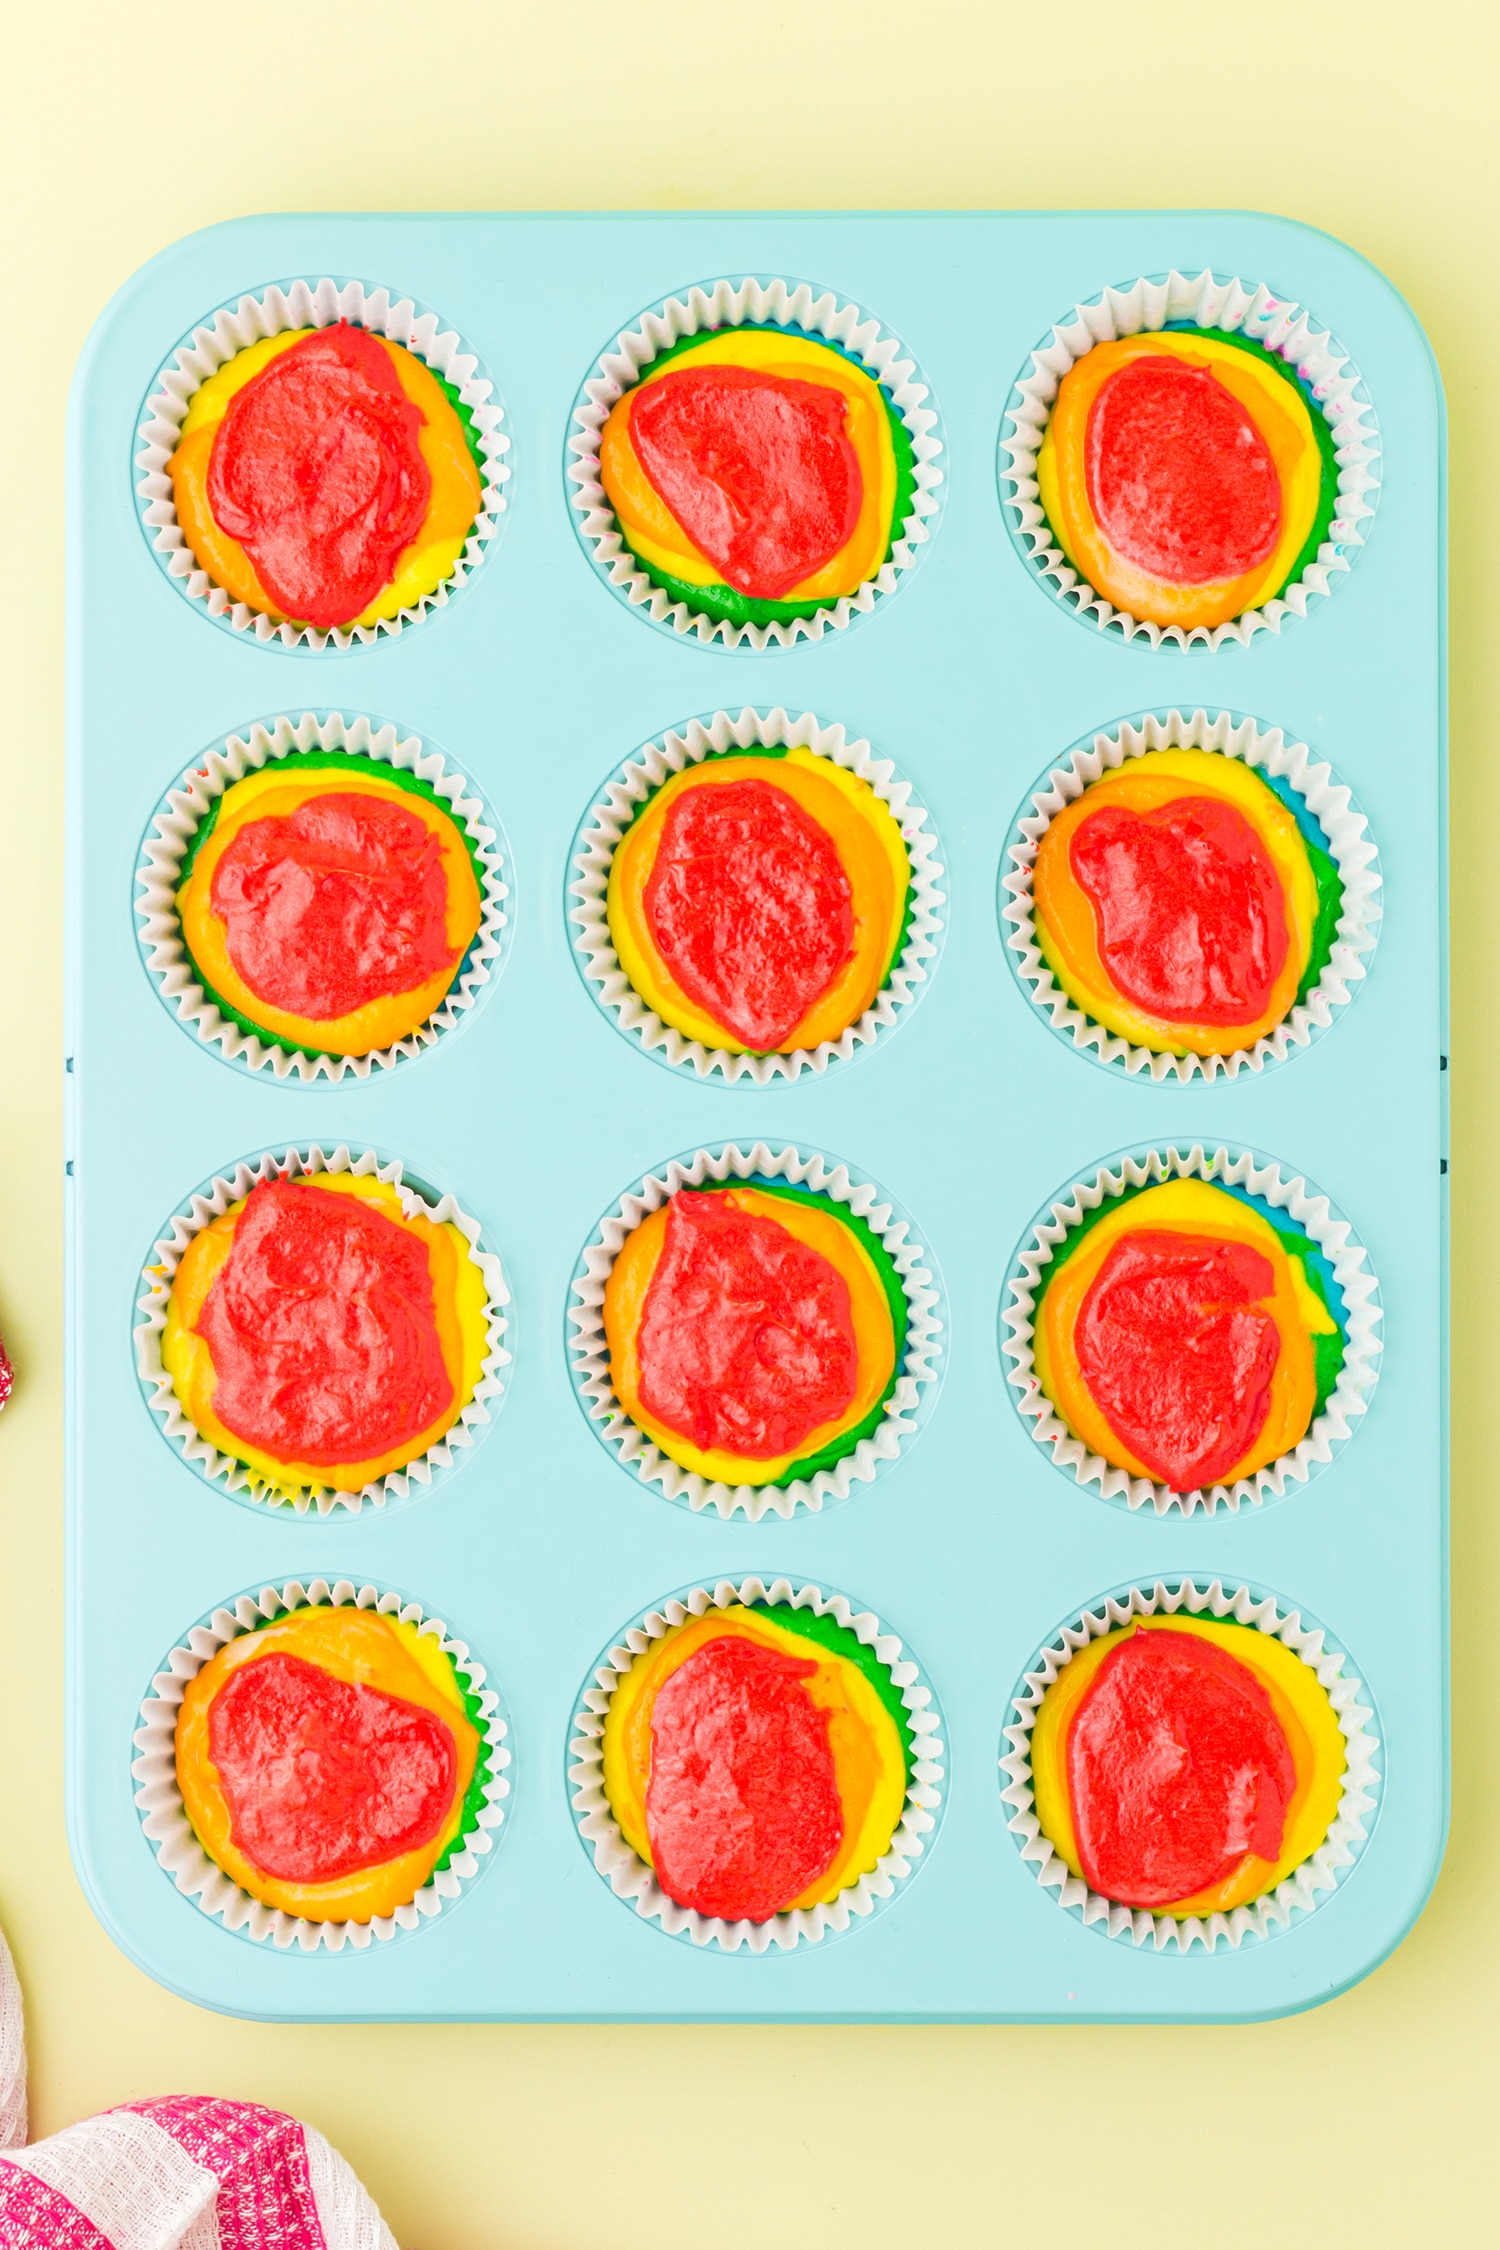
Then, repeat the steps with the green, yellow, and orange batter in all muffin cups to create layers of colors. Finally, top with the red in each muffin cup. Each muffin liner should be about two-thirds full (Be careful not to fill them to the top or the cupcakes will overflow and not bake properly).
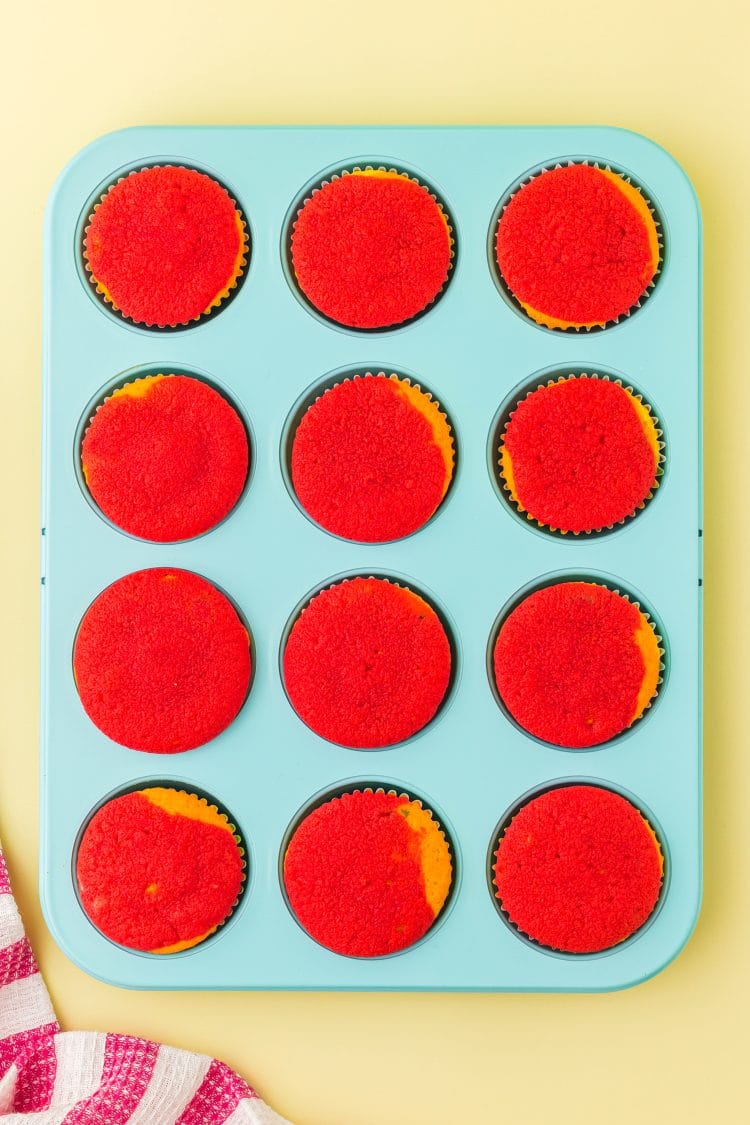
Bake your colorful cakes for 15-16 minutes, or until a toothpick inserted into the center of a cupcake comes out clean. Allow the cupcakes to cool completely before adding your frosting.
How to Make Buttercream Frosting
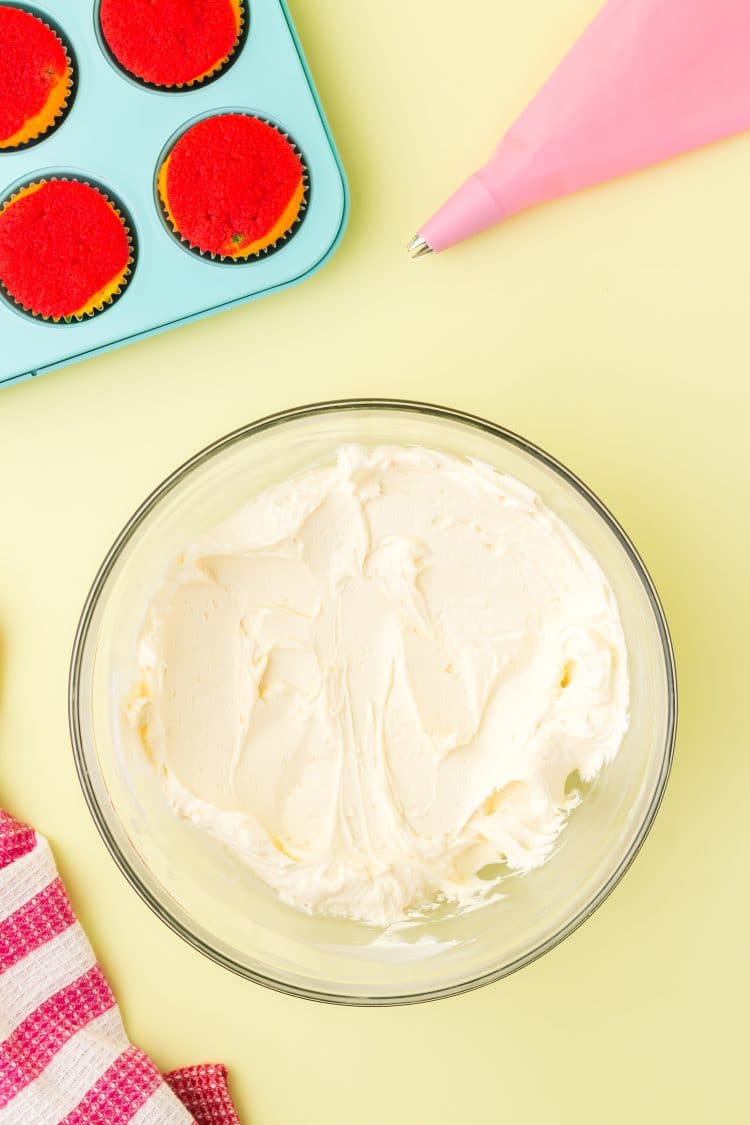
To make this deliciously easy buttercream frosting, beat together the butter, confectioners’ sugar, and vanilla on high in a large mixing bowl until nice and fluffy (about 5 minutes).
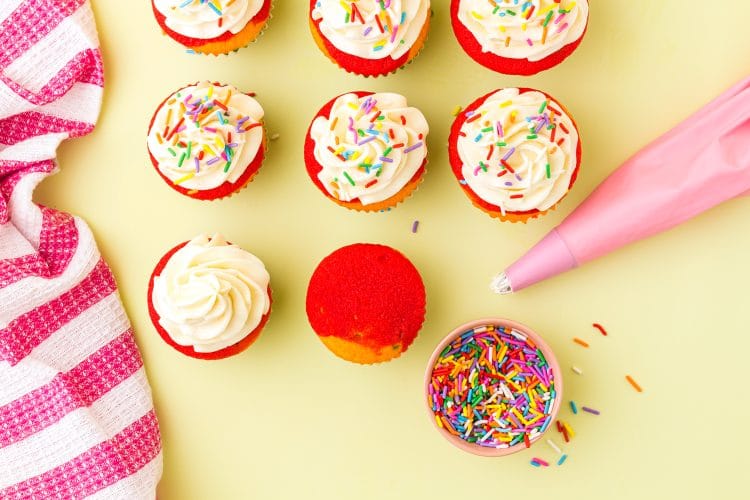
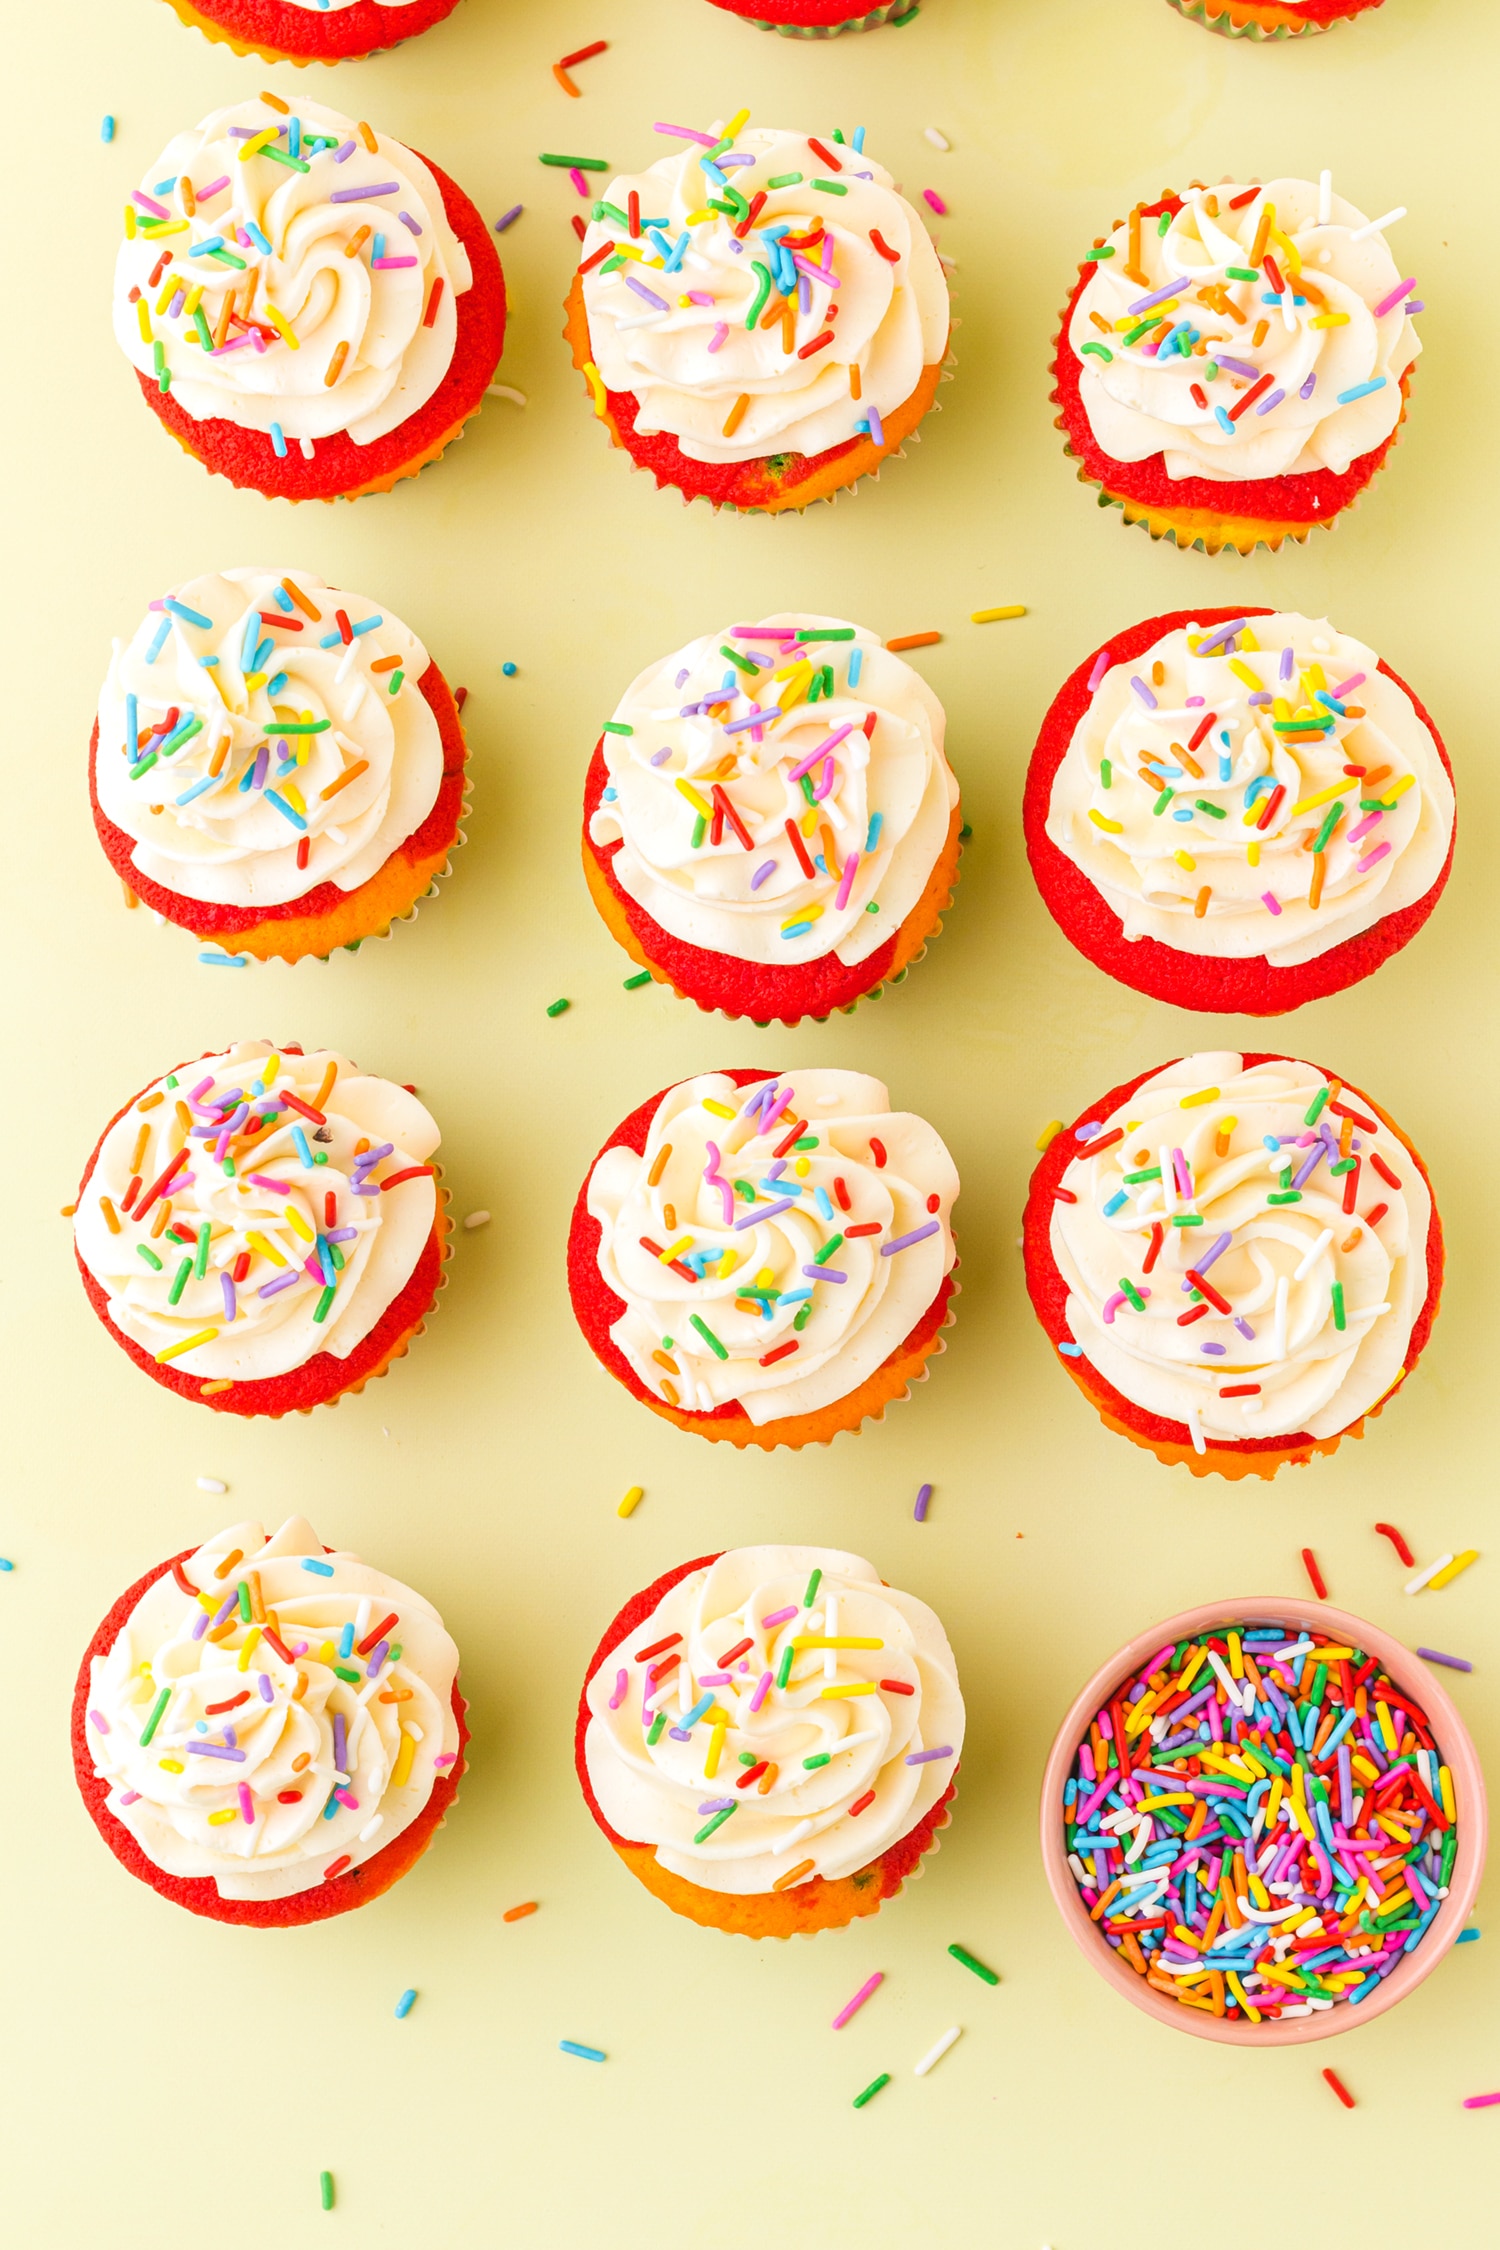
Add the icing to a piping bag. Pipe the frosting on top of the cooled cupcakes and top with sprinkles if desired (who doesn’t love sprinkles?!).
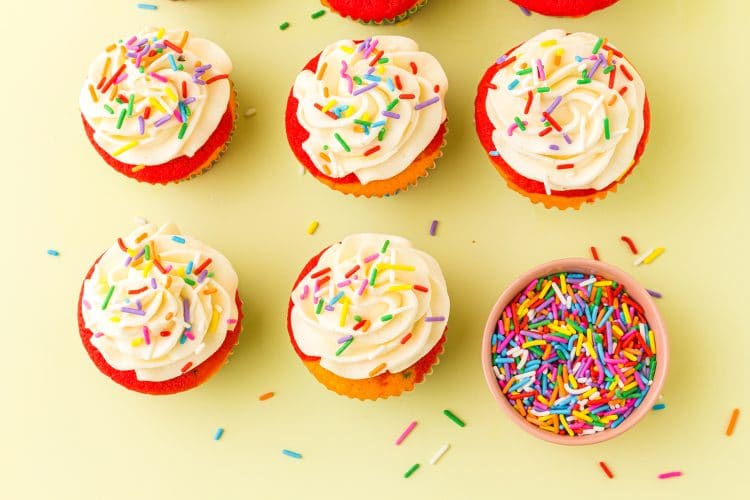
Store any remaining cupcakes in a food-safe container. Buttercream topped cupcakes can be kept at room temperature for three days or stored in a fridge for three days.
Rainbow Cupcake FAQs
What supplies do I need to make these rainbow cupcakes?
You’ll need the following supplies to bake rainbow cupcakes, most of which are likely already in your kitchen!
- Measuring cups and spoons of various sizes
- Mixing bowls of various sizes
- Food scale (This isn’t necessary, but is beneficial!)
- Electric mixer
- Spatula
- Non-stick cooking spray
- Muffin tins or cupcake pans for 18 cupcakes
- Paper cupcake liners
Can I freeze these rainbow cupcakes?
Yes, absolutely! I’d recommend freezing the cupcakes without the buttercream frosting, though. Wrap the cupcakes tightly in plastic wrap, then place them in a food-safe container and freeze them for up to 2 months. Be sure to bring them back to room temperature before you frost them.
The buttercream can be frozen separately in a sealed food-safe container for up to 2 months. Again, bring this back to room temperature before you get started.
How do I get that bright, vibrant color in my rainbow cupcakes?
It’s simple — the type of food coloring used has a significant impact on this! You’ll want to choose a vibrant gel food coloring. I use Chefmaster Liqua-gel to achieve my bright rainbow colors, but other brands of gel coloring work well, too!
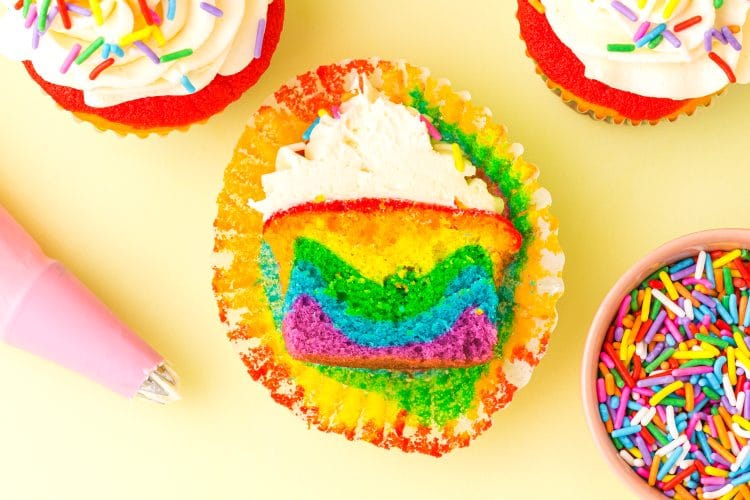
My cupcakes turned out looking more tie-dye than rainbow. What happened?
Don’t be disheartened (and let’s be real, the rainbow tie-dye look is pretty awesome, too!)! Next time you give this recipe a go, keep this in mind: when layering the batter in the cupcake liners, gently spoon each color on top of the other and then carefully spread that color over the color underneath.
The key is to avoid swirling the colors together by pressing down too hard. A light spray of nonstick cooking spray on the back of a spoon will help you to evenly spread each layer of color without getting batter stuck to the spoon.
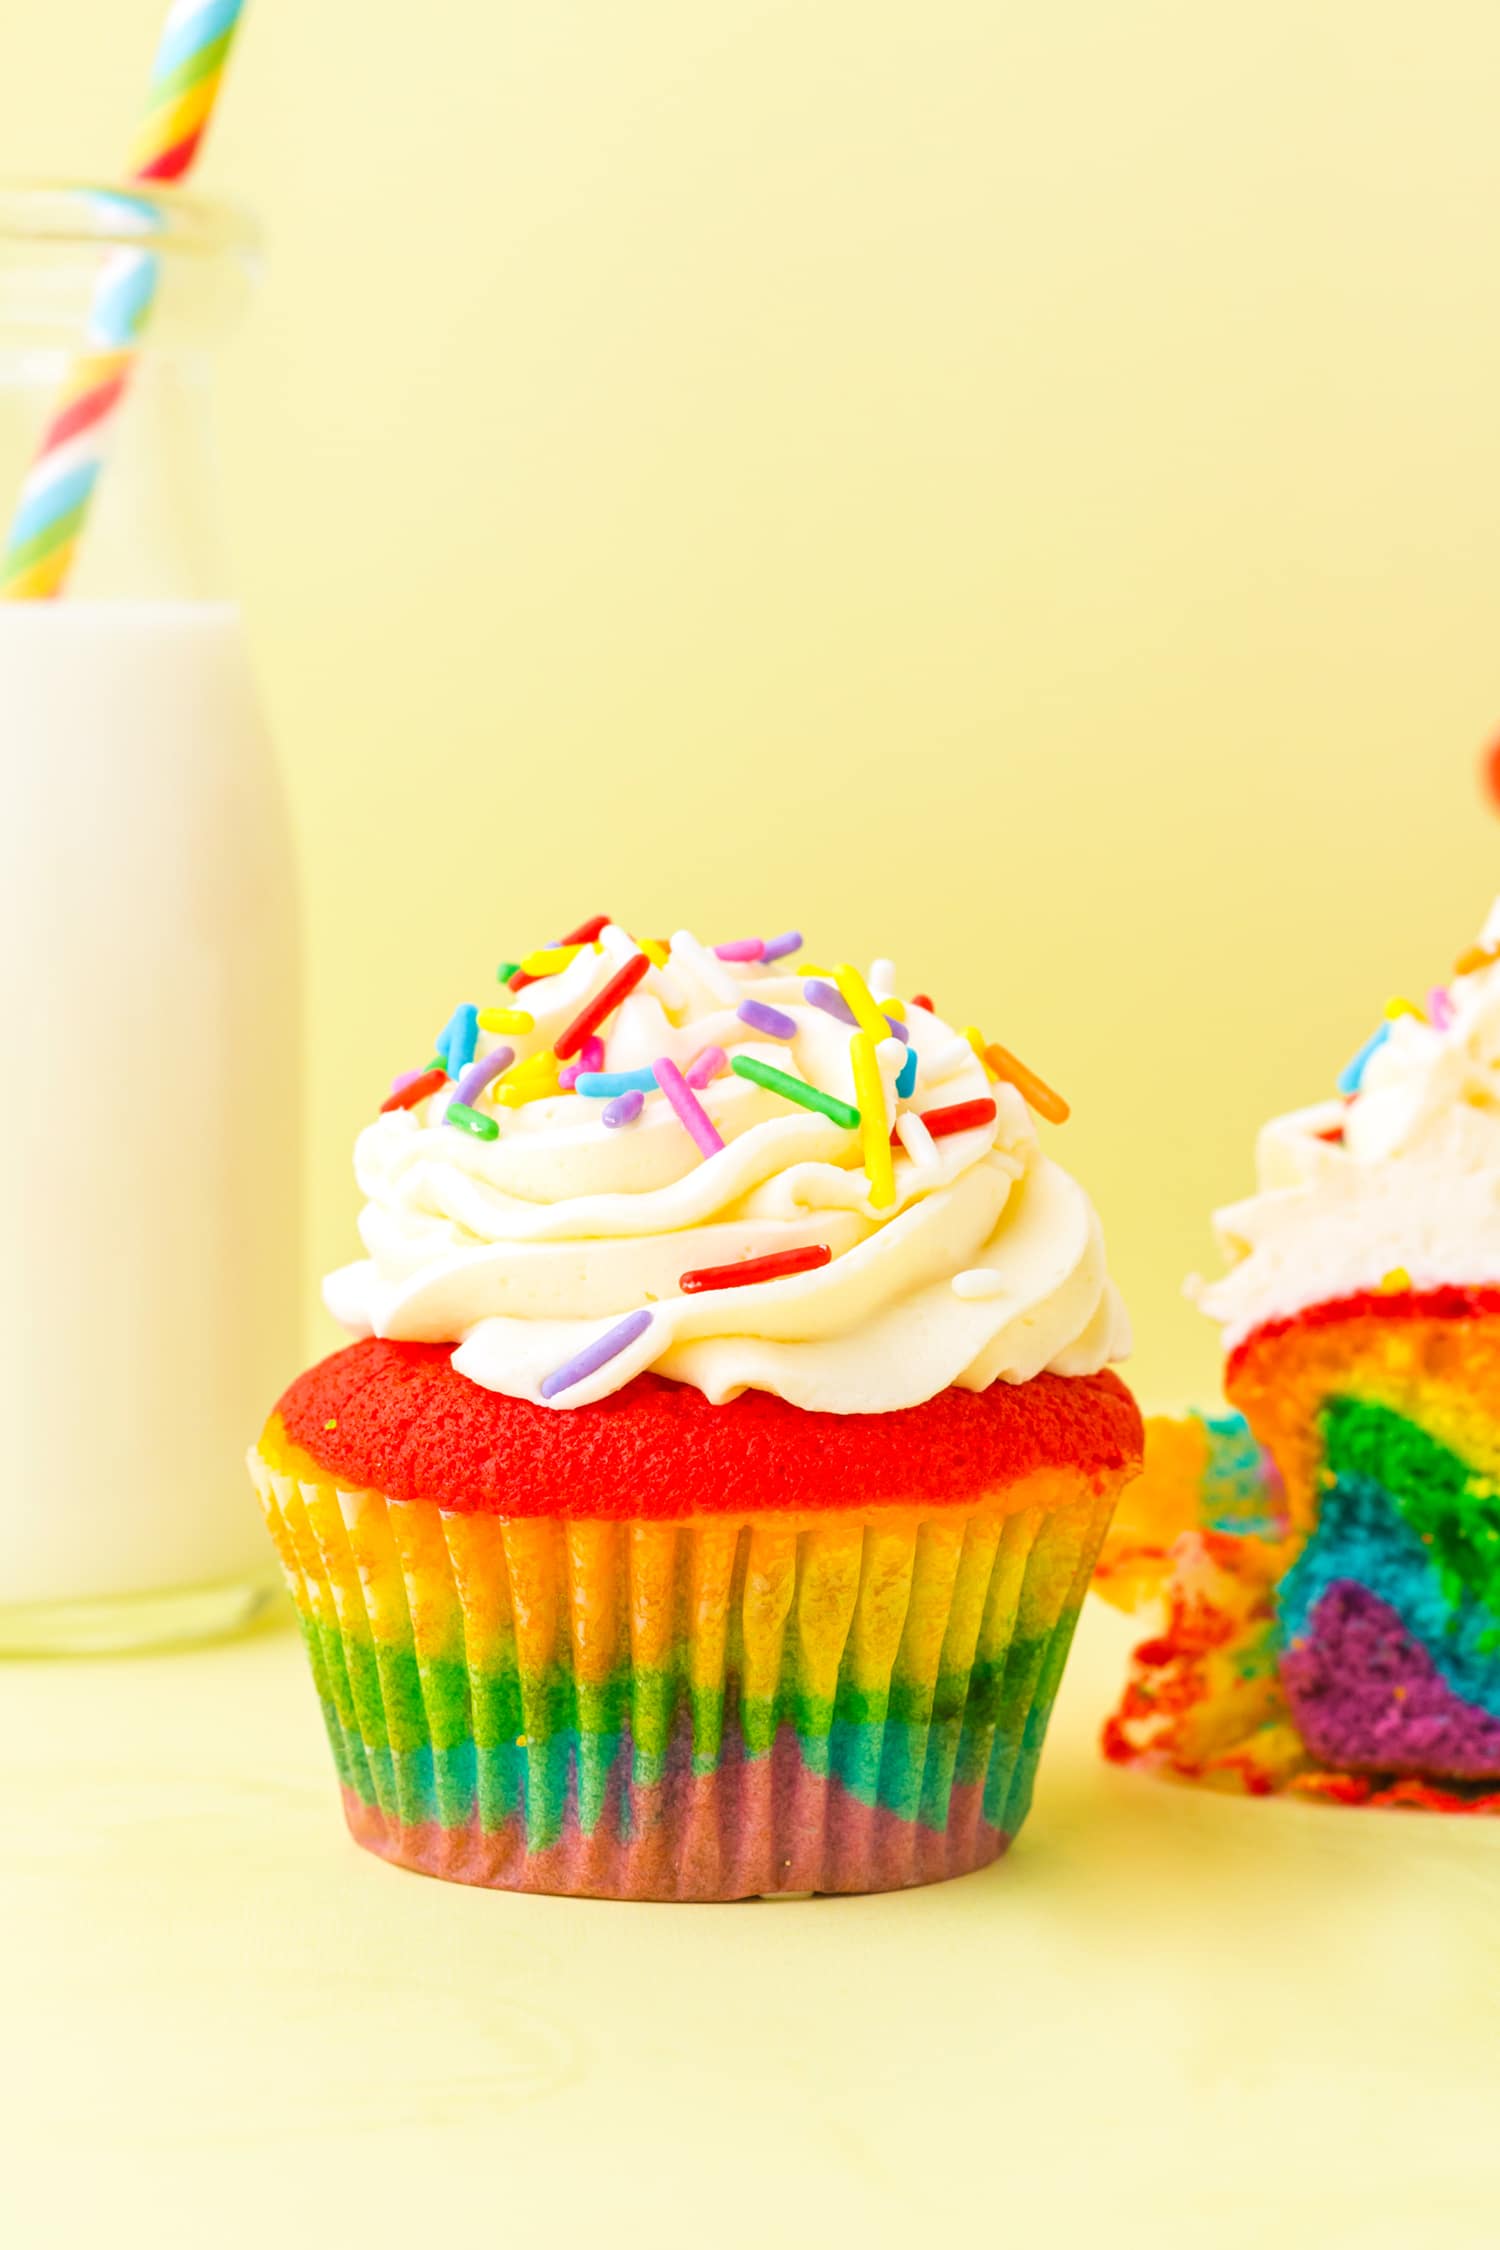
Aren’t these SO much fun?! They’re perfect for all kinds of occasions!
What You’ll Need:
- 1 cup Unsalted Butter slightly melted
- 1-1/4 cup Granulated Sugar
- 3 Large Eggs
- 1 Tbsp Vanilla Extract
- 1/3 cup Sour Cream full fat – room temperature
- 1/2 cup Milk – 2% or whole milk warmed in the microwave for 30 seconds
- 2 cups All-Purpose Flour
- 1-1/2 tsp Baking Powder
- 1/4 tsp Baking Soda
- 1/4 tsp Salt
- Gel food coloring in rainbow colors red, orange, yellow, green, blue, purple
Buttercream Frosting
- 2 cups Unsalted Butter slightly melted
- 5 cups Confectioners' Sugar
- 1 Tbsp Vanilla Extract
- Rainbow Sprinkles optional, for decoration
Instructions:
How To Make Cupcakes
- In a large bowl, beat together the butter and the sugar until thoroughly combined, for about a minute.
- Add in the eggs and vanilla extract and beat until smooth (about 1-2 minutes).
- Next, beat in the sour cream and milk.
- In a medium bowl, combine the flour, baking powder, baking soda, and salt.
- Beat the dry ingredients into the wet ingredients until just mixed.
- Preheat the oven to 350 degrees F.
- Divide batter evenly into six small bowls
- Use the gel food coloring to make six different colors of batter: red, orange, yellow, green, blue, and purple.
- Line 18 muffin cups with paper cupcake liners.
- To create a beautiful layered rainbow look, you’ll want to layer the batter by color in the muffin cups. Start with two teaspoons of purple batter in the bottom of all the paper muffin liners, which will help to distribute the batter between all 18 cups evenly.
- Repeat the steps with the green, yellow, and orange batter in all muffin cups to create layers of colors. Finally, top with the red in each muffin cup. Each muffin liner should be about two-thirds full.
- Bake your colorful cakes for 15-16 minutes, or until a toothpick inserted into the center of a cupcake comes out clean
How to Make Buttercream Frosting
- Beat butter, confectioners' sugar, and vanilla on high in a large mixing bowl until nice and fluffy (about 5 minutes).
- Pipe this on top of the cooled cupcakes using a piping bag.
- Top with sprinkles if desired
Notes:
- Make sure to use gel food coloring because it won’t add extra moisture to your frosting as water-based food coloring would. For bold, bright colors, I love to use Chefmaster Liqua-gel in the following shades: super red, neon brite orange, lemon yellow, leaf green, neon brite blue, and neon brite purple.
- It’s best to fill each of the cupcake paper liners with a layer of color before moving on to the next color rather than focusing on layering one liner with every color one by one and then moving on. This ensures that you have enough colored batter for each cup before starting with the next color.
I’m sure these fun rainbow cupcakes are going to be a HUGE hit at your next event!

Check Out These Other Rainbow Ideas!
 Mini Rainbow Cheesecakes
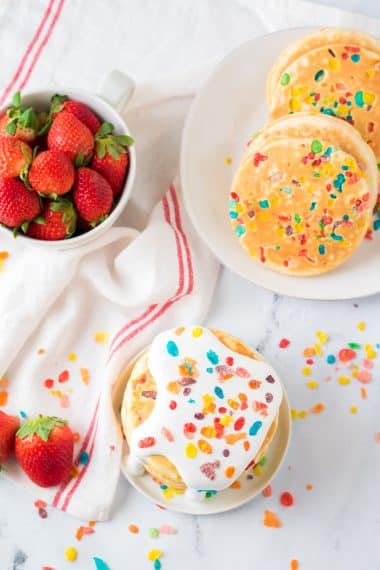
 Fruity Pebbles Pancakes
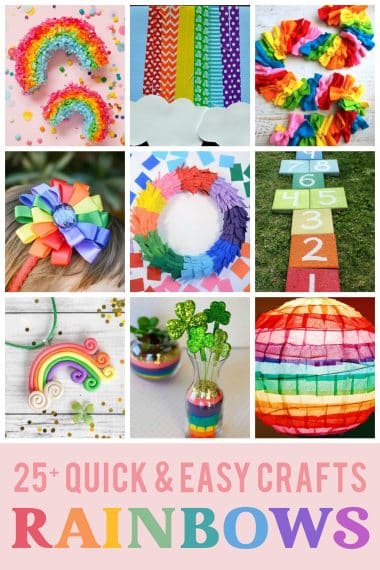
 25+ Rainbow Crafts for Kids & Adults
 Rainbow Cupcakes
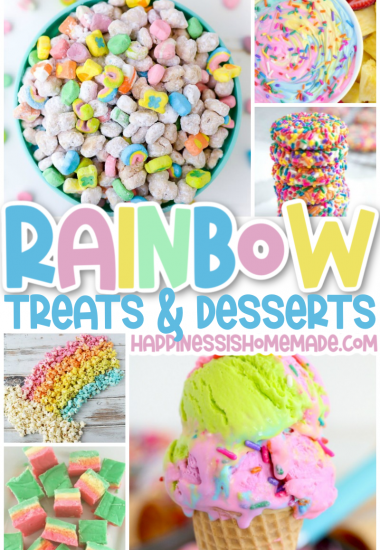
 20+ Fun Rainbow Treats
 How to Make Rock Candy: Easy Recipe & Tutorial
 DIY Rainbow Wall Hanging Craft Kit
 16 Free Rainbow SVG Files
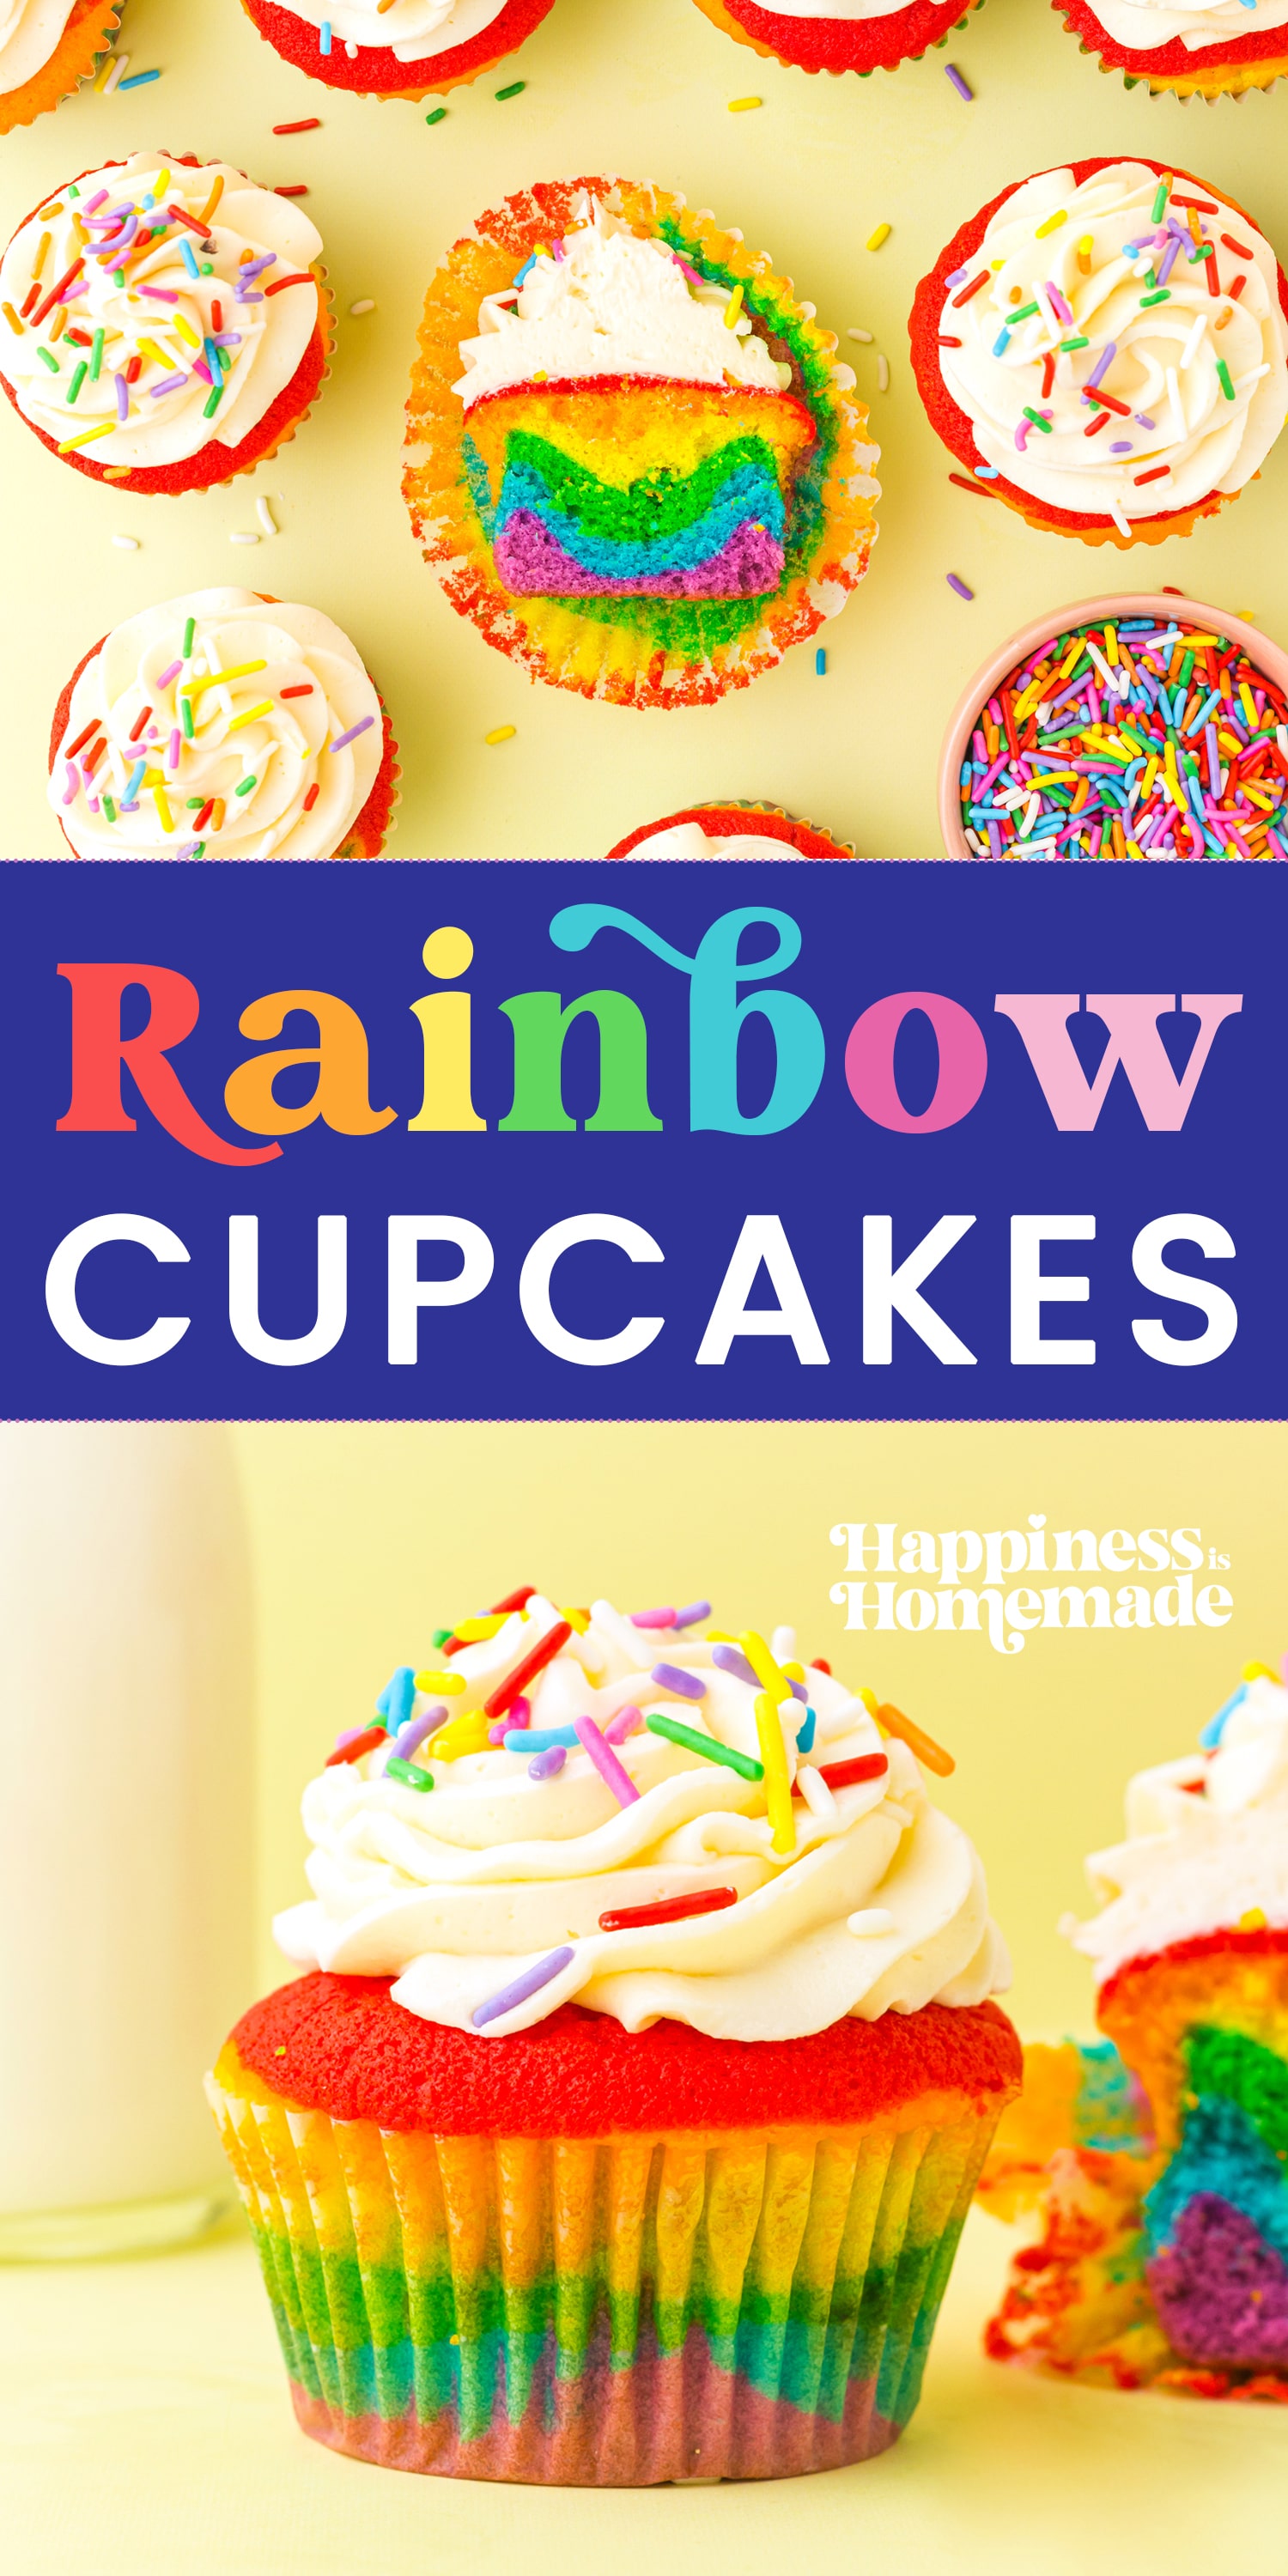
Pin These Rainbow Cupcakes for Later!

Heidi Kundin has captivated the hearts of millions with her colorful and inspiring approach to crafting, celebrations, and family fun. With over 15 years of experience, Happiness is Homemade has become a must-visit destination for those seeking quick and easy creative ideas and last-minute solutions. Heidi’s warm personality shines through her posts, inviting readers to join her on a creative journey that’s fun, rewarding, and achievable. Heidi is also the author of Homemade Bath Bombs & More and DIY Tie-Dye.

