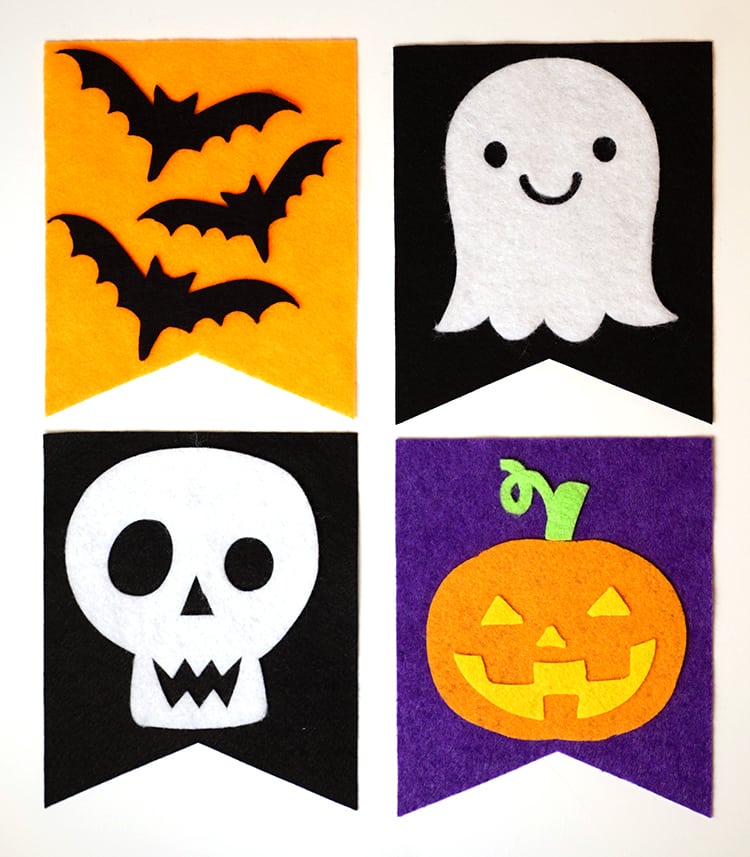
This Felt Halloween Banner is SUPER easy to make with the Cricut Maker machine! Grab the links to the cut files and start making your own easy Halloween decorations right now!
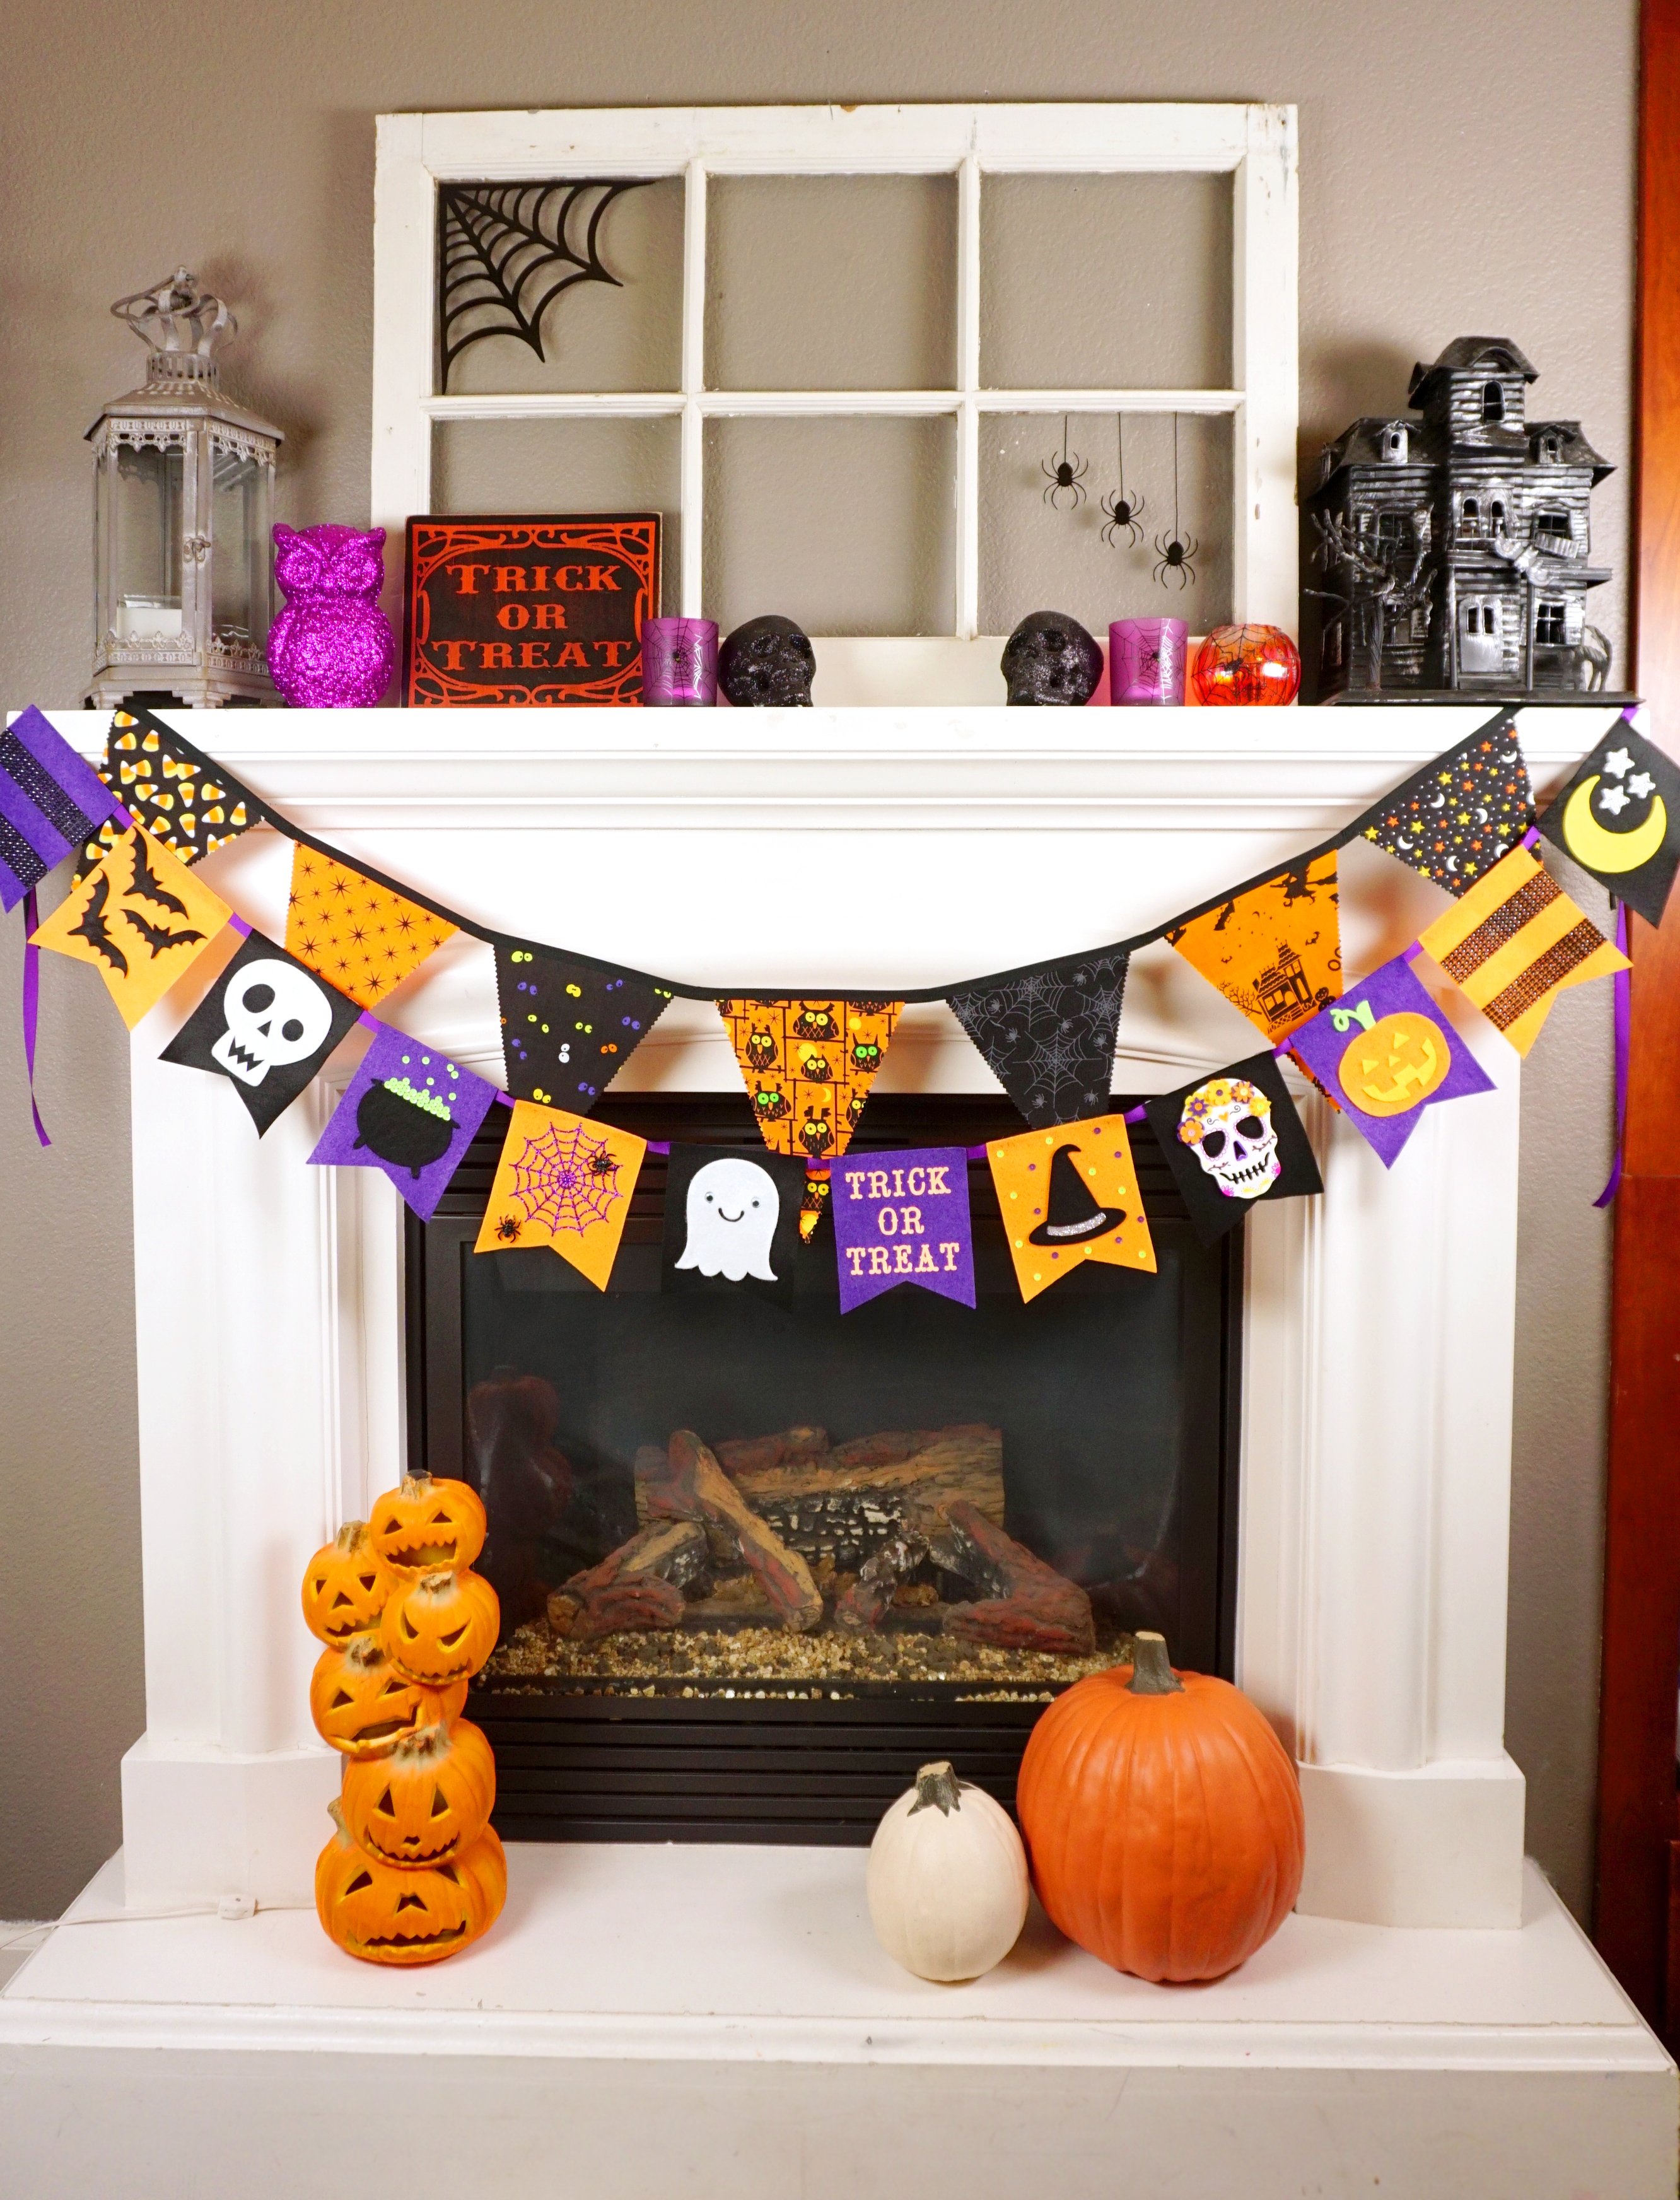

Decorating for Halloween is one of my favorite things, and it seems like every year I make a new banner or two to decorate our Halloween mantel. This year I wanted to make something that was more-cute-than-scary since my youngest son is feeling a little creeped out by all things spooky. With the help of my trusty new Cricut Maker machine and some supplies from my friends at Oriental Trading Company, I whipped up this super cute felt Halloween banner that fit the bill perfectly!
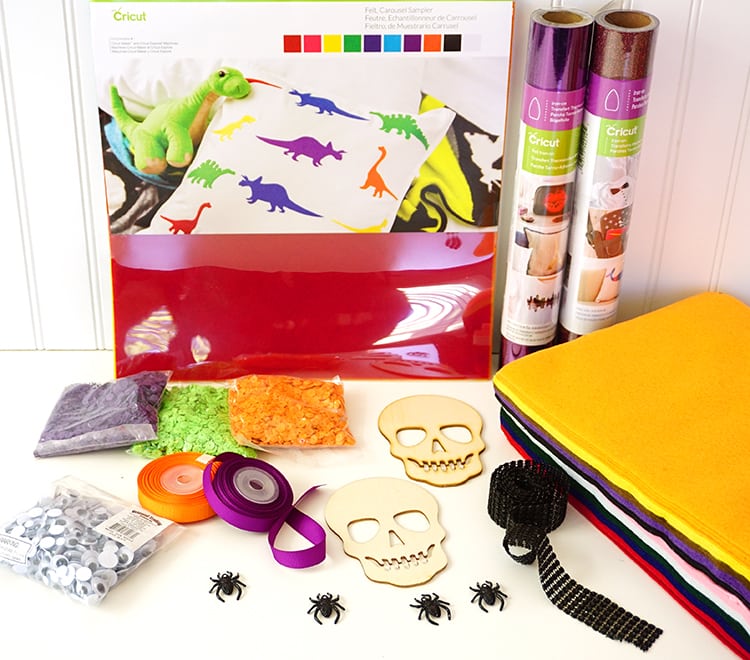

Supplies Used for the Felt Halloween Banner:
- Cricut Maker Machine
- Felt Sheets (Cricut brand + large pack from Oriental Trading Company)
- Cricut Glitter Iron-On in Silver, Purple, and Fluorescent Orange
- Wooden Skulls
- Black Rolled Jewels
- Spider Charms
- Assorted Sequins
- Grosgrain Ribbon
- Googly Eyes
- Felt Glue
- Hot Glue Gun & Glue Sticks
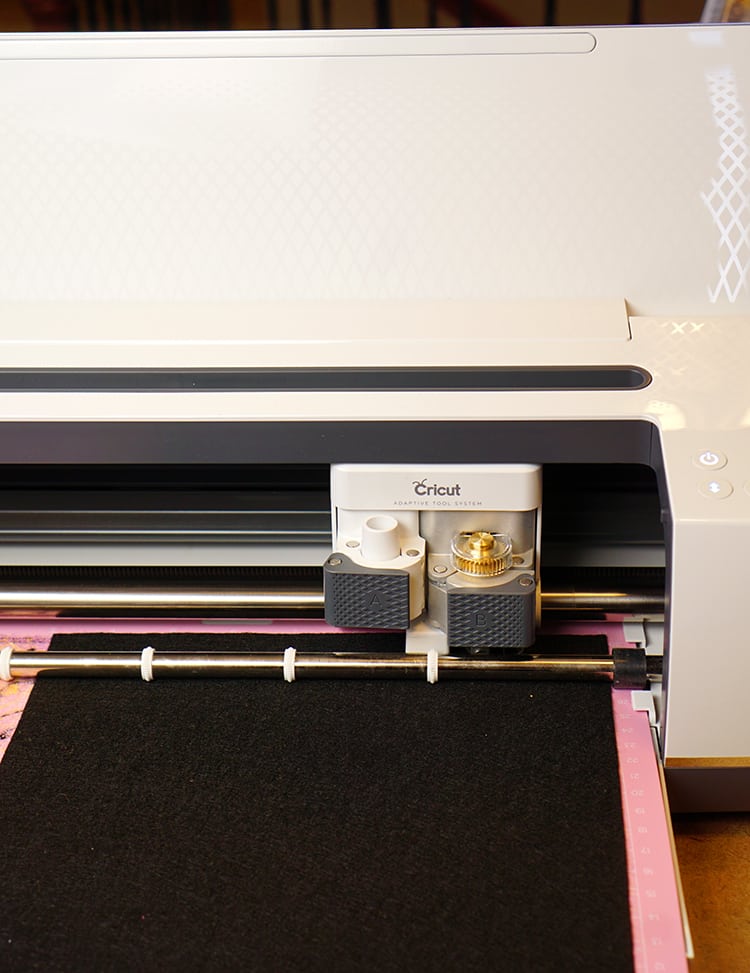
To begin, I used my Cricut Maker machine to cut my banner pieces out felt – two sheets each of black, orange, and purple felt resulted in four banner pieces per color.

After I cut the felt banner pieces, I used the Cricut Maker to cut out the banner’s design elements. The Maker’s rotary blade cut through felt like butter, and it worked like a dream!
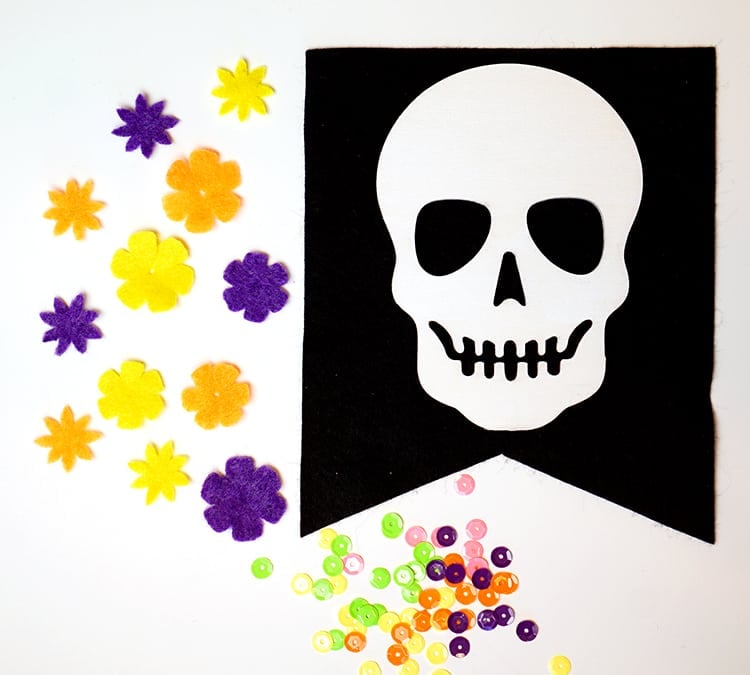
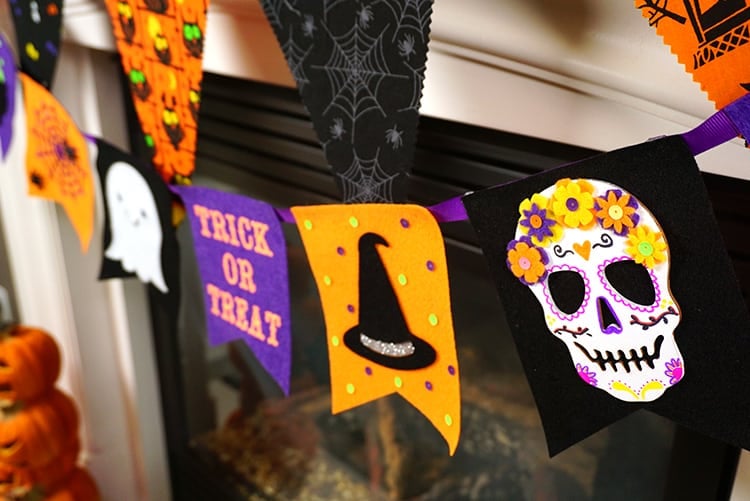
I also wanted to incorporate some non-felt elements into my banner to give it some more texture and depth, so I painted this wooden skull white and used sequins and markers (plus a little more felt!) to embellish it.
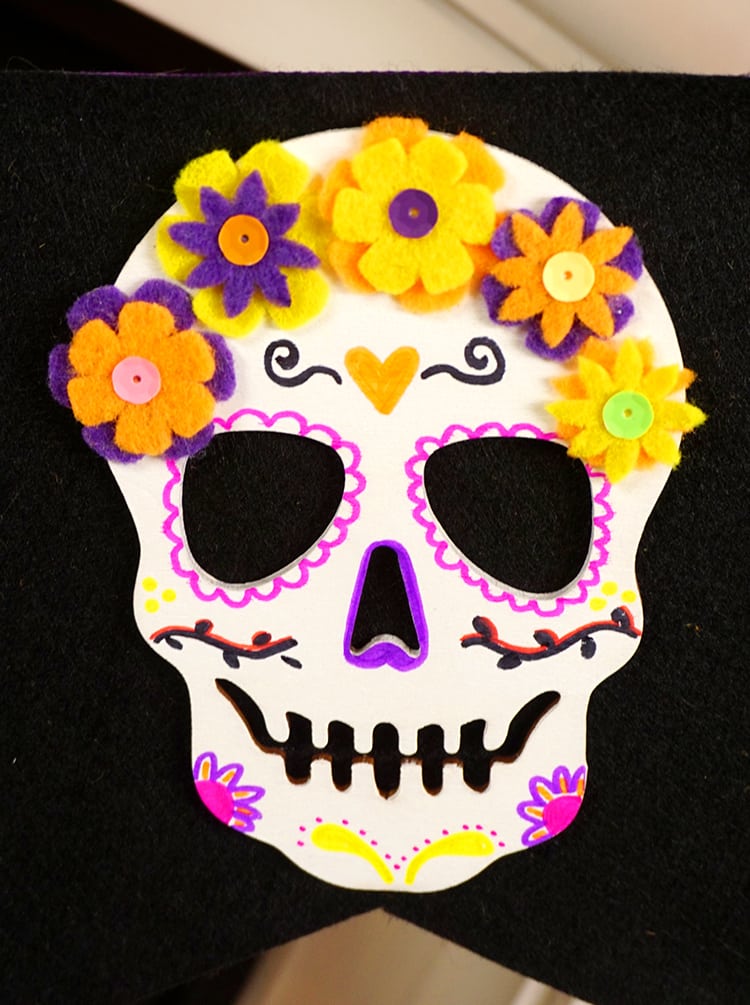
Pretty cute, don’t you think?
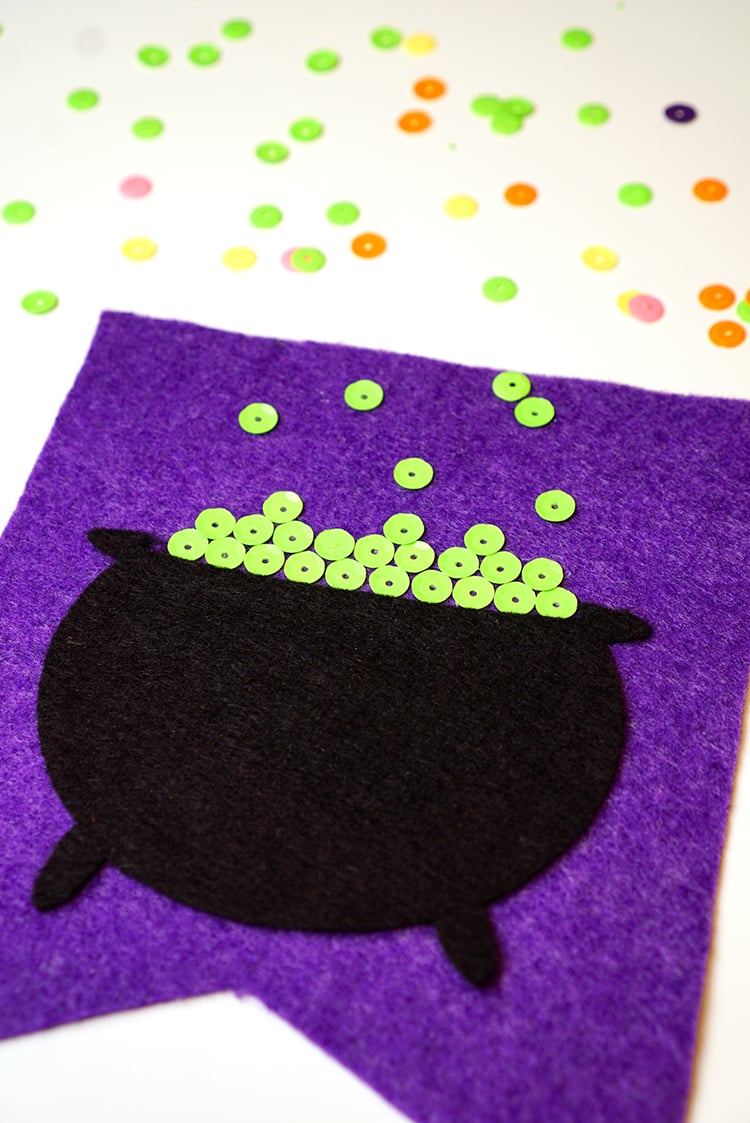
This cauldron banner piece is my most favorite one of all! I used this cauldron cut file and added lime green sequins for the cauldron’s bubbling brew!
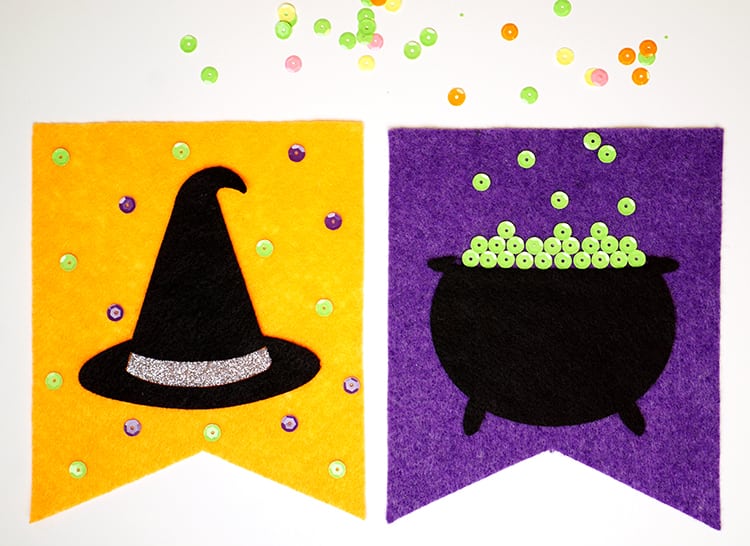
While I had the sequins handy, I also added a few sequin polka dots to the witch hat banner.
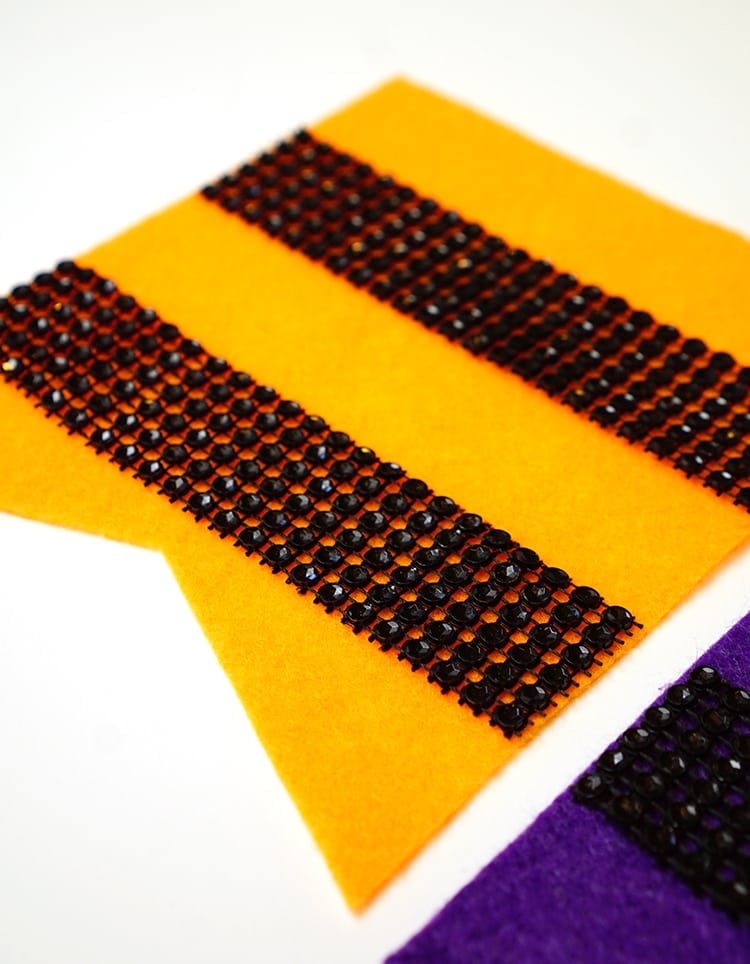
The two striped banner pieces are simply made with black rolled jewels – just cut to size and glue!
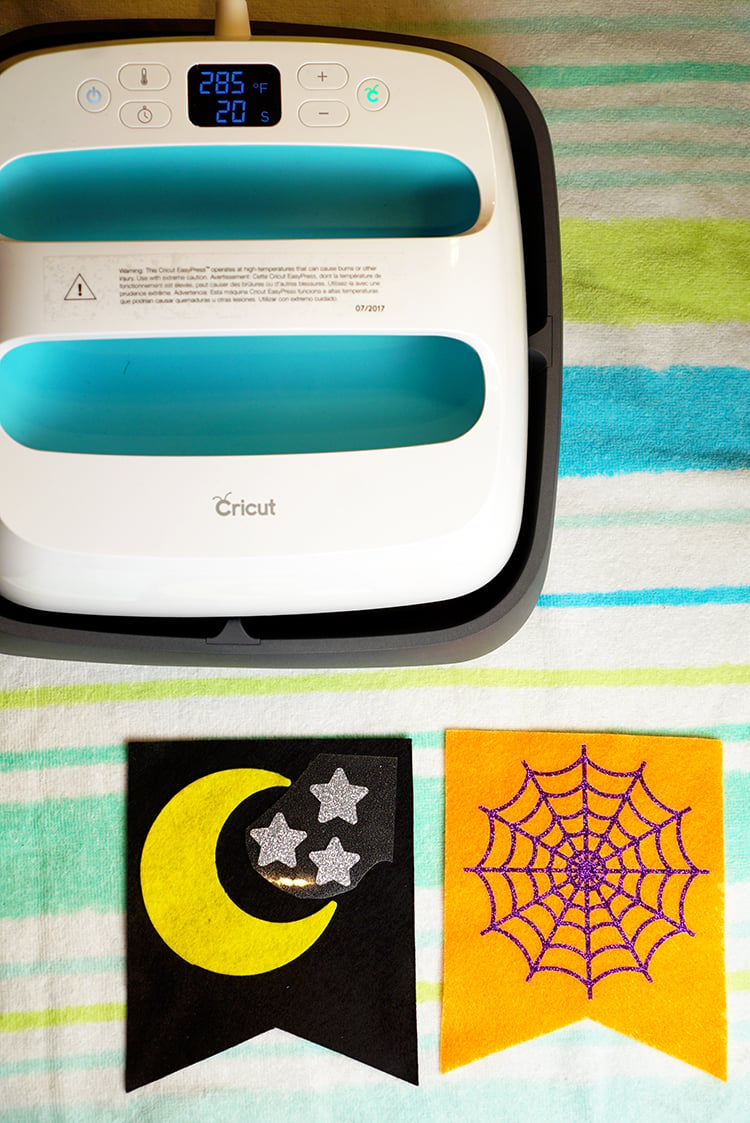
While I had the Cricut Maker machine out, I used the fine-point blade to cut glitter iron-on for a few of the banner pieces. The moon and stars is a modified version of this cut file (I simply removed the face from the moon), and the spiderweb can be found here. I used my brand new Cricut EasyPress to iron the material on, and it is OH, SO AMAZING! I’ll be devoting an entire post to the EasyPress next week, but let me tell you, this thing is a total game-changer!
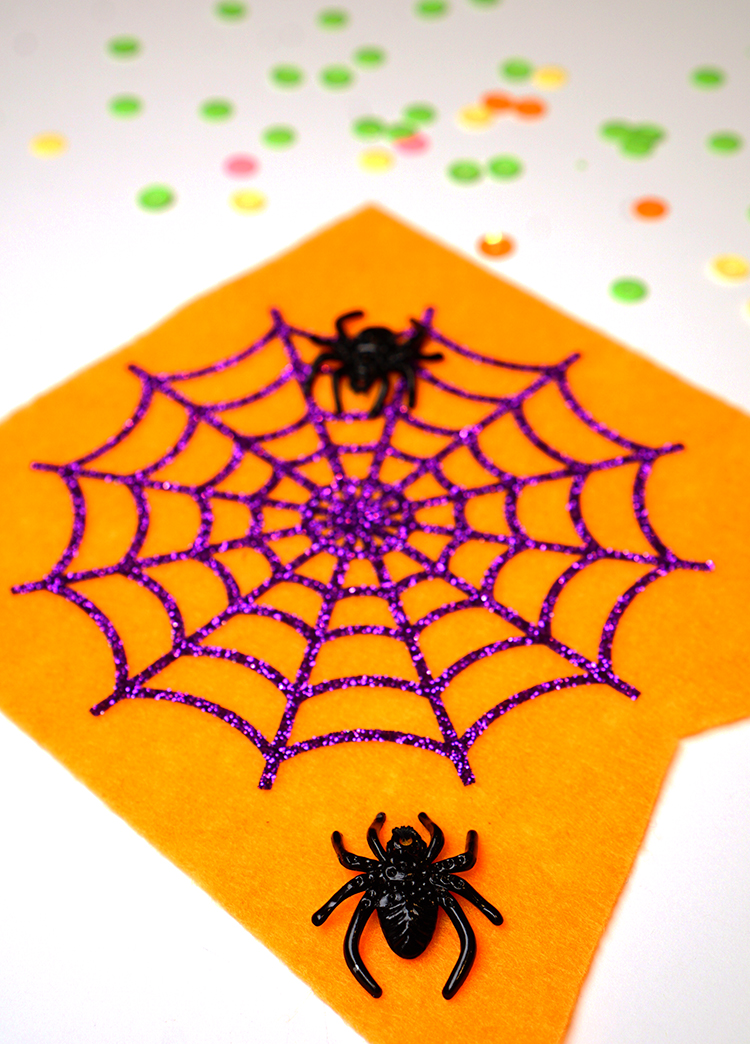
I sewed a couple of metal spider charms onto the spiderweb banner piece, and I totally love the way that they pop off of the piece and give it dimension!
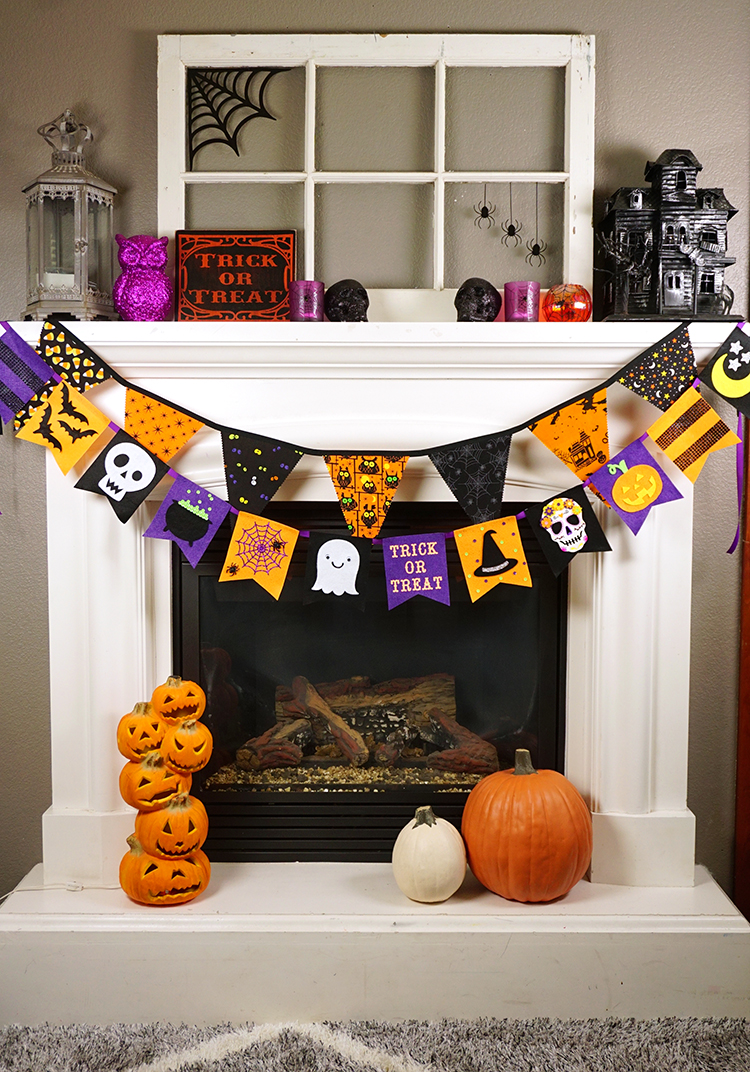
I debated about how to attach the banner pieces to my ribbon – I didn’t want to sew it because I didn’t want a line of different colored thread running through each panel, and I was worried that the felt might not hold up well with any design where the ribbon is threaded through the felt – so that left me with the idea of using hot glue to attach each banner piece to the ribbon. It worked great!
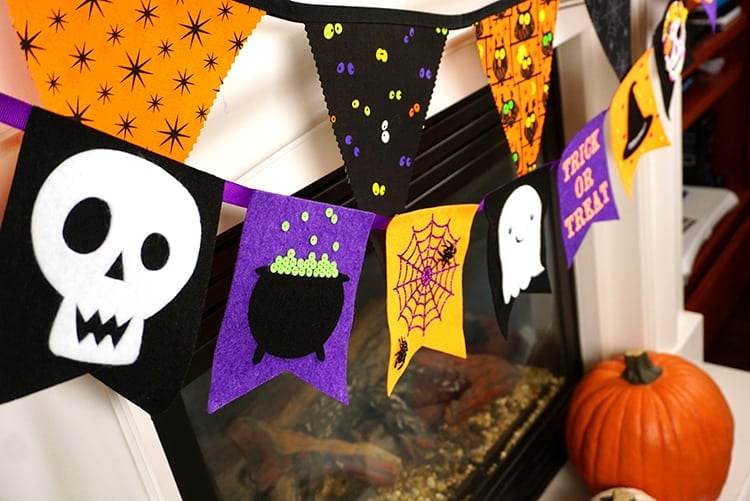
I totally love the way that this turned out! It’s fun and festive without being too spooky for the little kids.
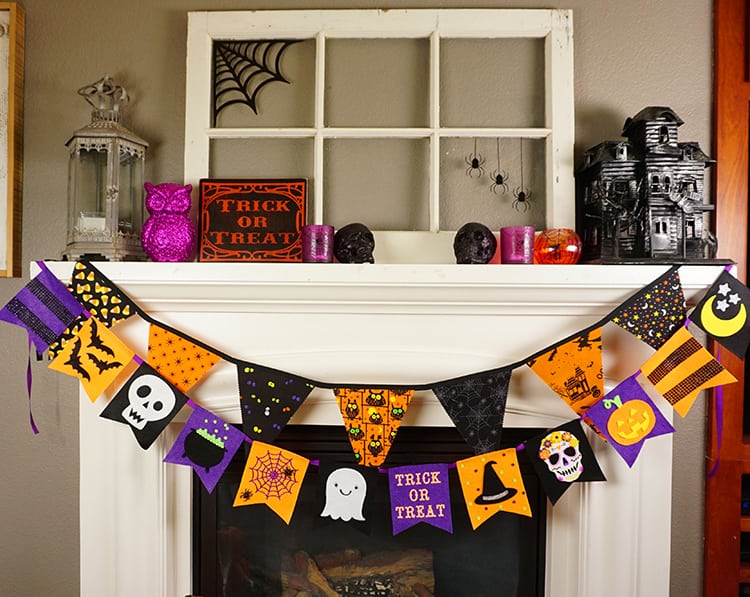
This felt Halloween banner will make the perfect addition to your Halloween party decorations, and it’s sure to be something that you will use again year after year!

Check Out These Other Halloween Inspired Cricut Ideas!
If you like this Felt Halloween Banner, be sure to pin it for later!

Heidi Kundin has captivated the hearts of millions with her colorful and inspiring approach to crafting, celebrations, and family fun. With over 15 years of experience, Happiness is Homemade has become a must-visit destination for those seeking quick and easy creative ideas and last-minute solutions. Heidi’s warm personality shines through her posts, inviting readers to join her on a creative journey that’s fun, rewarding, and achievable. Heidi is also the author of Homemade Bath Bombs & More and DIY Tie-Dye.

