
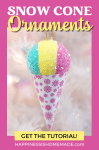
These easy DIY Snow Cone Ornaments are fun for all ages! Add some sparkle to your Christmas tree with whimsical snow cone Christmas ornaments!
This post may contain affiliate links. I will receive a small commission from these sales at no additional cost to you!
If you’re looking for a fun and easy Christmas craft project, you’re in the right place! In this post, we’ll walk you through the steps of creating adorable snow cone ornaments that will add a touch of whimsy to your tree.
Whether you’re a beginner crafter or a seasoned pro, you’ll find these sparkly snow cone Christmas ornaments easy to make and a joy to display. So grab your craft supplies, and let’s get started!
You May Also Like These Other DIY Ornament Ideas:
Snow Cone Christmas Ornaments
Watch this quick video above to see how to make snow cone ornaments, and then scroll this post for more details and information!
Supplies Needed for Snow Cone Ornaments:
- 2″ Paper Mâché Ornaments
- Diamond Dust Glitter
- Acrylic Paint & Paint Brush
- Glue
- Mod Podge (we used Super Thick Gloss)
- Snow Cone Template (get the printable below!)

How to Make Snow Cone Ornaments:
To begin, start by using your acrylic paints to paint the paper mâché ornaments in your choice of colors.
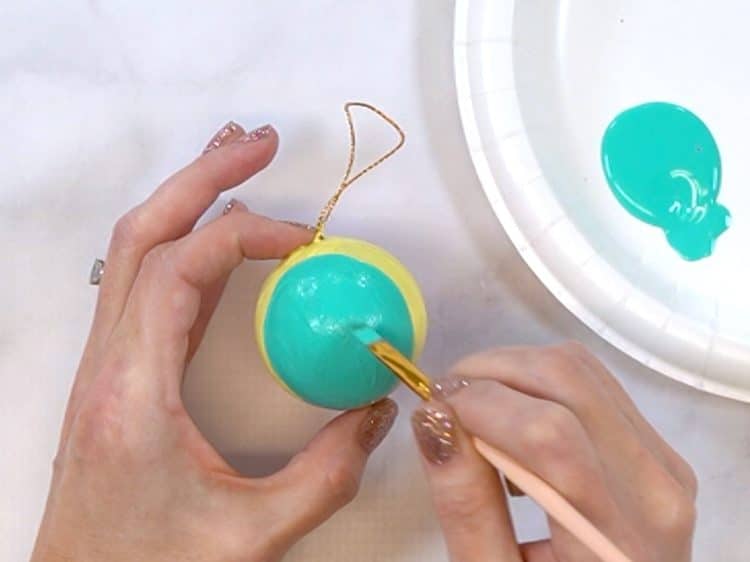
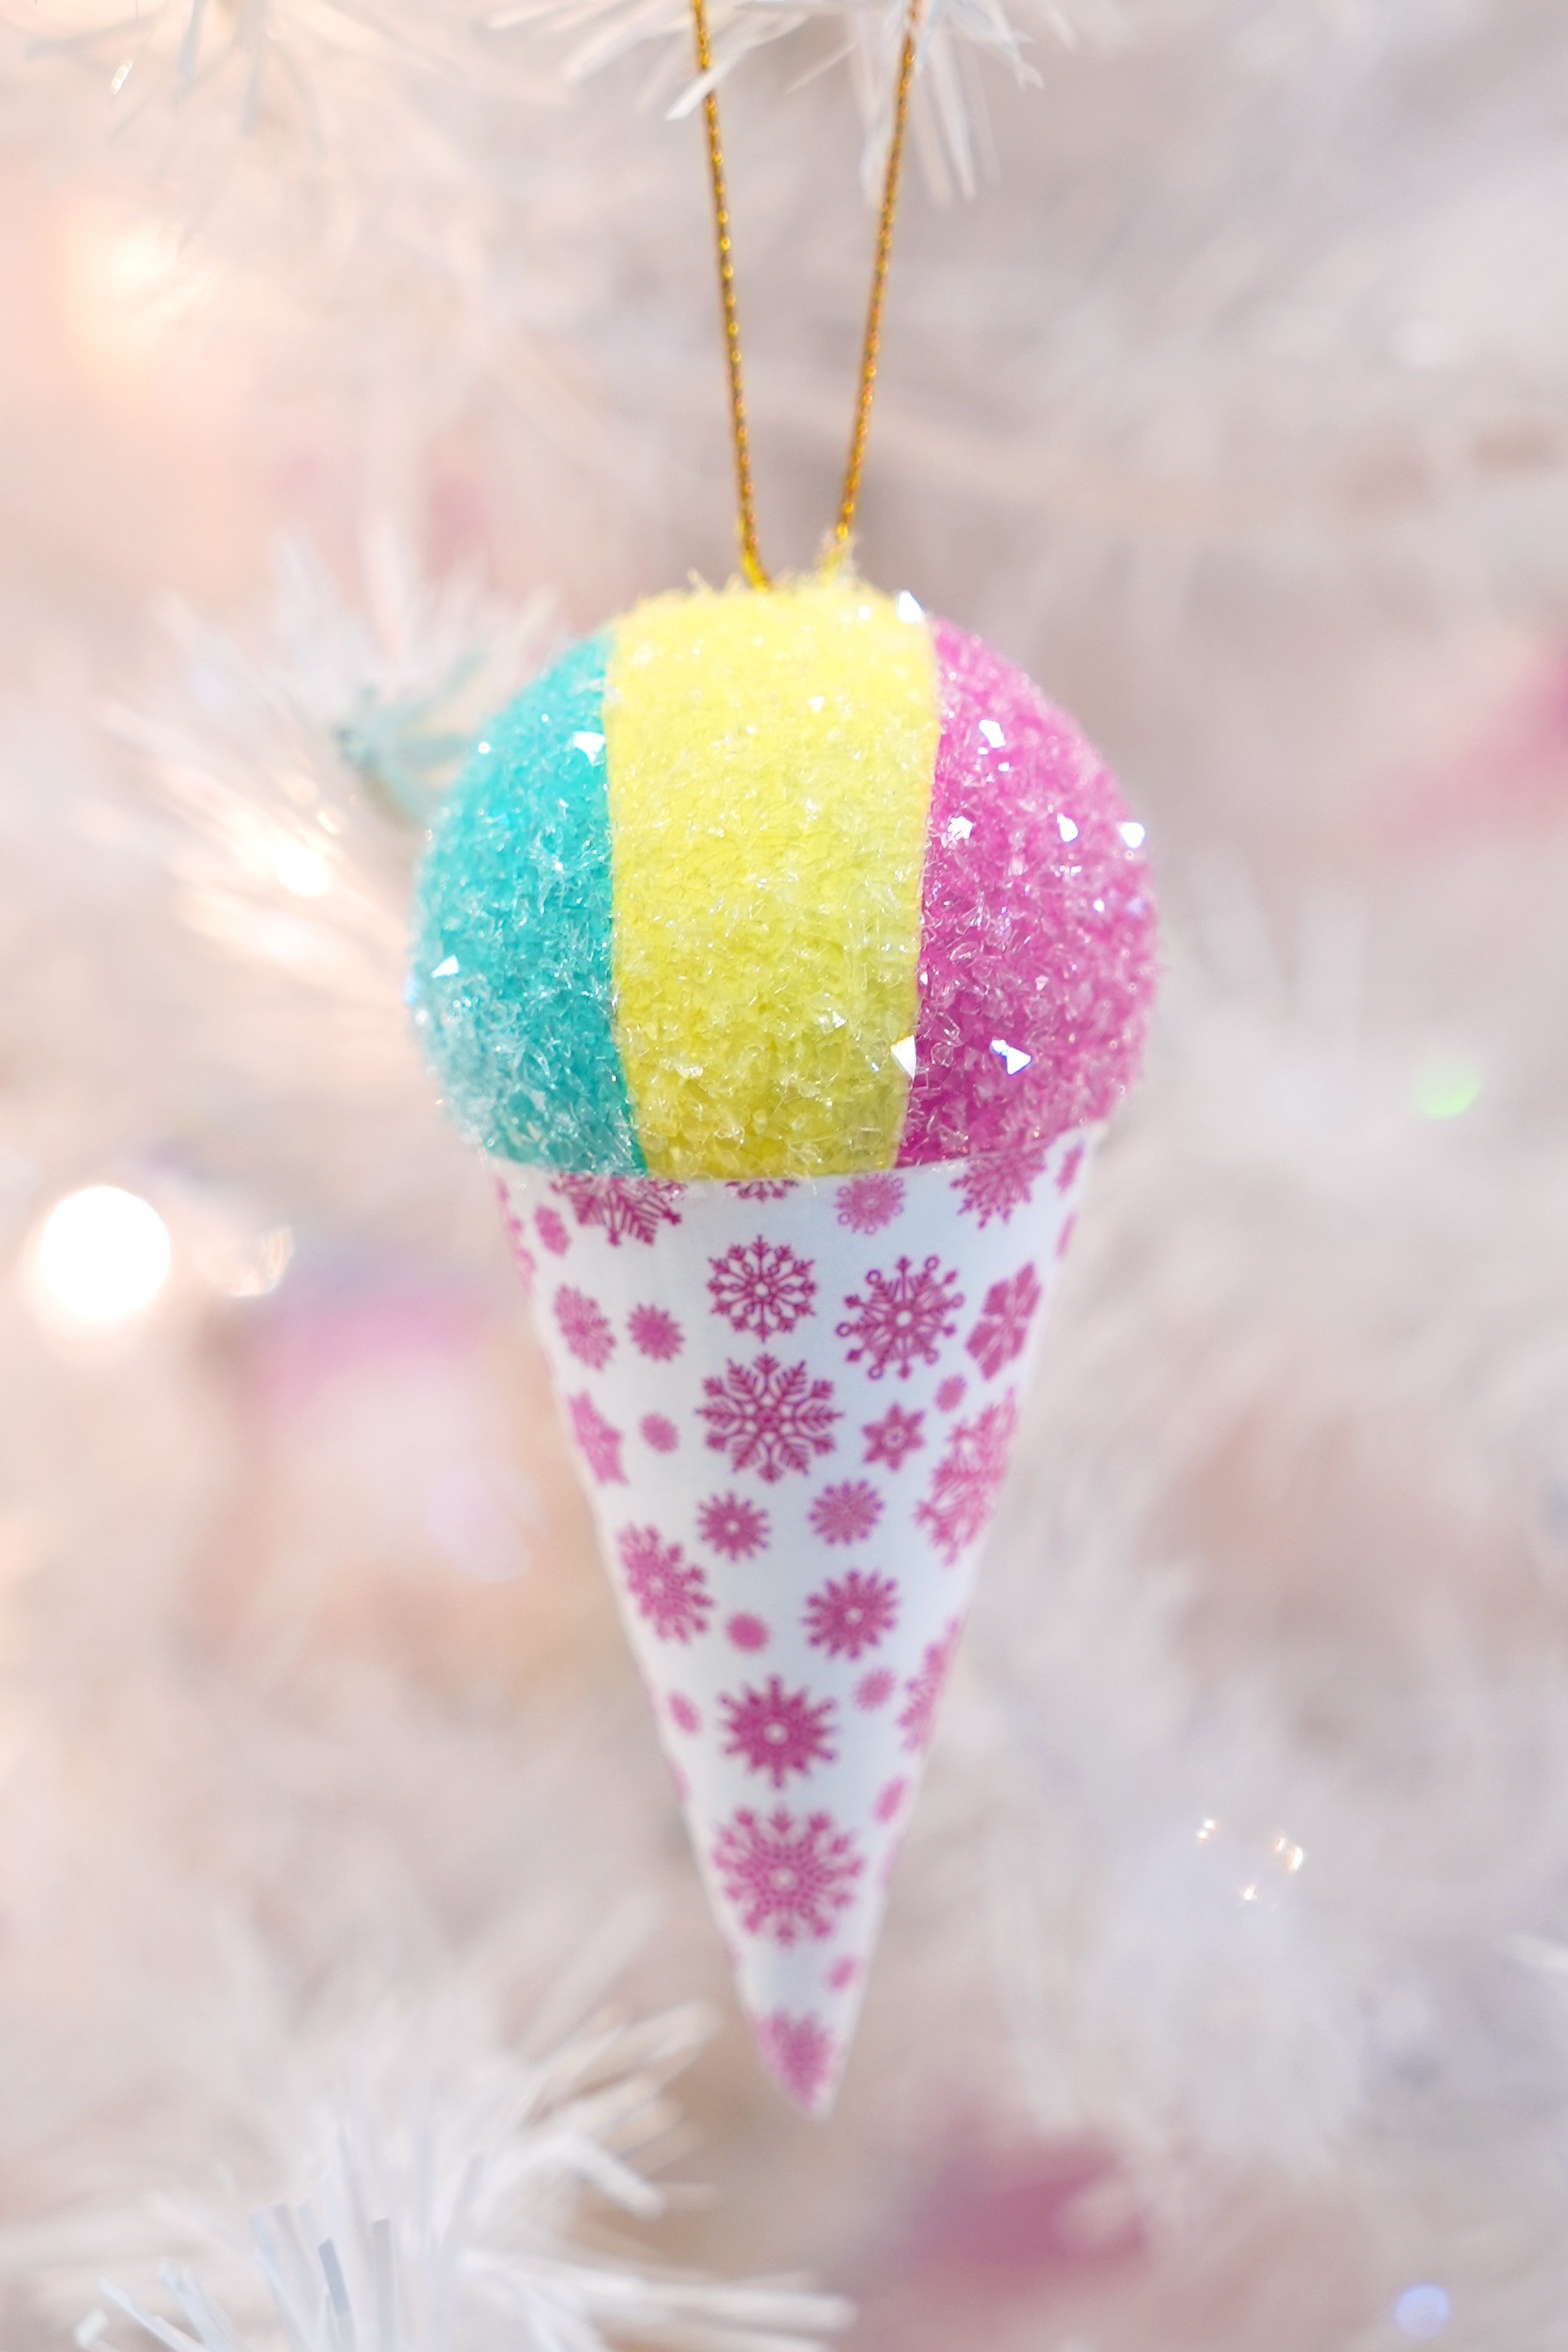
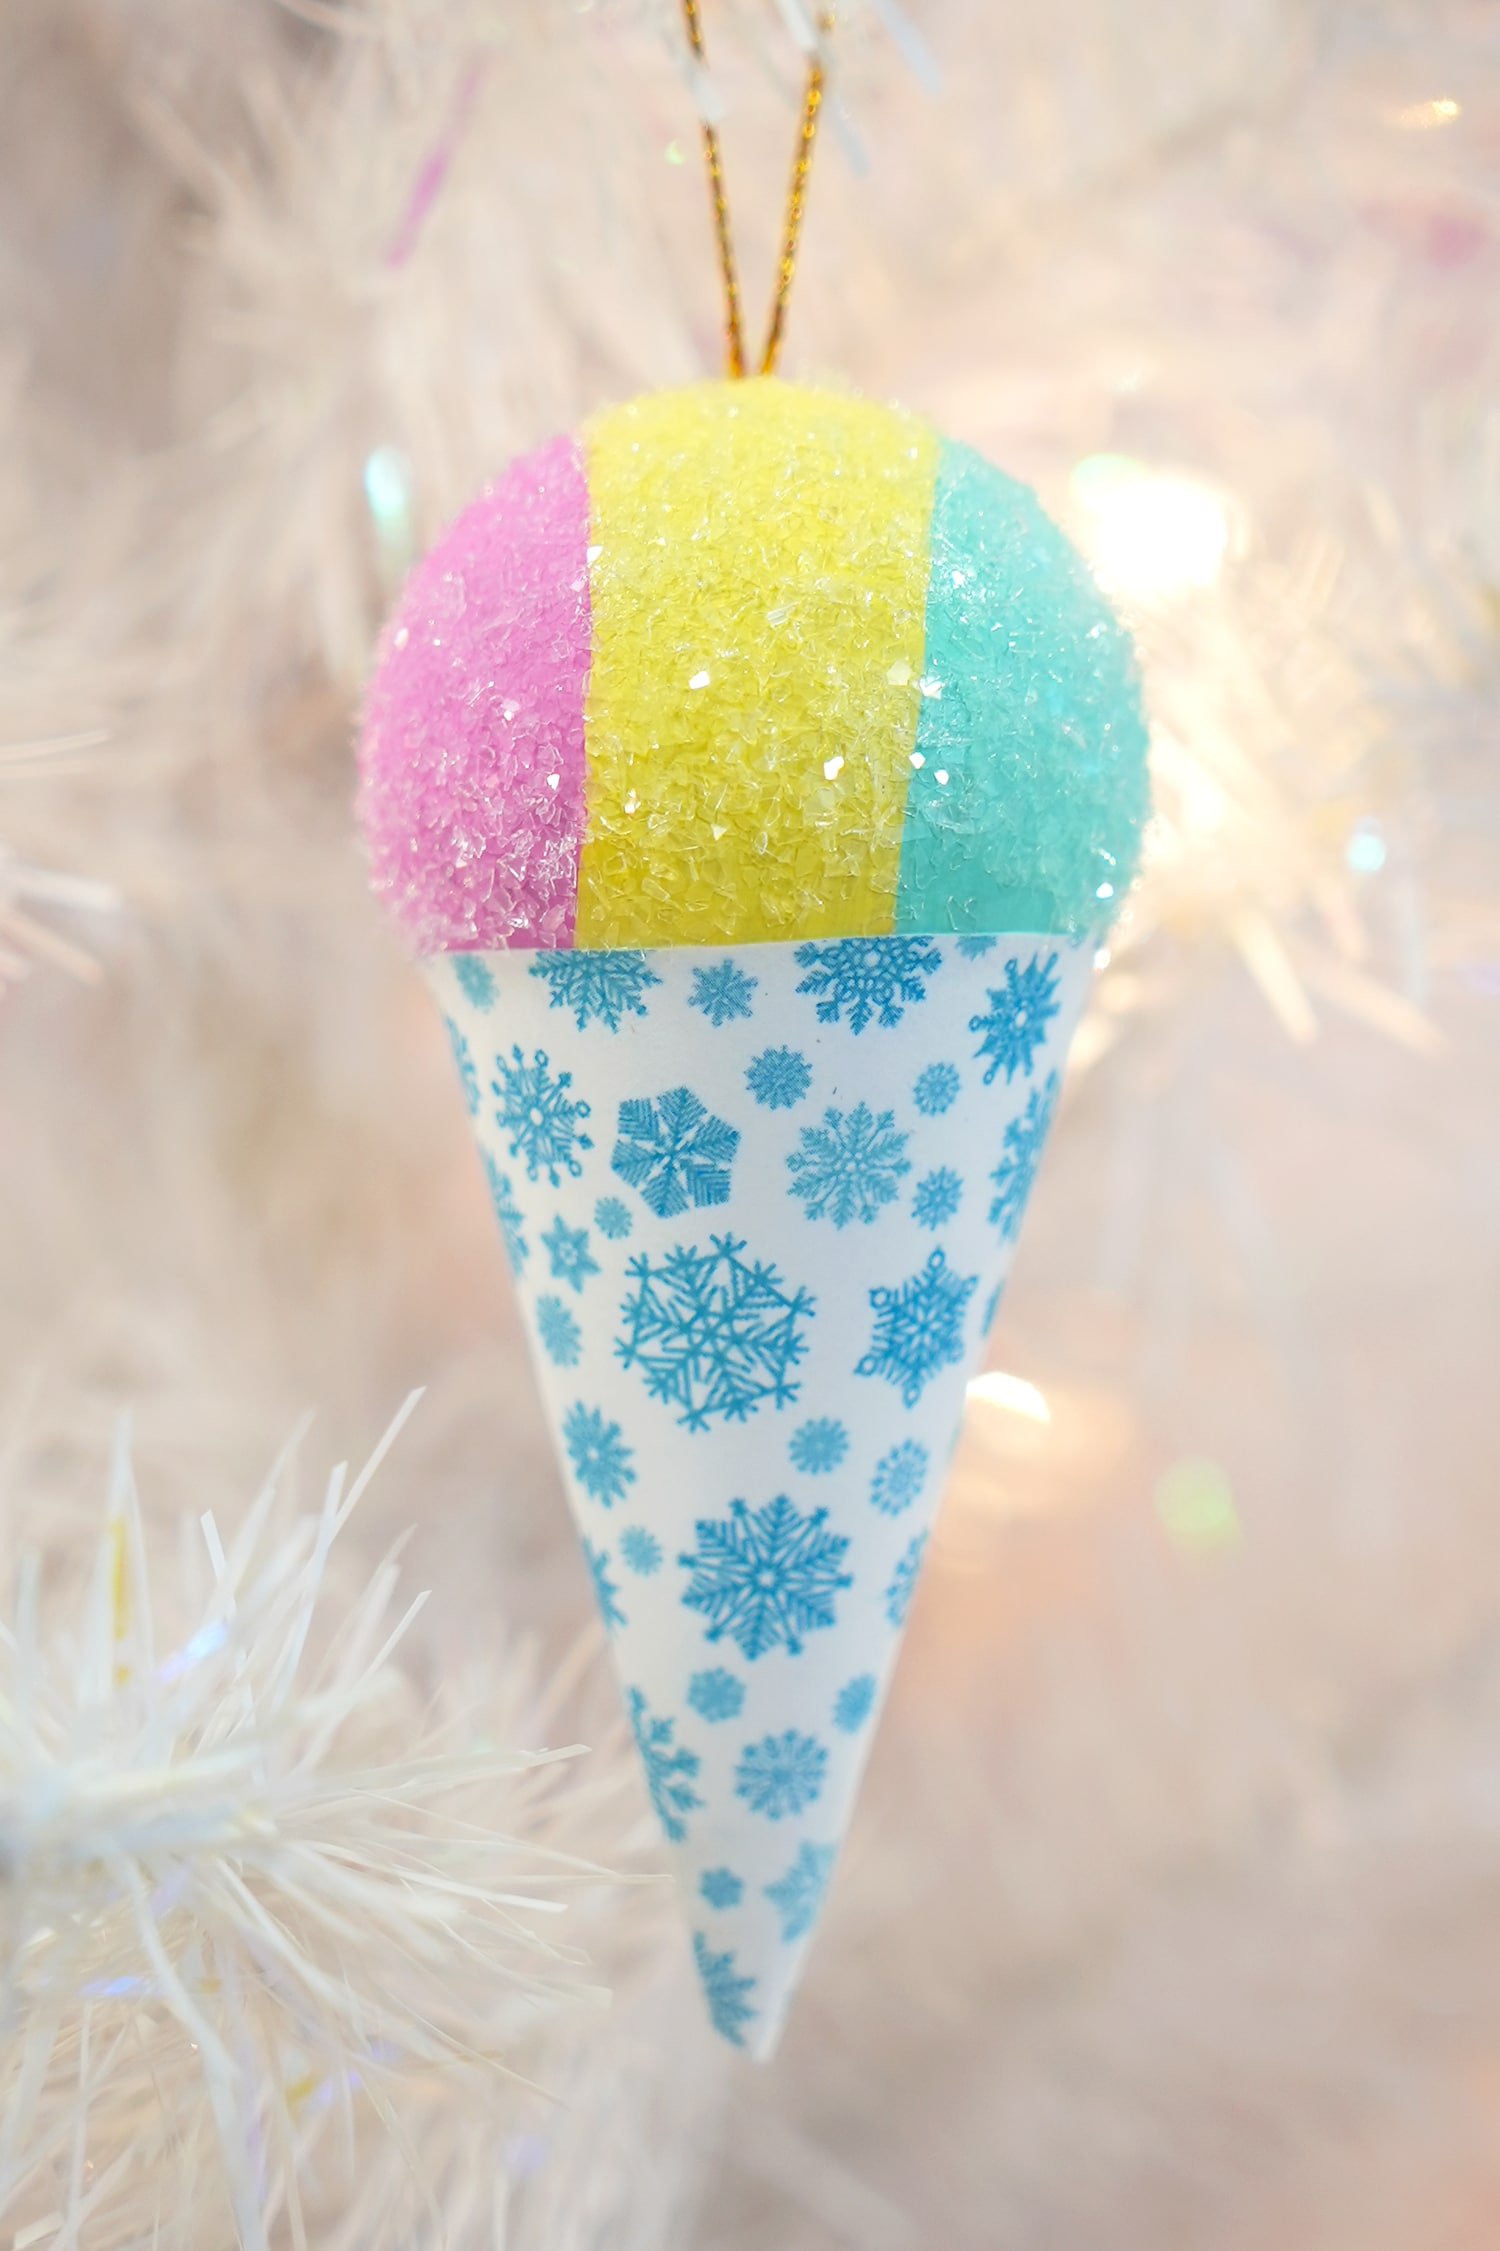
I painted mine with a classic 3-color striped look, but you can do whatever you want with yours! Once you are finished painting, allow the ornament to dry completely.
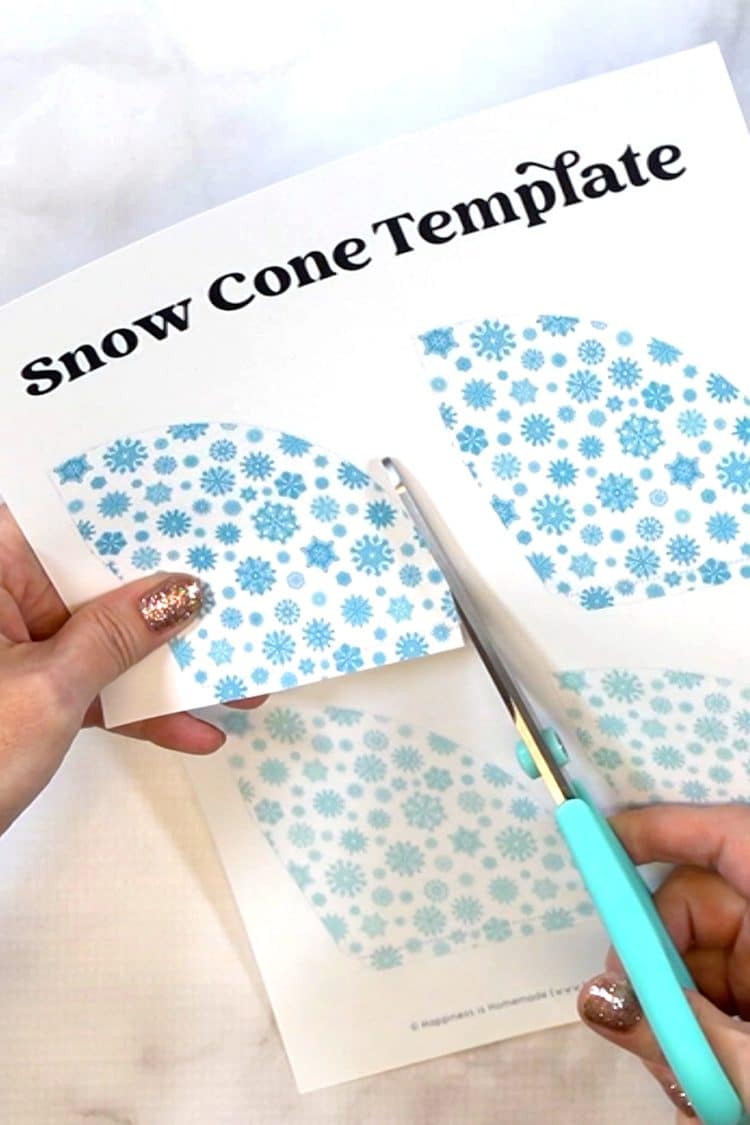
Print the snow cone template in your choice of colors, and cut it out.
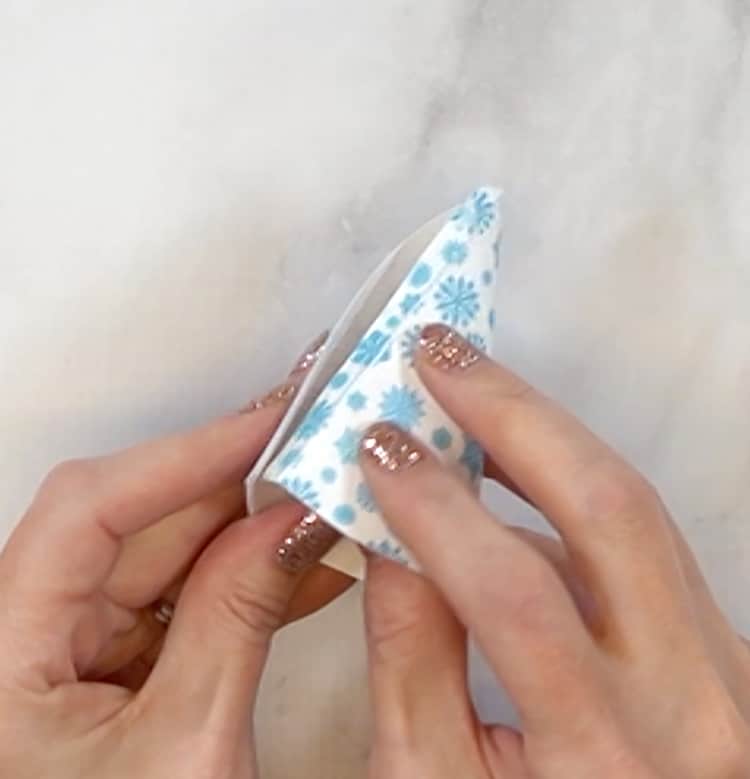
Roll the paper template into a cone shape, securing the edges with glue.

Next, attach the paper cone to the painted ornament. You could do this several different ways, but I find that this method works best for me: make a circle of glue on a paper plate, about the same size as the circumference of the top of the cone.
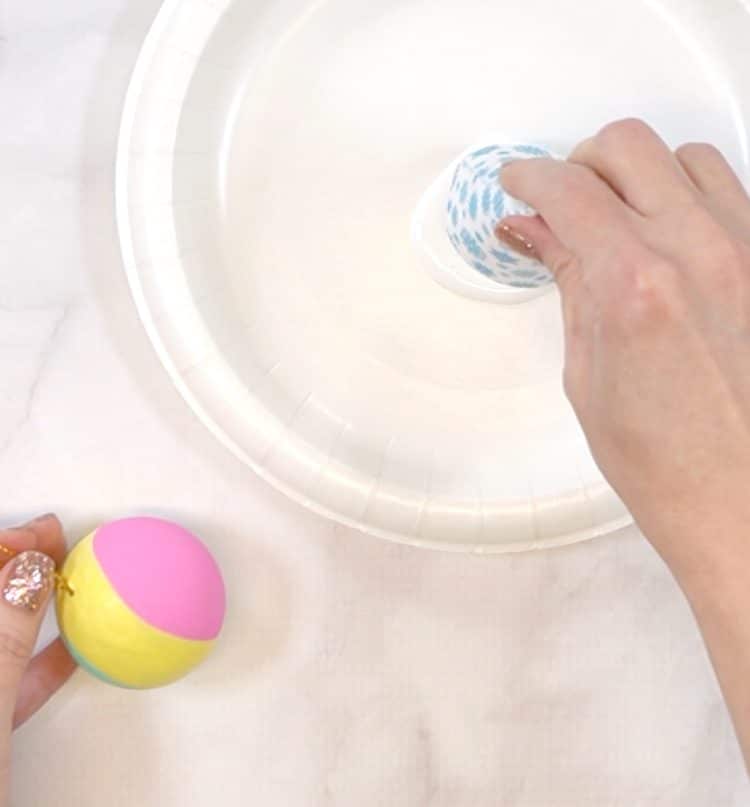
Dip the top of the cone into the glue, making sure that there is a small amount of glue on the entire rim.
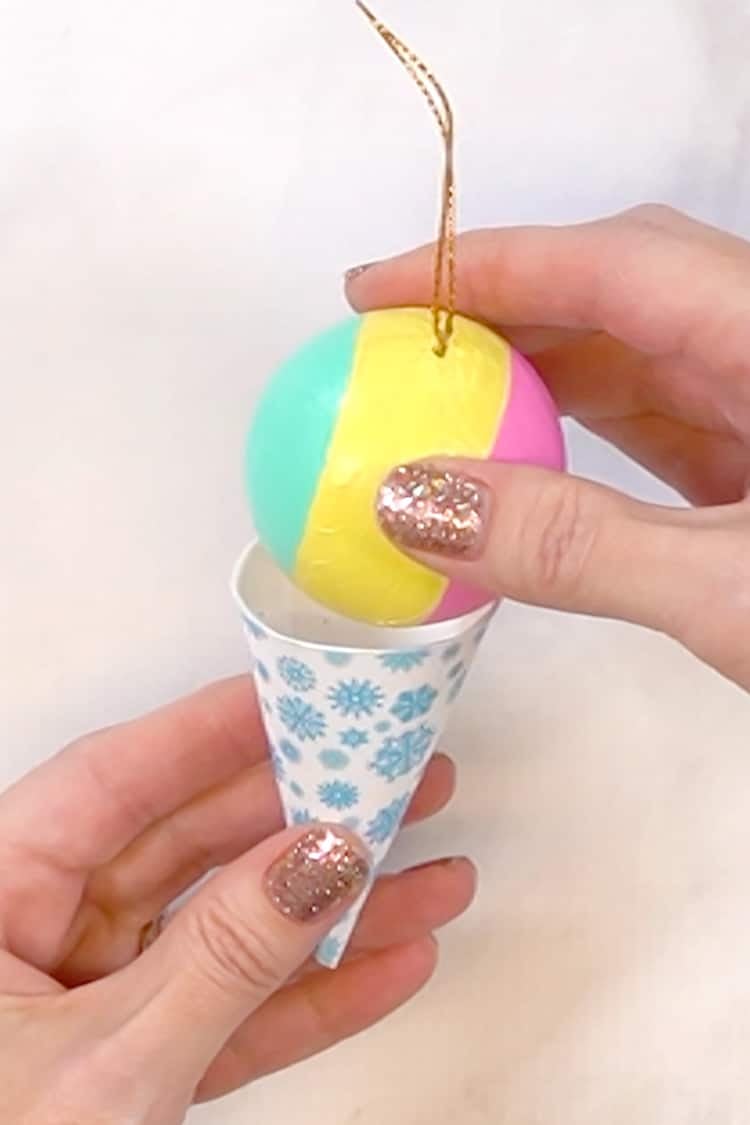
Place the painted ornament on top of the cone, and then use your fingers to carefully smooth away any excess glue. Allow to dry.
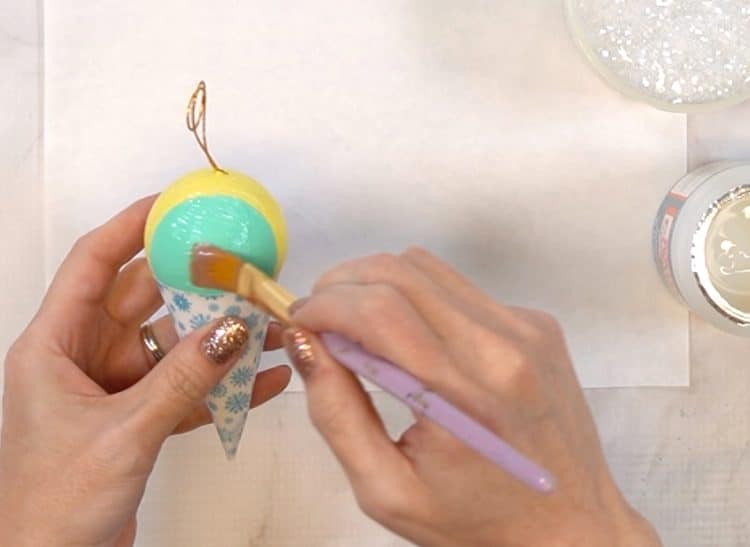
Paint the ornament with a coat of Mod Podge. I really like the Extra Thick Glossy version for this project so that it’s extra shiny and not drippy at all!
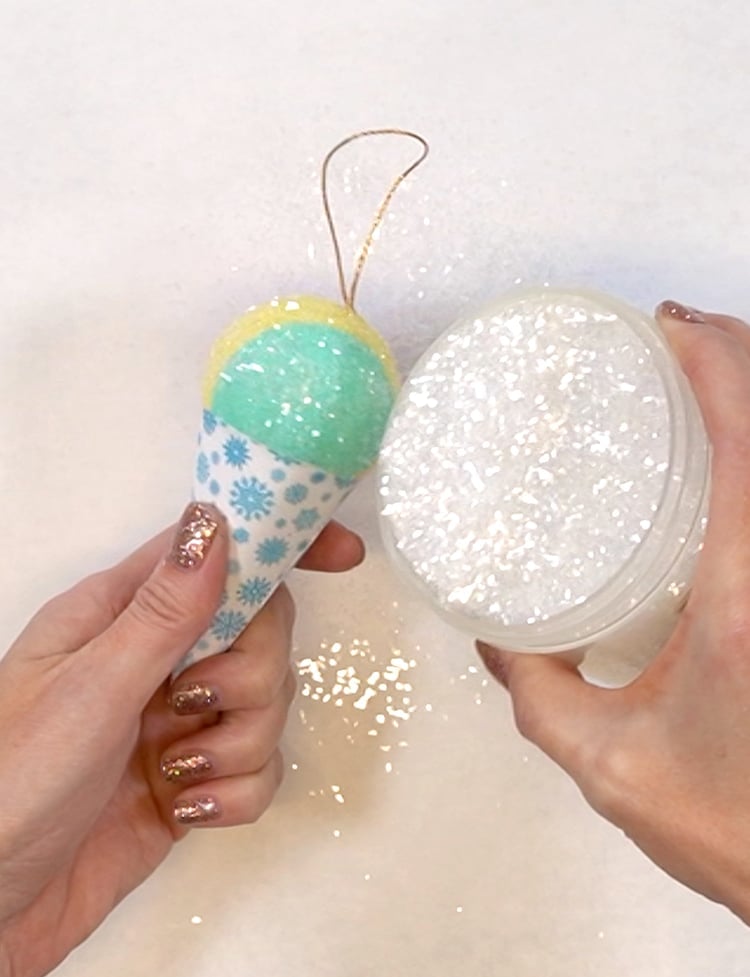
Sprinkle the Diamond Dust glitter on top of the Mod Podge and allow to dry.
Easy peasy and SUPER cute!
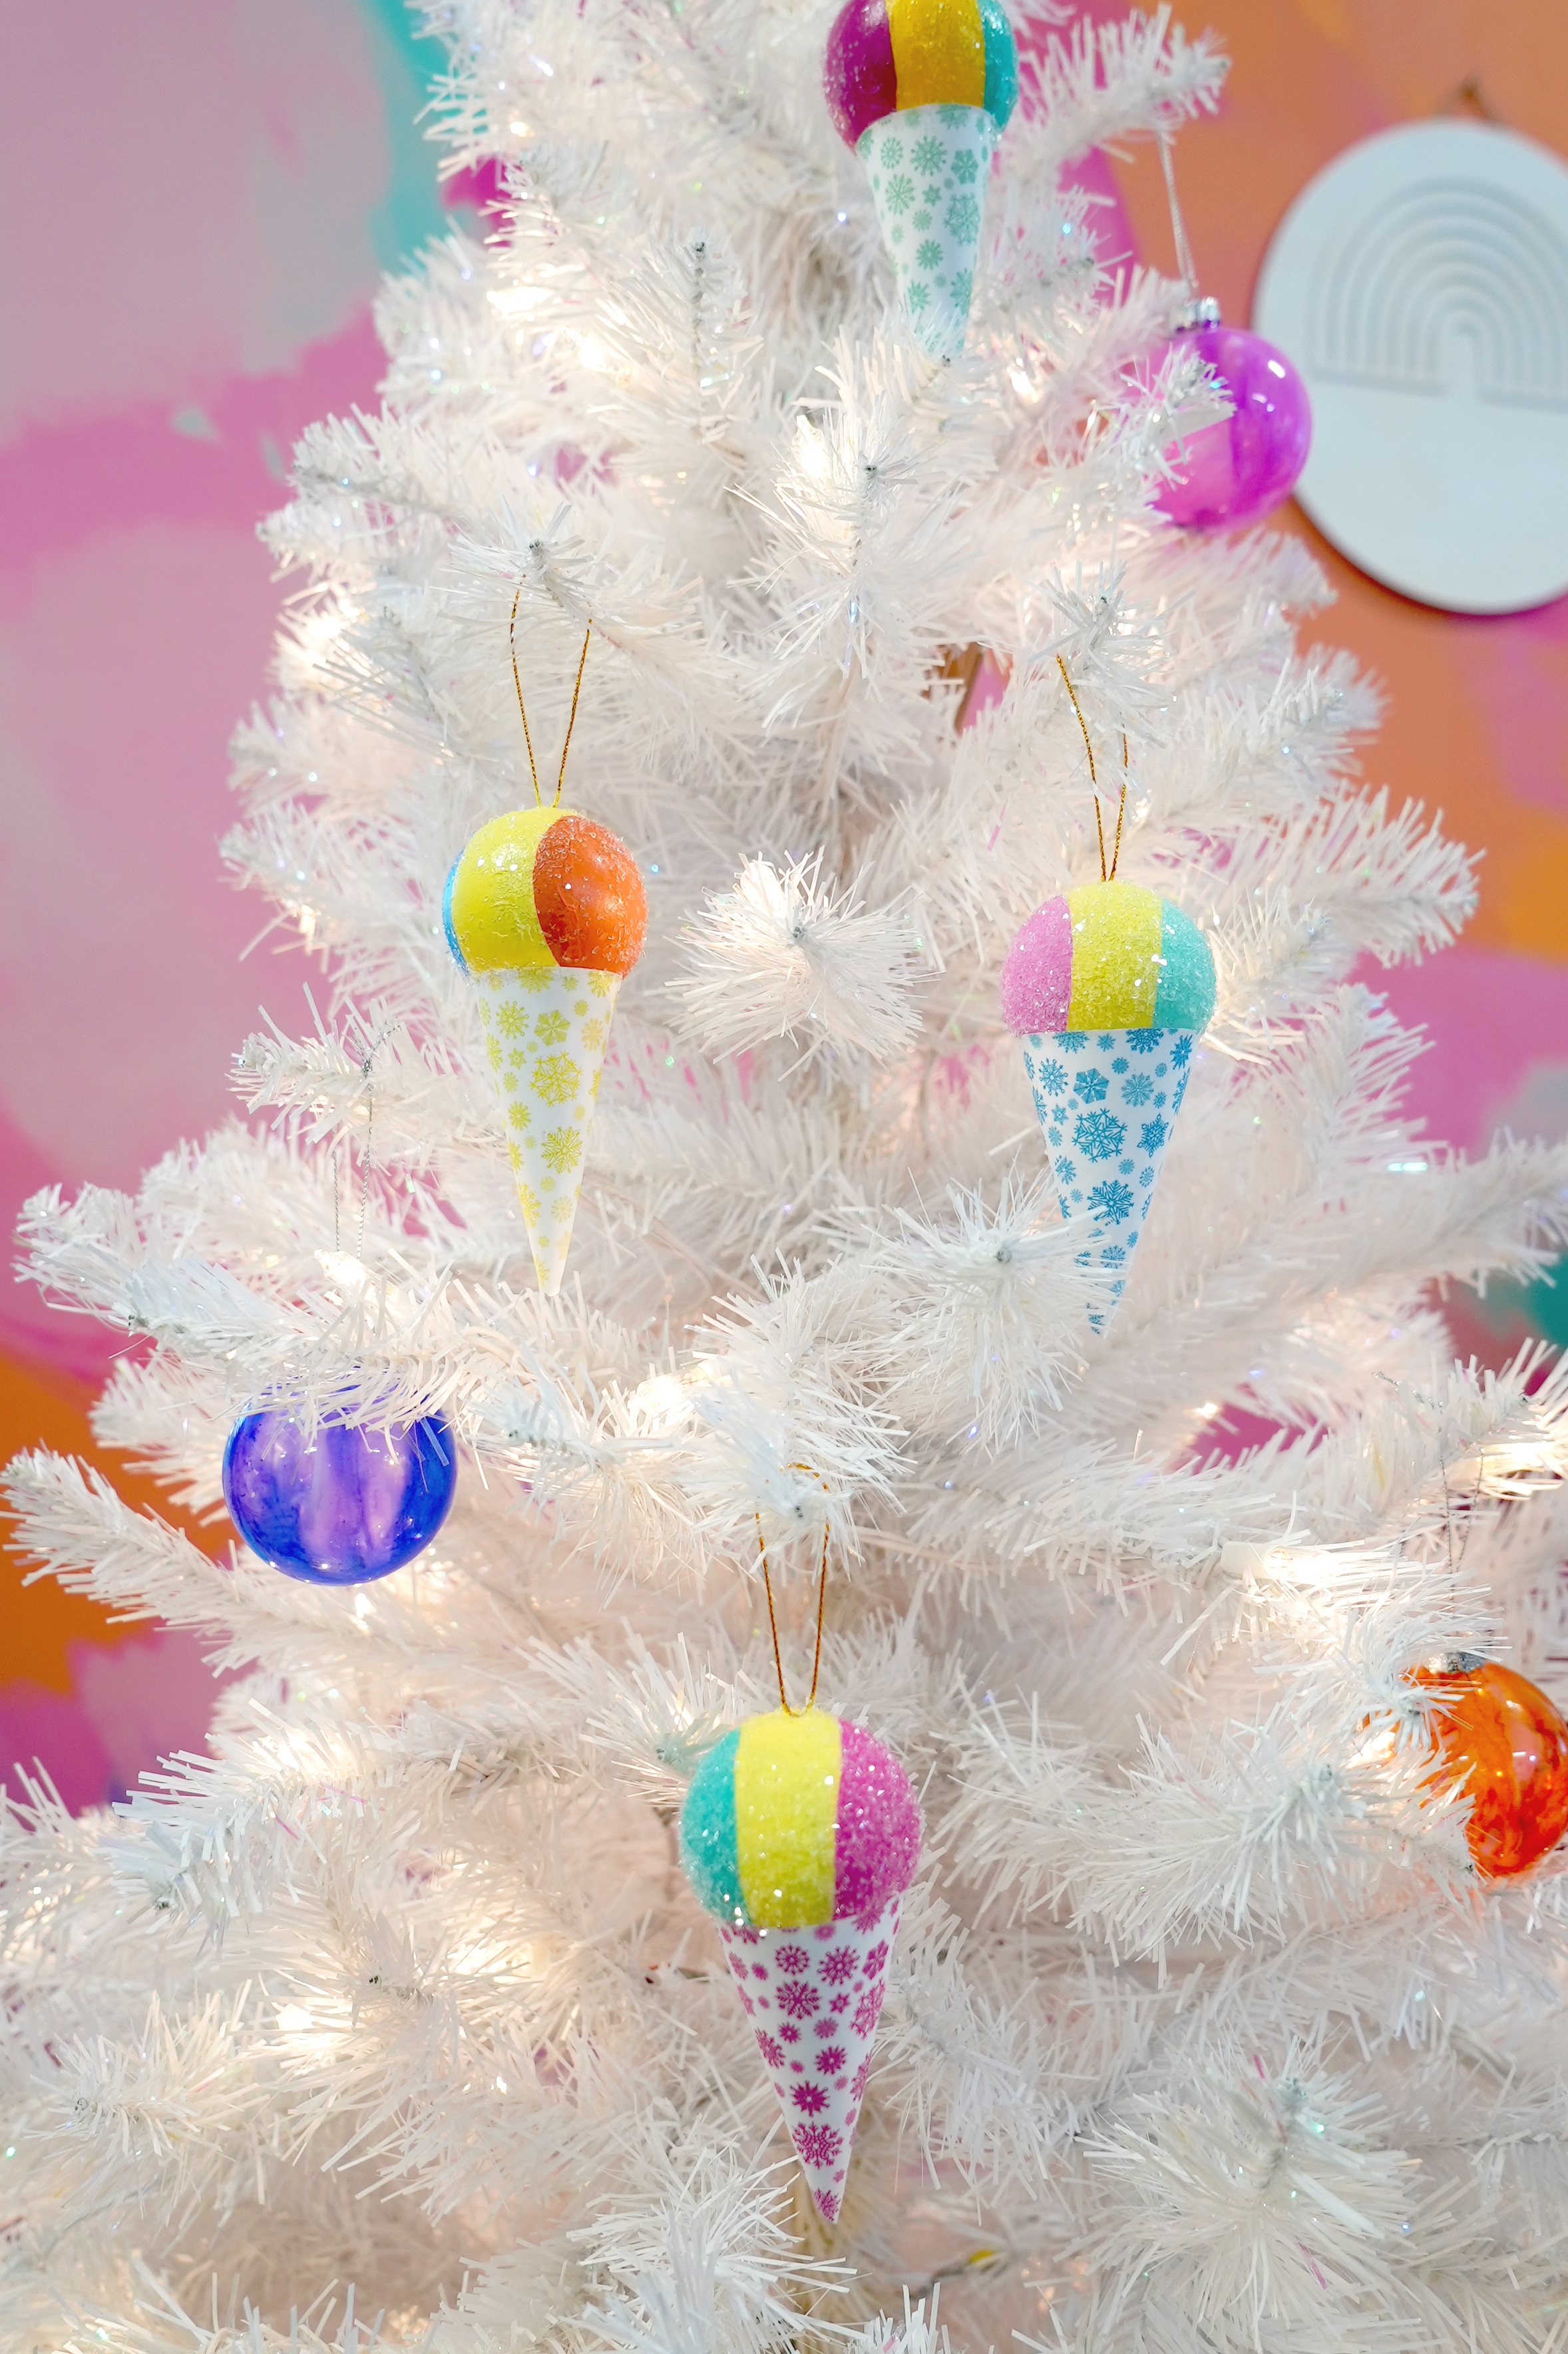
These snow cone ornaments look great on your Christmas tree, and they would also make fun gift toppers, too!
These cute and colorful snow cone ornaments are sure to bring a smile to your face and add a touch of cheer to your holiday décor. Whether you’re making them for yourself or as a gift for a friend, these ornaments are sure to be a hit. So go ahead and give them a try – and don’t forget to share your creations with us on social media! Happy crafting!
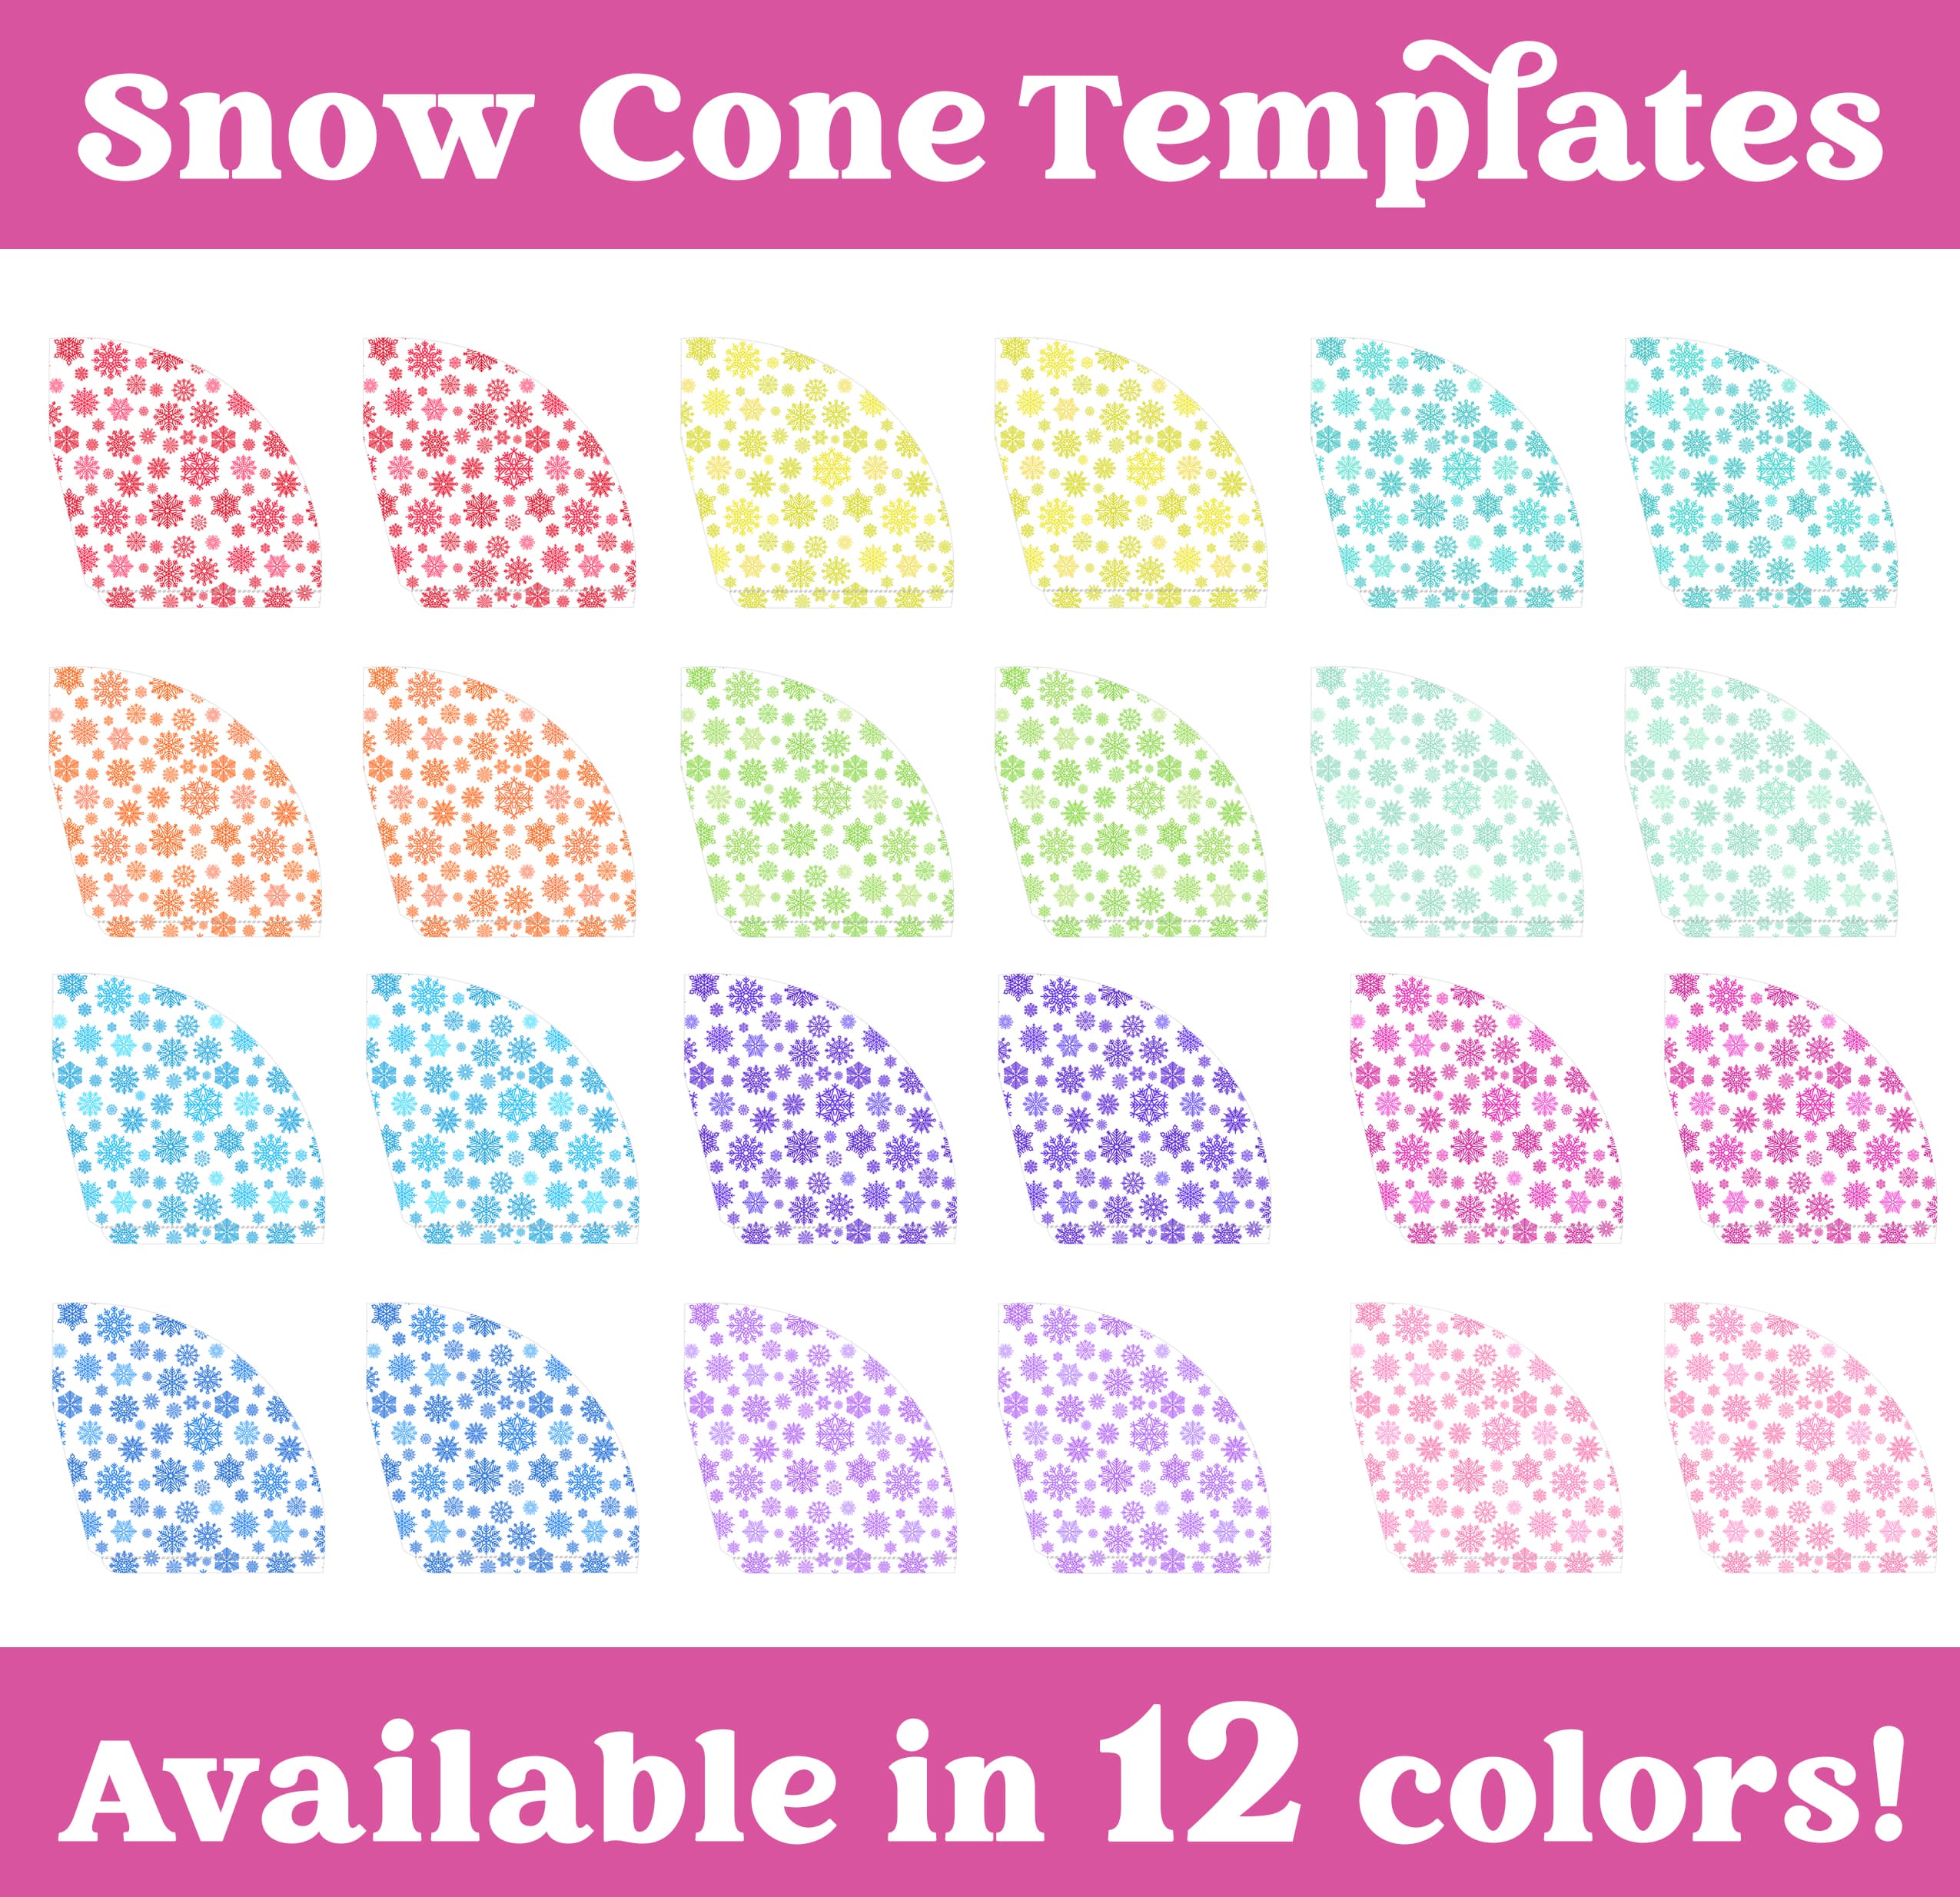
Get the Snow Cone Templates Here
This file is Printable #179 in our Freebie Library! Get the password to our Freebie Library by signing up for our Email Club in the form below! If you are already a club member with the password, hop on over to the Freebie Library to download the file now!
All free downloads from Happiness is Homemade are for PERSONAL and CLASSROOM USE ONLY. You MAY NOT share, distribute, sell, or use these files for commercial purposes, including print-on-demand. Commercial licenses for SVG and PNG Crafting Files may be purchased in the Happiness is Homemade Shop. Please read our full license terms here.
Download Trouble?
Can’t find the download form? Having trouble with the file? Check out our Digital Downloads FAQ page for answers to the most common troubleshooting questions!
Check Out These Other Fun DIY Ornament Ideas!
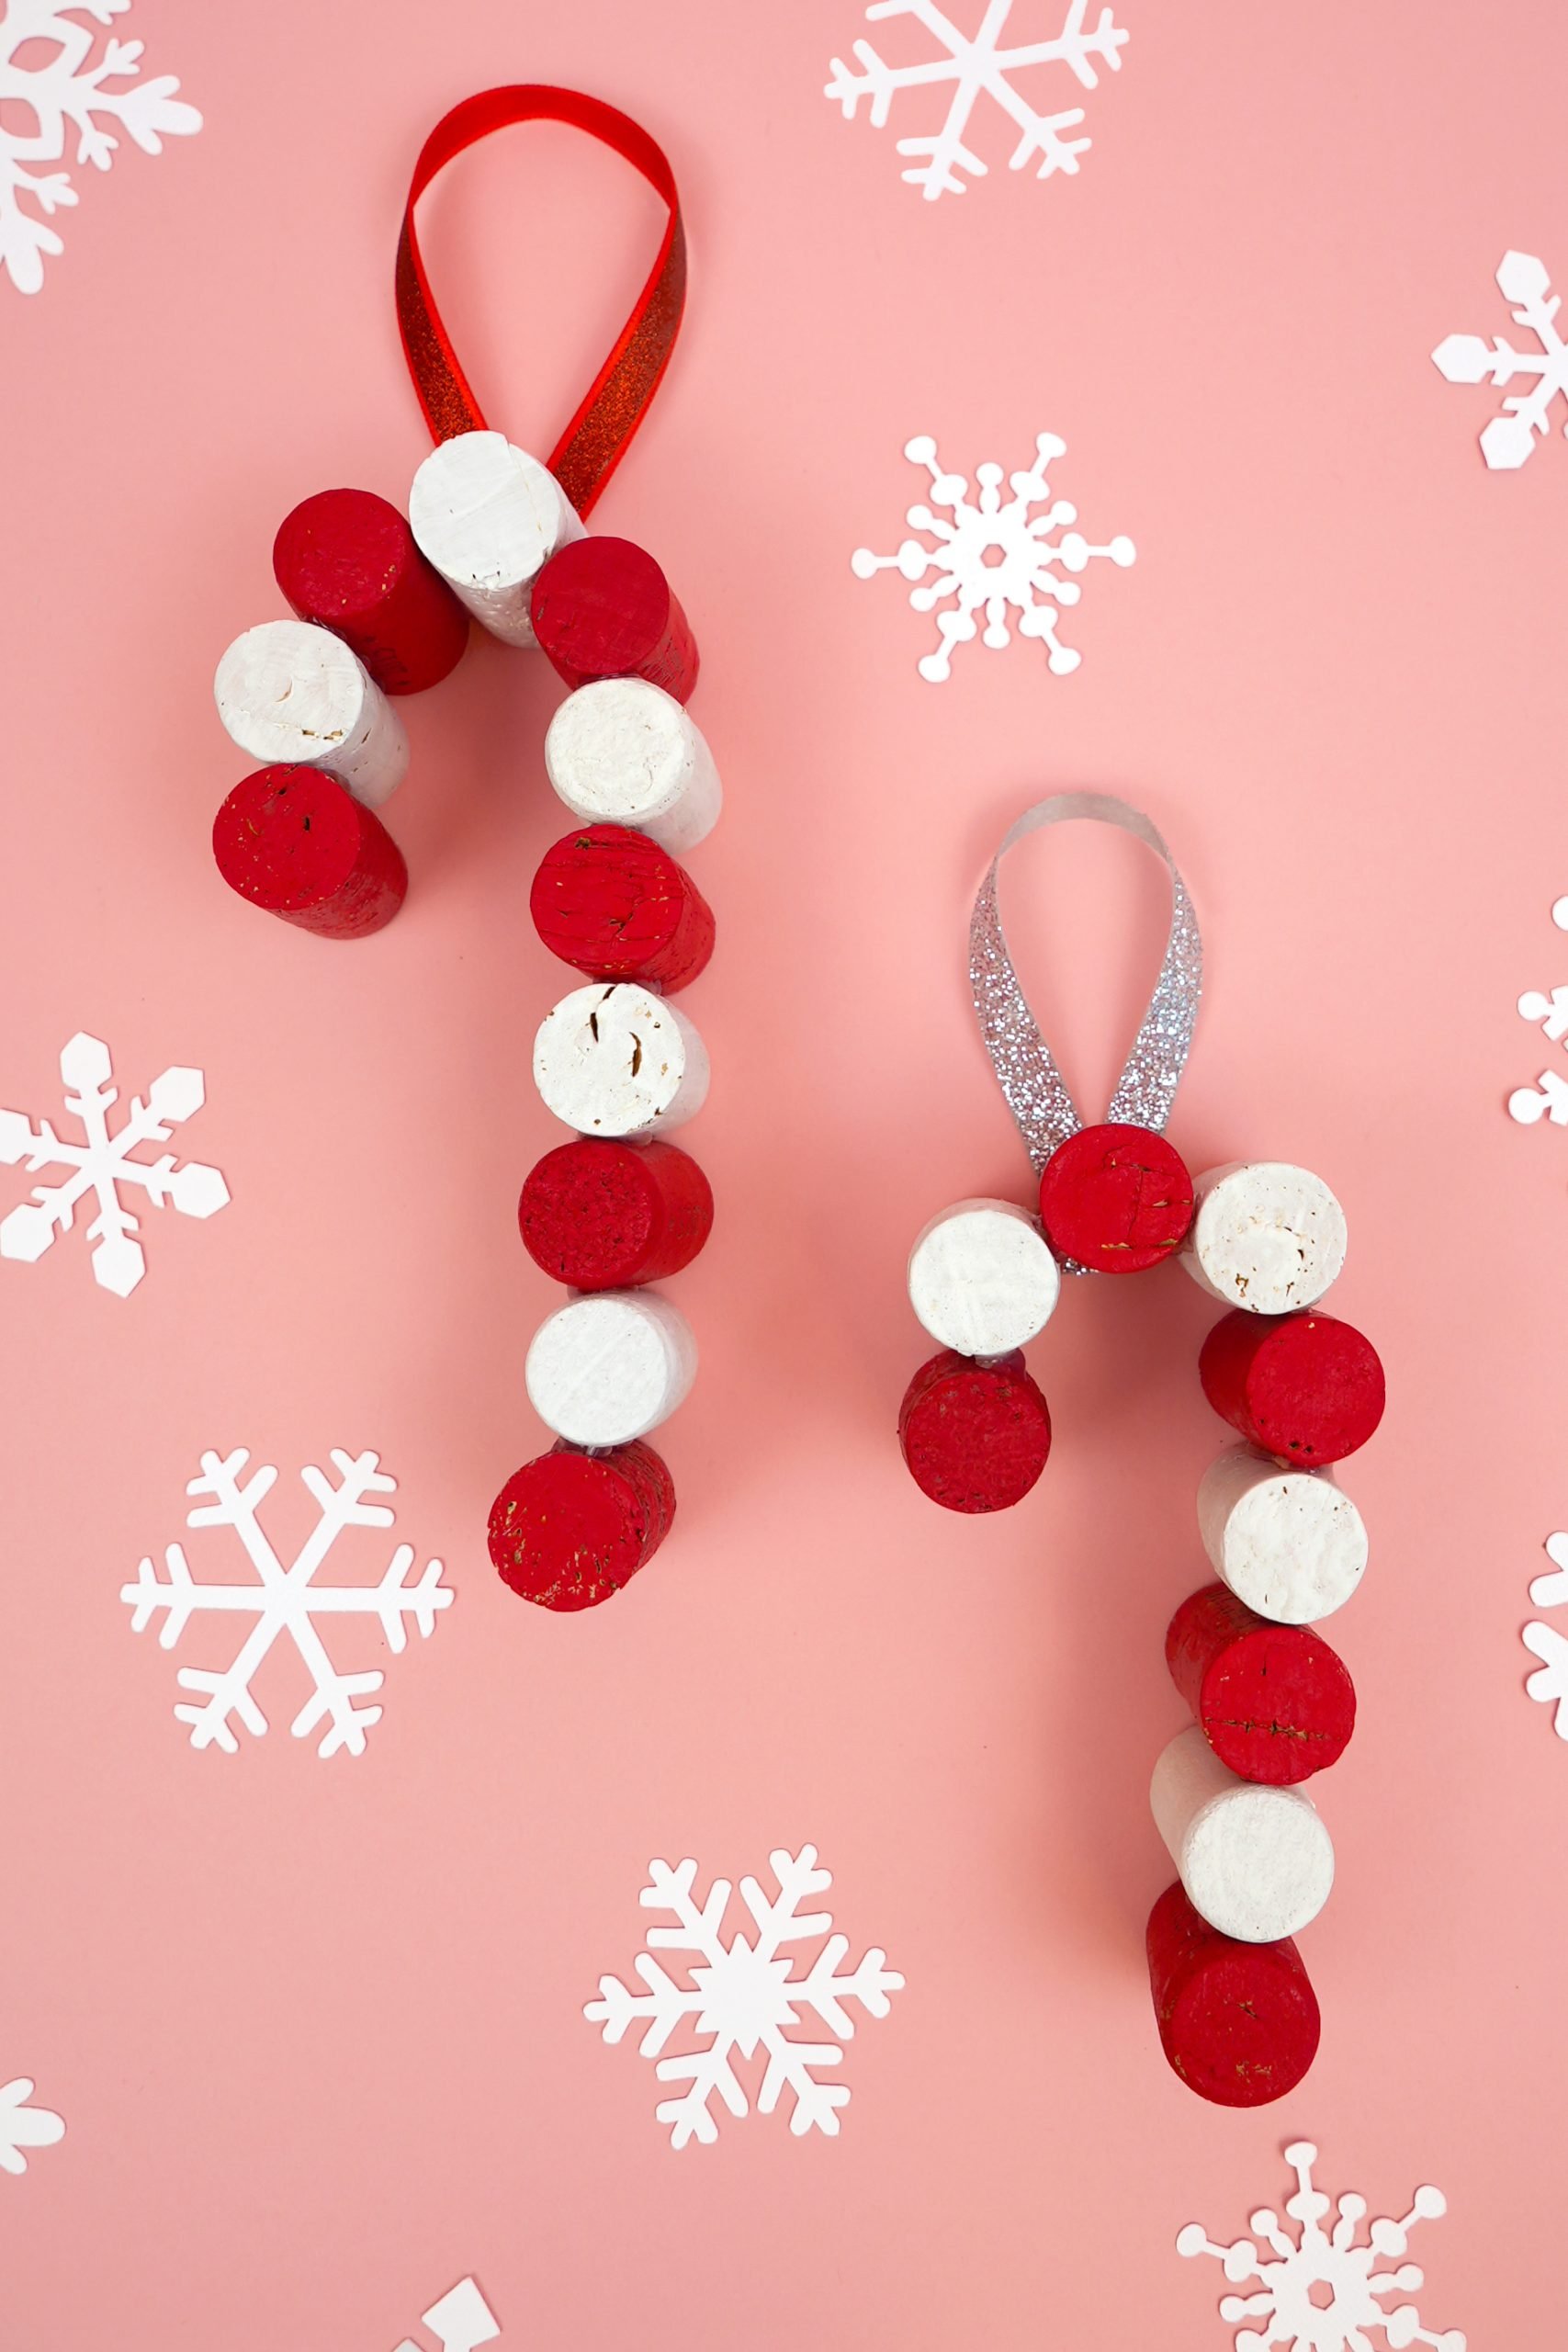
 Wine Cork Candy Cane Ornaments
 Glitter Ornaments: Easy Christmas Craft
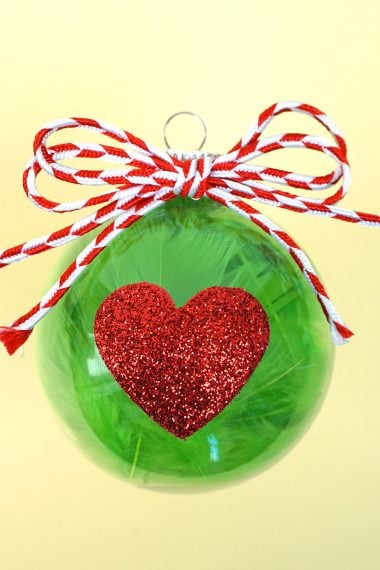
- Christmas Kids Craft: Grinch Ornaments
- DIY Snow Cone Ornaments
- The Best Glue for Glitter Christmas Ornaments
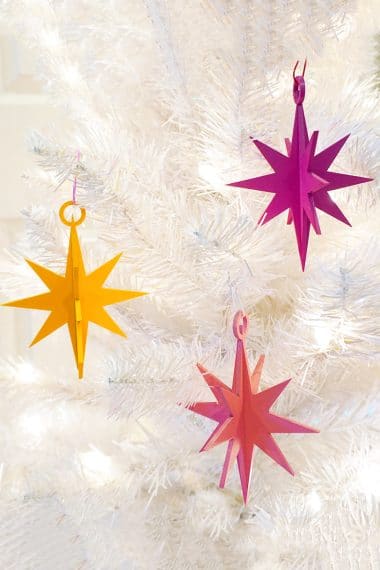
- 3D Stars + Christmas Ornament SVG Files
- Personalized Christmas Ornaments with Cricut Infusible Ink
- DIY Christmas Ornaments – Easy Group Craft!


Don’t Forget to Pin These Snow Cone Ornaments for Later!


Heidi Kundin has captivated the hearts of millions with her colorful and inspiring approach to crafting, celebrations, and family fun. With over 15 years of experience, Happiness is Homemade has become a must-visit destination for those seeking quick and easy creative ideas and last-minute solutions. Heidi’s warm personality shines through her posts, inviting readers to join her on a creative journey that’s fun, rewarding, and achievable. Heidi is also the author of Homemade Bath Bombs & More and DIY Tie-Dye.