
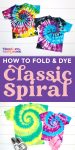


Conquer the classic Spiral Tie Dye technique with our step-by-step guide to folding and dyeing a perfect tie-dye spiral pattern. Unleash your creativity and master the timeless Spiral Pattern Tie Dye technique today!
This post may contain affiliate links. I will receive a small commission from these sales at no additional cost to you!
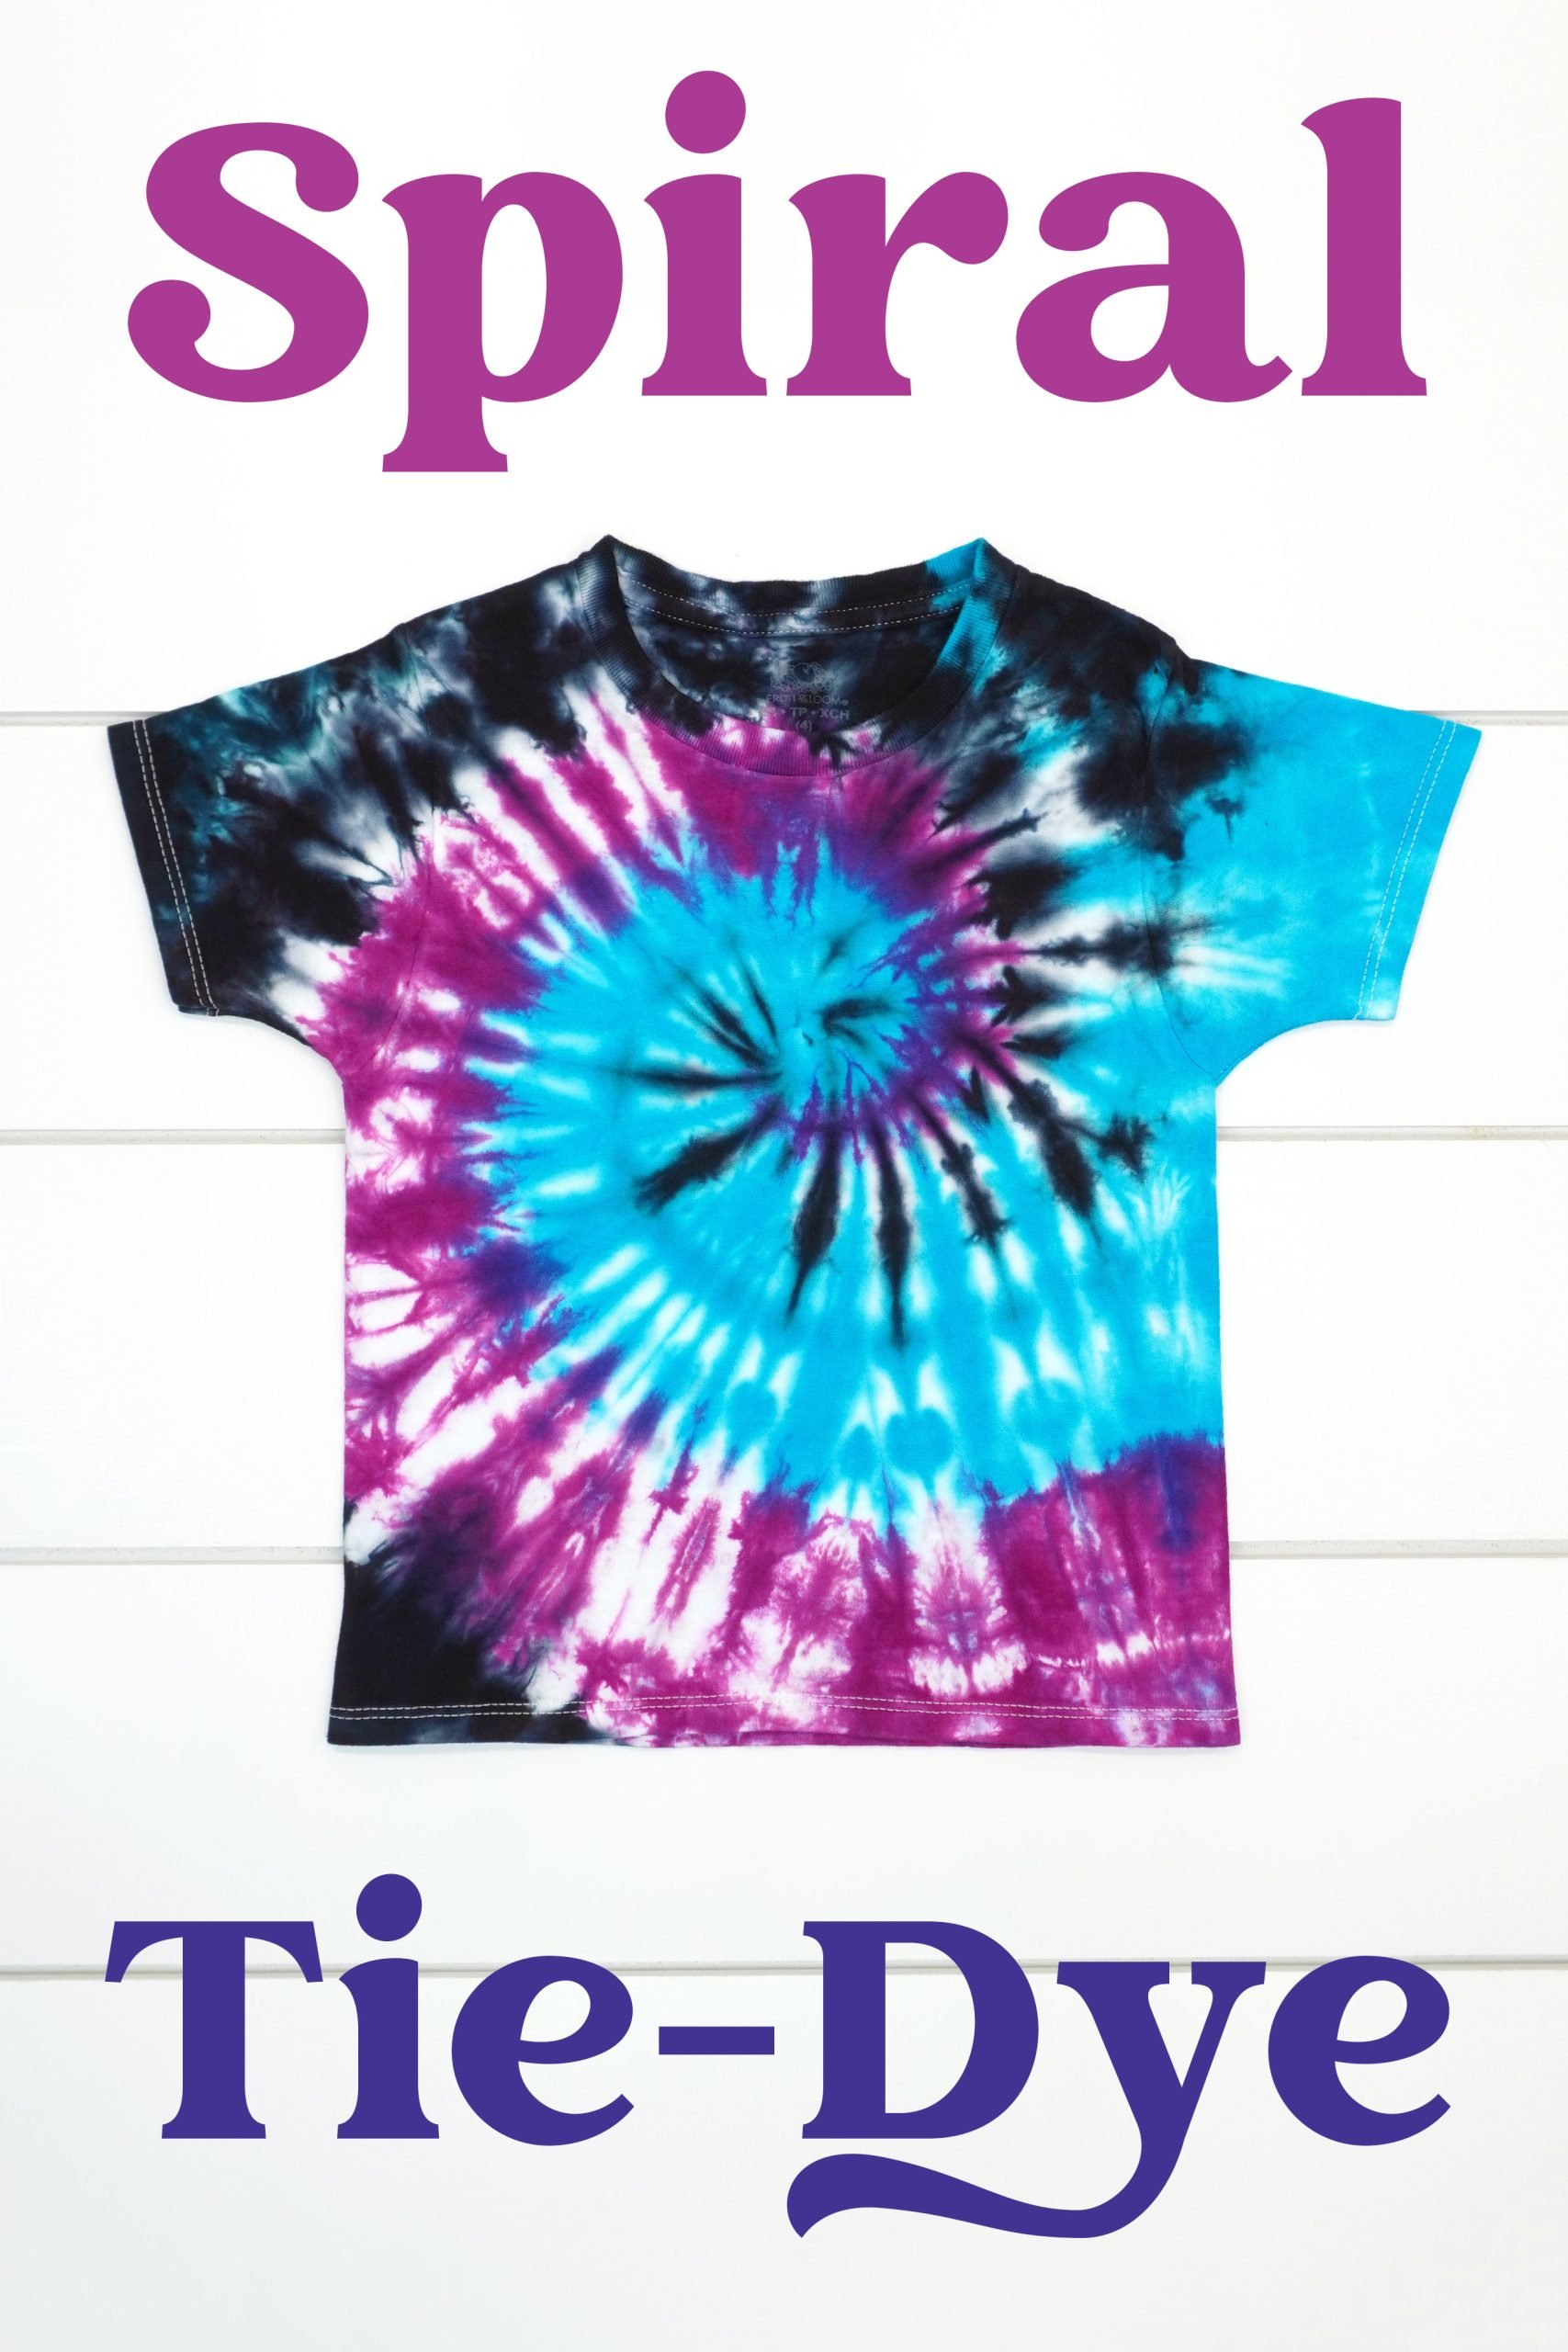
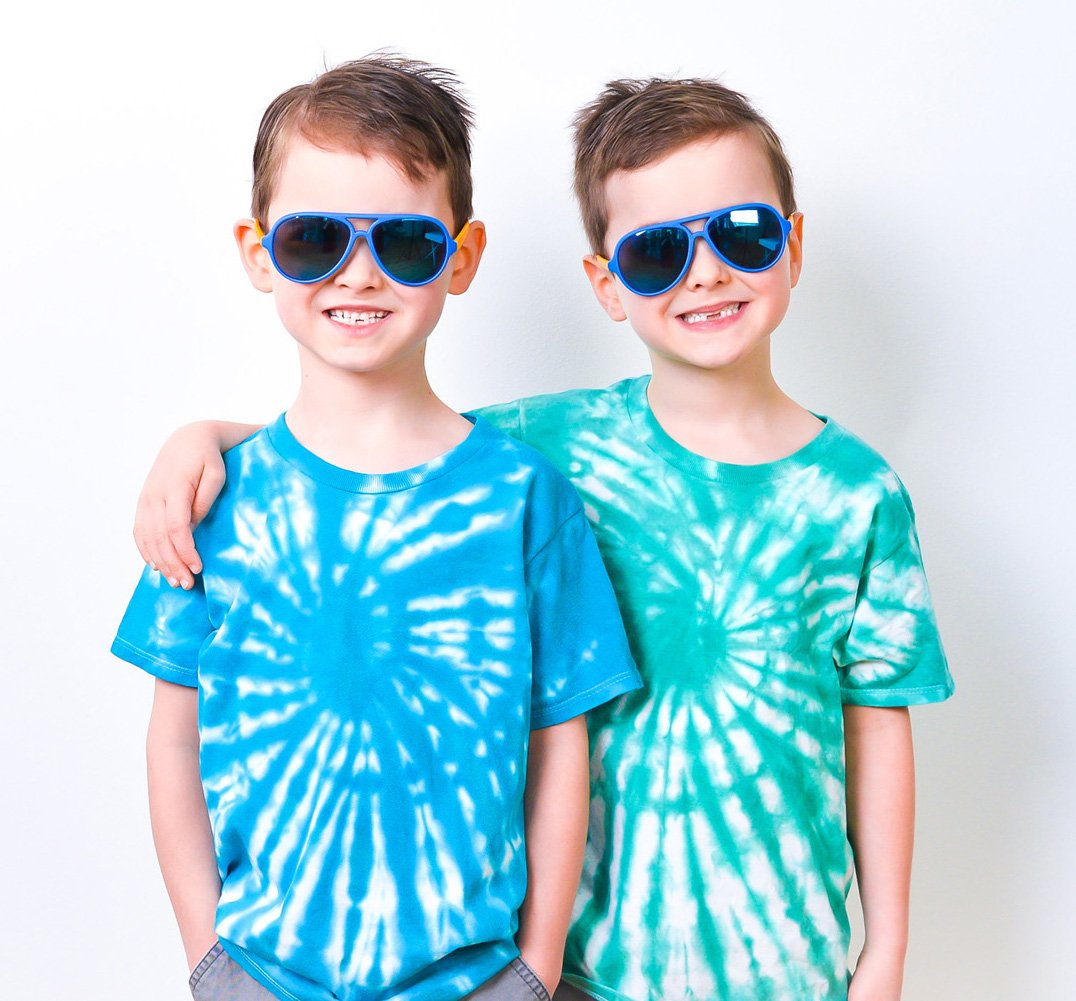
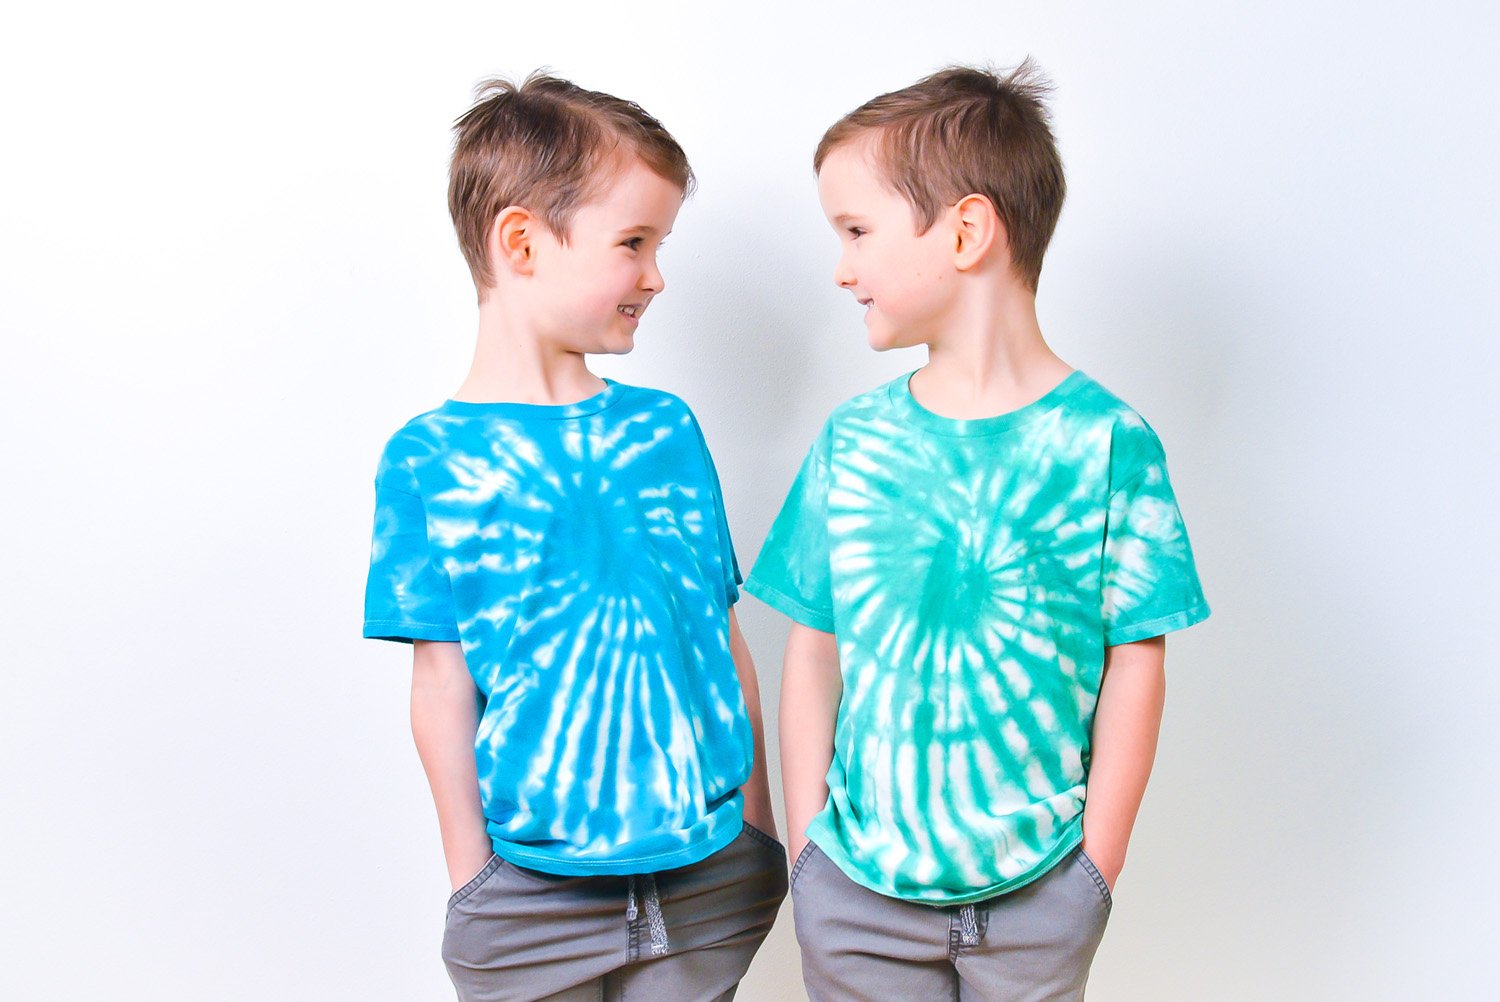
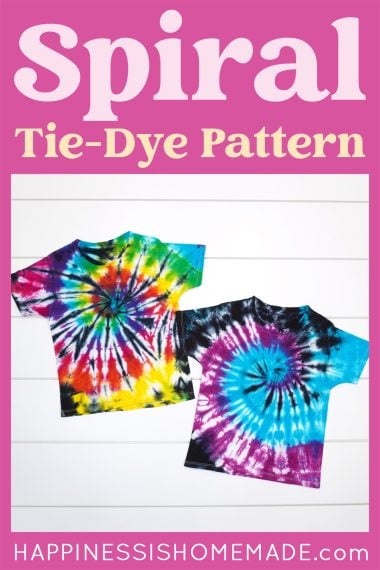
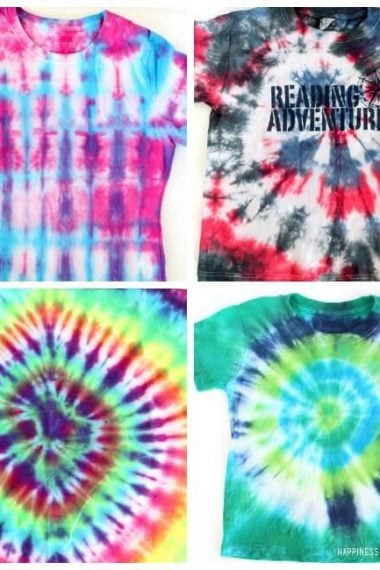
Today, I’m super excited to share one of my all-time favorite tie-dye techniques with you – the classic Spiral Tie Dye Shirt!
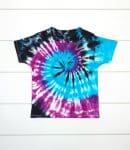
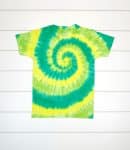
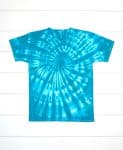
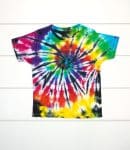
The Classic Spiral pattern is a timeless and eye-catching design that has maintained its popularity over the years, and it’s usually the first thing that comes to mind when people hear the words “tie-dye.” It’s a quintessential classic…and luckily for you, it’s also SUPER easy to create a spiral tie-dye pattern!
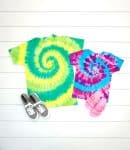
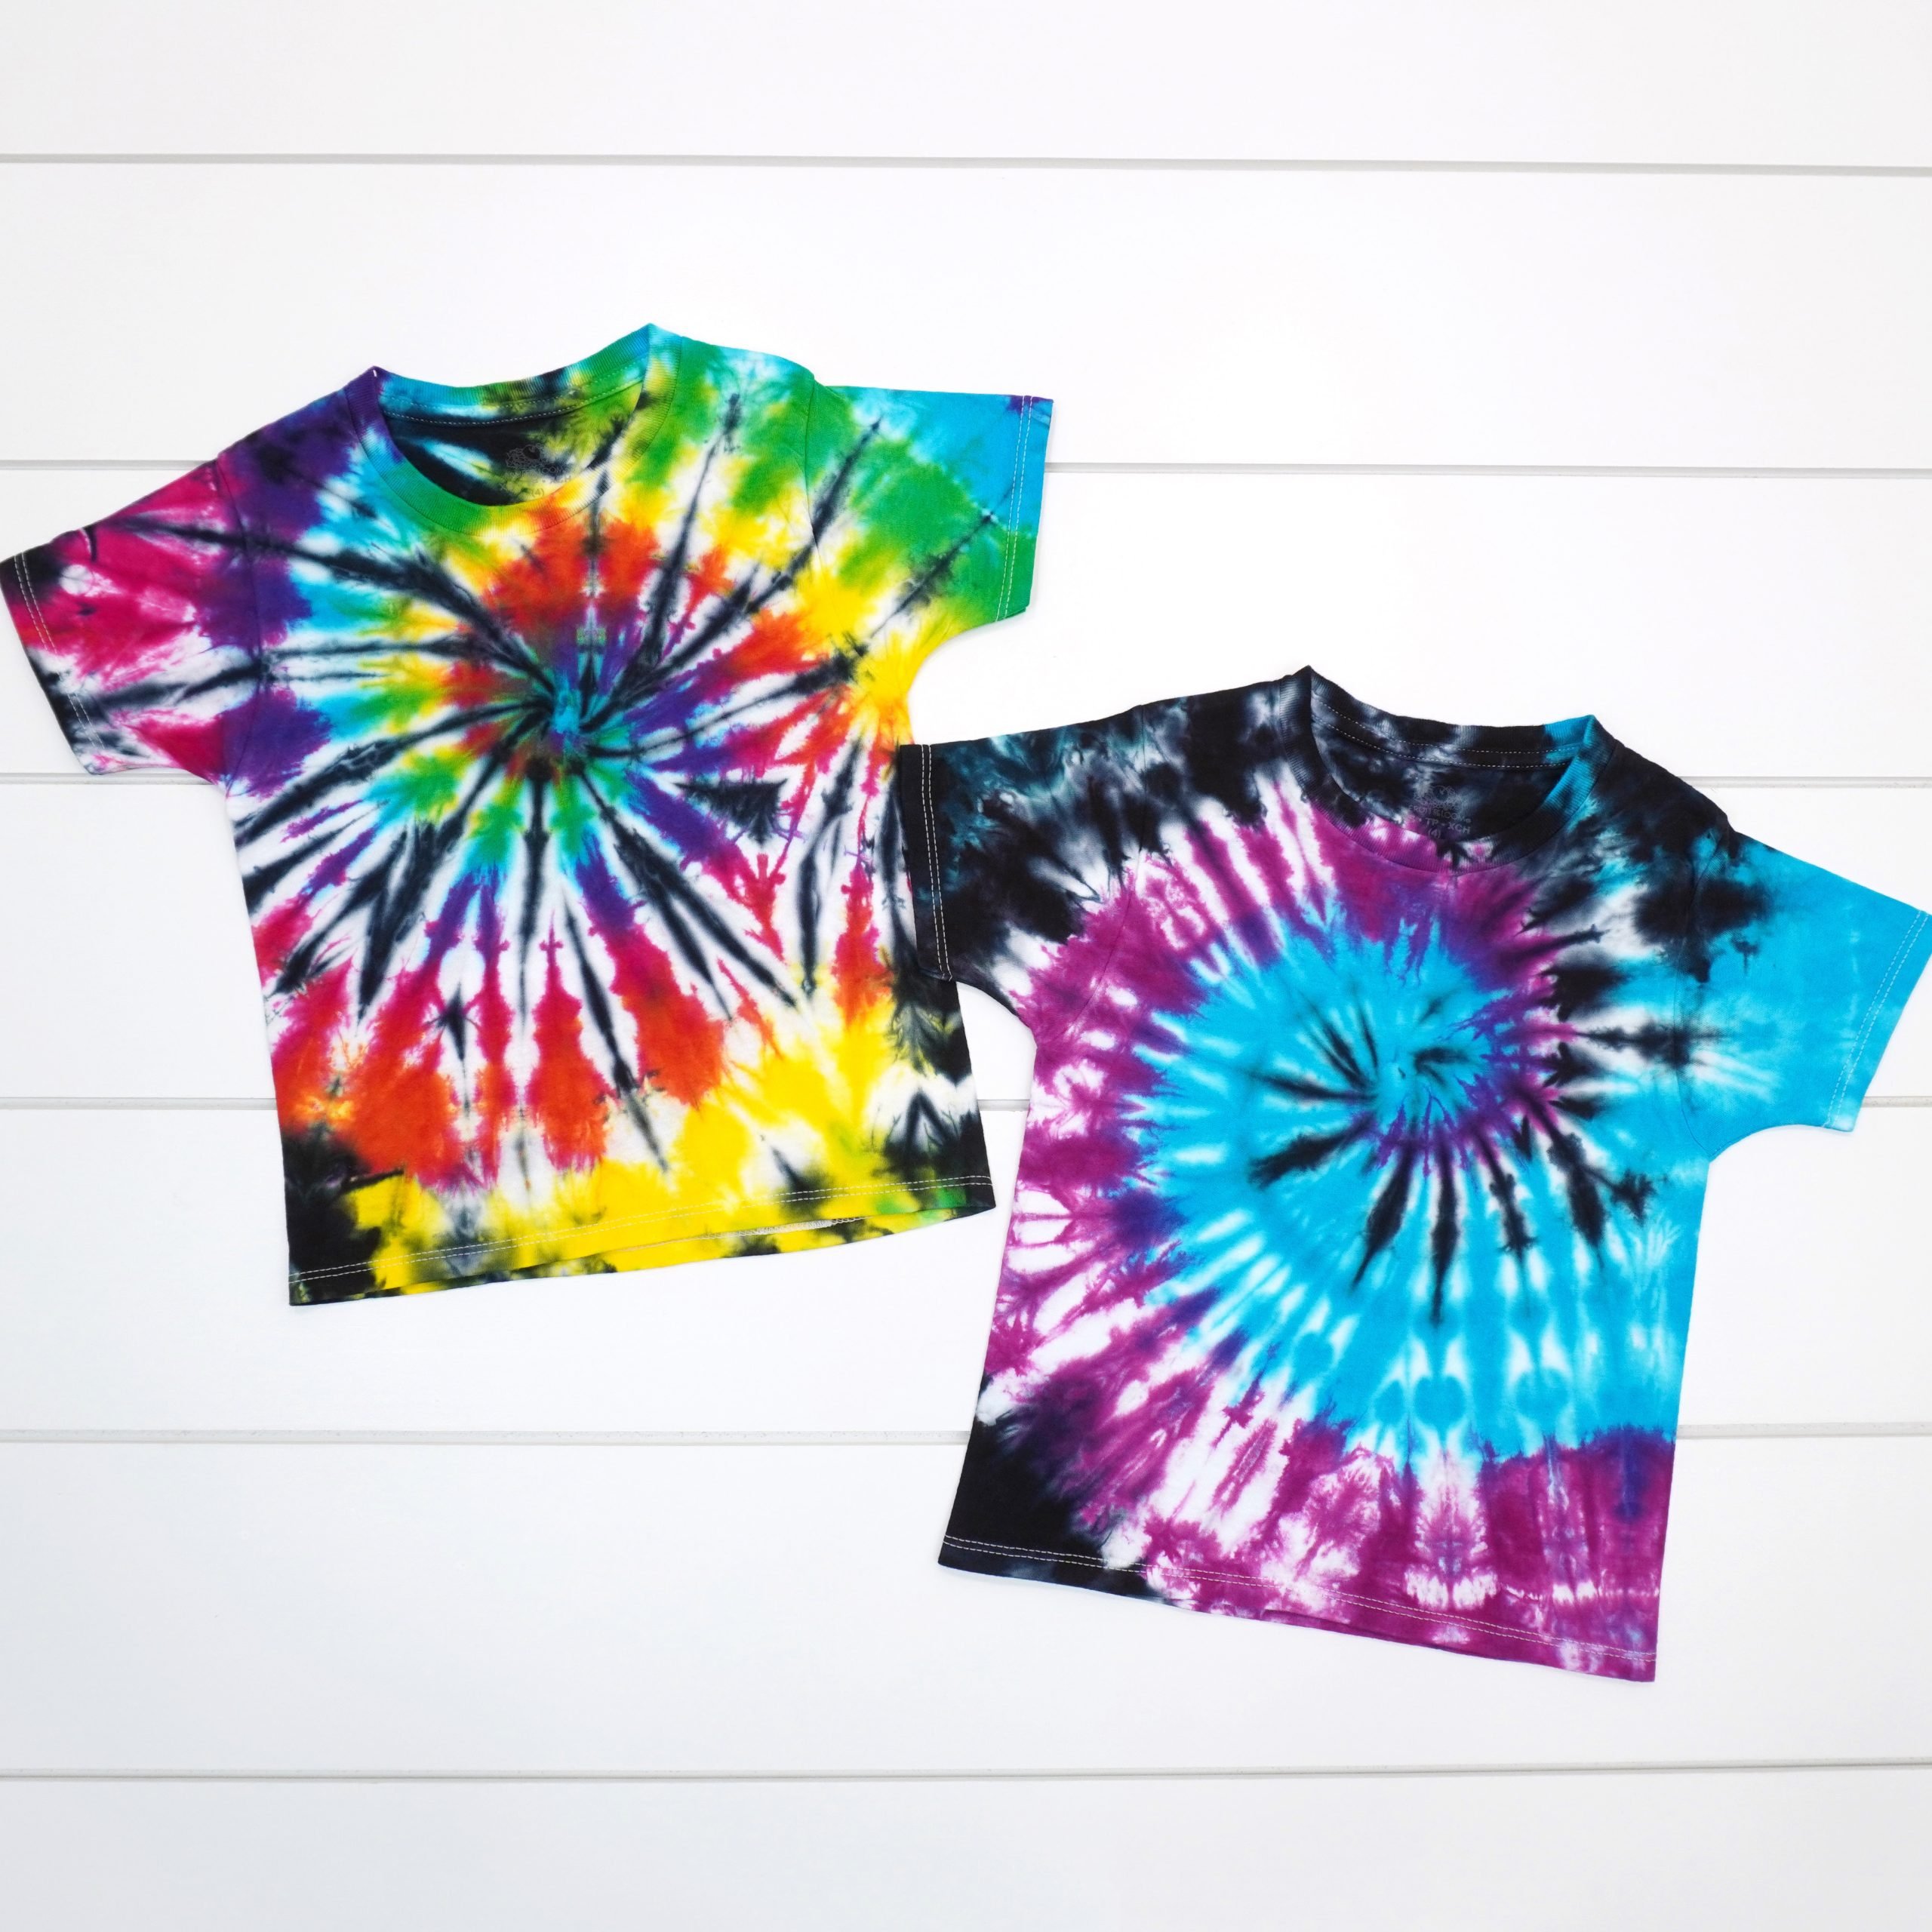
Tie dyeing is a great way to create unique designs as every shirt created is one-of-a-kind. You can experiment with using different colors and color placement in your spiral patterns, but there will always be differences and slight color variations in each, even when using the same color palette.
Once you dive into the vibrant and colorful world of tie-dye, you won’t want to stop! It’s SO much fun!
You May Also Like:
How to Tie-Dye Shirts with Kids – tips and tricks for keeping things mess-free!
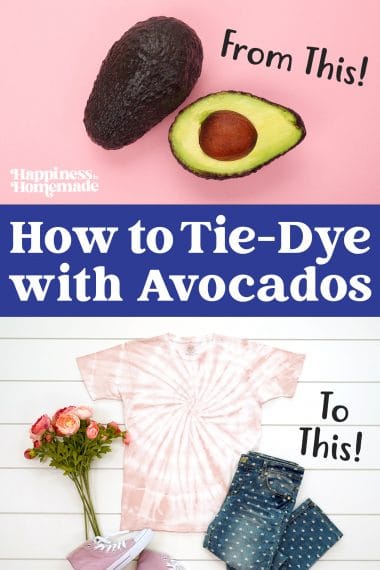
How to Tie-Dye with Natural Avocado Pit Dye (it makes a GORGEOUS shade of PINK!)
Must-Have Tie-Dye Supplies – get the scoop on EVERYTHING you need!
Classic Spiral Tie-Dye Pattern Technique
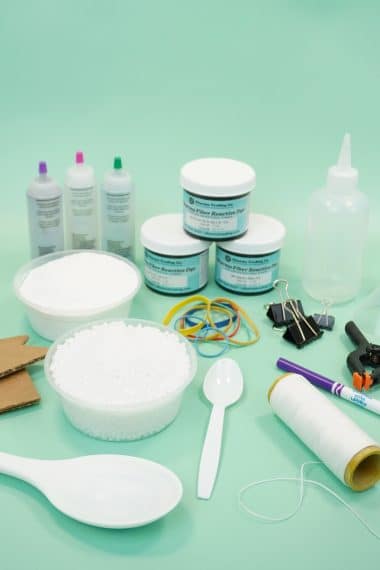
Step 1: Gather Your Supplies
Grab your supplies, and let’s get started on our tie-dye projects! You’ll need:
- Plain White 100% Preshrunk Cotton T-shirt (pre-washed and dried)
- Fabric Dye in your choice of colors (we recommend using fiber-reactive dye for the brightest colors)
- Soda Ash (optional, but helps to ensure good color saturation – see notes below)
- Small Bucket for soda ash solution
- Rubber Bands
- Plastic Drop Cloth or old newspapers
- Disposable Nitrile Gloves or Plastic Gloves
- Plastic Bag or Plastic Wrap – a large plastic zip-top bag works best!
- Plastic Fork or Chopstick (optional)
- Paper Towels
RELATED: Read all about our top choices for dye and other materials in our guide to Must-Have Tie-Dye Supplies here!
Step 2: Prep Your Work Area & Shirt
Before you start the spiral tie dye folding process, you’ll want to take a few minutes to protect your workspace and prep your shirt. Choose a tabletop or other flat surface where you’ll have plenty of room to work, and cover it with a plastic drop cloth, an old tablecloth or a flat sheet, or several layers of old newspapers to help to protect your work area from any accidental dye spills.
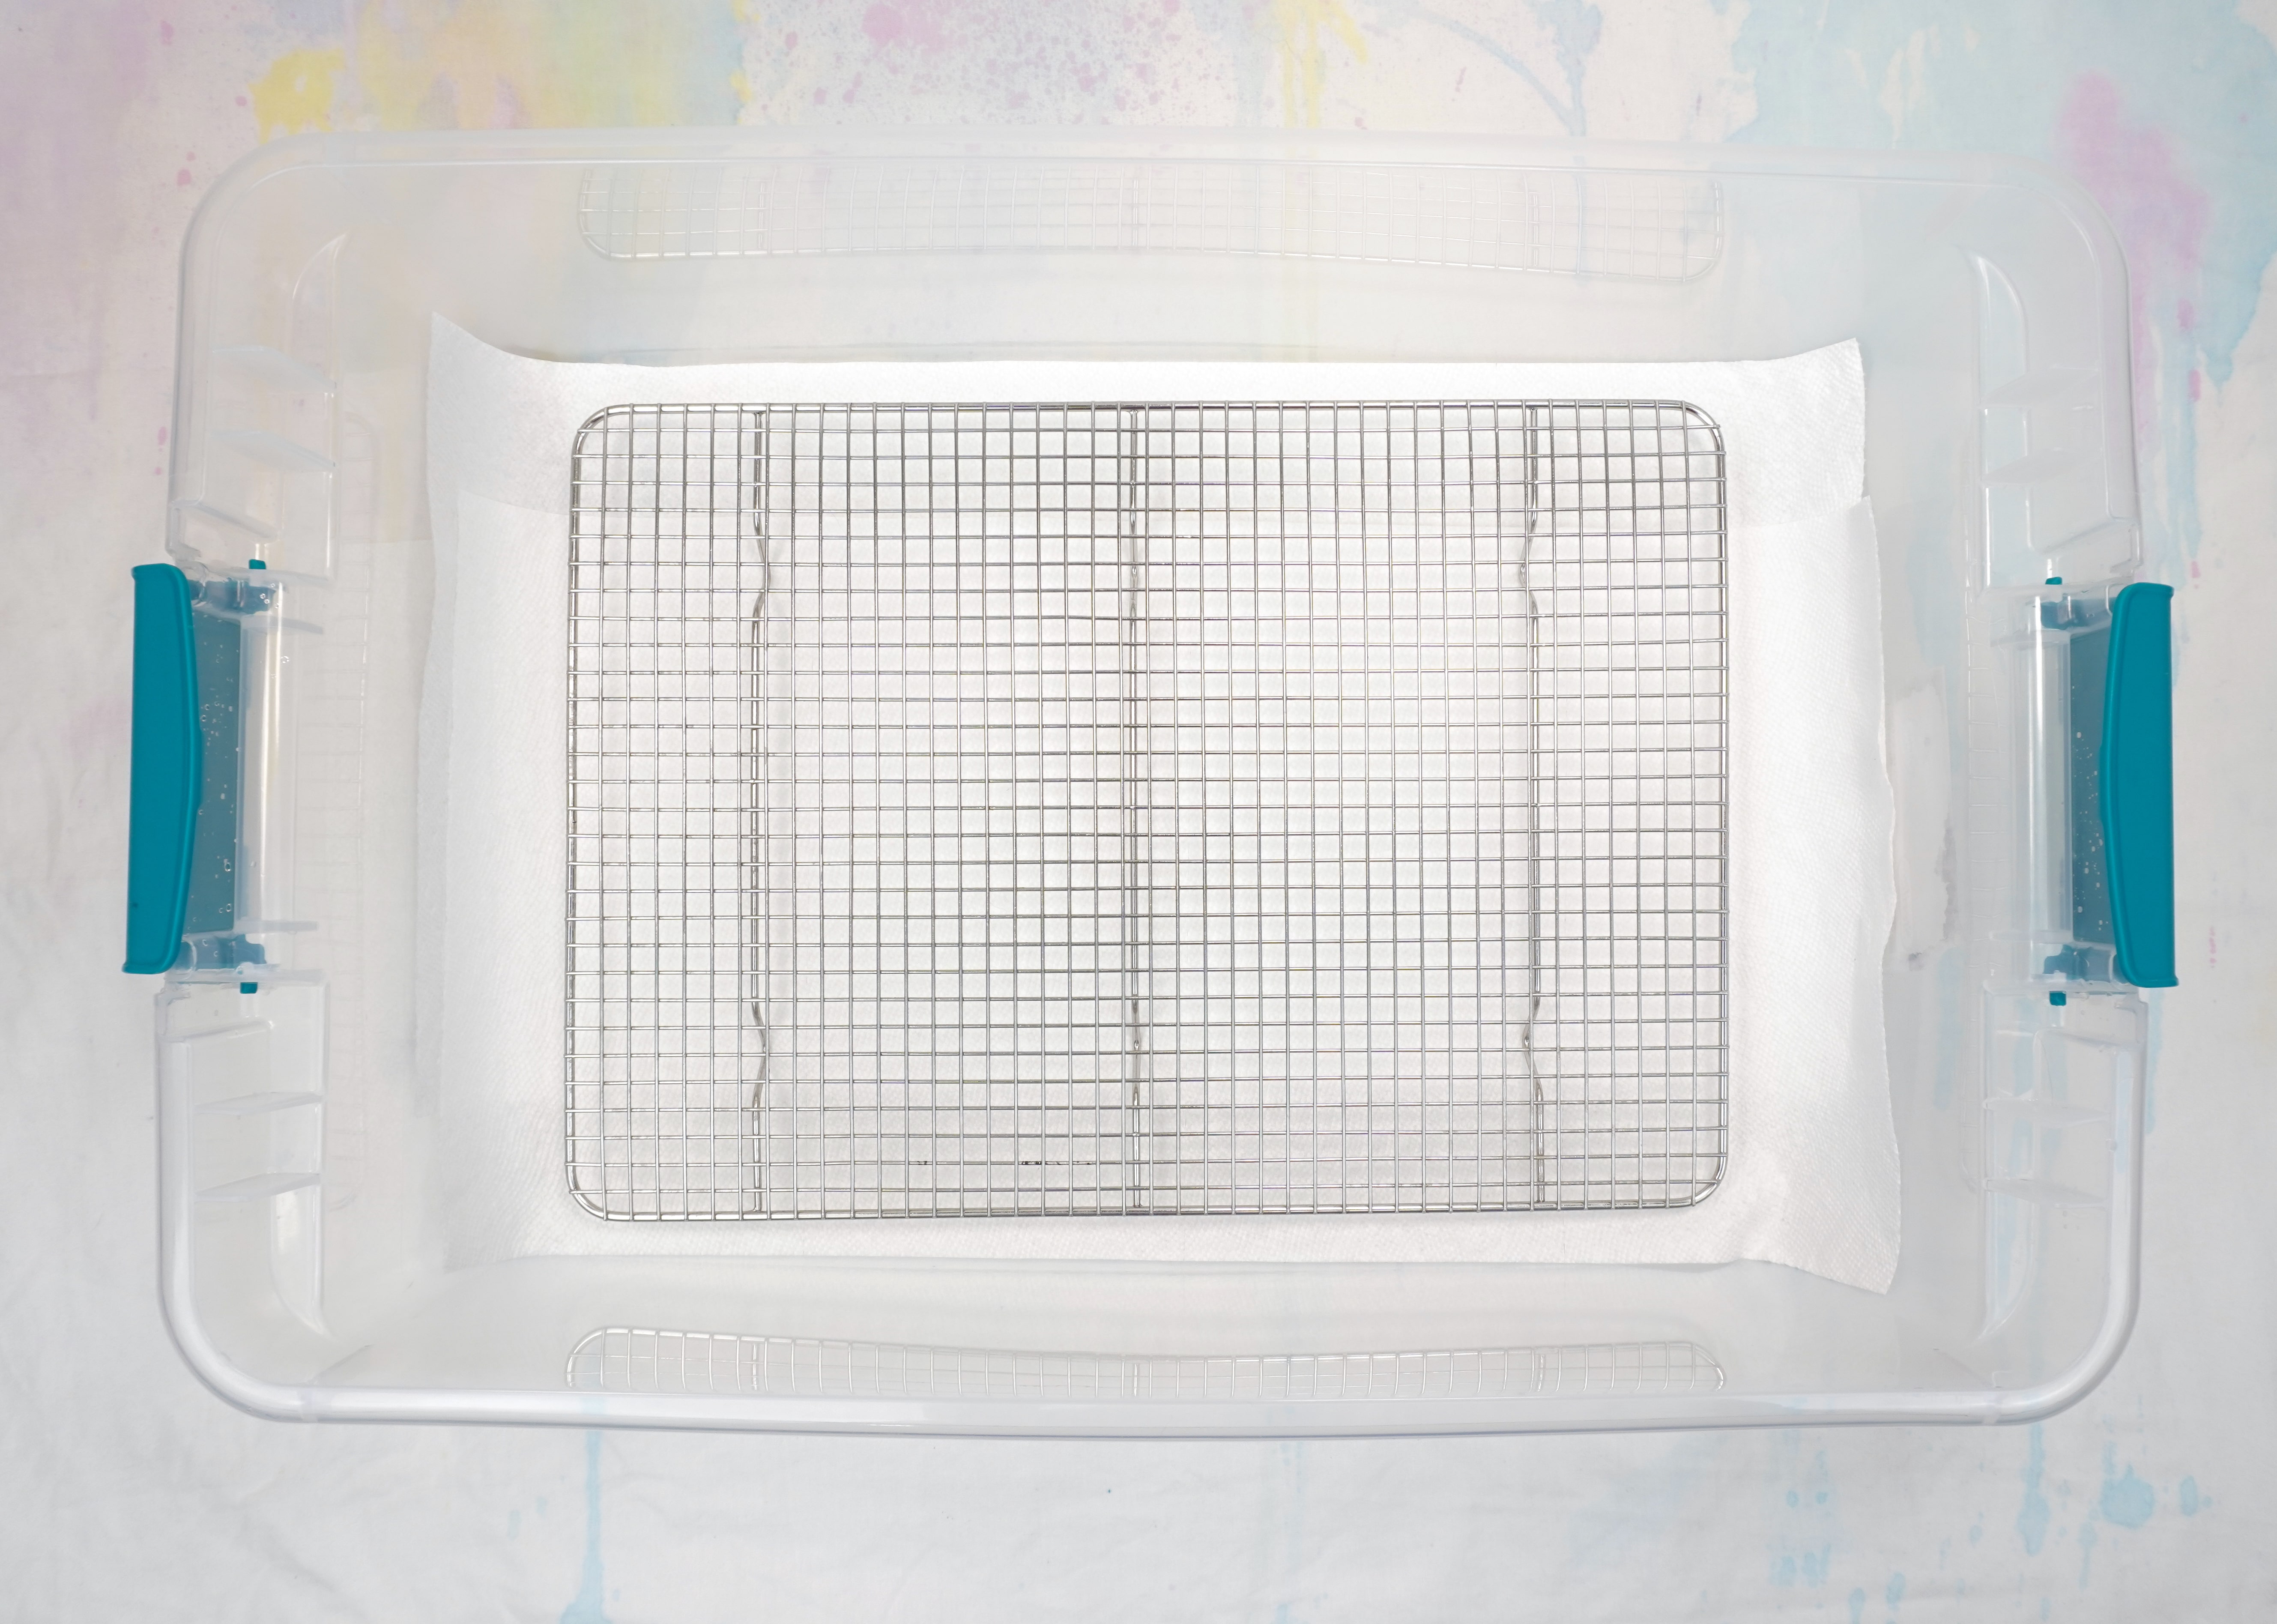
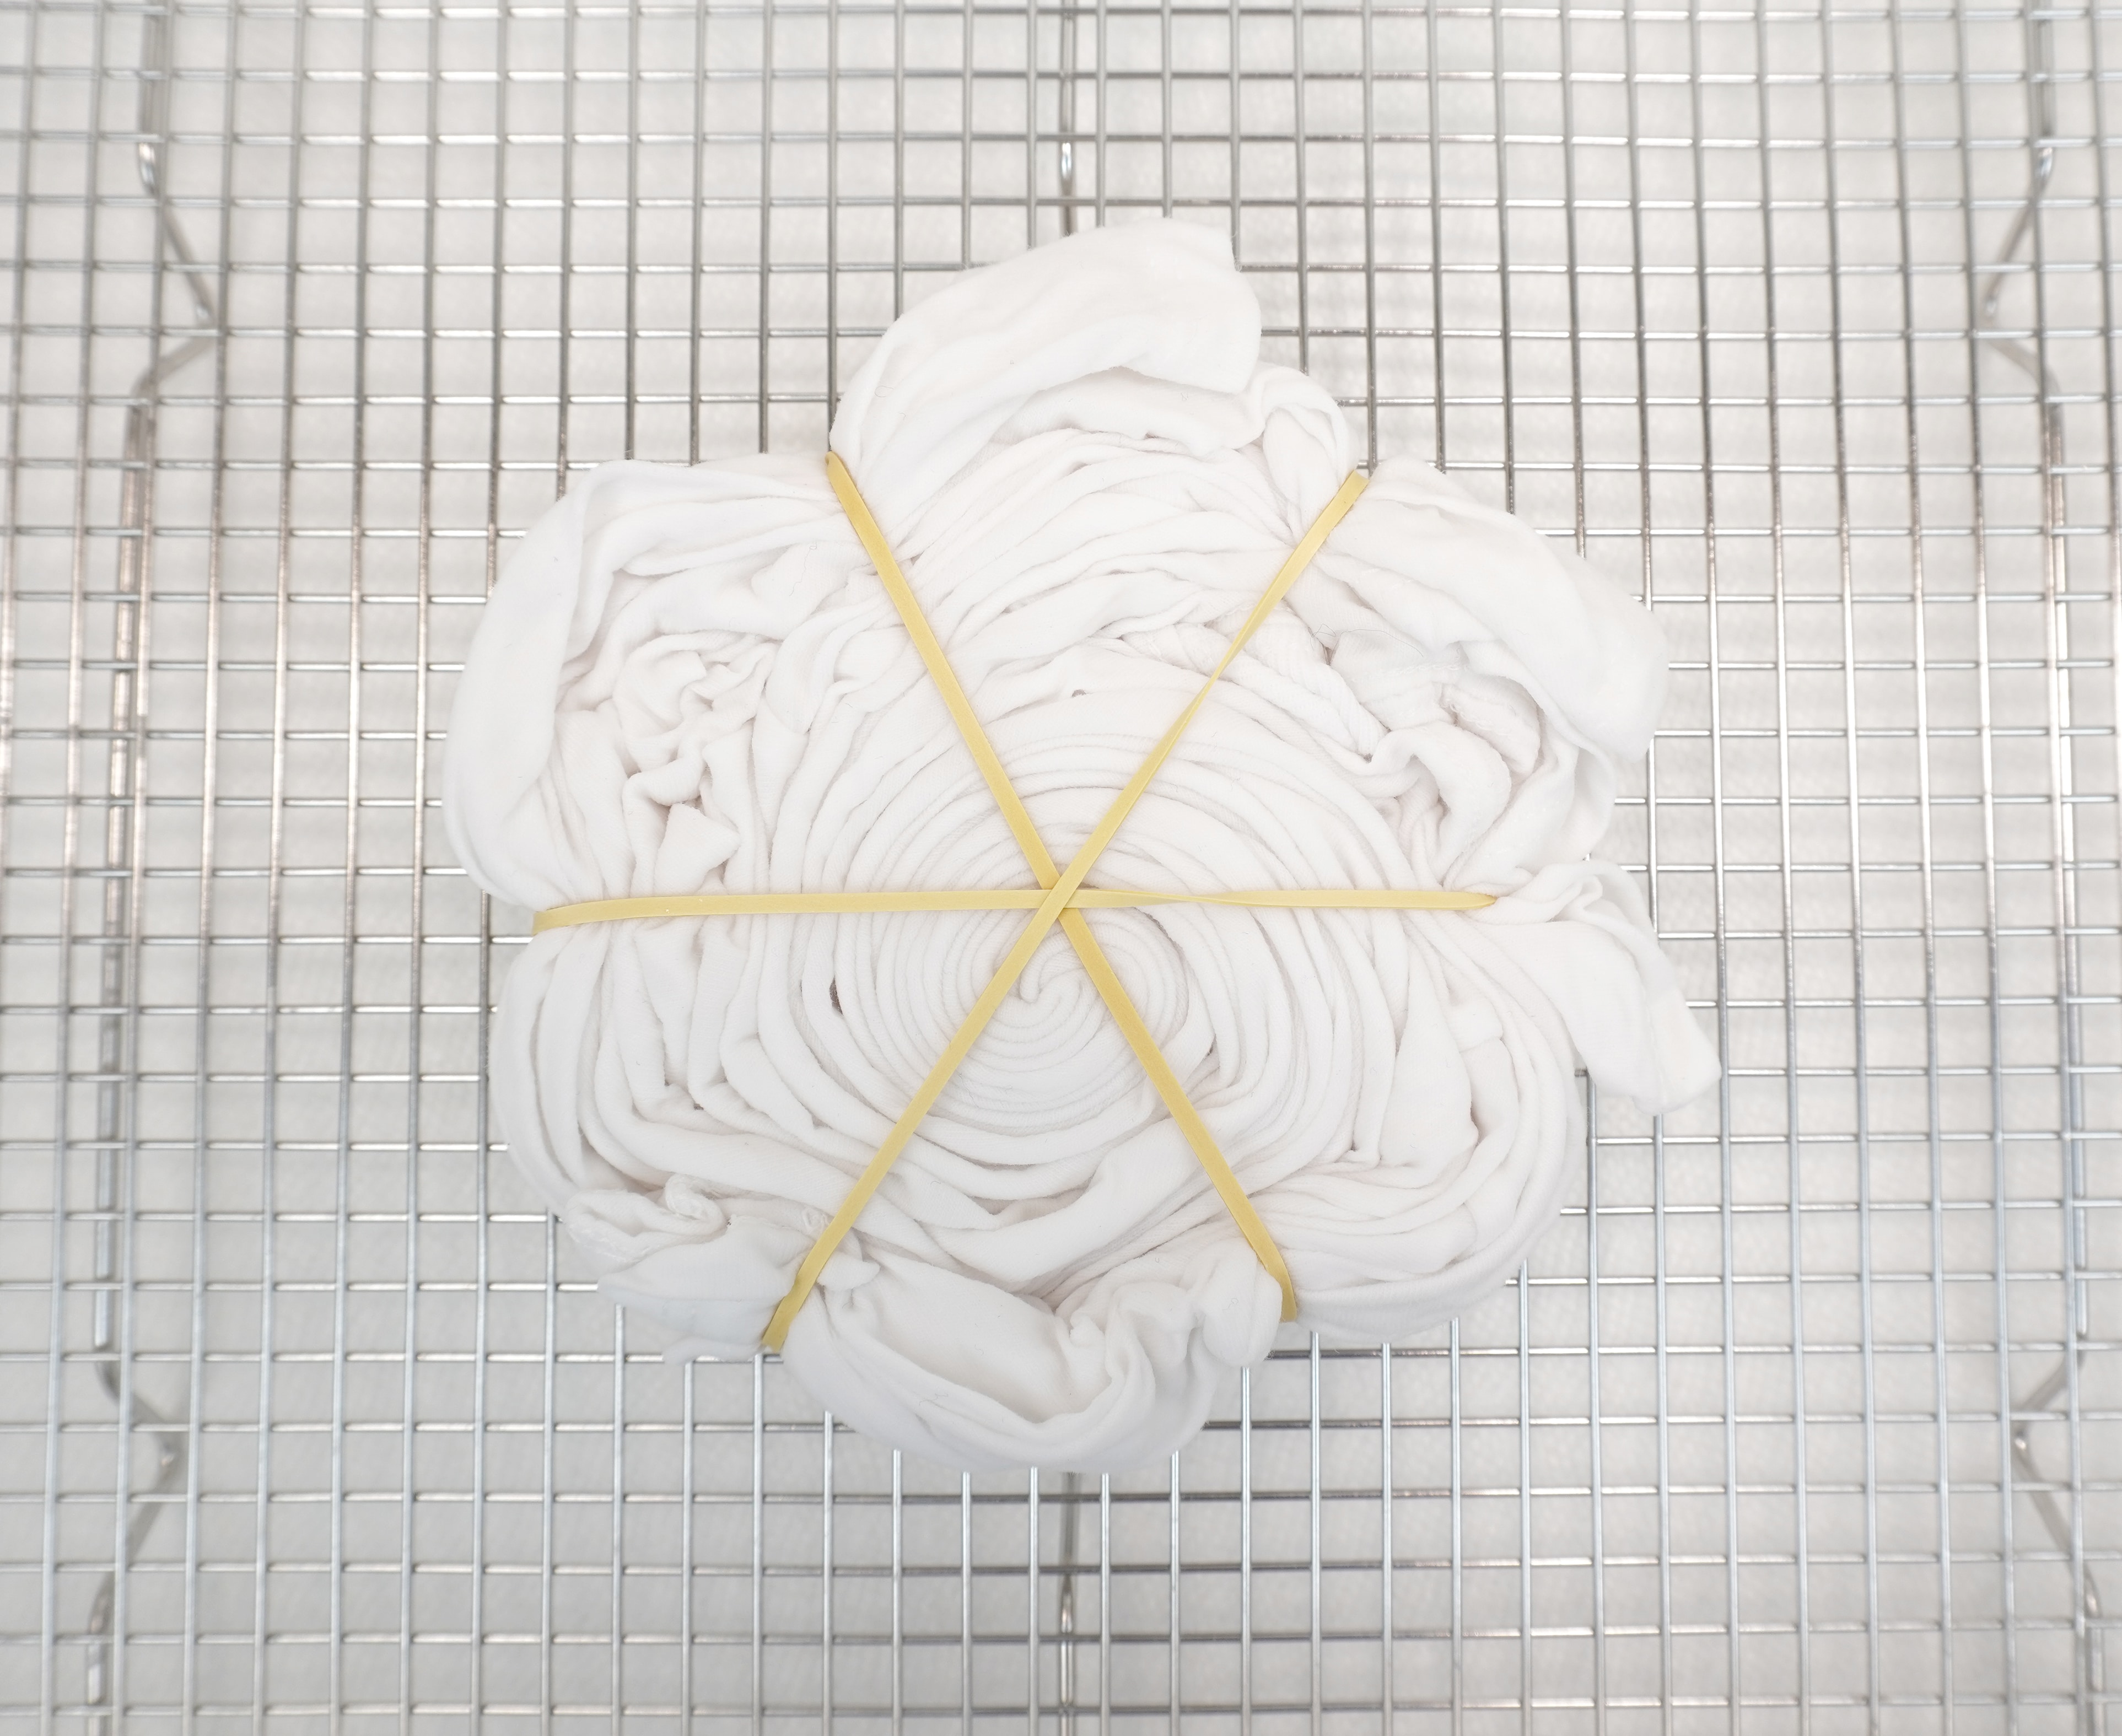
I prefer to tie-dye my shirts on a wire rack inside of a shallow plastic tub, but you could also do this in a large sink or directly on top of your flat work surface (just make sure it’s VERY well protected!). I also highly recommend keeping a roll of paper towels handy, just in case!
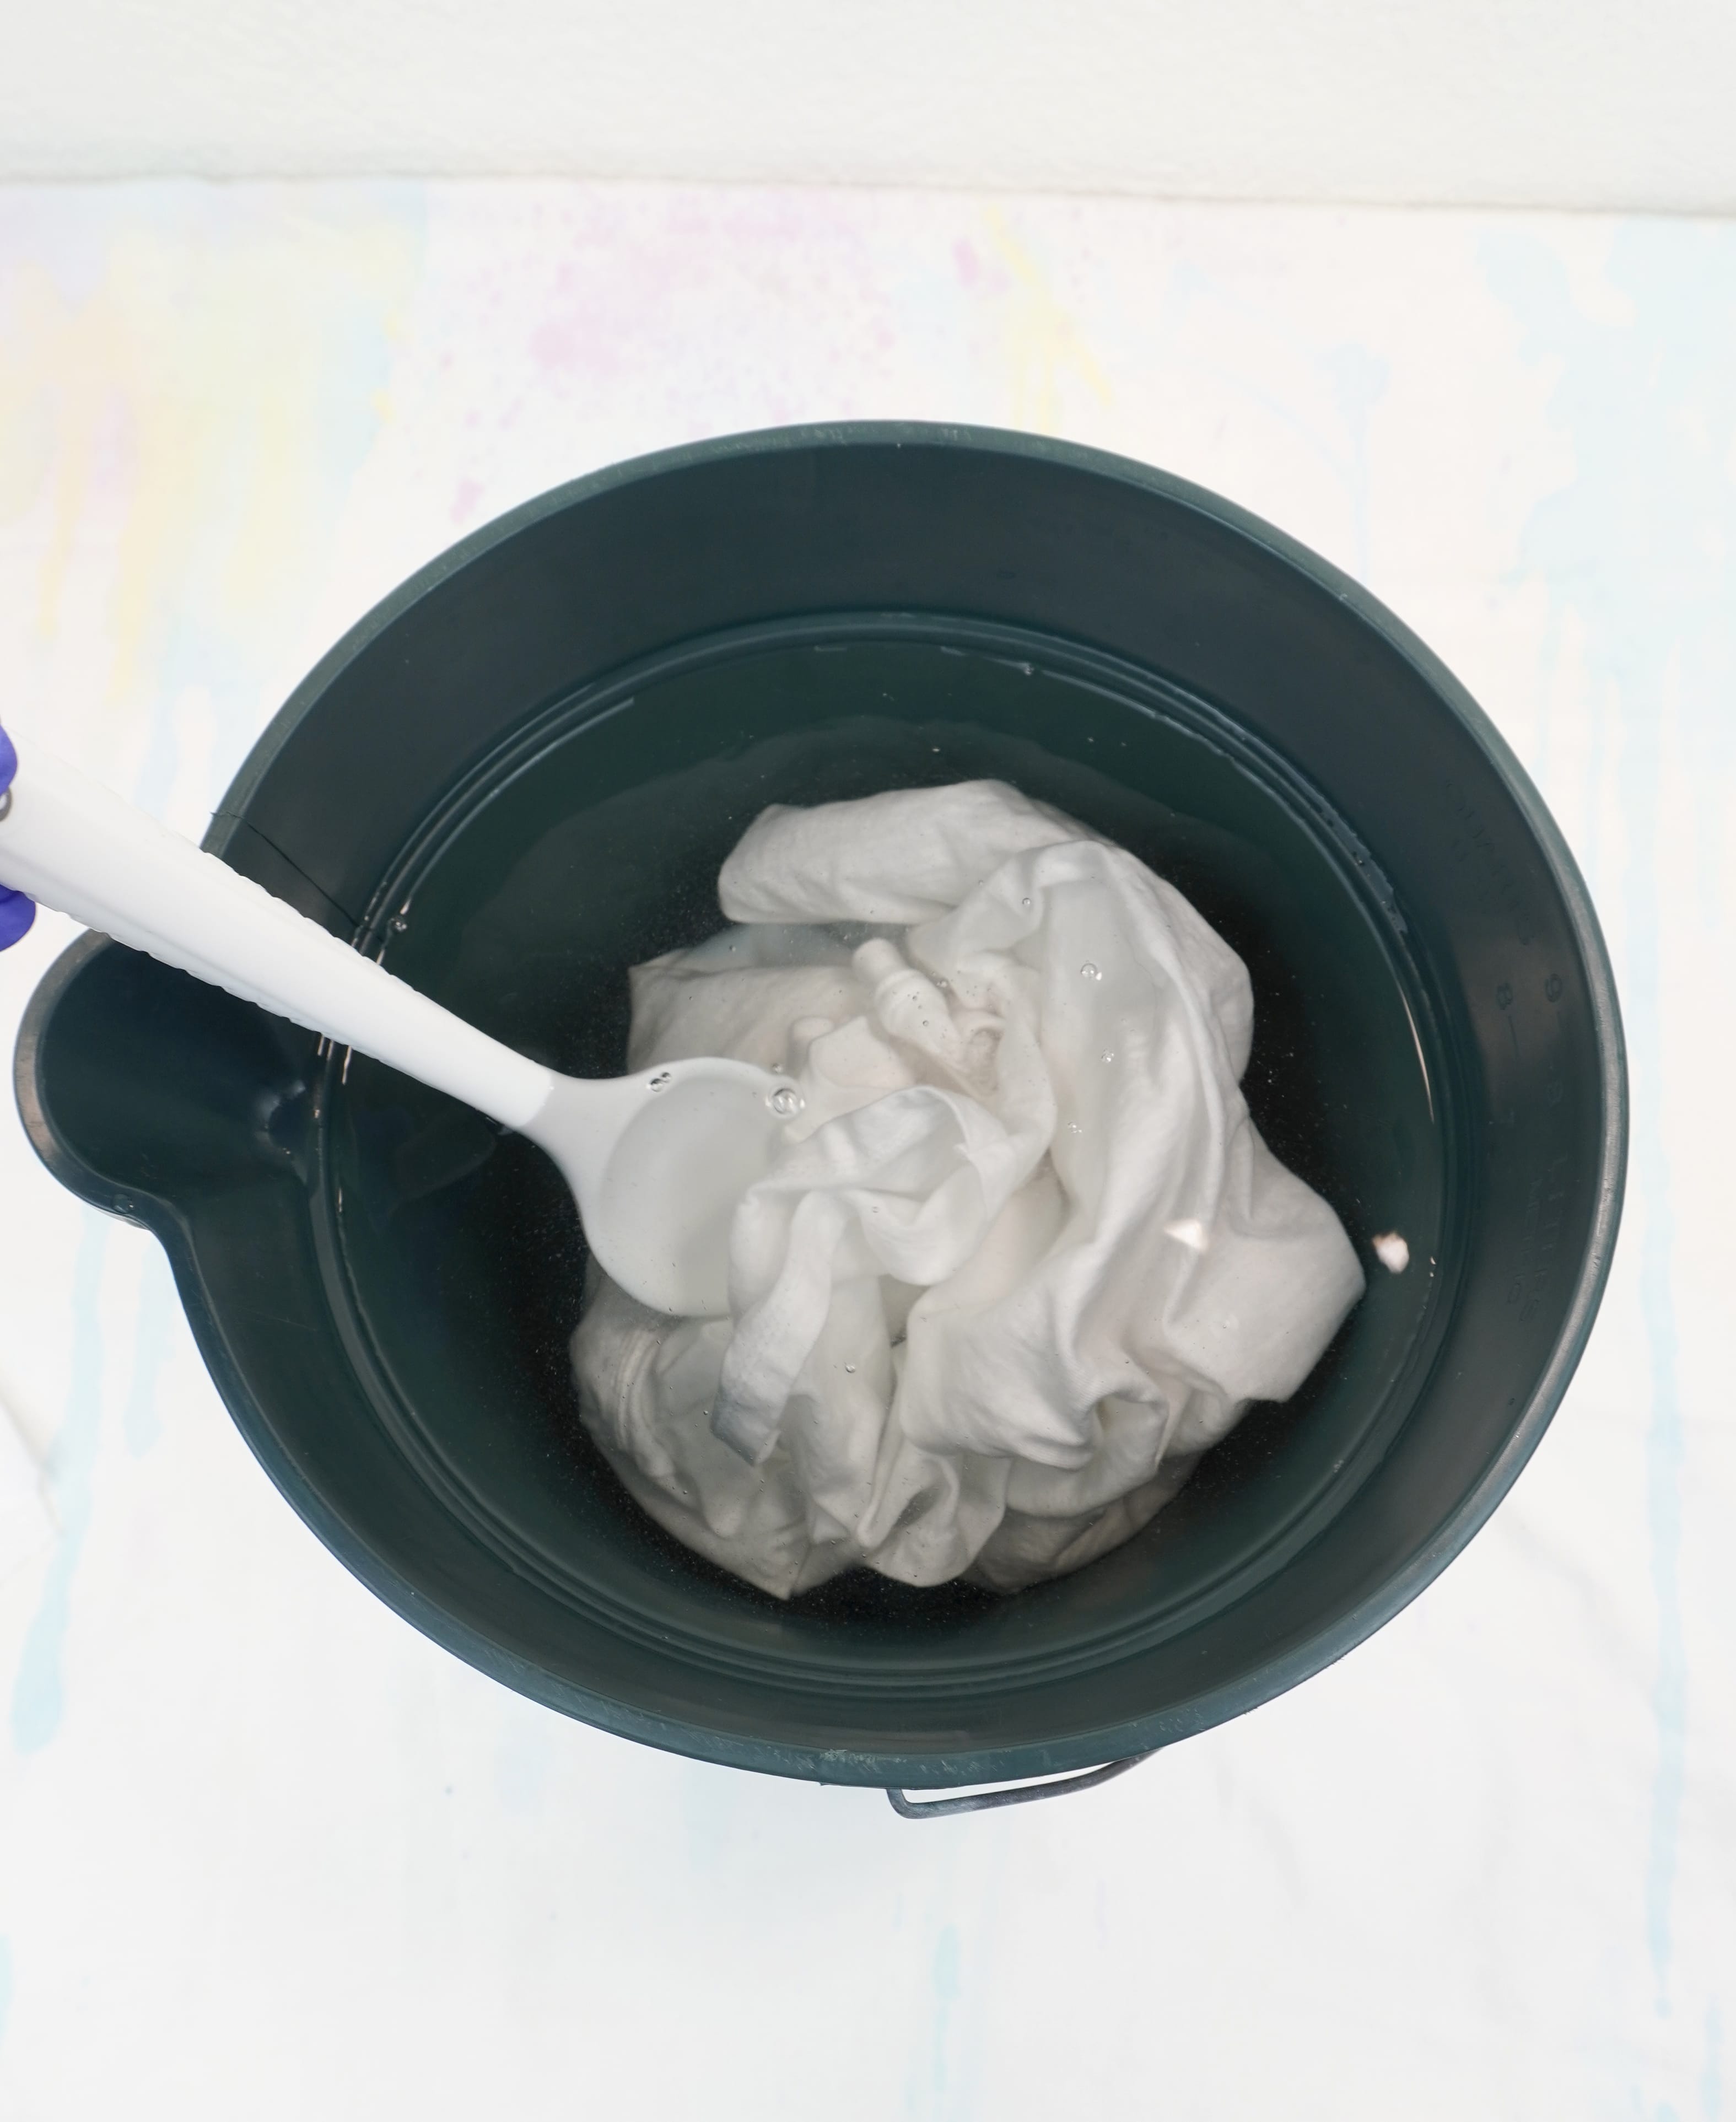
Mix up the soda ash solution, and soak your pre-washed and dried shirt for 15-20 minutes. When it’s done soaking, wring out as much of the excess liquid as possible before moving on to the next step.
Note: Many One-Step Tie-Dye Kits already include soda ash in their dye mixture, so you do NOT need to soak your fabrics if using these dyes; however, soaking will also increase the vibrancy and longevity of these dyes as well.
Step 3: How to Fold Your Shirt for a Spiral Tie Dye Pattern
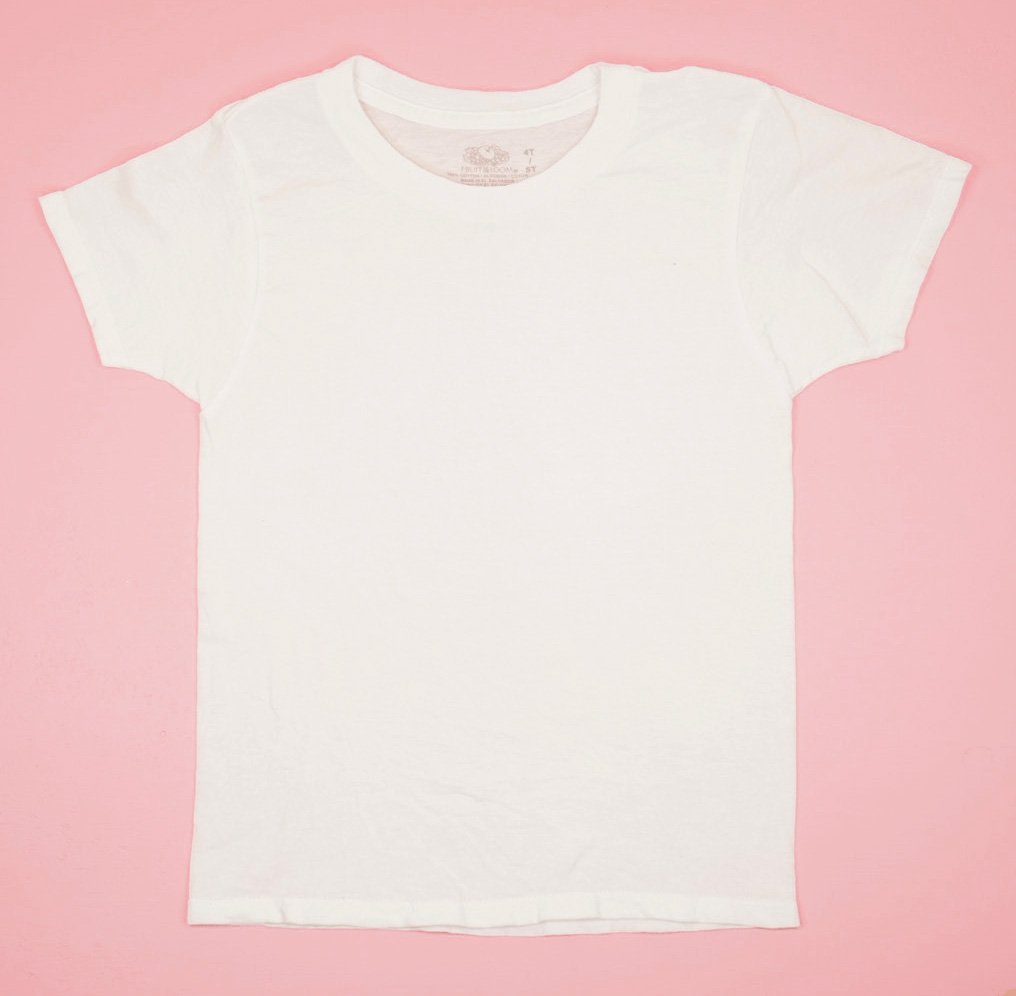
Lay your damp t-shirt flat on your work surface.
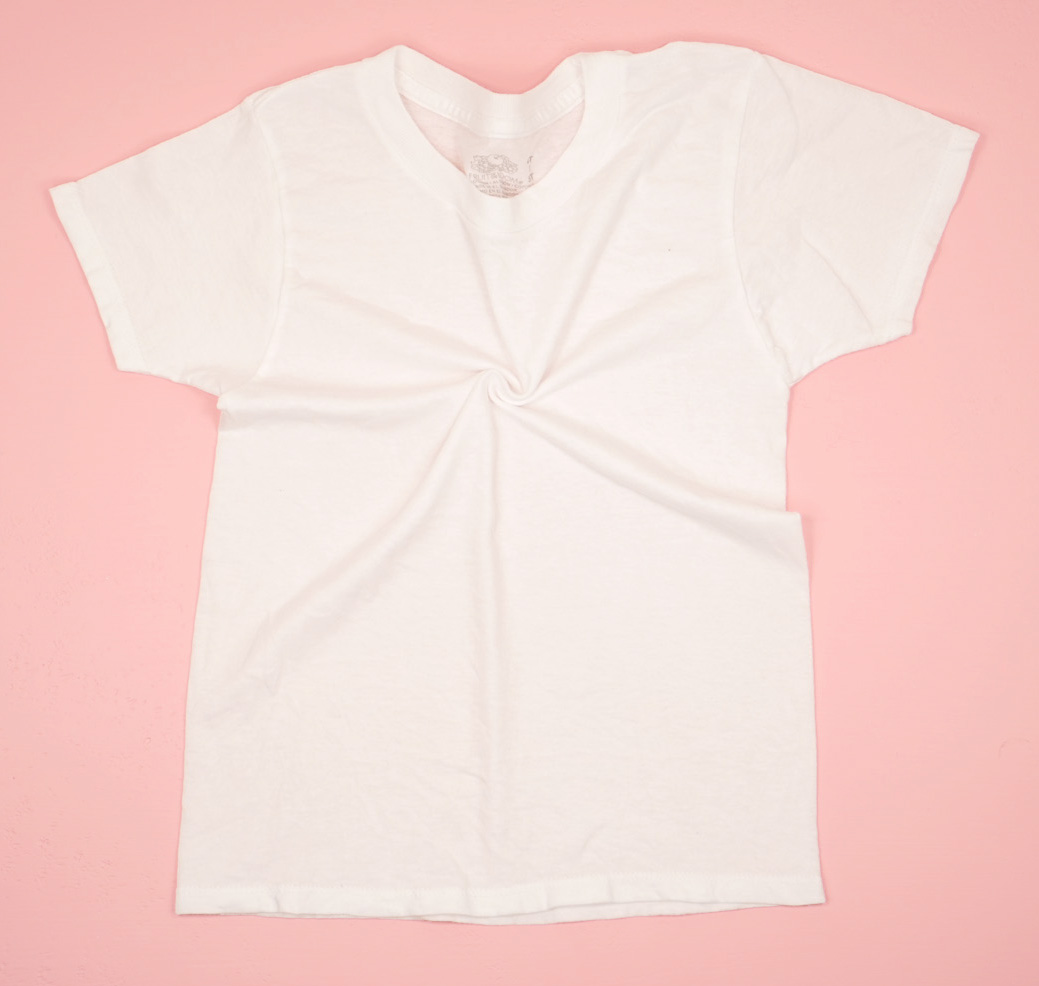
Decide where you want the center of your spiral to be – this is usually the center of the shirt, but feel free to get creative!
Using a plastic fork or chopstick (or simply your pinched fingers), start twisting the fabric at your chosen center point, ensuring that it remains flat on the surface.

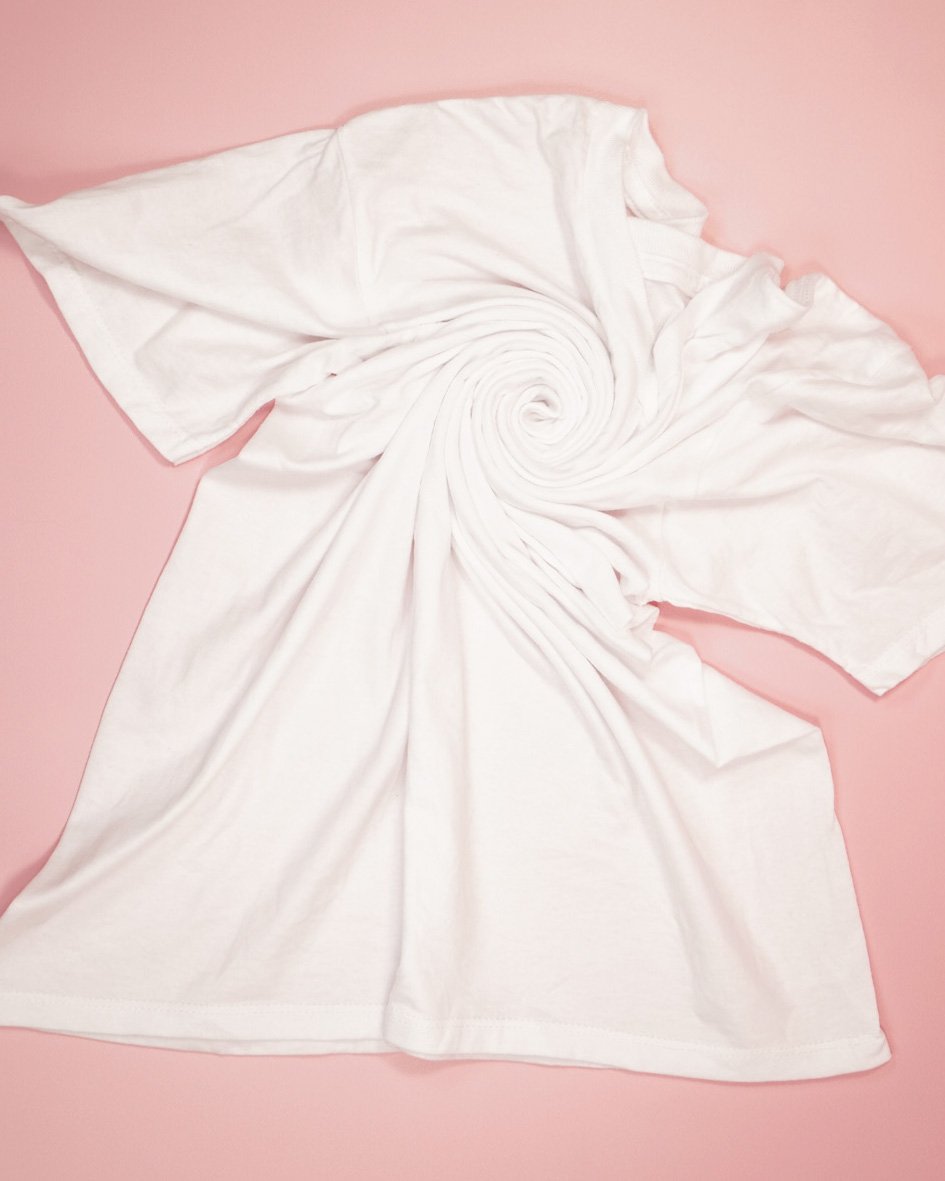
Keep twisting until the entire shirt has been gathered into a tight spiral shape.
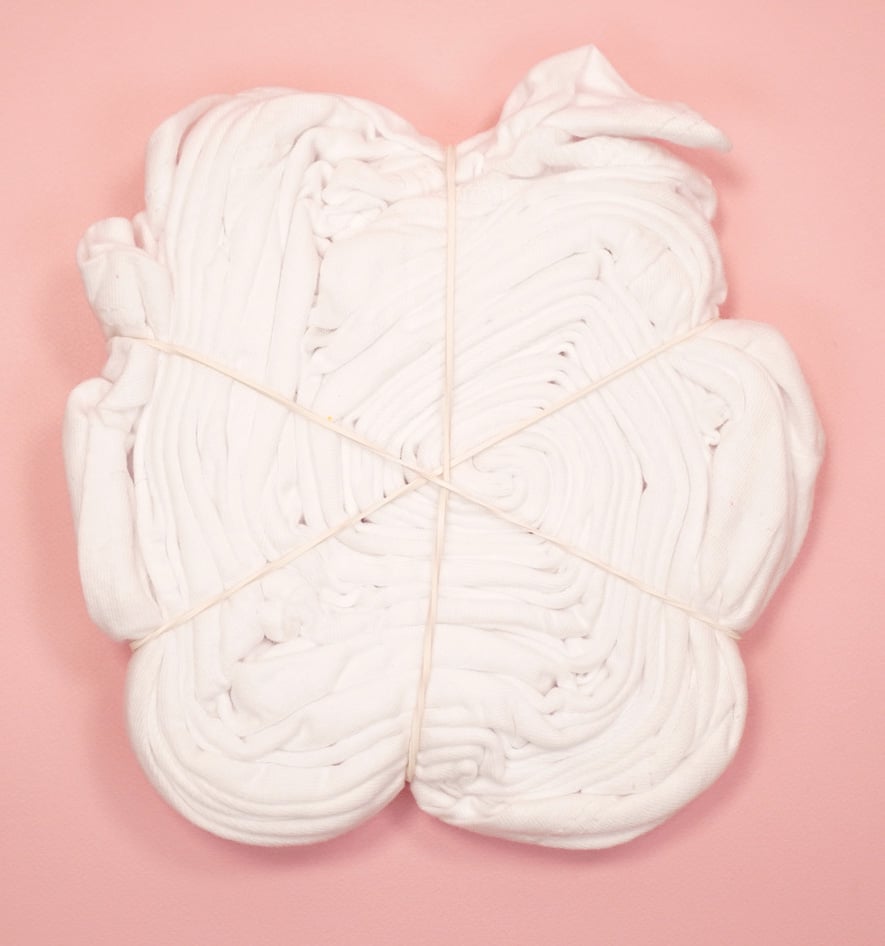
Secure the spiral with rubber bands, placing them evenly around the shirt to create pie-shaped sections. If you are planning on creating a multi-hued spiral tie-dye design, it is helpful if you create the same number of sections as the number of colors you want to use.
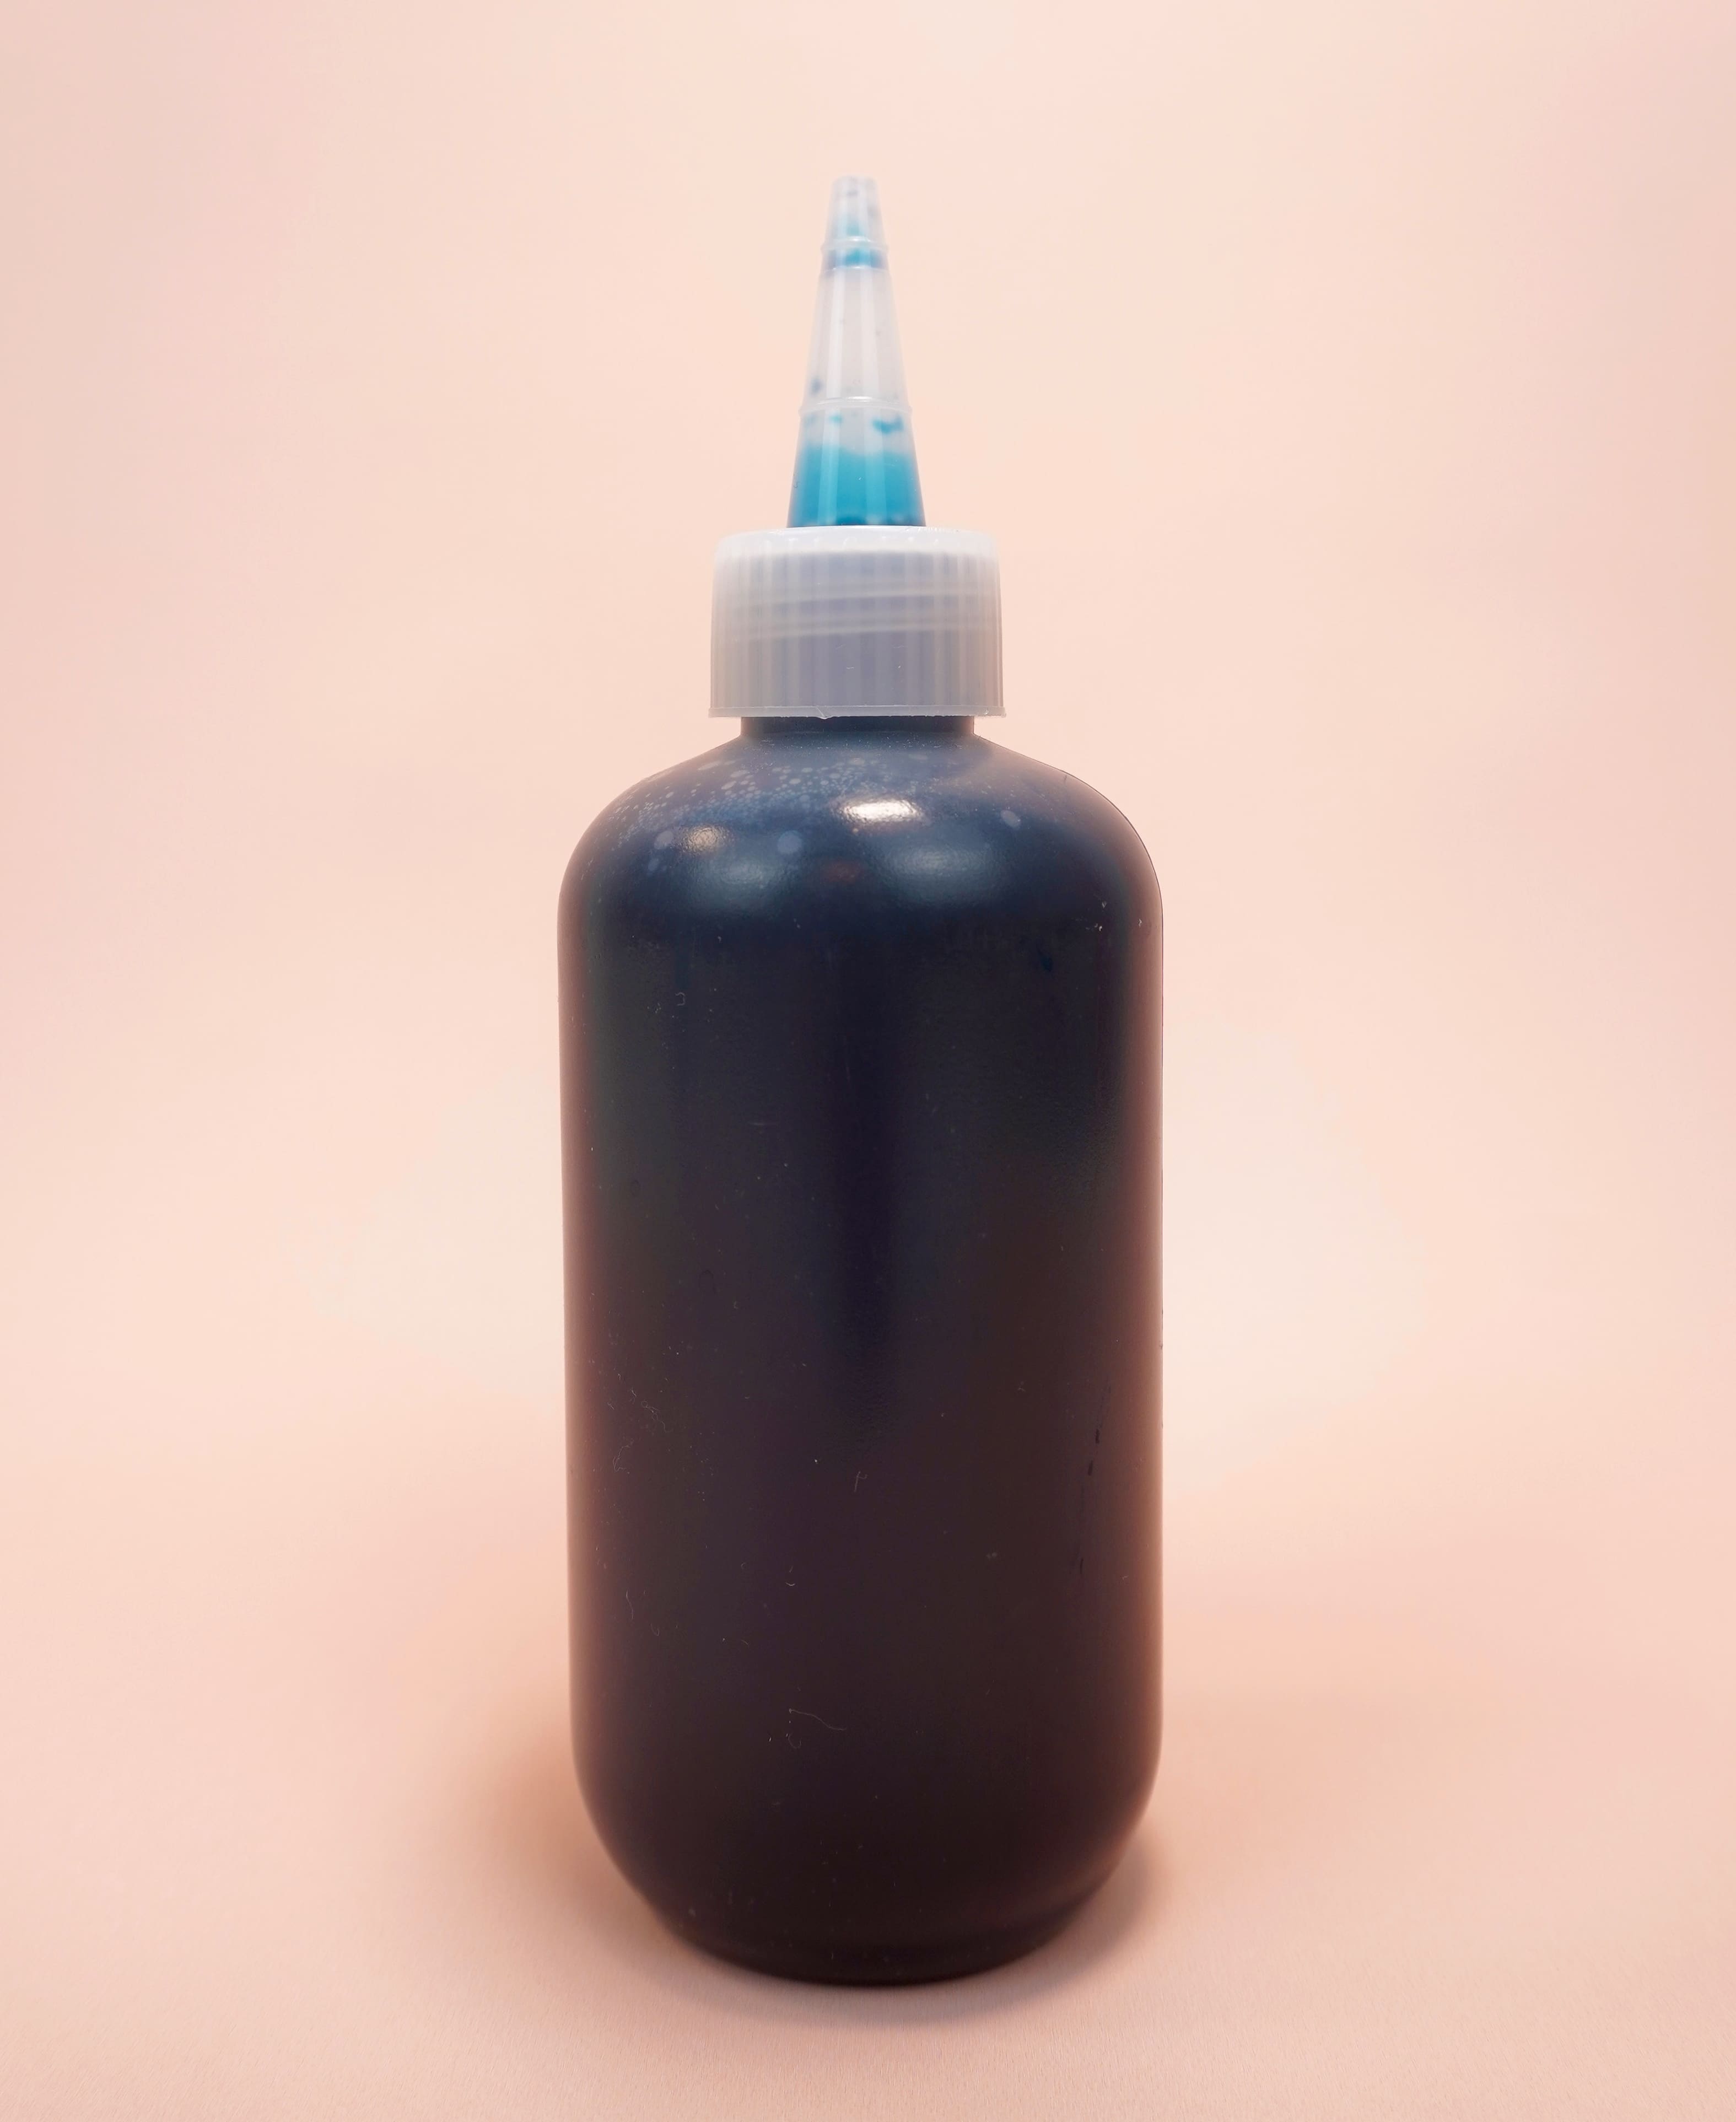
Step 4: Apply the Dye to Your Shirt
Now comes the fun part – adding color to your spiral tie-dye masterpiece!
Put on your plastic gloves to protect your hands from the dye, and then mix the fabric dye according to the package instructions. If using a tie dye kit, follow the instructions provided.
Place your folded shirt on the work surface.
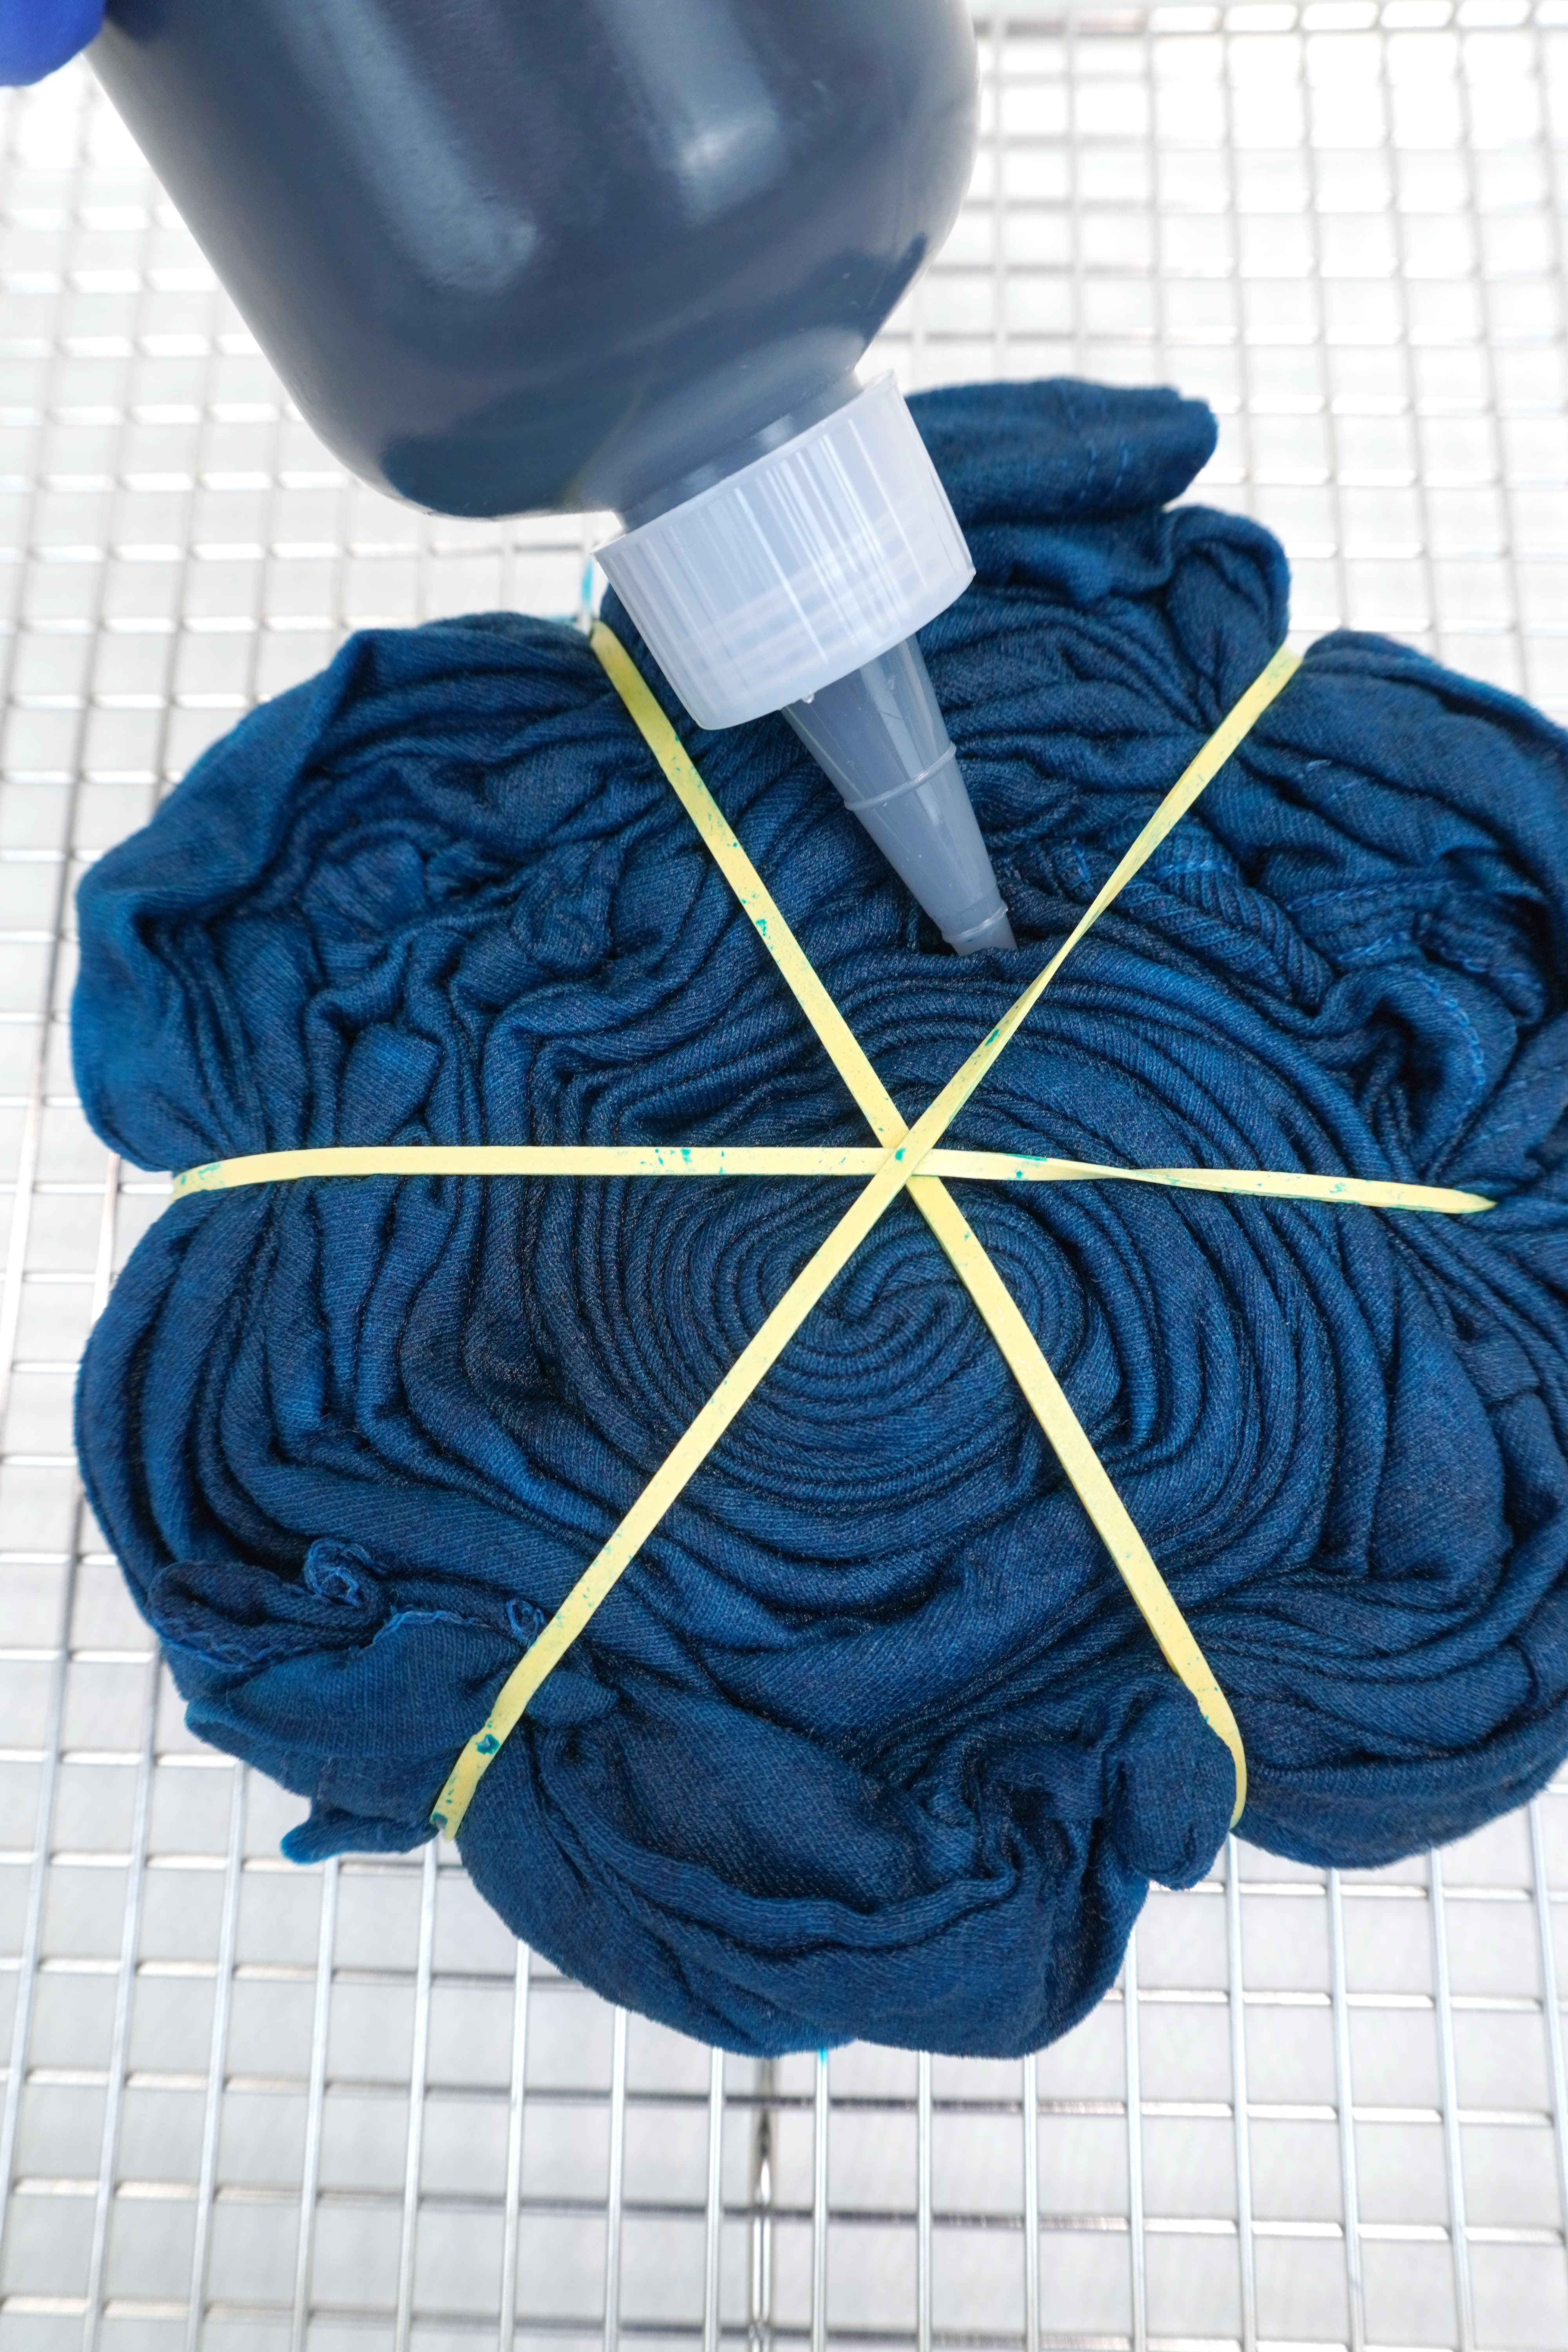
Apply the dye to each pie section of your shirt, being careful not to let the colors bleed into each other too much. You can use squeeze bottles or carefully pour the dye over the fibers of the shirt.
For single-colored designs, apply the dye to the entire exposed area of the shirt, and give a few squirts of dye in between some of the pleats and folds as well.
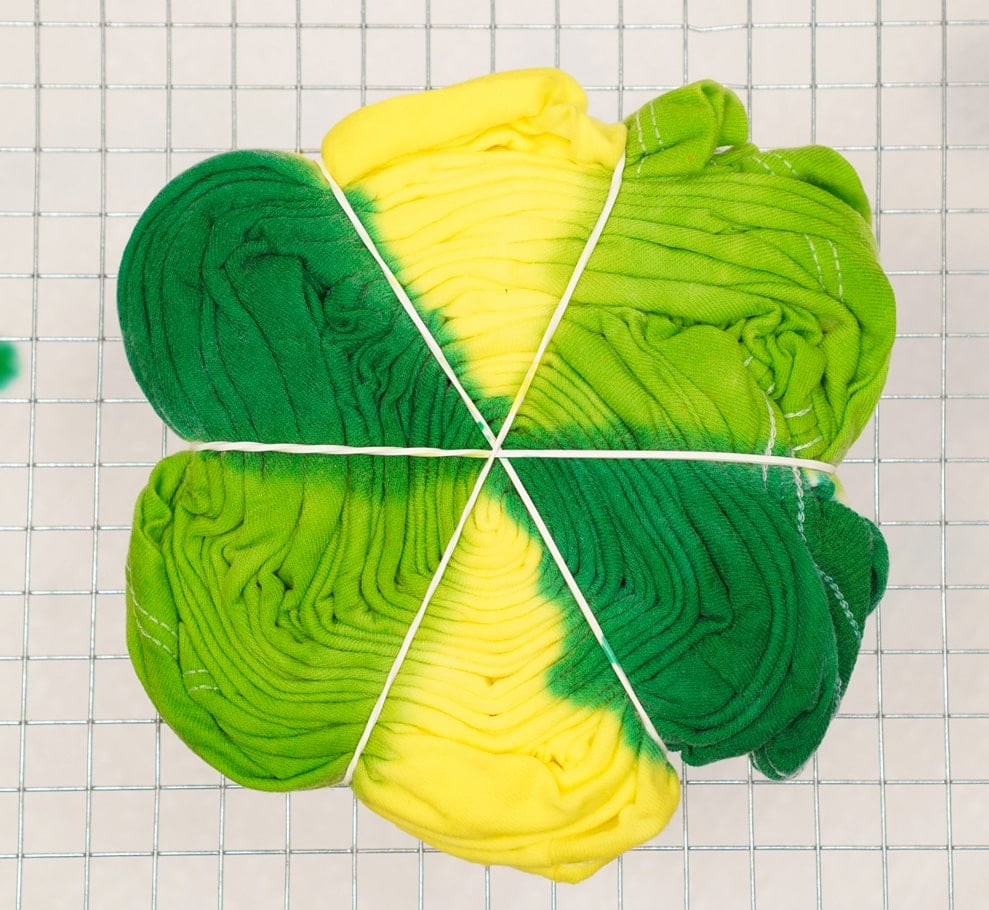
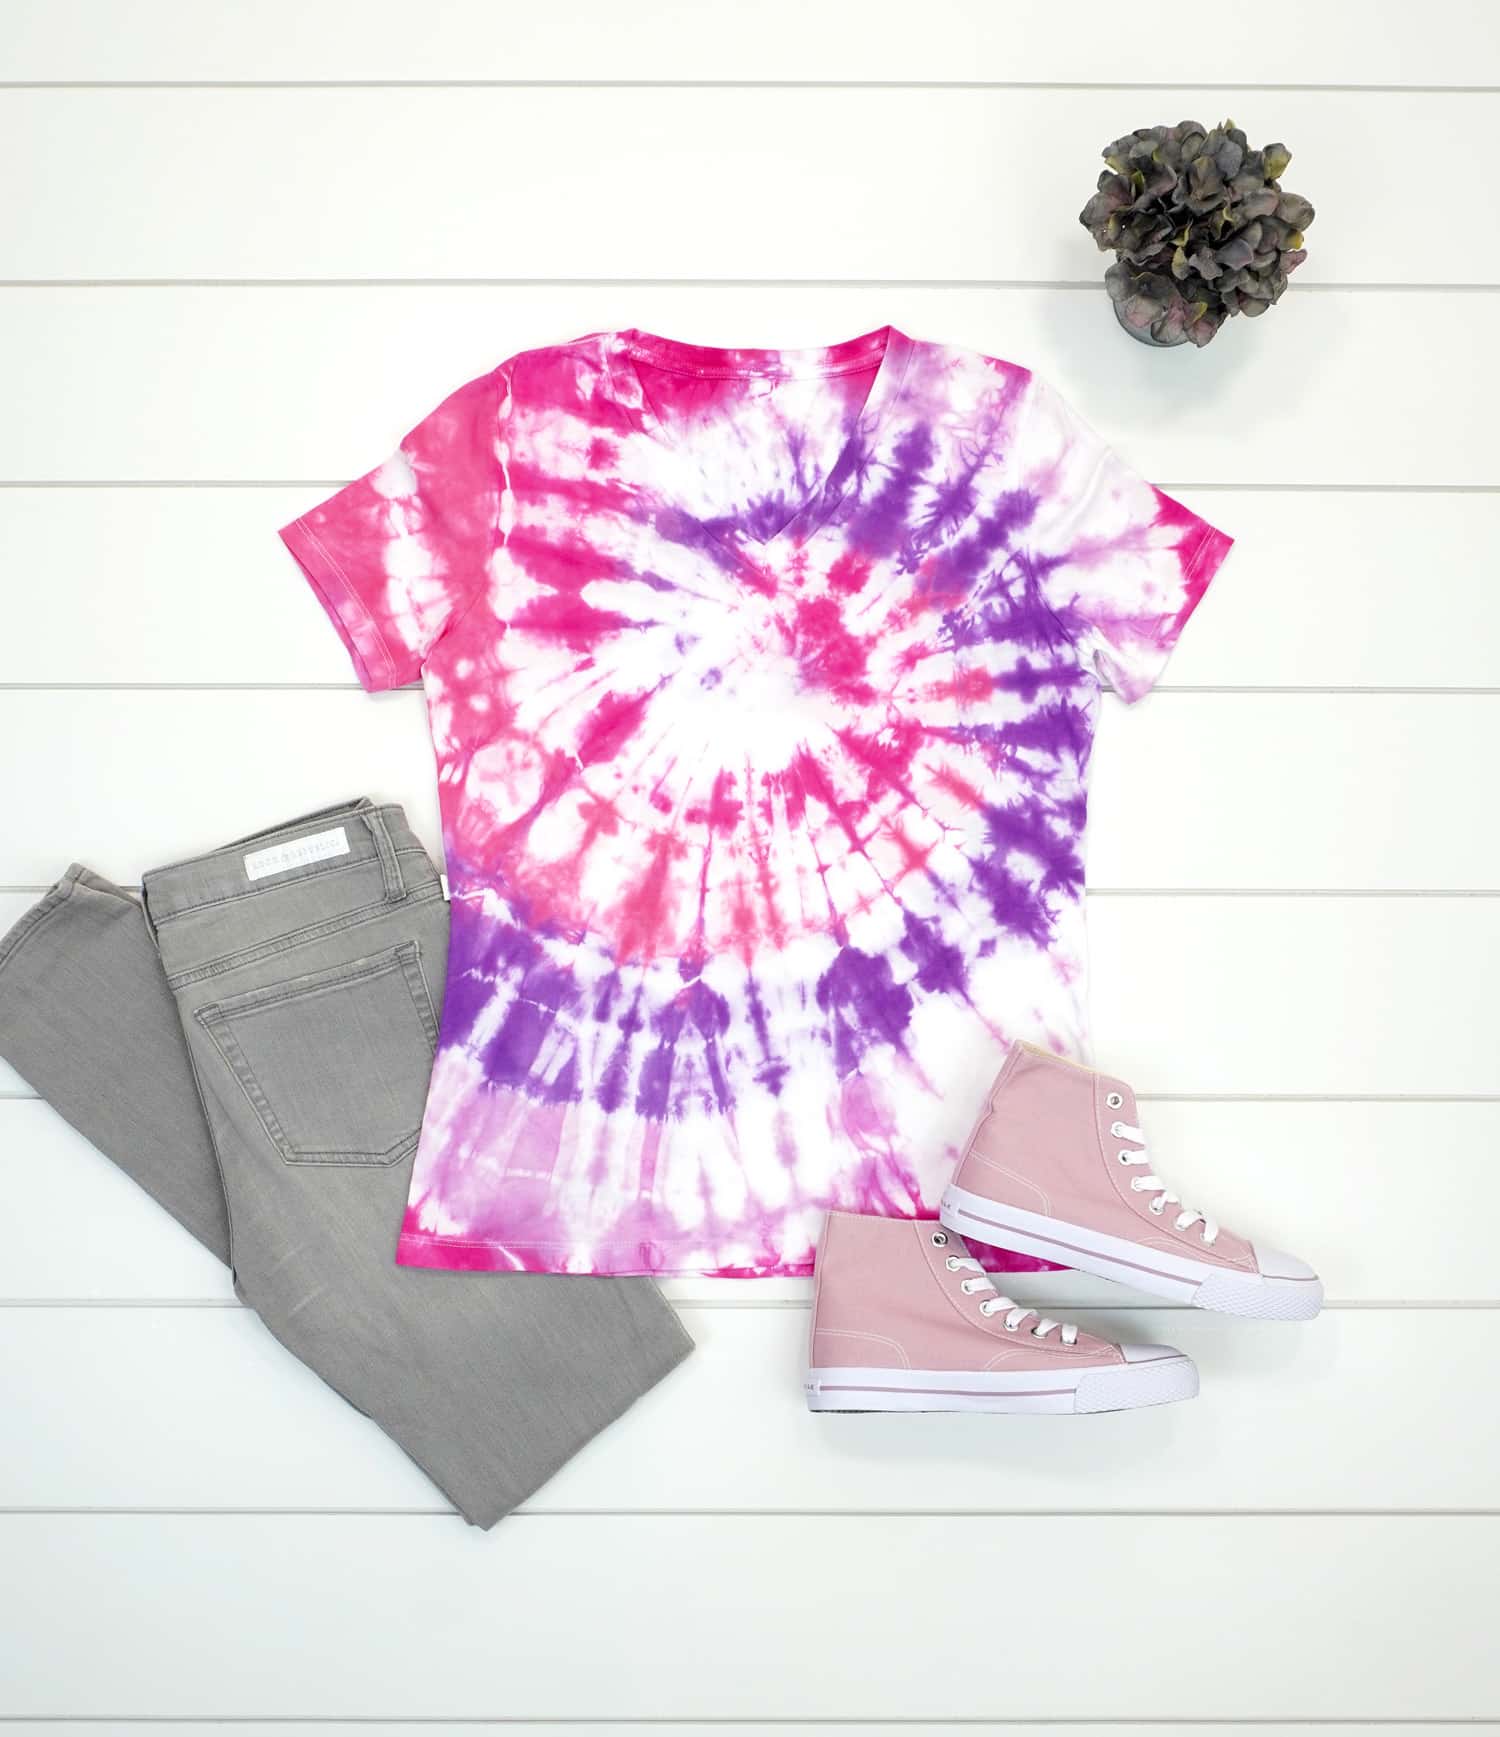
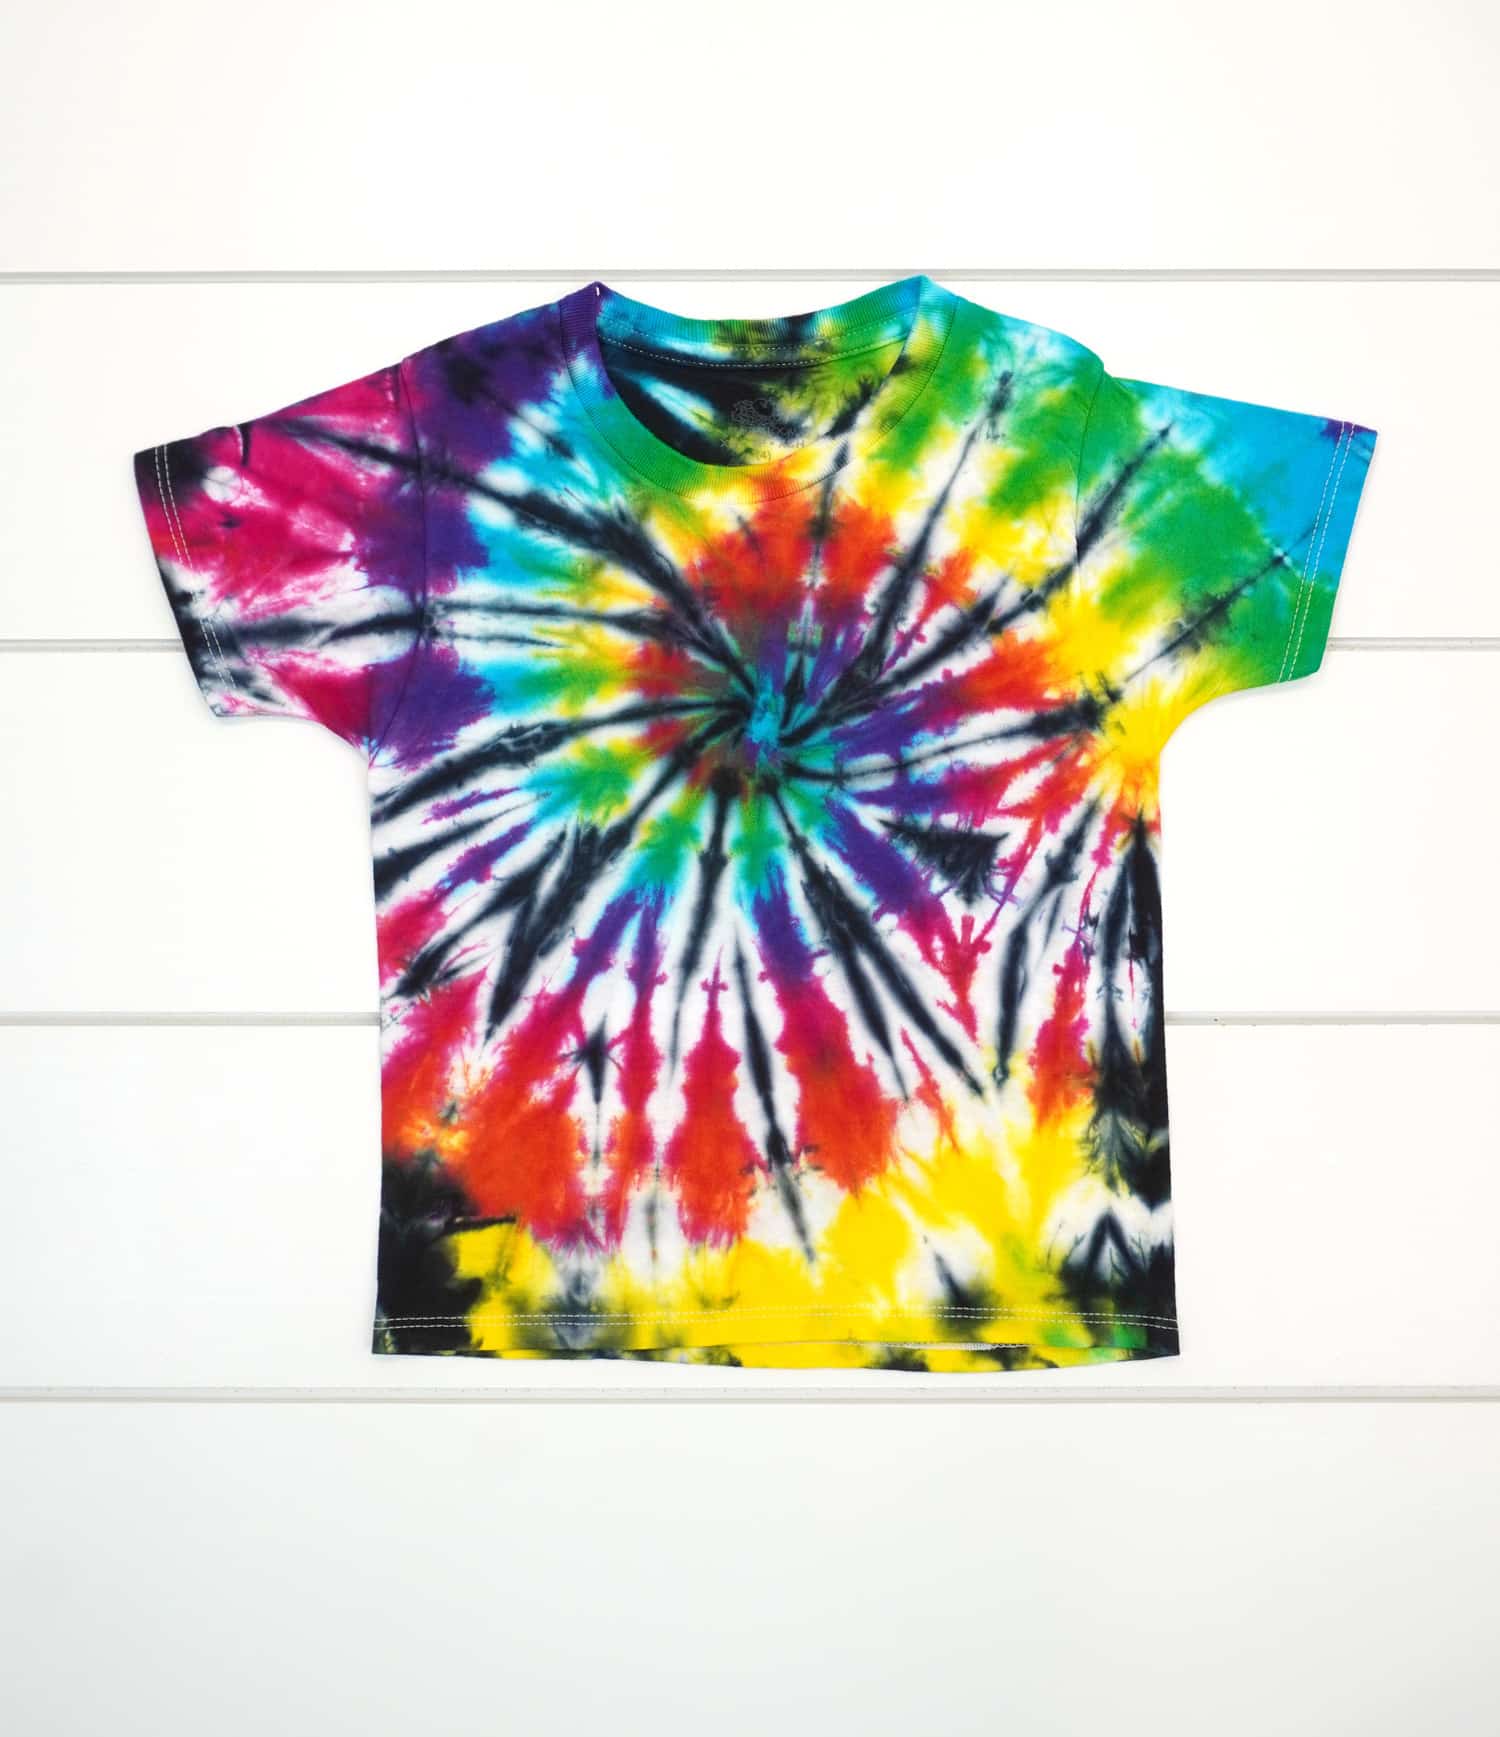
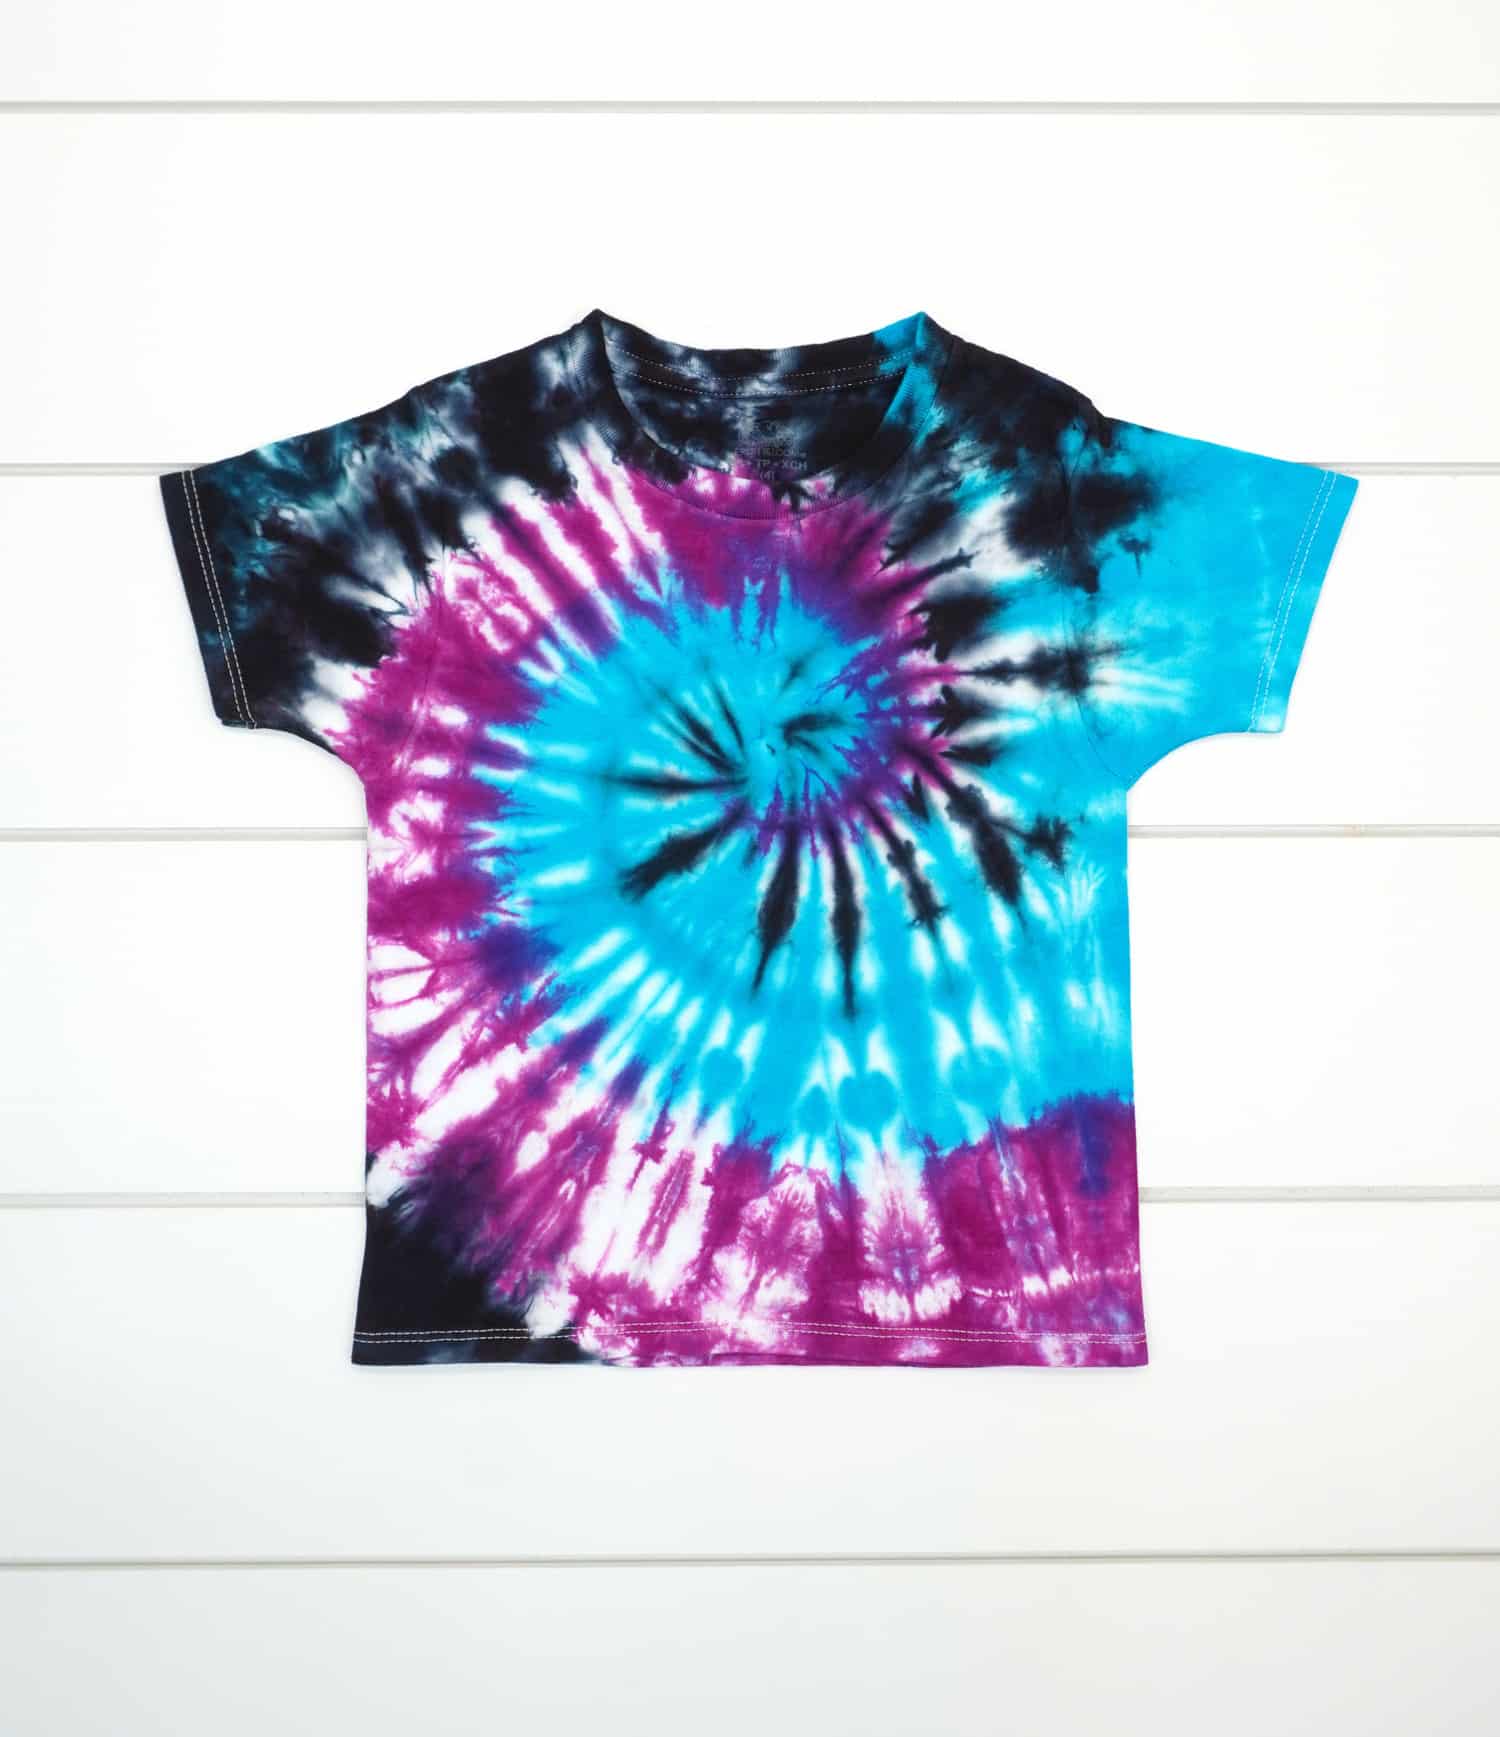
For multi-color designs, apply a different color to each of the wedge shapes. It’s up to you to decide how you want to place them, though! Be sure that the colors you are placing side-by-side will blend to form an appealing color and will not muddy.
Once you’ve finished applying the dye, carefully turn the shirt over and repeat the process on the other side.
Step 5: Let the Dye Set
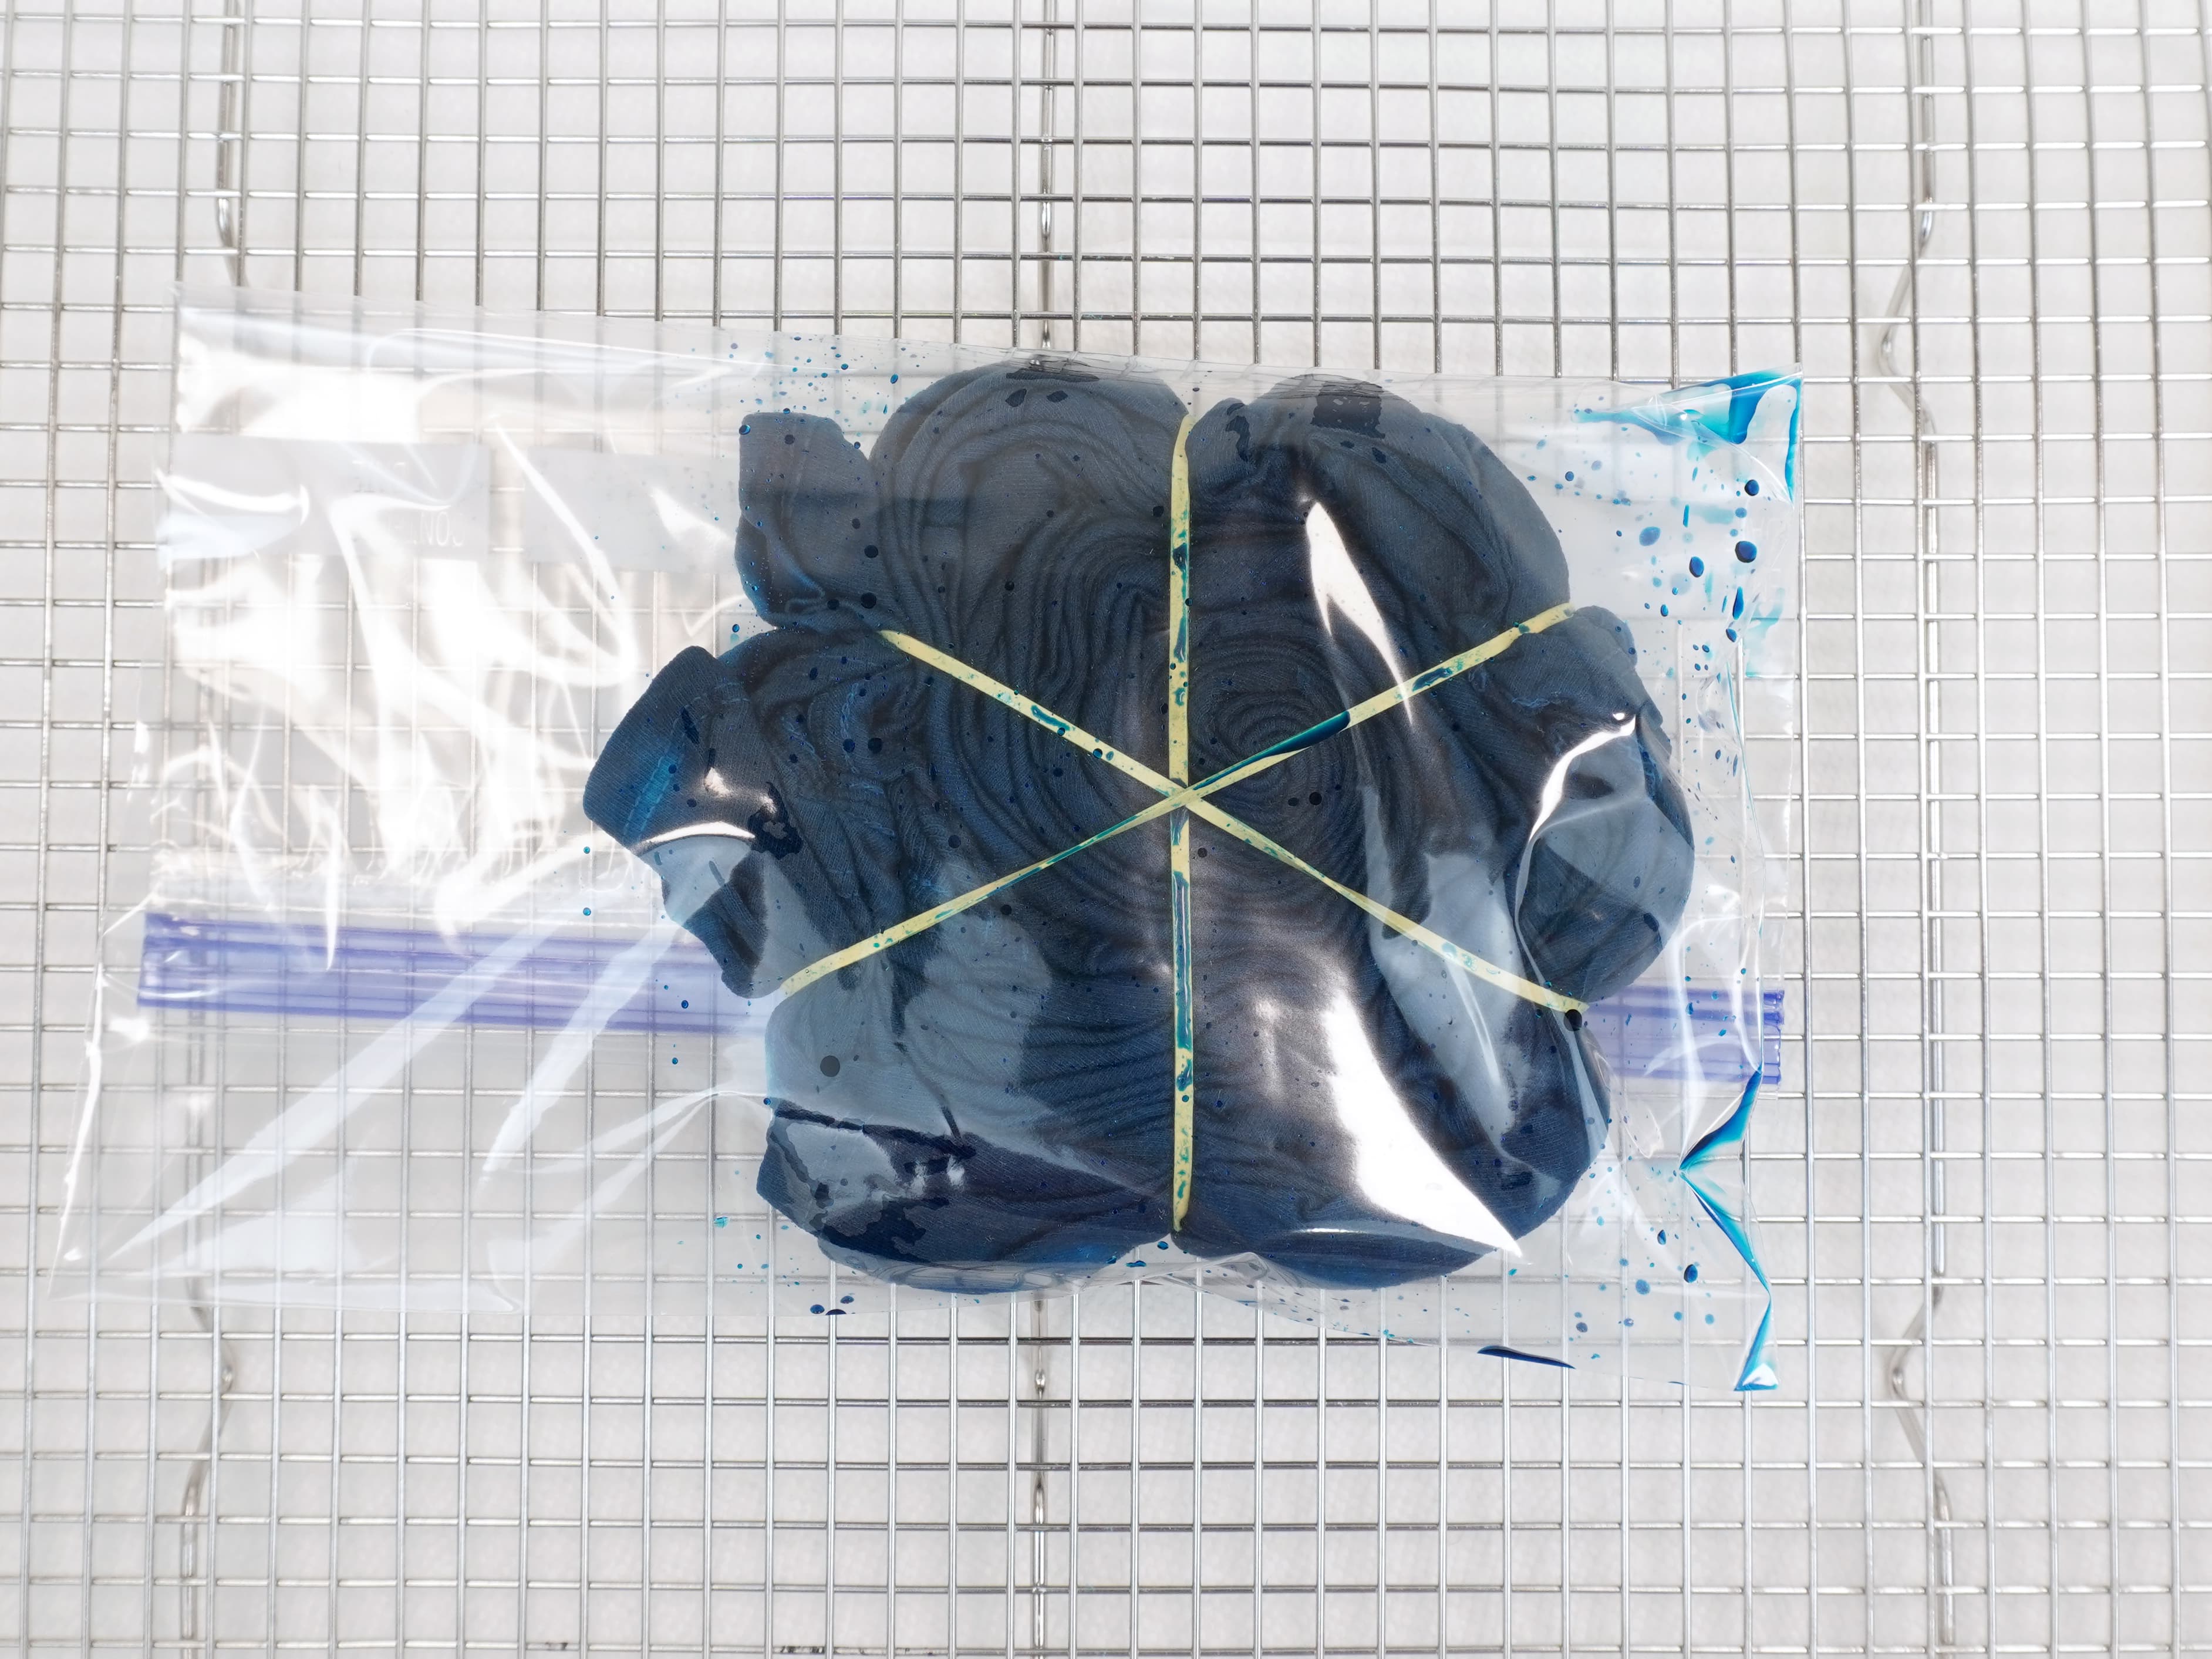
Wrap your dyed shirt in a plastic zip-top bag or cover it with plastic wrap, ensuring that it’s completely sealed. Allow the shirt to sit for at least 6-8 hours or up to 48 hours (I like to let mine set overnight) in a warm location to allow the dye to fully set.
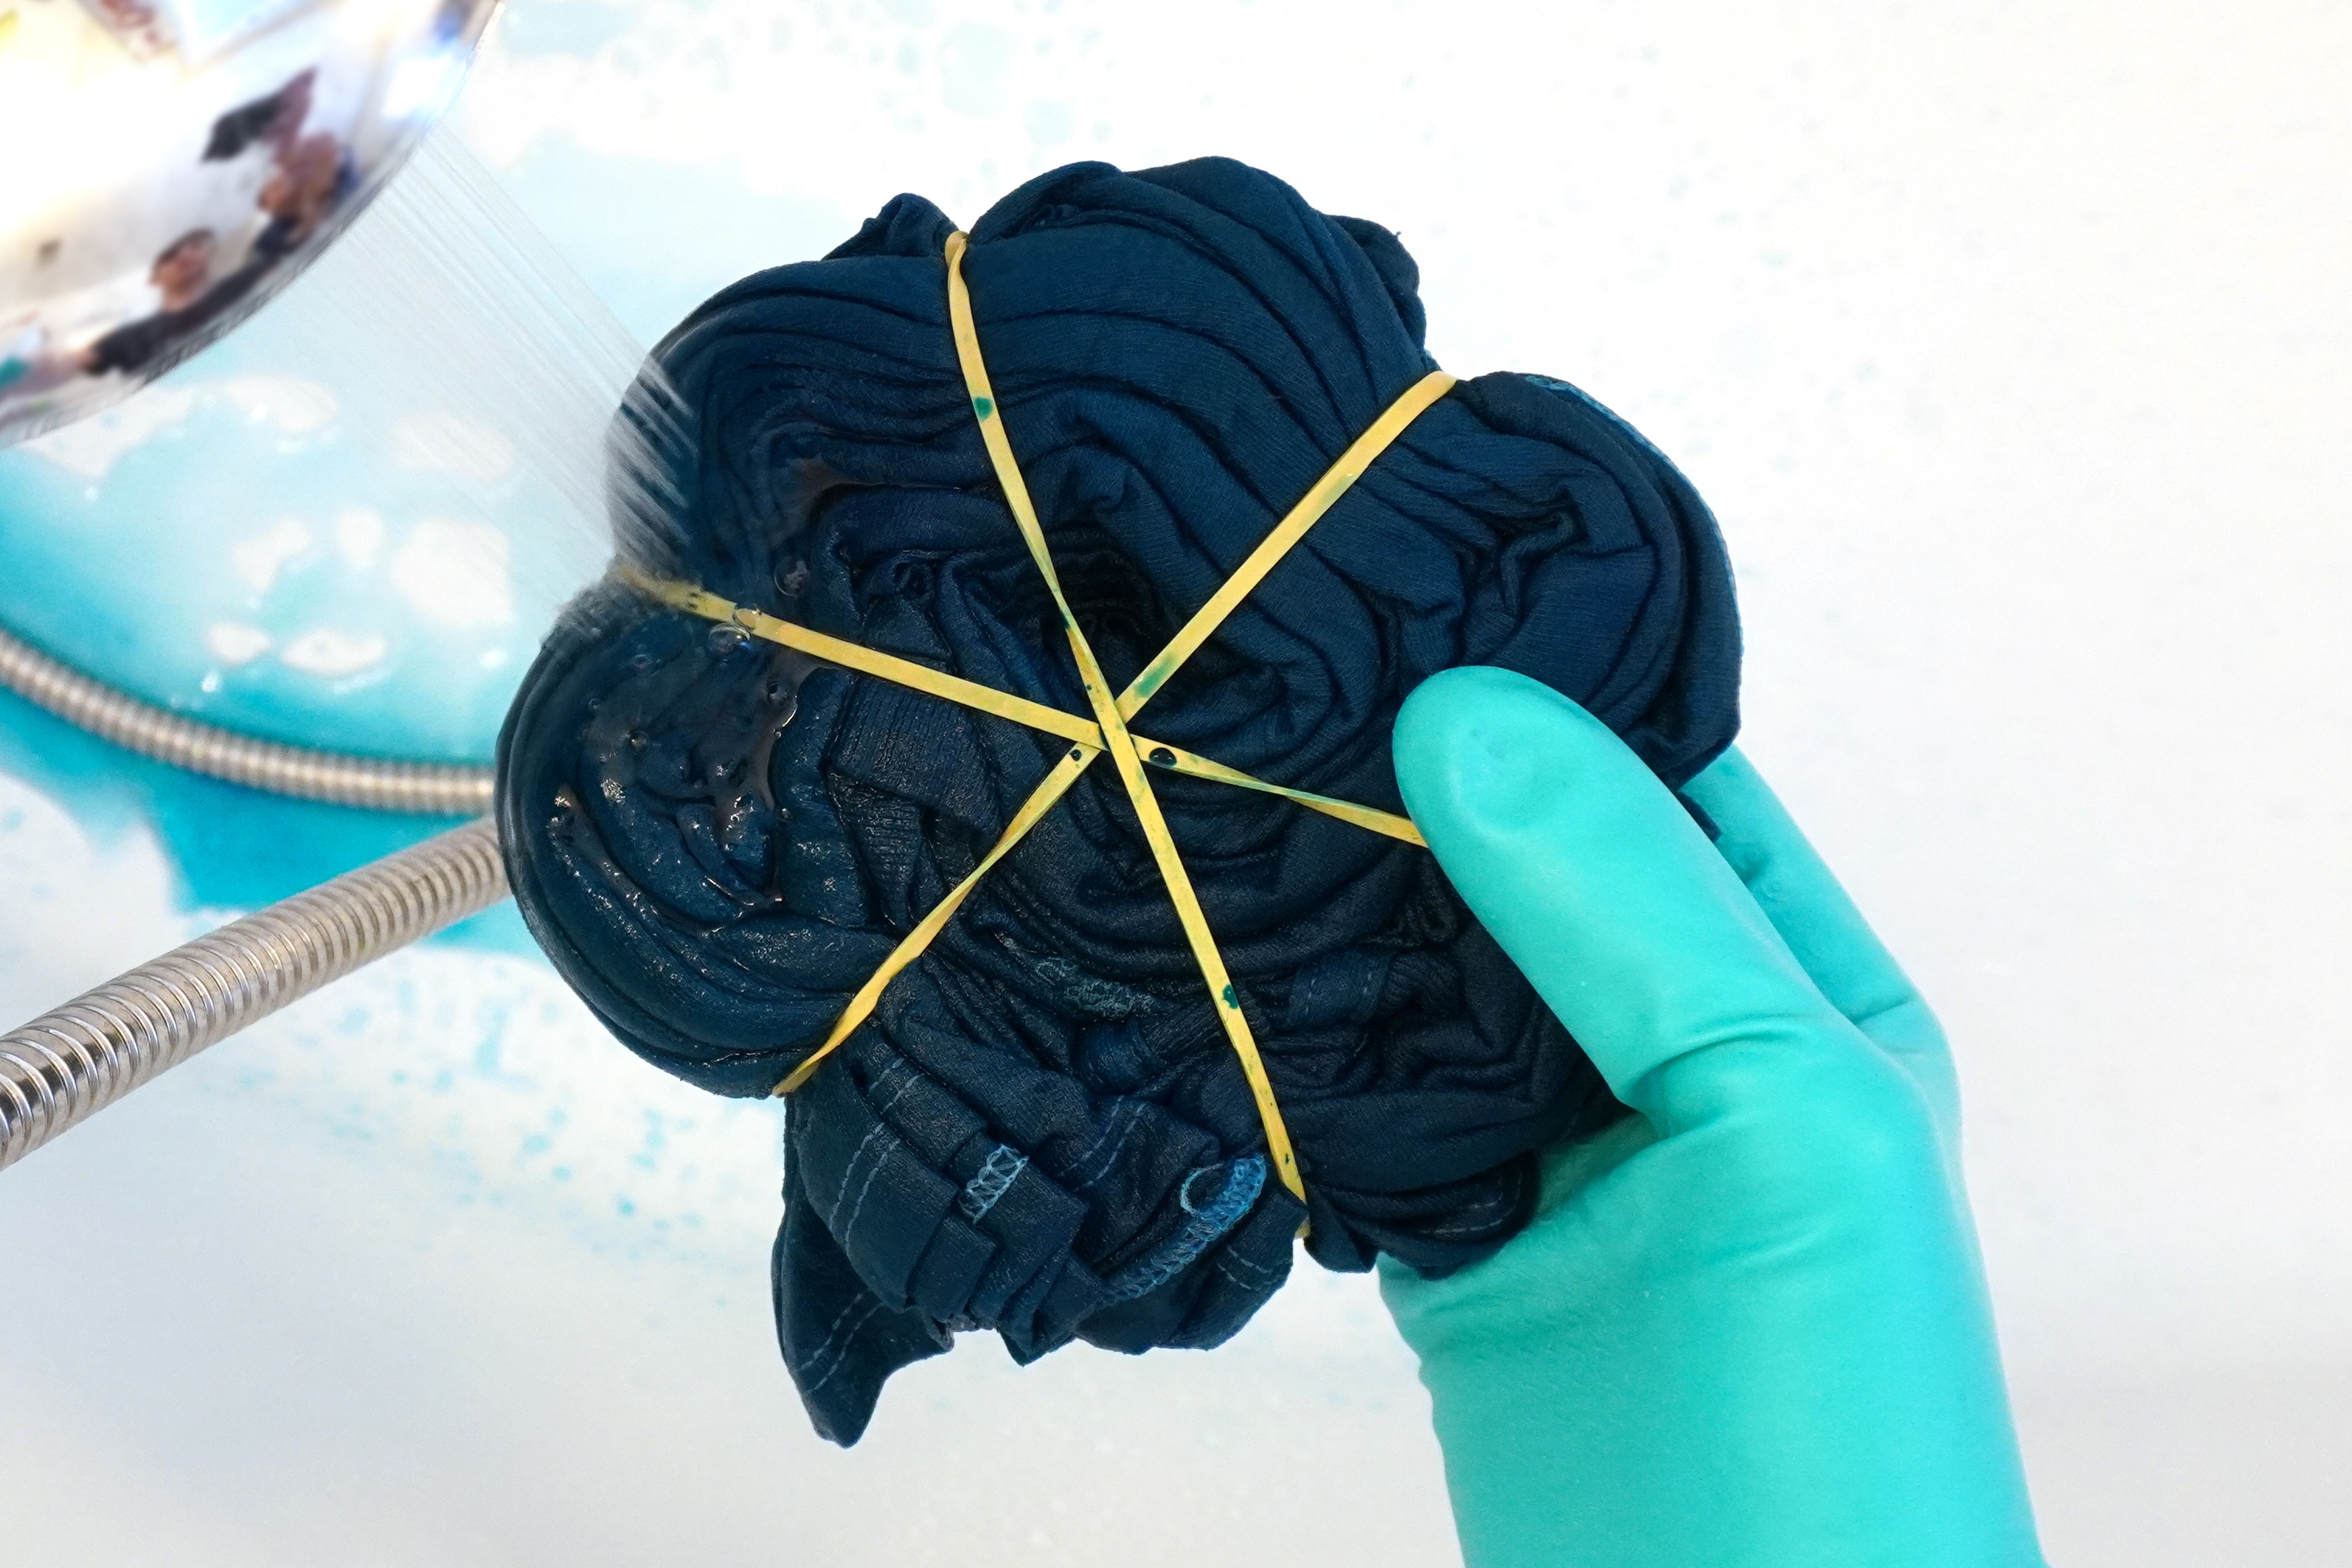
After the dye has been set, put your gloves back on and carefully remove the plastic wrap or bag. Run the shirt (still banded and folded) under cold water until the water runs mostly clear.
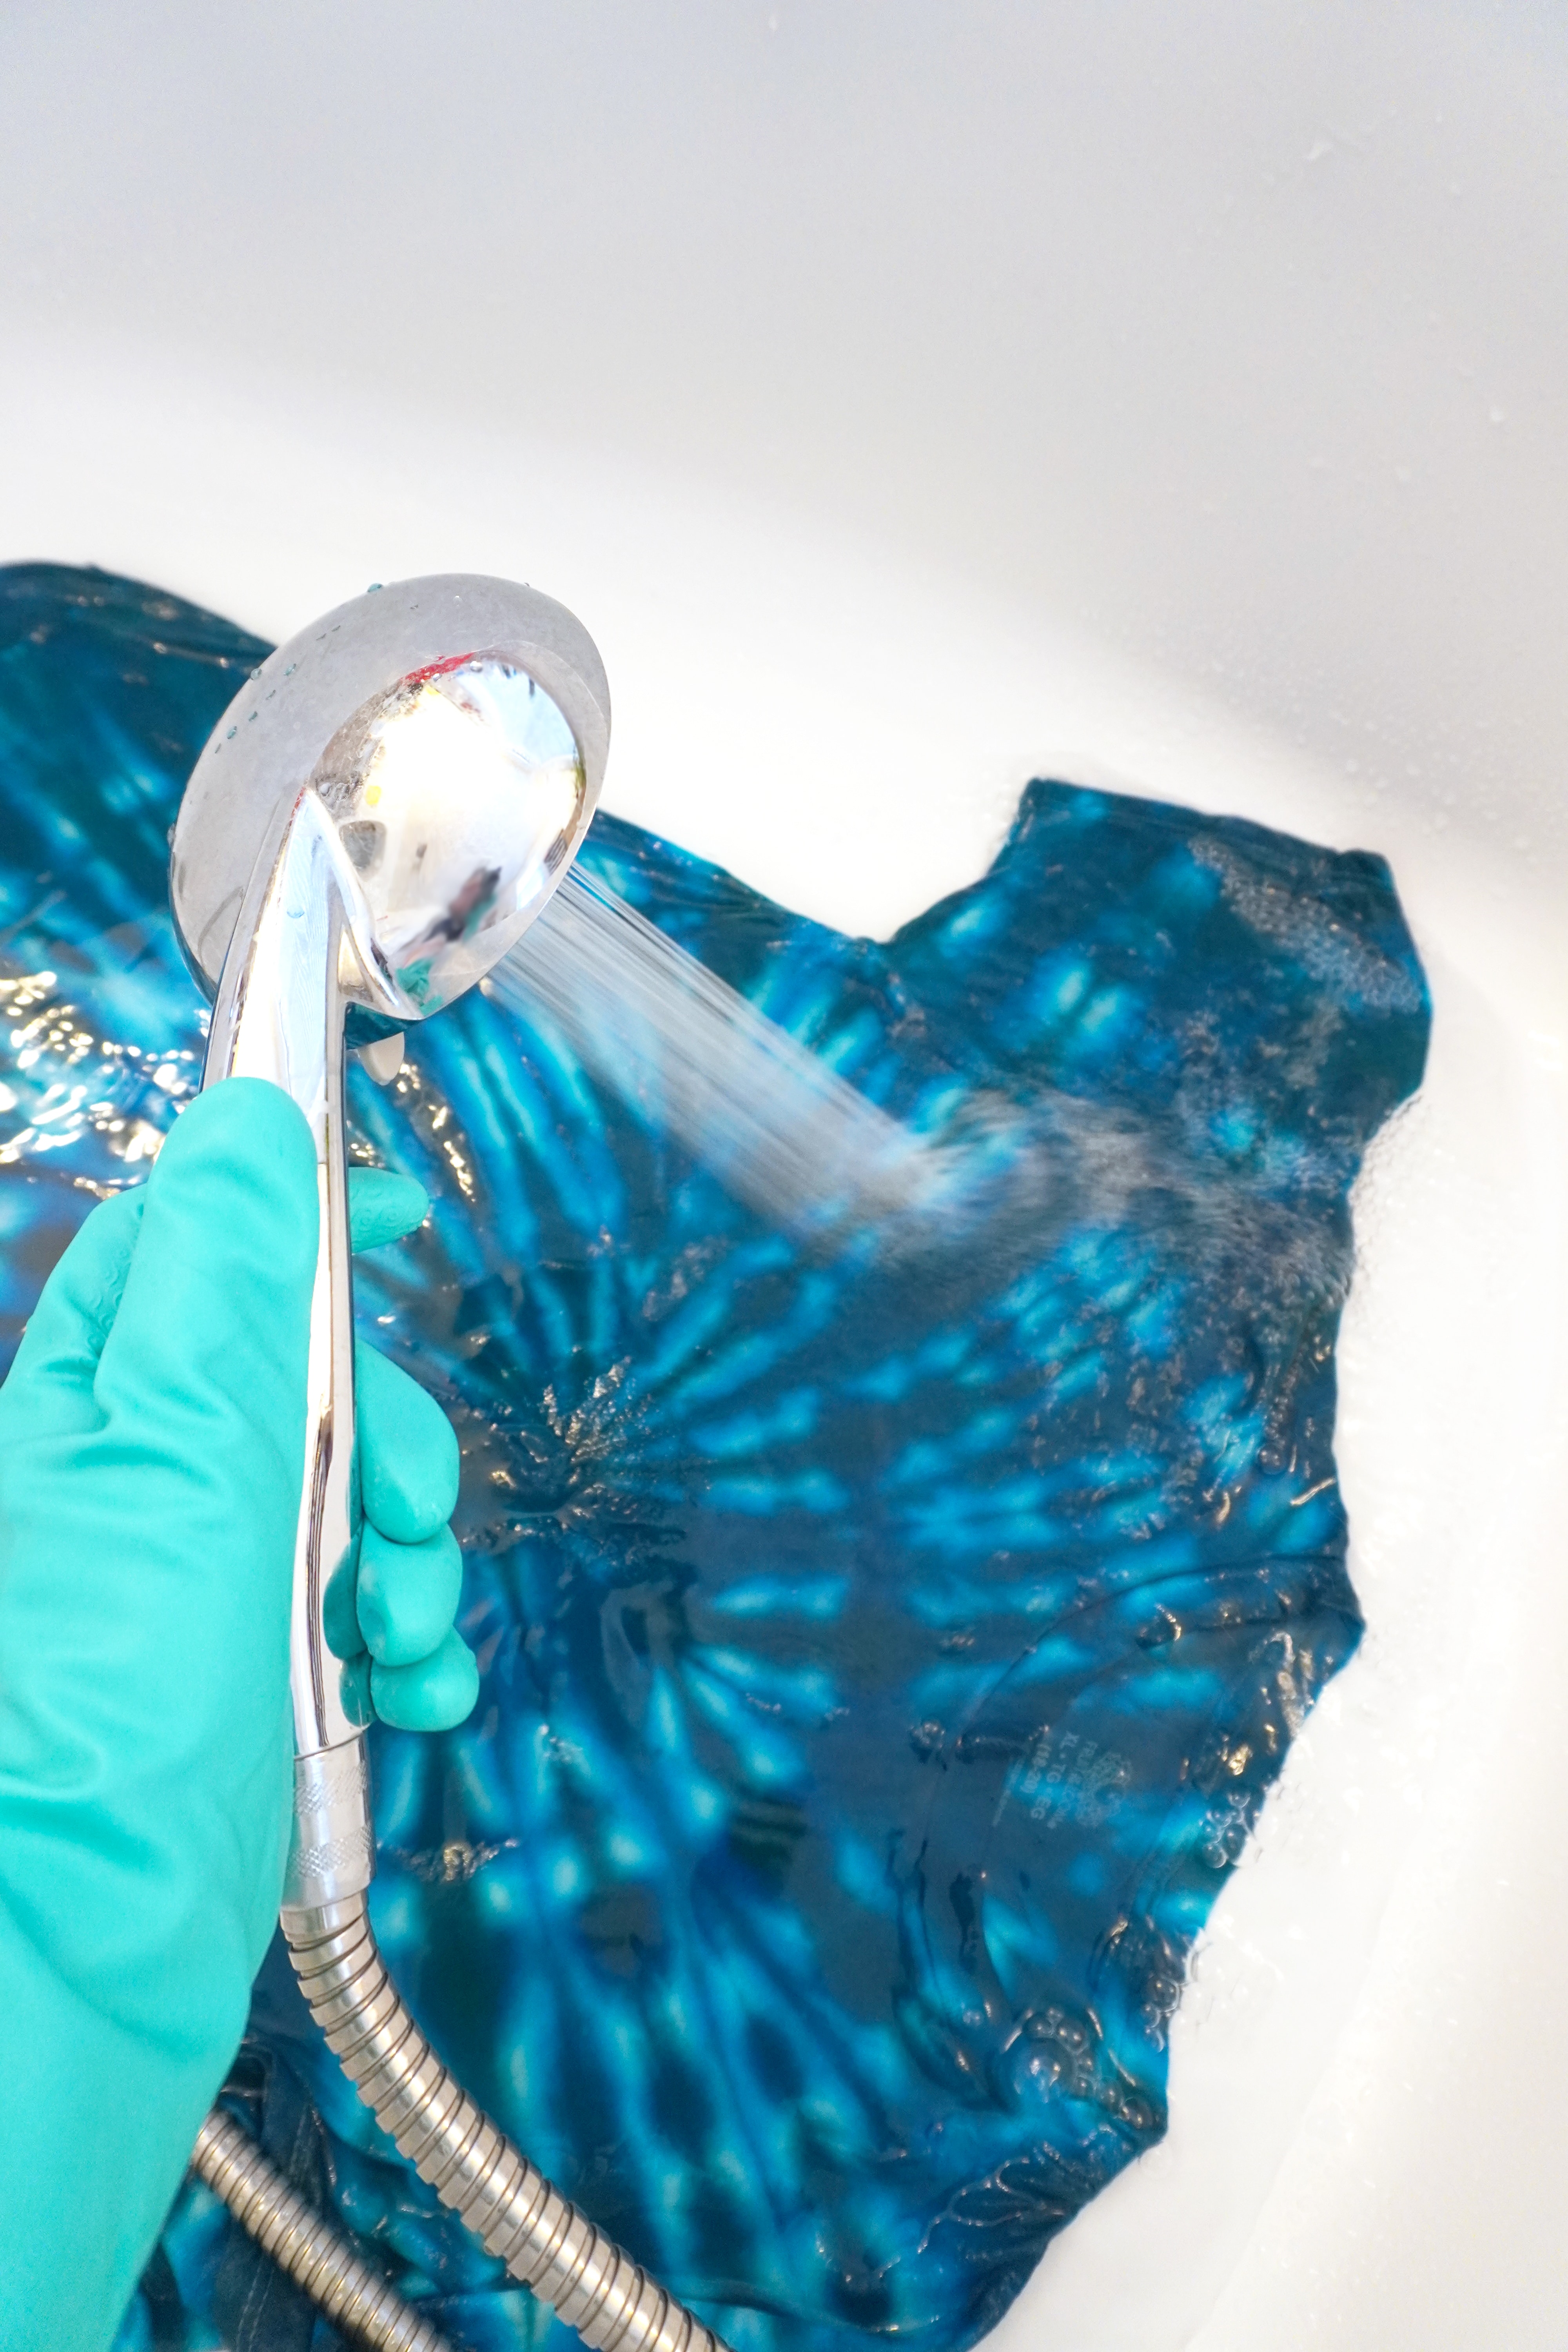
Remove the rubber band ties, and unfold the shirt. Continue to rinse under warm water until the water runs completely clear and there is no more excess dye.

Step 6: Rinse, Wash, and Dry Your Spiral Tie Dye Creation
Wash your shirt separately with hot water and a mild detergent that has been specially formulated for newly dyed fabrics, either by hand or in the washing machine on a gentle cycle. This specialty textile detergent helps to neutralize pH levels and ensure that any loose dye doesn’t redeposit back into the white space in your design. Dry your shirt either in the dryer on low heat or by hanging it up to air dry.
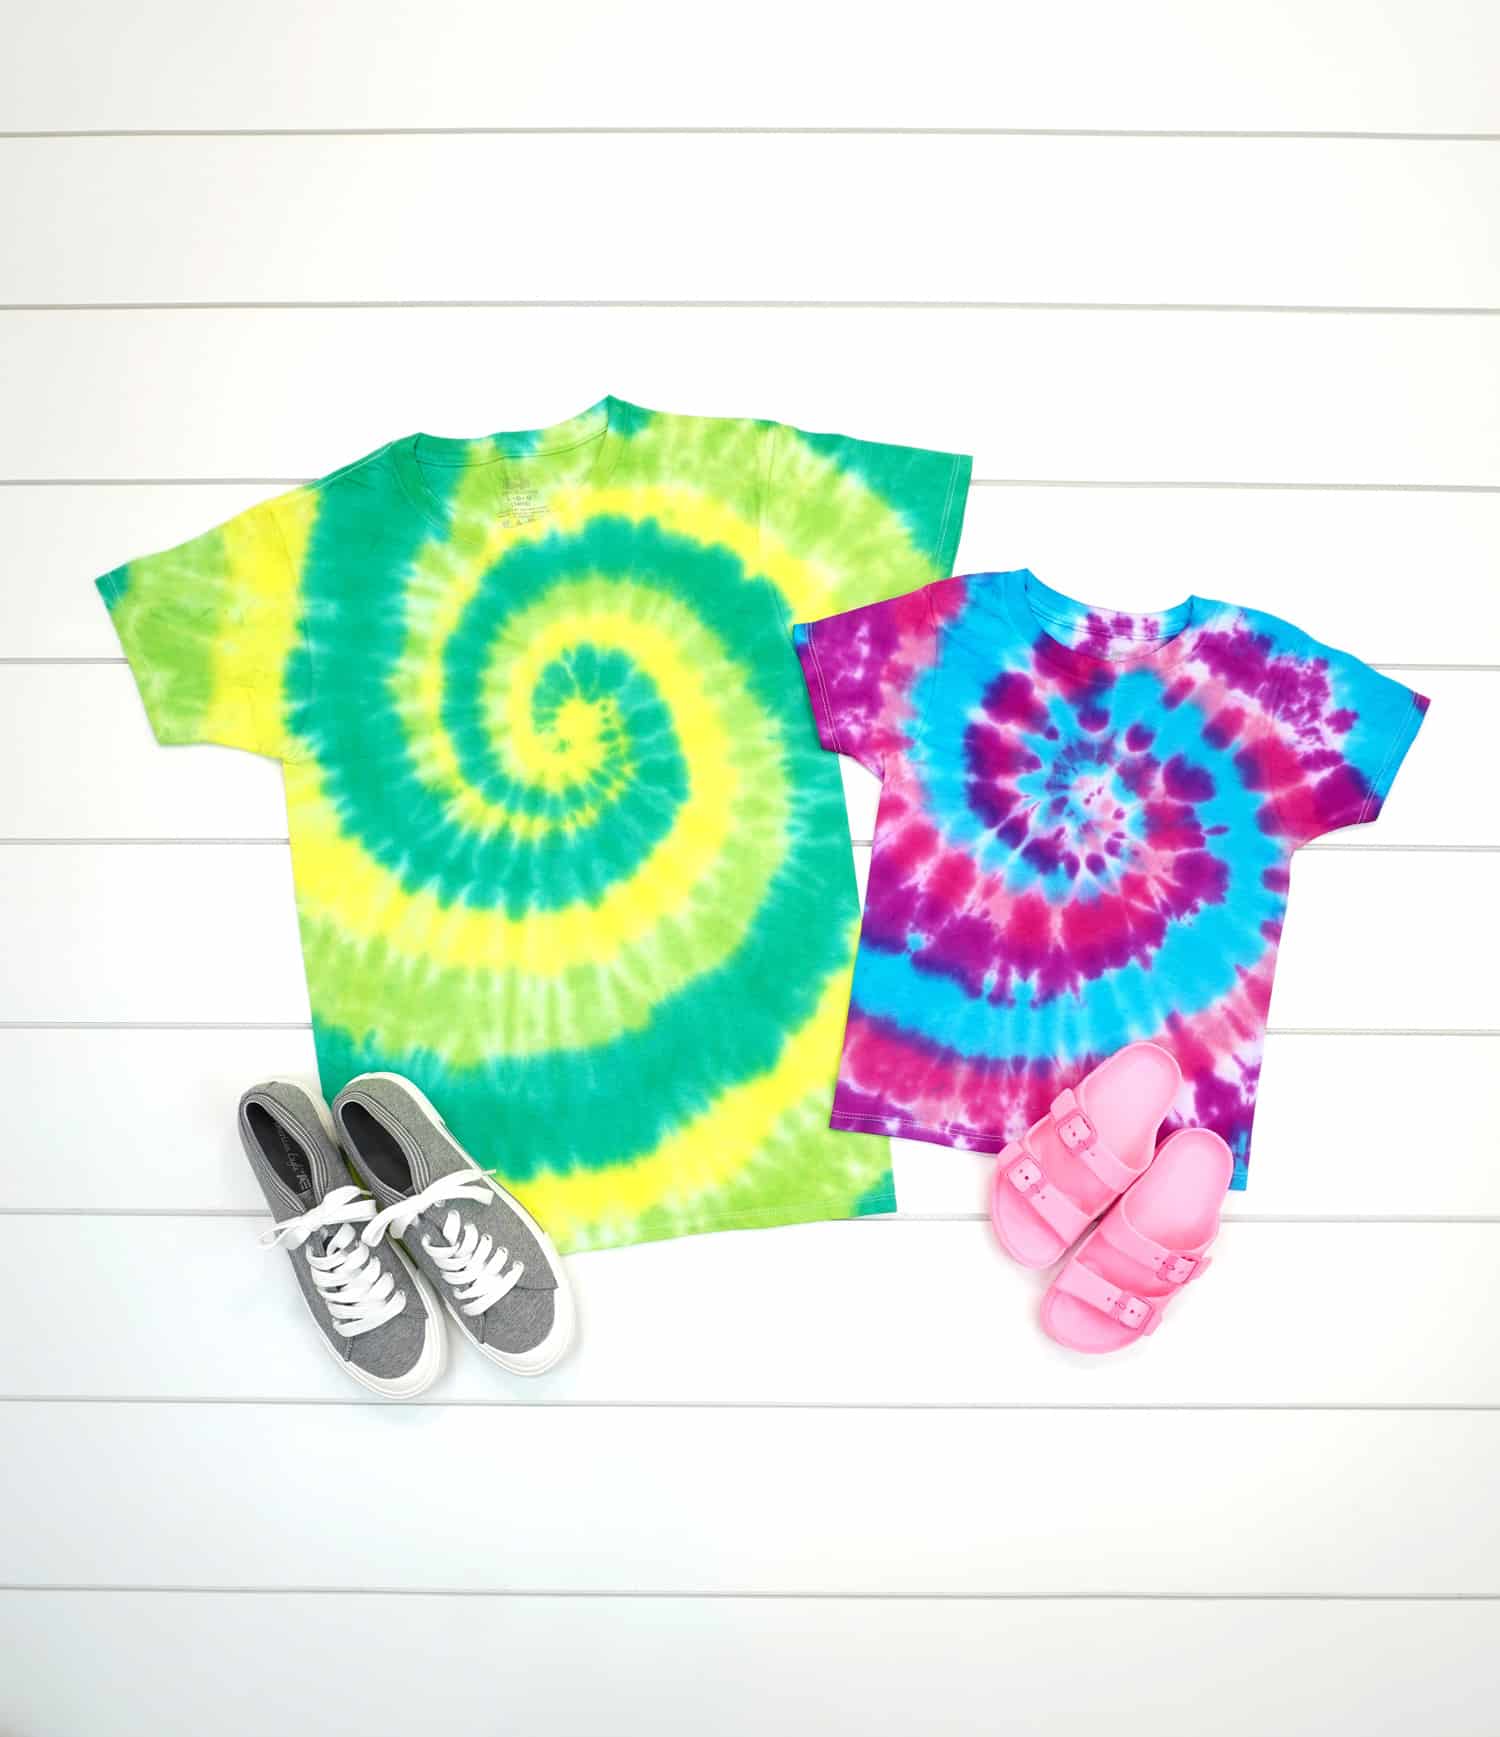
And there you have it! Your very own, hand-crafted spiral tie dye masterpiece!
Frequently Asked Questions About Spiral Tie-Dye
Here are some common questions that we often get about creating Spiral Tie-Dye projects:
Why is 100% Cotton Best for Tie-Dye?
100% cotton is the best choice for tie-dye because natural fibers absorb the dye more effectively than synthetic materials. Natural fibers like cotton, linen, and rayon hold dye better during the fiber-reactive chemical process, resulting in more vibrant and long-lasting colors. Synthetic fibers such as polyester and nylon will not absorb the dye as well (or at all!), leading to less vibrant colors and possible color bleeding.
Is it okay to skip using soda ash in the tie-dye process?
While it’s possible to create a tie-dye project without using soda ash, it’s not recommended for the best results. Soda ash is a chemical that helps the dye bond with the fibers of the shirt, resulting in brighter and longer-lasting colors. By skipping soda ash, the dye may not adhere as well, and the colors may appear duller or fade more quickly after washing. If you’re unable to use soda ash, pre-soaking your shirt in a solution of water and white vinegar can be an alternative, but the results may not be as vibrant.
How can I ensure that the colors in my spiral tie-dye project don’t bleed?
To minimize color bleeding in your Spiral Tie-Dye project, make sure to apply the dye carefully to each section of the shirt, and avoid over-saturating the fabric. It’s also essential to completely and thoroughly rinse the shirt under cold water and then warm water after the dye has set, as this helps remove any excess dye that may cause bleeding.
Washing the shirt separately for the first few washes in specialty detergent can also prevent color bleeding onto other clothing items. I also recommend adding a color-catching sheet to the washing machine during the first few wash cycles.

Can I use more than one color for my spiral tie-dye shirt?
Absolutely! Using multiple colors in your spiral tie-dye project can create fantastic results and a unique design. When selecting colors, consider using complementary colors that blend well together or contrasting hues for the best visual impact. Just remember to apply the dye carefully to avoid muddying the colors.
With these FAQs in mind, you should feel more confident in your classic spiral dye projects. Remember that practice makes perfect, so don’t be discouraged if your first tie-dye creation doesn’t turn out exactly as you envisioned. Keep experimenting with different color combinations, folding techniques, and dye application methods to find the style that works best for you!
By following the steps outlined above and incorporating these tips and tricks, you’ll be well on your way to perfecting your classic spiral tie-dye technique. I hope you enjoyed learning how to create this classic design. Don’t forget to share your creations with us and inspire others with your unique and vibrant designs. !

Check Out These Other Tie Dye Projects!
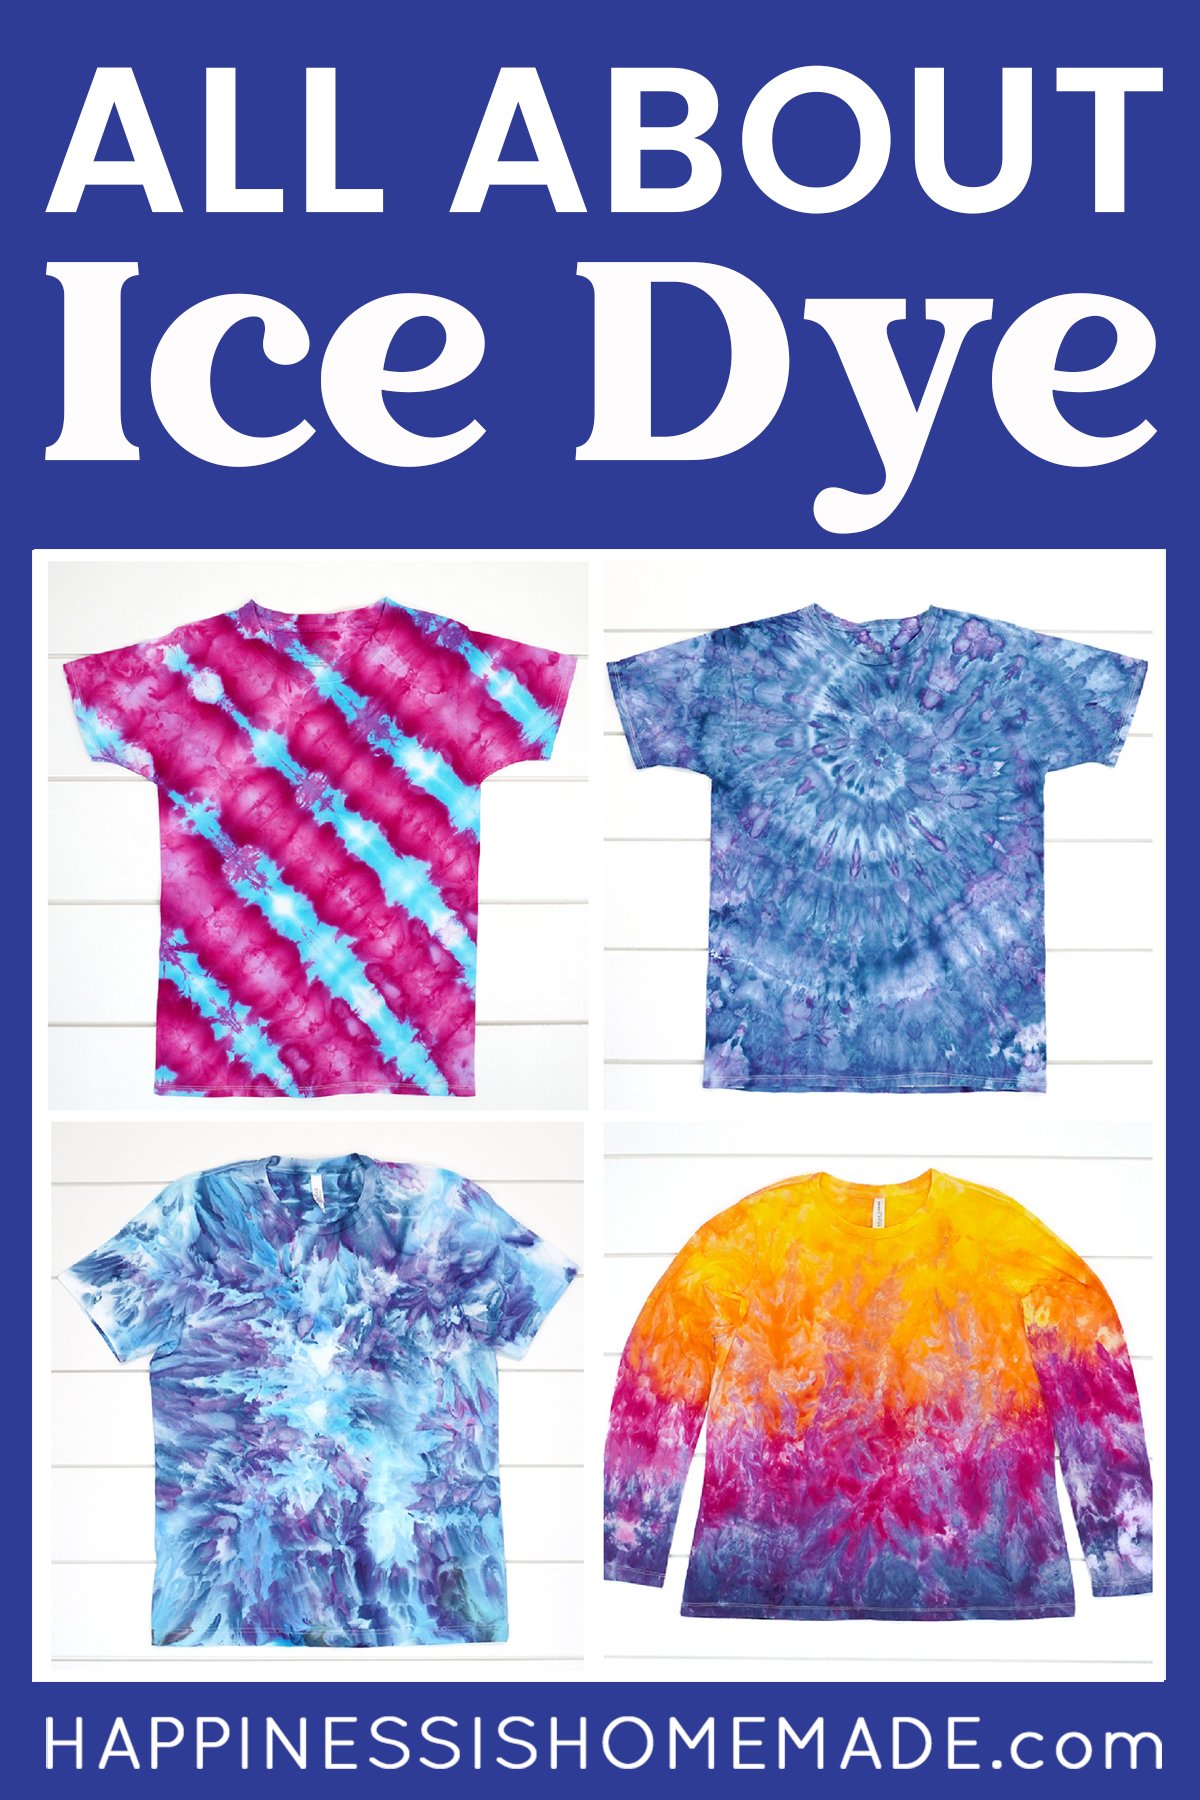
 How to Ice Dye: Easy Tie-Dye Tutorial
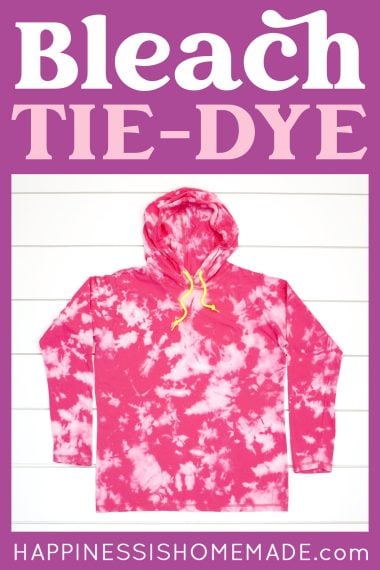
 How to Bleach Tie-Dye Shirts
- Spiral Tie-Dye Pattern: How to Fold and Dye
- How to Bleach Stencil Shirt Designs
- Must Have Tie-Dye Supplies
- Avocado Dye – How to Dye with Avocados!
- How to Tie Dye an Upcycled T-Shirt Garden Flag
- How to Tie Dye Shirts with Kids


Pin This Spiral Tie-Dye Tutorial for Later!


Heidi Kundin has captivated the hearts of millions with her colorful and inspiring approach to crafting, celebrations, and family fun. With over 15 years of experience, Happiness is Homemade has become a must-visit destination for those seeking quick and easy creative ideas and last-minute solutions. Heidi’s warm personality shines through her posts, inviting readers to join her on a creative journey that’s fun, rewarding, and achievable. Heidi is also the author of Homemade Bath Bombs & More and DIY Tie-Dye.