
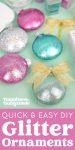

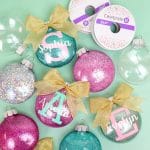

Learn how to make DIY glitter ornaments + discover the very best glue to use (we tested 10!)! These glitter ornaments are SUPER easy to make, and they make a perfect gift idea, too!
This post may contain affiliate links. I will receive a small commission from these sales at no additional cost to you!
DIY Glitter Ornaments
Learn how to make DIY glitter ornaments + discover the very best glue or adhesive to use (we tested 10 kinds!)!
I think that I may need a glitter intervention! These glittered ornaments are so ridiculously simple to make that I can’t seem to stop making them! I made three dozen of them before I ran out of blank ornaments, and now I’m racing back to the craft store to get more supplies!
Note: I made the first original batch of these glitter ornaments way back in 2012, and the ornaments that I made back then are still going strong! The original batch was made using the floor wax method, but since then, we also tested TEN different adhesives to determine the very BEST glue to use to make glitter ornaments! Be sure to keep reading to check out that information!
Check This Out!
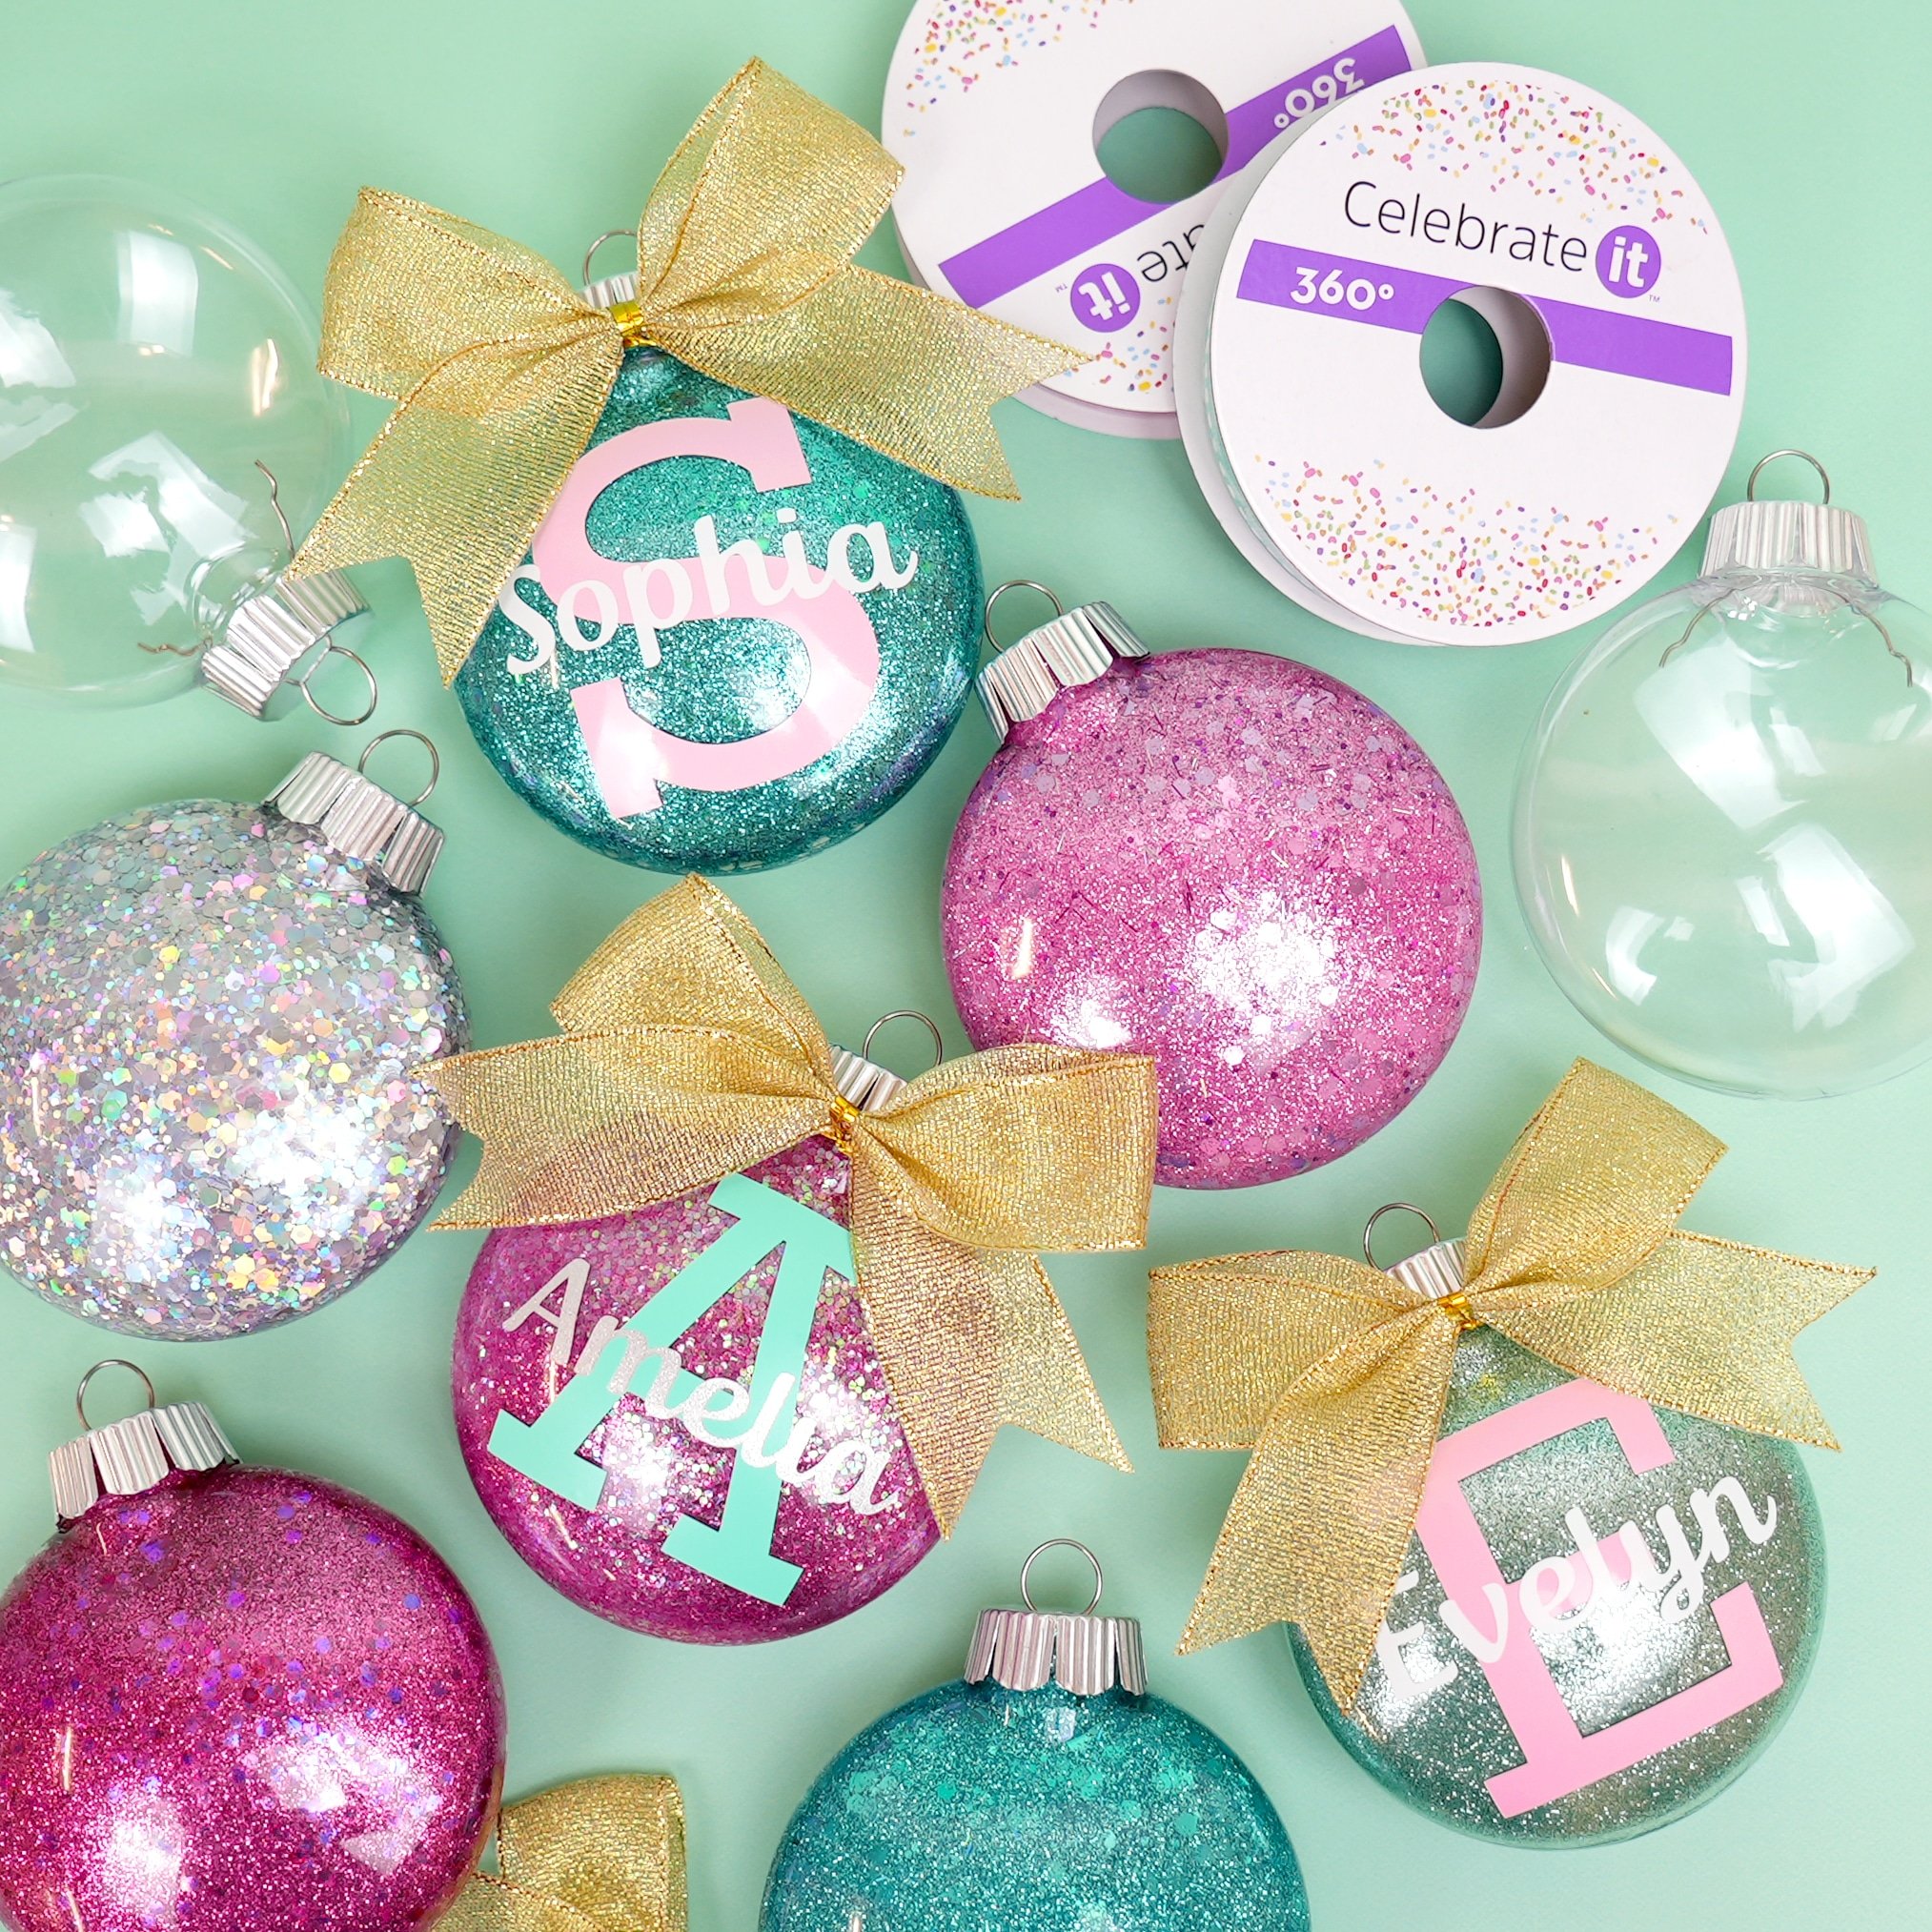
If you like these glitter ornaments, you’re going to love our customized version! Check out DIY Personalized Glitter Ornaments for even more ways to make your glitter ornaments unique!
How to Make DIY Glitter Ornaments
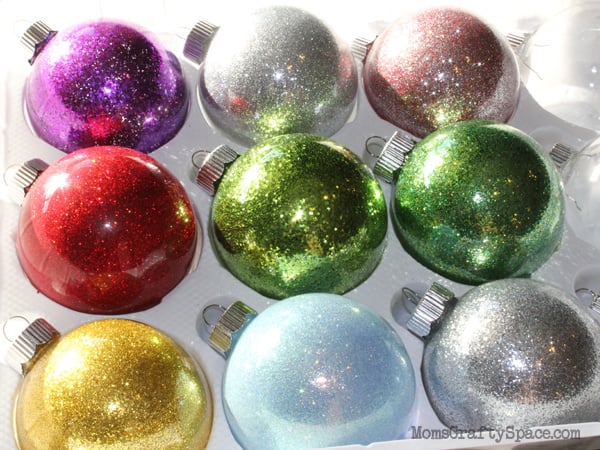
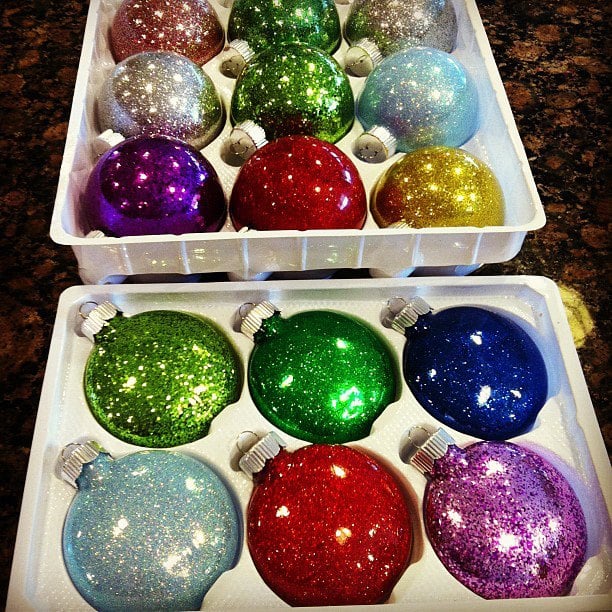
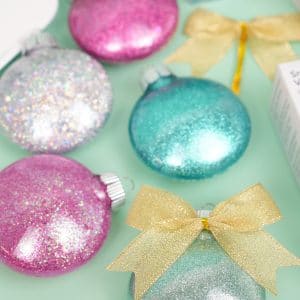
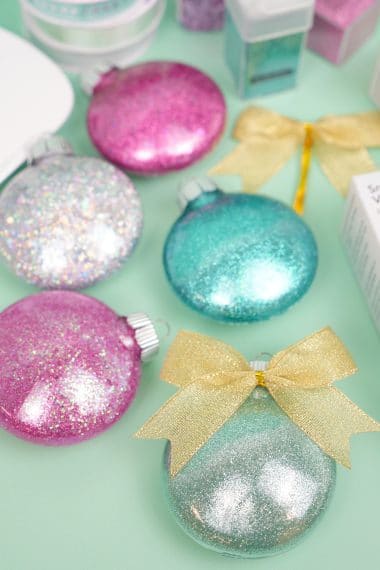
Making Christmas glitter ornaments is my favorite Christmas craft because it’s so easy, and the ornaments look absolutely gorgeous hanging on your Christmas tree! Who would have thought that such a simple craft could make such a huge impact?
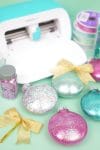
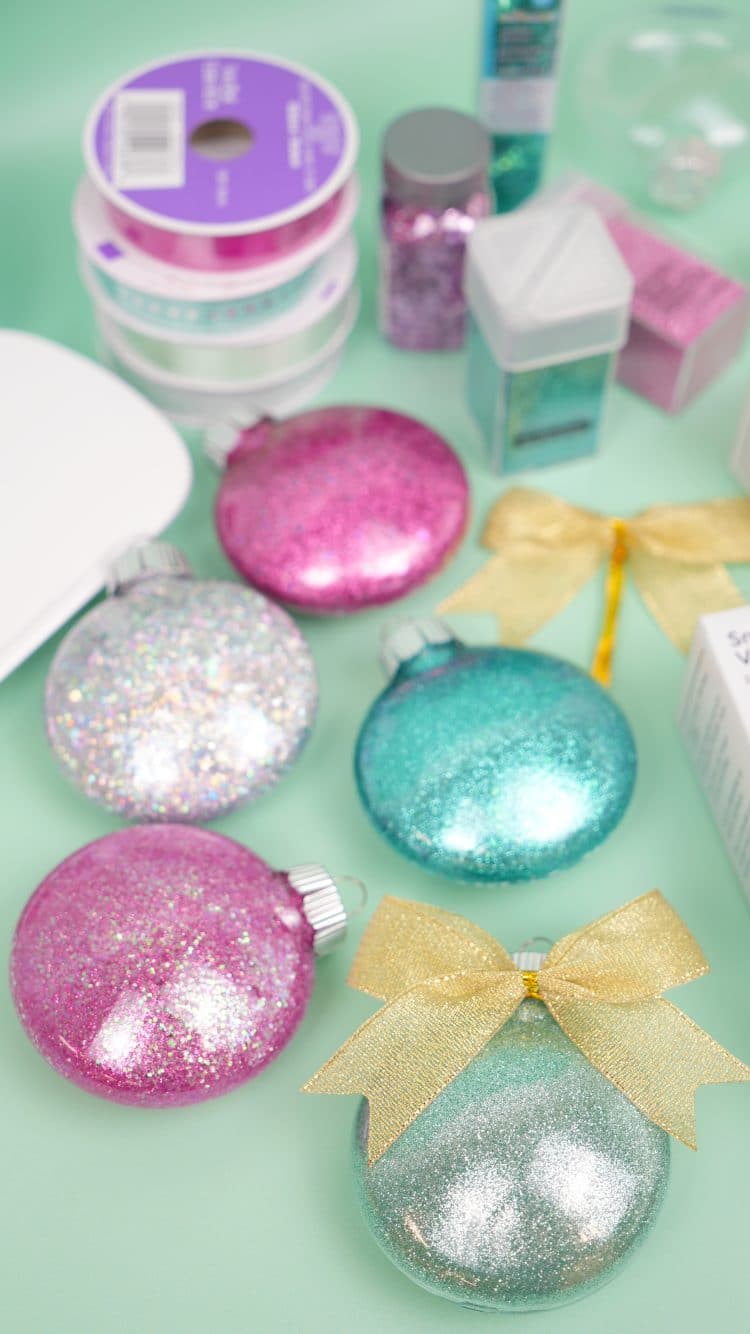
Supplies Needed for DIY Glitter Christmas Ornaments:
- Clear Ornaments (Glass or Plastic; shaped as desired*)
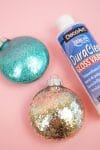
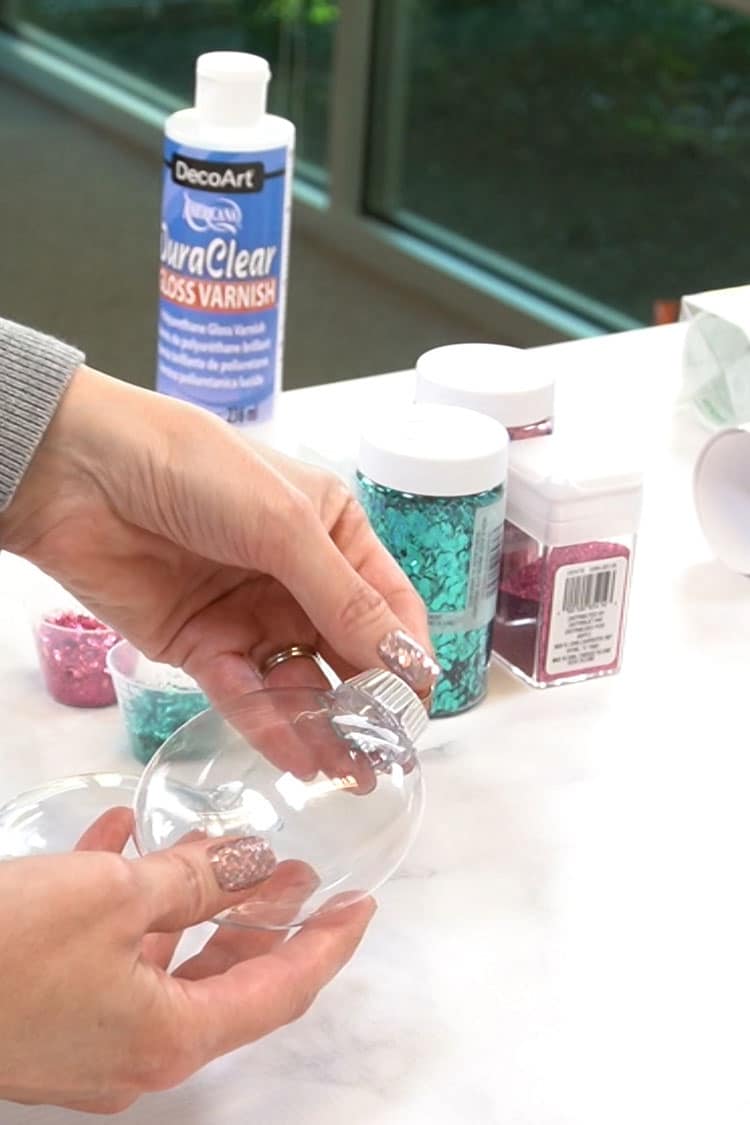
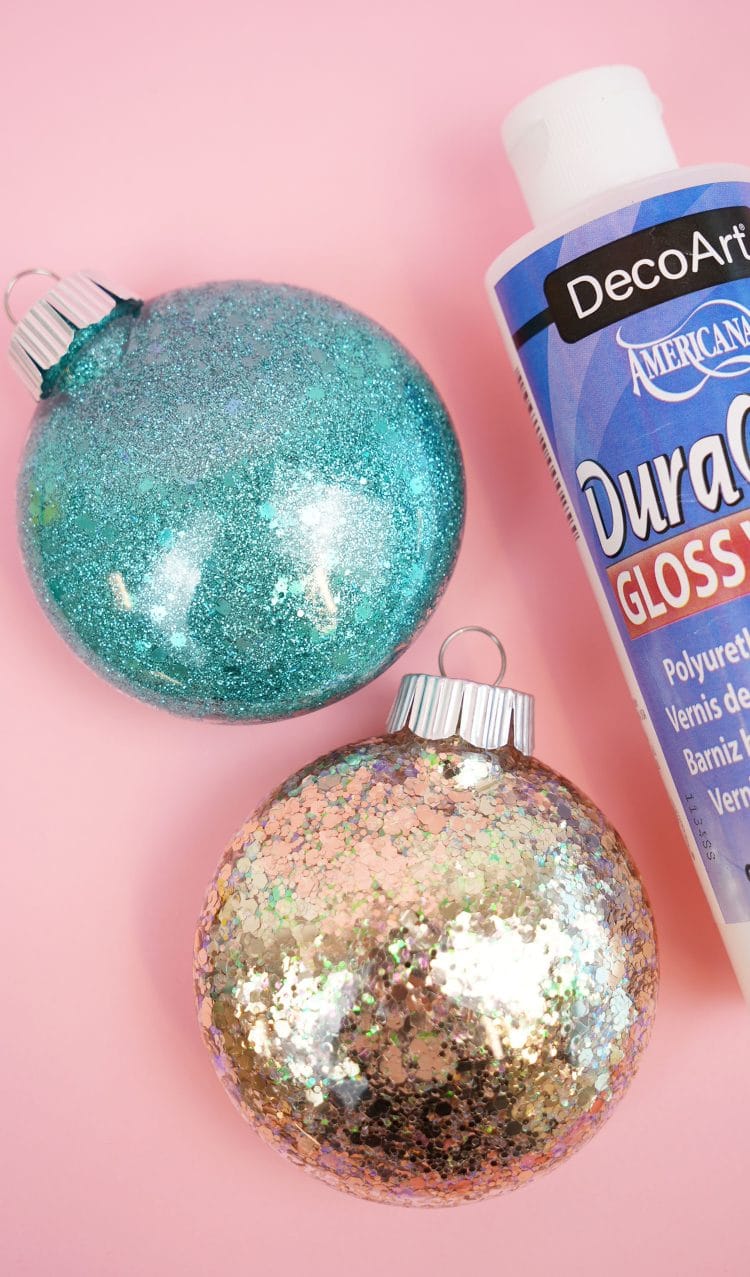
- Adhesive of Choice (see detailed list of options below – our two favorites are Duraclear Gloss Varnish and Beacon’s Glitter-It!. I am using the Duraclear in the tutorial below)
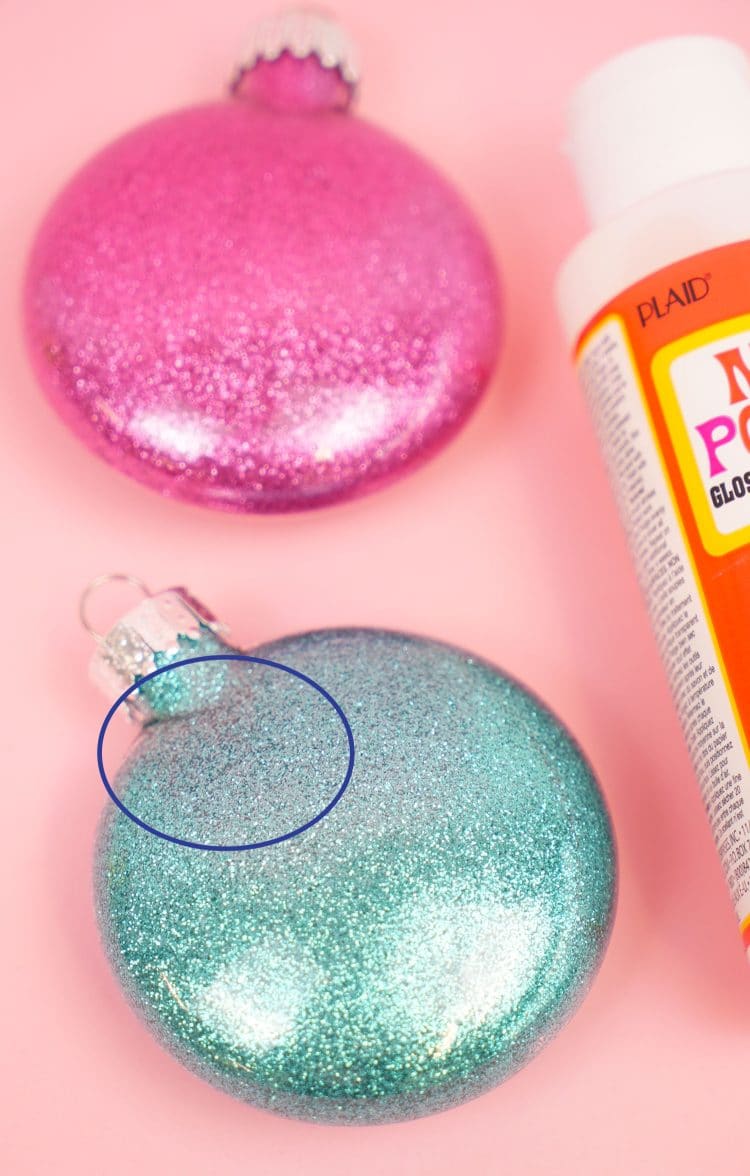
- Extra-Fine or Ultra Fine Glitter
- Chunky Glitter, if desired (see notes below)
- Small Cups for mixing glitter and draining adhesive
- Bows, optional
* If you plan on also adding vinyl decals to your ornament, we recommend using disc-shaped clear plastic ornaments for best results.
Save $5 on Glitter!
One of our most favorite places to buy glitter is A Little Muggle Magic (they have lots of cool glitters with fun Harry Potter-inspired names!). Their glitter quality is amazing, and they have TONS of colors and mixes to choose from! You can Save $5 off your first order at A Little Muggle Magic using this referral link!
Watch the full how-to video above and keep reading for further instructions!
How to Make Glitter Ornaments: Instructions
For the best results, we recommend using extra fine or ultra fine glitter to make your homemade ornaments. If you are using an adhesive that can handle the weight of chunkier/heavier glitter (see recommendations below), you may also choose to use those as well.
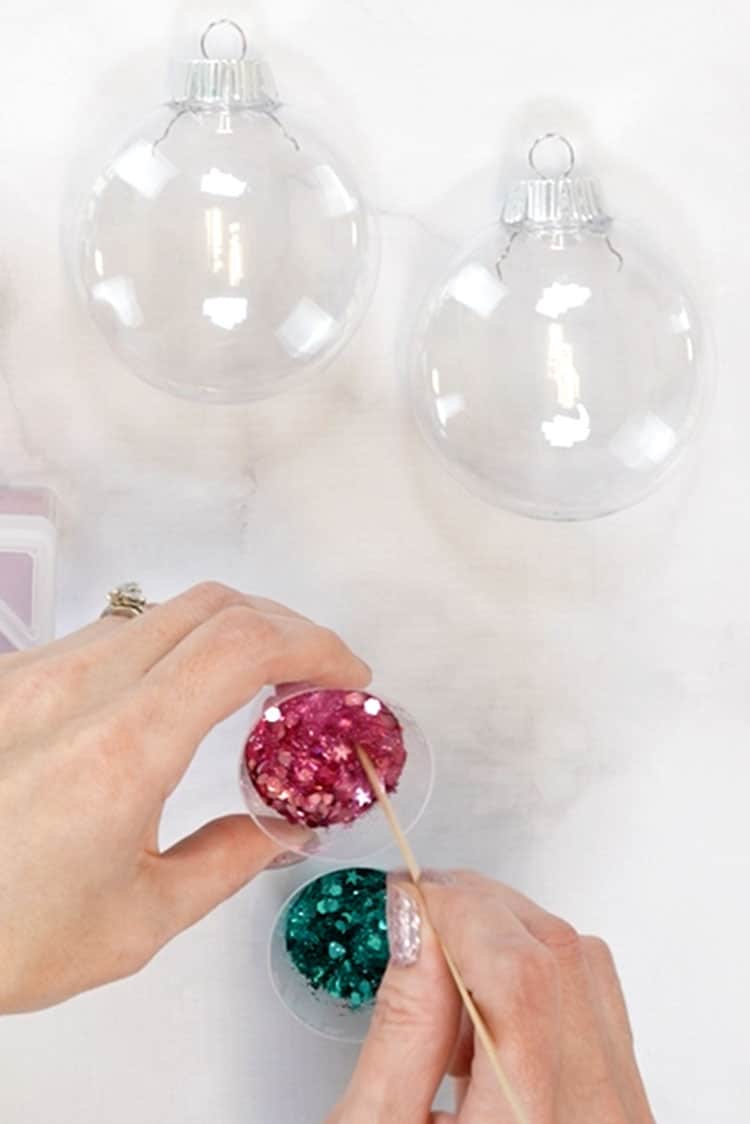
If you opt to use both fine and chunky glitters, you will want to pre-mix your glitter as your first step. In a small cup (I love these flexible tiny cups!), mix about 1 tablespoon of extra fine glitter with 1/2 teaspoon of chunky glitter. A little bit of chunky glitter goes a long way!
Next, remove the top of the ornament. Gently pull on the hanger loop until the top pops free from the neck of the ornament.
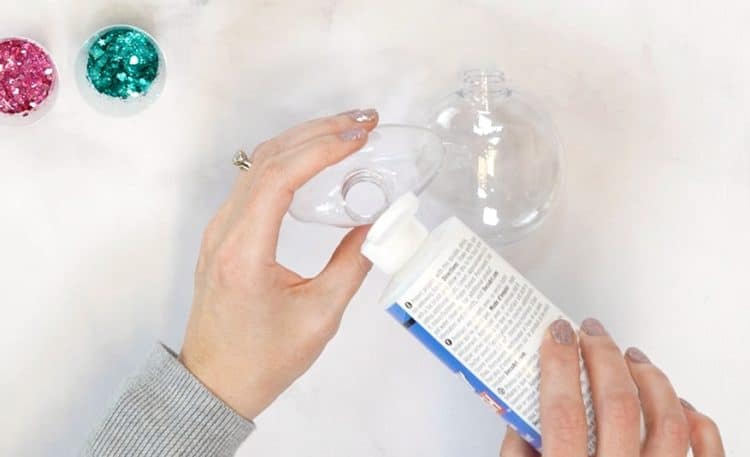
Squirt a generous amount of the adhesive inside of the ornament.
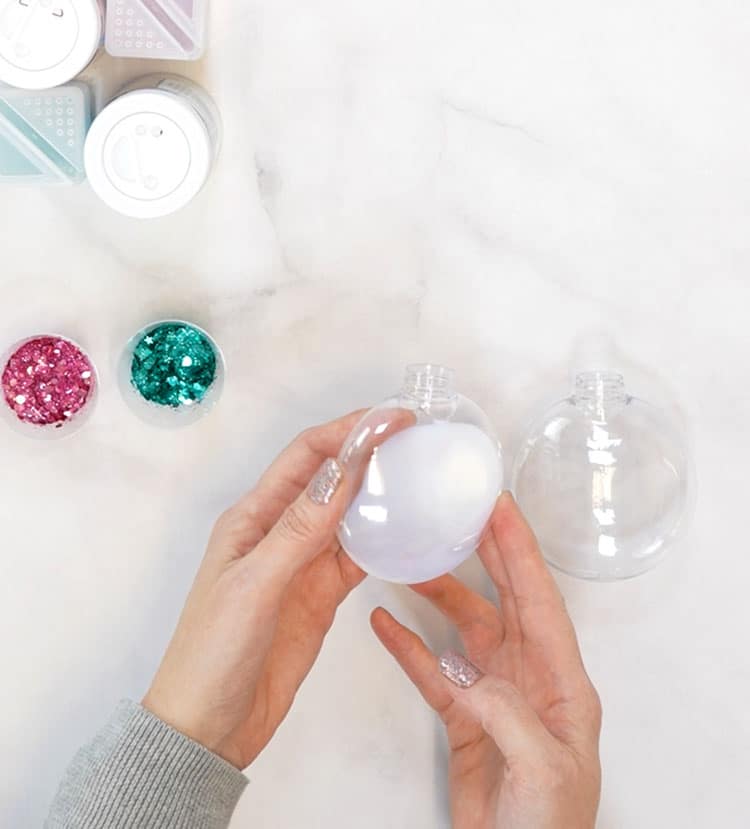
Gently swirl the ornament around until the entire interior surface has been thoroughly coated.

Then, turn the ornament upside down for a few minutes to allow all of the excess adhesive to drain out. I like to prop the ornament up against the adhesive bottle and allow the excess to drain into a small plastic cup. I will then reuse the adhesive inside the cup for the next ornament.
Note: If you’re making a lot of ornaments at once and aren’t concerned with reusing the excess adhesive, you can also place your ornaments upside down in an empty egg carton to drain. It works great!
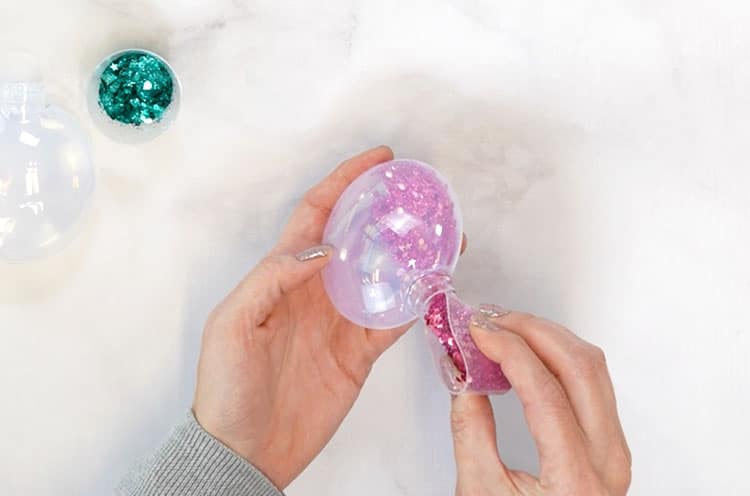
Add the glitter to the inside of the ornament.
If you’re using a blend of glitters, remember that there’s a lot less chunky glitter in the mix than the fine glitter, and it’s heavier, so you’ll want to pour the first bit of the glitter into the ornament slowly. Angling and gently turning your ornament, slowly pour in the glitter into the ornament to evenly distribute the chunky glitter.
Note: If your glitter container isn’t flexible like the one I used here, you can use a small funnel or a rolled up piece of paper to help pour the glitter into the clear ornaments.
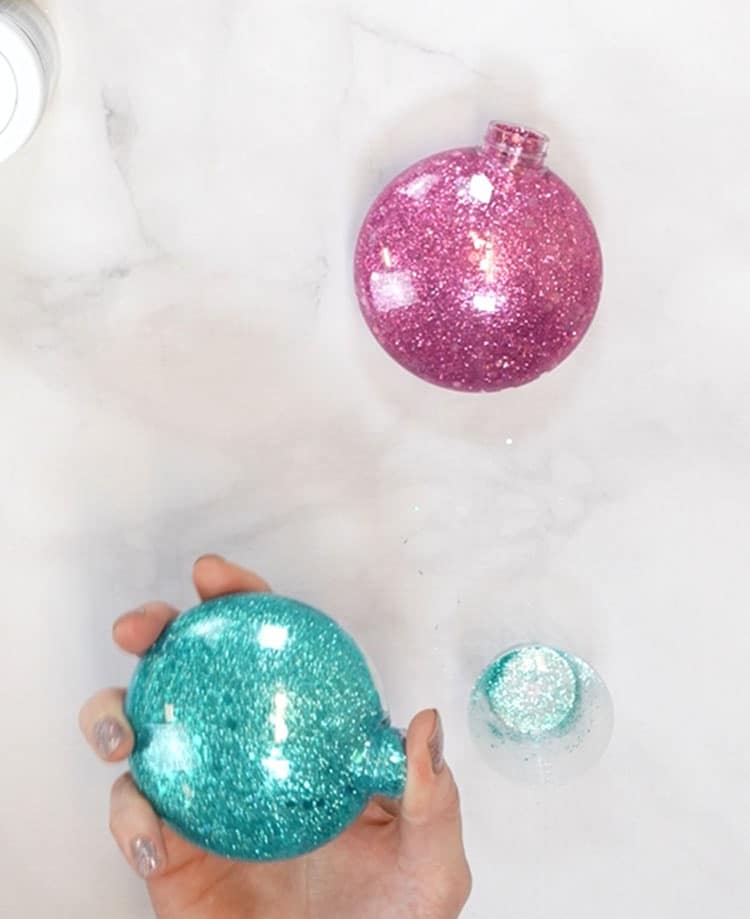
Once you have poured all of the glitter inside the ornament, use your thumb to cover the opening, and shake, shake, shake! (I recommend keeping some damp paper towels handy so that you can wipe your hands off between ornaments!)
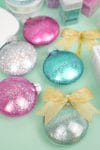
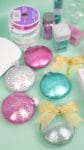
Then, turn the ornament back over the glitter container and gently tap the exterior of the ornament with your fingertips to remove any excess glitter. Set the ornaments aside and allow them to dry completely.
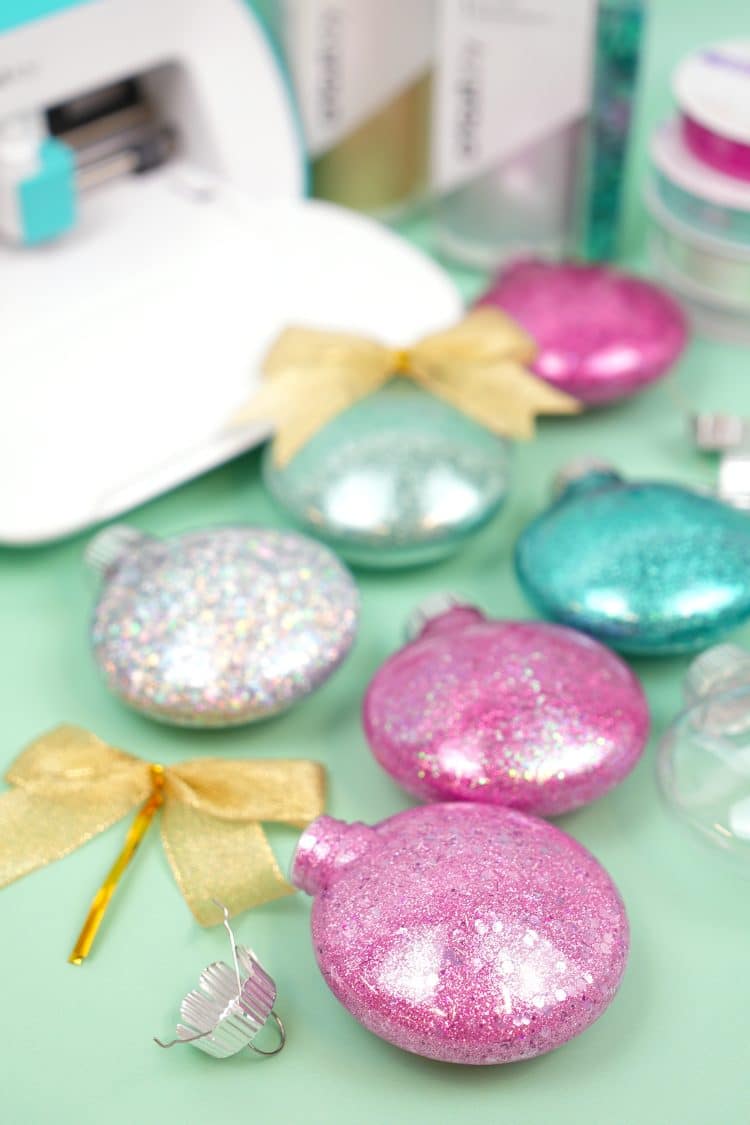
When the ornaments are completely dry, replace the ornament tops and add a ribbon or bow for the finishing touch.
The Best Glue for Glitter Ornaments
Every year since 2012, I have received countless questions about which glue works the very BEST for glitter ornaments. There are lots of different ways to make handmade glitter ornaments, so this year, we put TEN different adhesives (including lots of your suggestions!) to the test, and we’re rating each of them below!
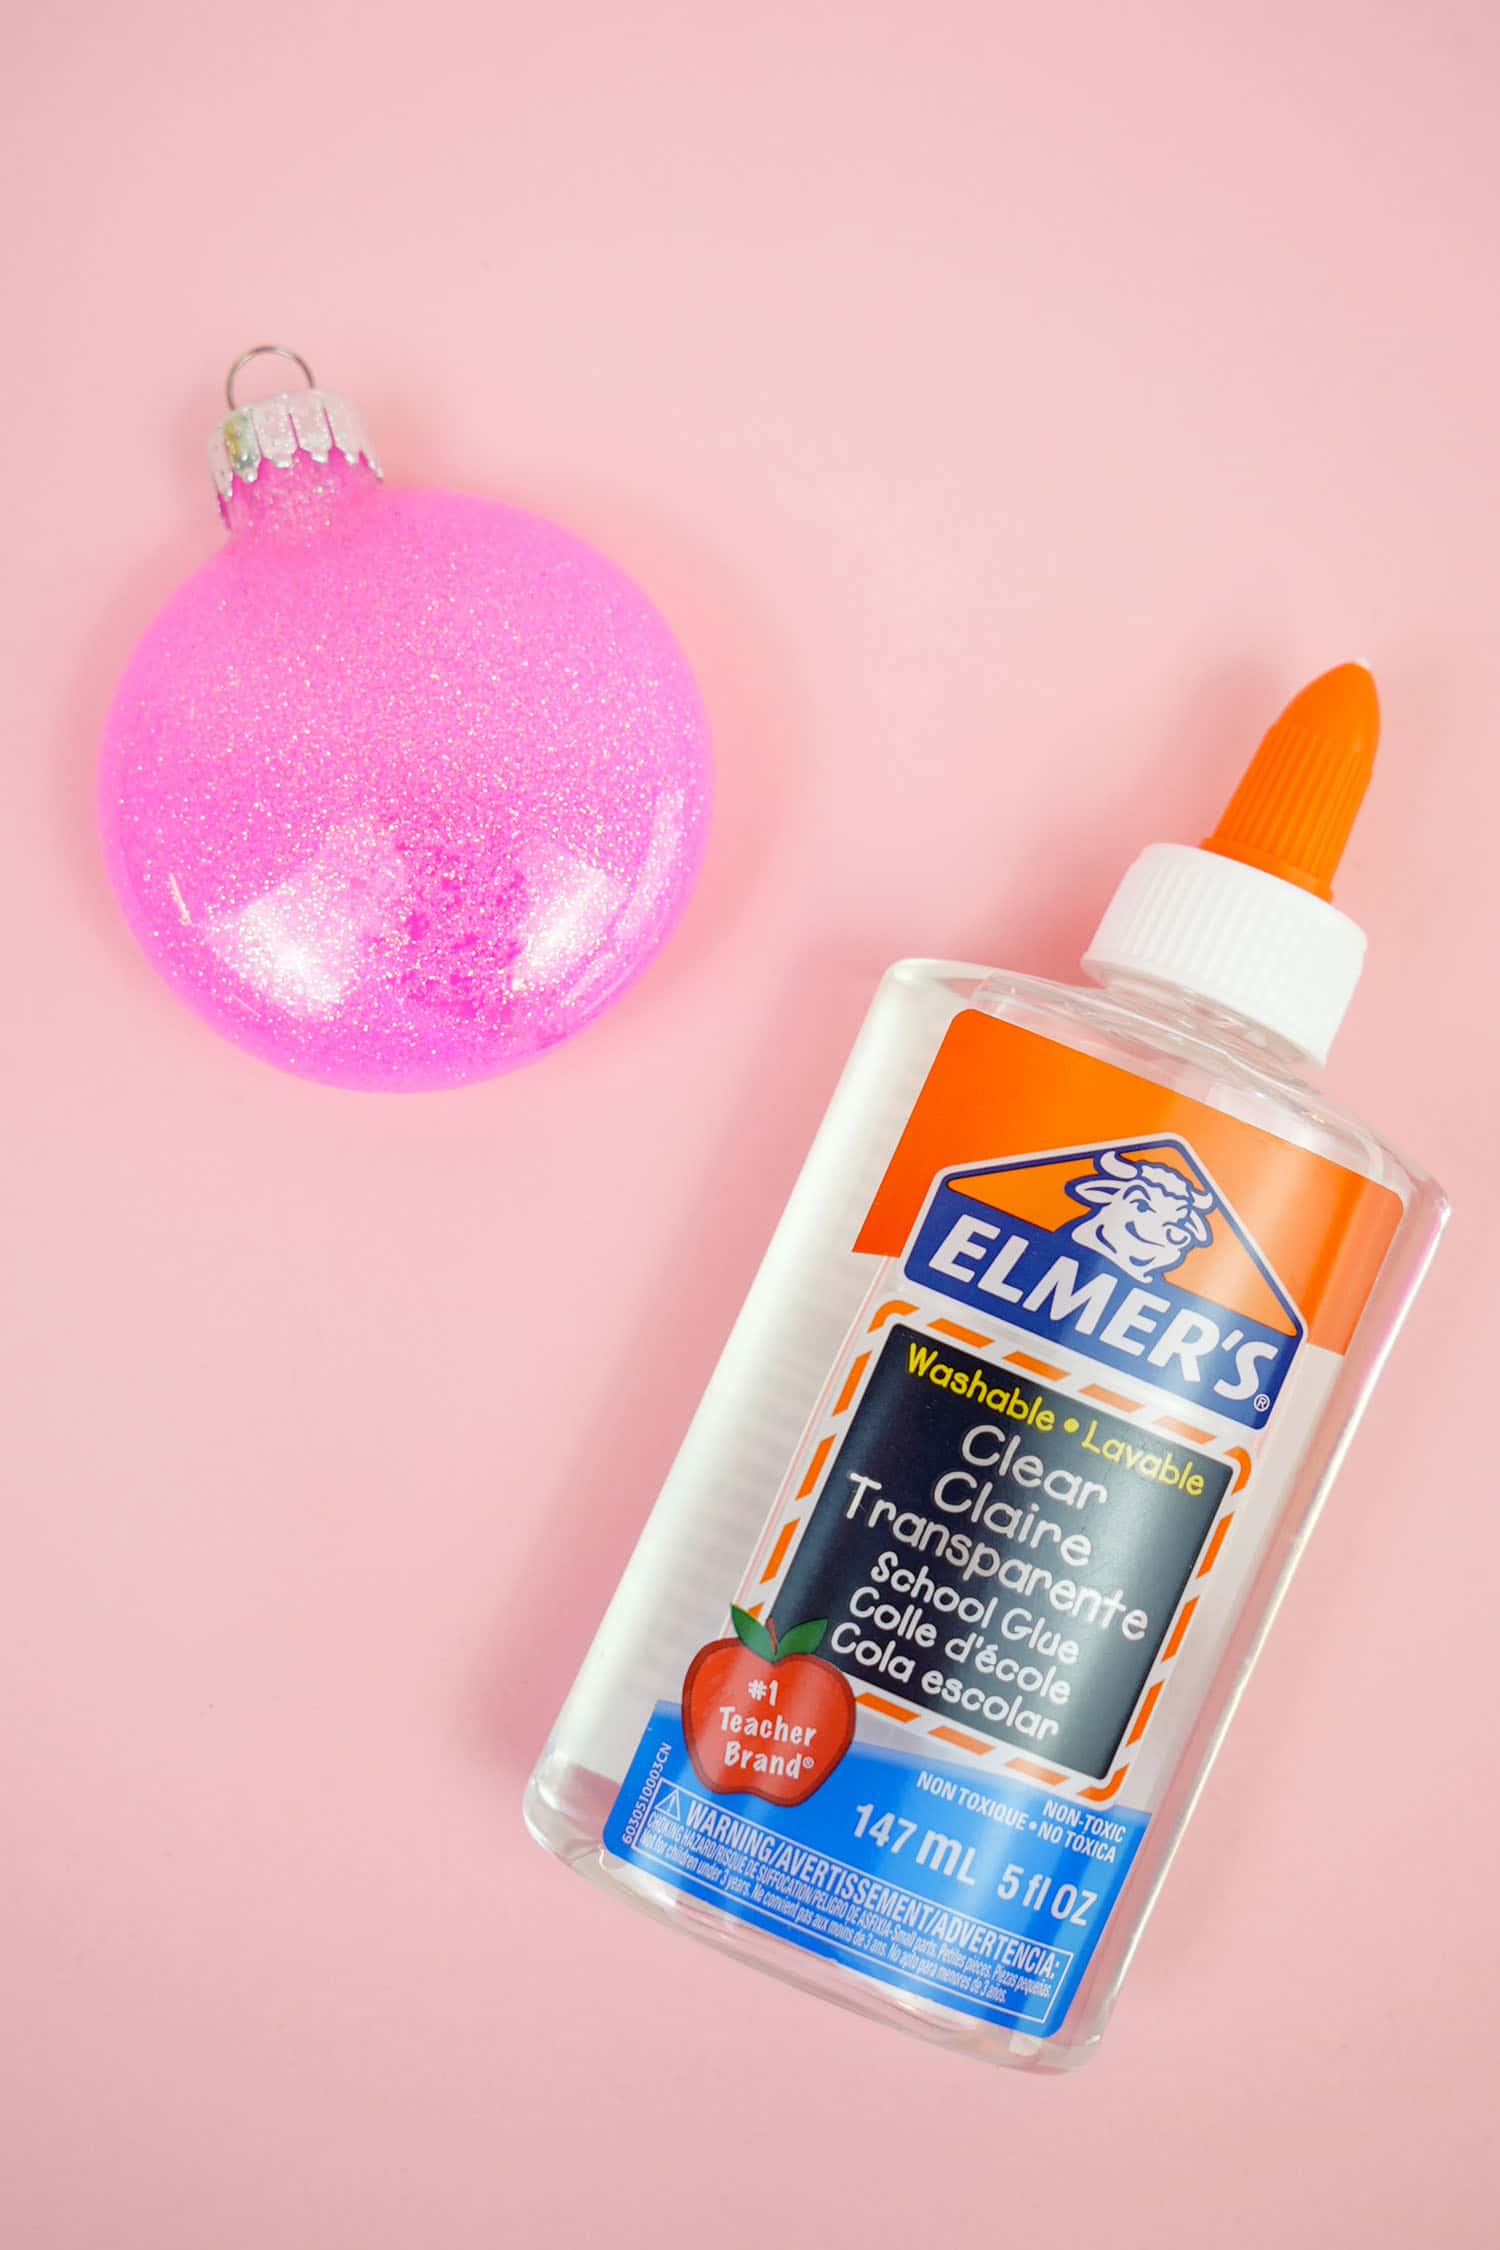
Elmer’s Clear School Glue
After the homemade slime craze of the past few years, lots of our readers seem to have Elmer’s Clear School Glue on hand, and they’ve been dying to know if it would work well for DIY glitter Christmas ornaments.
Unfortunately, we do not recommend this adhesive for glitter ornaments for several reasons:
- The thickness of the glue makes it time consuming to coat the ornaments. We also tested this adhesive at half-strength (diluted with water), and our final results were the same as full-strength.
- This glue works best with ultra-fine glitter. Anything heavier did not stick well.
- At both full-strength and half-strength, there were “thin” spots in the glitter coverage.
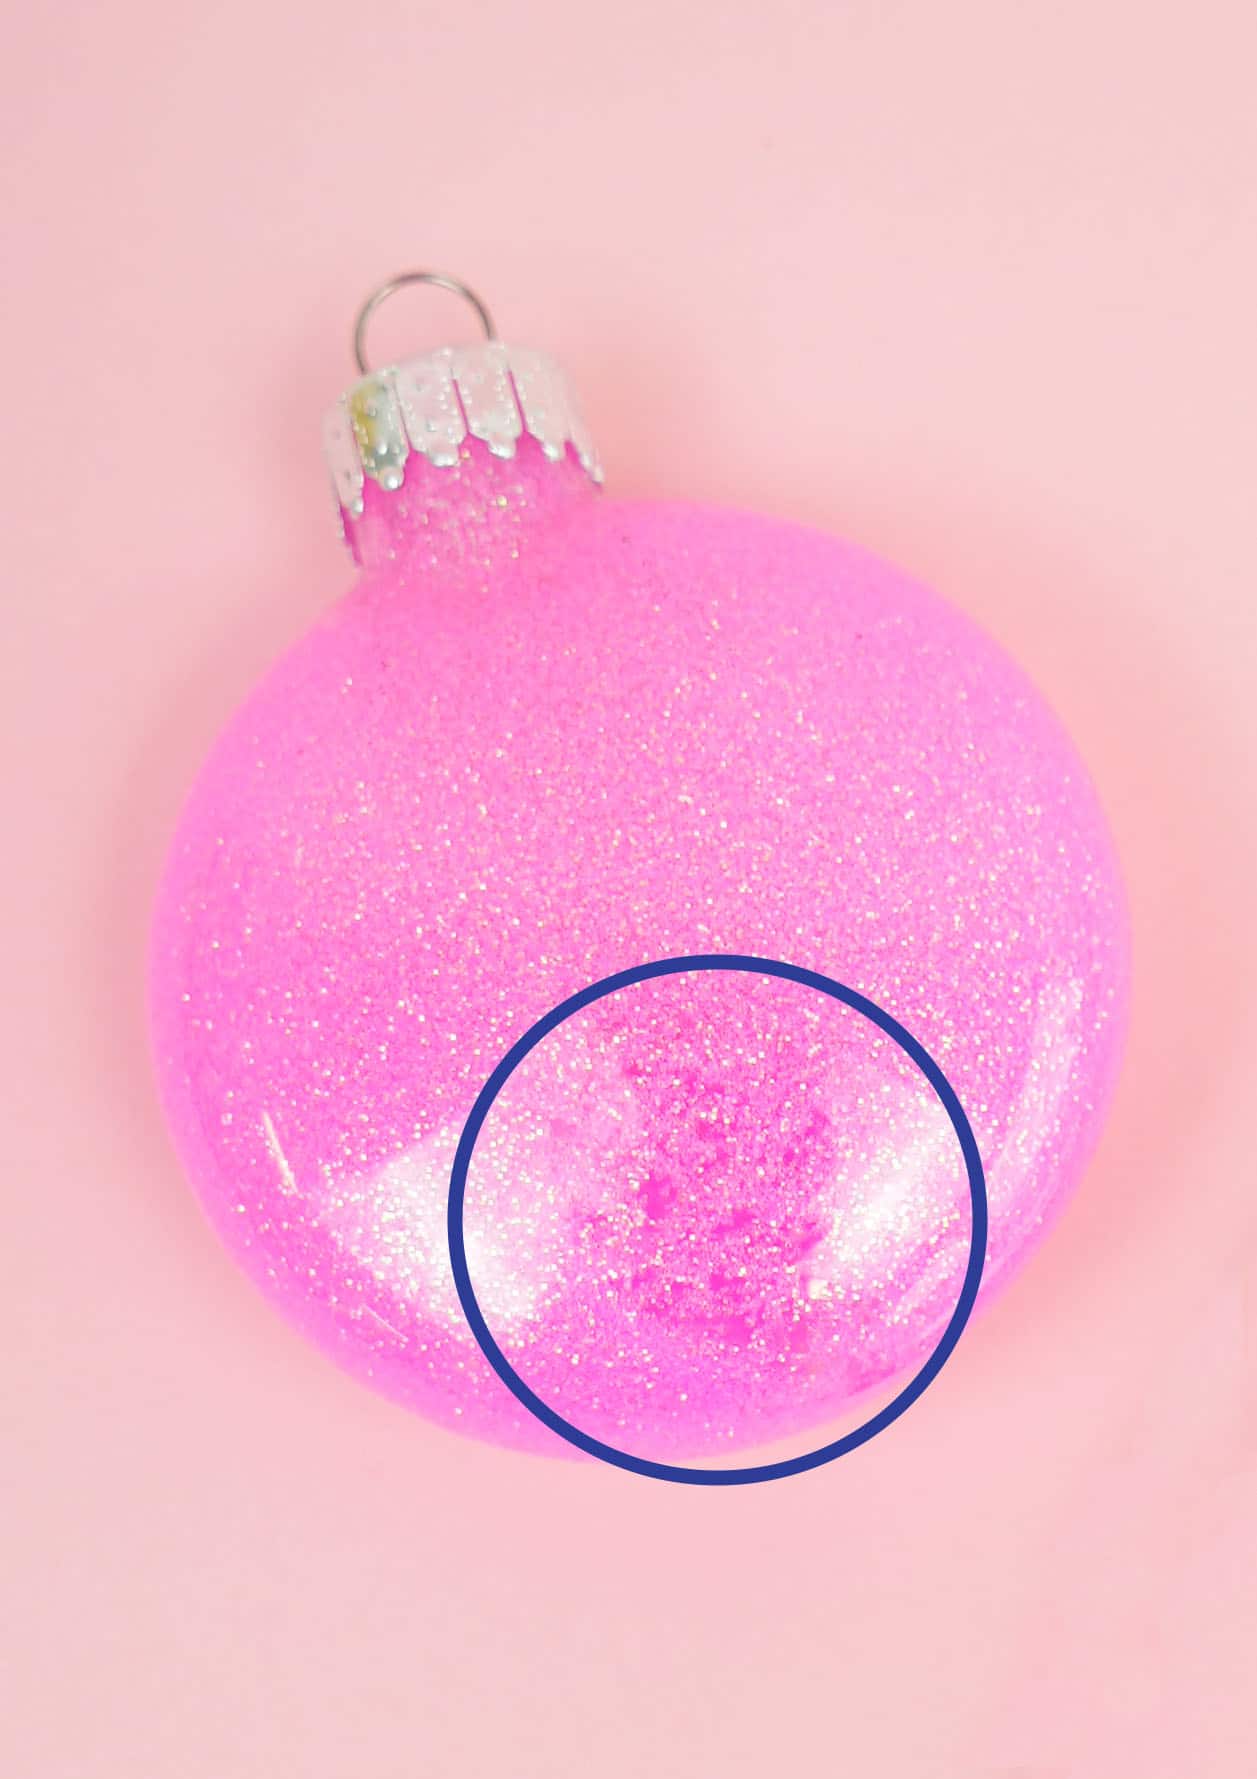
As you can see above, once the Elmer’s Clear School Glue had dried, we experienced some glitter loss on the walls of the ornament. We found this to be true with both the full-strength and half-strength glues.
BOTTOM LINE: We don’t recommend using this adhesive, but if you do decide to try it, we suggest using only ultra-fine glitters in dark colors for best results.
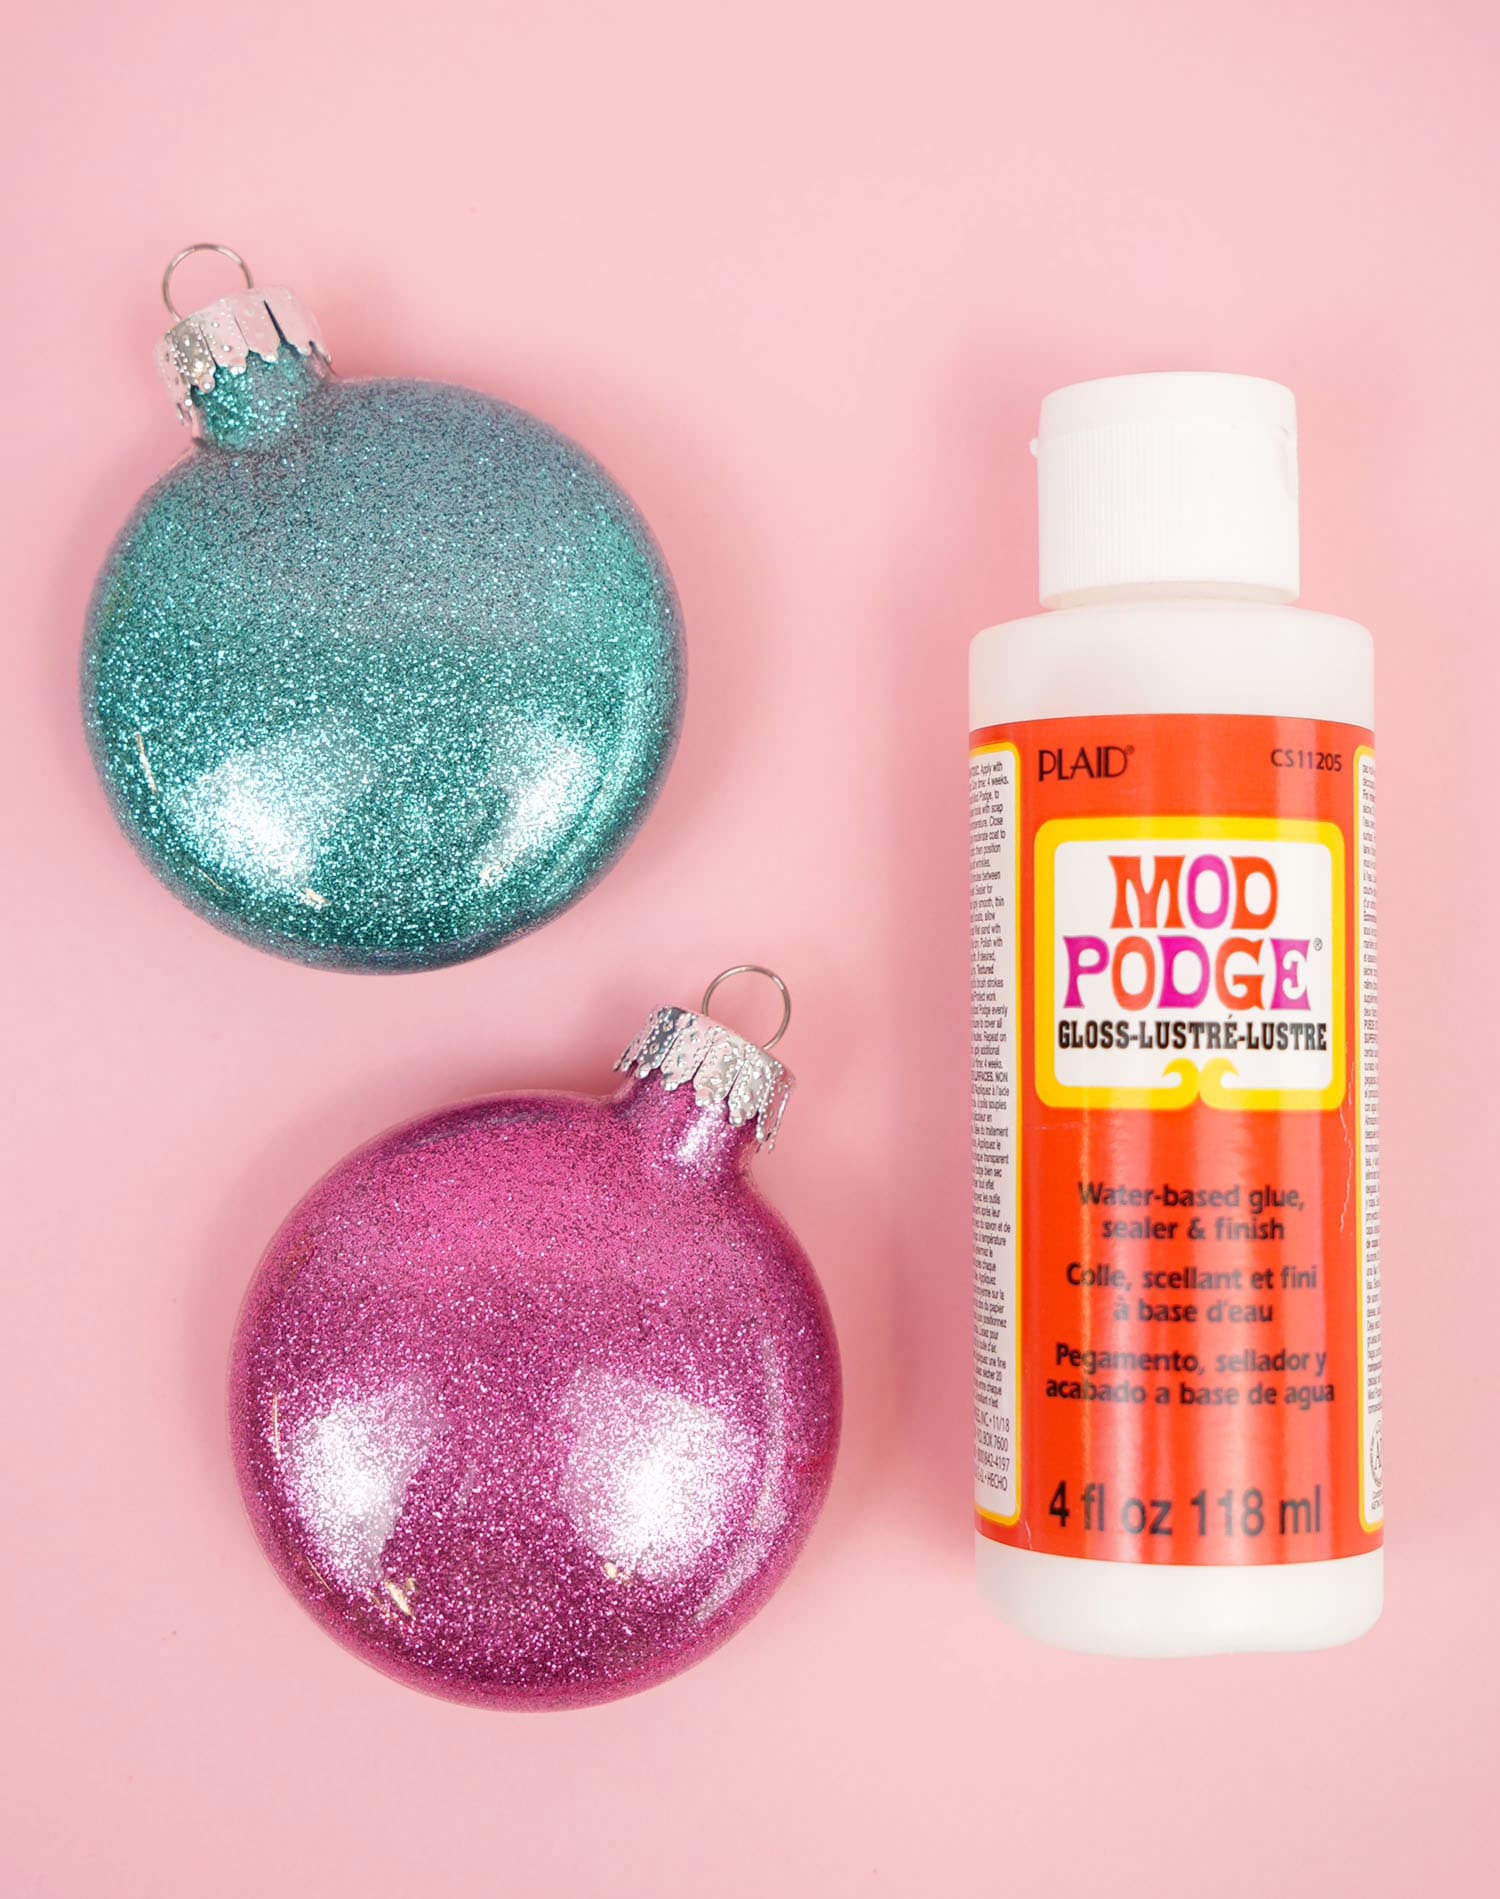
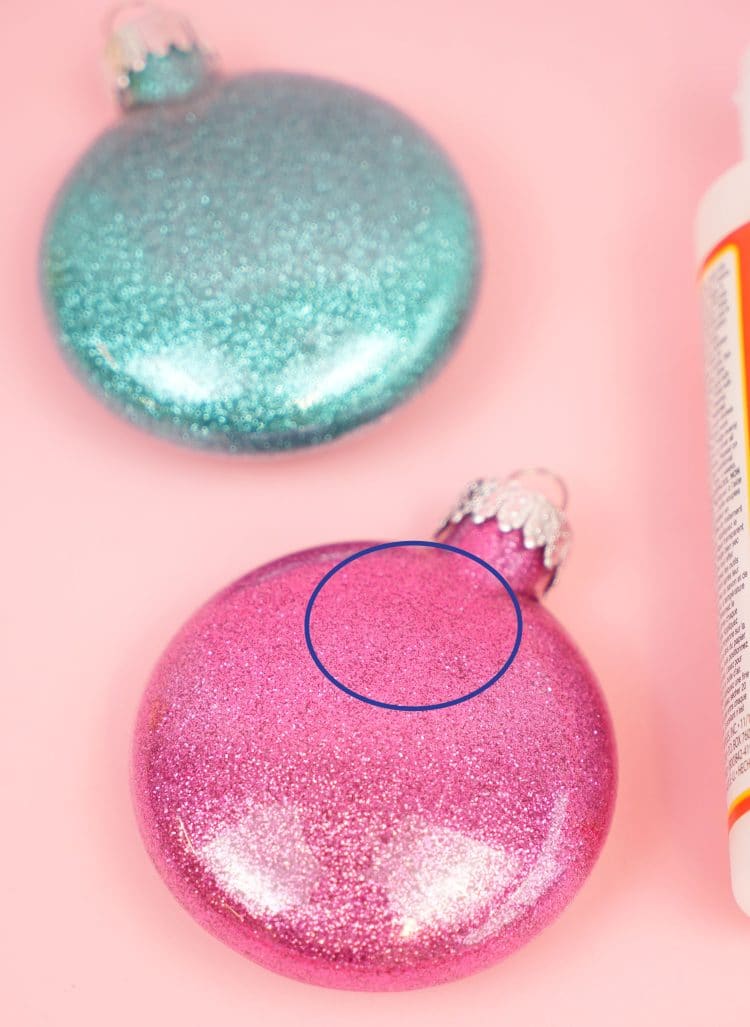
Mod Podge and Elmer’s Glue-All provided virtually identical results in our testing, so we are ranking them the same here. We tested both adhesives at both full and half-strength, and we had better success with the full-strength options, though half-strength was still acceptable. Both Mod Podge and Elmer’s Glue-All are decent options for making glitter ornaments, but neither were ranked among our most highly rated options.
- Both adhesives provided total glitter coverage on the ornament surface, but both only worked well with fine glitters and didn’t handle the extra weight of chunky glitter very well.
- There was no glitter loss after the adhesives had dried.
- Mod Podge is slightly thinner than Glue-All, so it took the advantage when it came to ease of coating the ornament’s surface.
You have to look very closely to notice them, but the Mod Podge and Glue-All ornaments both had several areas that resulted in fine “cracks” along the solid surface of the glitter.
BOTTOM LINE: If you are planning on adding vinyl decals to your ornaments, you may be able to easily cover these minor flaws, but if you’re planning on keeping your ornaments plain, I would suggest using one of the more highly rated adhesives.
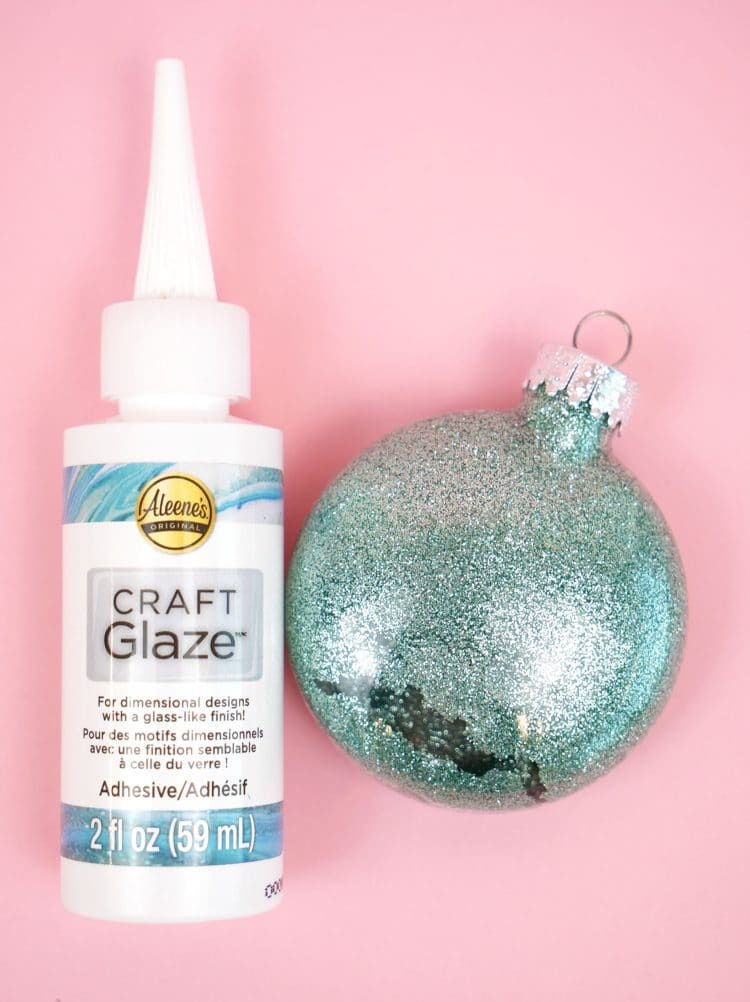
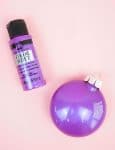
Aleene’s Craft Glaze was suggested to us as a good option to test based on its “glass-like finish,” and as you can see, it was a TOTAL craft fail! There were lots of cracks and crazing in the surface of the glitter, and whole sections of the finish detached from the ornament as the adhesive was drying.
BOTTOM LINE: Zero stars, do not recommend.
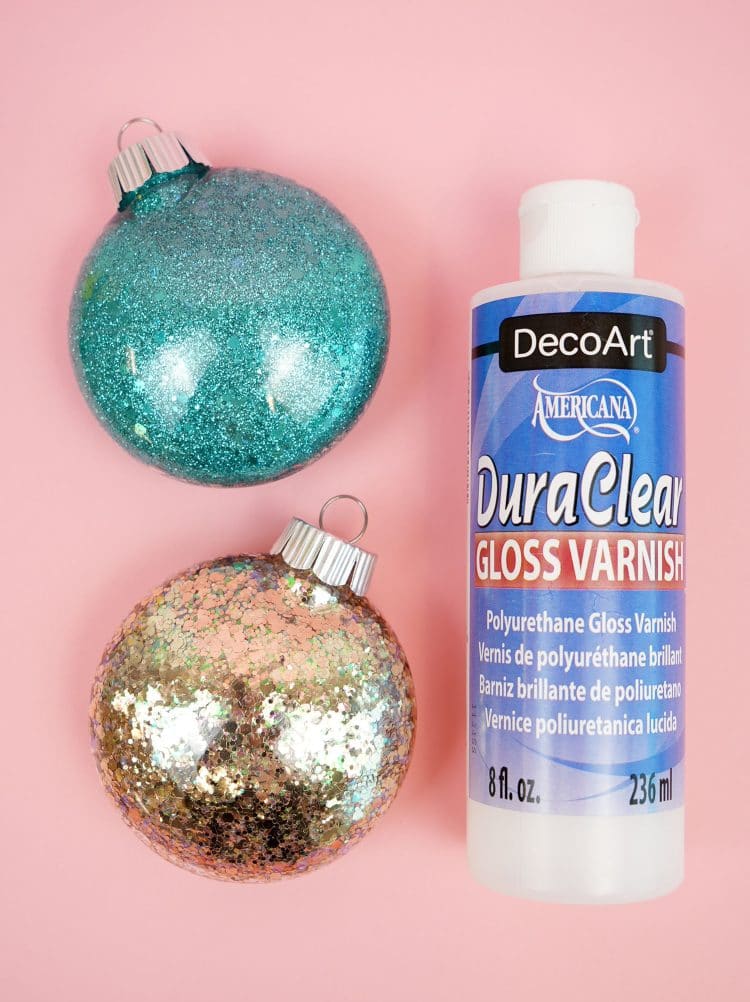
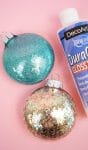
DuraClear Polyurethane Gloss Varnish + Minwax Polycrylic
We tested DuraClear Polyurethane Gloss Varnish and Minwax Polycrylic with identical results, though we give the advantage to the DuraClear Varnish simply because the packaging (squeeze bottle) was far easier to use than the Polycrylic (which comes in a paint can). If you choose to use Polycrylic, we recommend adding it to a squeeze bottle for ease of use.
- Both adhesives coated the ornaments quickly and easily.
- Both adhesives are available in large size bottles/cans, which works out to a low cost-per-ounce, and makes both options very cost effective.
- Both worked incredibly well with all weights of glitter including ultra chunky glitters.
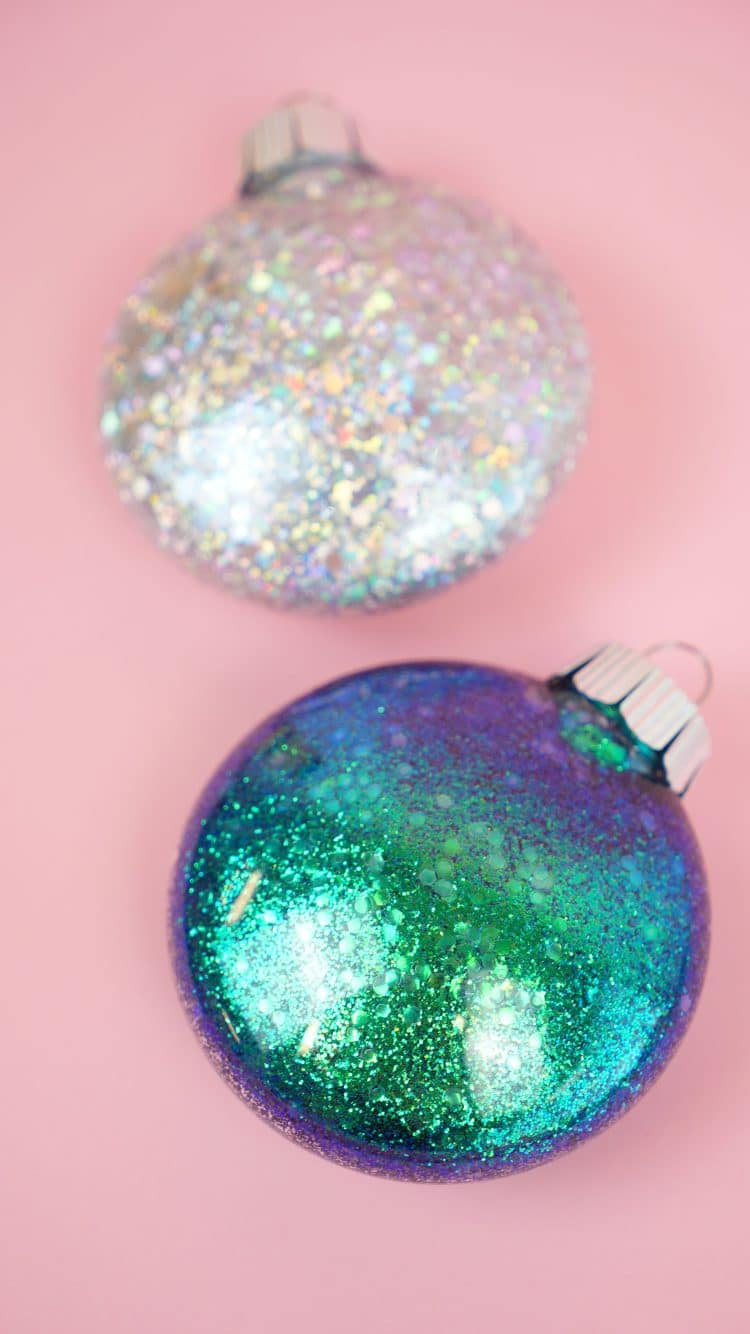
As you can see, many different sizes of glitter worked beautifully with the varnish adhesives and provided full surface coverage. The finish was smooth and flawless, and there was no glitter loss after the adhesives dried.
BOTTOM LINE: Highly recommended! You really can’t go wrong with either of these options, and the price is right!
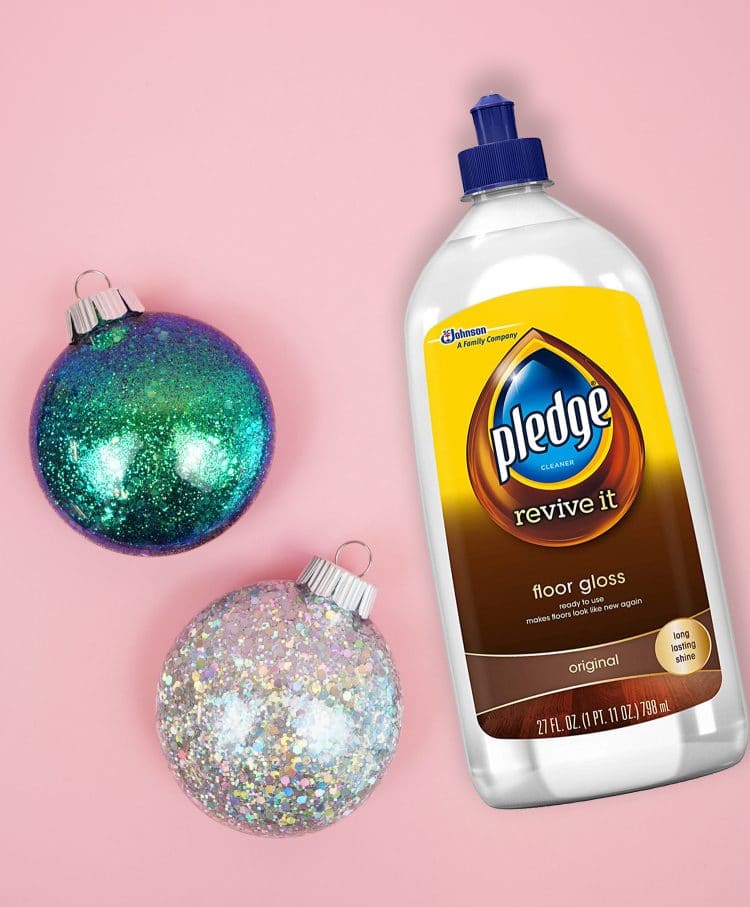
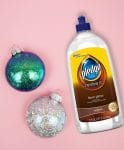
Pledge Floor Gloss
Pledge Floor Gloss was what I used when I first started making glitter ornaments, and I still really love it! It does have a few pros and cons that should be noted, though:
- Pro – The thin liquid is incredibly easy to swirl around inside the ornament and drain, so you can make your ornaments even more quickly and easily.
- Pro – the thin squeeze bottle tip is great for making glitter ornaments.
- Con – if any of the floor cleaner drips on the outside of the ornaments, it can be difficult to remove and may leave a sticky or noticeable mark.
- Con – it has been reported to me by readers that the glitter may lost strength over time. As I mentioned previously, my ornaments made with Pledge Floor Glass back in 2012 are still going strong, so I haven’t personally experienced this, but it should be noted.
- It should also be noted that this adhesive seems to work better with clear glass ornaments than plastic, and more glitter loss has been reported in plastic ornaments.
The glitter coverage is smooth and even, but it does work best with fine glitters and lighter-weight chunky glitters.
BOTTOM LINE: A solid choice, especially if you are using glass ornaments!
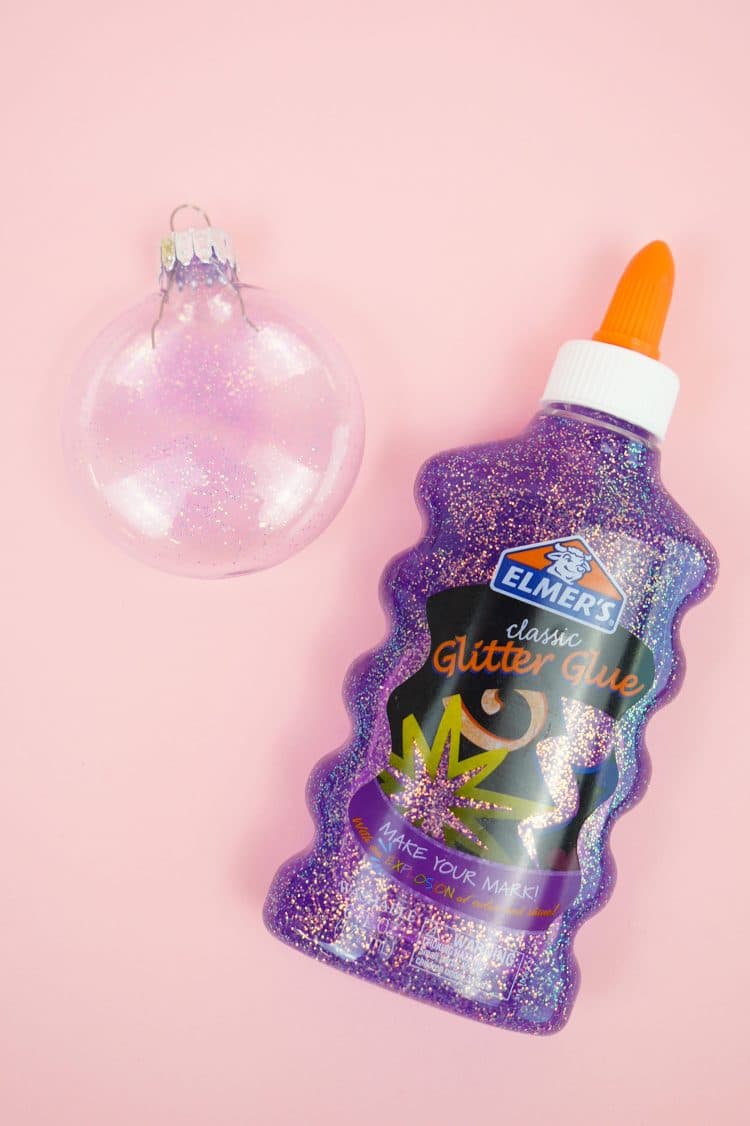
Elmer’s Glitter Glue
Now, depending on the look that you’re going for, you might be able to make Elmer’s Glitter Glue work for you, but it is certainly not ideal. For this test, we used only the glitter in the glue and did not add any additional glitter.
- The glitter glue is VERY thick (and does not work well if diluted), so it takes a very long time to coat the inside of the ornament with glue.
- Because it is so thick, it does not drain well or easily, which resulted in thick/thin spots in the finish even though it was precisely turned completely upside down for a full 12 hours.
- Creates a transparent glitter finish vs a solid opaque finish.
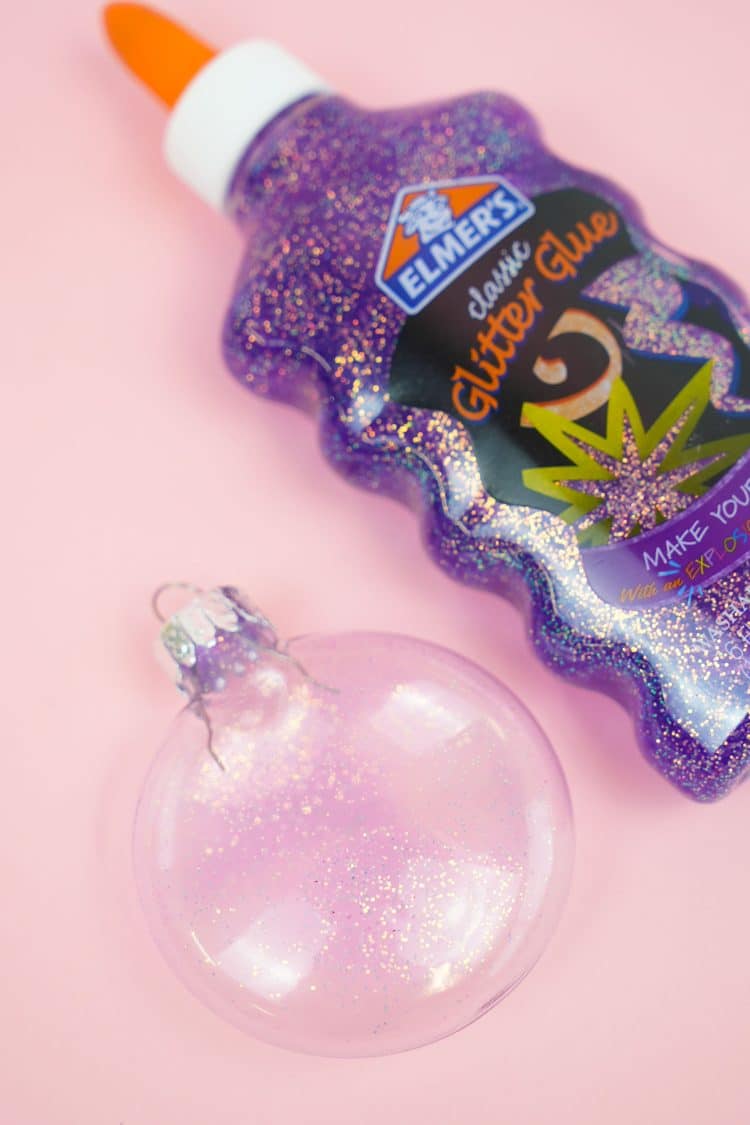
Despite the uneven finish that we achieved, the transparent glitter effect is actually really pretty even though it’s also very subtle.
BOTTOM LINE: We wouldn’t call glitter glue a total failure, but you would need to invest a good amount of time to make this one work well!
Beacon Glitter-It!
Beacon Glitter-It! is designed specifically for this task, so it’s no surprise that it scores so highly in our rankings!
- The ultra-thin liquid adhesive quickly and easily coats the interior surface of the ornaments, and the fine tip nozzle fits easily into the opening of the ornament and makes it a breeze to work with.
- Works well with both chunky and fine glitters.
- Works equally well with both glass and plastic ornaments.
Glitter-It! works with a variety of glitter sizes, and the finishes were smooth with full coverage and no flaws.
BOTTOM LINE: Glitter-It! is a fabulous choice, and a little goes a long way, but it is more expensive than our other 5-star options.

Acrylic Paint
Okay, so this one isn’t technically an adhesive, but we have had lots of requests and inquiries about the effectiveness of using acrylic paint inside of clear glass ornaments, so we couldn’t pass up testing them out, too! We tested several different paints (including this FolkArt Color Shift Paint) inside both glass and plastic ornaments, and all of them worked like a charm! (For best results, use opaque paints.)
BOTTOM LINE: Acrylic paint is a fun option that definitely worked well!

What is the best glue to use for glitter ornaments?
Out of all the different glues and adhesives that we tested, our top three choices for The Best Glue for Glitter Ornaments are:
All three of these adhesives earned a solid five-star rating in our extensive testing!
PRINT THE GLITTER ORNAMENT INSTRUCTIONS HERE!
DIY Glitter Ornaments
What You’ll Need:
- Clear Glass or Plastic Ornaments
- Adhesive of Choice, see further information in post
- Extra Fine or Ultra Fine Glitter
- Chunky Glitter, optional
- Small Plastic Cups
- Bow or Ribbon
Instructions:
- In a small cup (I love these flexible tiny cups!), mix about 1 tablespoon of extra fine glitter with 1/2 teaspoon of chunky glitter. A little bit of chunky glitter goes a long way!
- Remove the top of the ornament. Gently pull on the hanger loop until the top pops free from the neck of the ornament.
- Squirt a generous amount of the adhesive inside of the ornament. Gently swirl the ornament around until the entire interior surface has been thoroughly coated.
- Turn the ornament upside down for a few minutes to allow all of the excess adhesive to drain out.
- Add the glitter to the inside of the ornament.If you’re using a blend of glitters, remember that the chunky glitter is heavier, so you’ll want to pour the glitter into the ornament slowly. Angling and gently turning your ornament, slowly pour in the glitter into the ornament to evenly distribute the chunky glitter.
- Use your thumb to cover the opening, and shake until the entire surface of the ornament is coated in glitter.
- Turn the ornament back over the glitter container and gently tap the exterior of the ornament with your fingertips to remove any excess glitter. Set the ornaments aside and allow them to dry completely.
- When the ornaments are completely dry, replace the ornament tops and add a ribbon or bow for the finishing touch.
These sparkly glitter ornaments are SO easy to make, and they will make a stunning addition to your holiday tree! As for me, I still Can’t. Stop. Glittering. All. The. Things! It’s just so much fun!

Check Out These Other DIY Christmas Ornament Ideas!
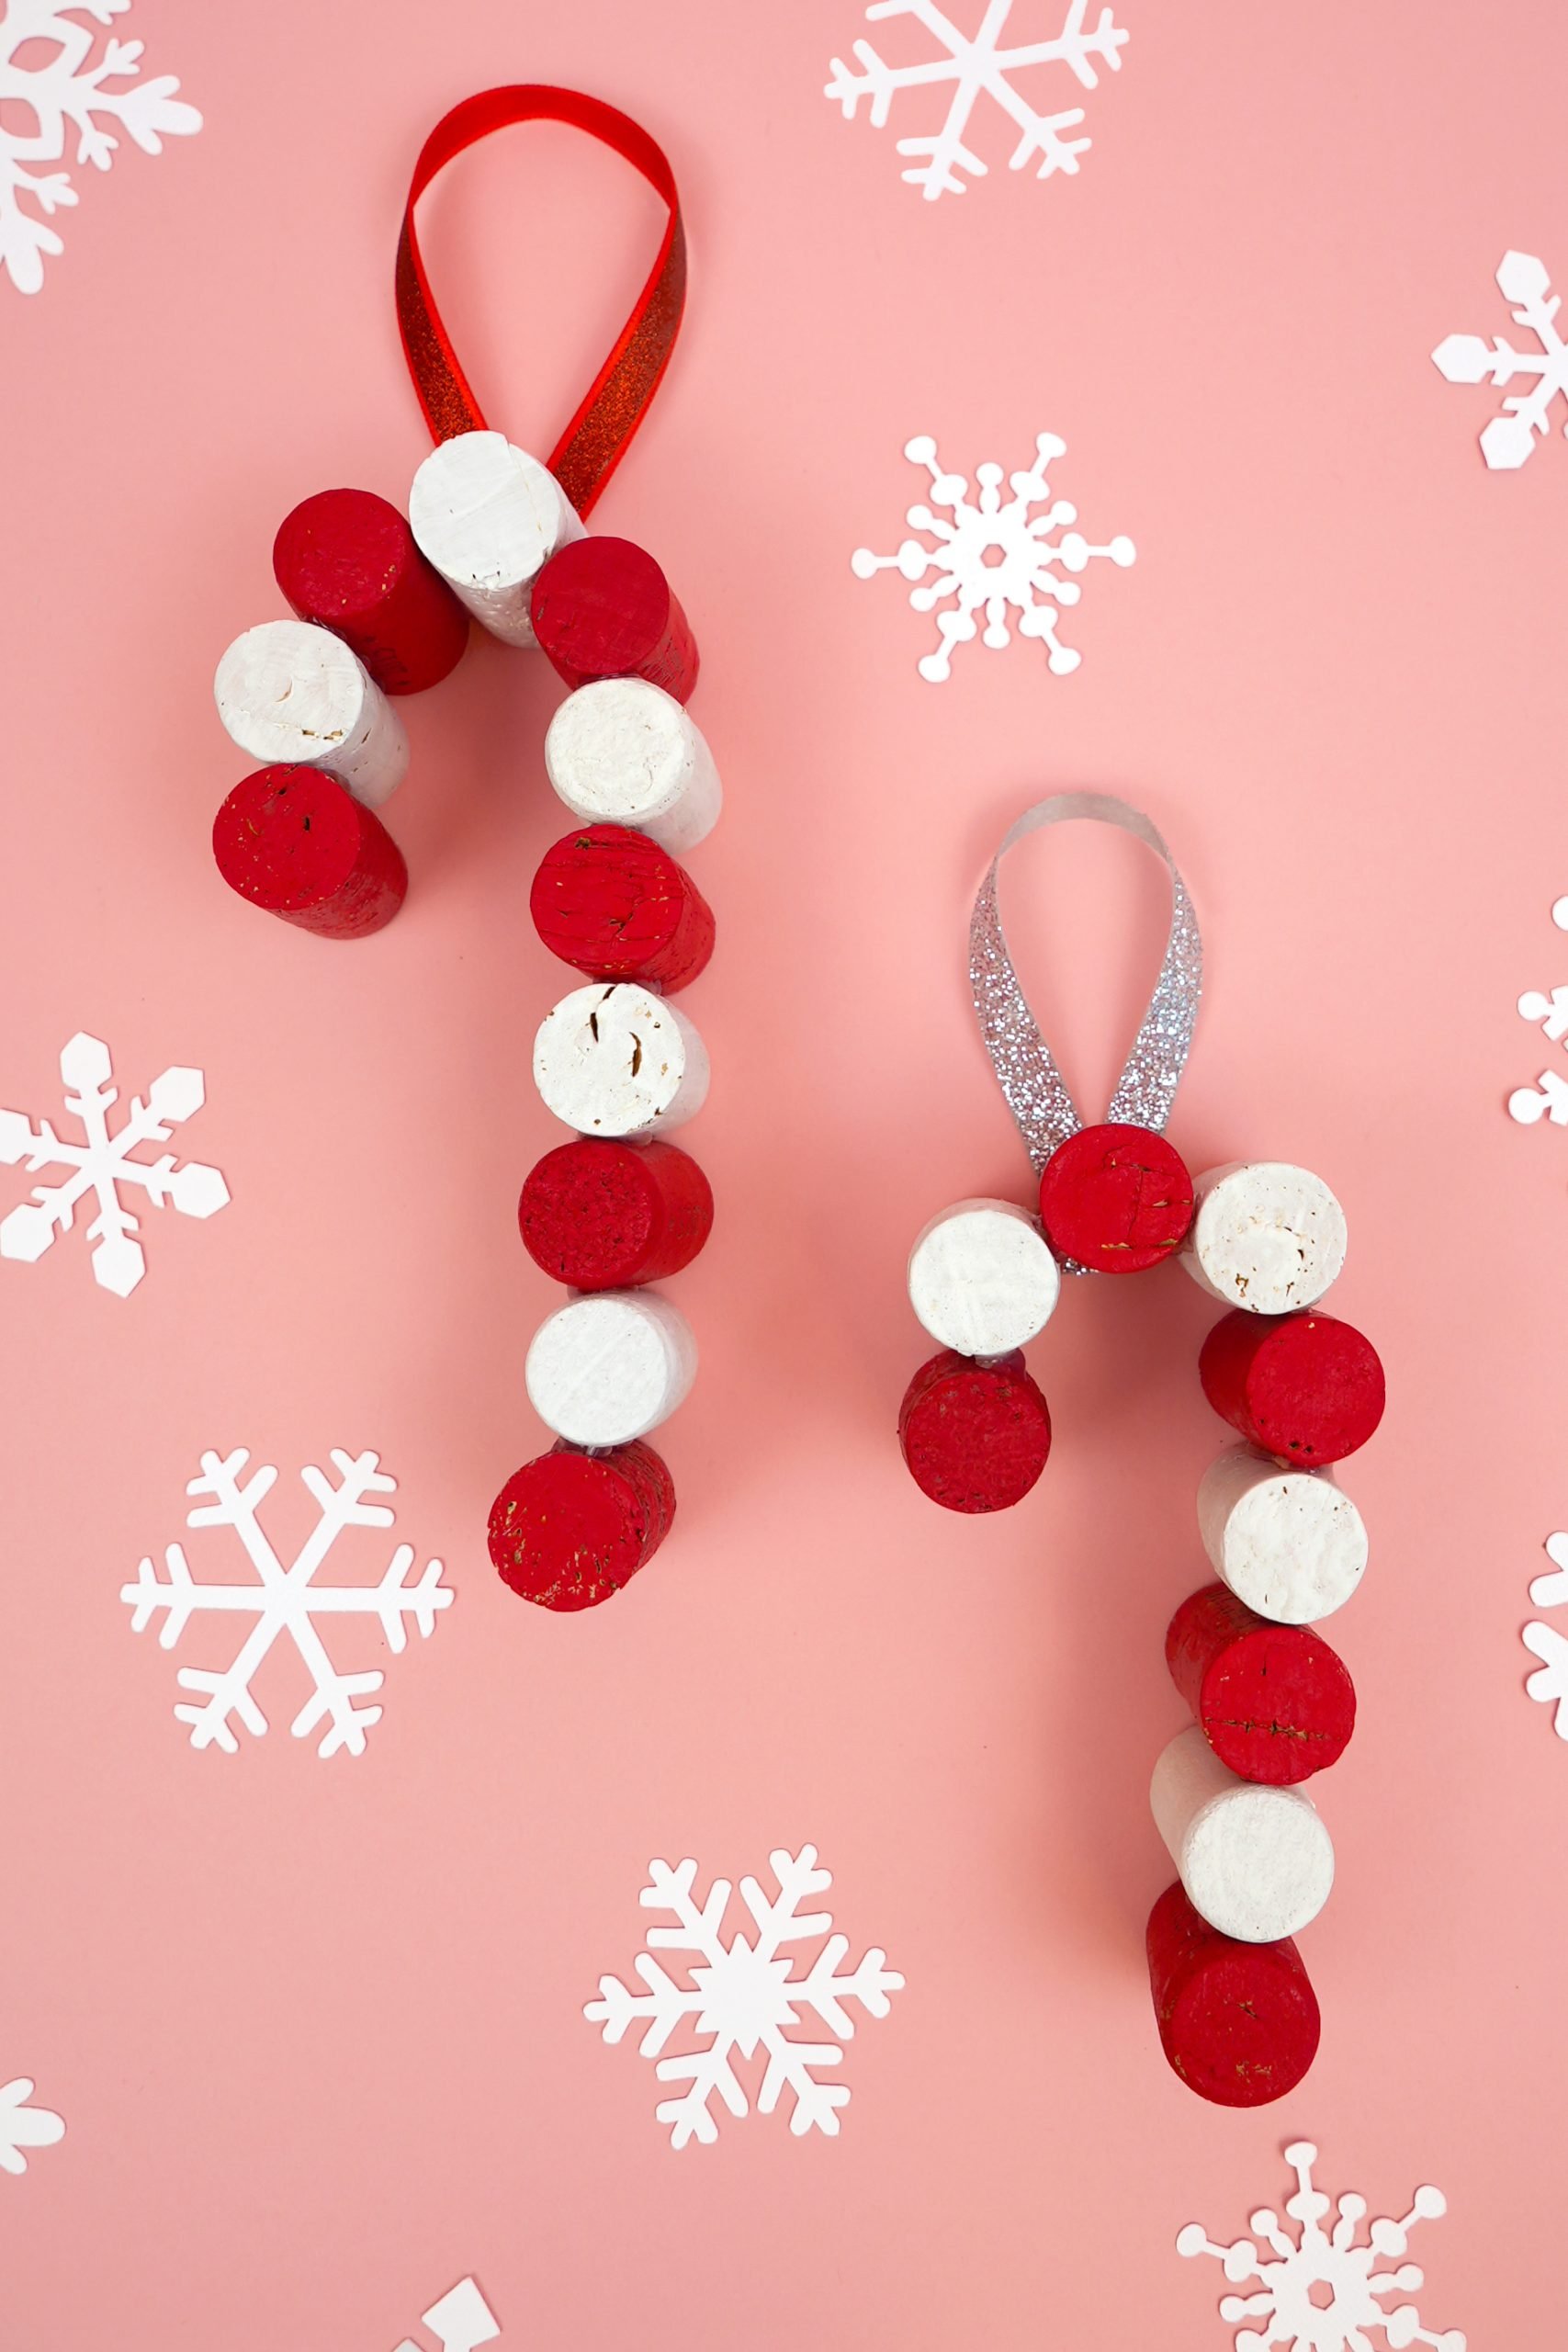
 Wine Cork Candy Cane Ornaments
 Glitter Ornaments: Easy Christmas Craft
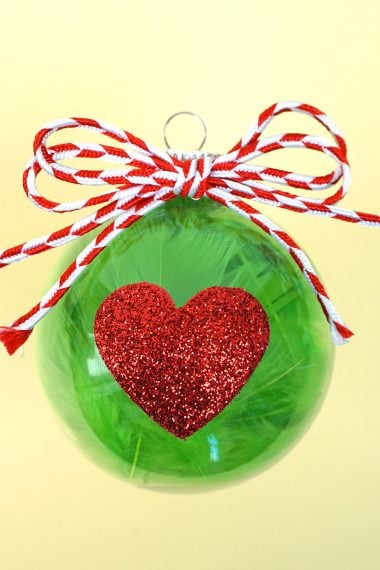
- Christmas Kids Craft: Grinch Ornaments
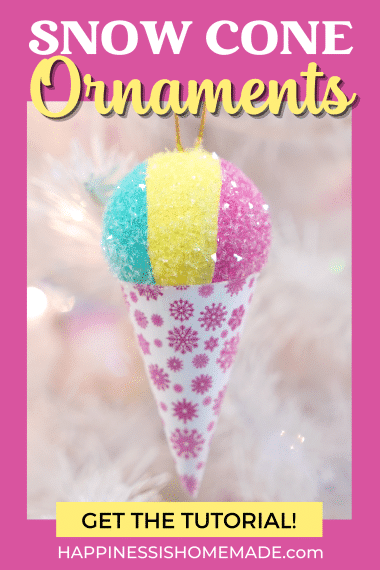
- DIY Snow Cone Ornaments
- The Best Glue for Glitter Christmas Ornaments
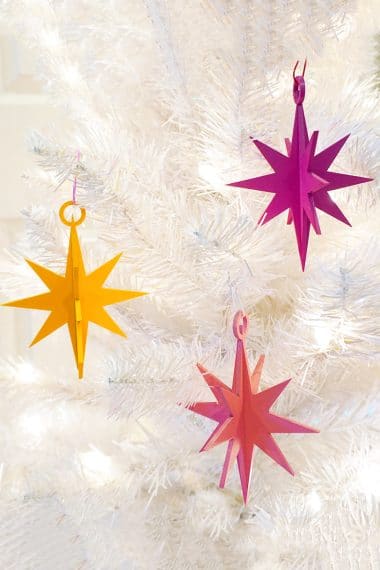
- 3D Stars + Christmas Ornament SVG Files
- Personalized Christmas Ornaments with Cricut Infusible Ink
- DIY Christmas Ornaments – Easy Group Craft!

Don’t Forget to Pin These Glitter Ornaments for Later!


Heidi Kundin has captivated the hearts of millions with her colorful and inspiring approach to crafting, celebrations, and family fun. With over 15 years of experience, Happiness is Homemade has become a must-visit destination for those seeking quick and easy creative ideas and last-minute solutions. Heidi’s warm personality shines through her posts, inviting readers to join her on a creative journey that’s fun, rewarding, and achievable. Heidi is also the author of Homemade Bath Bombs & More and DIY Tie-Dye.
This is not working for me! I’m using mop&glow, fine glitter & plastic bulbs. l’ve tried this about 6 times, the glitter does not stick!! I read others directions ,watched videos etc. Can someone help me please!? I really wanted to make these.
Sorry, Sharon! I’ve only used the Pledge floor cleaner that I reference in the post, and it has worked fine on both glass and plastic ornaments.
I am having a hard time finding the floor wax. I keep only finding floor finish and in a milky color not clear. I have tried three stores. Where did you find your wax?
Hi Kimberly! They used to carry the wax regularly at stores near me, but lately I’ve only been able to locate it at Target or online on Amazon here: http://bit.ly/FloorWax
I just wanted to say how awesome it is that the Amazon listing for that floor wax shows it is frequently bought with glitter! Too funny.
LOL! That is seriously funny! 🙂
Do you know what size the ornaments are? I want to make sure the names will look okay and not be too big. Thanks!
Hi Whitney! The ornaments come in different sizes, but I used the ones that are just over 2 1/2″ wide.
Thank you for this idea! I’m going to be making these for our friends – perfect family gift! I’ve ordered my vinyl and am going to be heading to Michael’s to get the glass ornaments, but I’m wondering how much glitter I will need. Thanks!
Hi Jennifer! It doesn’t take much glitter for each ornament. From the smallest vials of glitter that I have (the teeny skinny ones), I have made 3-4 ornaments. A 2 oz. bottle of glitter will probably make at least a dozen or more.
Hey, The link to your personalized glitter ornaments is not working. Is it broken or what? Love these!!!
Thanks, Stephanie! The link seems to work fine on my end, so I’m not sure why it’s not working for you. So sorry! http://www.happinessishomemade.net/2012/12/04/personalized-glitter-ornaments/
I have the glitter part finished on glass disc ornaments but I tried a ball point glue pen and then attempted to sprinkle glitter over the names – came out too thick. Any other ideas for personalization? Thanks!
I know I’m late on the bandwagon but where did you buy your ornaments?
Hi Crystal! I got these ones at Hobby Lobby, but you can find them at most craft stores or on Amazon as well. 🙂
Thanks! 🙂
Can you use plastic ornaments instead of glass? Yours are beautiful btw 🙂
Hi Theresa, I haven’t personally tried to use plastic ornaments myself, but I have heard mixed reviews from others who have. Most everyone I know that has tried using plastic ornaments has had success, but there were a few that didn’t work with no real explanation as to why not. I’d say that if you can’t find glass or just prefer to use plastic that it’s worth a try!
Do you know if the glitter stays attached to the glass balls? If I pull out my decorations next year will they still look like they do now?
If you use the FutureShine inside of the glass ornament, the glitter will stay that way! I made my ornaments last year, and they look just the same today as they did then. You can shake them and move them around, and the glitter stays put. 🙂
What a great idea! I love the glitter effect. These turned out beautifully and look tempting to try as well. Thanks for sharing this with us!
Wonderful idea!
This is a fabulous idea! I think this with the personalization would be really cute for teachers!
I have clear plastic ornaments…do you think it will work in plastic?
I’ve never actually tried it with plastic ornaments, Heather, but I would imagine that it would work the same way. If you try it, please come back and let me know how it worked! 🙂
Yes, it works on plastic ornaments.
Thank you for the information. I have two tubs of clear plastic ornaments and have been waiting for something to do with them. Maybe an ornament for each kid for Christmas.
I’m new to Vinyl…I found the glitter vinyl on the Expressions website, do I need to also get the transfer tape for this project?
Hi Traci! The transfer tape will allow you to move all of the letters at one time to keep them in perfect position/spacing; however, if you’re only going to be transferring something small (such as the letters of a first name), it is possible to just peel and stick the letters just as you would with a normal sticker.
Whats the equivalent of floor wax in the UK? We have spray furniture polish, is that the same thing. I cant imagine that making the glitter stick permanently inside the glass though?
Love the idea though.
Jean
I’m not sure, Jean, but I’ll try to do a little research and get back to you!
It appears as though it might be called either Klear (by Johnson Wax) or Pledge with Klear in the UK. Hope that helps! 🙂
I just made these and I have to say, they come out amazingly! Thanks so much for sharing!
Hobby lobby currently has glass ornaments for 50% off!!
So fun! I’d love for you to share this or any of your great ideas at the link party going on now (and every Saturday – Tuesday)at ‘Or so she says …’ http://www.oneshetwoshe.com
They’re beautiful! Now if I could find affordable clear ornaments 🙂
Thanks for sharing!!
lol … they say that glitter is herpes of creative people 🙂