


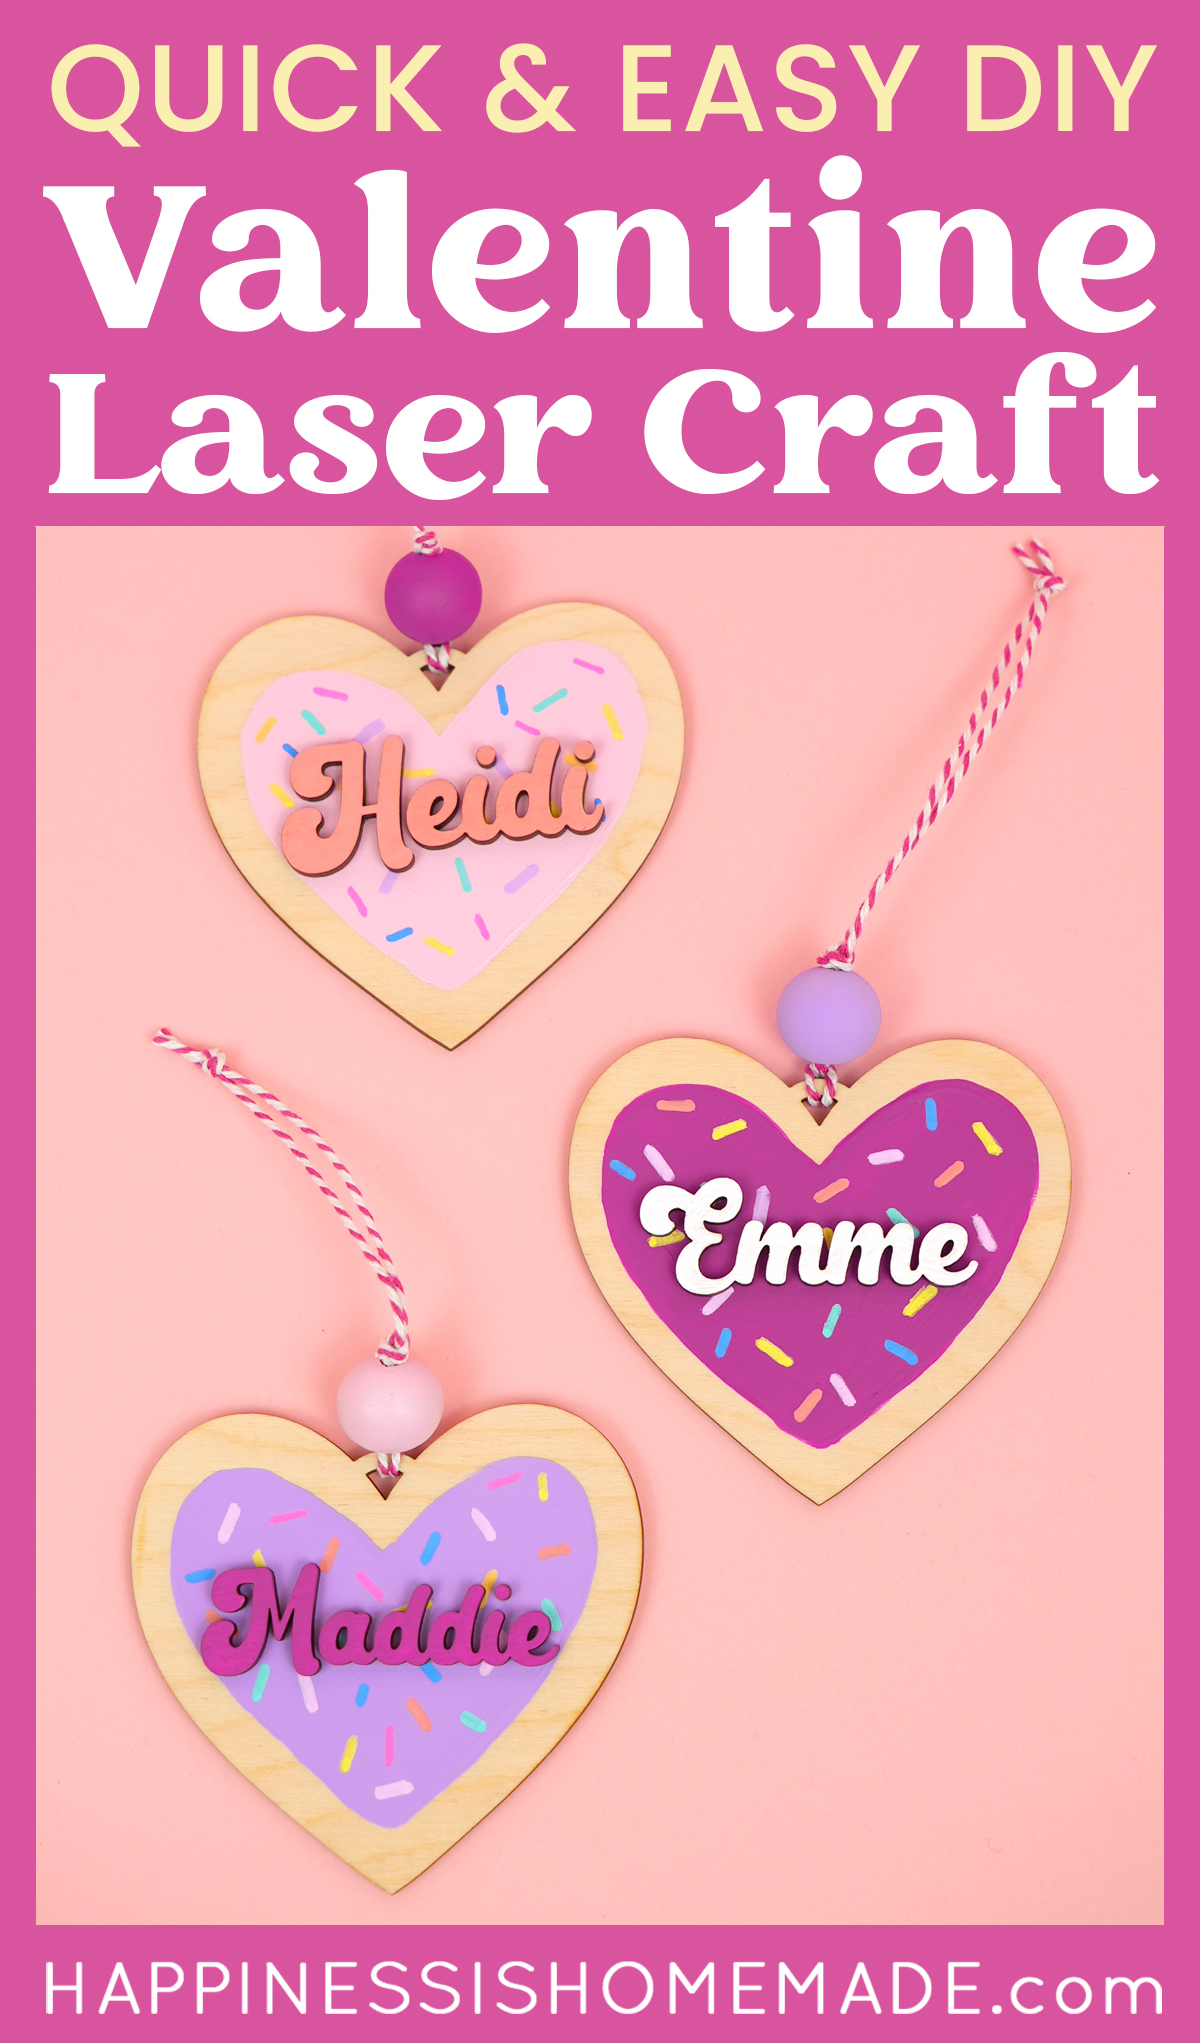
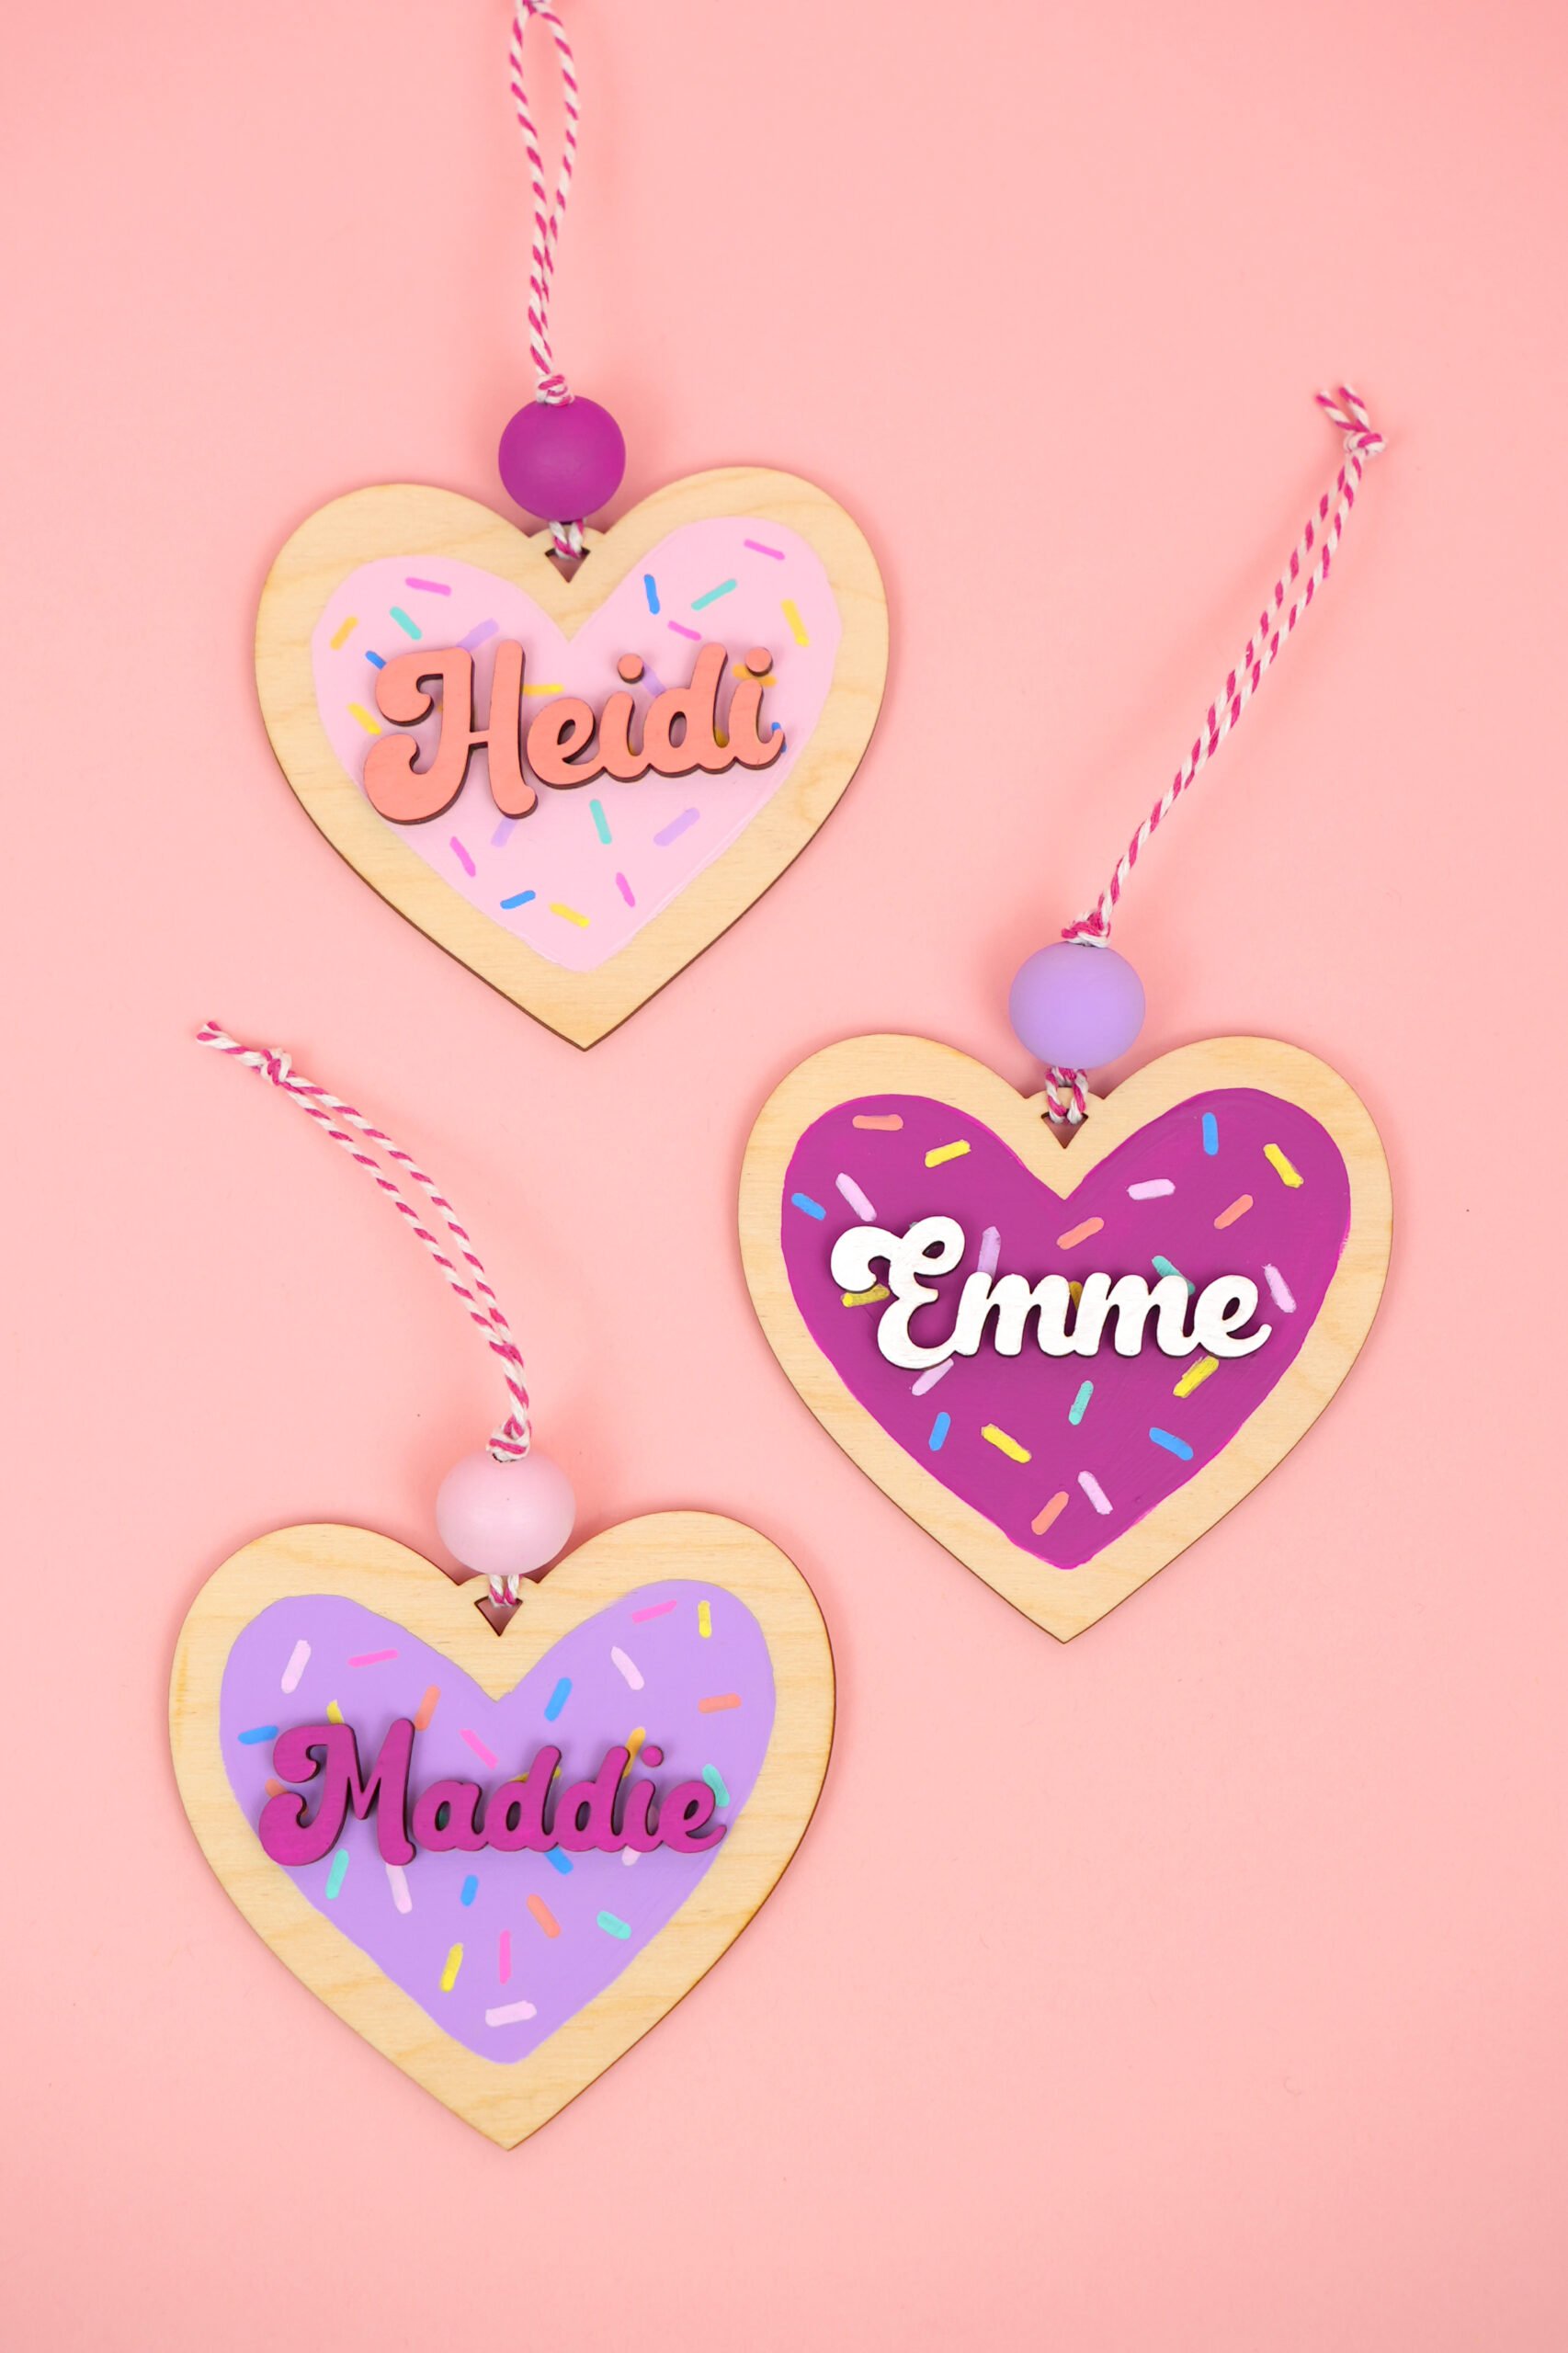
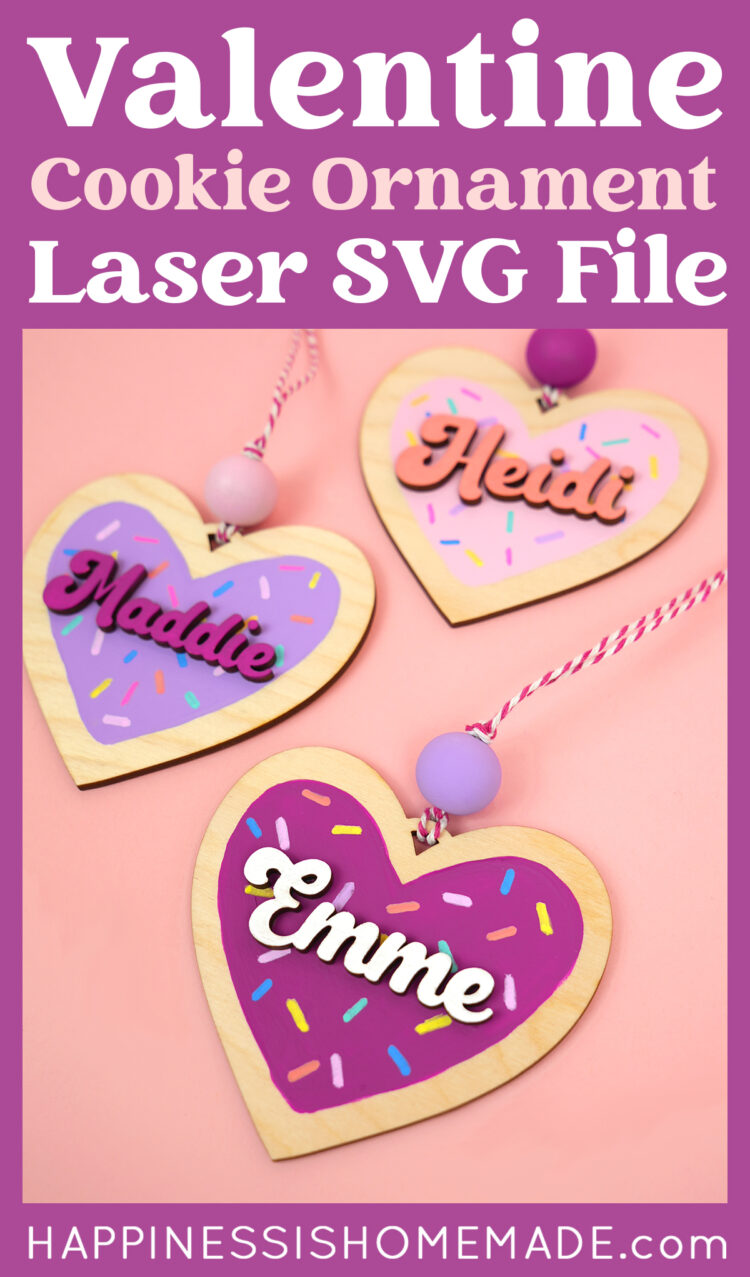
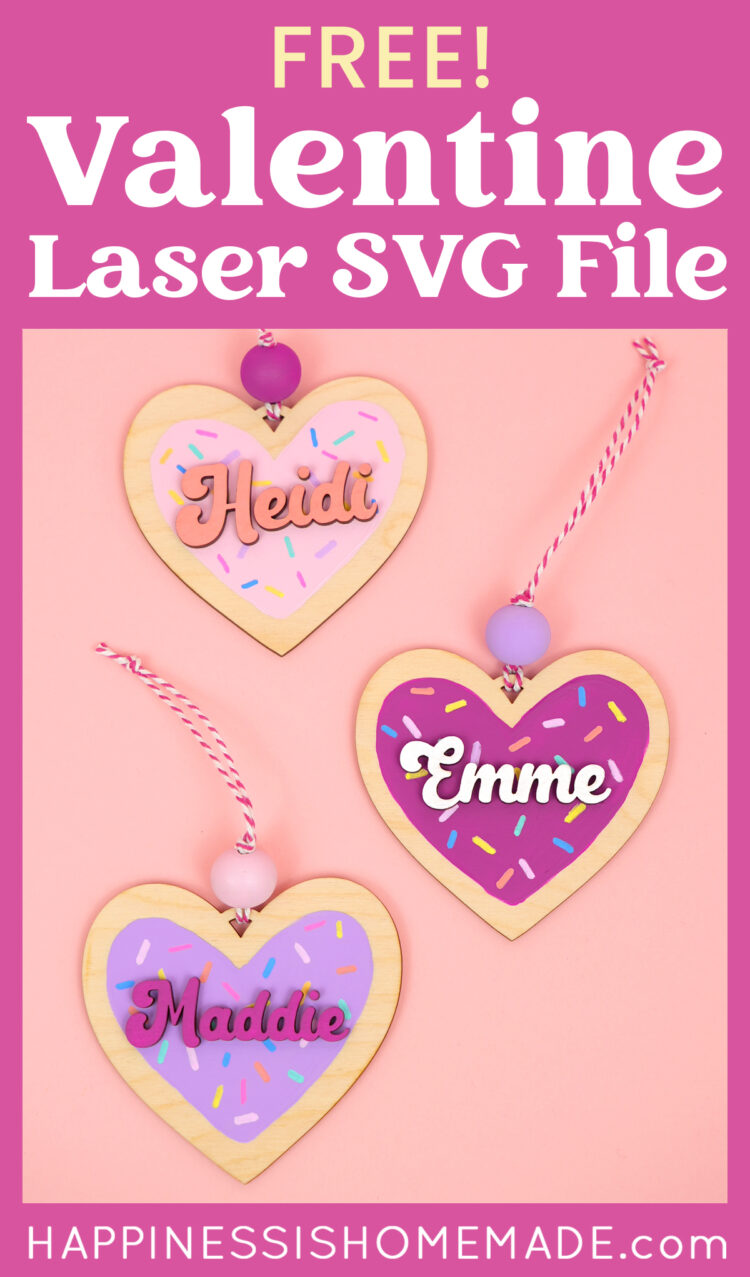
Use this free Valentine’s Day laser cut file to make these cute heart ornaments for your Valentines this year! A quick and easy last-minute Valentine’s Day gift idea!
This post may contain affiliate links. I will receive a small commission from these sales at no additional cost to you!
Valentine’s Day is the perfect occasion to shower your loved ones with tokens of love and appreciation, and we have something fun and extra special for you to make this year! Why not gift your Valentine something personalized and handmade that combines the sweetness of homemade cookies with the power of laser crafting? (Bonus points: it’s SO quick and easy to make, too!)
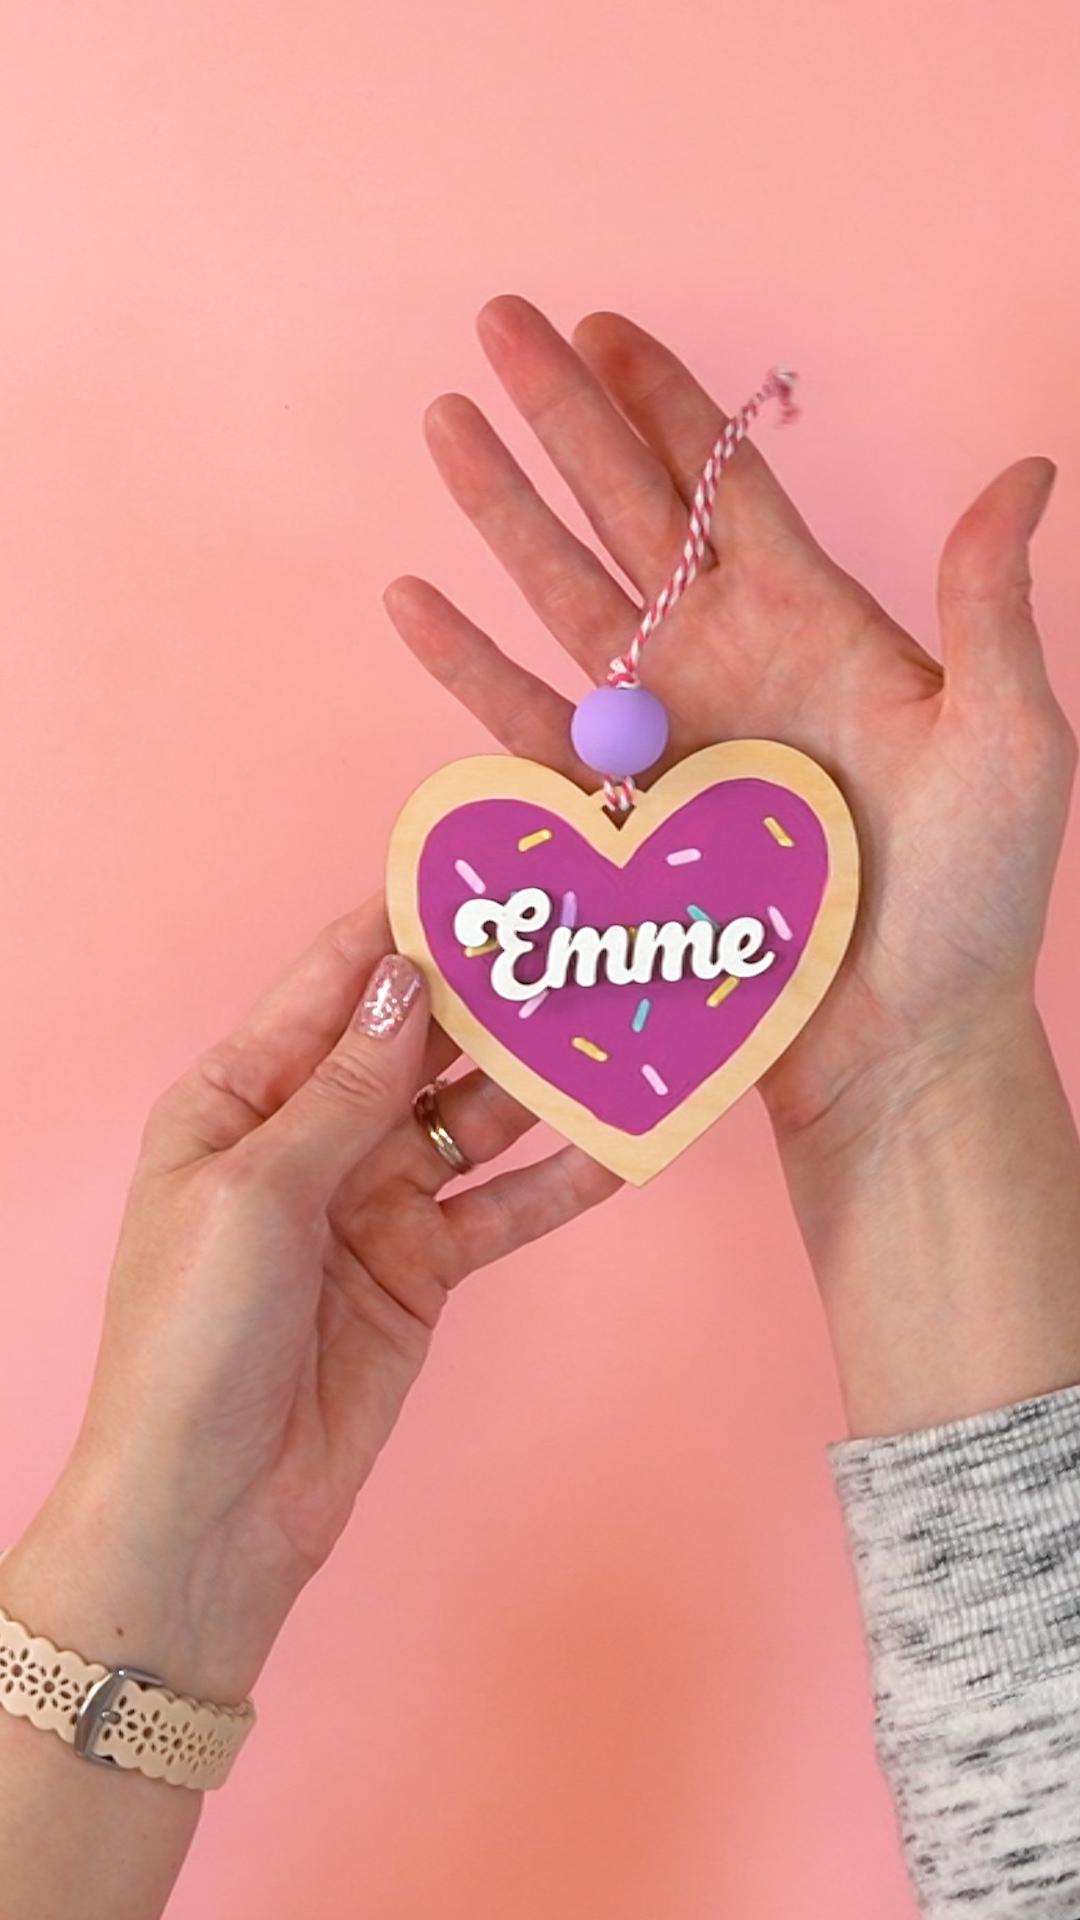
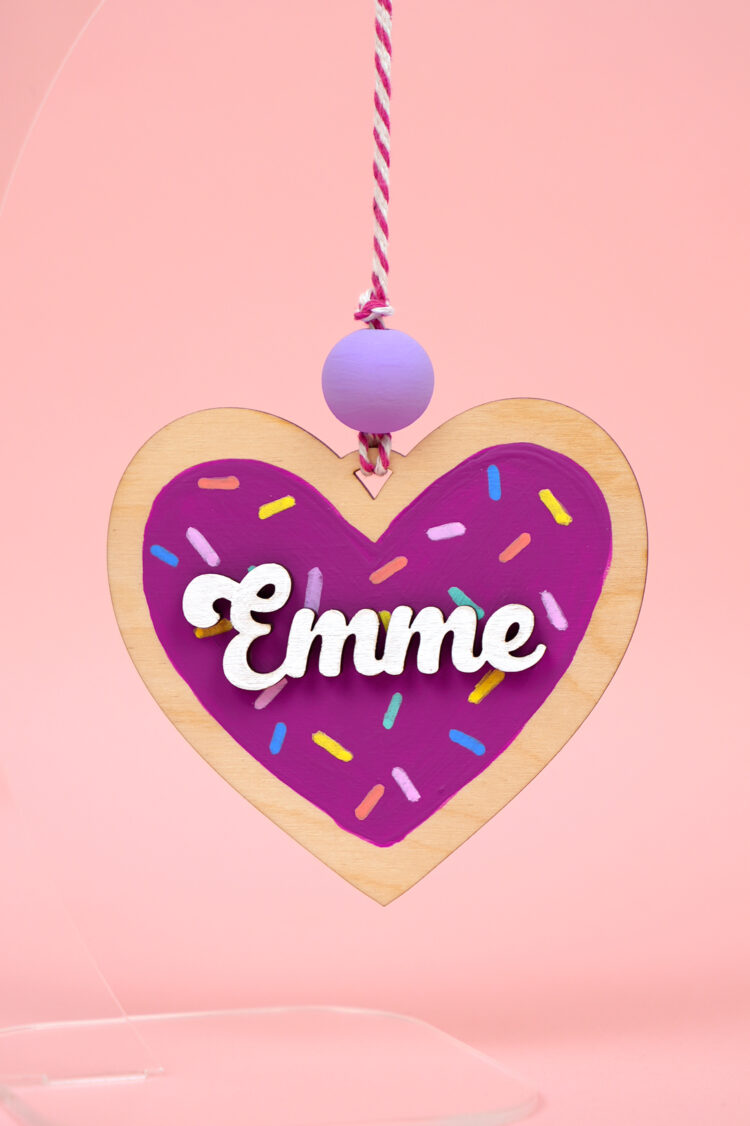
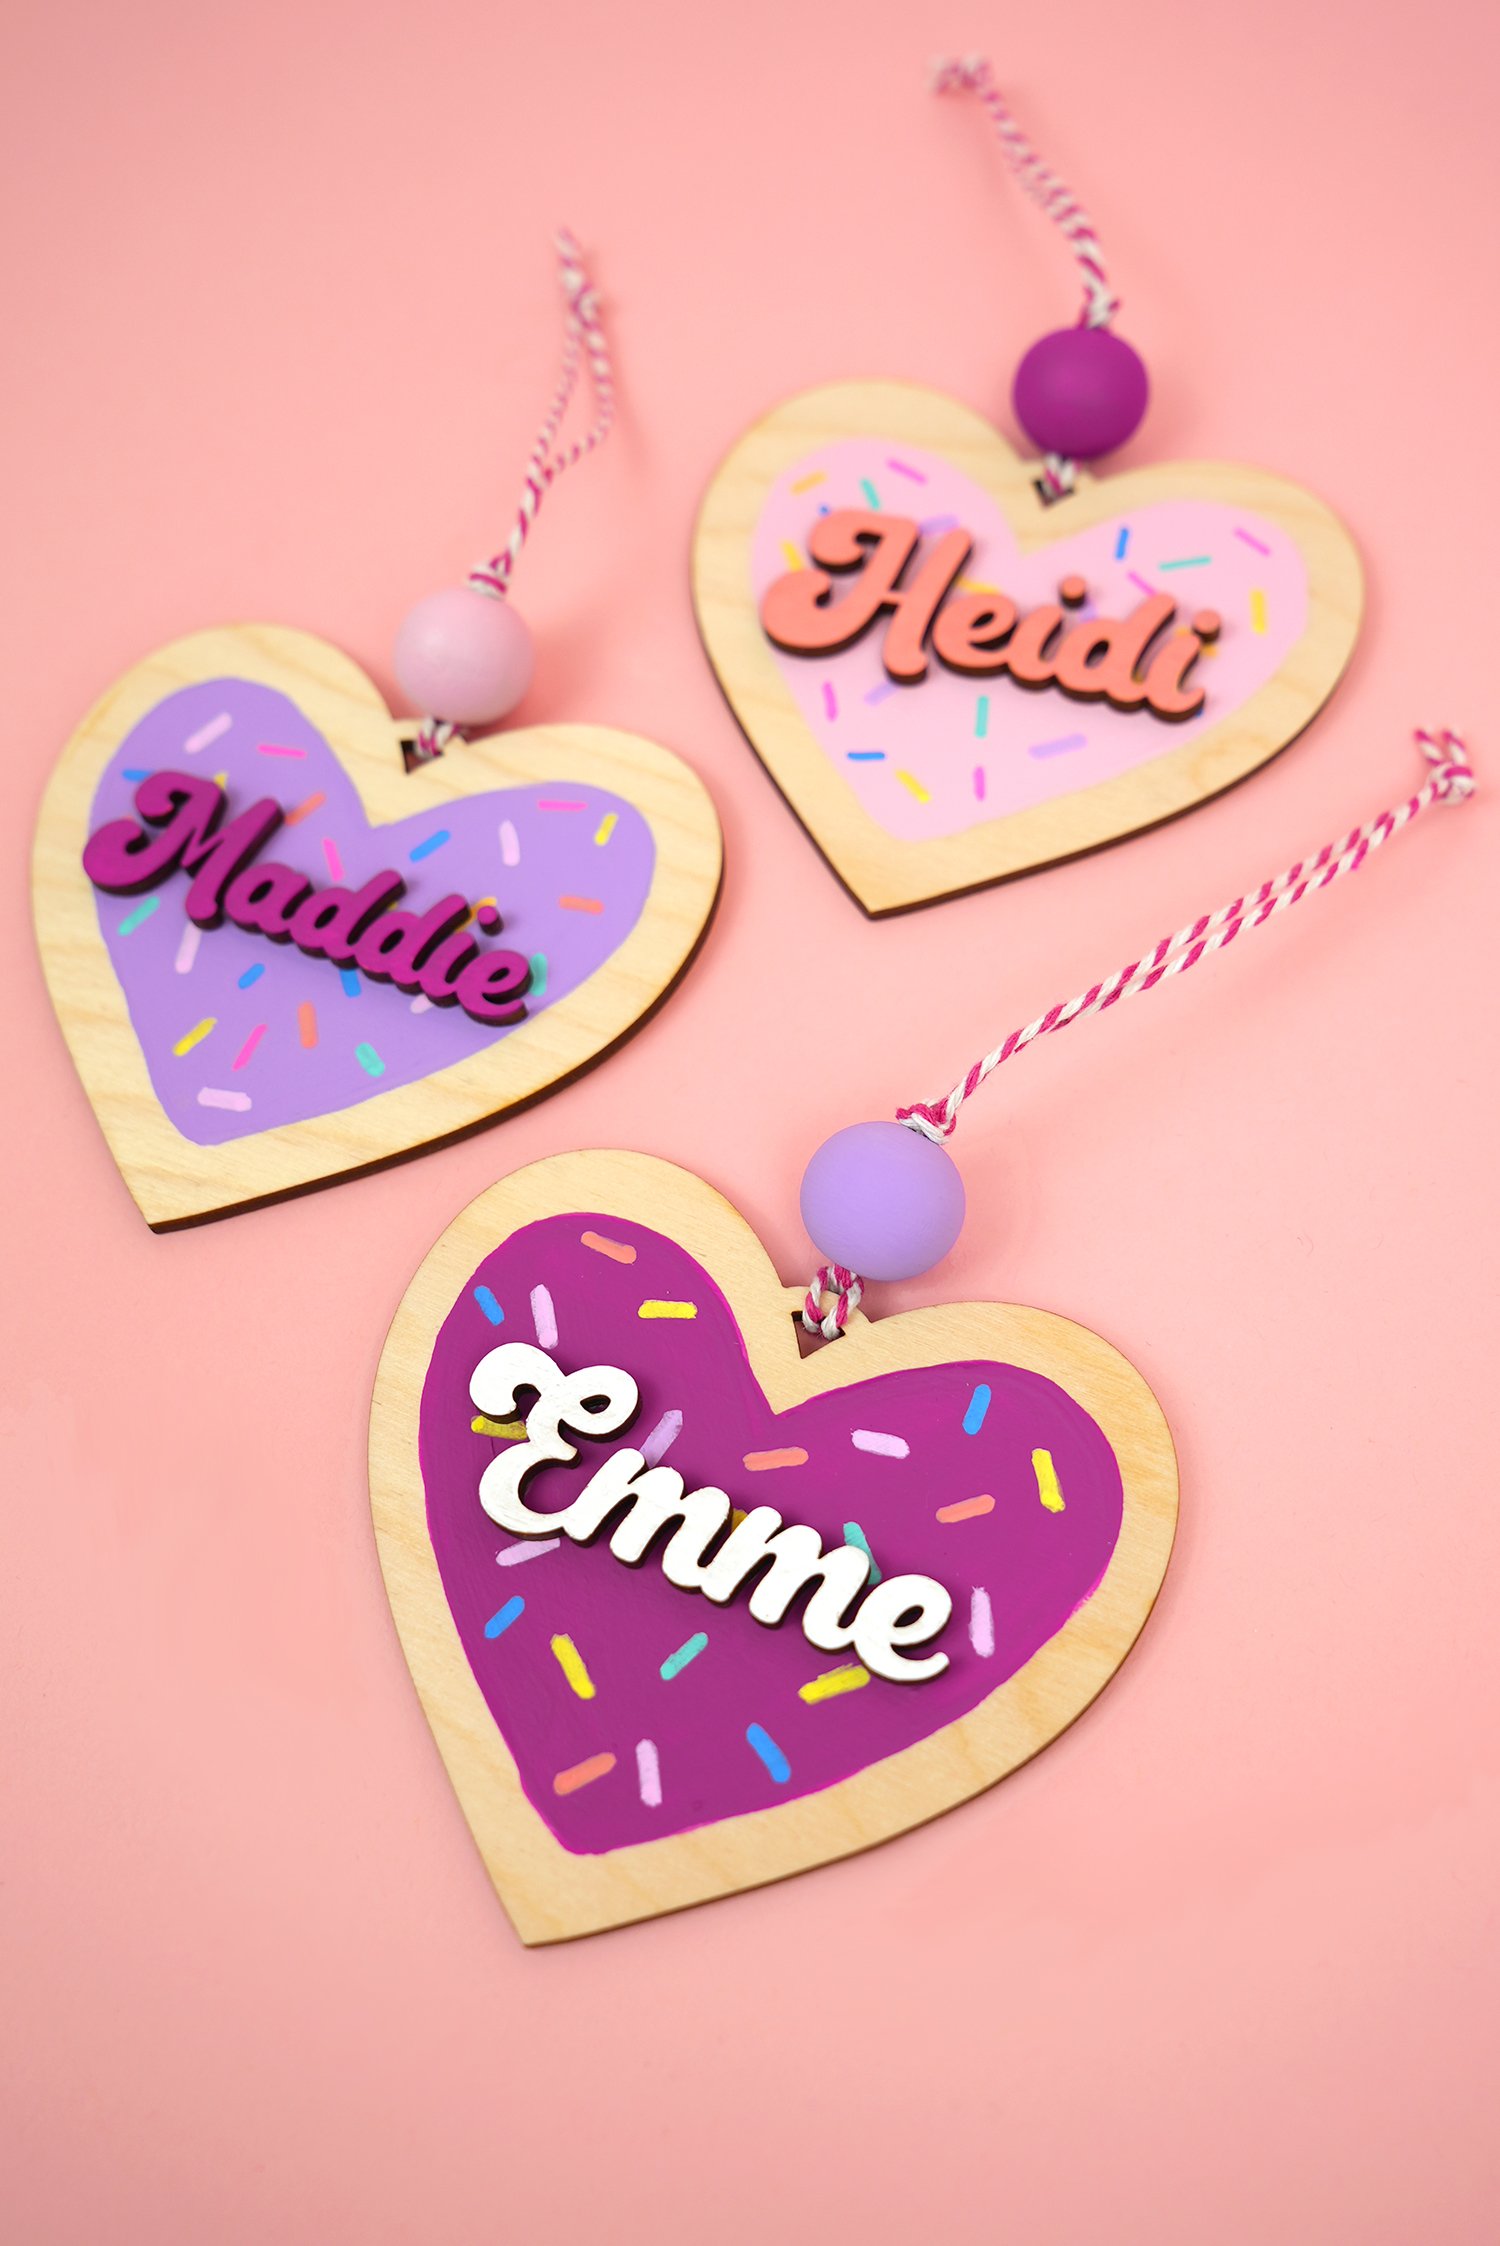
These Valentine’s Day heart “cookies” make a sweet and personal Valentine’s Day gift idea – use them as a gift topper, or hang them on a bedroom doorknob or bathroom mirror as a charming reminder of your love.
Check Out These Other DIY Valentine’s Day Gift Ideas!
Valentine’s Day Heart Cookie Ornaments
Materials and Tools Required
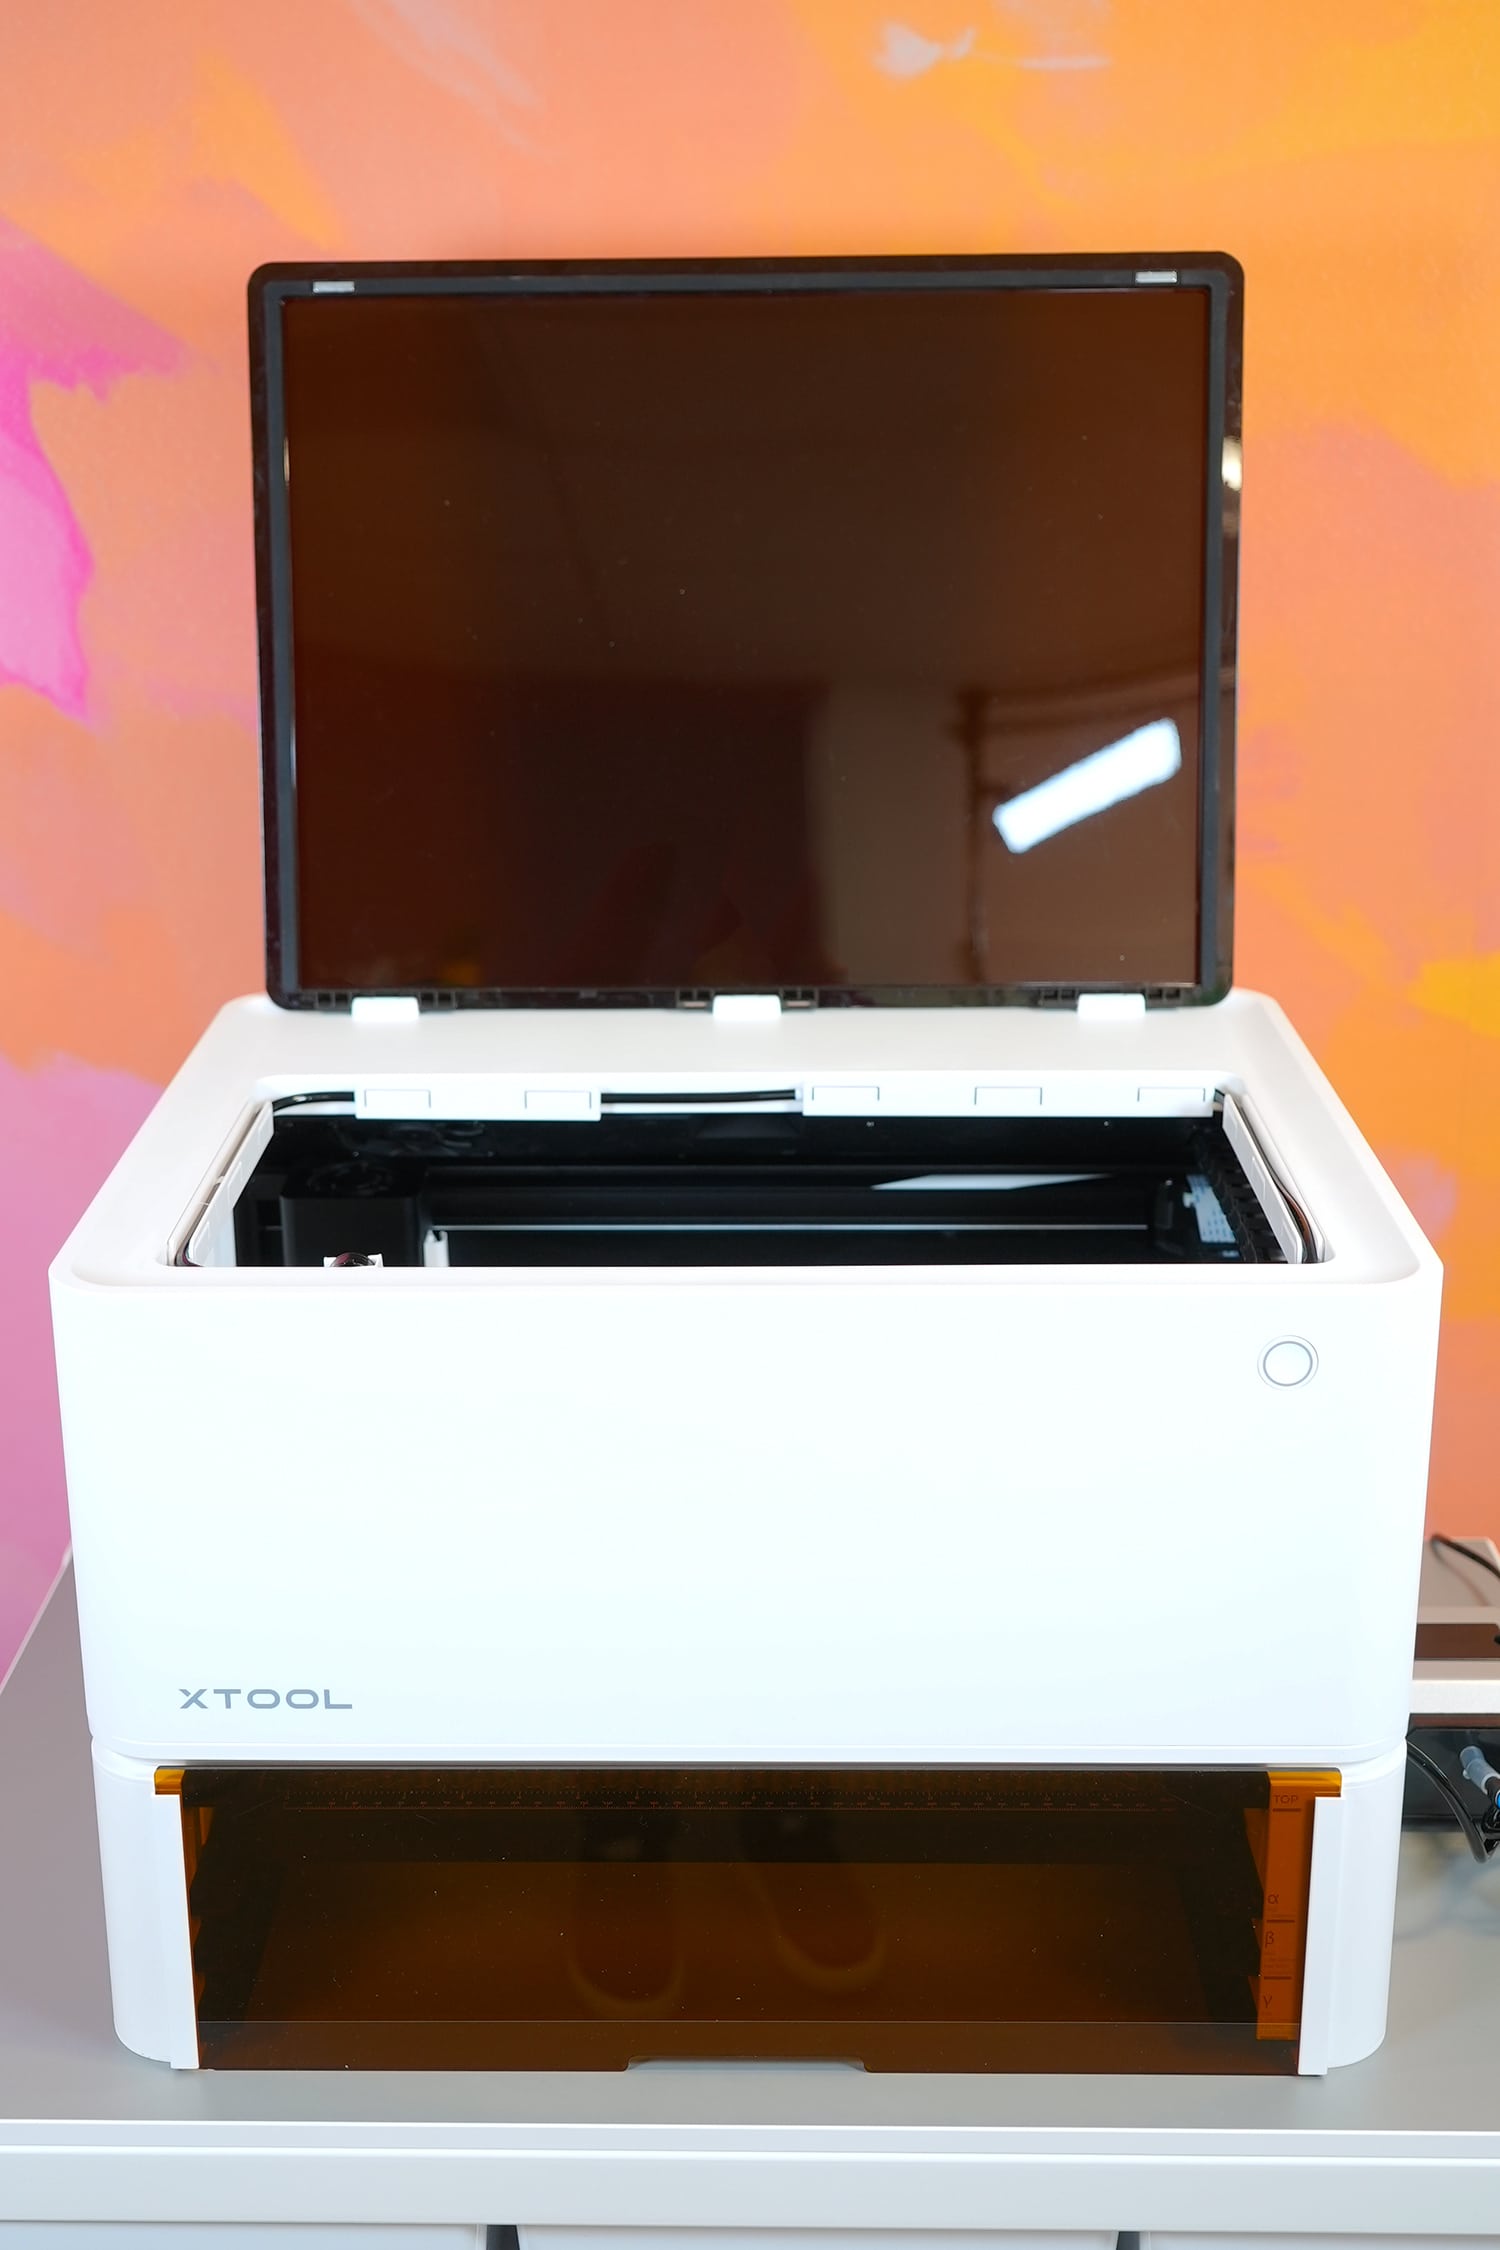
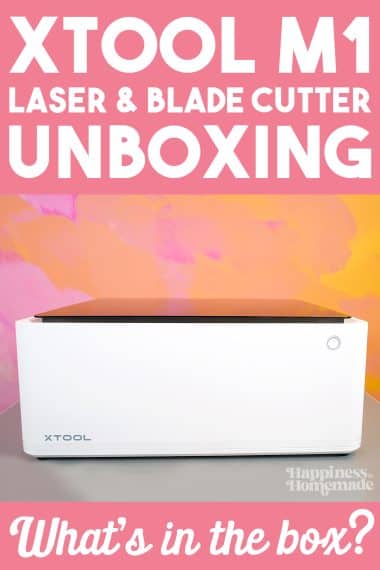
- Laser Cutter: Since this project is cut entirely from wood, you can use either a CO2 or a diode laser. I used my xTool M1 to cut my pieces for this project.
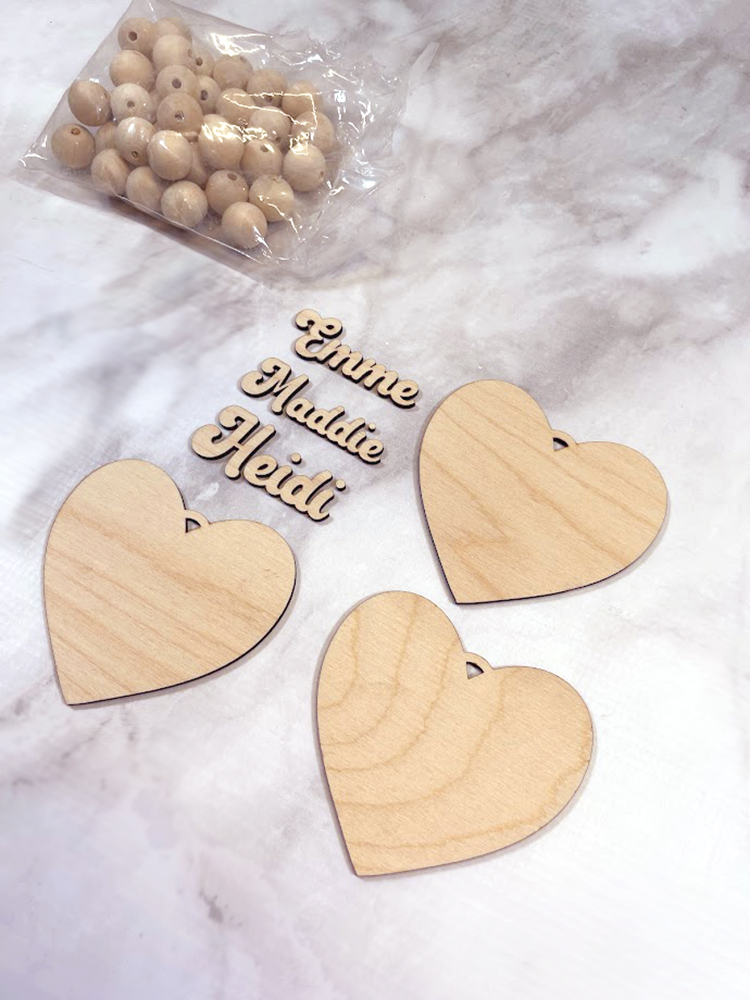
- High-Quality Plywood or MDF: The base material for your heart “cookies.” We used 1/8″ (3mm) Baltic Birch plywood, but other woods and MDF will work as well.
- Acrylic Paint and Paint Pens: For decorating your heart to mimic the look of icing and sprinkles on a traditional sugar cookie. I highly recommend Posca Markers!
- Laser SVG file for Heart Shape: Available below
- Font for Name Customization: Add a personal touch to your cookies with a laser-cut name. We used the Austin Holiday font for our heart ornaments.
- String and Decorative Wood Bead: For hanging or displaying your heart cookie ornaments.
- Sandpaper and Wood Glue: For finishing touches and assembly.
How to Make Your Valentine’s Day Heart “Cookie” Ornament
Step 1: Preparing Your Laser Cutter
First, ensure your laser cutter is set up according to the manufacturer’s instructions. Upload the free laser SVG file for the heart shape into your machine’s software. Adjust the cutting settings based on the thickness and type of plywood or MDF that you are using.
Note: We always recommend doing a test run on a scrap piece of material to ensure the settings are correct before cutting your project.
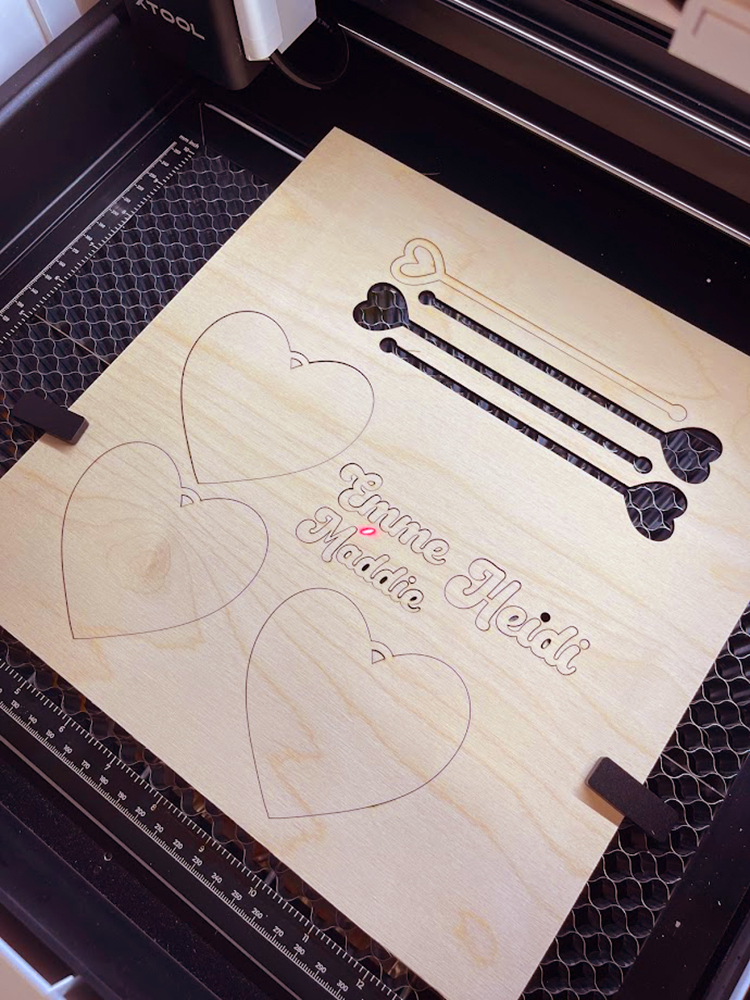
Step 2: Cutting the Heart Shape & NAMES
Once you are satisfied with the settings, place your plywood or MDF onto the bed of the laser and start the cutting process. After the cut is complete, carefully remove all of the pieces from the cutting bed (you may need to look in your crumb tray or bottom drawer for small pieces like the dots for your lowercase i’s). Use sandpaper if necessary to smooth any rough edges/faces and prepare the surface for painting.
Step 3: Decorating Your Heart “Cookie”
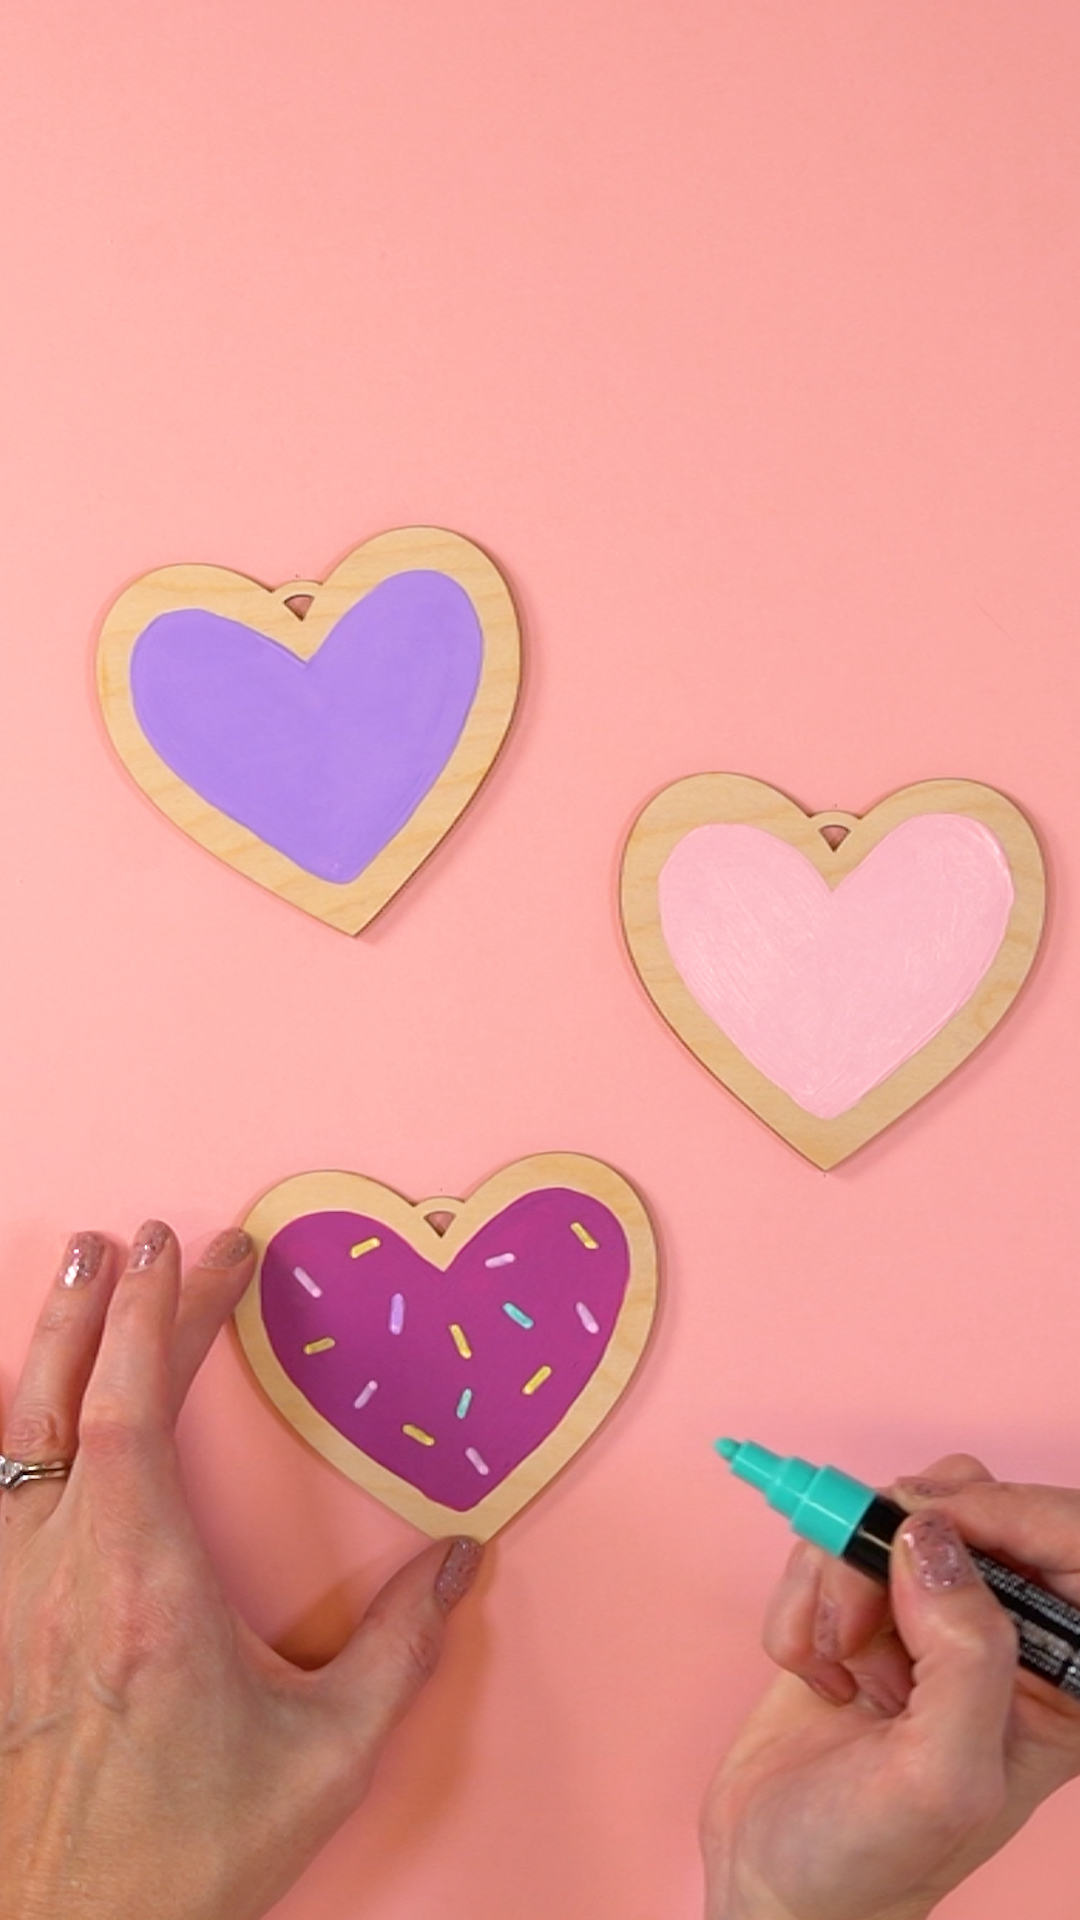
Now, for the fun part – it’s time to unleash your creativity! Use acrylic paint to cover the heart, leaving a thin unpainted border around the edges to mimic the appearance of icing on a sugar cookie. There’s no need to be perfect with this step…in fact, a little bit of imperfection adds to the authenticity! Allow the paint to dry completely.
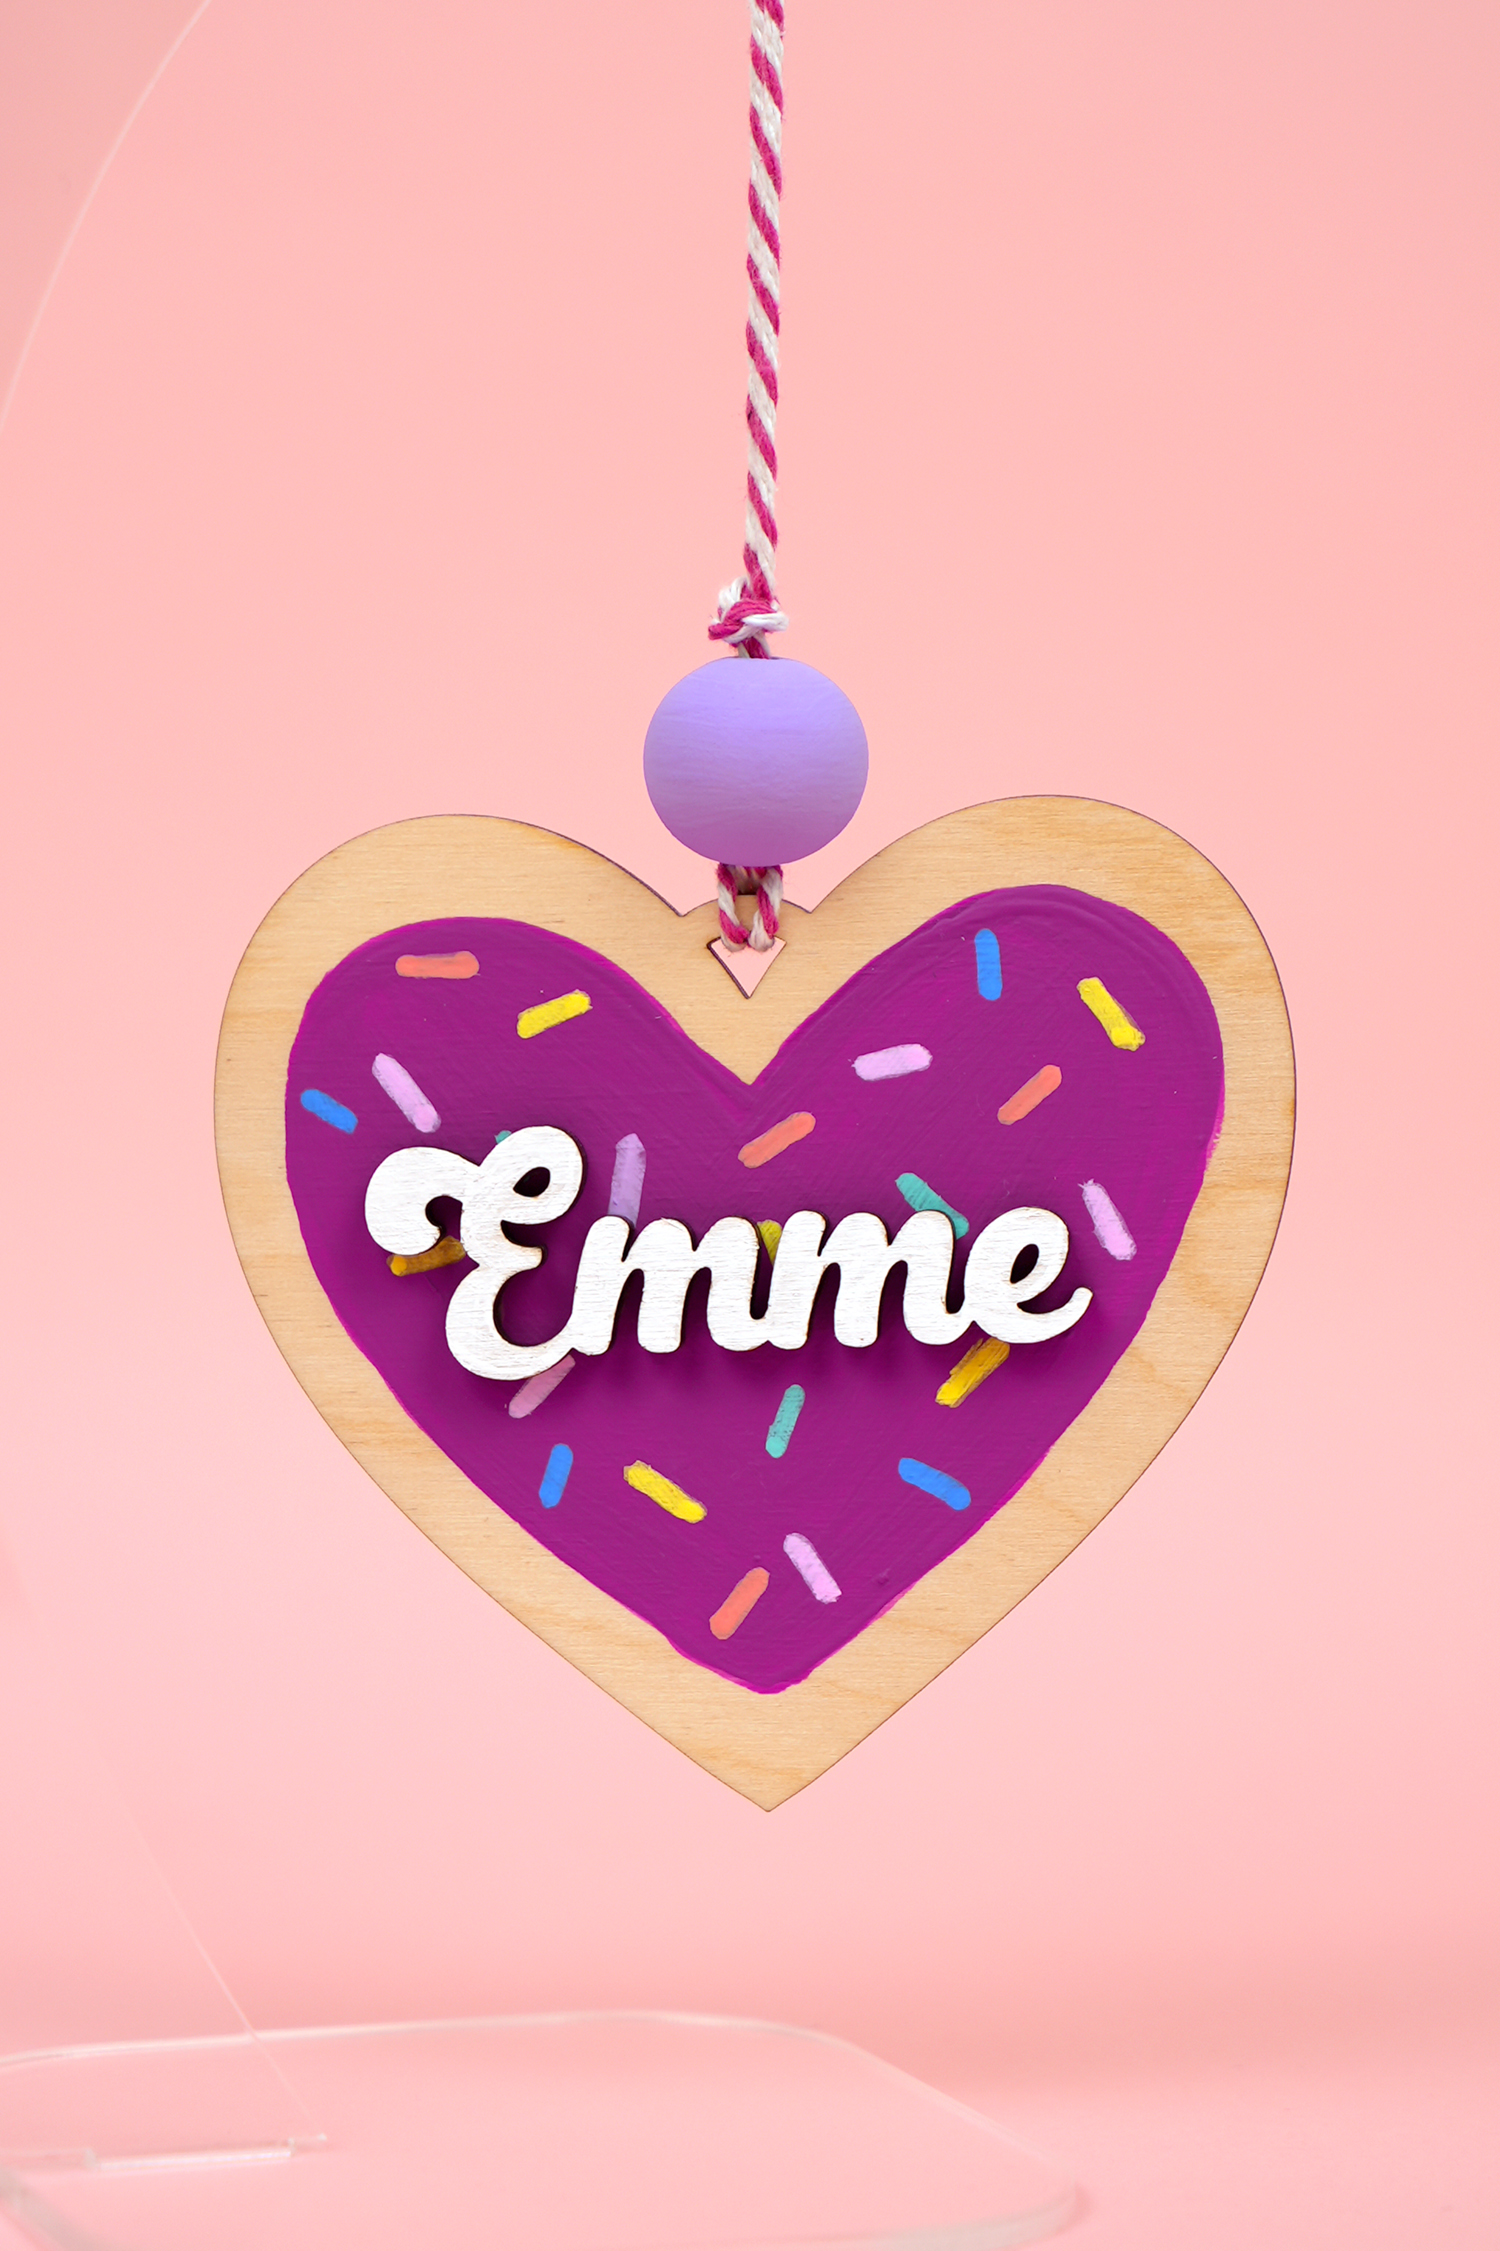
Next, use paint pens to add “sprinkles” to the icing, just like on a real cookie. Use your favorite color combinations, or keep it simple and use all-white or other monochromatic sprinkles.
Step 4: Adding a Laser-Cut Name
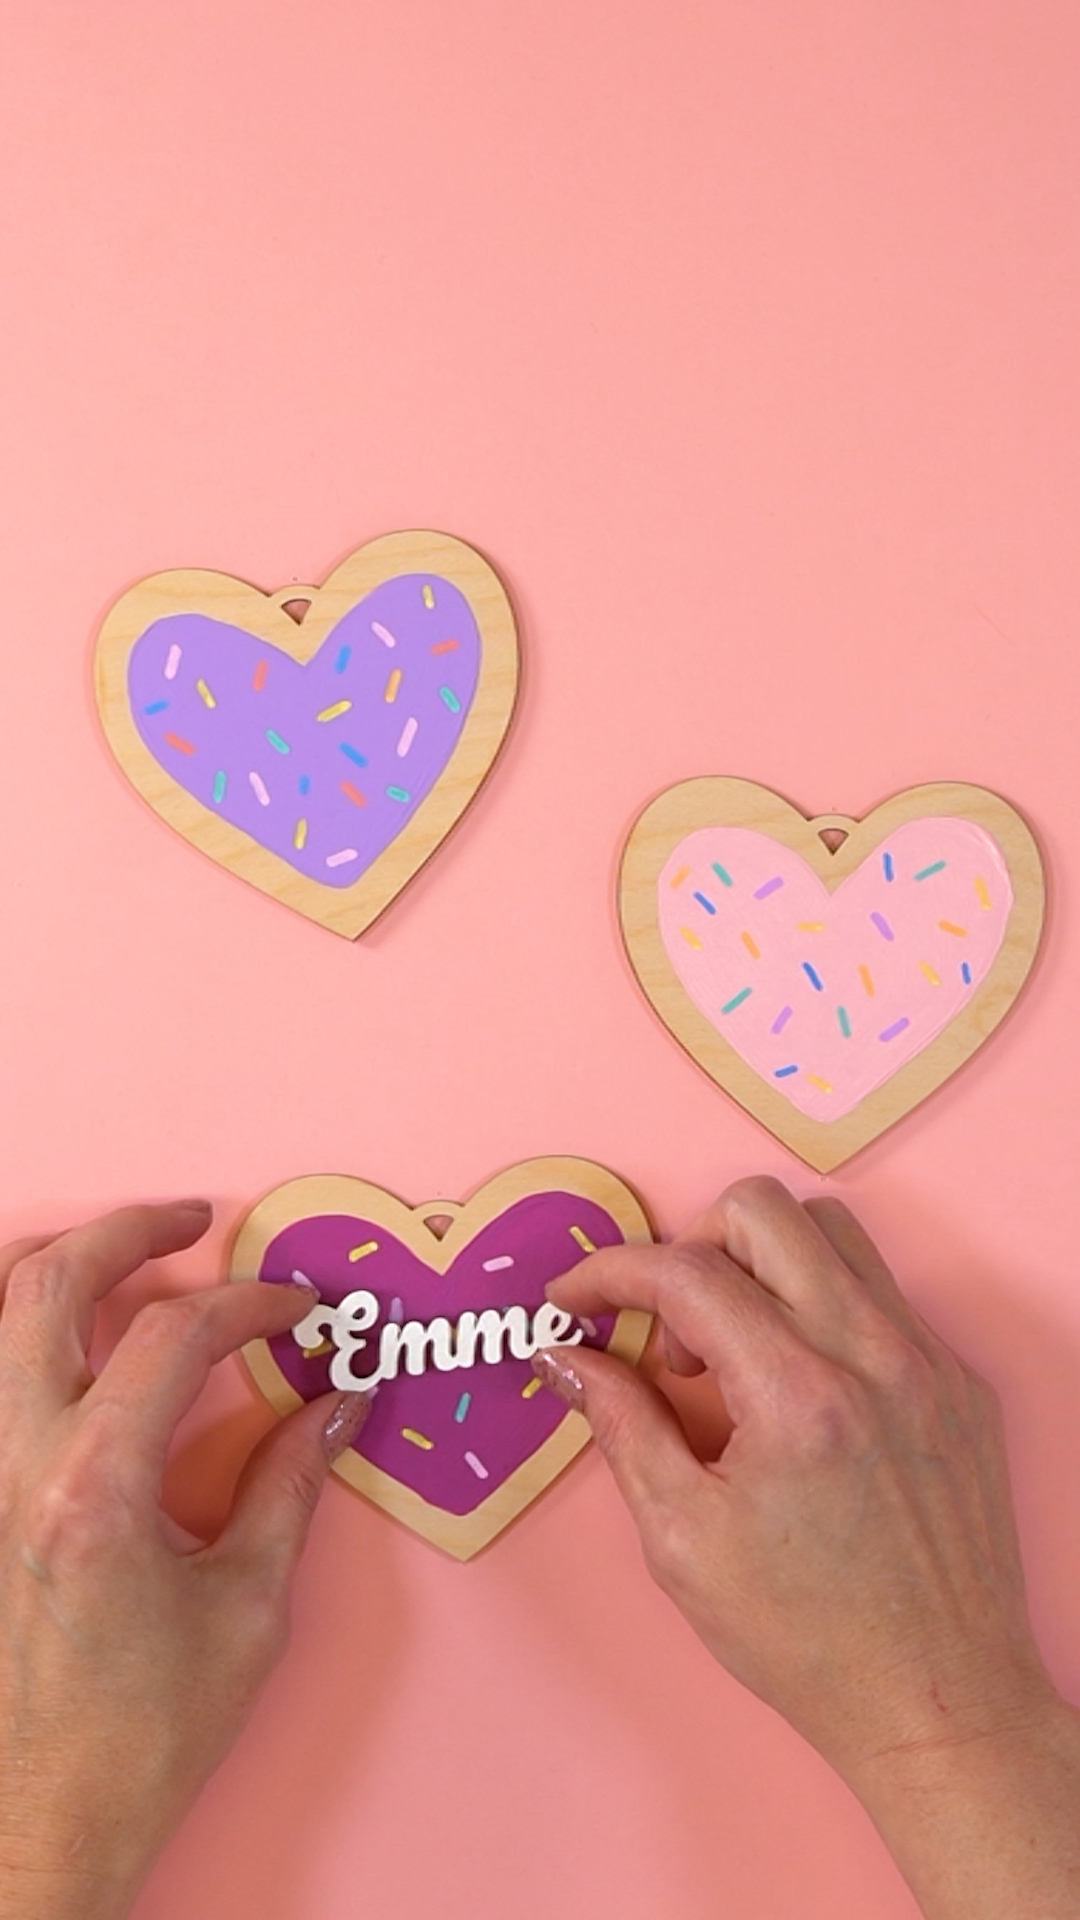
Personalization adds a unique touch to your gift, making it even more special. In your laser software, use your favorite font (we used Austin Holiday here) to cut out a name from plywood or MDF. Paint the name in a contrasting color so that it will stand out against the heart background. Once dry, use wood glue to attach the name to the heart.
Step 5: Final Assembly
Thread the string through the top of the heart, and add a decorative bead for an extra finishing touch. Tie a knot to secure everything in place.
Get the VALENTINE SVG CUT Here
This file is Crafting File #75 in our Freebie Library! Get the password to our Freebie Library by signing up for our Email Club in the form below! If you are already a club member with the password, hop on over to the Freebie Library to download the file now!
All free downloads from Happiness is Homemade are for PERSONAL and CLASSROOM USE ONLY. You MAY NOT share, distribute, sell, or use these files for commercial purposes, including print-on-demand. Commercial licenses for SVG and PNG Crafting Files may be purchased in the Happiness is Homemade Shop. Please read our full license terms here.
Download Trouble?
Can’t find the download form? Having trouble with the file? Check out our Digital Downloads FAQ page for answers to the most common troubleshooting questions!
These Valentine’s Day heart cookie ornaments are sure to be a huge hit with your family and friends! My favorite thing about this project is that it allows you to blend modern crafting technology with traditional gift-giving, resulting in a personalized and memorable present for your Valentine!

Check Out These Other Laser Craft Ideas!
 How to Laser-Engrave a Burlap Banner
 Valentine Heart Ornaments + Laser SVG
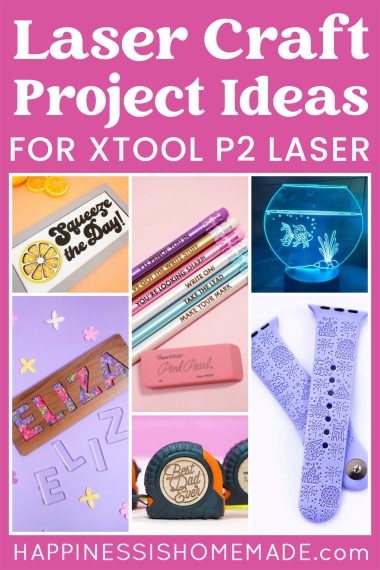
 25+ Laser Craft Project Ideas for xTool P2
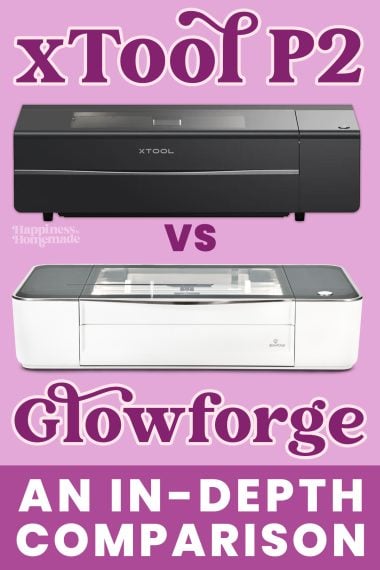
- xTool P2 vs Glowforge: CO2 Laser Comparison
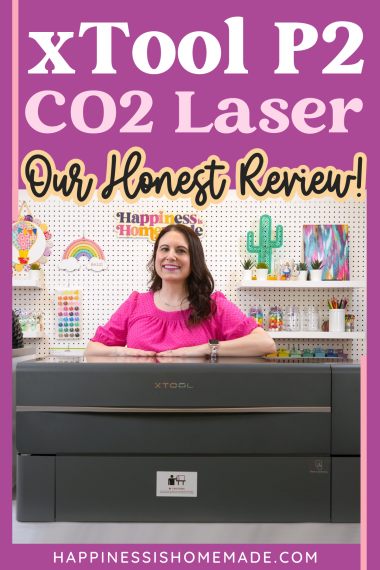
- xTool P2 CO2 Laser Cutter Review: Everything You Need to Know!
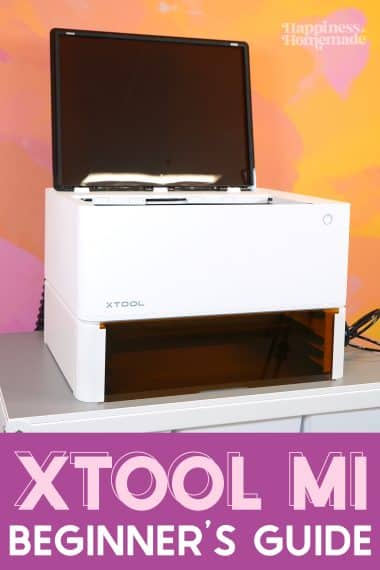
- Ultimate xTool M1 Beginner’s Guide
- xTool M1 Laser Unboxing – What’s in the Box?
- Custom Tape Measure Gift Idea

Pin This Valentine’s Day Laser Craft for Later!


Heidi Kundin has captivated the hearts of millions with her colorful and inspiring approach to crafting, celebrations, and family fun. With over 15 years of experience, Happiness is Homemade has become a must-visit destination for those seeking quick and easy creative ideas and last-minute solutions. Heidi’s warm personality shines through her posts, inviting readers to join her on a creative journey that’s fun, rewarding, and achievable. Heidi is also the author of Homemade Bath Bombs & More and DIY Tie-Dye.