
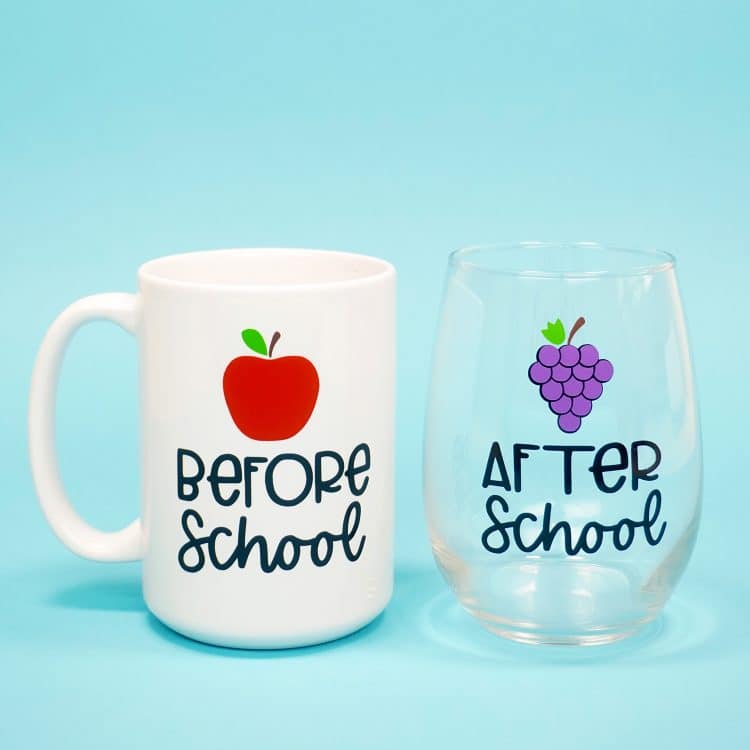
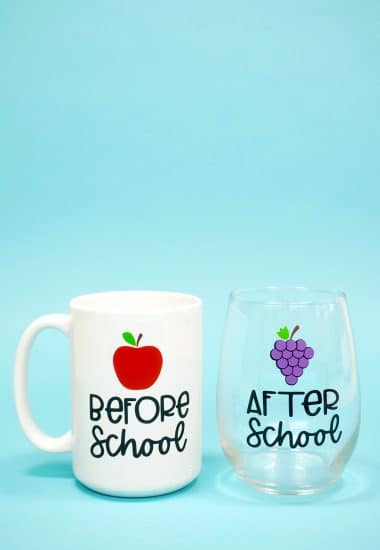
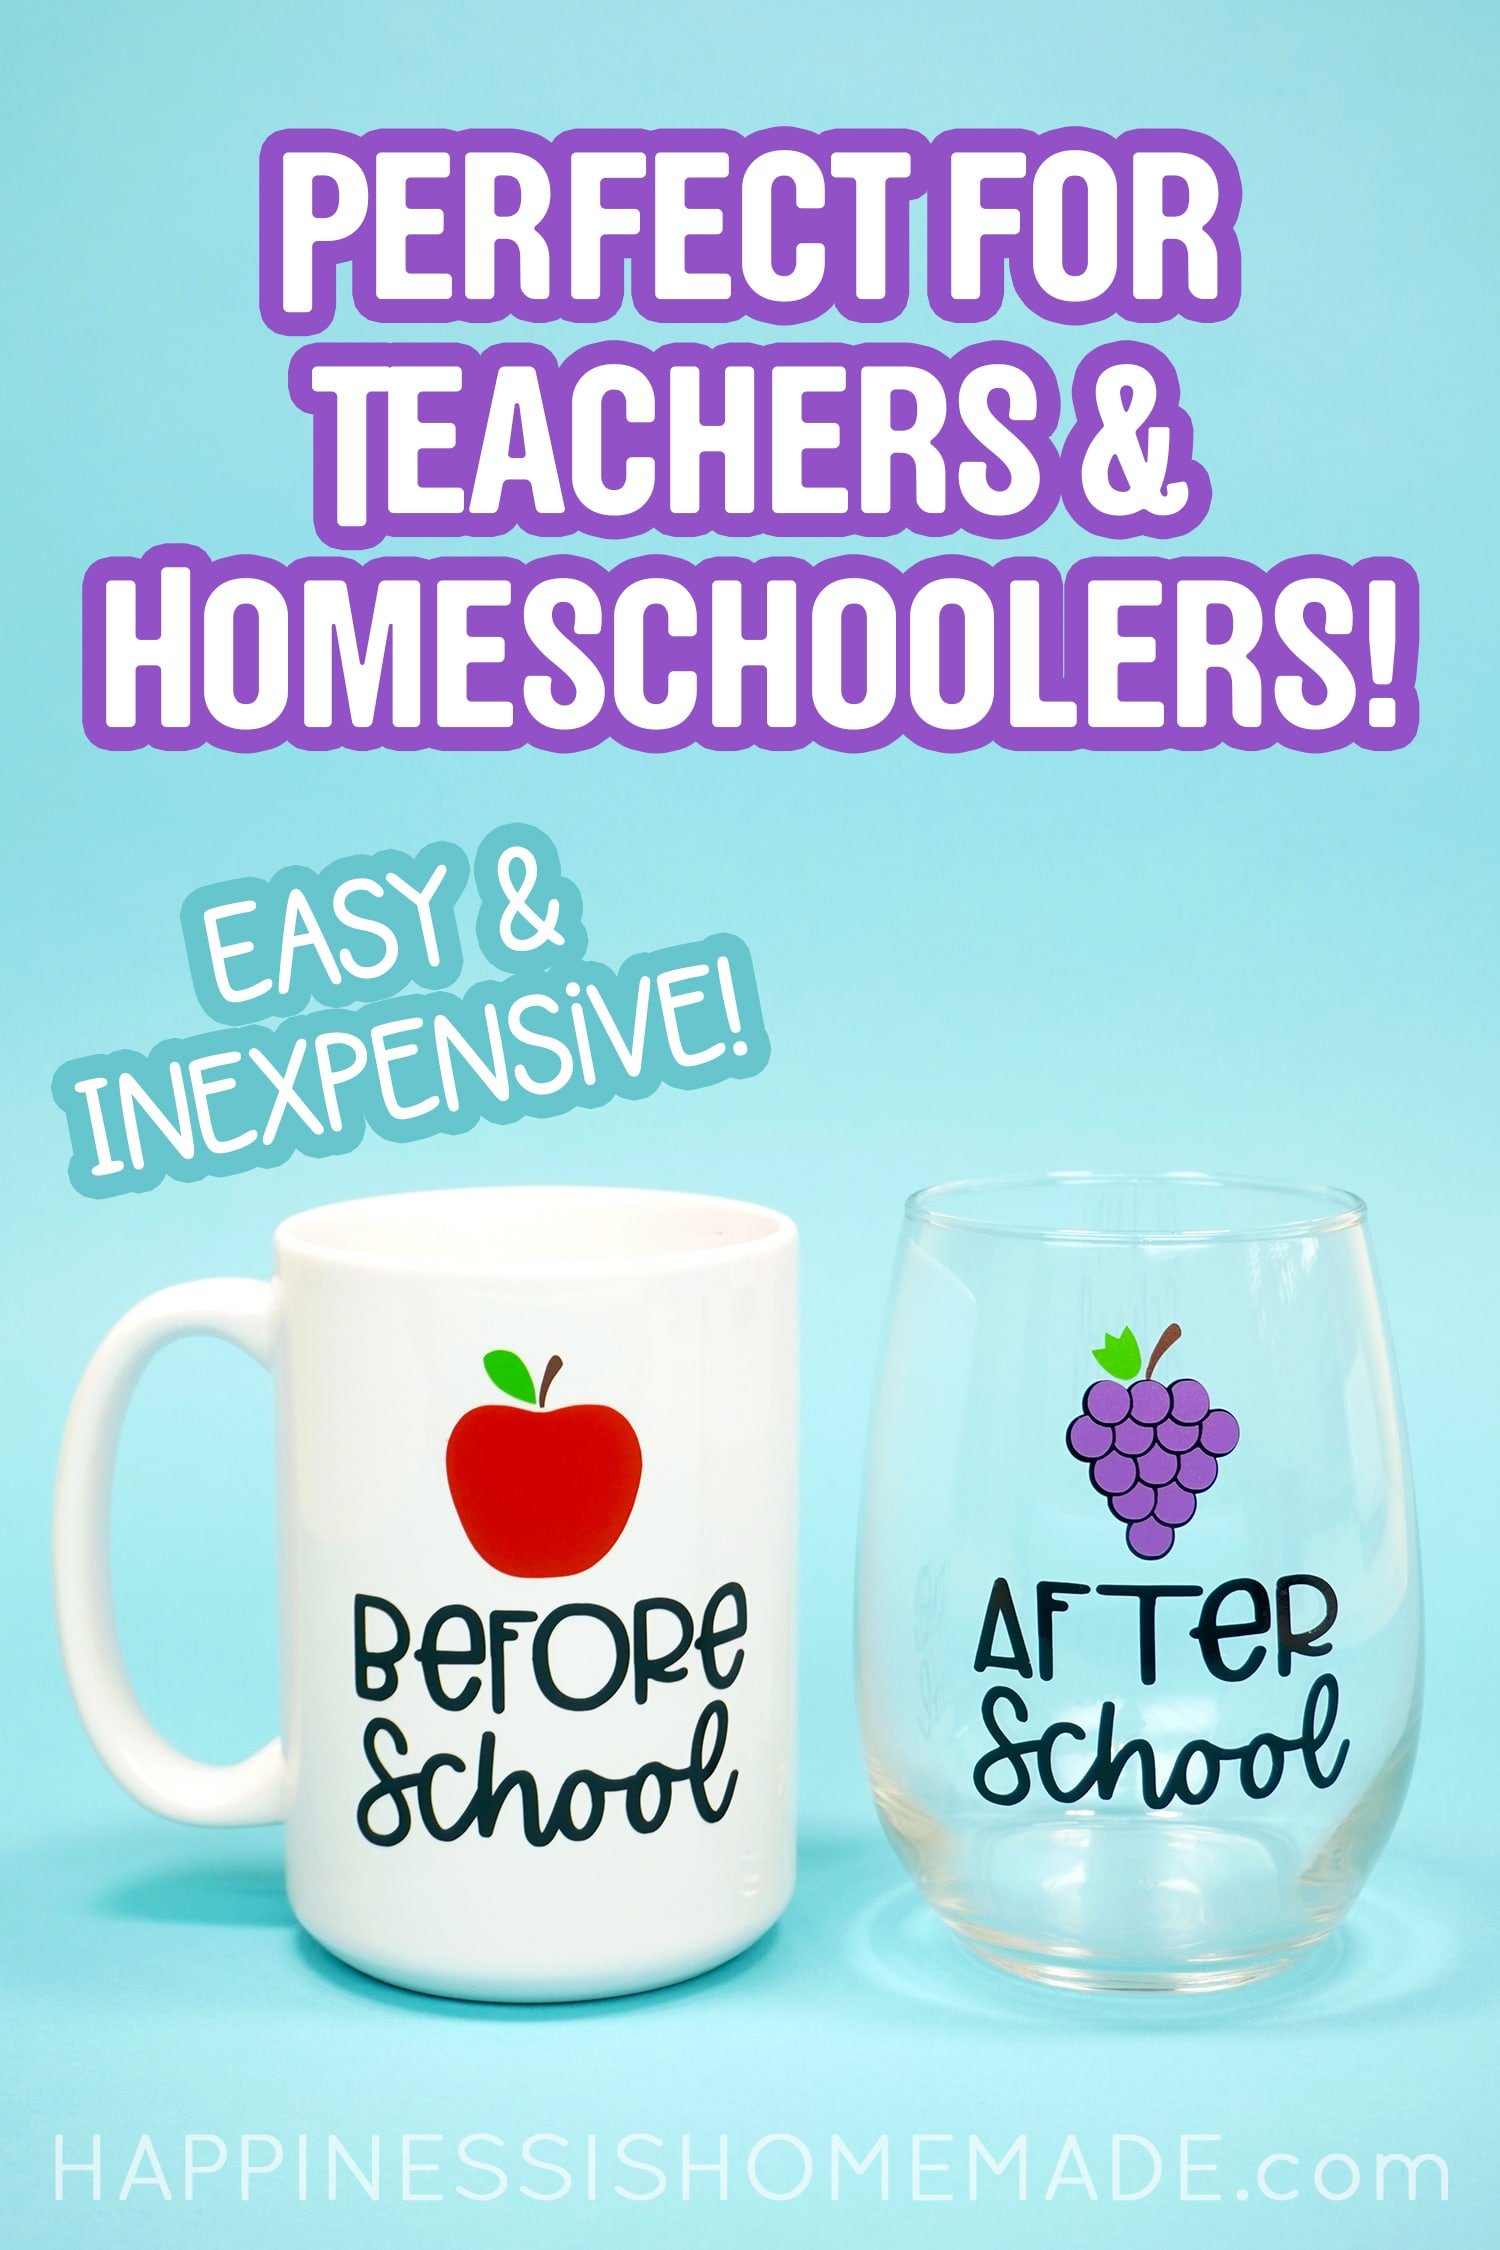
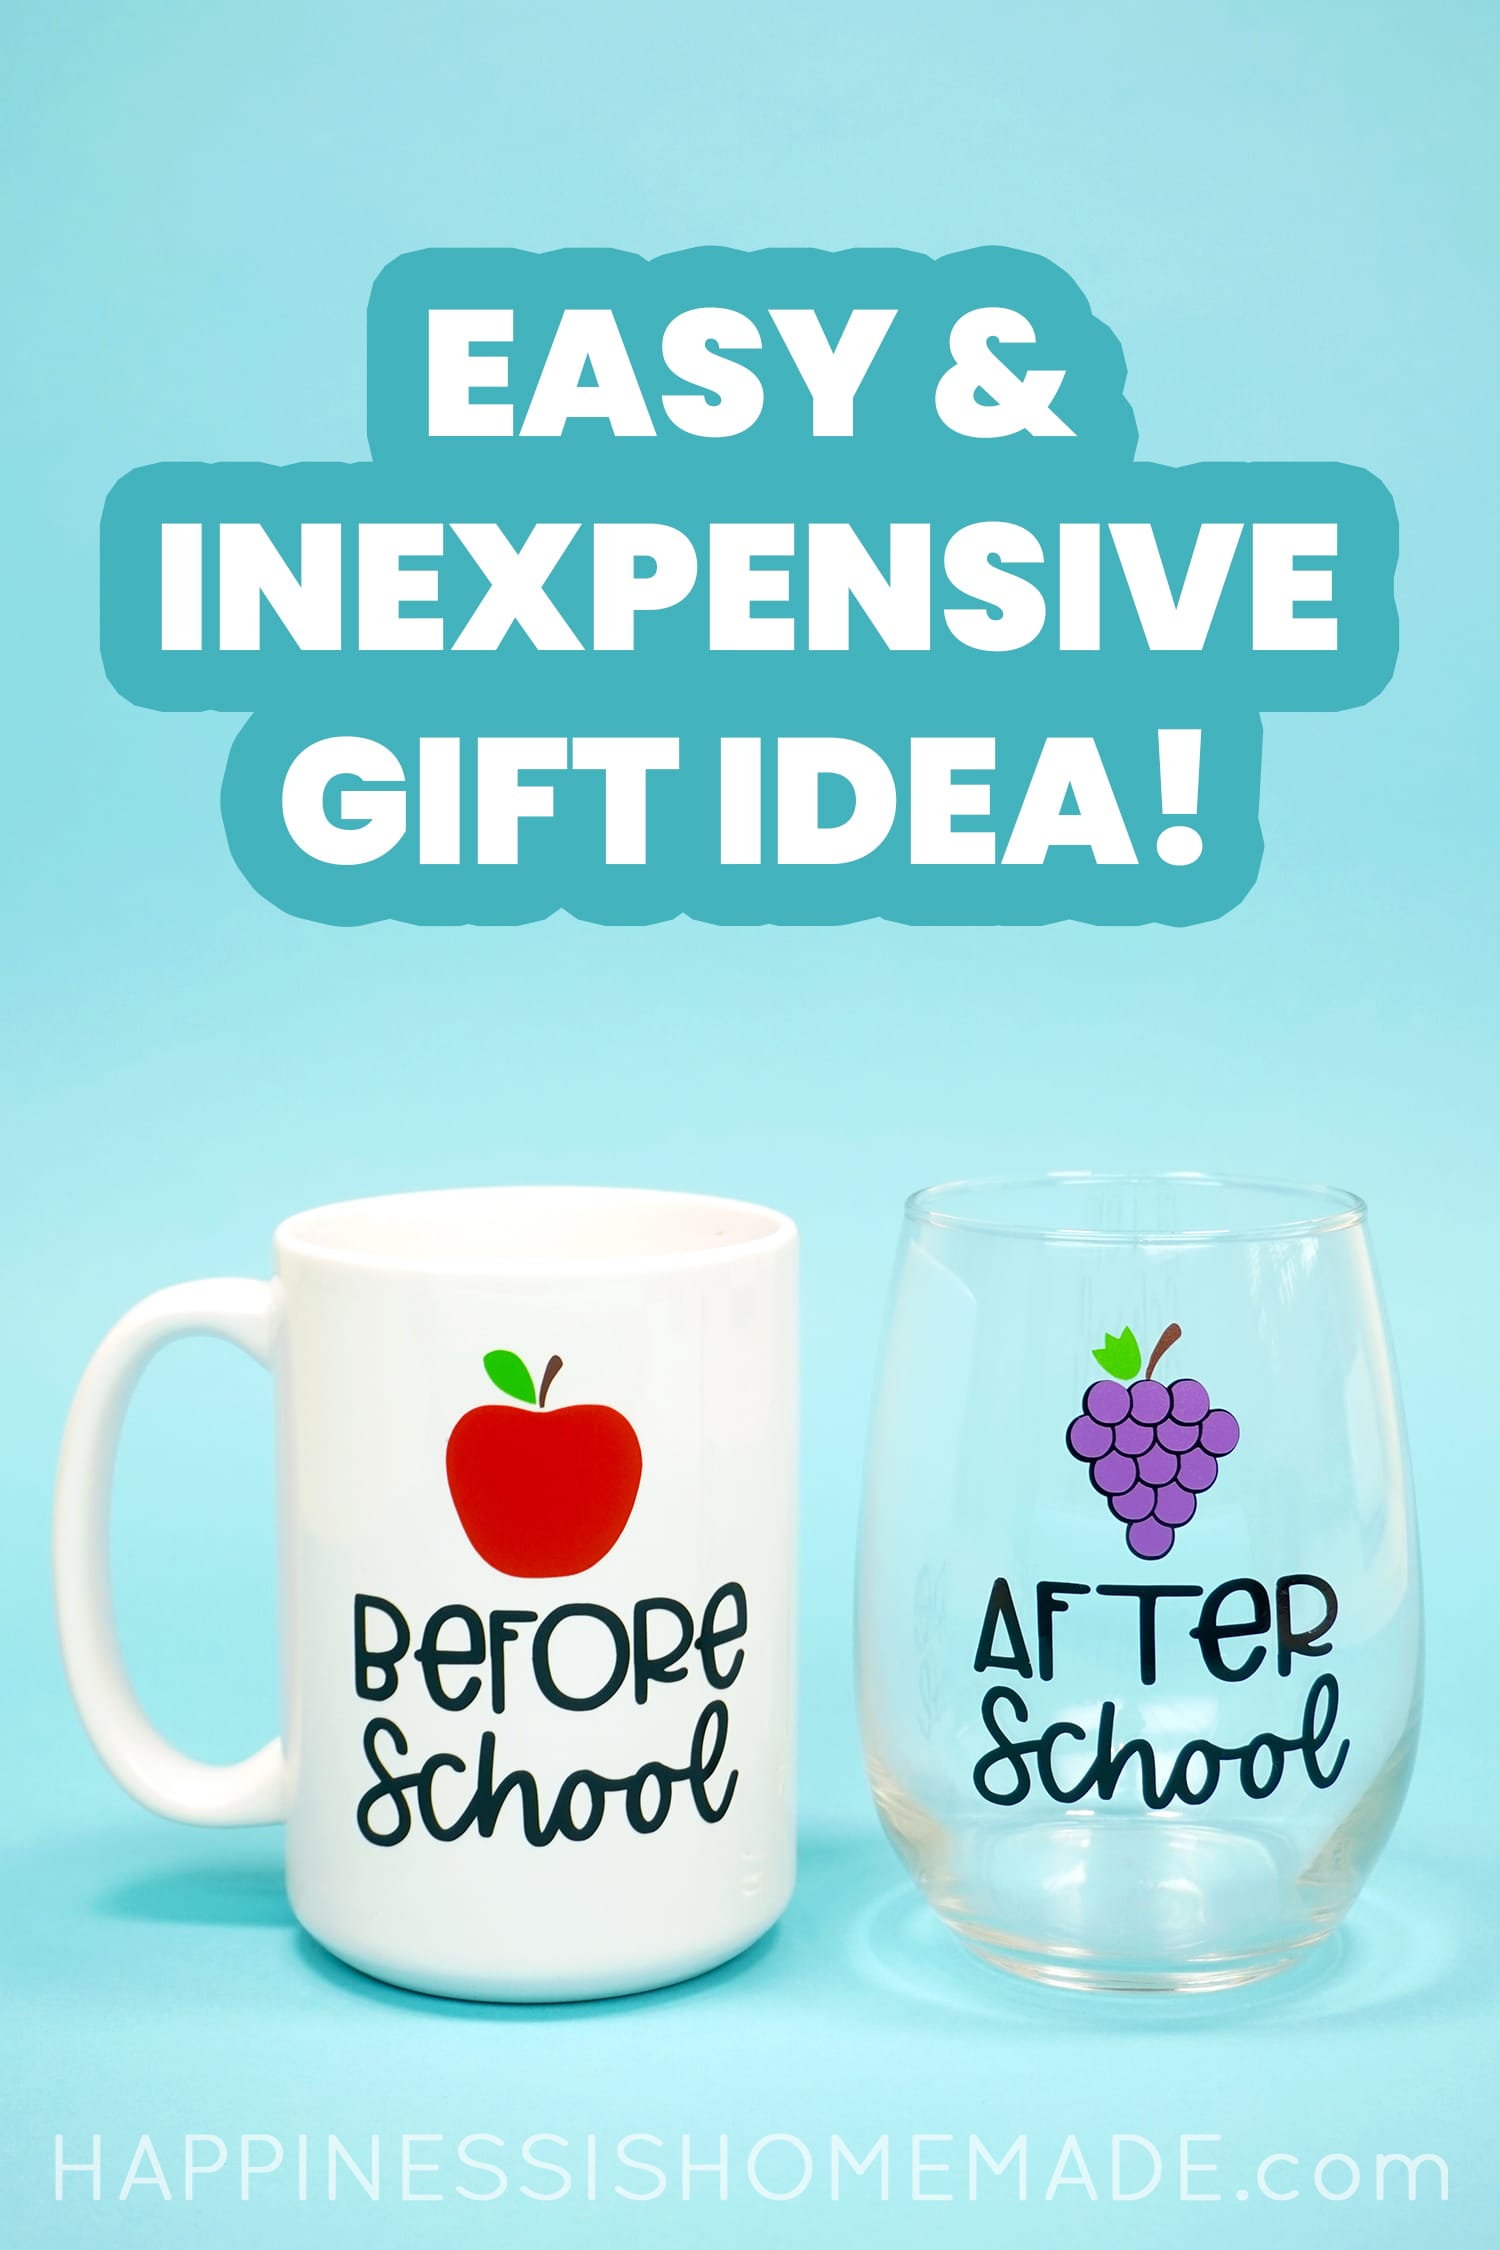
Easy DIY “Before School” mug and “After School” wine glass set – makes a great gift idea for teachers and homeschool parents! Cheers!
This post may contain affiliate links. I will receive a small commission from these sales at no additional cost to you!
We’re officially back in school (distance learning for now), and I don’t know about you, but I think that if anyone deserves a fun gift in 2020, it’s all of the teachers and homeschool/distance learning parents who are trying to make magic happen for our children!
This funny “Before School” mug and “After School” wine glass set are the perfect quick and easy DIY gift idea! Even better, the mug and wine glass are from the dollar store, so it’s also a SUPER inexpensive gift idea! (Plus, this is a great way to use up all of those vinyl scraps you’ve been saving up!)
How to Make Before & After School Cups
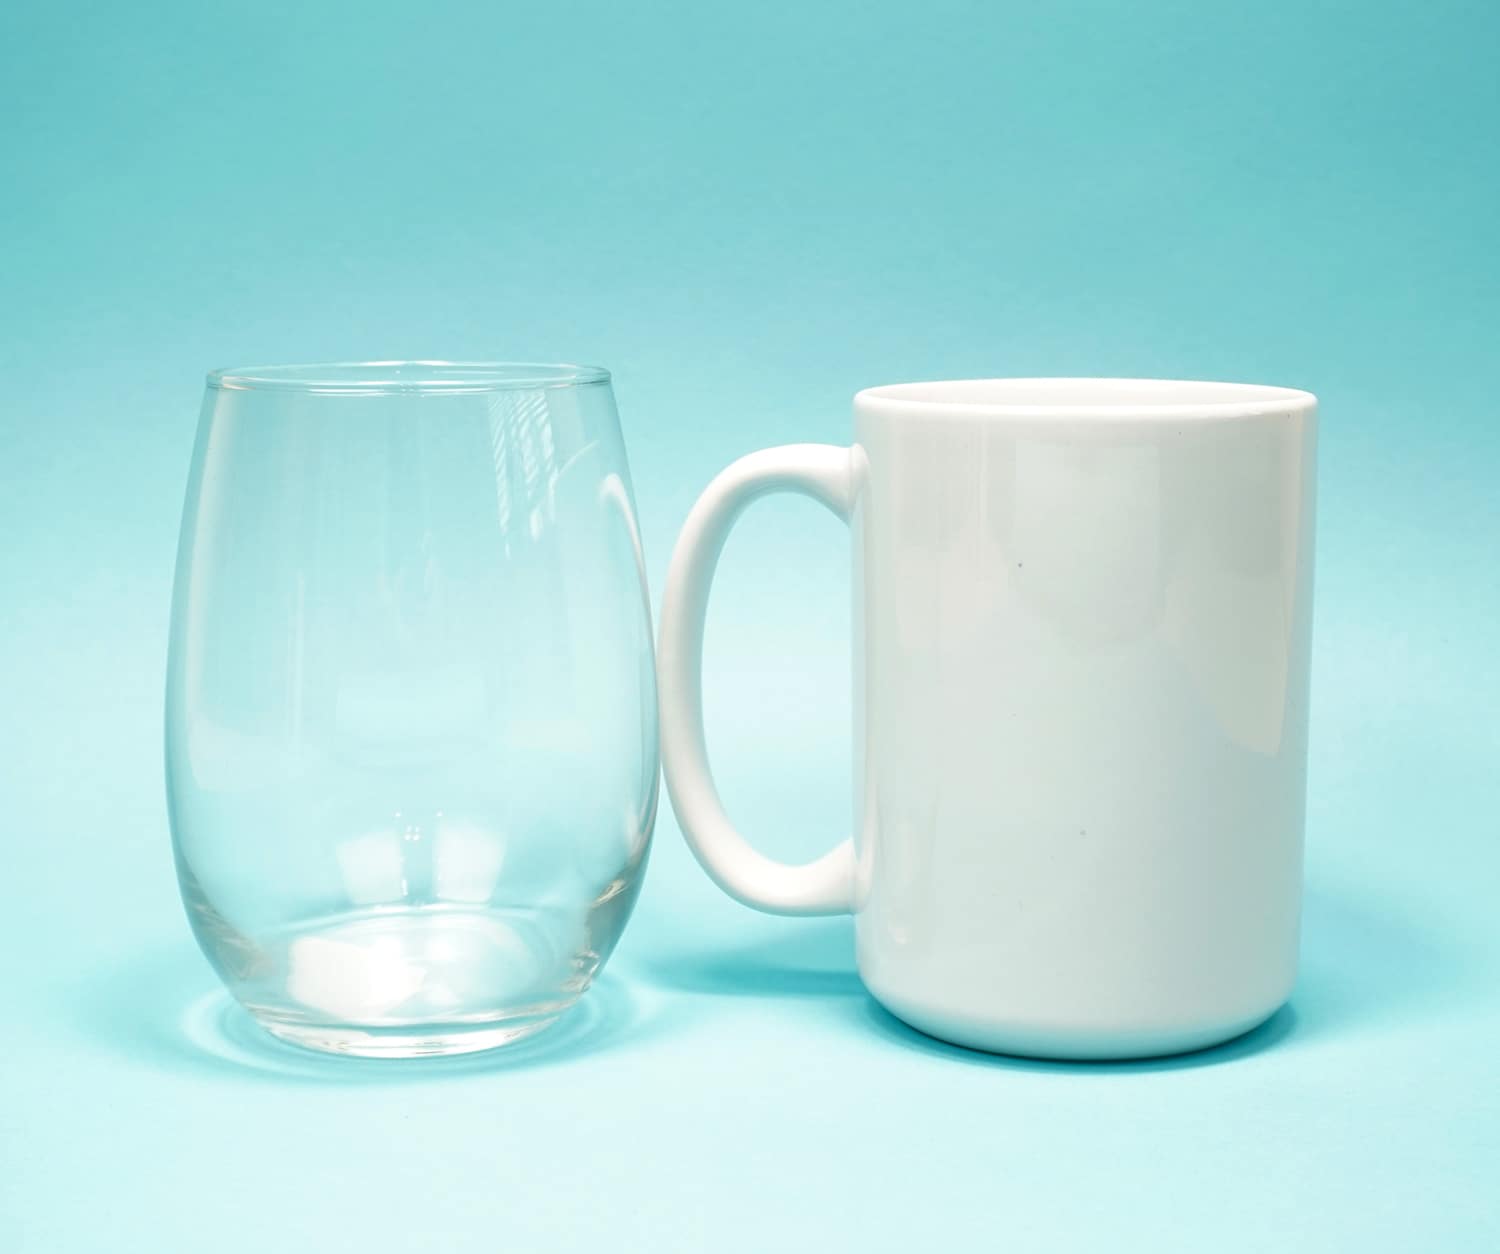
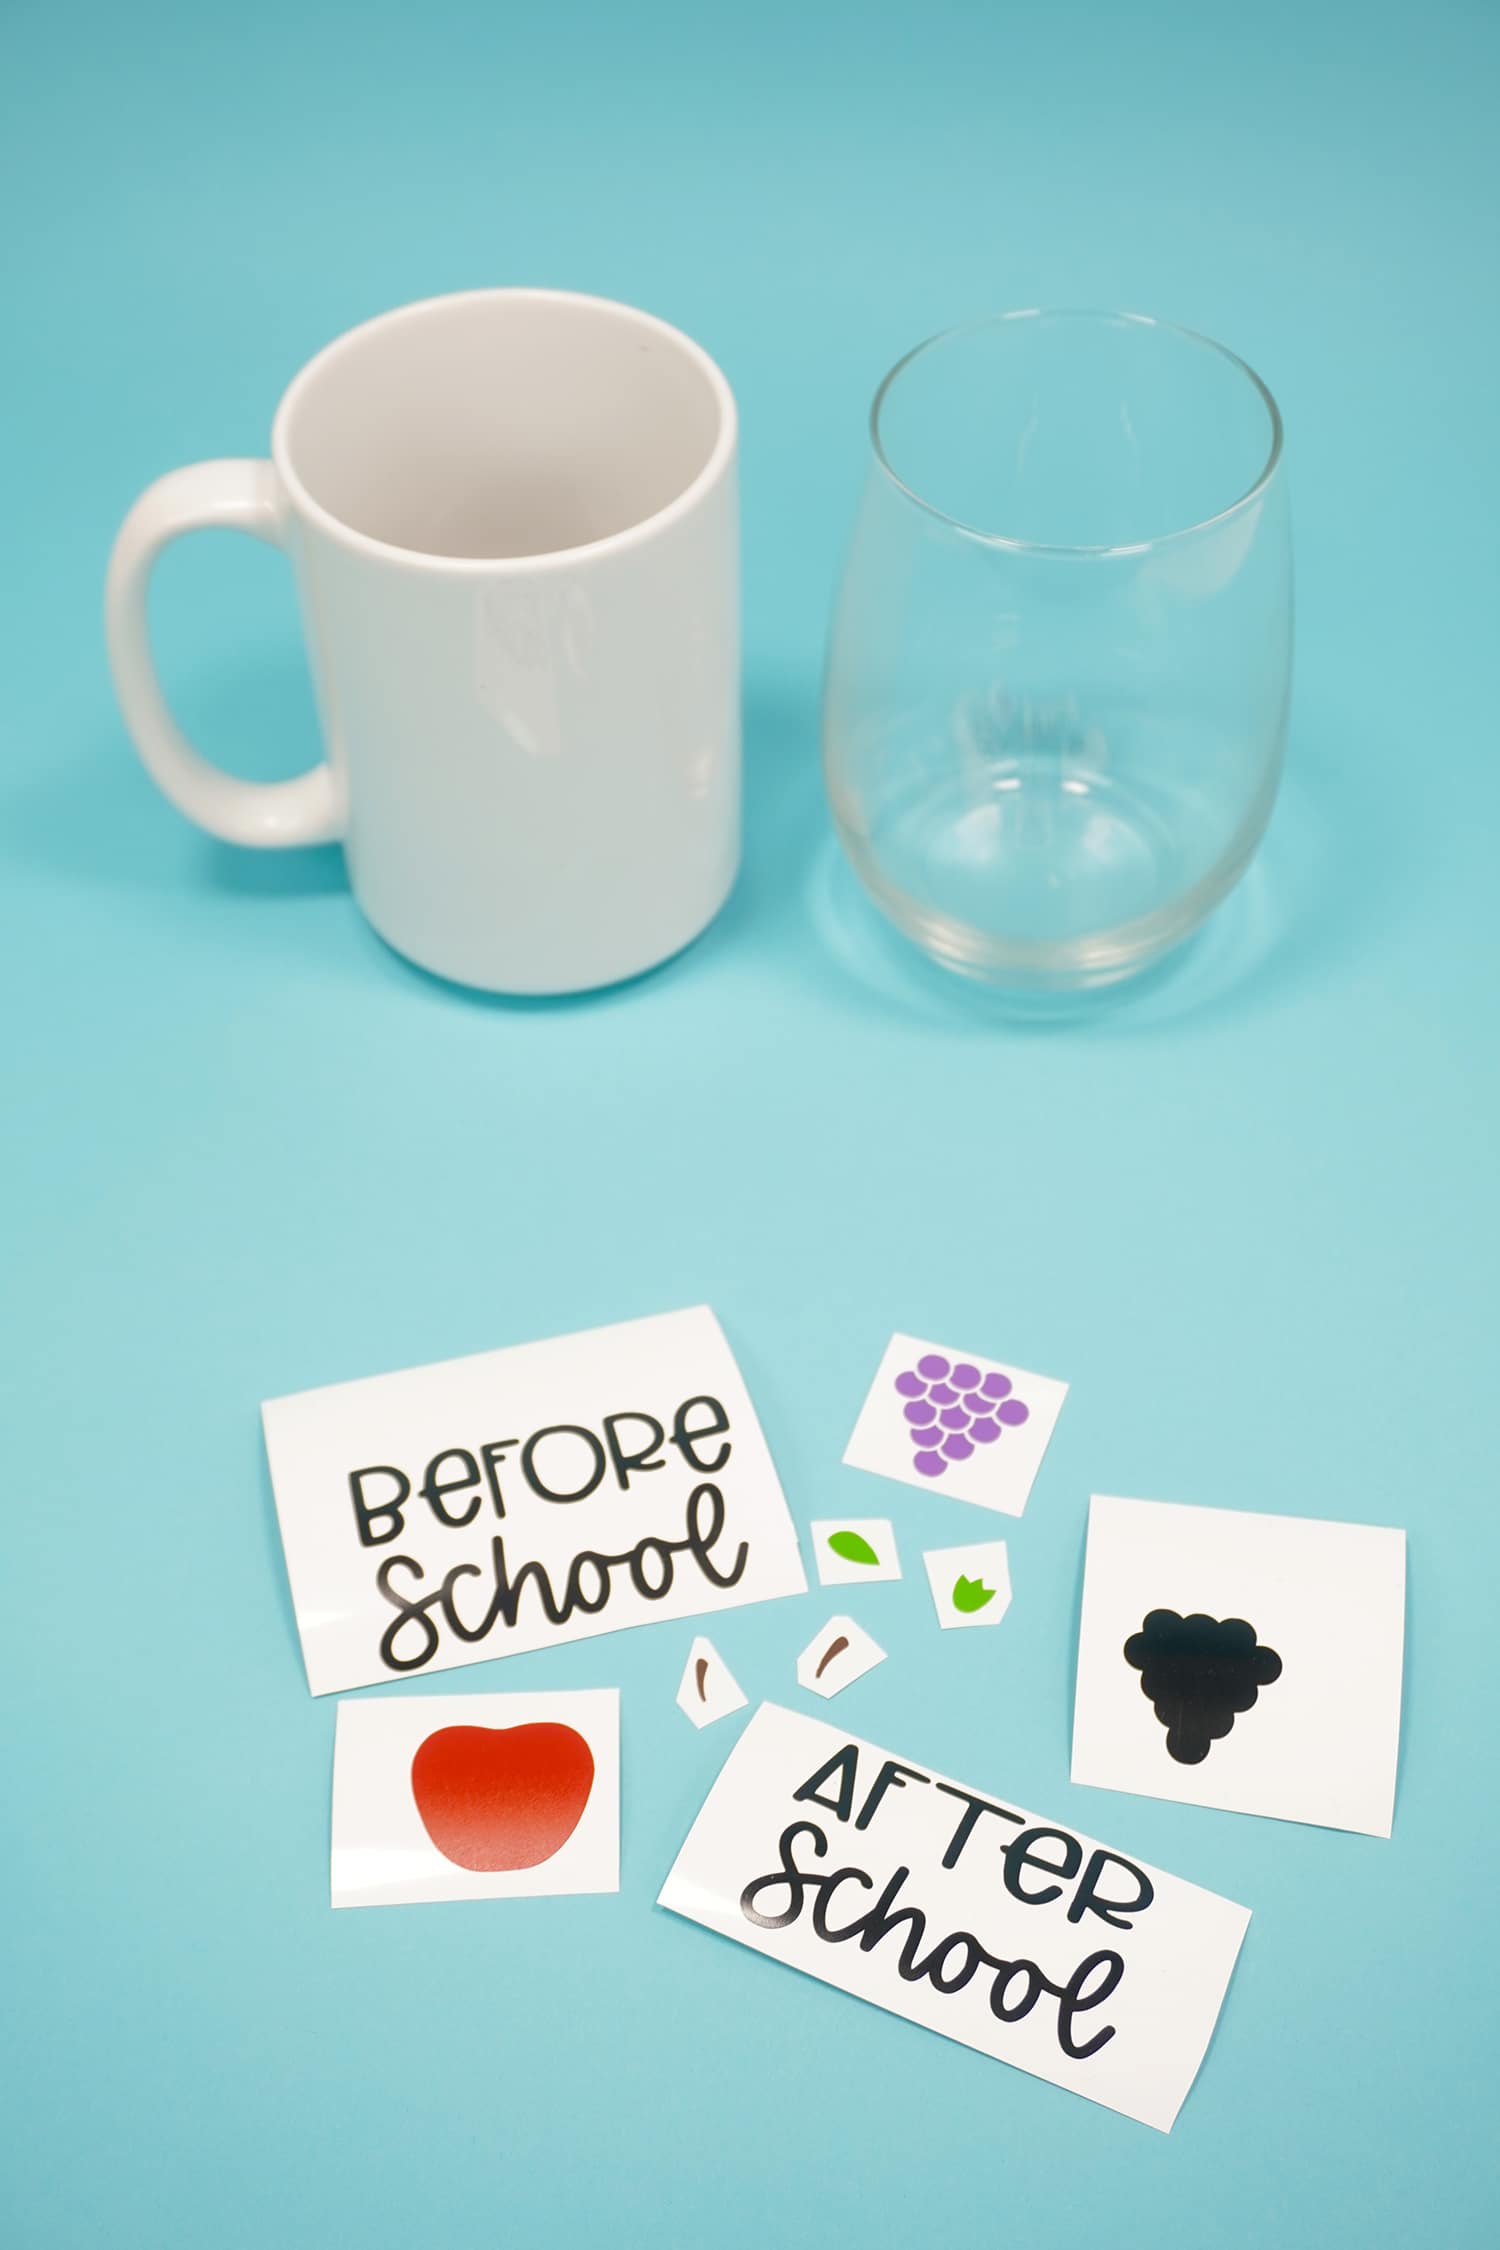
Begin with a simple stemless wine glass and a blank mug – I picked up both of mine at Dollar Tree.
Supplies Needed:
- Stemless Wine Glass and Mug
- Cricut or Silhouette Cutting Machine
- Small Pieces of Permanent Vinyl
- Transfer Tape
- Scraper Tool & Weeding Tool (optional, but super helpful!)
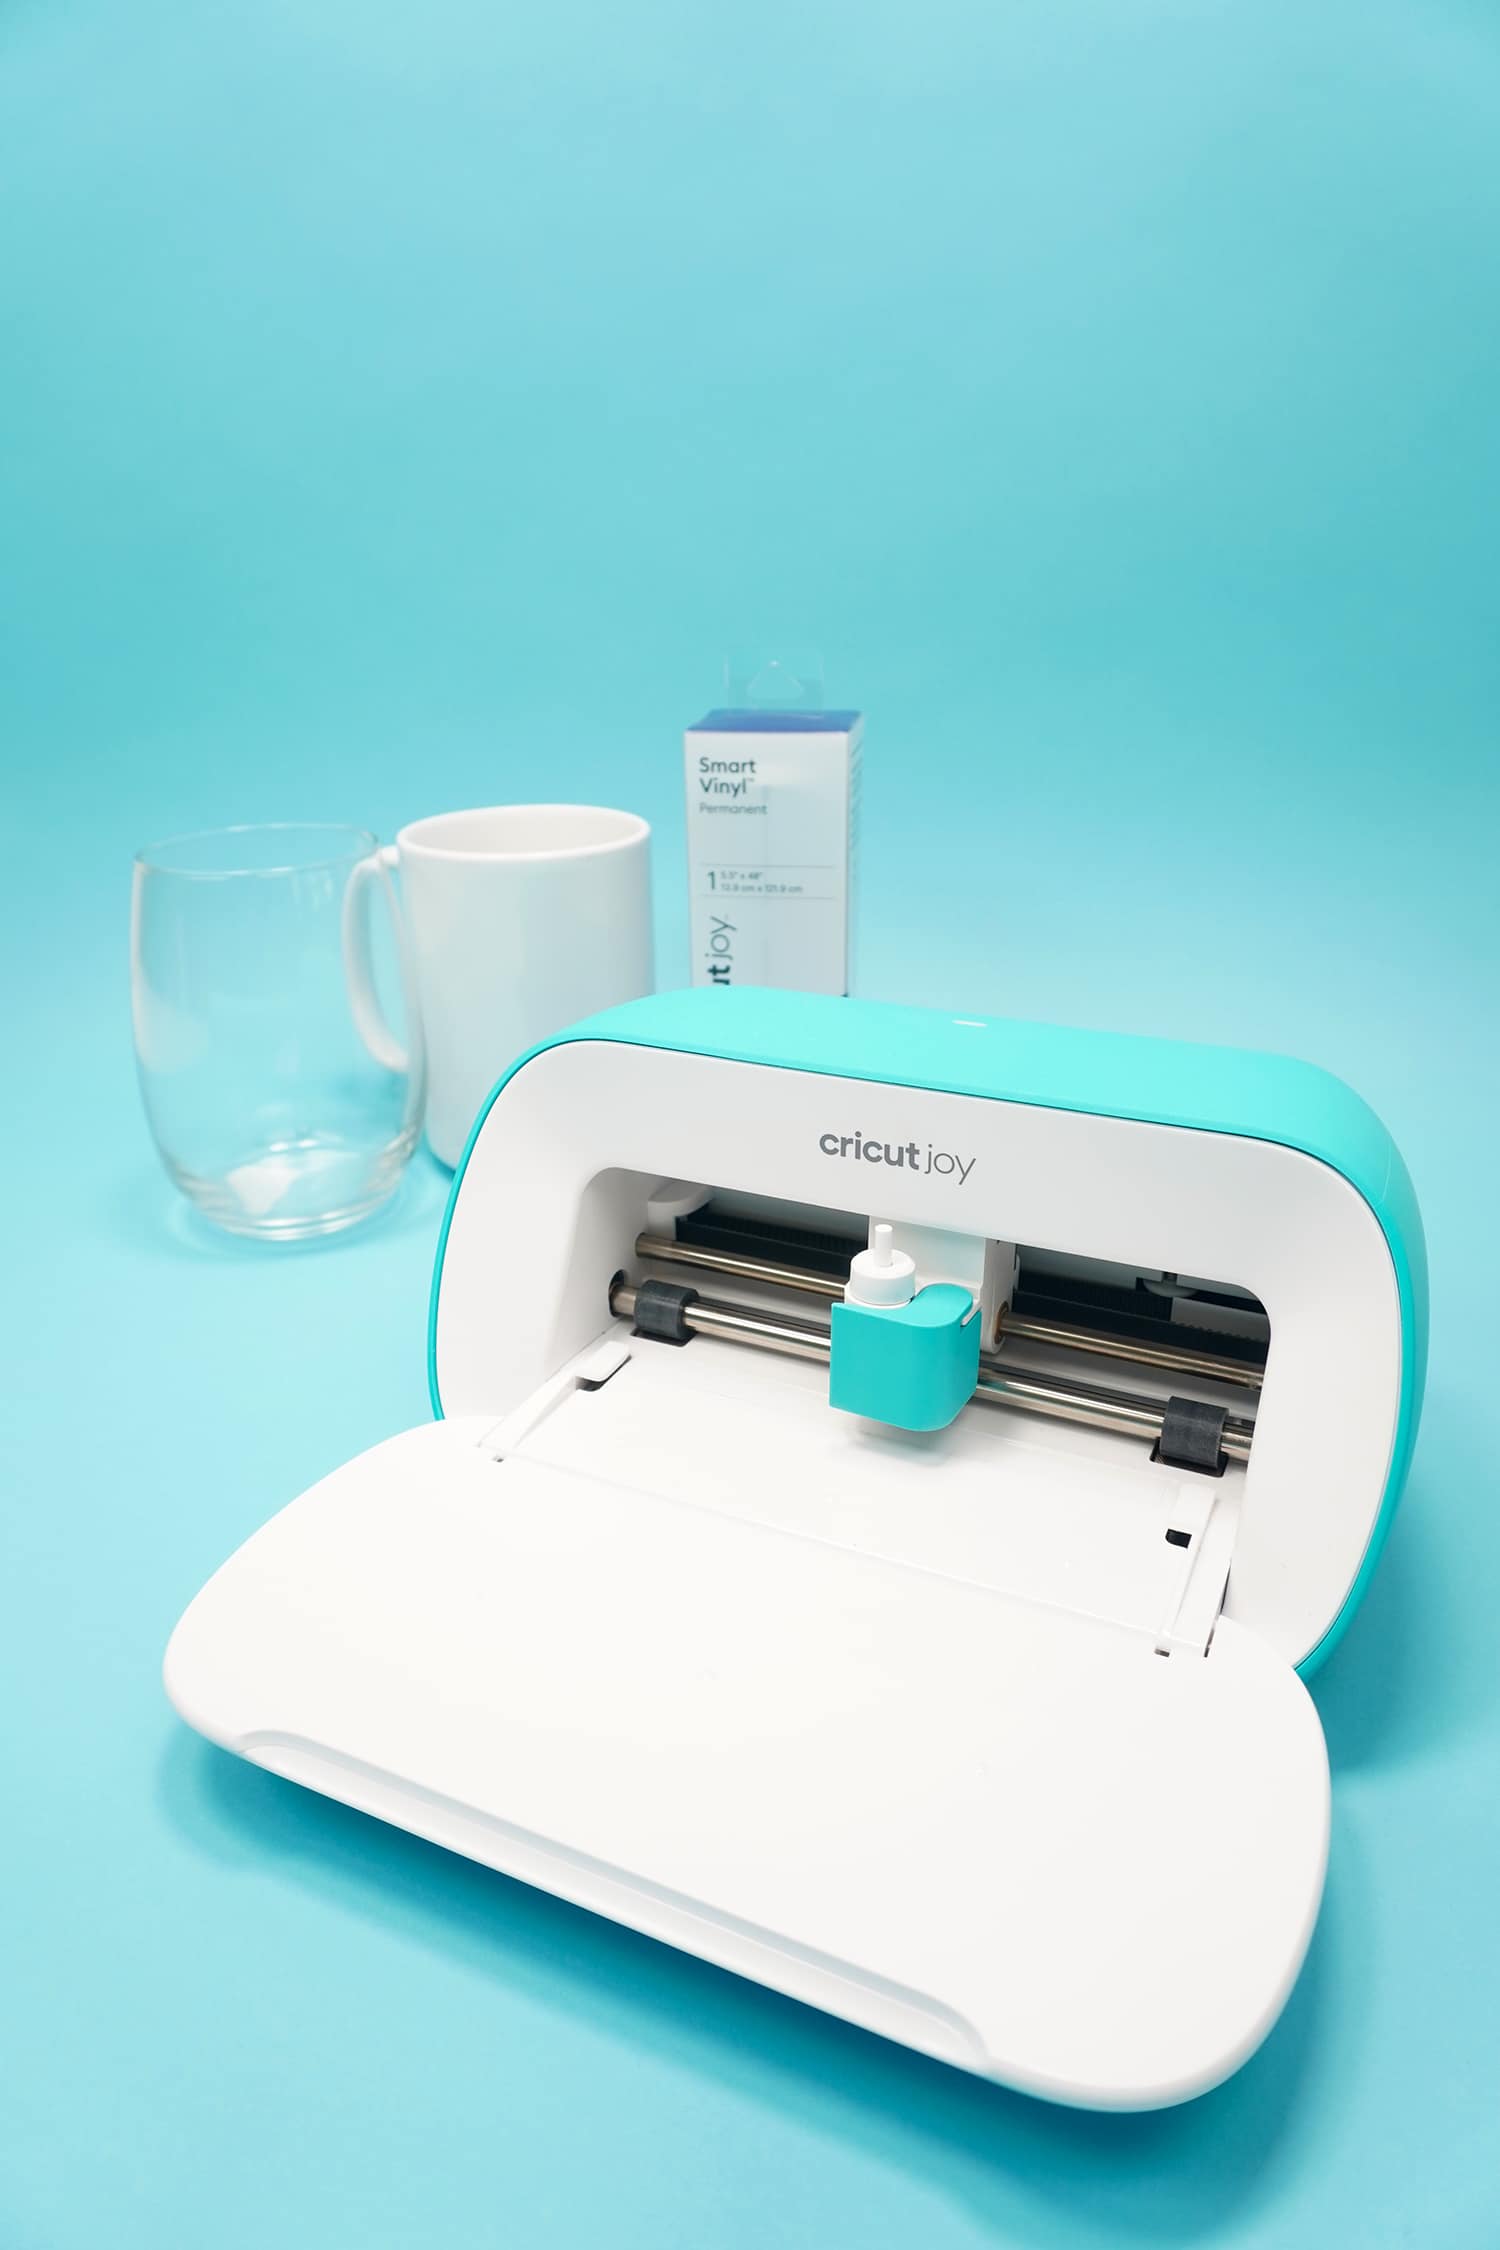
For this project, I used my Cricut Joy machine, but you could also use a Cricut Maker, Explore Air 2, or a Silhouette machine (or any other machine that uses SVG files!)
LEARN ALL ABOUT CRICUT JOY:
- Video: All About Cricut Joy and Mat-Free Long Cuts
- All About Cricut Joy: What’s New & What Can It Do?
- How to Use the Cricut Joy Card Mat & Insert Cards
- How to Use Cricut Smart Vinyl with Cricut Joy
- How to Cut Large Projects on Cricut Joy: DIY Ruler Growth Chart
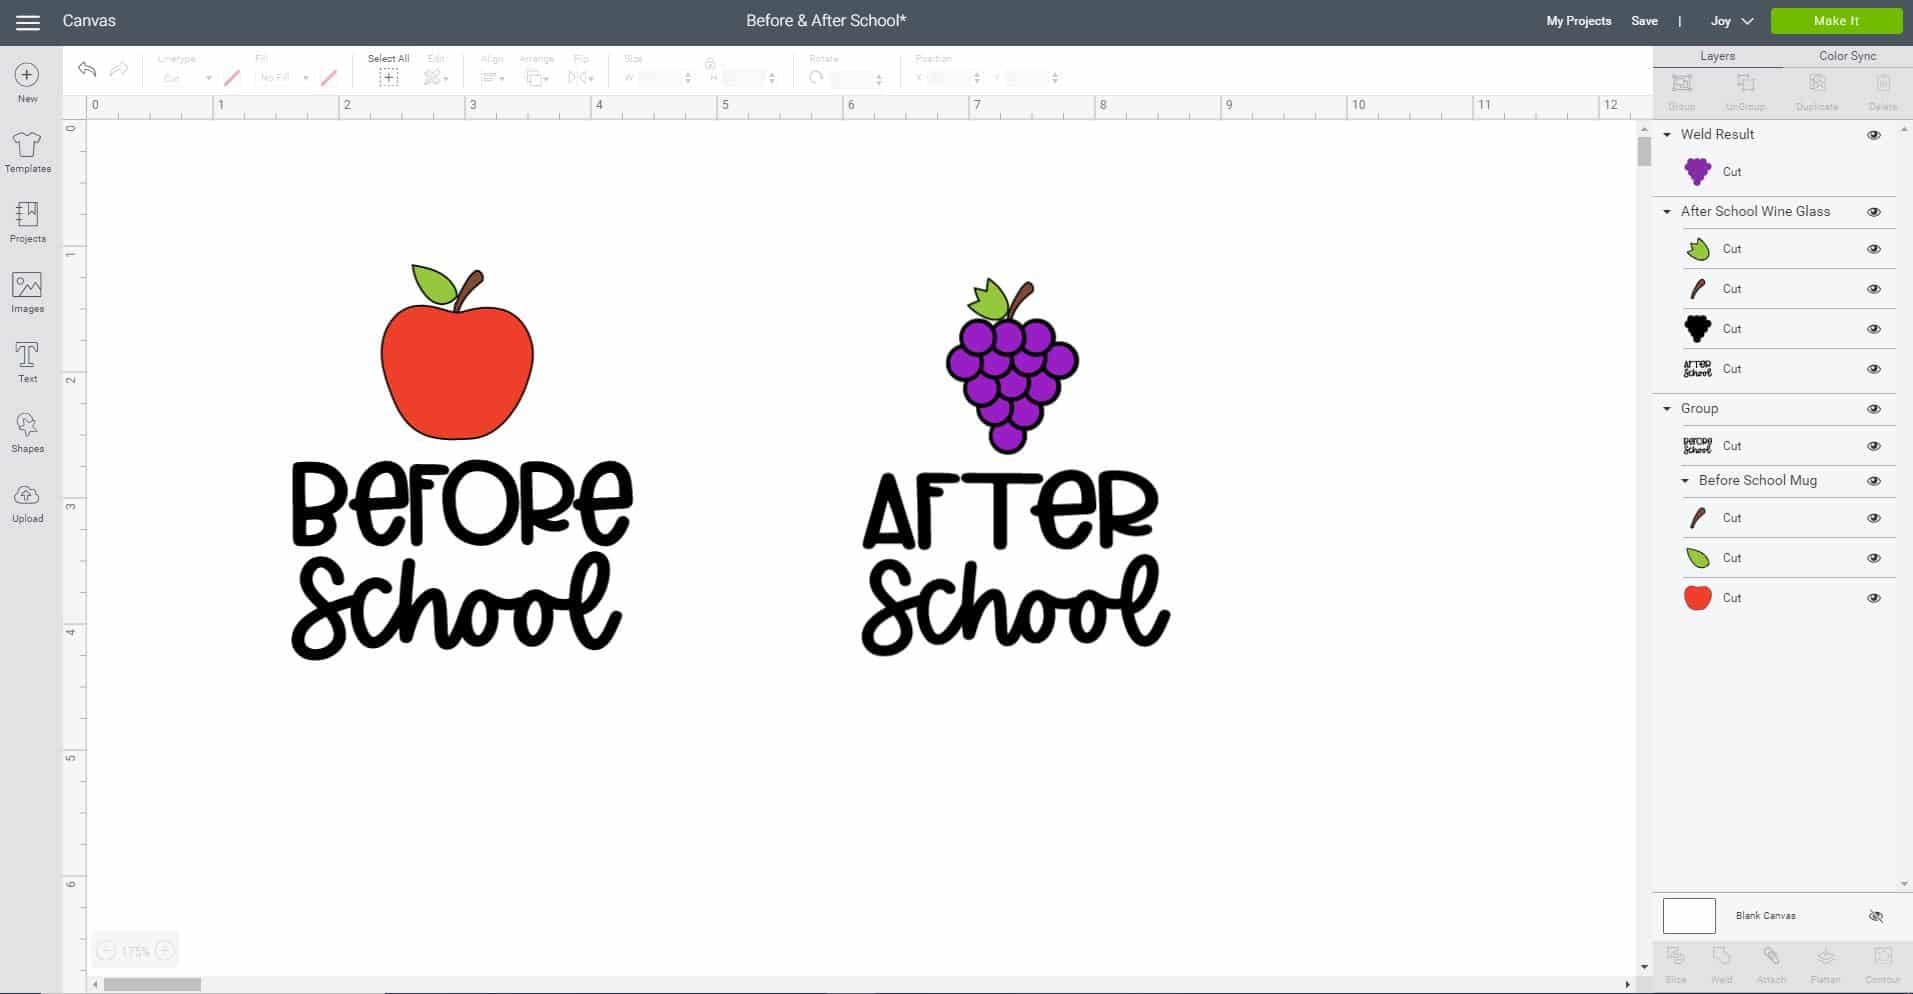
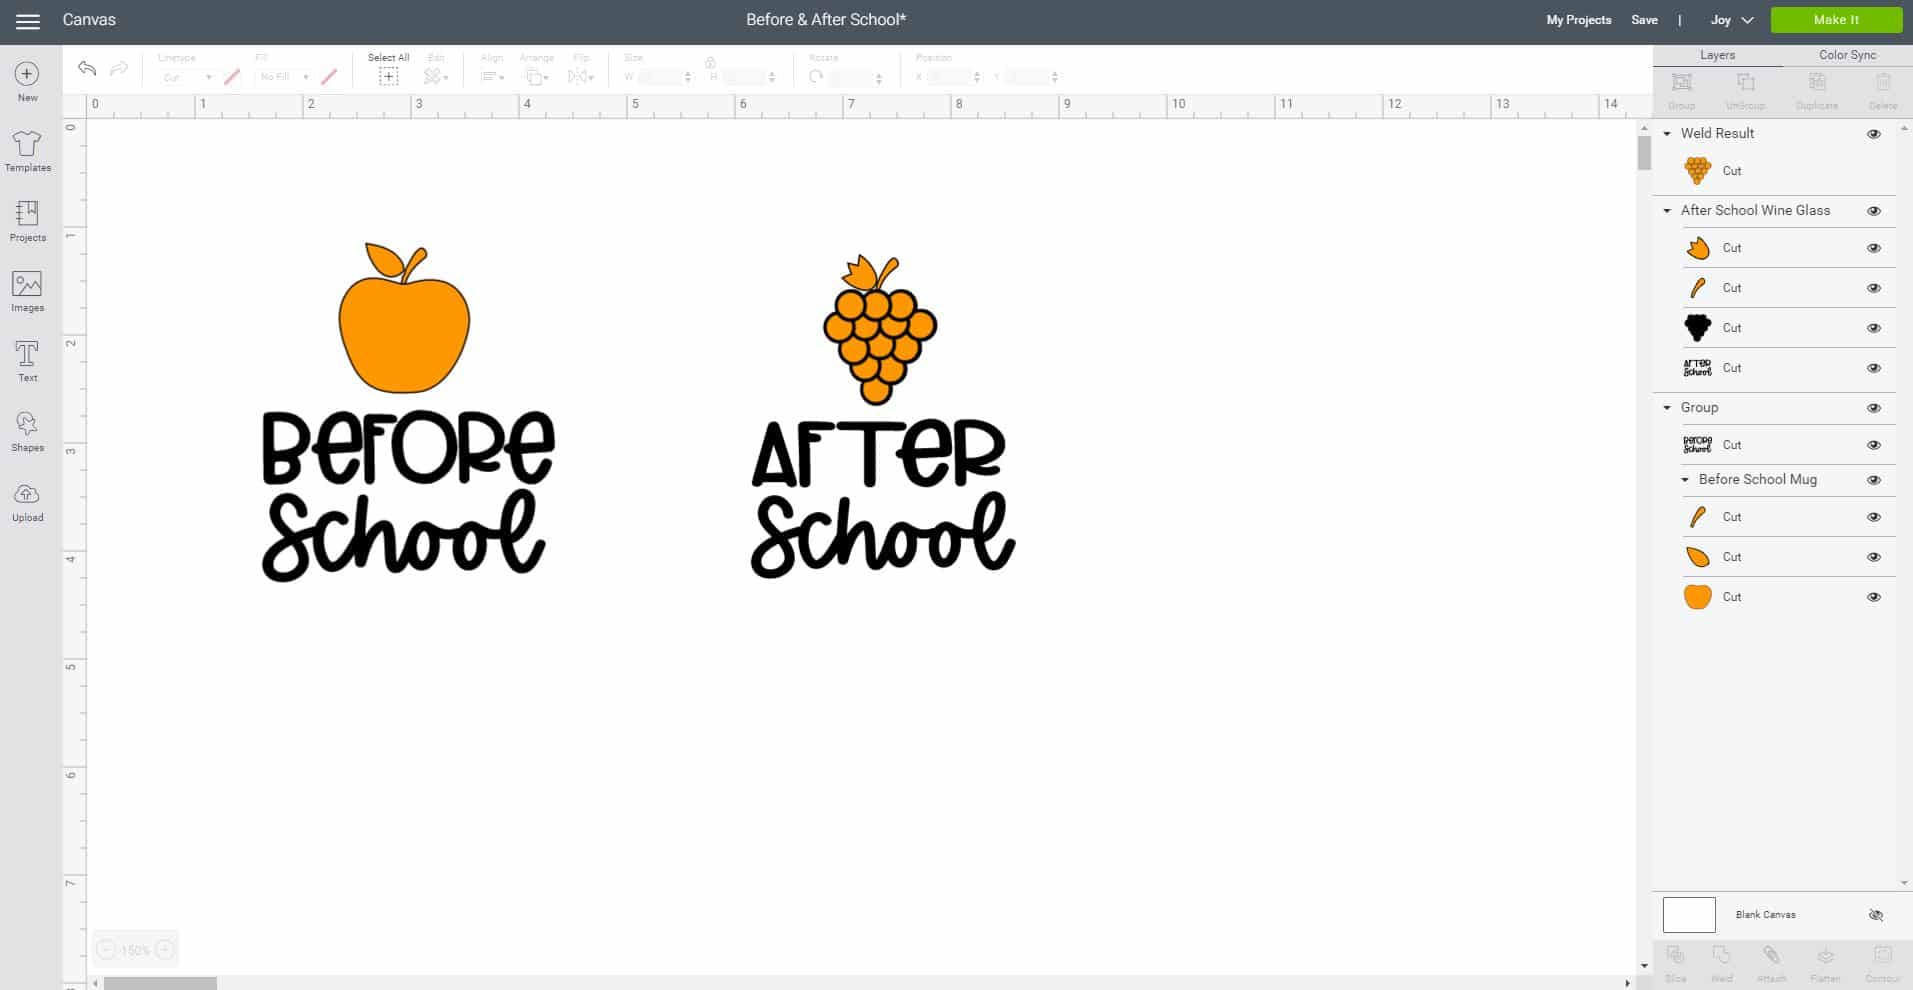
To begin, upload the “Before School” and “After School” SVG files into Design Space (or other design software). If you need help, please follow our step-by-step instructions for How to Upload an SVG to Cricut Design Space here!
Resize the designs to fit on your mug and wine glass – mine were approximately 3″ tall. When you’re ready to cut, click the green “make it” button in the upper right hand corner of the screen.
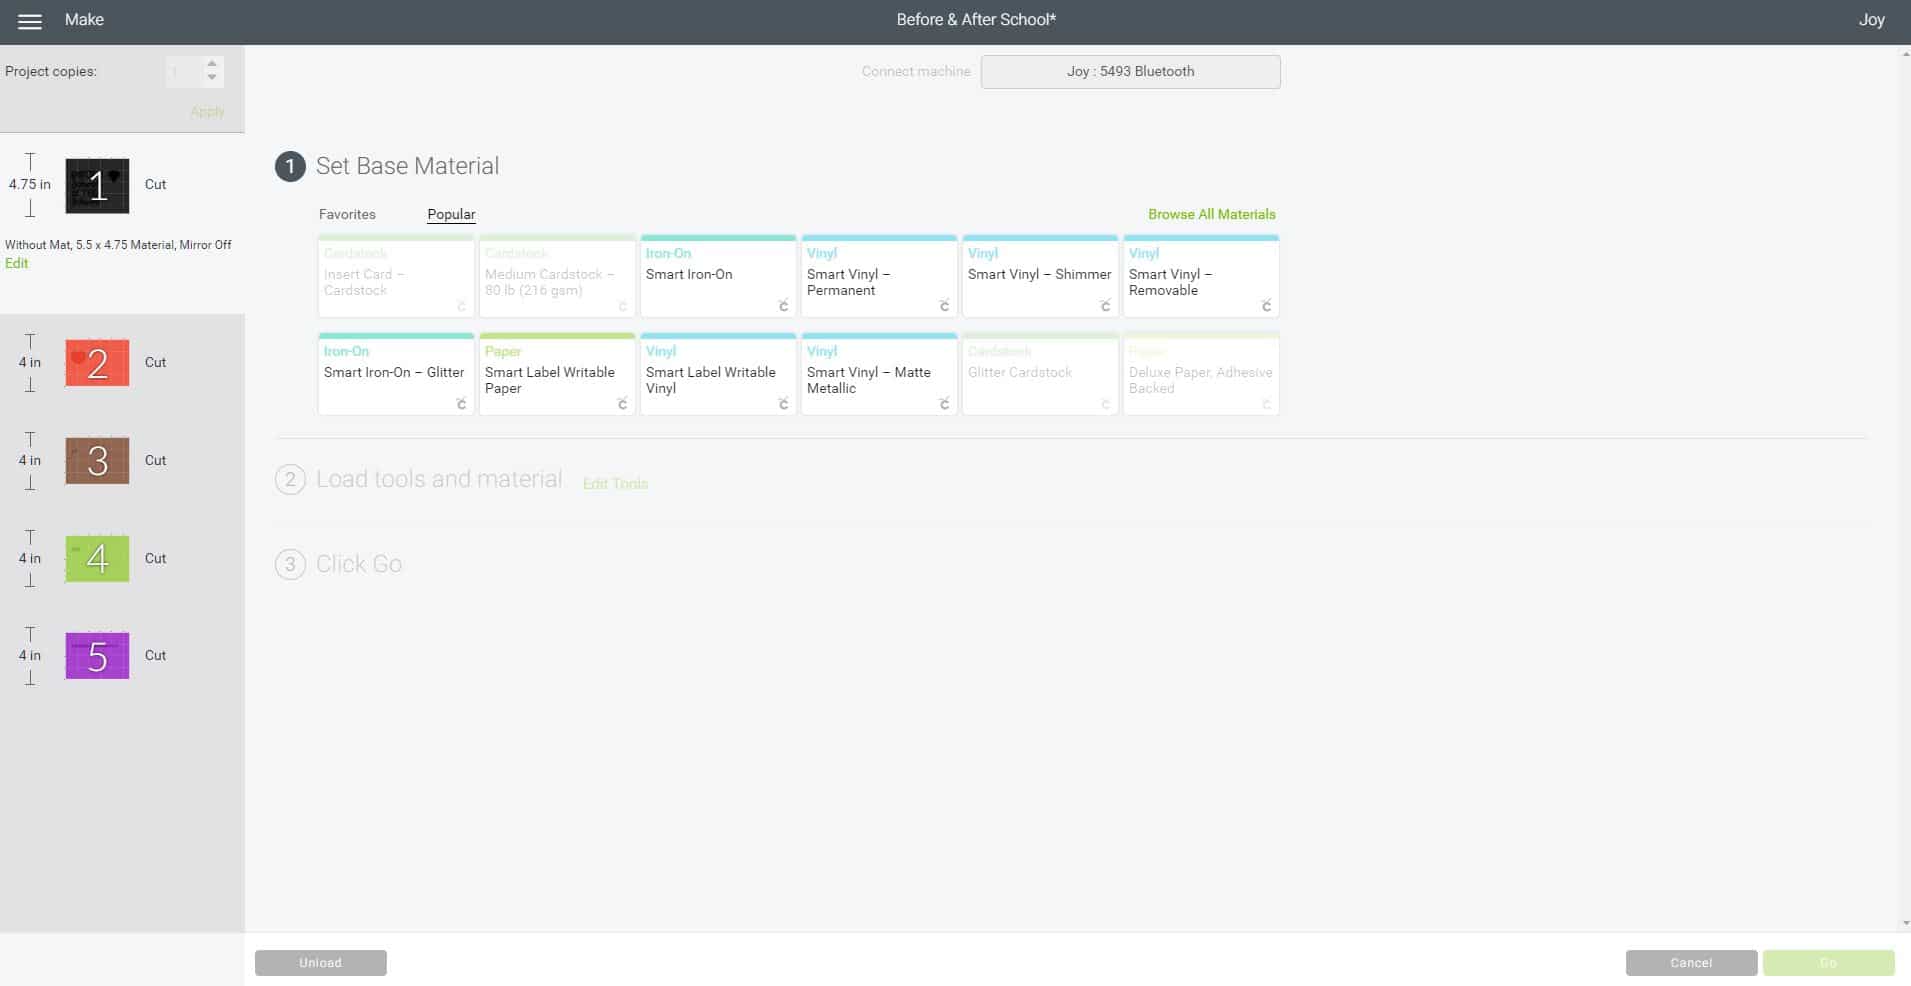
Next, select the materials that you are going to be cutting. For this project, I used Cricut Permanent Smart Vinyl. I highly recommend using permanent vinyl if you want your mug and wine glass to be longer lasting and more durable!
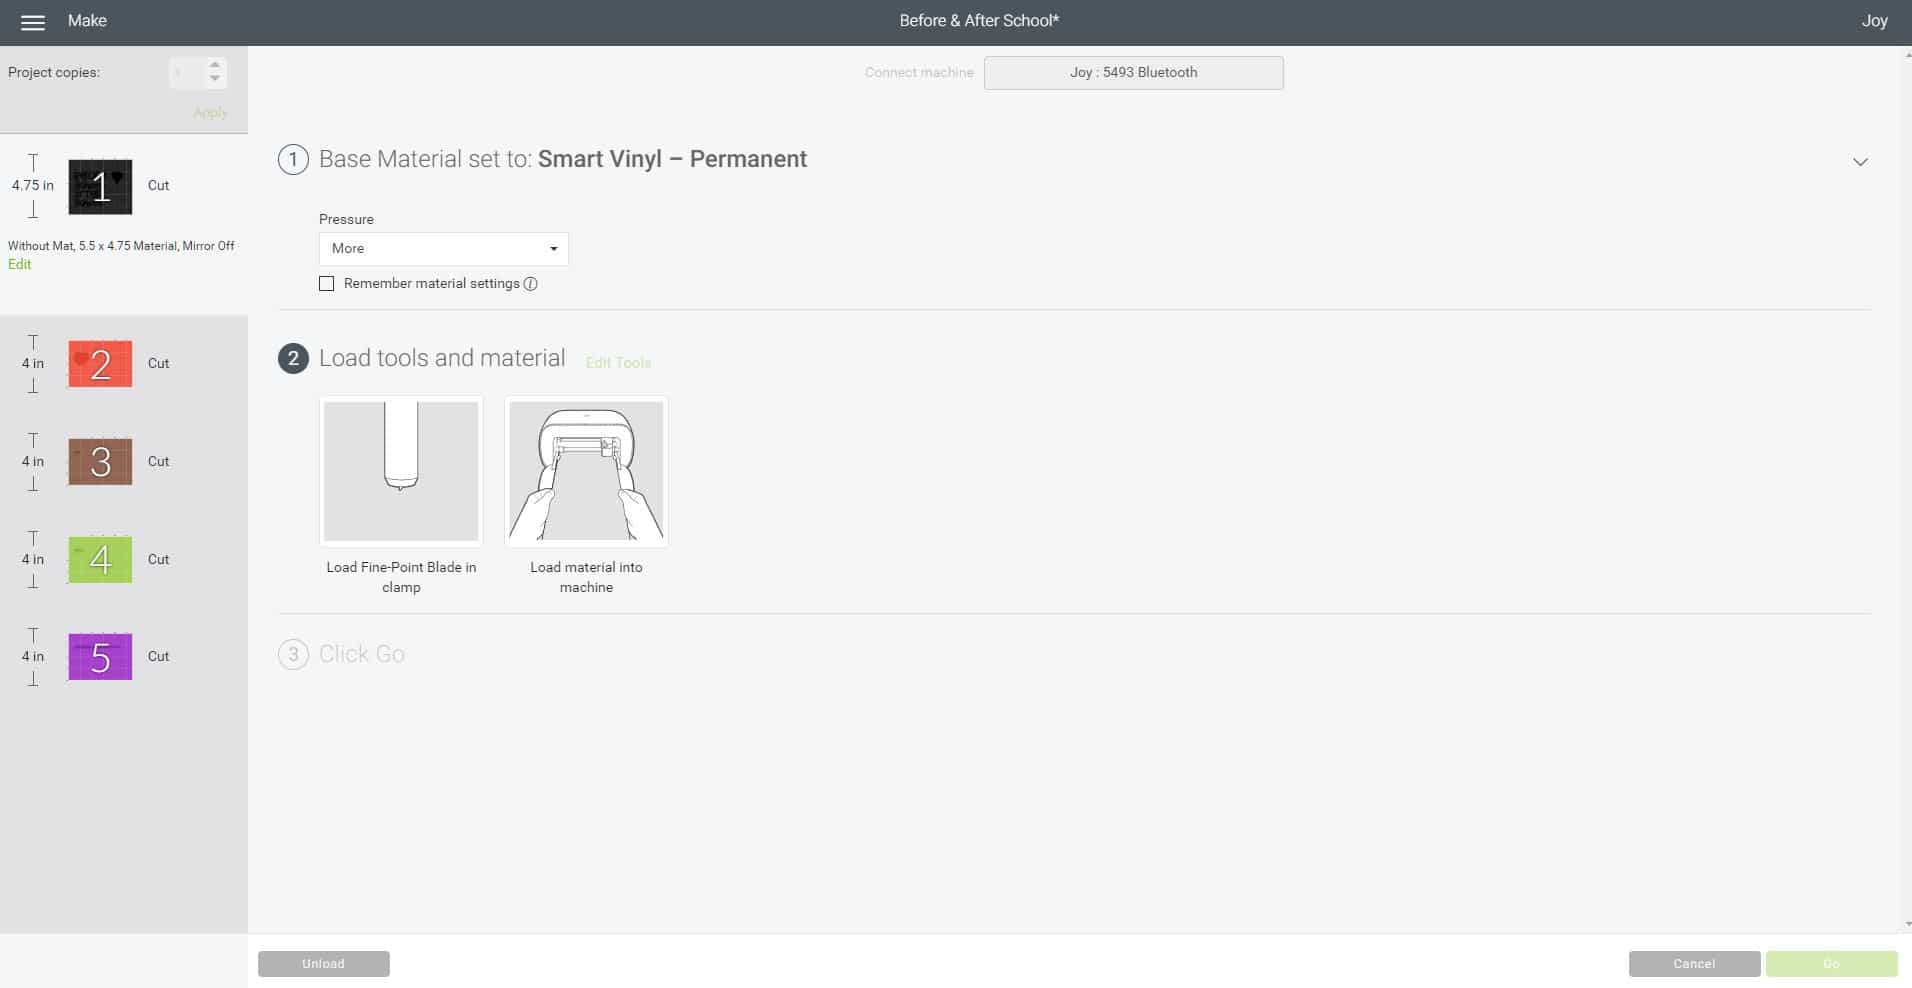
The software will let you know that it is time to load the materials into the machine.
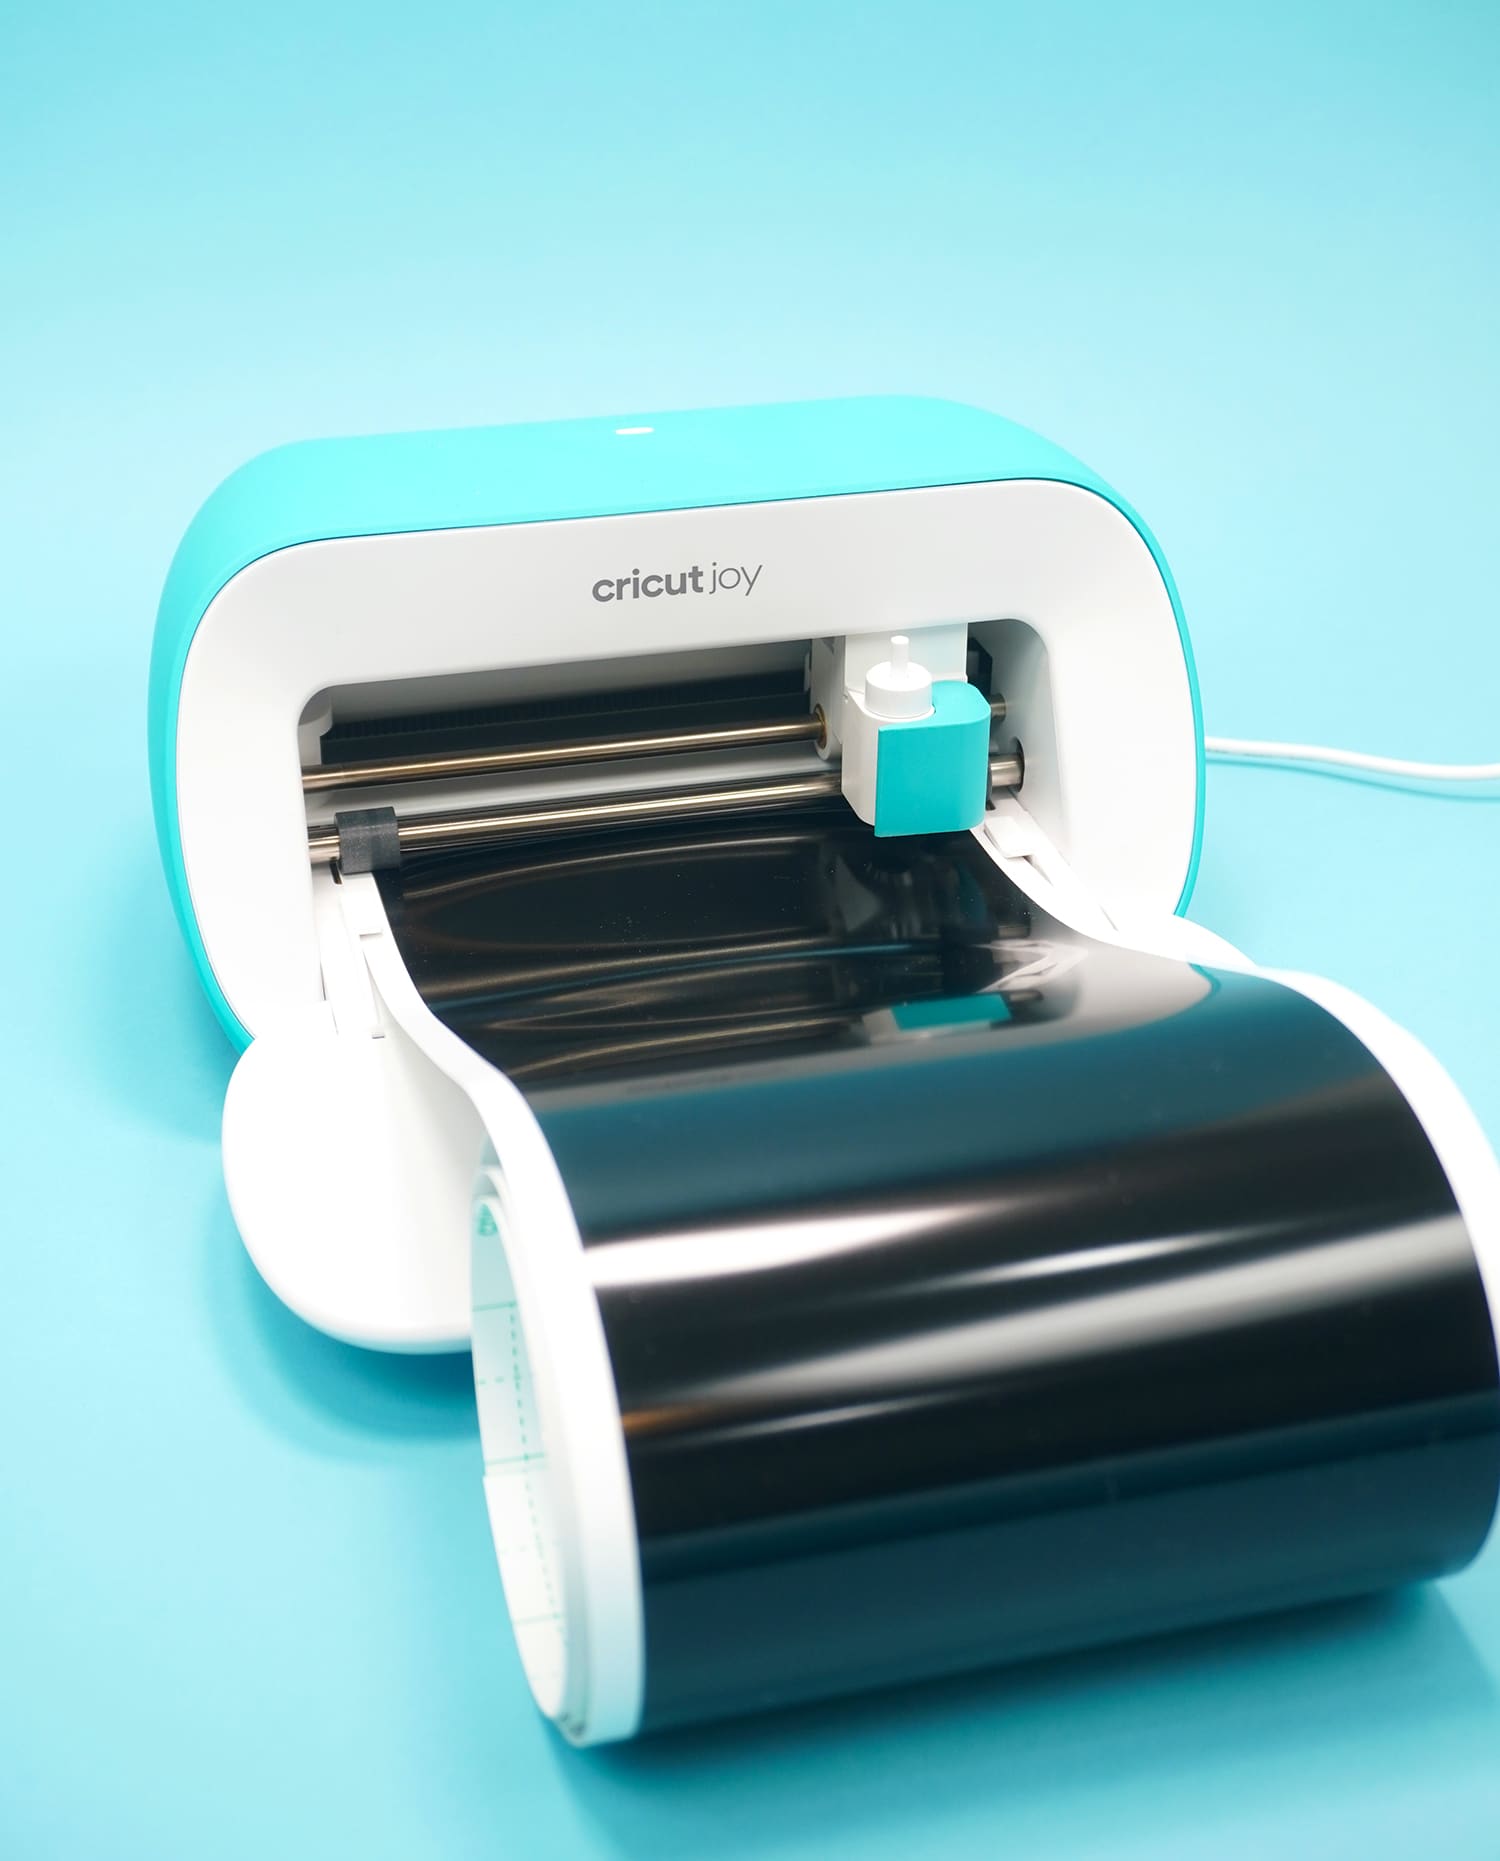
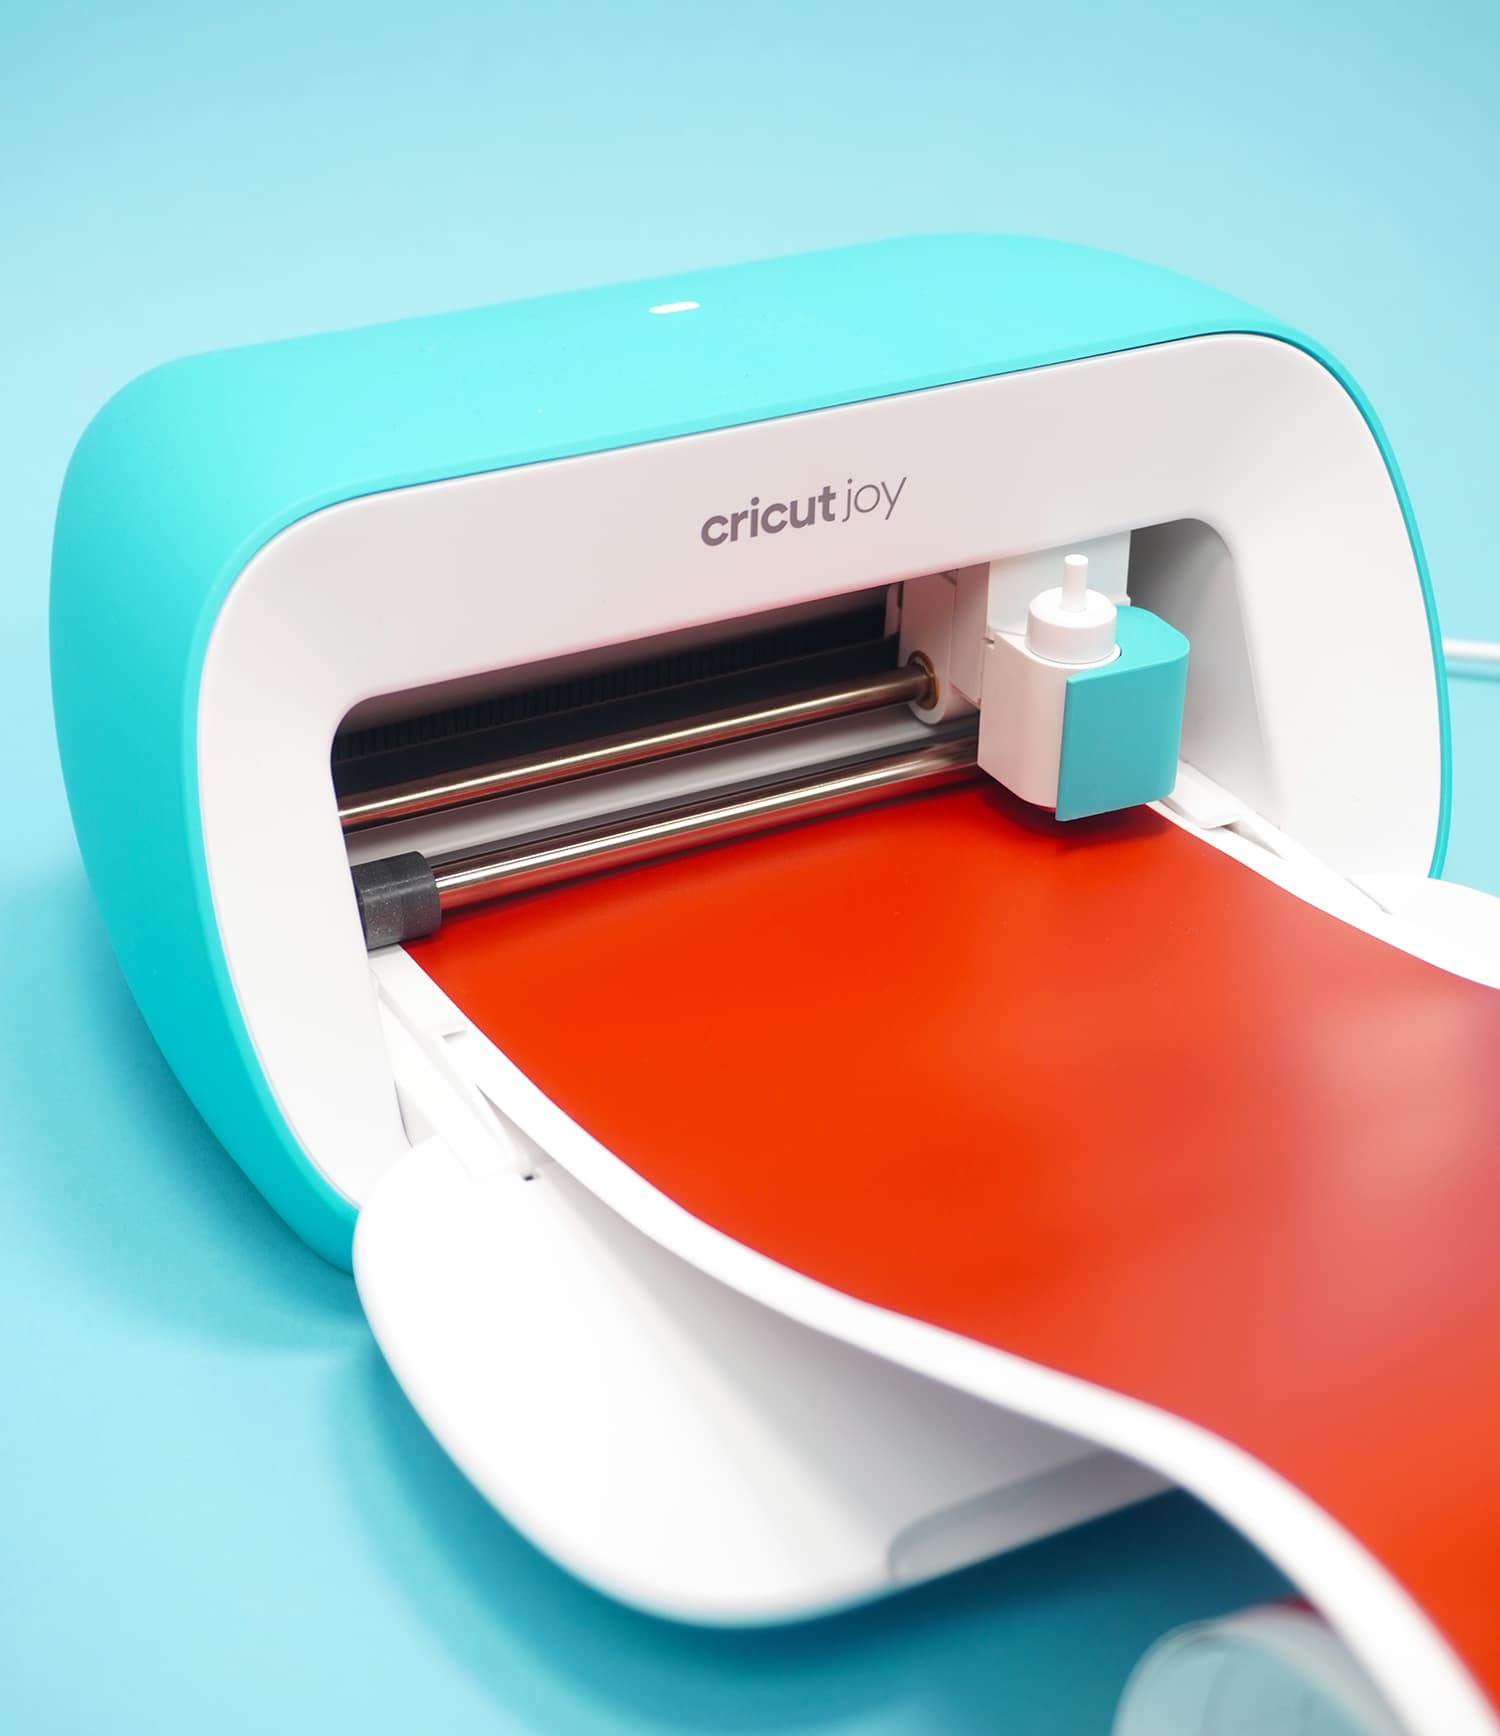
The coolest thing about Smart Vinyl is that it doesn’t need a mat for cutting! Simply insert the end into the rollers of the Cricut Joy, and the machine will automatically feed it into the cutting area.
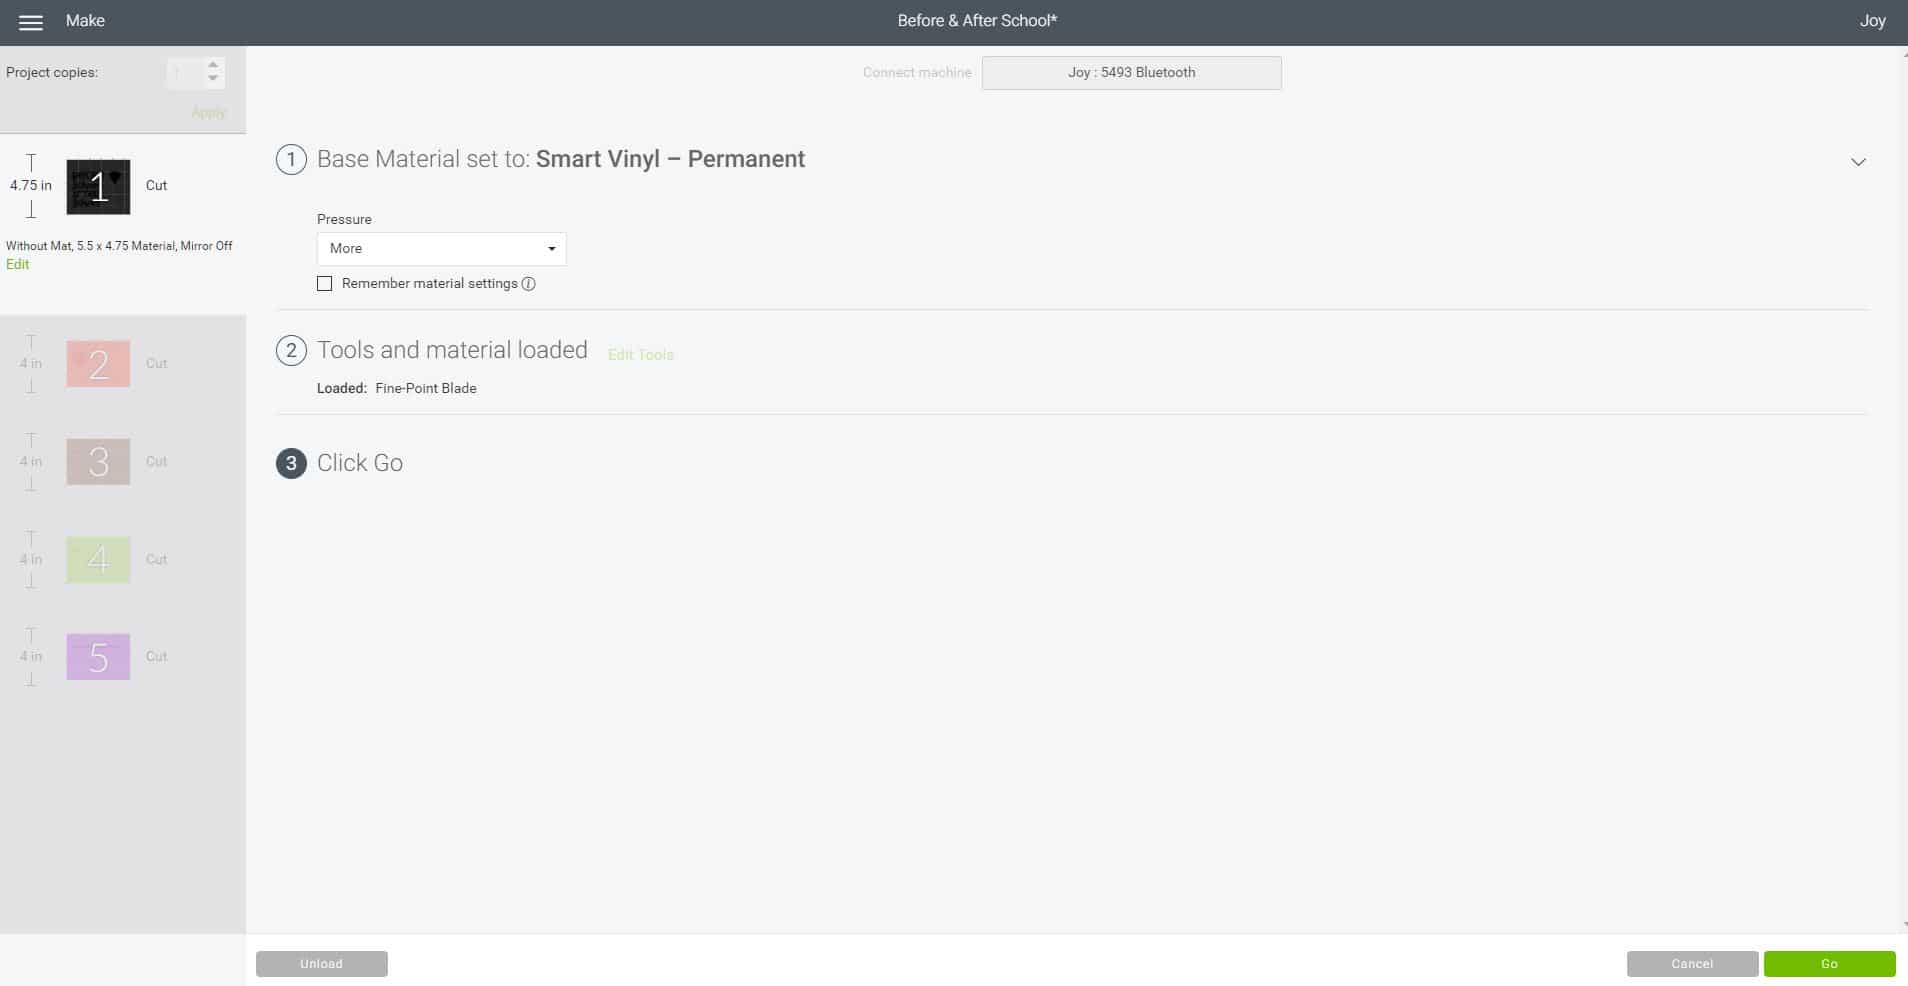
After your materials are loaded, click “Go” to begin the cut.

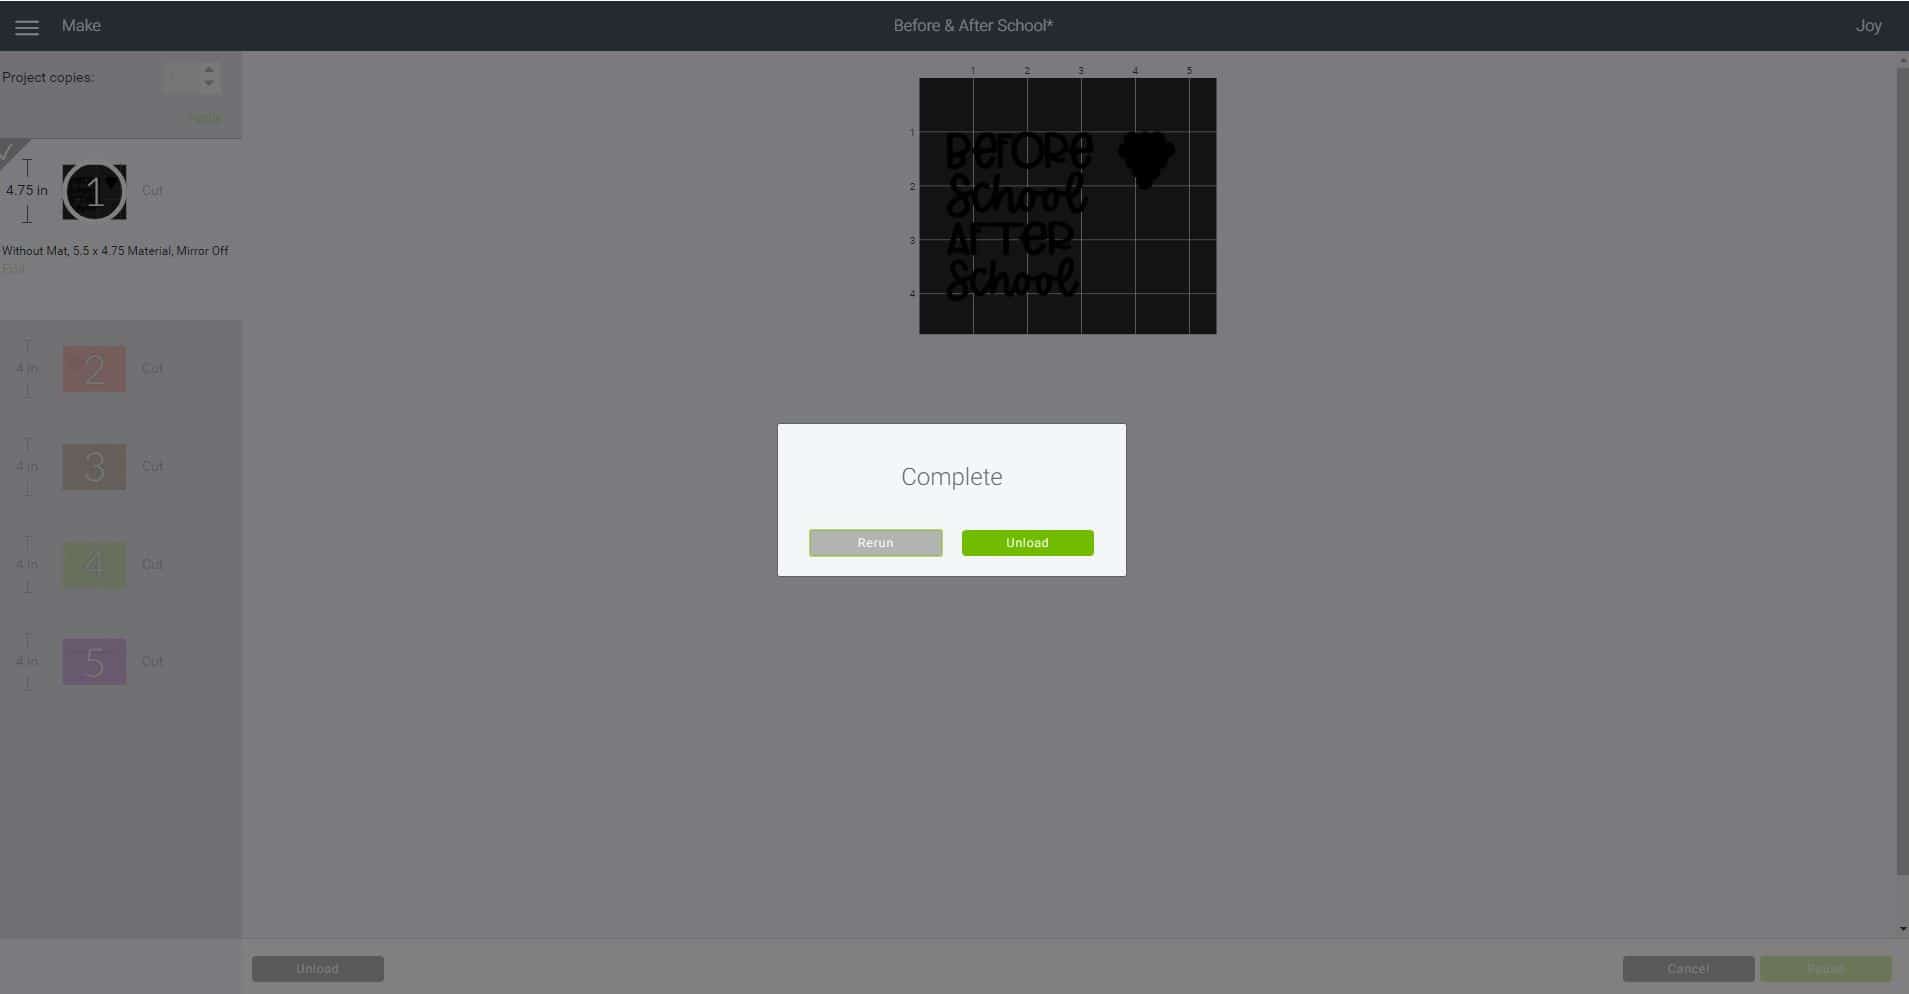
When the cut is completed, the Design Space software will prompt you to click “Unload” to complete the cut and unload the materials.
Repeat the process with each of the different colored layers.
To save time, you can cut the smaller details from scraps of vinyl in one single pass…but there’s a trick to doing that!
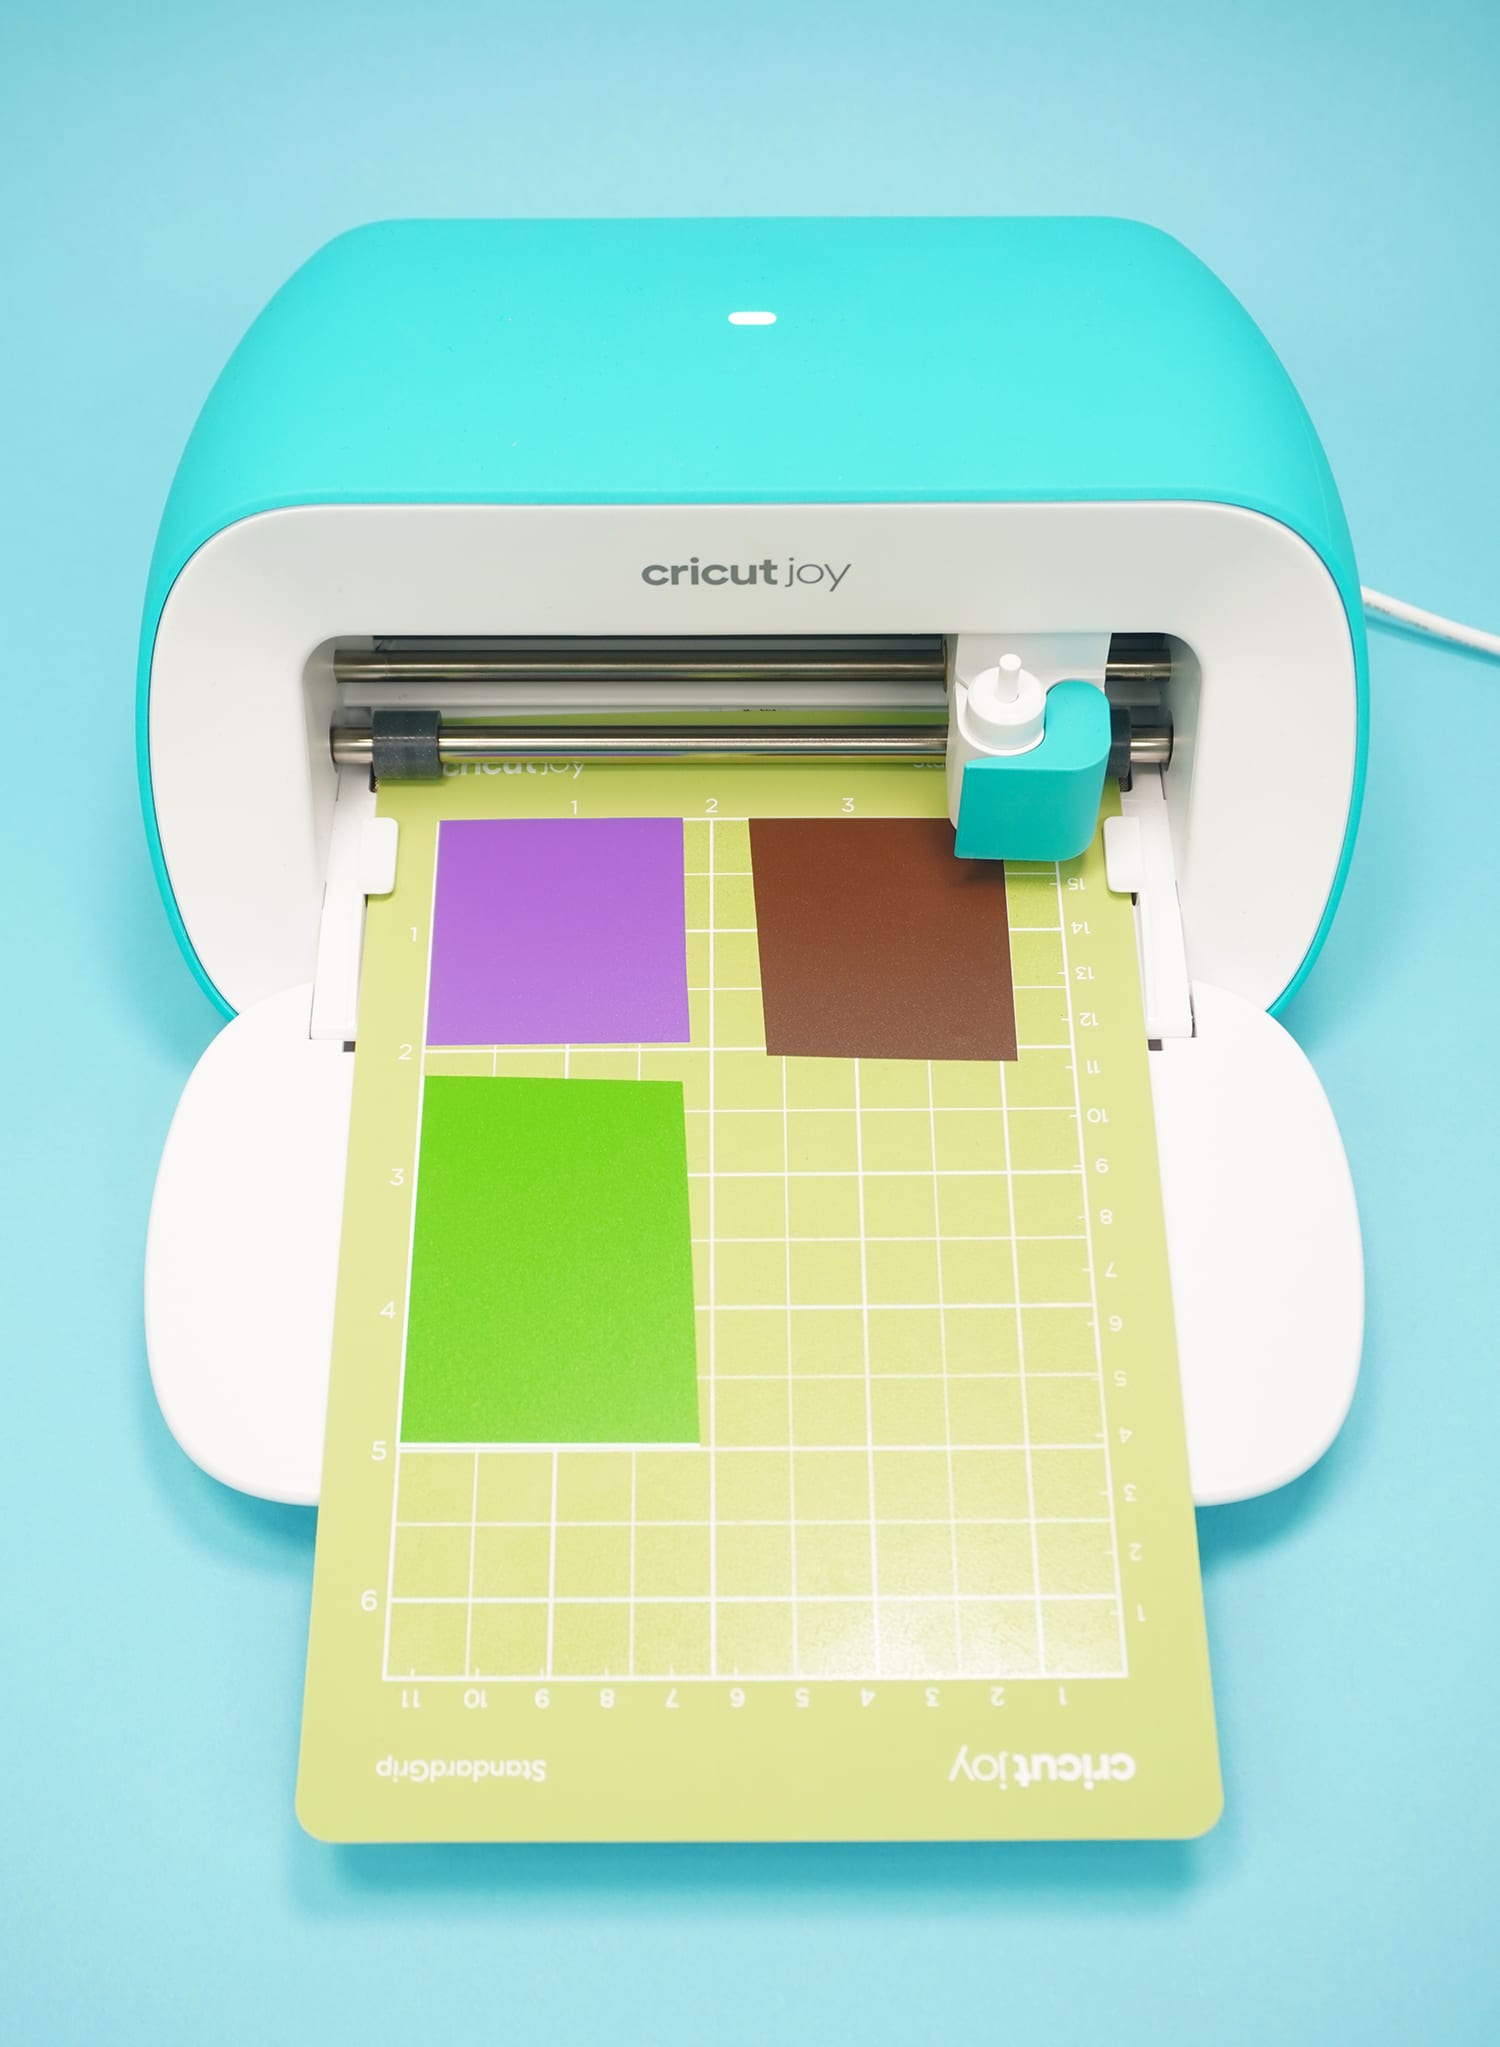
First, select all of the layers that you want to cut on a single mat and make them the same color in Design Space. This allows them to all be cut on the same mat at the same time.
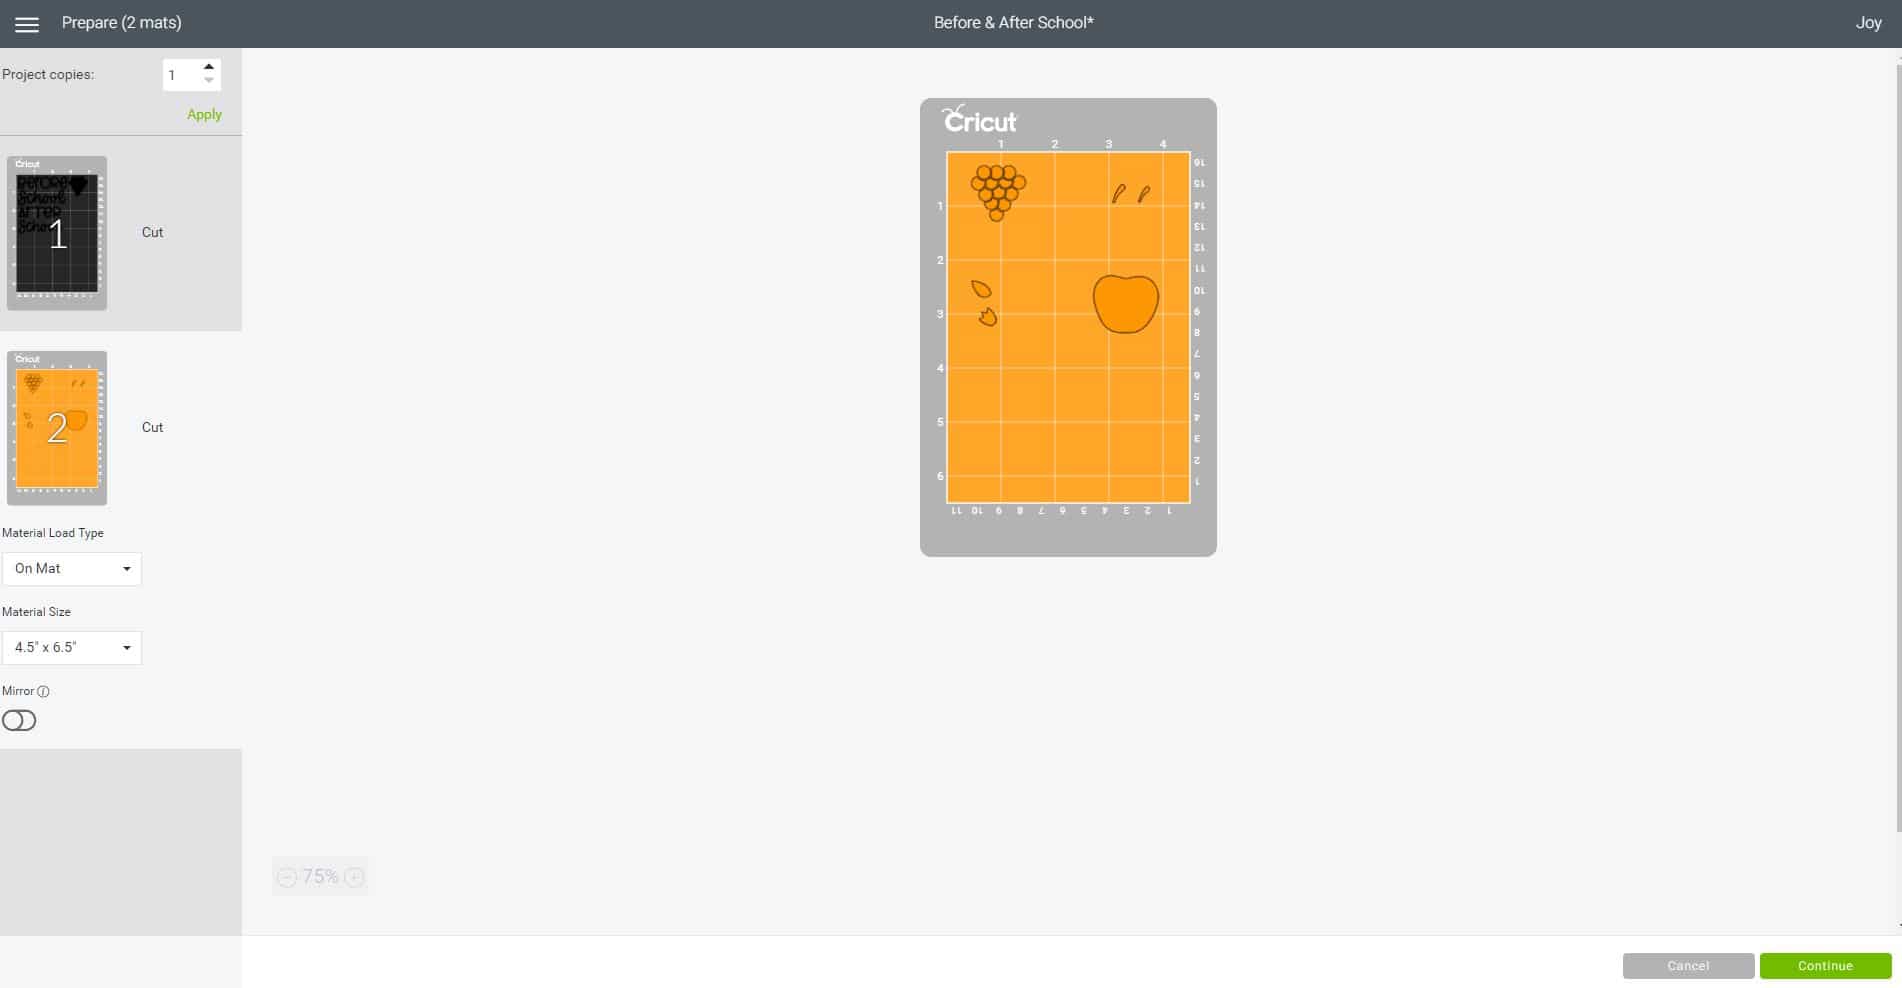
Next, select that you will be using a Cricut mat for the cut, and arrange the objects on the mat in Design Space. Add the vinyl to your mat in the corresponding places, and begin the cut.

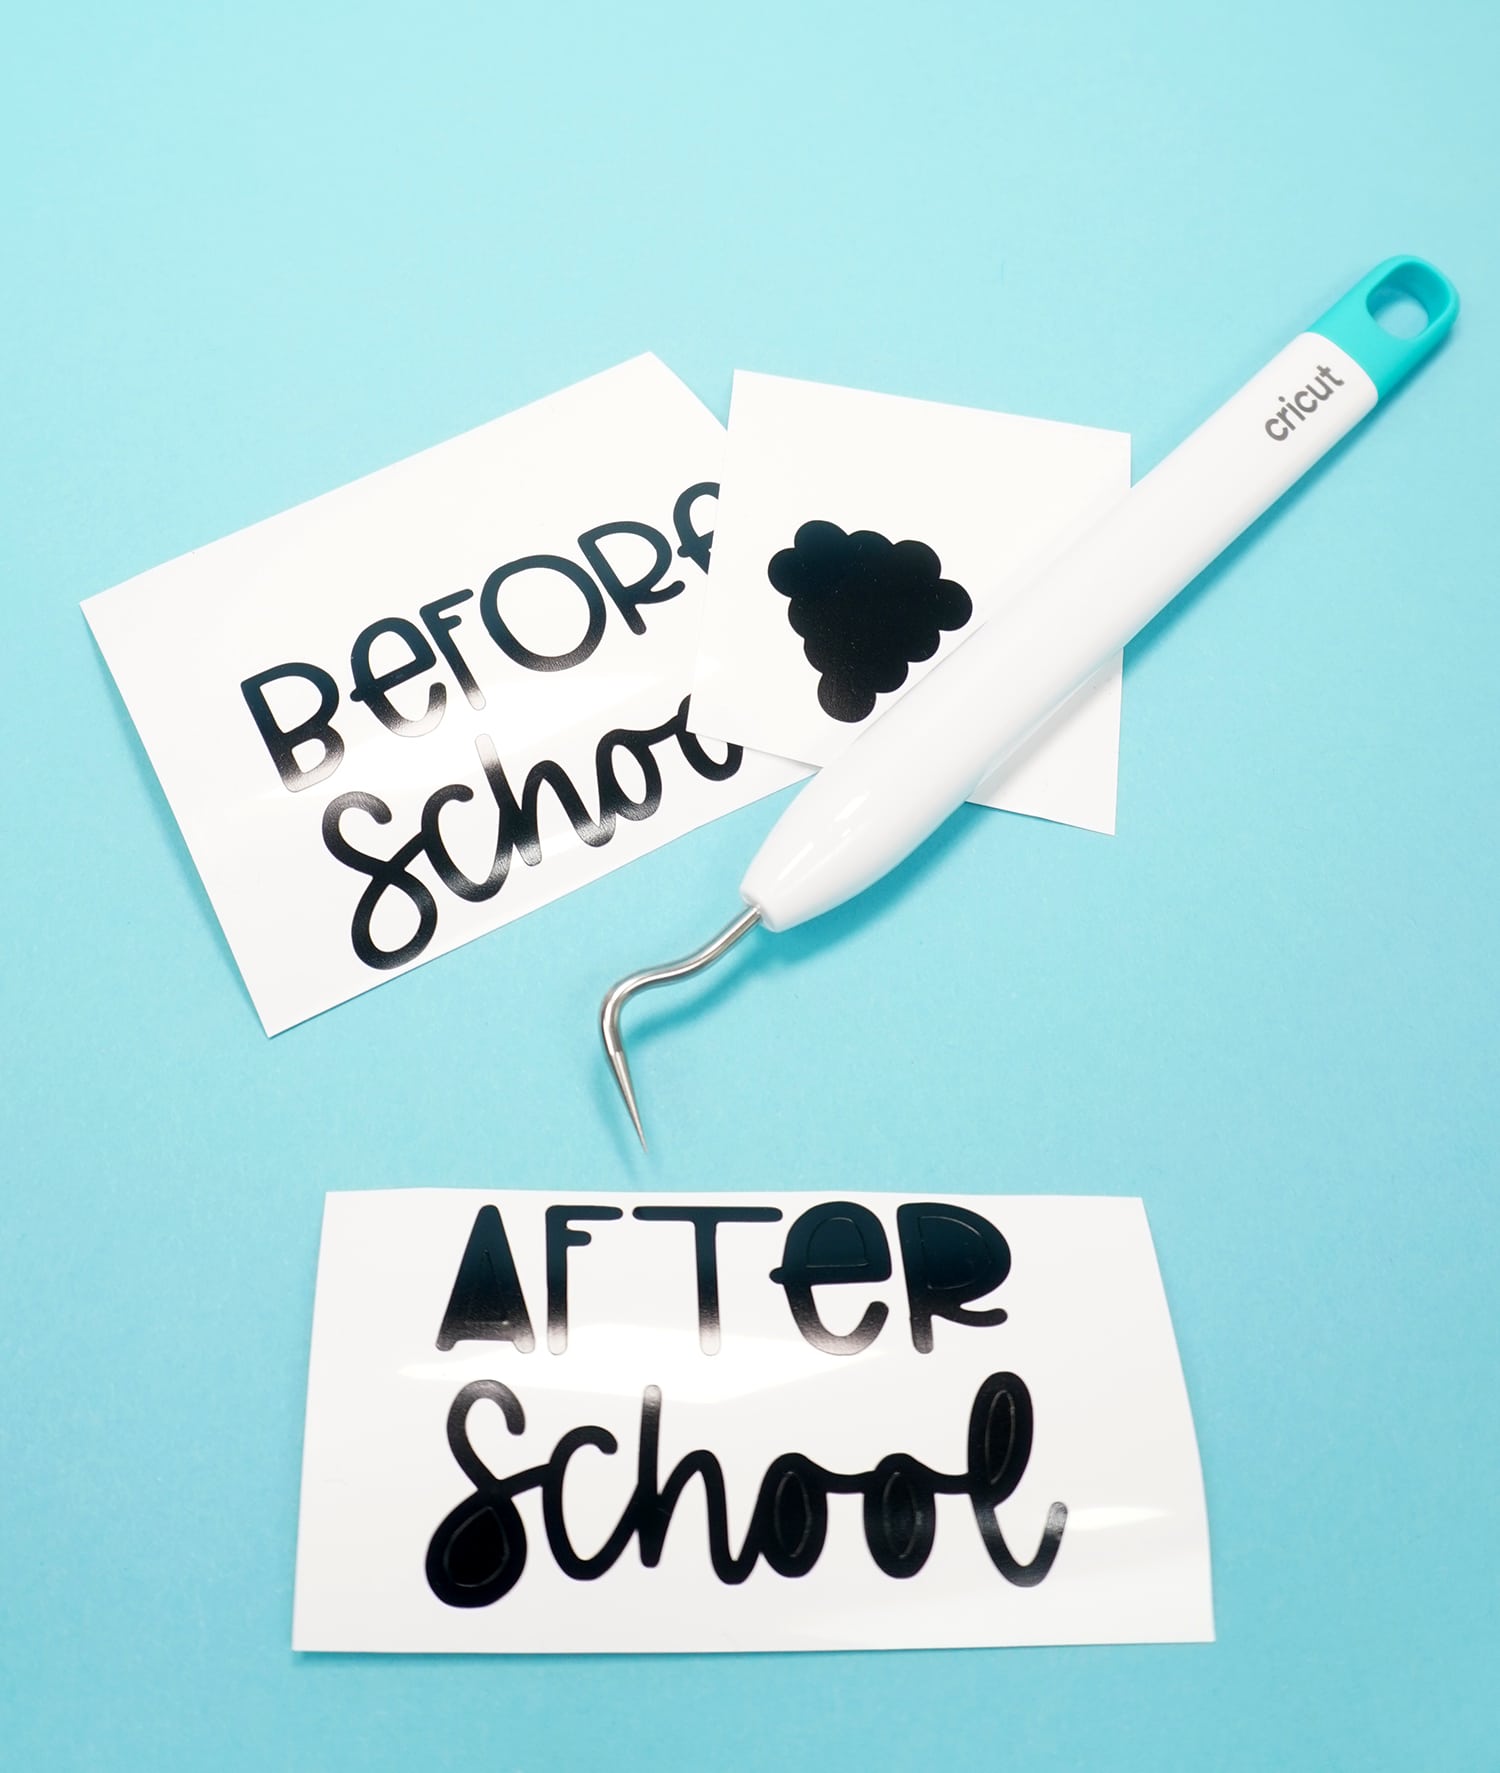
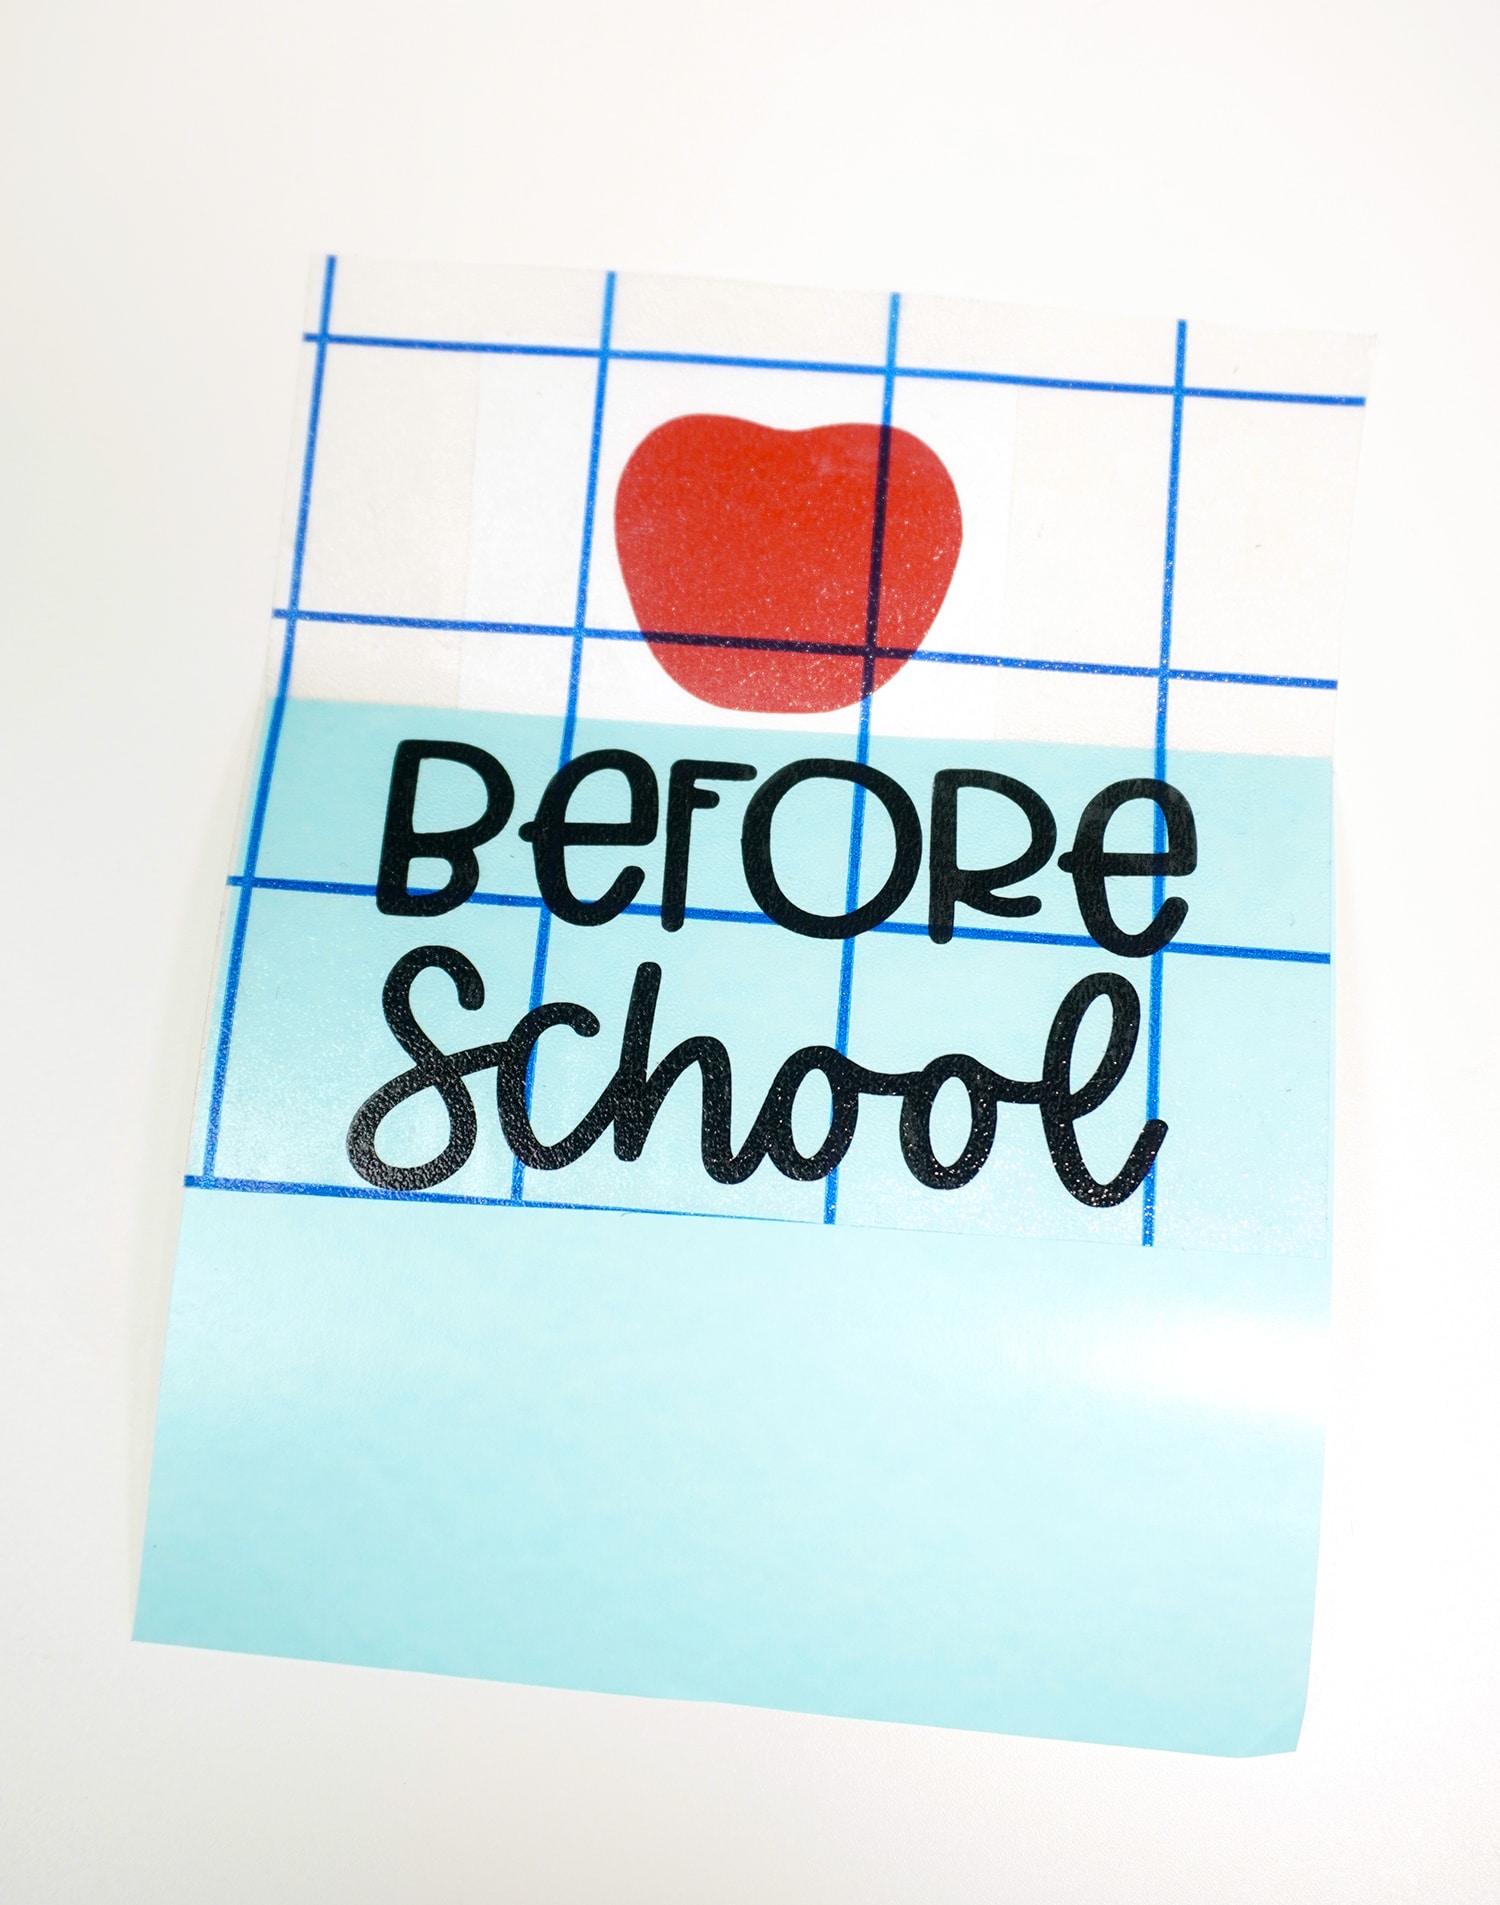
When you’re done cutting all of the layers, use a weeding tool to weed the excess vinyl (remove the pieces in the negative space).
Clean the surface of your mug and wine glass – I usually wash and dry mine and then wipe the area where I will be applying the vinyl with a cotton ball of isopropyl alcohol.
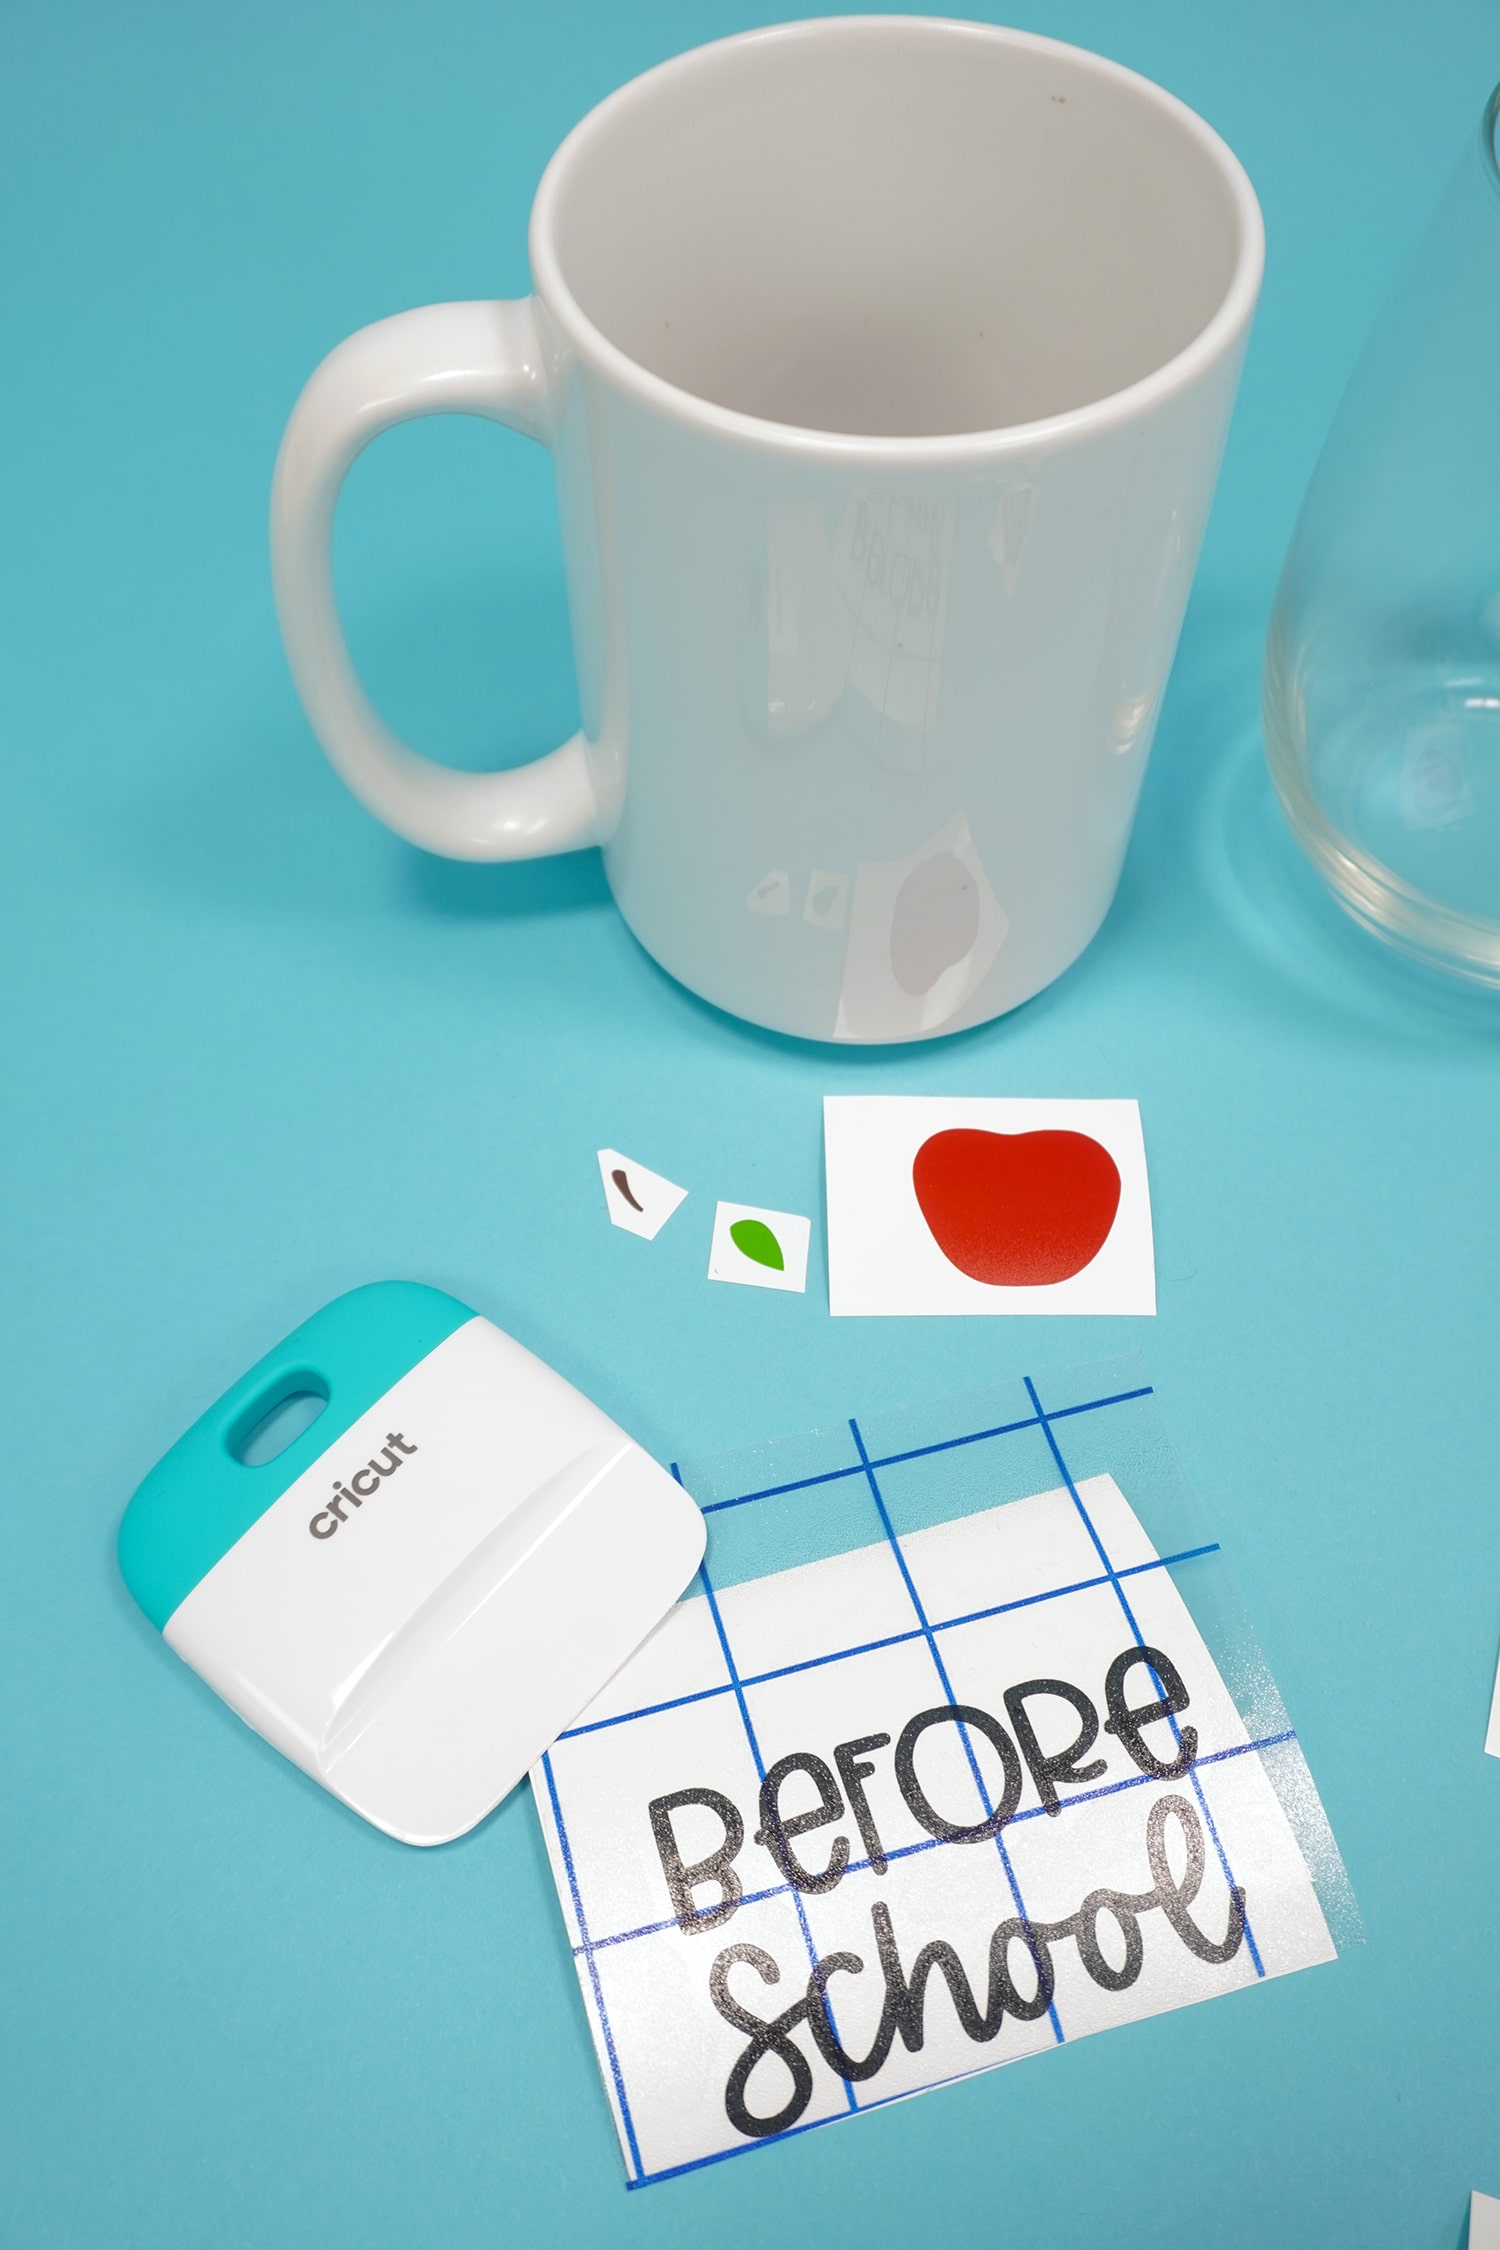
Cut a piece of transfer tape slightly larger than your design (make sure to save the backing piece of paper from the transfer tape!). Place the transfer tape over the text, and use a scraper tool to make sure the design is thoroughly stuck to the transfer tape.
Place the transfer tape backing paper back underneath the vinyl text and repeat the process for the apple and the stem.
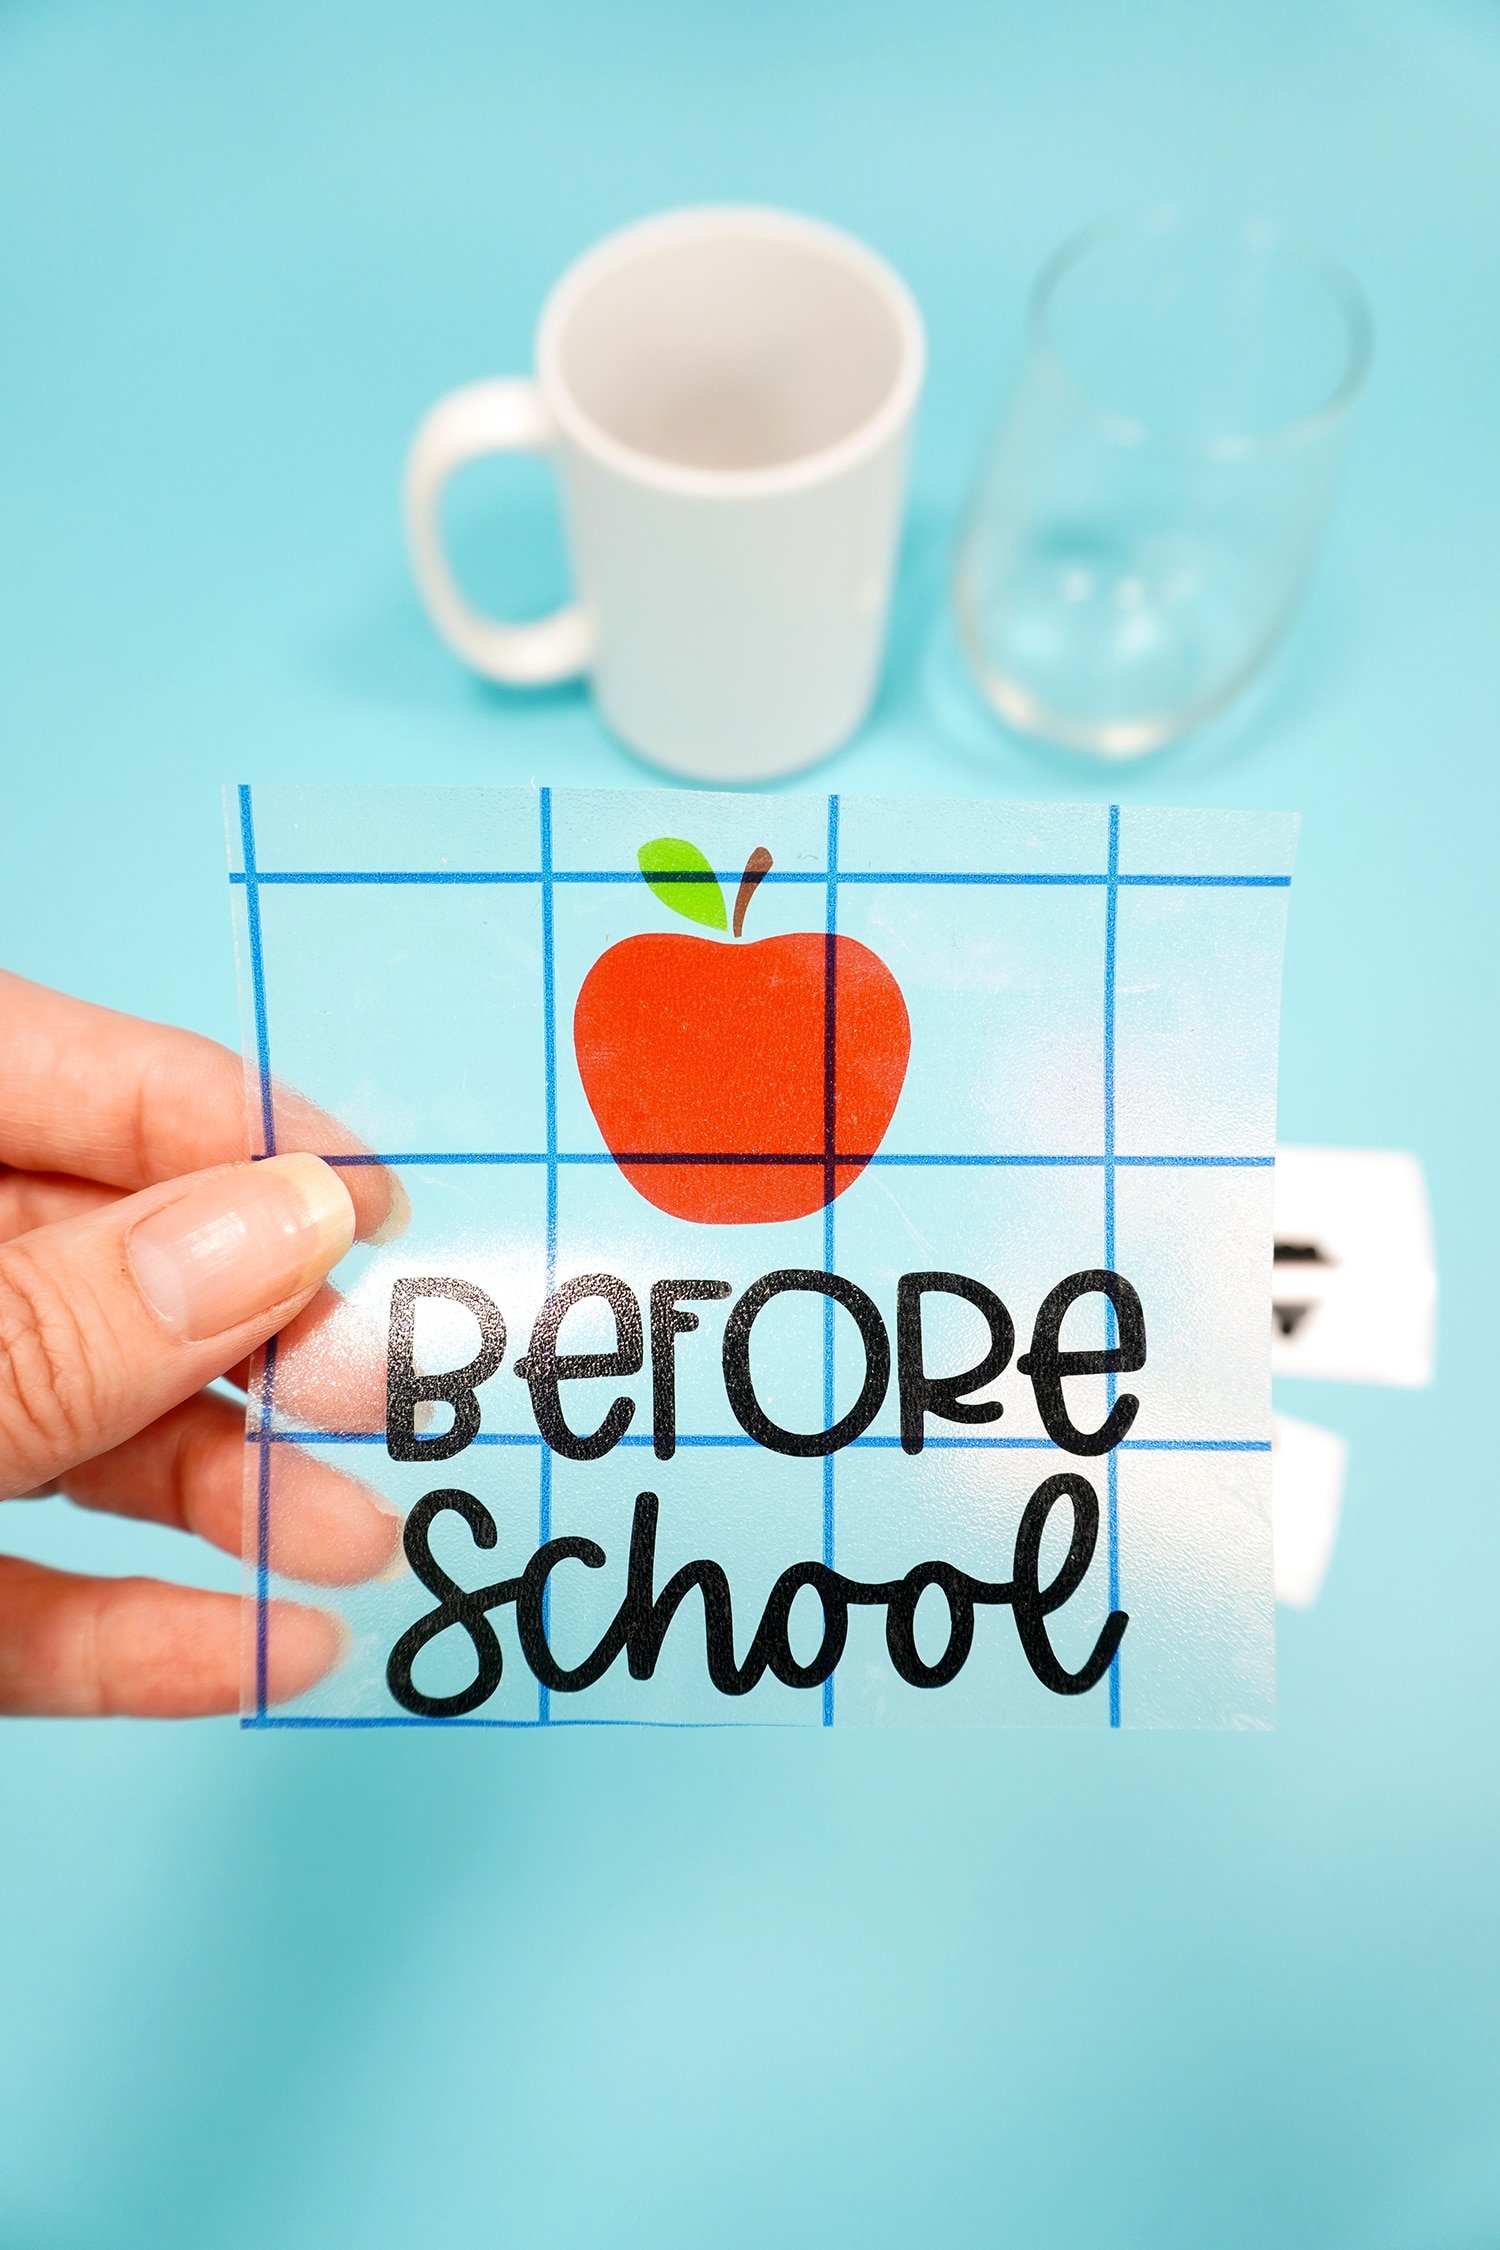
This will allow you to place and adhere all of your vinyl pieces in one single step.
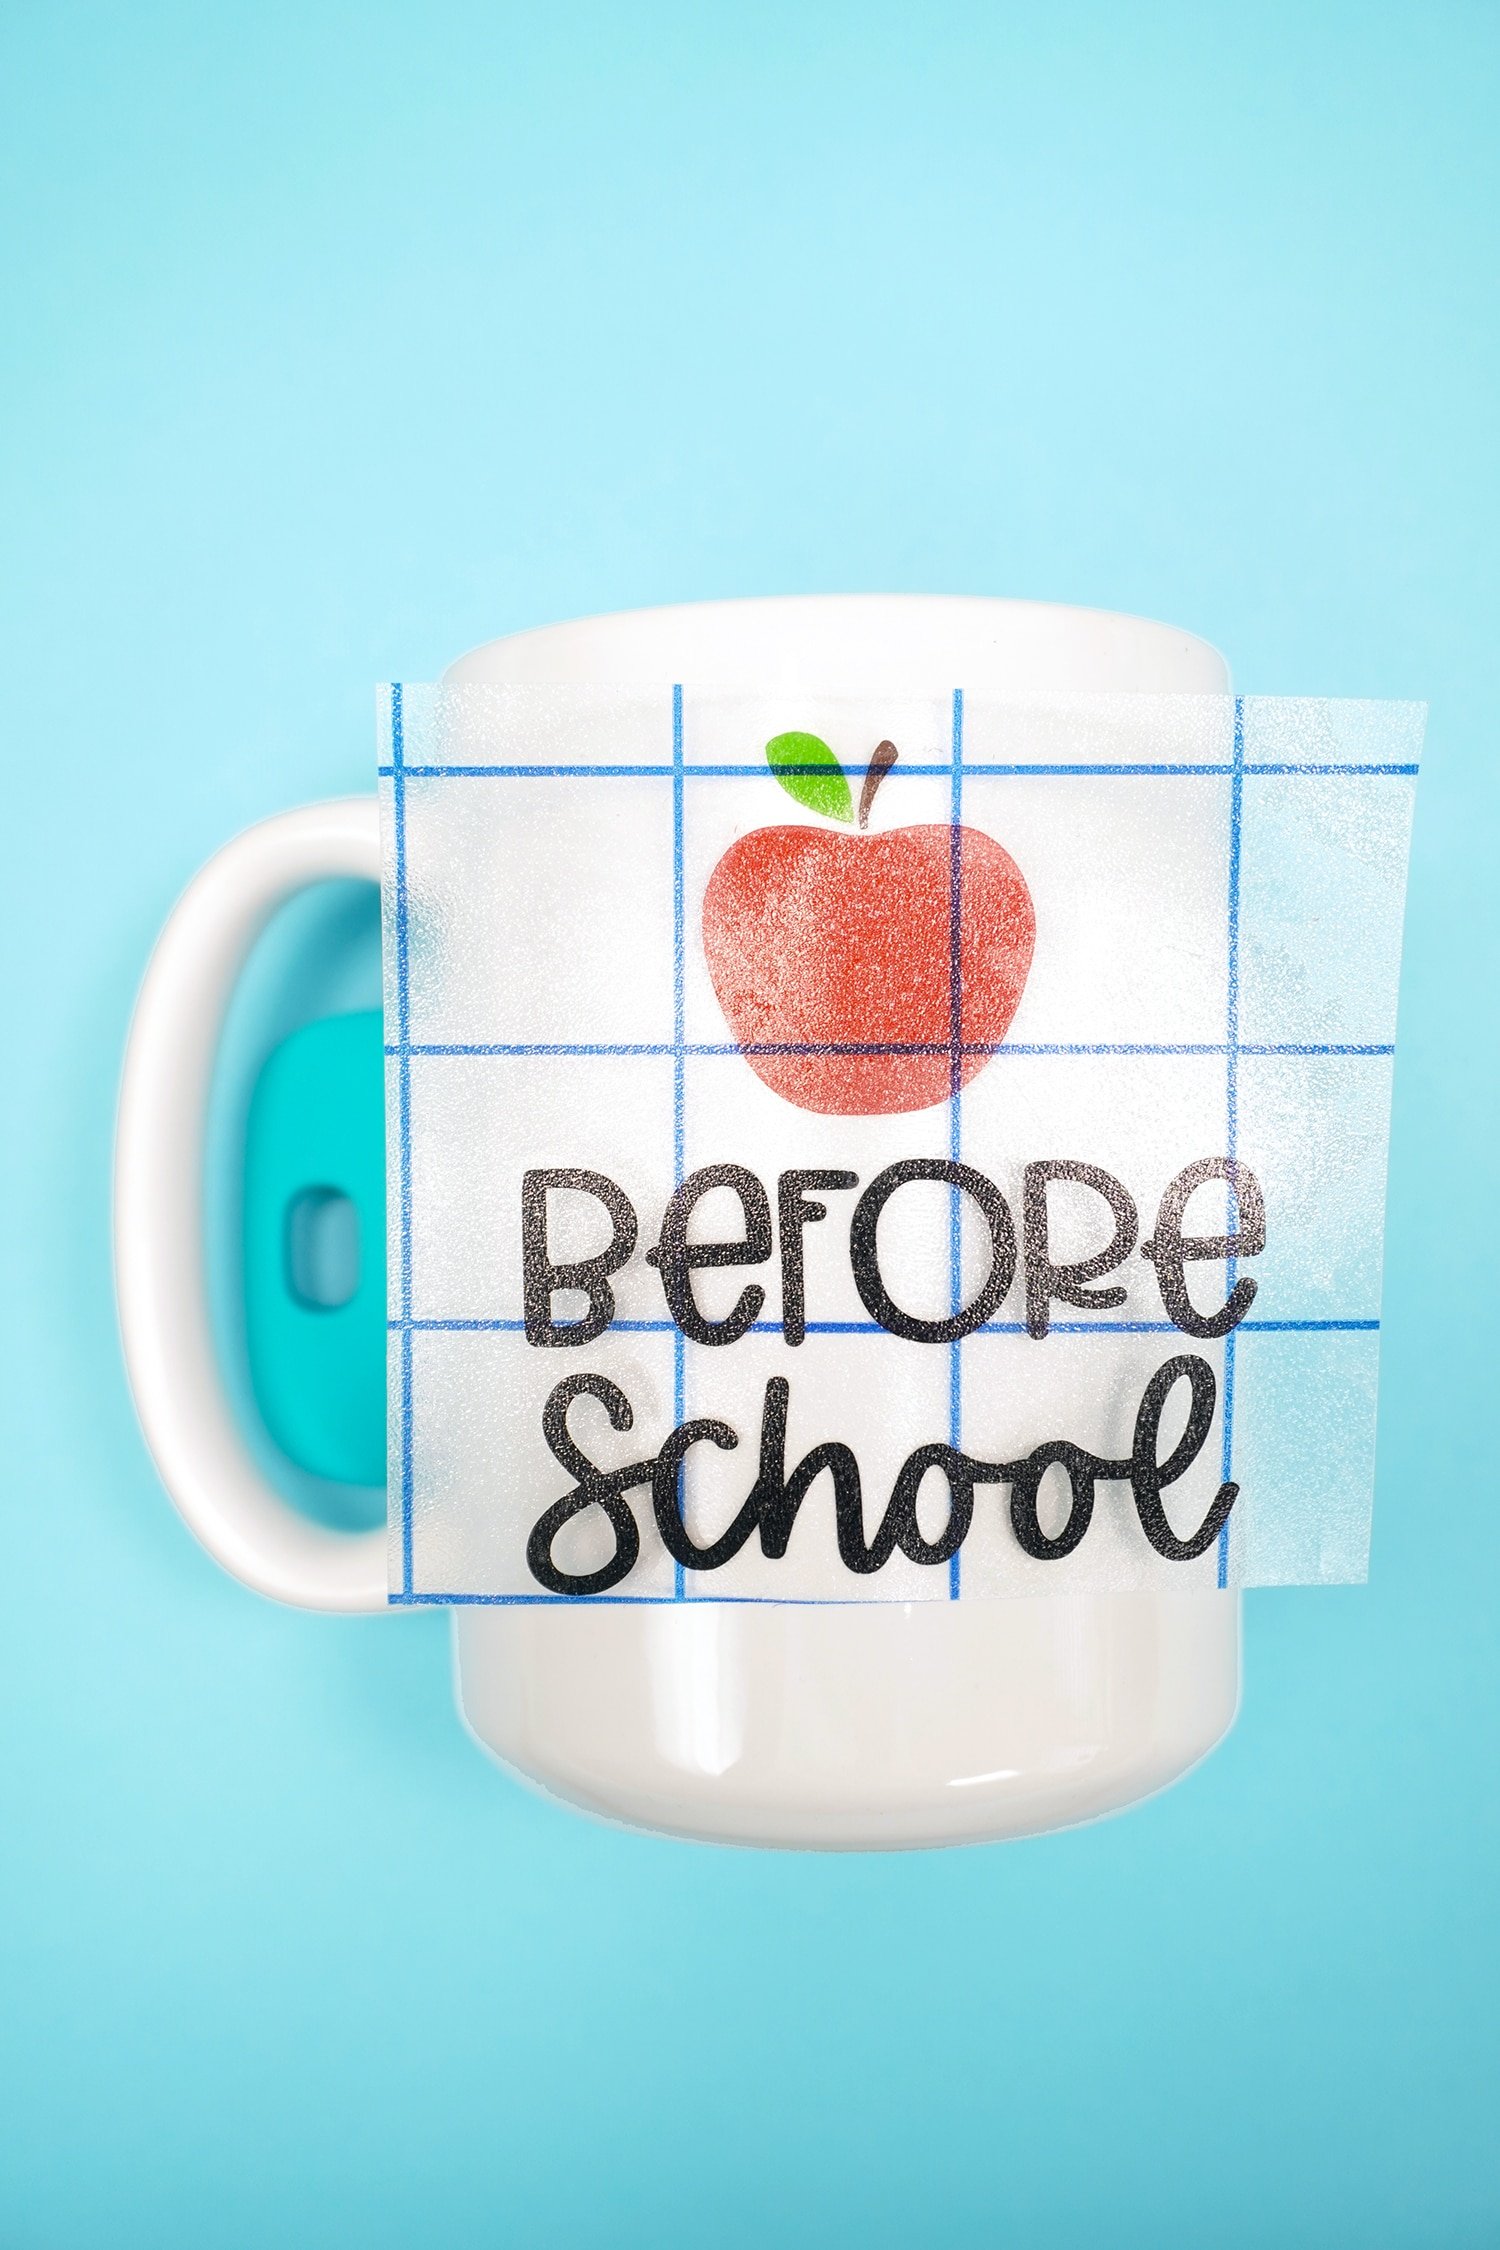
Place the vinyl on the mug, and use your finger to gently press down the center line from top to bottom to hold it in place.
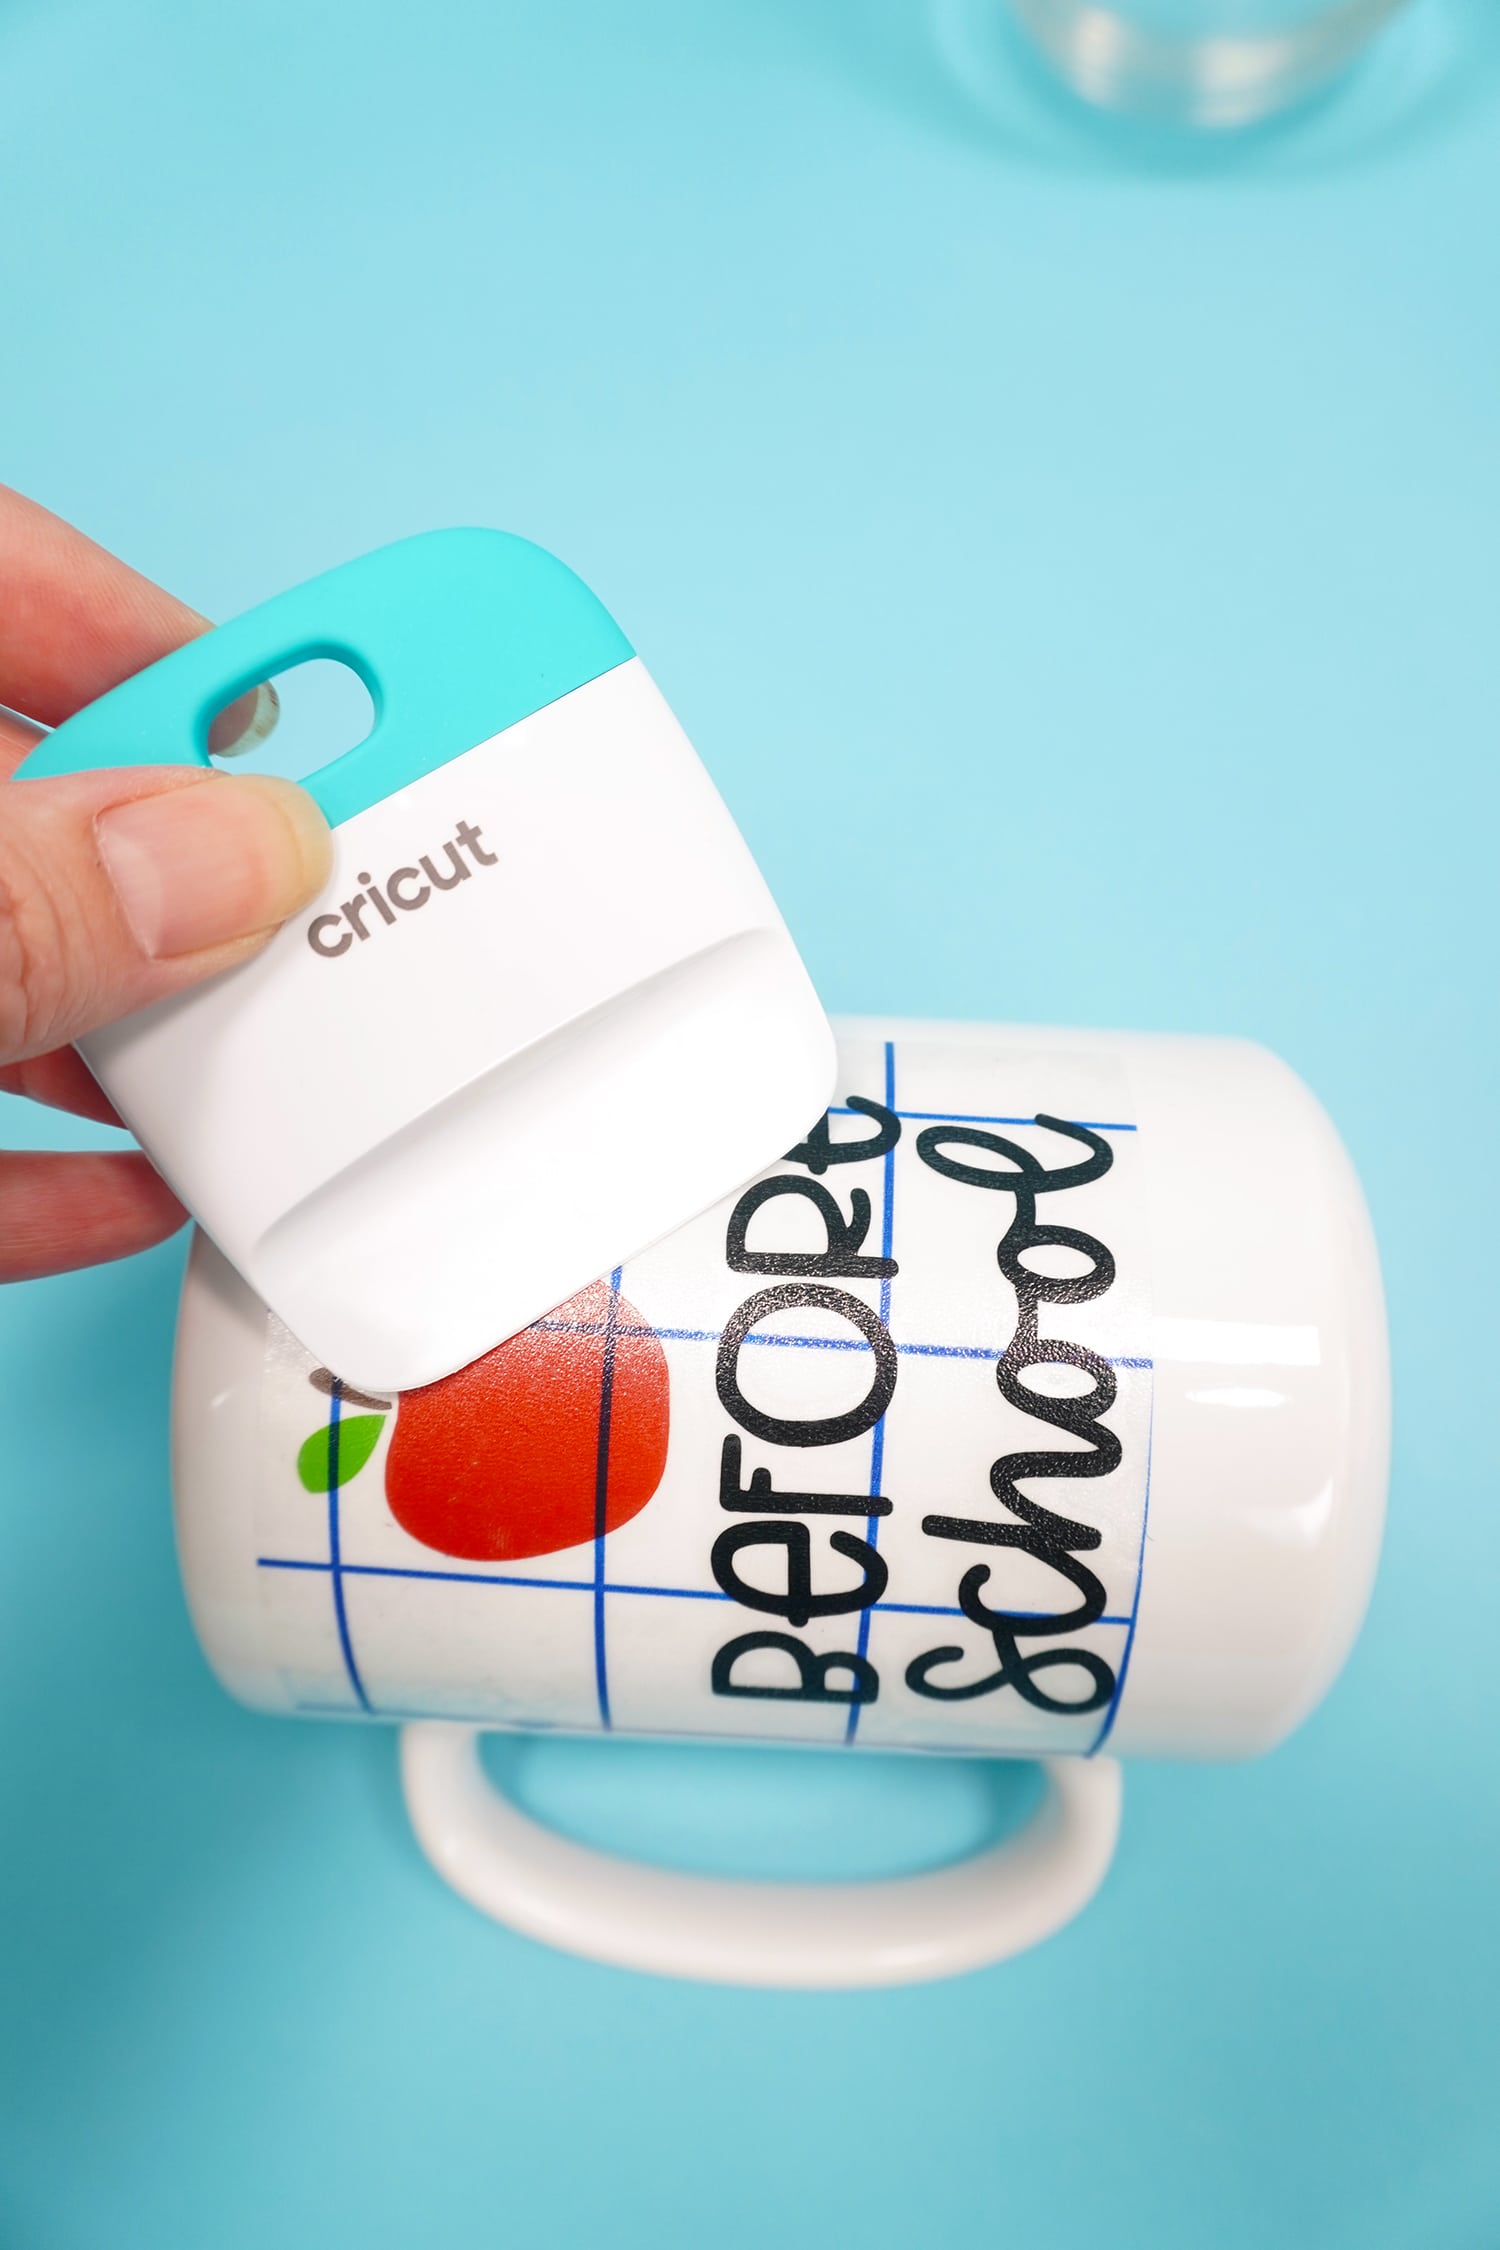
Carefully wrap the vinyl around the mug, working from the center out to each of the edges. Use the scraper to make sure the vinyl is smoothly adhered to the mug.
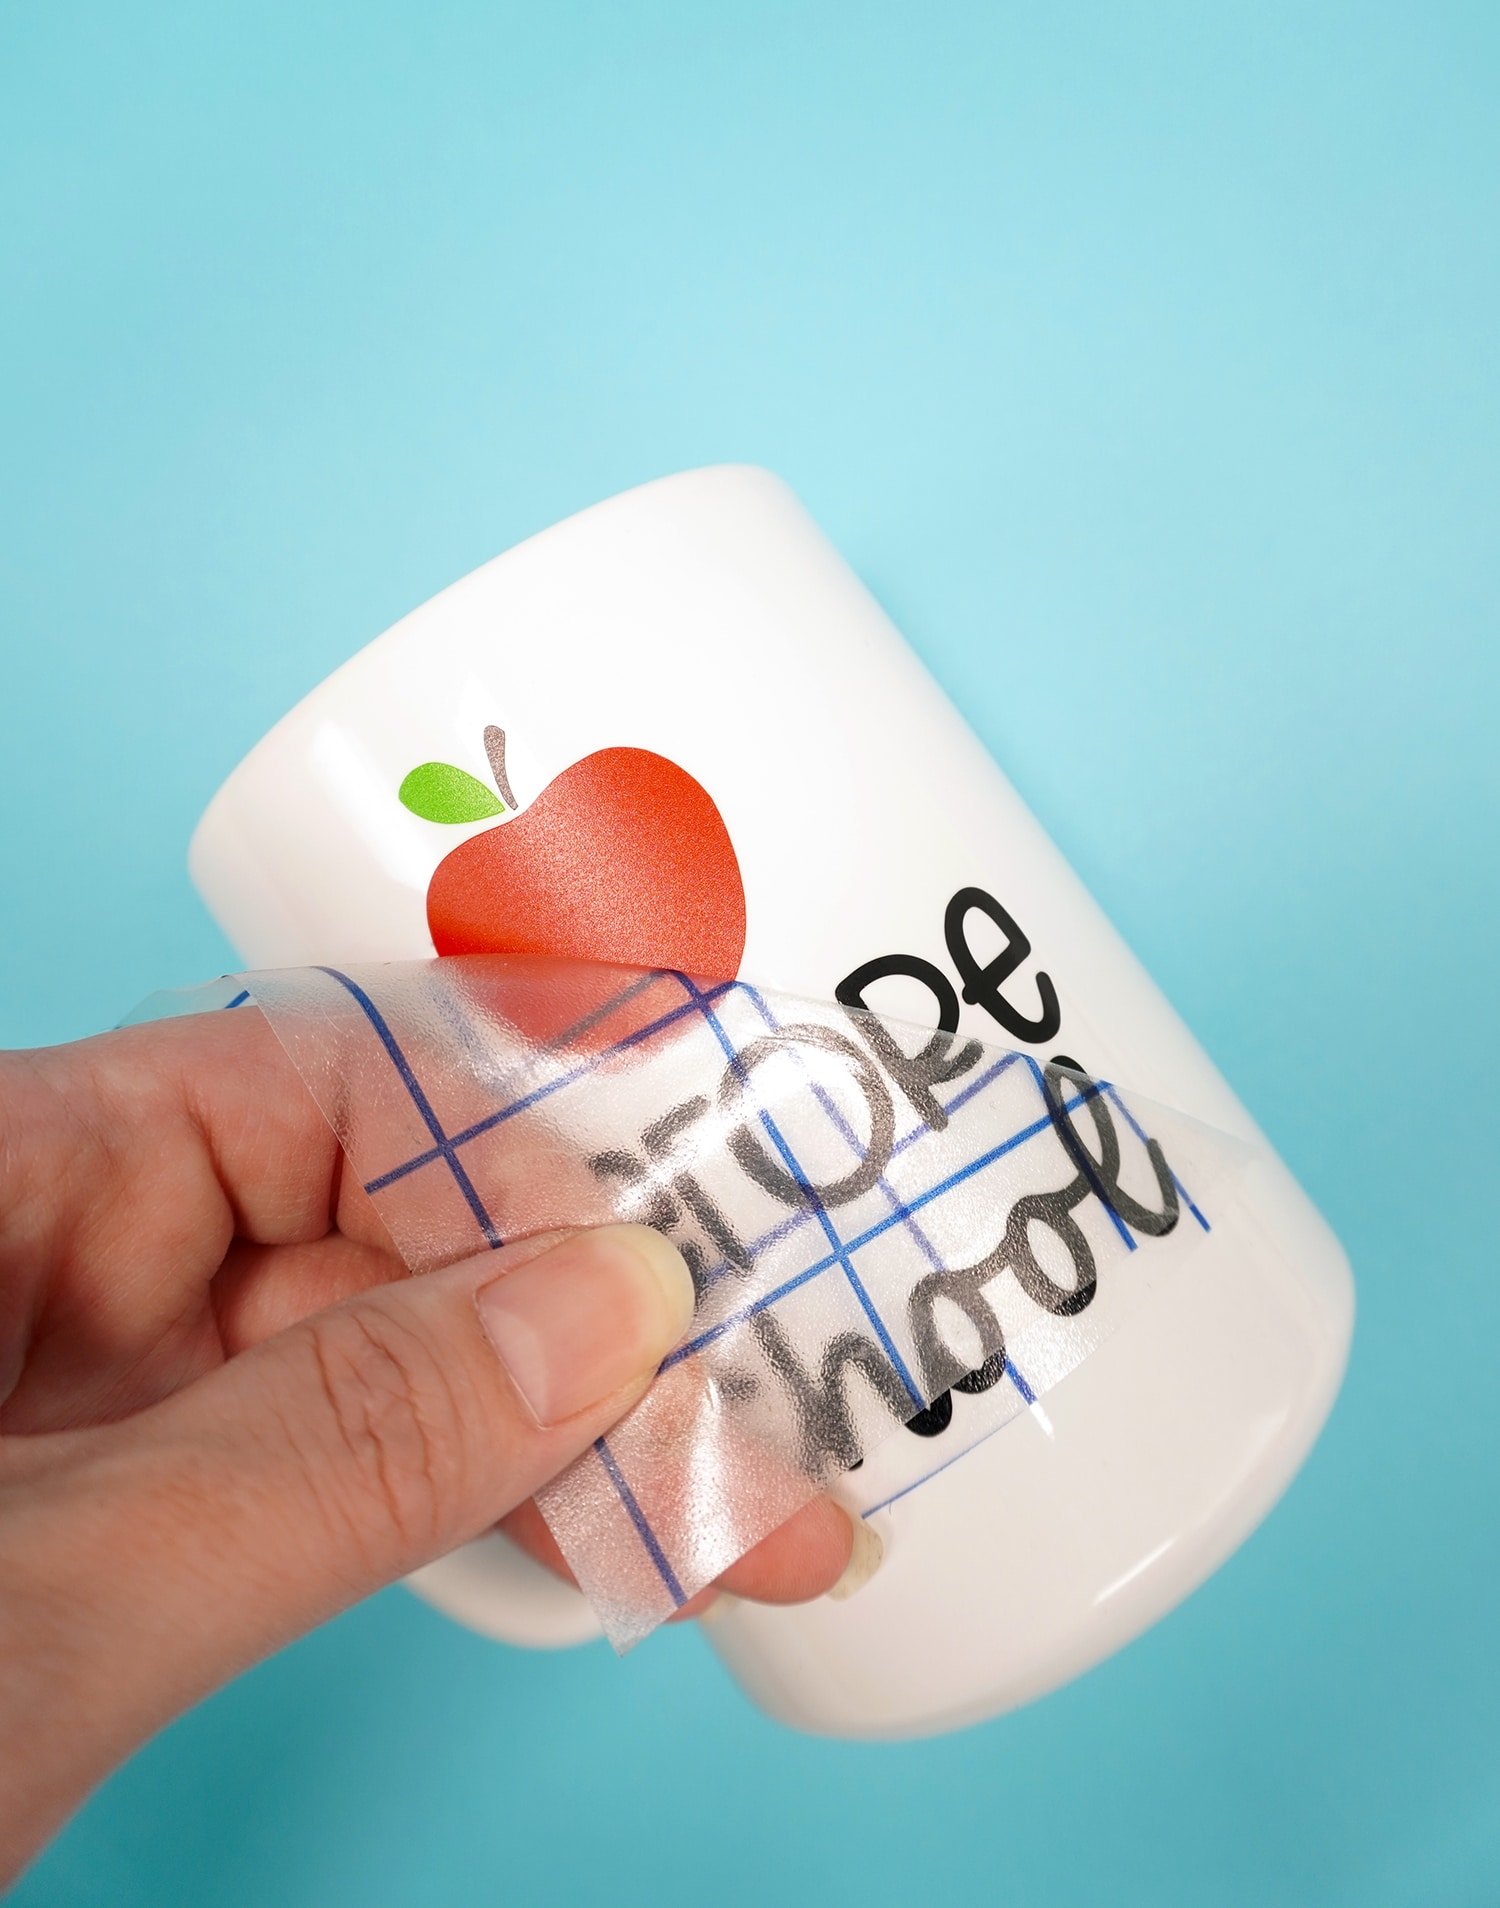
Carefully peel back the transfer tape.
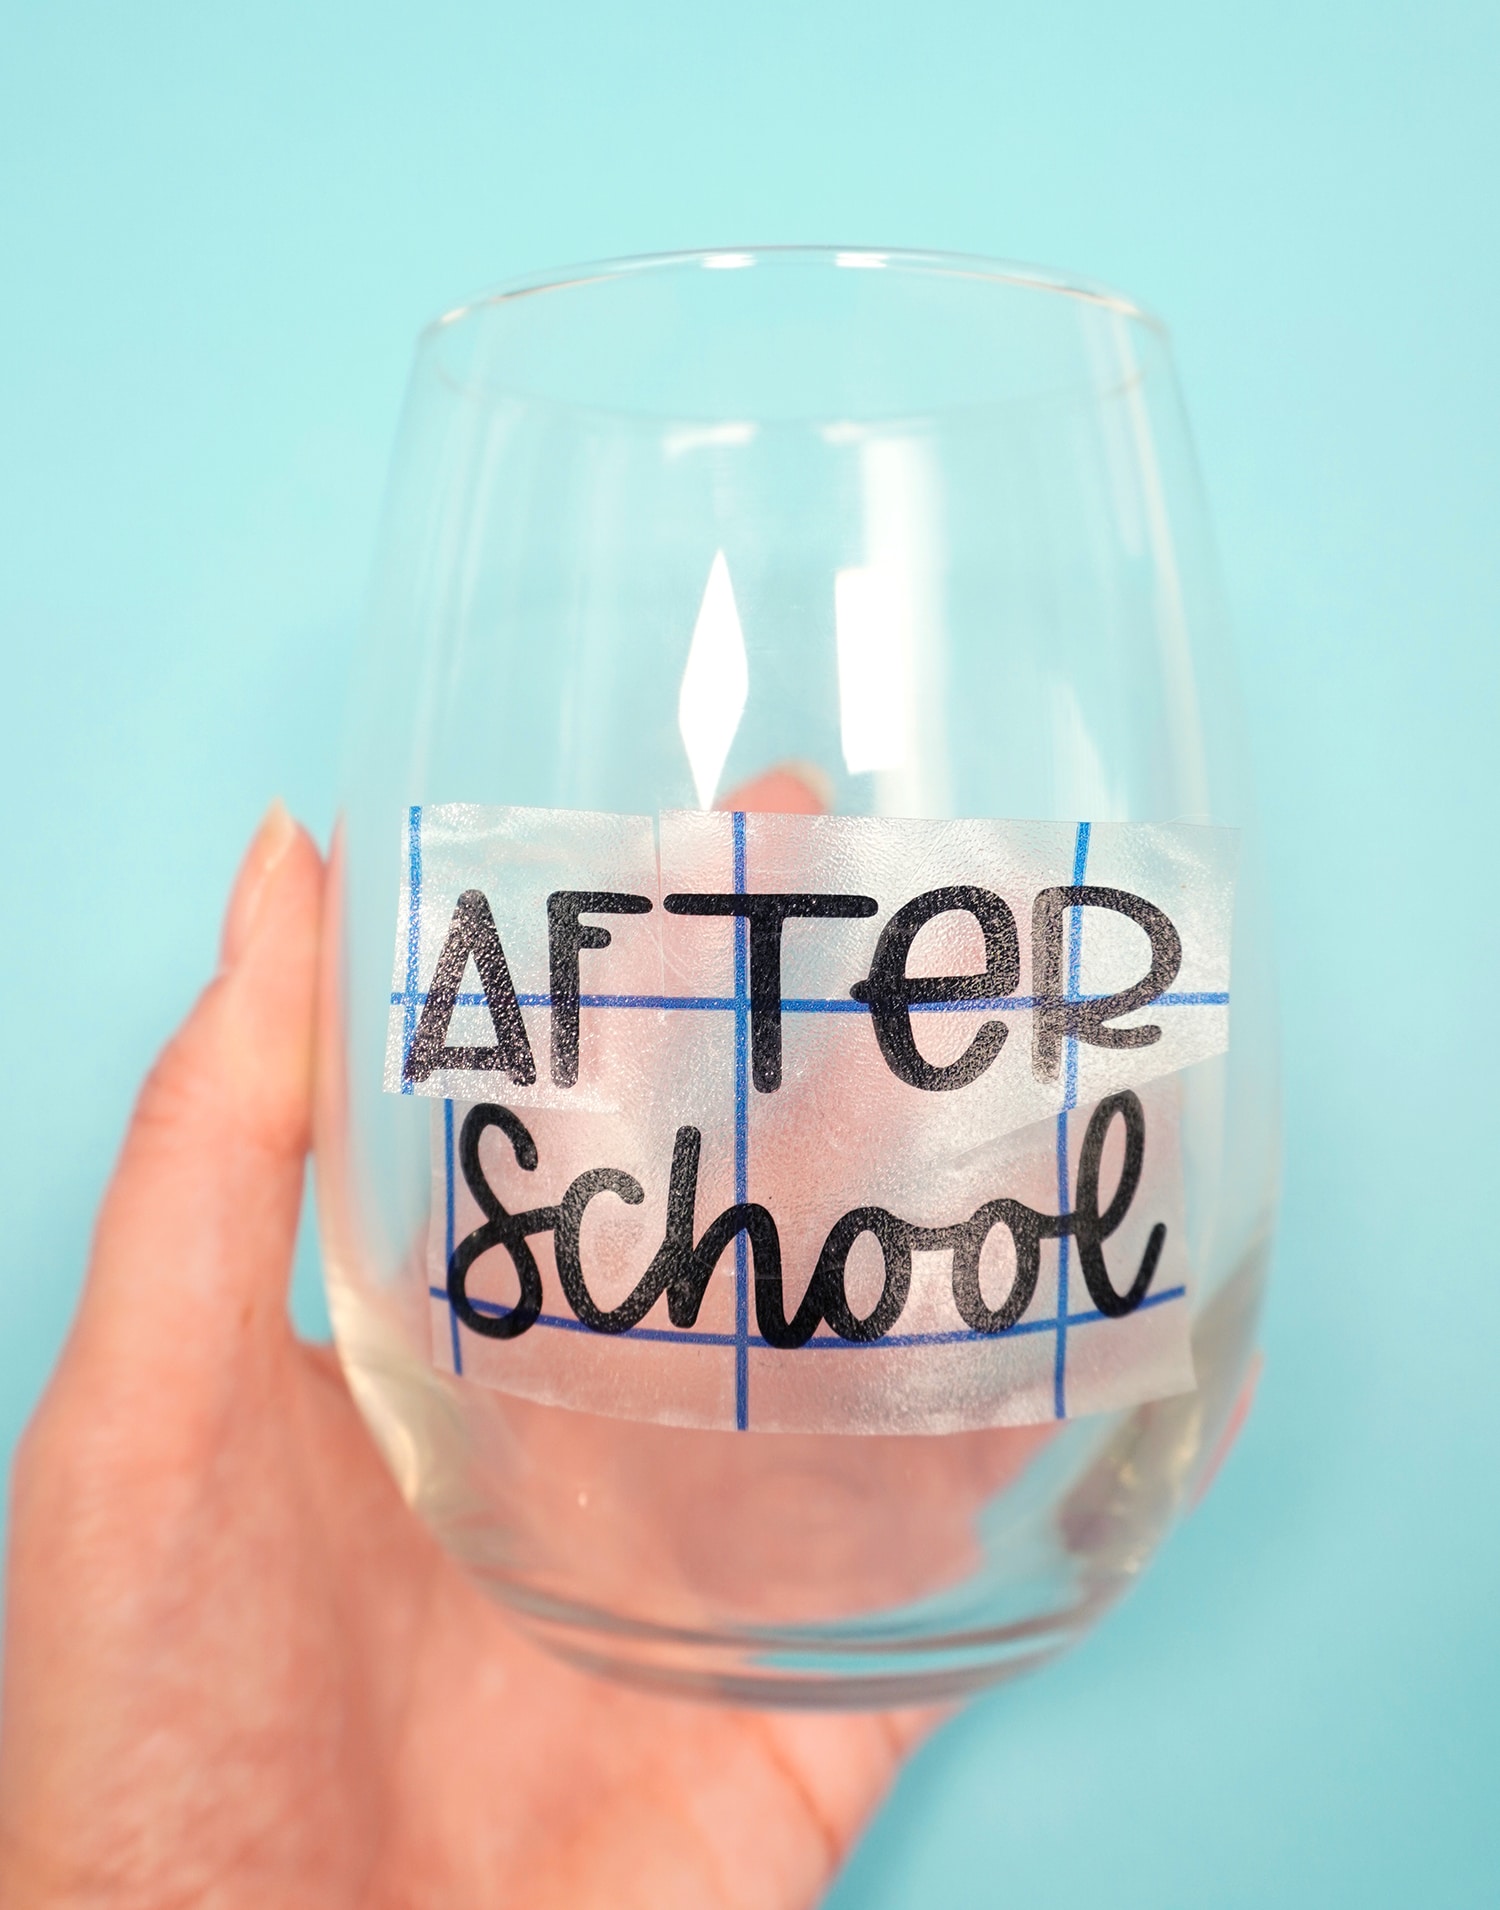
To accommodate the curve of the wine glass, I opted to adhere the text separately from the grapes graphic. To make it easier to apply vinyl to a curved surface, snip a few slits in the transfer tape in between the letters, and gently smooth them down one at a time.
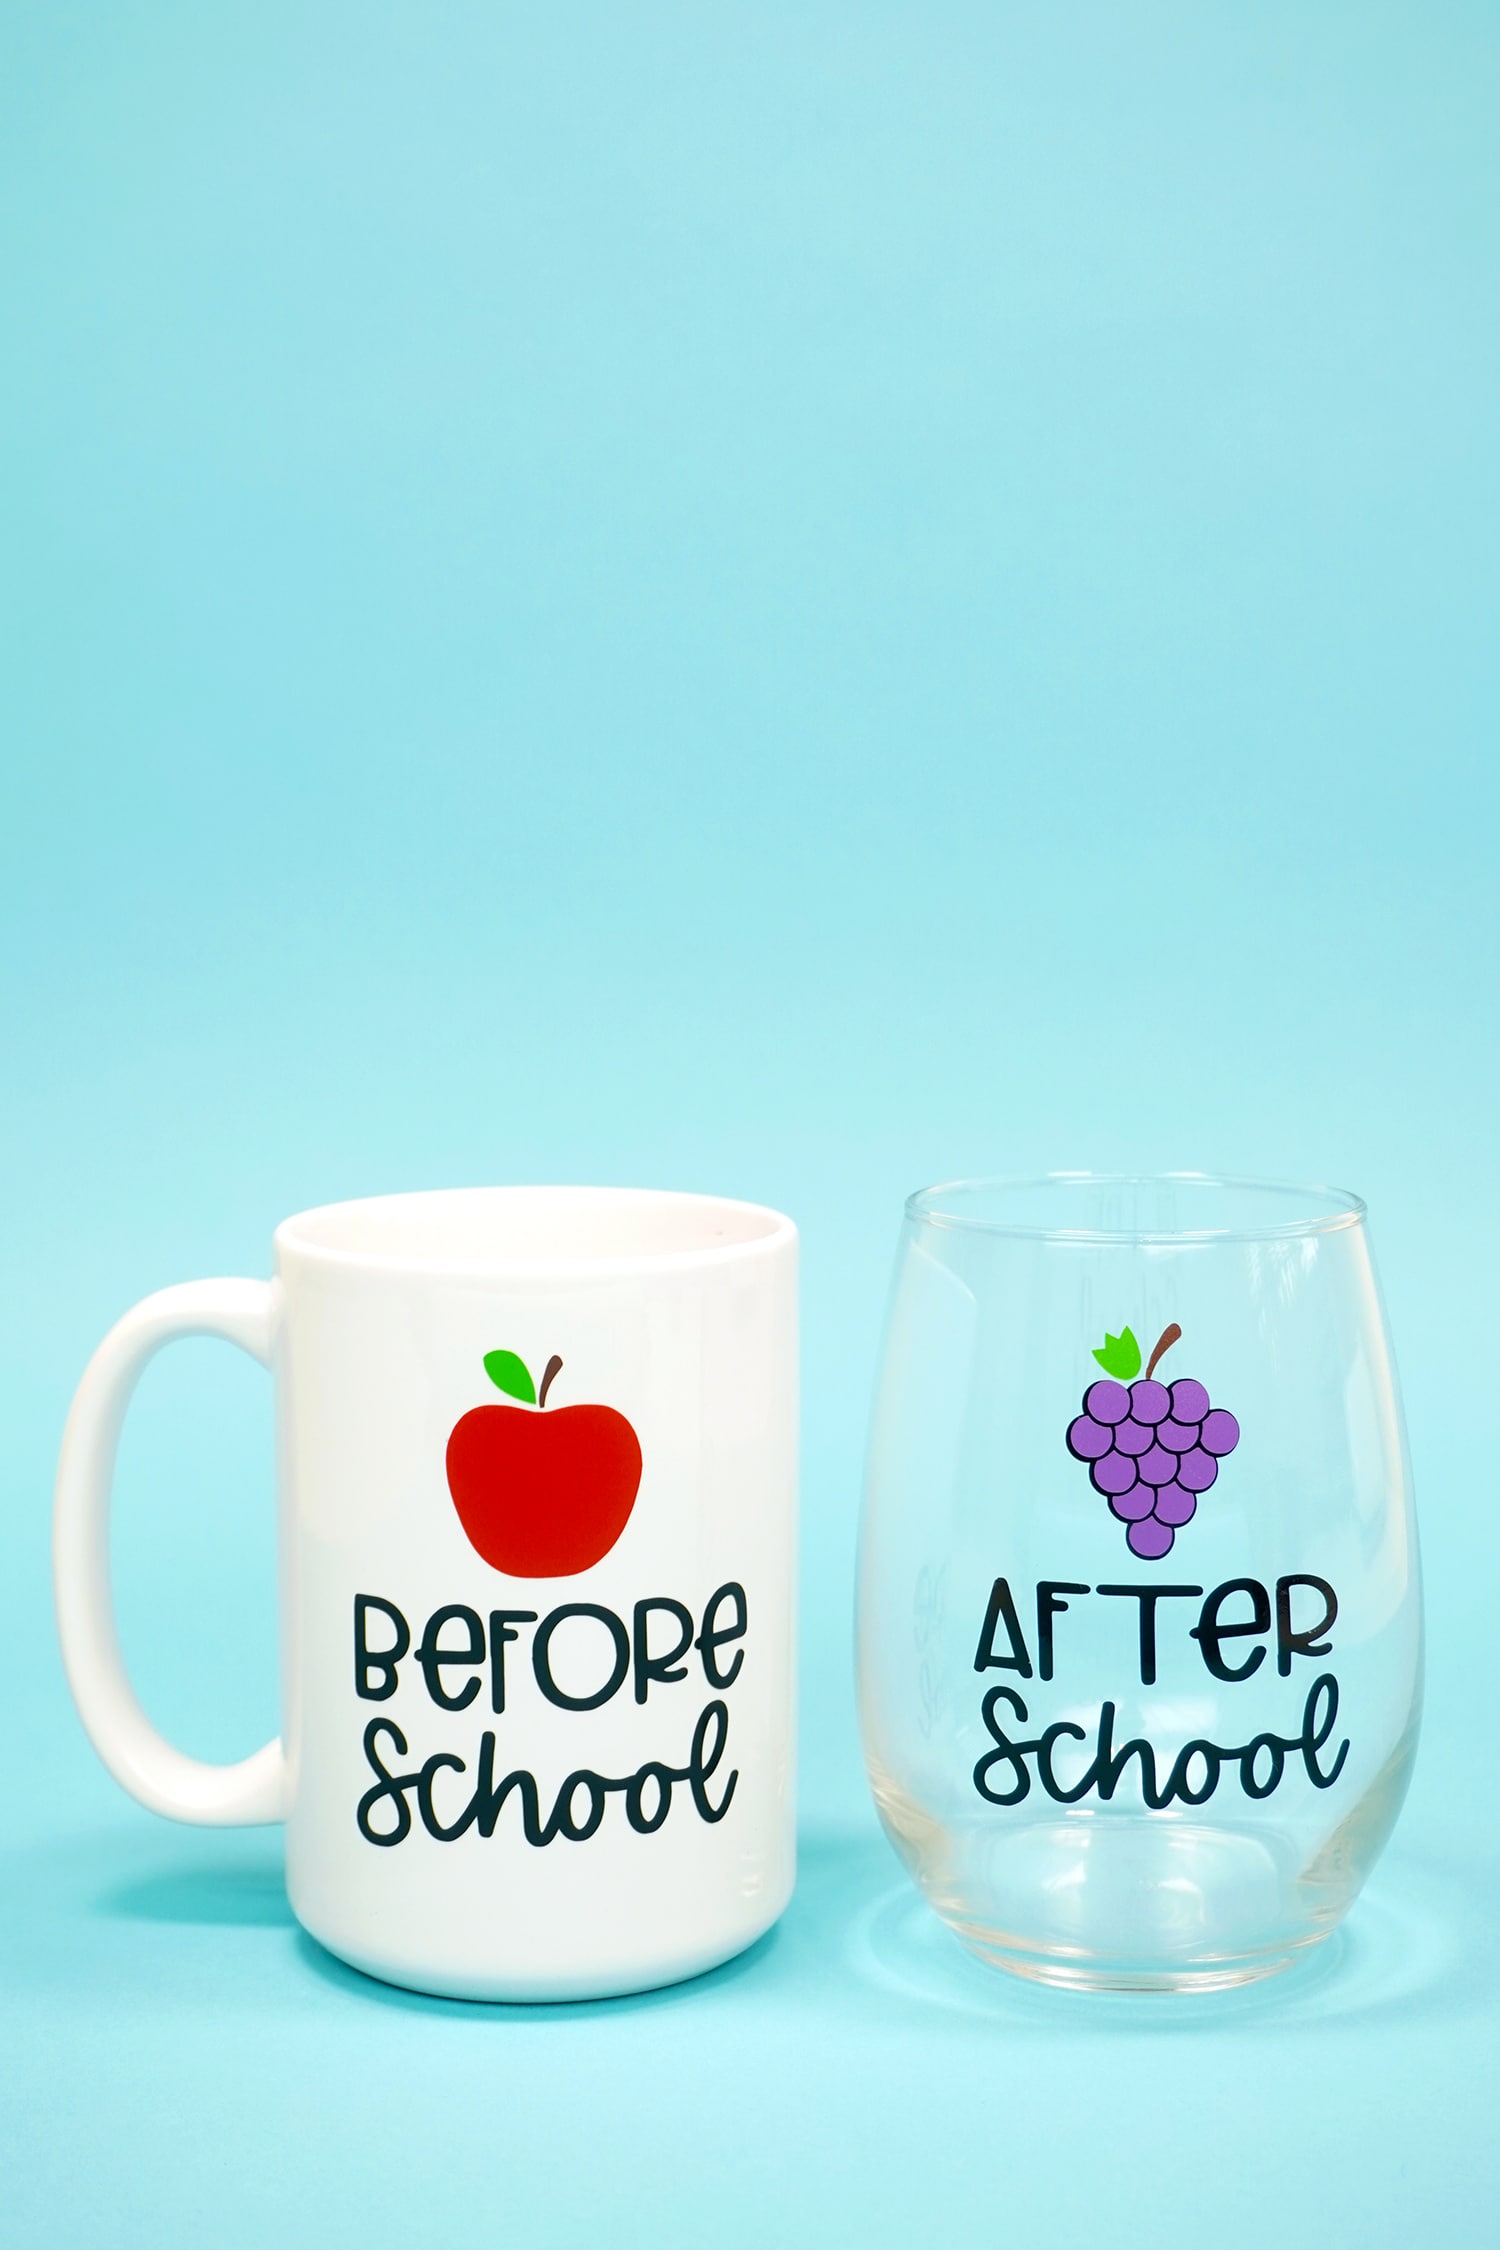
Easy peasy and SUPER cute! This whole project took me less than 15 minutes to create, and it would make a great DIY gift idea!
Get the Before & After School SVG Here:
MORE Cricut Dollar Tree Craft Projects!
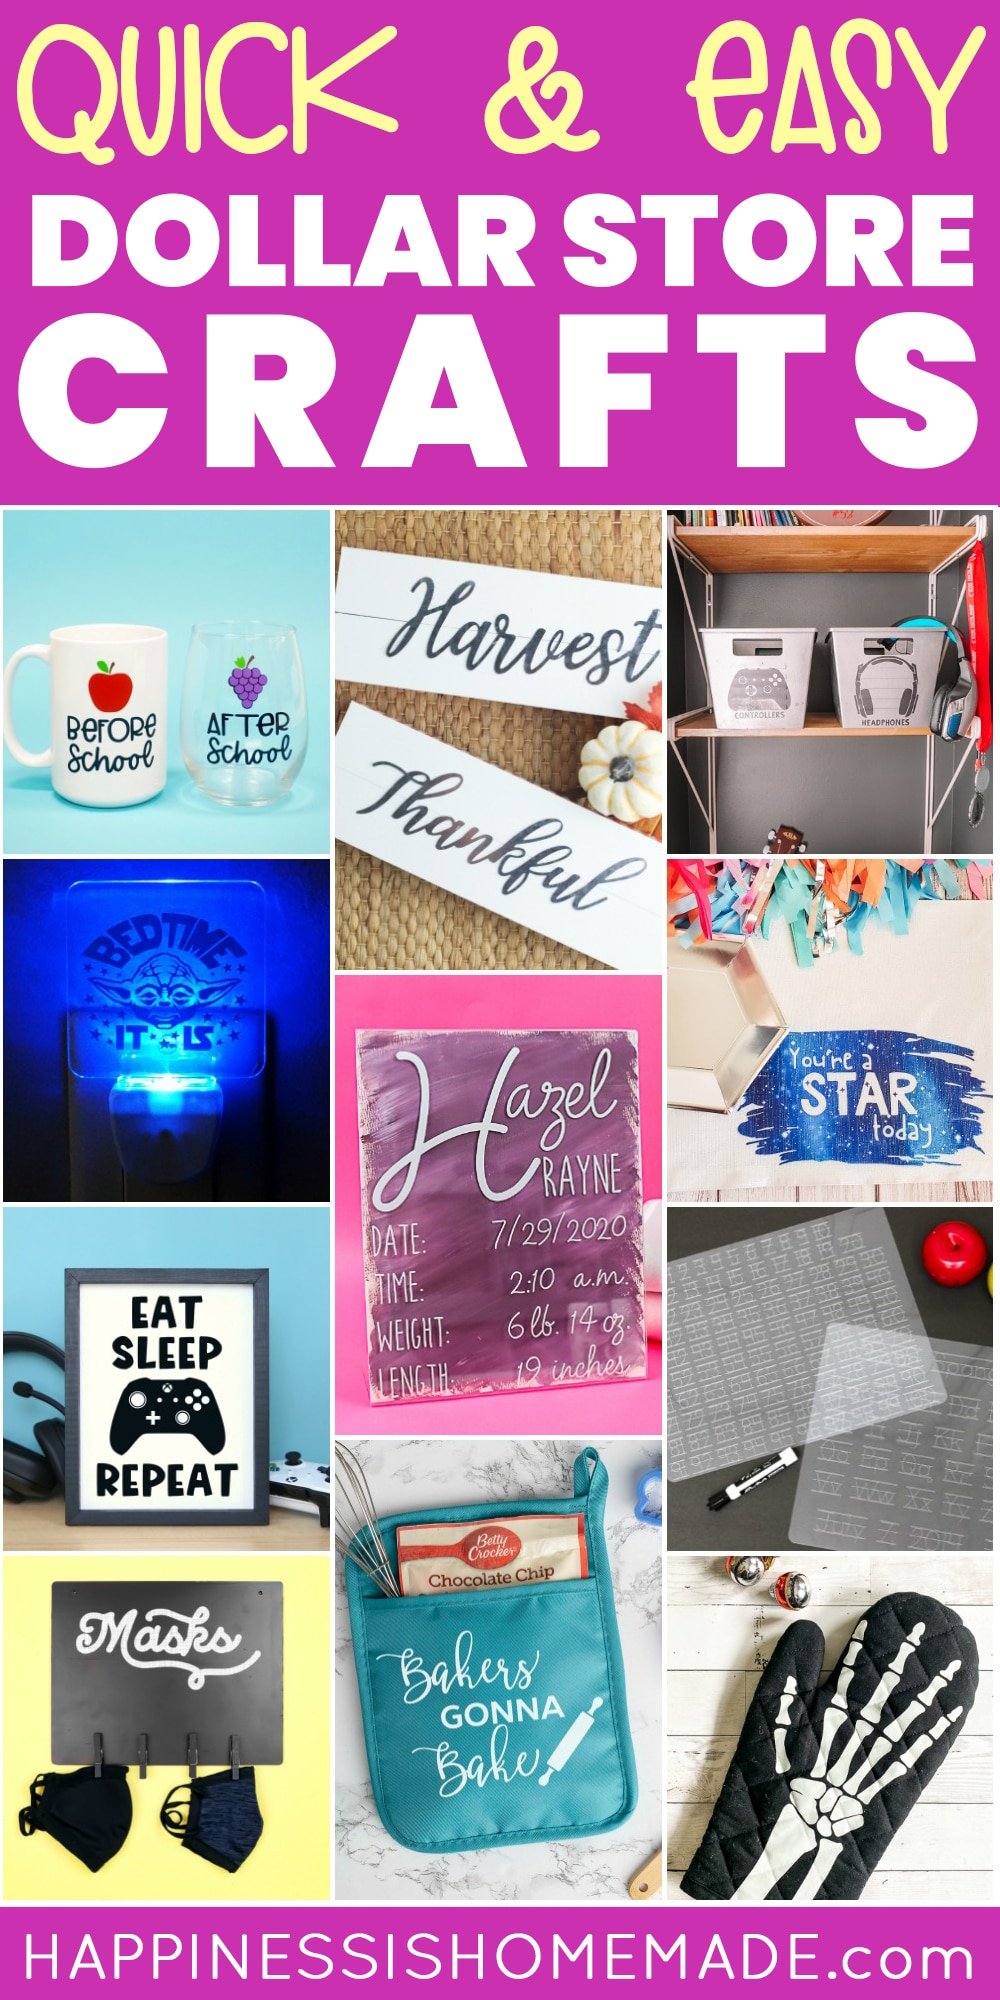
If you liked my before & after school set, you’re going to LOVE these other fun Cricut + Dollar Store projects from my friends! Click on the links below for the tutorials, files, and information:
- Reverse Canvas from Happy Go Lucky
- Dollar Store Fall Sign from Hello Creative Family
- Yoda Night Light from Artsy Fartsy Mama
- Infusible Ink Placemat from Crafting in the Rain
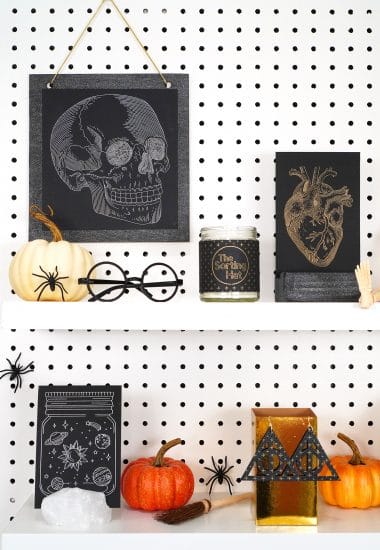
- Skeleton Hand Oven Mitt from Everyday Party Magazine
- Painted Acrylic Sign from The Country Chic Cottage
- Penmanship Tracing Mats from That’s What Che Said
- Potholder Baking Mix Gift Set from Brooklyn Berry Designs
- Gaming Organization Bins from See Lindsay
- Hanging Mask Organizer from Mad in Crafts
So many awesome projects – my kids want me to make them a Yoda night light now! So fun! Which one is your favorite?

You May Also Like These Other Cricut Crafts!
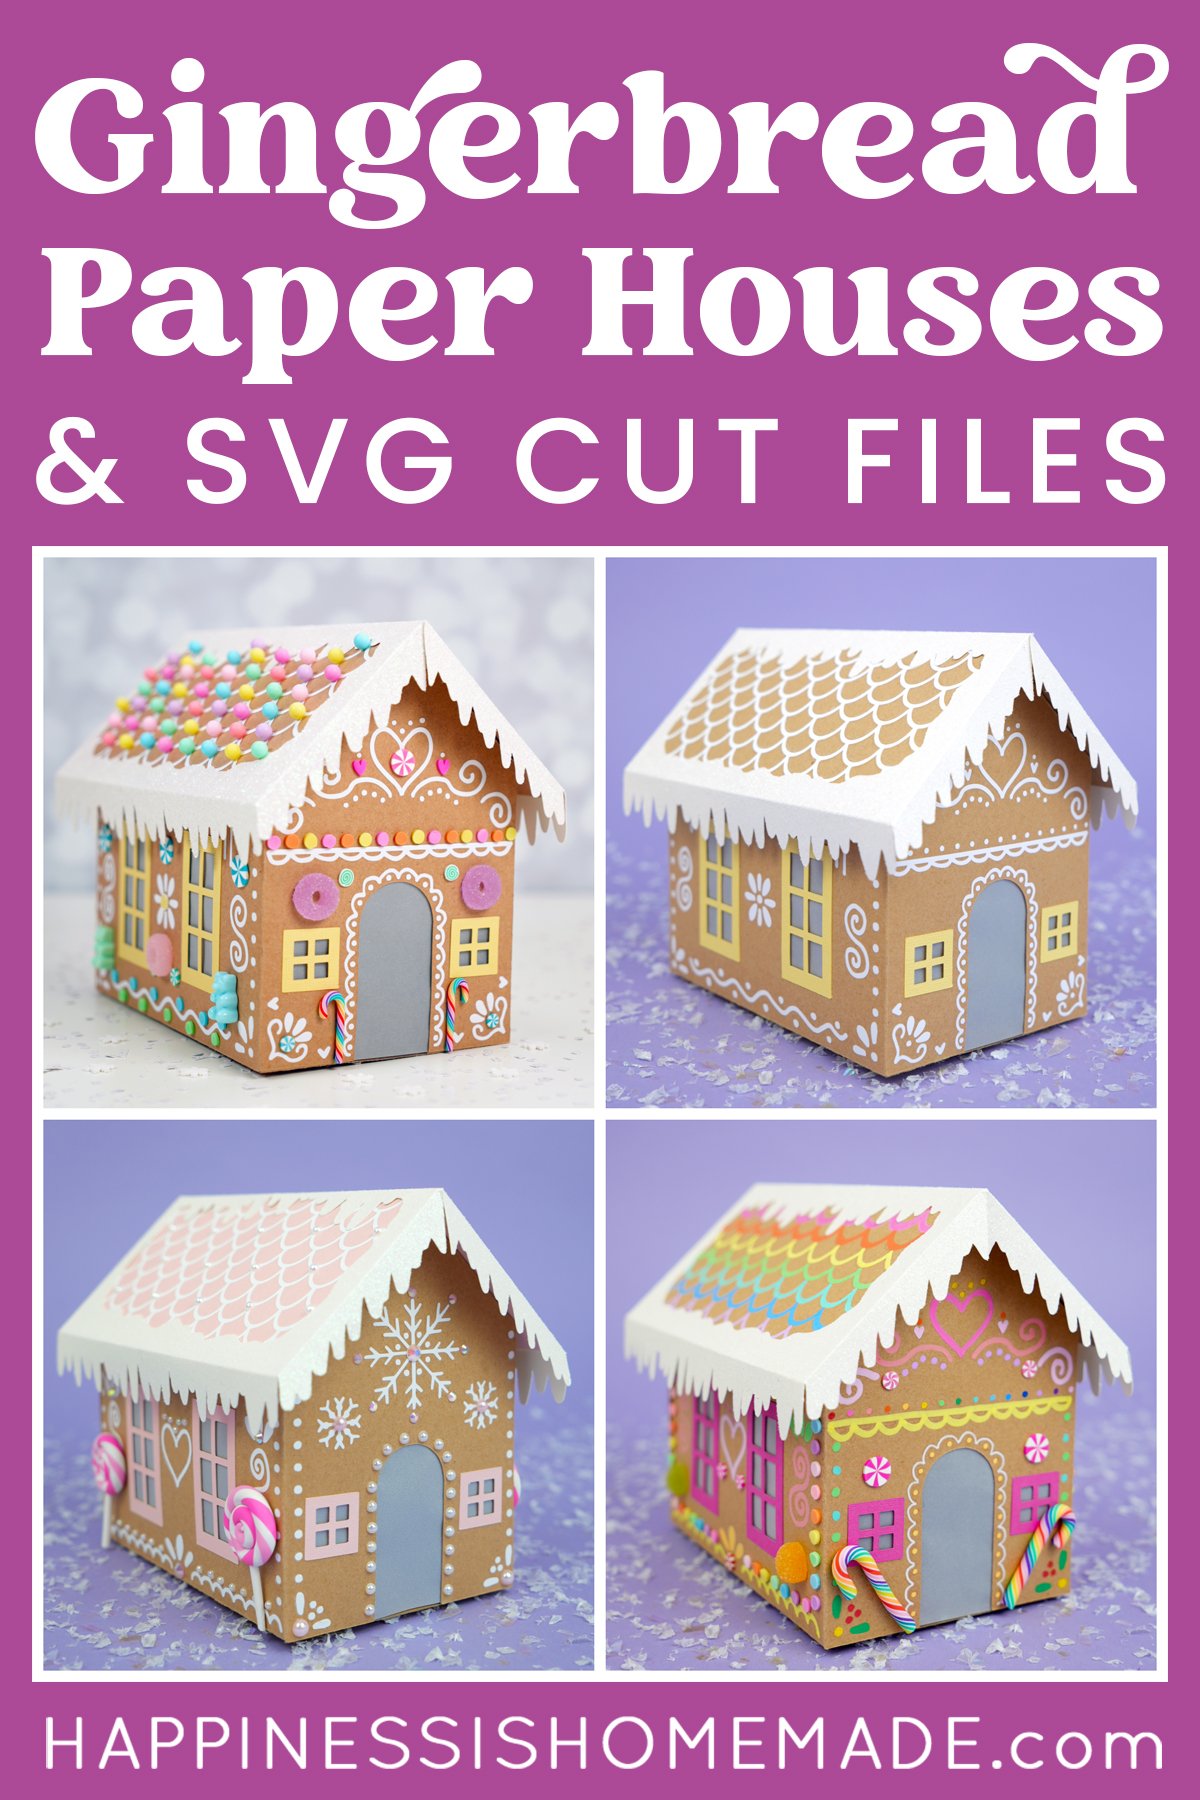
 Cardboard Gingerbread Houses + SVG Files
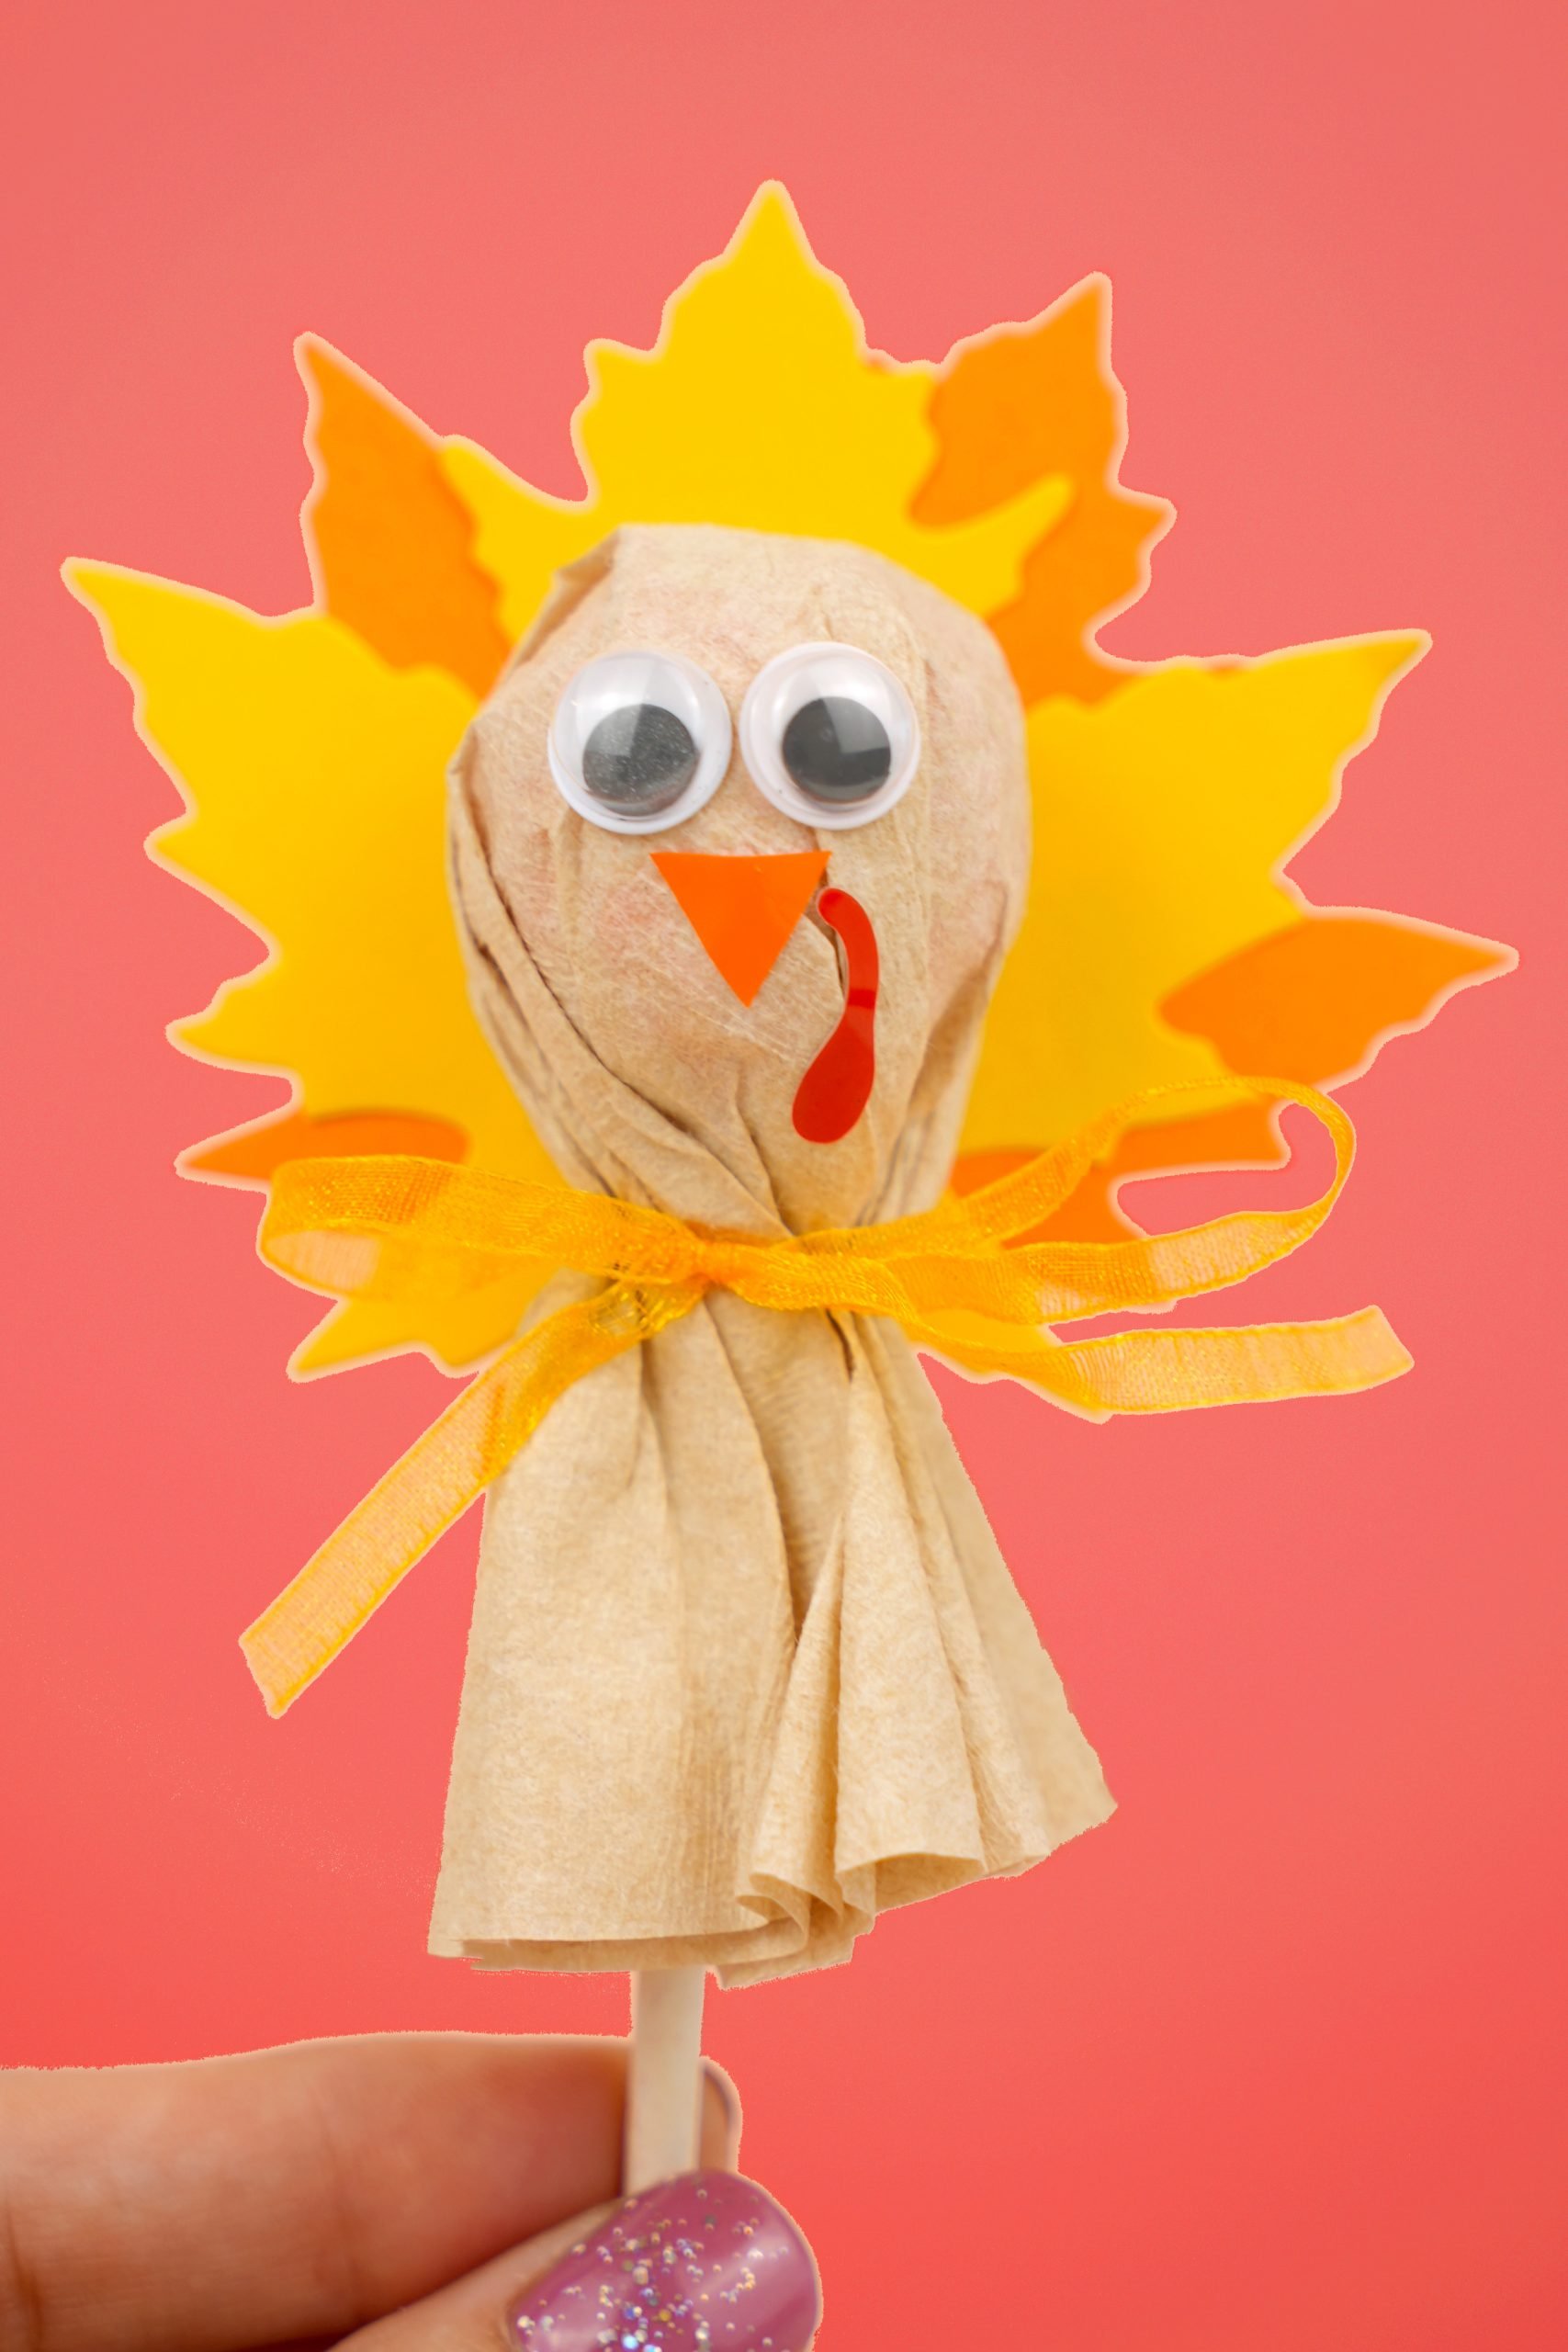
 Thanksgiving Treats: Turkey Lollipops
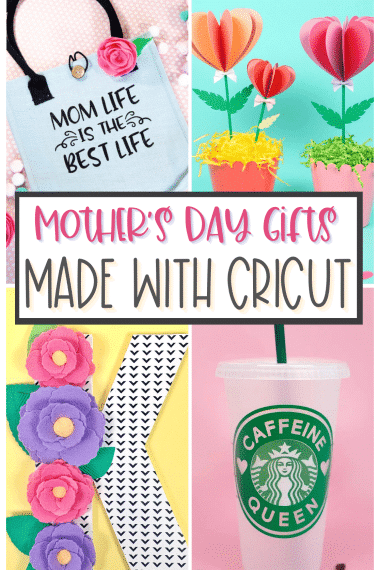
 35+ Mother’s Day Cricut Craft Ideas
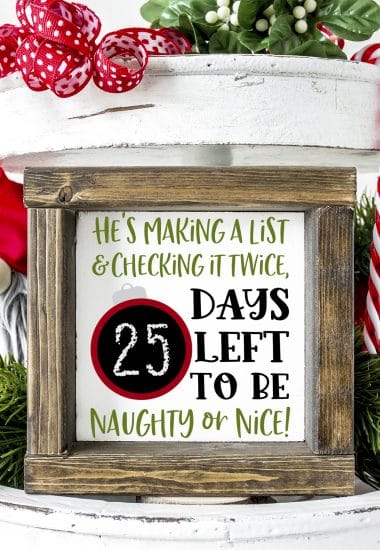
 Free Christmas Countdown SVG +16 Christmas Cut Files
- 13 Free Bat SVG Files for Halloween
- 3D Stars + Christmas Ornament SVG Files
- Ouija Board Halloween Sign + SVG
- Back to School SVG + Coloring Shirt
- How to Make DIY Glitter Wine Glasses
- Santa’s Magic Key Printable Tag + SVG File
- DIY Foil Art Prints with the Cricut Foil Transfer System
- Before & After School Mug & Wine Glass


Don’t Forget to Pin This Before & After School Mug & Wine Glass Set for Later!

Heidi Kundin has captivated the hearts of millions with her colorful and inspiring approach to crafting, celebrations, and family fun. With over 15 years of experience, Happiness is Homemade has become a must-visit destination for those seeking quick and easy creative ideas and last-minute solutions. Heidi’s warm personality shines through her posts, inviting readers to join her on a creative journey that’s fun, rewarding, and achievable. Heidi is also the author of Homemade Bath Bombs & More and DIY Tie-Dye.