

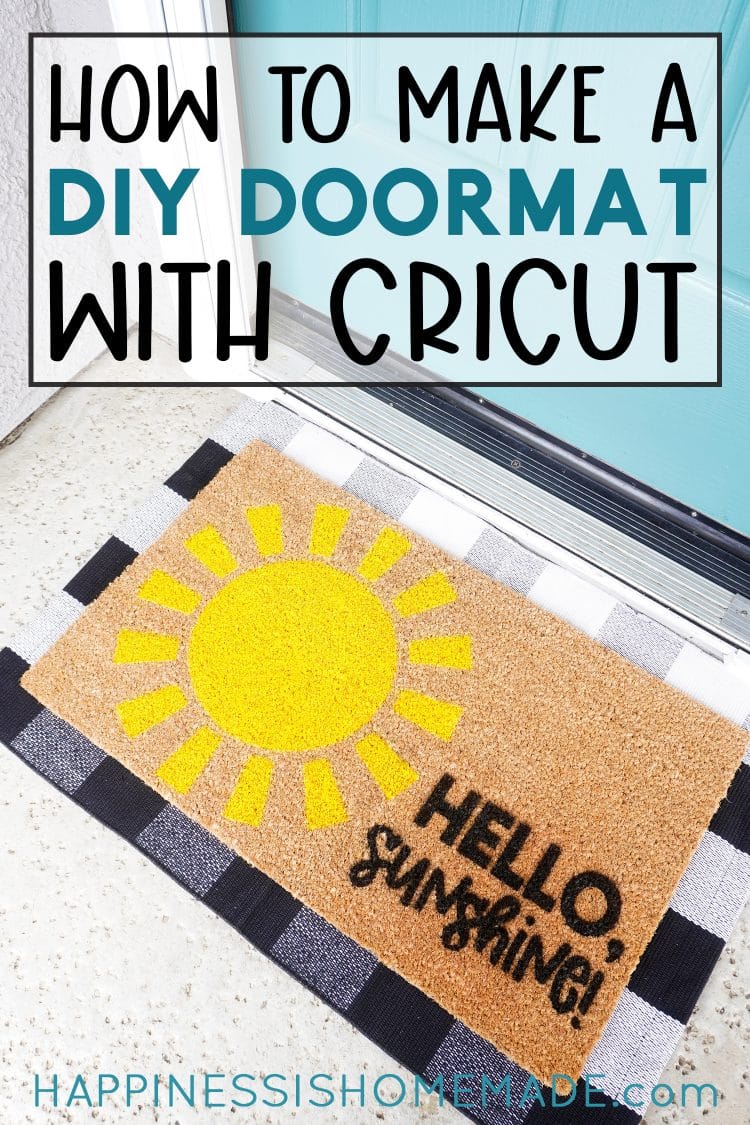
Make your own easy DIY Doormat with your Cricut and these 11 free SVG files!
This post may contain affiliate links. I will receive a small commission from these sales at no additional cost to you!
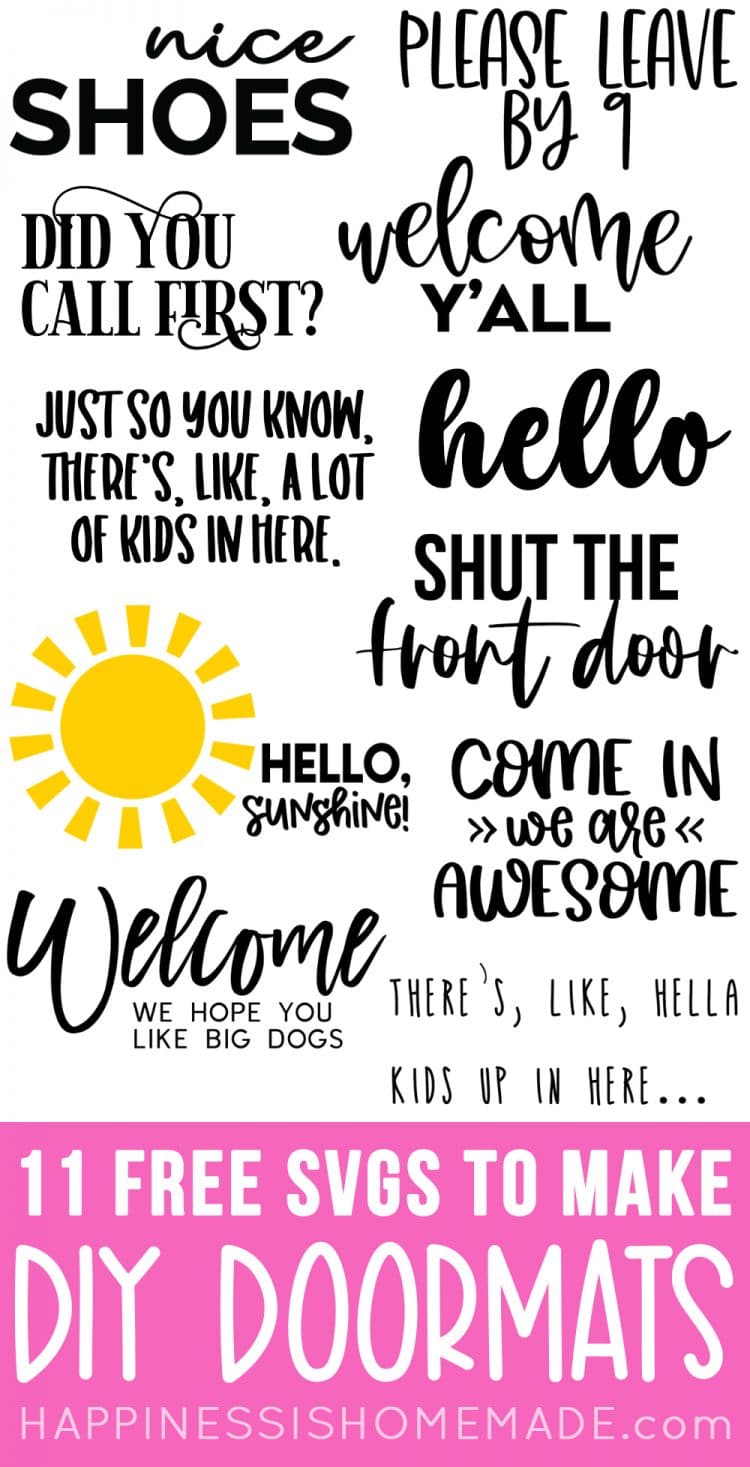
FREE Doormat SVG Files
I’m totally a sucker for cute and funny doormats, and I recently discovered the quickest and easiest way to make your own inexpensive DIY doormats with your Cricut machine! Come learn how to make your own custom DIY doormats with Cricut – all it takes is a blank coir doormat, some freezer paper, paint, and your Cricut machine!
Be sure to scroll all the way to the bottom of this post for 10 more Totally Free Doormat SVG files that I know you’re going to love!
You Might Also Like:
How to Make a DIY Doormat with Cricut
Supplies Needed:
- Blank Coir Doormat
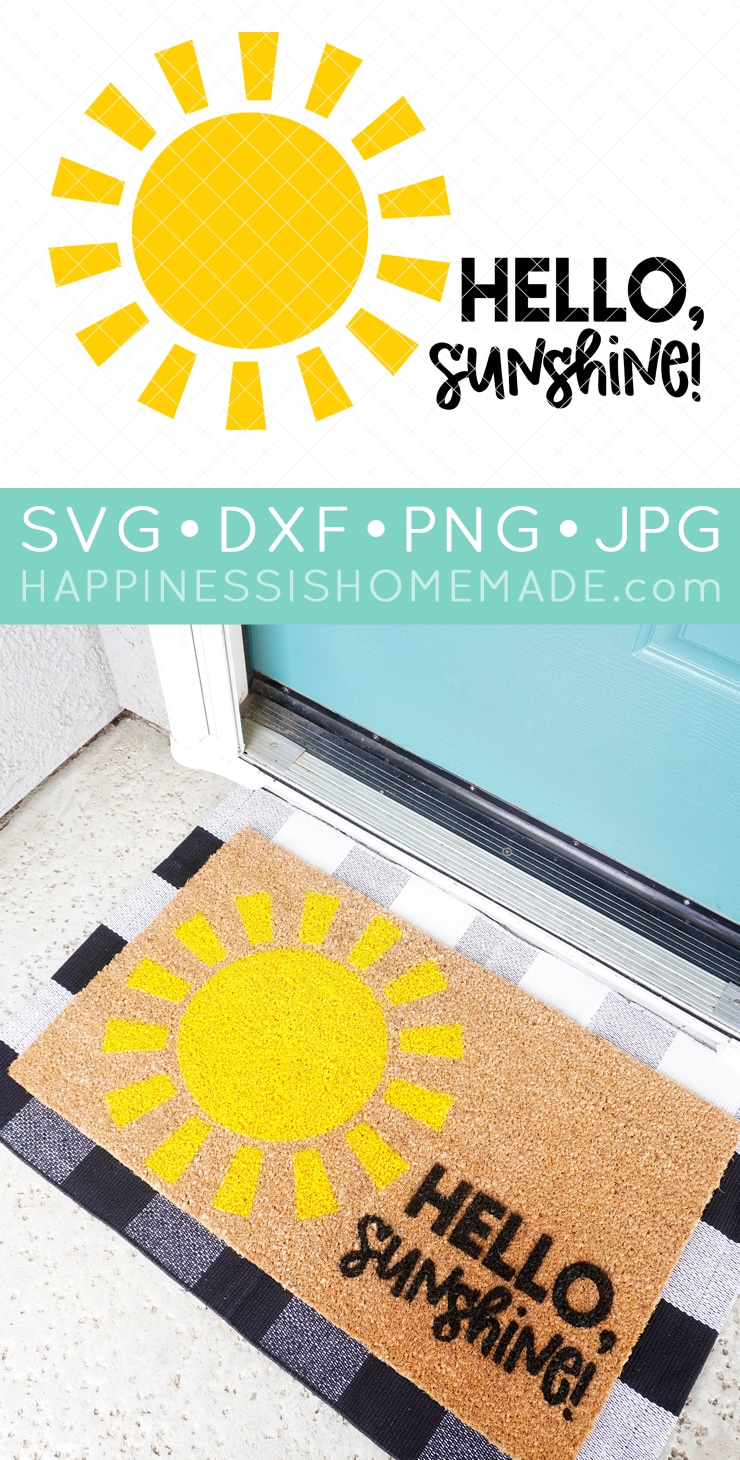
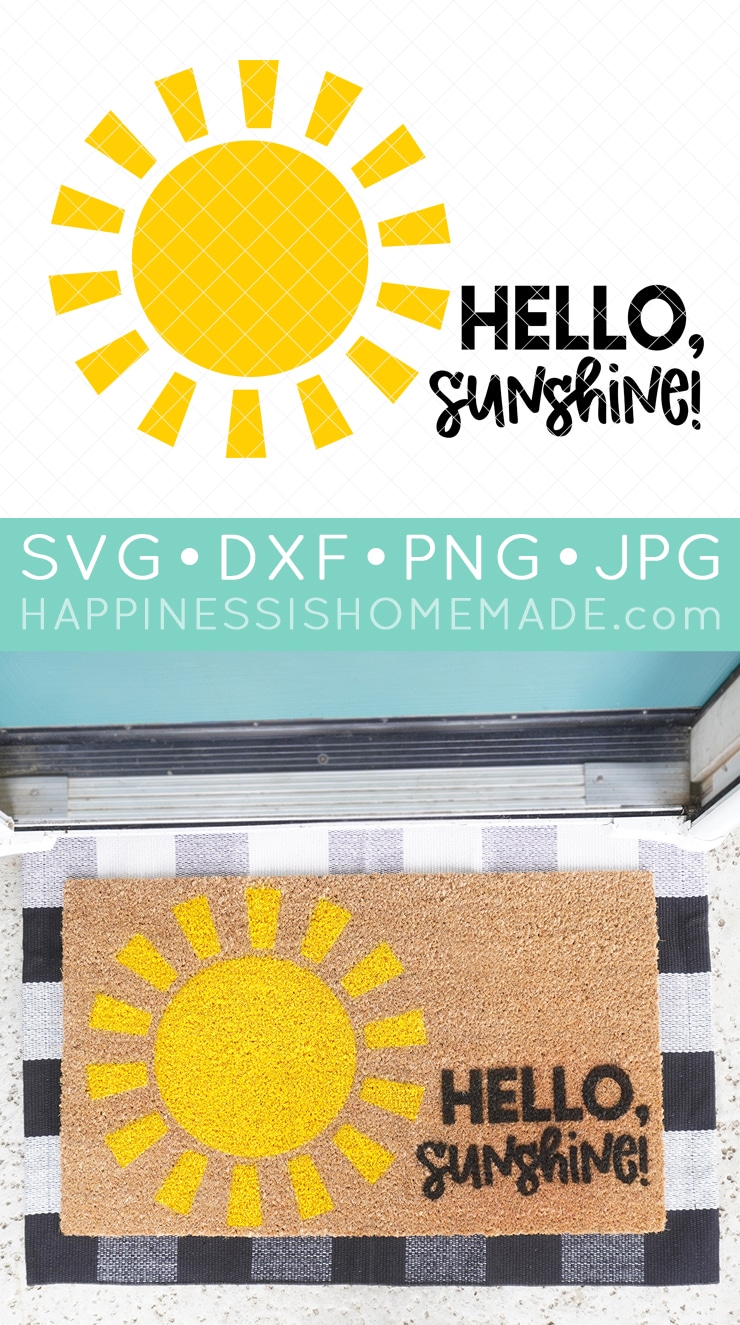
- “Hello, Sunshine” SVG File (available below)
- Cricut Maker or Explore Air 2 Machine
- 12″ x 24″ Cricut Cutting Mat
- Freezer Paper
- 1″ Straight Pins
- Painter’s Tape
- Heat Resistant Tape
- Cricut EasyPress 2 or Iron
- Spray Paint – we used Rust-Oleum 2x Spray Paint in Golden Sunset and Black
- Matte or Satin Outdoor Spray Sealer, optional but recommended
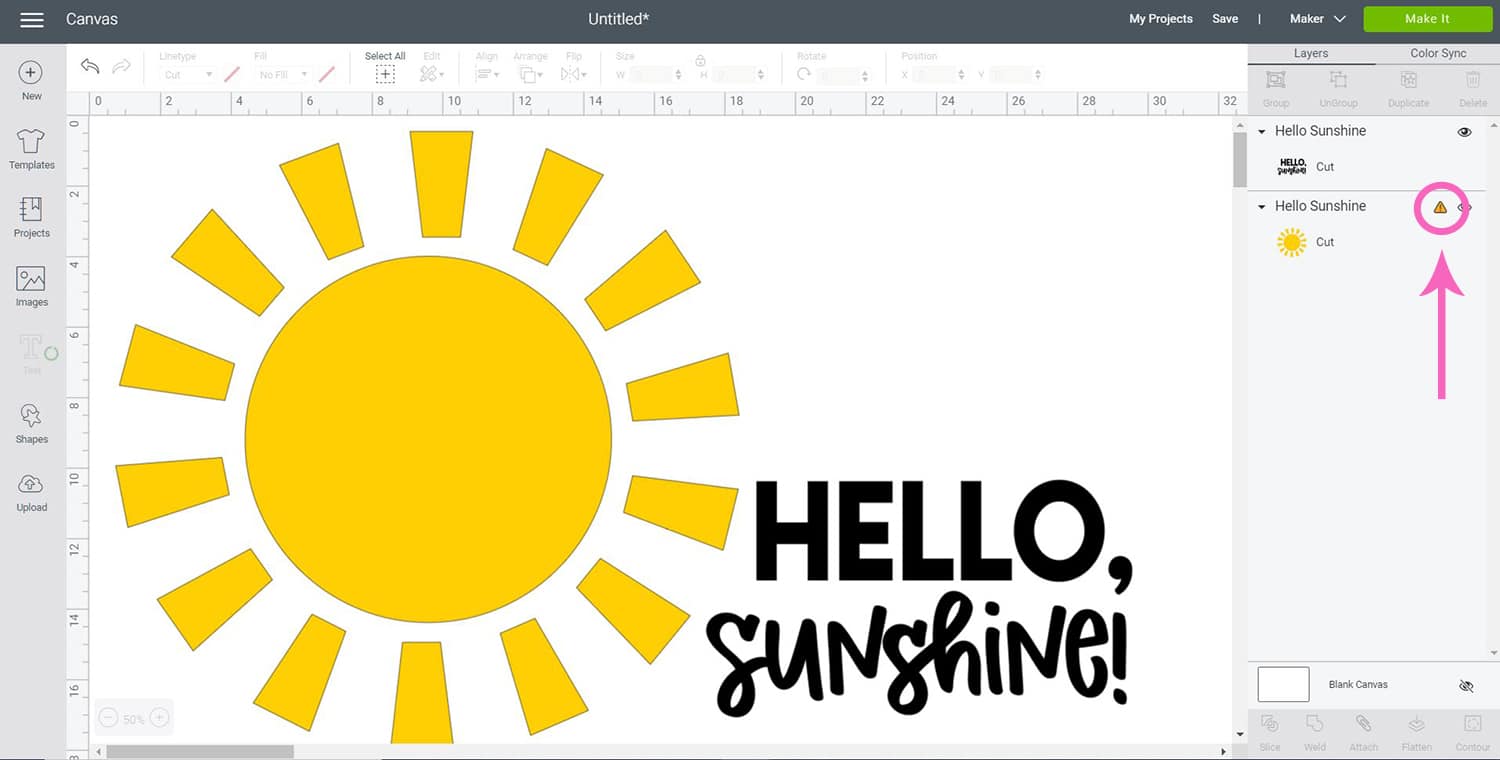
To begin, upload your SVG into Cricut Design Space. If you need help uploading the file, you can find step-by-step directions for How to Upload an SVG to Cricut Design Space here!
Size the design to fit your doormat. You’ll notice in the right hand column that it shows a warning for the sunshine layer. This warning is letting you know that the image is too large to be cut on a single mat, even when using the 12 x 24 sized mat.
In order to cut the sun in the extra-large size that we need for the doormat, we will need to slice and cut the sun into two separate pieces. First, un-group the sun and text layers.
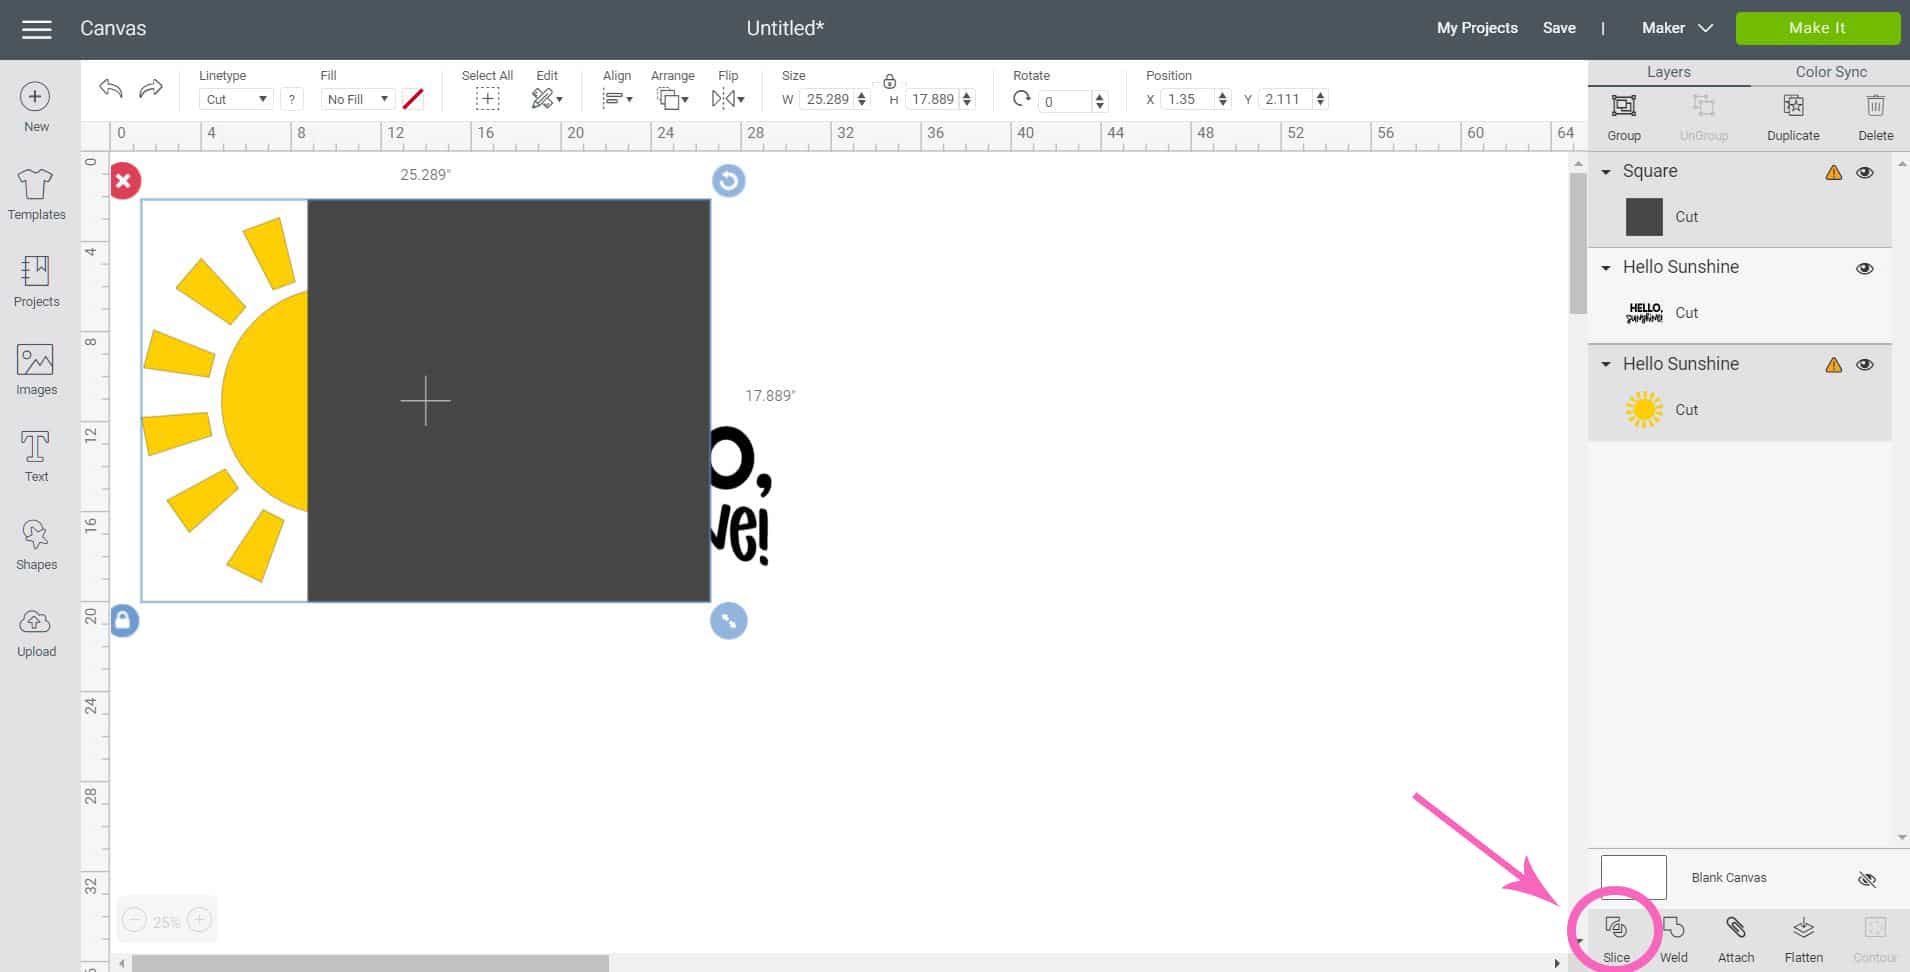
Next, insert a square shape layer that is slightly larger than the sun. Place the square on top of the sun so that it bisects it into two pieces without cutting through any of the sun’s rays. Select the sun and the square layers, and click on the Slice Tool in the lower right hand corner of the screen.
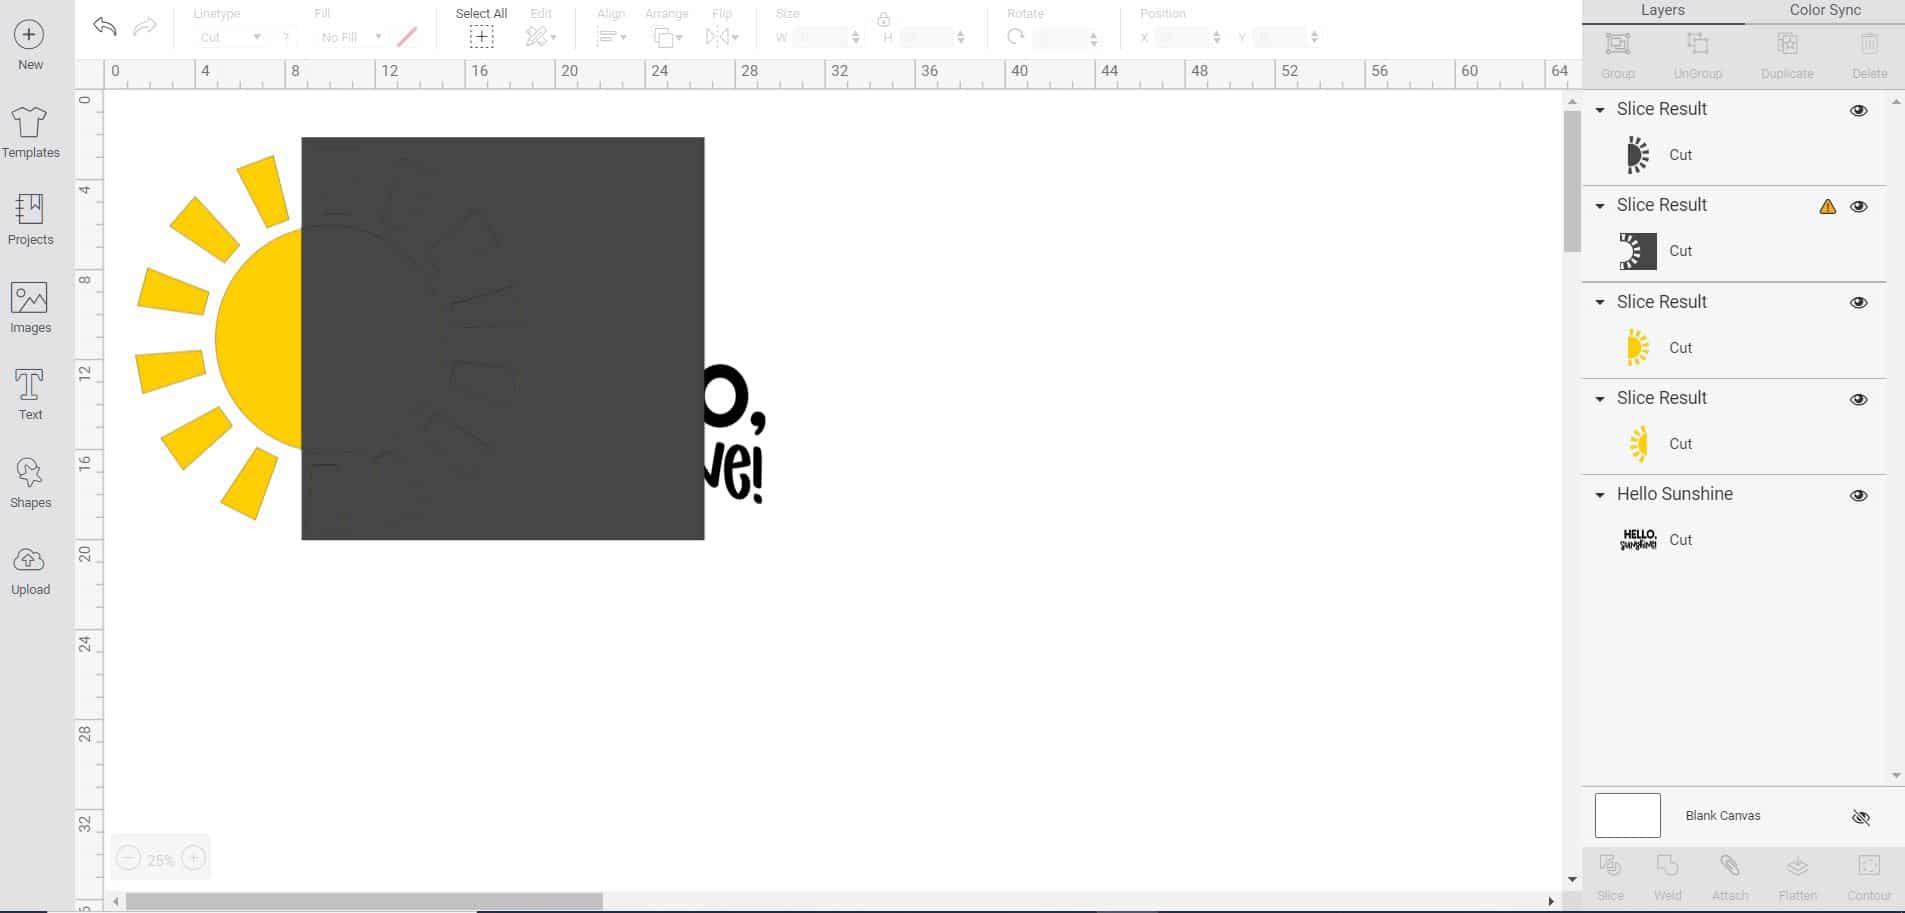
After slicing the images, you will be left with new layers that you don’t need. Go ahead and delete the two dark grey layers.
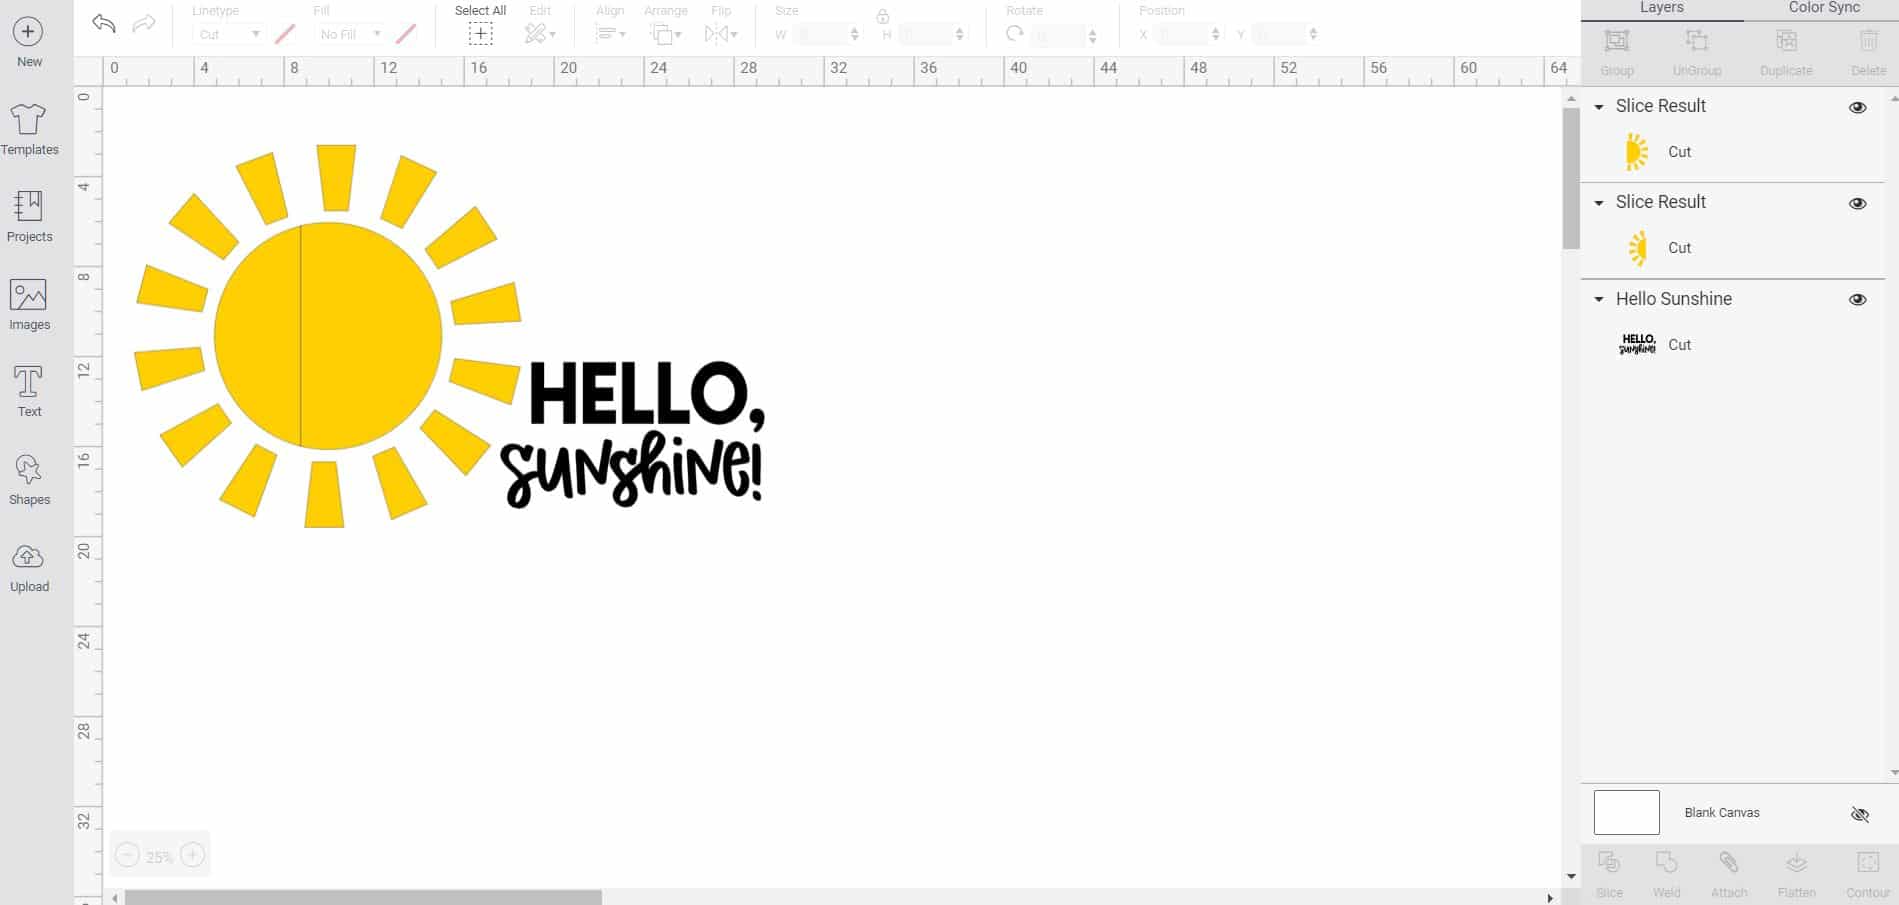
You will see that the yellow sun has now been sliced into two layers as well.
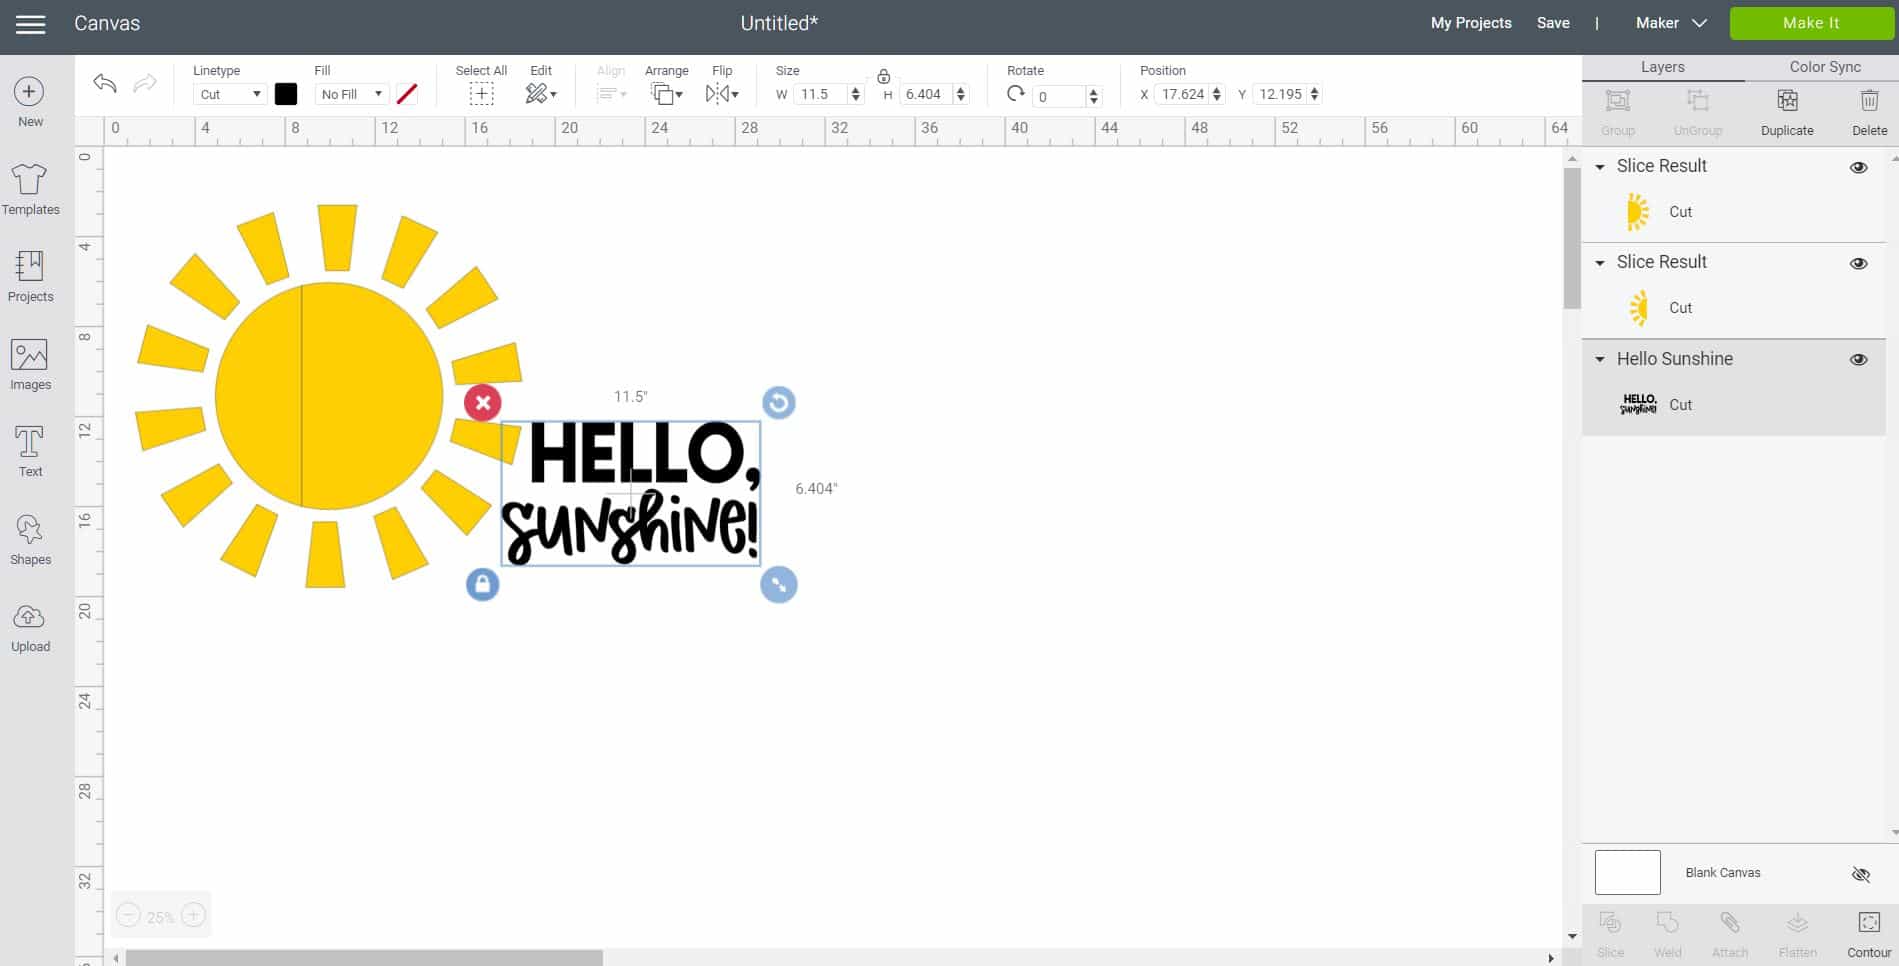
Re-size the “Hello, Sunshine!” if needed. I made mine 11.5″ wide so that I could fit it on a classic 12″ x 12″ cutting mat. When finished, click the green “Make It” button in the upper right-hand corner of the screen.
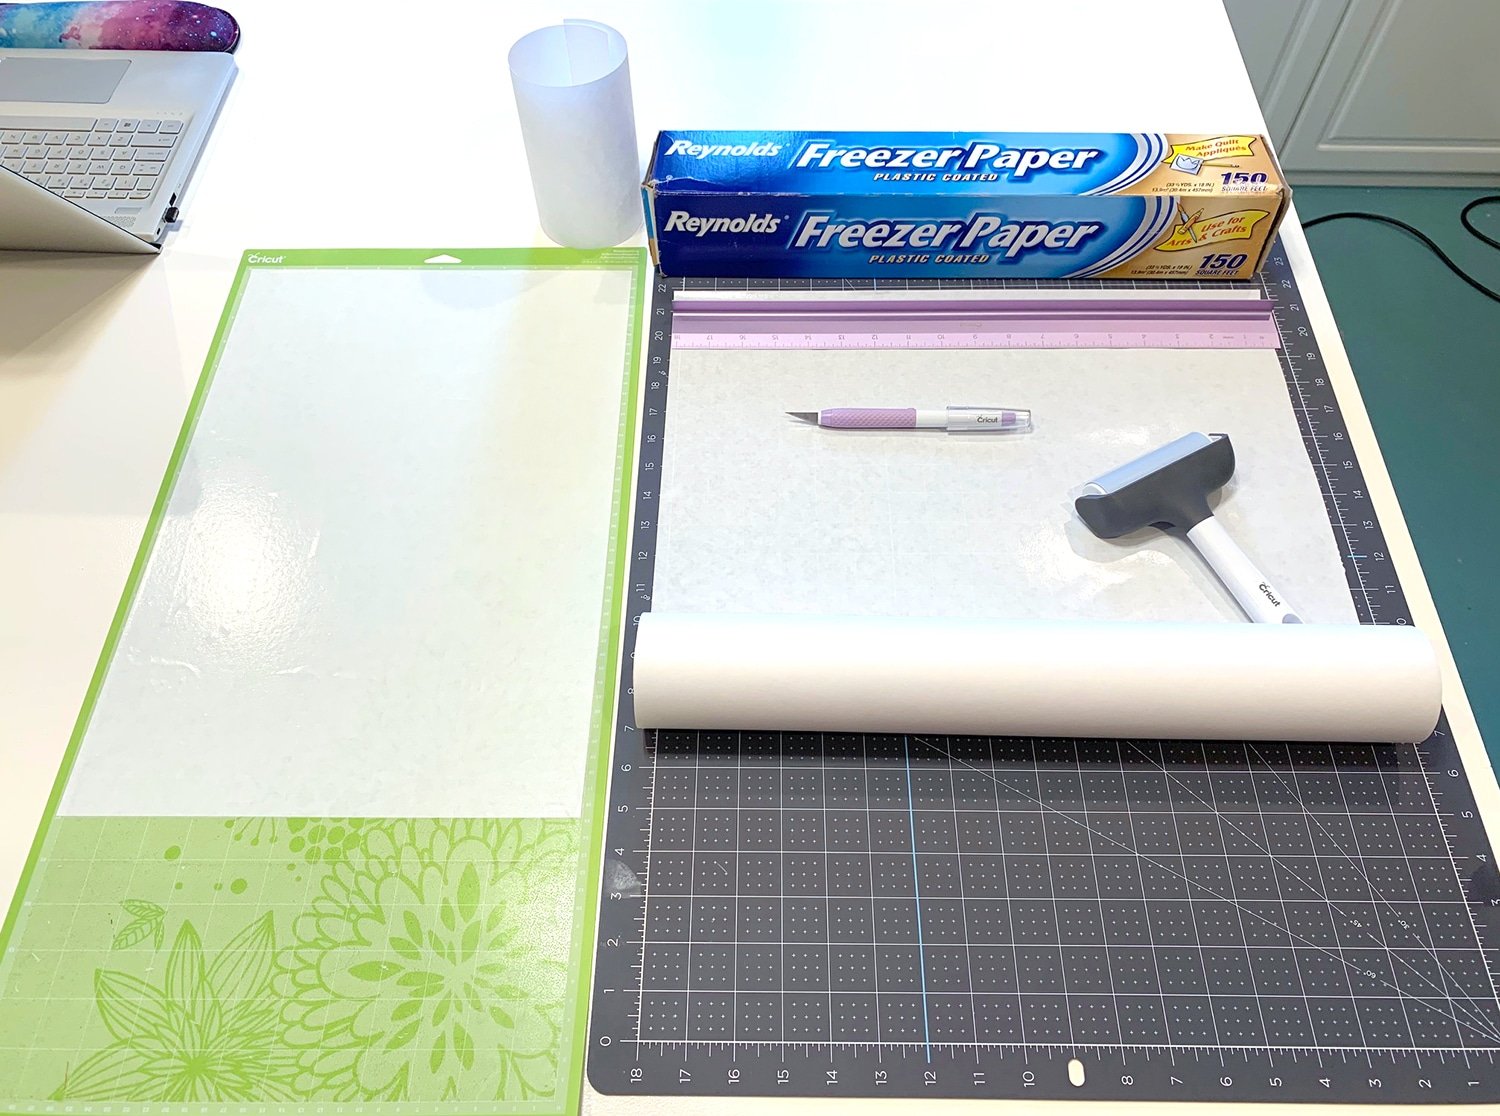
Next, cut your freezer paper to size and place it on your Cricut mat. I used two 12″ x 24″ pieces along with one 12″ x 12″ piece.
Note: You have the option of cutting the freezer paper with the shiny side up or the shiny side down on the mat. Personally, I prefer to work shiny side UP (I feel like it adheres much better to the cutting mat this way!), so that means that I need to mirror my images when cutting them.

Adjust the position of each cut on the mat, keeping in mind how they will be positioned on the mat for stenciling, and mirror the image if you’re working shiny-side-up.
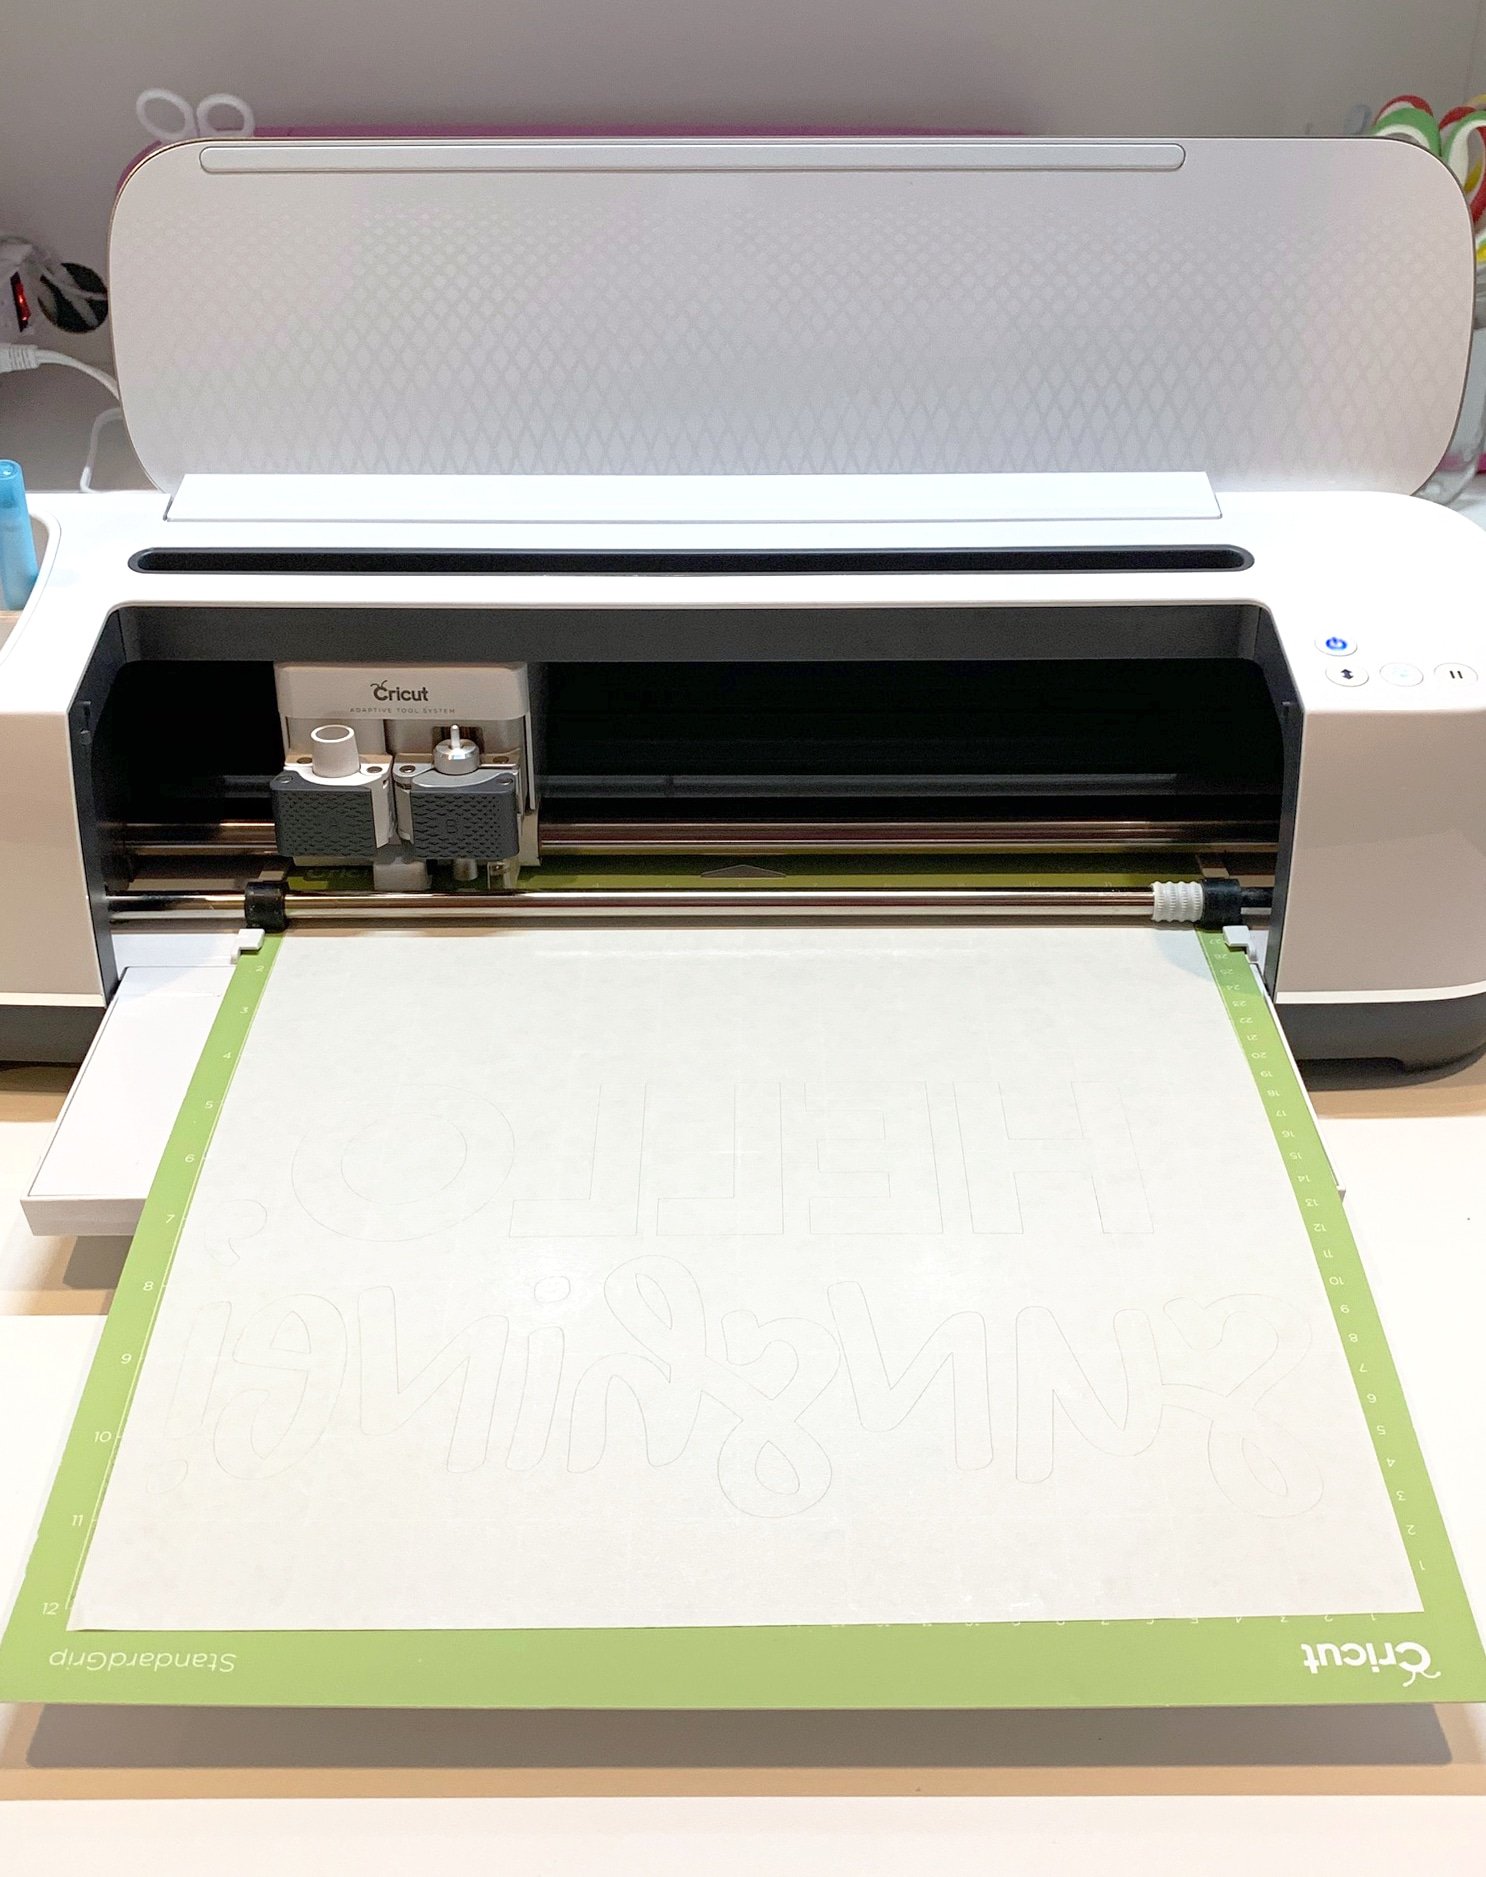
Cut the freezer paper with your Cricut machine. When weeding the excess, make sure to hang on to the small pieces from inside the letters – you’ll need those later!
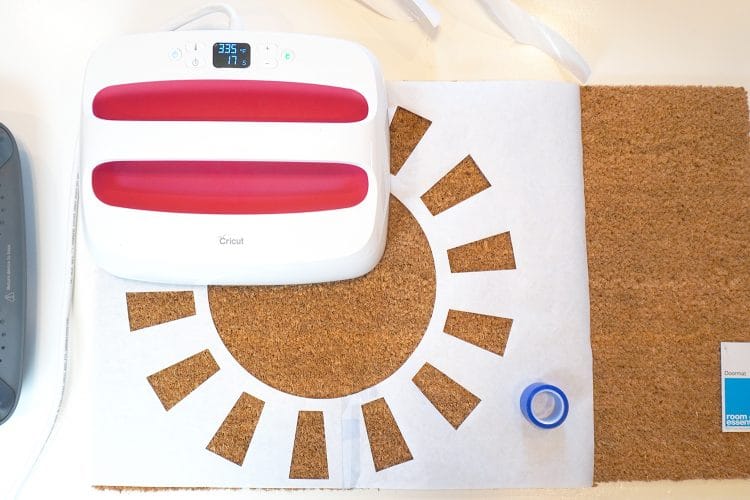
Piece the two sides of the sun stencil together and secure with heat-resistant tape. Place the freezer paper stencil in place on the mat, shiny side down, and use the EasyPress 2 to adhere the freezer paper stencil to the mat. The temperature necessary will depend upon your individual mat – I ended up using 350 degrees for 30 seconds and giving all of the areas of my stencil two presses to firmly secure it to the doormat.
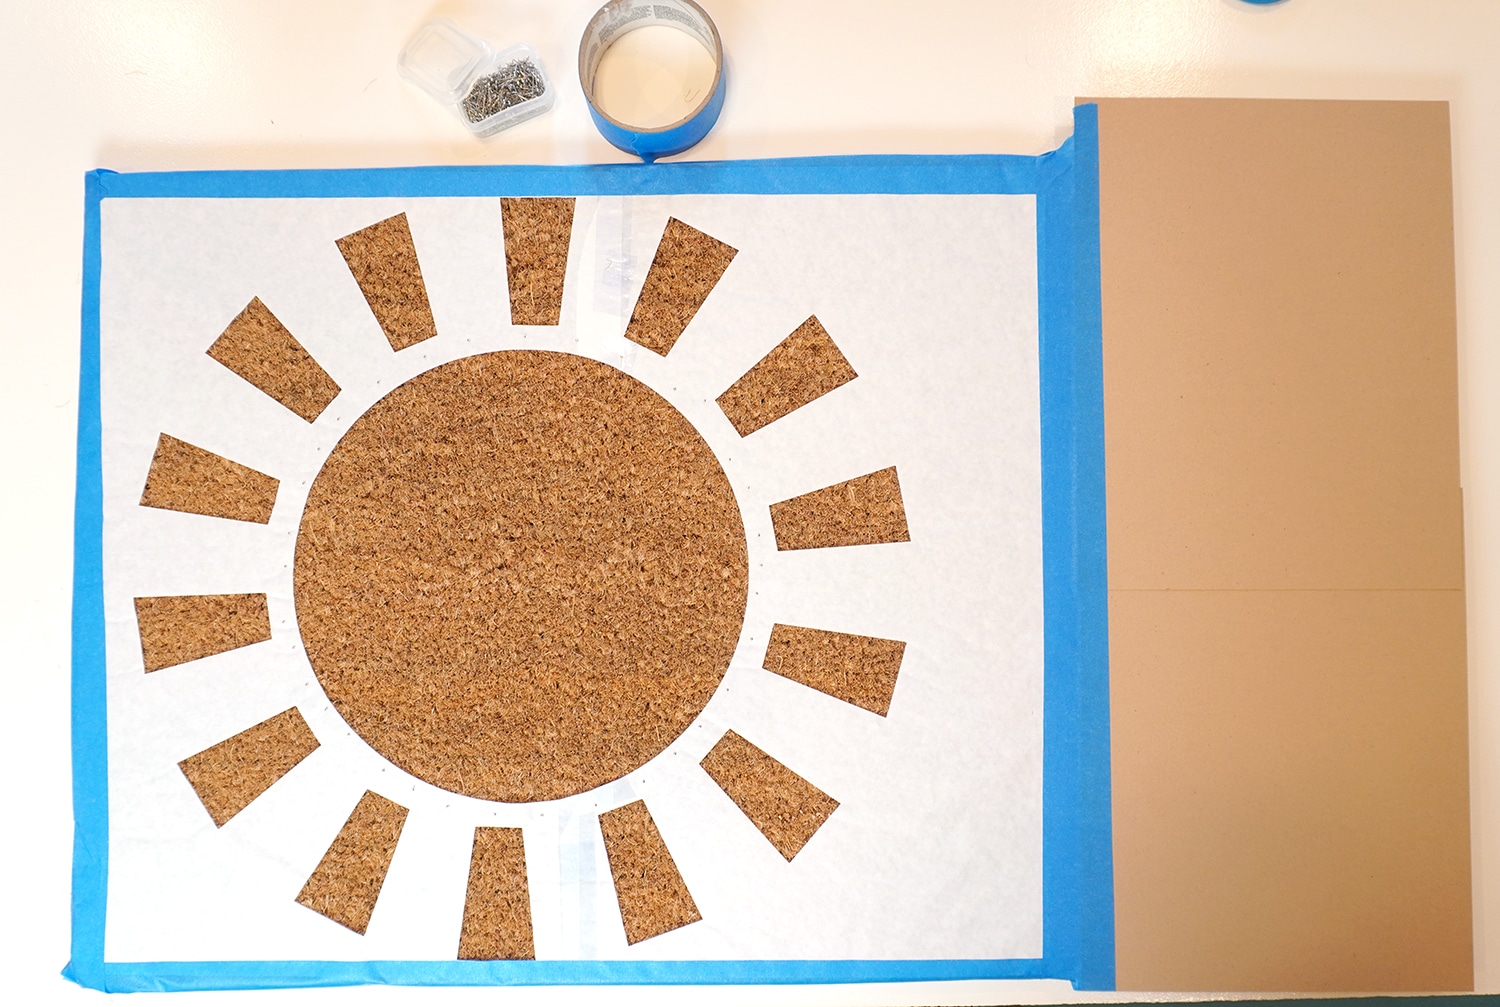
If desired, you can also add straight pins to areas of the stencil to help hold them in place. I pinned around the circular edge of the sun. Then, cover the rest of the mat using painter’s tape and scrap cardboard.
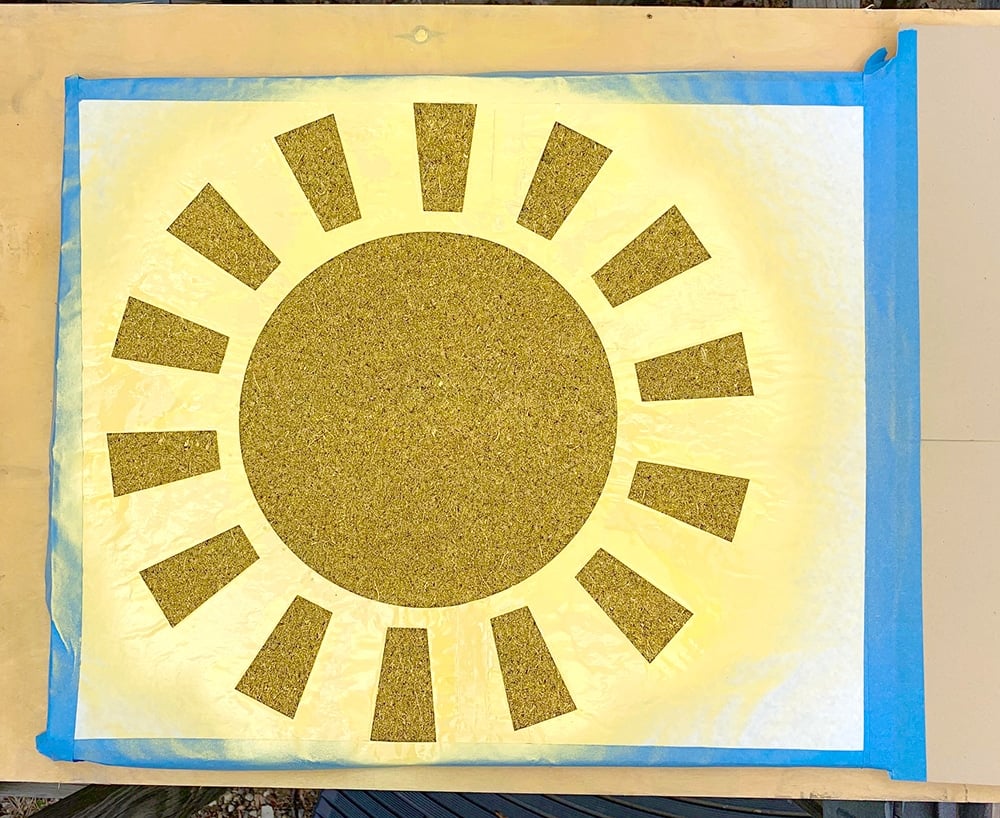
In a well-ventilated area, use the spray paint to paint the sun. Be sure to spray straight down and not at an angle. Allow the paint to dry for 15 minutes and then repeat the process for a second coat. Allow to dry for 15 minutes before carefully removing the stencil. Then, allow the paint to dry completely.
(You can see here that I originally started with Summer Squash yellow-colored spray paint, but I quickly realized that shade was too light and switched to Golden Sunset instead!)
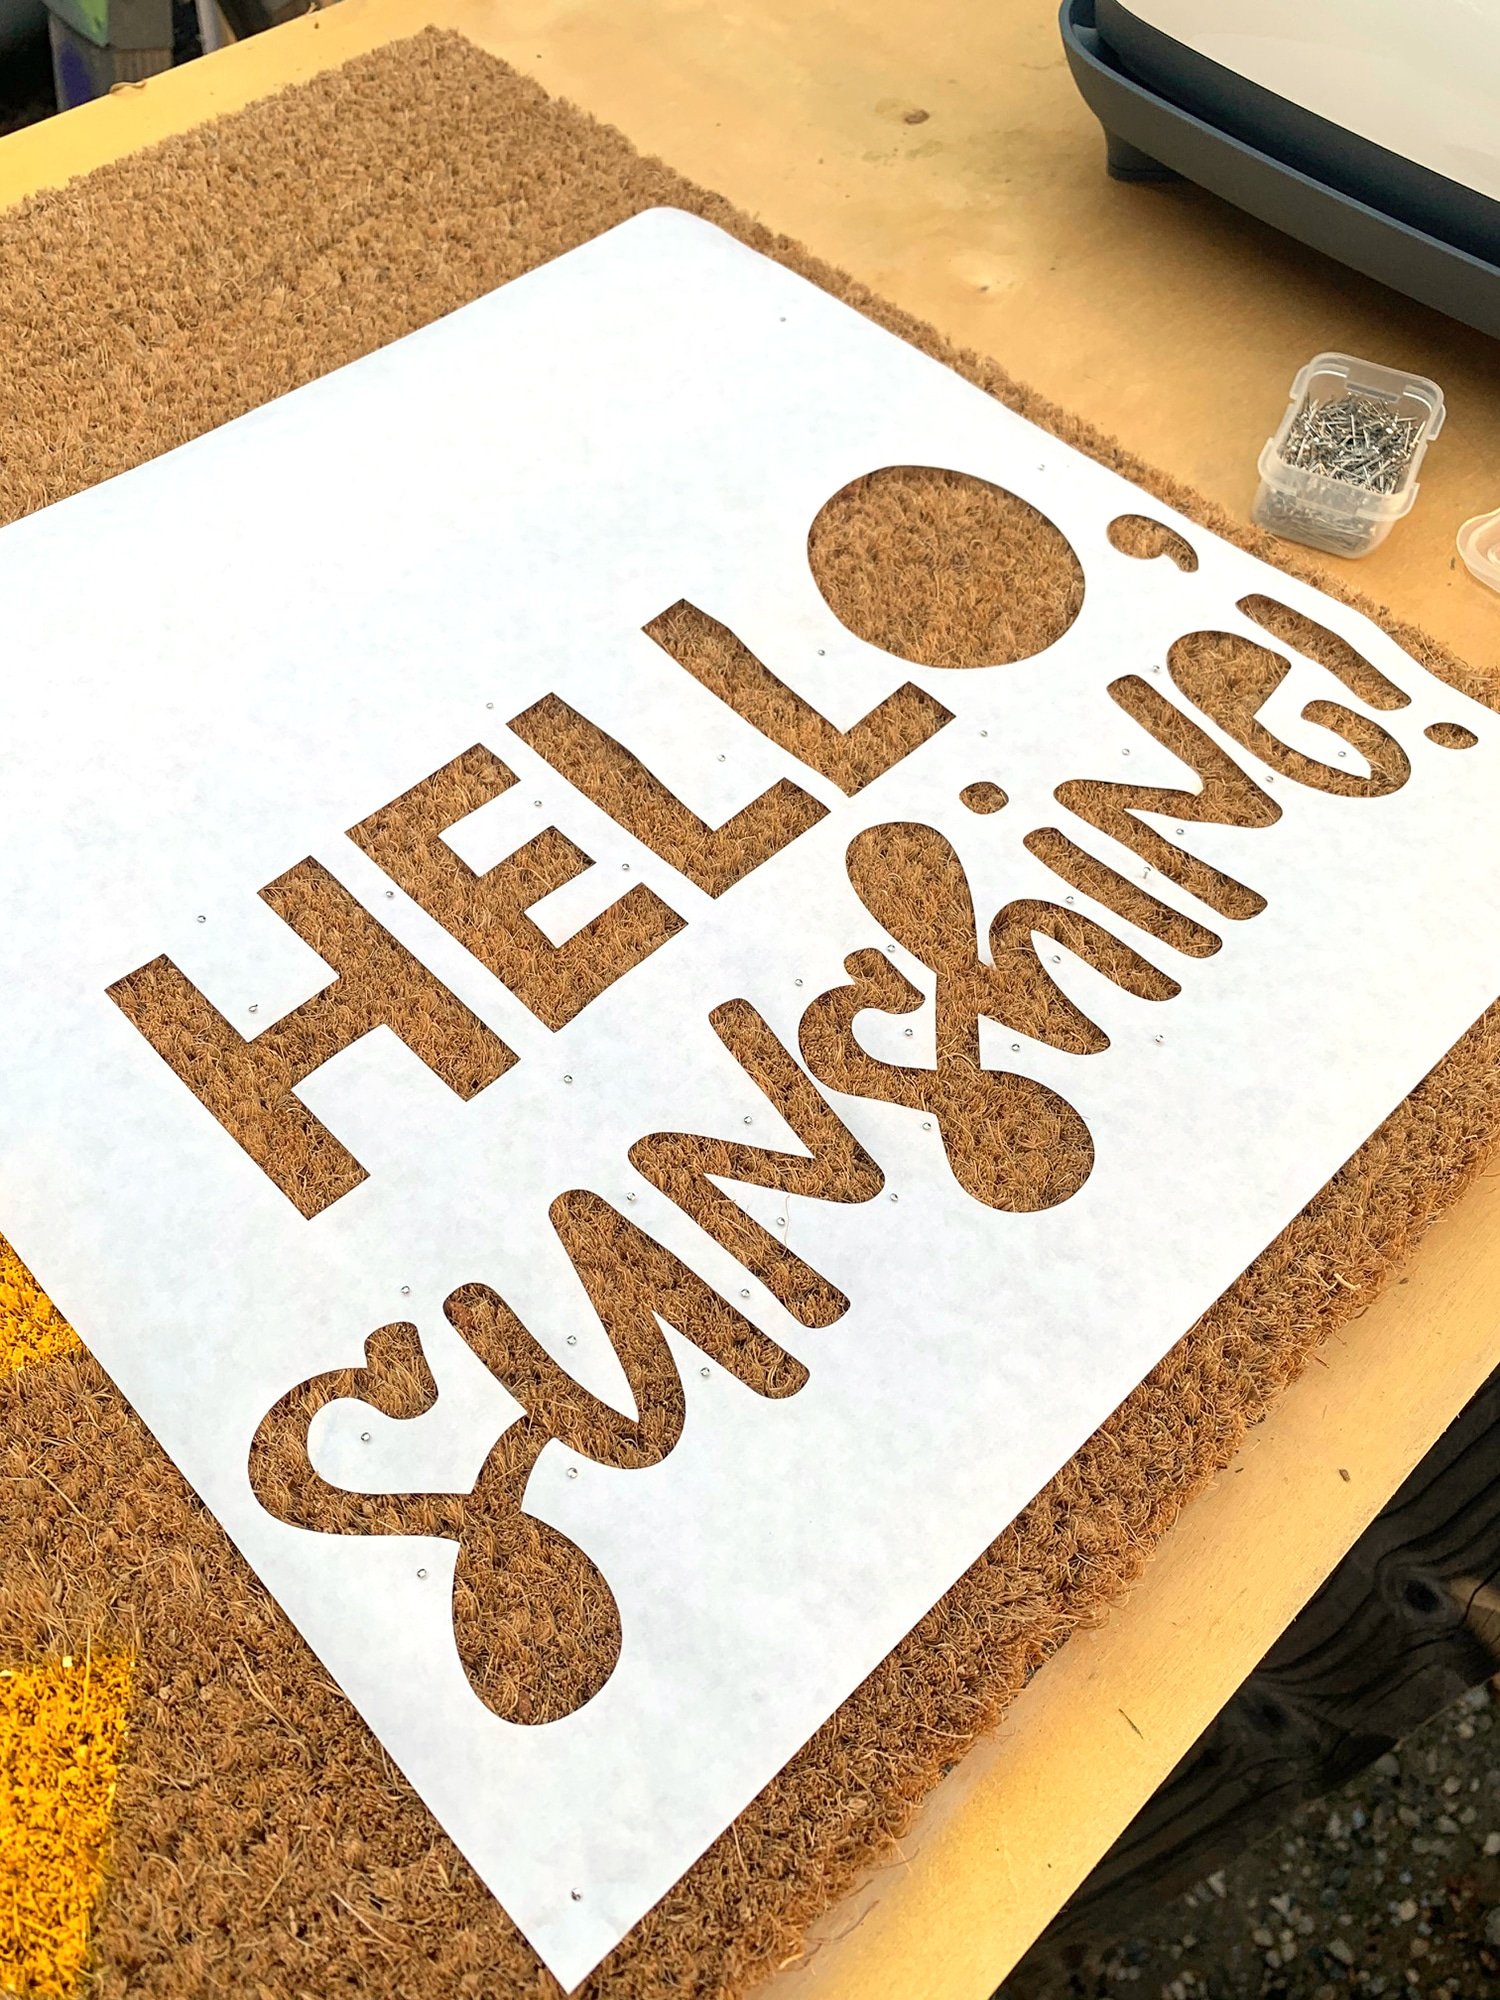
Next, repeat the process for the text. Because there are a lot more angles and small areas with the text, I pinned down the edges before I pressed the freezer paper with the EasyPress 2 this time! Don’t forget to add those little interior pieces that you saved when you were weeding the design!
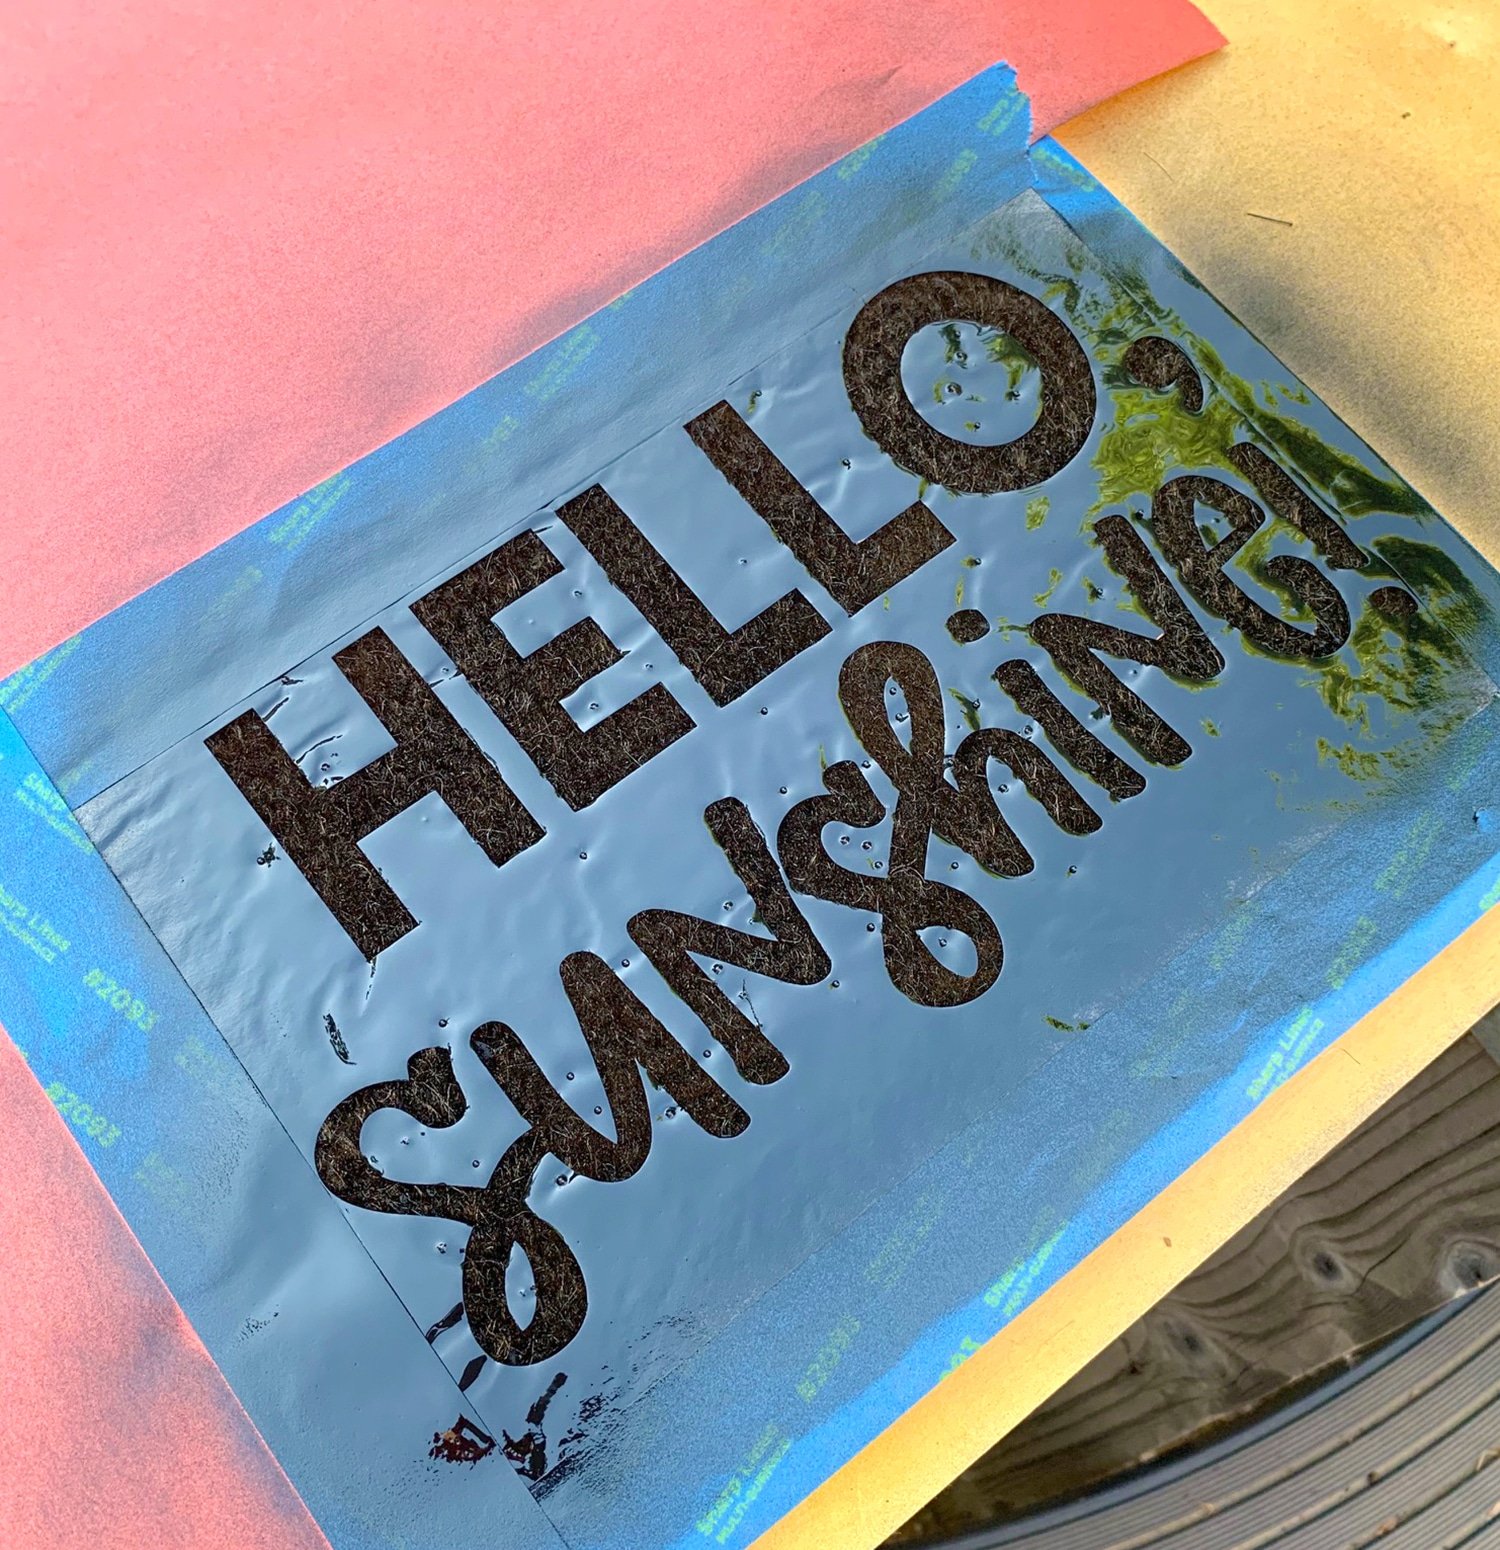
Mask off the other areas of the rug, and paint the stencil with black spray paint. Allow to dry for 15 minutes, repeat, remove stencil, and then allow to dry completely. Finish the mat with two coats of matte spray sealer (optional, but highly recommended!) and allow it to dry.
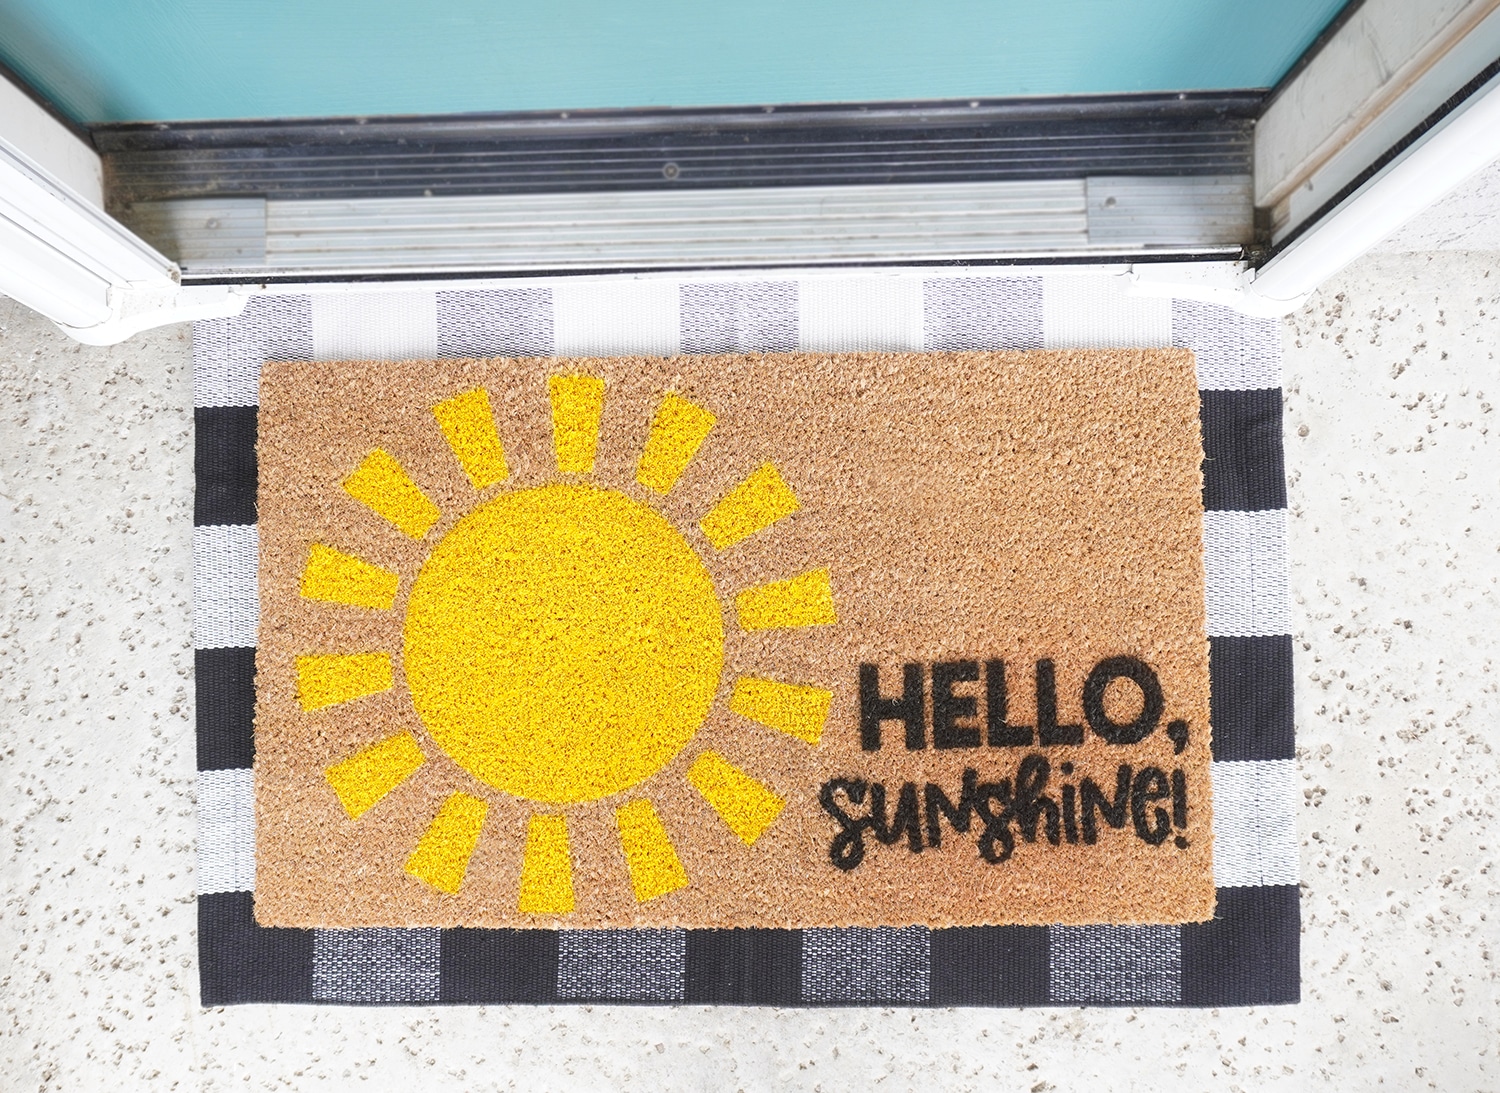
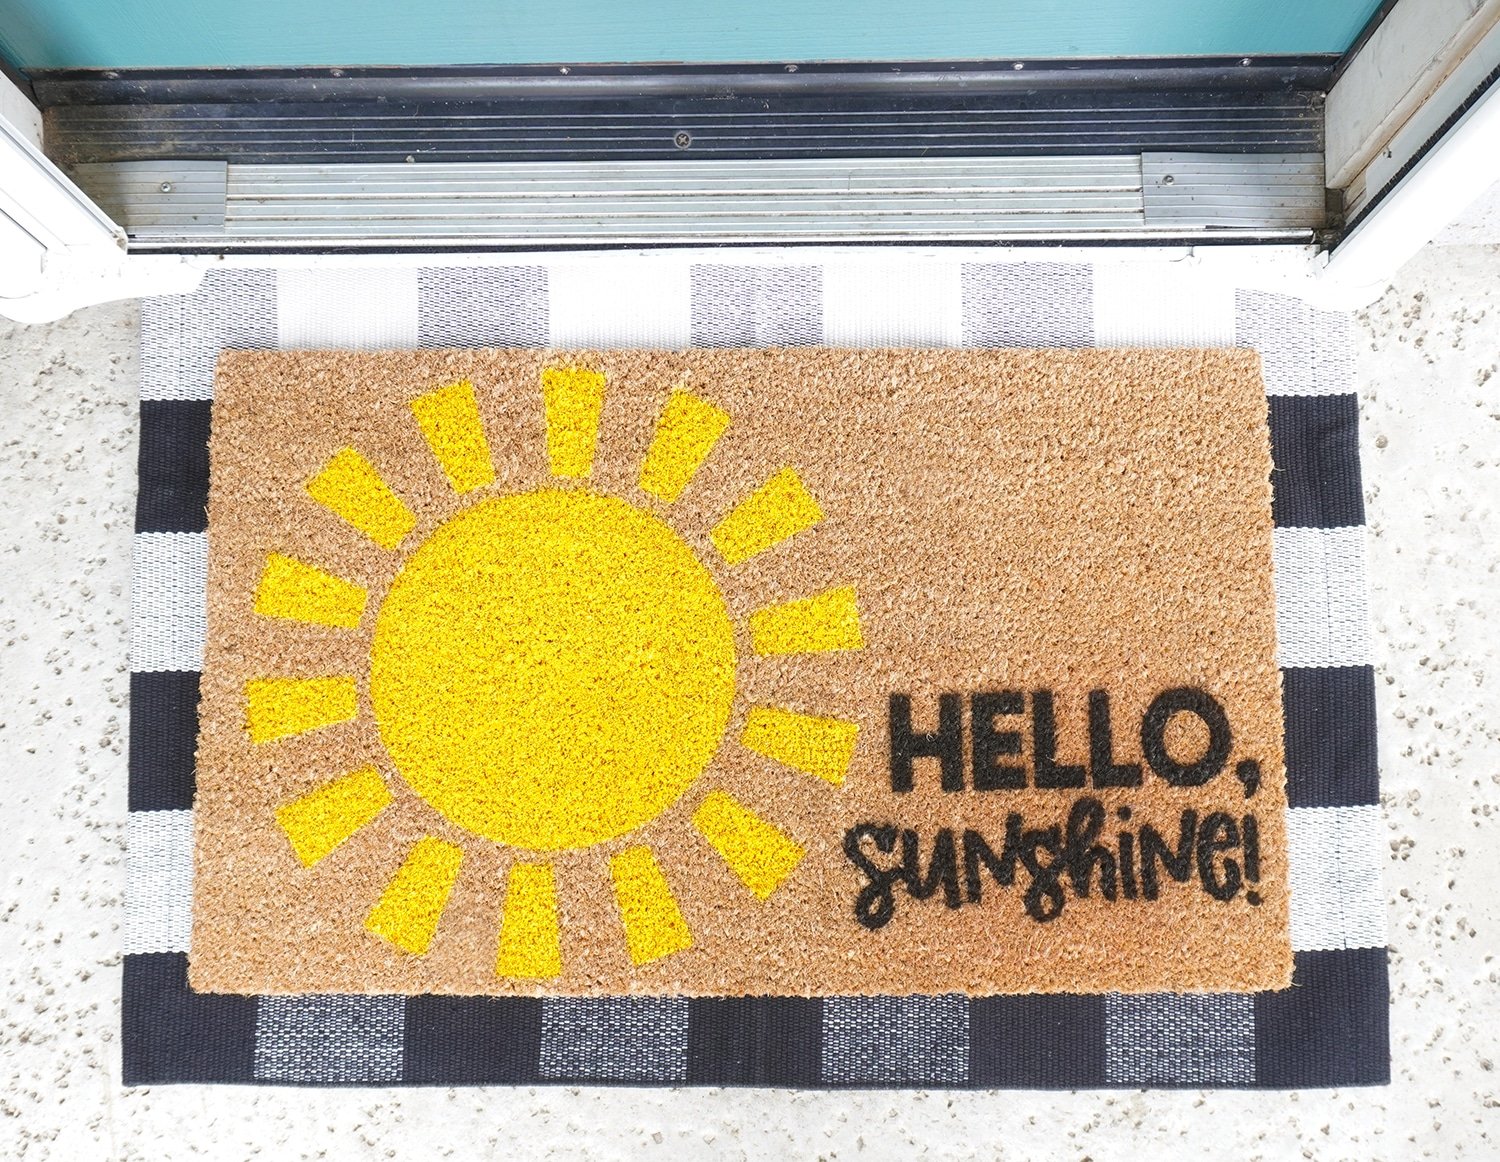
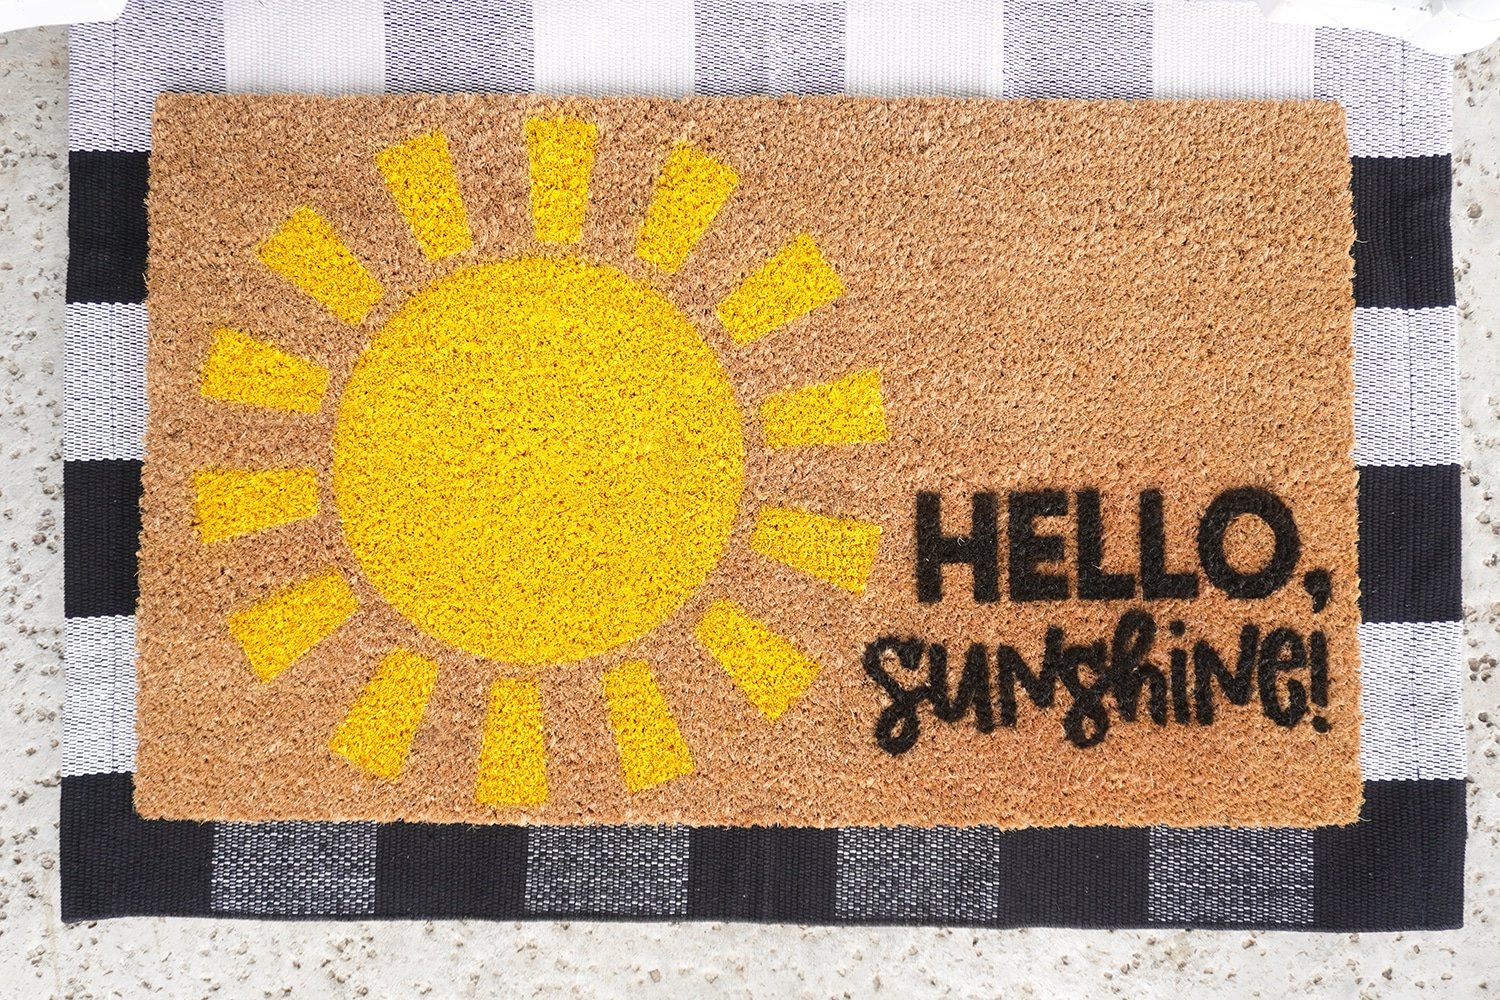
Easy peasy and SUPER cute, don’t you think?!
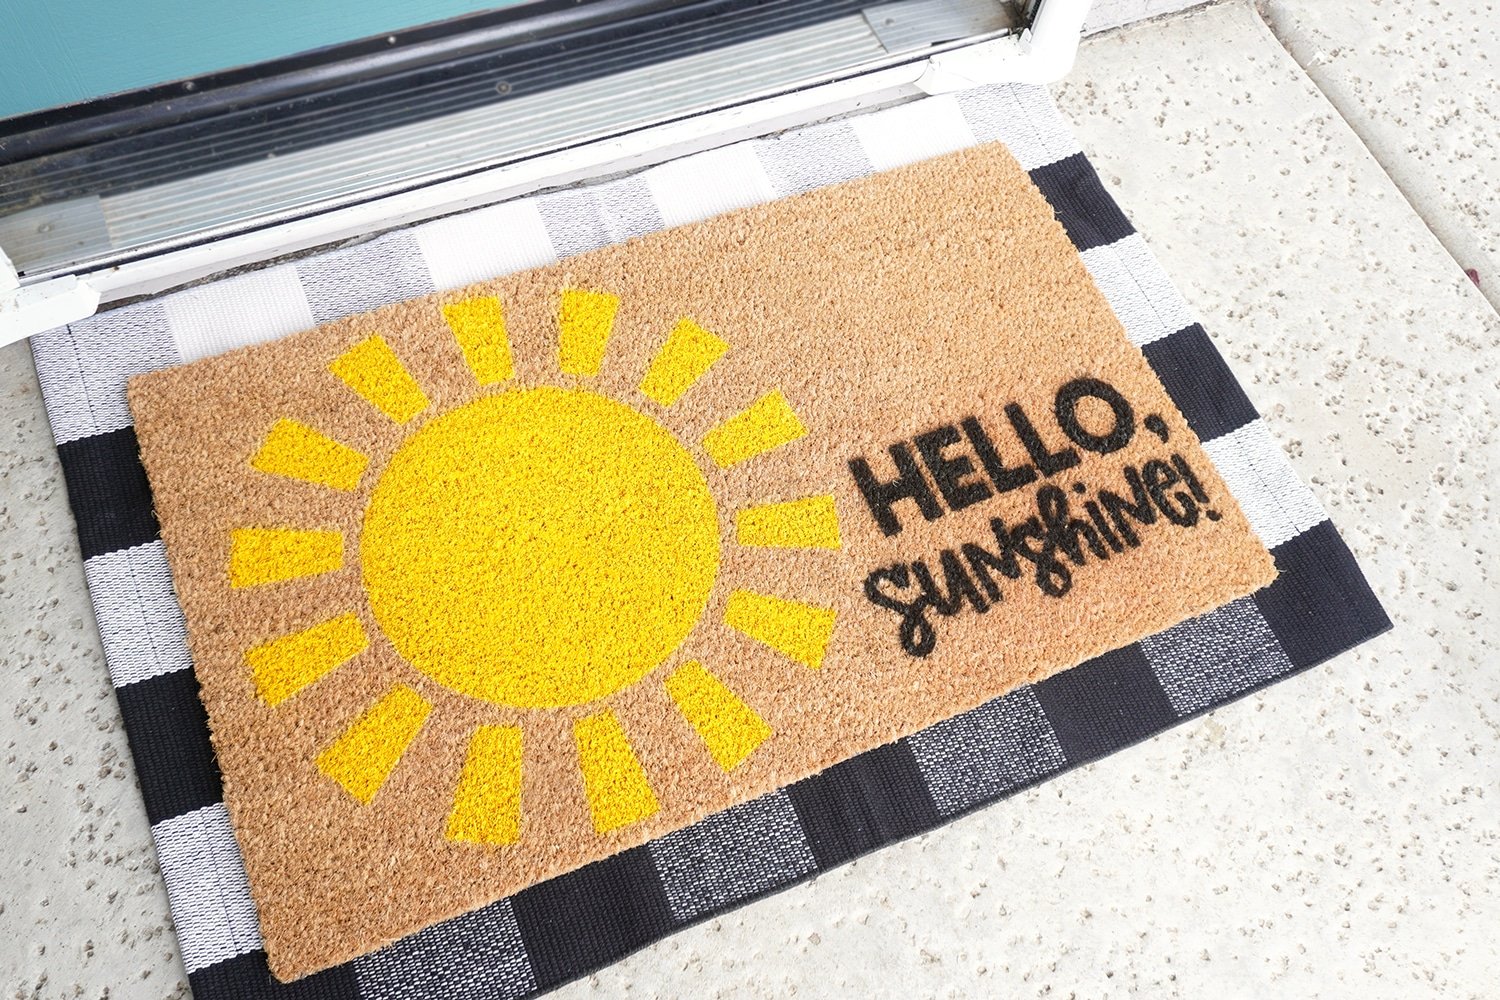
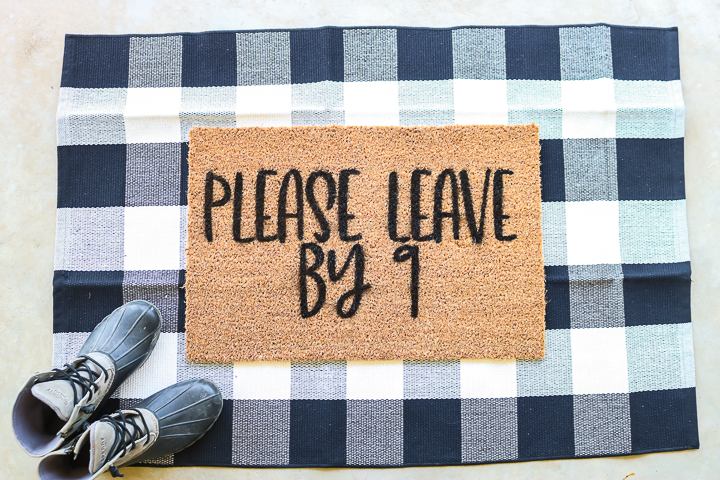
I layered my cute new DIY doormat over a black and white buffalo plaid mat that I picked up from Amazon a while back.
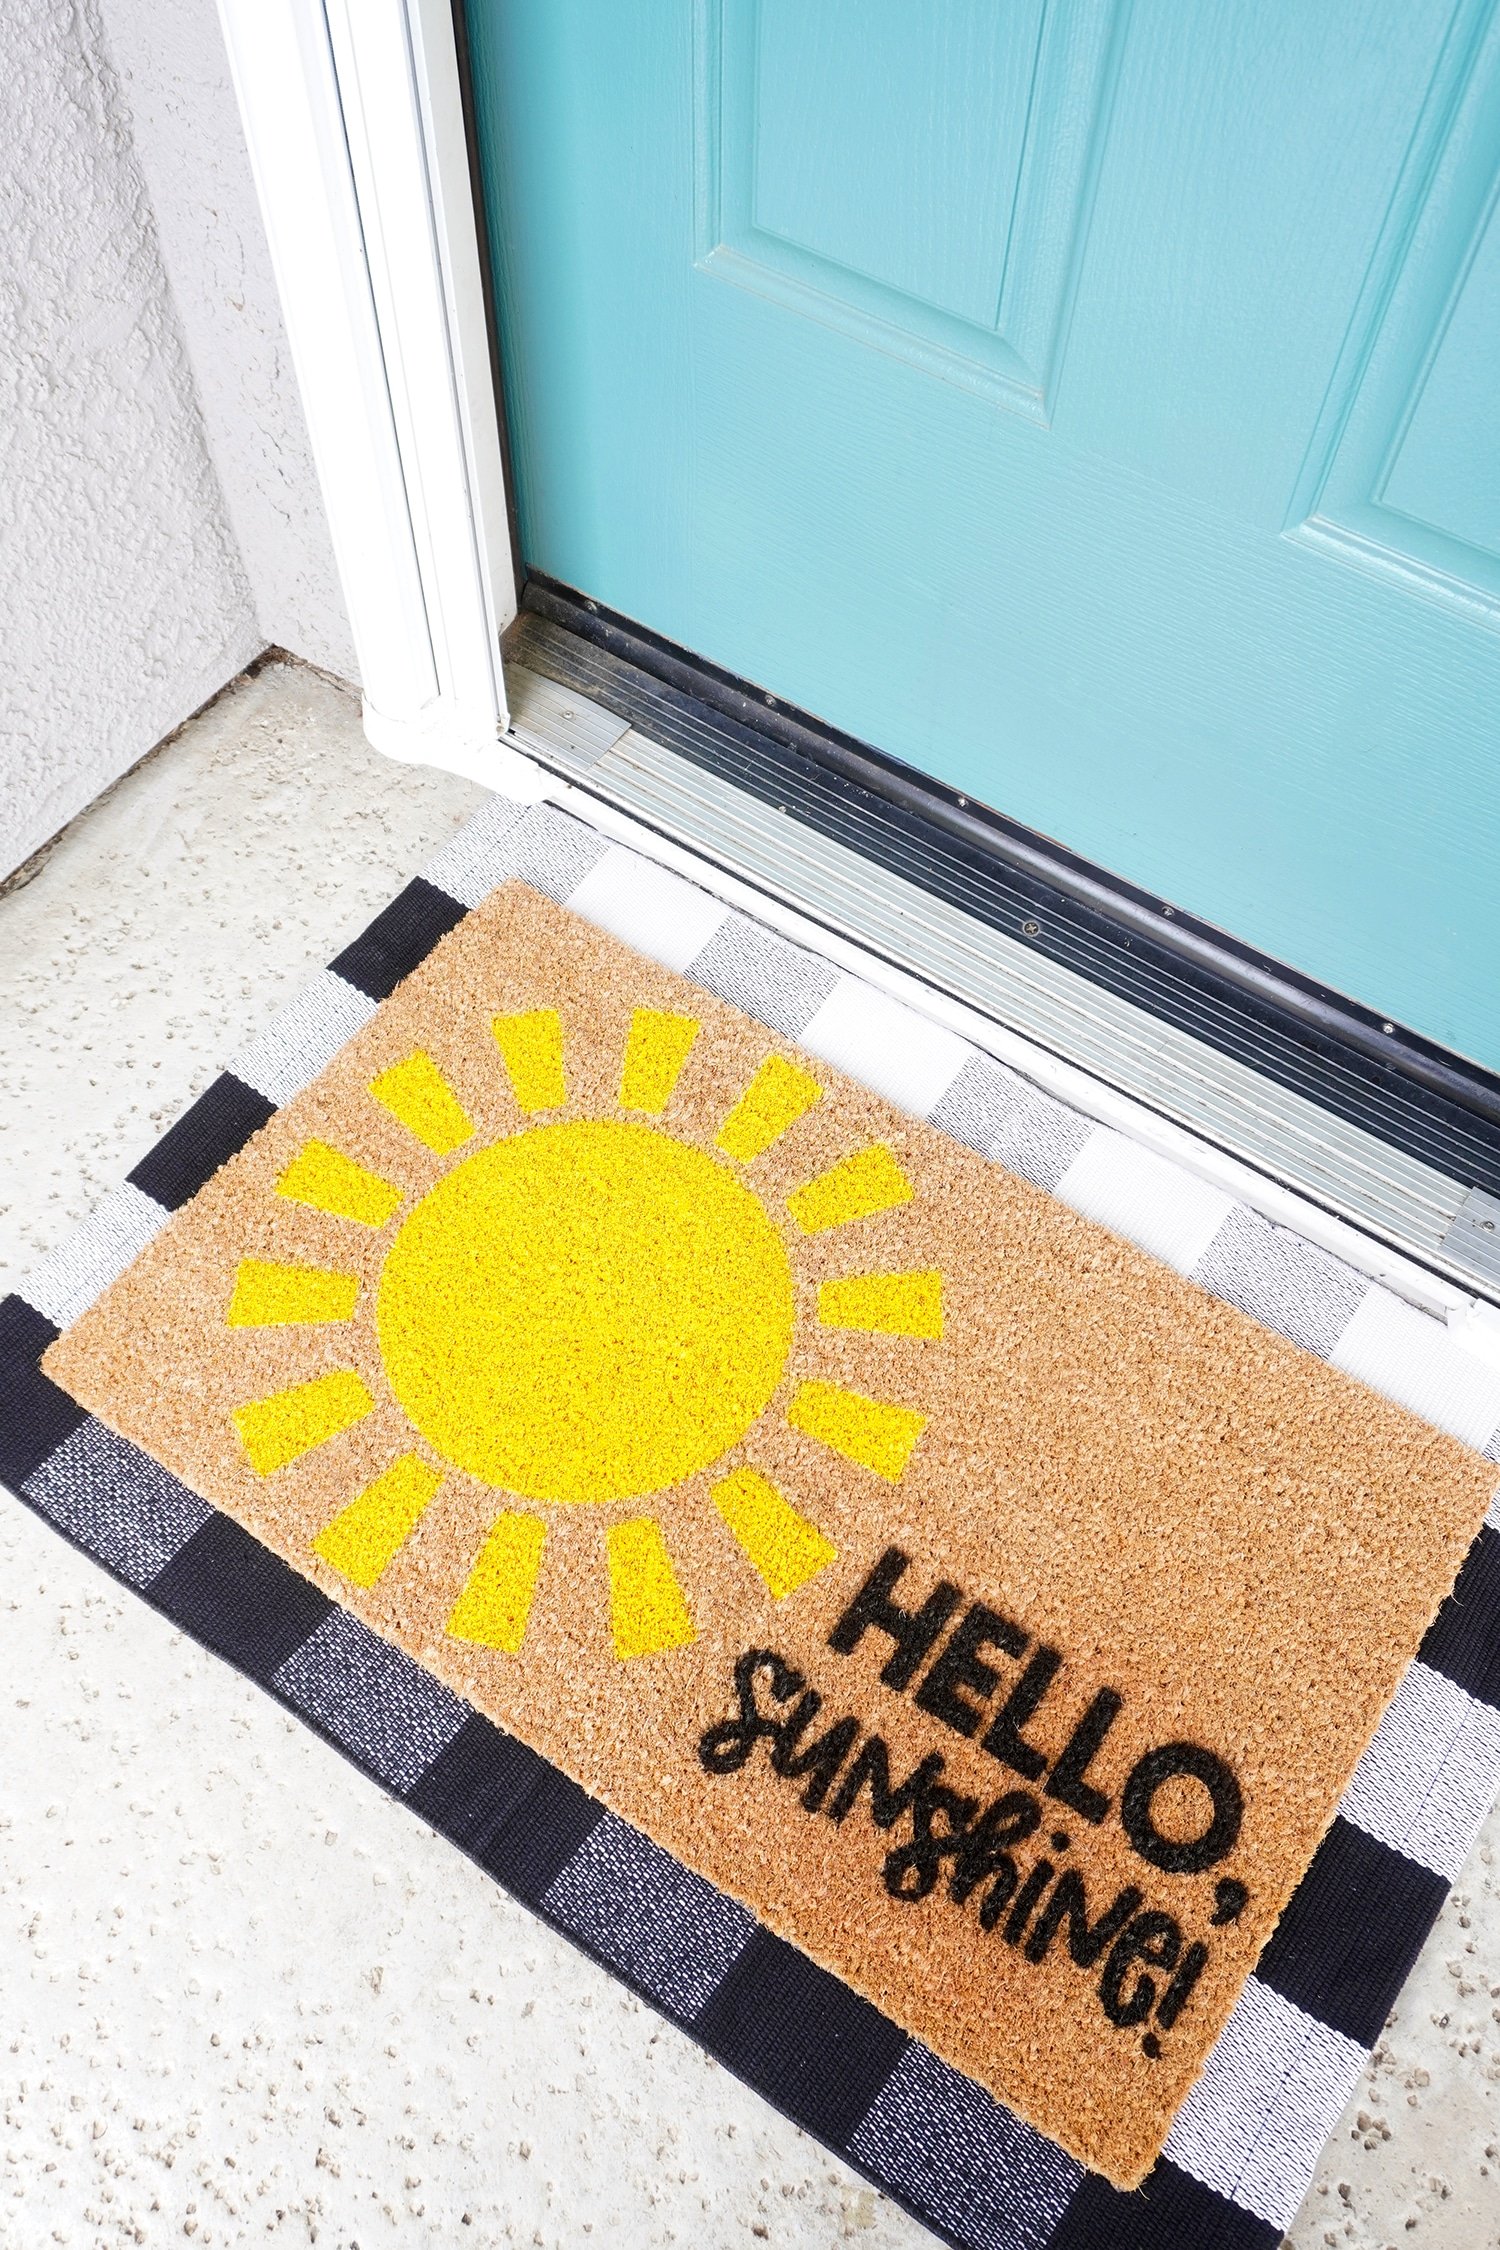
I’m totally thrilled with how it came out, and I want to make ALL the DIY doormats for every occasion now!
Get the Hello Sunshine SVG File Here
This file is Crafting File #41 in our Freebie Library! Get the password to our Freebie Library by signing up for our Email Club in the form below! If you are already a club member with the password, hop on over to the Freebie Library to download the file now!
All free downloads from Happiness is Homemade are for PERSONAL and CLASSROOM USE ONLY. You MAY NOT share, distribute, sell, or use these files for commercial purposes, including print-on-demand. Commercial licenses for SVG and PNG Crafting Files may be purchased in the Happiness is Homemade Shop. Please read our full license terms here.
Download Trouble?
Can’t find the download form? Having trouble with the file? Check out our Digital Downloads FAQ page for answers to the most common troubleshooting questions!
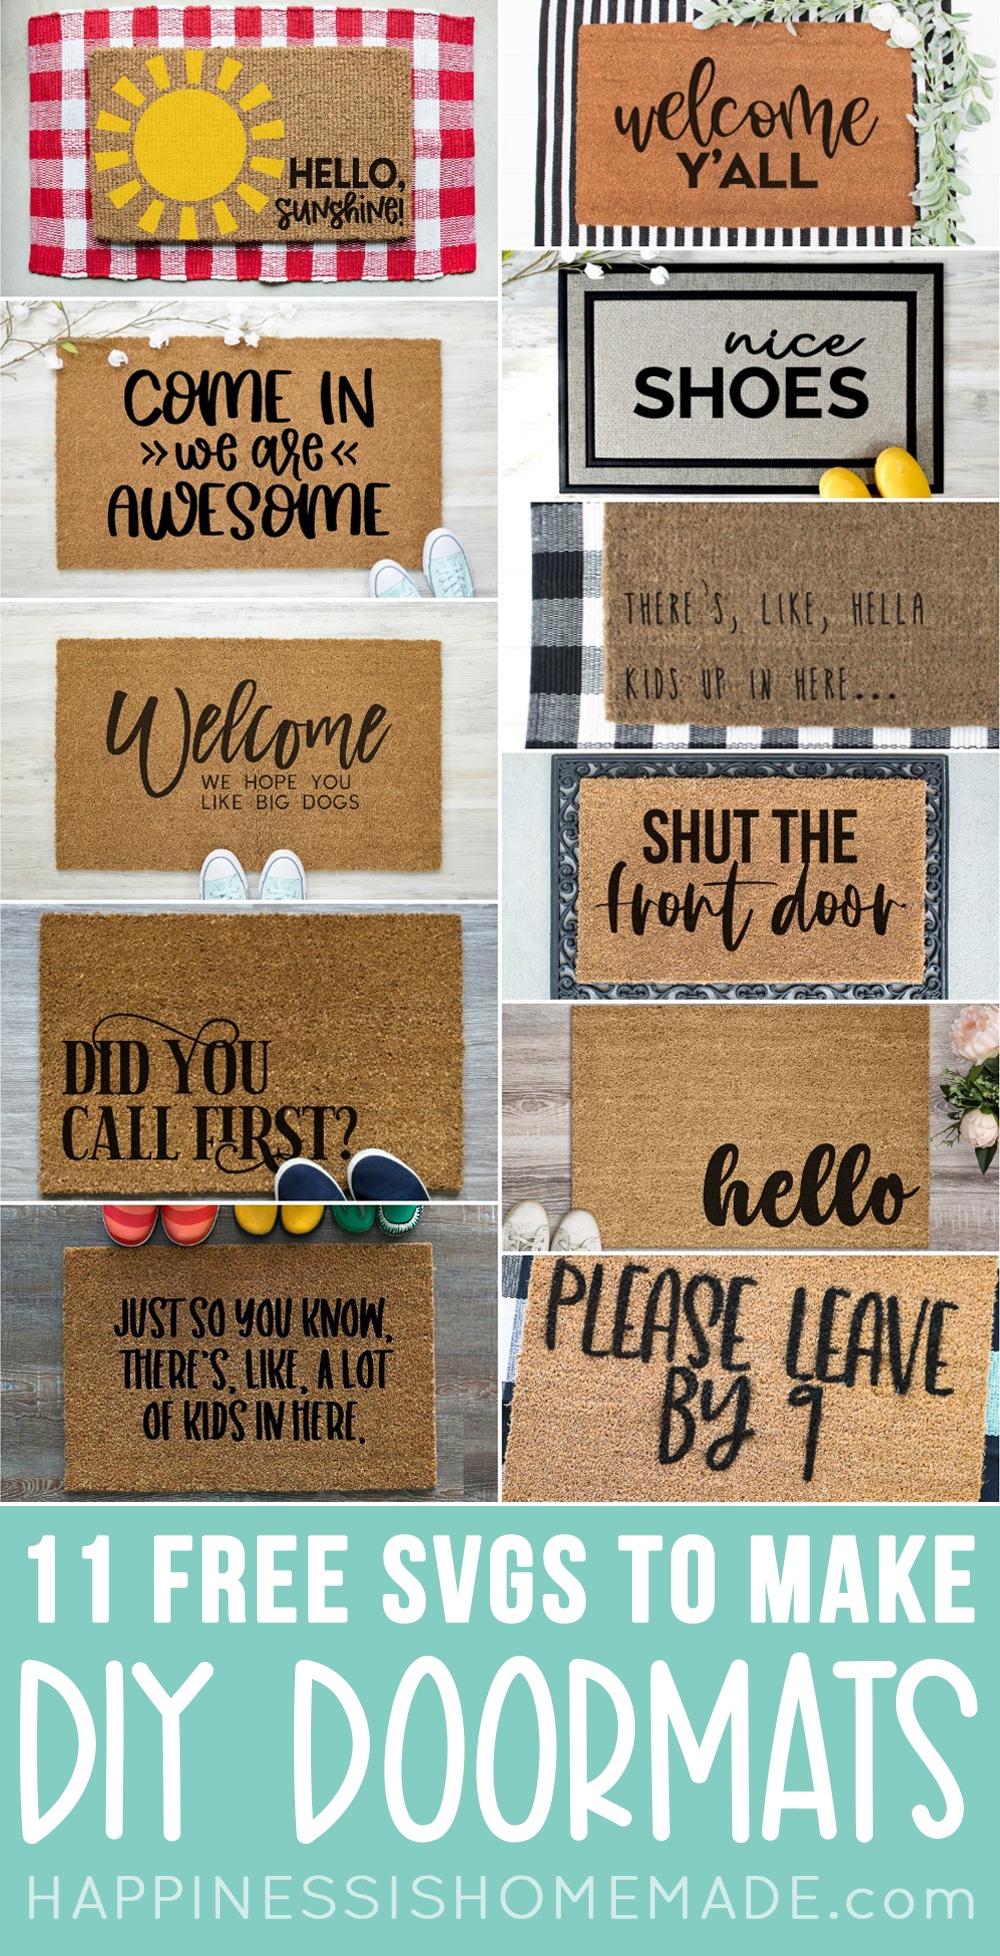
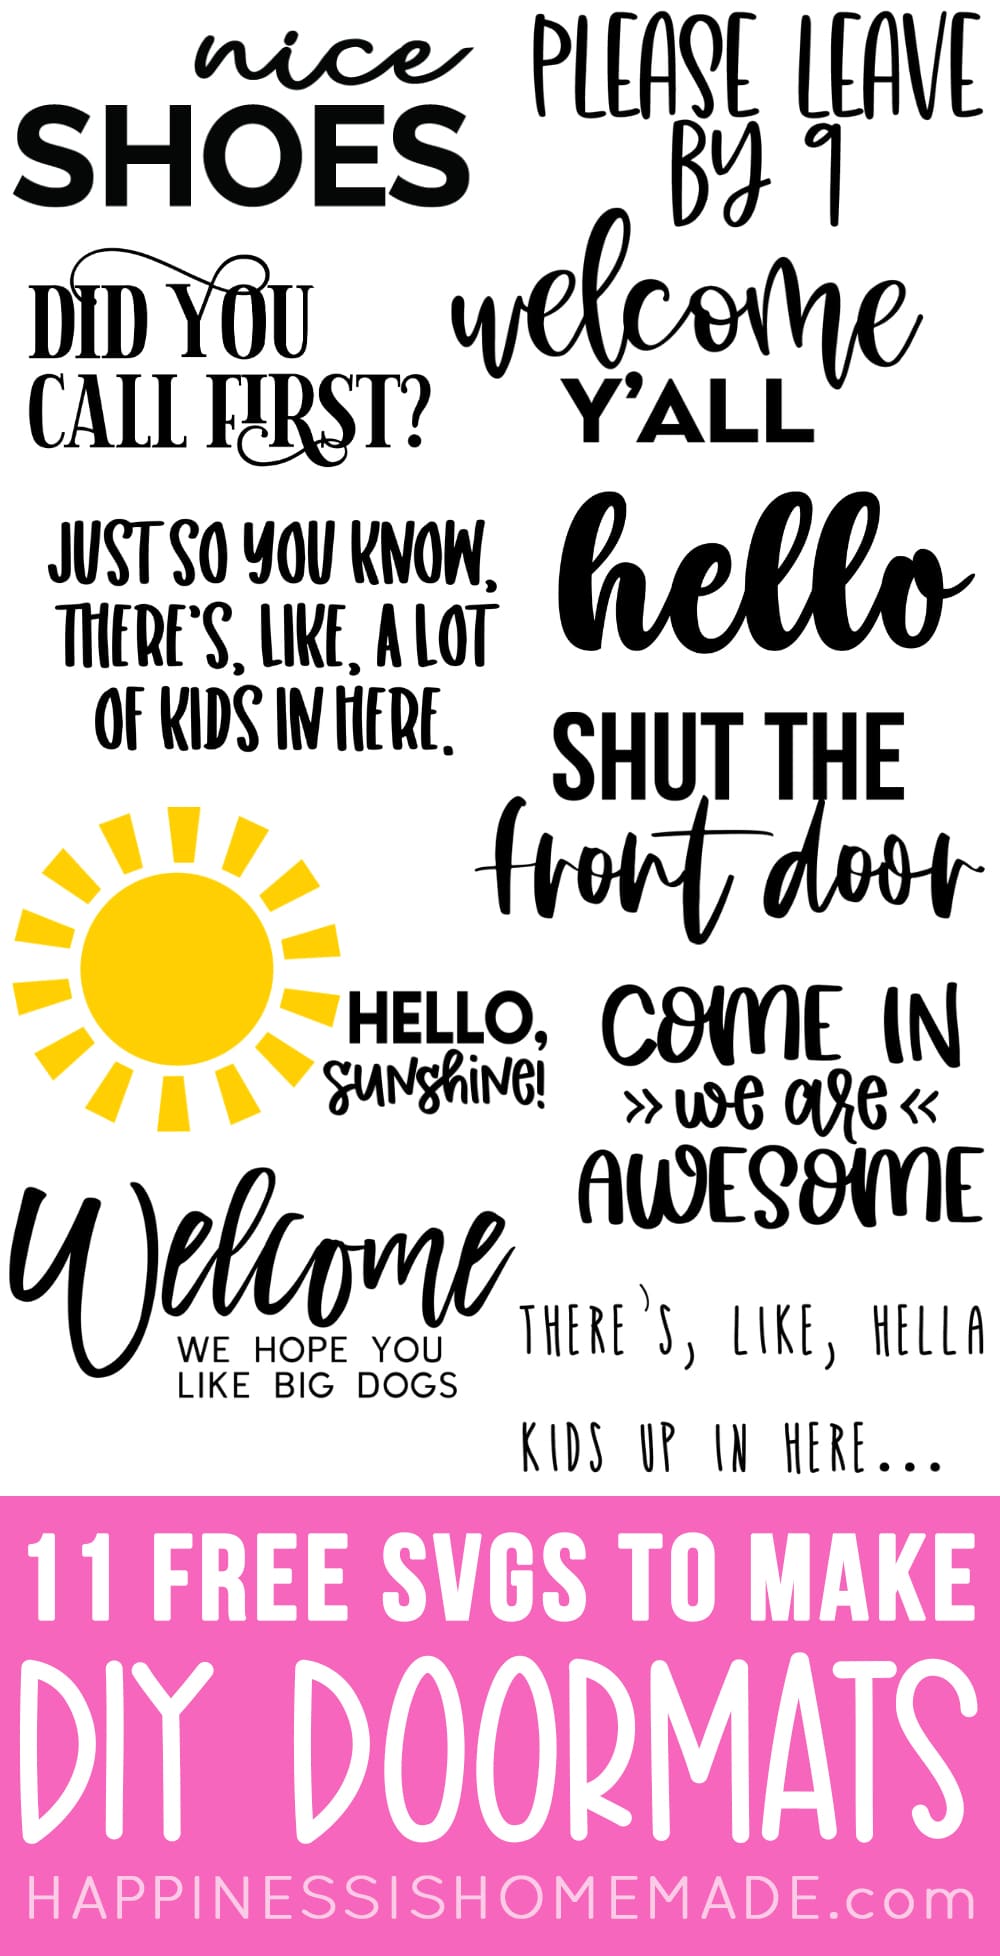
10 More Doormat SVG Files
If you like my Hello Sunshine SVG file, you’re going to LOVE these Doormat SVG files from my Totally Free friends!
Click on the links below to be taken to the download page for each individual file:


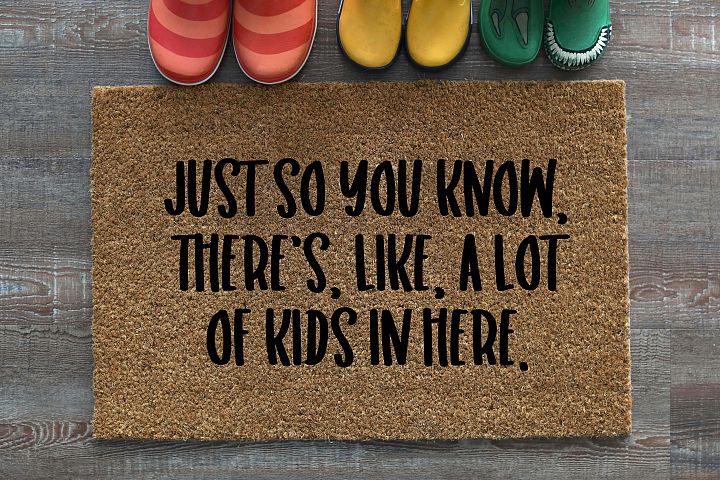


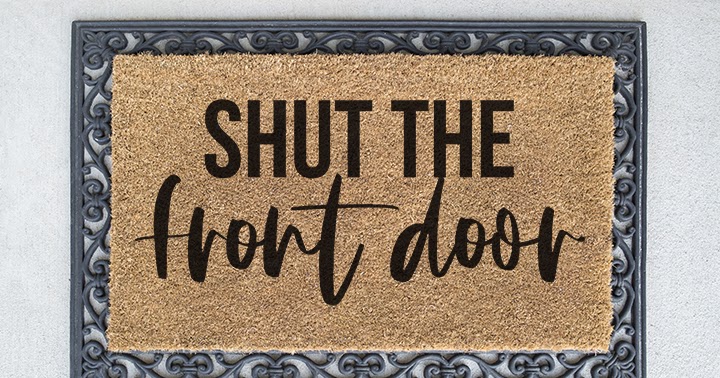
They’re all SO much fun! Which one are you going to download first?

Check Out These Other Totally Free SVG File Collections!
 16 Free Easter SVG Files
- 9 Free Book SVG Files
- “Happy Camper” Free Camping SVG File
- 10 Free Tea SVG Files
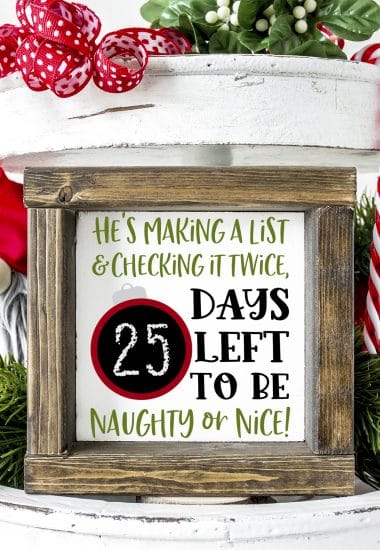
 Free Christmas Countdown SVG +16 Christmas Cut Files
- 13 Free Bat SVG Files for Halloween
- 10 Free Donut SVG Files
- 10 Free Moon SVG Files


Pin This Hello Sunshine SVG for Later


Heidi Kundin has captivated the hearts of millions with her colorful and inspiring approach to crafting, celebrations, and family fun. With over 15 years of experience, Happiness is Homemade has become a must-visit destination for those seeking quick and easy creative ideas and last-minute solutions. Heidi’s warm personality shines through her posts, inviting readers to join her on a creative journey that’s fun, rewarding, and achievable. Heidi is also the author of Homemade Bath Bombs & More and DIY Tie-Dye.