
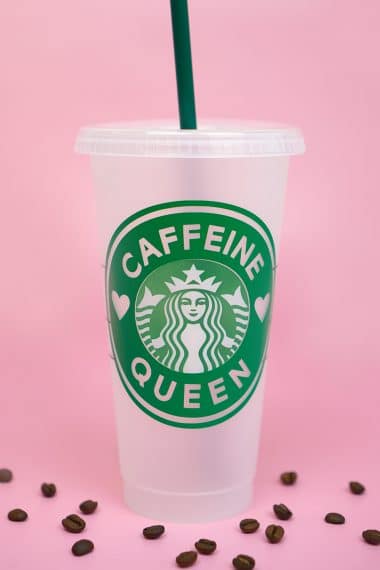
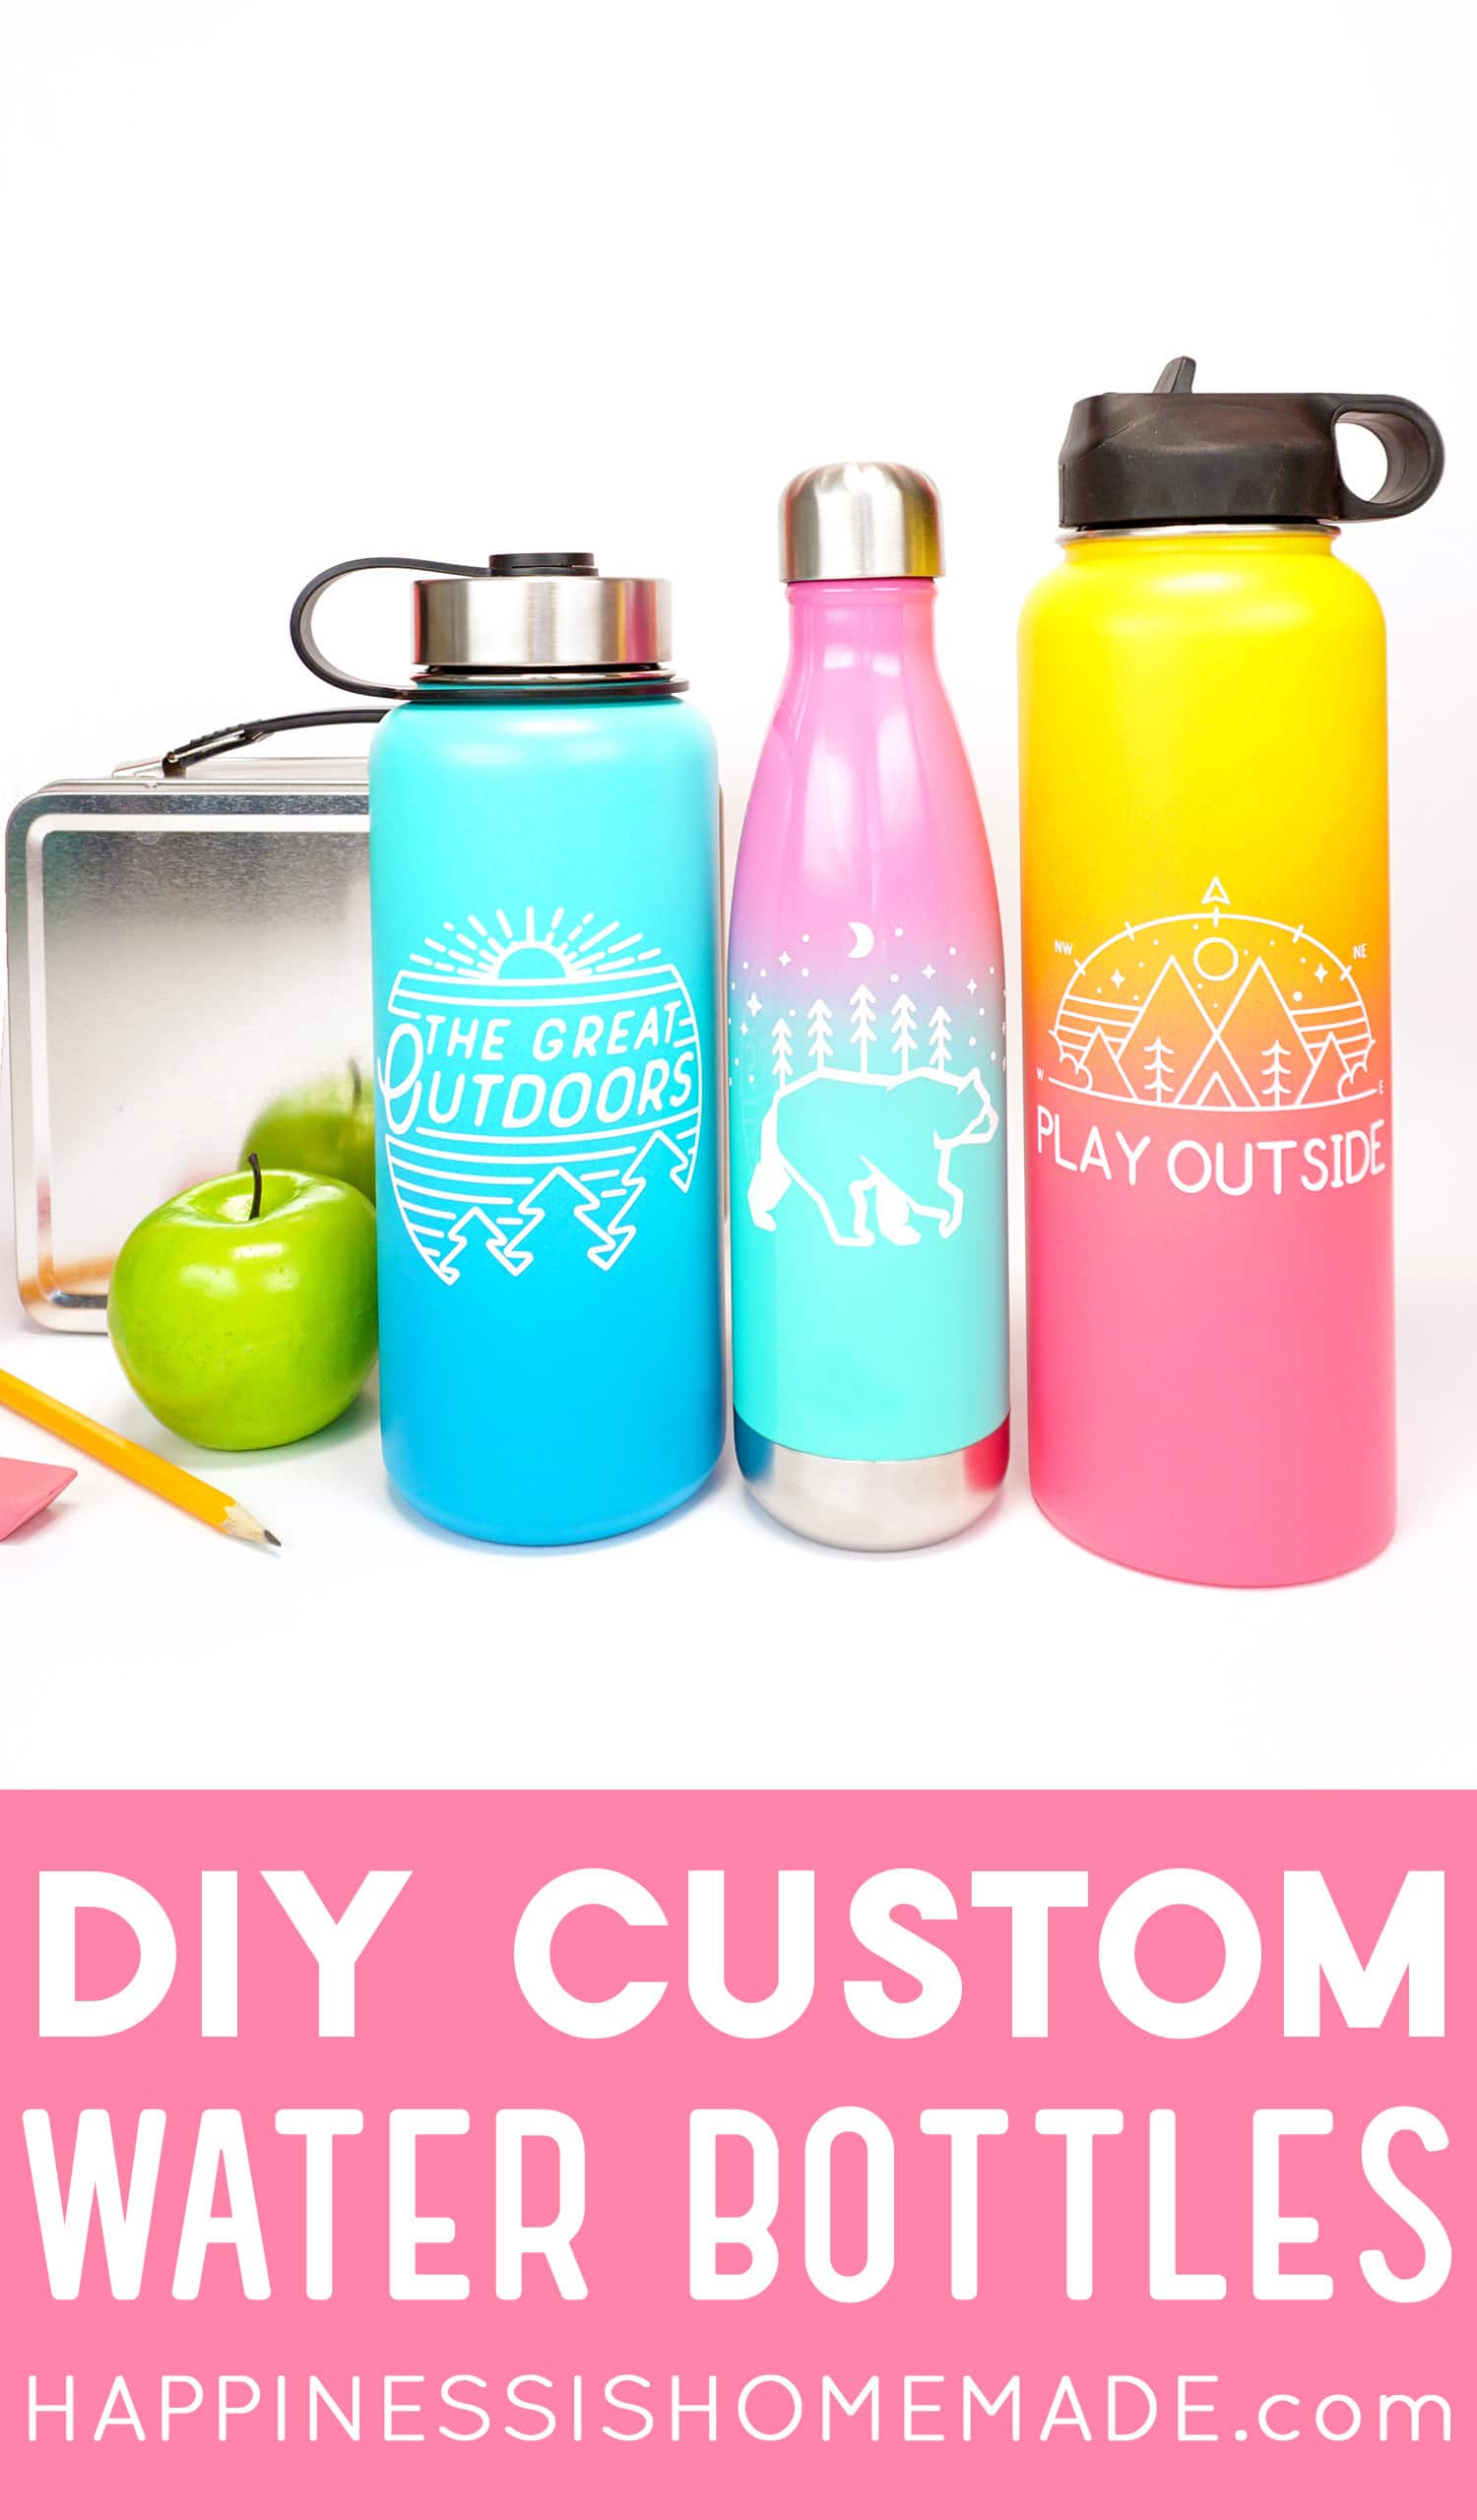
Make your own custom water bottles with Cricut! Personalize your water bottle with unlimited design options for a truly unique look! Makes a great back to school project!
This post may contain affiliate links. I will receive a small commission from these sales at no additional cost to you! This post is sponsored by Cricut. All ideas and opinions are my own.
Custom Water Bottles with Cricut for Back to School
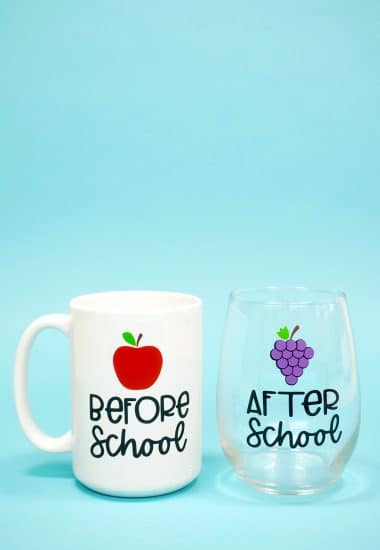
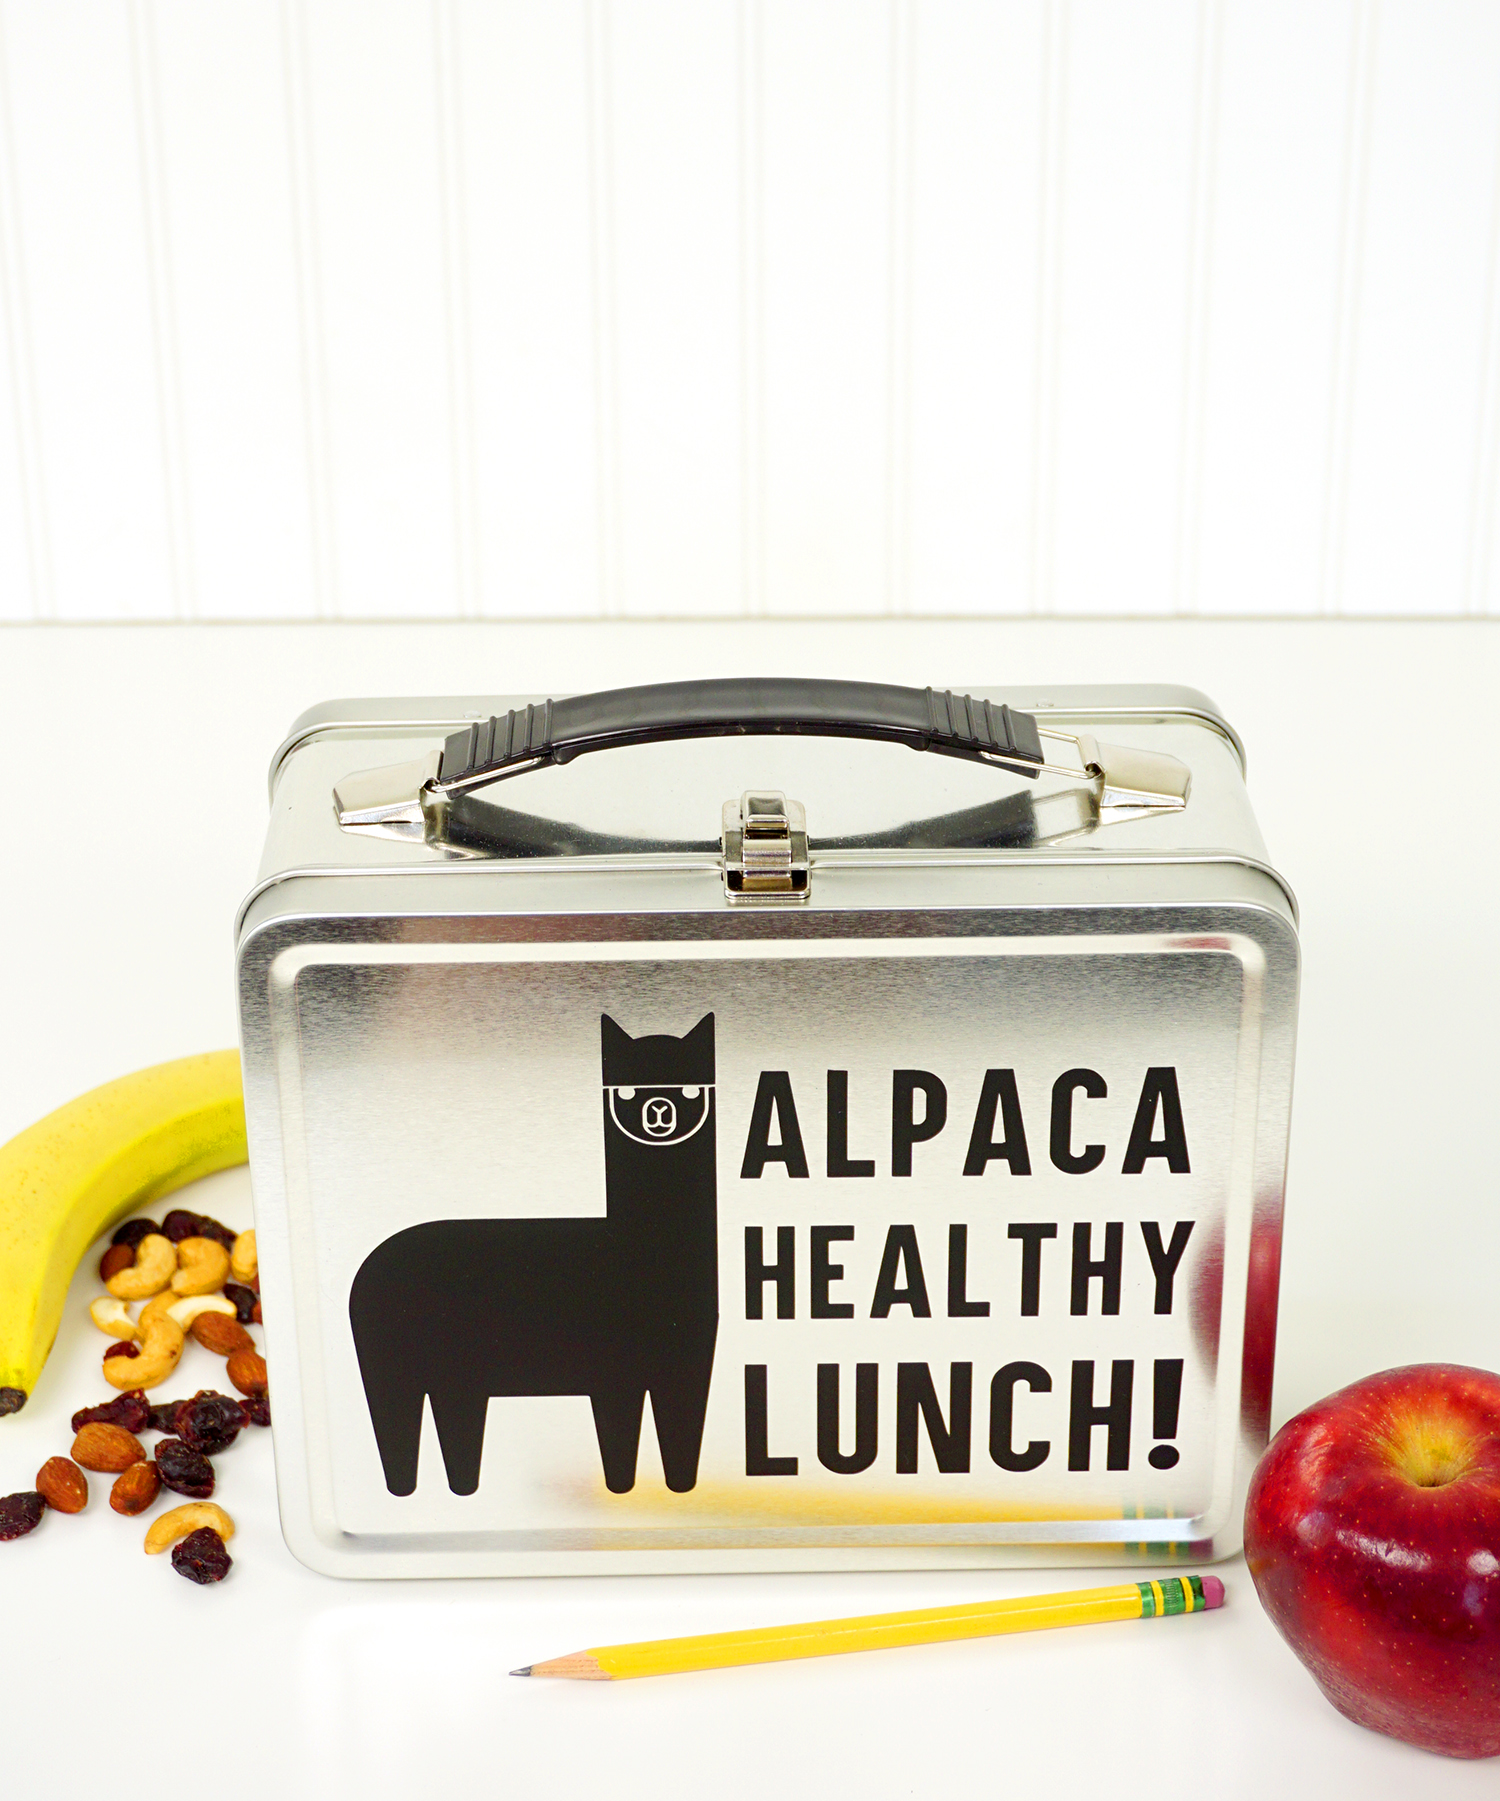
It’s back to school time, and around here that means that it’s time to Personalize ALL the Things! Last year we customized some funny DIY lunchboxes with Cricut and this year we’re adding custom water bottles to the collection!
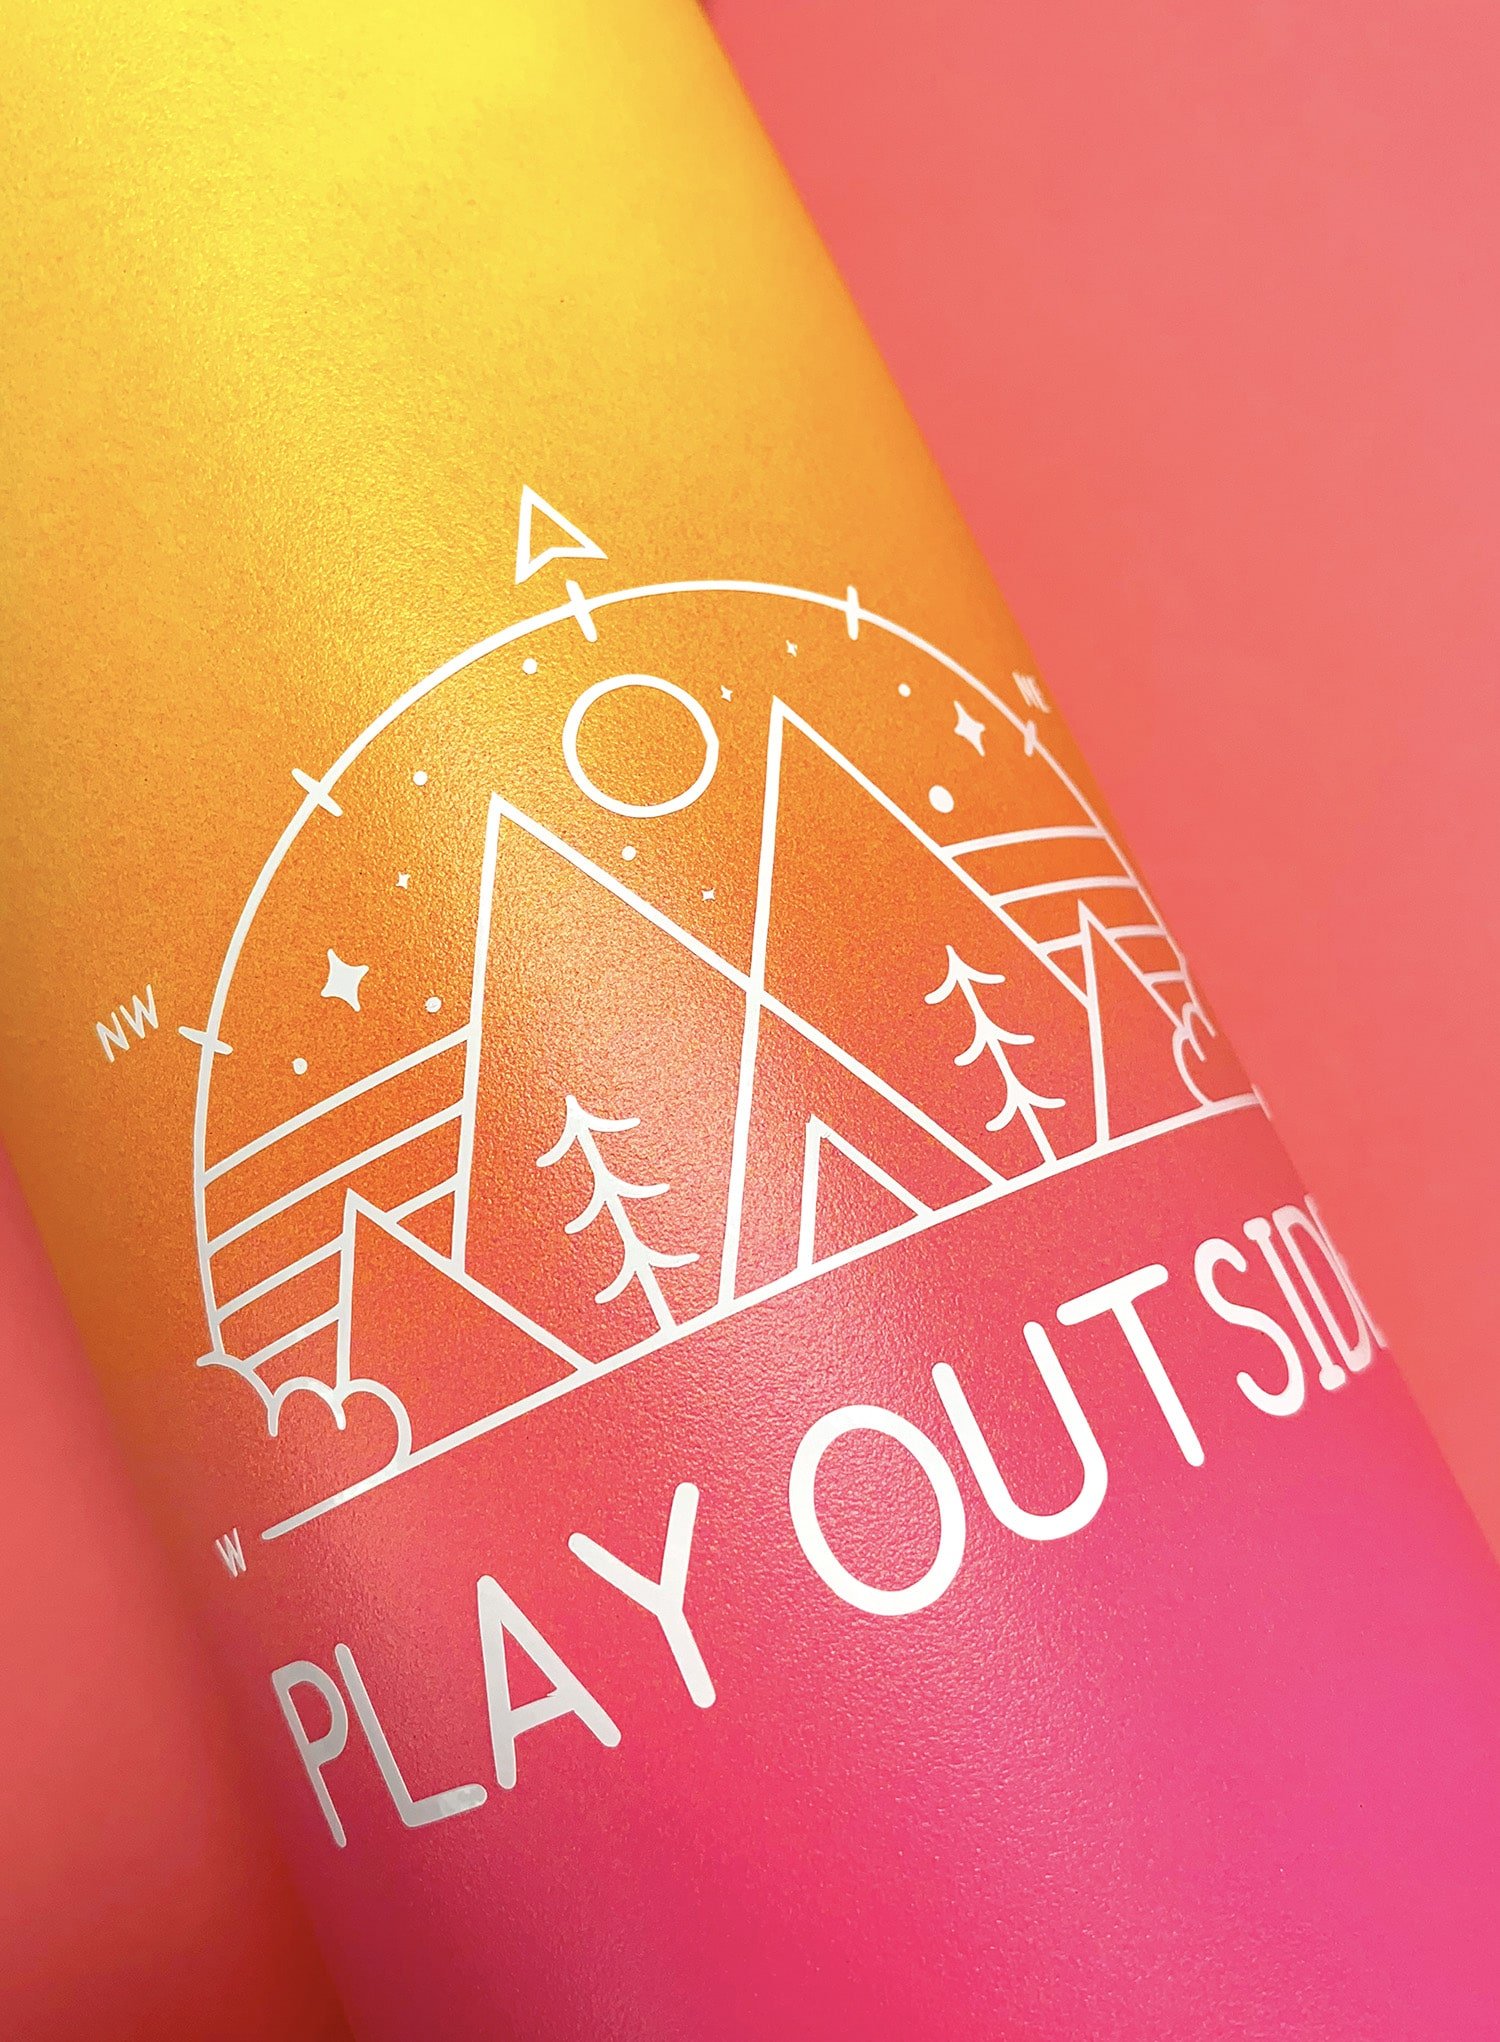
We recently got back home from an epic end-of-summer trip to the Northern California coast, and I knew that I wanted to incorporate an outdoor adventure theme into my designs. I wanted to give my kids a reminder of how much fun we all had being immersed in the great outdoors and hiking among the redwoods, and I love the way that these turned out!
What You’ll Need to Make Custom Water Bottles:
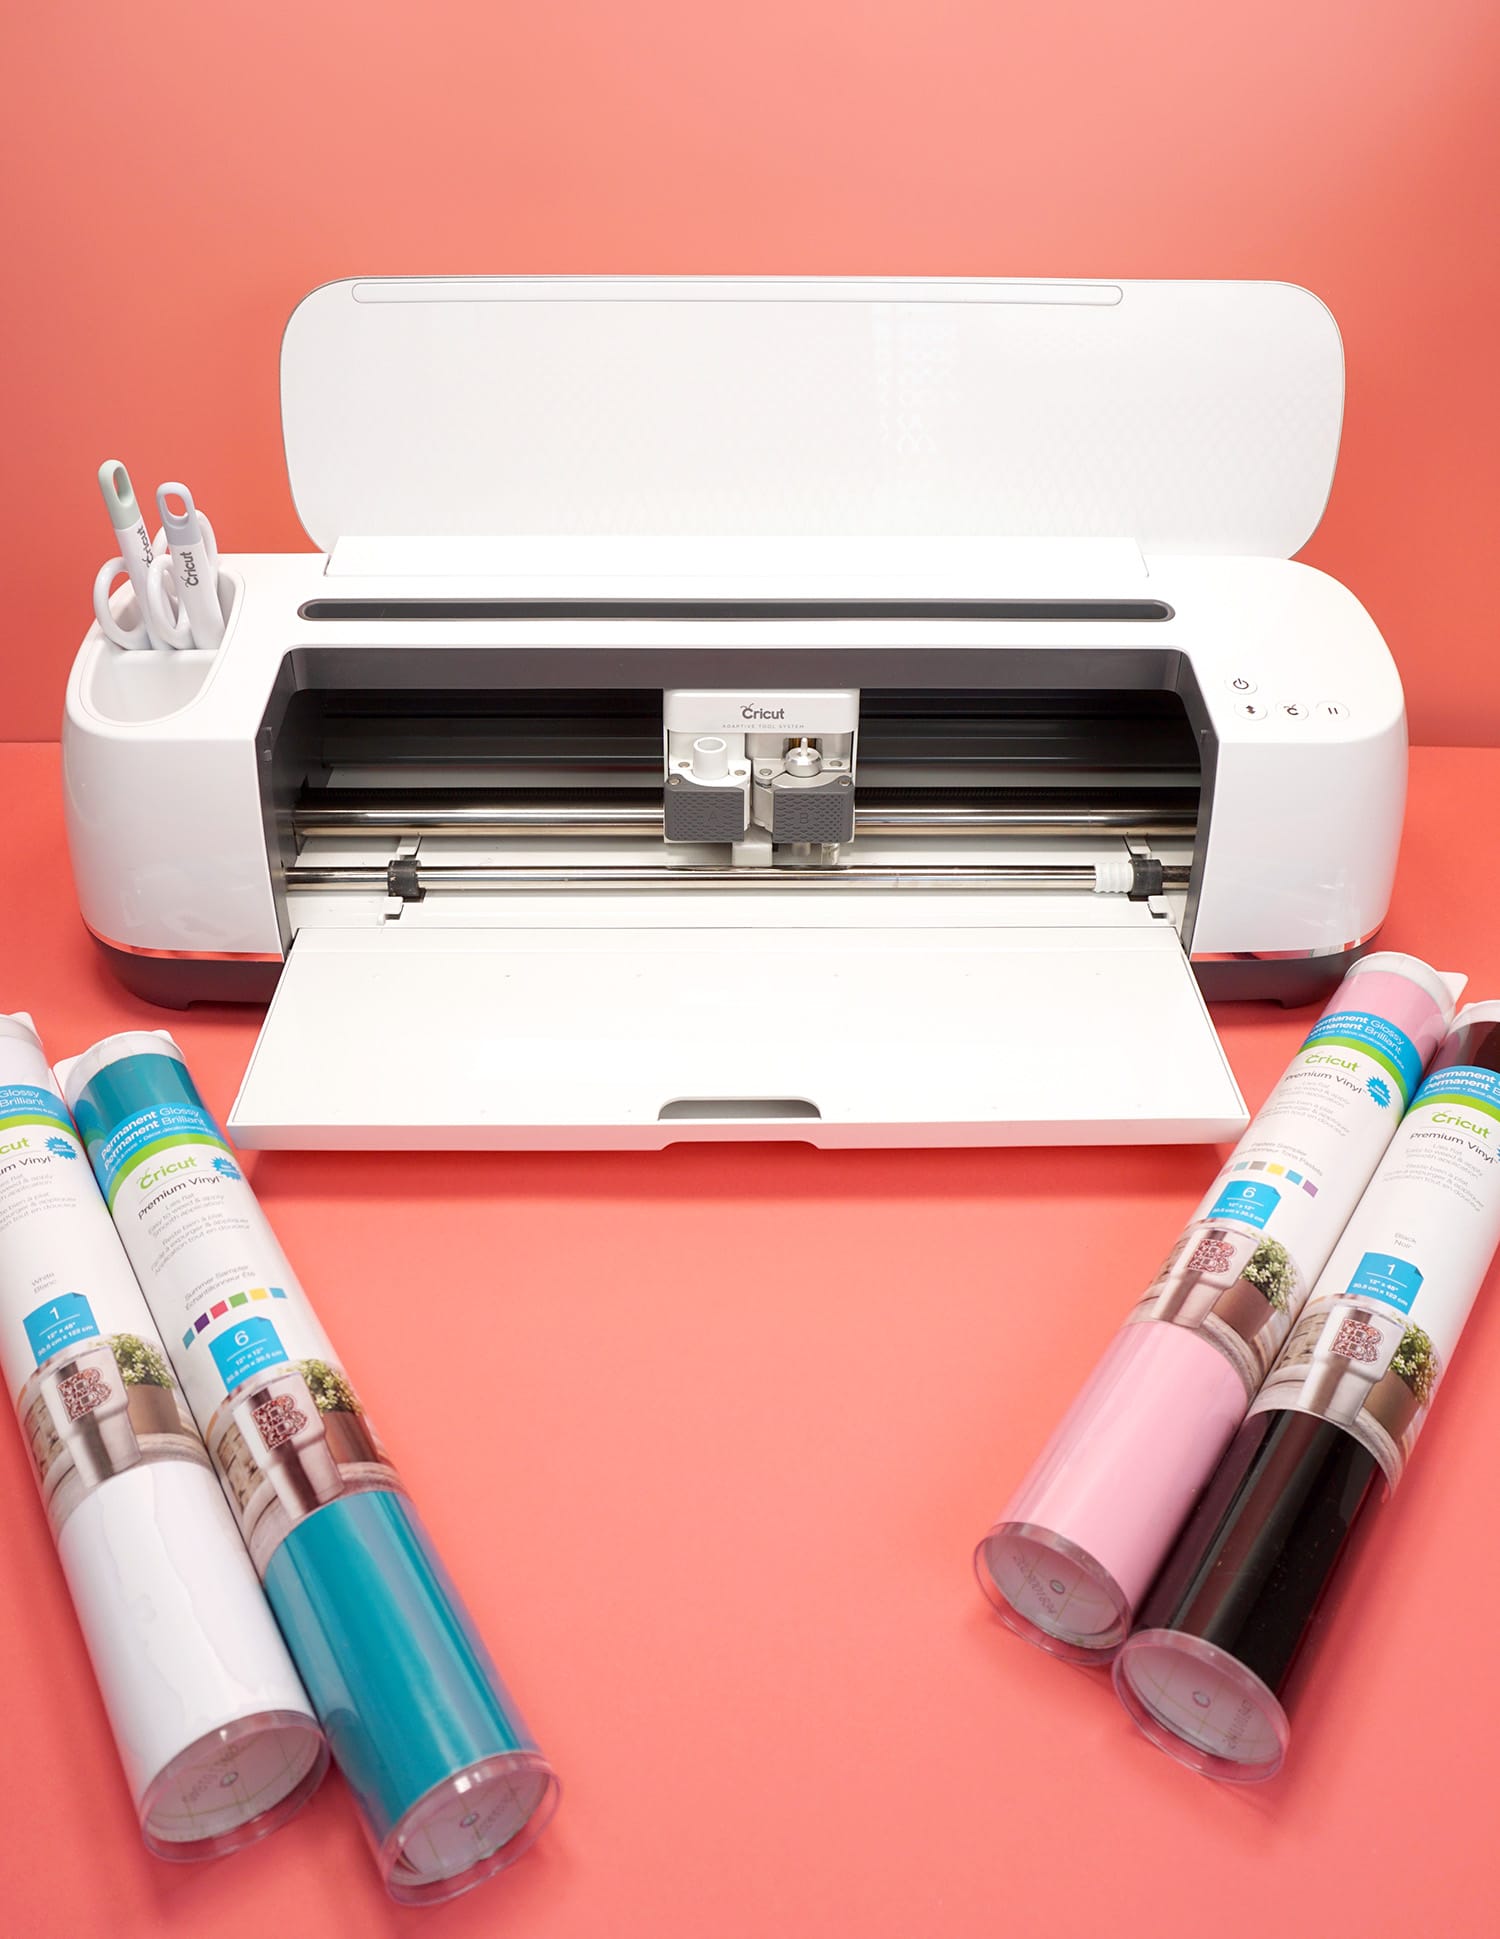
- Cricut Maker or Explore Air 2 Cutting Machine
- Permanent Adhesive Vinyl in assorted colors (Amazon | Cricut | Expressions)
- Weeding Tools (Amazon | Cricut)
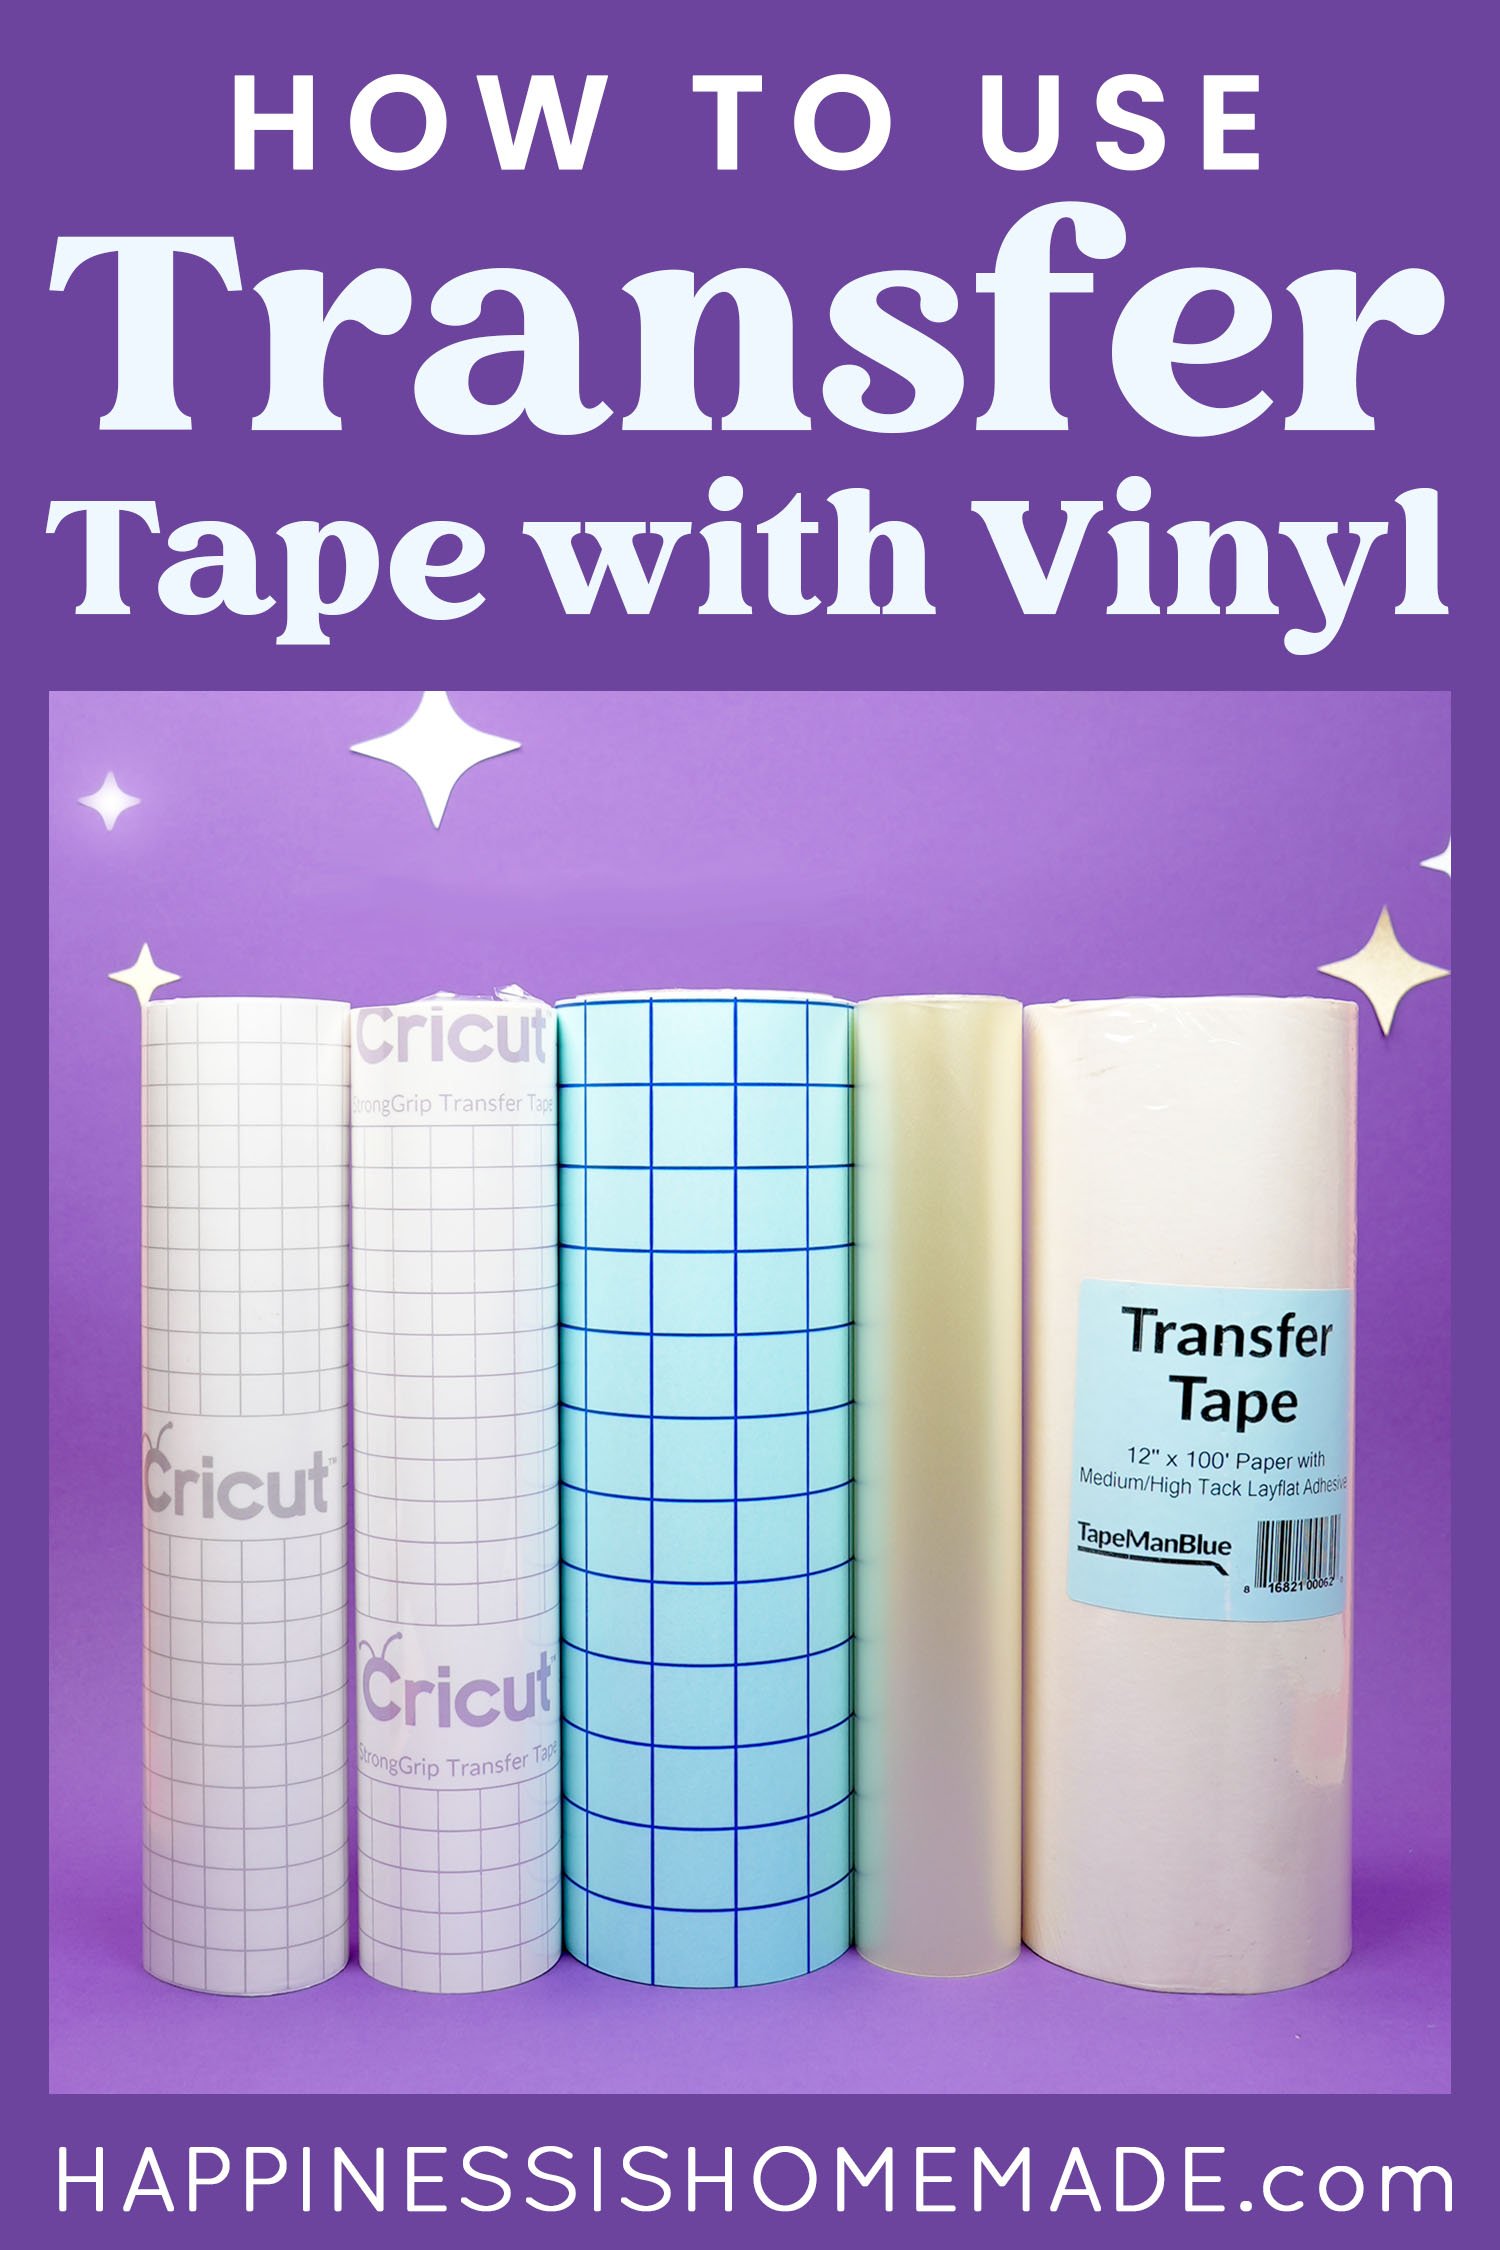
- Transfer Tape
- Cricut XL Scraper (Amazon | Cricut)
- Stainless Steel Water Bottles in Desired Shape/Size (The ones we used were: Bottle 1, Bottle 2, and Bottle 3)
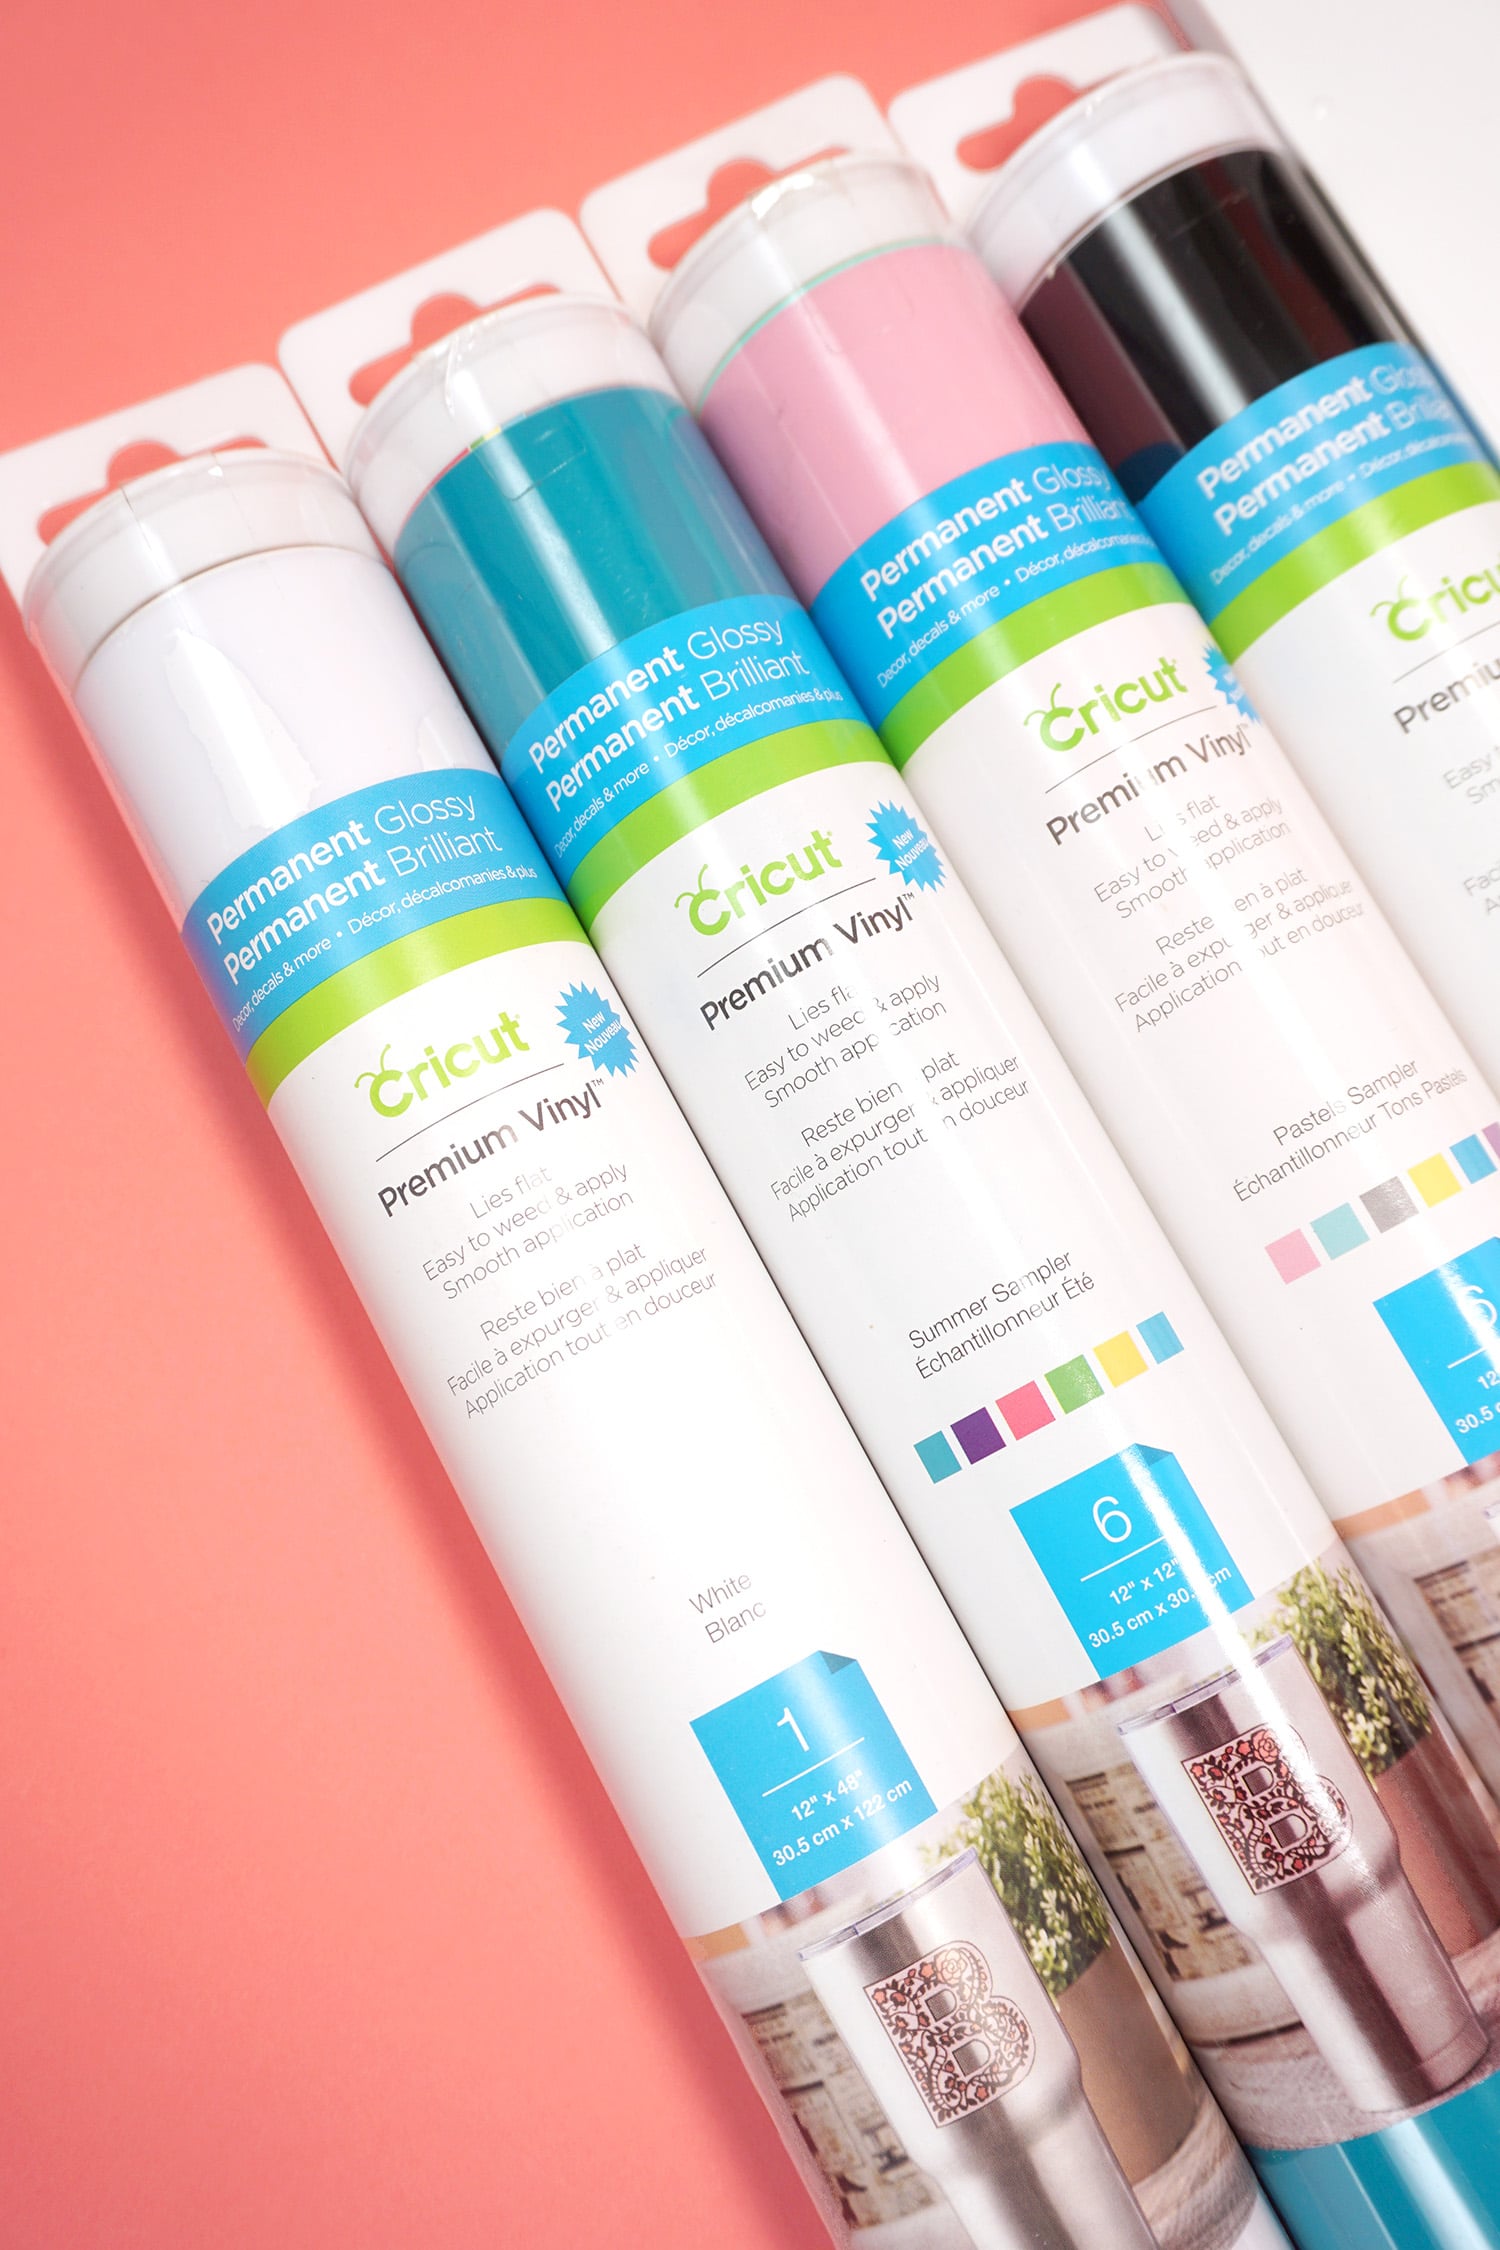
Cricut Premium Permanent Vinyl is perfect for water bottles because it is designed to withstand all kinds of different conditions and will last for up to three years or more! It’s the same type of vinyl used to add decals to cars (it even stands up to the car wash!) and numbers to mailboxes, so it’s meant to hold up to tough conditions! For these water bottles, I recommend hand-washing (because that’s the manufacturer’s recommendation for the bottle), but I have heard lots of anecdotal evidence of people running Premium Permanent Vinyl through the dishwasher with no problems at all!
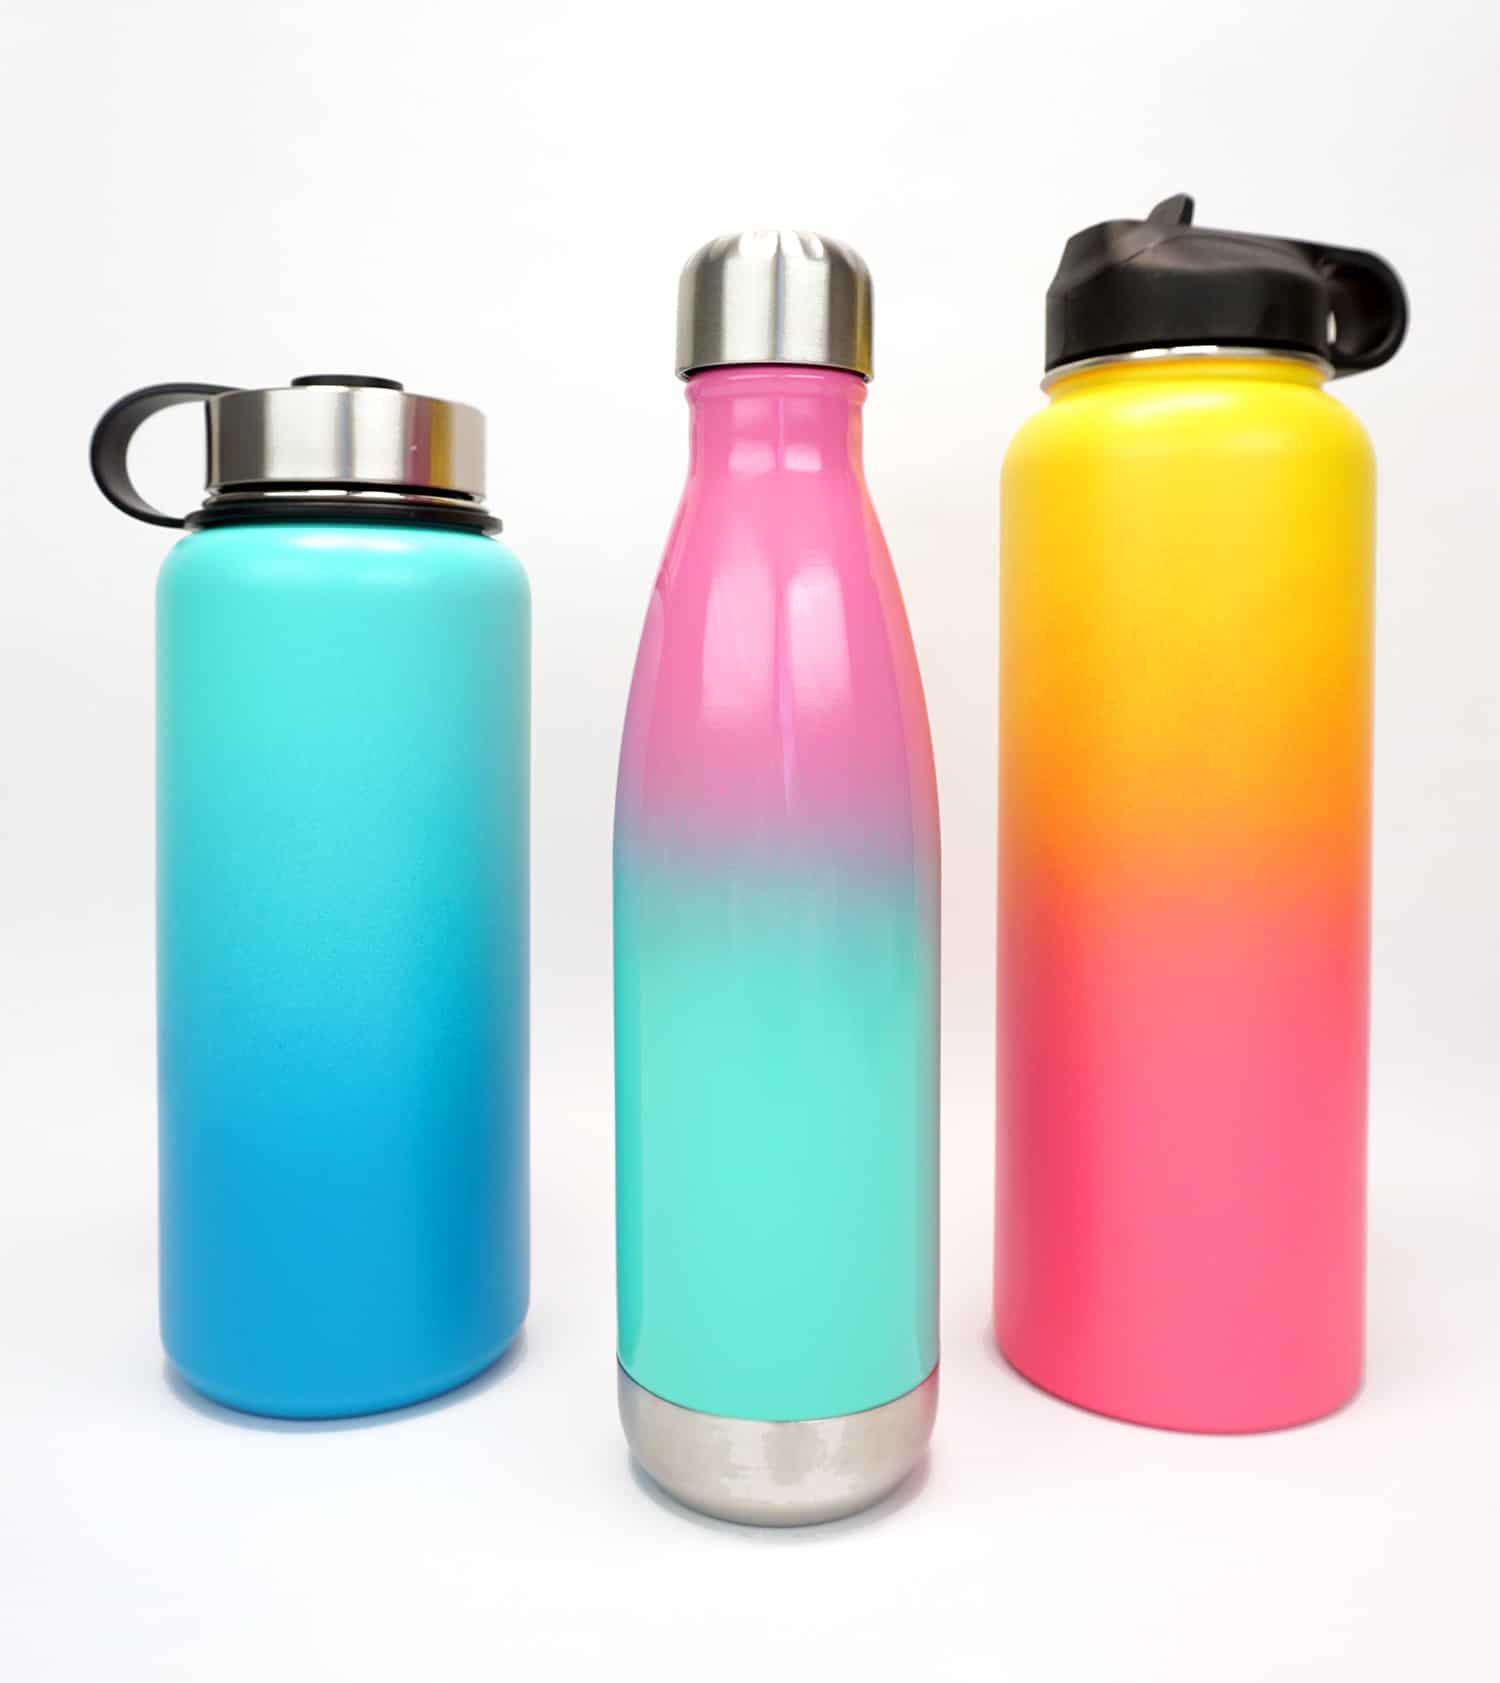
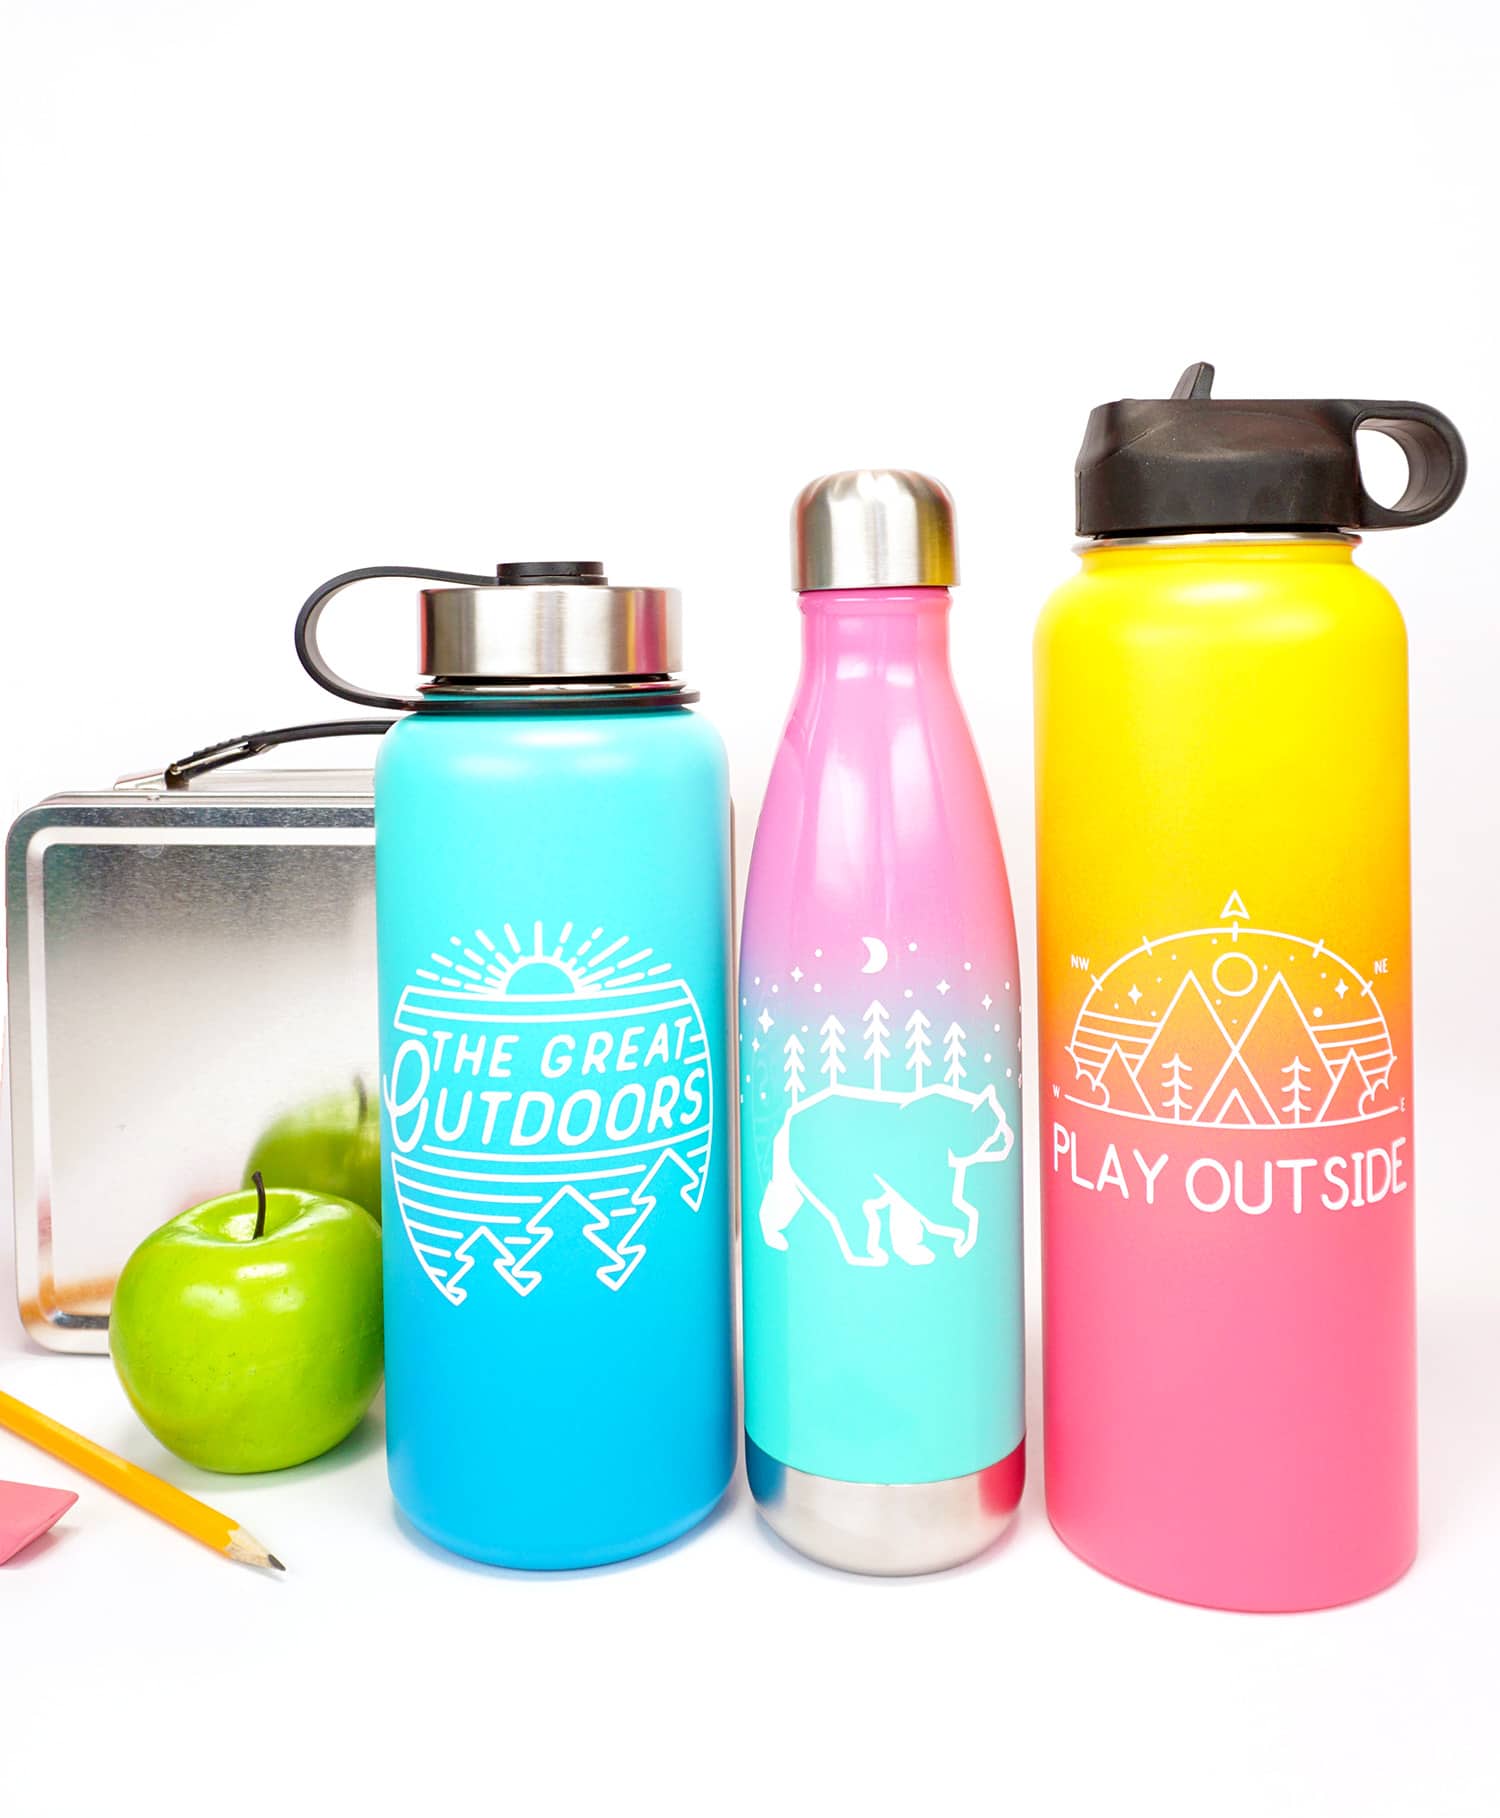
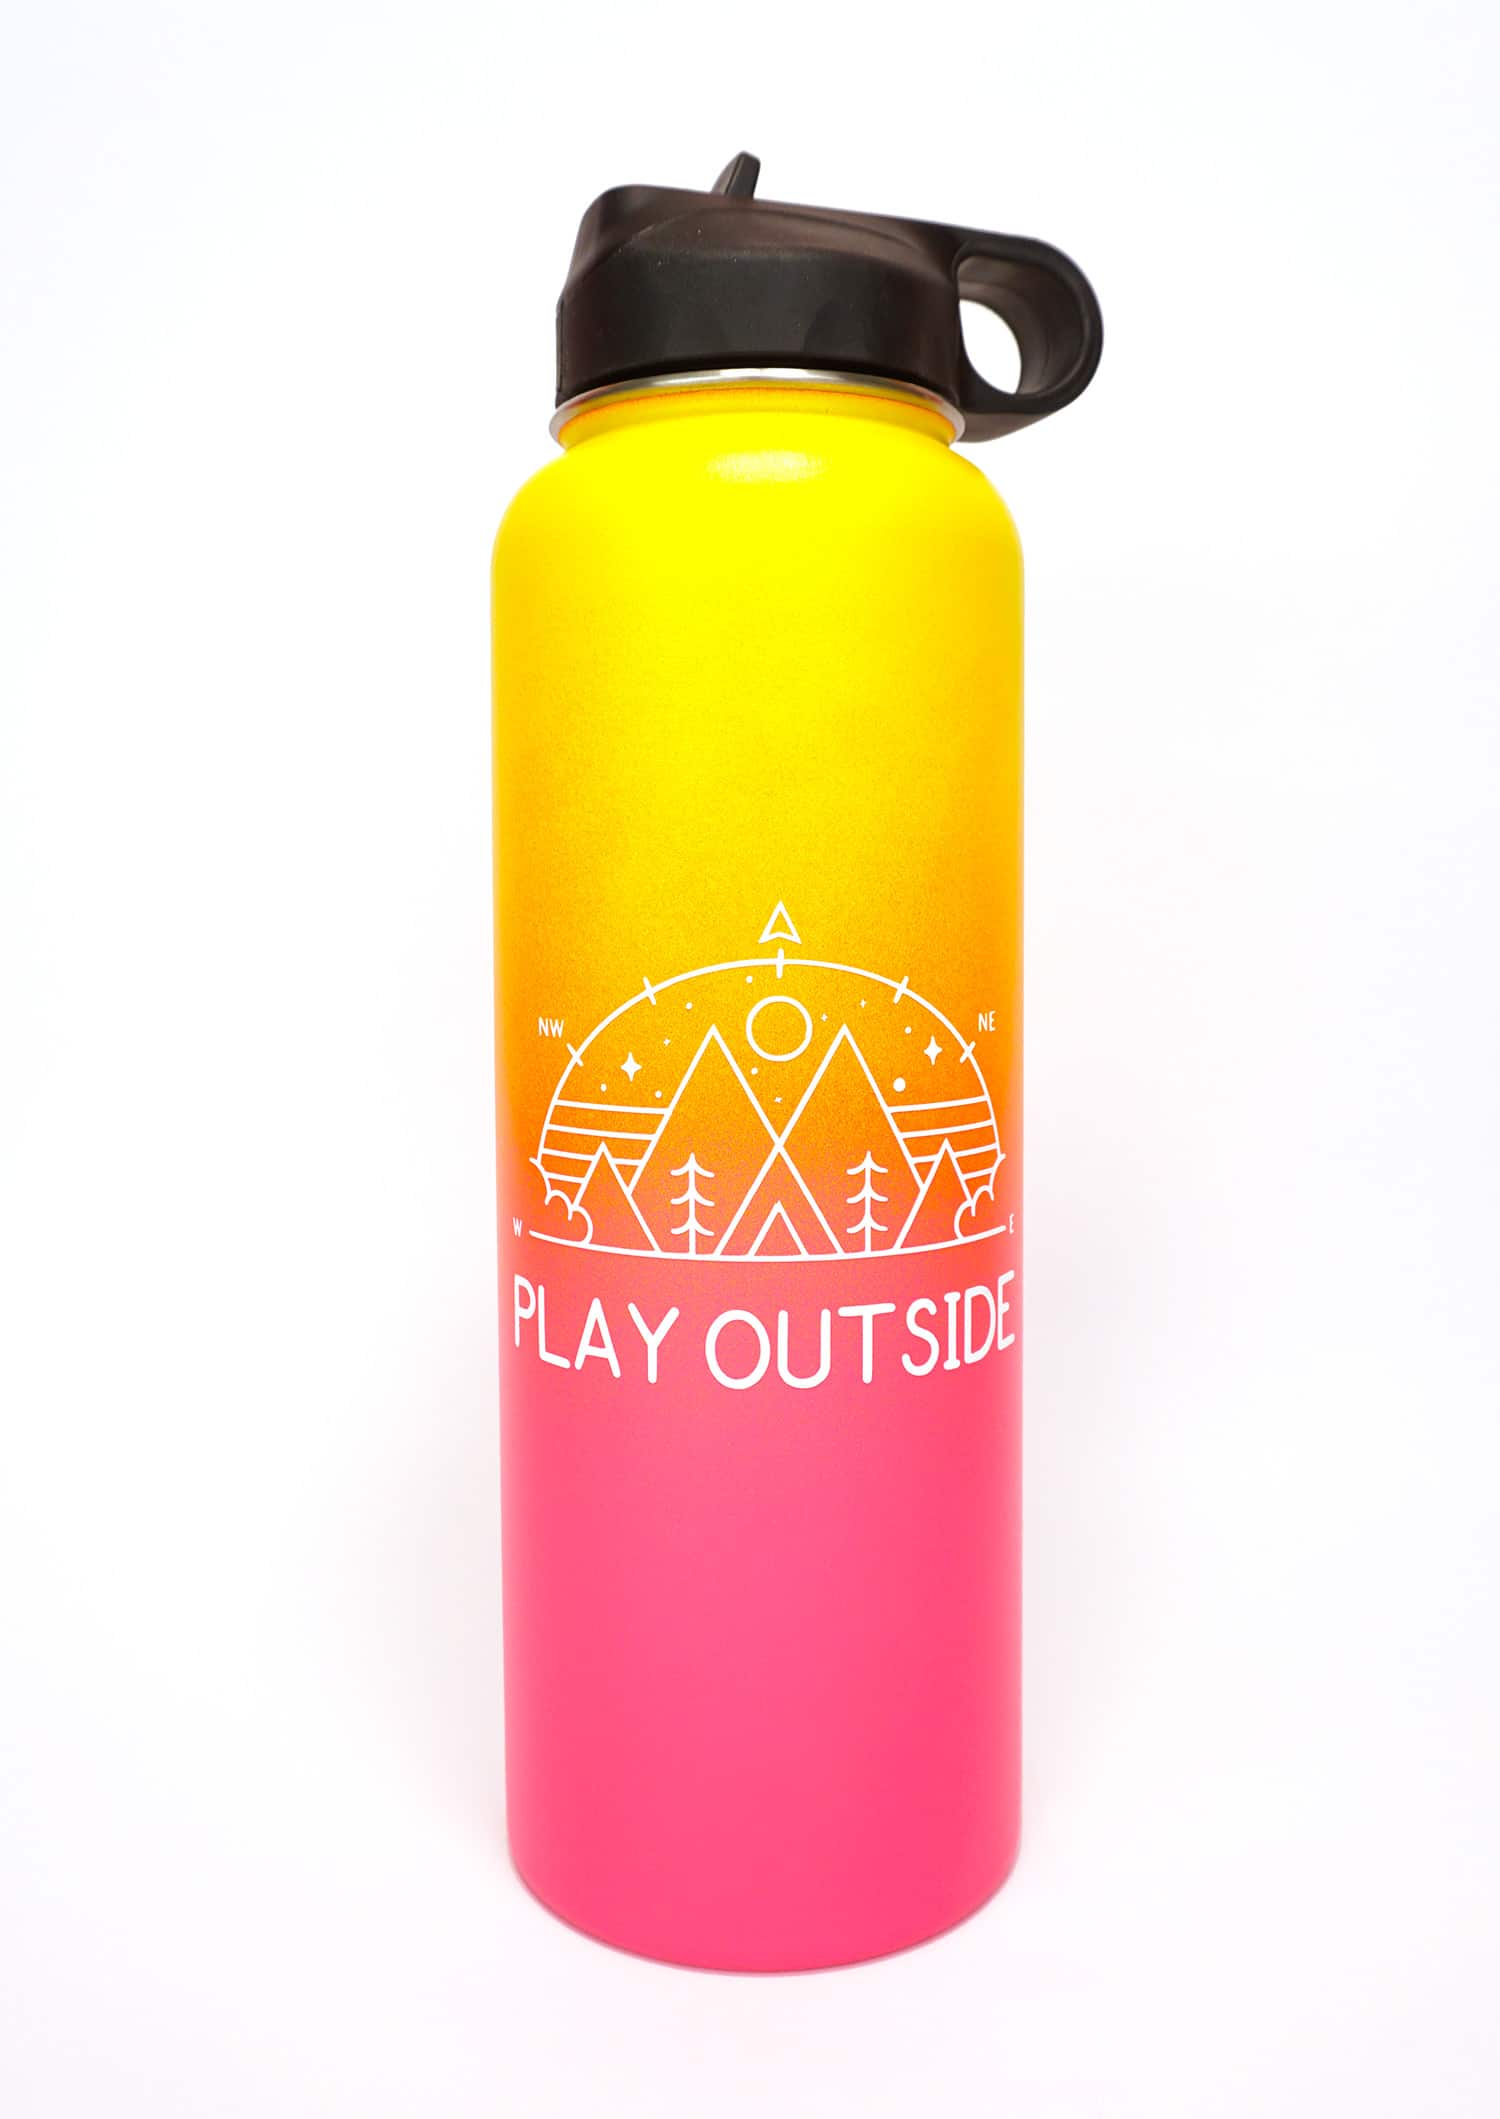
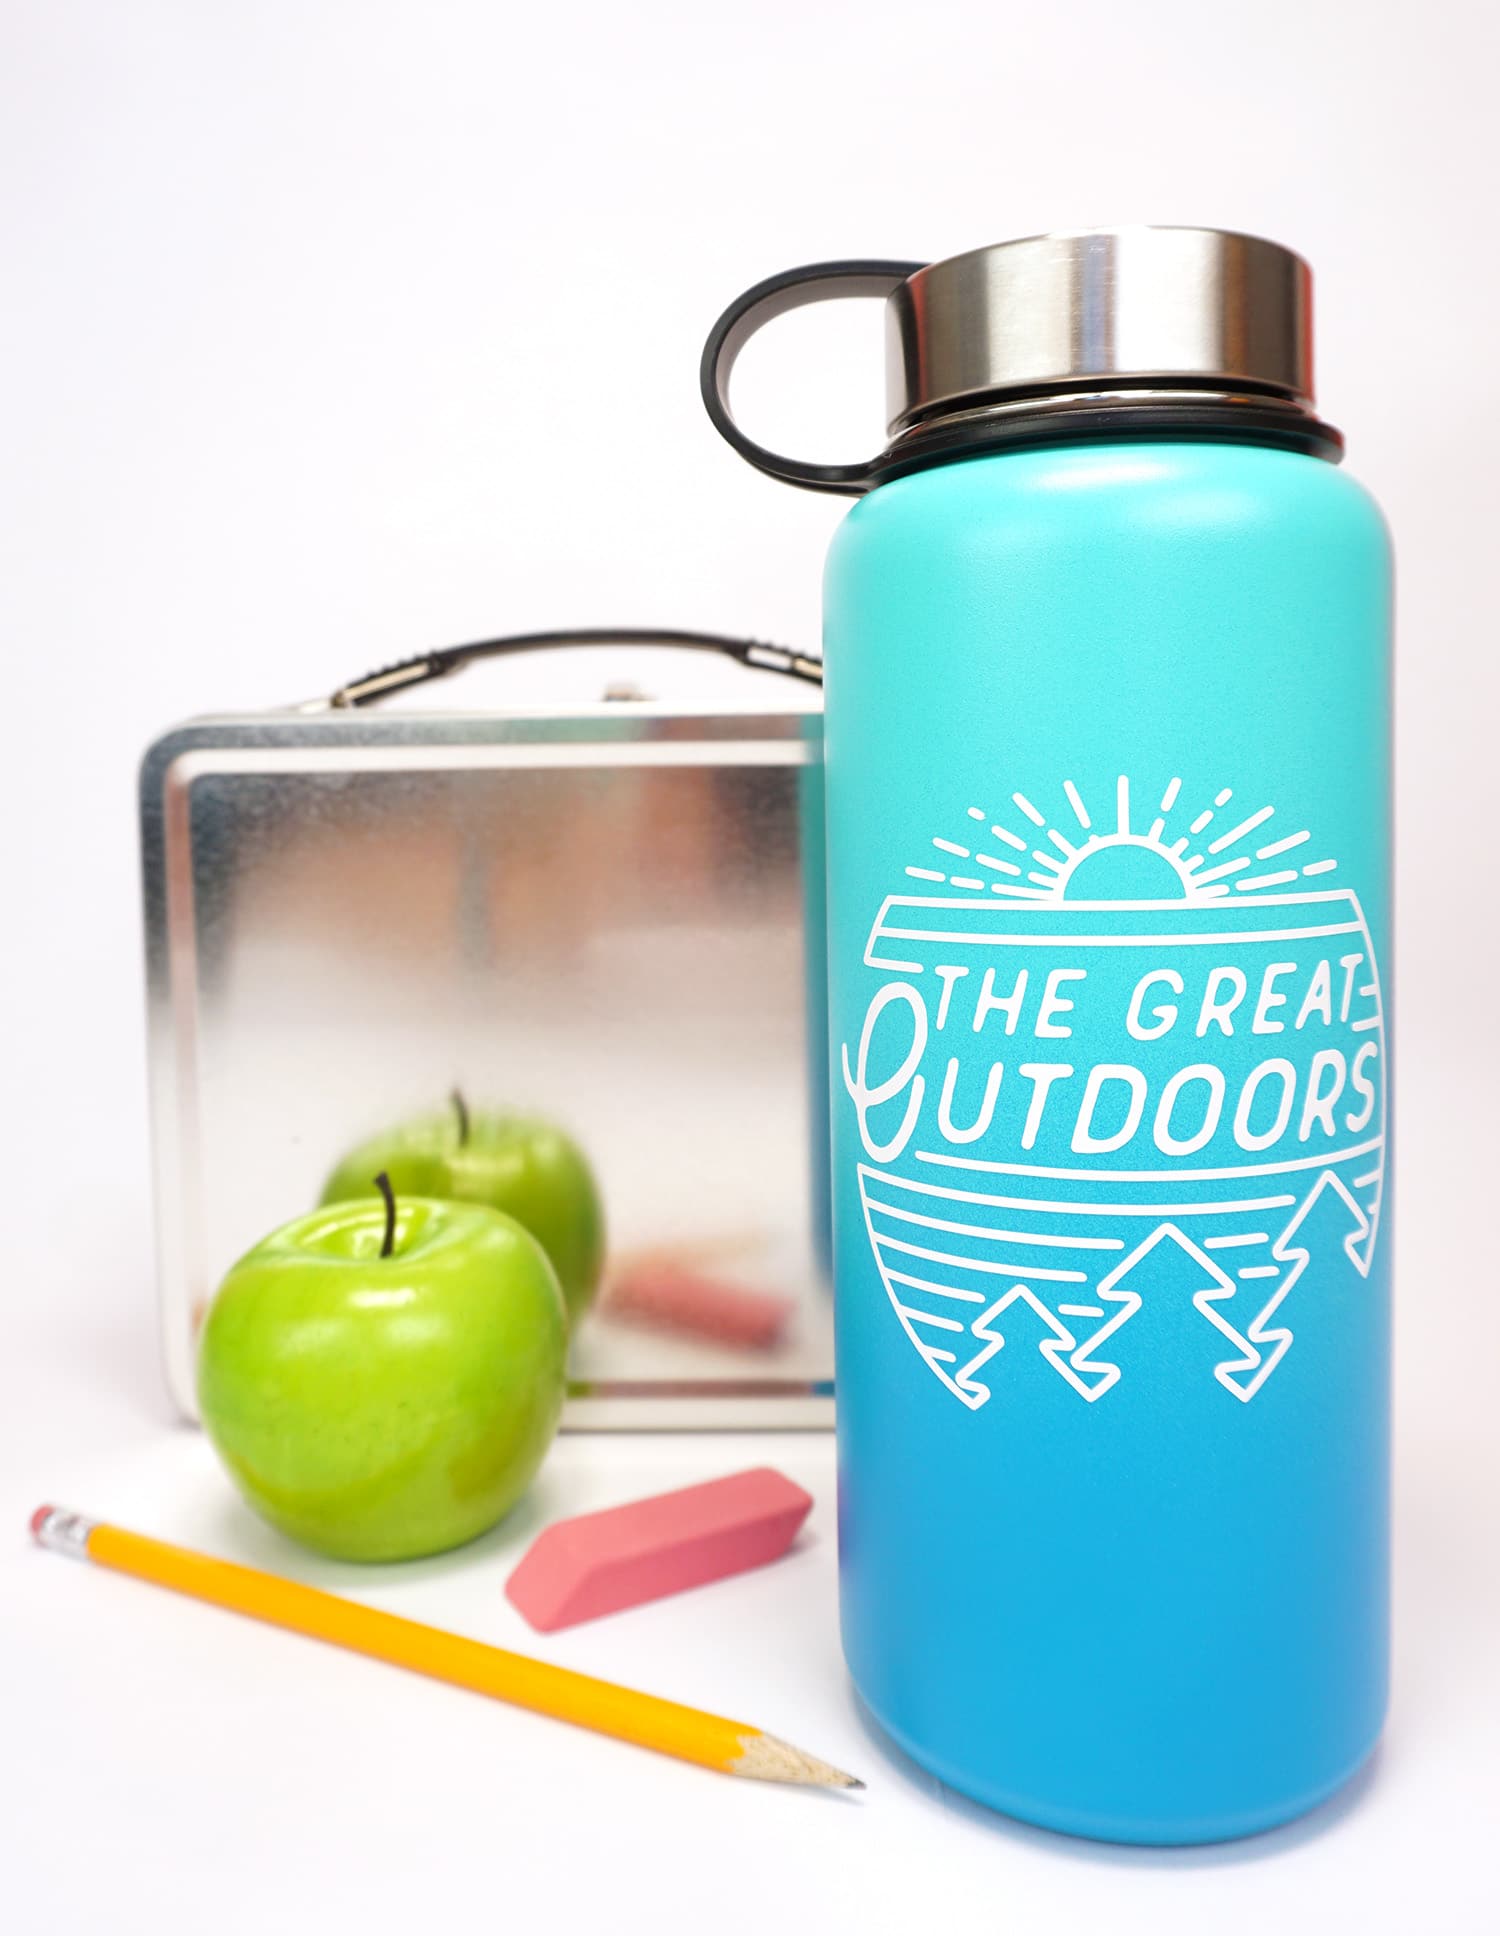
I started with three blank stainless steel water bottles – two were straight-sided and one is the “wave” model with a slimmer neck.
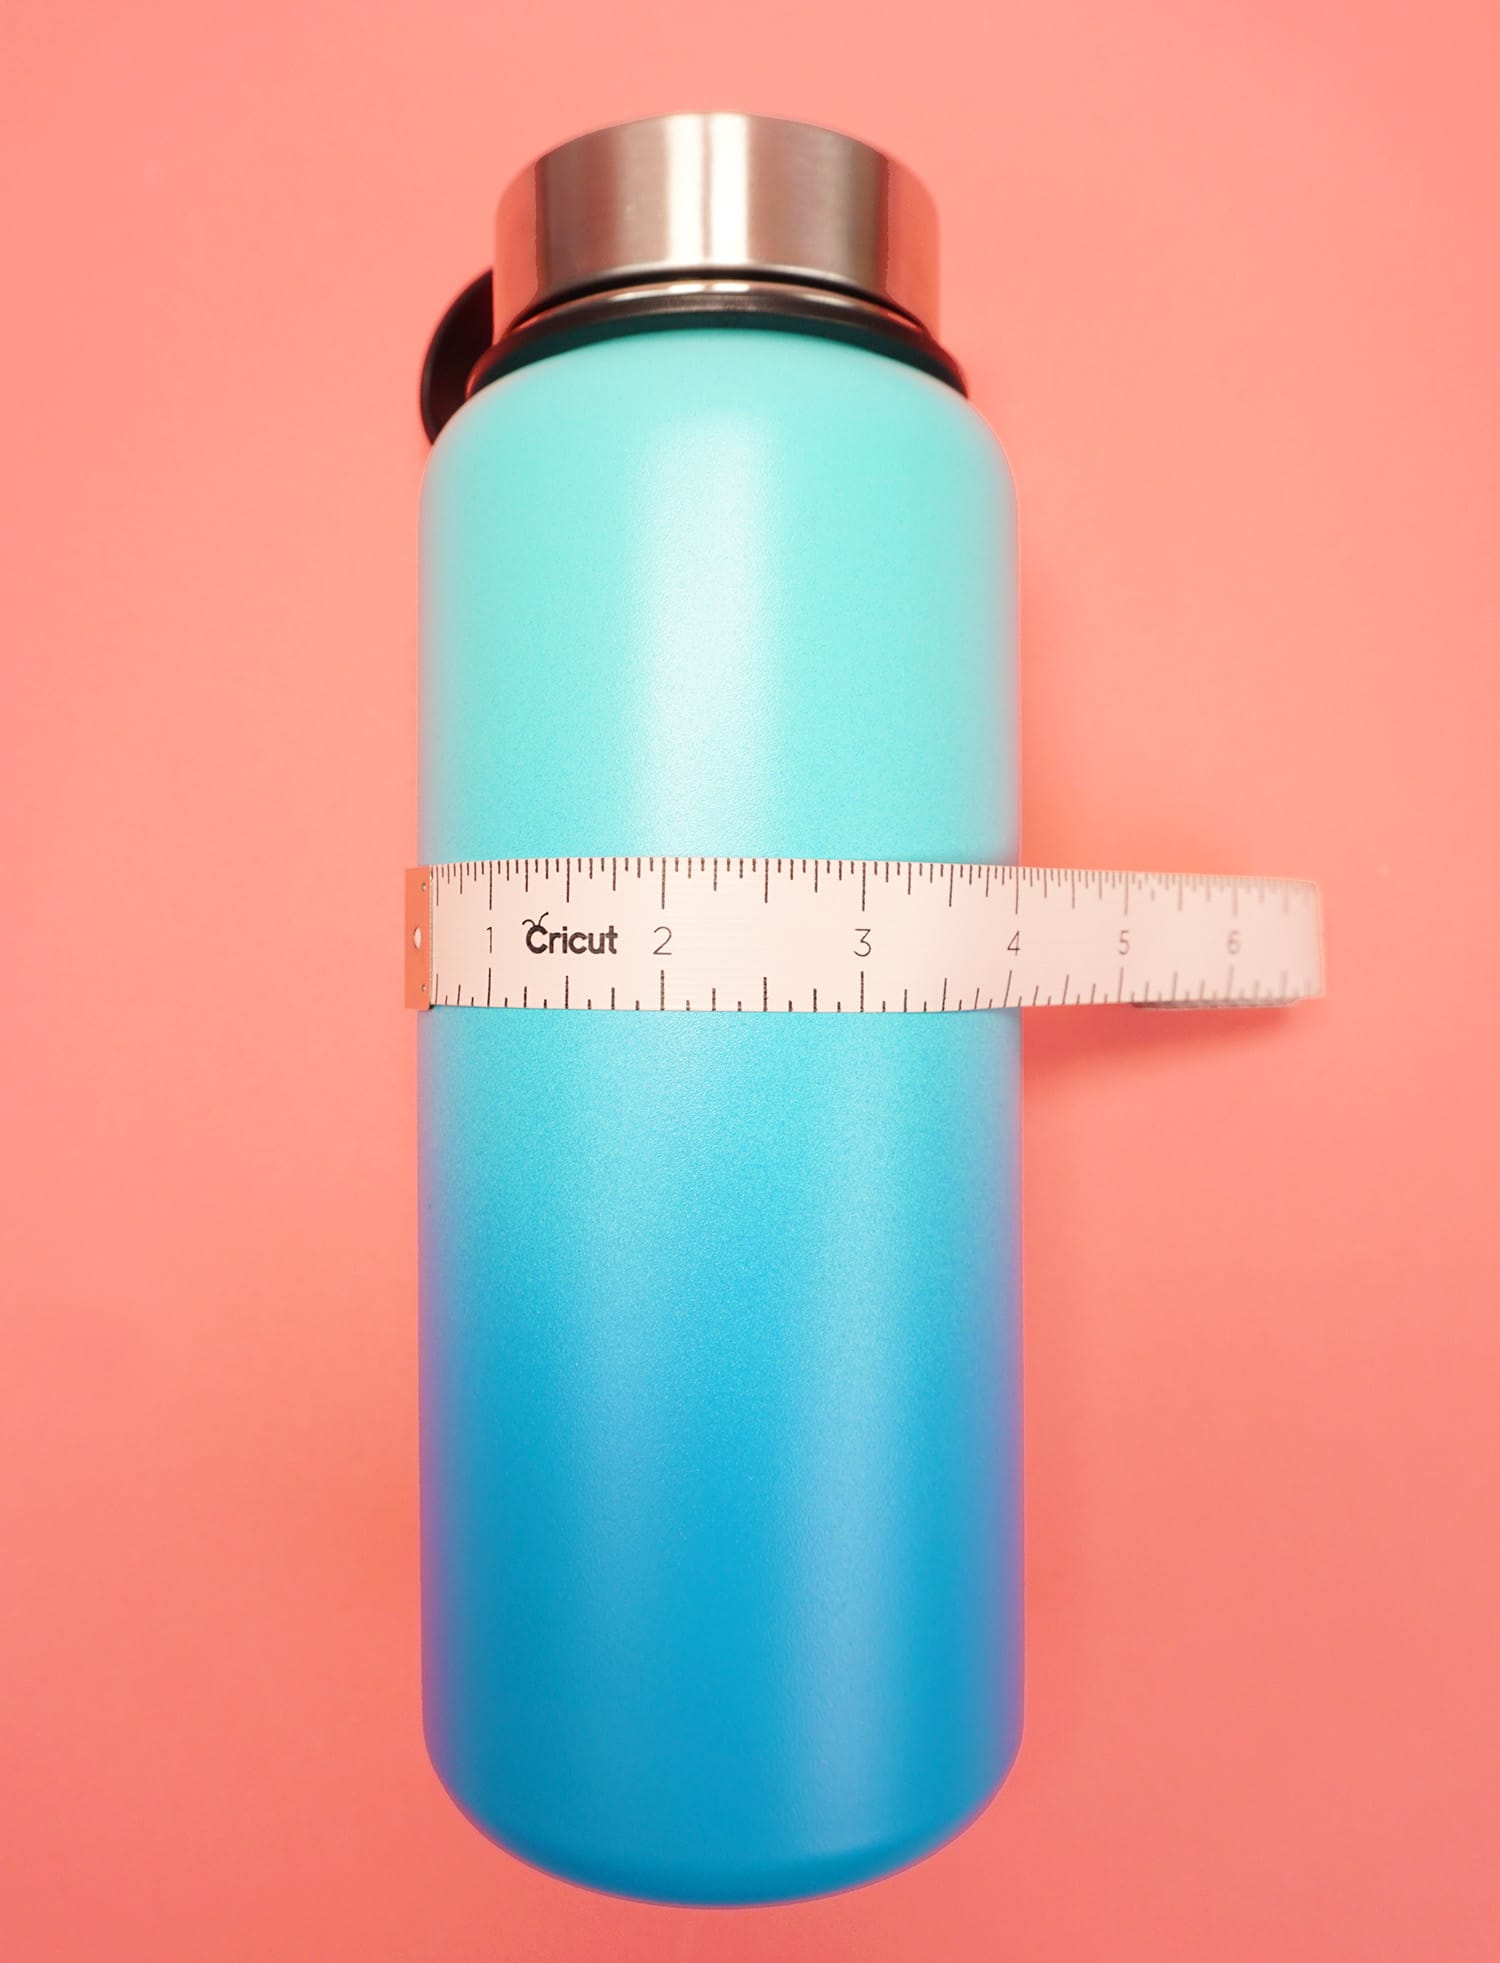
Use a measuring tape to determine what size your designs need to be.
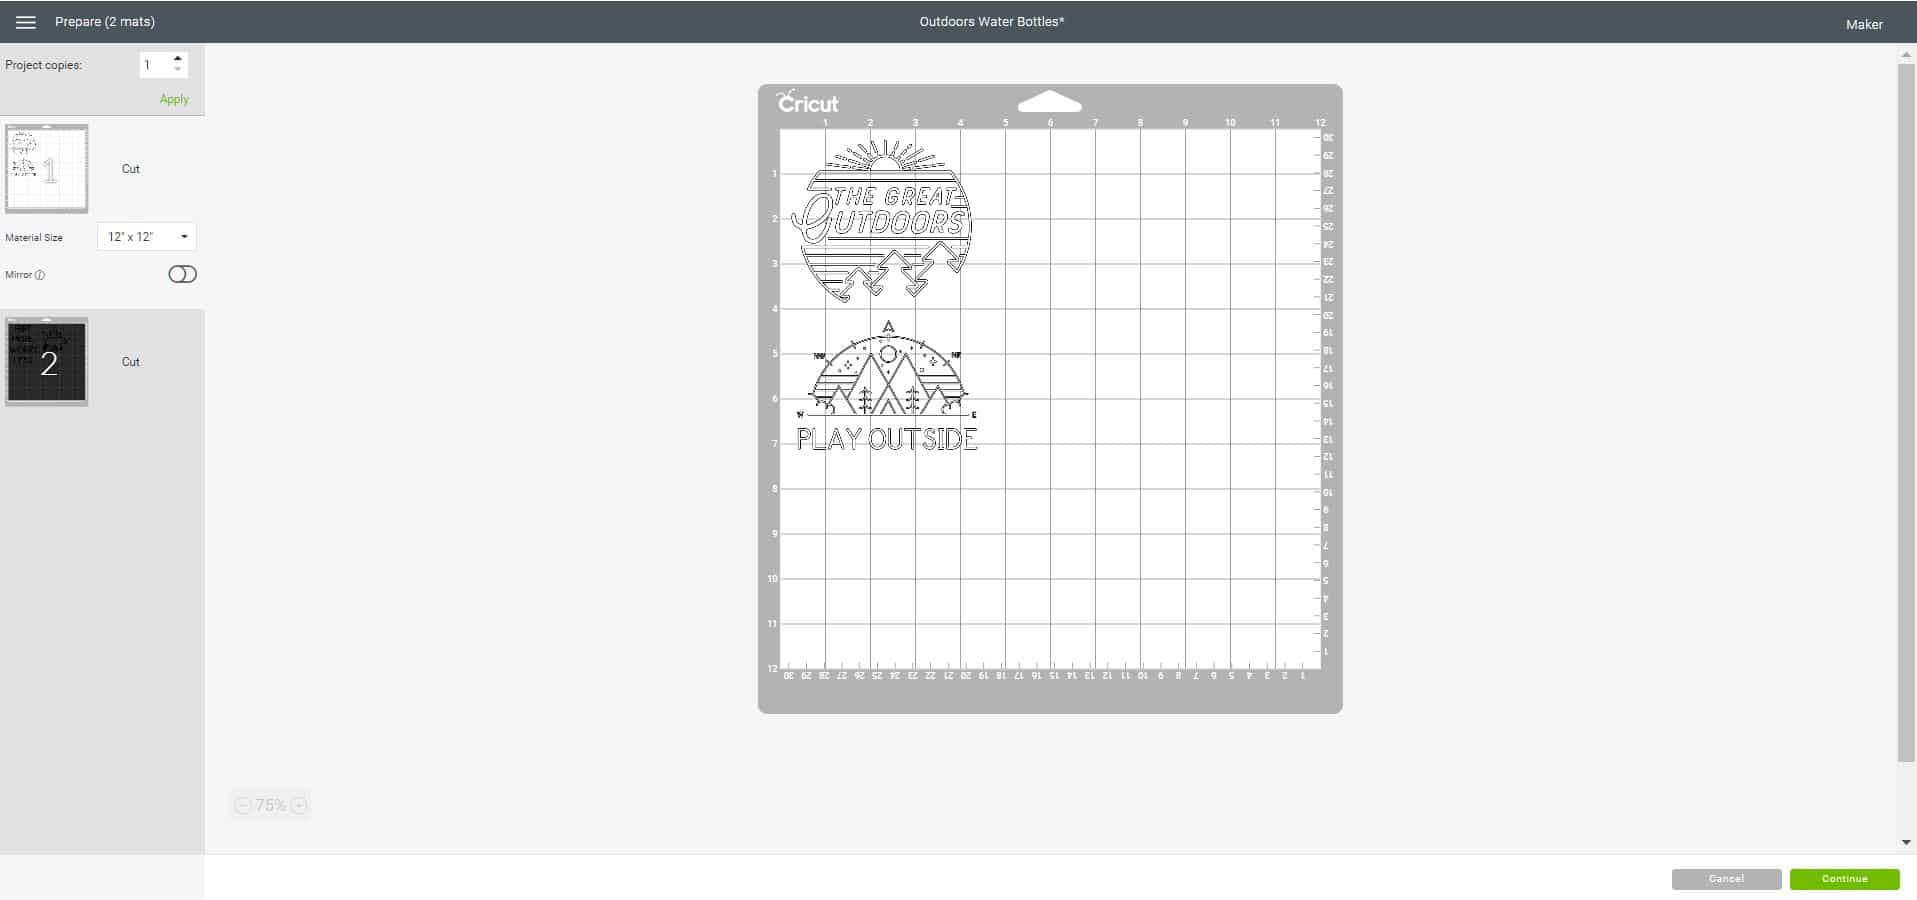
Open up your designs in Cricut Design Space and size the images appropriately. I set my designs at 4″ wide for the straight-sided bottles.
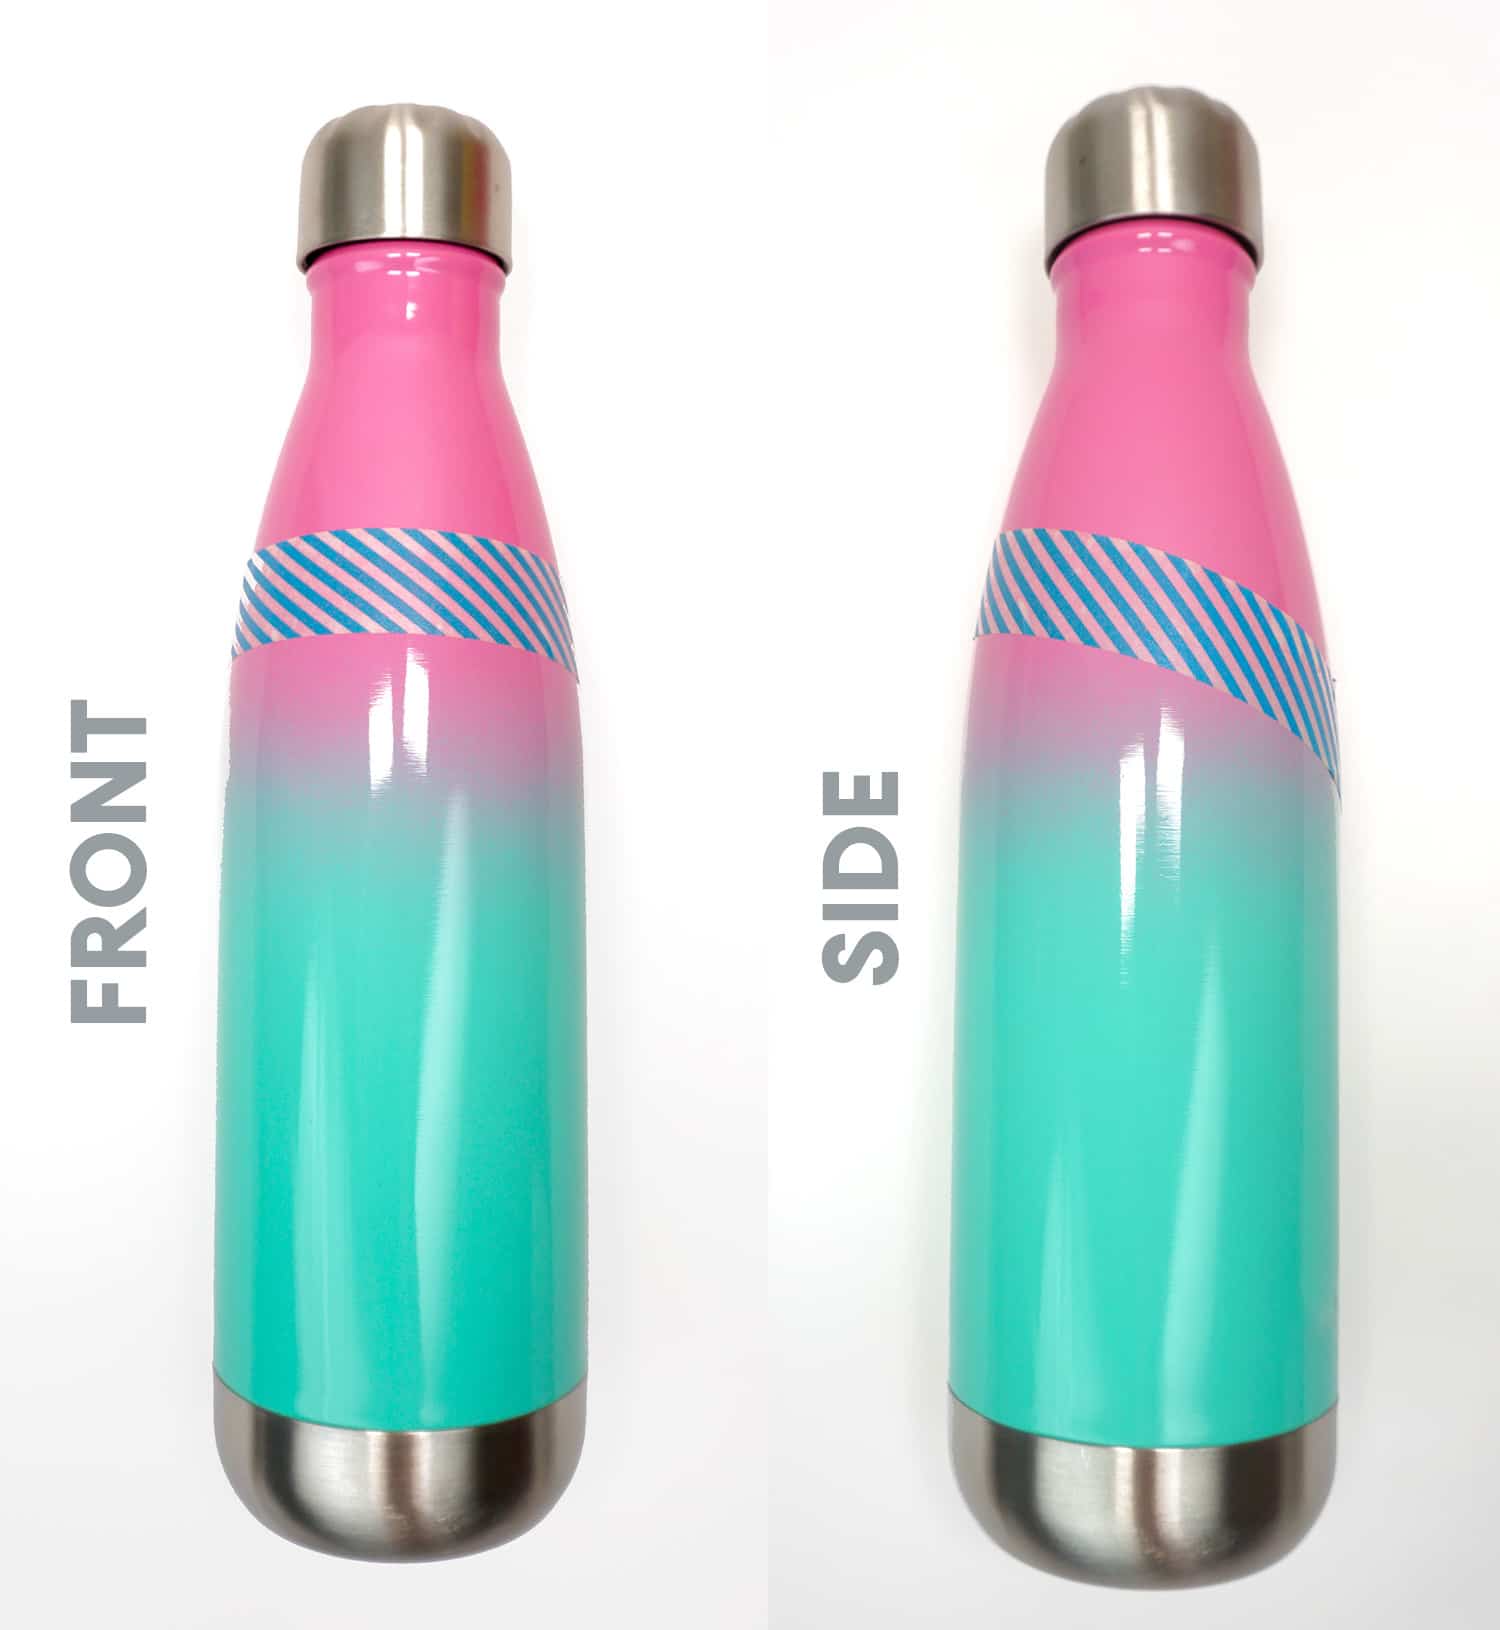
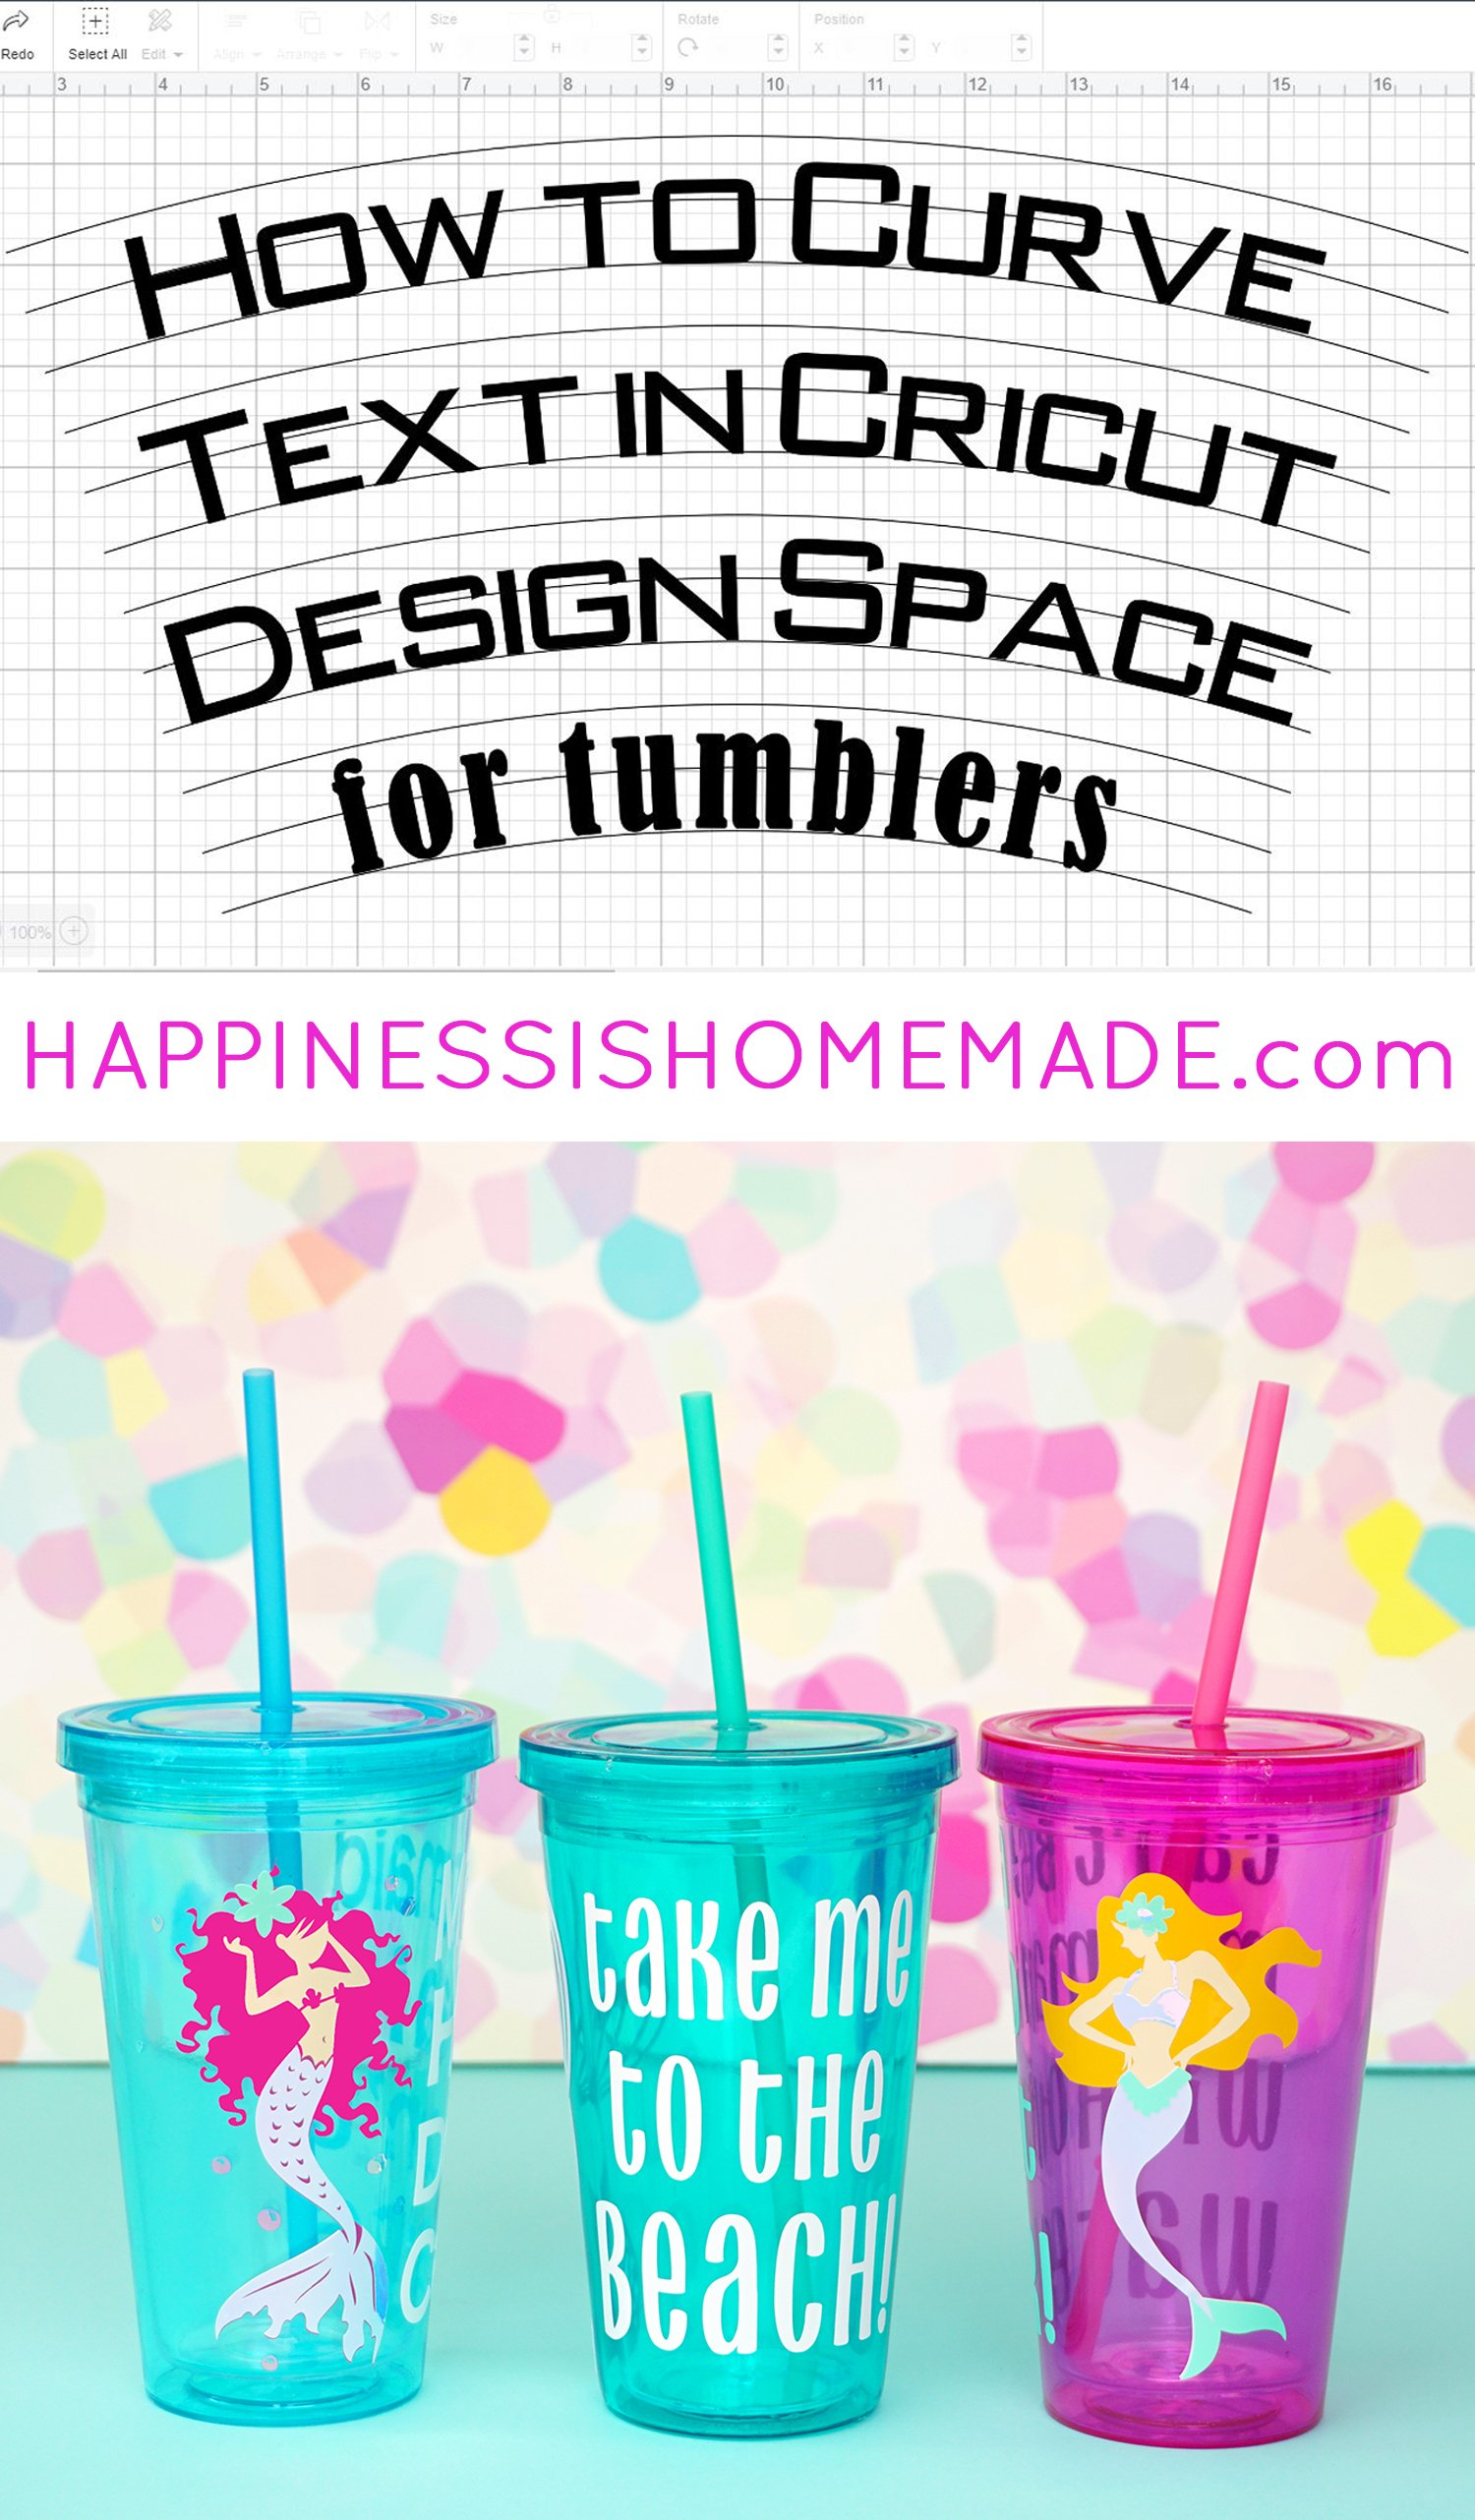
The wave-shaped bottle requires a bit of extra effort. Applying a straight line to a curved surface doesn’t produce straight results, so you’ll need to add a bit of a curve to any text that will be applied to a curved surface to compensate.
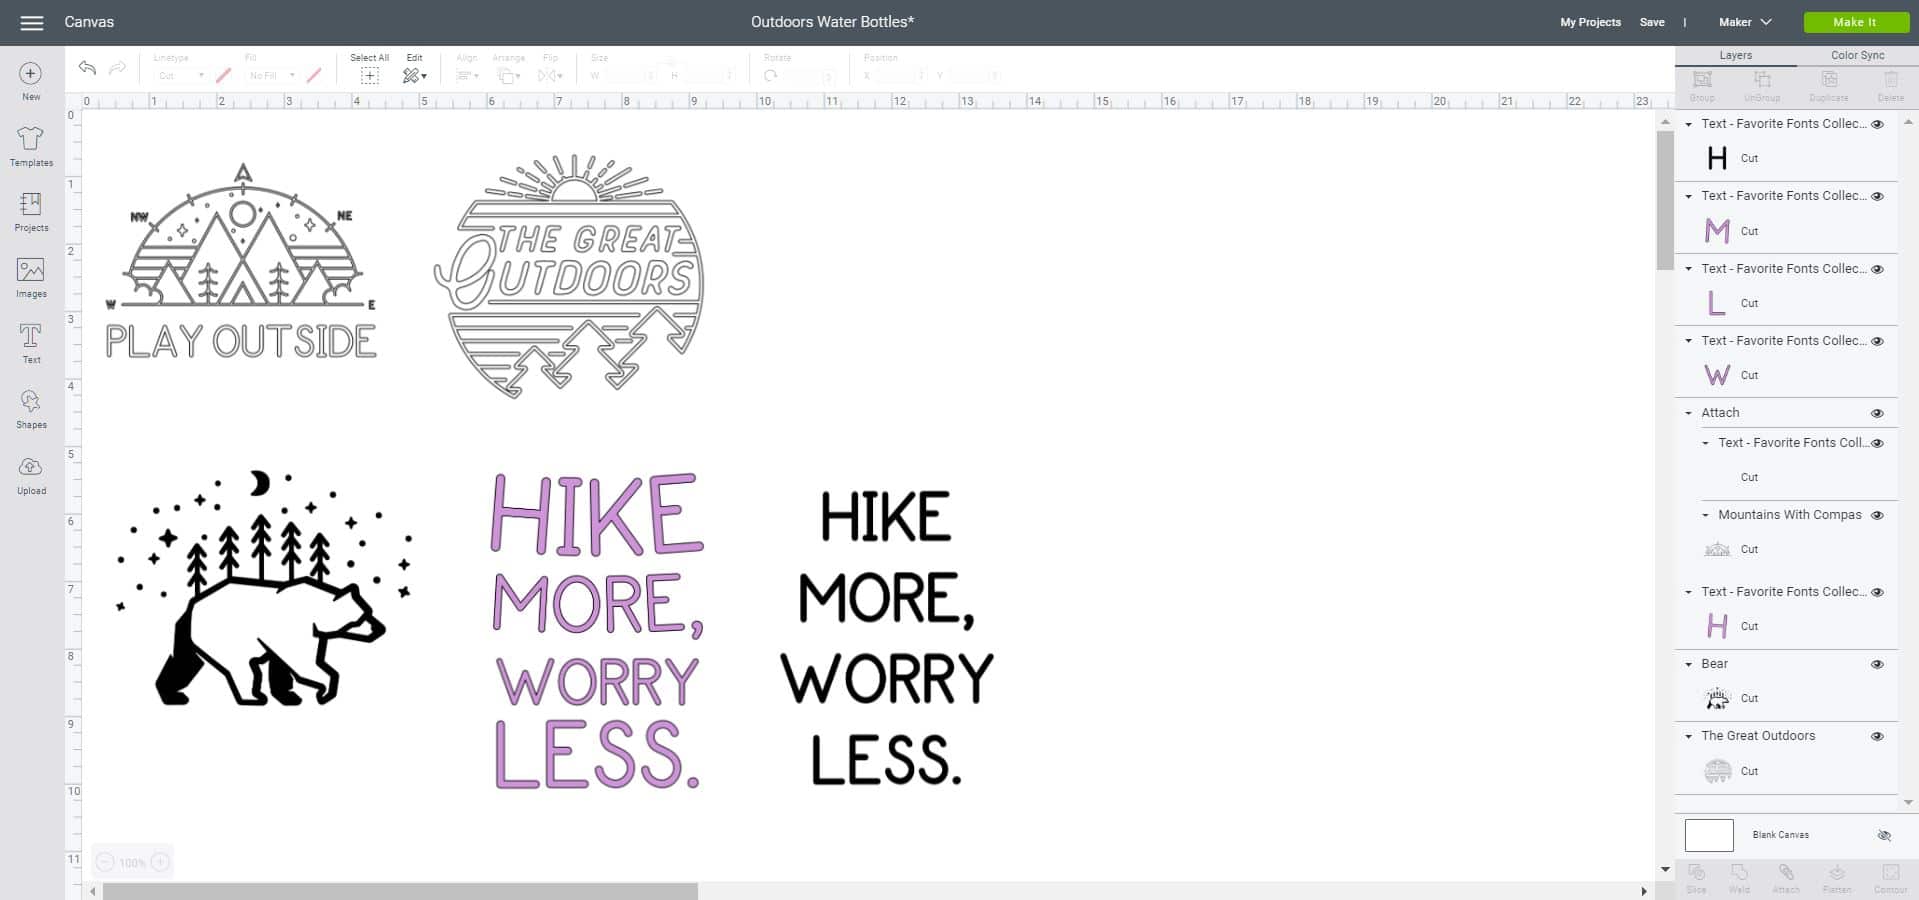
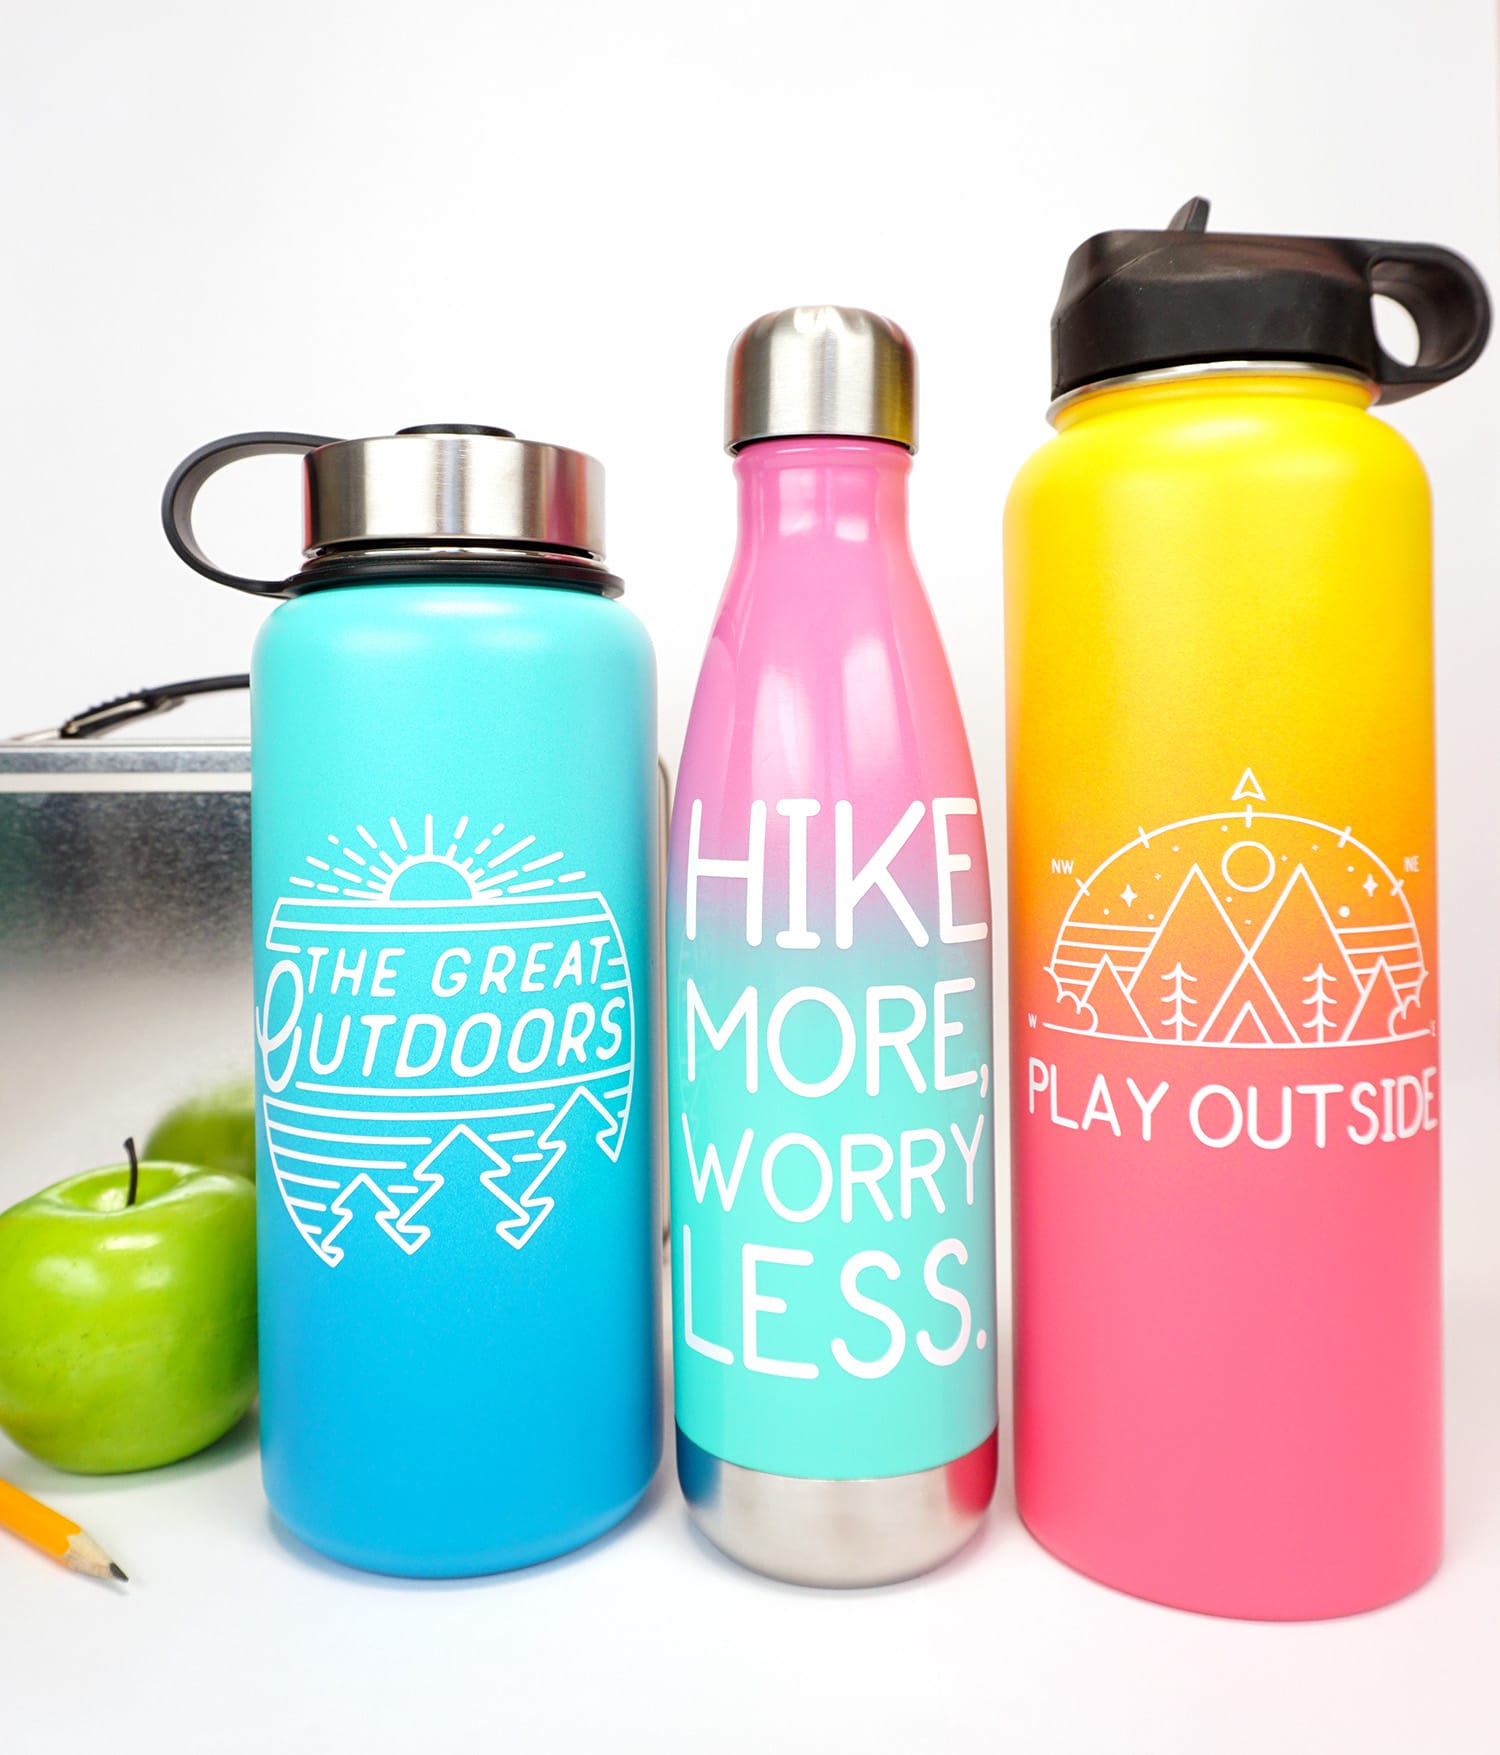
We have previously talked about How to Curve Text for Tumblers, and with the wave-shaped water bottle, you will need to do the same thing. You can take the complicated route and create/scan a paper template of your water bottle into Design Space for a precise curvature measurement, or you can take the easier way out and simply play around with the curvature in Design Space until it looks correct. It’s fairly easy to eyeball the measurement without the extra effort of creating a template, but it may require you to cut a sample or two to get it right. For this water bottle, I kept “Worry Less’ at a zero curvature since it rests on the straight-sided part of the bottle, and I gave “Hike” a curvature of -50 and “More” a curvature of -53.
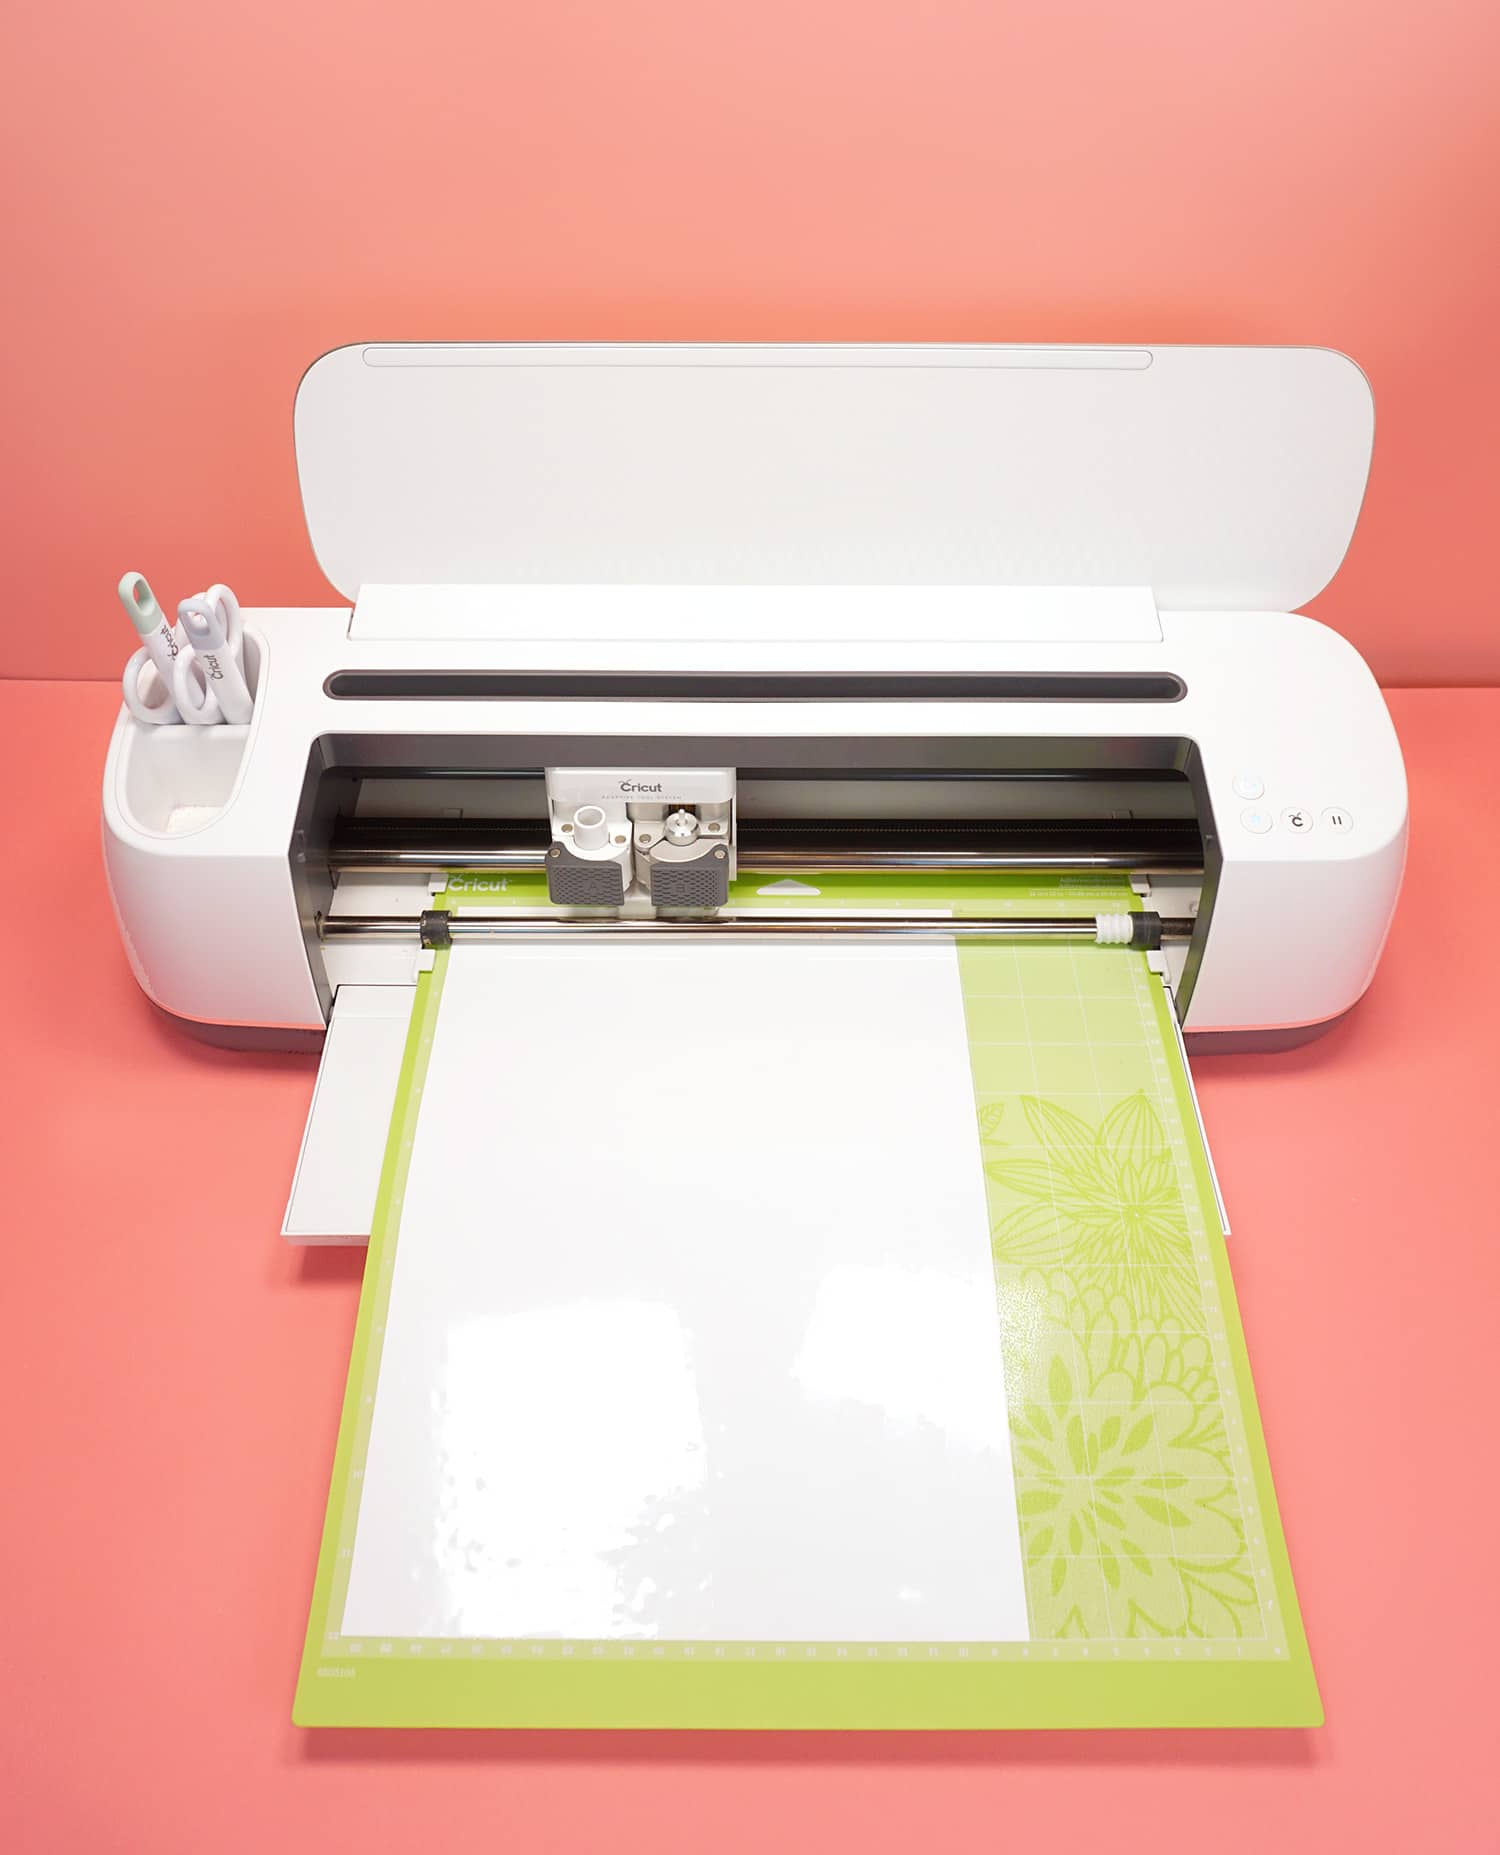
Use your Maker or Explore Air to cut the vinyl.
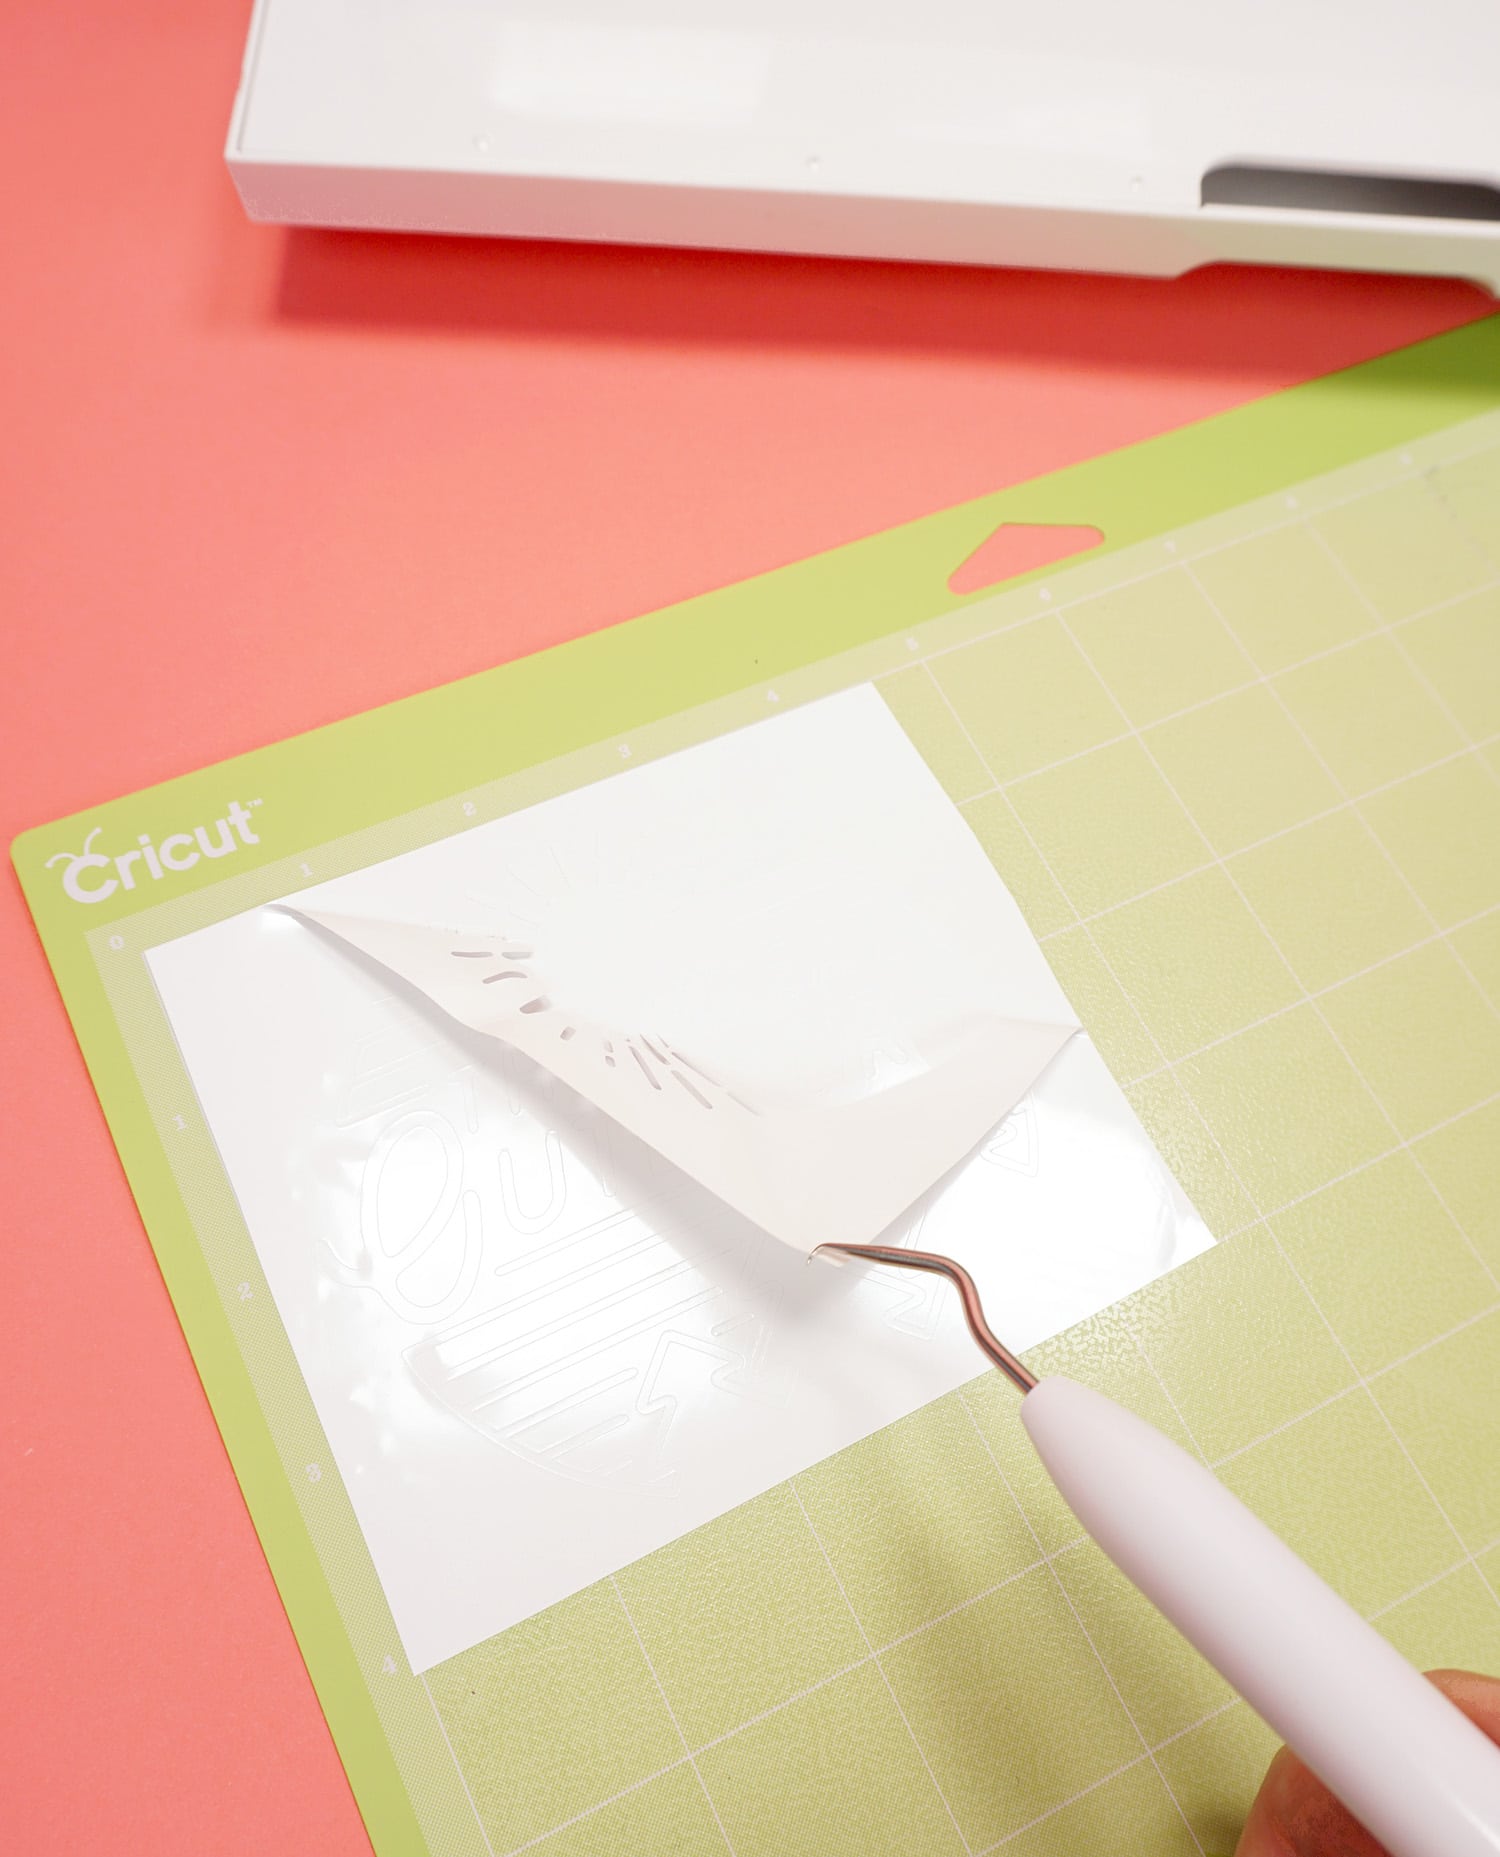
Use your weeding tools to weed the excess vinyl.
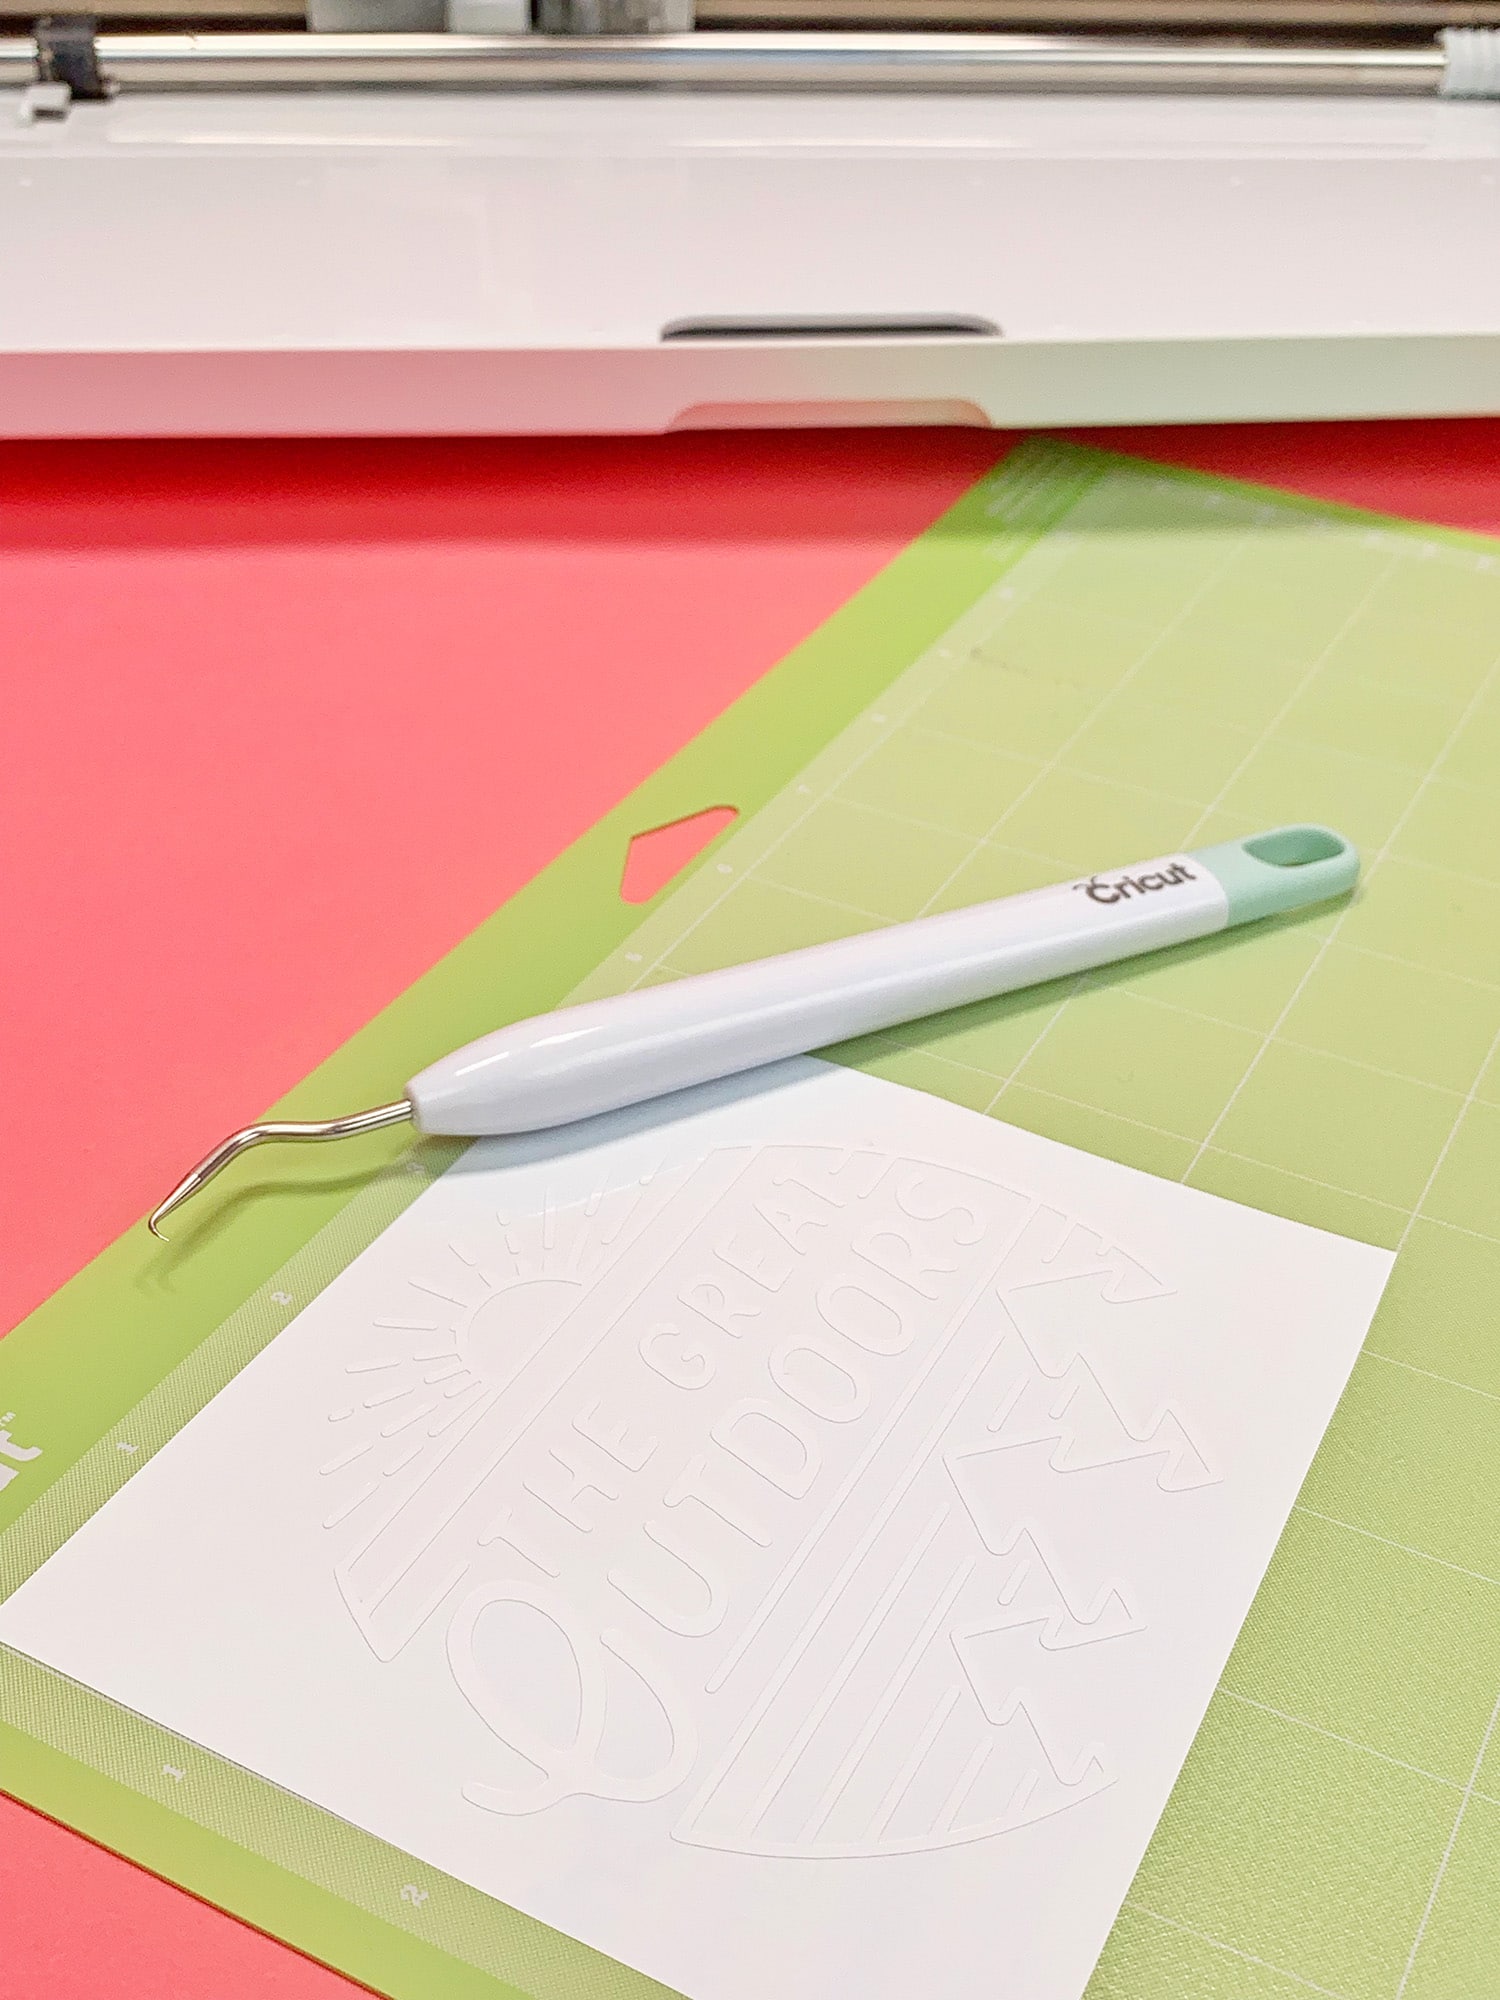
I love, love, LOVE my Hooked Weeding Tool, so if you don’t have one yet, I highly recommend getting your hands on one!
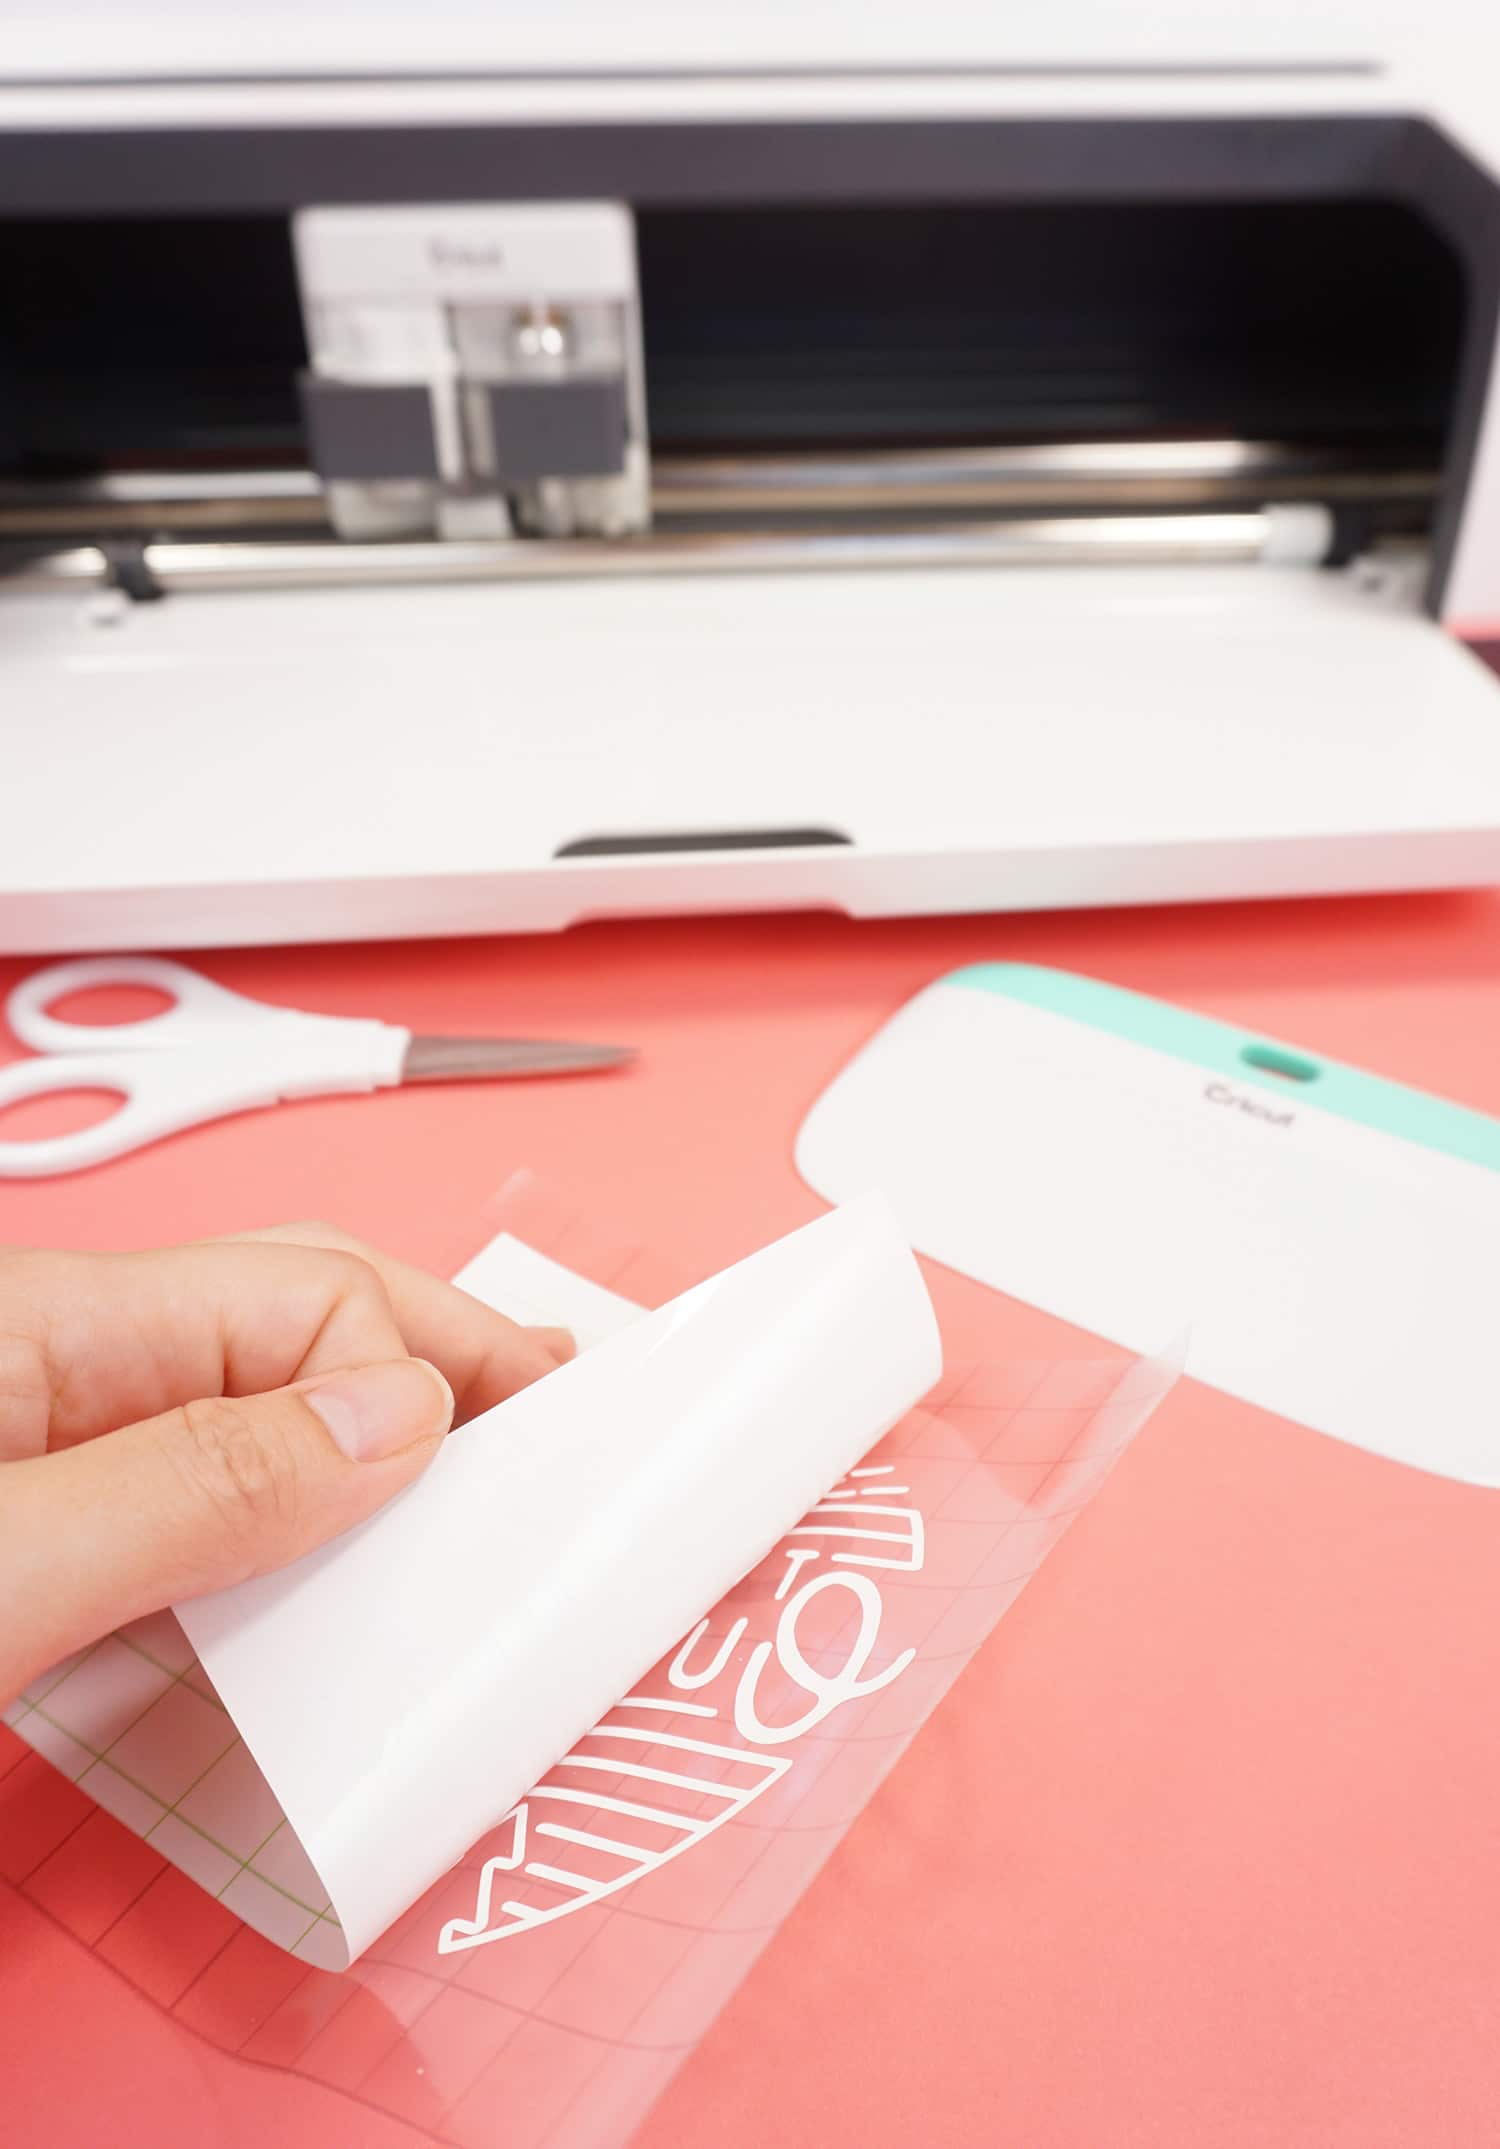
Cover the vinyl design with a small piece of transfer tape, burnish with the XL scraper, and peel away the backing paper.
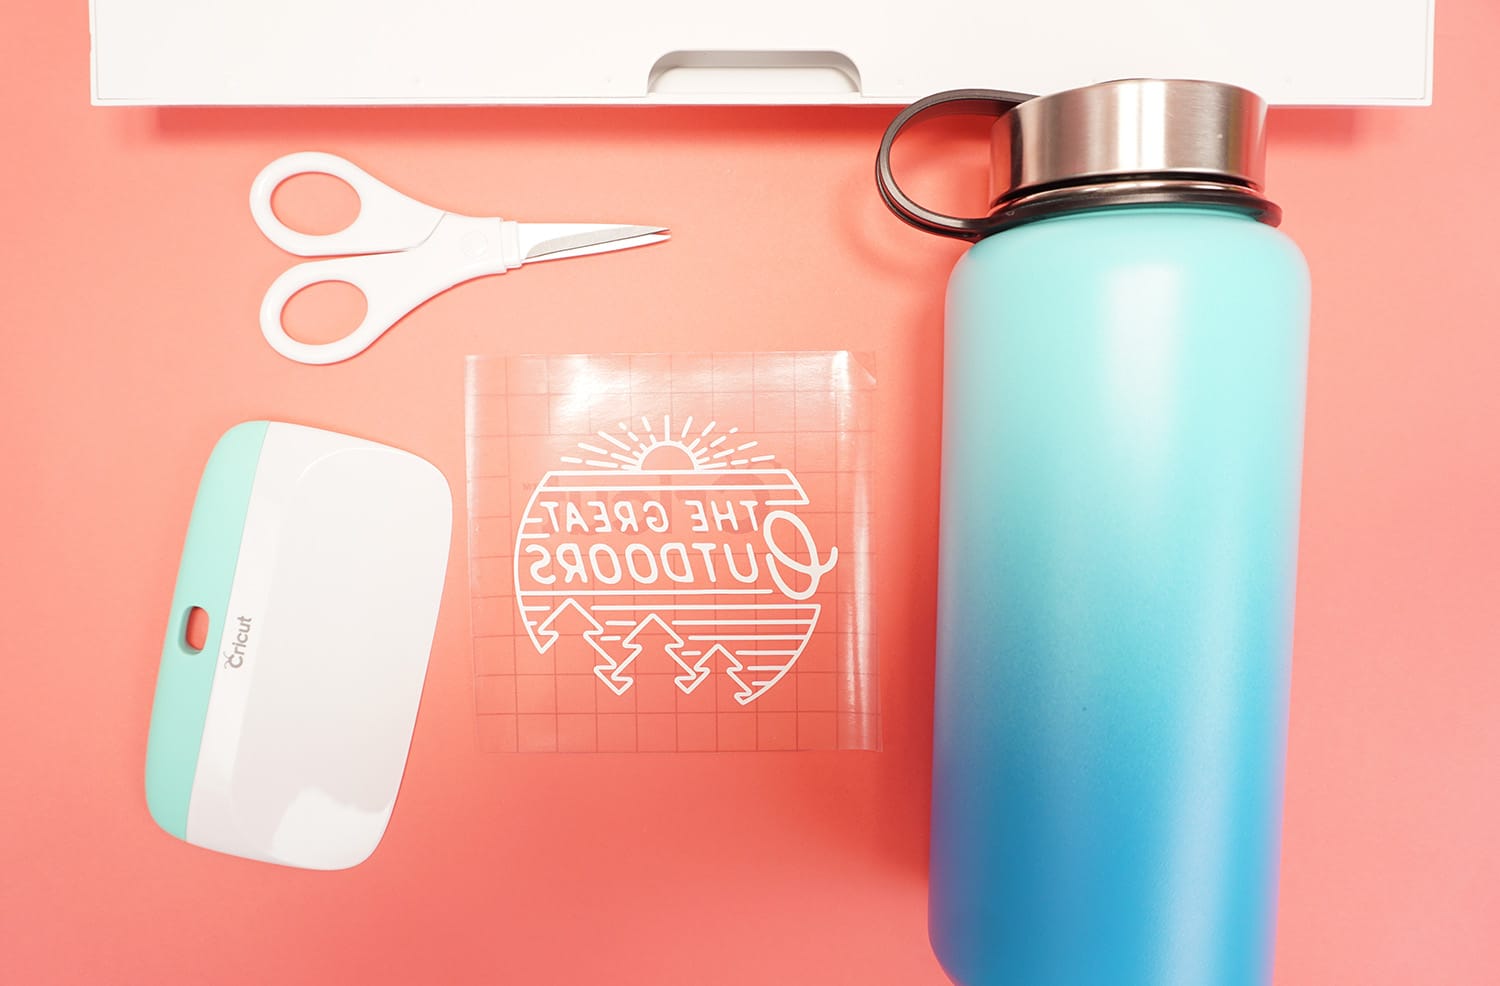
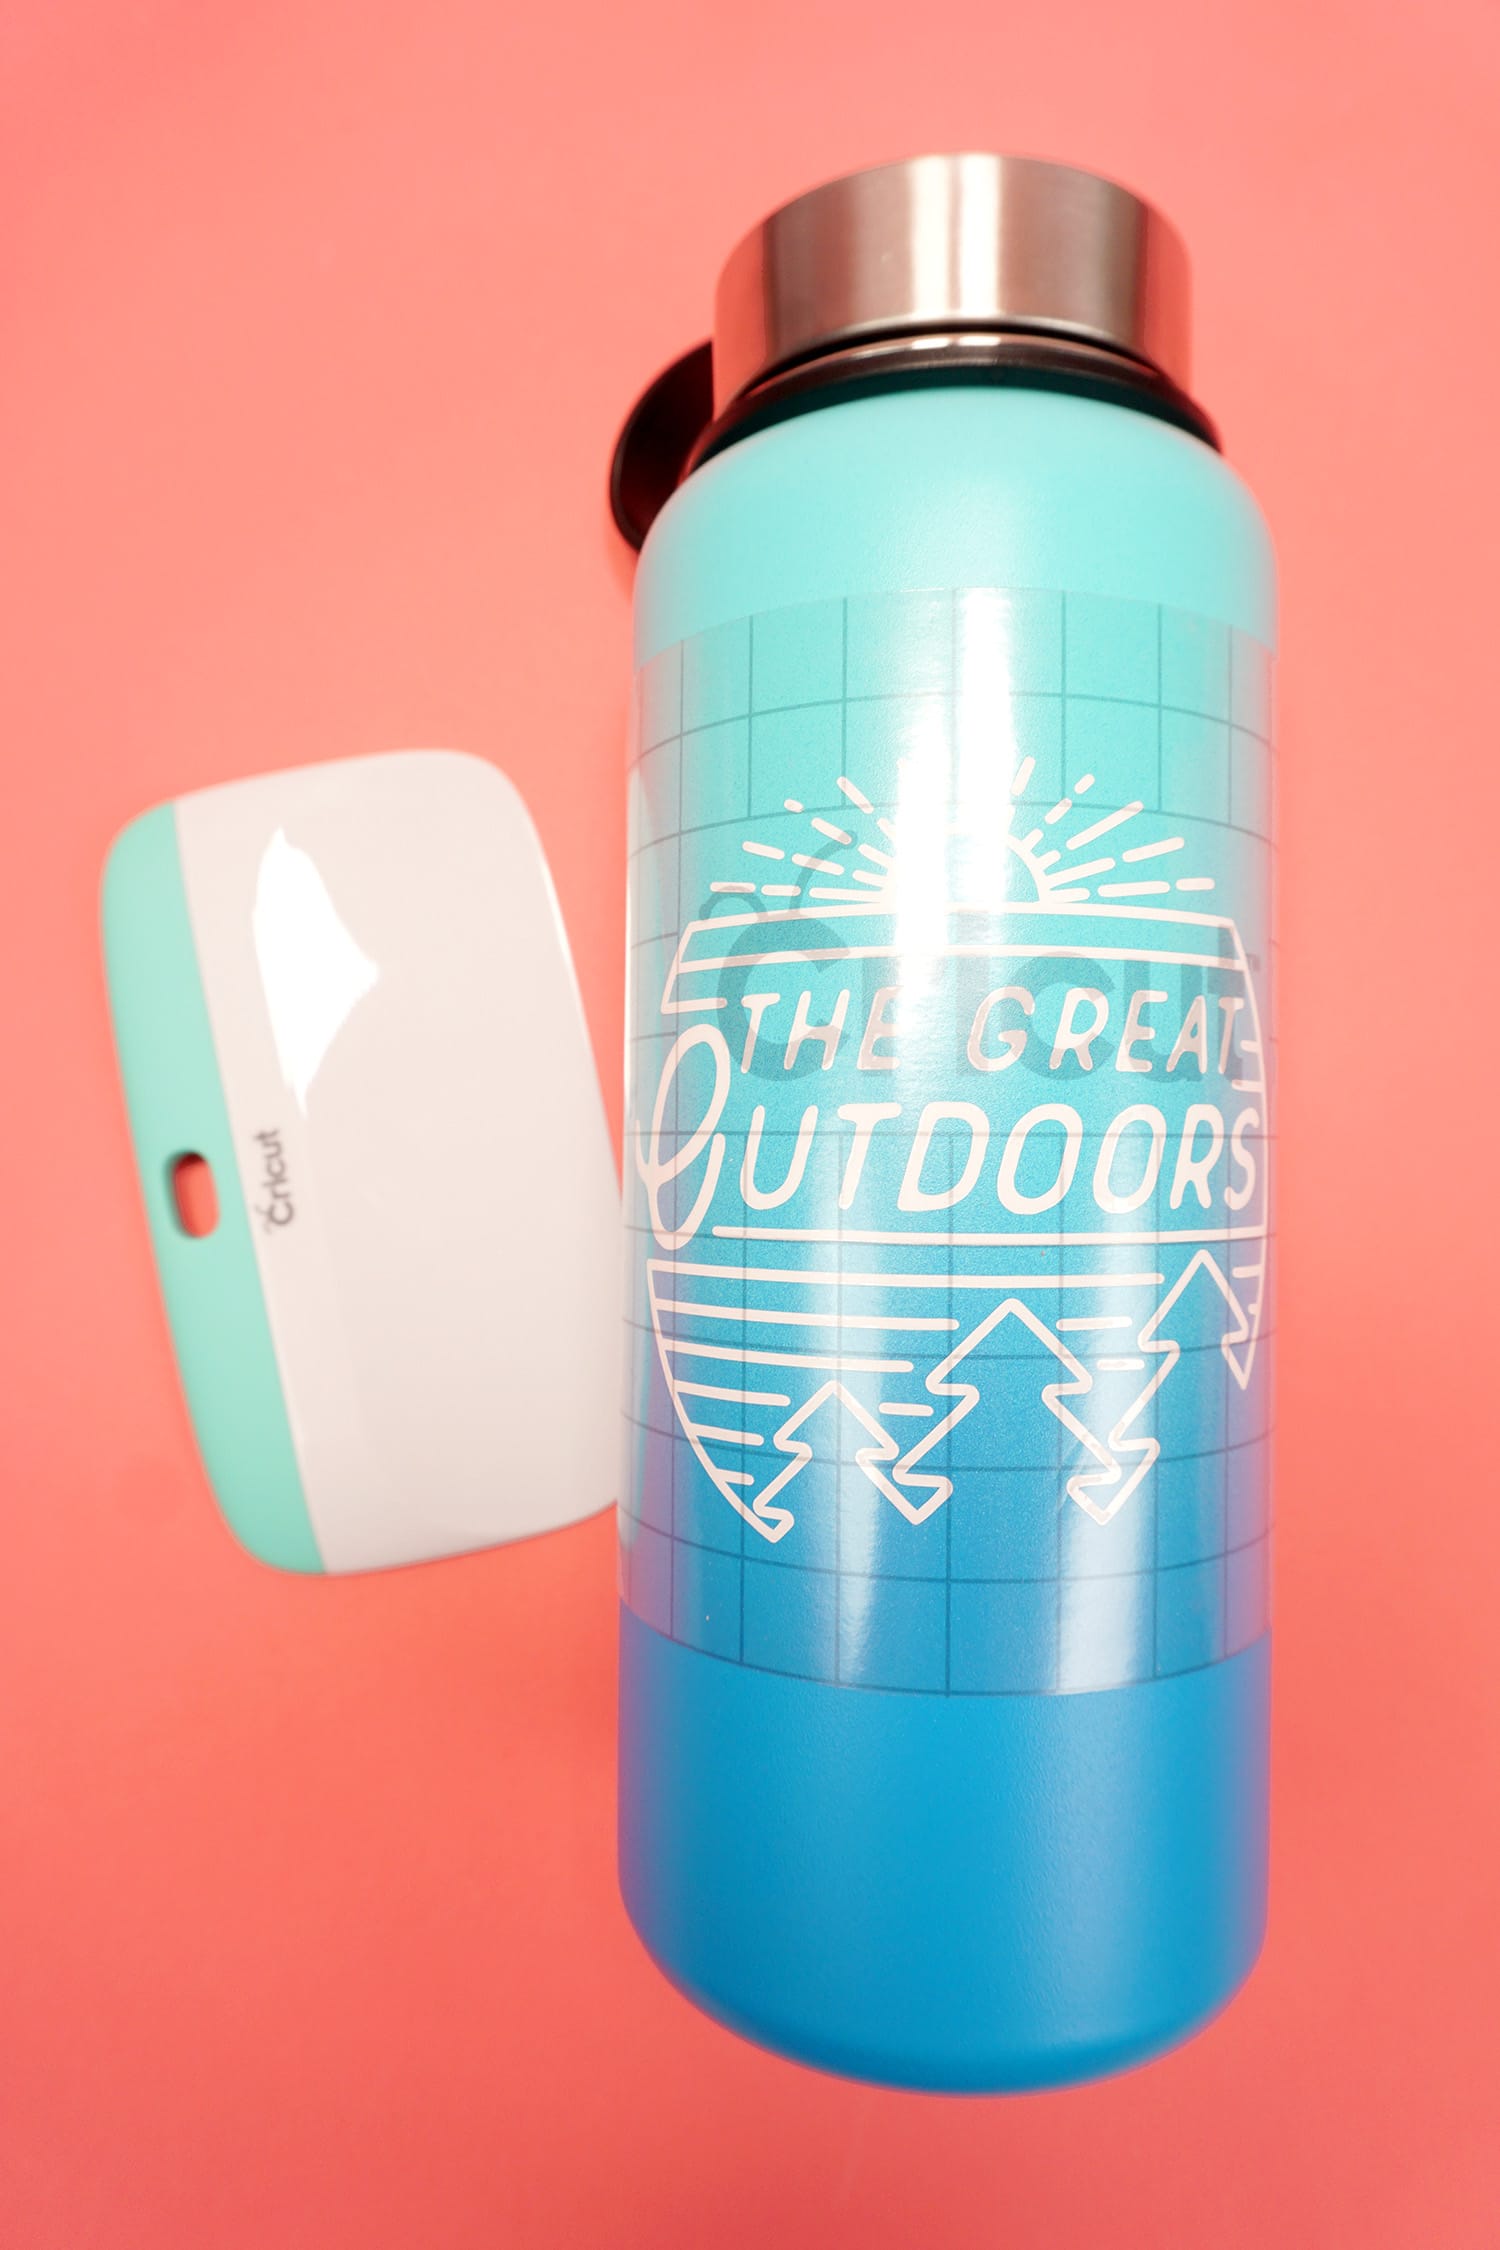
Apply the vinyl to the water bottle and use the XL scraper to burnish before peeling off the transfer tape.
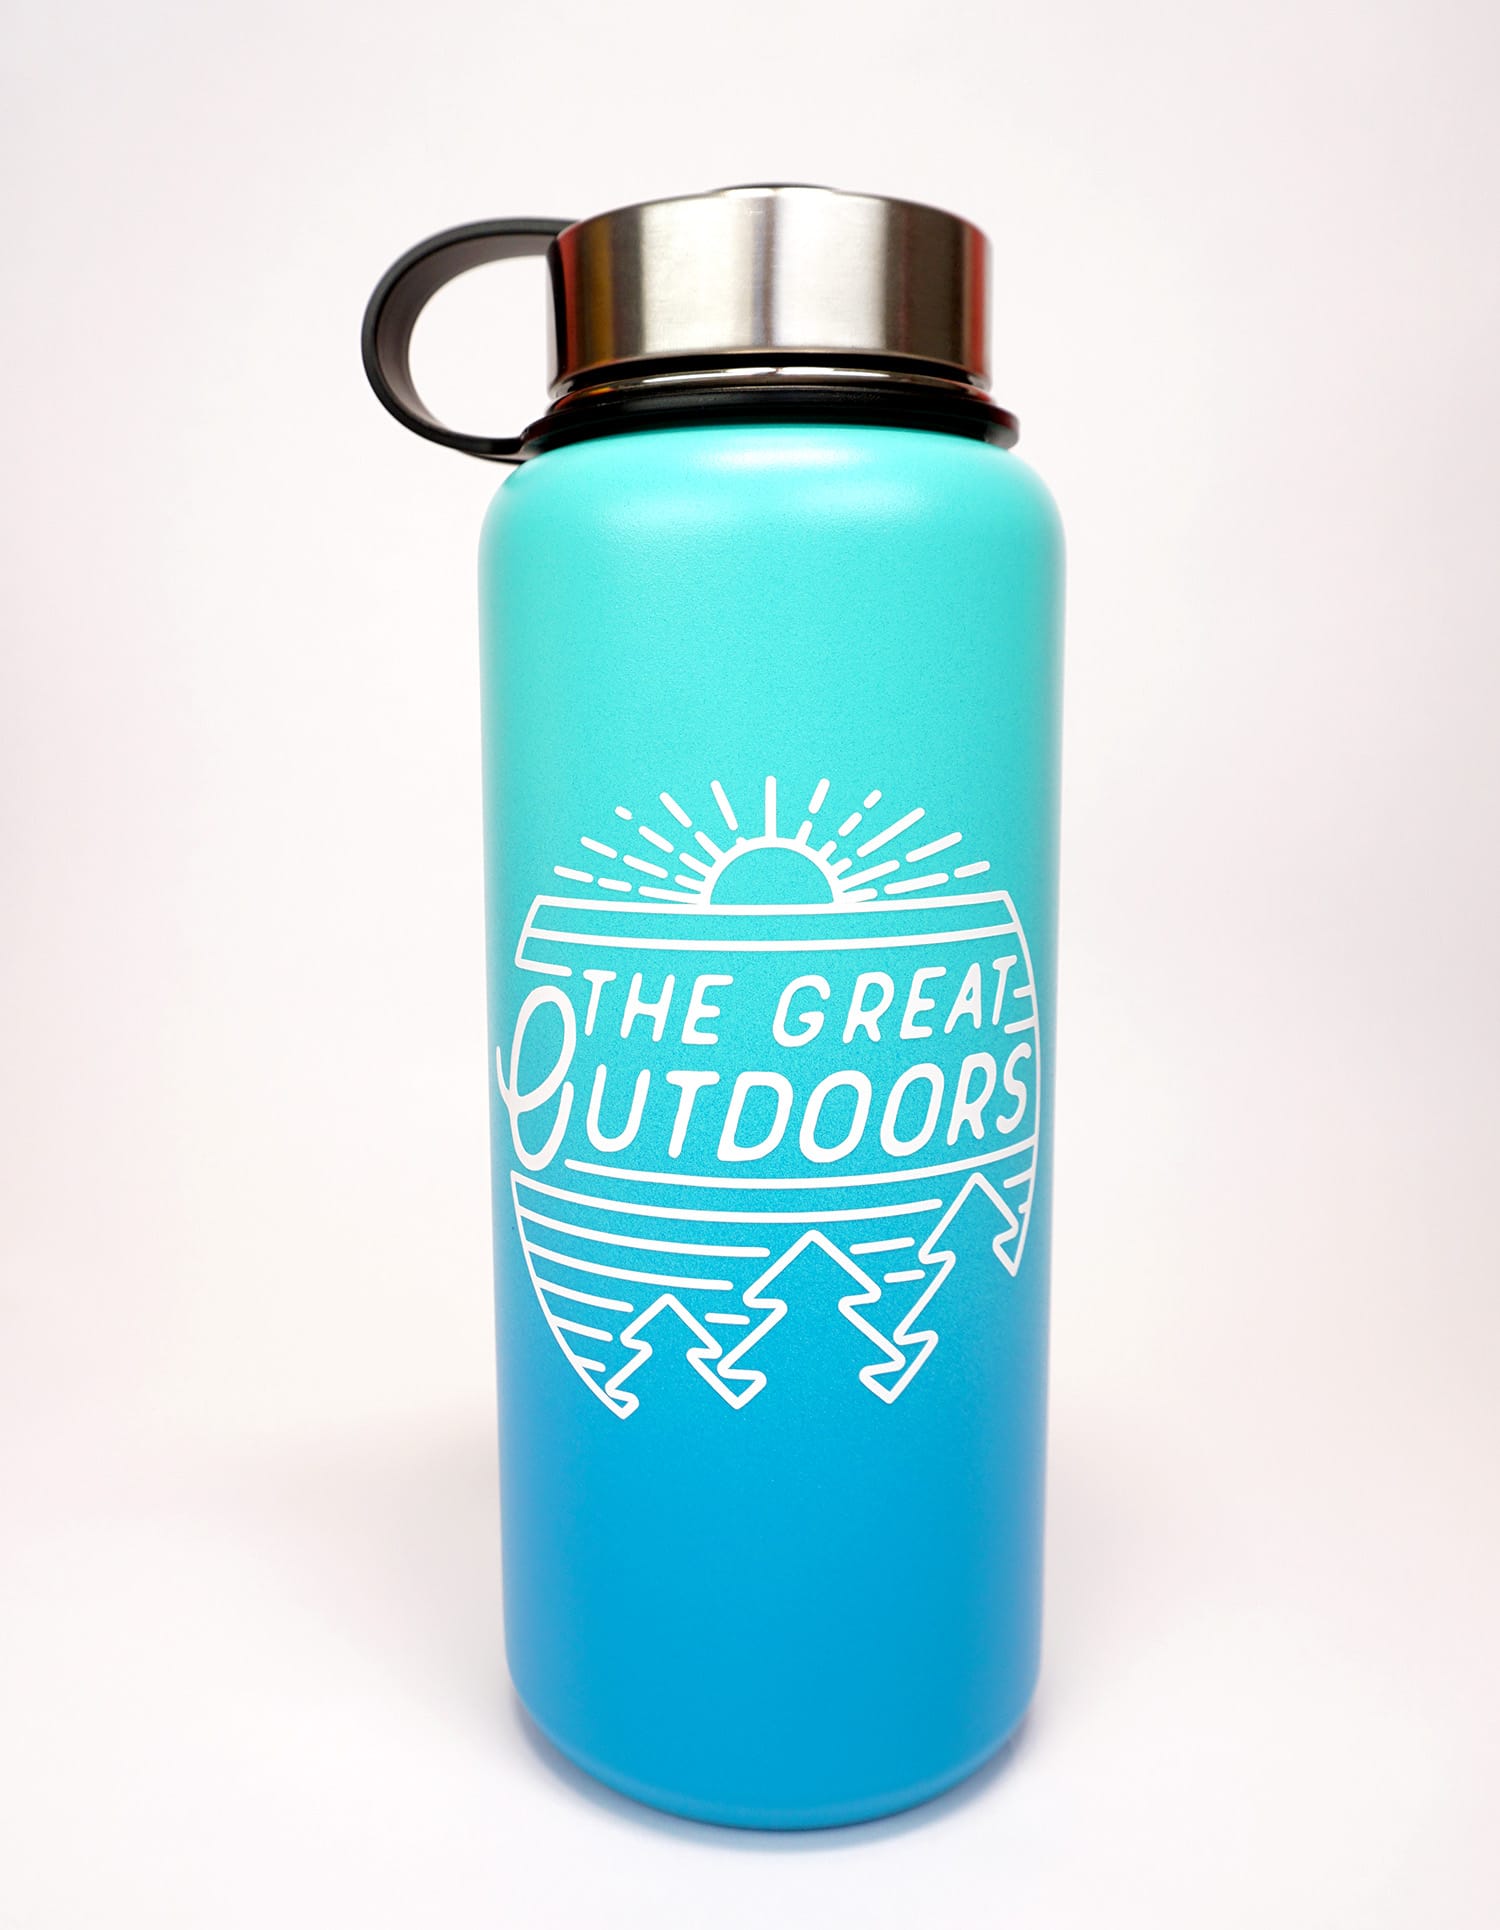
Ta da! Easy peasy! (And SUPER cute, right?!)
Repeat the process for the other water bottles.
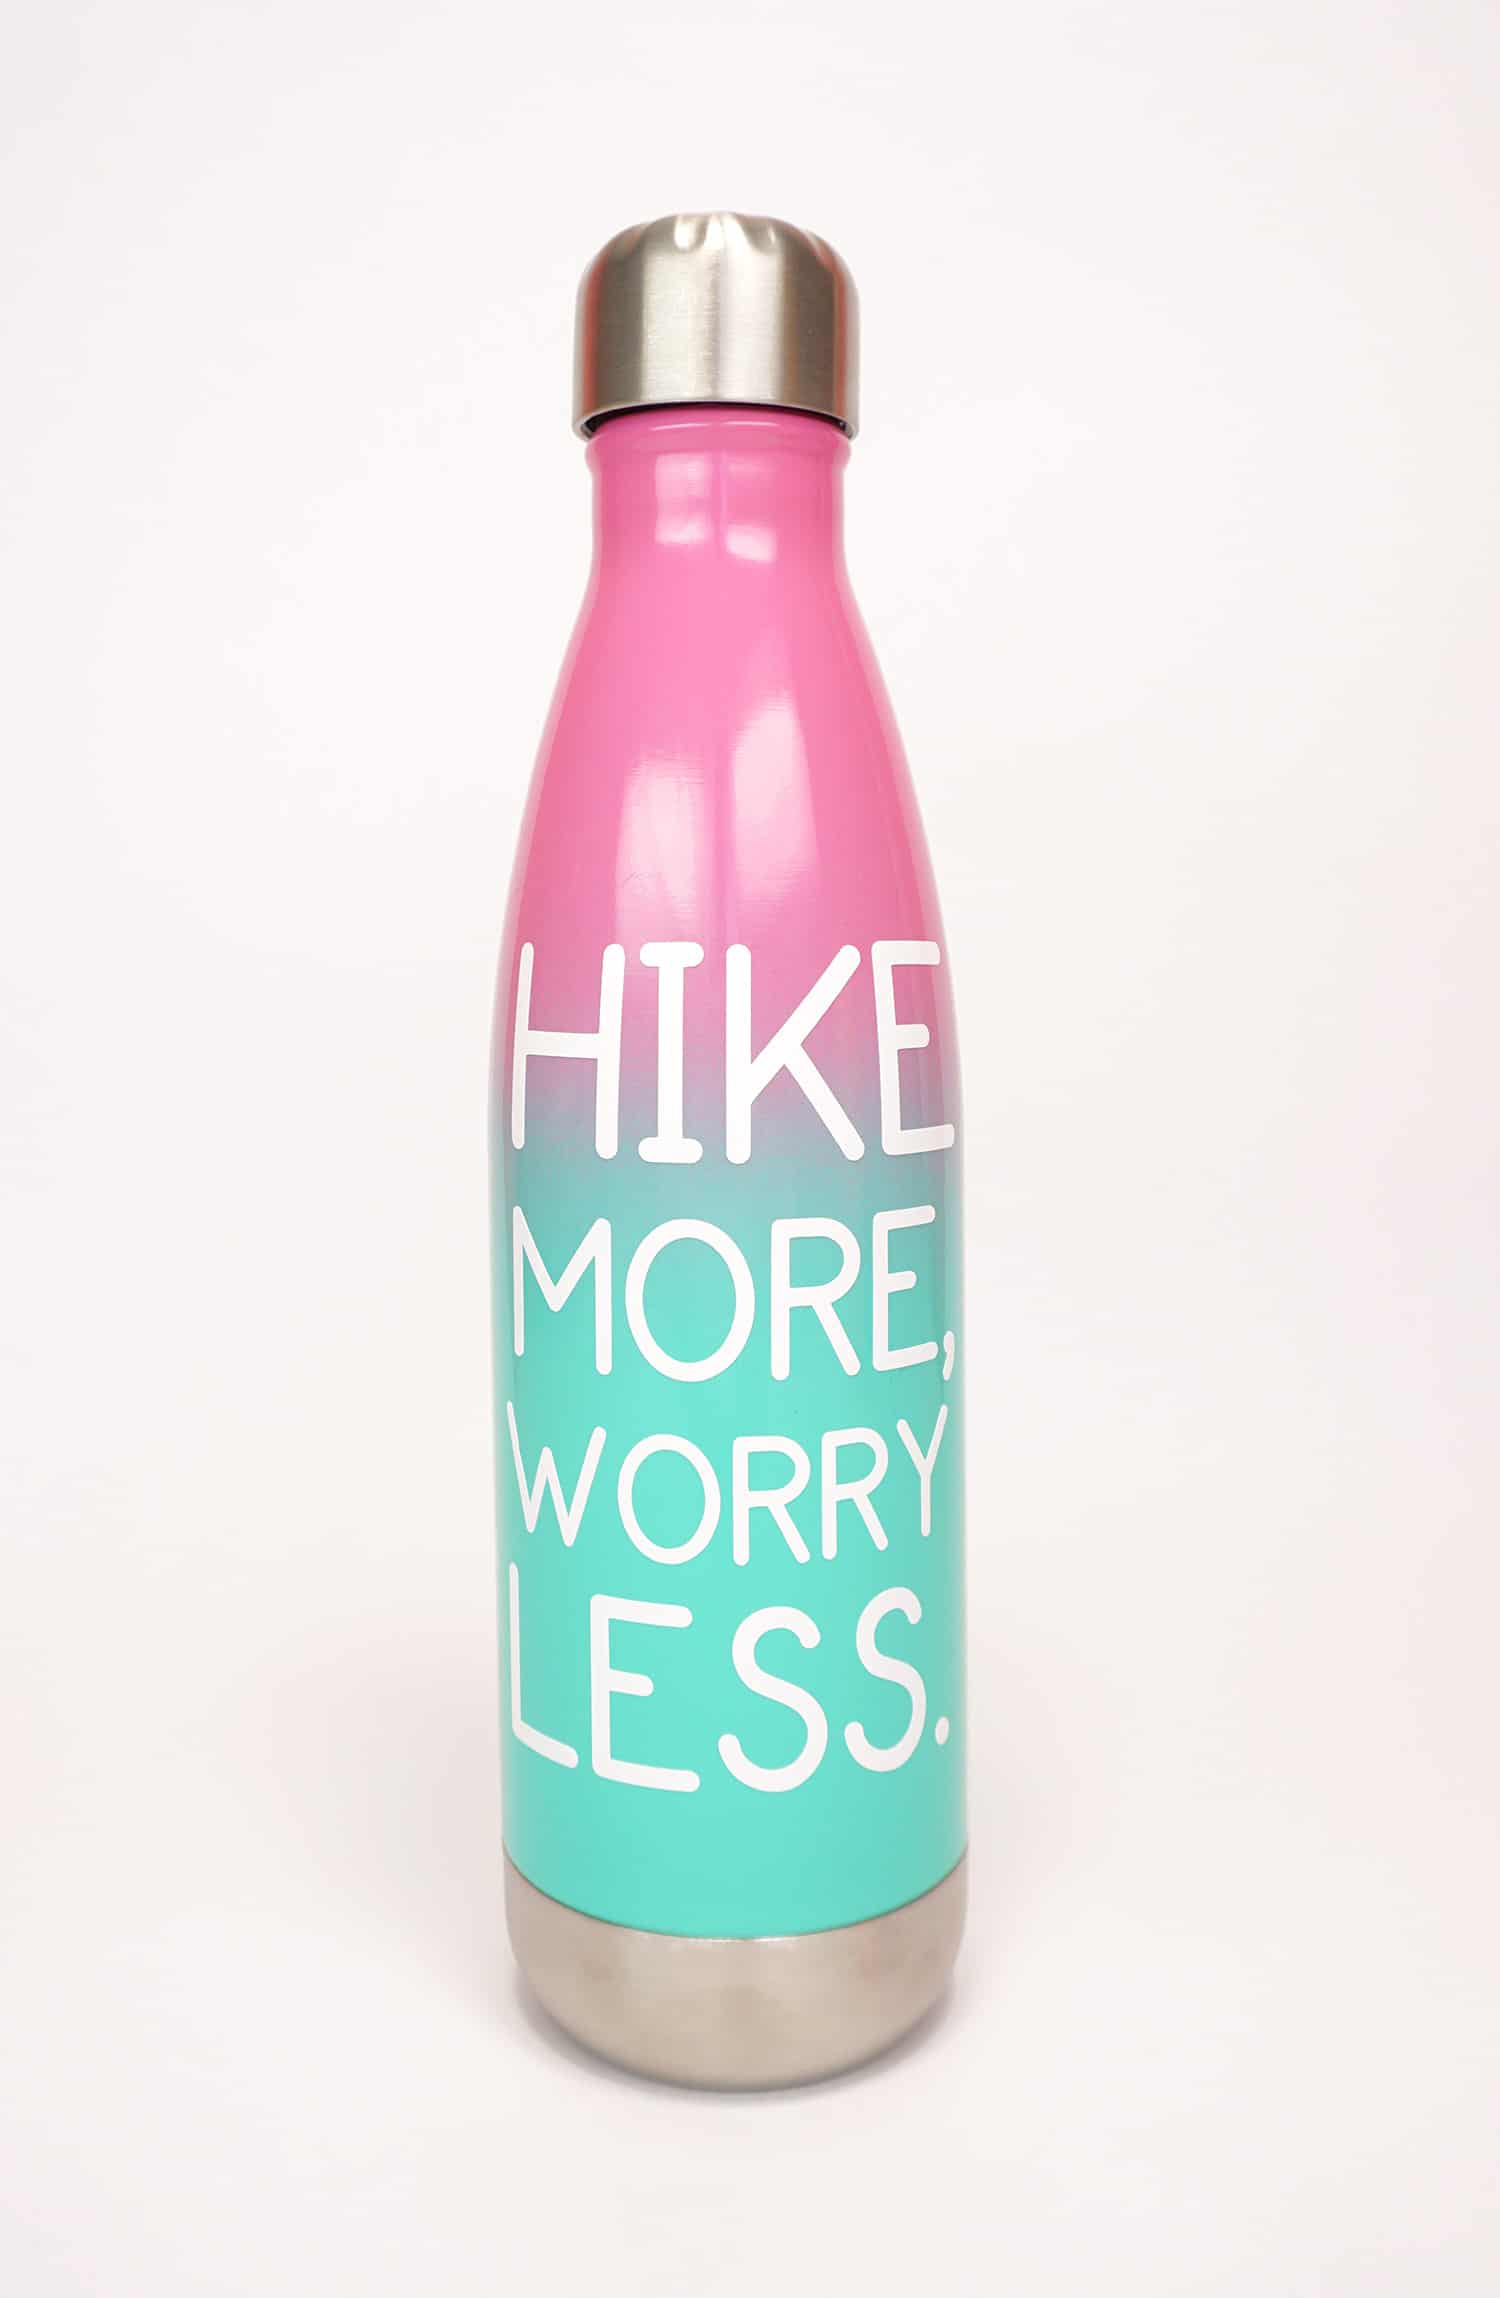
Remember that curved text? It looks perfectly straight on our curved water bottle!
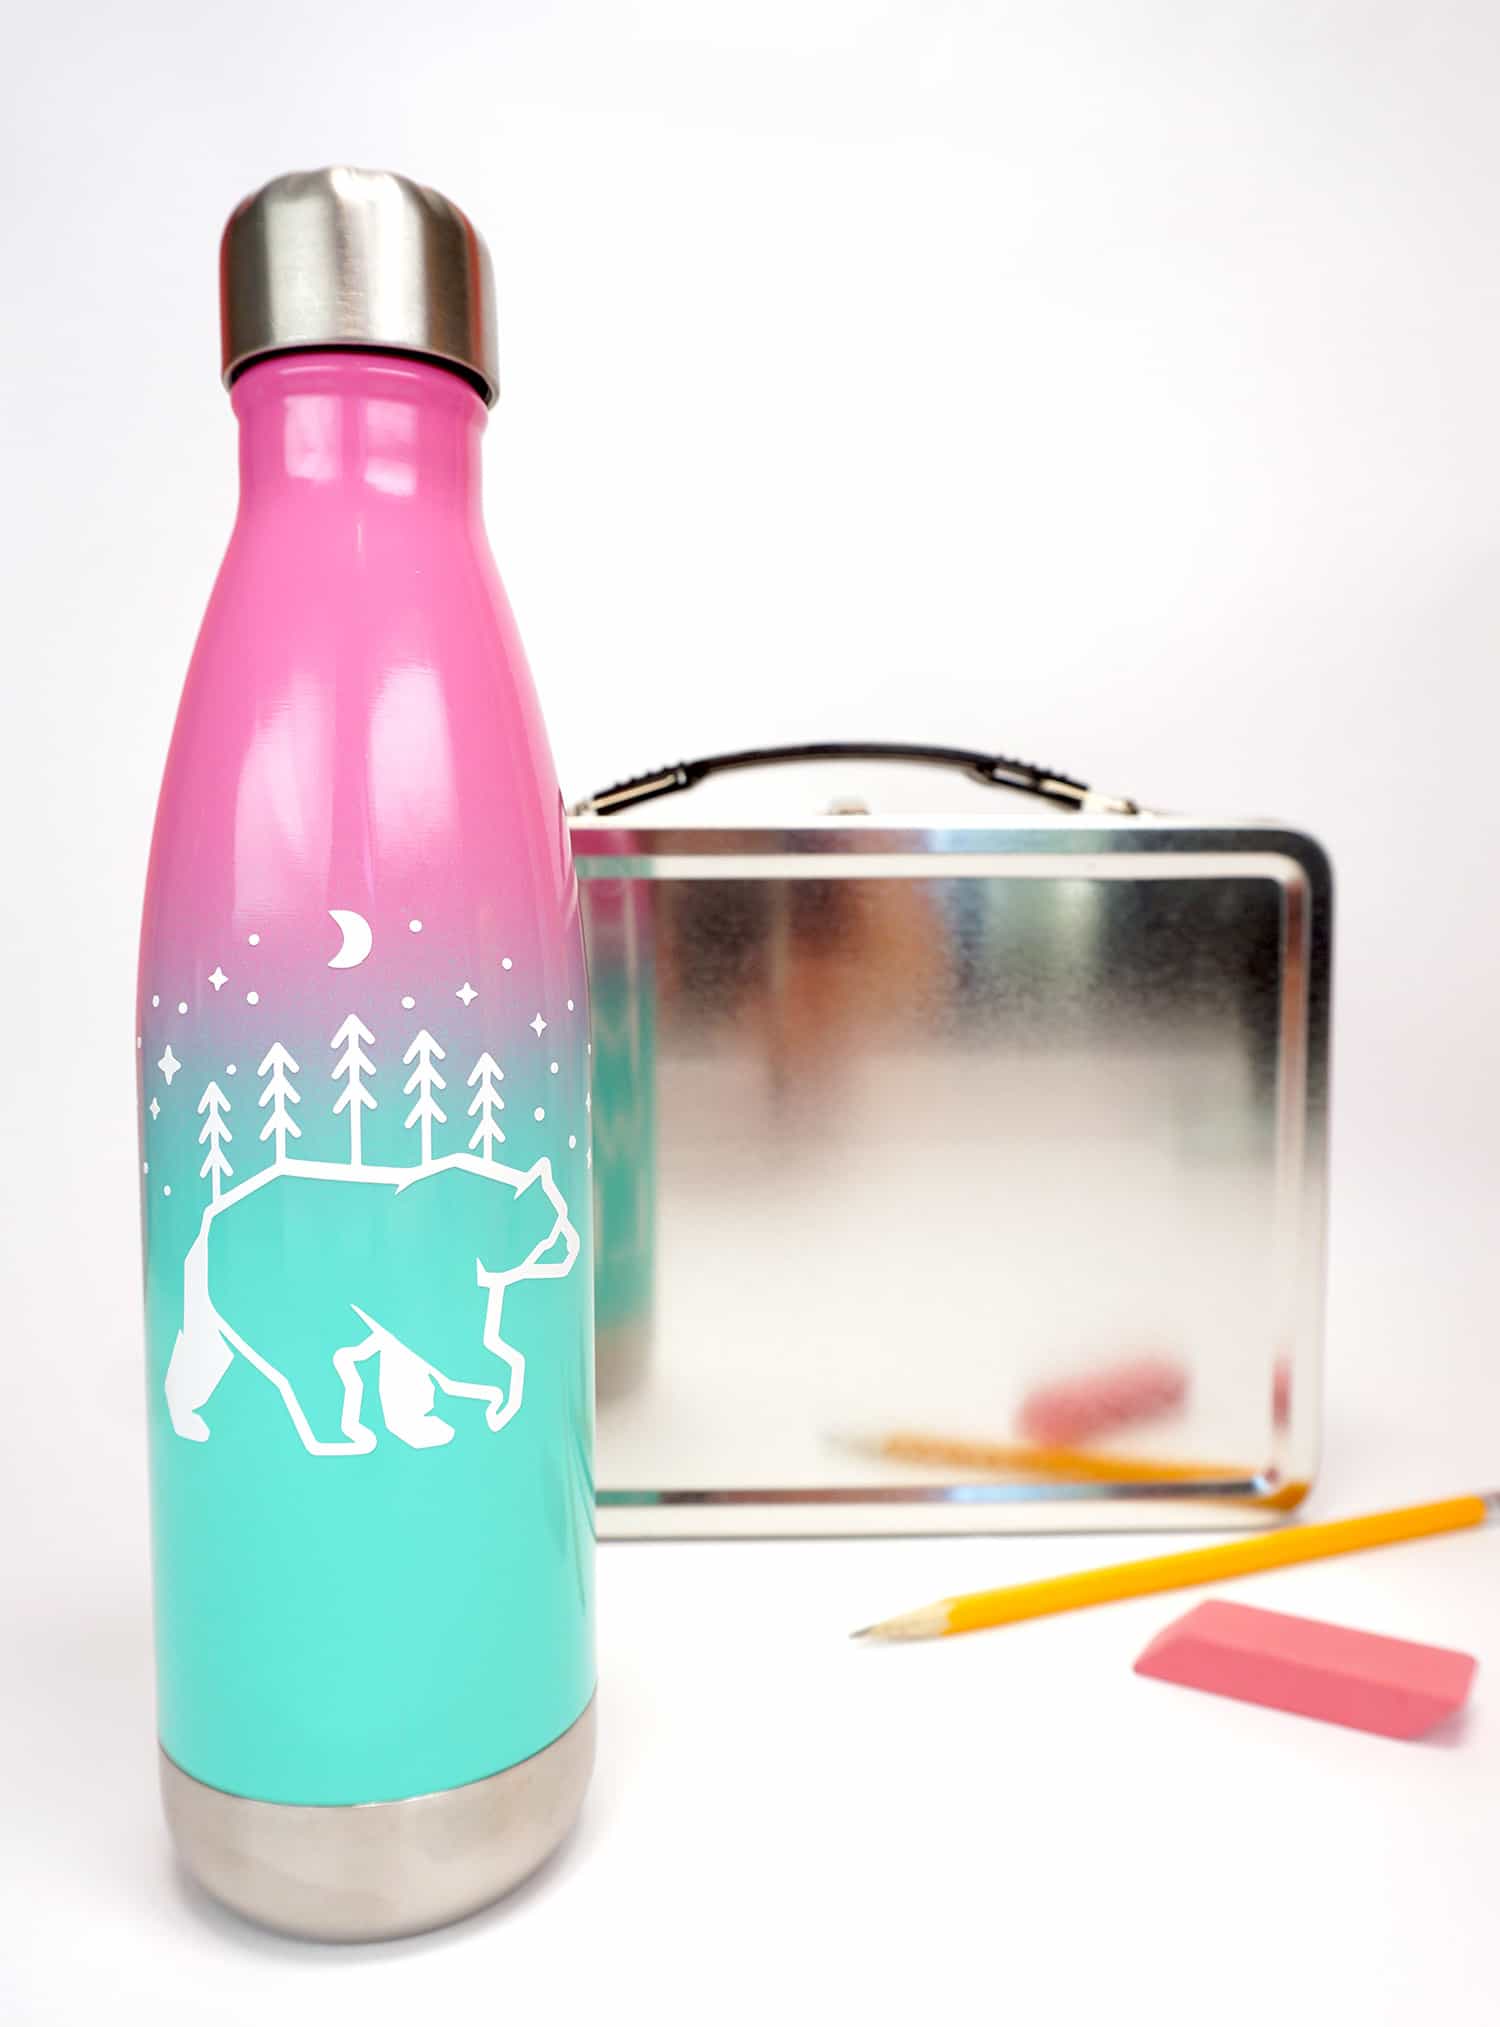
I added a California bear design to the other side of the bottle, and honestly, I might need to claim this one for myself and make another one for the kiddos! I LOVE the way this one came out! 😍
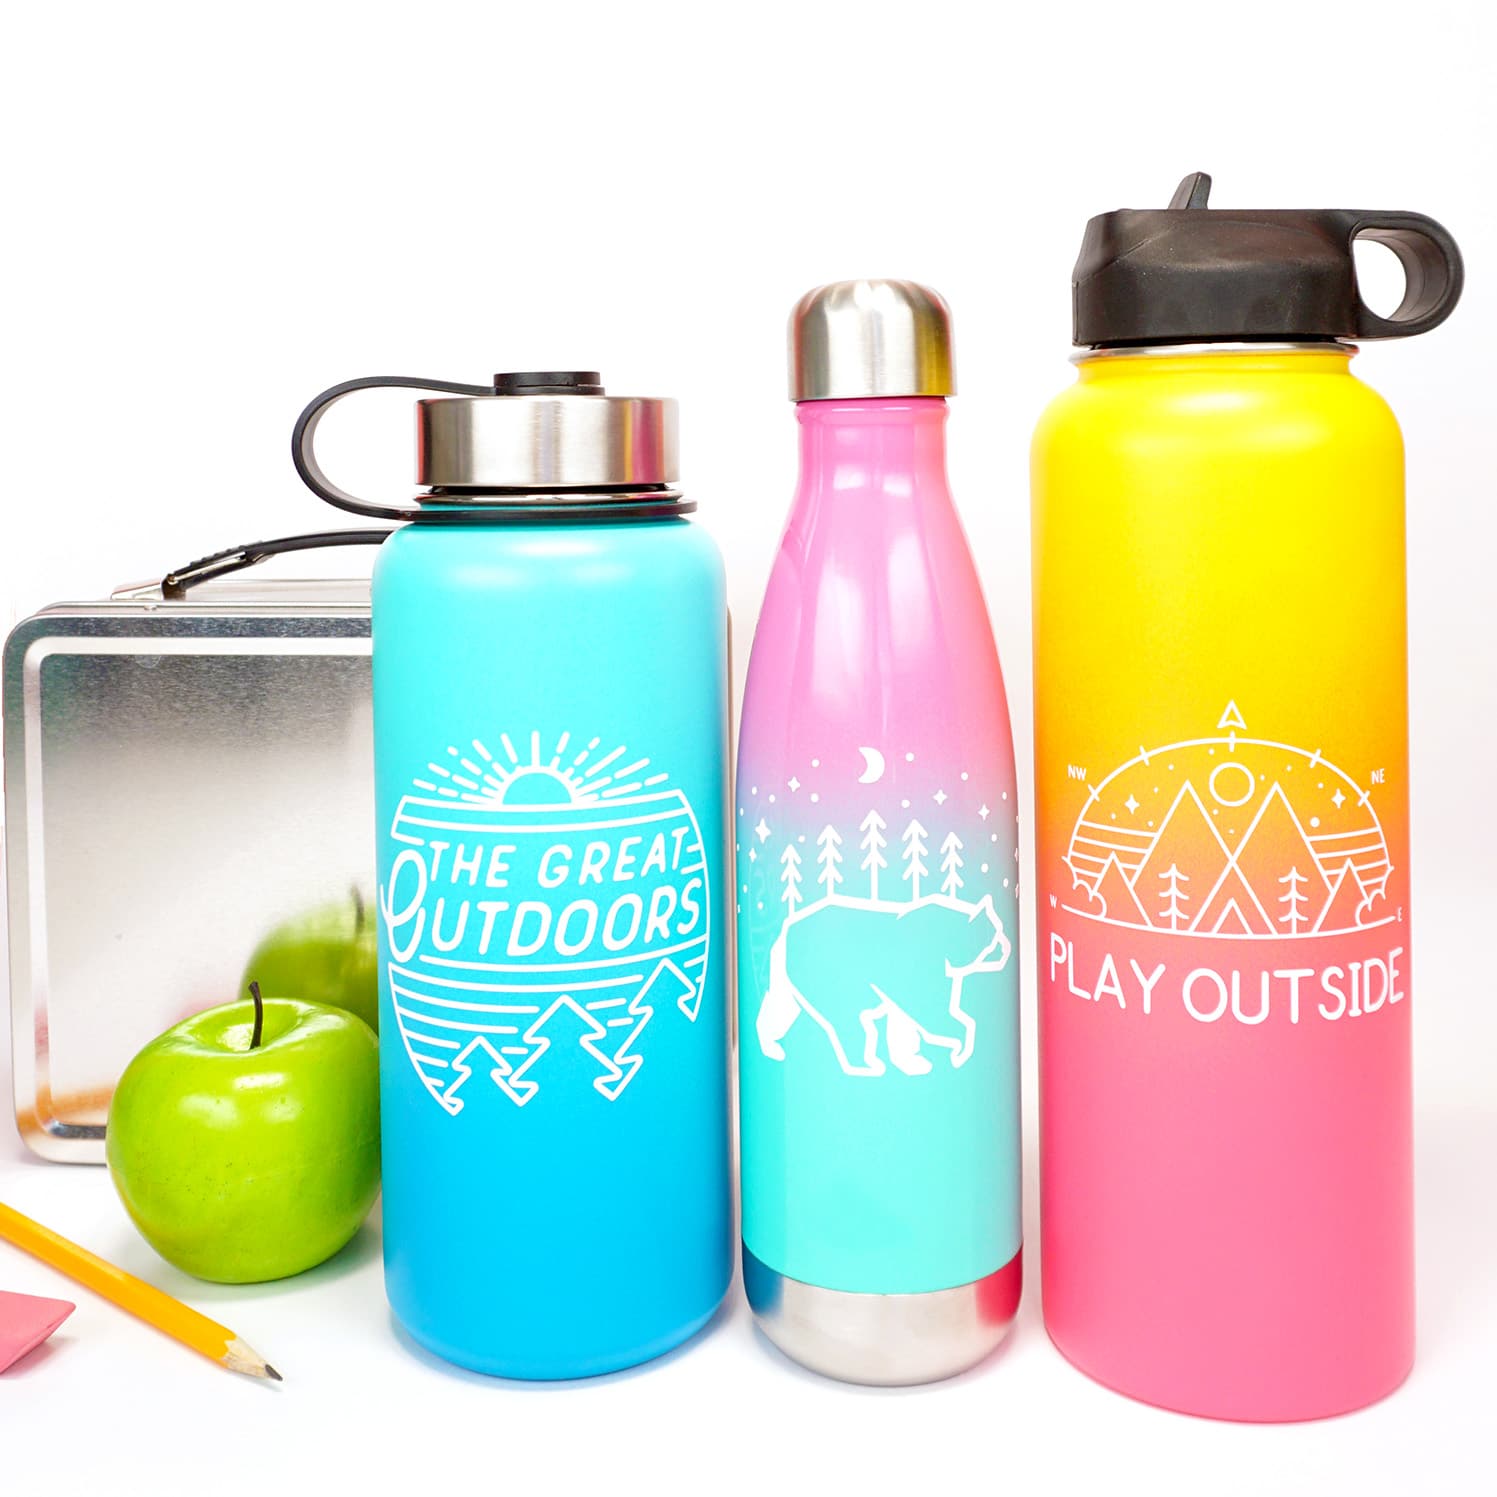
Together, they make a super fun collection!
I hope that as my kids use these water bottles all day long that they’ll be reminded of our outdoor adventures and feel inspired to spend some more time playing outside (and less time in front of screens!).
These custom water bottles are one of my favorite Cricut projects, and I’m feeling SUPER inspired by all of the different design options that you can make! I think I might need to make myself a custom water bottle to take to the gym, too!

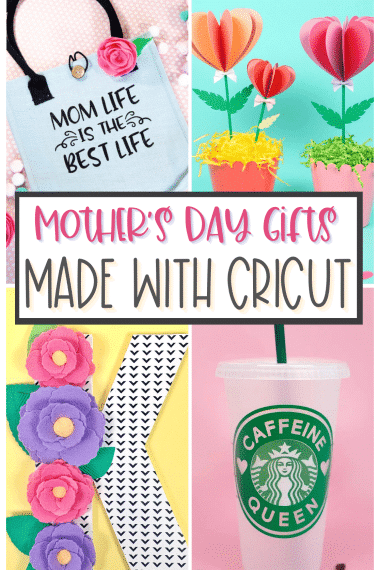
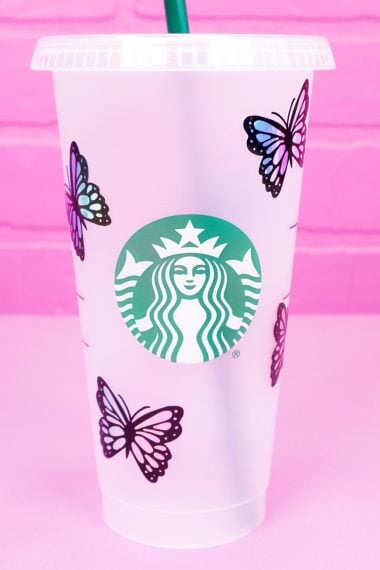
Check Out These Other Cricut Ideas!

Pin these Custom Water Bottles for Later!

Heidi Kundin has captivated the hearts of millions with her colorful and inspiring approach to crafting, celebrations, and family fun. With over 15 years of experience, Happiness is Homemade has become a must-visit destination for those seeking quick and easy creative ideas and last-minute solutions. Heidi’s warm personality shines through her posts, inviting readers to join her on a creative journey that’s fun, rewarding, and achievable. Heidi is also the author of Homemade Bath Bombs & More and DIY Tie-Dye.
Do you seal the vinyl on so that they are washable?
I do not seal my vinyl, but I do use permanent vinyl and hand-wash only. 🙂
How do you make sure the label is level on the bottle?
Where did you get those designs? They’re not on Design Space.
They are on Design Space. The images are:
When searching in Design Space, make sure that you include the # symbol AND the number – using just the number alone will not fetch the proper results. Enjoy! 🙂
Do you have to heat it?
These are made with adhesive vinyl – no heat required! 🙂
Where can I get the bear svg?
It’s from the Cricut Design Space library! Search for #M71A3504 🙂
These water bottles look amazing!! I have one quick question, did you remove the logos from the bottles or did they come without a label? If you removed it, how did you do it?
Thank you!
I purchased water bottles without logos and/or just used the side without the logo for the one that did have a logo. 🙂