


Learn how to engrave wood signs with your Glowforge! Making custom engraved wood signs has never been easier!

This post may contain affiliate links. I will receive a small commission from these sales at no additional cost to you!
If you’ve ever wanted to make your own custom engraved wood signs, you’re in luck, because it’s never been easier! Learn the basics of how to engrave a wood sign with your Glowforge, and soon you’ll be making all kinds of awesome custom creations!
How to Engrave a Wood Sign with Glowforge
Supplies Needed to Make a Custom Wood Sign:
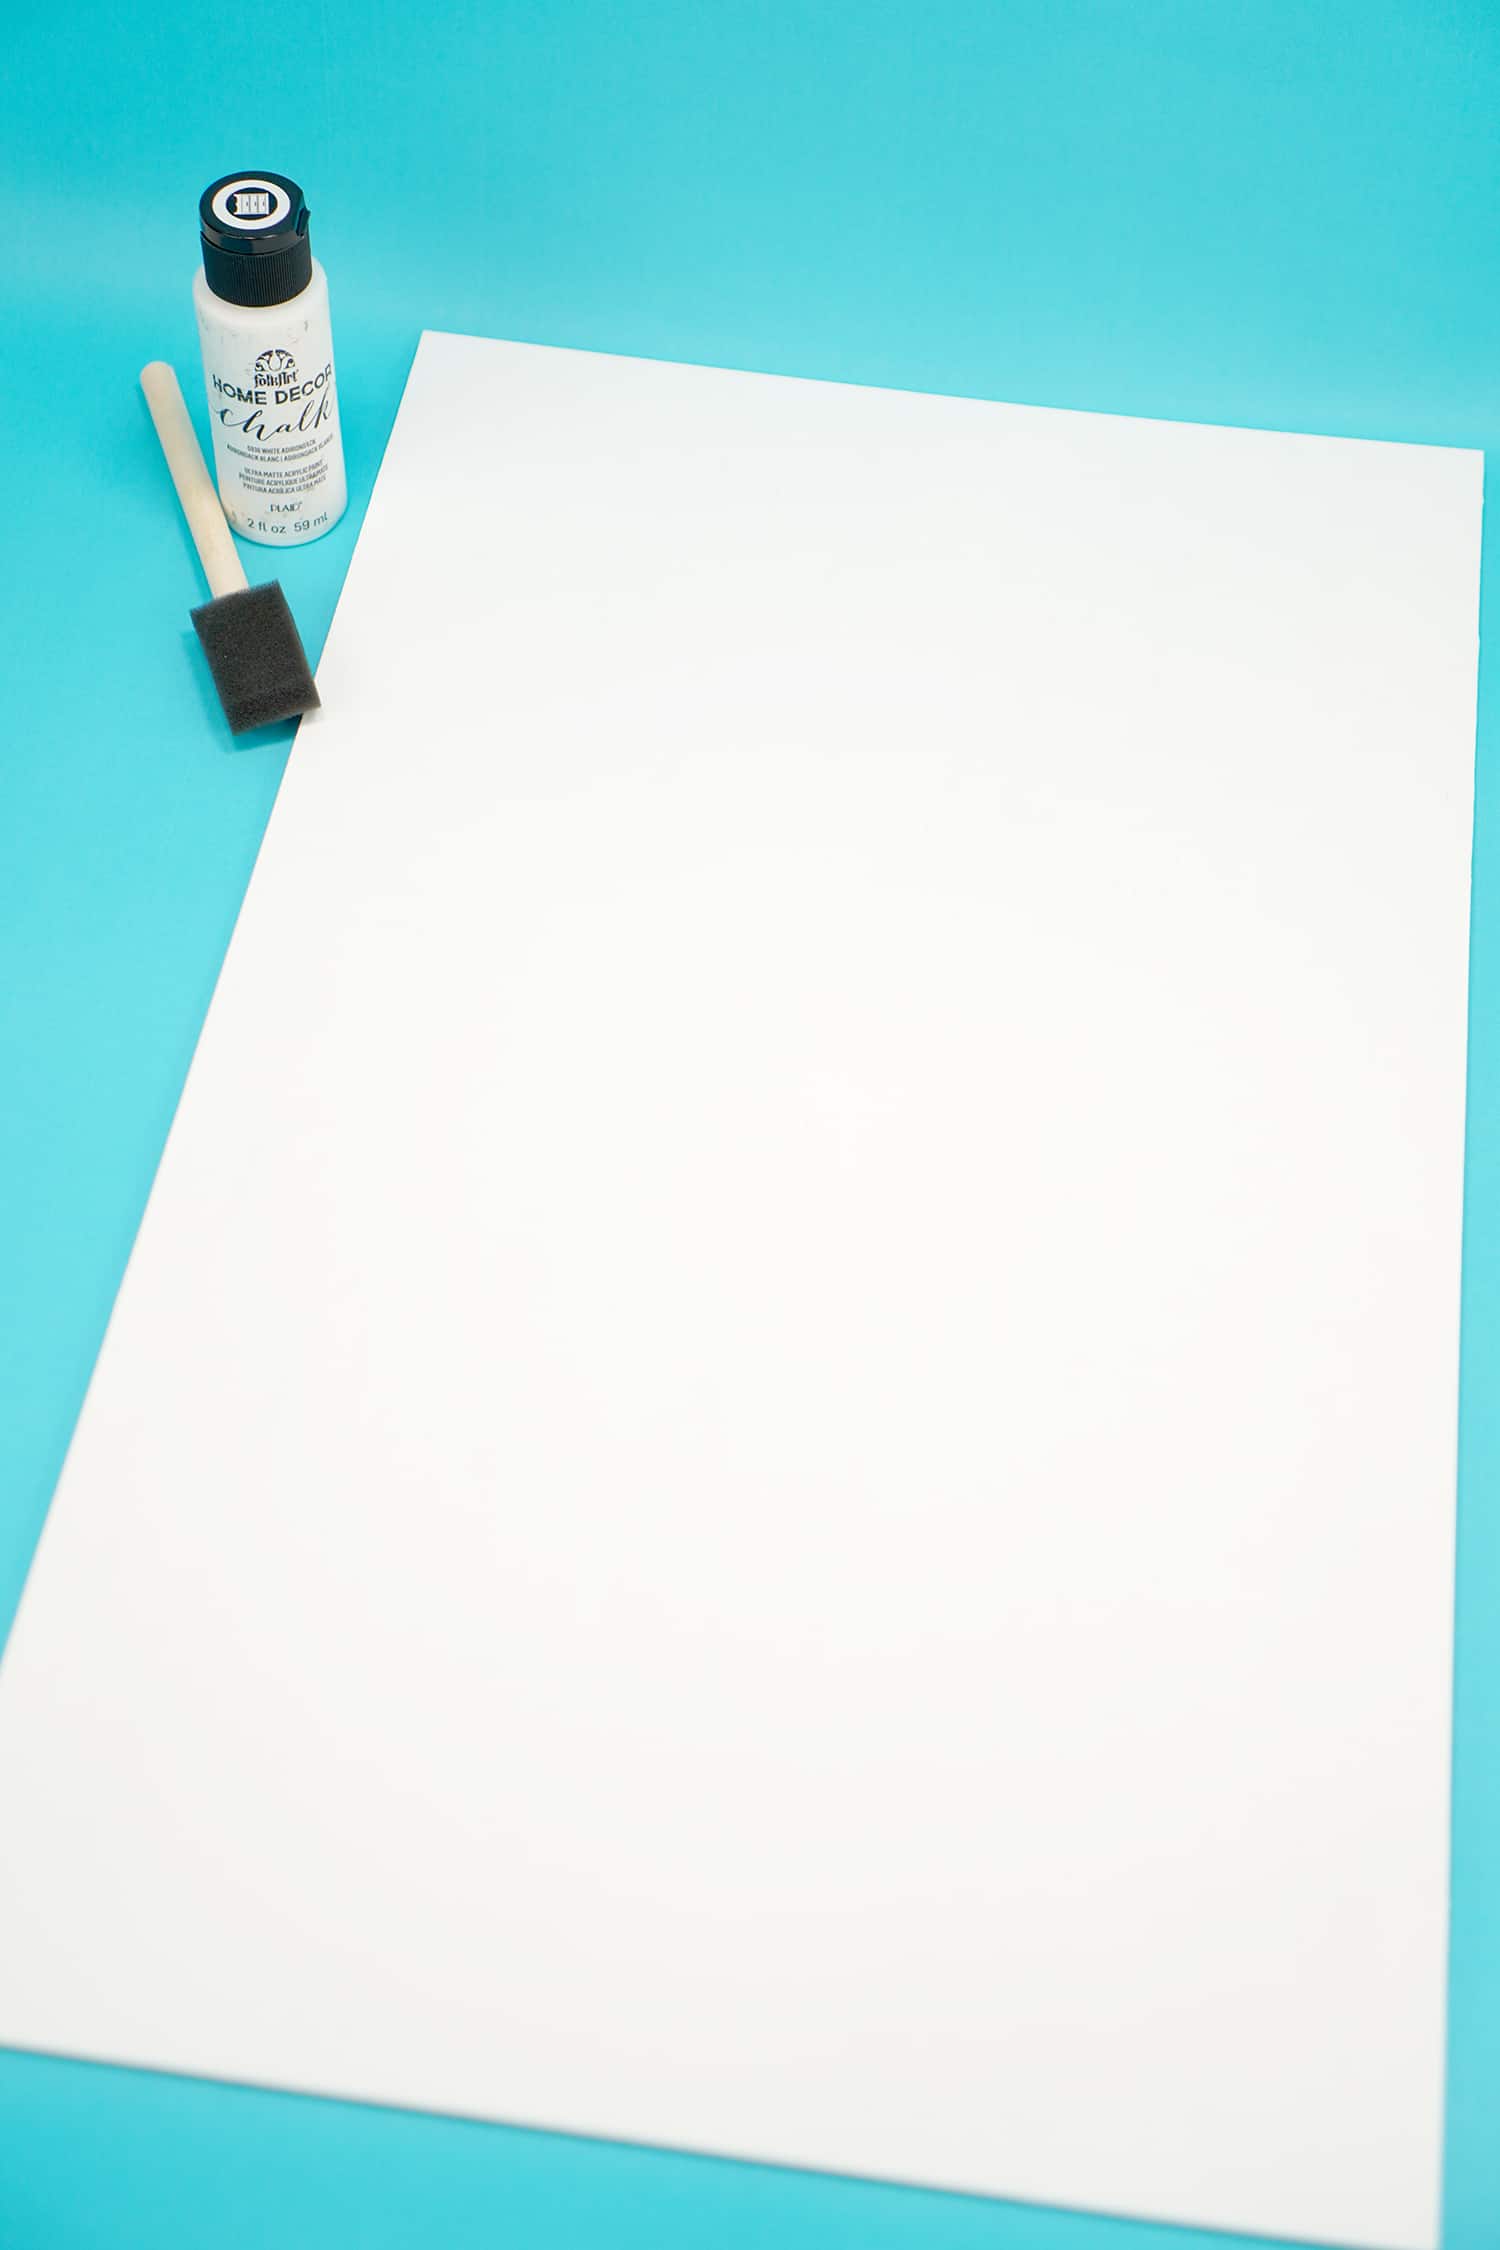
- Sheet of Wood up to 1/2″ thick – we used 1/8″ (3mm) Baltic Birch
- Paint and Paintbrush, if desired
- Masking Tape/Paper Transfer Tape
- Brayer, optional
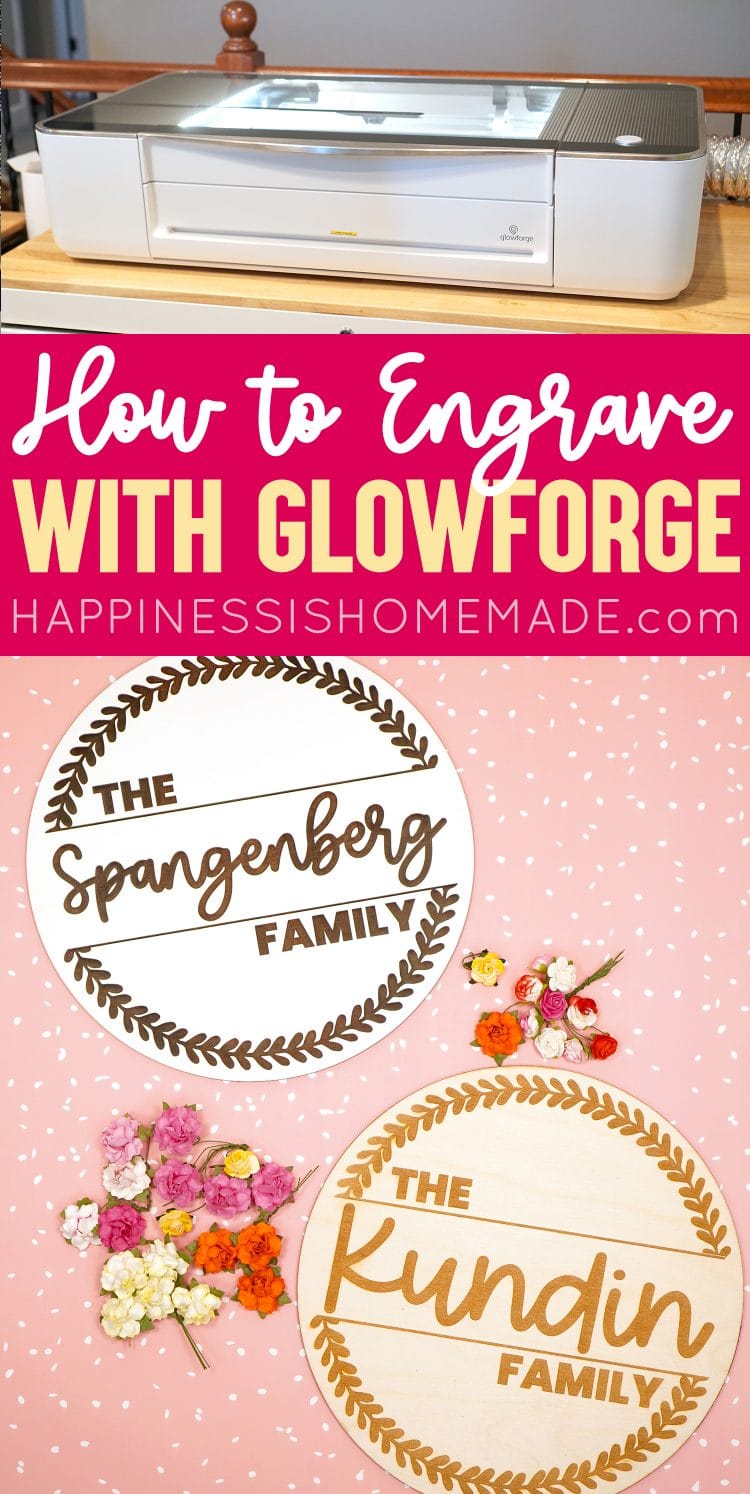
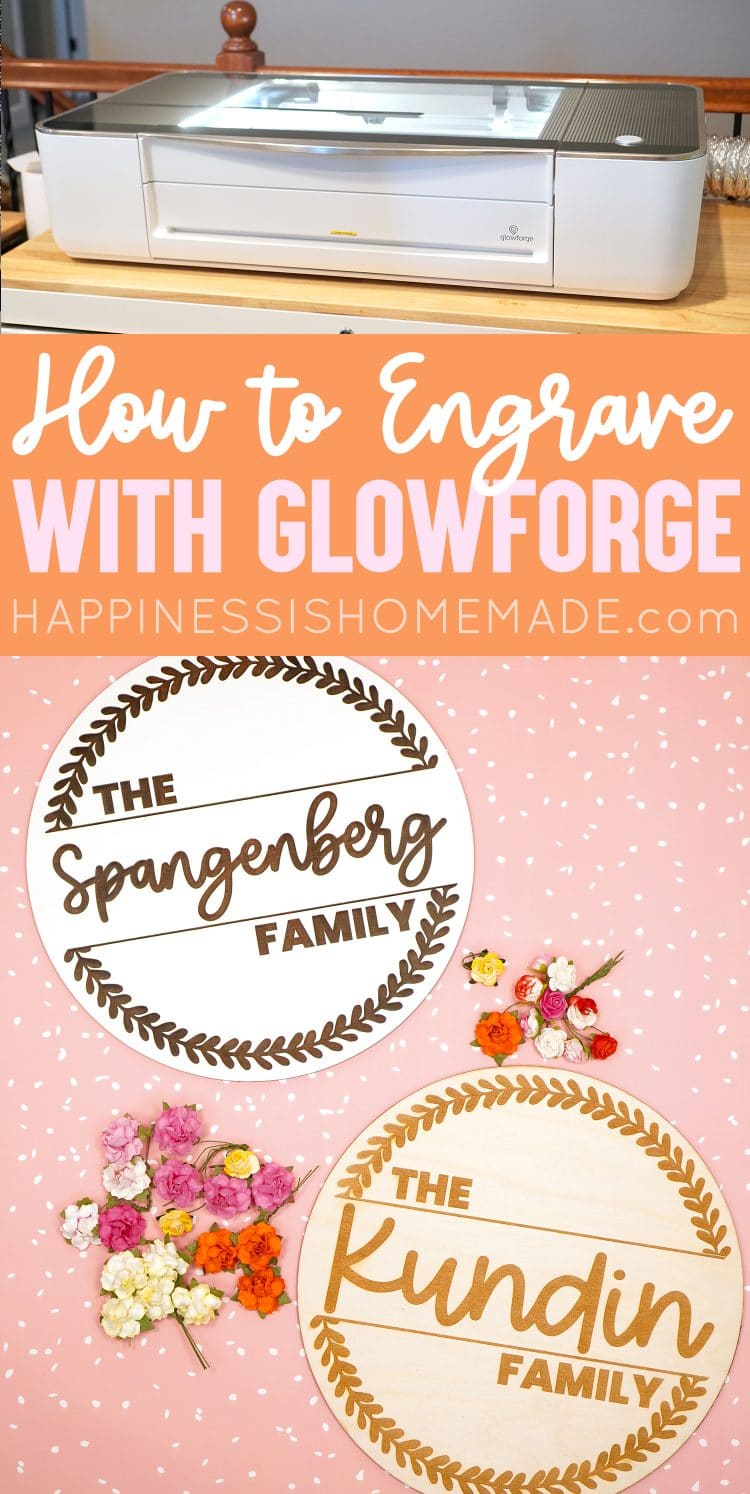
- Glowforge Machine (Basic, Plus, or Pro – ours is a Pro)
- Family Name Wreath SVG File or other SVG file of choice
If you don’t have a Glowforge yet and are considering a purchase, make sure to read our Everything You Need to Know Before Buying a Glowforge post for lots of helpful information and a discount that can save you up to $500 on your Glowforge!

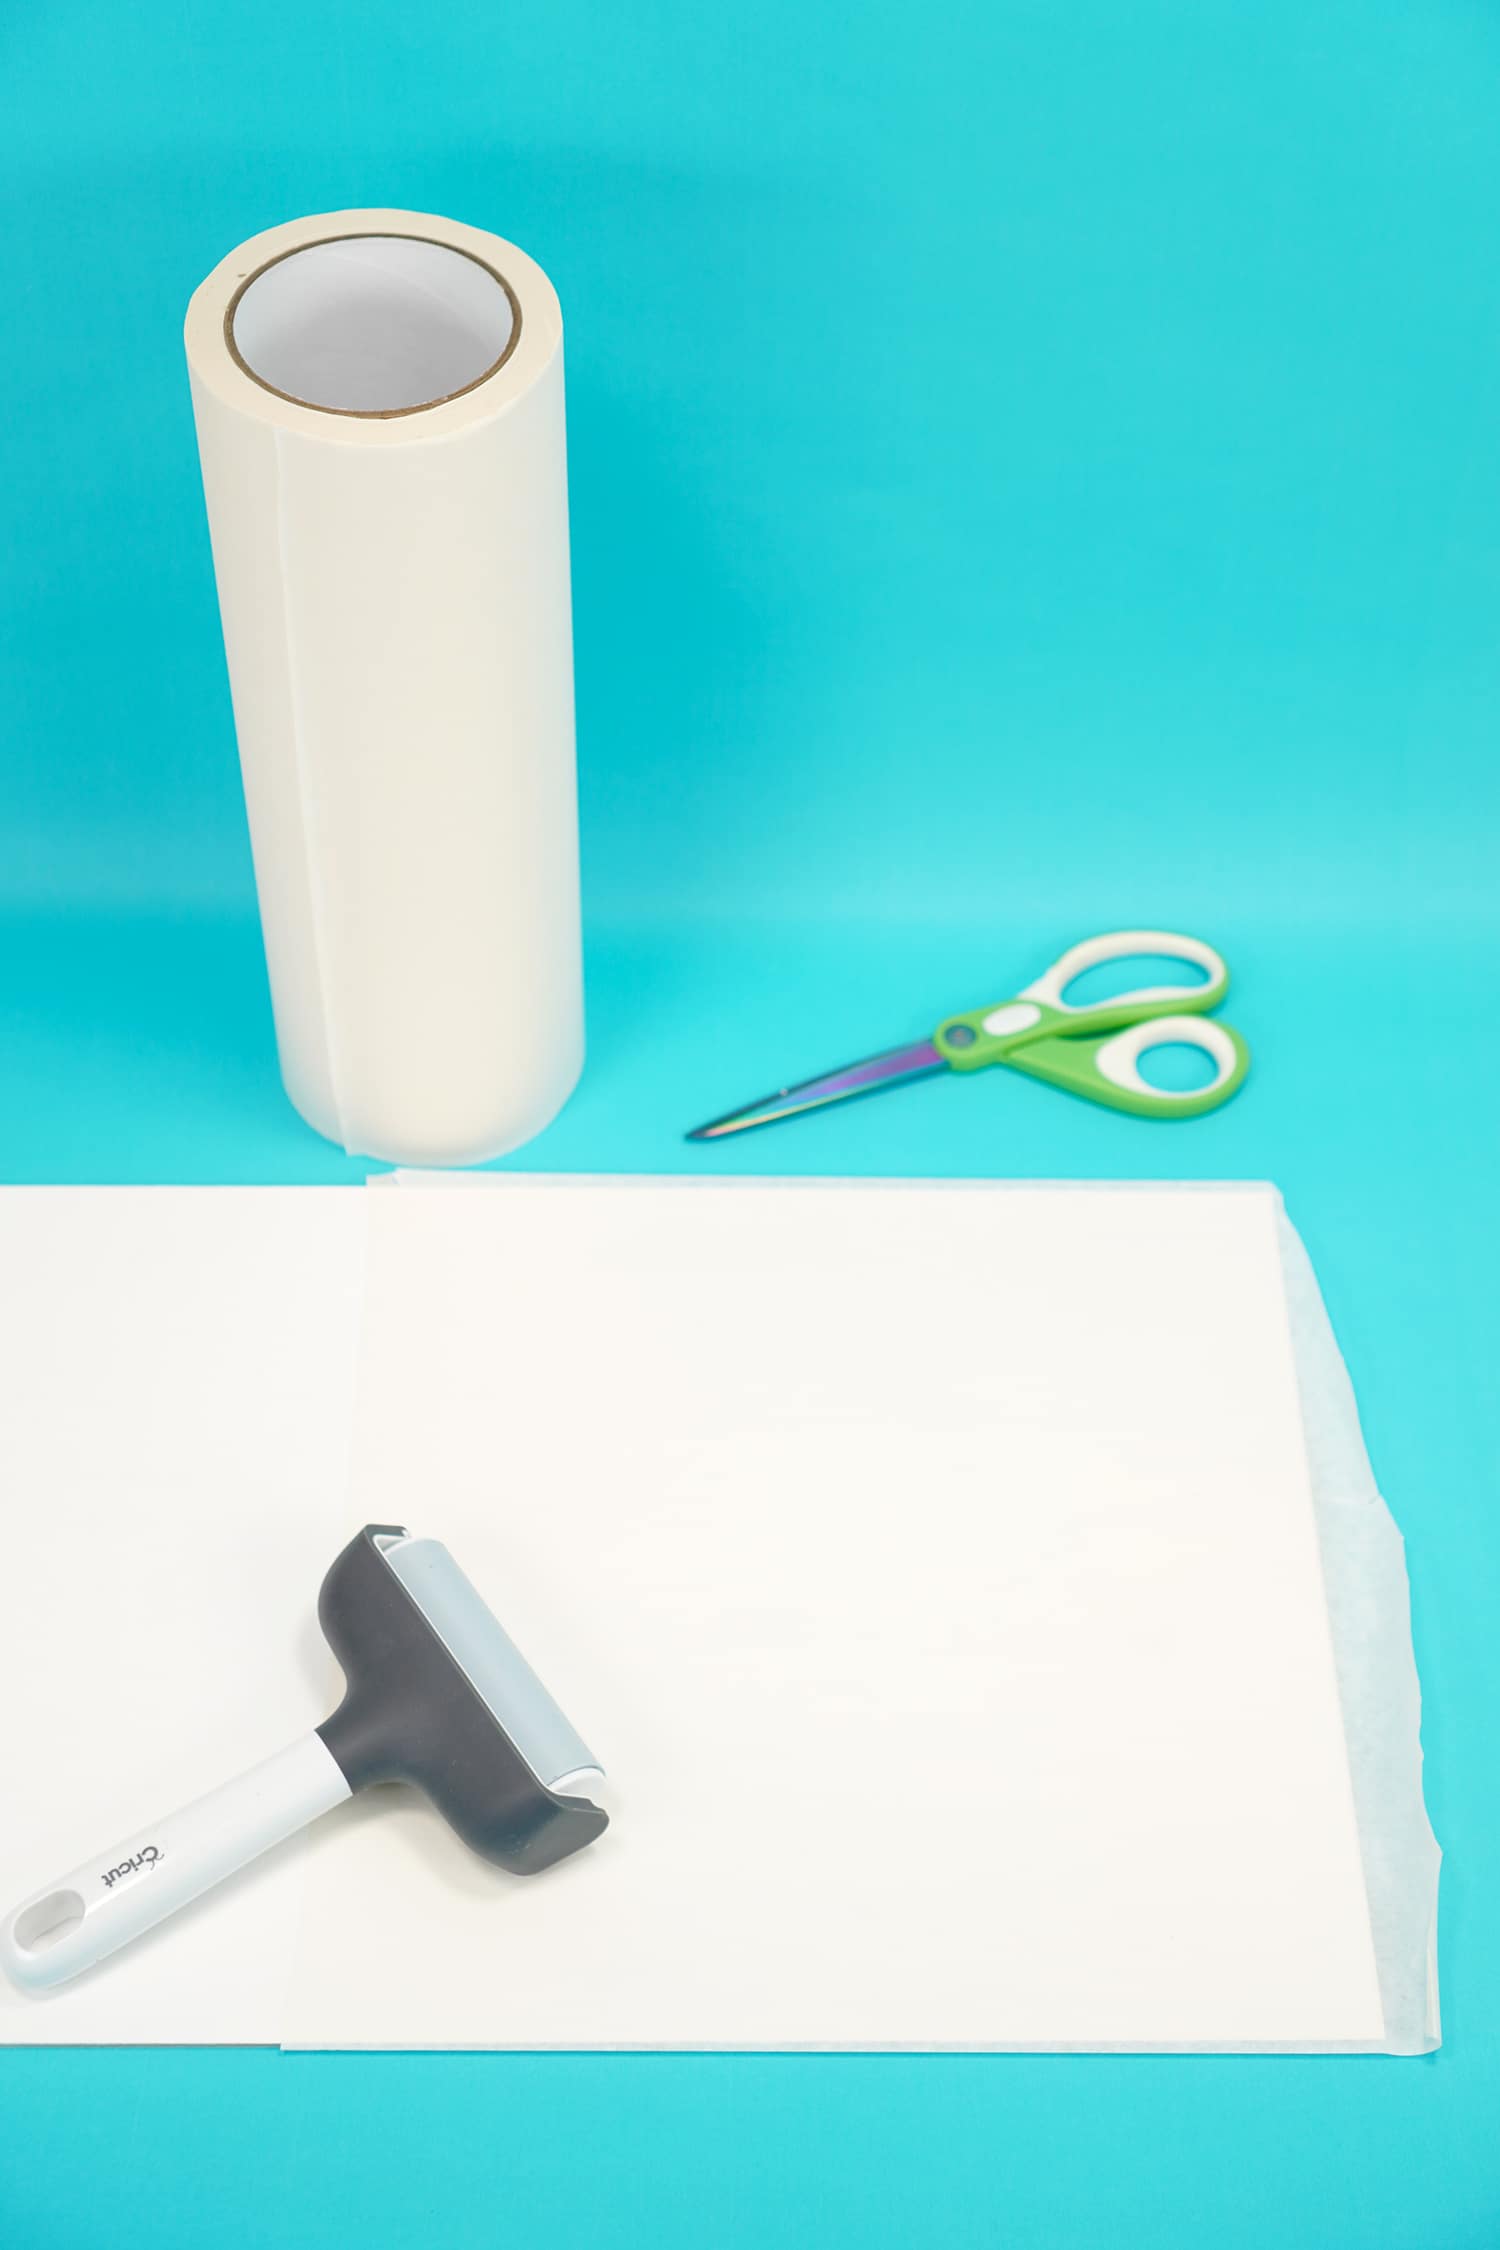
Begin by painting your board if desired and allowing it to dry completely. When dry, use the masking/transfer tape to cover both sides of the board, front and back. I like to use my brayer to make sure the tape is thoroughly adhered to the wood.
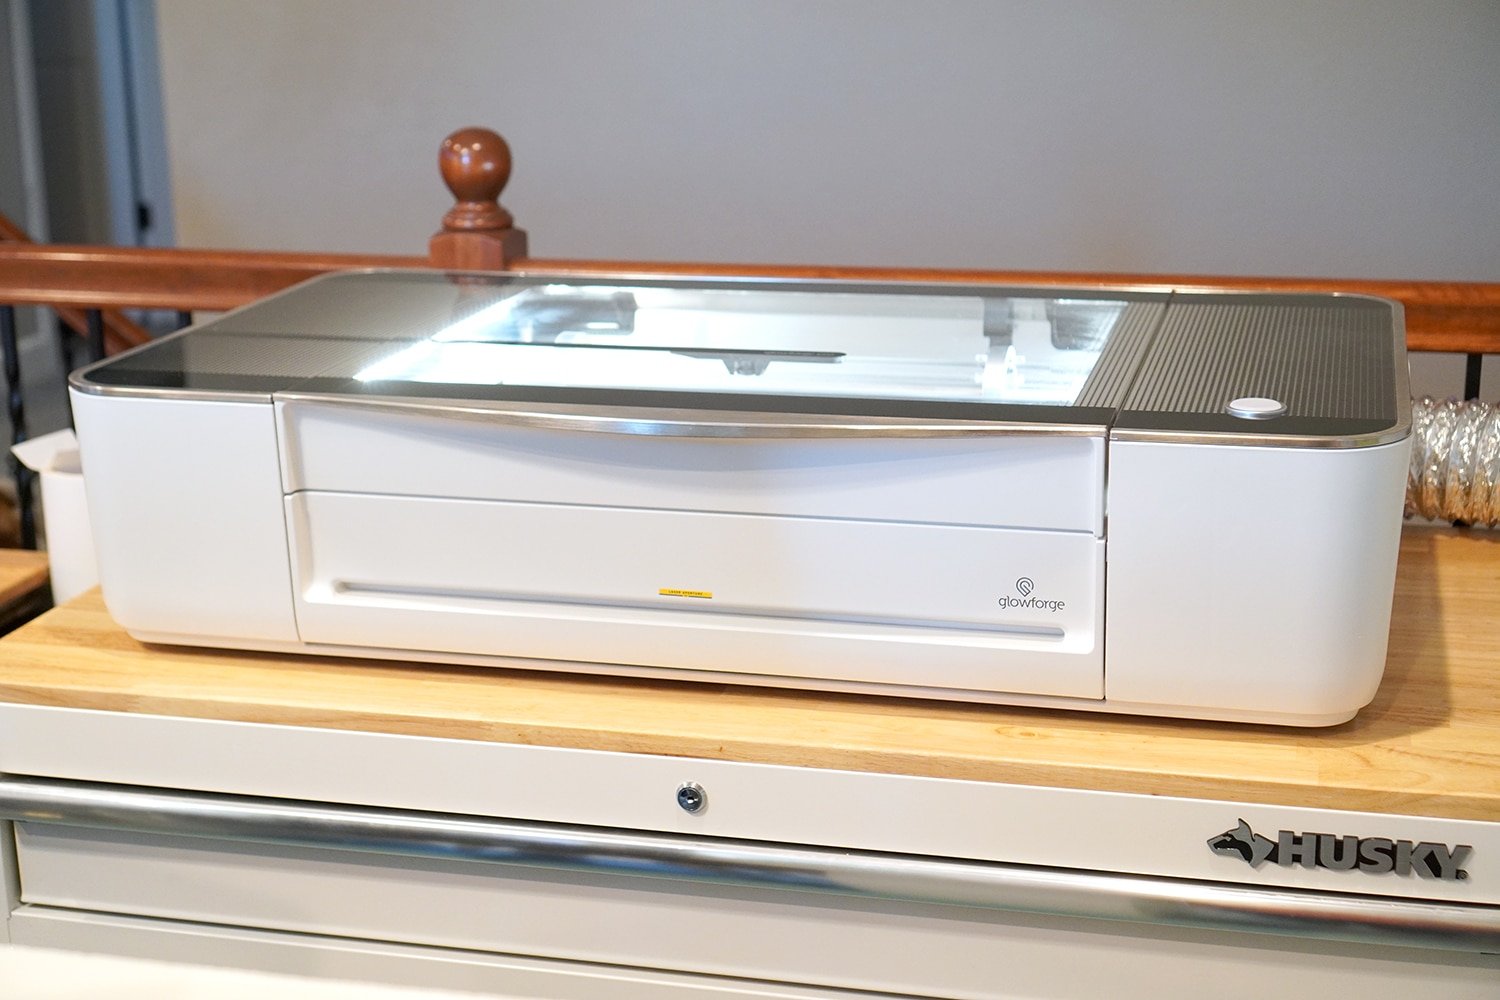
Turn on your Glowforge machine and air filter (if using a filter vs a window vent).
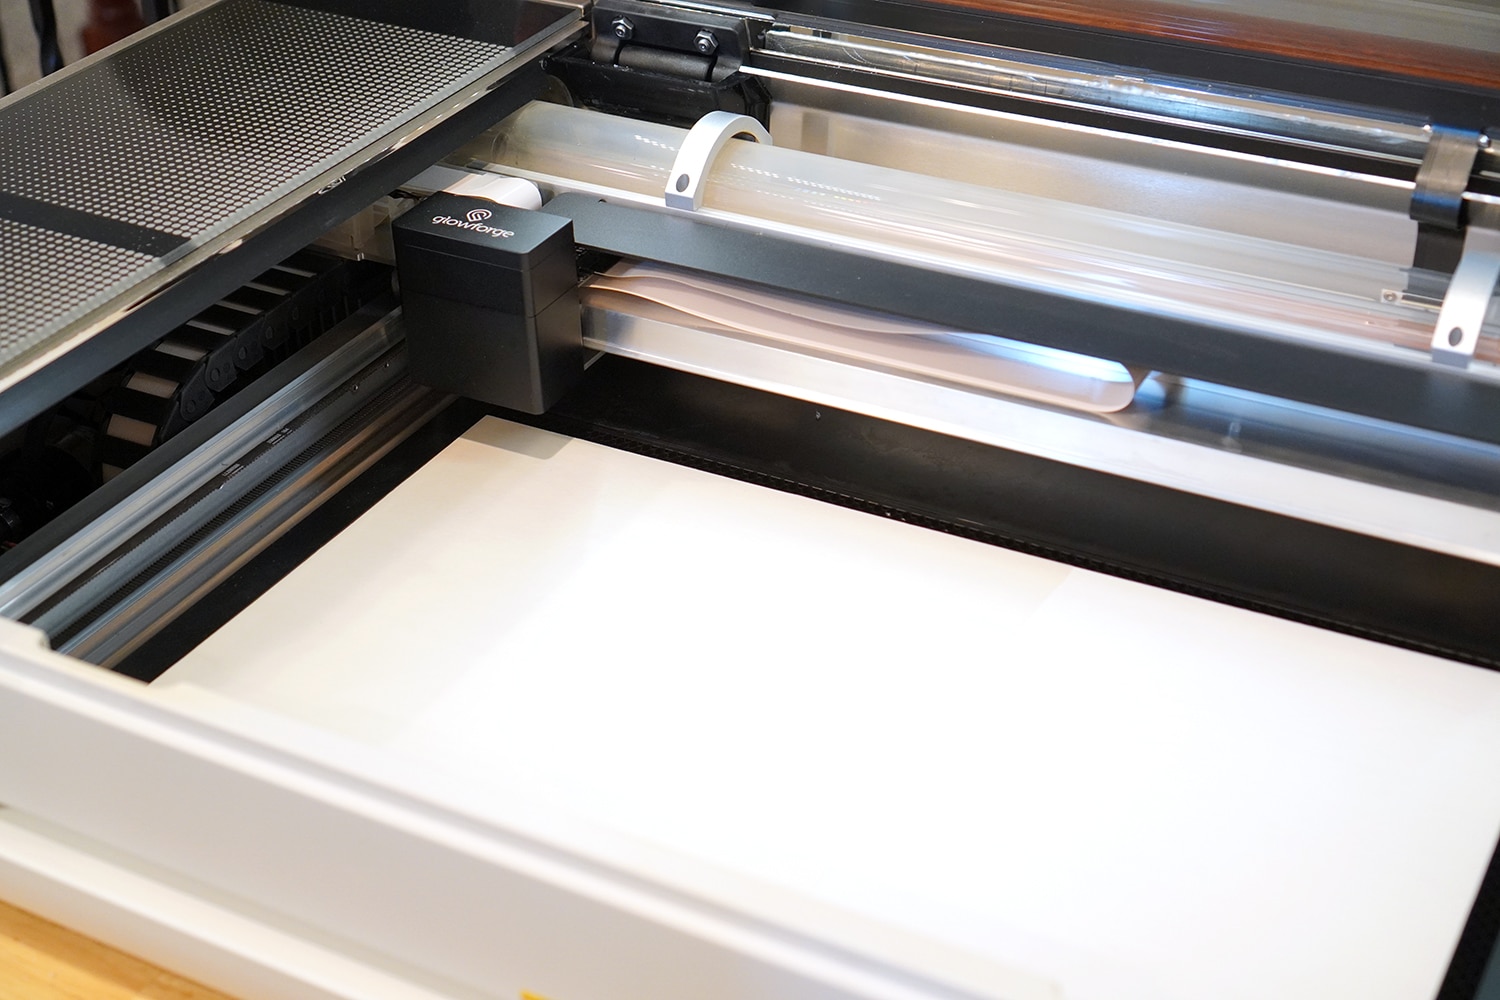
Place the masked wood into the Glowforge on top of the crumb tray.
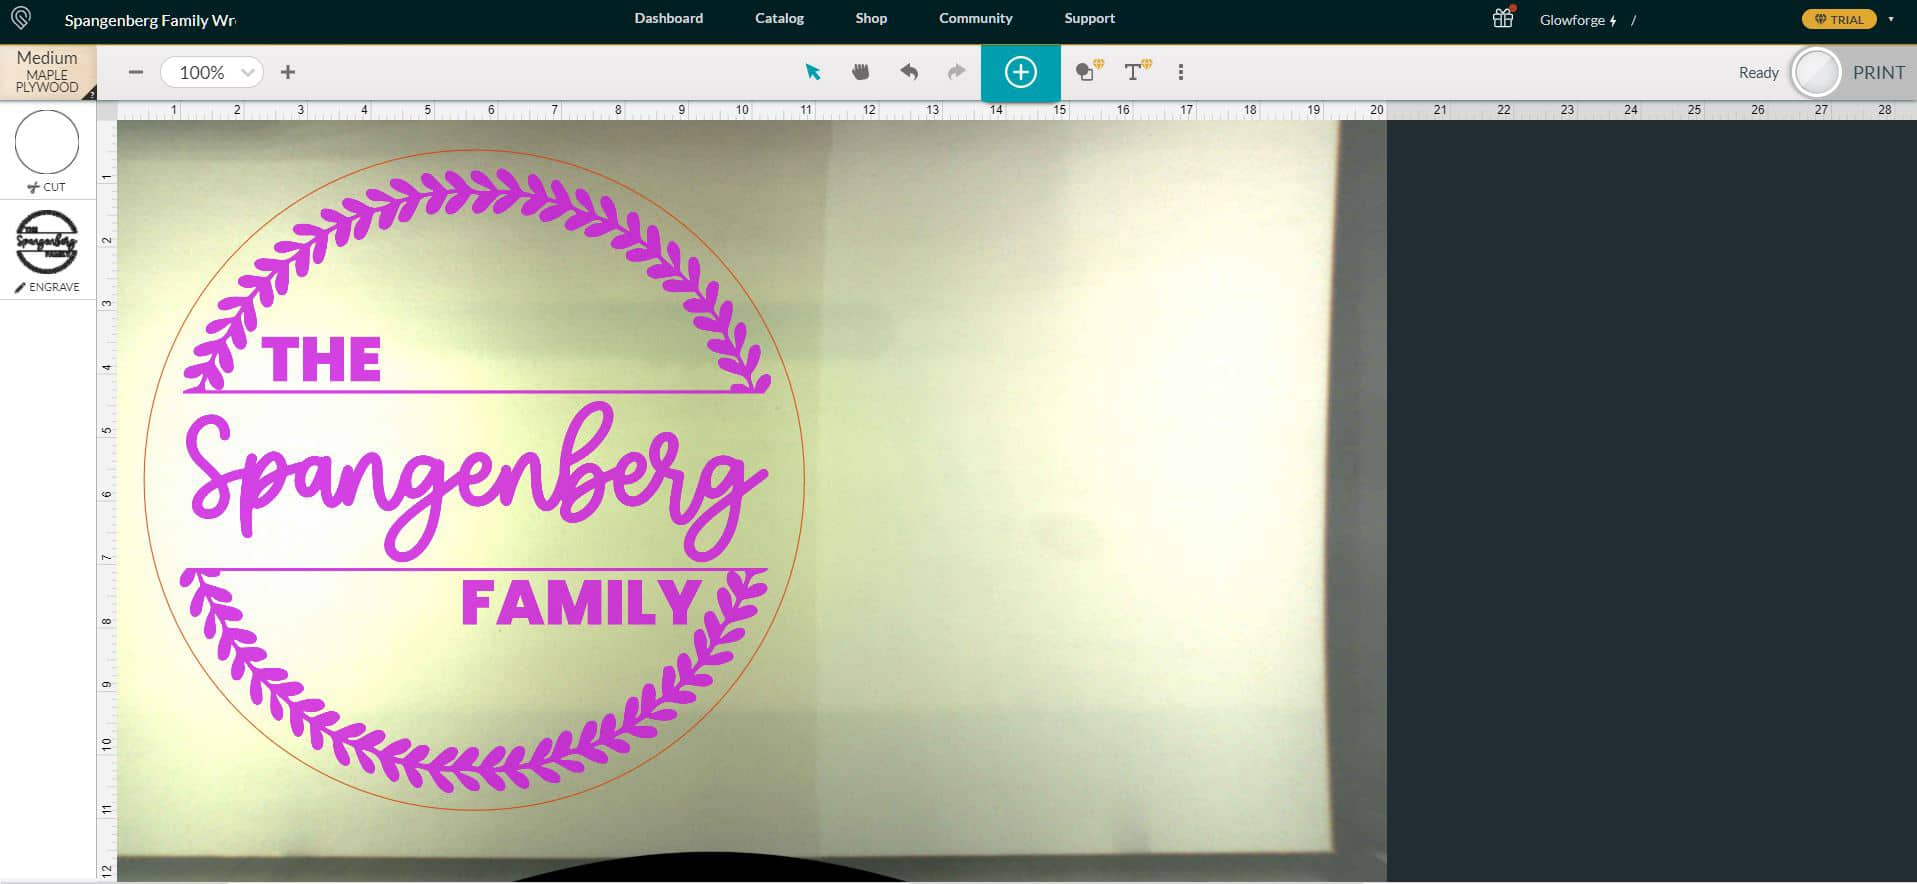
Open up the Glowforge App software on your computer and upload the SVG file by clicking the large teal “+” in the center of the screen. I selected “Medium Maple Plywood” as my material since it is similar to the Baltic Birch that I used, and then adjusted the settings as needed (see below).

Choose “Set Focus” from the ⋮ menu in the top center bar. This will focus on your material and determine the thickness of your wood for the cutting and engraving settings. For this sign, we used 850 speed, full power, and 270 LPI for engraving and 165 speed with full power for the cut (see settings notes below for more information!).
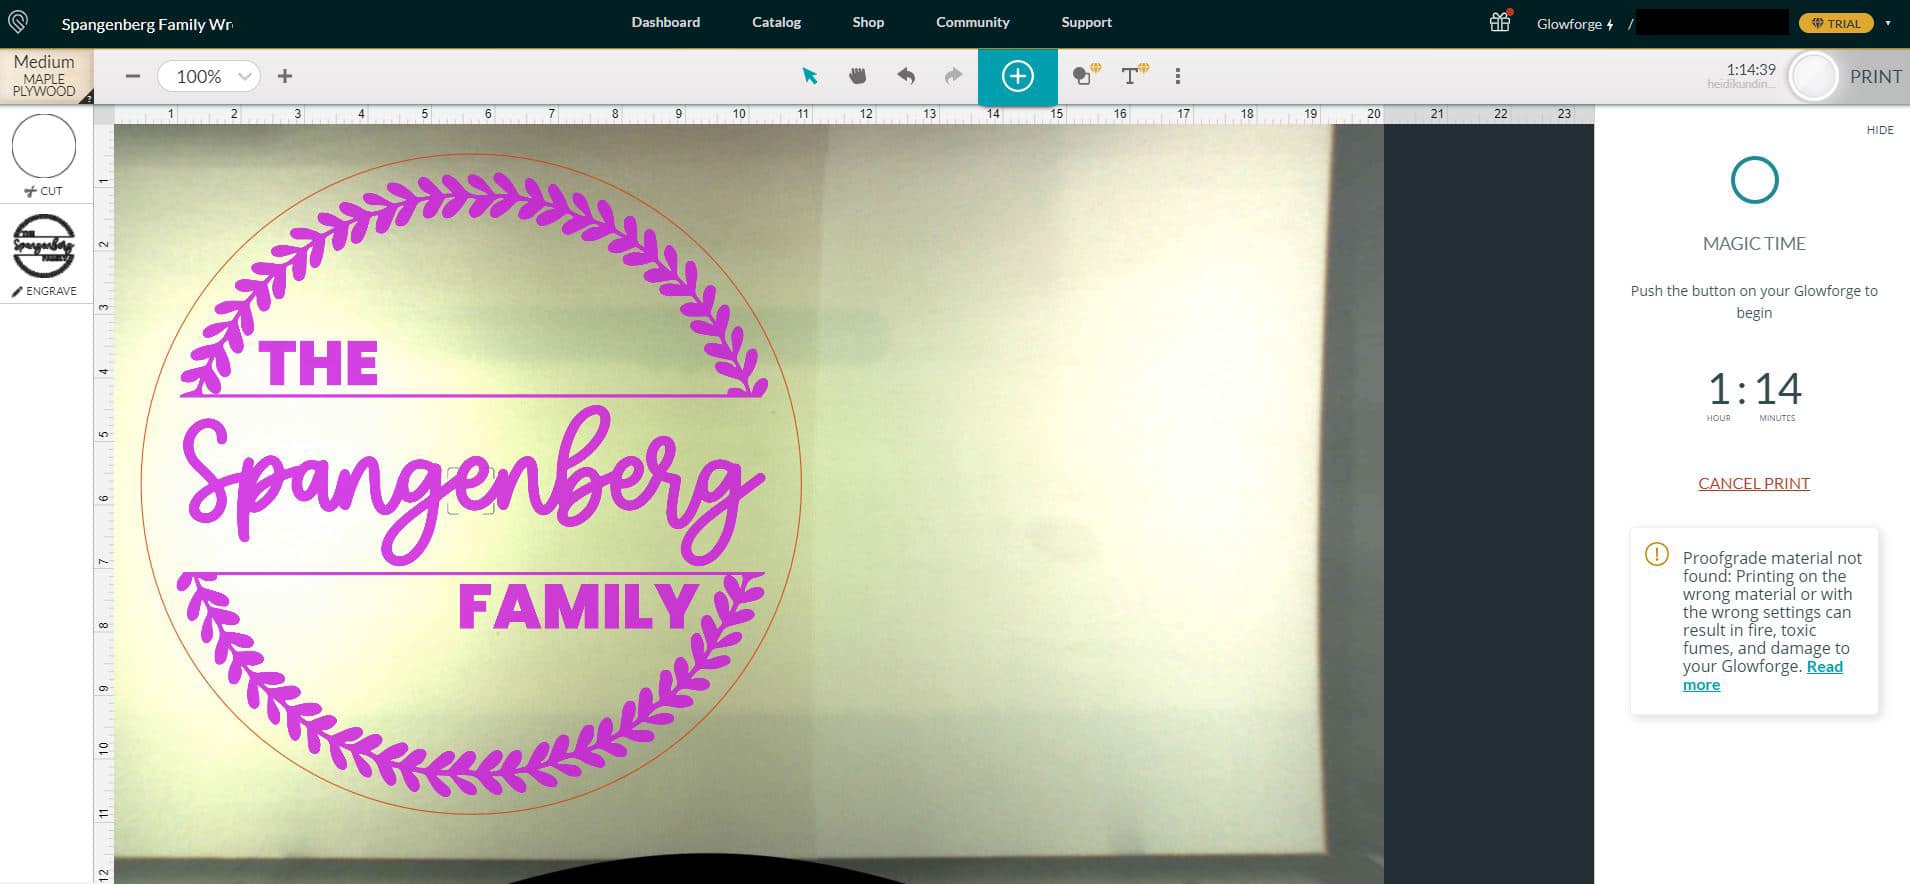
After focusing, size and position your SVG design as desired on your wood board. When finished, click “Print” in the upper right corner. The software will calculate the precision movement of the Glowforge machine and let you know how long your print will take to engrave and cut.
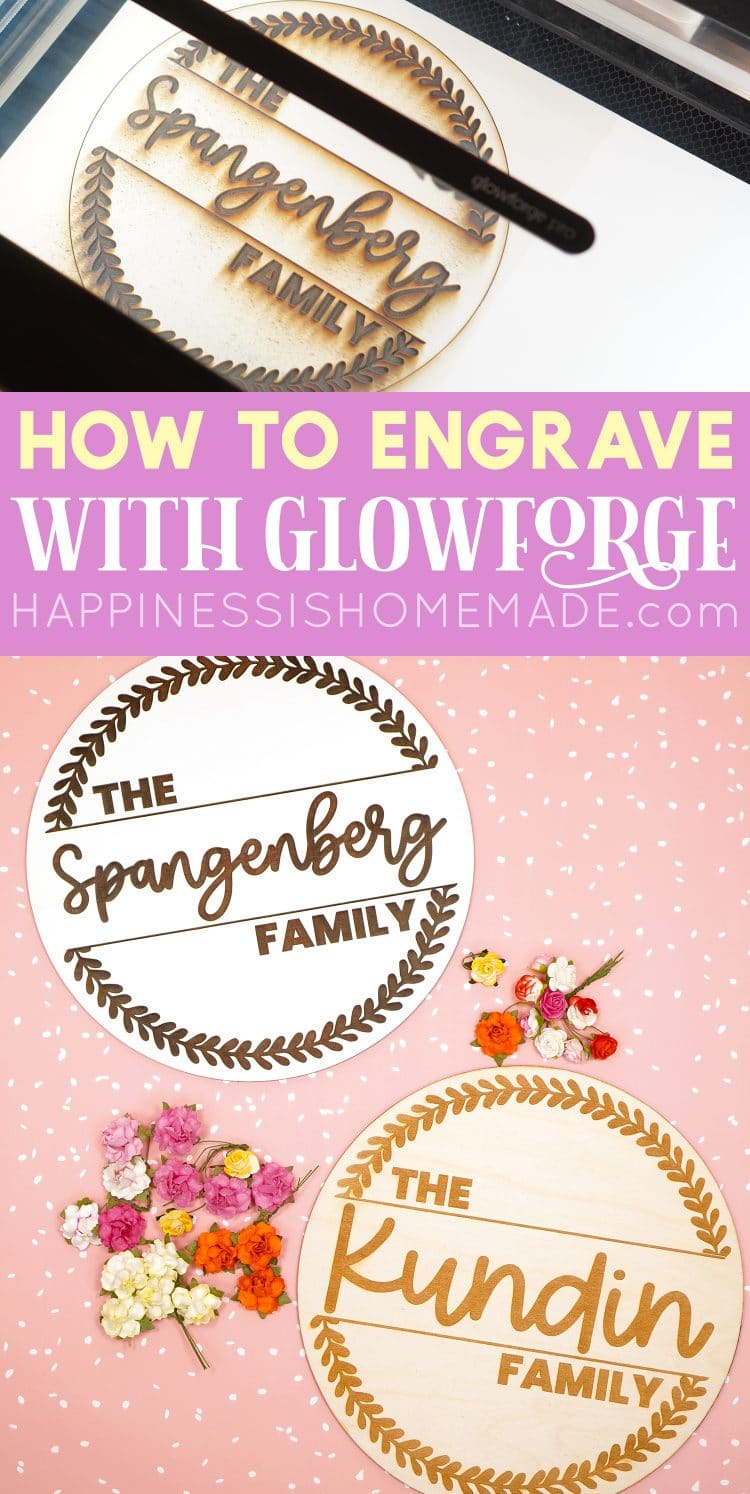
Press the flashing button on your Glowforge, and watch the magic happen! (Don’t look directly at the laser, though!)
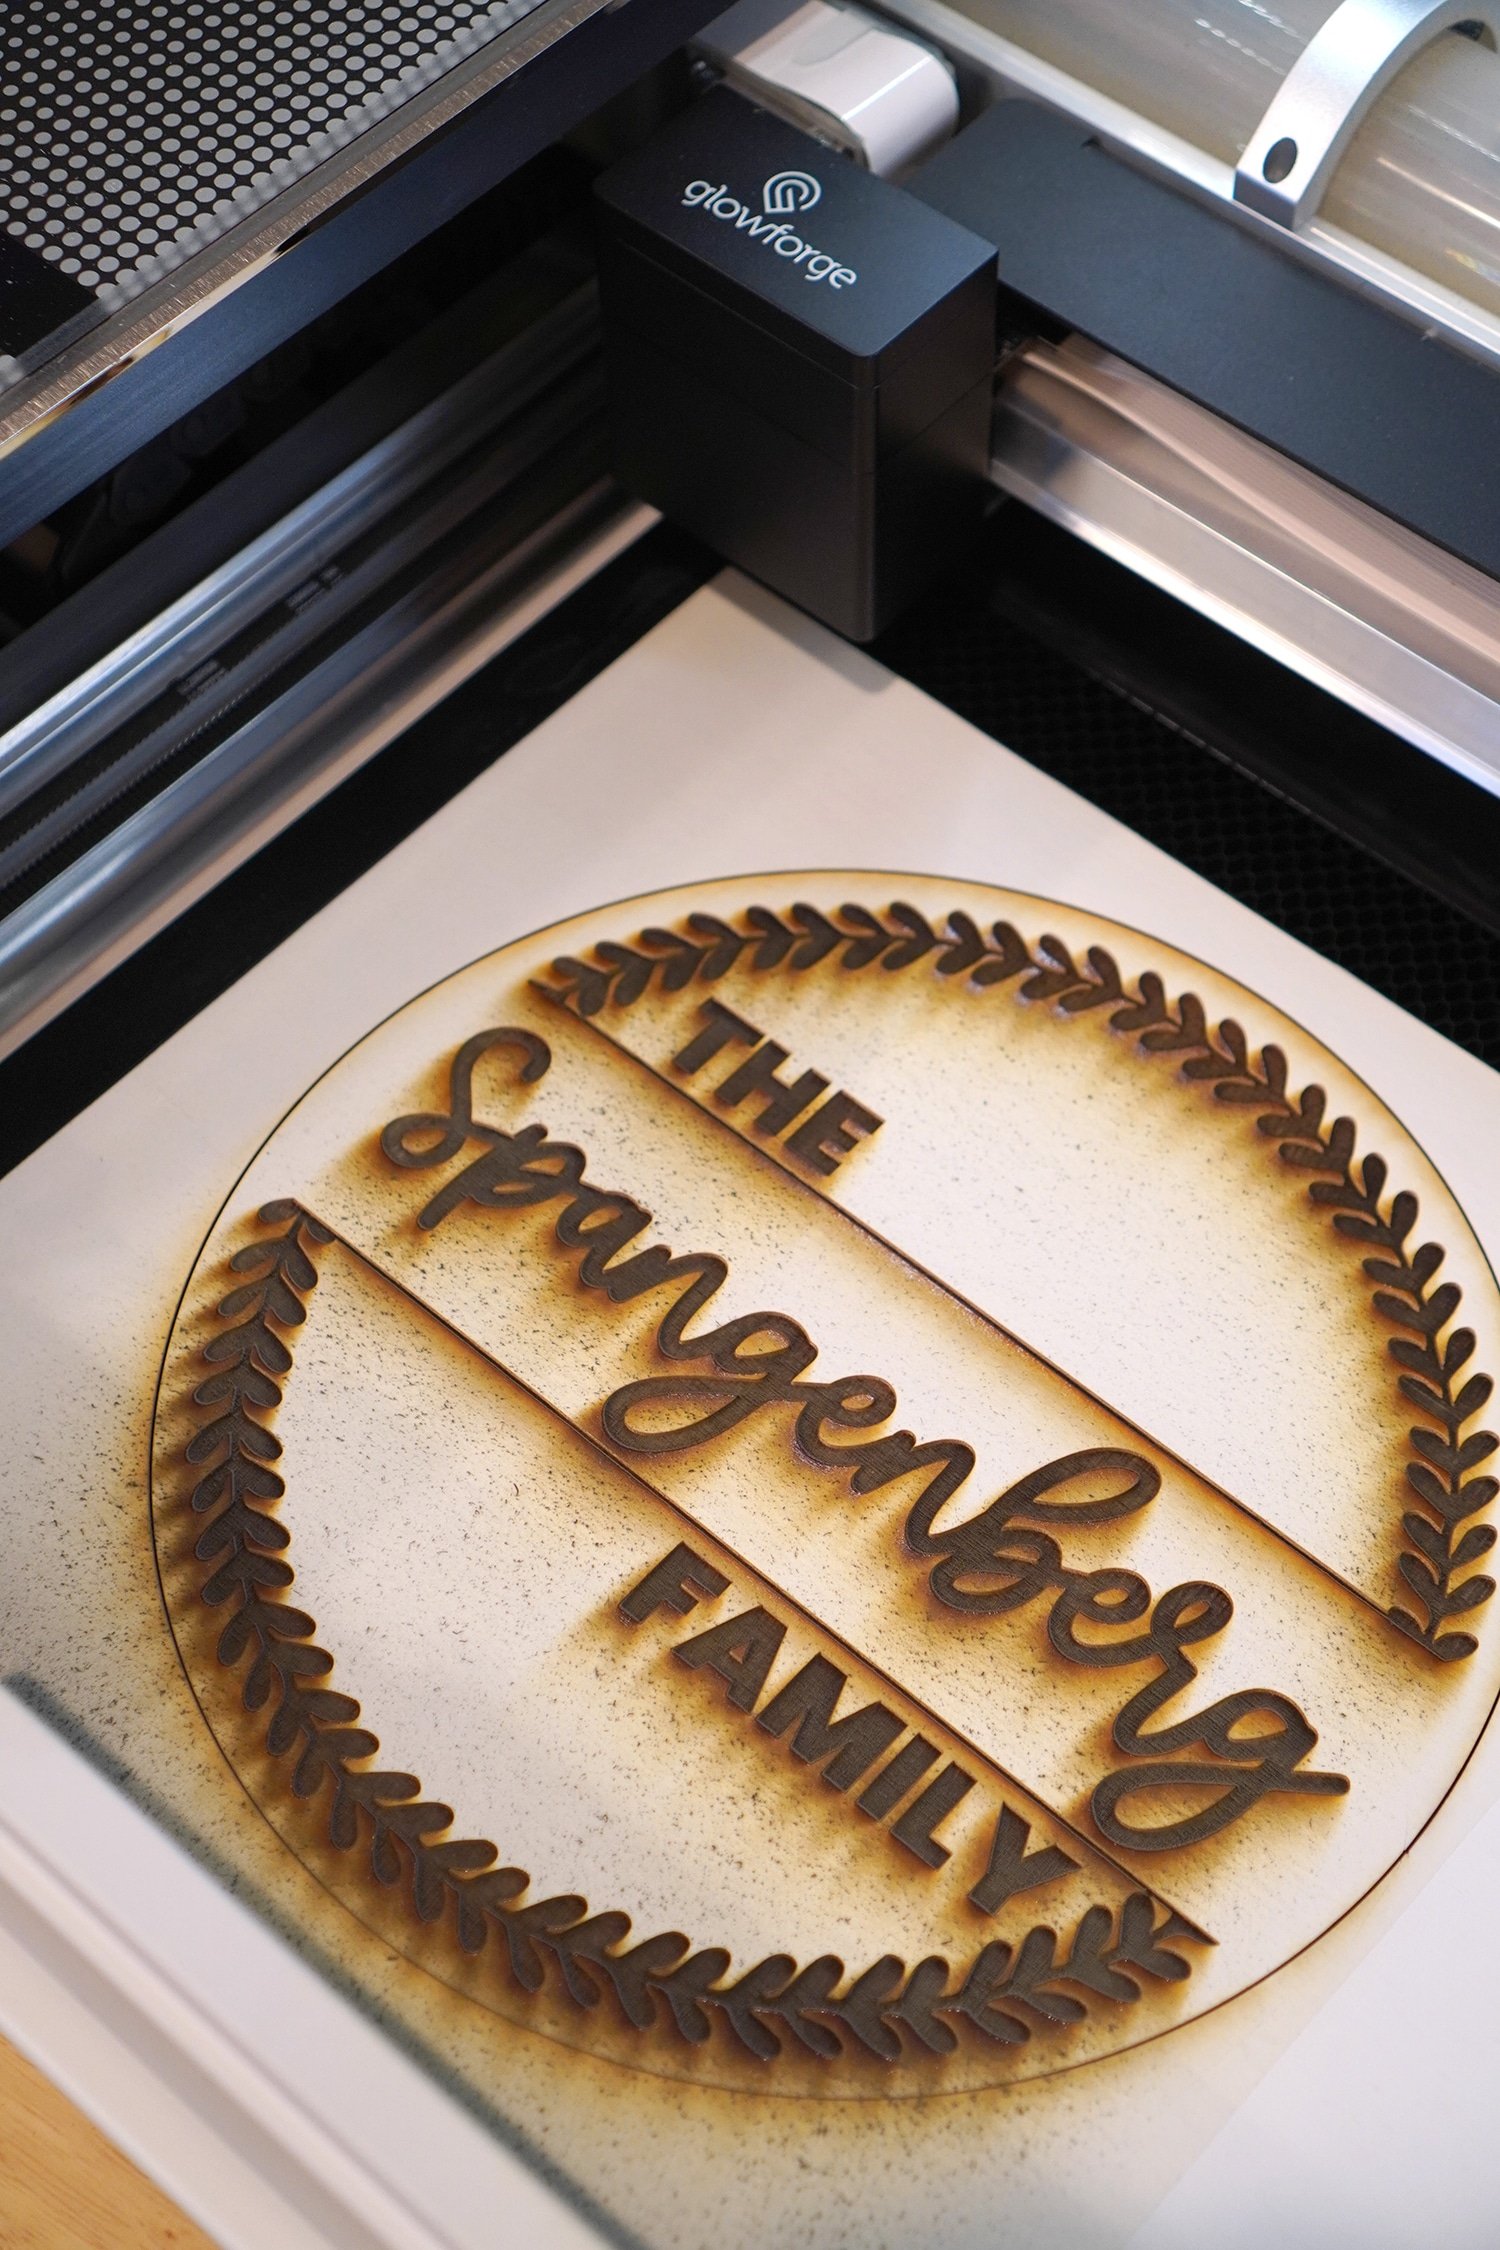
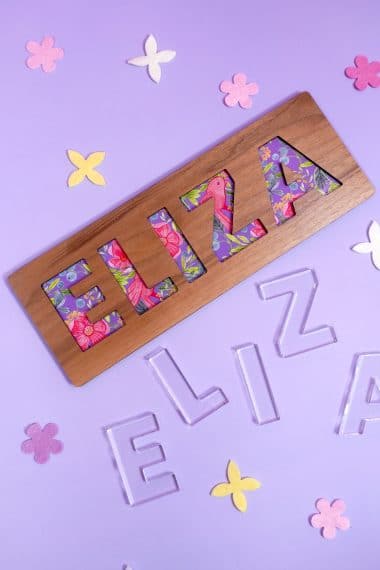
All finished, easy peasy! Remove the sign from the Glowforge and set aside the wood scraps for a later project.

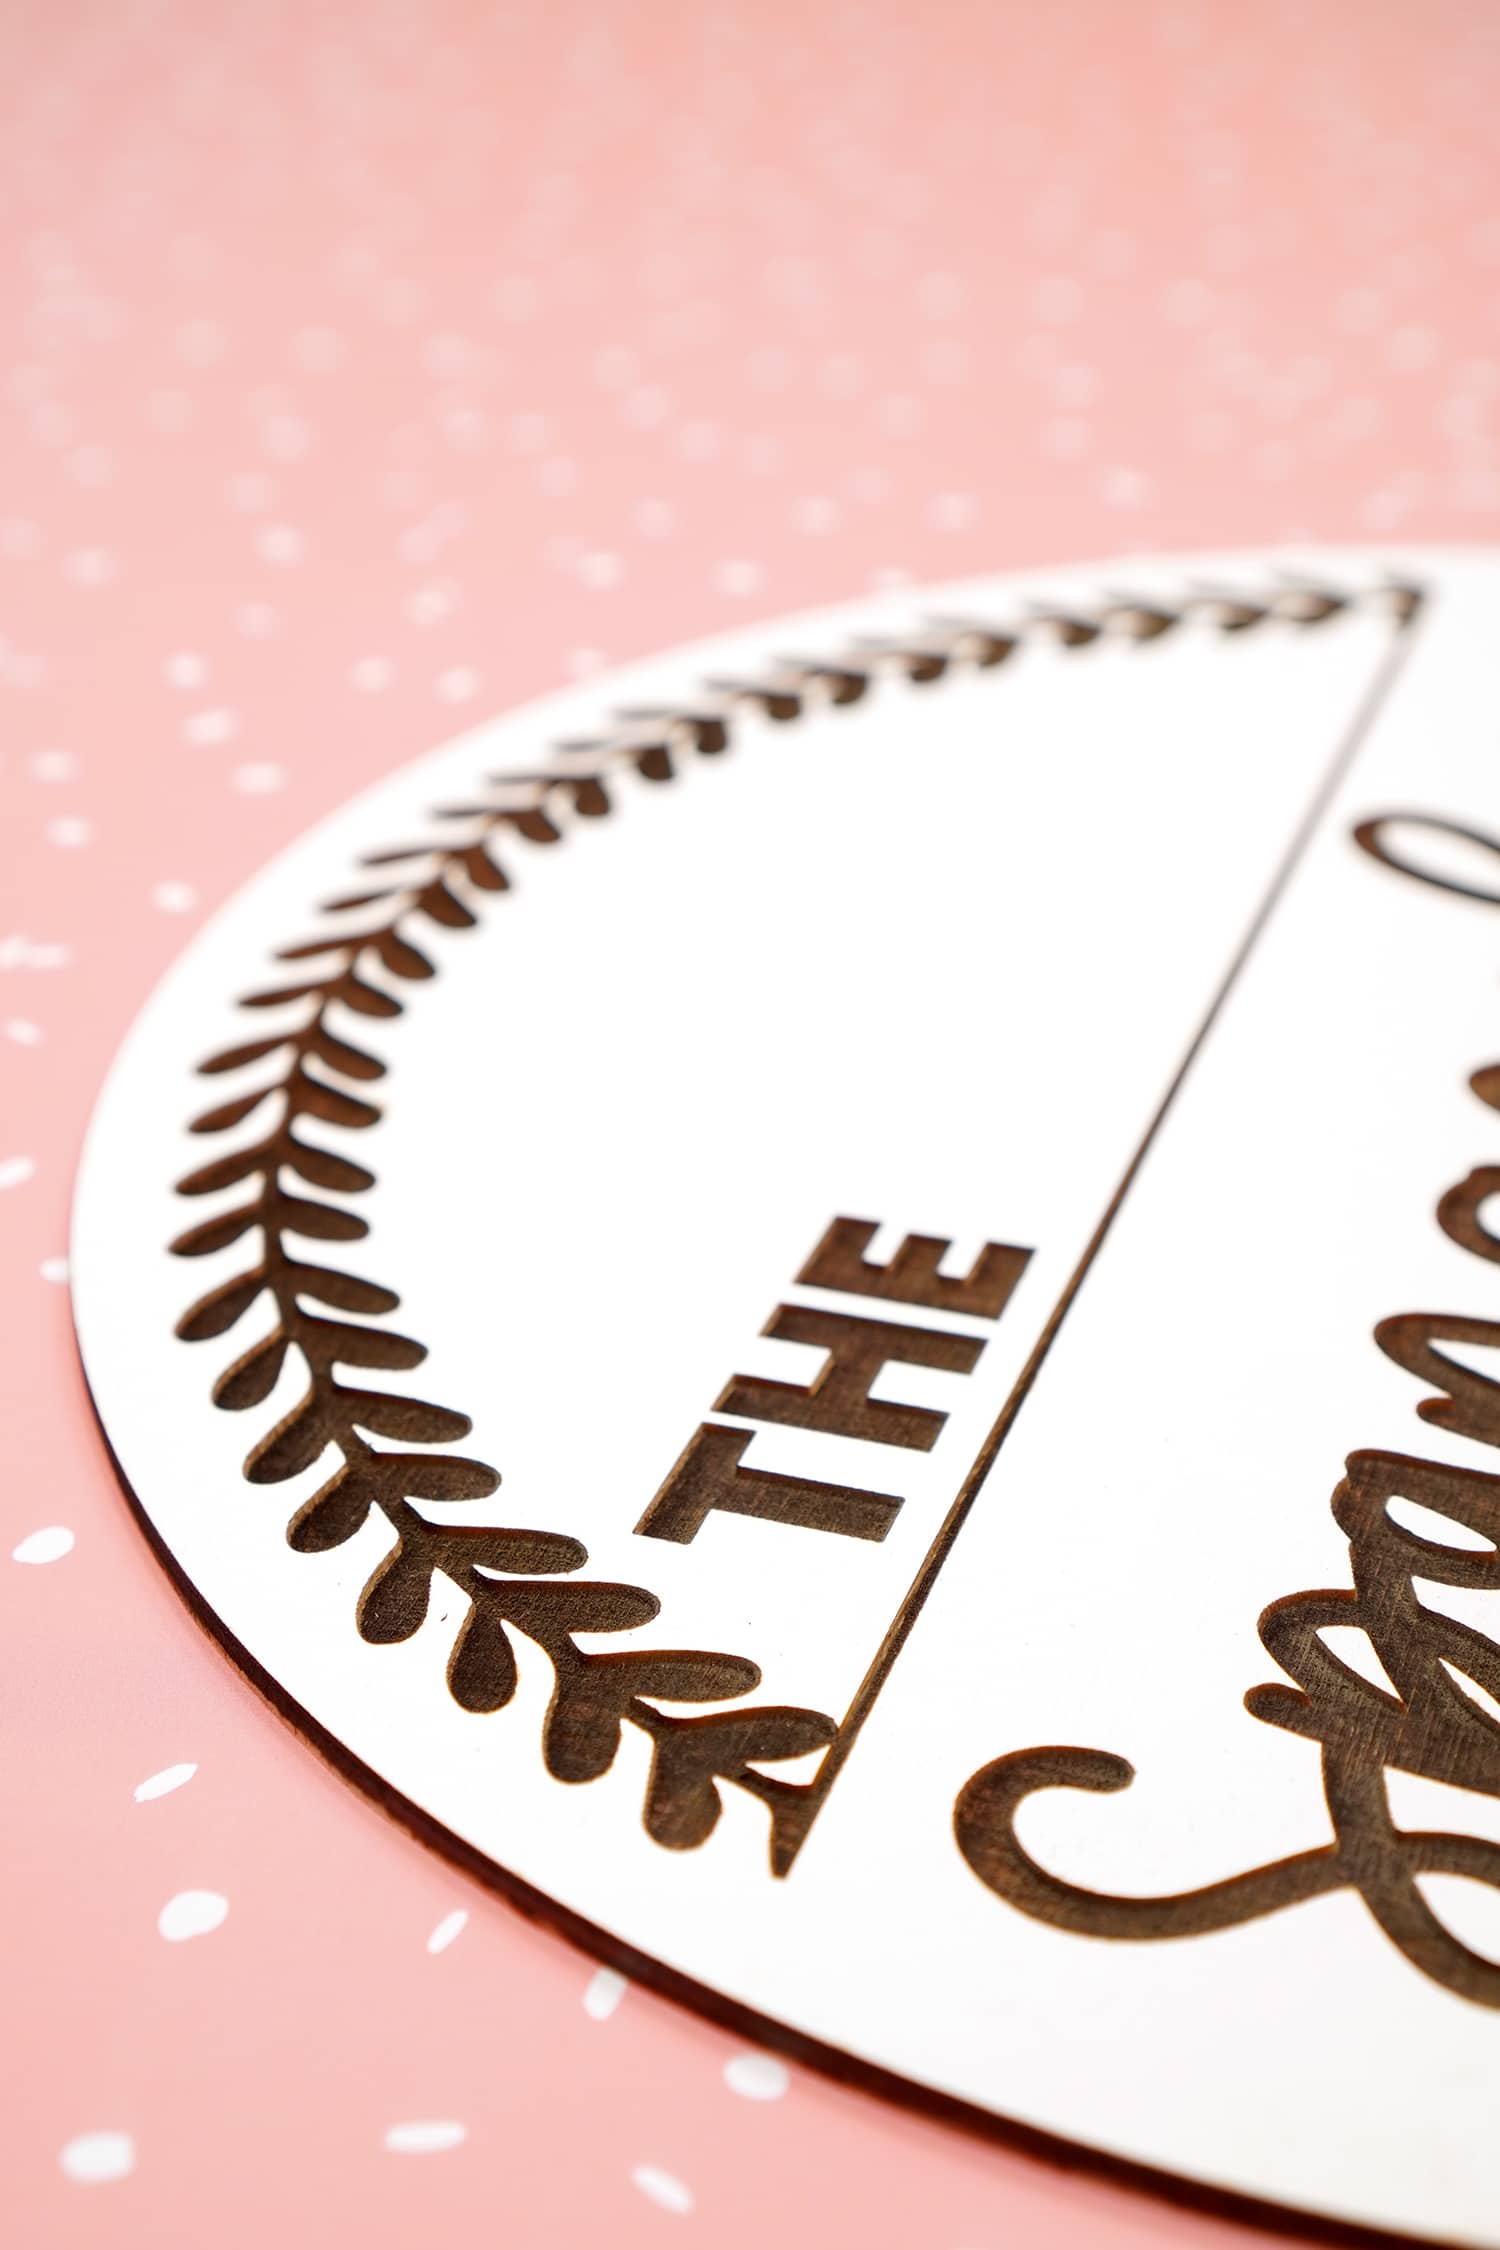
You’ll notice that with this deep engraving there’s a lot of scorching and burn marks – that’s why we mask everything before we cut or engrave!
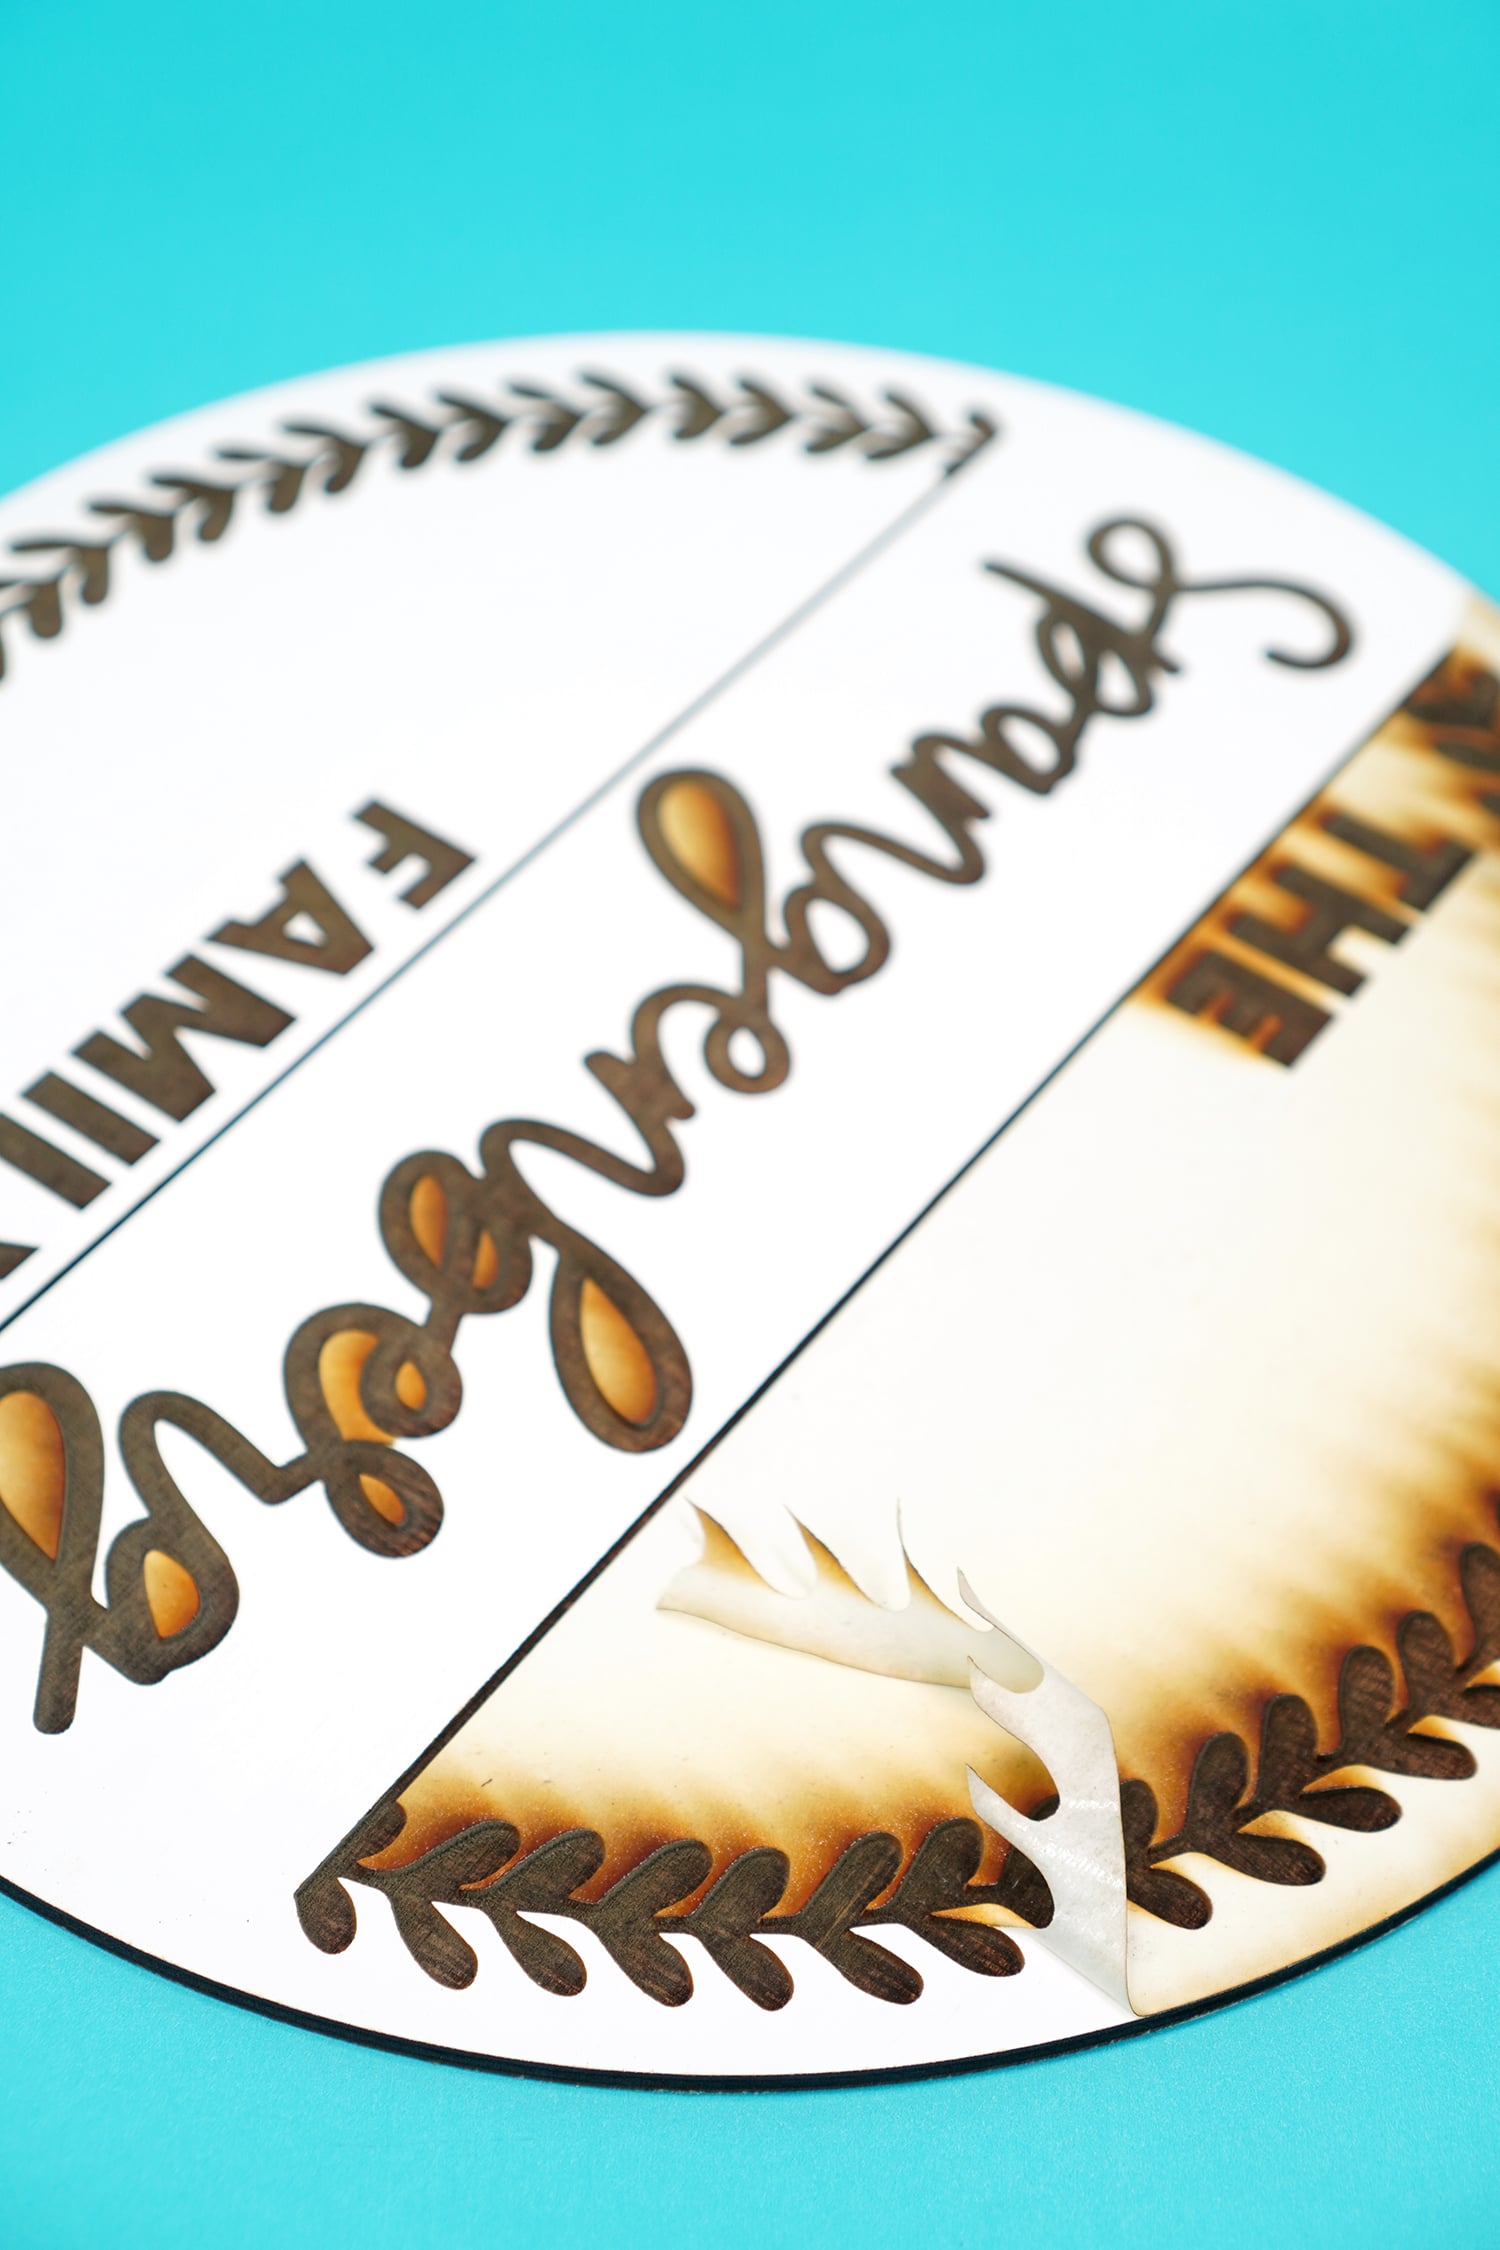
Once you peel up the masking, the sign underneath is gorgeous and perfect! If you do have any leftover scorch marks or sticky spots from the masking, use a rubber cement pick-up (glue/residue eraser) to remove them.
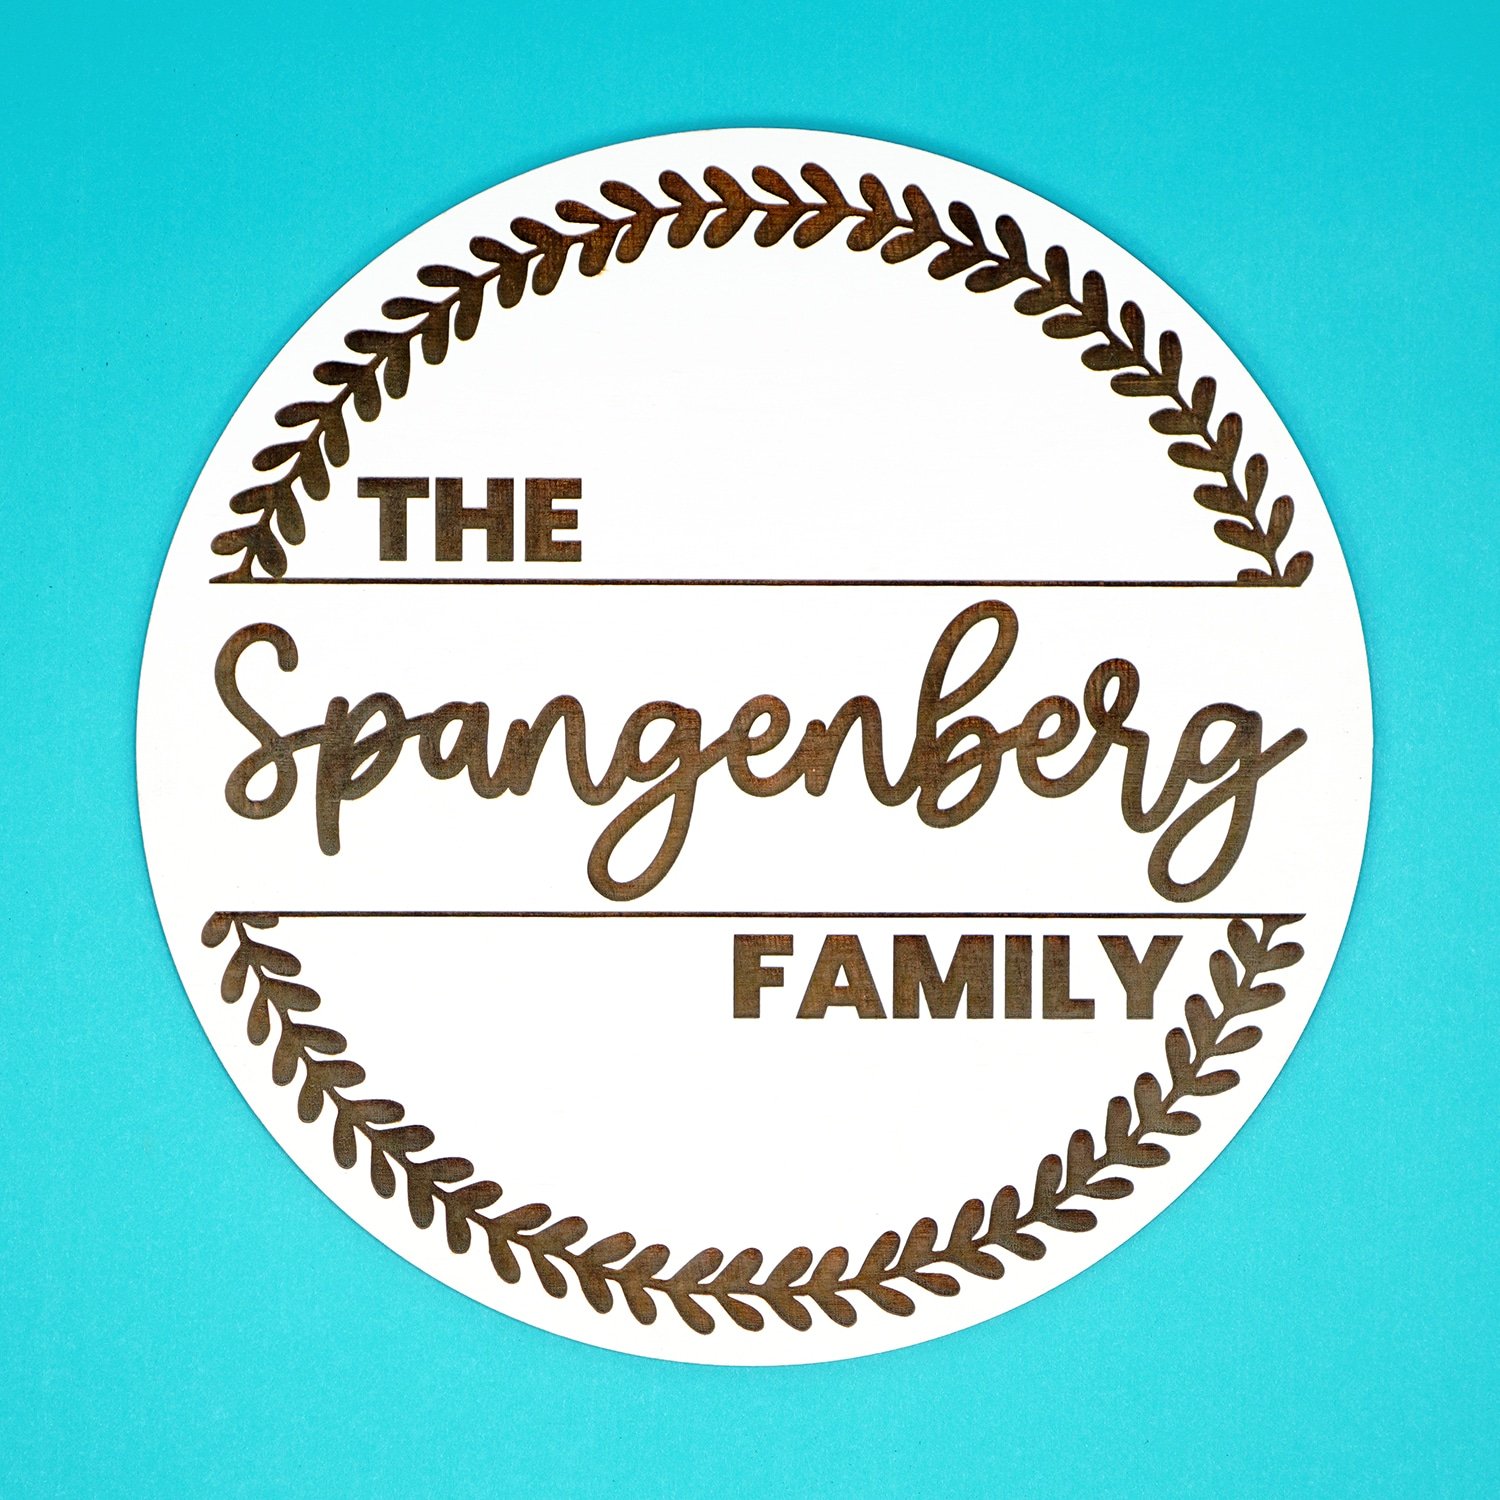
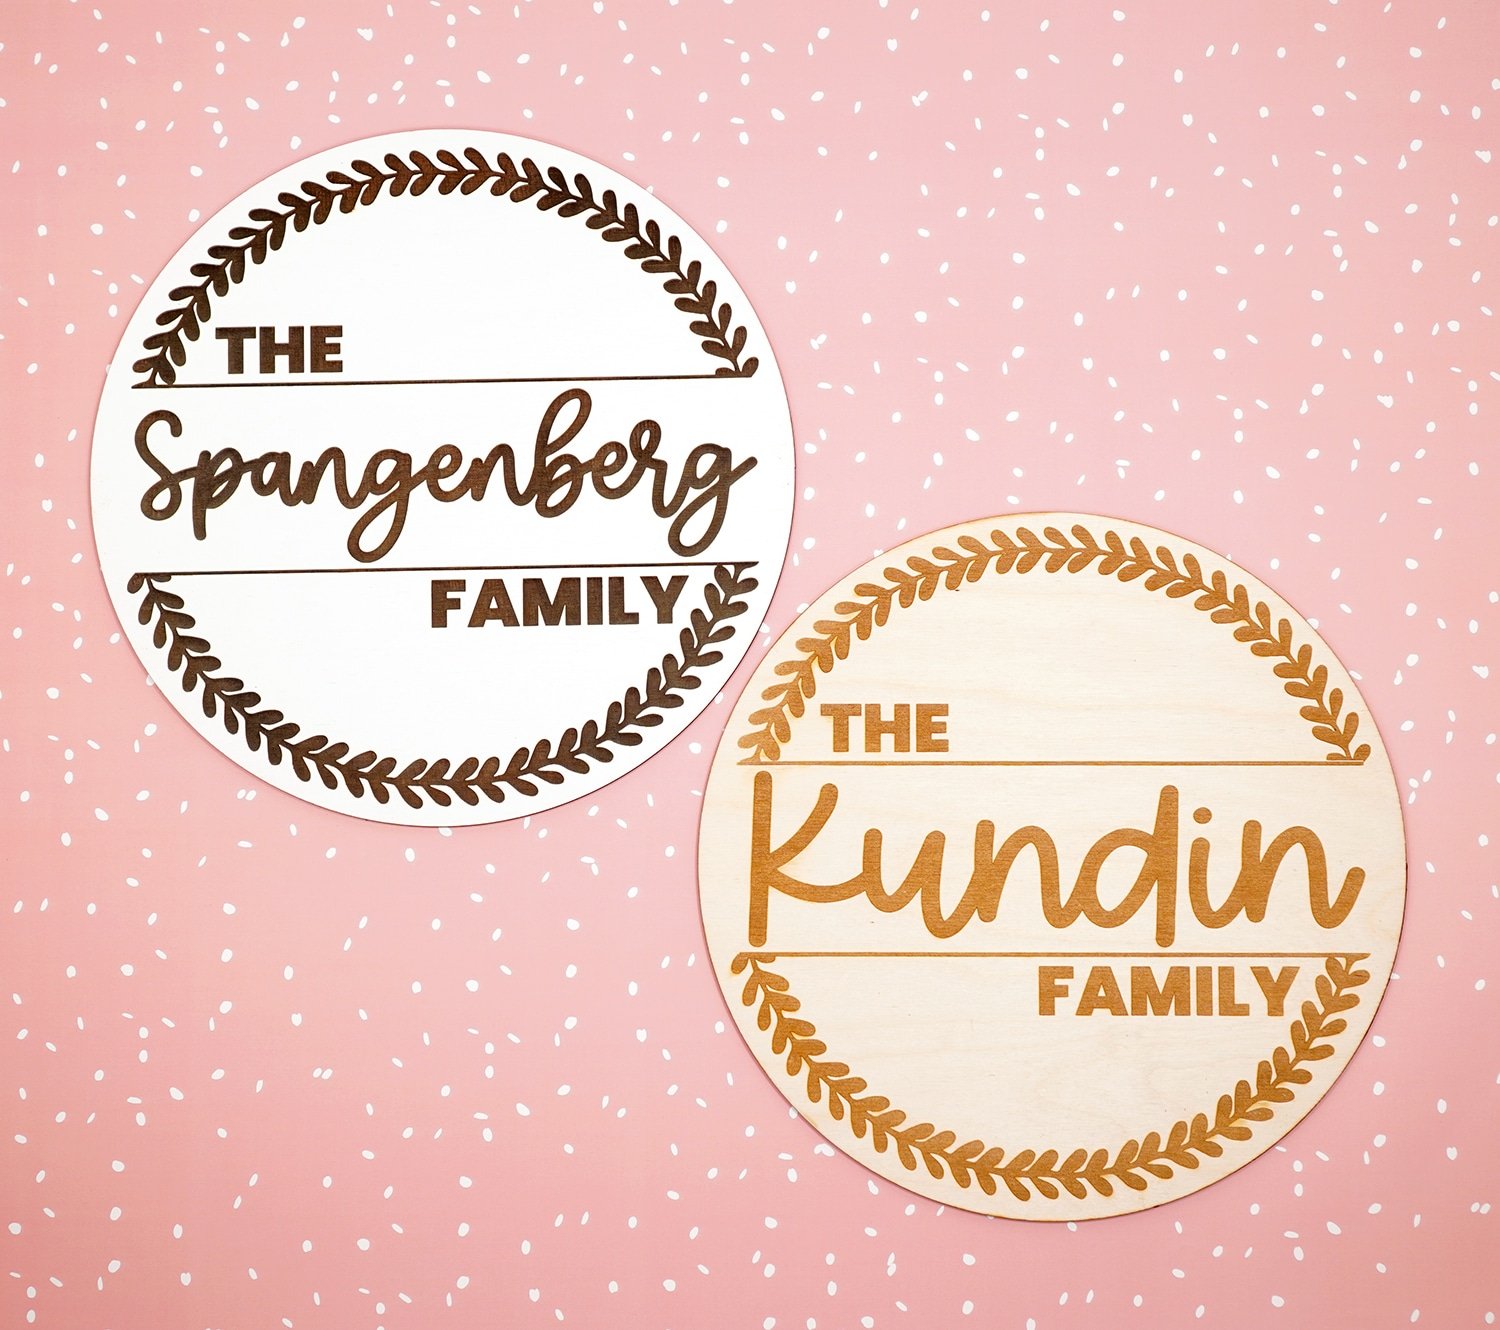
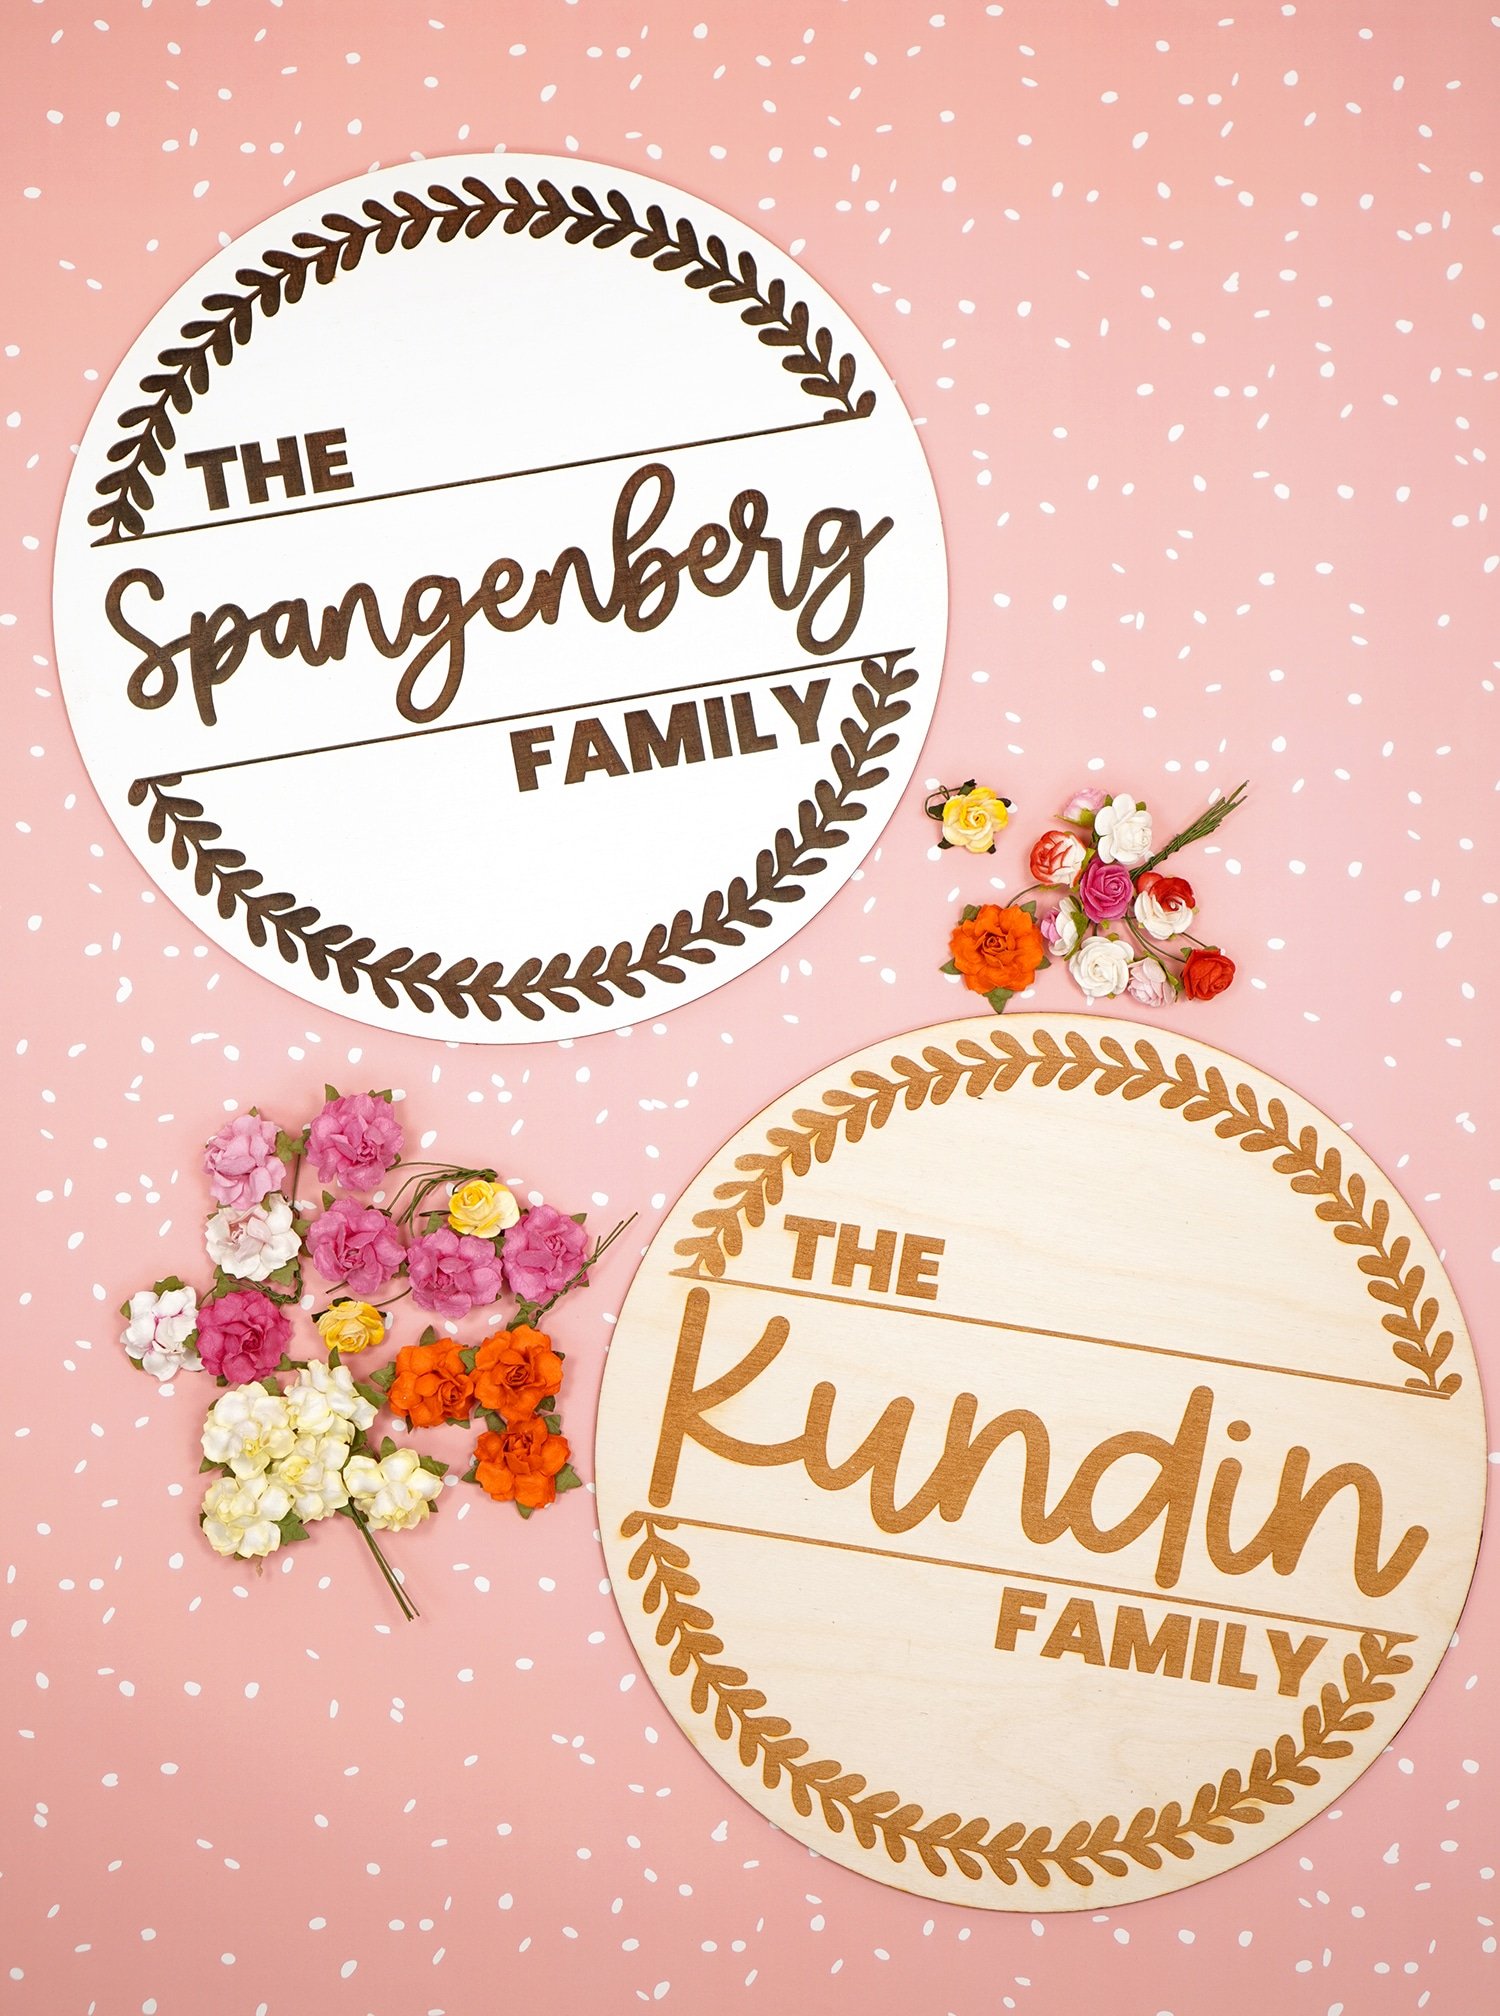
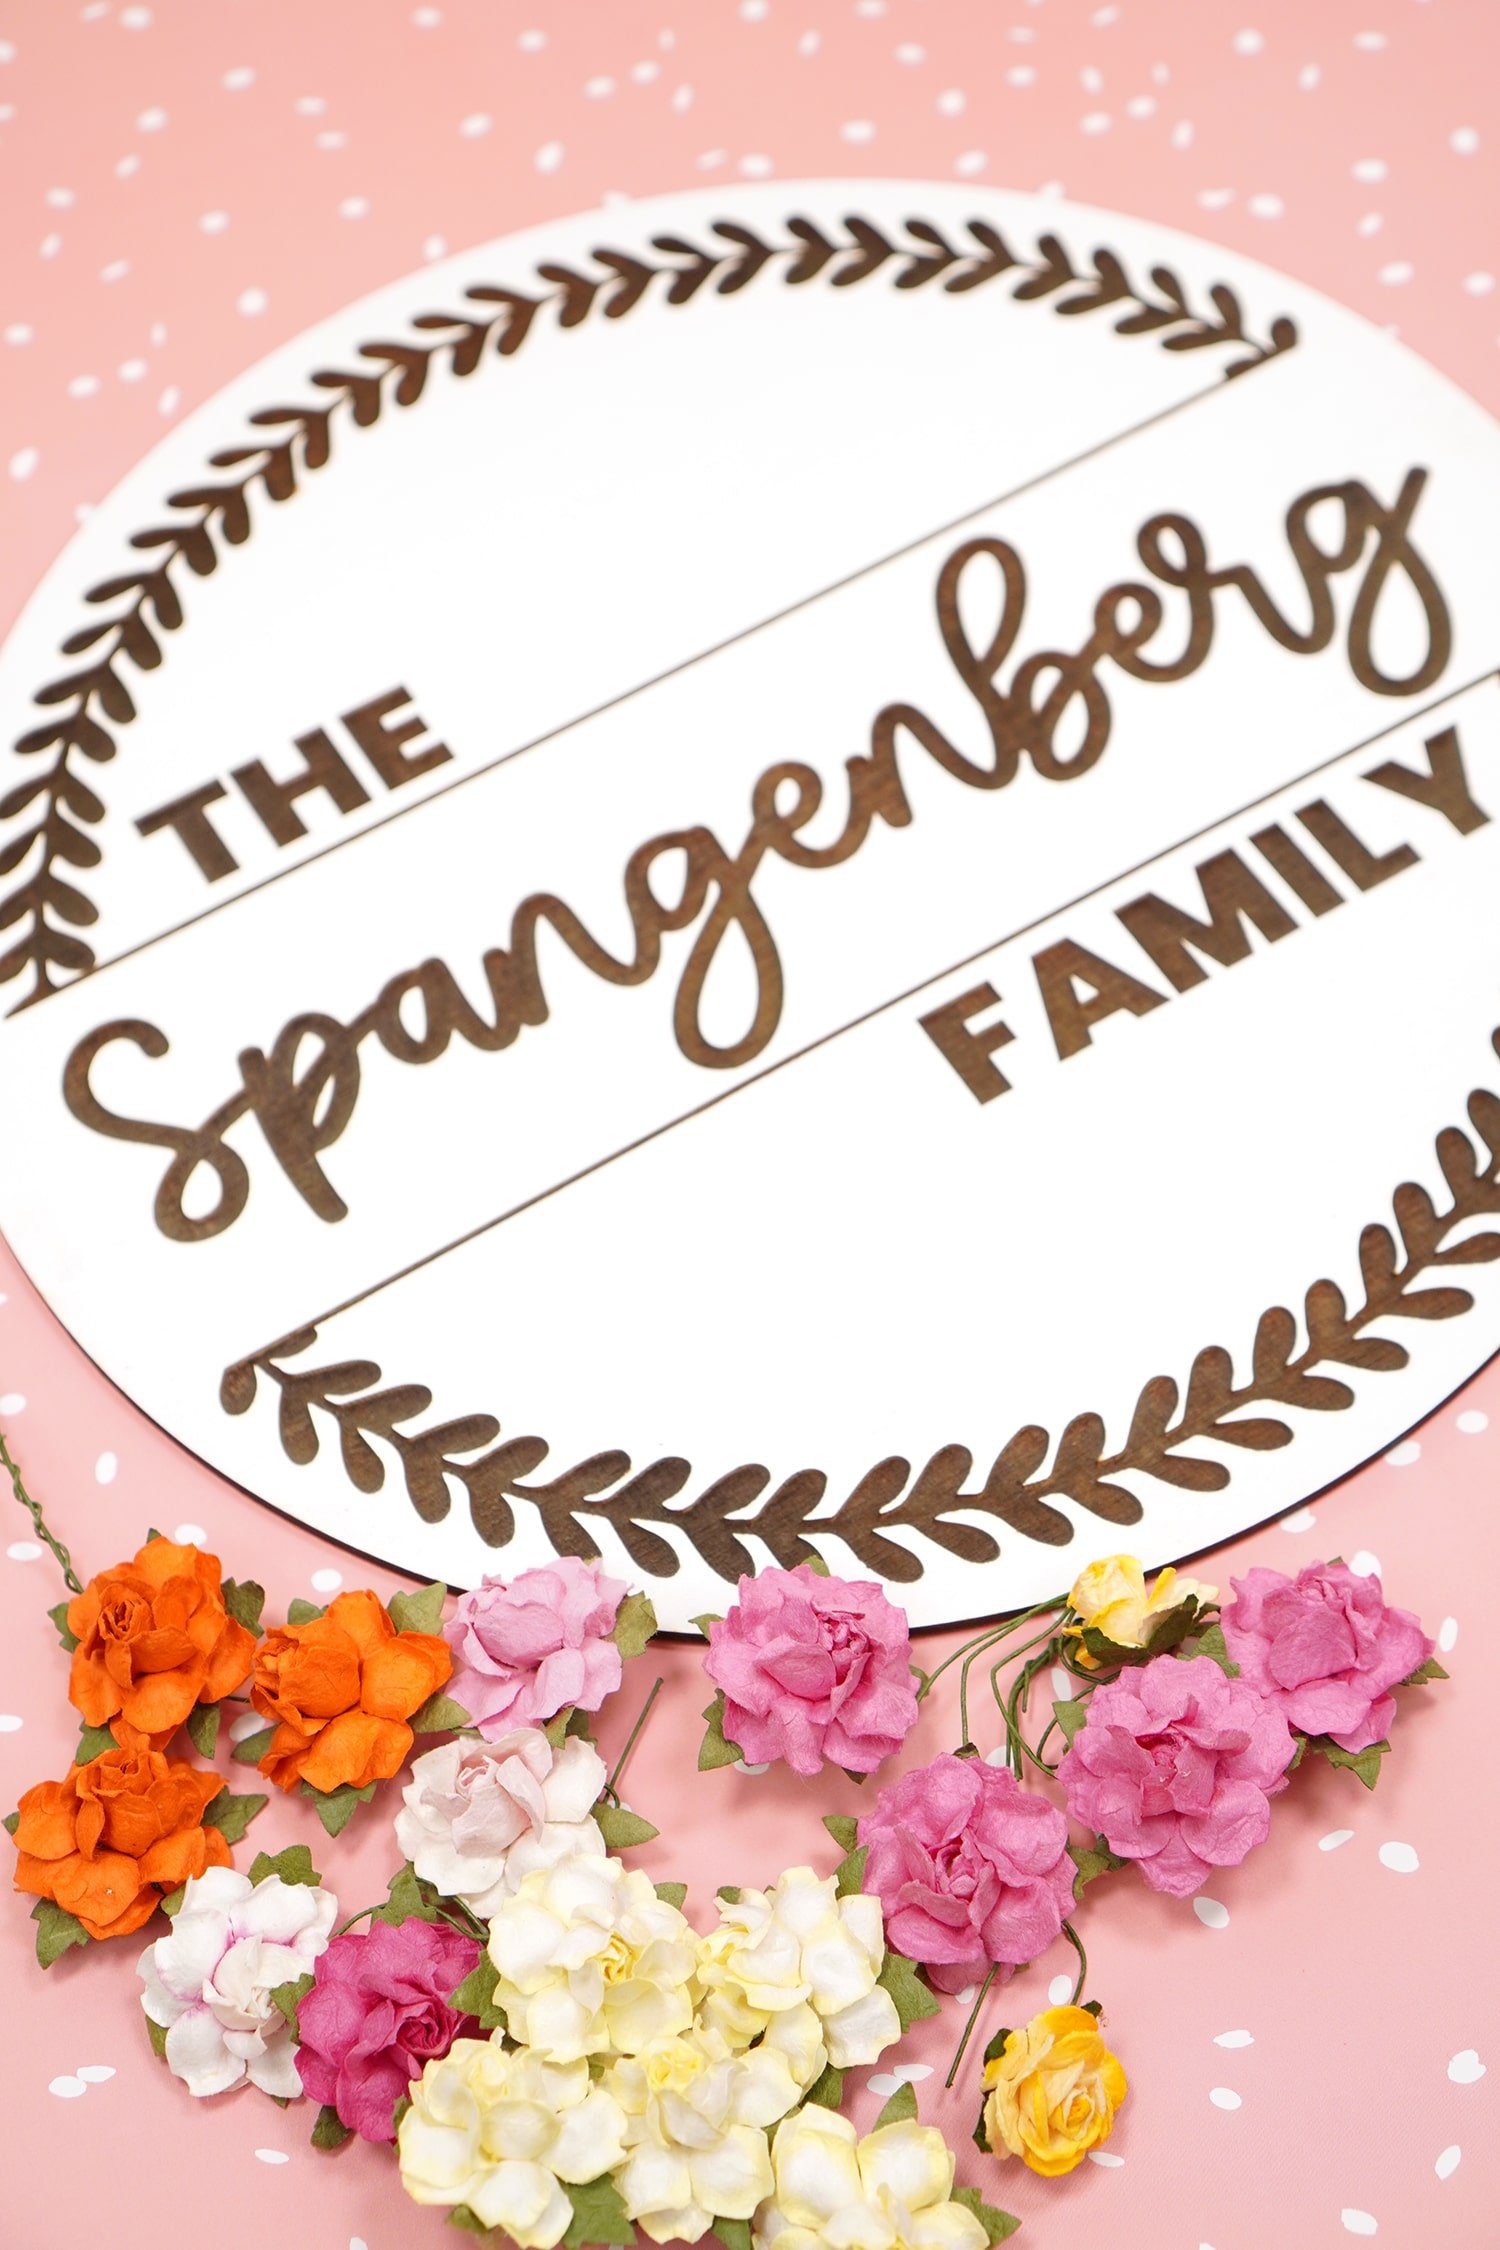
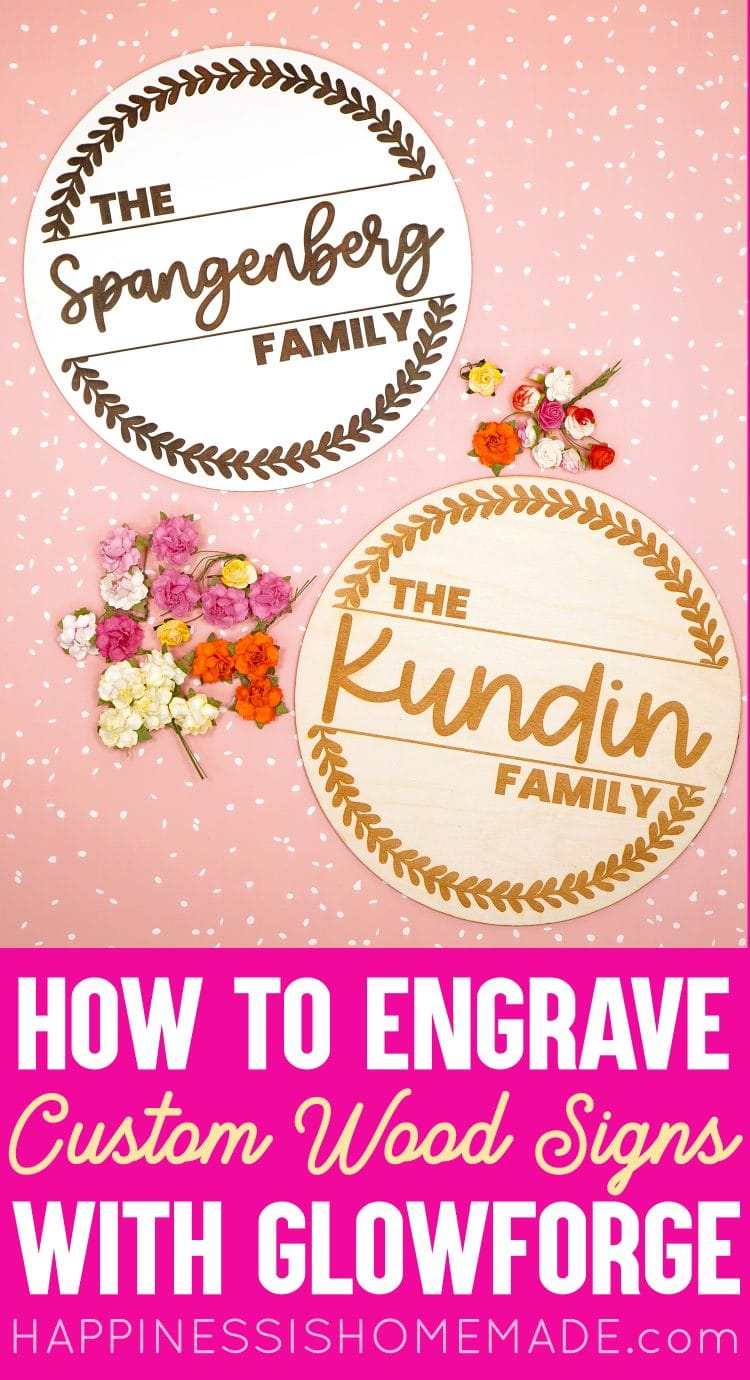
The white paint contrasts really nicely with the dark engraving!
Determining Your Glowforge Engrave Settings
How you set your Glowforge engrave settings will determine how deeply and how darkly your engraving will appear. The speed and power settings for engraving generally work in tandem – when you slow down the laser, you’ll want to decrease the power, and vice versa. If the laser is going to move a little slower and linger for a little longer, it will require less power; if it’s moving extra quickly, you may wish to increase the power.
Increasing the LPI (lines per inch) can also result in deeper and darker engraves. It is typically recommended to increase the LPI for high resolution engravings with lots of detail.
As I mentioned above, the setting for this particular sign were 850/FULL/270 which means 850 speed, full power, and 270 lines per inch. This results in a deep and dark engrave in the Birch wood.
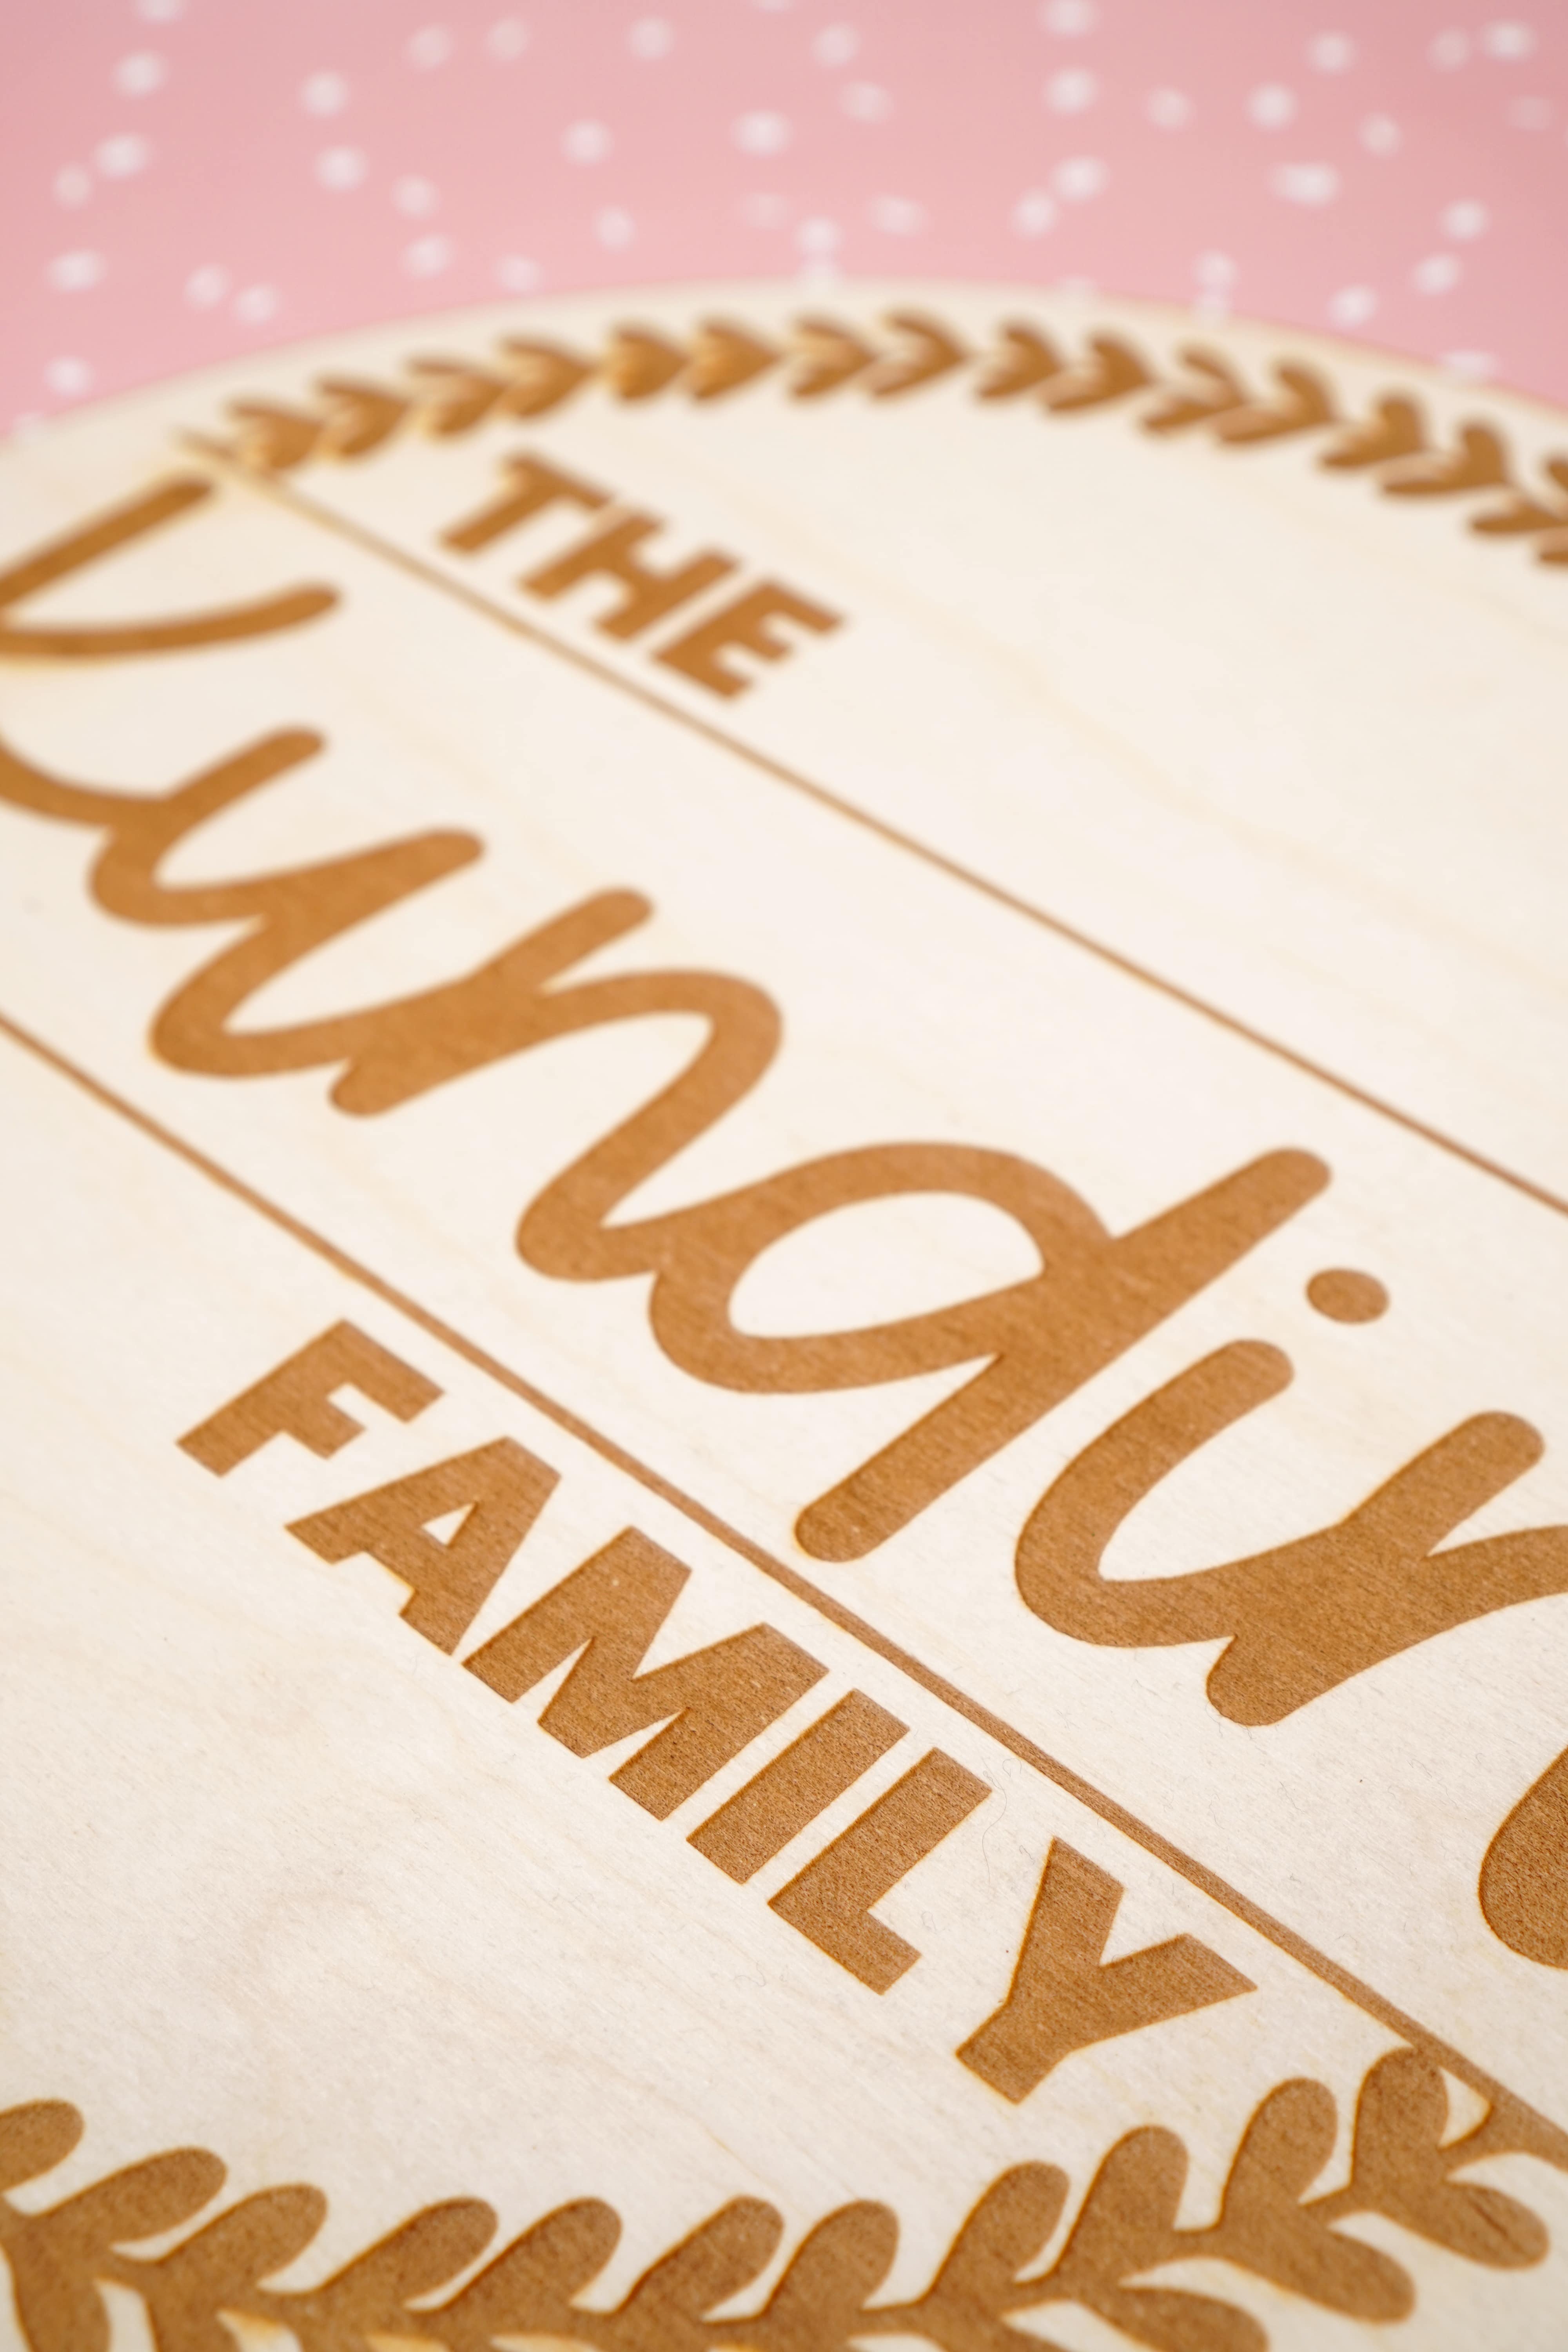
This sign was made using 1000/100/225 settings, and it resulted in a lighter and shallower engraving.
There’s no right or wrong when it comes to your settings (as long as you don’t set them so slow and high powered that it cuts through the wood instead of engraving!), and it’s really a matter of personal preference and the look that you’re going for with your engraved design.
I suggest using a piece of scrap wood to test several different settings combinations and creating an engraving guide that you can reference for future projects.
Finishing Your Custom Wood Sign
You might consider your custom wood sign to be complete as soon as you remove the masking, or you may wish to add some final finishing details. For signs that are intended to be hung, attach sawtooth hangers or a wide ribbon on the back for hanging.
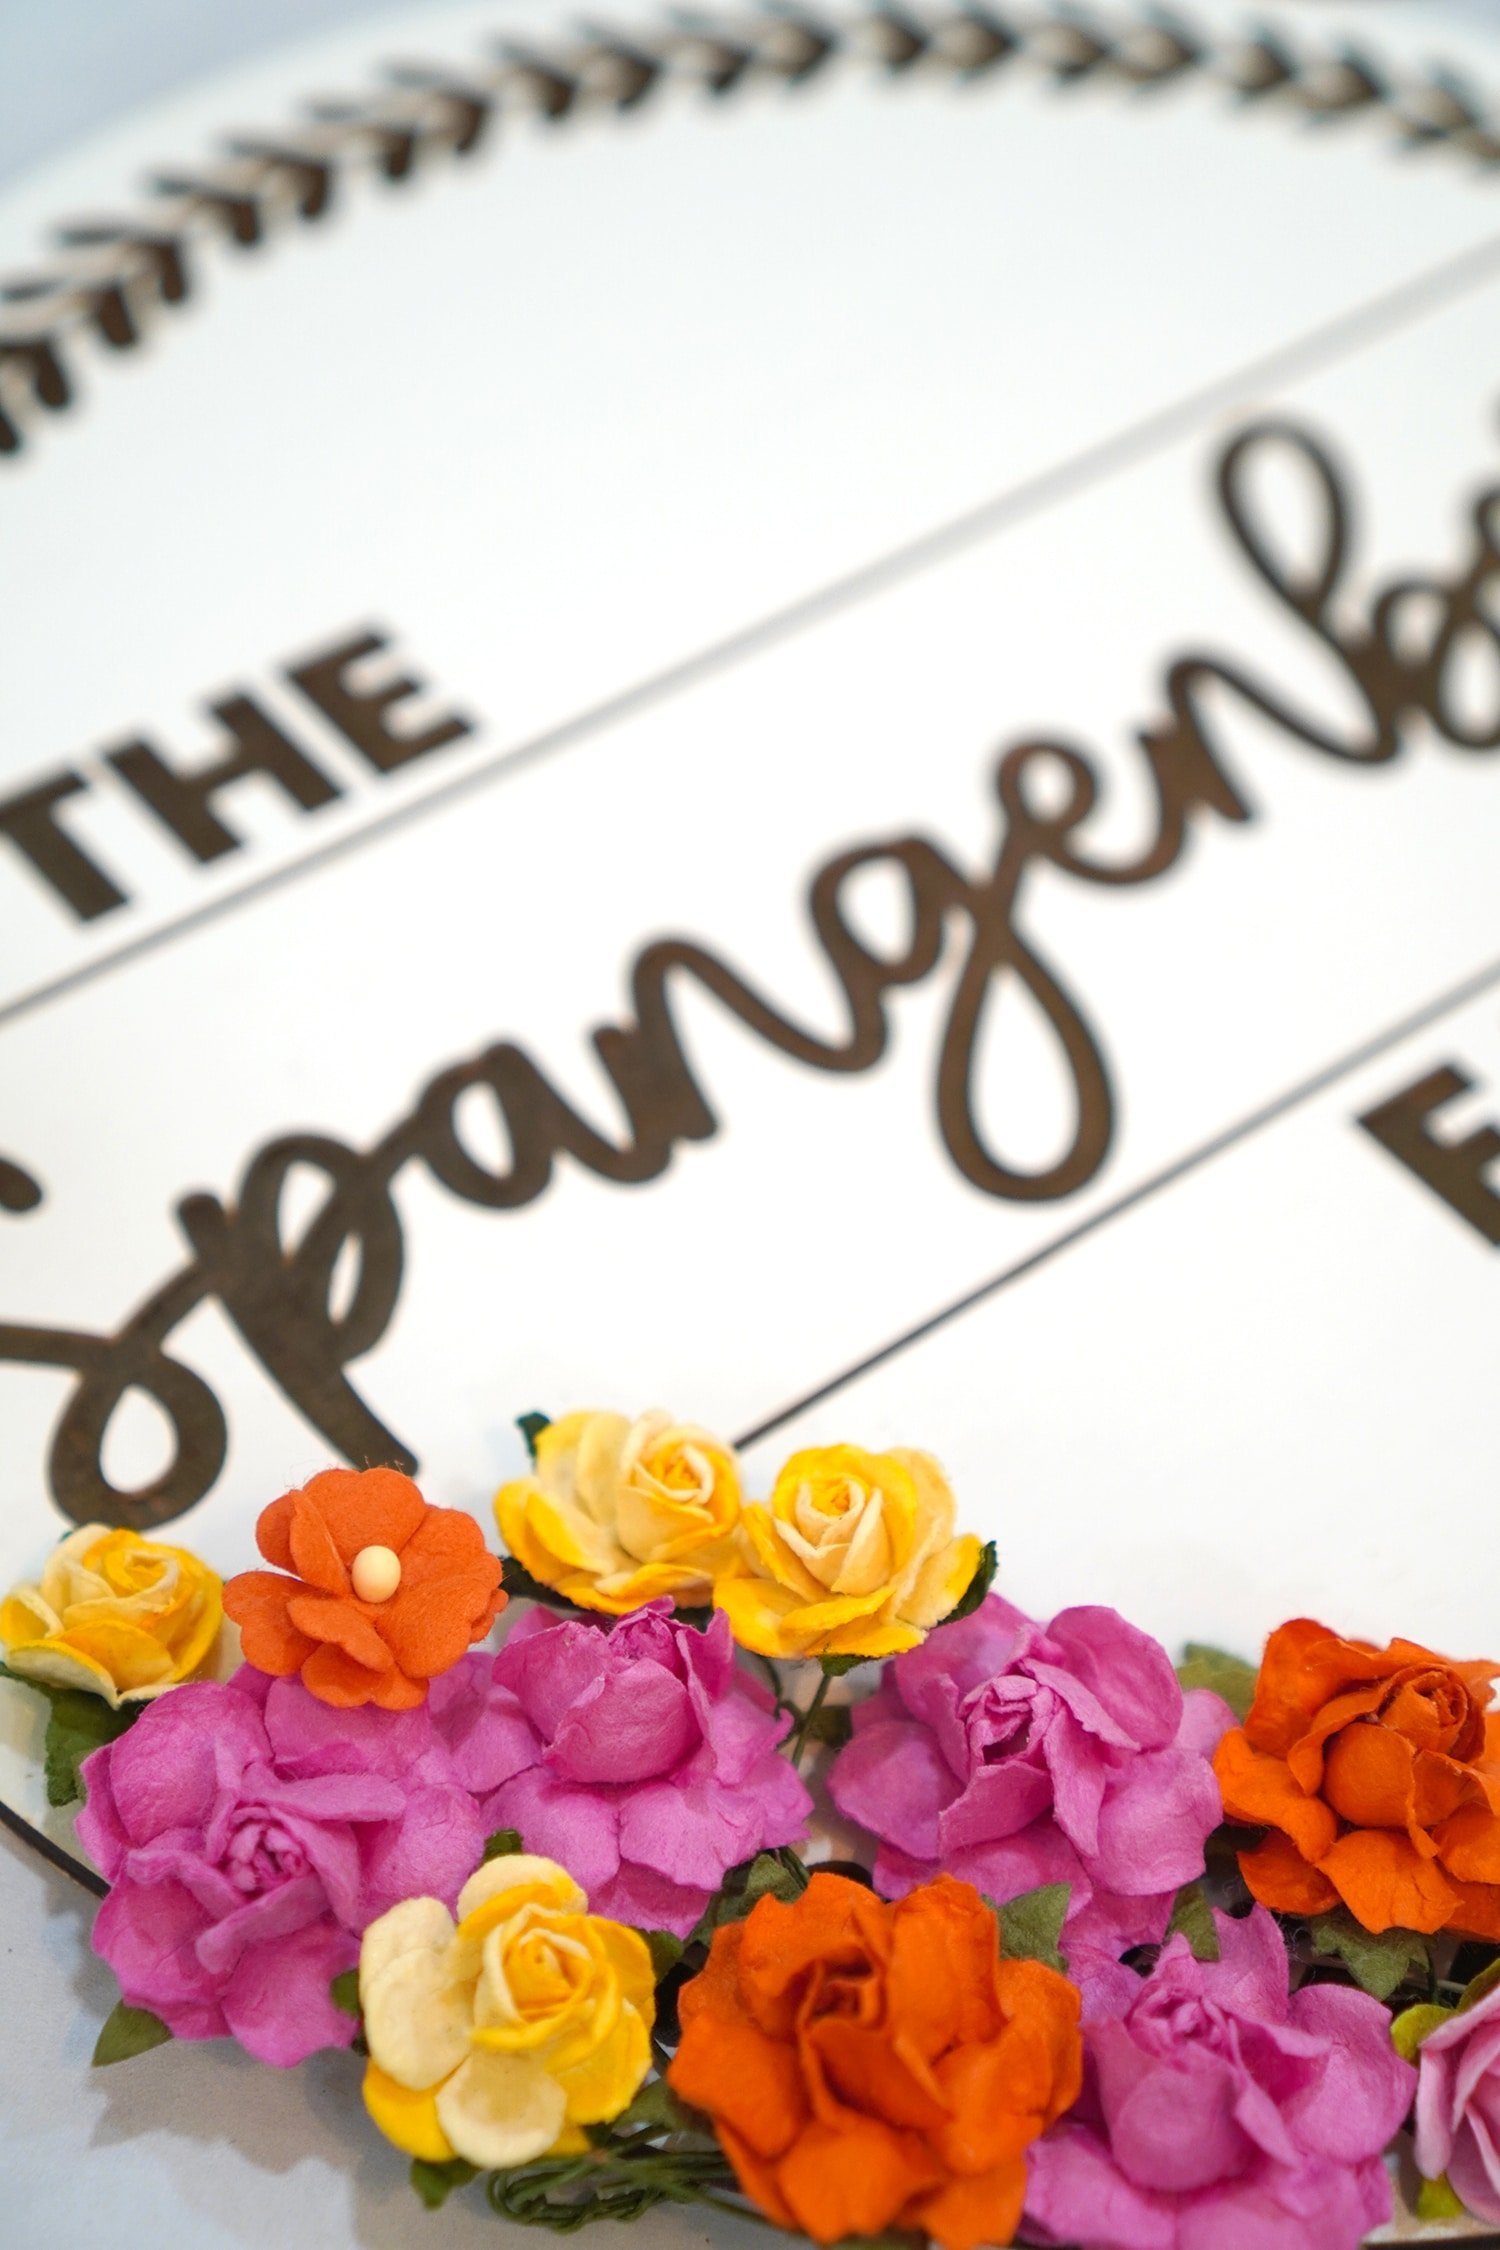
Faux paper flowers are one of my favorite ways to add a special touch to your finished sign! Use a glue gun to attach the flowers to the sign – easy peasy!

How to Engrave Custom Wood Signs with Glowforge
Equipment:
- Glowforge Machine (Basic, Plus, or Pro)
What You’ll Need:
- 1 sheet Wood (up to 1/2" thick)
- Paper Masking/Transfer Tape
- SVG File
- Paint and Paintbrush, optional
Instructions:
- Begin by painting your board if desired and allowing it to dry completely.
- When dry, use the masking/transfer tape to cover both sides of the board, front and back.
- Turn on the Glowforge and place the masked wood into the machine on top of the crumb tray.
- Open up the Glowforge App software on your computer. Upload the SVG file, focus on the material, and resize/position the design on the wood if needed.
- Set engraving settings as desired. For 3mm Baltic Birch, we recommend using 850/FULL/270 for a deep dark engraving and 1000/100/225 for a lighter and shallower engraving.
- Click "Print," press the flashing button on your Glowforge machine, and watch the magic happen! When the sign is finished engraving, remove the masking and add finish details as desired.
Now that you know how to engrave wood signs with your Glowforge, what are you going to make first? I’d love to see it! Tag us on social media at #HiHomemadeBlog to share!

Check Out These Other Glowforge Posts!


Don’t Forget to Pin This Glowforge Engraving Post for Later!


Heidi Kundin has captivated the hearts of millions with her colorful and inspiring approach to crafting, celebrations, and family fun. With over 15 years of experience, Happiness is Homemade has become a must-visit destination for those seeking quick and easy creative ideas and last-minute solutions. Heidi’s warm personality shines through her posts, inviting readers to join her on a creative journey that’s fun, rewarding, and achievable. Heidi is also the author of Homemade Bath Bombs & More and DIY Tie-Dye.
What kind of paint did you use before engraving the sign?
I used acrylic craft paint for this sign.