
This post may contain affiliate links. I will receive a small commission from these sales at no additional cost to you!
You May Also Like These Ornament Ideas:
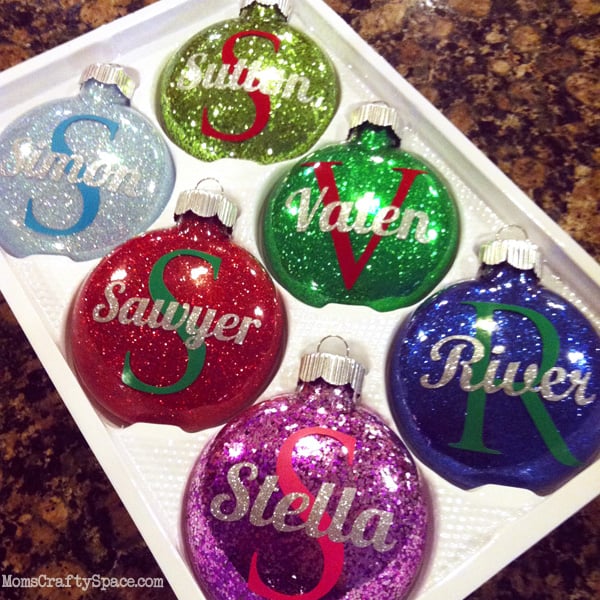
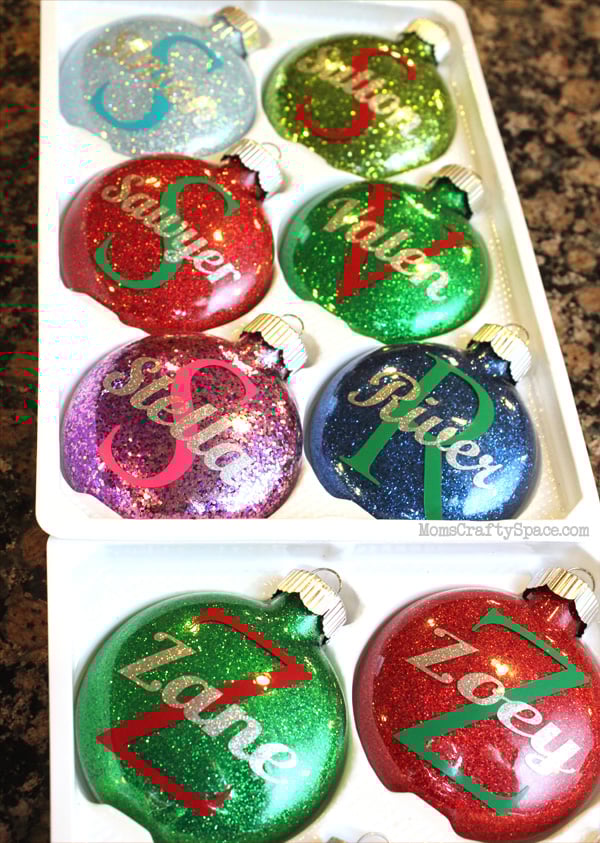
DIY Personalized Glitter Ornaments
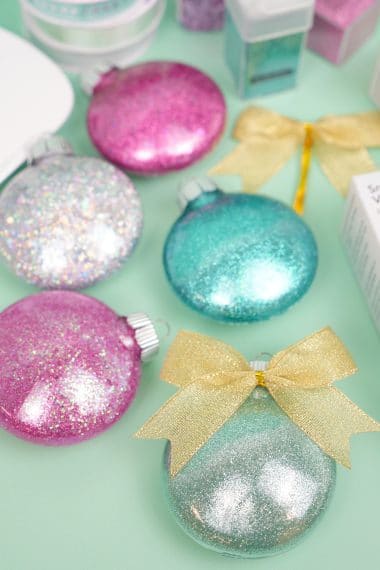
I love the look of the plain glitter ornaments, but I had some silver glitter vinyl from Expressions Vinyl that was just begging to be put to good use, and I hadn’t made my boys their personalized ornament for 2012 yet. It just made perfect sense to add another layer of glitter to my glitter…more is more at holiday time, right?
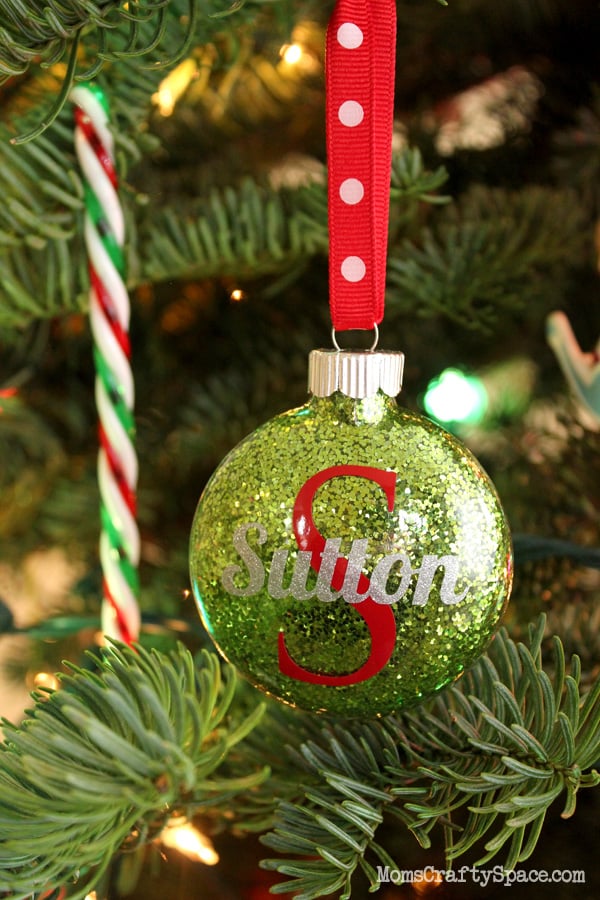
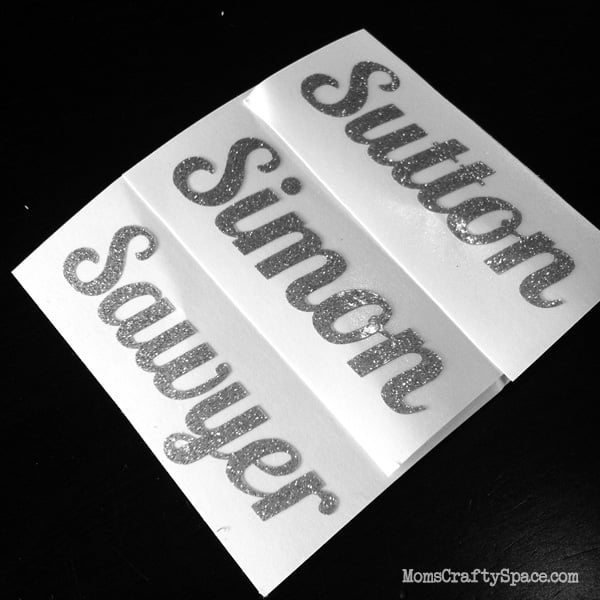
I used my Silhouette Cameo to cut my boys’ initials from solid-colored vinyl, but you could easily cut it out with a sharp Xacto knife as well. Just print out the initial onto printer paper, trim it to size, and tape it on top of your piece of vinyl. Carefully use the Xacto knife to cut through both layers (paper and vinyl) to cut out your letters. Apply the initial to the ornament using a small scrap of transfer paper.
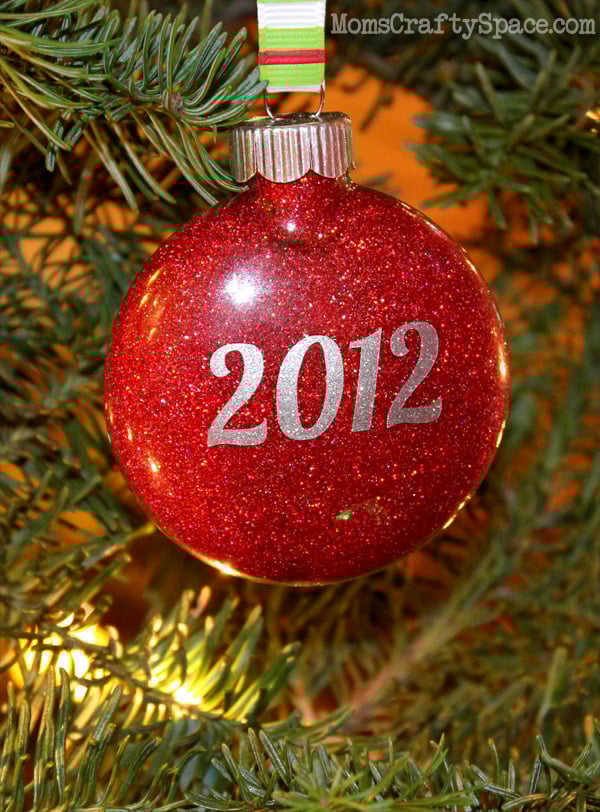
I used the silver glitter vinyl for my boys’ names along with a “2012” for the back side. The font that I used is Lobster, and it’s one of my current favorites.
These are seriously so easy to make that they become addictive! I ended up making one for each of the kiddos of Eight By Five, and I’m headed back to the craft store this week to see if I can find any more of the glass disc ornaments since I’ve had lots of requests for more. Such fun!
I’m rather obsessed with the tremendous amount of sparkle that these add to the Christmas tree, and I’m honestly contemplating getting rid of all my old solid colored balls and replacing them with a whole bunch of these!

Check Out These Other Christmas Ideas!
 70+ Fun Stocking Stuffers for Teens and Tweens
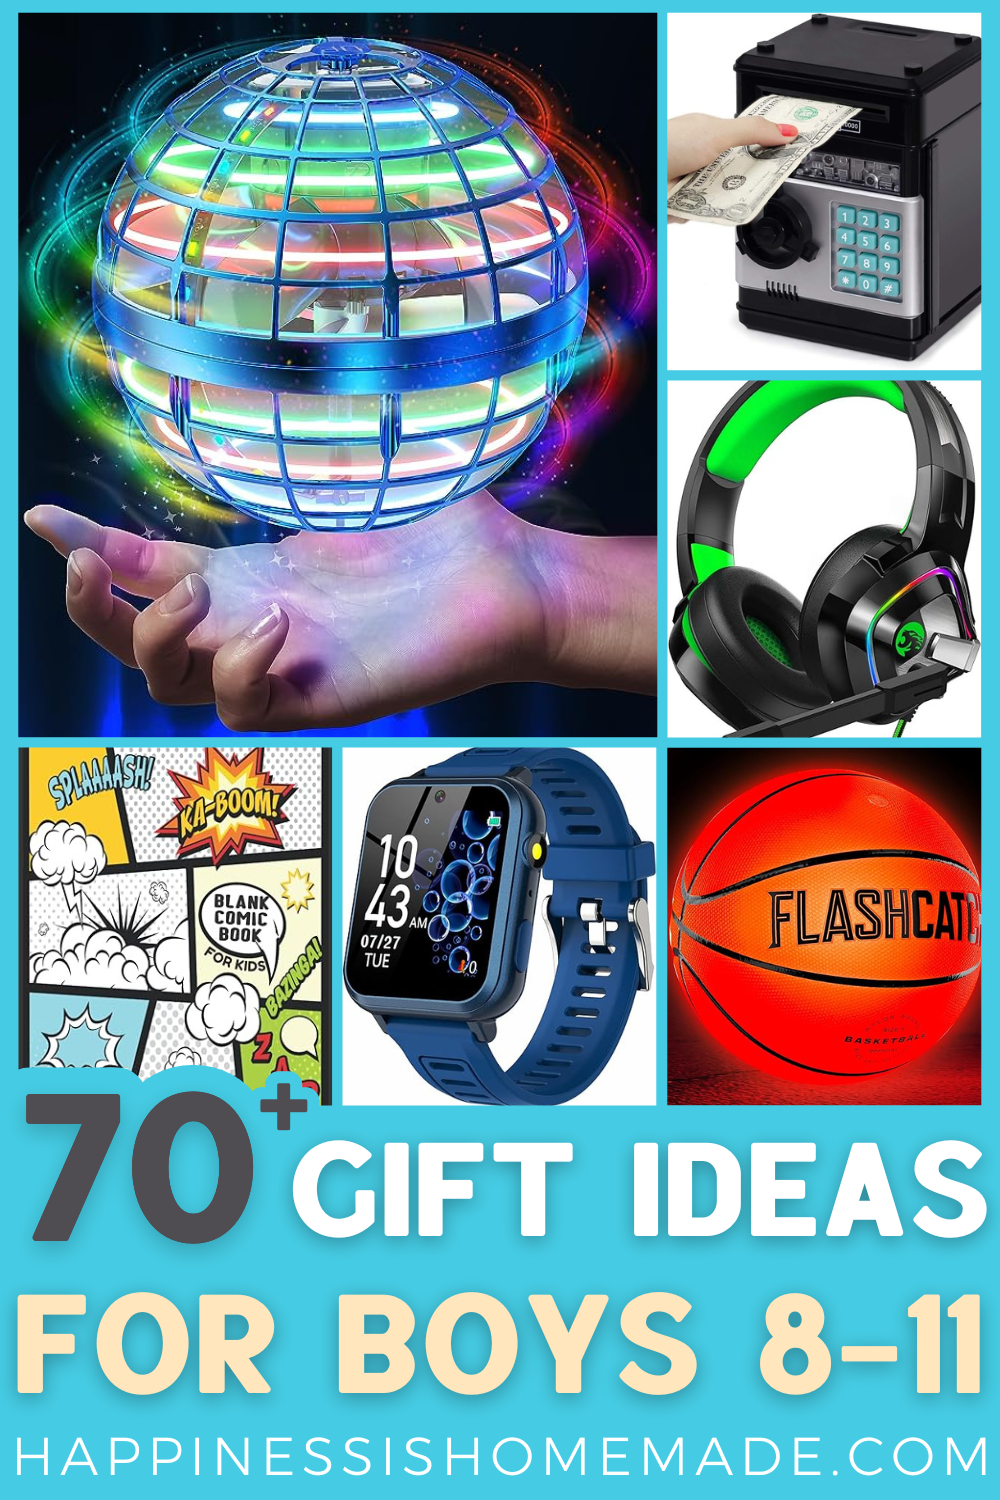
 70+ The Best Gift Ideas for Boys Ages 8-11
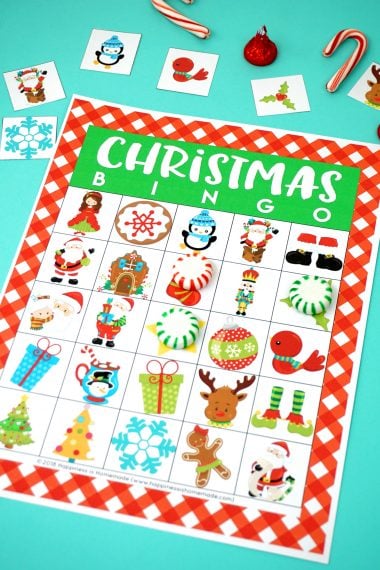
 Printable Christmas Bingo Game Cards
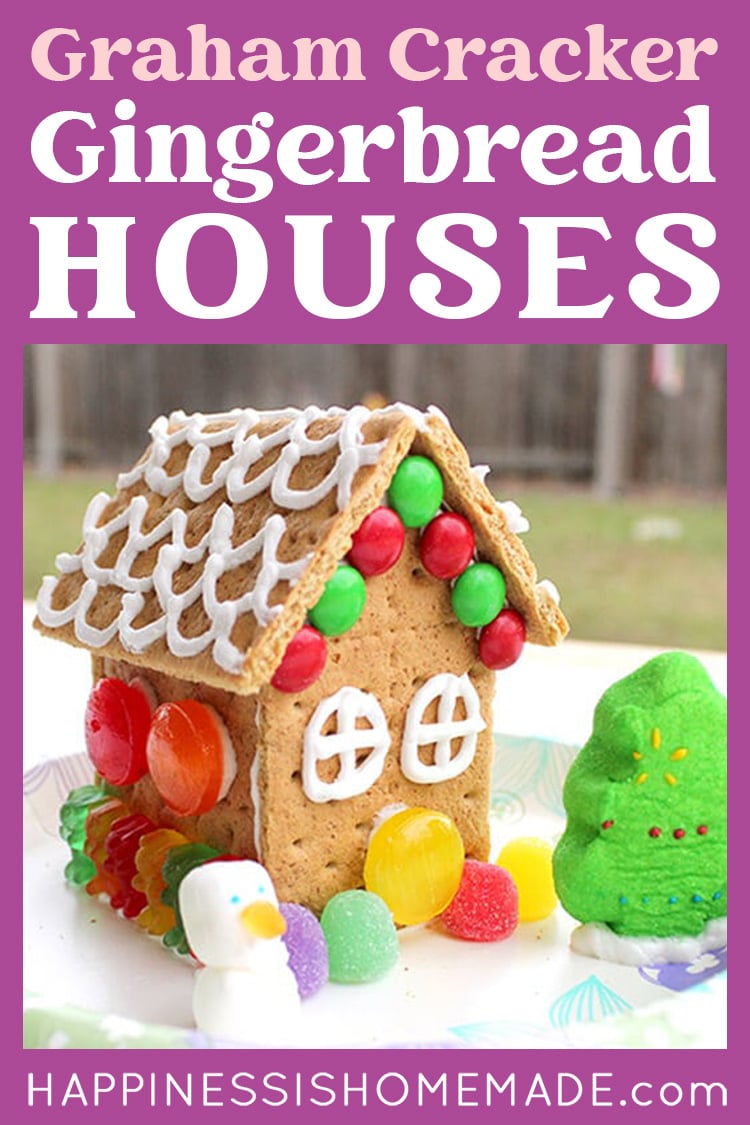
 How to Make Graham Cracker Gingerbread Houses
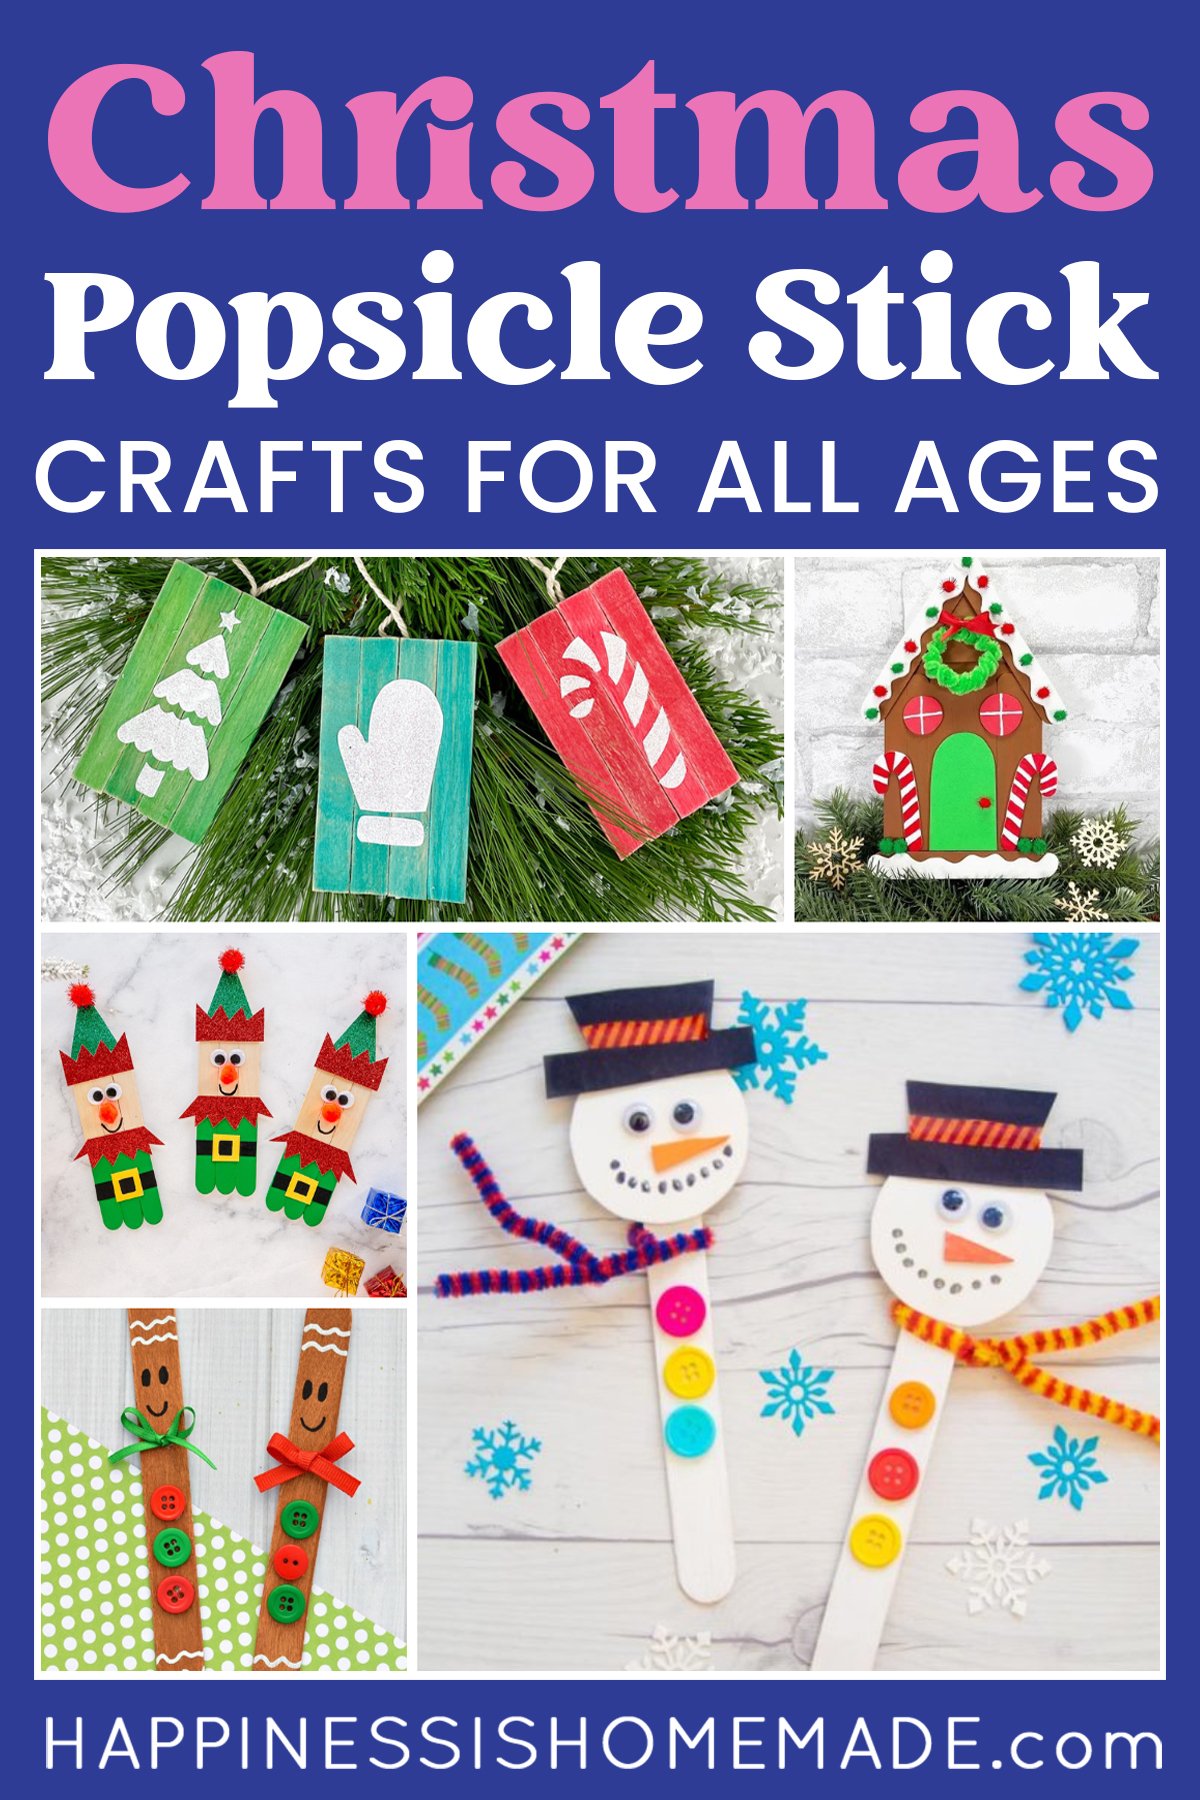
 50+ Popsicle Stick Christmas Crafts
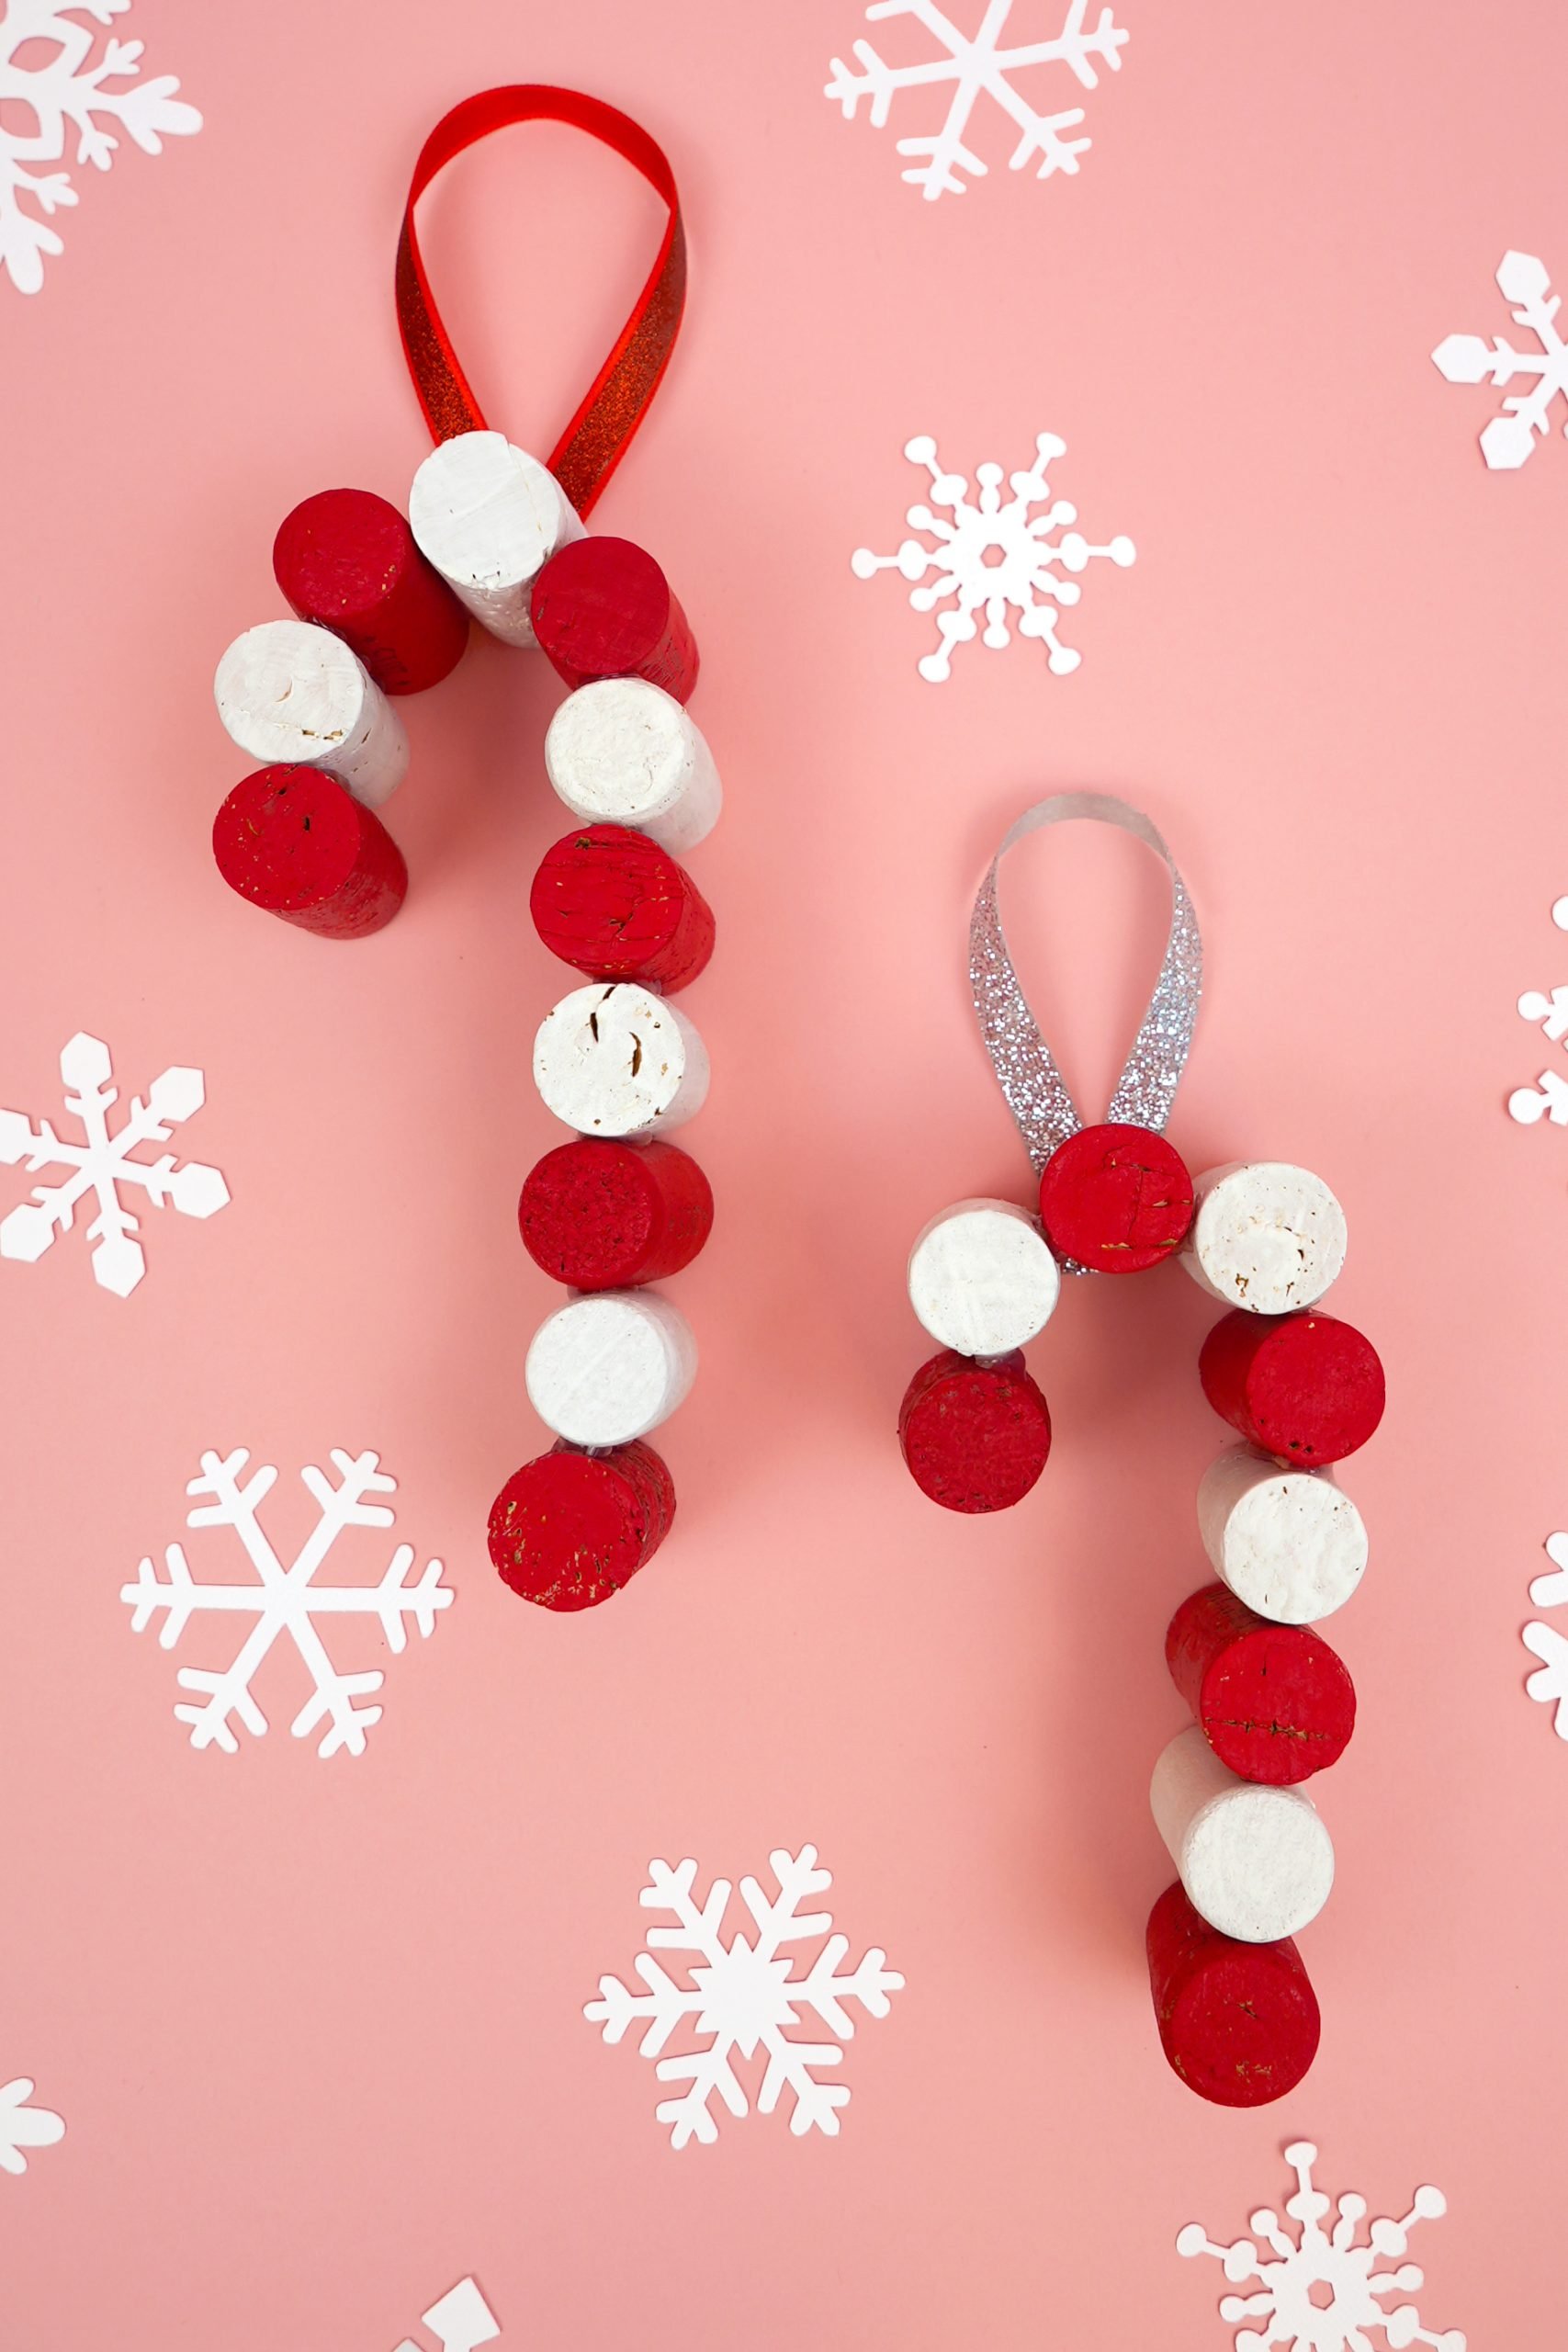
 Wine Cork Candy Cane Ornaments
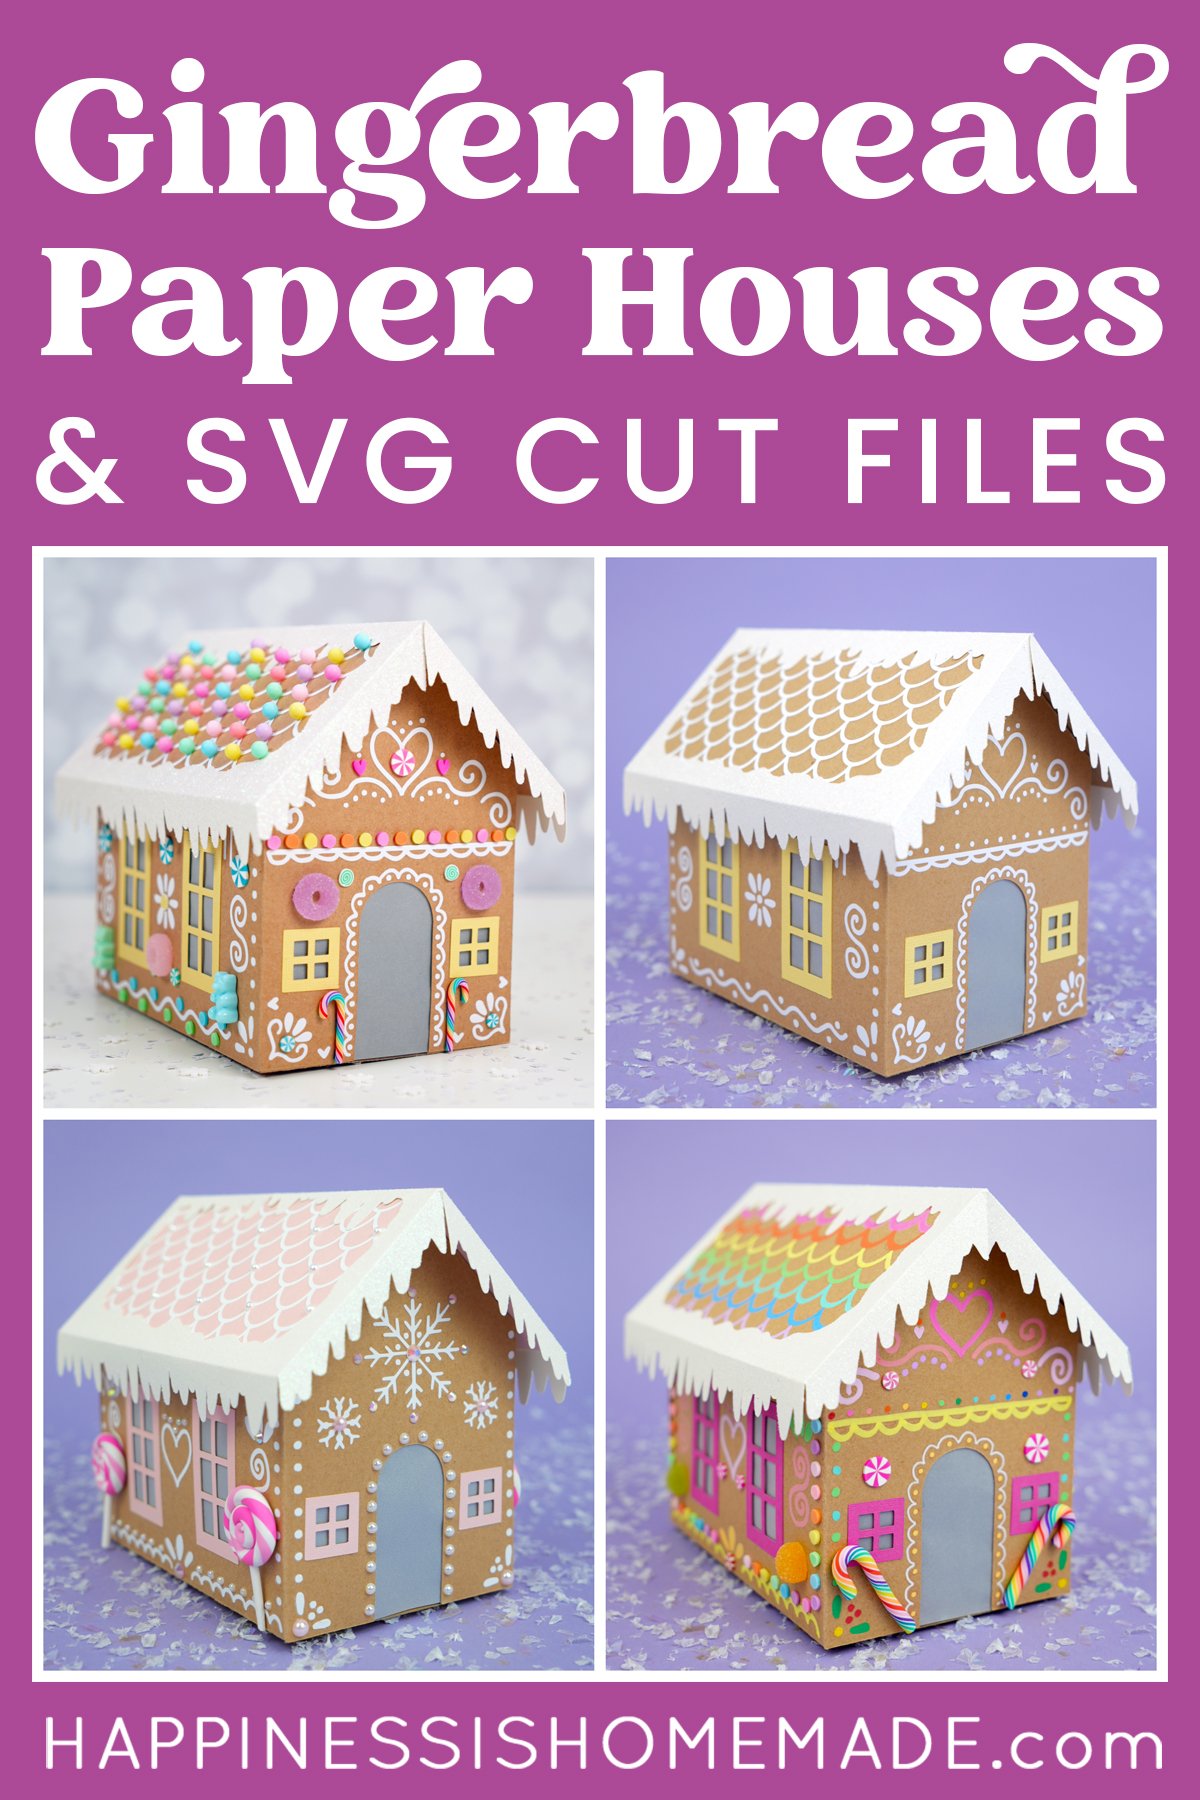
- Cardboard Gingerbread Houses + SVG Files
- Glitter Ornaments: Easy Christmas Craft

Heidi Kundin has captivated the hearts of millions with her colorful and inspiring approach to crafting, celebrations, and family fun. With over 15 years of experience, Happiness is Homemade has become a must-visit destination for those seeking quick and easy creative ideas and last-minute solutions. Heidi’s warm personality shines through her posts, inviting readers to join her on a creative journey that’s fun, rewarding, and achievable. Heidi is also the author of Homemade Bath Bombs & More and DIY Tie-Dye.
I love your ornaments, I’m very interested in buying some from you-how much do you charge? You are very talented. Please let me know if you’re willing to make me some.
Thank You
Debbie
Thanks so much, Debbie. I am going to be starting on this year’s orders in a few weeks, so please send me an email at hiHomemadeBlog@gmail.com if you’d like to chat about it further. Thanks again! 🙂
Hello Heidi, this is my first time on your site. I came across it through Pinterest. I LOVE these ornaments! I would like to know if you are making the initials, and names this year? I would like to order 3 sets. If so, please let me know. Thank you in advance!
God bless!
Hello! These are so cute and I plan to do these for our family and was wondering what font size you used for the Initial and Names. Thanks for this awesome gift idea! =)
I have a silhouette cameo to cut the vinyl. =)
Hi Rayline! The initials and names are all different font sizes depending on the letter/name. I just changed the font size every time to make sure that the initials were about 2″ tall and the names were 2″ long. Hope that makes sense! 🙂
Thank you for this fantastic idea! I am not overly crafty not do I have patience for long or involved projects, this was perfect with great results. The floor polish and glitter was super easy and quick. I didn’t cut out any letters, I just purchased an alphabet pack of sparkly stickers and stuck the names on. My husband could not believe how great they turned out, he thought I wrote the names on.
Hi Heidi,
Your ornaments look round and not disk shape is that correct and do I have to buyan additional accessory to get the Silhouette to cut the letters together or is weld part of the standard software?
Hi Rosemary, I’m using disk shaped ornaments because the vinyl is easier to apply to the flat surface, but it is possible to use round ornaments with a little bit of manipulation of the vinyl (you may need to cut the design in a few places to allow it to lay flat on the curved surface). I believe that the weld feature is part of the standard Silhouette software. 🙂
I made these two weeks ago, I picked them up out of the box, and the glitter inside is falling off……:(
I’m sorry to hear that, Amanda. Did you use the same floor wax that I specified in the post? I’ve had our ornaments for several years now, and they look just as good today as they did on the day I made them. Are you using glass or plastic ornaments?
I’m trying to cut the names using my cricut, but I’m having trouble trying to get the machine to cut the full name together instead of individual letters, any advice or tips u could share with me to make these?
Thx!!!!!!
Hi Melanie, I’m not sure exactly how to do it with the Cricut because I’m using a Silhouette CAMEO. In the Silhouette software there is a feature that allows you to “weld” together the letters so that they cut as one image instead of individual letters. Maybe there is a similar function in the Cricut software?
I am using hair spray instead of floor wax. Seems to work out just fine. Will know next year if it stays. If not, will invest in the floor wax. (Financial difficulties right now) I bought the round ornaments, there are 4 to a package. Michael’s has them for 1/2 price at the moment and my lettering is 3/4″ high. Tried one and the wording is not causing a problem. Also I am having a problem with lighter glitter (orange, yellow). Doesn’t want to cover as fully as the darker colors.
Thank you so much for this great idea! We did it for a craft program at the library. Everyone loved them, and they all turned out beautifully!
I’m SO happy to hear that, Andrea! Glad your group had fun making them! 🙂
Have you tried using vinyl on round ornaments? have you had any problems with the vinyl laying flat?
The vinyl doesn’t lay as nicely on round ornaments, which is why I suggest using the disk ornaments. It can be manipulated to work on round ornaments, for sure, but it will take a little bit of finesse. Sometimes it helps to use an Xacto knife to cut the vinyl in areas where it curves and creates a raised “bubble,” that way you can adjust the pieces to apply it and smooth them both down flat. Good luck! 🙂
Hi Heidi,
I seen these and they are so cute, I would like to make them but I am not sure about the lettering, the letters are separate or a full name and then attach the adhesive vinyl to the back of letters, them cut that out, with regular scissors, you don’t see the vinyl on ornament? and put on ornament smooth out and thats it? It sounds so easy but I’m sure its not LOL Thank you so much for your help..
Hi Shelli, the names are actually cut out of vinyl which already has an adhesive sticky backing already on it, so there’s no need to apply any additional adhesive. Just cut the vinyl into the names or letters and smooth them on to the ornament. Easy peasy! 🙂
Hi Heidi,
Question; Do you know if the glitter adhesive vinyl from expressions vinyl can be cut with a cricut?
Hi Michelle! I’m not 100% sure about the Cricut, but I use it in my Silhouette all the time without any problems! 🙂
In Expressions Vinyl.com it says the vinyl is compatible with all cutters and names cricut by name
If I look at the vinyl do I want adhesive backing? Just not sure what the transfer tape is for. I am going to try and watch some videos and get a clearer picture of how to work with the vinyl but just trying to see what kind of vinyl to buy. Thanks
Hi Linda! Yes, you want adhesive backed vinyl. The transfer tape goes on top of your vinyl cut out so that you can move it an apply it all at once to keep it in its original position (no need to apply the letters one at a time). 🙂
Yes, the plastic ornaments work with the glitter and pledge. I wanted to use plastic for the kiddos! I haven’t tried applying the vinyl yet. Thanks for a wonderful tutorial. These are gorgeous! What font did you use for the girls names?
So great to hear that, Paula! I’ve had a lot of people asking, so I’m thrilled to hear that it worked well. For the names, the font is Lobster 2.0 (available on dafont.com). 🙂
Can plastic ornaments be used instead of glass and will the glitter stick?
Hi Angela! I have not personally tried to use plastic ornaments, but I have heard of others trying it with success. Your best bet would probably be to buy just a couple of the plastic ornaments and doing a test run to see how well it works. Please come back and let me know how it works if you try it! 🙂
I was hoping you could tell me how big were the ornaments you used as well as the font size? Thank you.
The ornaments are just over 2.5″ wide, and I am sorry, but I do not remember the font size used.
I love all things personalized and glitter on top of that?? Heaven but how did you get the letters so perfect? No bubbling? They look almost pre-printed on the ornament. I so want to make these for my 12 co-workers. Found the glass balls at Michaels but just bought one to make a prototype.
I used transfer tape and an old gift card to smooth the vinyl on to the ornaments. Good luck with yours! I’m sure your co-workers will love them!
I absolutely am in LOVE with these. So once you have cut the names out on the vinyl, how did you apply them to the bulbs? Also where did you buy the silver glitter vinyl? Was it in a store or online? Thanks for sharing your creativity.
Hi Nicole! I used transfer tape to apply the vinyl, and I purchased both the transfer tape and the silver glitter vinyl from Expressions Vinyl. 🙂
Do you or Can you make me the names I need and I will do the rest!?
I will be happy to pay you.
Star, feel free to email me at hiHomemadeBlog@gmail.com, and we can chat about it! 🙂
Hey Heidi, I LOVE these and would love too buy about 5 or 6 if you are going to sell them.
Thanks, Jessica! I am taking just a few custom orders this year, and they’re already selling out quickly. Shoot me an email at hiHomemadeBlog@gmail.com if you’re interested, and I can talk to you about pricing and the rest of the details. Thanks again! 🙂
I love these ! Are you selling them on esty this year? If so how can I find you?
Tiffany, I can take a couple of custom orders this year, but I won’t be listing them in the shop. If you’re still interested, shoot me an email at hiHomemadeBlog@gmail.com, and we can chat! 🙂