
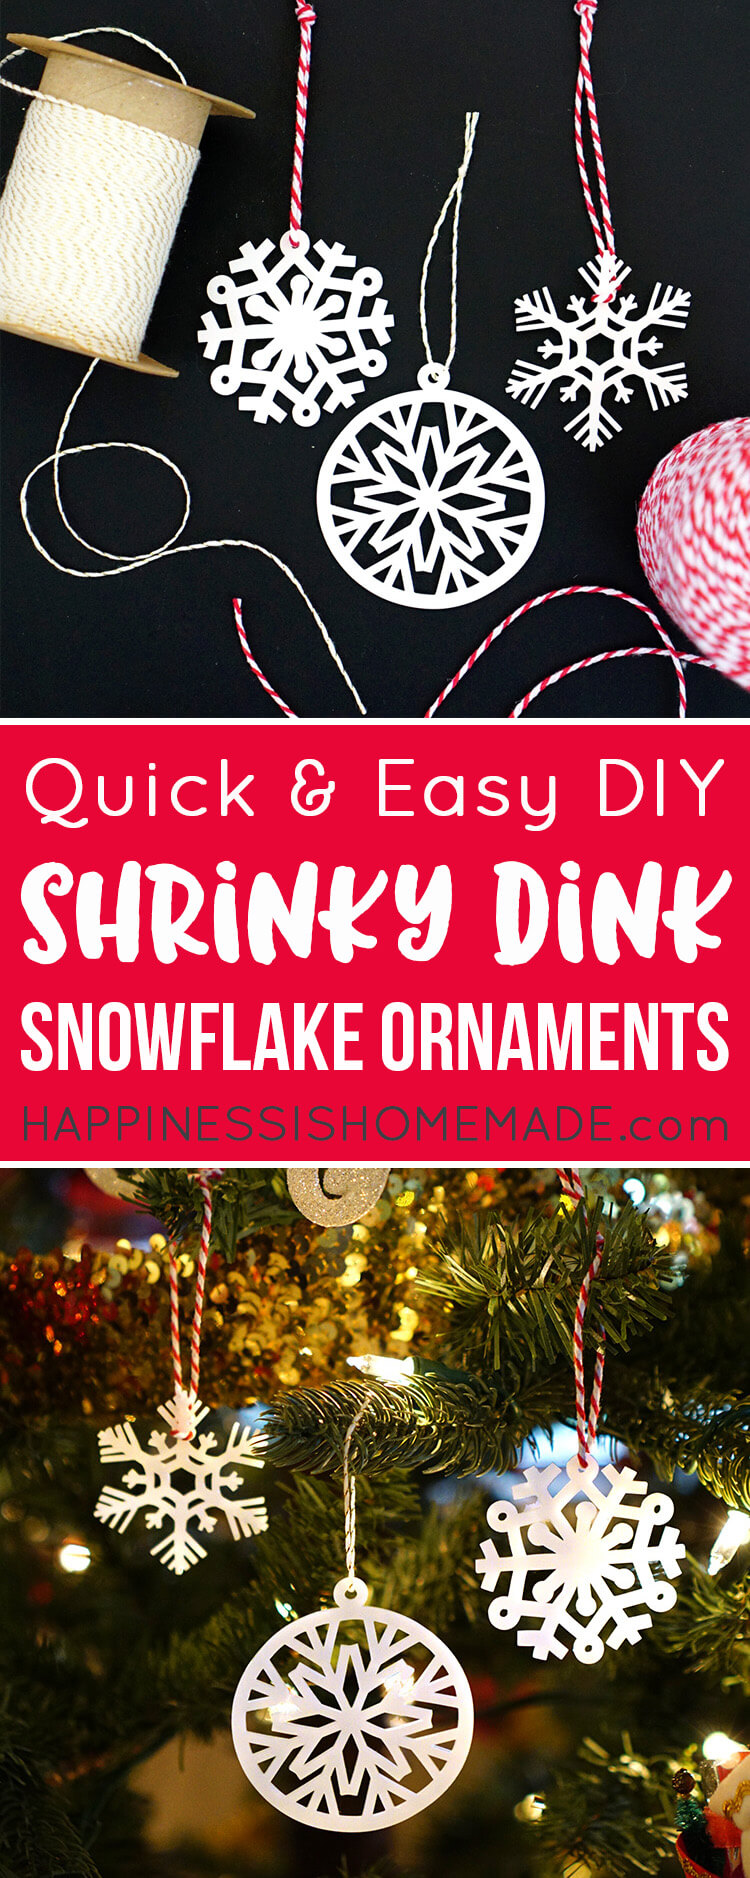
These cute Shrinky Dink Snowflake Ornaments are SUPER cute and easy to make with your Cricut machine! Whip up a whole bunch of them in about 15 minutes – they make a great homemade gift idea or an adorable present topper!

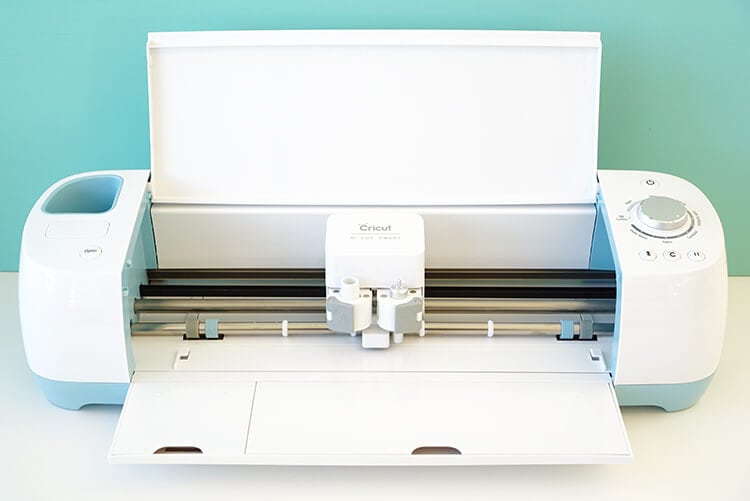

A couple of weeks ago, I introduced you to my newest cutting machine, the Cricut Explore Air, and I showed you how to create Easy Christmas Tea Towels (which makes a great gift idea!). Today I’m going to show you how to use the Cricut with a less conventional material to create these awesome and adorable snowflake Christmas ornaments in around 15 minutes!
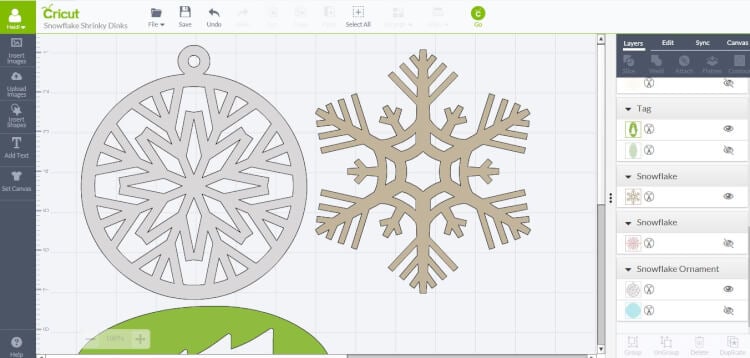
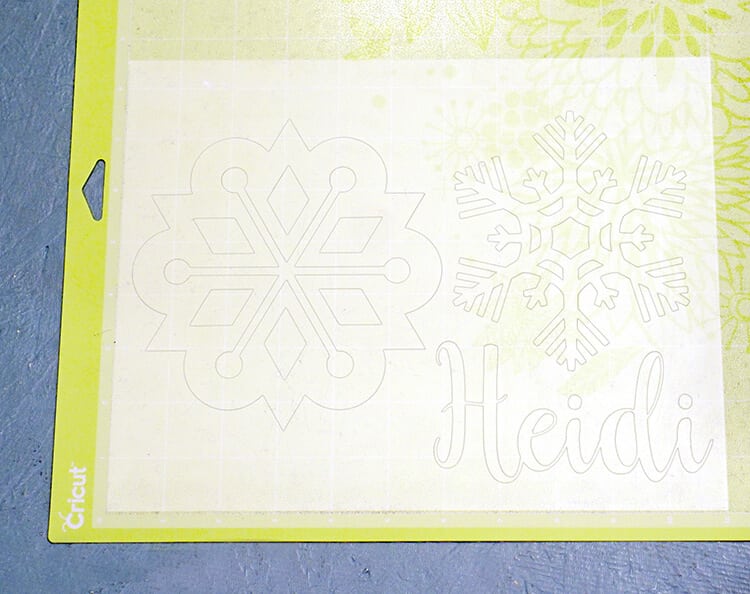
To start, I opened up The Cricut Design Space and started a new project. The Cricut Design Space Image Library includes over 60,000+ images that you can choose from, so it’s easy to start designing your project in no time at all! I select several snowflake designs and a Christmas tree tag that I wanted to work with, and the software inserted them into a new project document for me.
Supplies Used to Make Shrinky Dink Snowflakes:
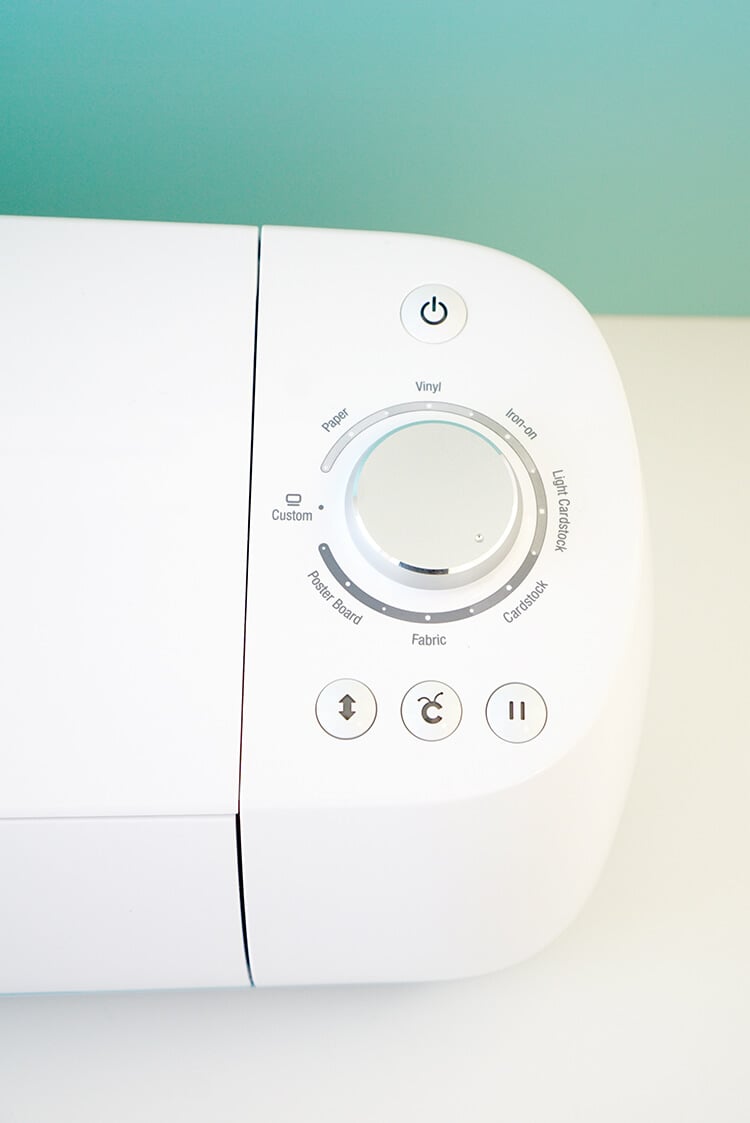
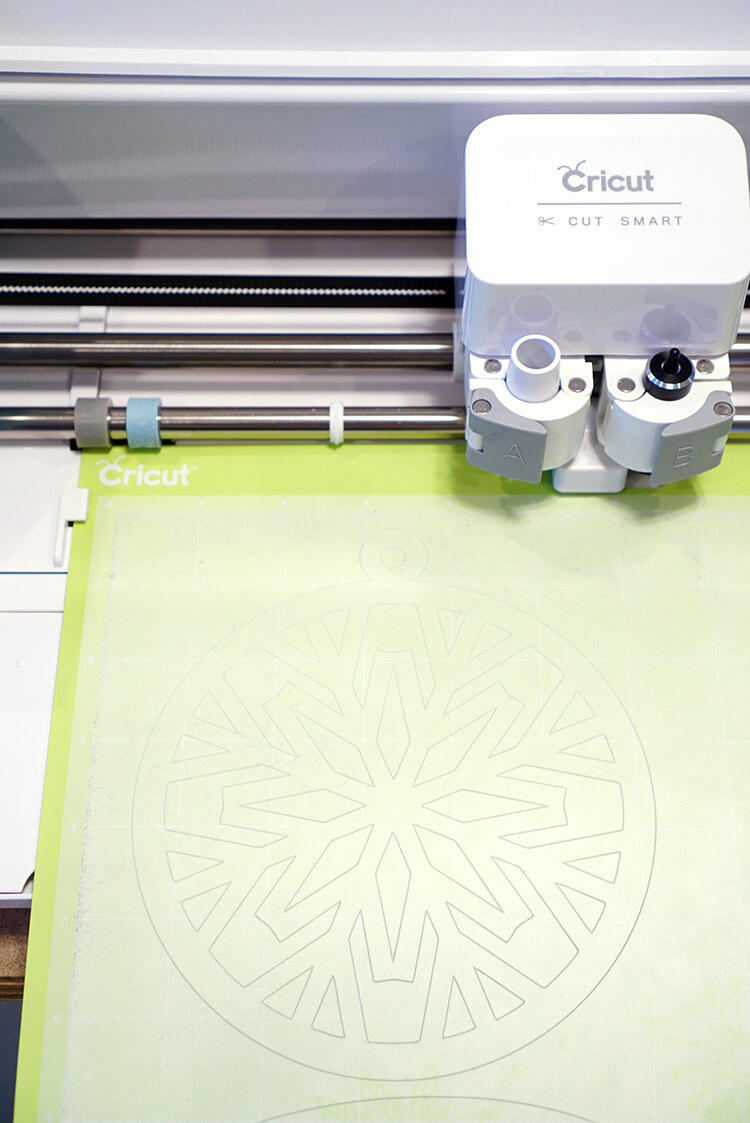
One of my favorite features of the Explore Air is the dial settings (you don’t have to worry about manually changing the blade depth or remembering which depth matches up to each material!). With the Cricut Explore Air, you simply turn the dial to select the material that you are working with, and the machine takes care of the rest – easy peasy! For this project, I set the dial to “poster board” because the shrink plastic is the same thickness.
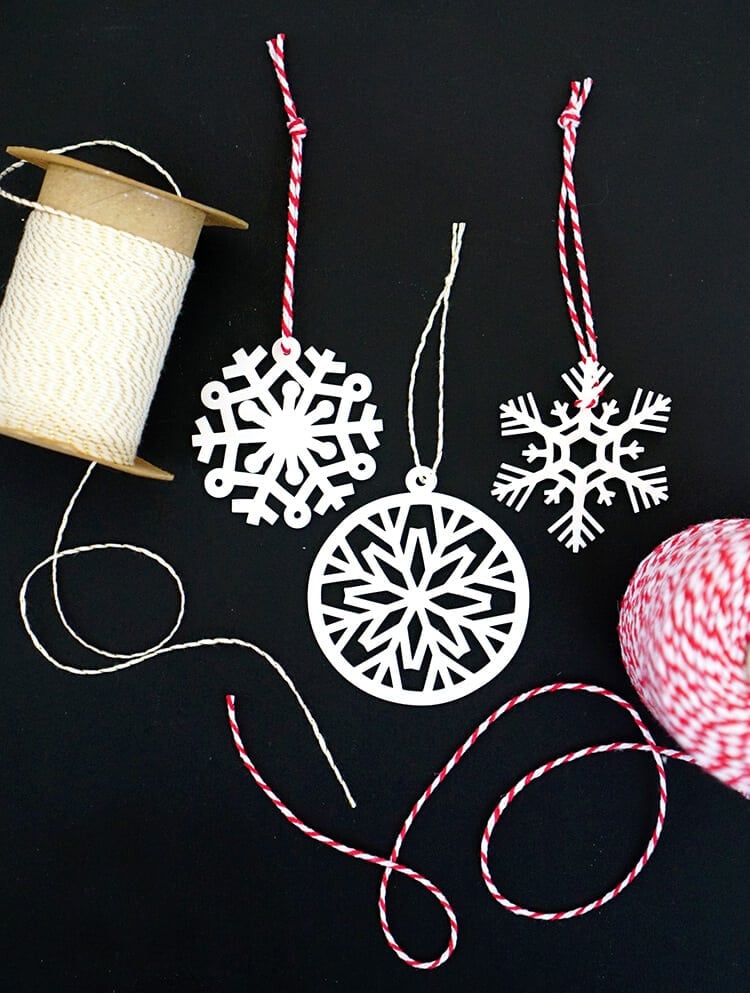
The shrink plastic starts out translucent, but after shrinking becomes opaque white. The plastic shrinks by about 50%, so I made all of my snowflakes around 4-6 inches before shrinking (this meant that I was able to fit 2-3 snowflakes per 8.5 x 11 sheet of plastic).
The poster board setting was perfect for this thickness of the shrink plastic, and everything cut cleanly and evenly with the deep cut blade.
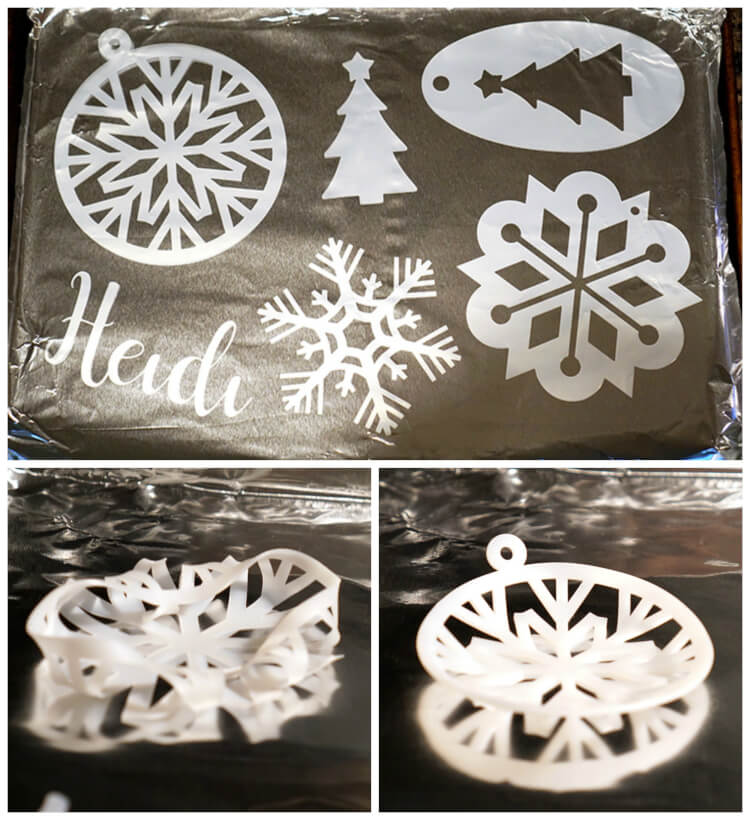
Place the plastic snowflakes onto a foil-lined baking sheet, and bake for 2-4 minutes at 325 degrees. The plastic will shrivel and curl up as it melts, but don’t worry – it will flatten itself back out!
Note: If you do have any pieces of plastic that curl up and stick to themselves, carefully use a toothpick to push things back into place immediately after removing from the oven.
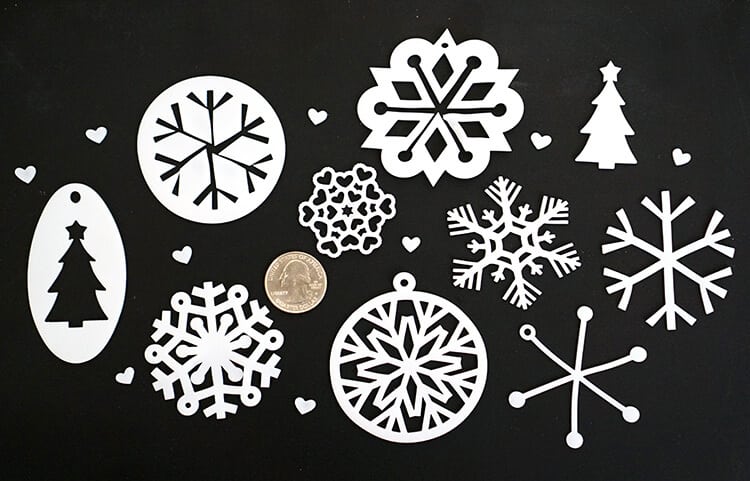
As you can see by the quarter that I put in there for scale, the snowflakes are MUCH smaller than they originally were, and now they’re bright white!
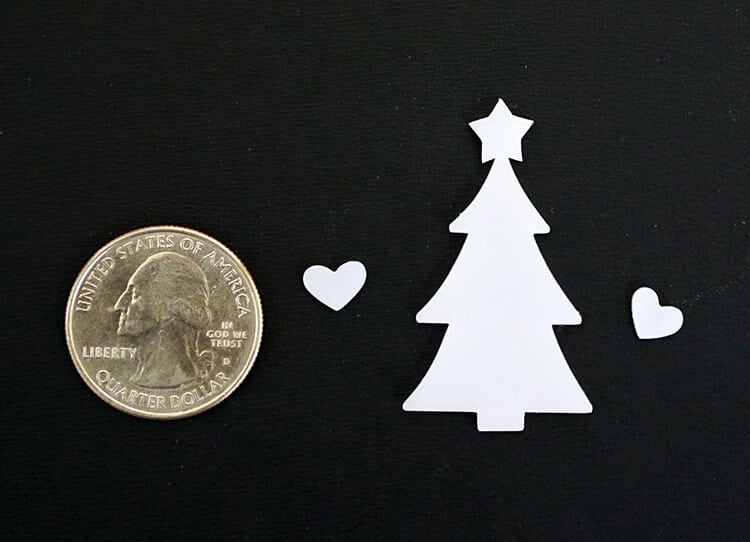
I couldn’t resist shrinking the leftover Christmas tree and heart-shaped pieces that were the “negative space” – they’re so cute!
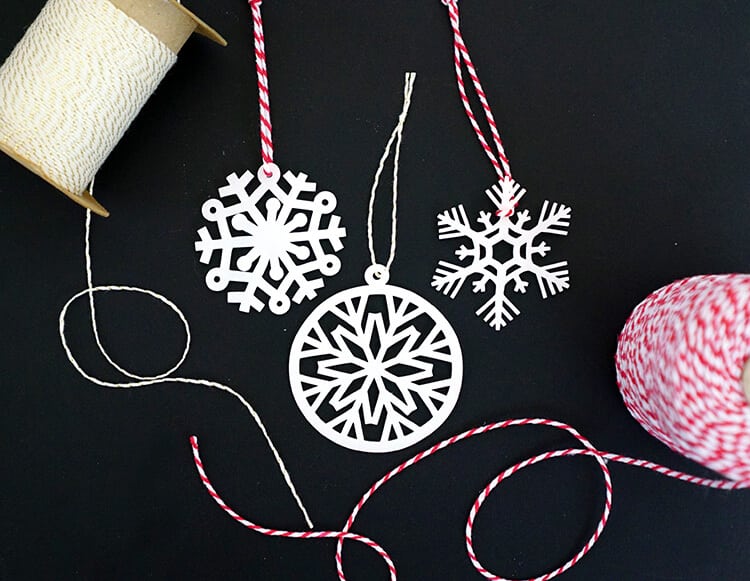
I added some lengths of red and gold twine to the snowflake ornaments, and they were ready to hang. SO quick and easy!
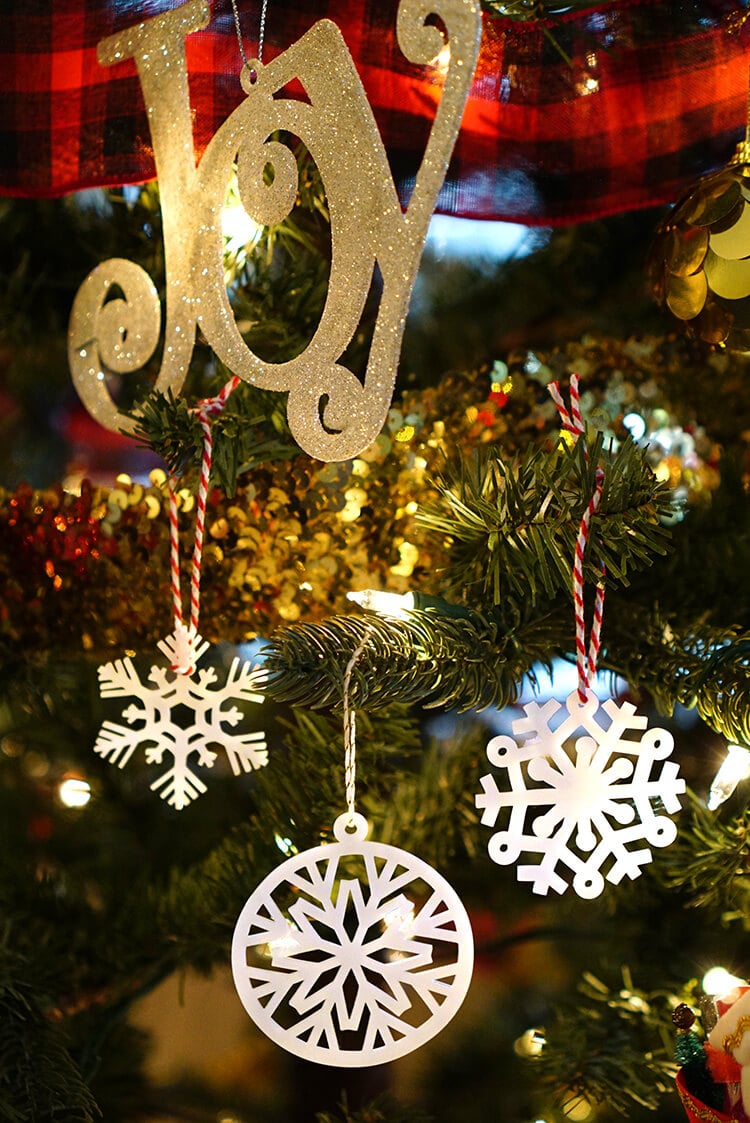
I really love how these turned out! I can foresee a LOT more shrink plastic and Cricut projects in my future!

Check Out These Other Christmas Inspired Cricut Ideas!
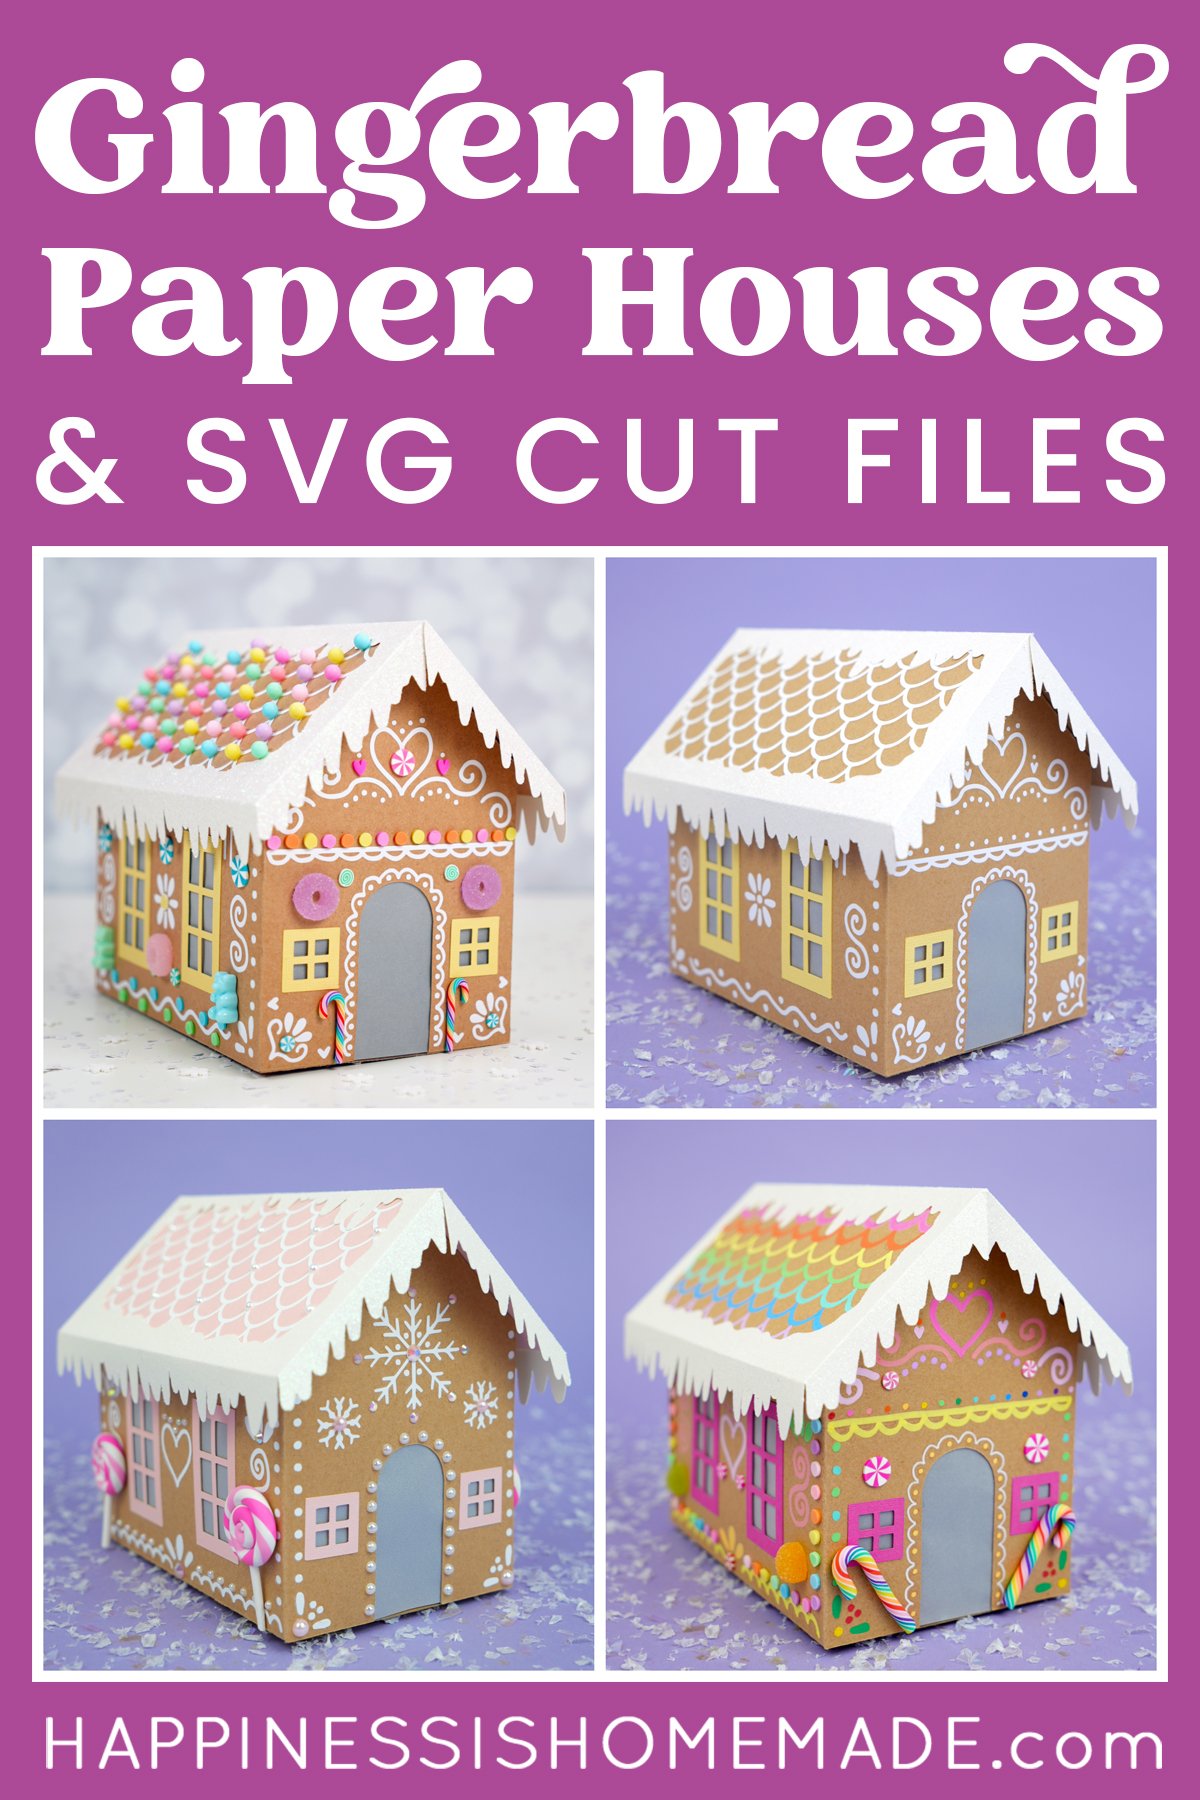
 Cardboard Gingerbread Houses + SVG Files
 Free Christmas Countdown SVG +16 Christmas Cut Files
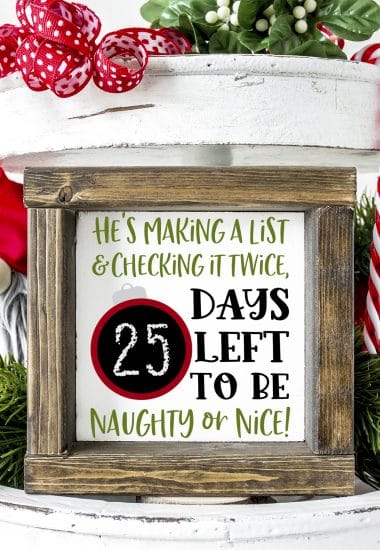
- The Best Cricut Holiday Gift Ideas for Crafters
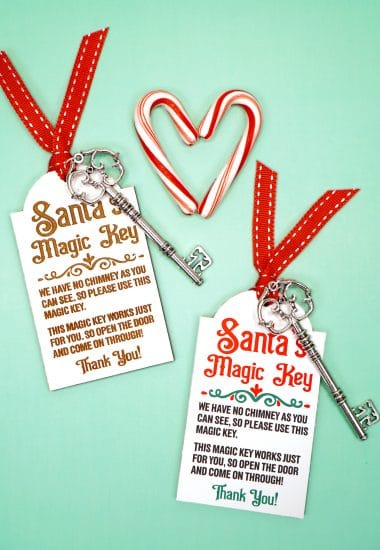
- Santa’s Magic Key Printable Tag + SVG File
 Personalized Christmas Ornaments with Cricut Infusible Ink
- 25+ DIY Neighbor Gifts with Cricut
- Christmas Baby Onesie with Cricut Infusible Ink
- Free Christmas SVG Files

If you like this idea, don’t forget to pin it!

Heidi Kundin has captivated the hearts of millions with her colorful and inspiring approach to crafting, celebrations, and family fun. With over 15 years of experience, Happiness is Homemade has become a must-visit destination for those seeking quick and easy creative ideas and last-minute solutions. Heidi’s warm personality shines through her posts, inviting readers to join her on a creative journey that’s fun, rewarding, and achievable. Heidi is also the author of Homemade Bath Bombs & More and DIY Tie-Dye.
Thank you. I think I will add a little glitter after shrinking. Each year my kids get a new ornament for their trees. This will be an easy one to do.
Thanks, Kathi! That’s a great idea!