
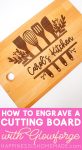

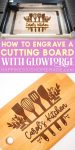
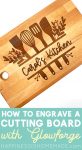
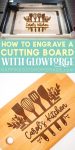
Learn how to create personalized cutting boards with Glowforge! Custom cutting boards make a great DIY gift idea – perfect for Christmas, housewarmings, Mother’s Day, and more!
This post may contain affiliate links. I will receive a small commission from these sales at no additional cost to you!
Custom cutting boards are one of my favorite gift ideas because they’re unique, thoughtful, and best of all, they’re useful! Plus, they’re always incredibly well received by the gift recipient – everyone loves to see a personalized cutting board with their name or their favorite phrase or quote on it!
Now that we own a Glowforge machine, making custom wood cutting boards is easier and more precise than ever! Follow our step-by-step tutorial below and learn how to easily make your own personalized cutting boards.
Personalized Cutting Boards
Supplies Needed:
- Wood Cutting Board (we used an Ikea PROPPMÄTT Cutting Board)
- Masking Tape/Paper Transfer Tape
- Brayer, optional
- Glowforge Machine (Basic, Plus, or Pro)
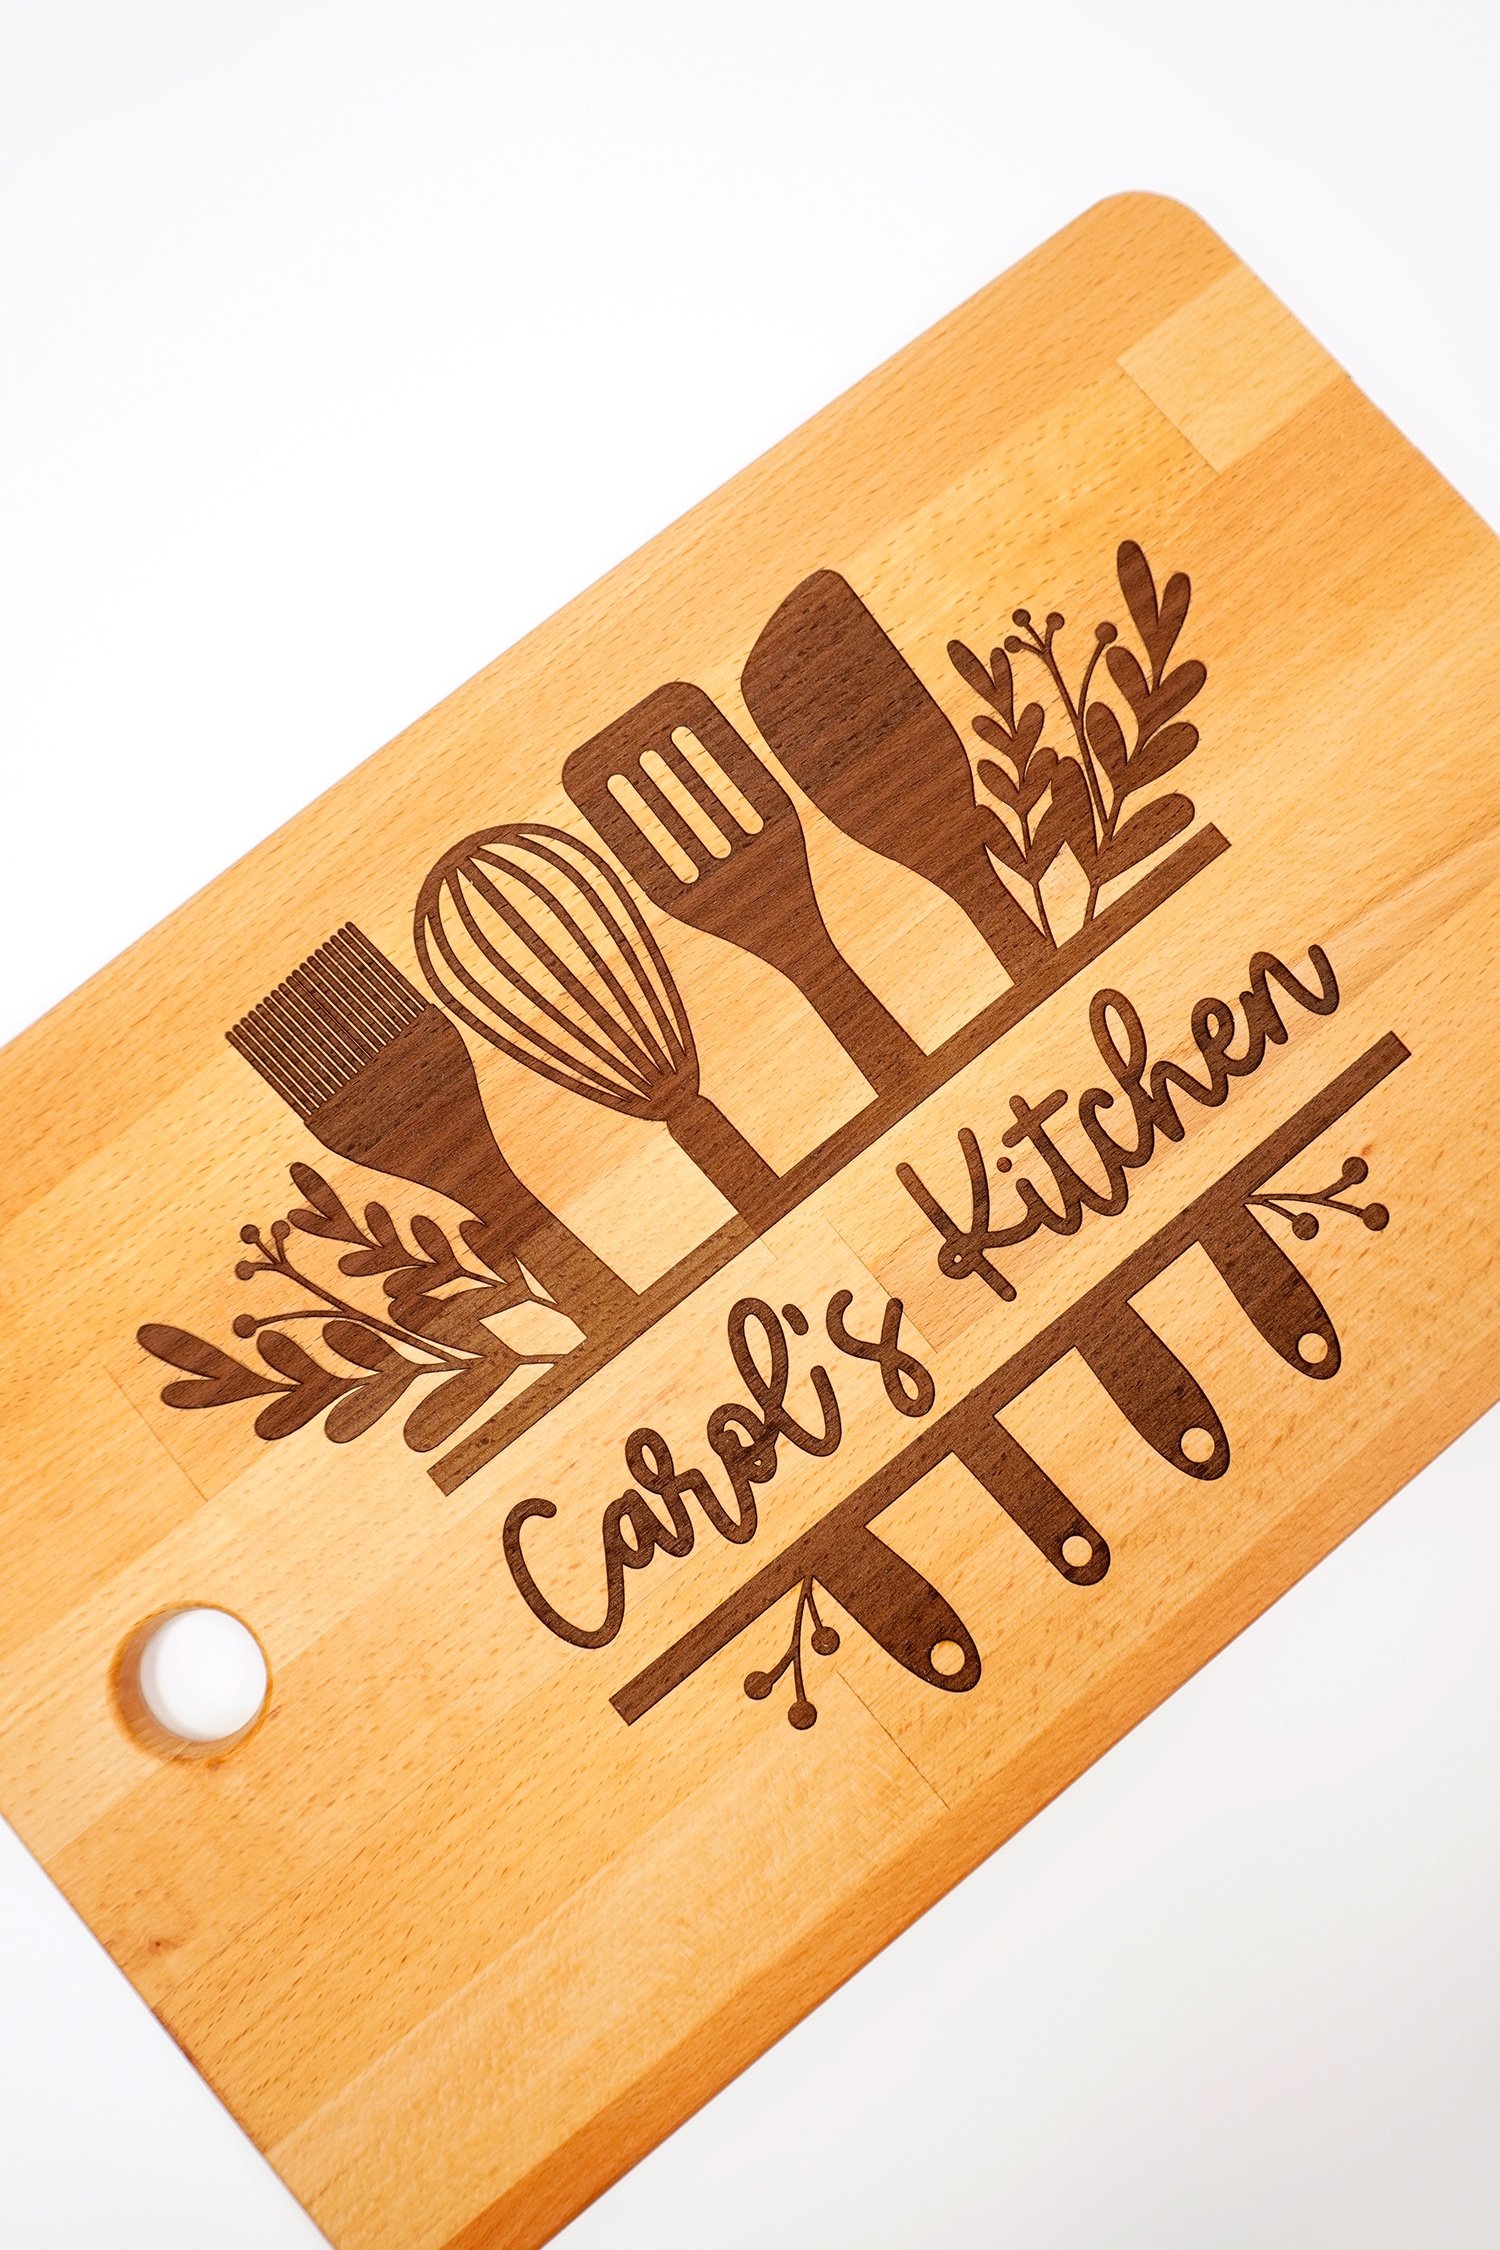
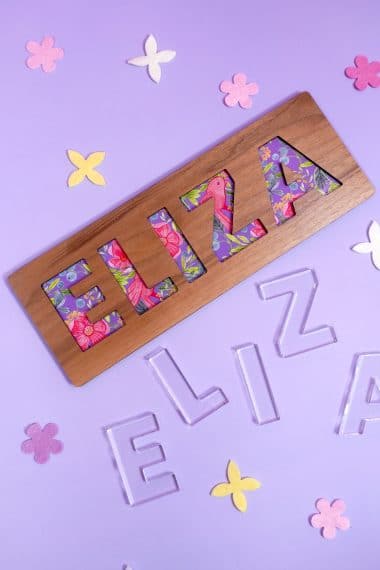
- Kitchen Monogram SVG or other SVG file of choice (we also used the Pearberry font to add the personalization). This set of Kitchen SVGs would also be great for cutting boards!
- Mineral Oil
Quick Note!
If you don’t have a Glowforge yet and are considering a purchase, make sure to read our guide to Everything You Need to Know Before Buying a Glowforge for lots of helpful information and a Glowforge discount that can save you up to $500 on your Glowforge!
Check out all of our Glowforge Laser Projects and Files here!

How to Make a Custom Wood Cutting Board
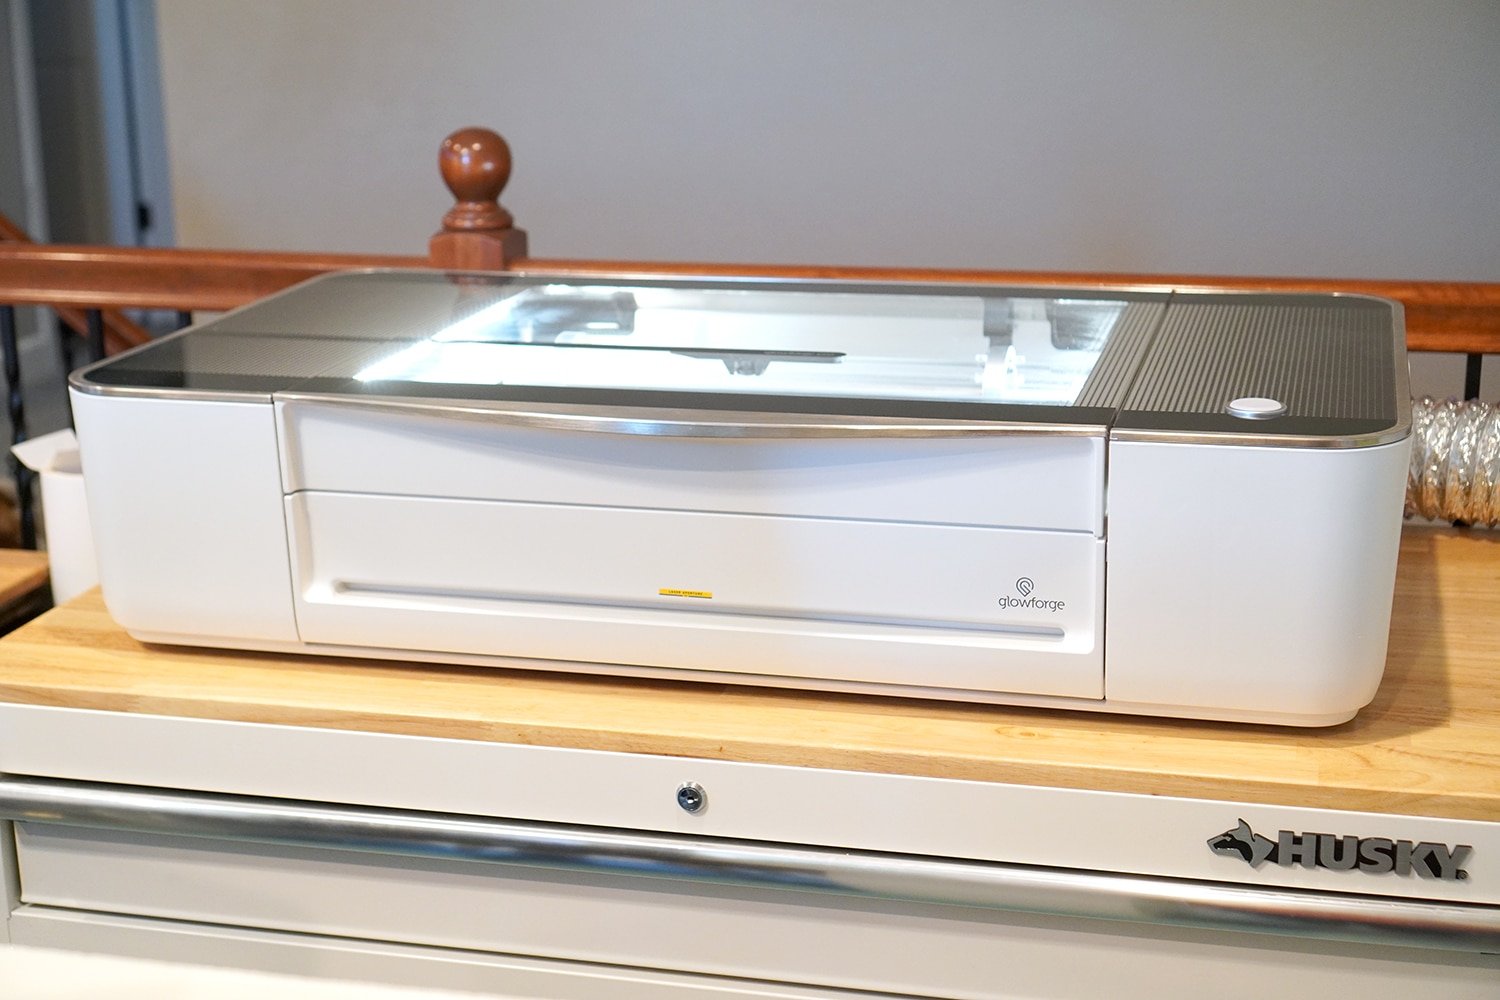
Making custom cutting boards is SUPER easy with a Glowforge! We are using a Glowforge Pro here, but this project can be created with a Basic, Plus, or Pro machine.
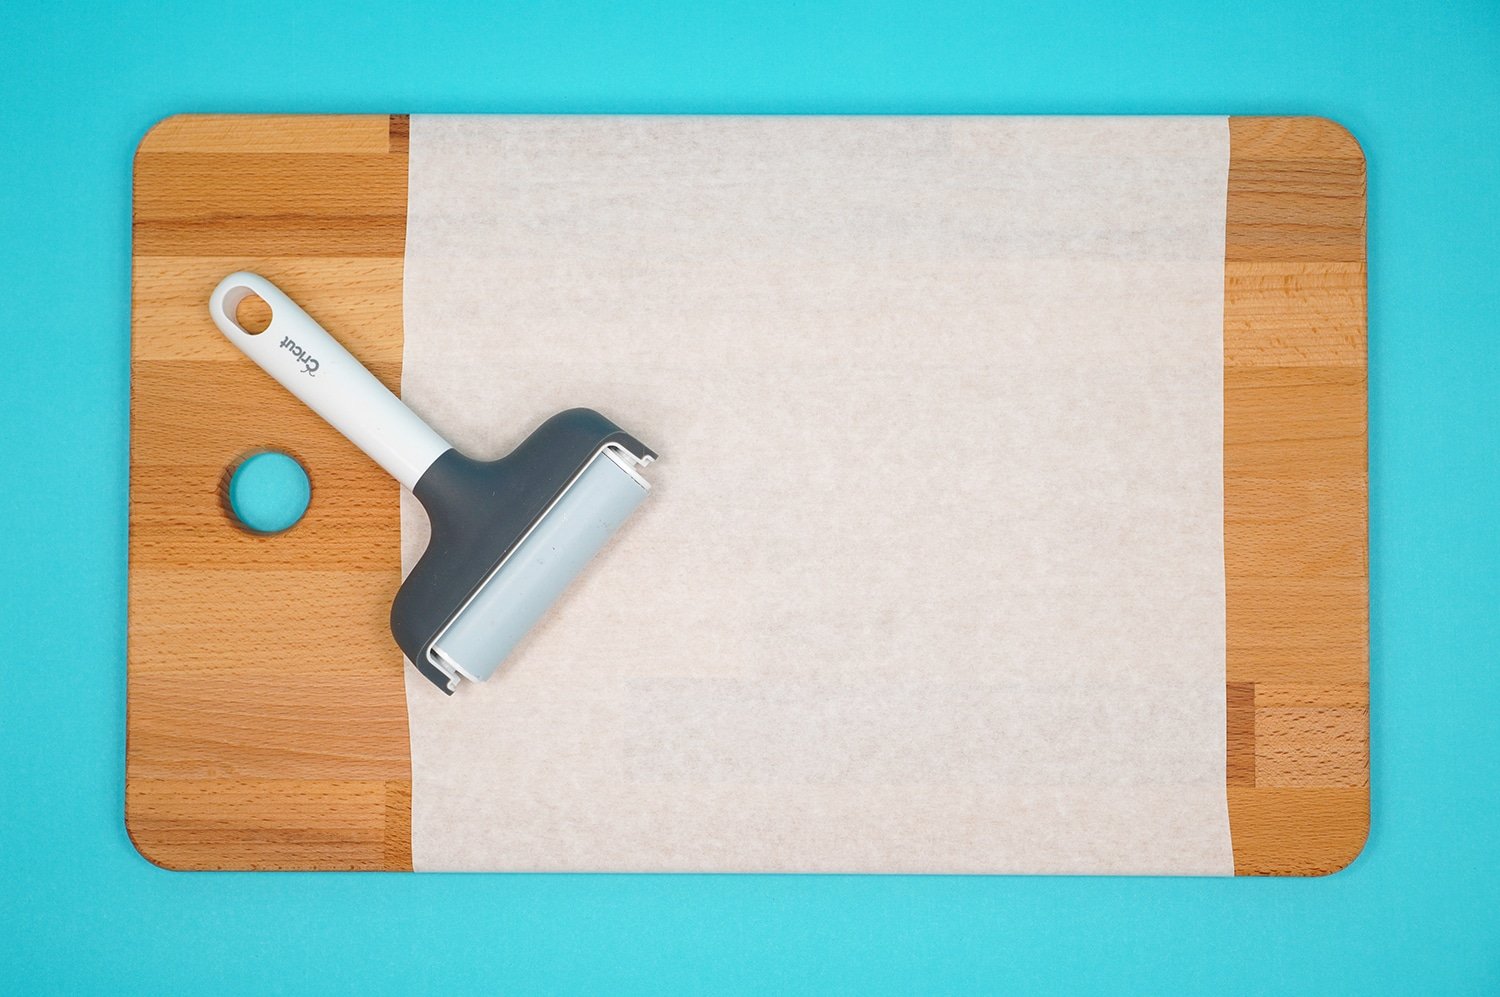
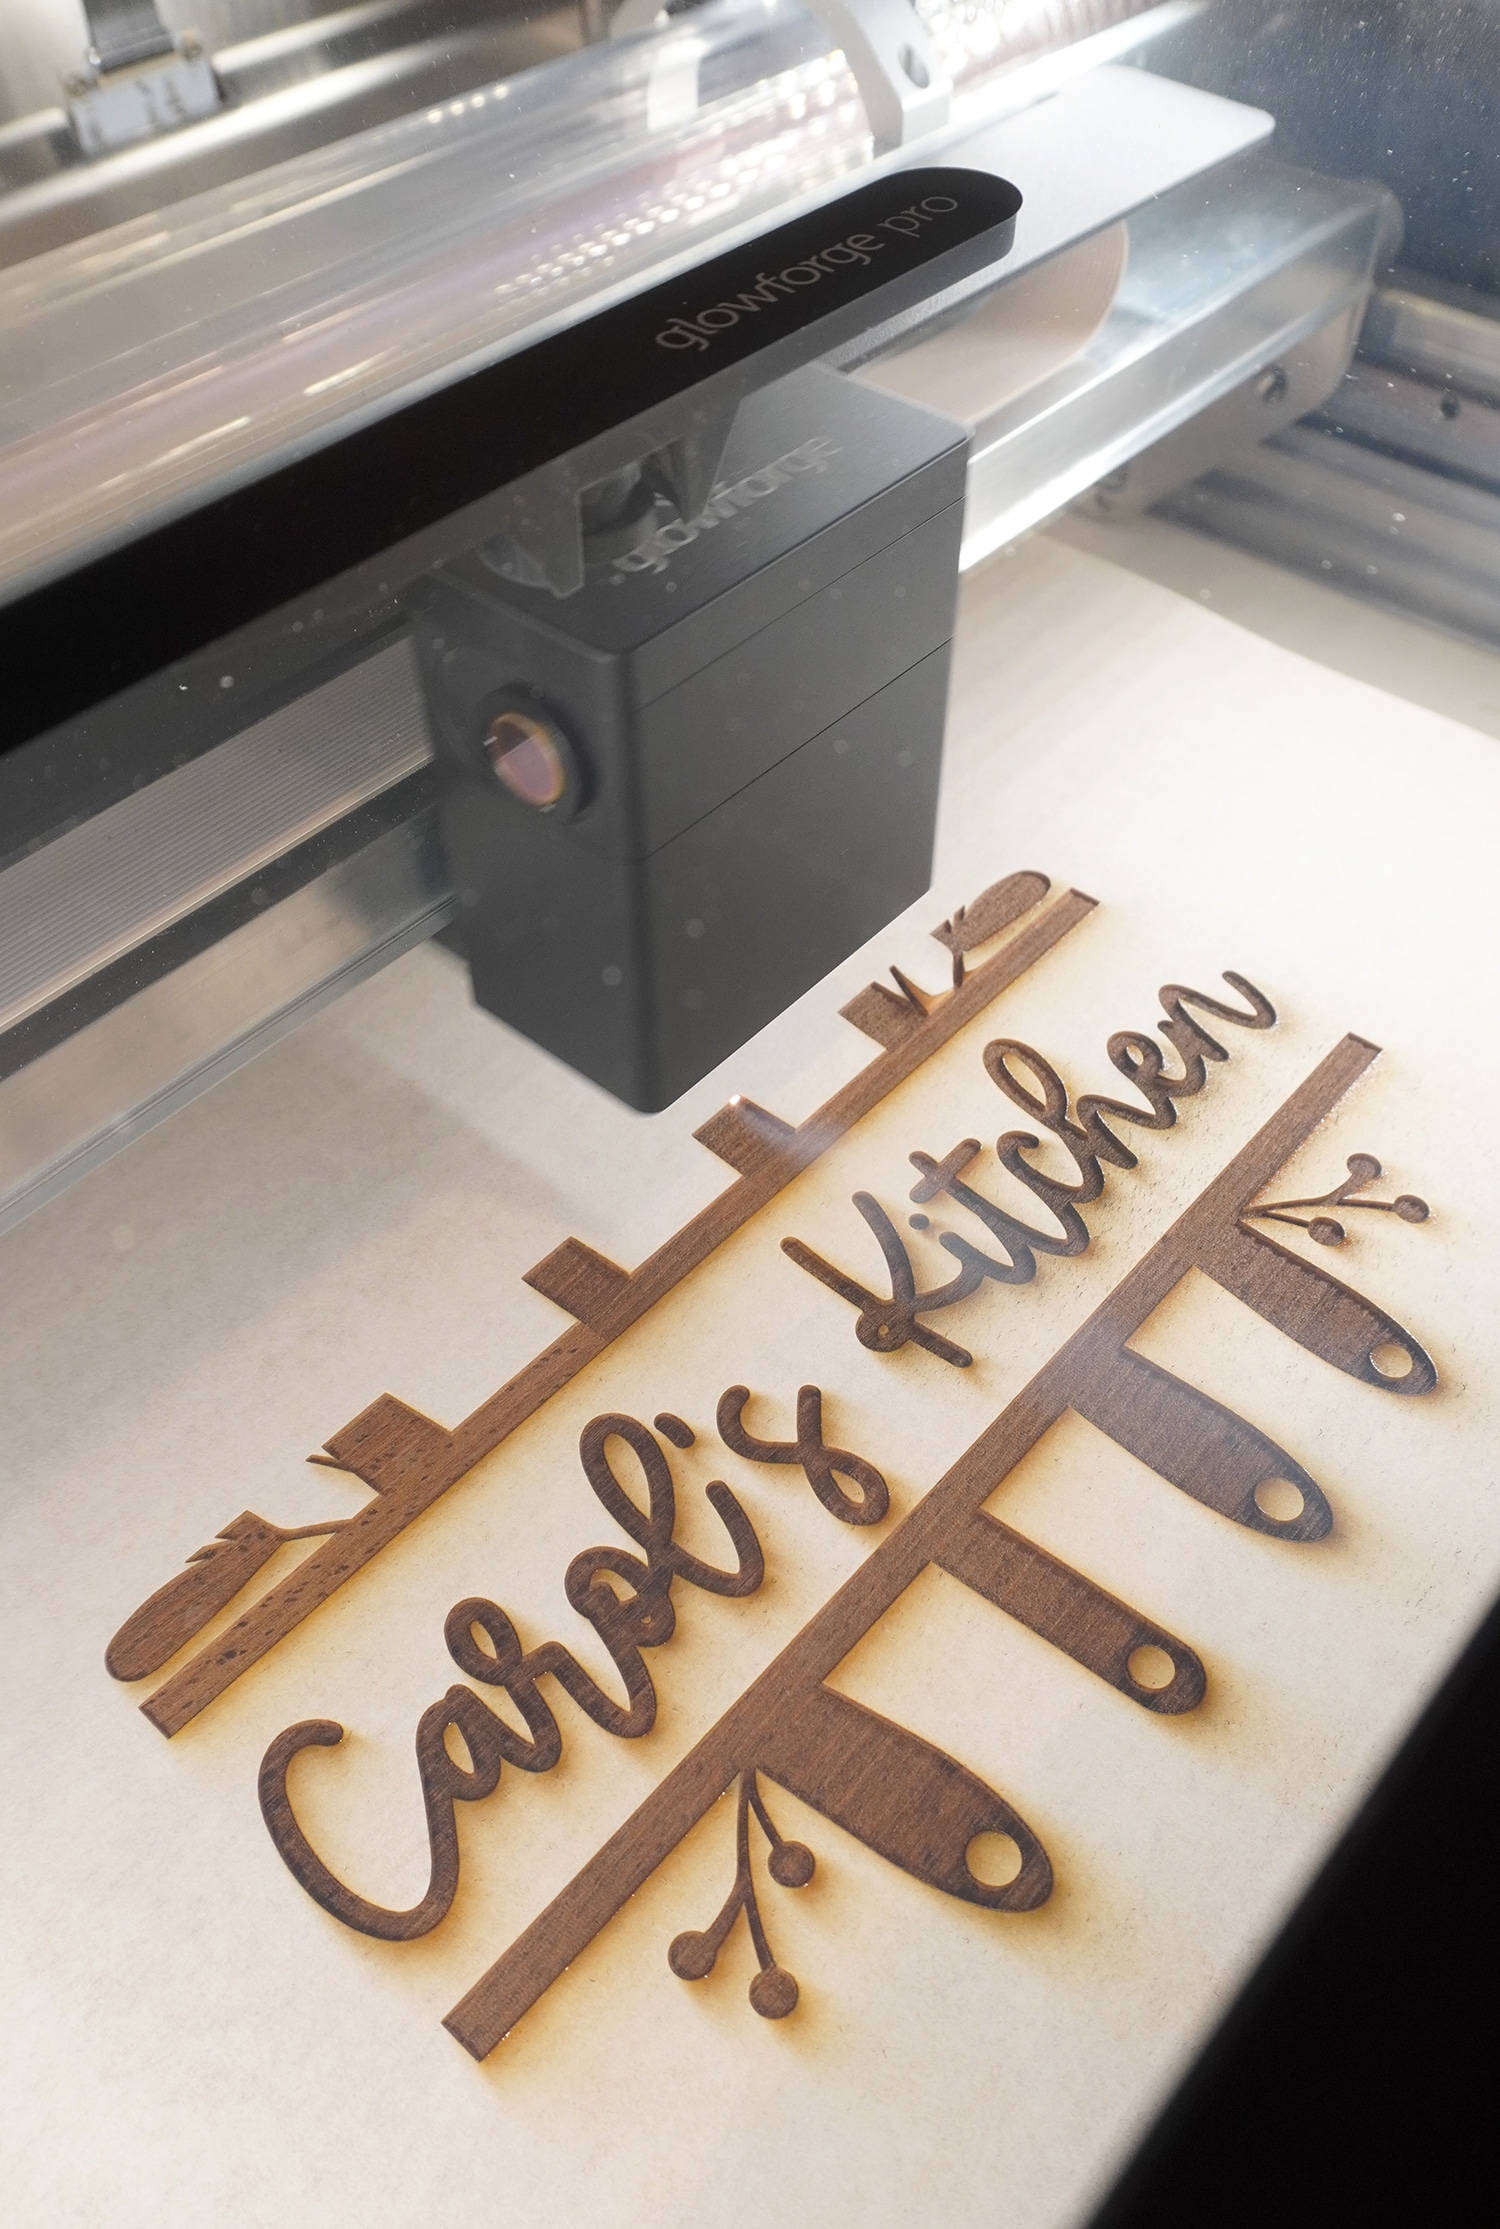
Begin by masking the surface of your cutting board with the paper transfer/masking tape. I like to use a brayer to help ensure that the tape is thoroughly adhered to the cutting board.
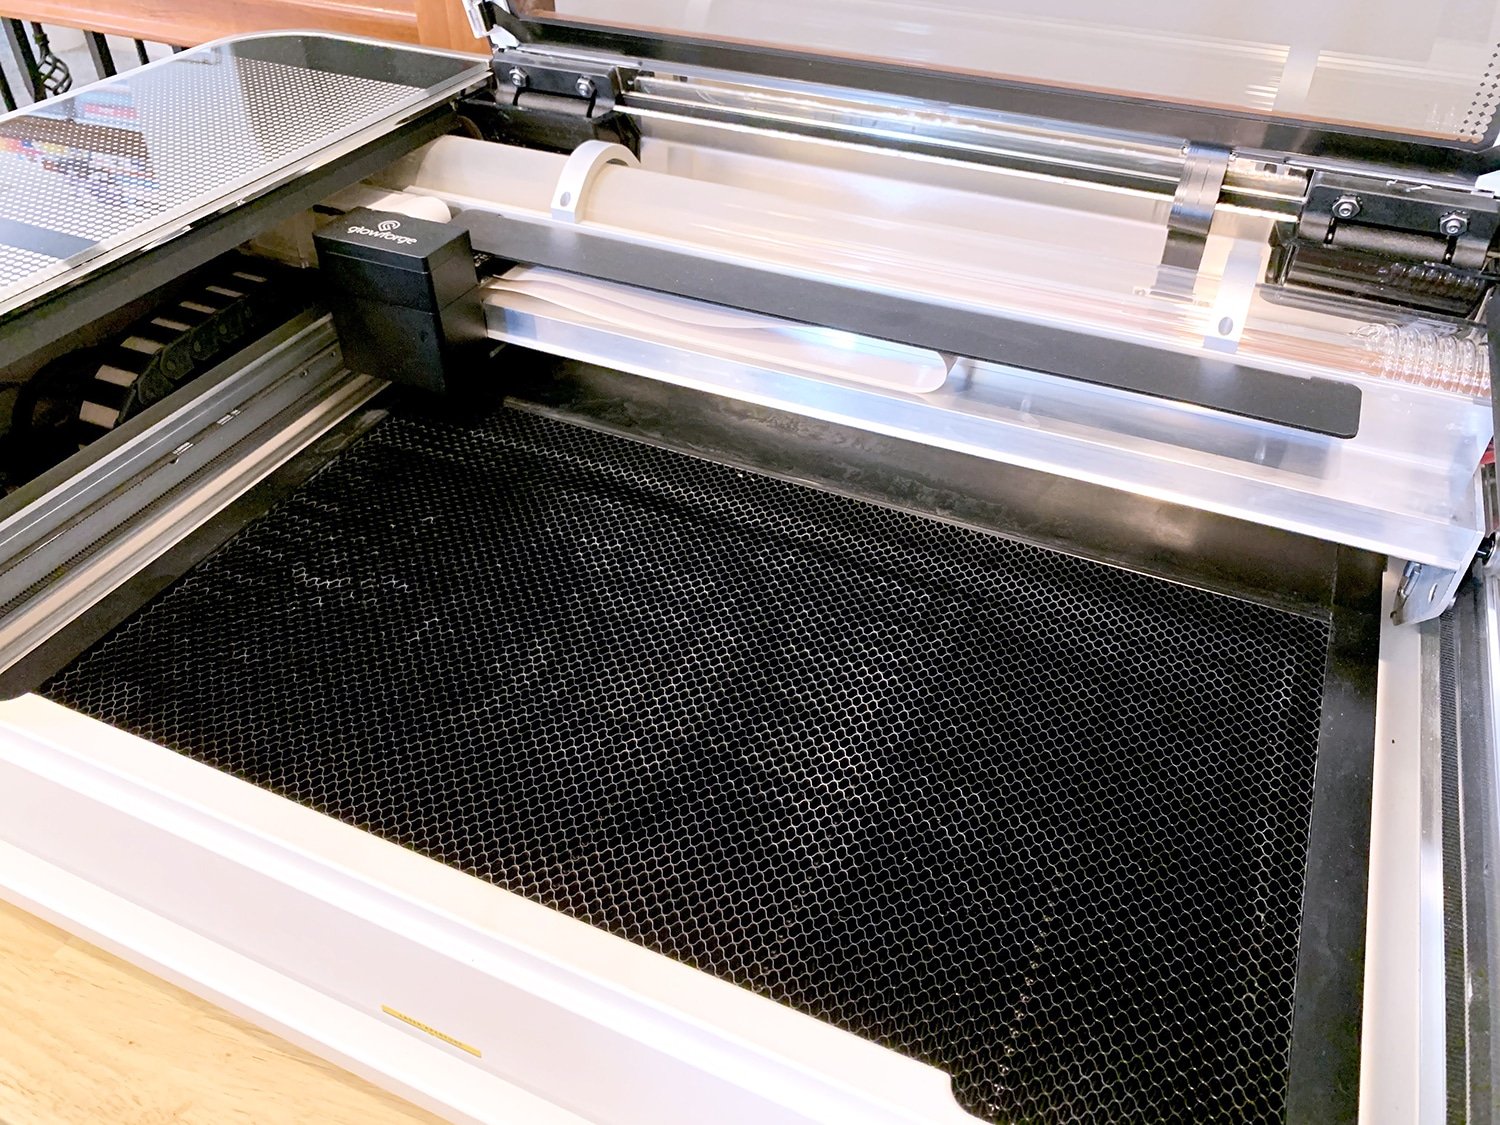
The Glowforge laser has a limited focal area of approximately 0.01″ – 0.4″ above the surface of the honeycomb “crumb tray.” This means that you will need to remove the crumb tray from the machine to engrave any object thicker than .5″ (up to 2″ thick). However, this may also require some manual adjustments to ensure that your object falls within the focal area.
The Ikea Proppmat cutting board that I used was approximately 5/8″ thick which required me to remove the crumb tray from my Glowforge.
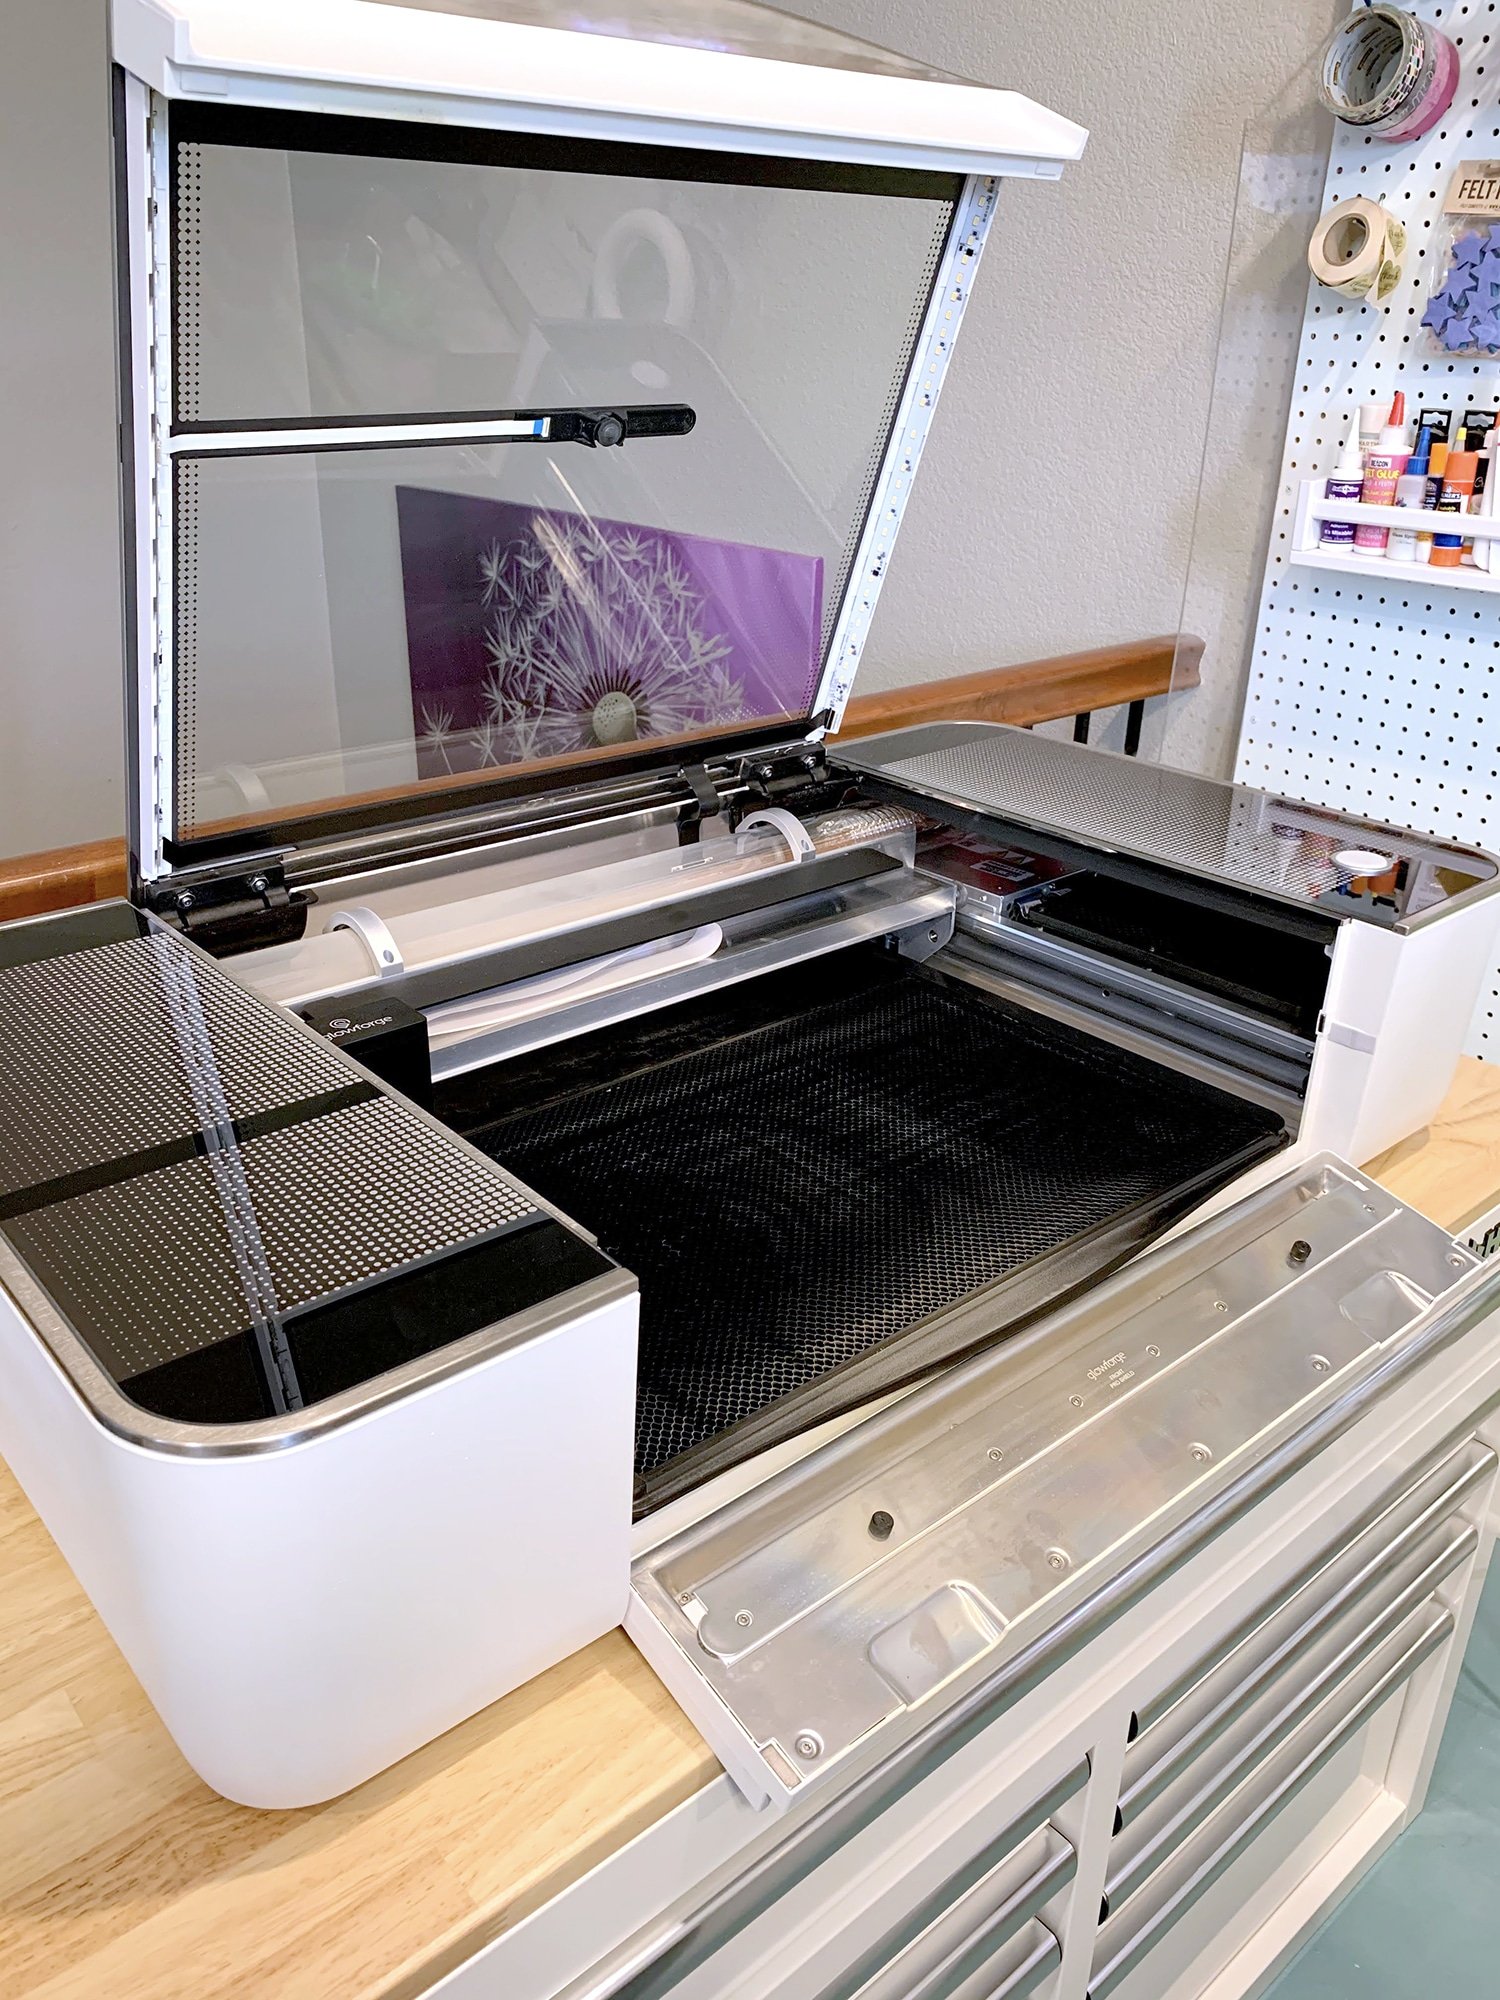
To remove the crumb tray, lift the lid of the Glowforge, and swing down the front door.
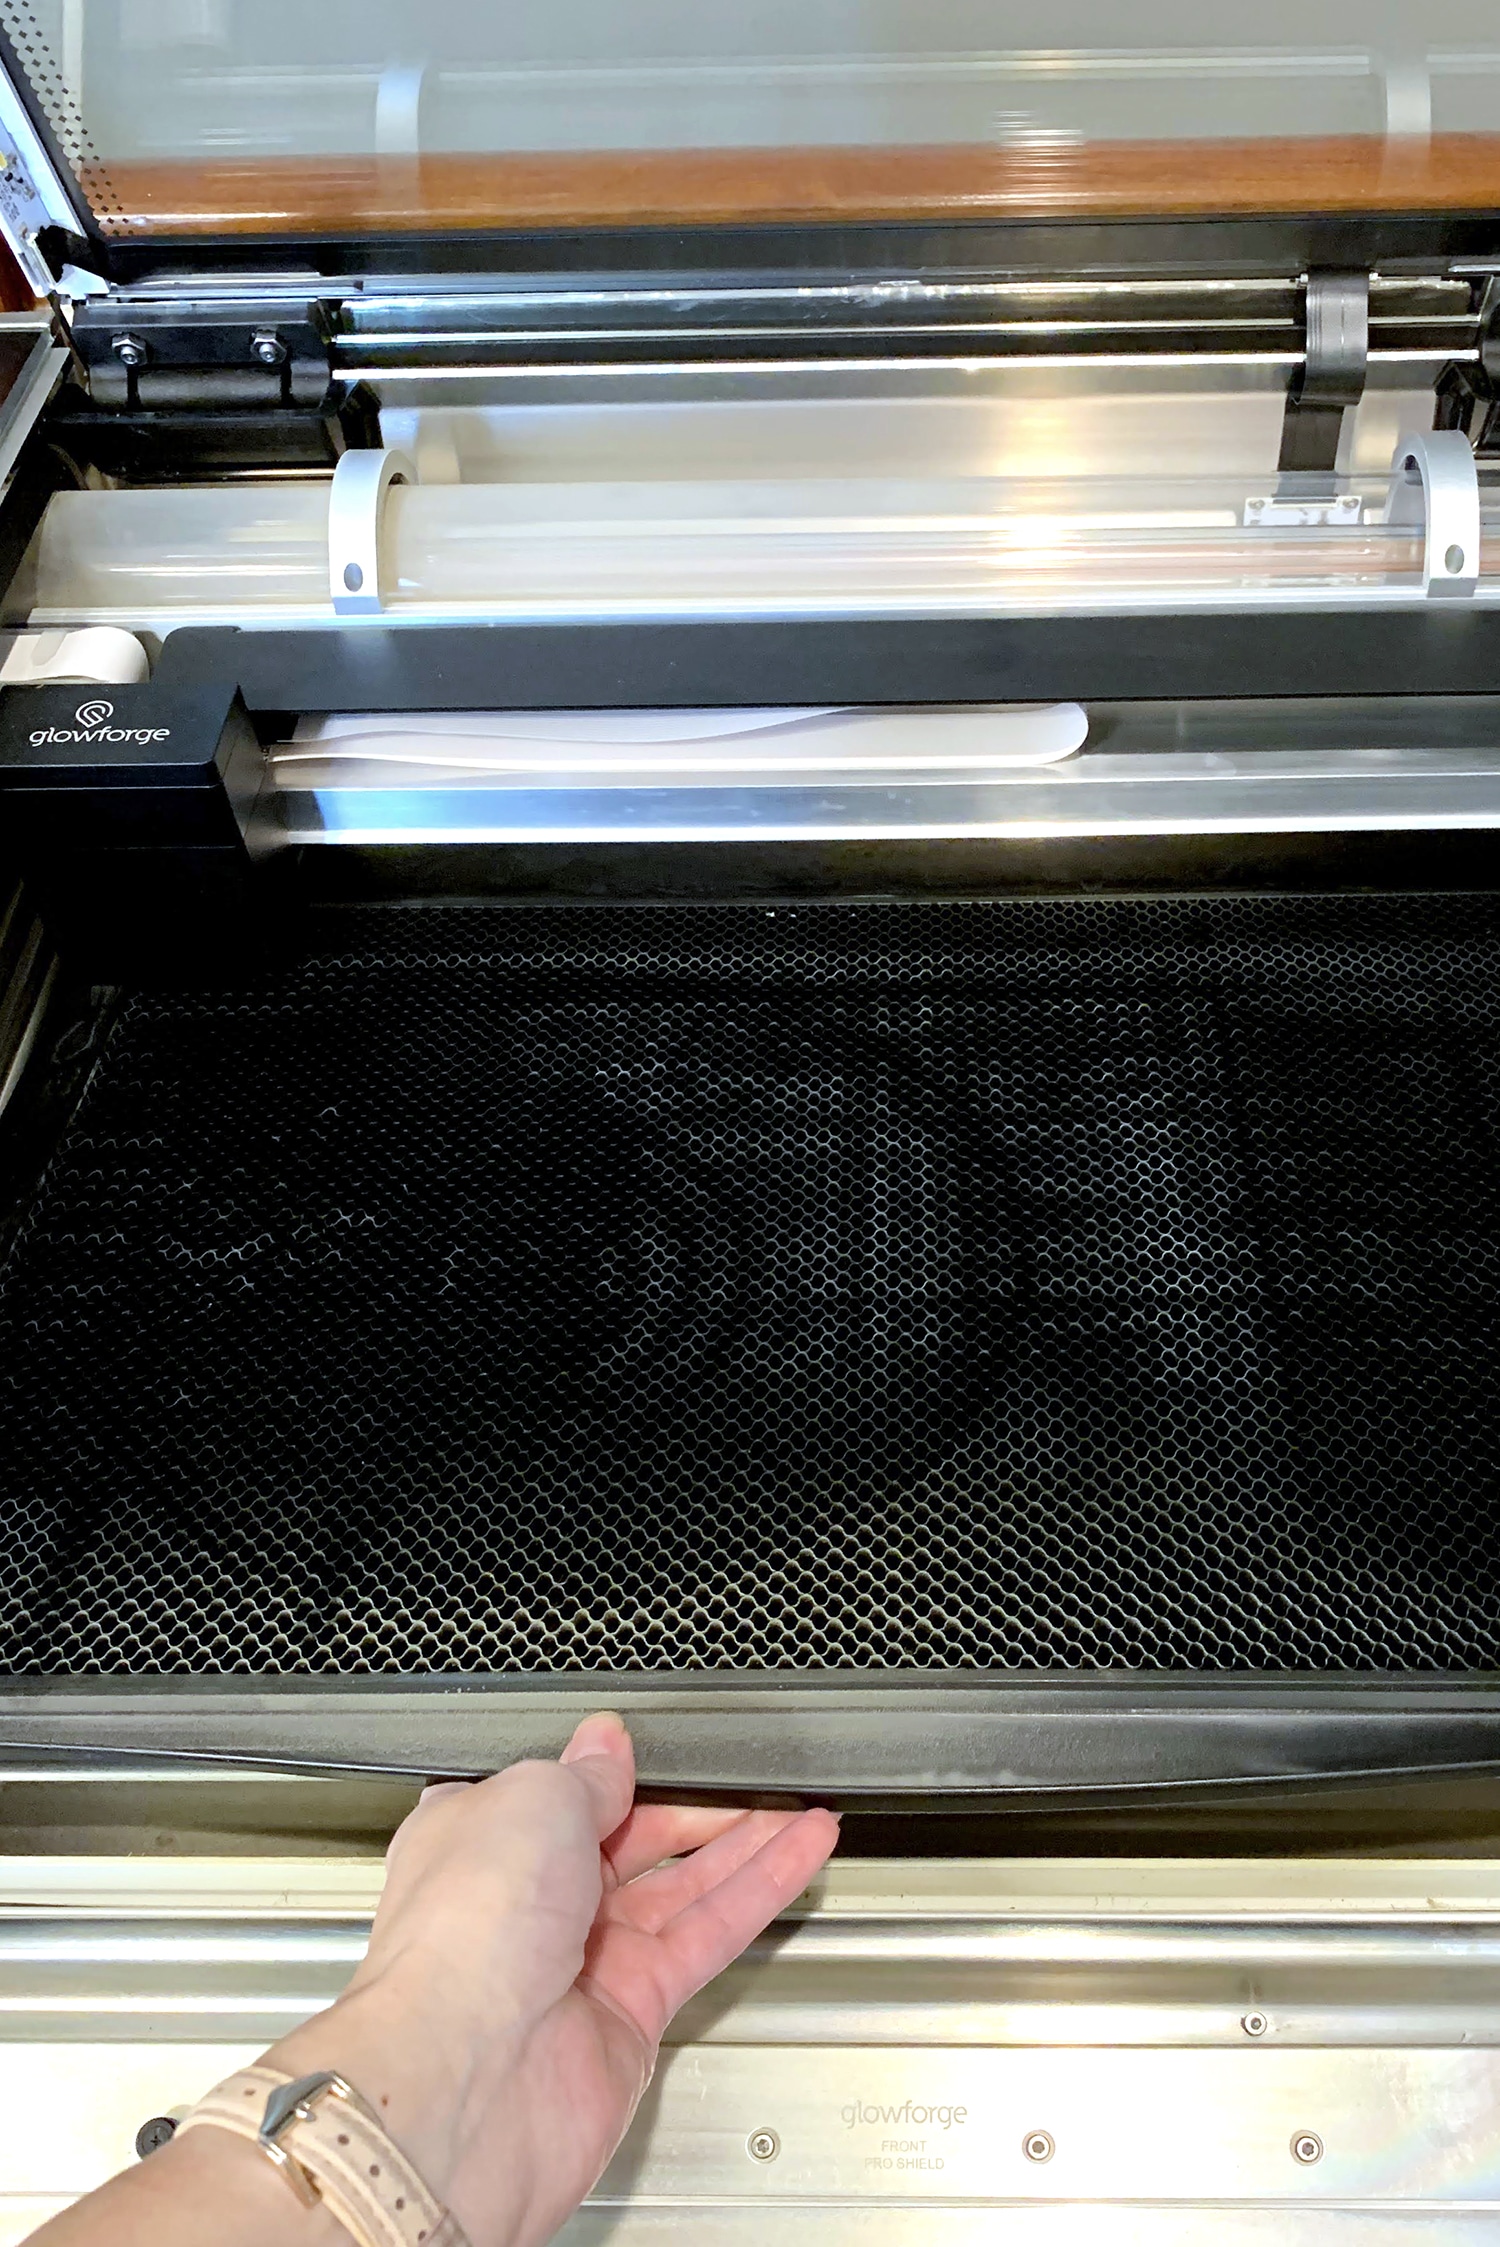
Lift the crumb tray slightly and slide it towards you to remove it. Be careful not to tilt the crumb tray up, or it will knock into the laser arm and rails and could cause damage. Set the crumb tray aside in a safe location.
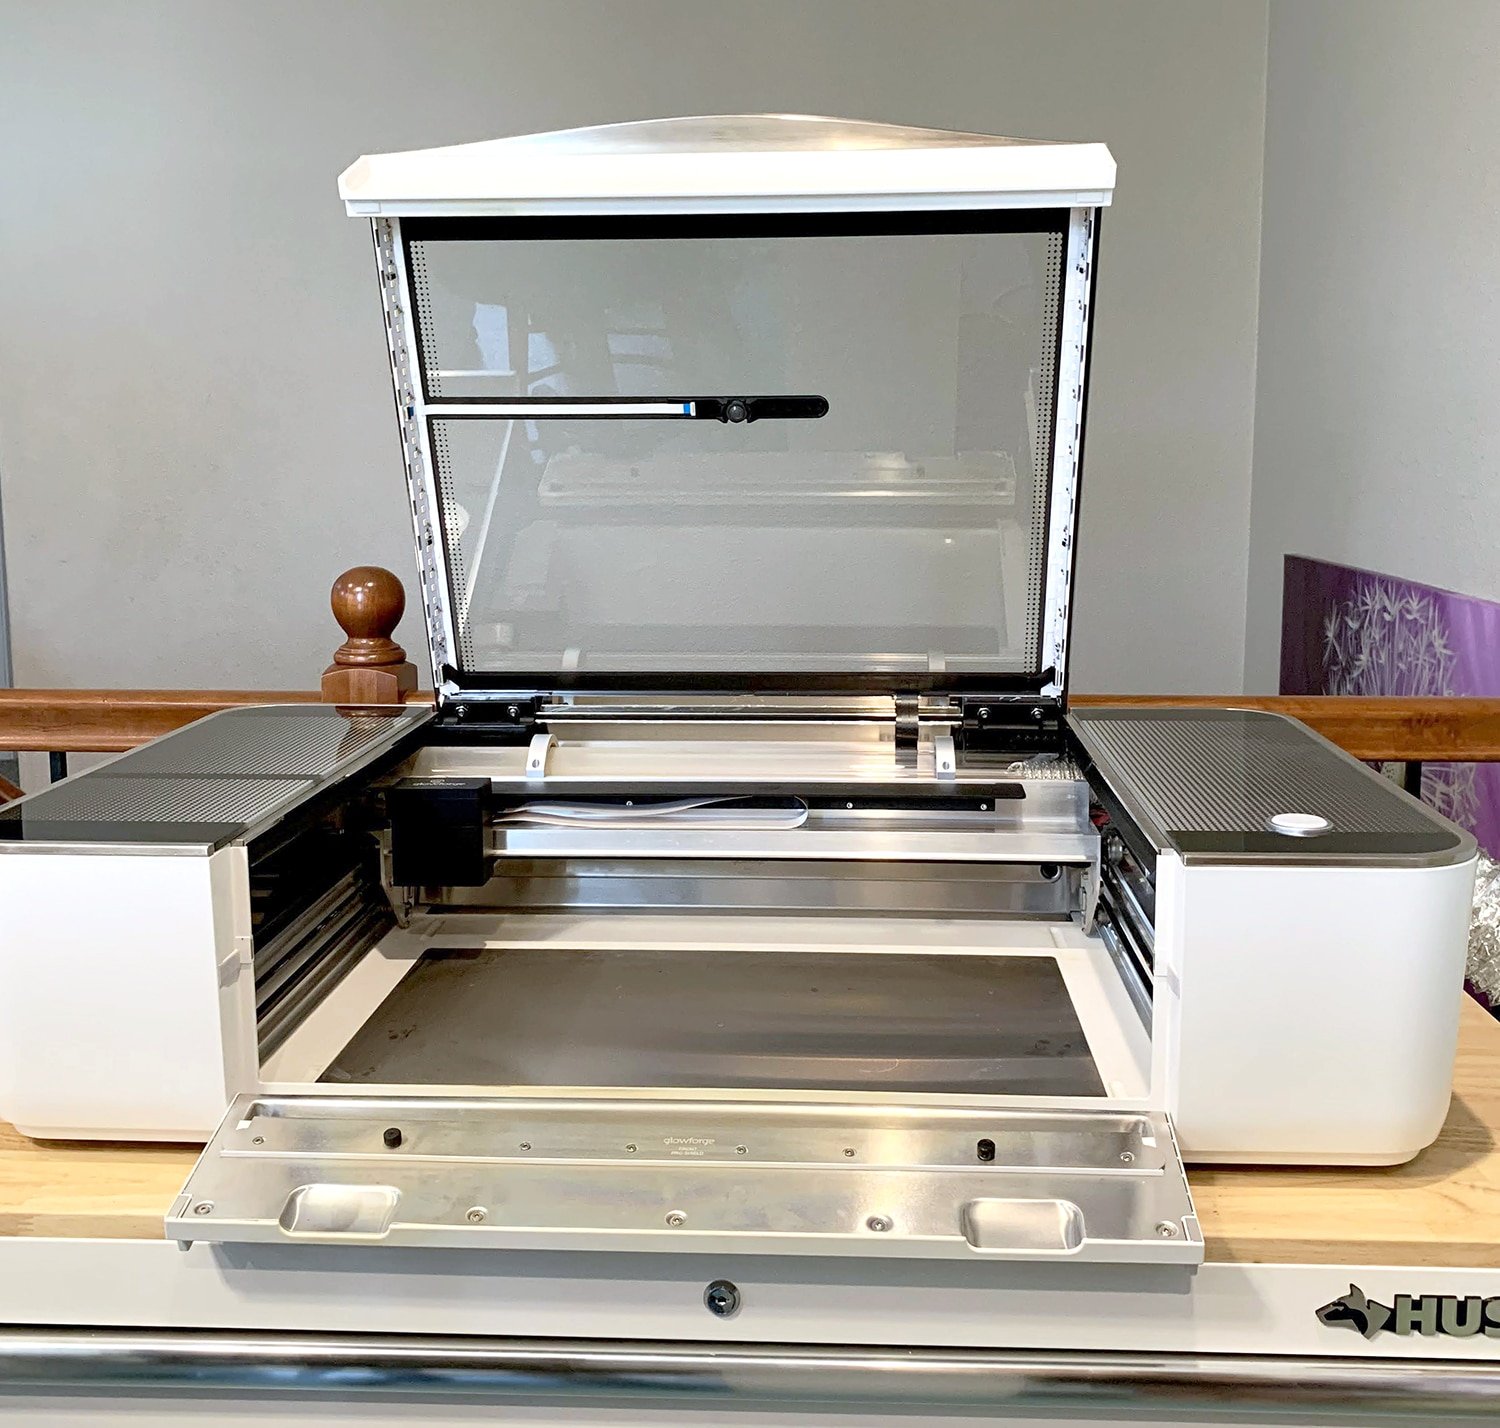
You now have space to place an object up to 2″ thick into the bed of the Glowforge for engraving.
If you place the cutting board directly into the bed of the Glowforge, however, it now falls short of the laser’s focal area.
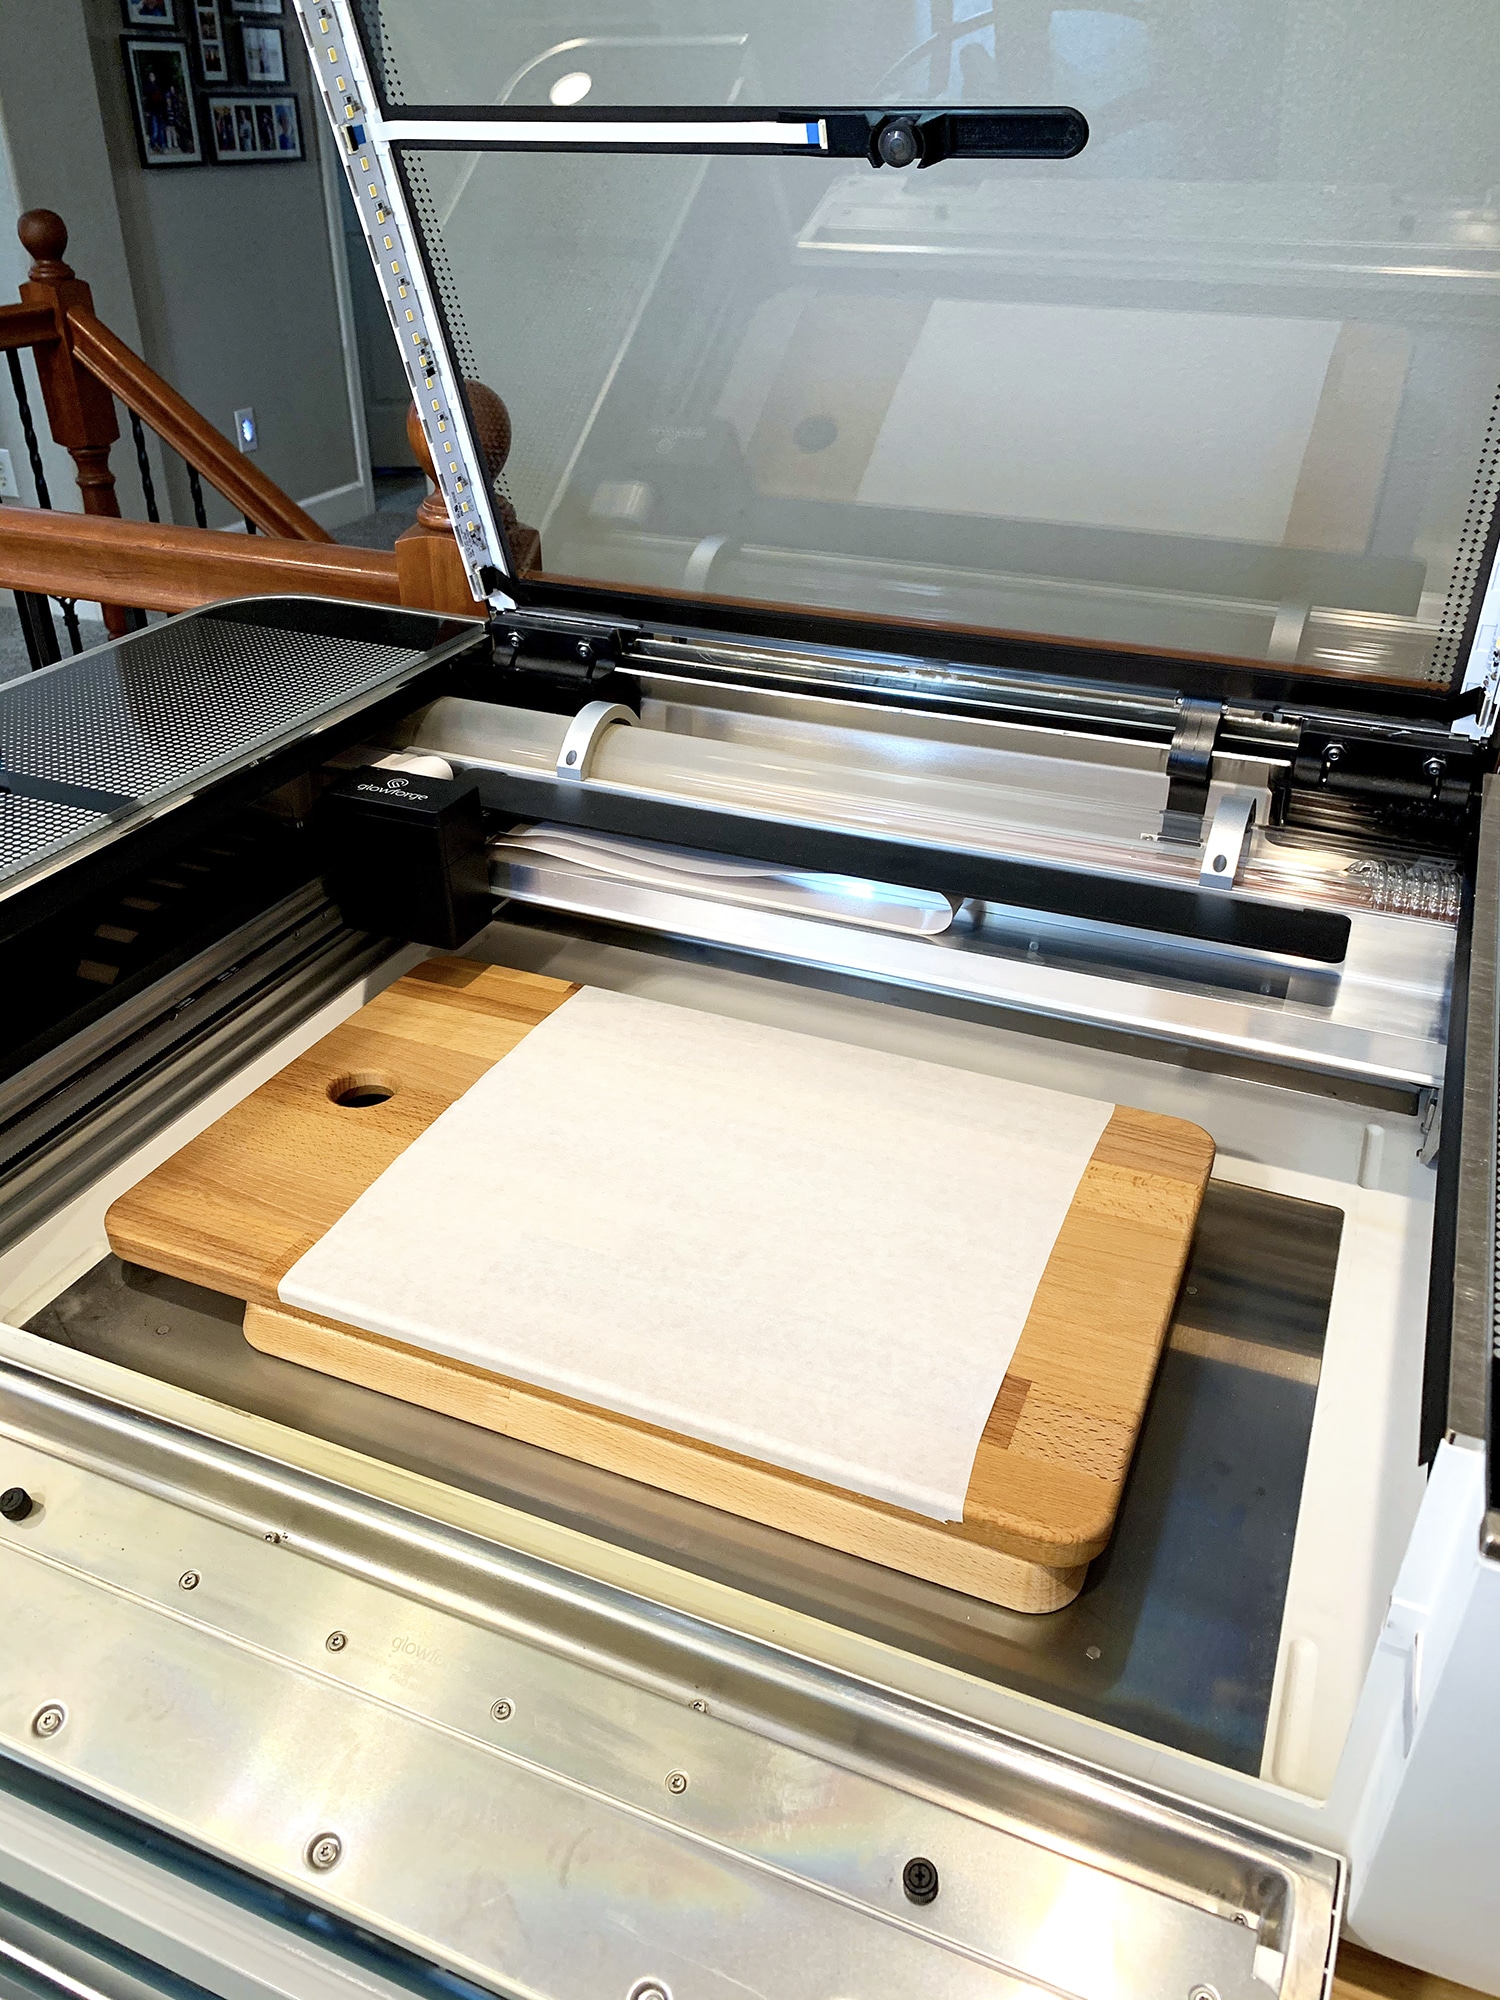
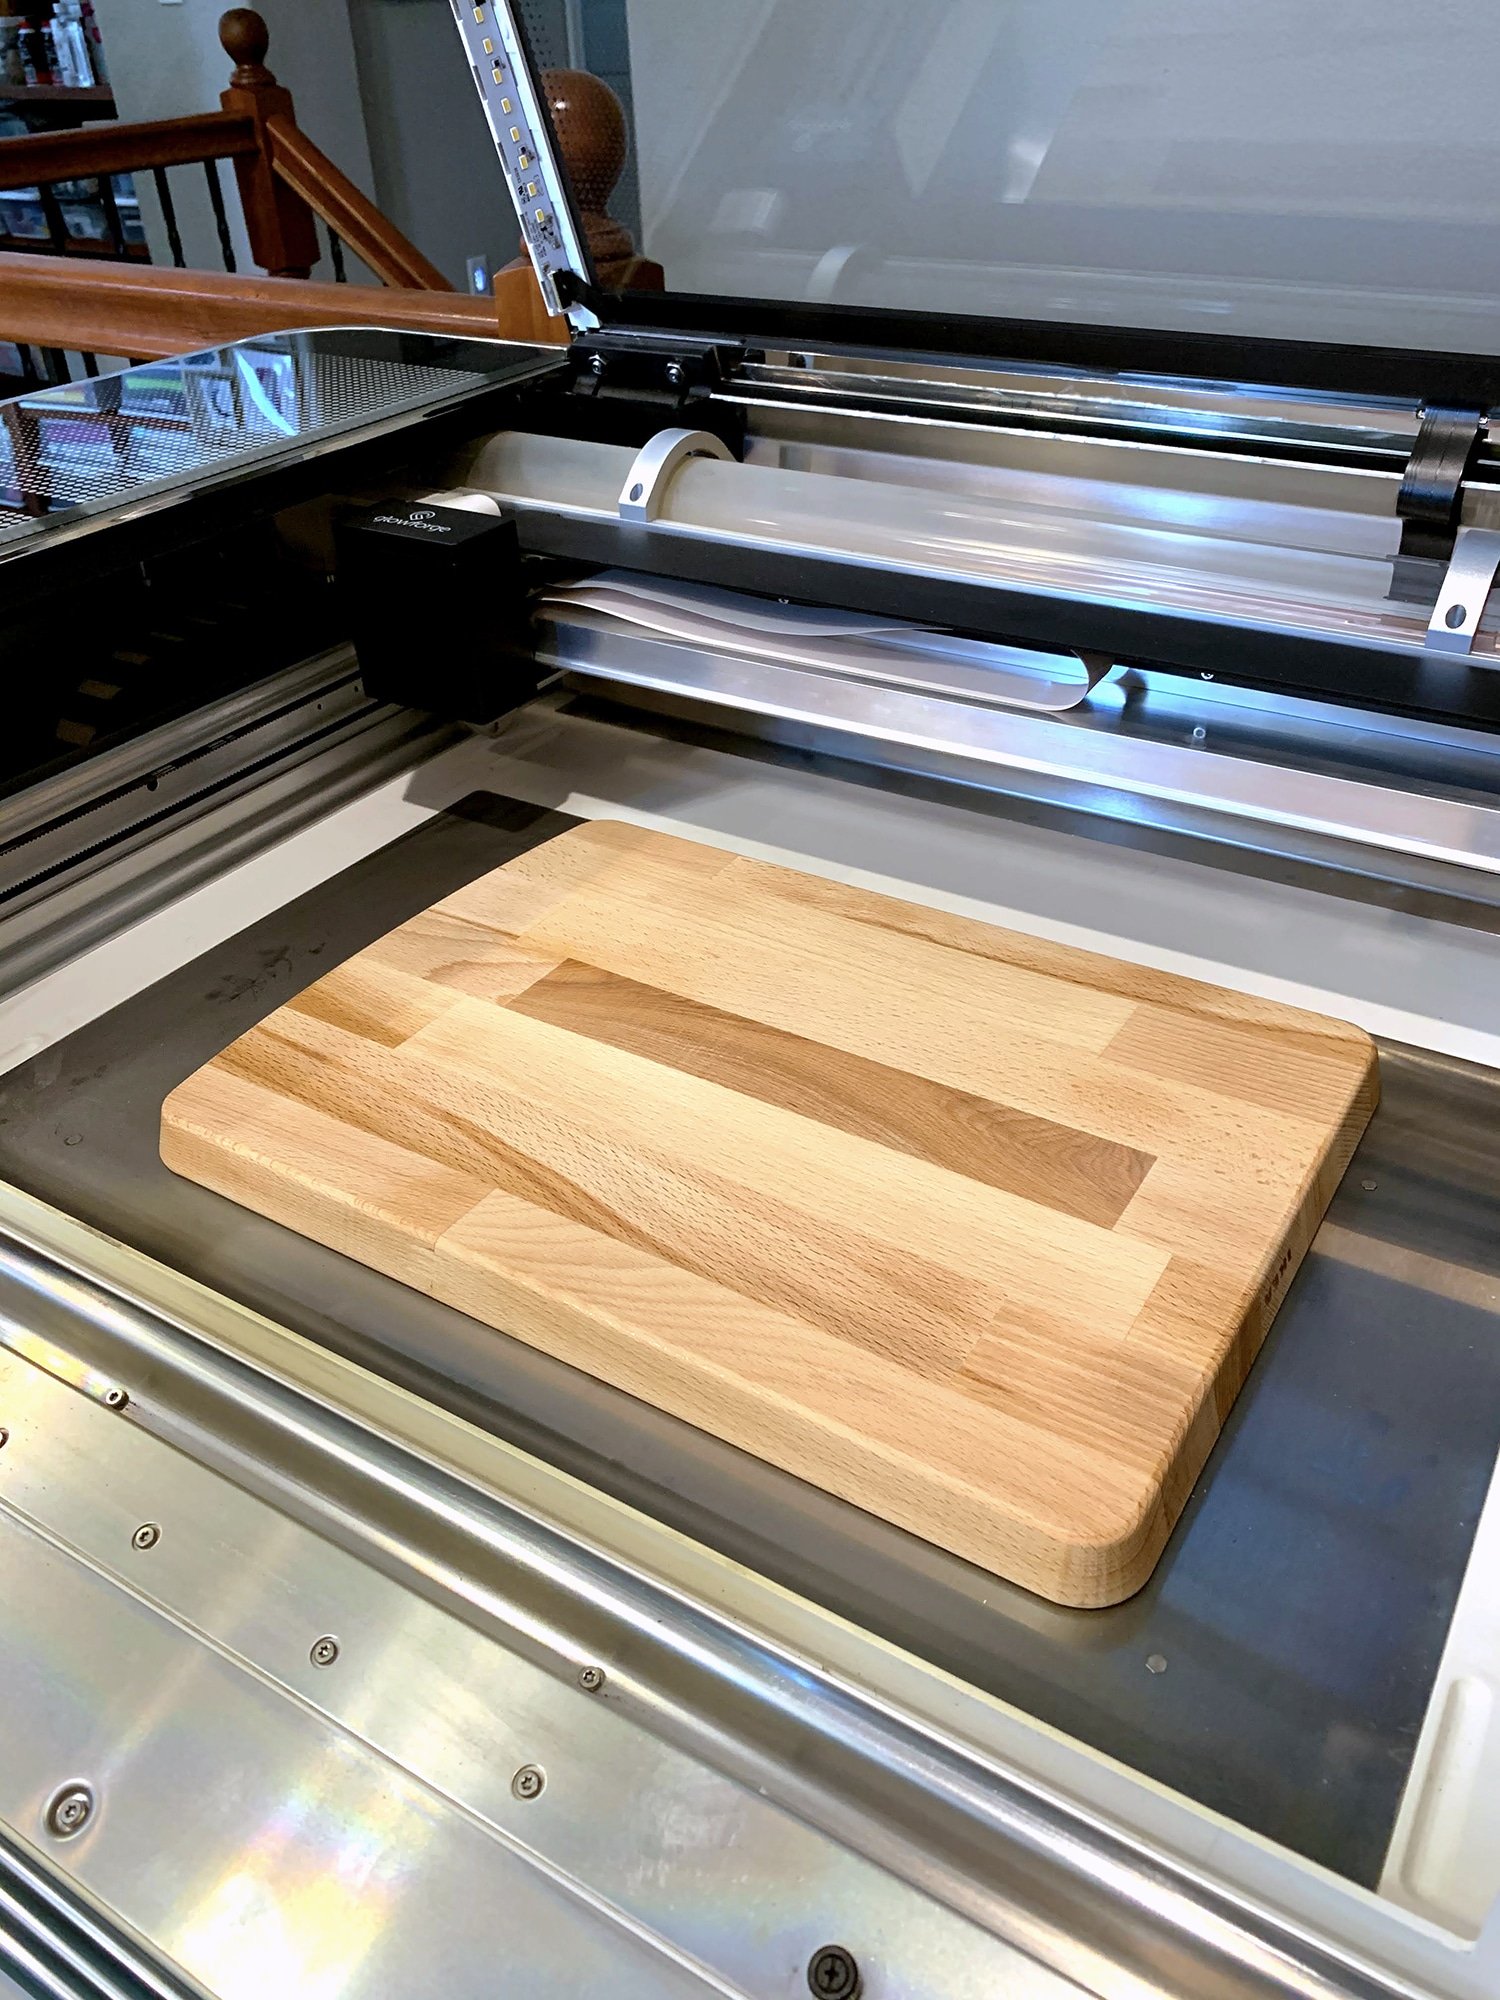
To elevate the cutting board back in to the laser’s focal area, we stacked up two cutting boards (one 5/8″ thick and one 3/4″ thick), and it worked perfectly.

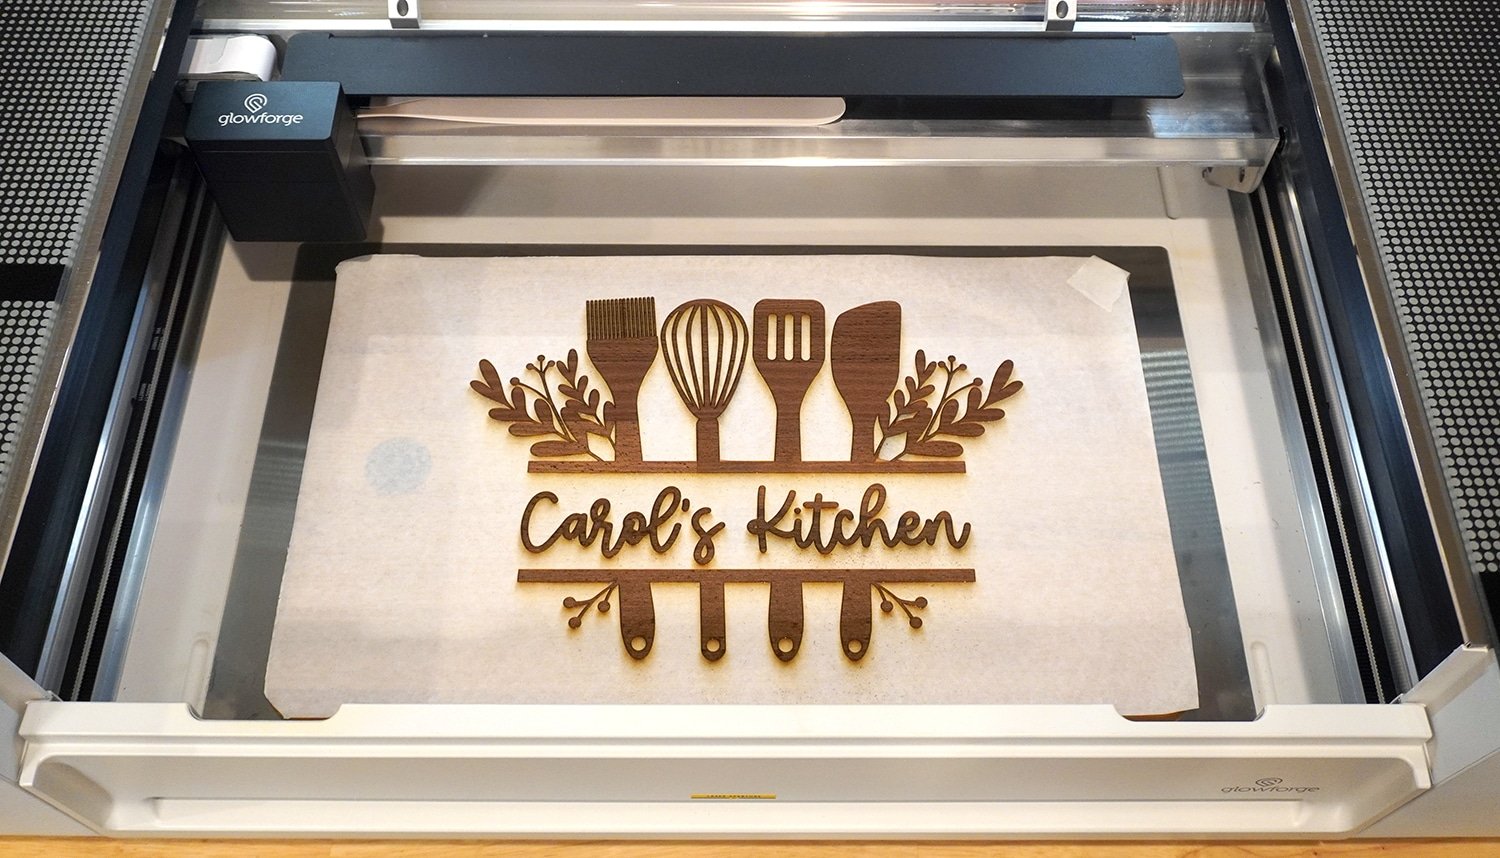
Position your cutting boards in the bed of the Glowforge as desired and close the lid.
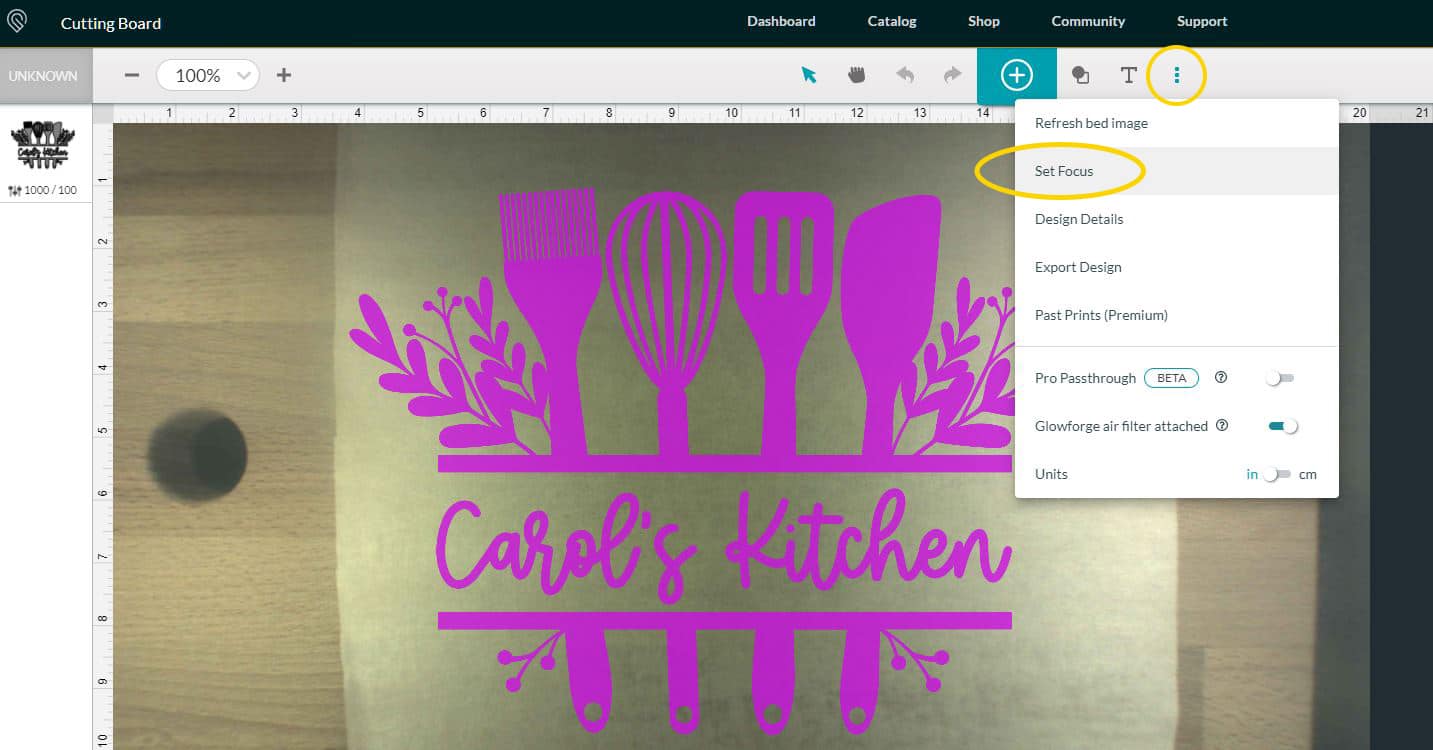
Open up the Glowforge App software on your computer and upload the SVG file by clicking the large teal “+” in the center of the screen. Then, choose “Set Focus” from the ⋮ menu in the top center bar and select a focal point in the center of your engraving area. This will focus on your cutting board surface, calculate its distance from the laser, and help determine the recommended engraving settings.
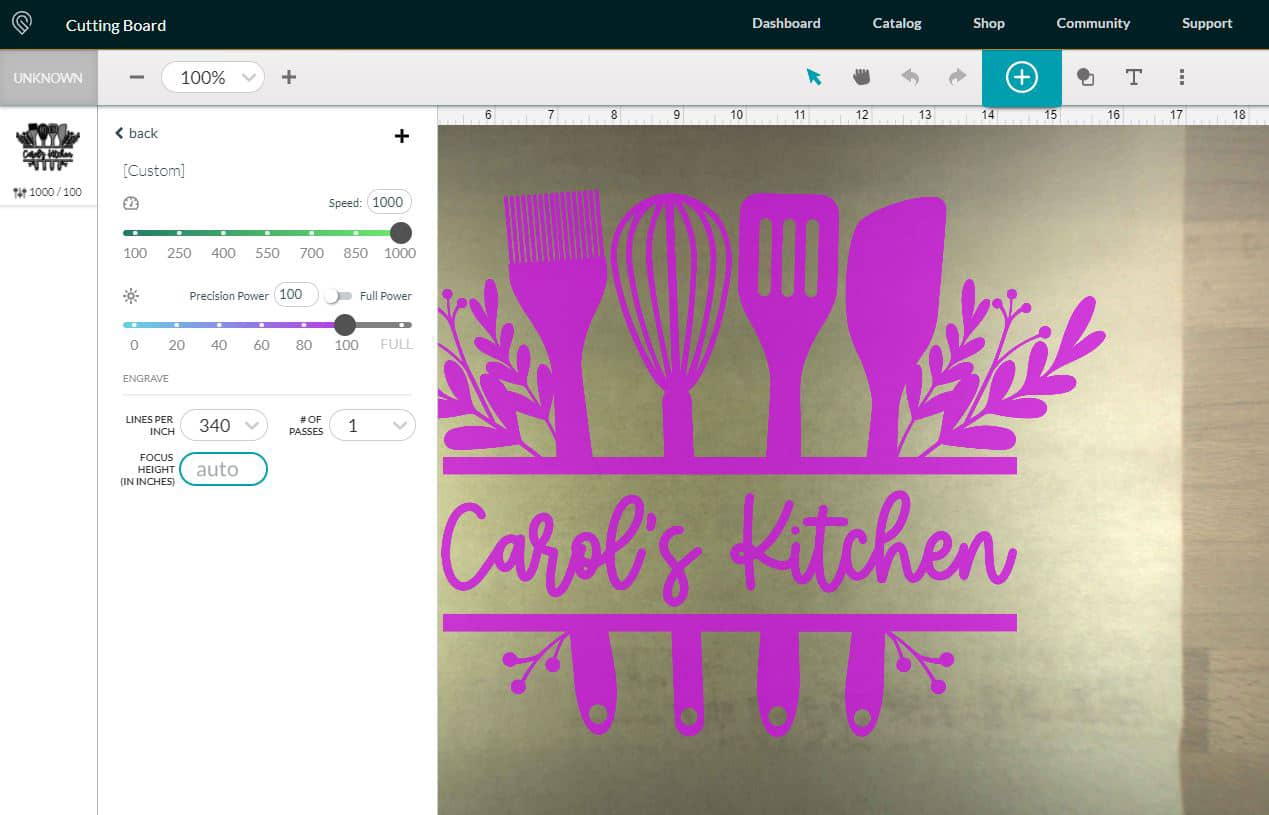
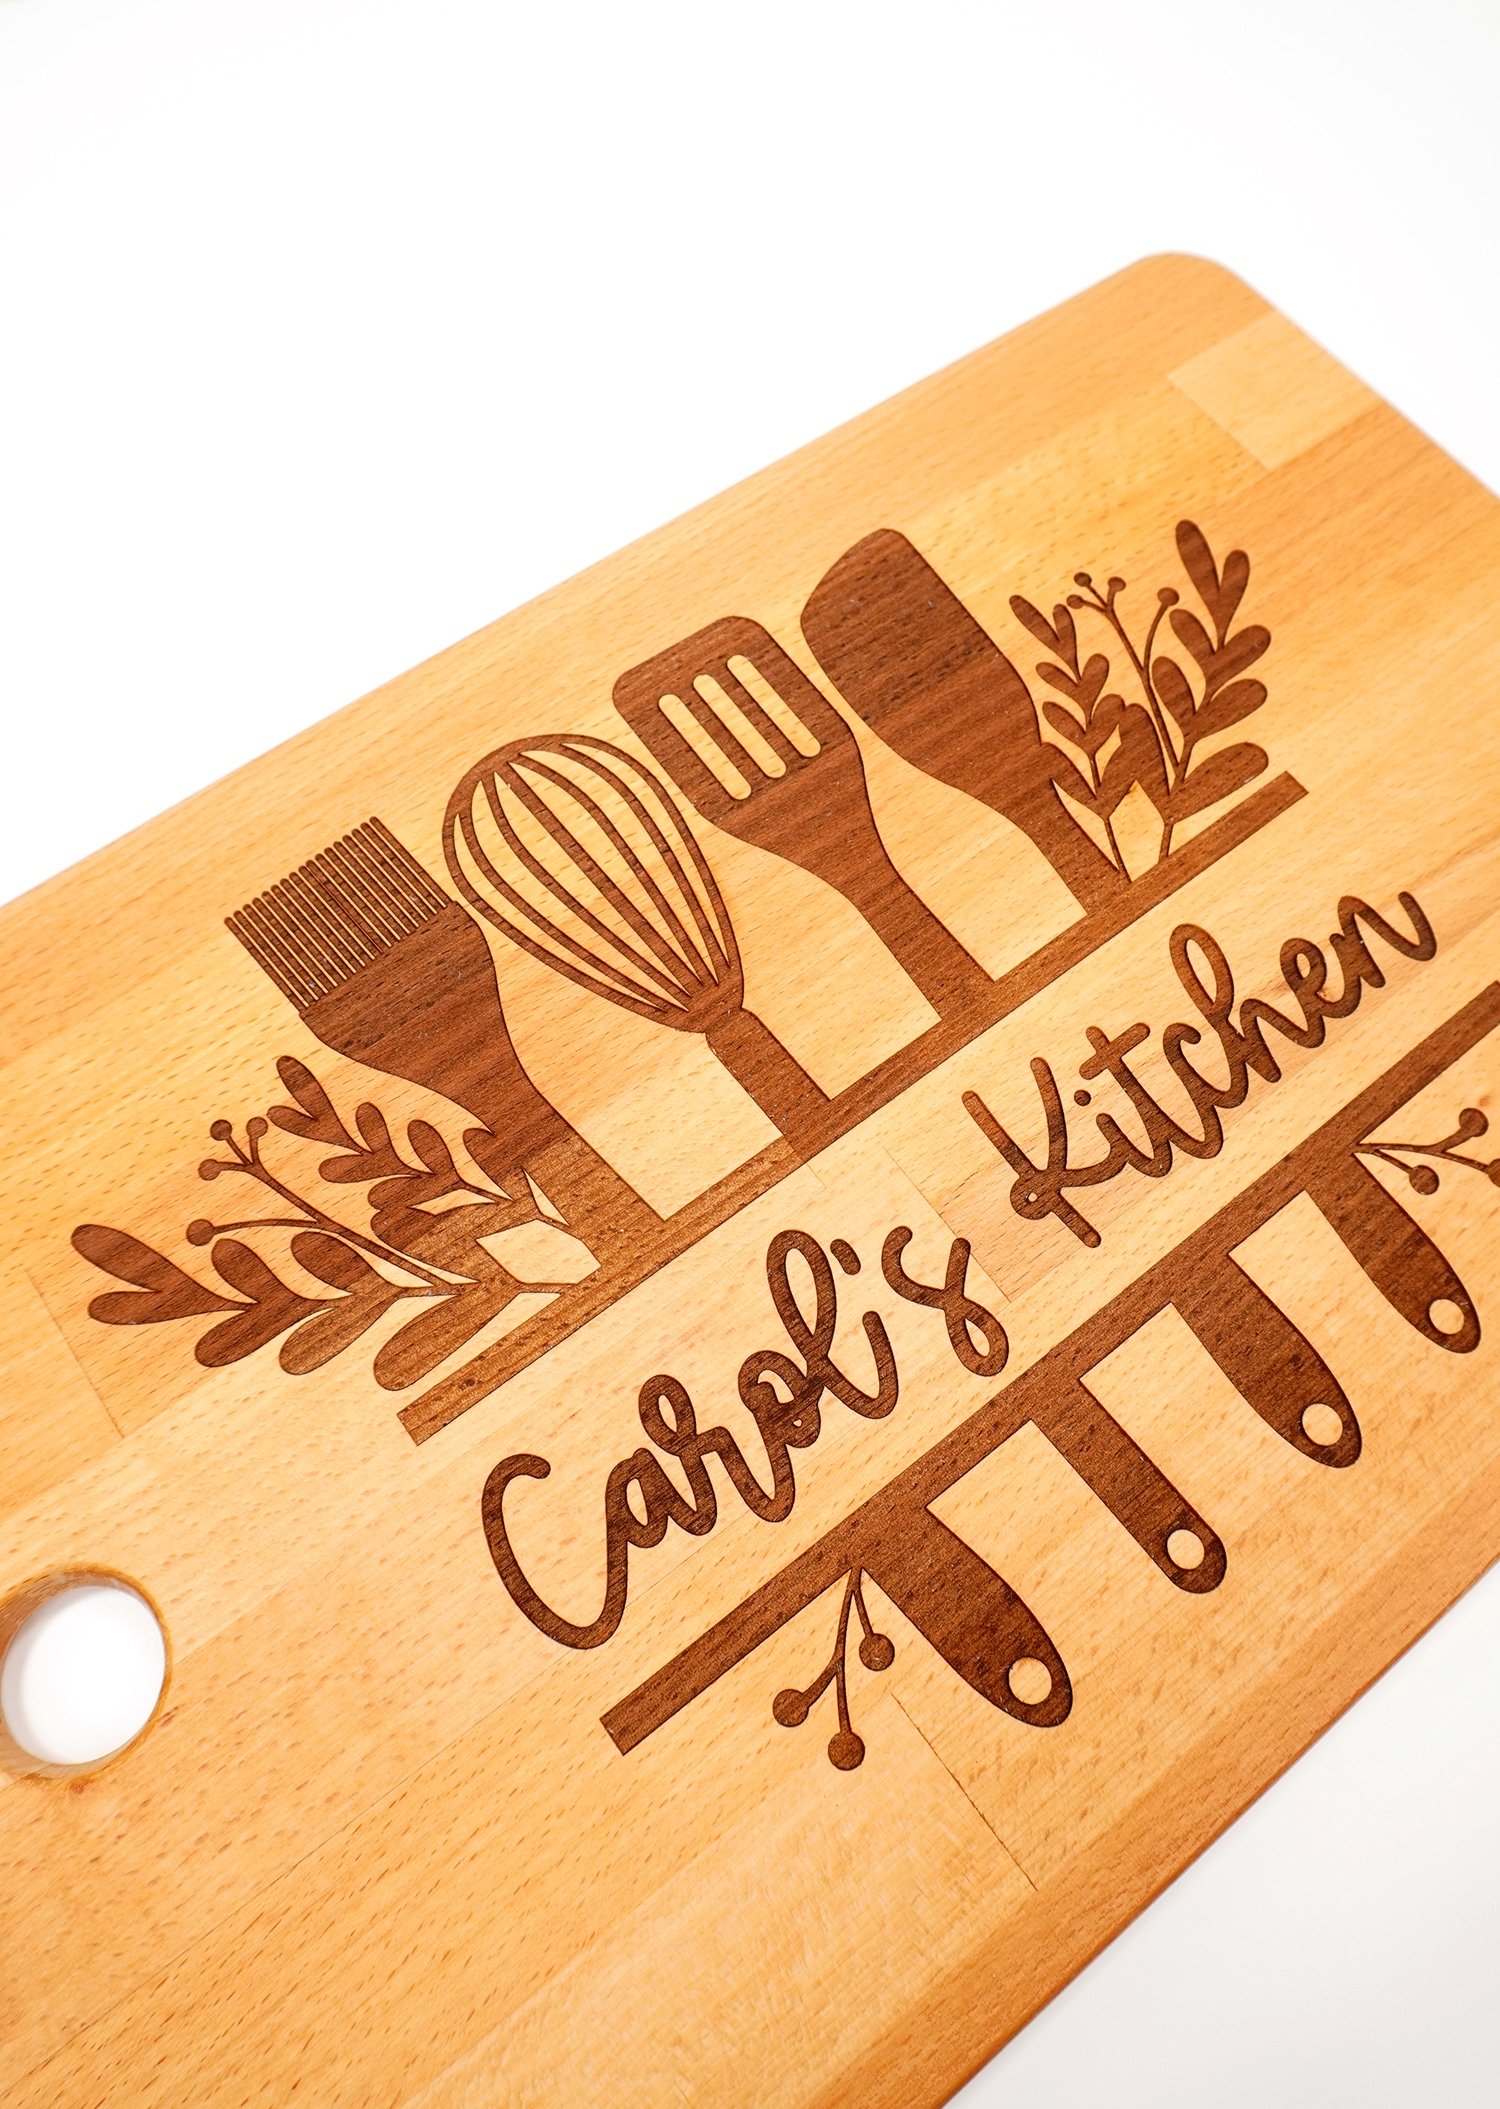
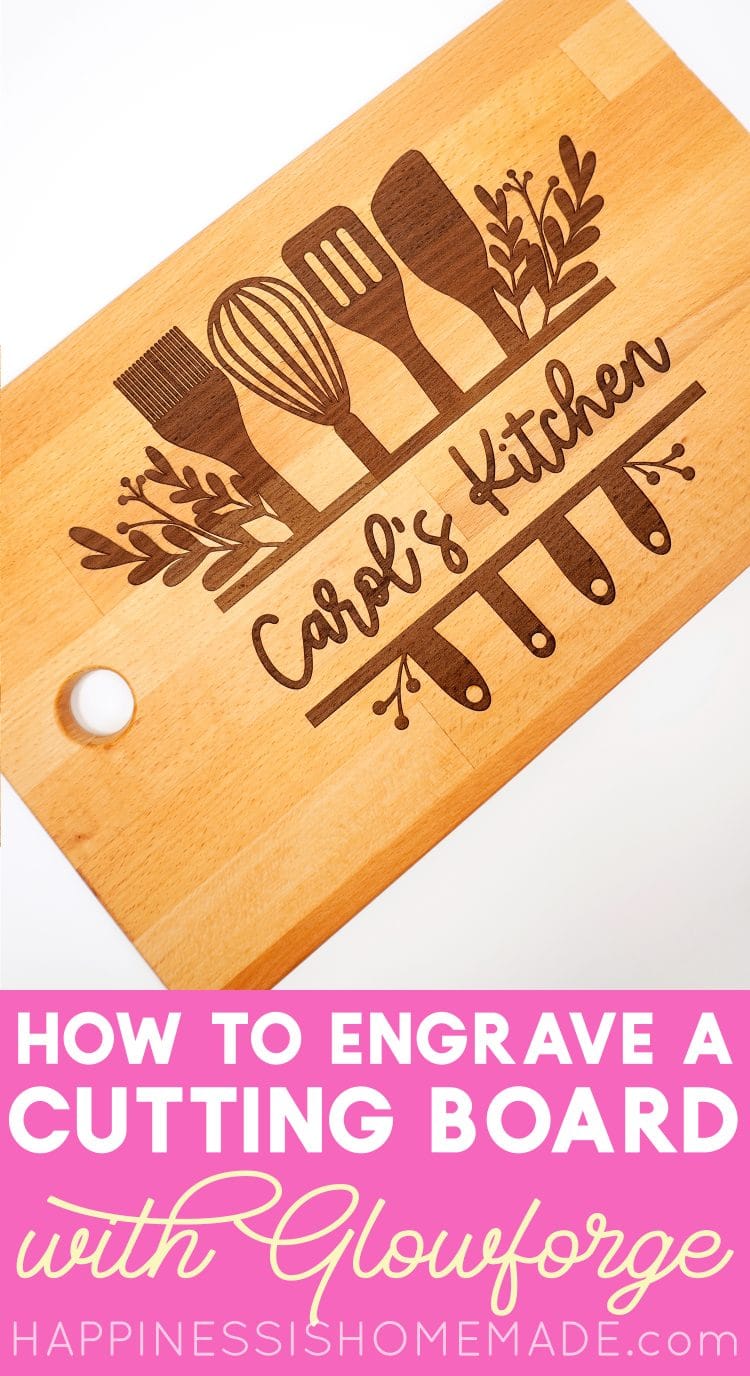
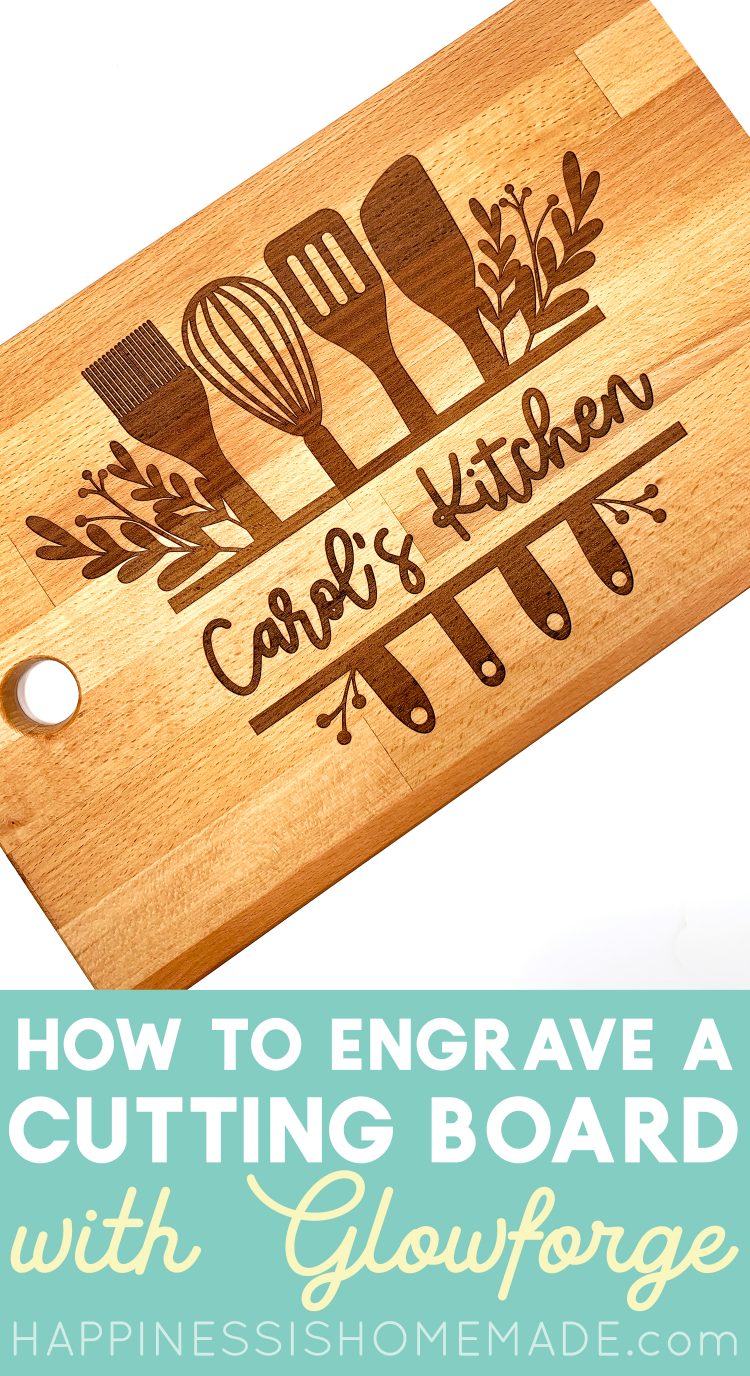
Size and position your design on the cutting board, and set your engrave settings. For my cutting board, I wanted a dark engraving without being too deep, so I set my settings for 1000 speed, 100 power, and 340 lines per inch.
To learn more about how the speed, power, and LPI settings affect your engraving settings, check out our post on How to Engrave Wood Signs with Glowforge.
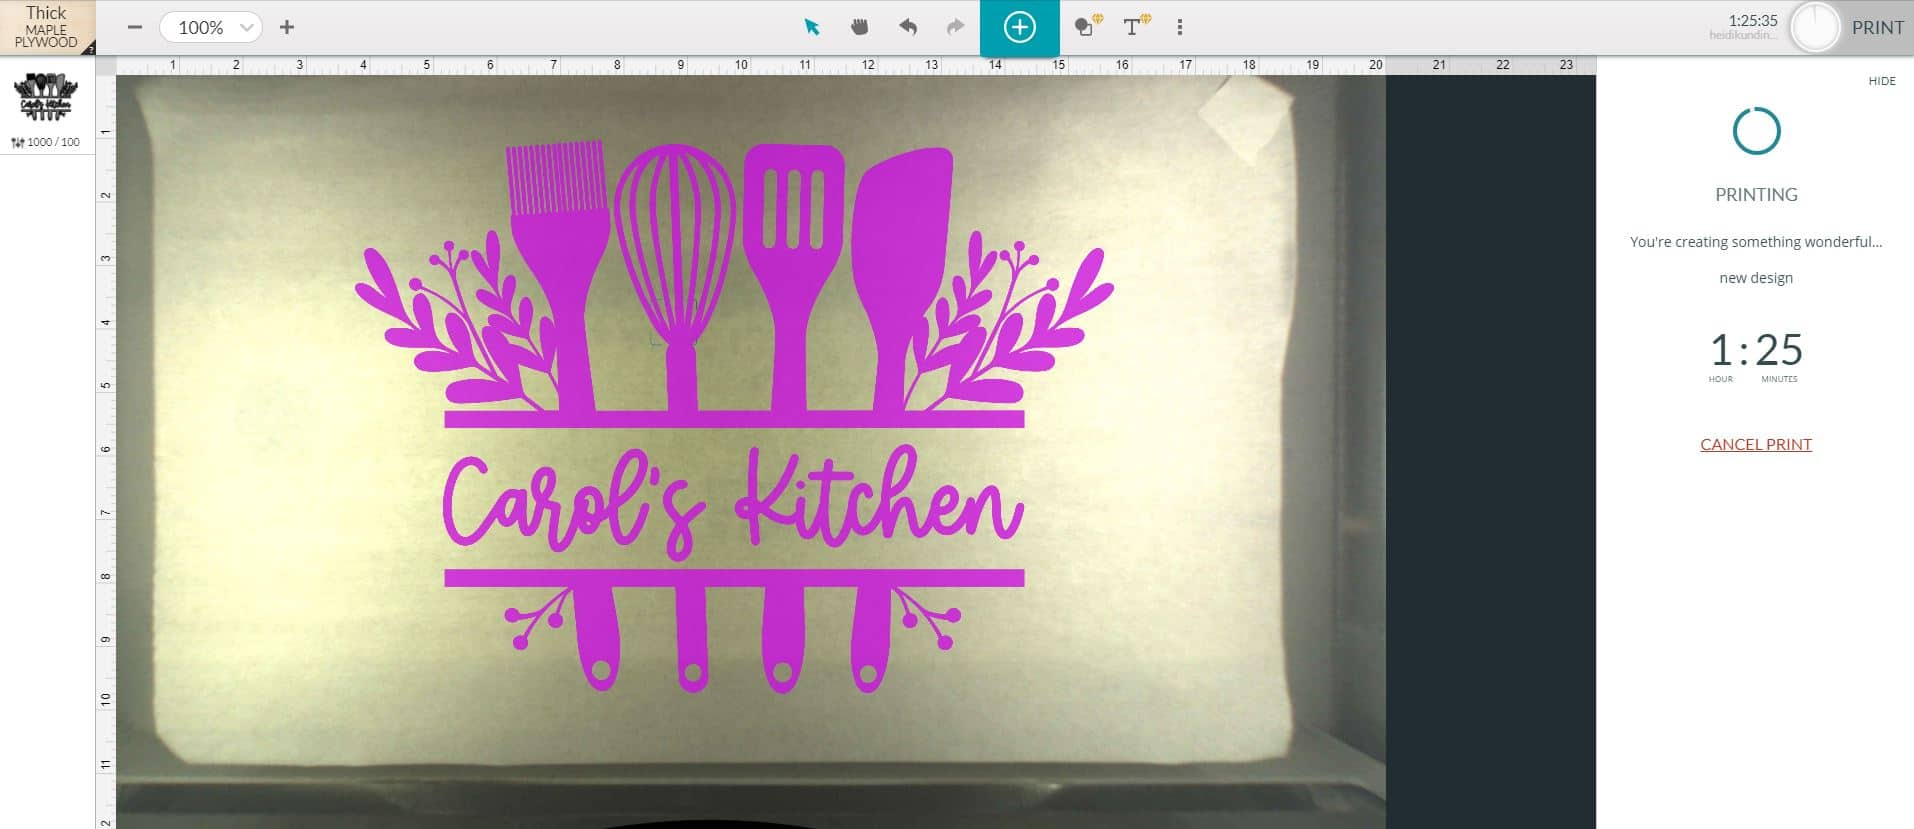
When you are ready, click the “Print” button in the upper right corner of the screen. The Glowforge software will calculate the machine’s movements and tell you how long the print will take. This cutting board took an hour and twenty-five minutes to engrave from start to finish.
Press the flashing button on your Glowforge, and watch the magic happen! (Don’t look directly at the laser, though!)
Wait until the Glowforge has finished engraving and the lighted button has turned off before lifting the lid and removing the cutting board. Replace the crumb tray.
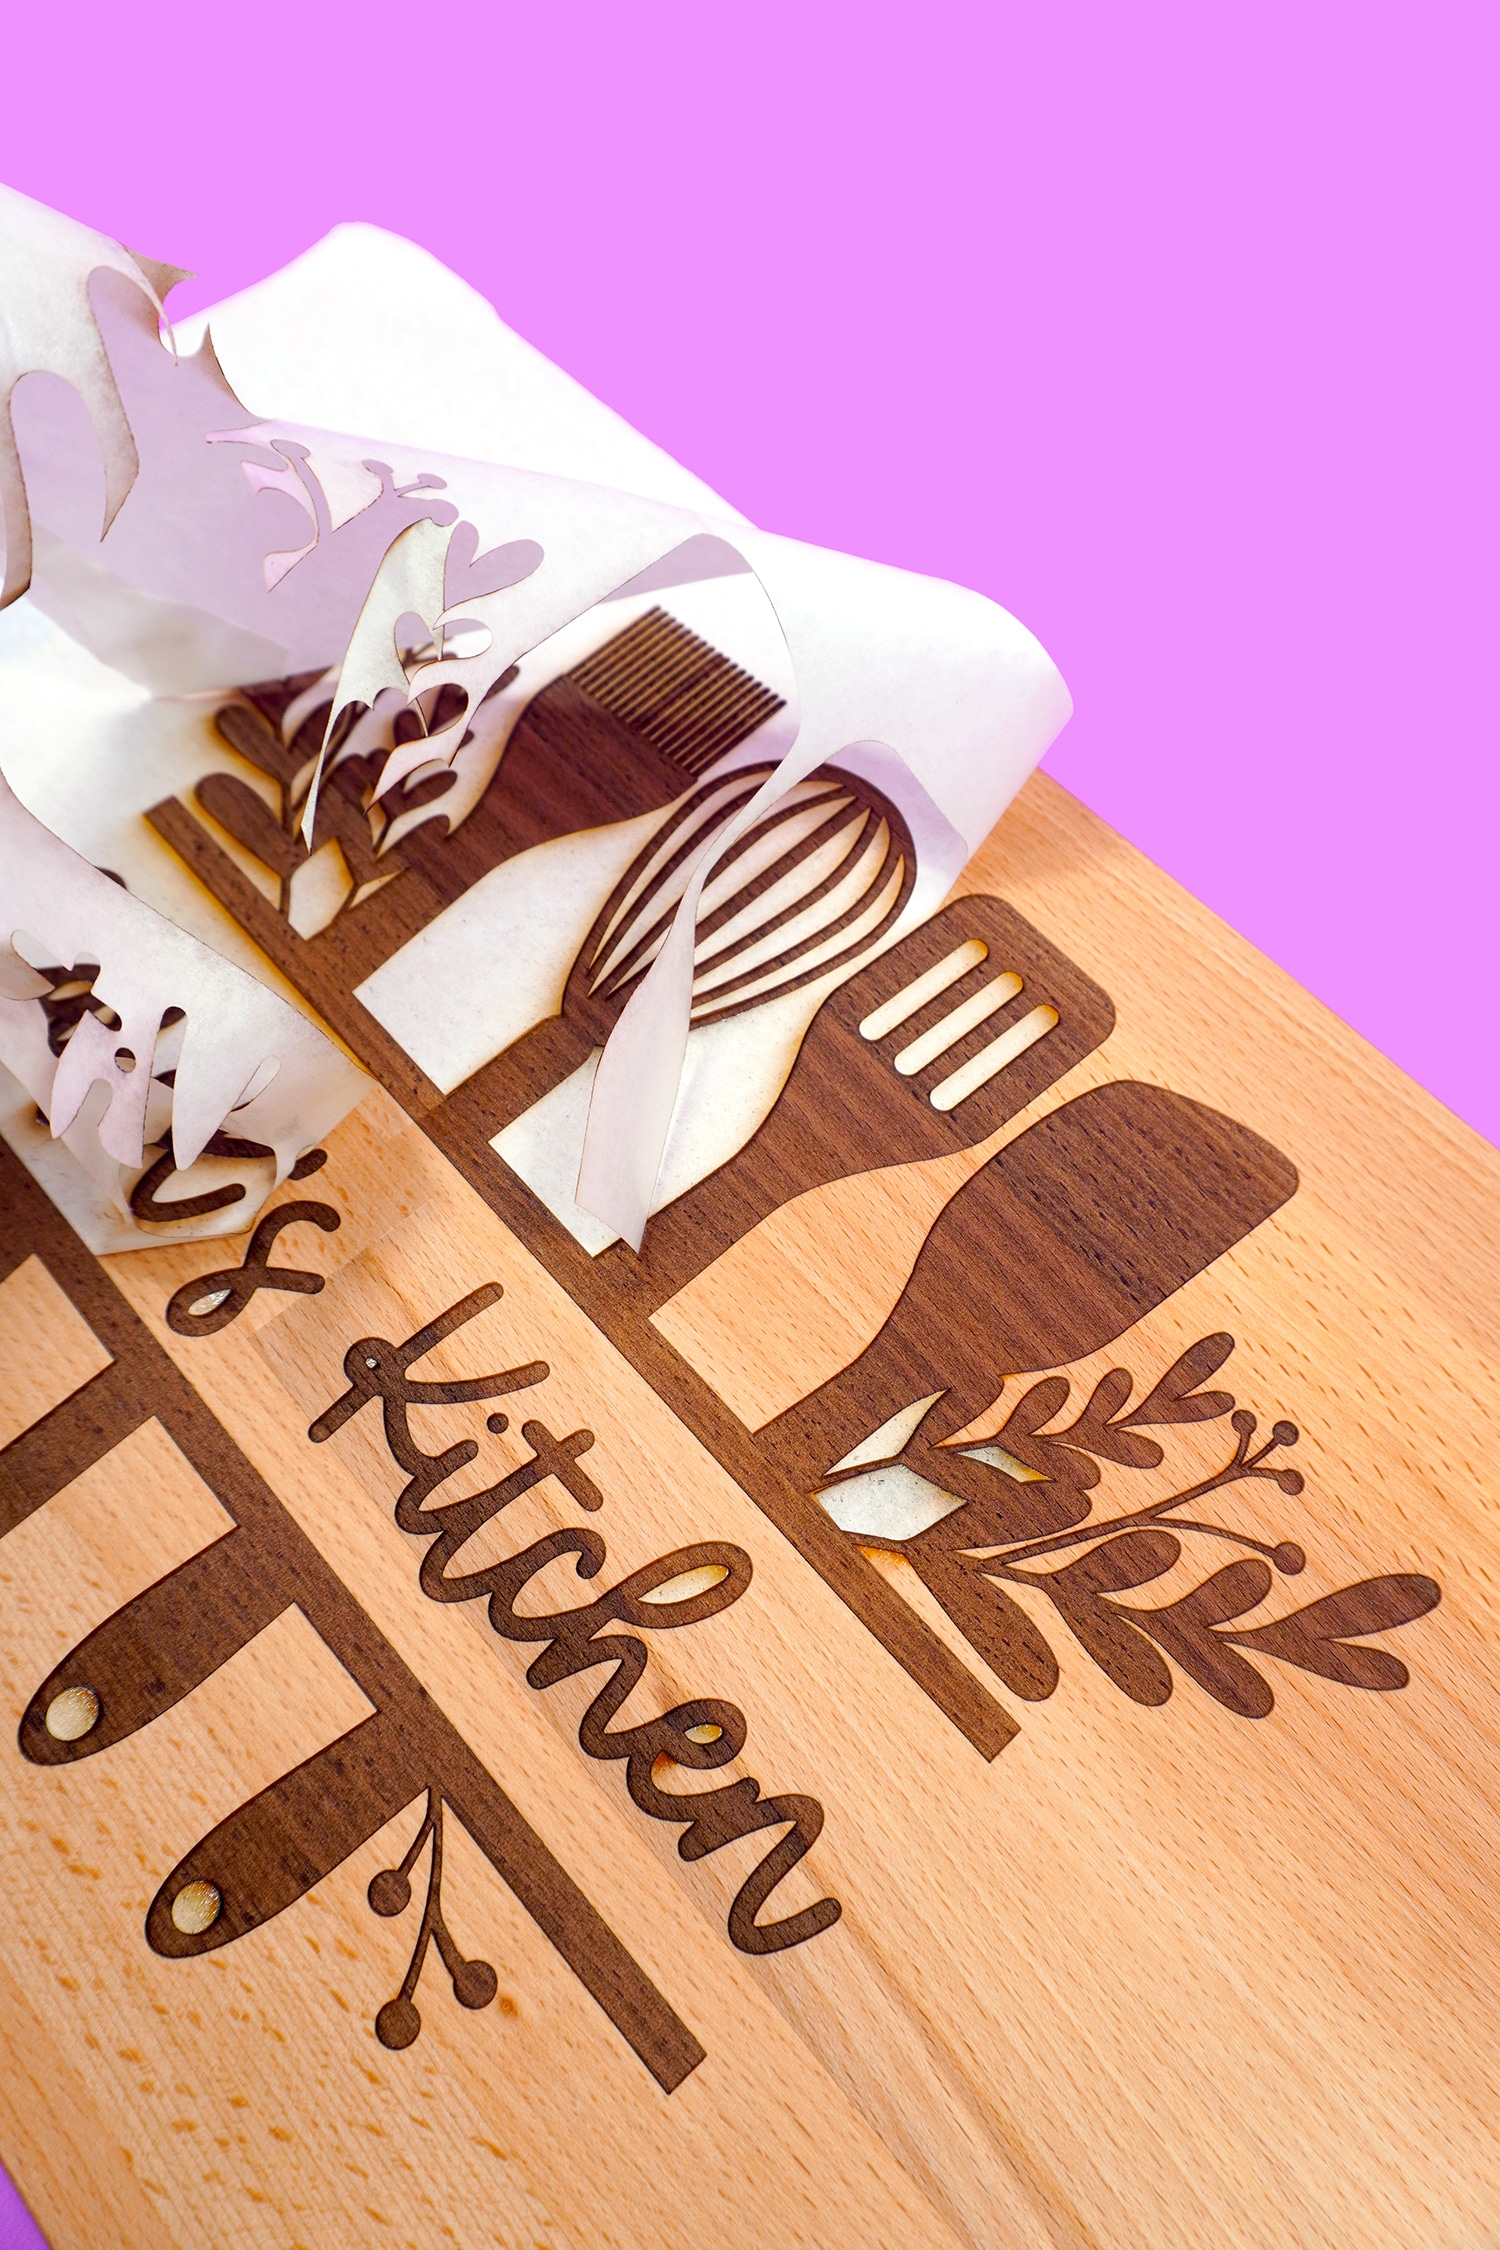
Peel away the masking tape to reveal your gorgeous custom wood cutting board! If you have any scorch marks or sticky spots from the masking, use a rubber cement pick-up (glue/residue eraser) to remove them.
Give the finished cutting board a coat of mineral oil to seal and condition the wood. We recommended that you apply additional coats of mineral oil on a regular basis, especially if the cutting board is used frequently.
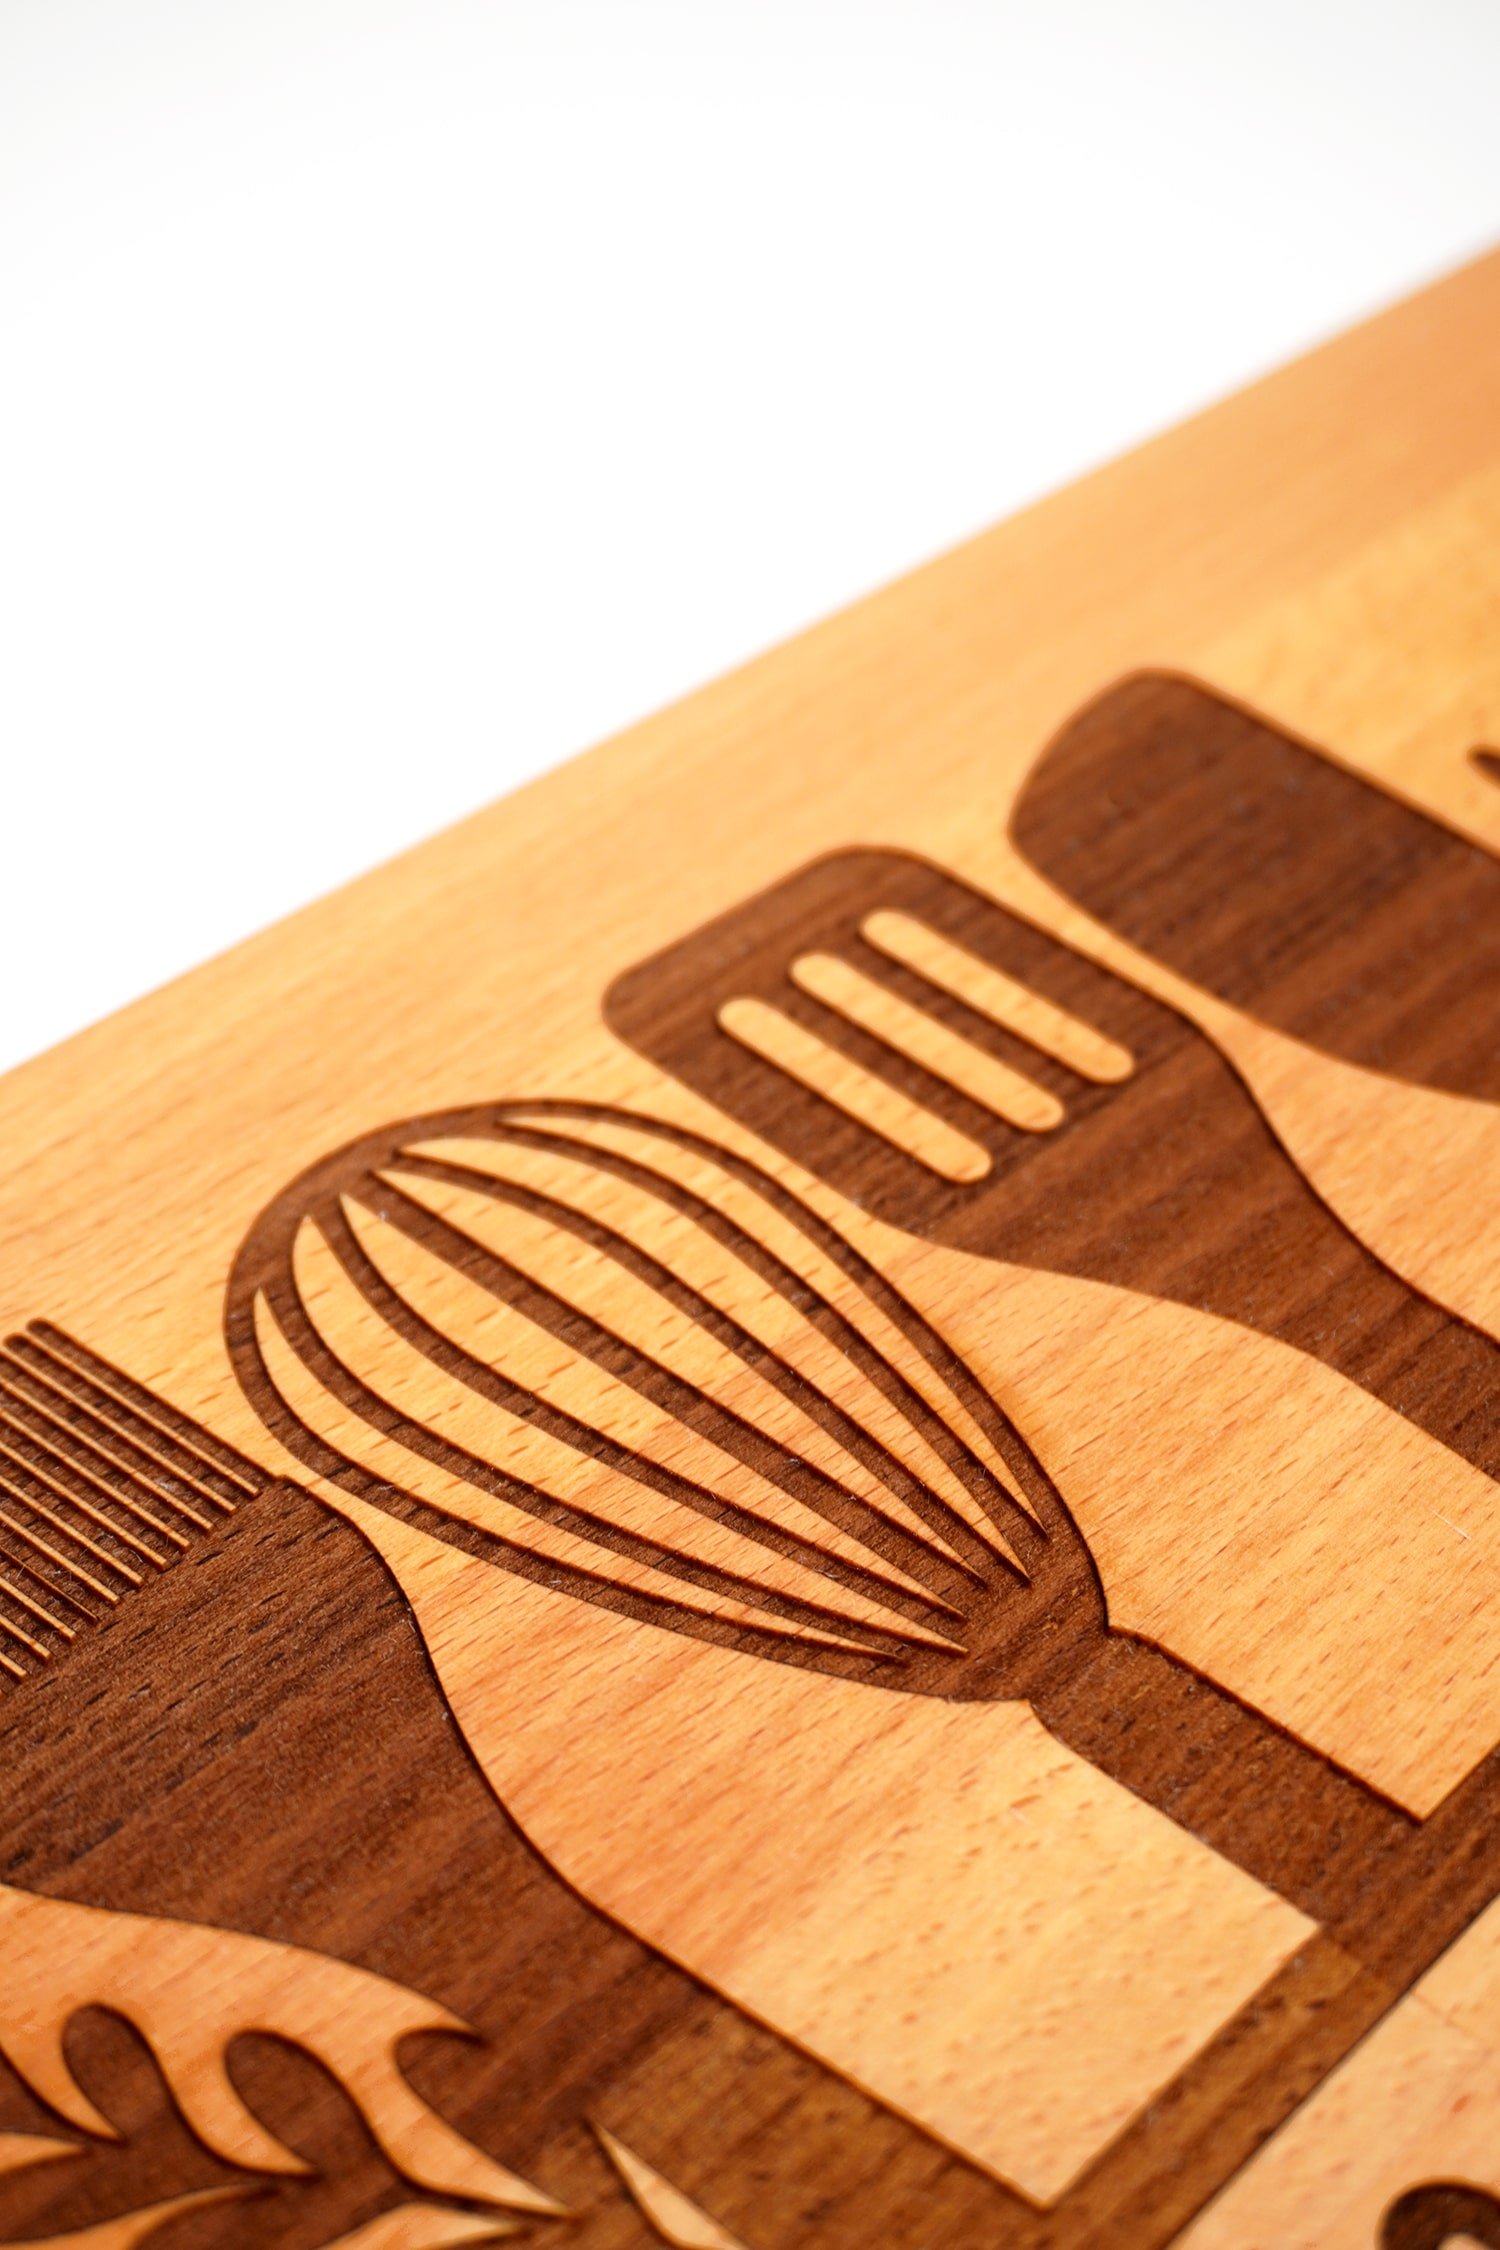
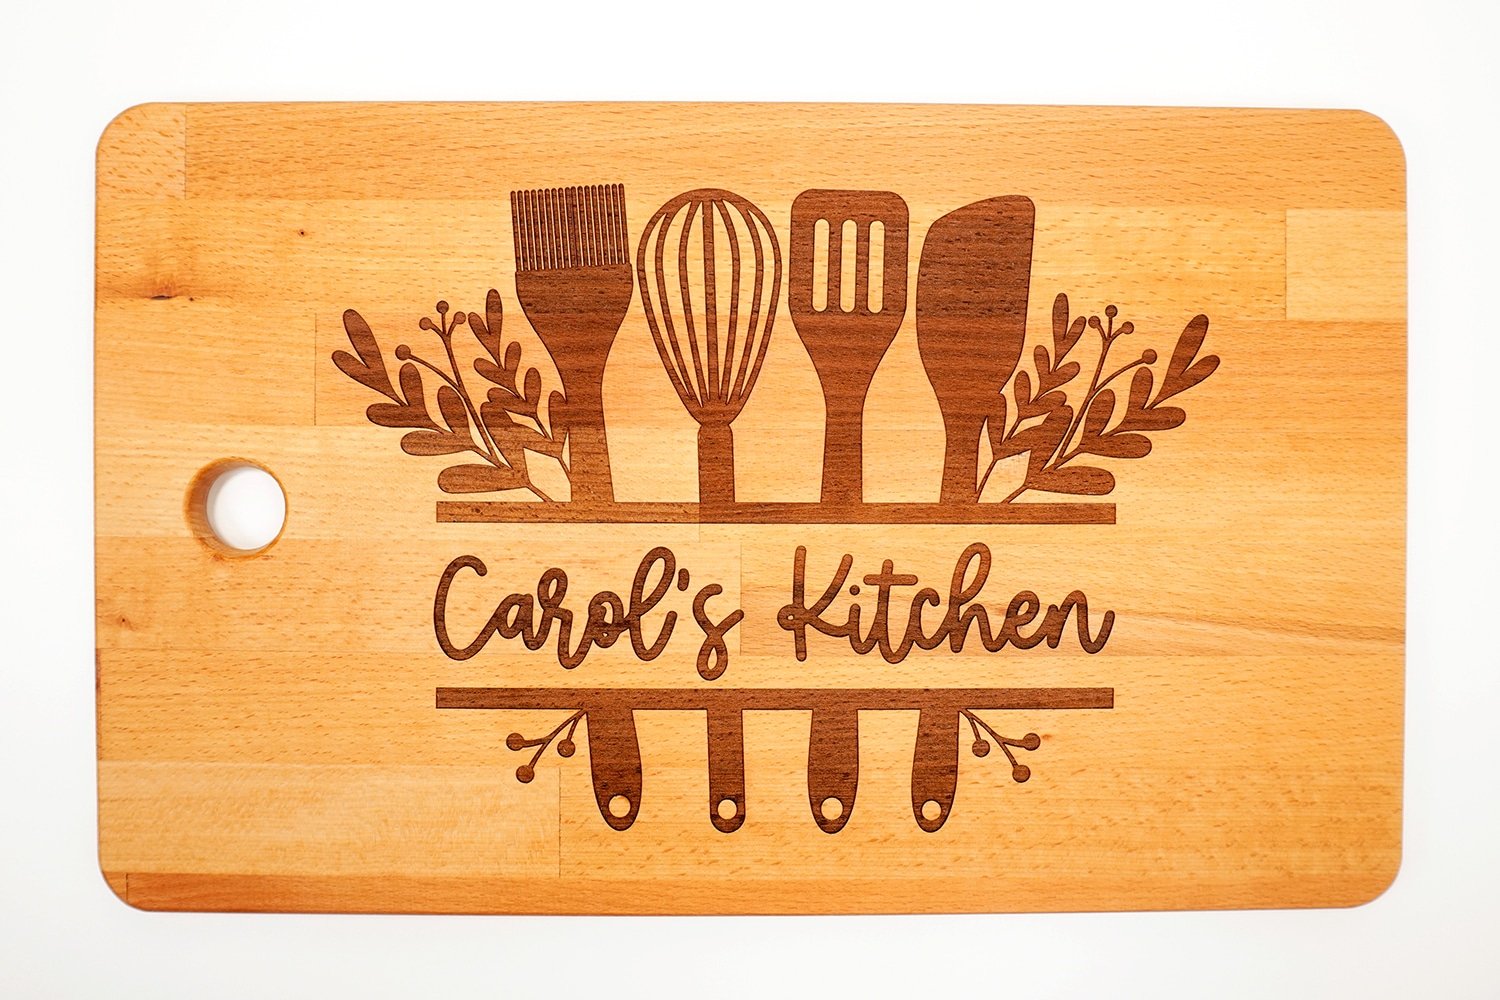
With our specific Glowforge settings, the engraving on this cutting board came out rich and dark with just the right amount of depth to add texture and contrast. The contrast of colors between the engraved wood and the natural wood is SO pretty!

Custom Wood Cutting Boards with Glowforge
Equipment:
- Glowforge Machine (Basic, Plus, or Pro)
What You’ll Need:
- Wood Cutting Board
- Paper Masking/Transfer Tape
- SVG File
- Mineral Oil
Instructions:
- Use the masking/transfer tape to cover the engraving area on top of the cutting board.
- Remove the crumb tray from the Glowforge (if your cutting board is more than .5" thick), and turn on the machine. Place the cutting board into the bed of the Glowforge. You may need to stack a second cutting board or a piece of scrap wood to boost the surface of the cutting board into the laser's focus area.
- Open up the Glowforge App software on your computer. Upload the SVG file, set the focus on the cutting board, and resize/position the design on the cutting board.
- Set engraving settings as desired. For an Ikea PROPPMÄTT cutting board, we recommend using 1000/100/340 for a rich engraving.
- Click "Print," press the flashing button on your Glowforge machine, and watch the magic happen! When the cutting board is finished engraving, remove the masking, and add a coat of mineral oil to seal and condition the wood.
Notes:
These custom cutting boards make wonderful gifts, and I’m sure they’ll soon become your go-to gift idea for lots of different occasions!

Check Out These Other Cool Glowforge Posts!


Don’t Forget to Pin This Custom Cutting Board Post for Later!


Heidi Kundin has captivated the hearts of millions with her colorful and inspiring approach to crafting, celebrations, and family fun. With over 15 years of experience, Happiness is Homemade has become a must-visit destination for those seeking quick and easy creative ideas and last-minute solutions. Heidi’s warm personality shines through her posts, inviting readers to join her on a creative journey that’s fun, rewarding, and achievable. Heidi is also the author of Homemade Bath Bombs & More and DIY Tie-Dye.