

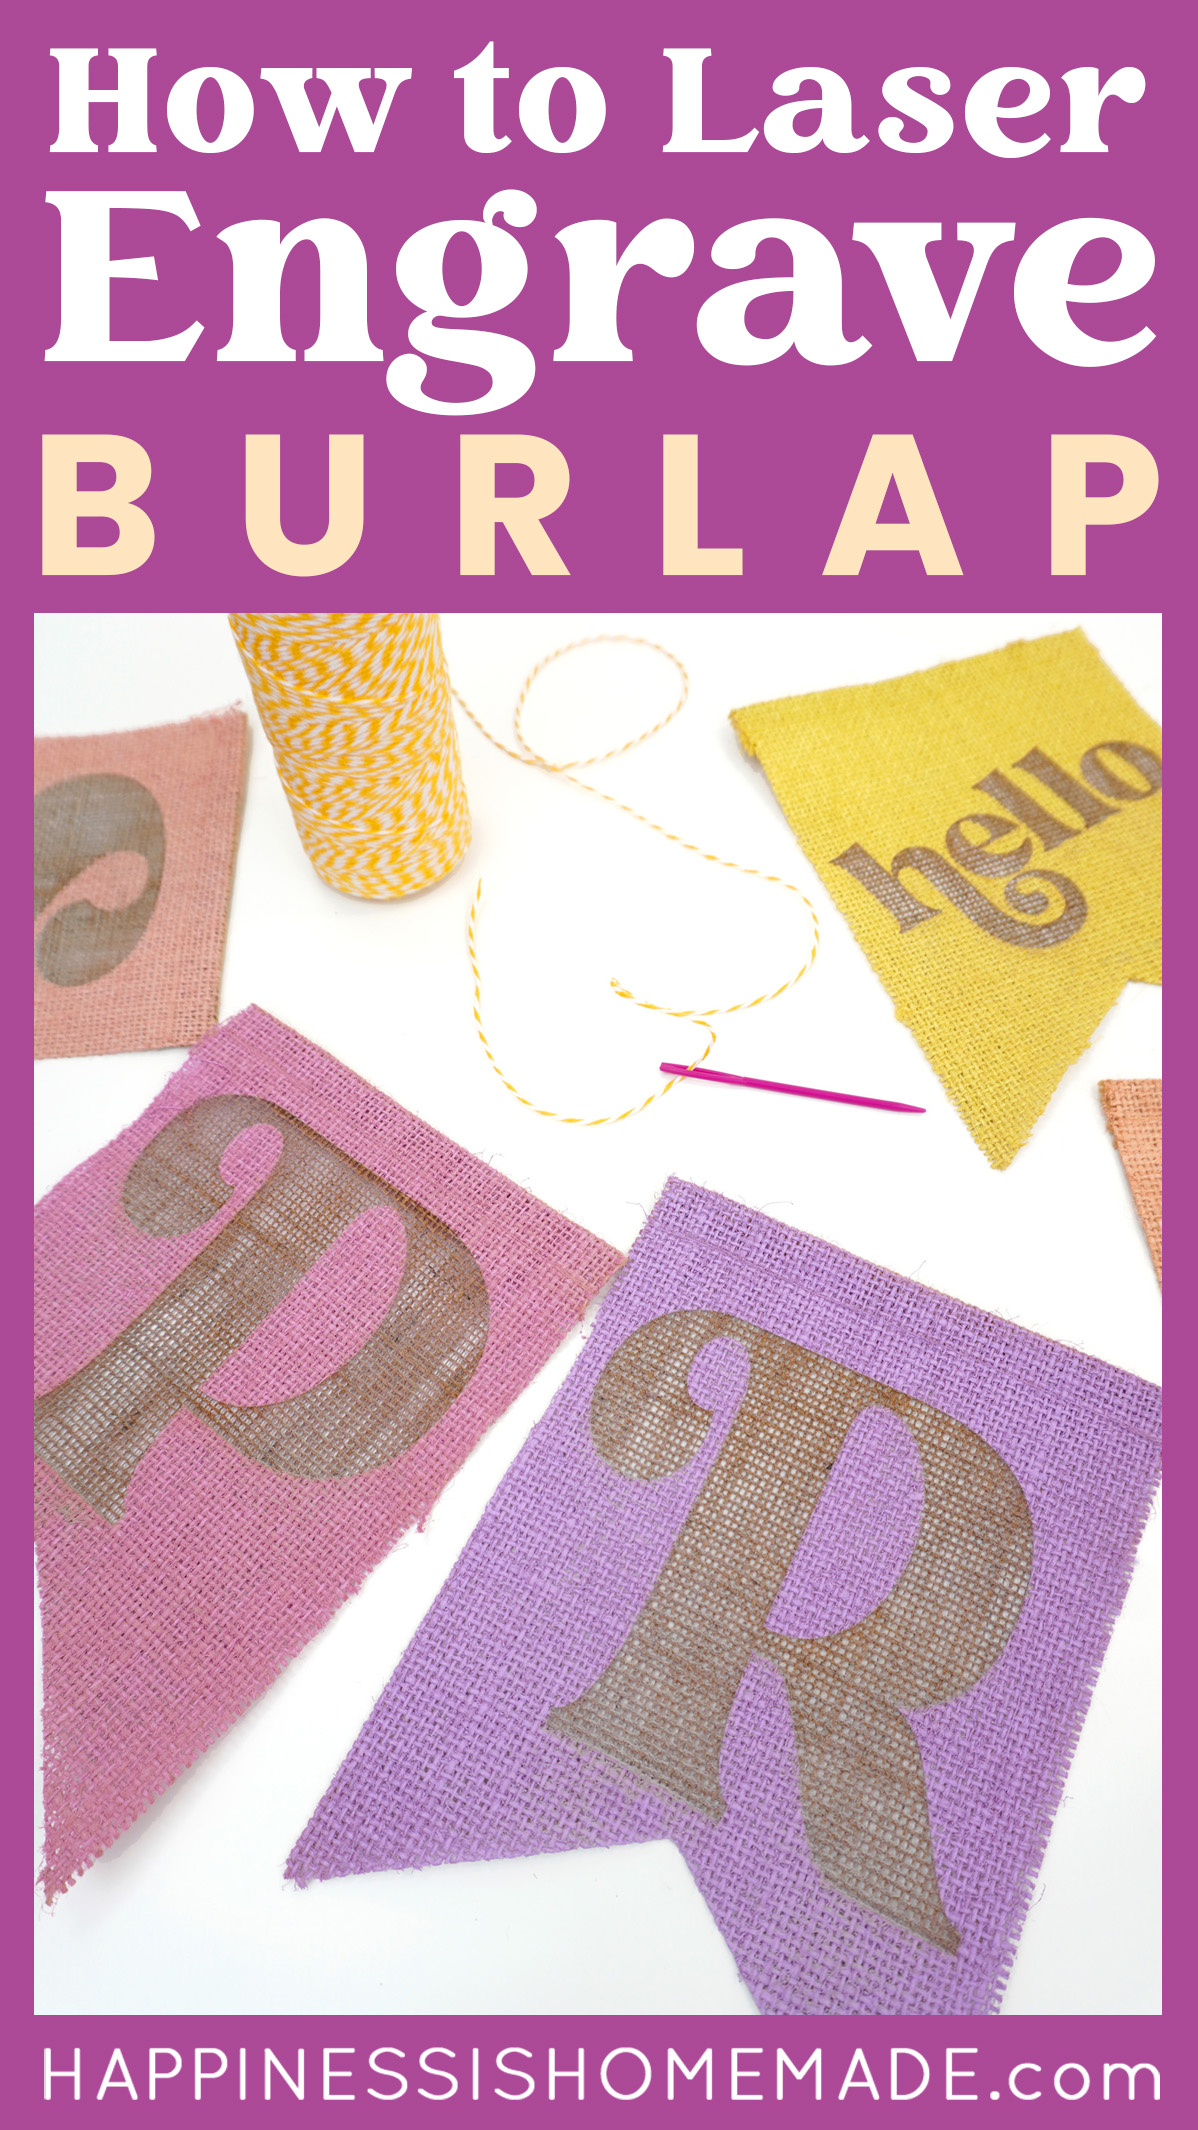

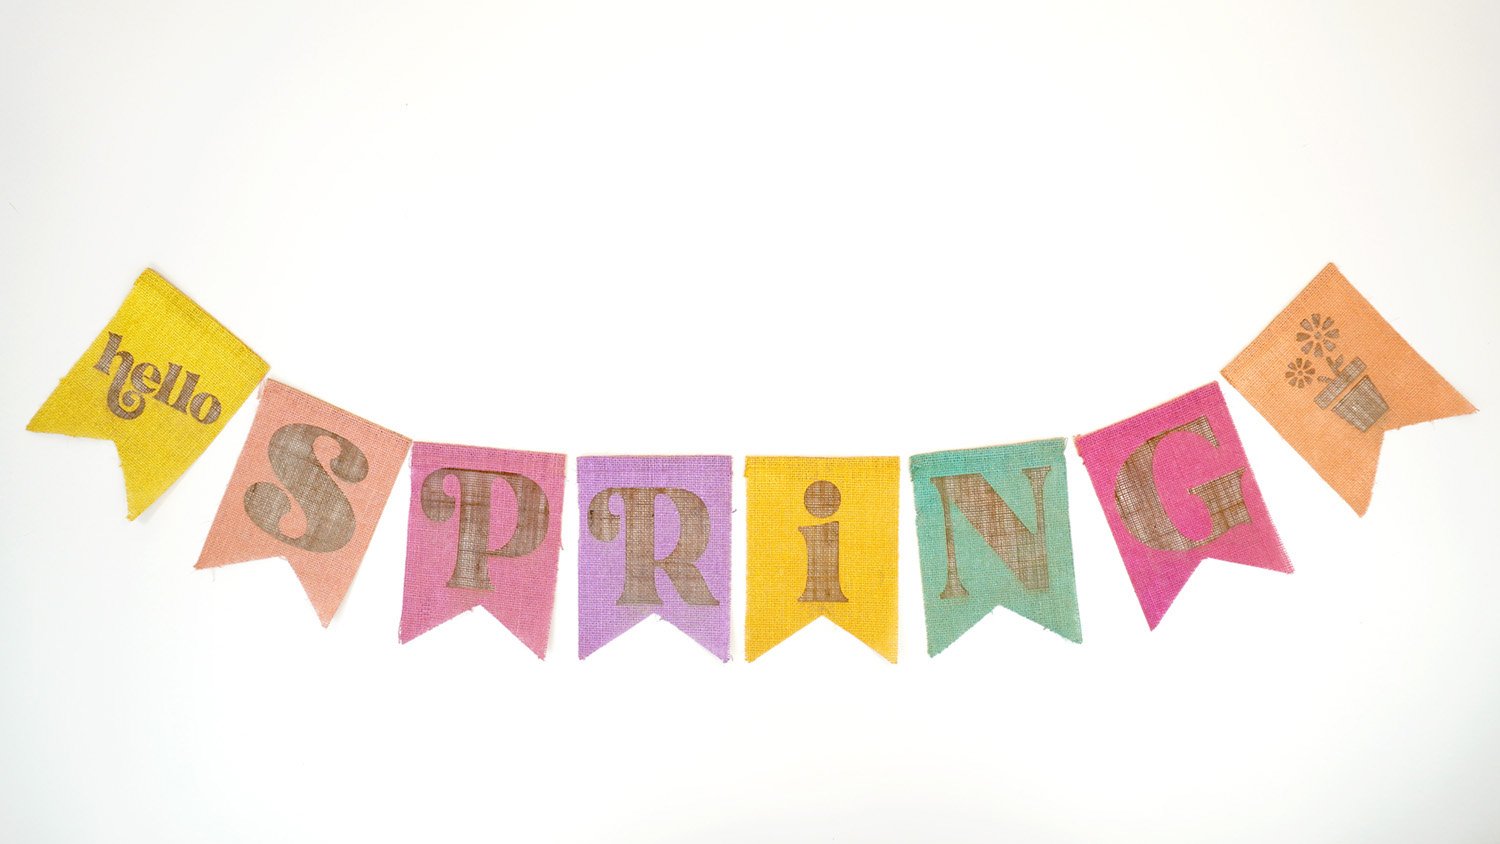
Learn how to engrave burlap with a laser and make a fun burlap banner for springtime! It’s so fun and easy! We used our Glowforge Pro, but this project is compatible with any CO2 laser or diode laser!
Laser Crafting Skill Level: Beginner-Intermediate. This is a very simple laser-engraving project, however, you must be comfortable with testing your individual laser settings.
We have previously used our Glowforge Pro laser to create engraved wood signs, engraved pencils, and other wood items like veneer stickers, and today, we’re showing you how to engrave a brand new material idea – BURLAP!
Did you know that you could use your laser to engrave burlap? It’s a simple laser craft project that produces some pretty impressive results!
Why You’ll Love This Laser-Engraved Burlap Banner Craft
Quick: This simple laser craft takes minimal prep and setup time!
Easy: No cutting involved – simply set up the pieces and watch the machine engrave!
Inexpensive: My materials cost was under $3 per banner!
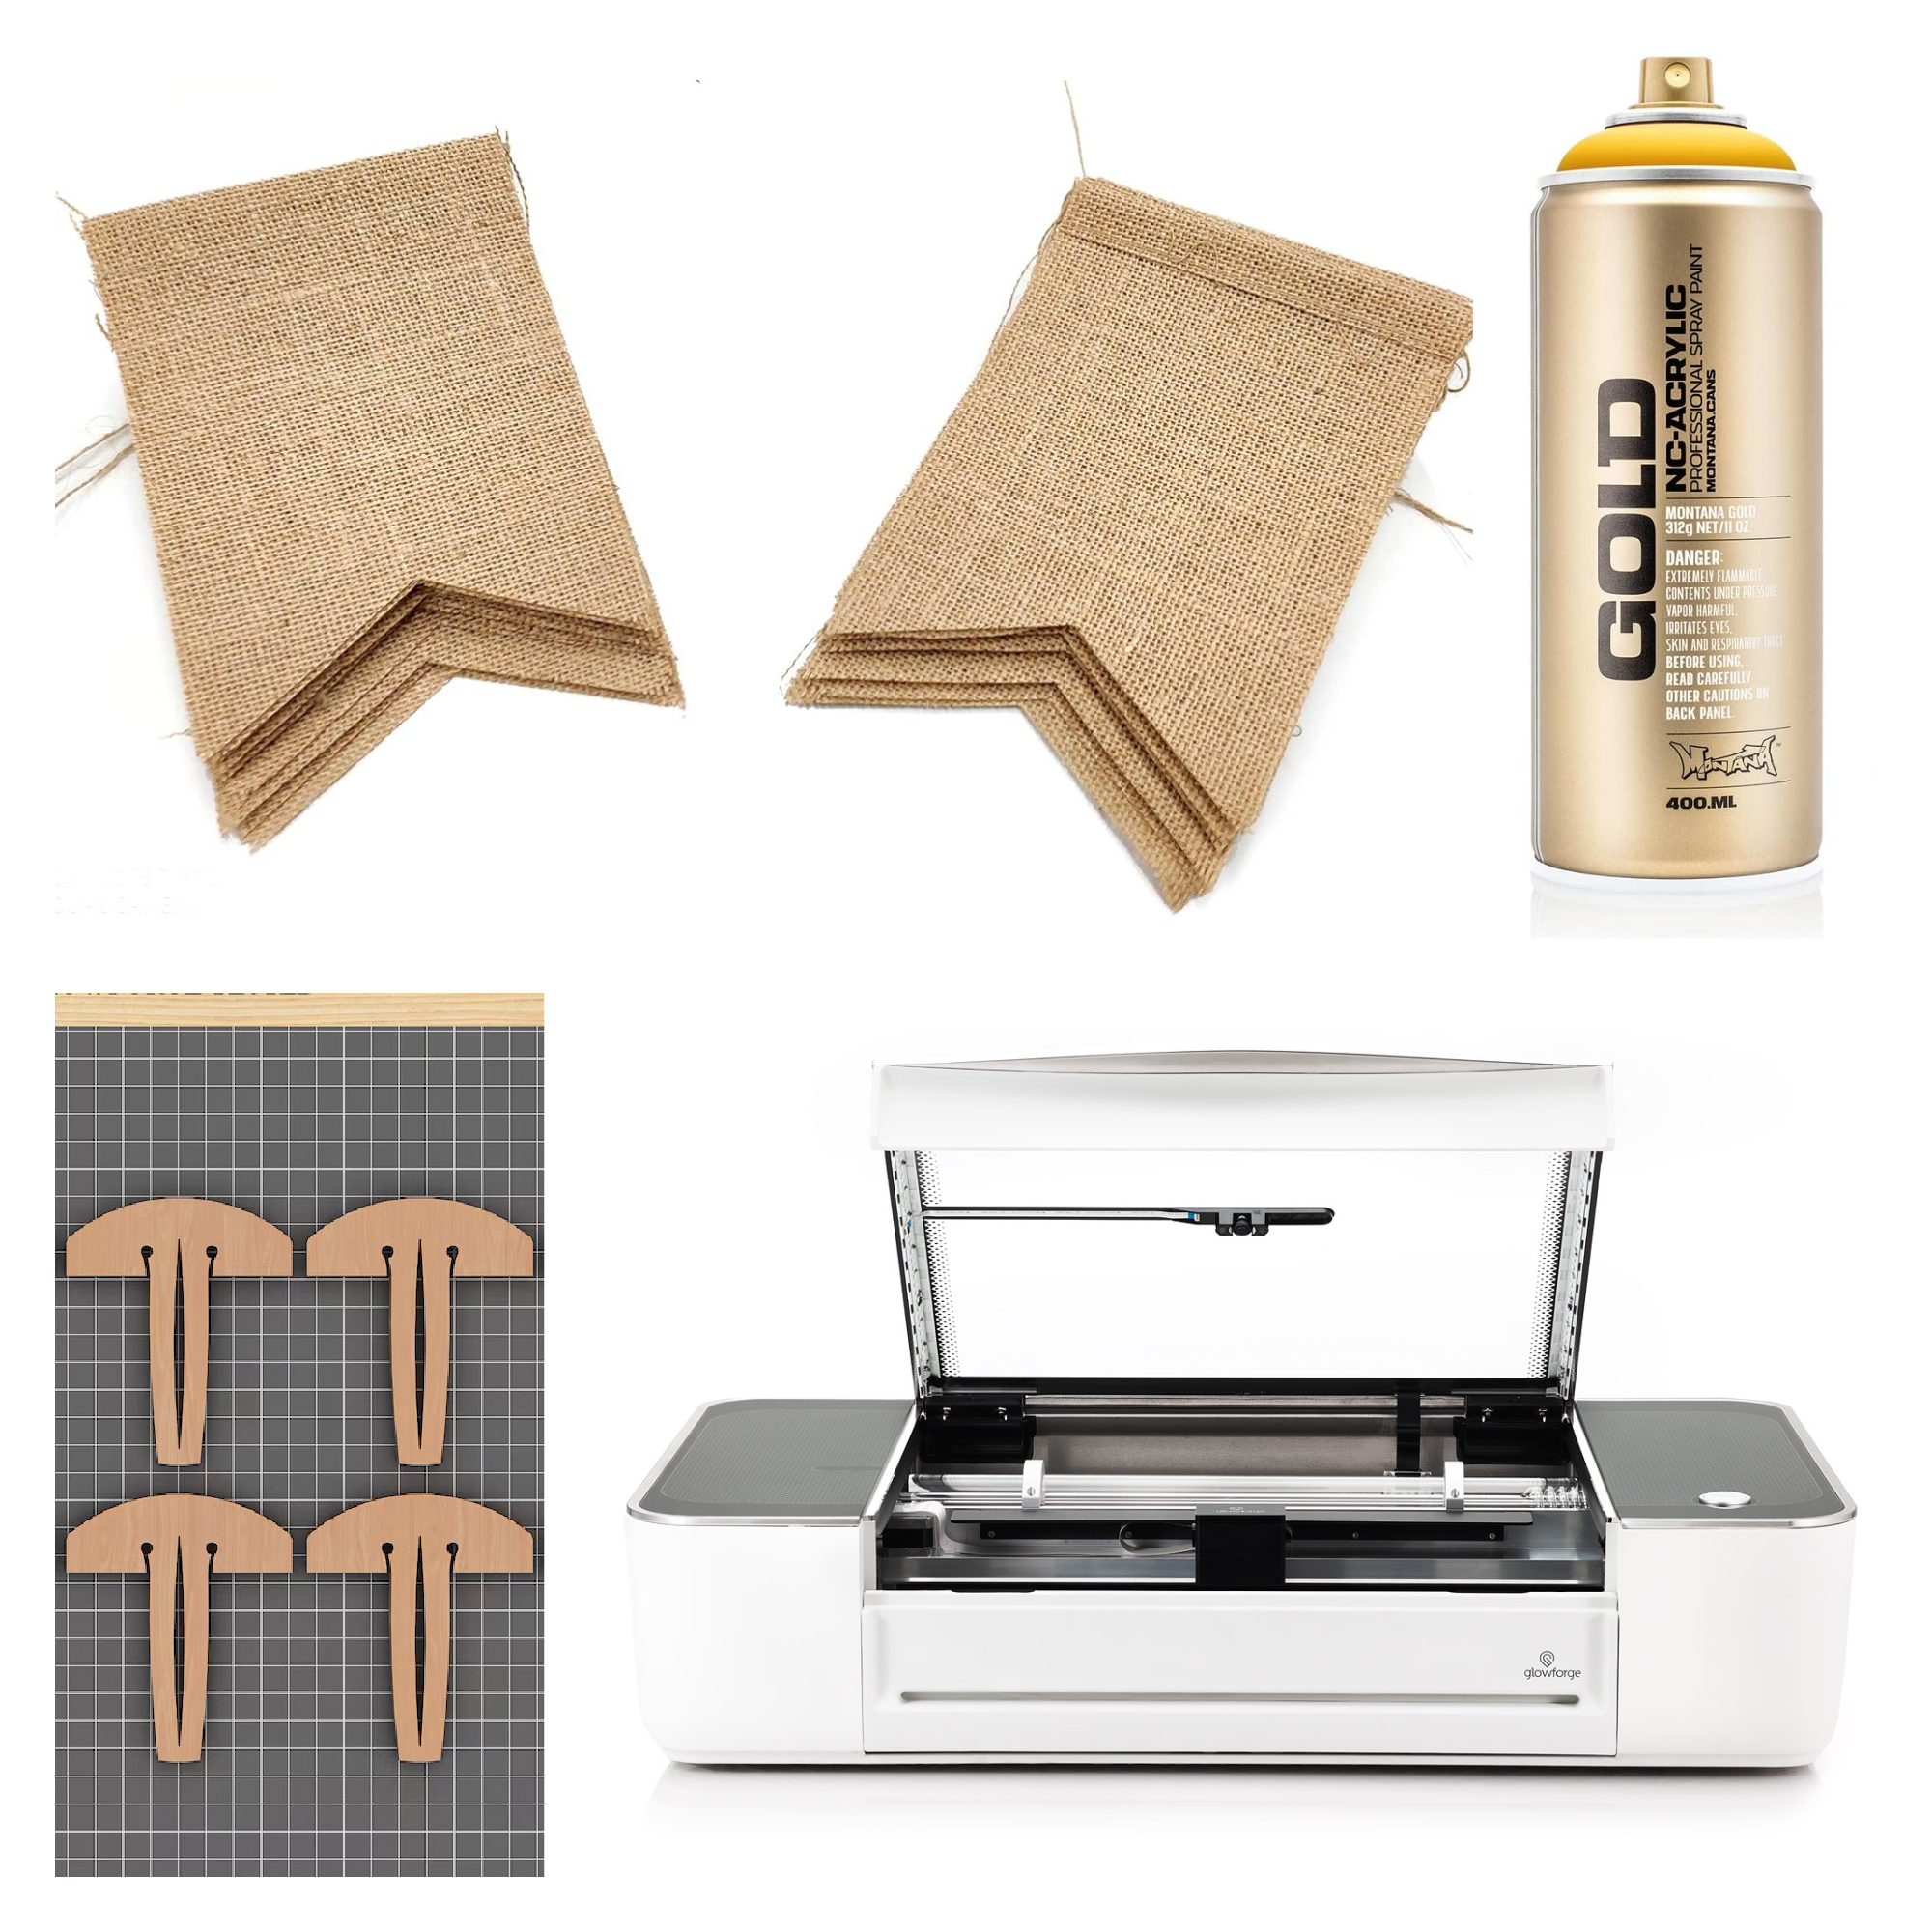
Laser-Engraved Burlap Banner Supplies
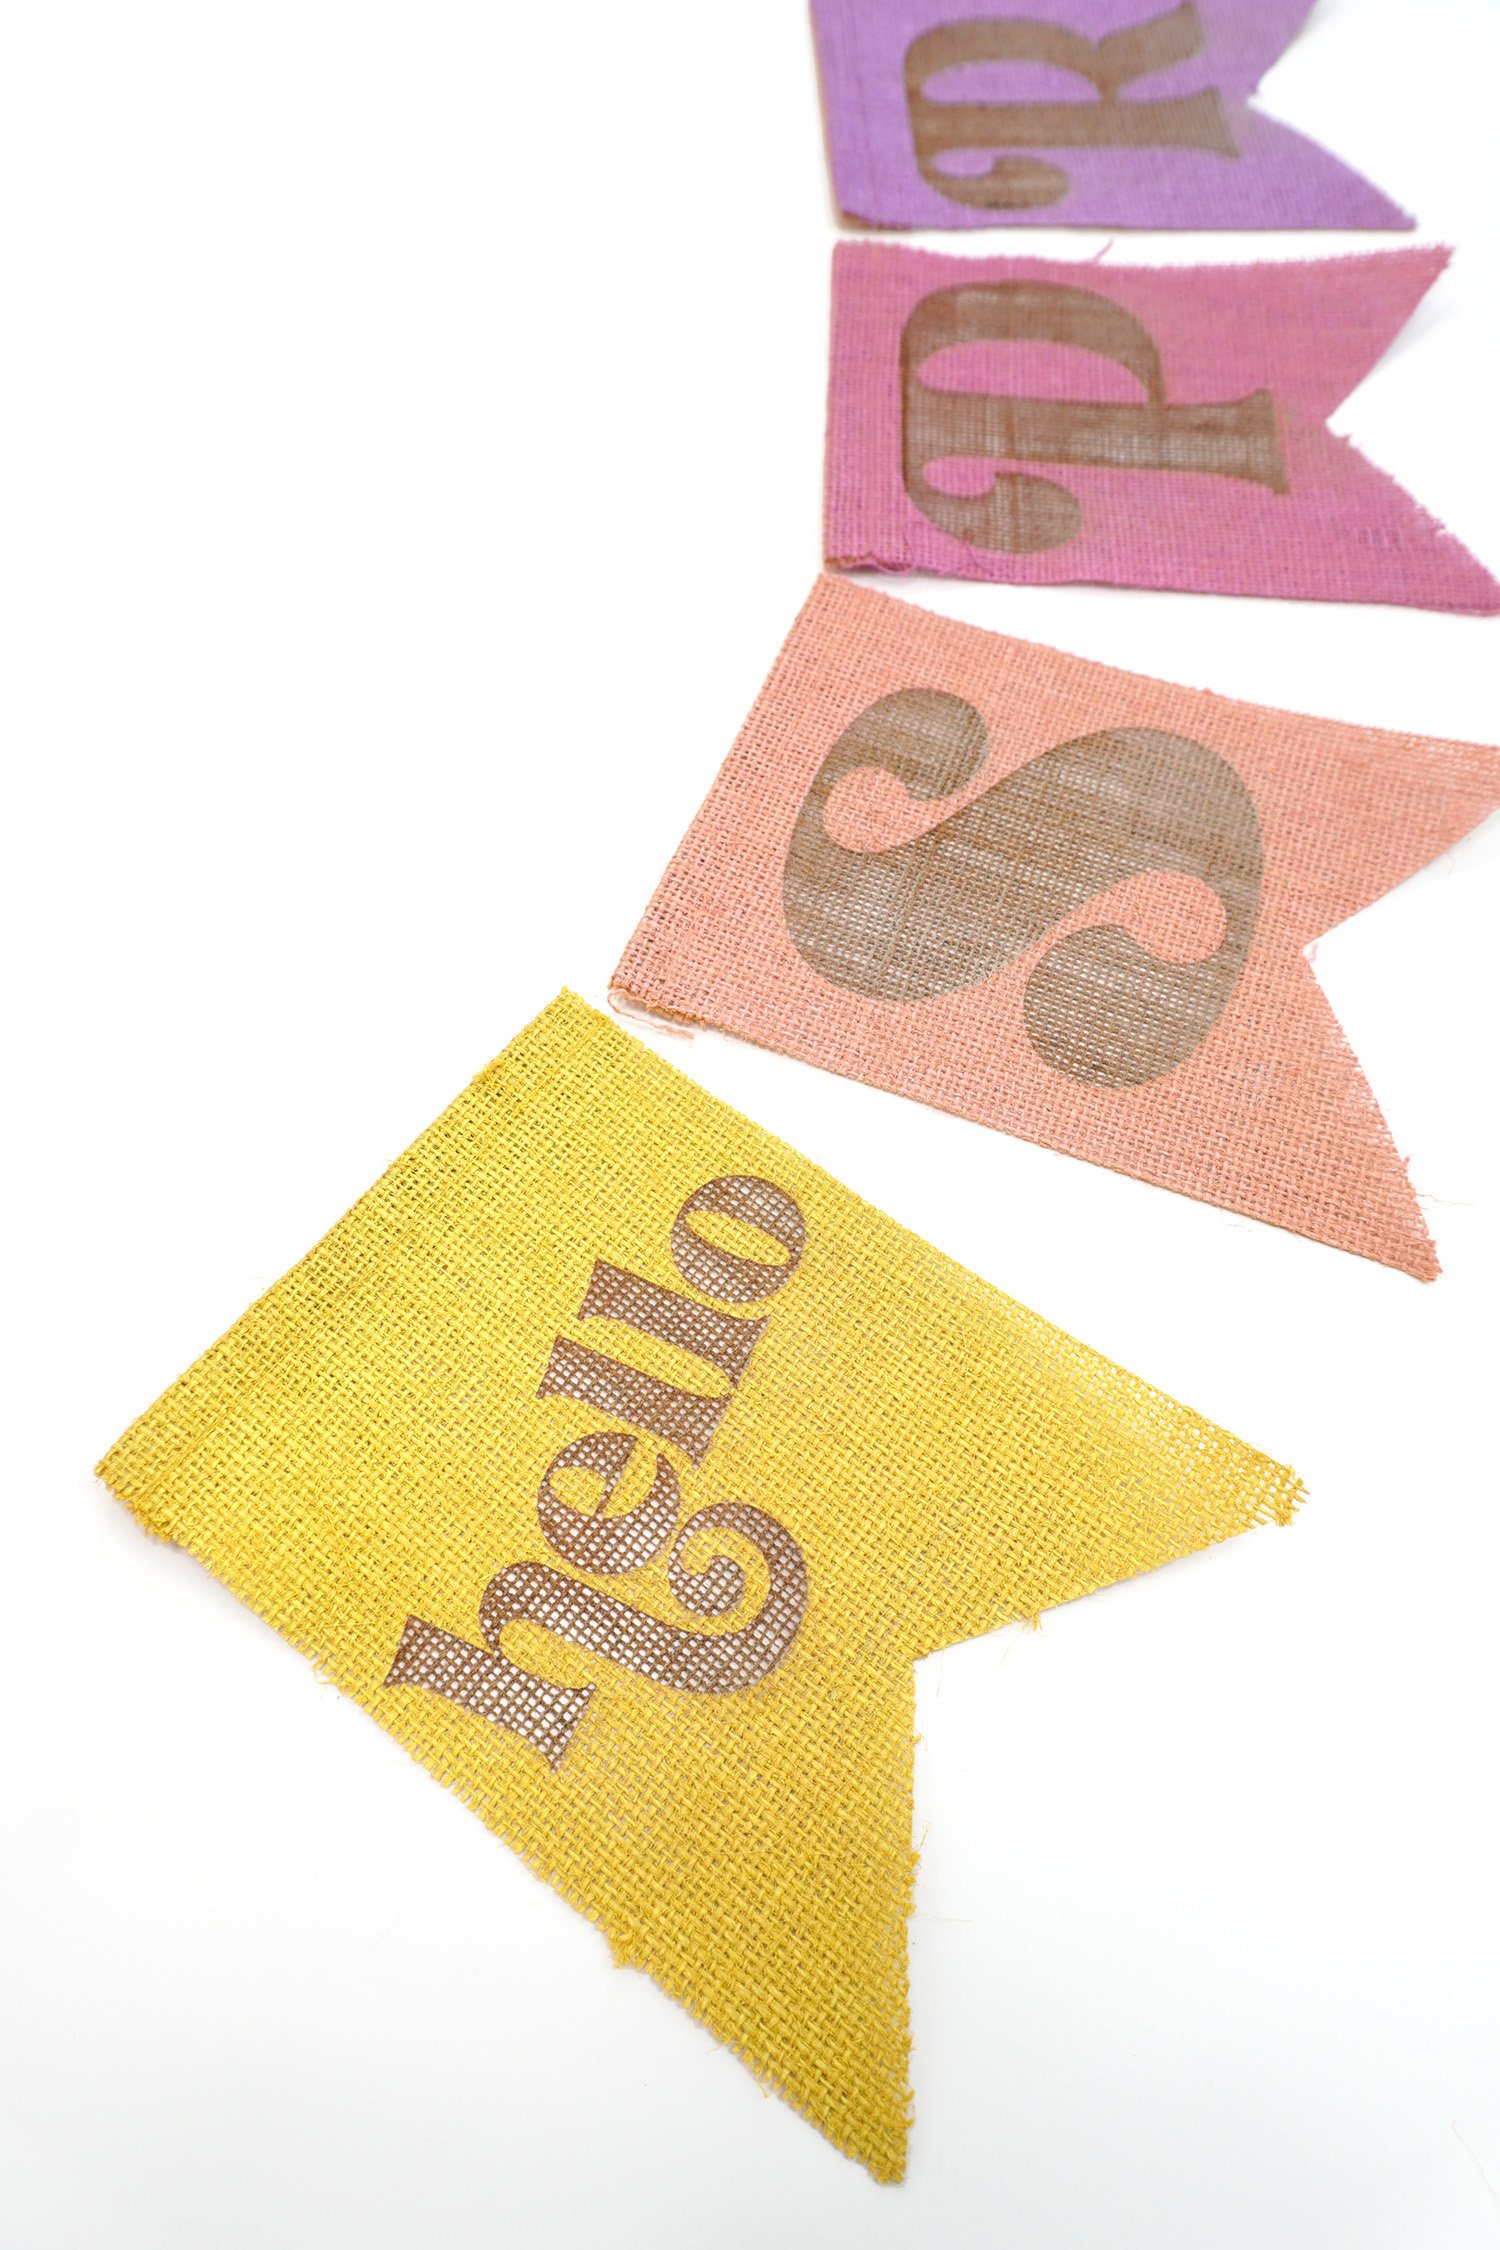
For this “Hello, Spring!” banner, we used Montana Gold spray paint in Malachite, Frozen Raspberry, Shrimp Pastel, Easter Yellow, Yellow Cab, Lychee, Shock Pink, and Crocus.
Substitutions & Alternatives
- If you don’t want to use spray paint with your laser, you can also paint the burlap with acrylic craft paint or even watercolor paint.
- This laser-engraving technique can also be used with other burlap items such as burlap bags, burlap ribbon, and burlap fabric.
How to Engrave Burlap with a Laser
Before I jump into the how-to instructions, I want to remind you that all materials and lasers are different, and settings may vary between my machine and yours. It’s super important that you test to determine your own ideal settings for this project!
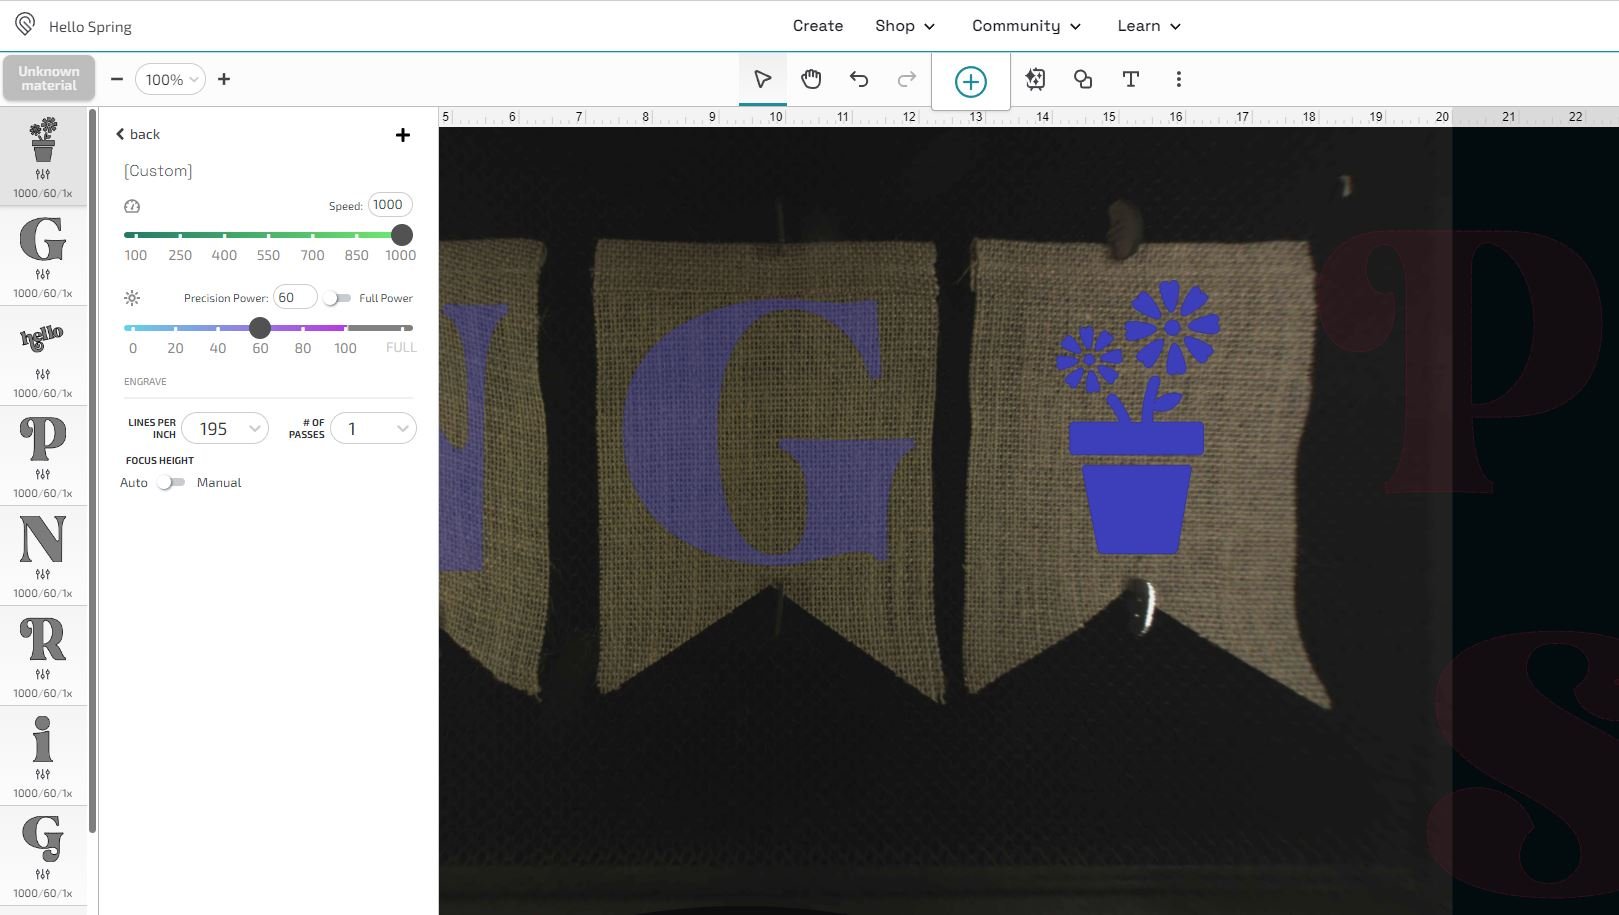
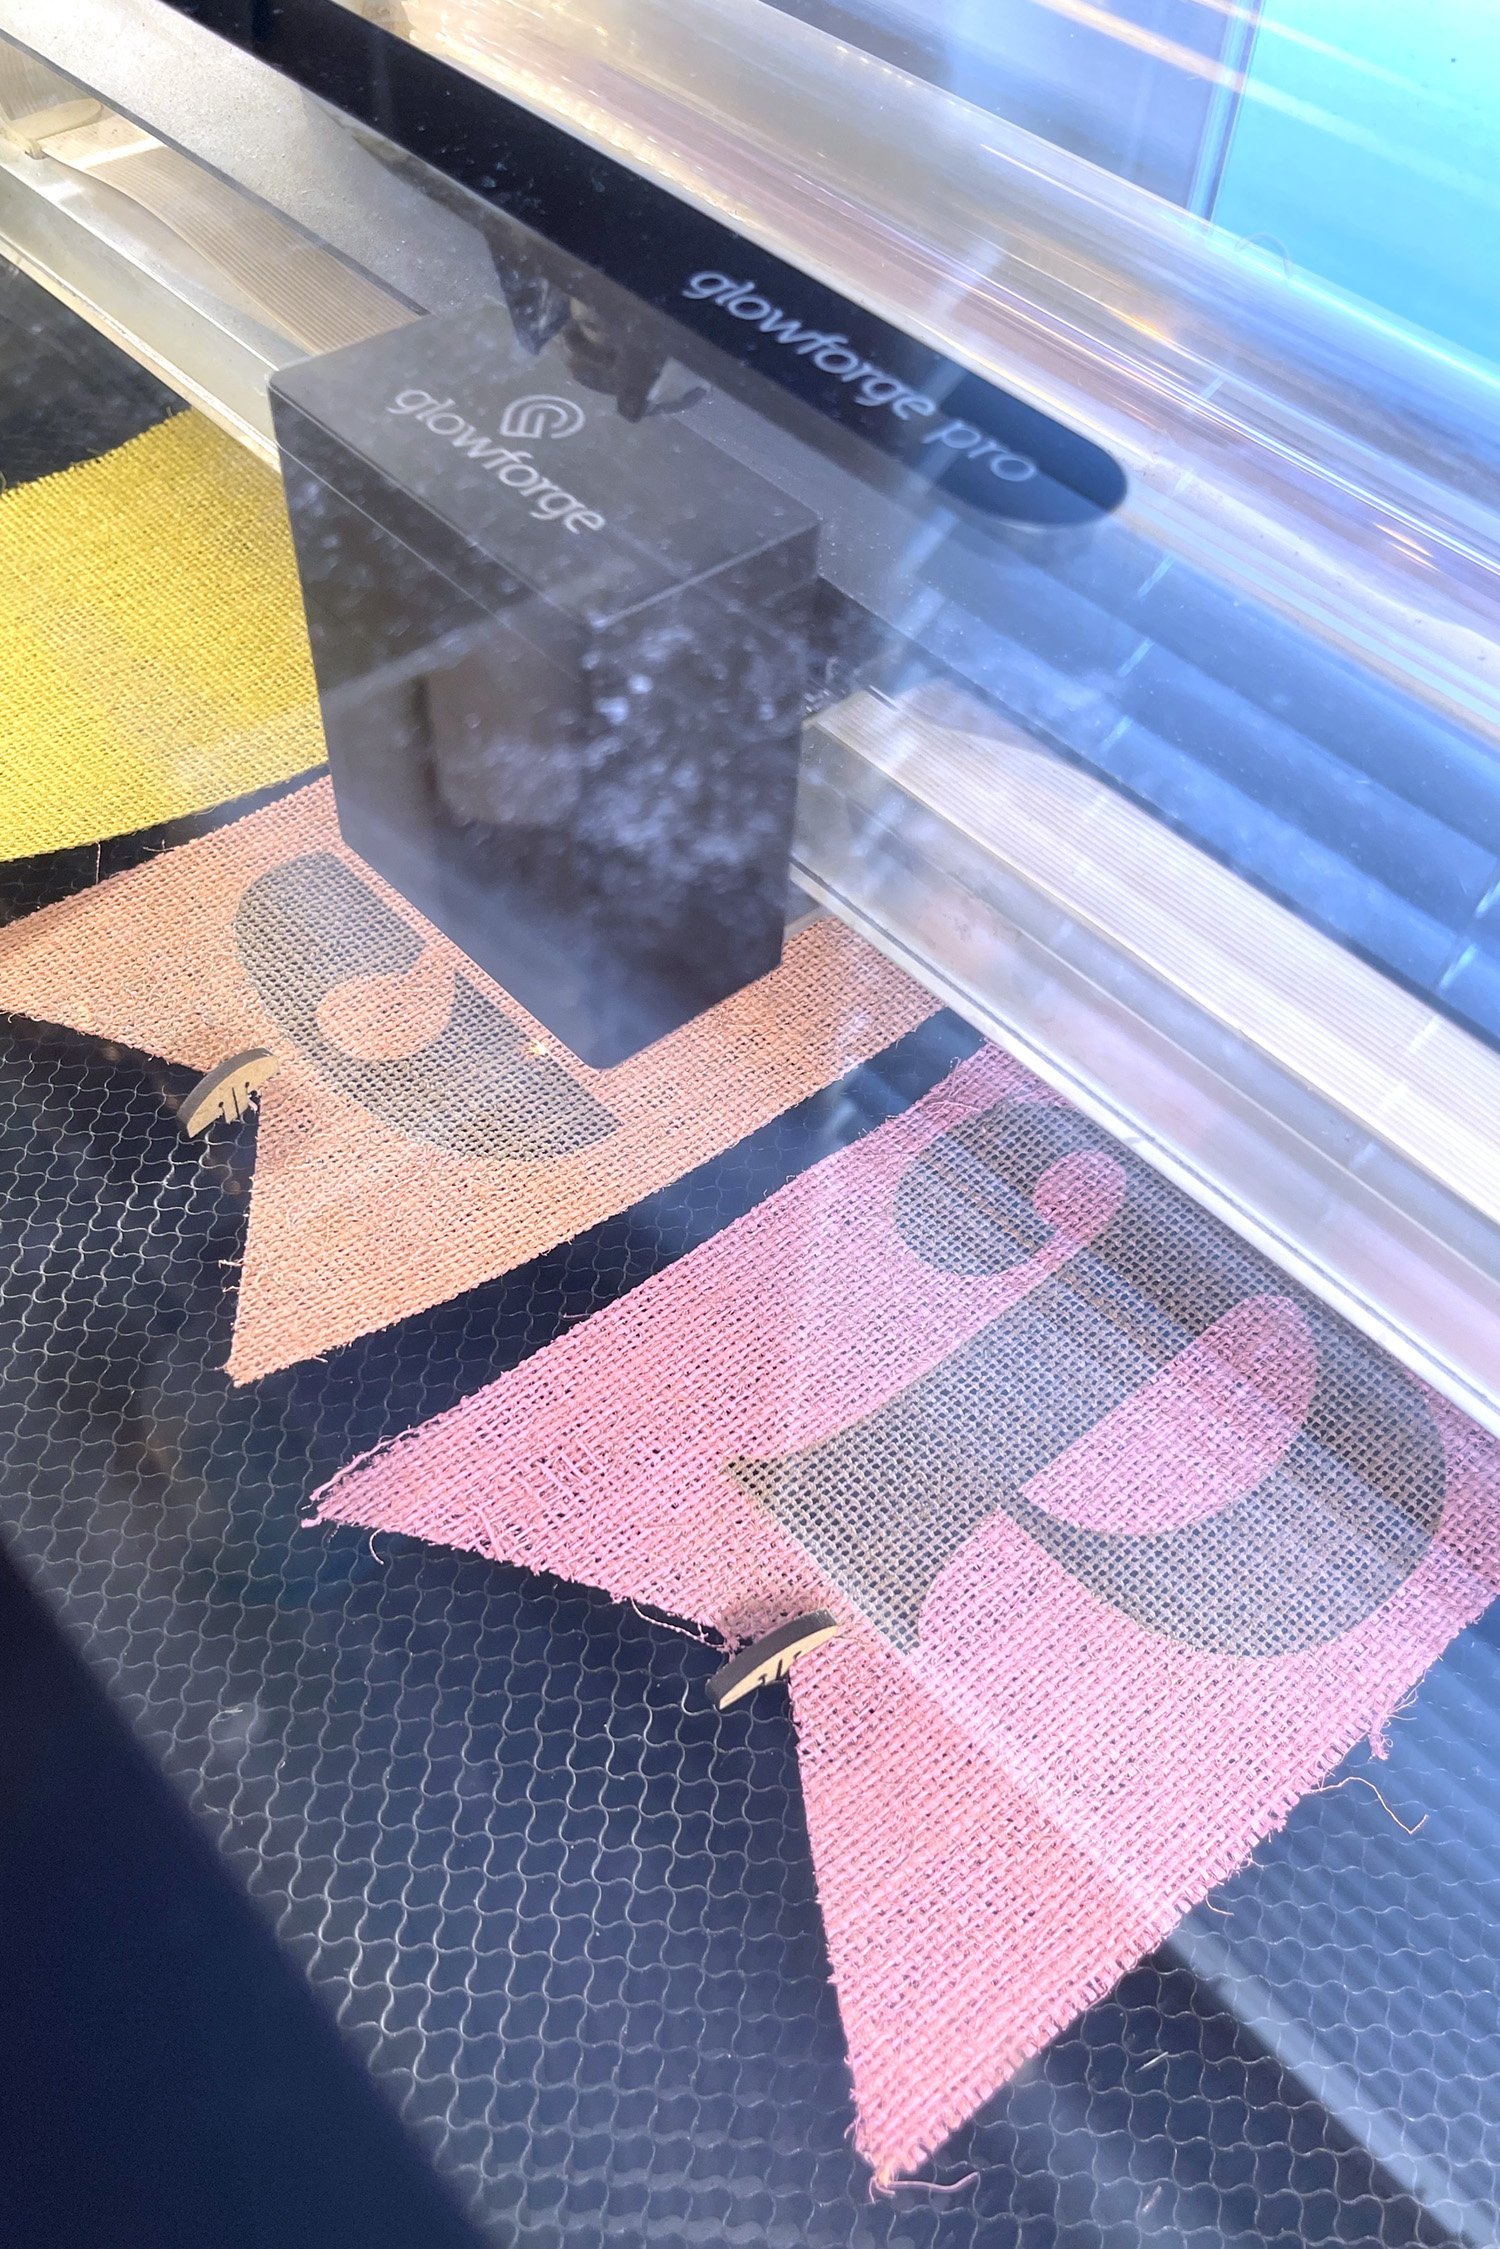
For this burlap engraving project, we uploaded our “Hello Spring” design into the Glowforge App software and set everything to engrave at 1000 speed, 60 power, and 195 LPI with one pass. Then, we used the “Set Focus” option from the “⋮” menu to manually focus on the burlap material.
PRO TIP!
Burlap is a very thin woven material, so make sure that your engraving is shallow to avoid severely weakening or burning through the fibers of the burlap. Our materials settings above can be used as a starting point, but you should always test your own materials settings before beginning your project!
To make the engraved burlap banner:
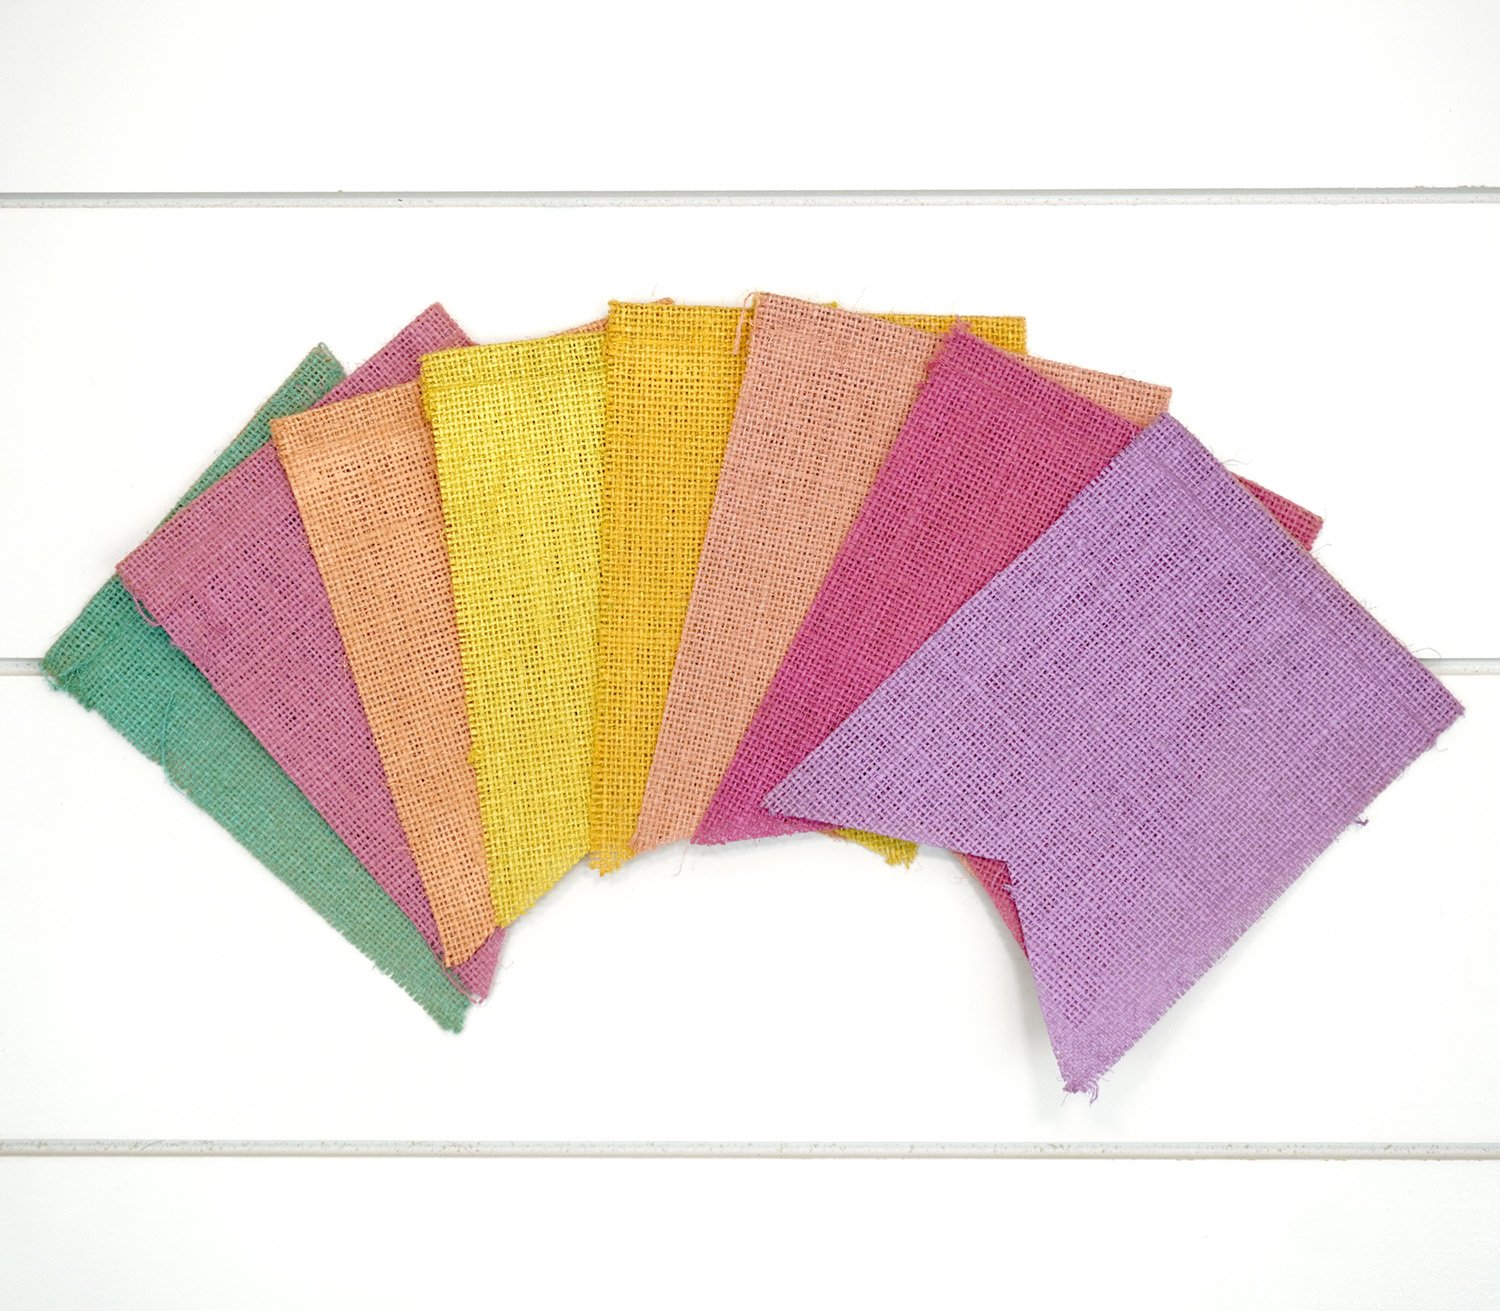
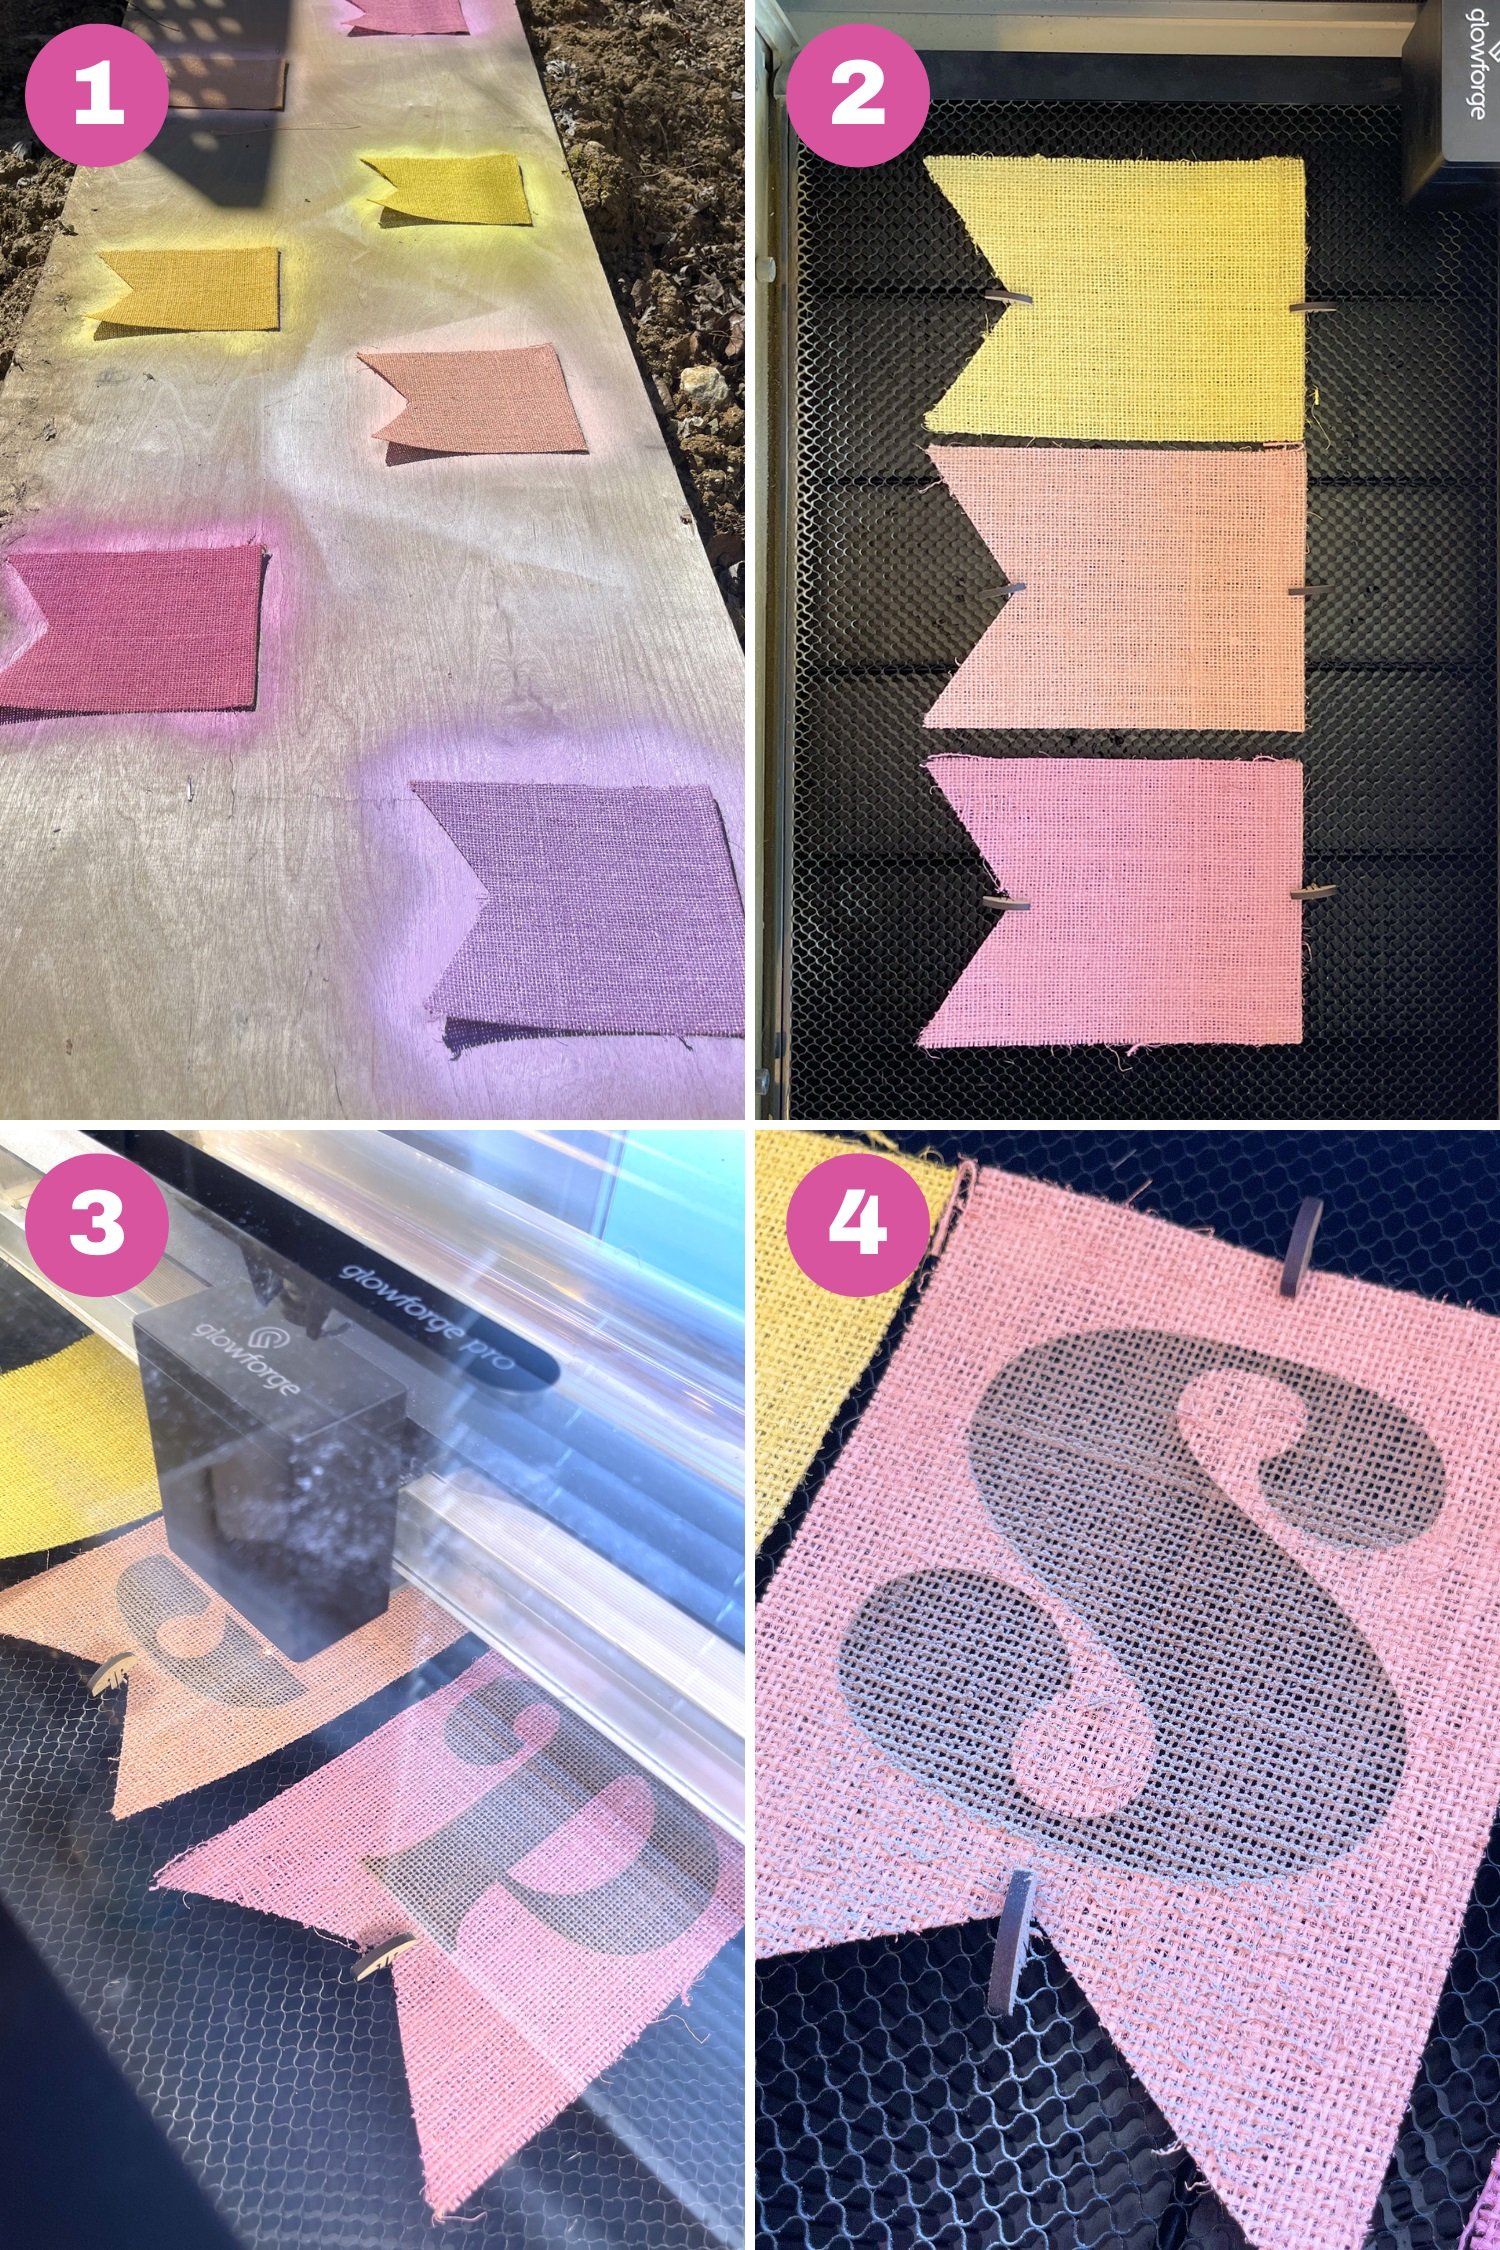
- Step 1 – Lightly coat the front of each burlap banner piece with spray paint. Allow the paint to dry completely.
- Step 2 – Place the banner pieces in your laser bed, and use hold-down pins to keep everything flat and in place. You may need to work in batches of 3-4 flags at a time to accommodate the size of the laser bed.
- Step 3 – Use the laser to engrave the burlap – for this effect, you want to remove the top layer of paint and a very slight amount of the burlap fabric.
- Step 4 – Remove the burlap banner flags from the laser and gently clean the dust and debris. I like to use a hair dryer on low to blow them off gently.
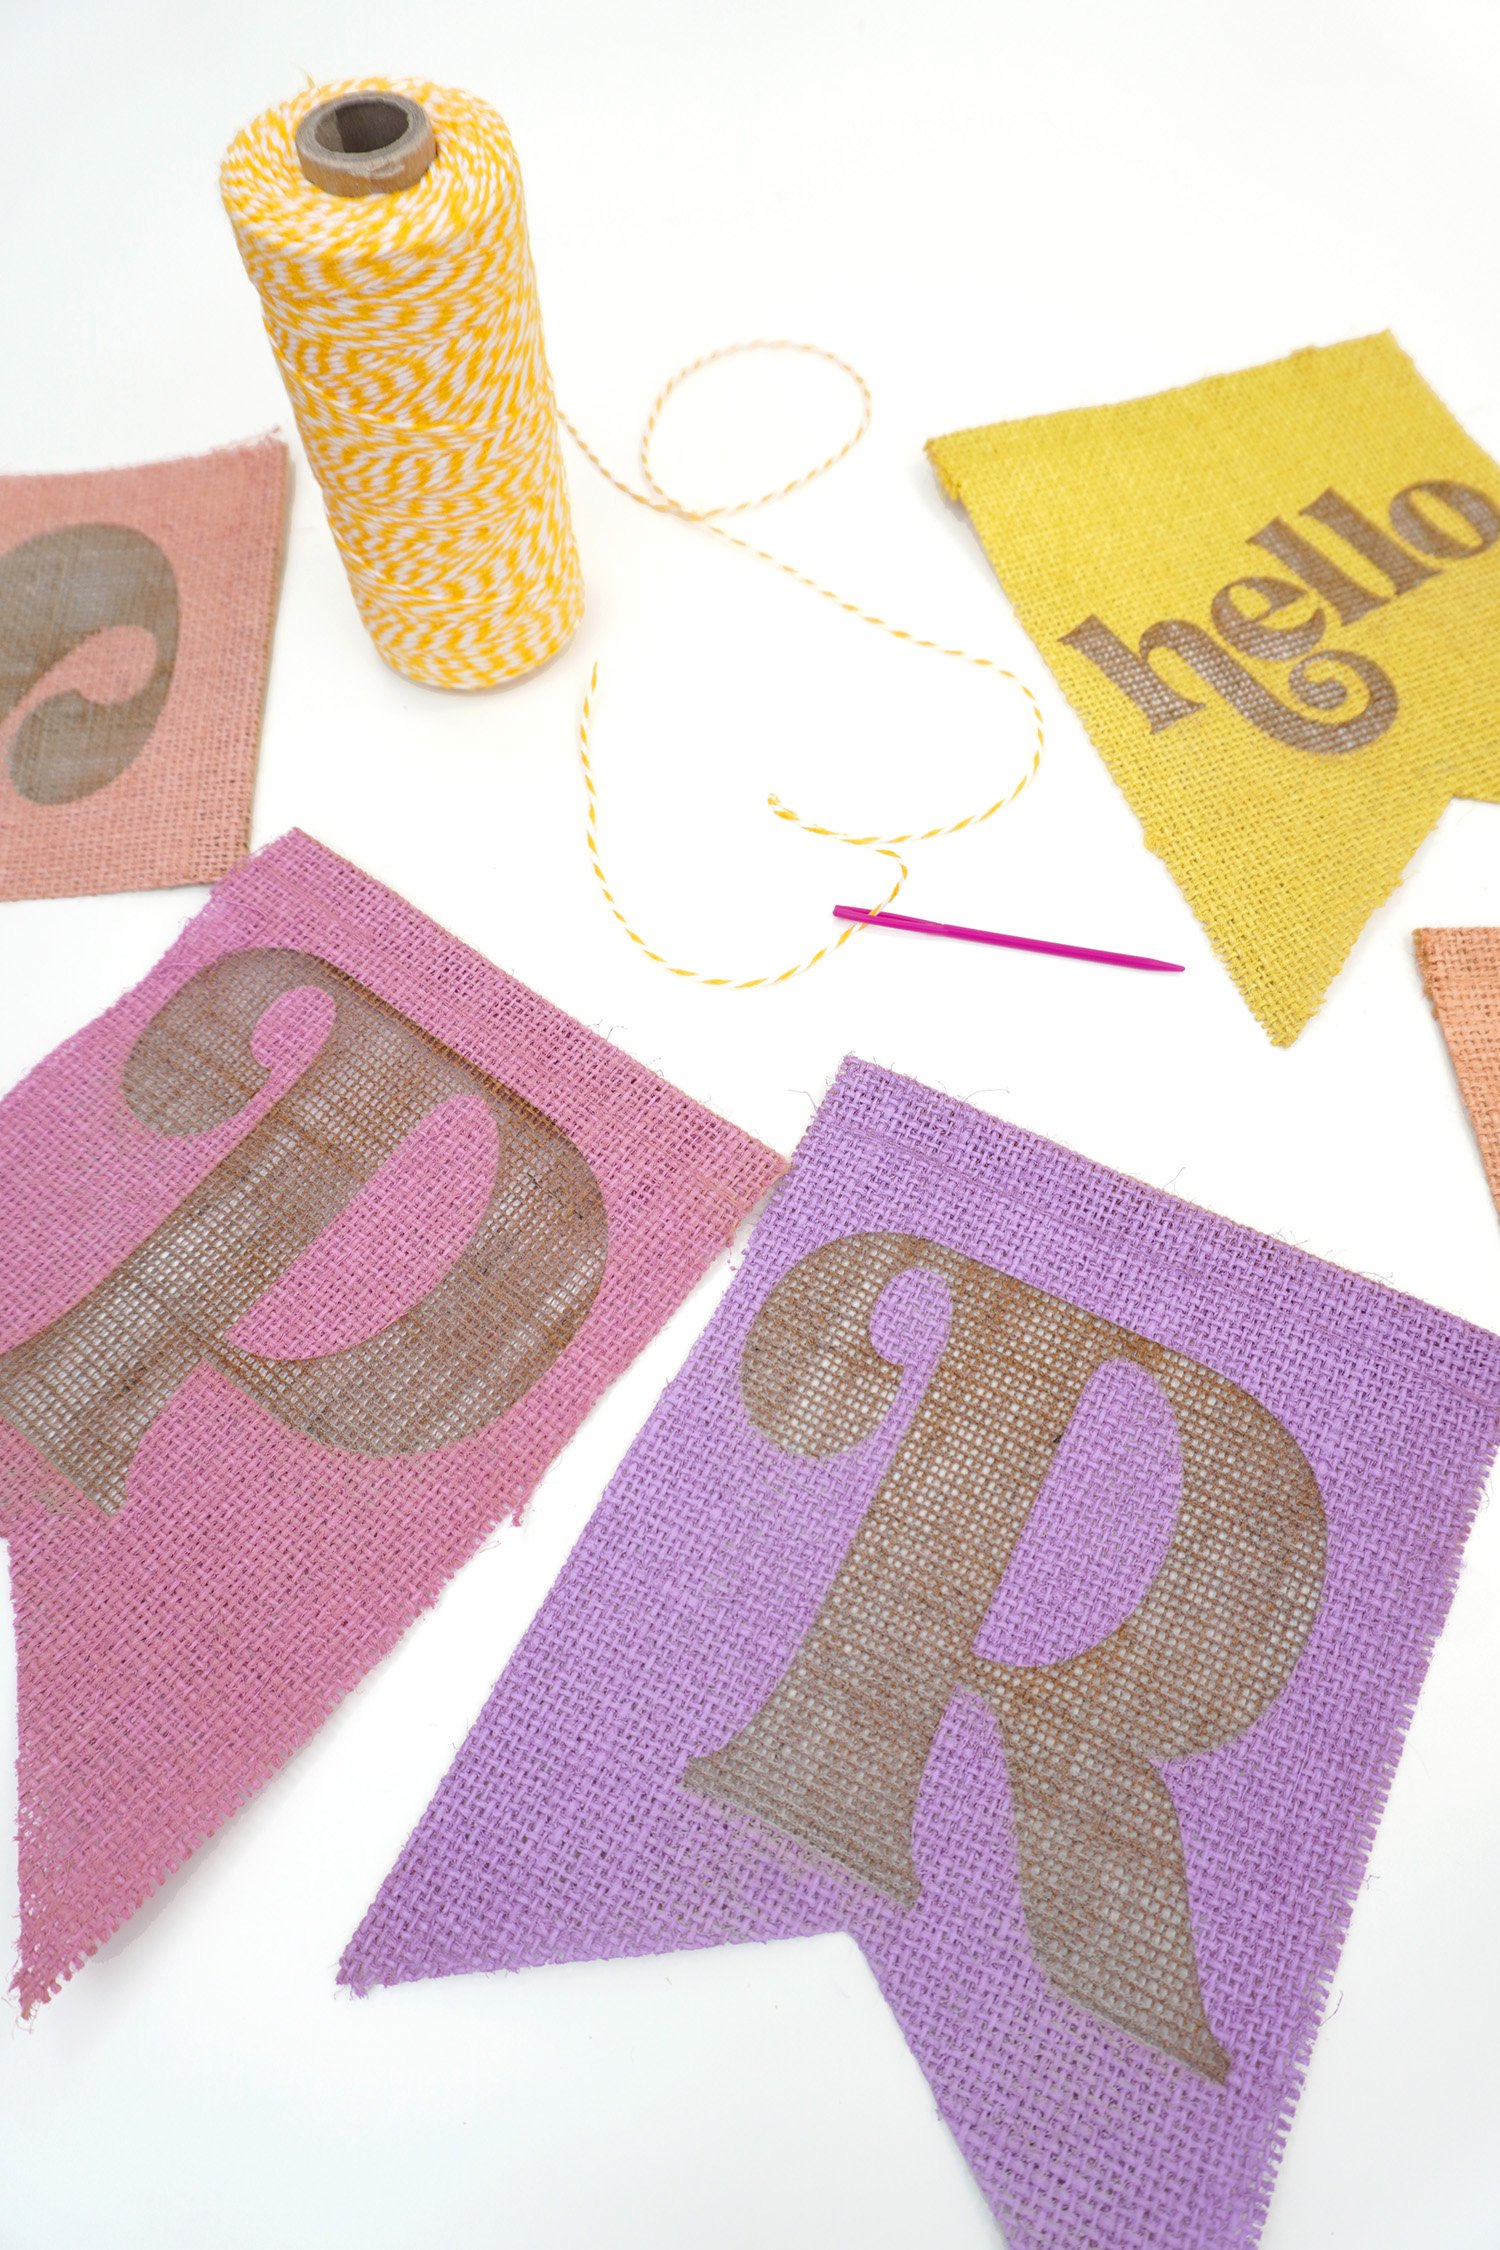
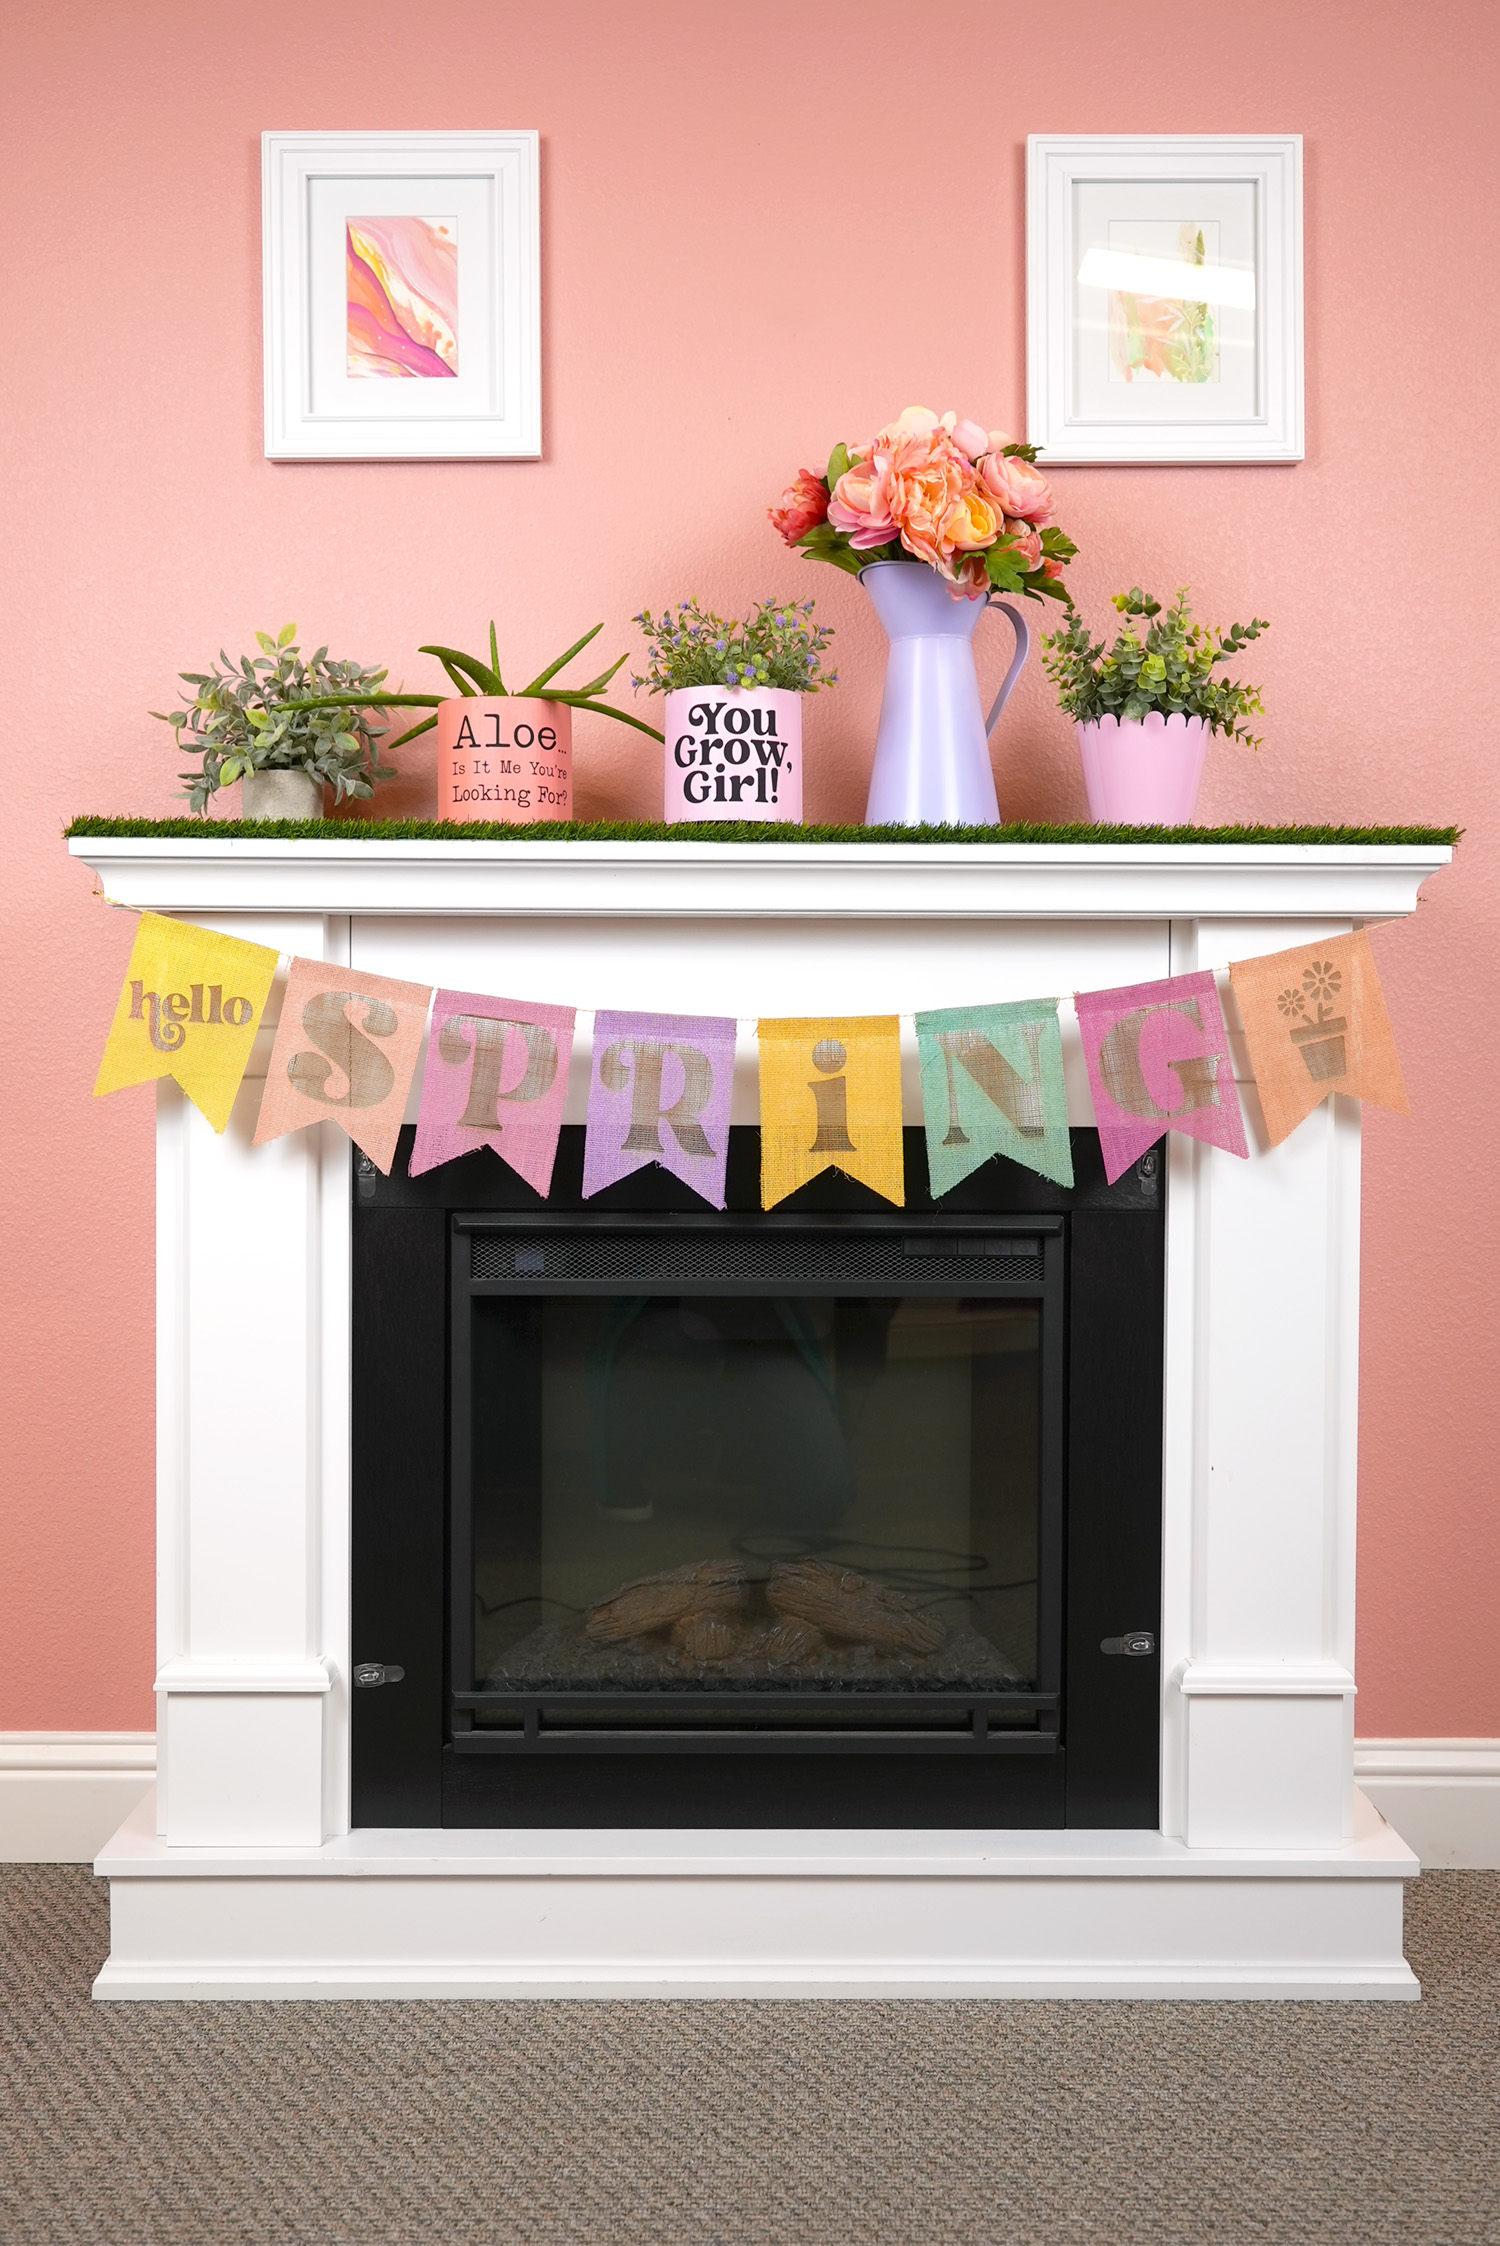
Step 5: To finish the banner, string the burlap flags onto a length of twine or ribbon. My flags came with tan twine, but I swapped it out for some yellow and white baker’s twine.

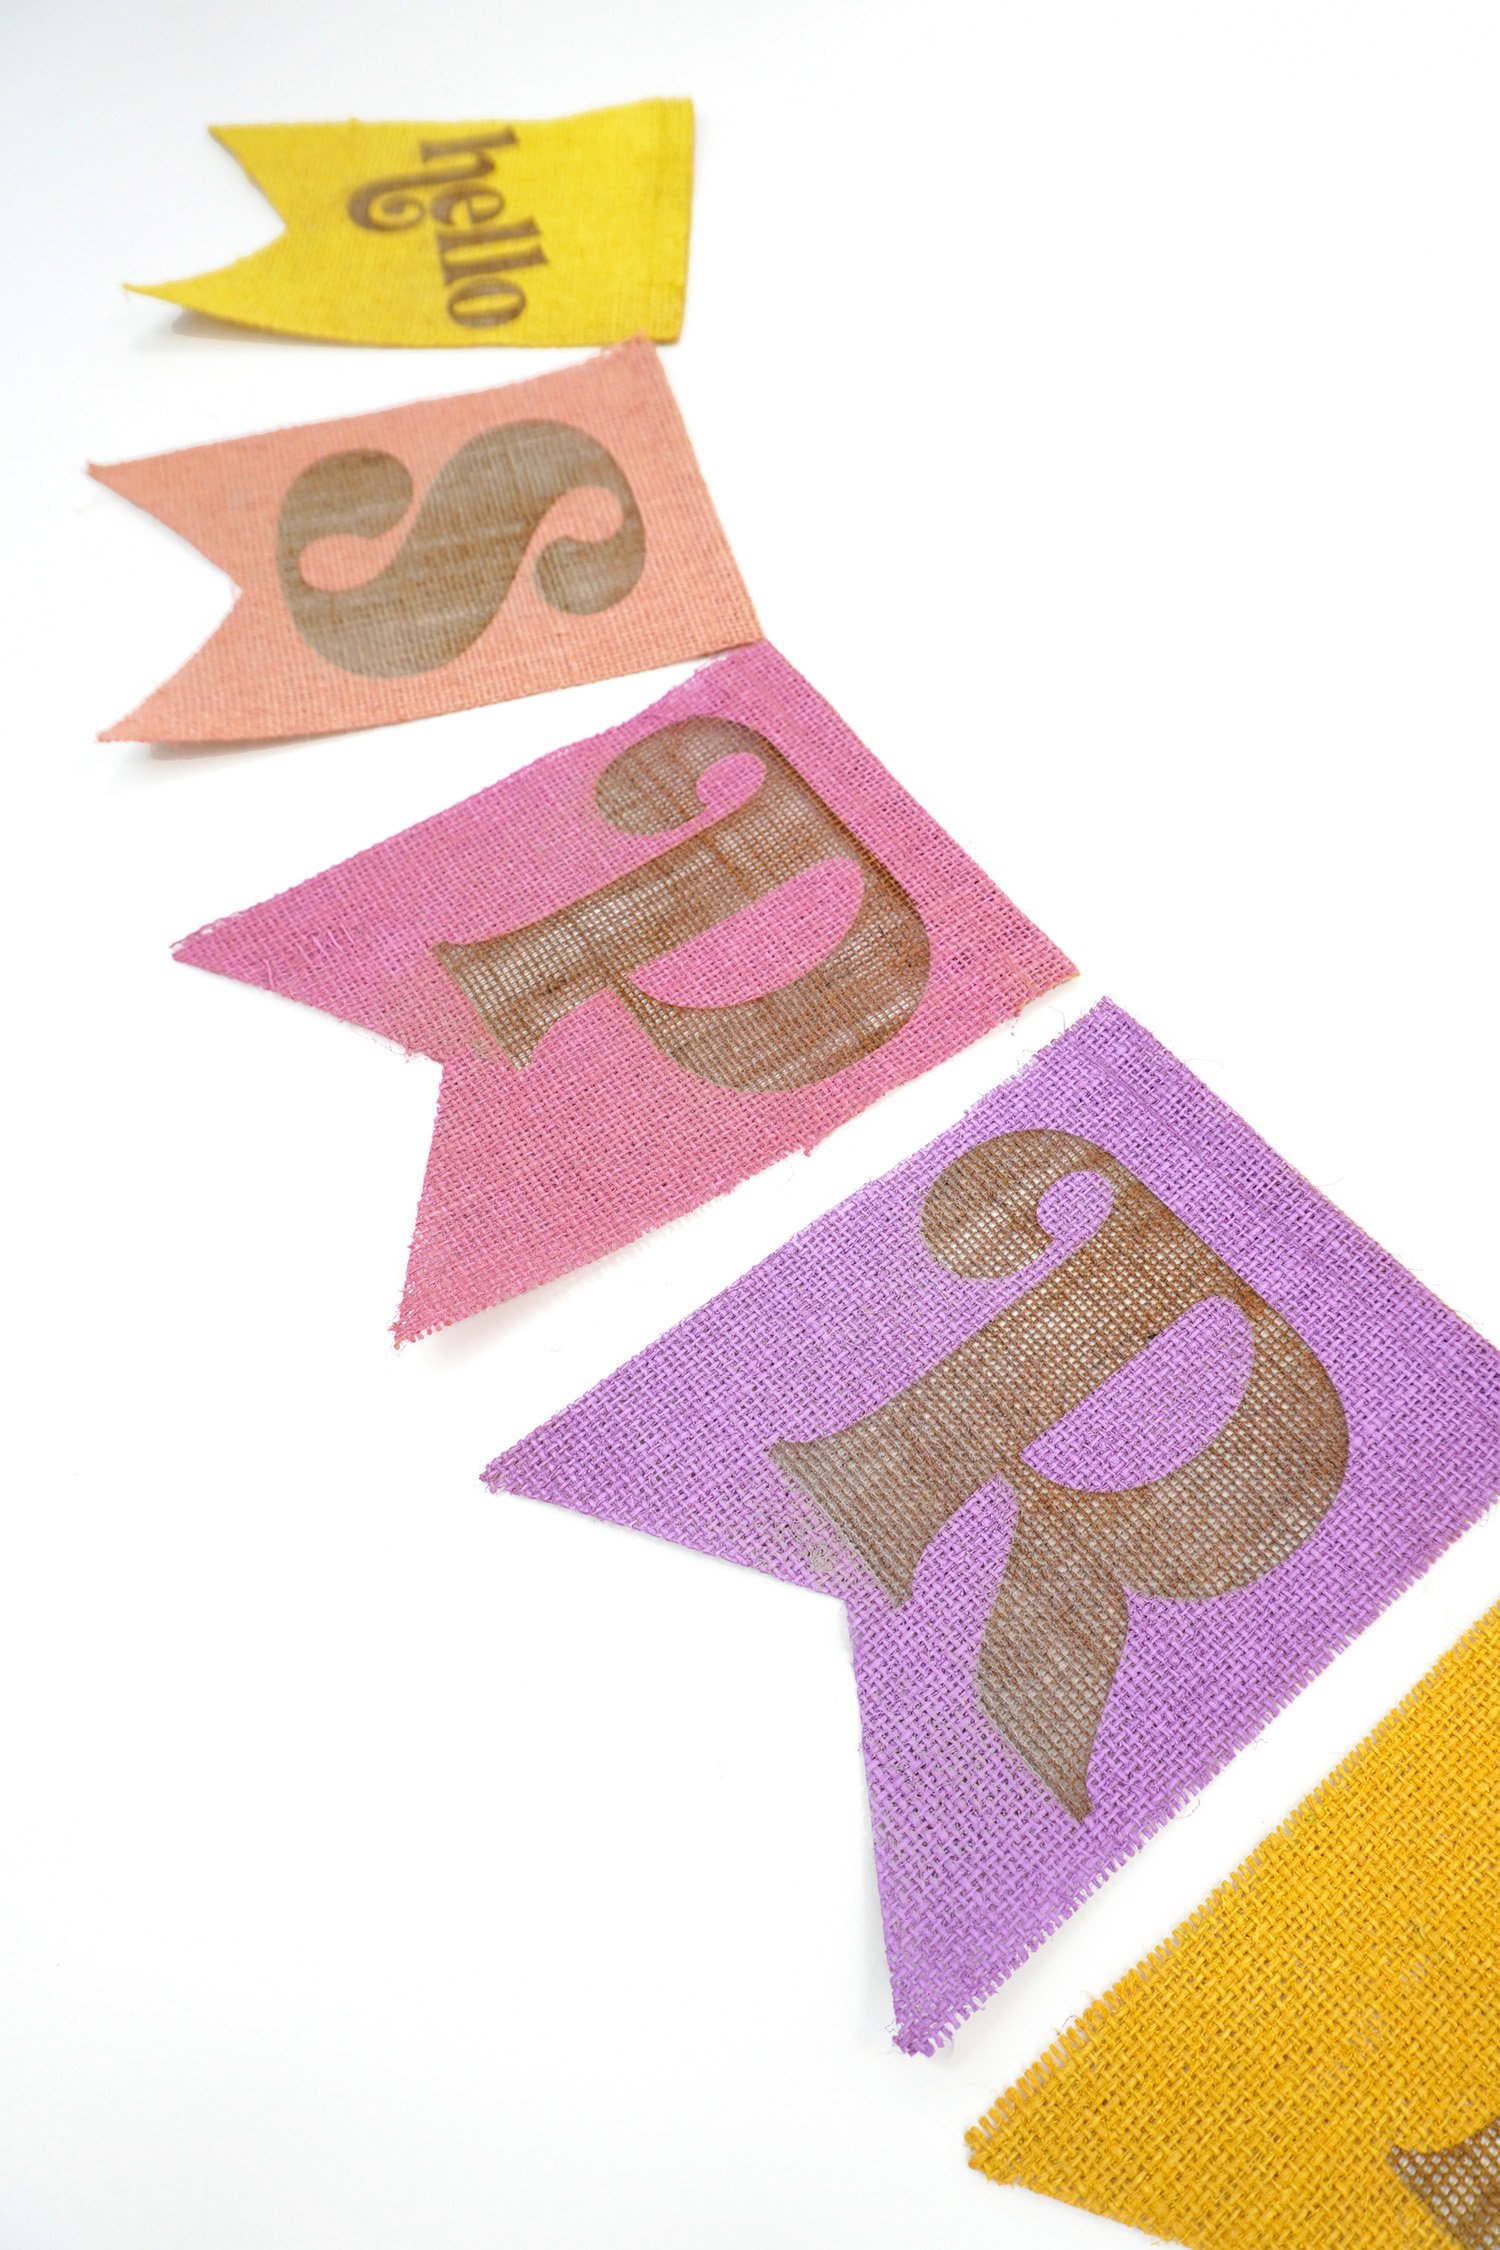
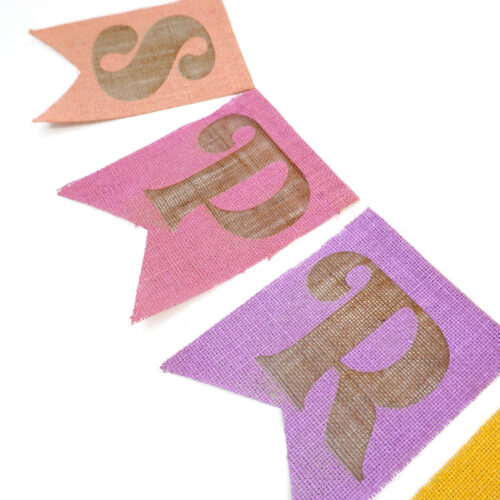
The engraved burlap effect is super cool, especially when combined with the colorful paint!
Burlap Engraving FAQs
More Fun Laser-Crafting Tutorials
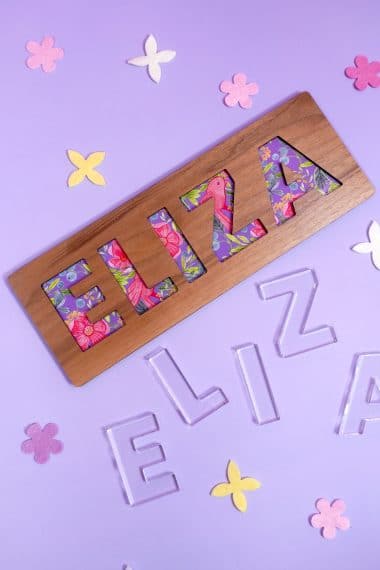
- DIY Name Puzzles – a great personalized gift idea and hot seller!
- Engraved Personalized Pencils – fun for all occasions!
- Custom Wood Cutting Boards – the BEST gift idea for weddings, housewarmings, and more!
- How to Make Laser-Cut Wood Signs the EASY Way – my favorite pro tips and tricks!
How to Laser-Engrave a Burlap Banner
Equipment:
- CO2 or Diode Laser (we used a Glowforge Pro with hold-down pins)
What You’ll Need:
- Burlap Banner Flags
- Paint
- Twine or Ribbon
Instructions:
- Lightly coat the front of each burlap banner piece with spray paint. Allow the paint to dry completely.
- Place the banner pieces in your laser bed, and use hold-down pins to keep everything flat and in place. You may need to work in batches of 3-4 flags at a time to accommodate the size of the laser bed.
- Use the laser to engrave the burlap – for this effect, you want to remove the top layer of paint and a very slight amount of the burlap fabric.
- Remove the burlap banner flags from the laser and gently clean the dust and debris. I like to use a hair dryer on low to blow them off gently.
- String the engraved burlap flags onto a length of twine or ribbon.
You May Also Like These Laser Craft Ideas:


Heidi Kundin has captivated the hearts of millions with her colorful and inspiring approach to crafting, celebrations, and family fun. With over 15 years of experience, Happiness is Homemade has become a must-visit destination for those seeking quick and easy creative ideas and last-minute solutions. Heidi’s warm personality shines through her posts, inviting readers to join her on a creative journey that’s fun, rewarding, and achievable. Heidi is also the author of Homemade Bath Bombs & More and DIY Tie-Dye.